COMPUTER AIDED DESIGN


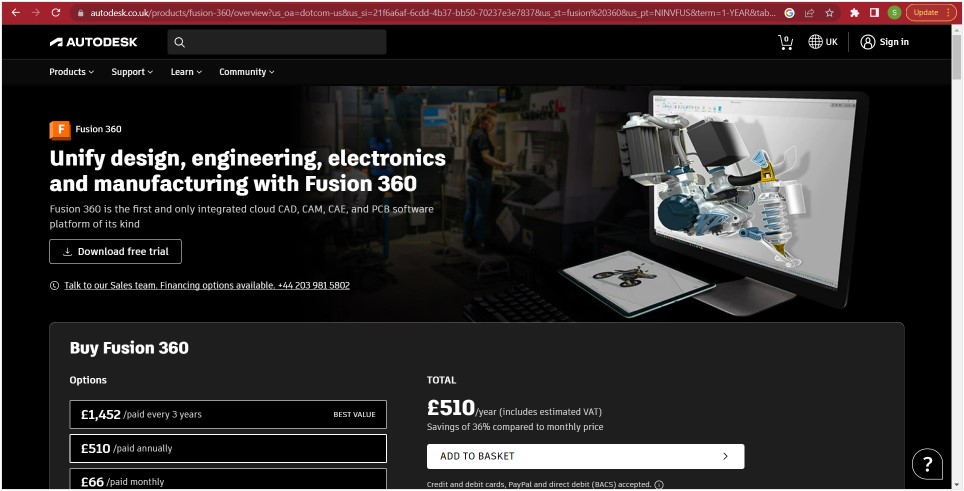
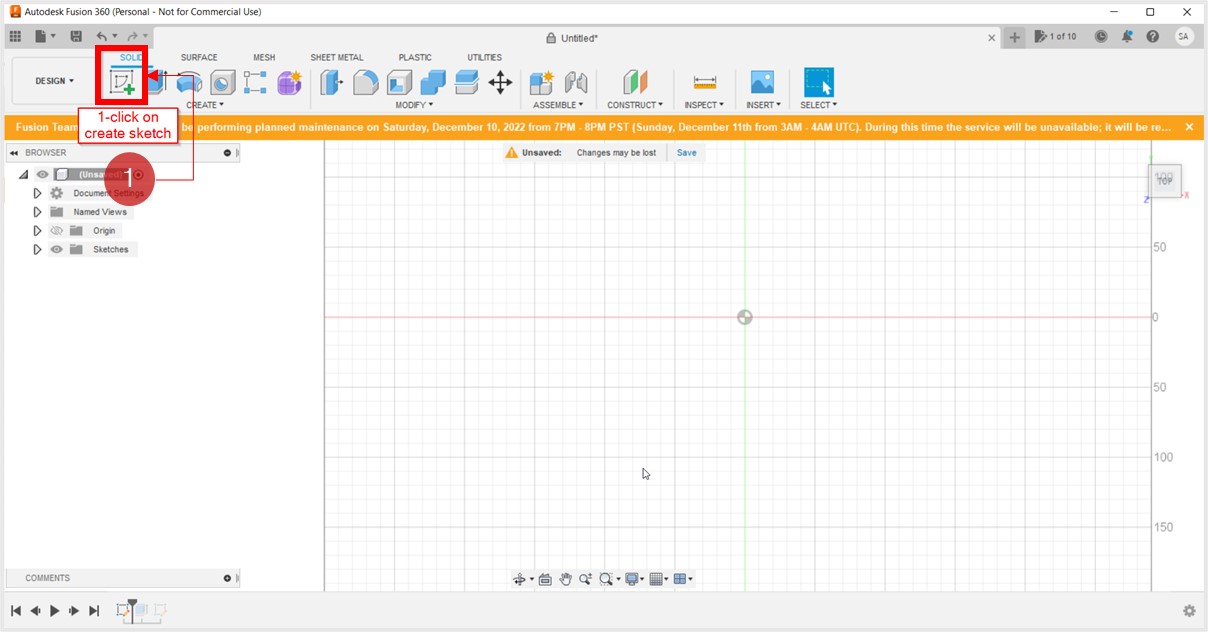
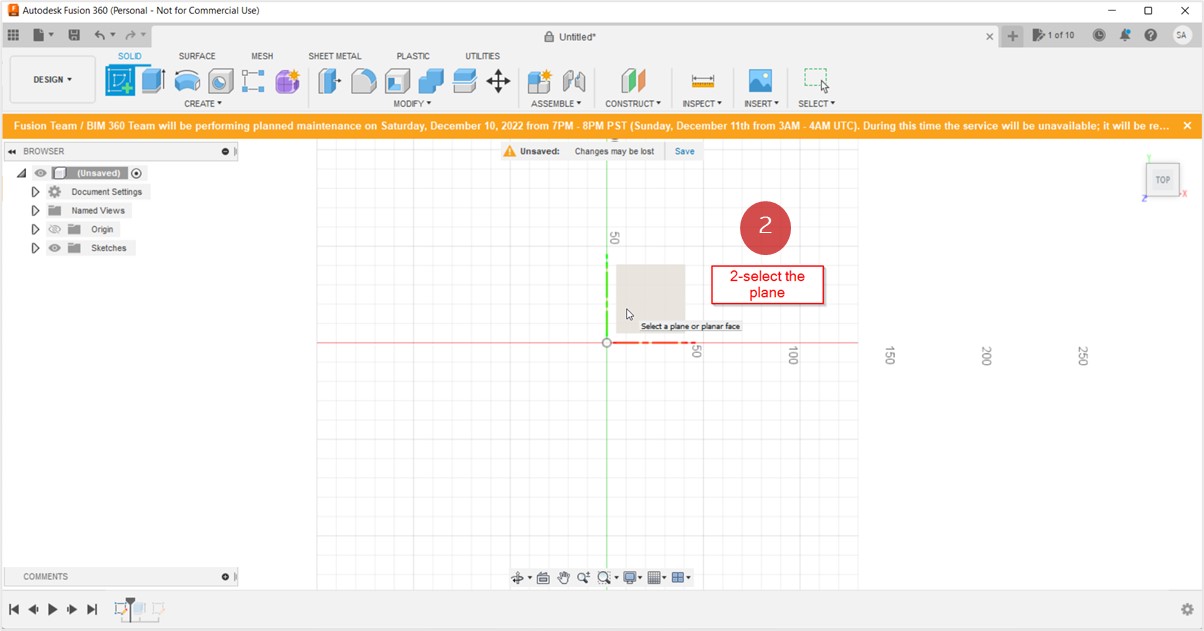
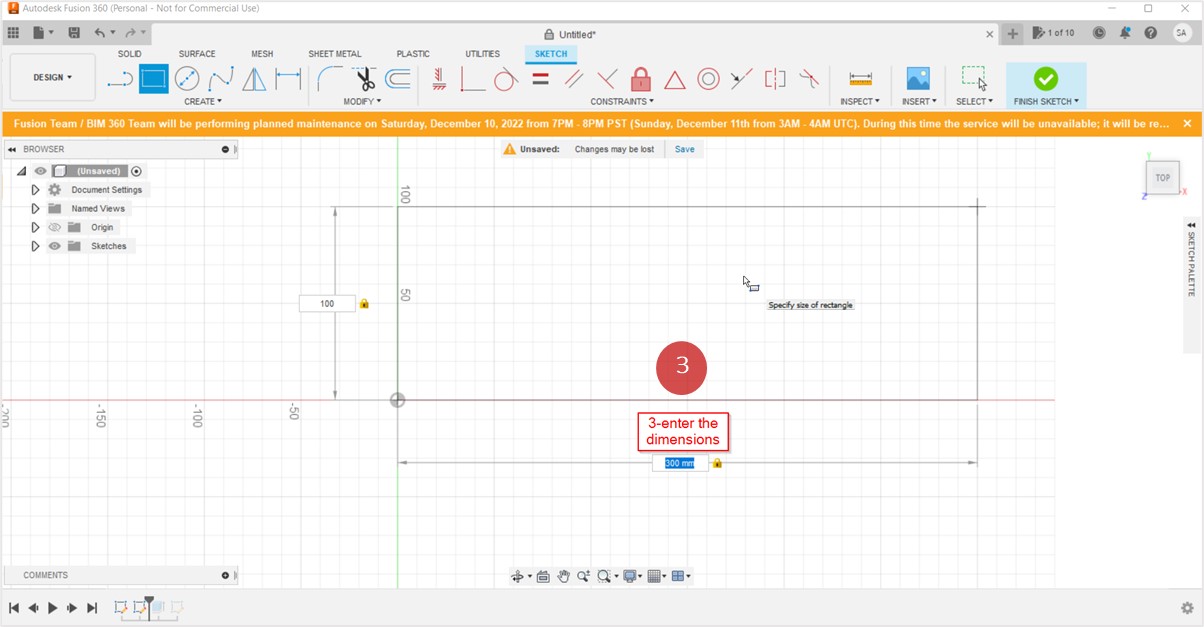
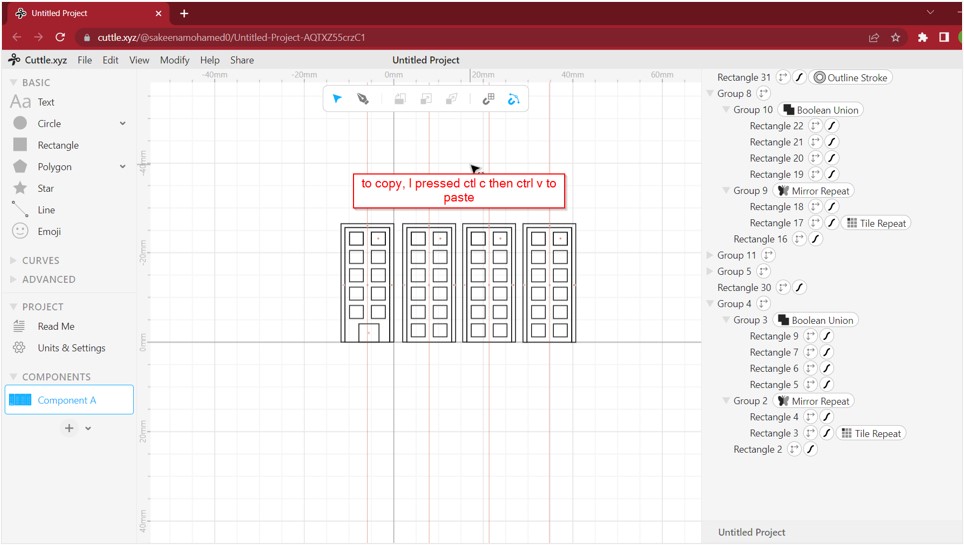
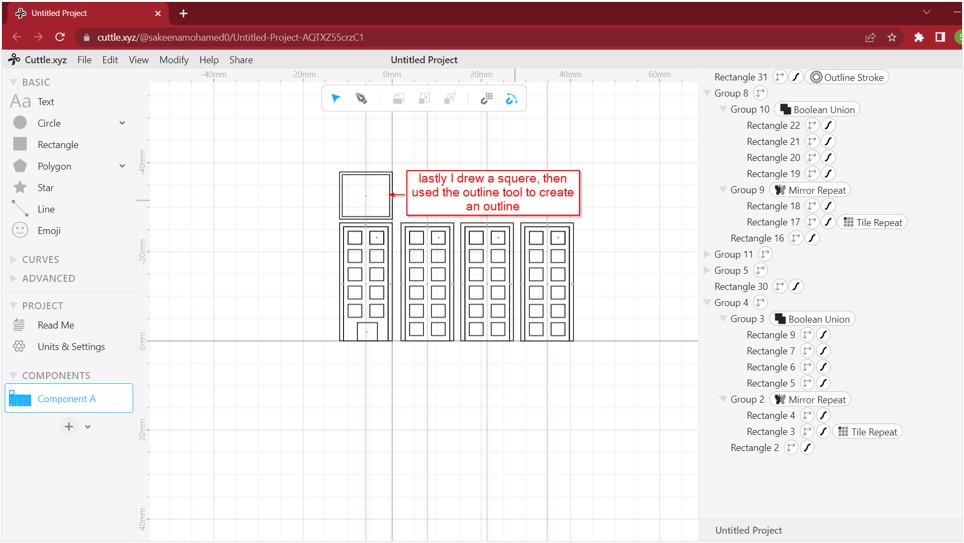
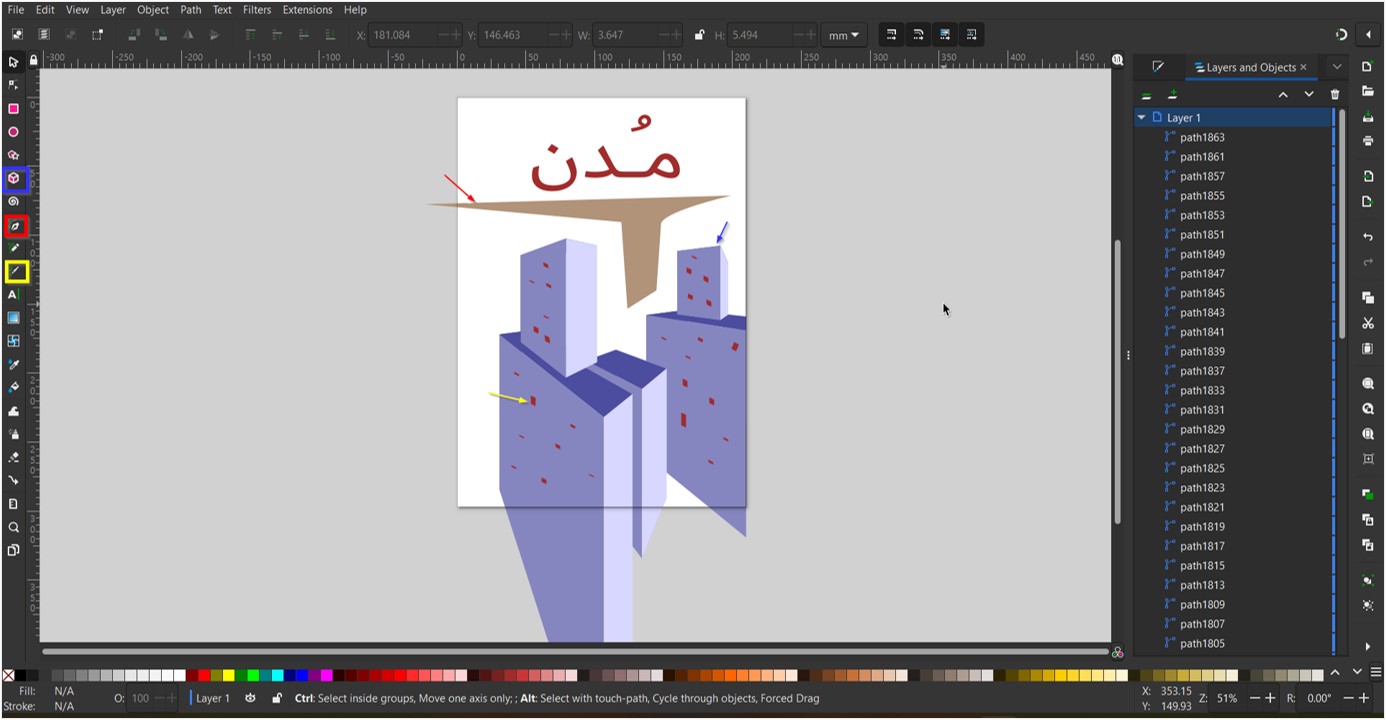
The second week in Fab-Lab revolved around learning new designing softwares. Some of them were 3d designing softwares like FUSION 360 and BLENDER, others were 2d designing softwares such as CUTTLE XYZ and INKSCAPE.


The main aim of learning different softwares is to enhance our knowledge in designing 3d objects that can be 3d printed later on. To understand the softwares more, I looked up the difference between RASTER and VECTOR,


WHAT IS RASTER?


RASTER, In its simplest form, a raster consists of a matrix of pixels organized into rows and columns (or a grid) where each cell contains a value representing information for example a color, so when you are dealing with a photo, it consists of multiple colored pixels. Those pixels gives the picture rich details which makes it easier to edit.


WHAT IS VECTOR?


VECTOR, is a form of computer graphics in which visual images are created directly from geometric shapes. It uses paths to create the image rather than pixels which can make the photo able to be infinitely scaled.


WHAT IS PARAMETRIC DESIGN?


Another thing I looked up is the definition of PARAMETRIC DESIGN which is a design method where parameteres and rules are used in the modelling. Shapes are created by inputing parameters into an algorithmic process. It can be used in FUSION 360, by linking a shape to the object you are designing, so when ever you decide on changing the shape, the object you are designing will automatically be changed.


To learn more about each software, click on the buttons on the top right corner of the page, or scroll down.

FUSION 360

Fusion 360 is a proffesional 3d software which you can download for free, click here to download. The software is fairly easy to use especially if your are familiar with other 3d softwares. I personally found it very similar to SKETCHUP the 3d software, as it has similar tools to it, but with FUSION 360 you can add very fine details in your design, that is why it is used to design products that can be 3d printed later on. .

1- First step is to DOWNLOAD FUSION 360,

2- Getting started, After signing up and downloading the software, the first step to create something is to always start with a sketch. As shown in the photo below.

After choosing the sketch option, FUSION will ask you to choose a plane to design on, it is best to orbit around to decide on which plane you will be working on. In this tutorial I chose the top view plane.

-

To extrude, choose the desired face to extrude, then drag your mouse in the upward direction, then you can write down the desired dimension.

-

The extrude tool can also be used to cut into the object when dragged downward, as shown below.

-

-

-

-

-

-

To make the shape wrap around the object use the sweep tool, it is a tool that is similar to "follow the path" tool and it actually makes the shape you create follow any enclosed line.

3- Exporting files, Lastly, after you are done with your design, the best way to export it is by choosing 'save as mesh', then choosing the STL format as shown below.


4- Uploading files,To upload your STL file into your website, first right click on the model>share link>copy the link and paste it in the code down below.


   <div class="fusion"><iframe width="640" height="480" src=" https://a360.co/3ZleWLZ " frameborder="0" allow="autoplay; fullscreen; vr" mozallowfullscreen="true" webkitallowfullscreen="true"></iframe>


To upload your file into sketchfab, you have to upload the STL file you created in the previous step.

Down below you can find the result.


click here to downland the stl file.


click here to downland the fusion file.

This is another model I created in FUSION 360. It is a class assignment that was assigned to us and it is actually an existing chair that we had to design. Down below you can find the FUSION file of the chair, which you can orbit the object to see it in 3d form.

BLENDER

The second 3d designing software we learned was BLENDER, which is also free and you can download it by clicking here .

I presonally found BLENDER to be similar to the gaming and rendering softwares as it allows you to move more freely than FUSION 360. But I found it hard to make finer details in the project as it does take longer to learn and to get used to than other 3d softwares. The cool thing about BLENDER is that it has the rendering option, which means you can visualize your design in real life.

Down below you can find a picture of when I tried experimenting with the software, I created simple boxes next to eachother then I tried chamfering the edges.


click here to downland the STL file.


click here to downland the BLENDER file.

CUTTLE XYZ

CUTTLE is a 2d vector editor with features for cut design like live modifiers, parameters, reusable components, and scripting. It is a free website that allows you to design and edit which later on enables you to input your designs and print them using a laser cutting printer.

1- First step is to CUTTLE XYZ, You can download it by clicking here.

2- Start sketching, I created a simple sketch of an object we had in class, to try and experiment with the website. I mainly recommend to use it for patterned sketches as it has a lot of tools that can be used for repetitive designs. You can take a look at the sketch down below, it is basically all faces of the objects drawn seperatly so it can be sticked together once it is printed.

-

-

-


click here to downland the SVG file.

INKSCAPE

The second 2d designing tool is a software that you will need to download, is INKSCAPE, click here to download. I found INKSCAPE to be very similar to adobe illustrator and paint, it is very easy to use I would recommend using it for editing sketches or even photos. .

Down below you can find a picture of when I tried experimenting with the software, I created a very simple bookcover design that was inspired by a book I read recently. I tried the 3d boxes tool (the blue line) and I liked how it creates 3d boxes in any shape or way you want, this could be very helpful.


click here to downland the SVG file.