6. 3D printing and scanning
The individual assignment was to create and print a design that isn’t possible to be done with the CNC machine or the laser cutter machine (subtractive fabrication)
I previously made a design in week two planning on printing it in this week which was the ore block design which is aspired from Minecraft you can check week 2 to see the design and it’s process. The design is not possible to make using the CNC machine and the reason for this is that it’s made from one piece with holes on the sides which the machine cannot get to with details that are smaller than the CNC milling bit.
This is the most advanced 3D Printer available here the Creality K1 which is 12 times faster than the normal printer

after downloading the software and setting it up to the available printer we select it to start designing

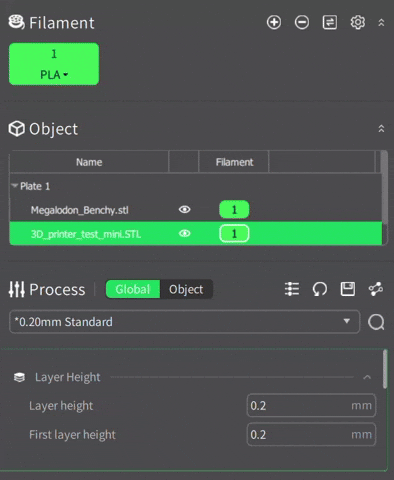
We go to file>> import>>Model file to choose your design file to be printed "Note that the file has to be a 3D file with this printer I found that it could accept STL files as well as OBJ files"

after selecting an object you can see all the options available at the top to be able to do any kind of adjustment to the design. You can scale it, change it's orientation and even hollow it and much more. here we clicked on add support to be able to print the design with no imperfection

adding manual support isn't that difficult as you can select the surfaces you would like to support and just preview the object but I noticed that using Right click would resuce the material waste when adding manual supportas an advice if you have complicated shapes I would advise you to use tree supports but when doing boxy simple shapes it's better to have normal supports for saving materials.

When previewing the design after slicing you can see the time needed for all the steps and the total required time in addition to how would the supports look

This is where you can go to be able to change the filament material
here we can send the Gcode to the printer to be able to start the print it is possible to start the print completely online but it is not recommended to do so to not contradict with any other printers

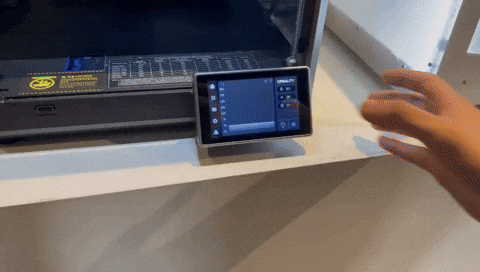
finally we press print to start the process

The hero shot that I have here was made with no supports so the holes were not as perfect as anticipated

Download file of the 3D printer software form:
Download here
To get the STL file and see the design process check week 2
in this print I used some supports and reduced the layer height which made the design perfect down to the details because of how accurate it got

3D Scanning
Scaniverse was the app I used for 3D scanning which uses the phone camera and the gyro of the phone to scan the piece

This is the object that I scanned which is a 3D printed Rick which is a character from a show called Rick and Morty

These are the steps to start scanning your object in the application

After scanning you have the ability to edit your scan and remove the imperfections

This is the first app I tried to scan which requires you to take photos one by one which is a really long and annoying process and then it processes the photos and meshes them together It also had the option to scan with laidar which is a feature only in the newer phones and my phone did not have the feature

eventually even after taking almost 60 pictures in two different scans it still failed to generate a 3D scan
