3. Week 3: Computer controlled cutting
The main learning outcomes for this week were to learn how to use vinal and laser cutters as well as how to create objects using parametric design.
Individual Assignment (Vinal Cutter)
A vinal cutter is a machine that is used to make many things such as signs, stickers and banners. Out of the two vinal cutters that were available, I had the chance to use the Cricut Explore Air 2 Vinal Cutter to cut stickers.

Designing Stickers
Design 1
I used Cuttle to design the stickers I will cut using the vinal cutter. I started to sketch the sticker by drawing a rectangle using the rectangle tool on the left.

Then, I added a text line and changed its size and font.


After that, I search for space emojis and added the emojis I liked to the sticker.

I added round edges to the rectangle by selecting it and going to the modify tab and selecting round corners.

Then, I changed the color of the icons and rectangle to black.

I also increased the width of the rectangle.

Final Design

Click here to download my sticker file
Design 2
I did the last two steps to the keychain I designed in week 2 and I removed the top part where the chain connects to transform it from a keychain design to a sticker.

After I was done with sketching the stickers, I exported them as .Png files to be able to use them in the vinal cutter software. However, unfortunately Cricut allows a limited number of exports. So, I was not able to export one of the sticker. To solve this issue, I simply took a screen shot of the sticker.
Final Design

Click here to download my sticker file
Using Cricut Design Space
To be able to use the Cricut vinal cutter, I downloaded the software Cricut Design Space and created a new project.

Then, I selected blank canvas.


To upload the sticker I created, I selected the upload button.

Then, I dragged the sticker file to the software to upload it.

Selected continue to confirm the uploading process.

After hitting confirm, I was taken to a tab to remove the background of my sticker so that the machine knows which lines to cut. However, since my the sticker did not have a background, I did not need to remove its background.

To see a preview of the line tracing and ensure it is correct, I selected the preview single layer button. After I was done, I selected the Accept and Continue button.

Then I selected Single layer -> Continue.


To add the second sticker, I followed the same steps as previously shown however, I had to remove the background of the sticker (since it was a screenshot). To do that, I moved the cursor to the areas that I wanted to remove the background from and clicked the left mouse button.

Sticker before removing the background

Sticker after removing the background.

After I uploaded both of the stickers, I selected them and duplicated them as well as changed the size of the stickers by dragging one of their edges.


Then, I saved the project.

Cutting the Stickers

To start cutting the stickers, first, I switched on the machine and pressed the open button to open it.
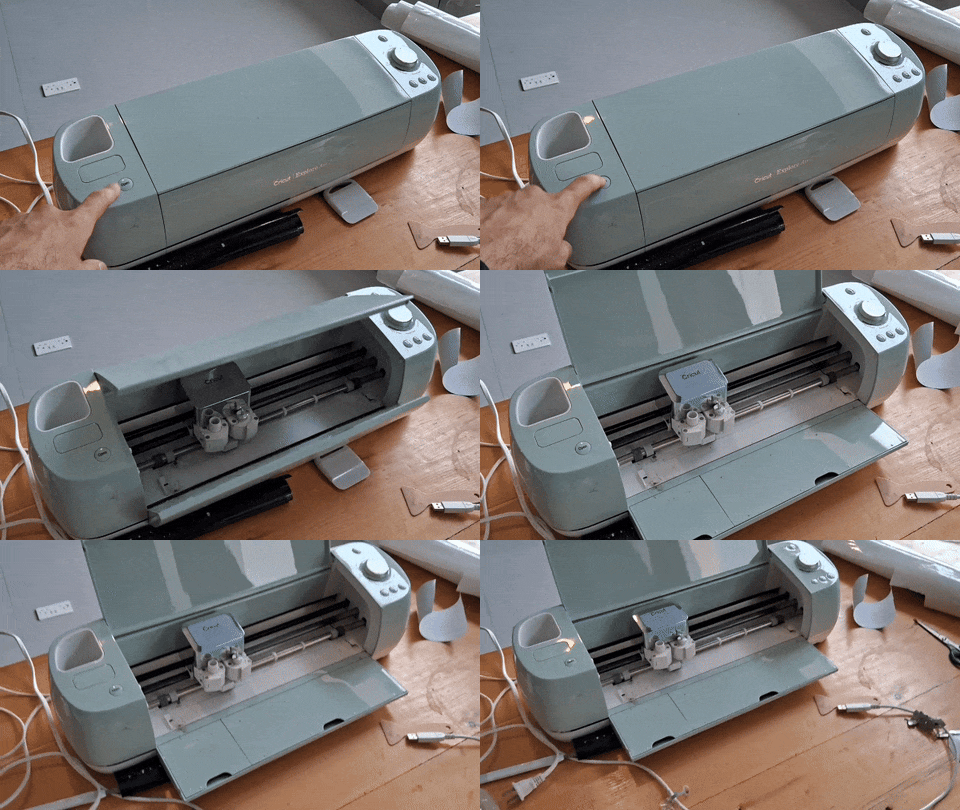
I took the vinal sheet, sticked it onto the cutting mat and placed it in the vinal cutting machine. I loaded the mat in the machine by selecting the load/unload button. Furthermore, I pointed the material selection dial to the vinal setting to ensure the machine will be able to cut the stickers using the appropriate power and speed settings.

Then, I went to the Cricut software and went to the my stuff tab and selected the project I wanted to print.

Then, I pressed Make It.

I selected on mat and the size of the mat as 30.5 cm x 30.5 cm.

After that I connected my laptop to the vinal cutter, selected the model Circuit Explore Air 2, pressed continue and selected the “C” button on the machine to start the cutting process.

Vinal sheet cutting process:
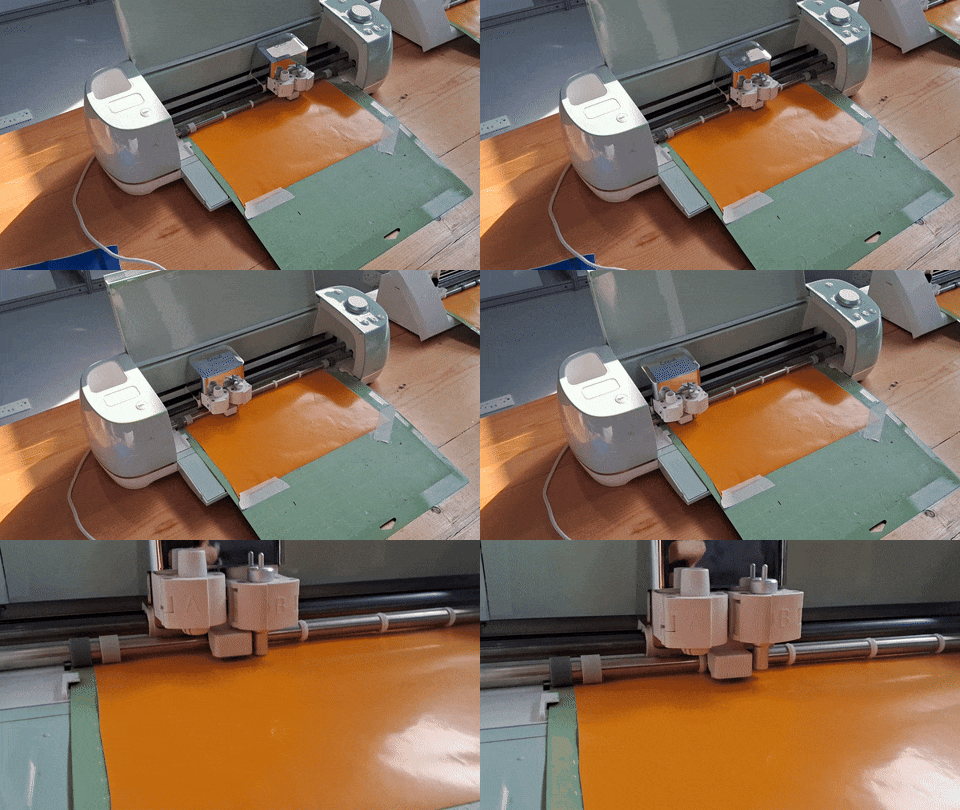
The vinal sheet after the cutting process:

Hero shots


Group Assignment Laser Cutter (Link)
During the group assignment, I learned how to use the laser cutter machine and how to do multiple tests to determine the correct settings to achieve a high quality laser cut object.
Focal Point Distance Test
The first test was the focal point distance test. It was done to determine the distance between the tip of the laser and the material. If the distance is not set properly, the laser will not be able to create an accurate cut on the material. The test was carried out by placing a flat piece of wood on an incline and cutting a straight line on it using the laser cutter. The distance between the laser and the wood at the point the cut is narrowest was determined to be the focal point distance. The distance is equal to the height of a lego piece (enter distance in mm).

Speed & Power Test
The second test was the power and speed test. During the test, we have cut many squares using different power and speed values to determine which is the most suitable setting for the cardboard. It was determined that to achieve an accurate cut, the power must be 55% and the speed 80 mm/s.

Kerf Test
The third and final test was the kerf test. This test was done to determine what is the most suitable width distance to provide a tight fit between the joints. This was done by cutting slots from 1.4 to 3 mm and trying to fit a piece of cardboard in them. The slot width that provided the best fitment was 1.6 mm.

Individual Assignment (Laser Cutter)
A laser cutter is a device that utilizes a focused laser beam to cut or engrave materials such as wood, metal, plastic, or fabric with precision and high levels of detail.

Creating Parametric Designs
Parametric design is an approach to design that involves the use of parameters or variables to define and generate designs. It allows designers to create and manipulate designs by changing and adjusting these parameters. By establishing relationships between the parameters, designers can create complex and intricate designs that respond dynamically to changes in the input values.
Design 1
I created two parametric designs using SolidWorks to cut them on the laser cutter. First, I drew a triangle.

Then, I created parametric variables by selecting the equations tab, naming the variables and giving them values.

To give the triangle the parametric dimension, I used smart dimension and wrote =”name of the variable”.

Furthermore, I created an “equal” relation between triangle lines.

I used the offset entities feature to create a smaller triangle. I sketched center lines and created 3 slots to allow me to join the shapes together after they have been laser cut.

Then, I created extra lines in the middle of the triangle to give the design extra details.

After that, I extruded the design using the extrude feature.


Final model

Click here to download my 3D model file (STL)
Click here to download my 3D model file (DXF)
Design 2
I created the second design by sketching a rectangle.

Then, I created the parametric variable using the equations feature.

I applied the parametric dimension and created an equal relation between the sides of the square.

After that, I created an offset rectangle using the offset entities feature.


I created vertical and horizontal lines to create 4 internal squares.

Thenn, I sketched the joint grooves and used the circular sketch pattern to create 4 instance of the grooves.

I created fillets using the fillet feature.

After that, I extruded the pattern.

Final model

Click here to download my 3D model file (STL)
Click here to download my 3D model file (DXF)
Laser Cutting the Parametric Designs
To prepare the parametric models for laser cutting, I copied the 2 model sketches in a single file and saved it as a.DXF format.

Click here to download my 2D model file
After that, I opened the RDWorks V8 software and imported my parametric design file.


To duplicated my designs, I selected the array copy feature and created a 3 x 3 array of the designs.


After that, the speed and power were set as 80 and 55 respectively, the laser cutter machine was switched on and the file was named and downloaded.

Then, the machine’s cover was opened, the cardboard sheet was inserted in it and tape was placed on its edges to ensure it is flat and will not move. If we were using heavier materials such as wood and acrylic, the tape will not be necessary.
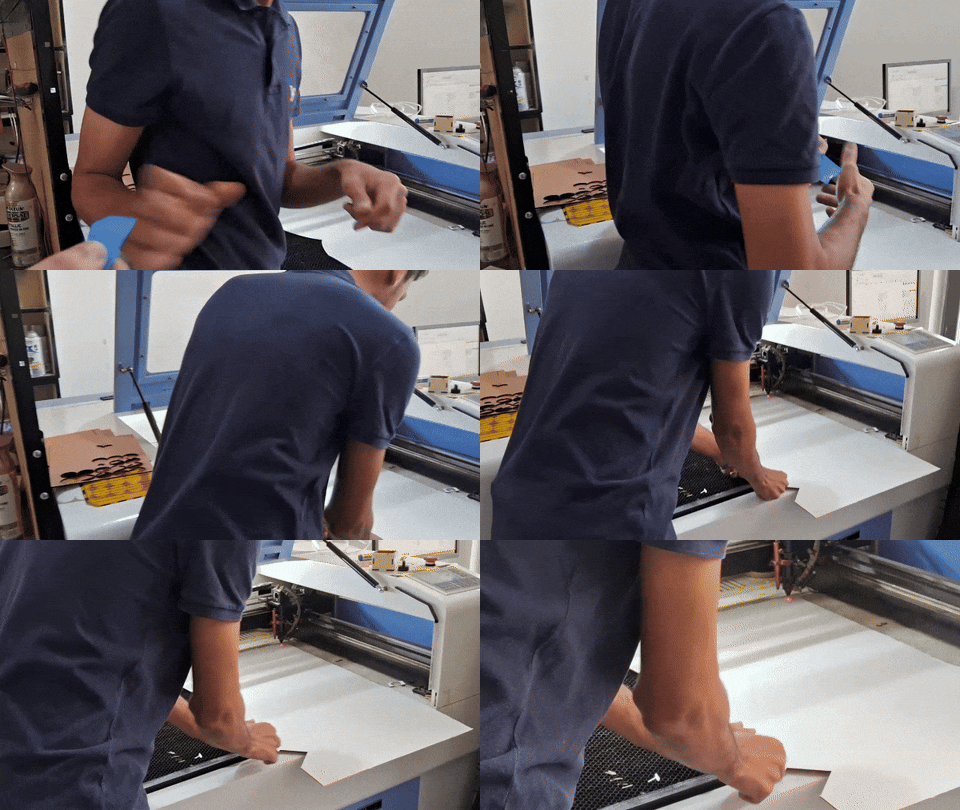
After that, a lego piece as a reference length to set the height of the laser cutter with the focal point so that we get a narrow and clean cut. The laser was lowered by pressing the down z button from the control panel.

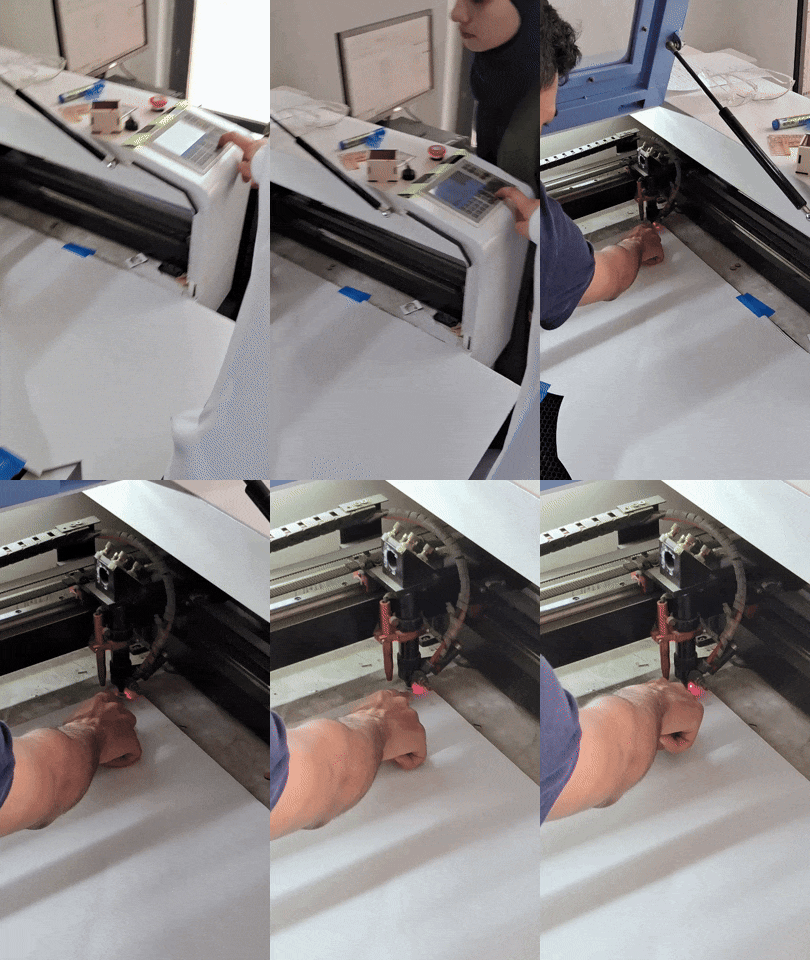
The file button on the control panel was pressed followed by the enter button to select the wanted file.

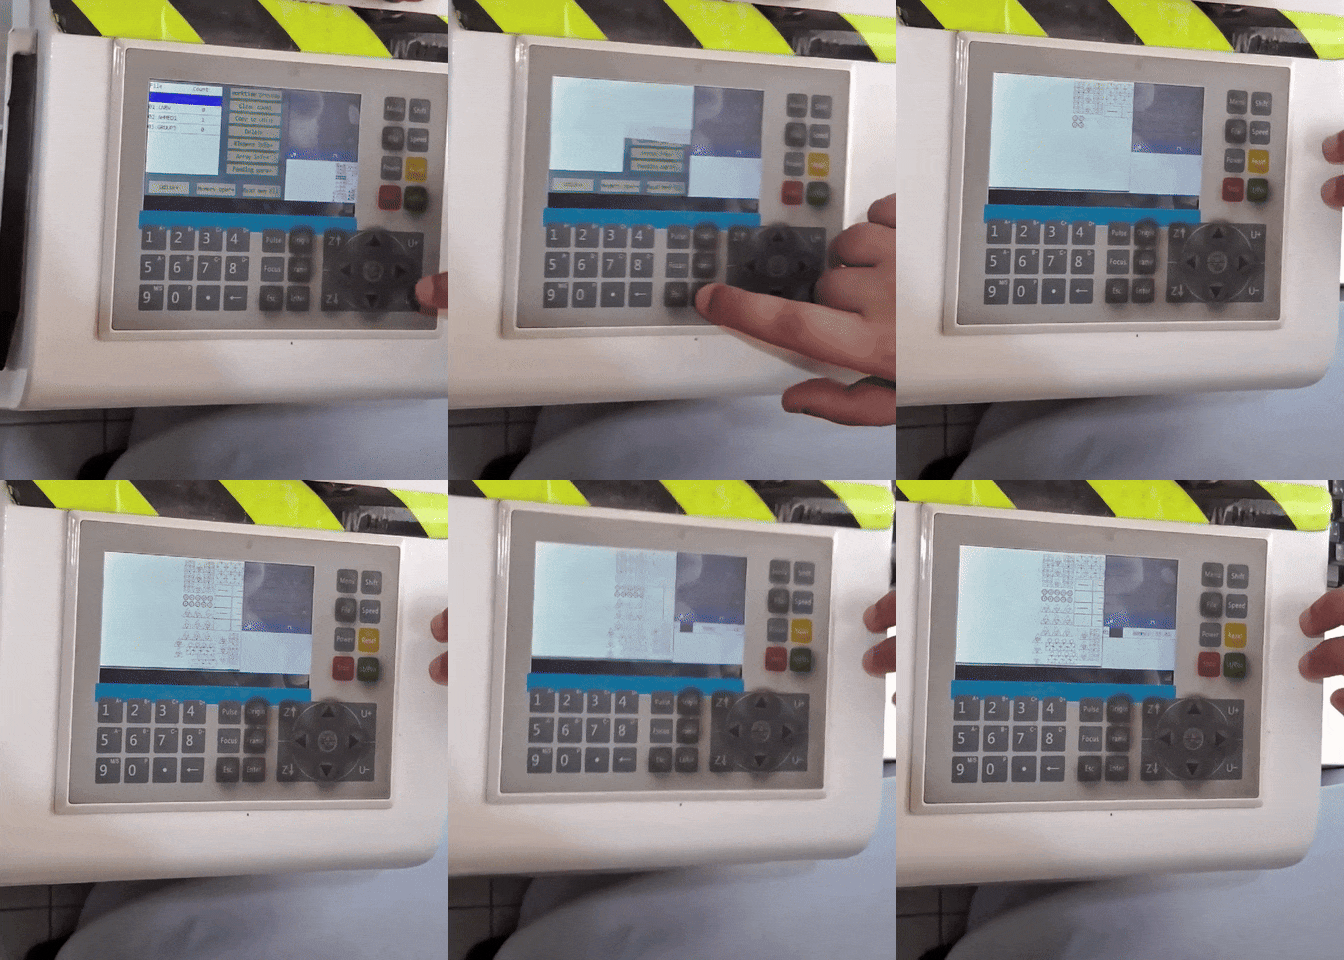
To make sure that there is material at the area the laser will cut, the laser was moved using the arrow buttons and the origin button was pressed followed by the frame button. The origin button tells the machine to start cutting from this point while the frame button will move the laser along the cutting path parameter so that we know if the material (cardboard) size is sufficient or not.

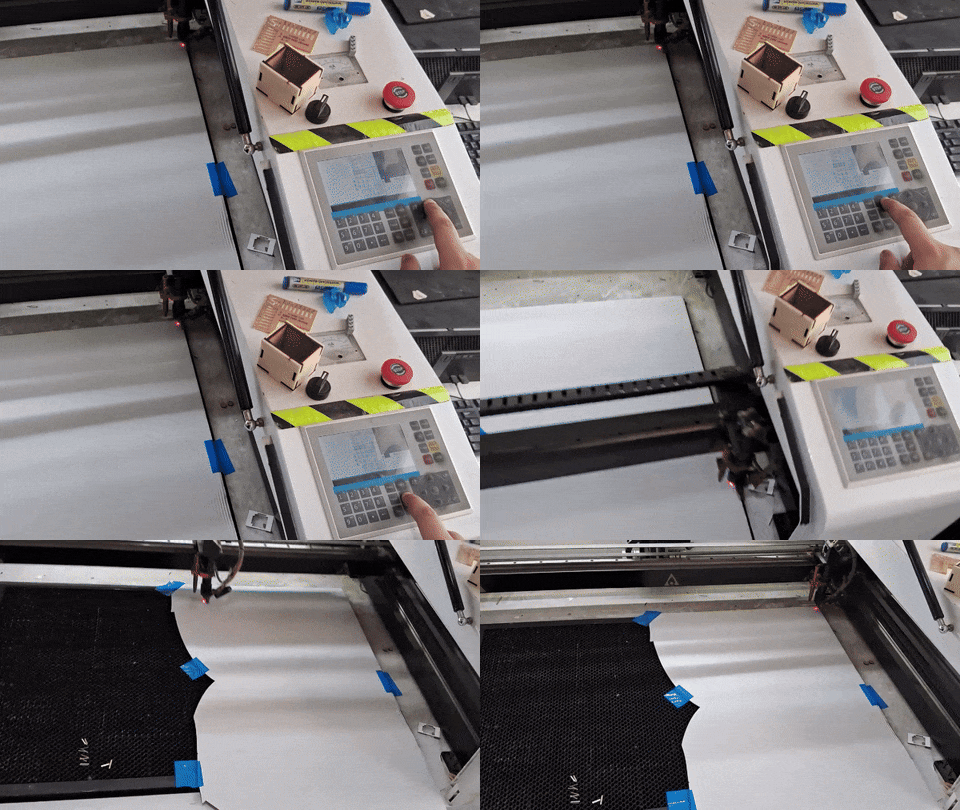
After going through all of these steps and making sure all of the settings are correct, select the start button to start the laser cutting process.

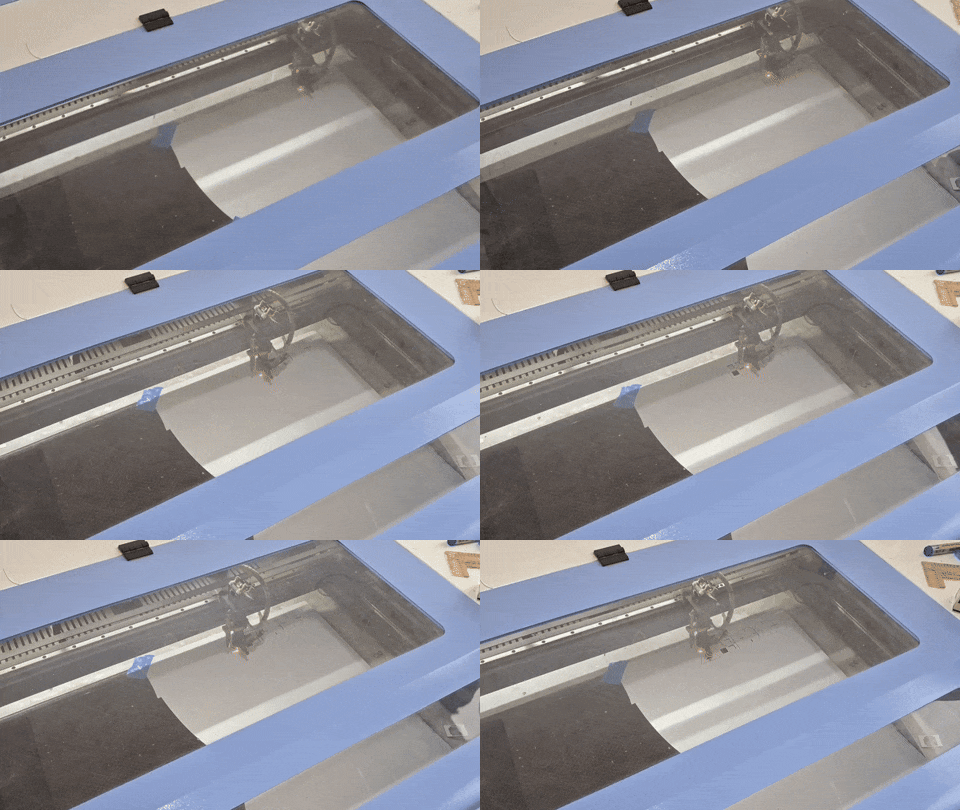
After the laser cutting process:

Hero shots

My team’s designs
