Molding and Casting
Group assignment
Materials used:
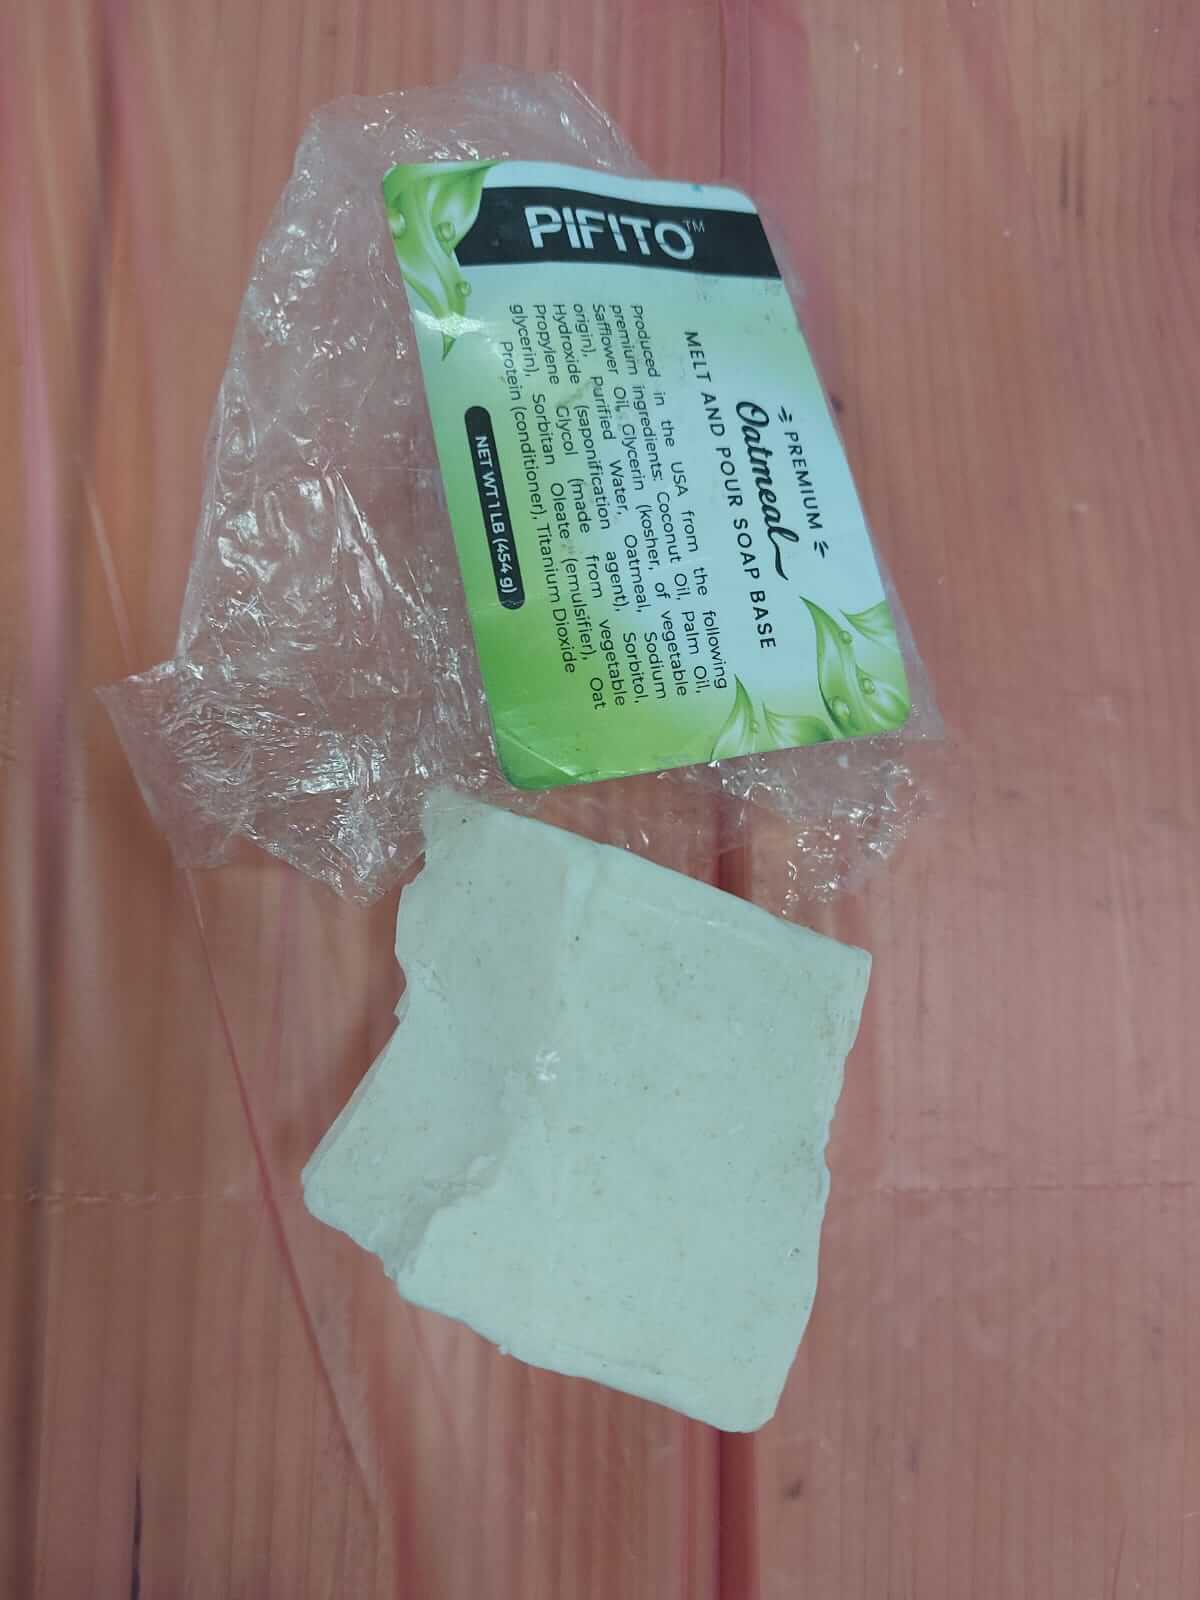
PIFITO Oatmeal Melt and Pour soap base
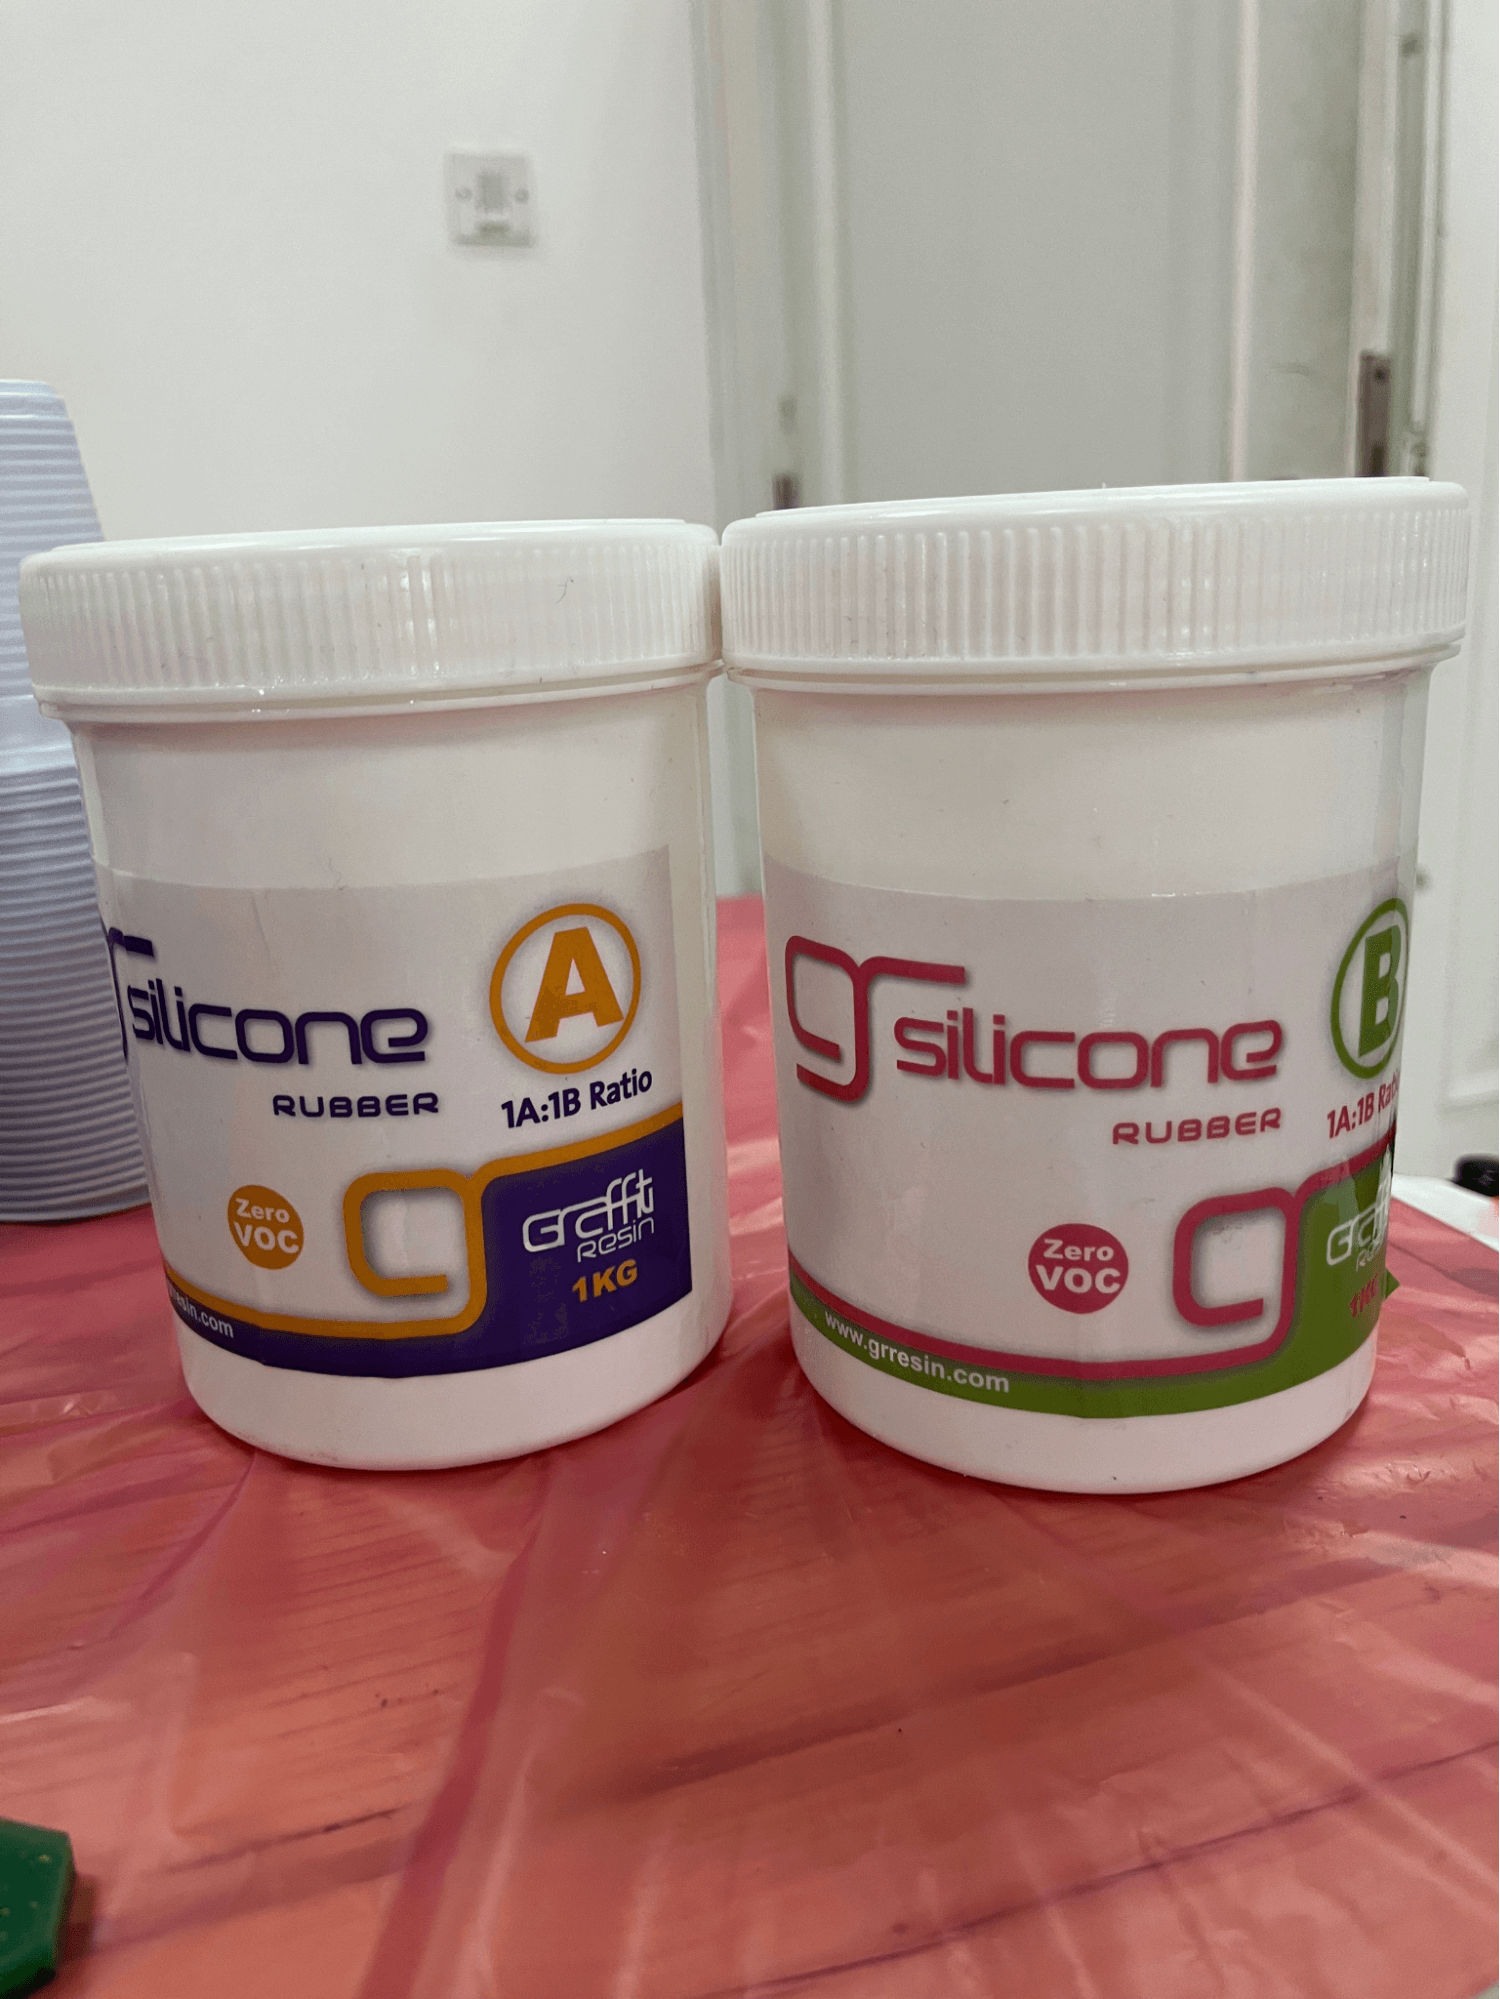
Material name: Silicone
Picture:
Safety:
- Keep the container closed when not in use.
Process steps:
Mix ratio (if applicable):
Work time | Cure time |
30 to 40 minutes | 3 to 12 hours ( according to the curing temperature ) |
Cured material state:
Silicone rubber is a highly adhesive gel or liquid. To convert it to silicone rubber is a highly adhesive gel or liquid. To convert it to a solid, it must be cured, vulcanized, or catalyzed. This is normally carried out in a two-stage process at the point of manufacture into the desired shape, and then in a prolonged post-cure process. It can also be injection molded. Silicone rubber may be cured by a platinum-catalyzed cure system, a condensation cure system, a peroxide cure system, or an oxime cure system. For the platinum-catalyzed cure system, the curing process can be accelerated by adding heat or pressure
Information Link
https://www.sciencedirect.com/topics/engineering/silicone-rubber
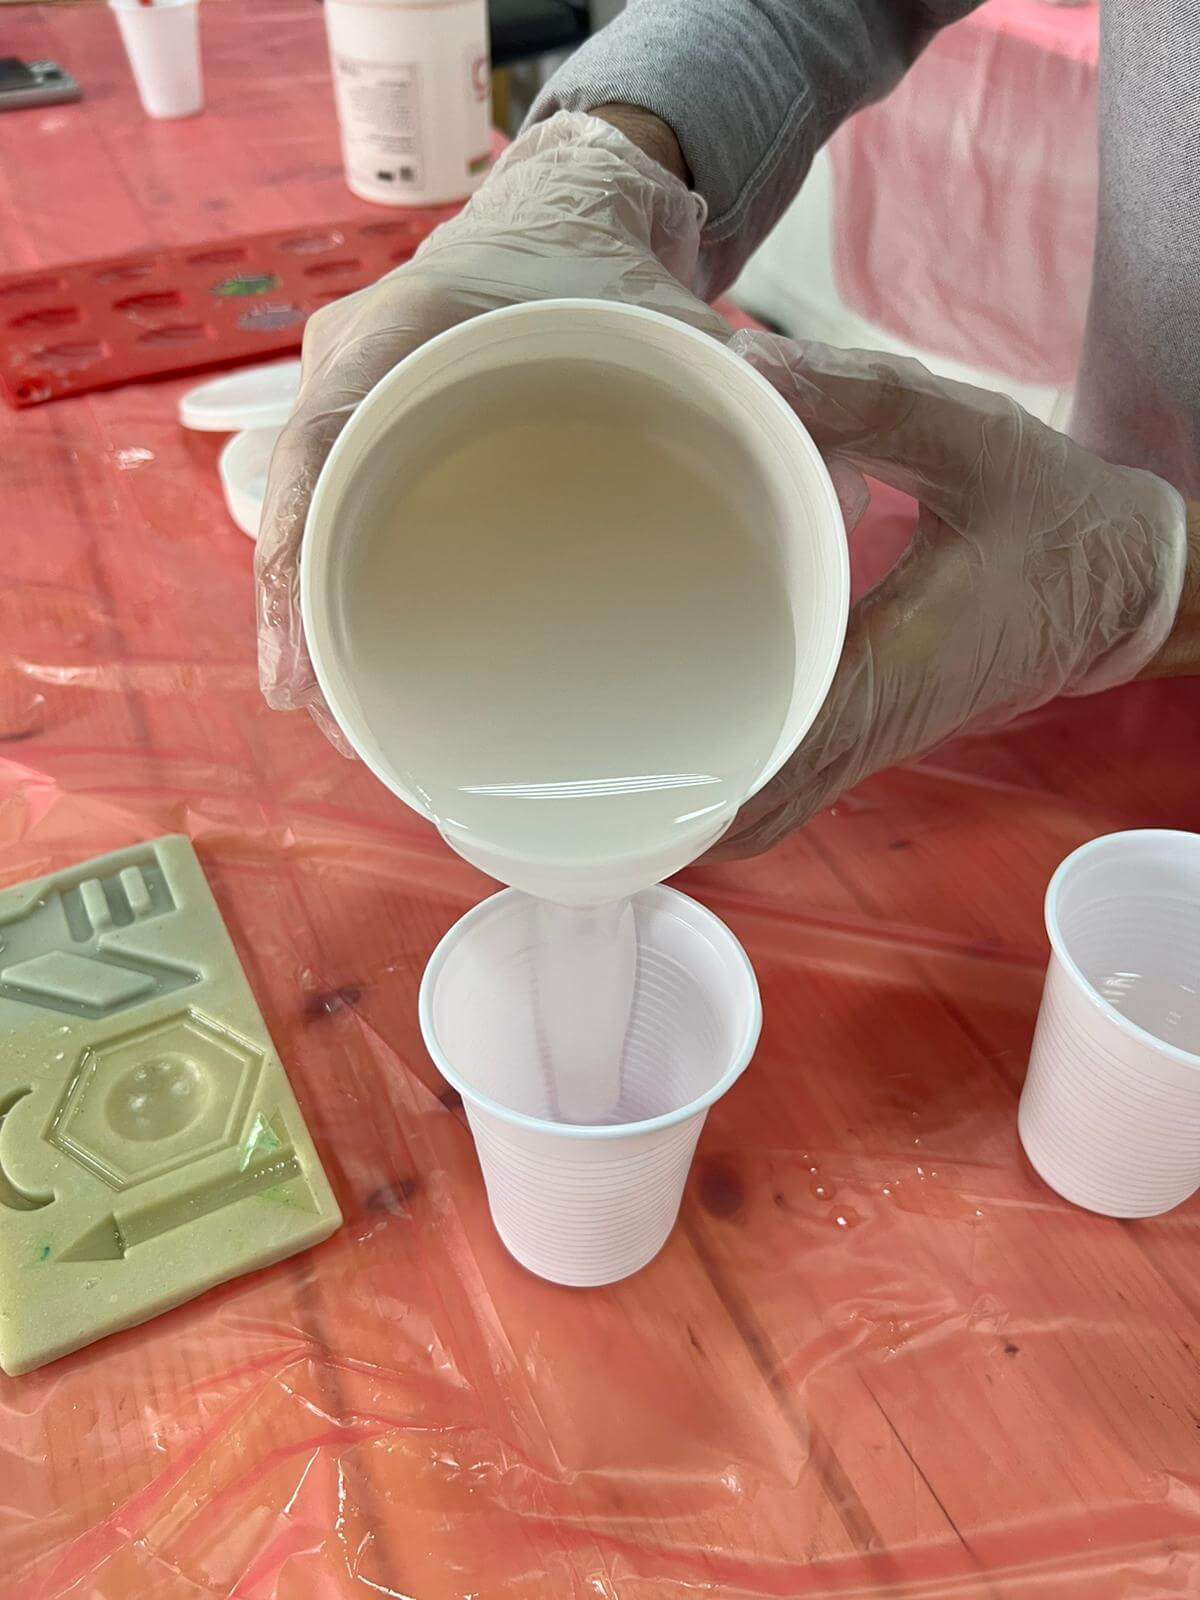
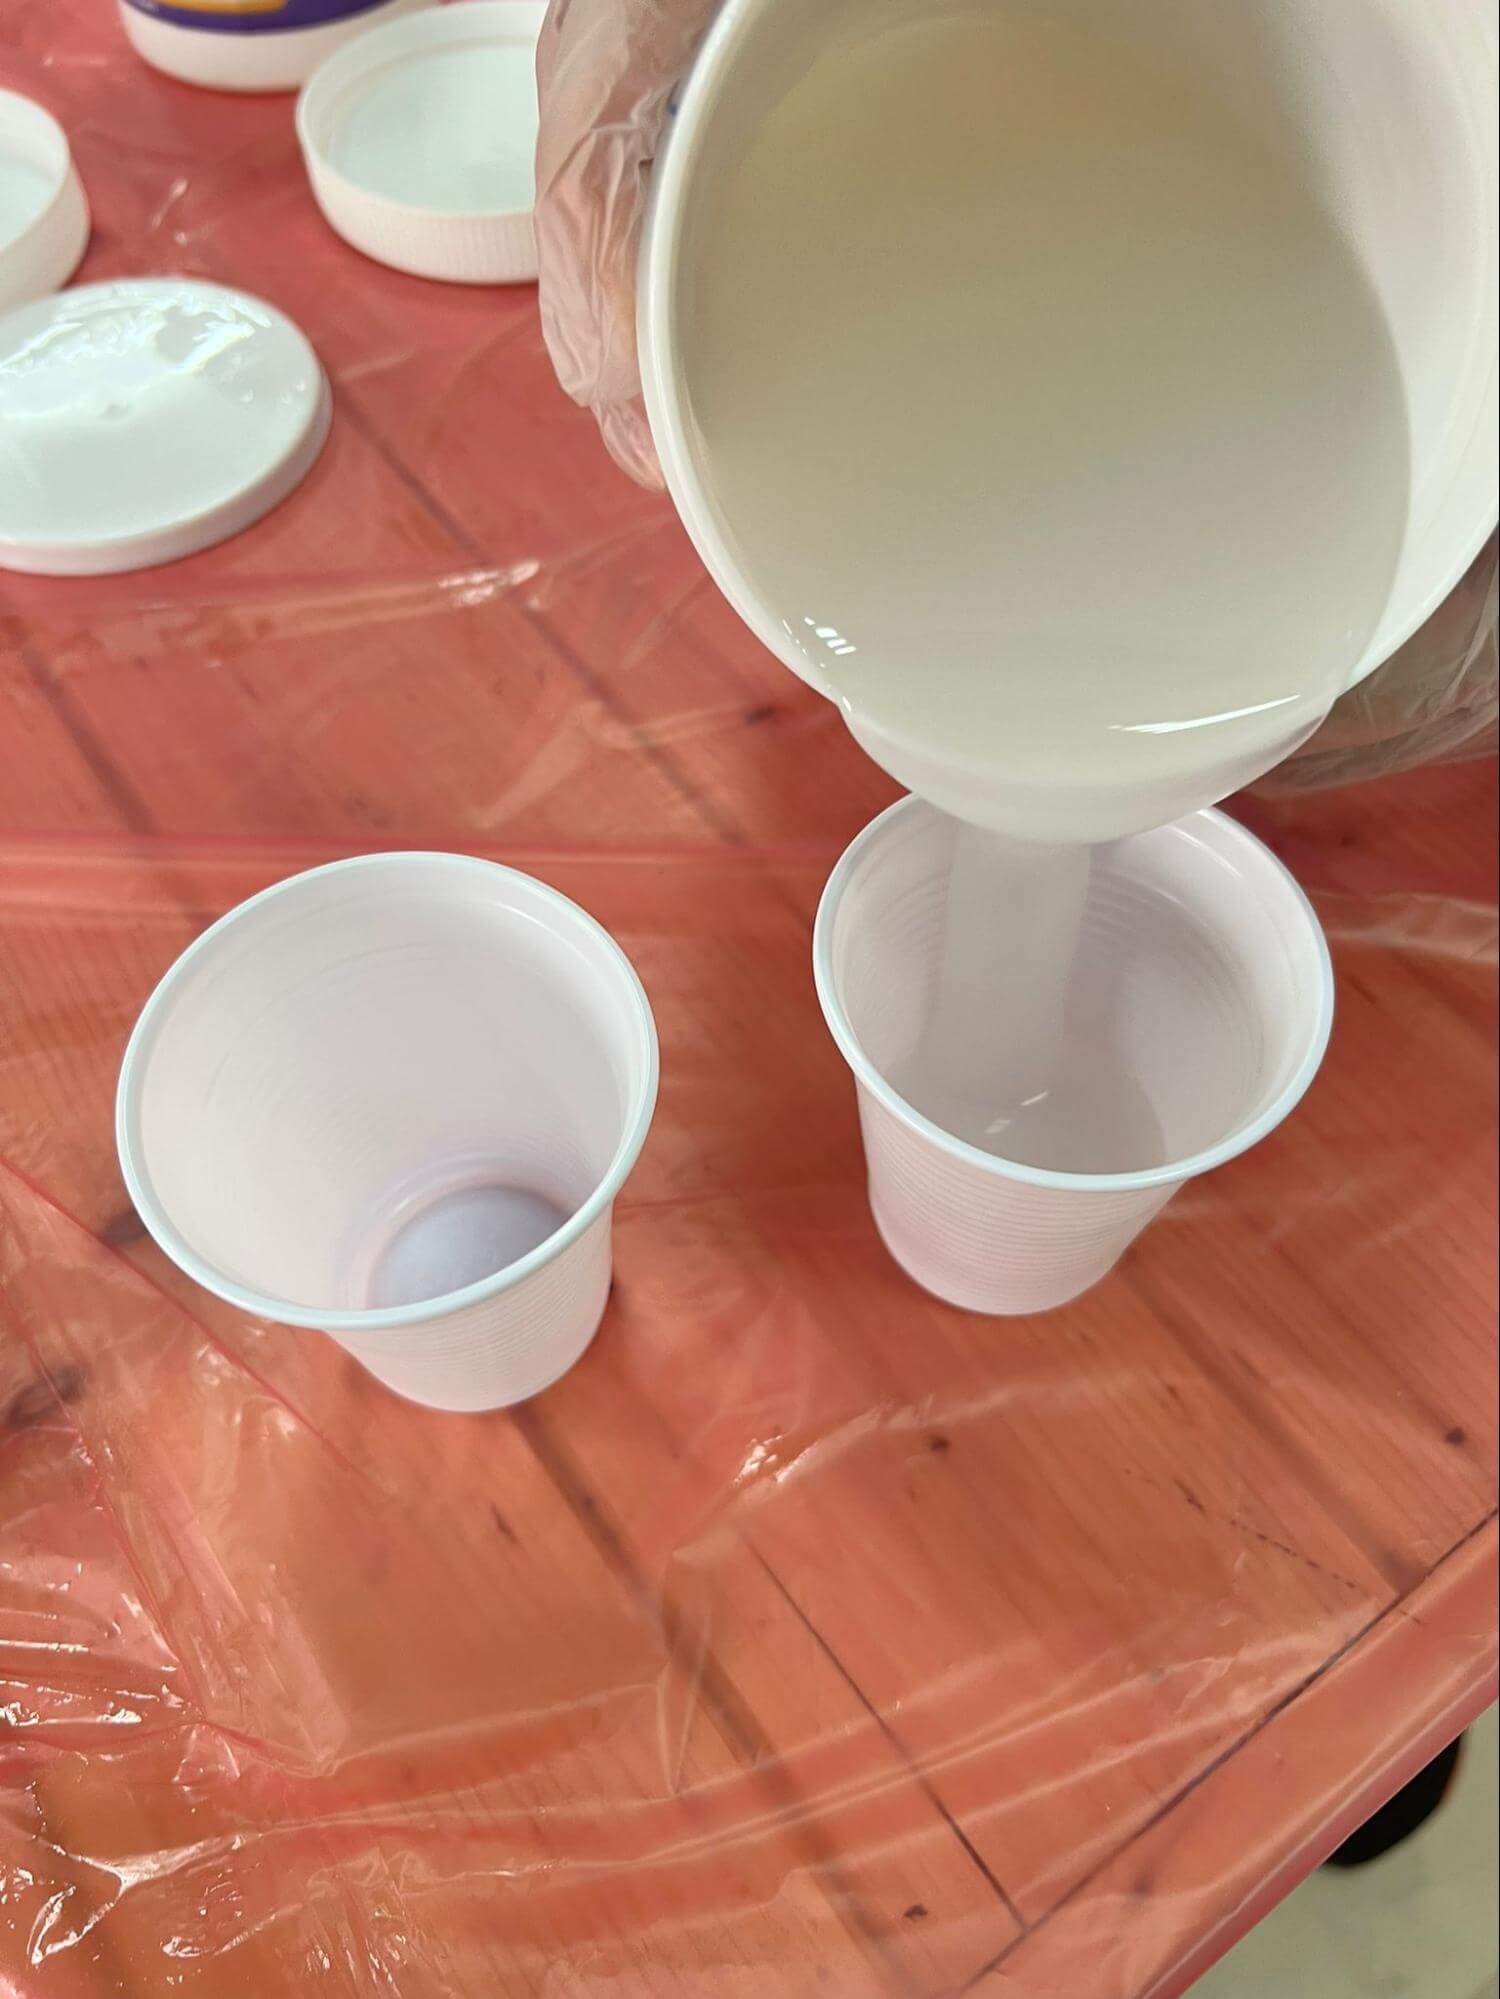
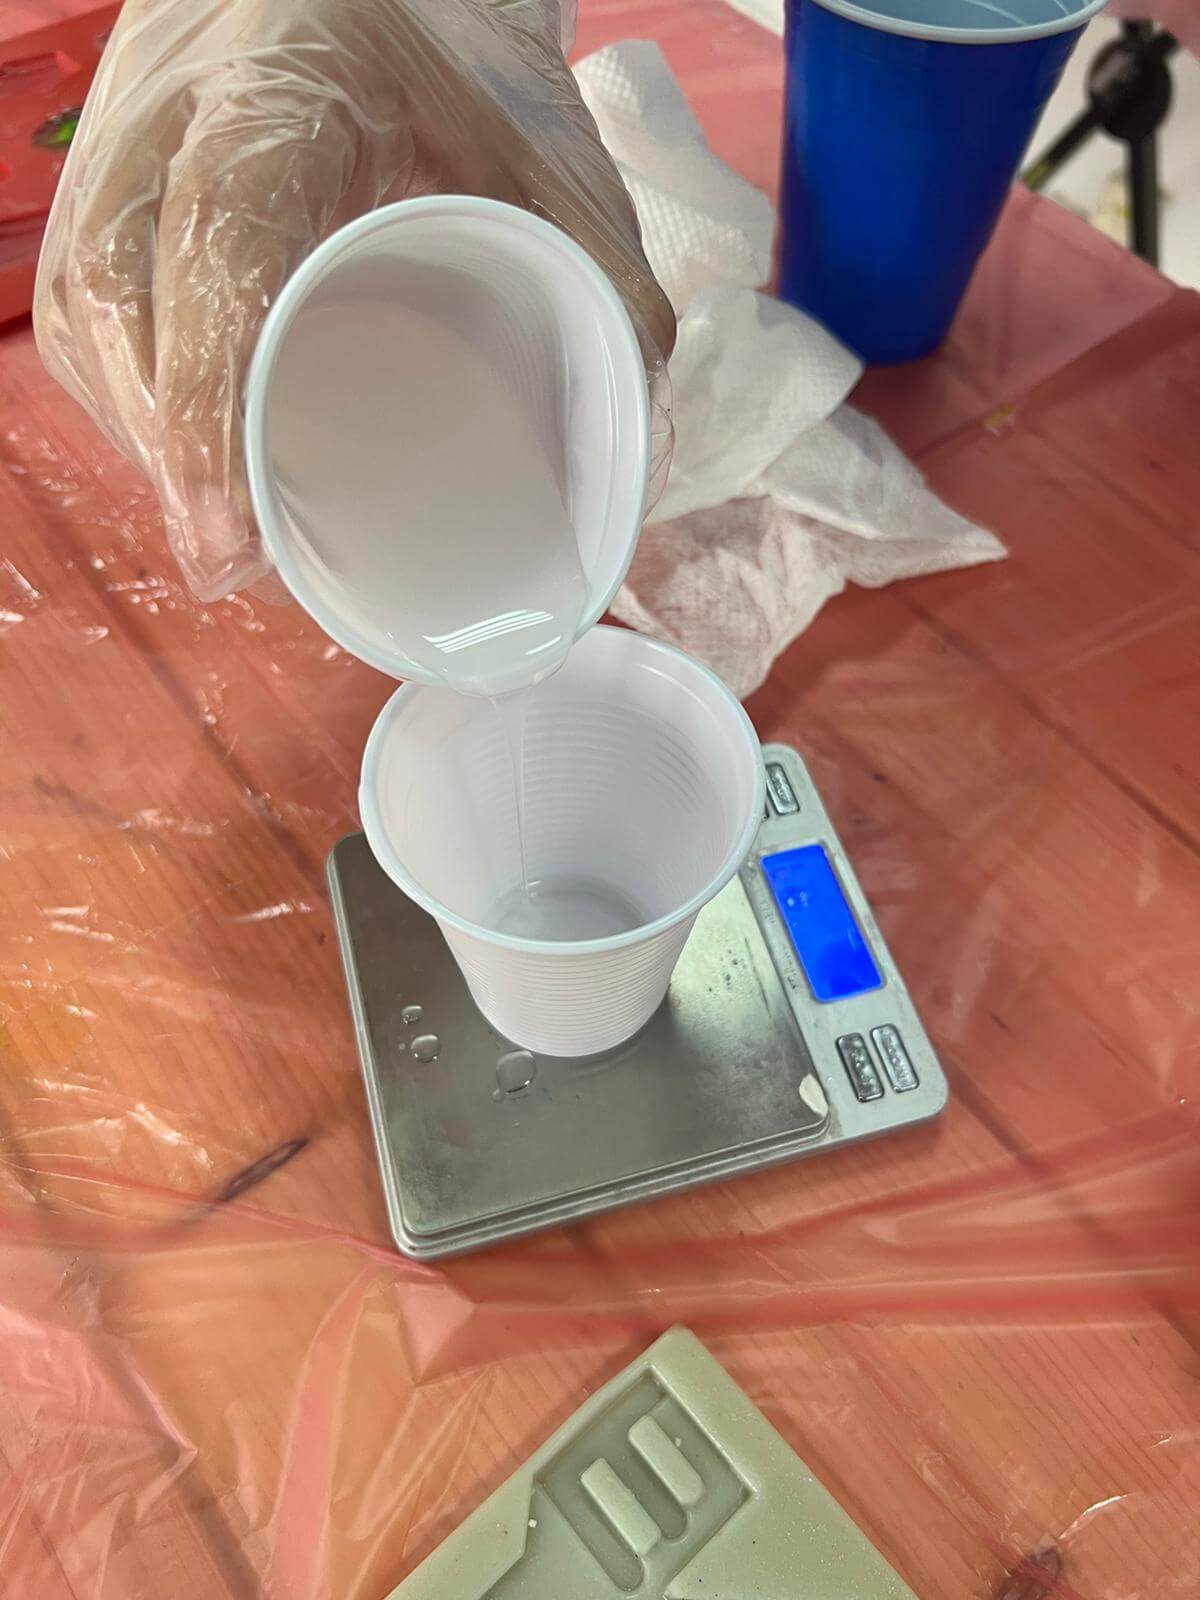
Process pictures and comments:
Result pictures:
Name: PIFITO Oatmeal Melt and Pour soap base
Picture:
Safety:
Soap bases start to melt around 50 to 60 C. Use heat-safe tools and handle with care – melted soap can hurt if dripped or splashed on skin.
Process steps:
Mix ratio (if applicable): 0.4-ounces of fragrance per pound of soap.
Plain lavender essential oil at about 0.4-ounce per pound.
Work time | Cure time |
10 - 15 minutes | 1 hour |
Cured material state: When the soap is completely hardened, you should be able to pop the bars out of the mold. Some molds release easily but others may be more difficult. Tapping the mold firmly with the palm of your hand or a large spoon sometimes helps.
For a persistent bar, you can turn the mold over and run hot water over the back of it. The soap should fall easily out of the mold.
You can rub off or trim off any imperfections with a cloth or small knife.
Since the melt and pour soap base is already cured, there's no waiting. You can use your soap right away.
Information Links:
Process pictures and comments:
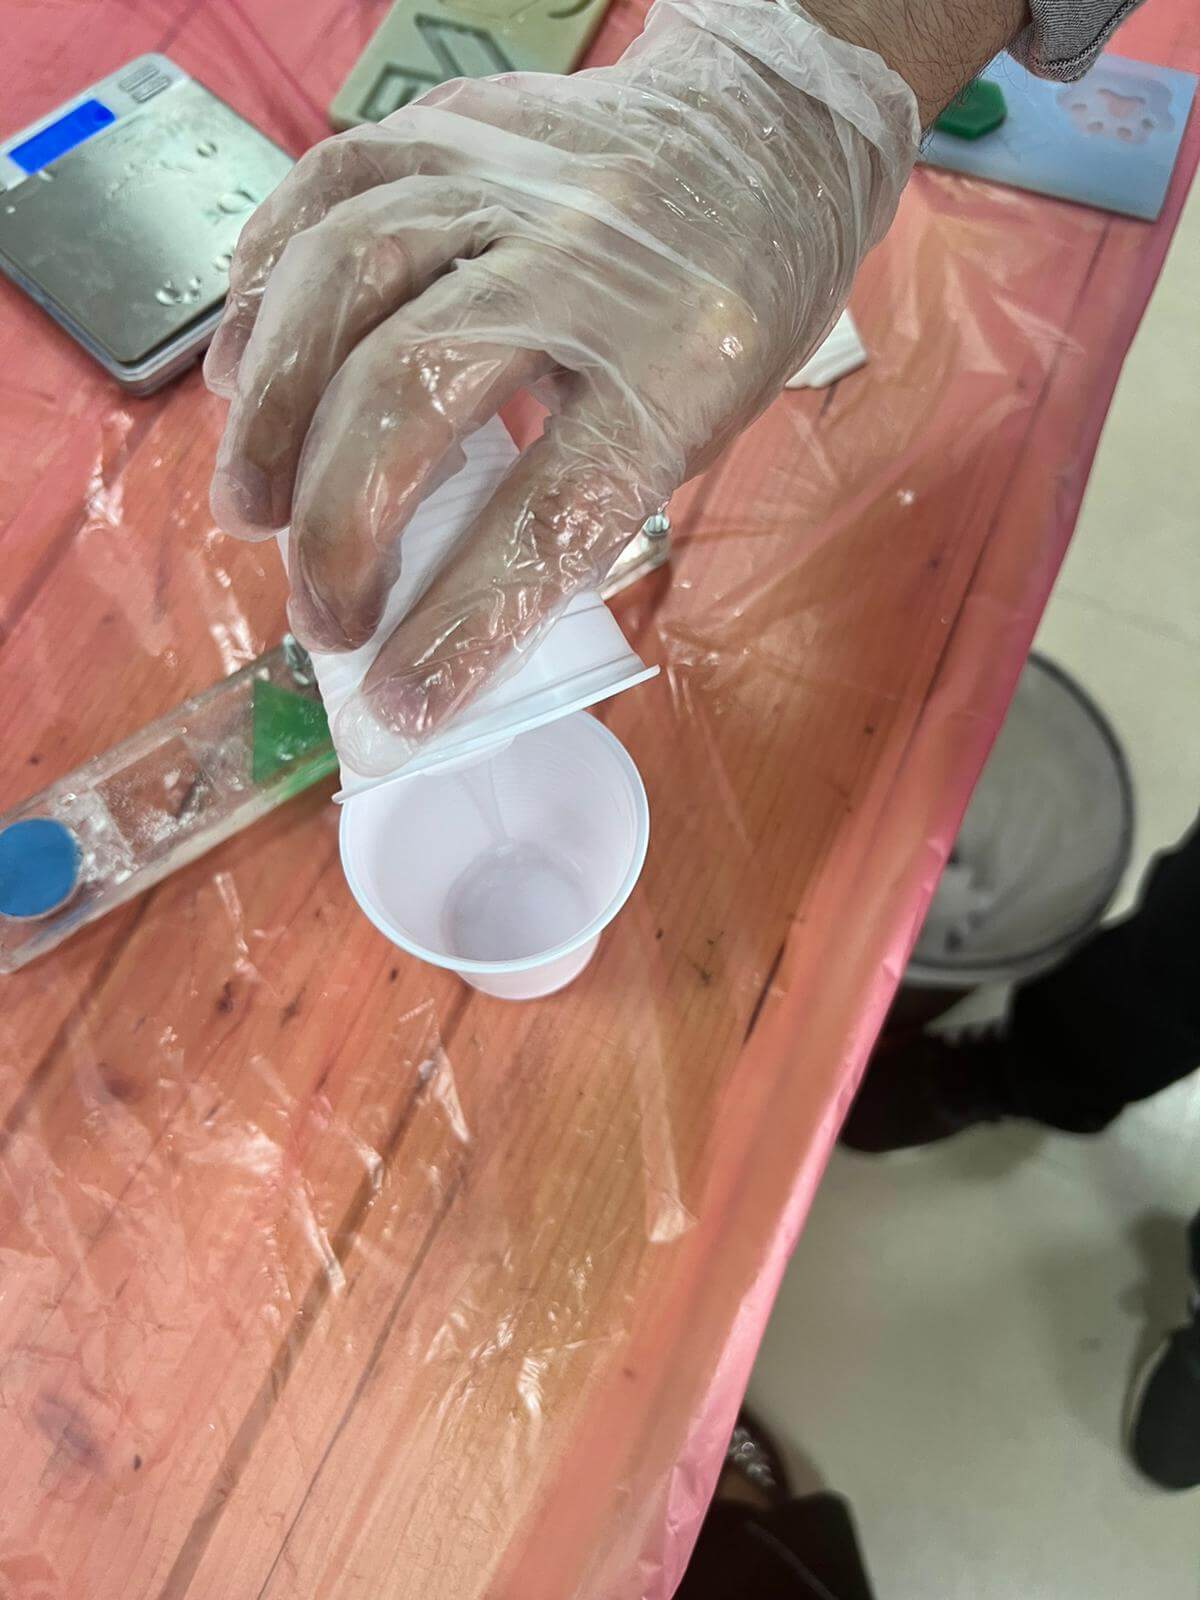
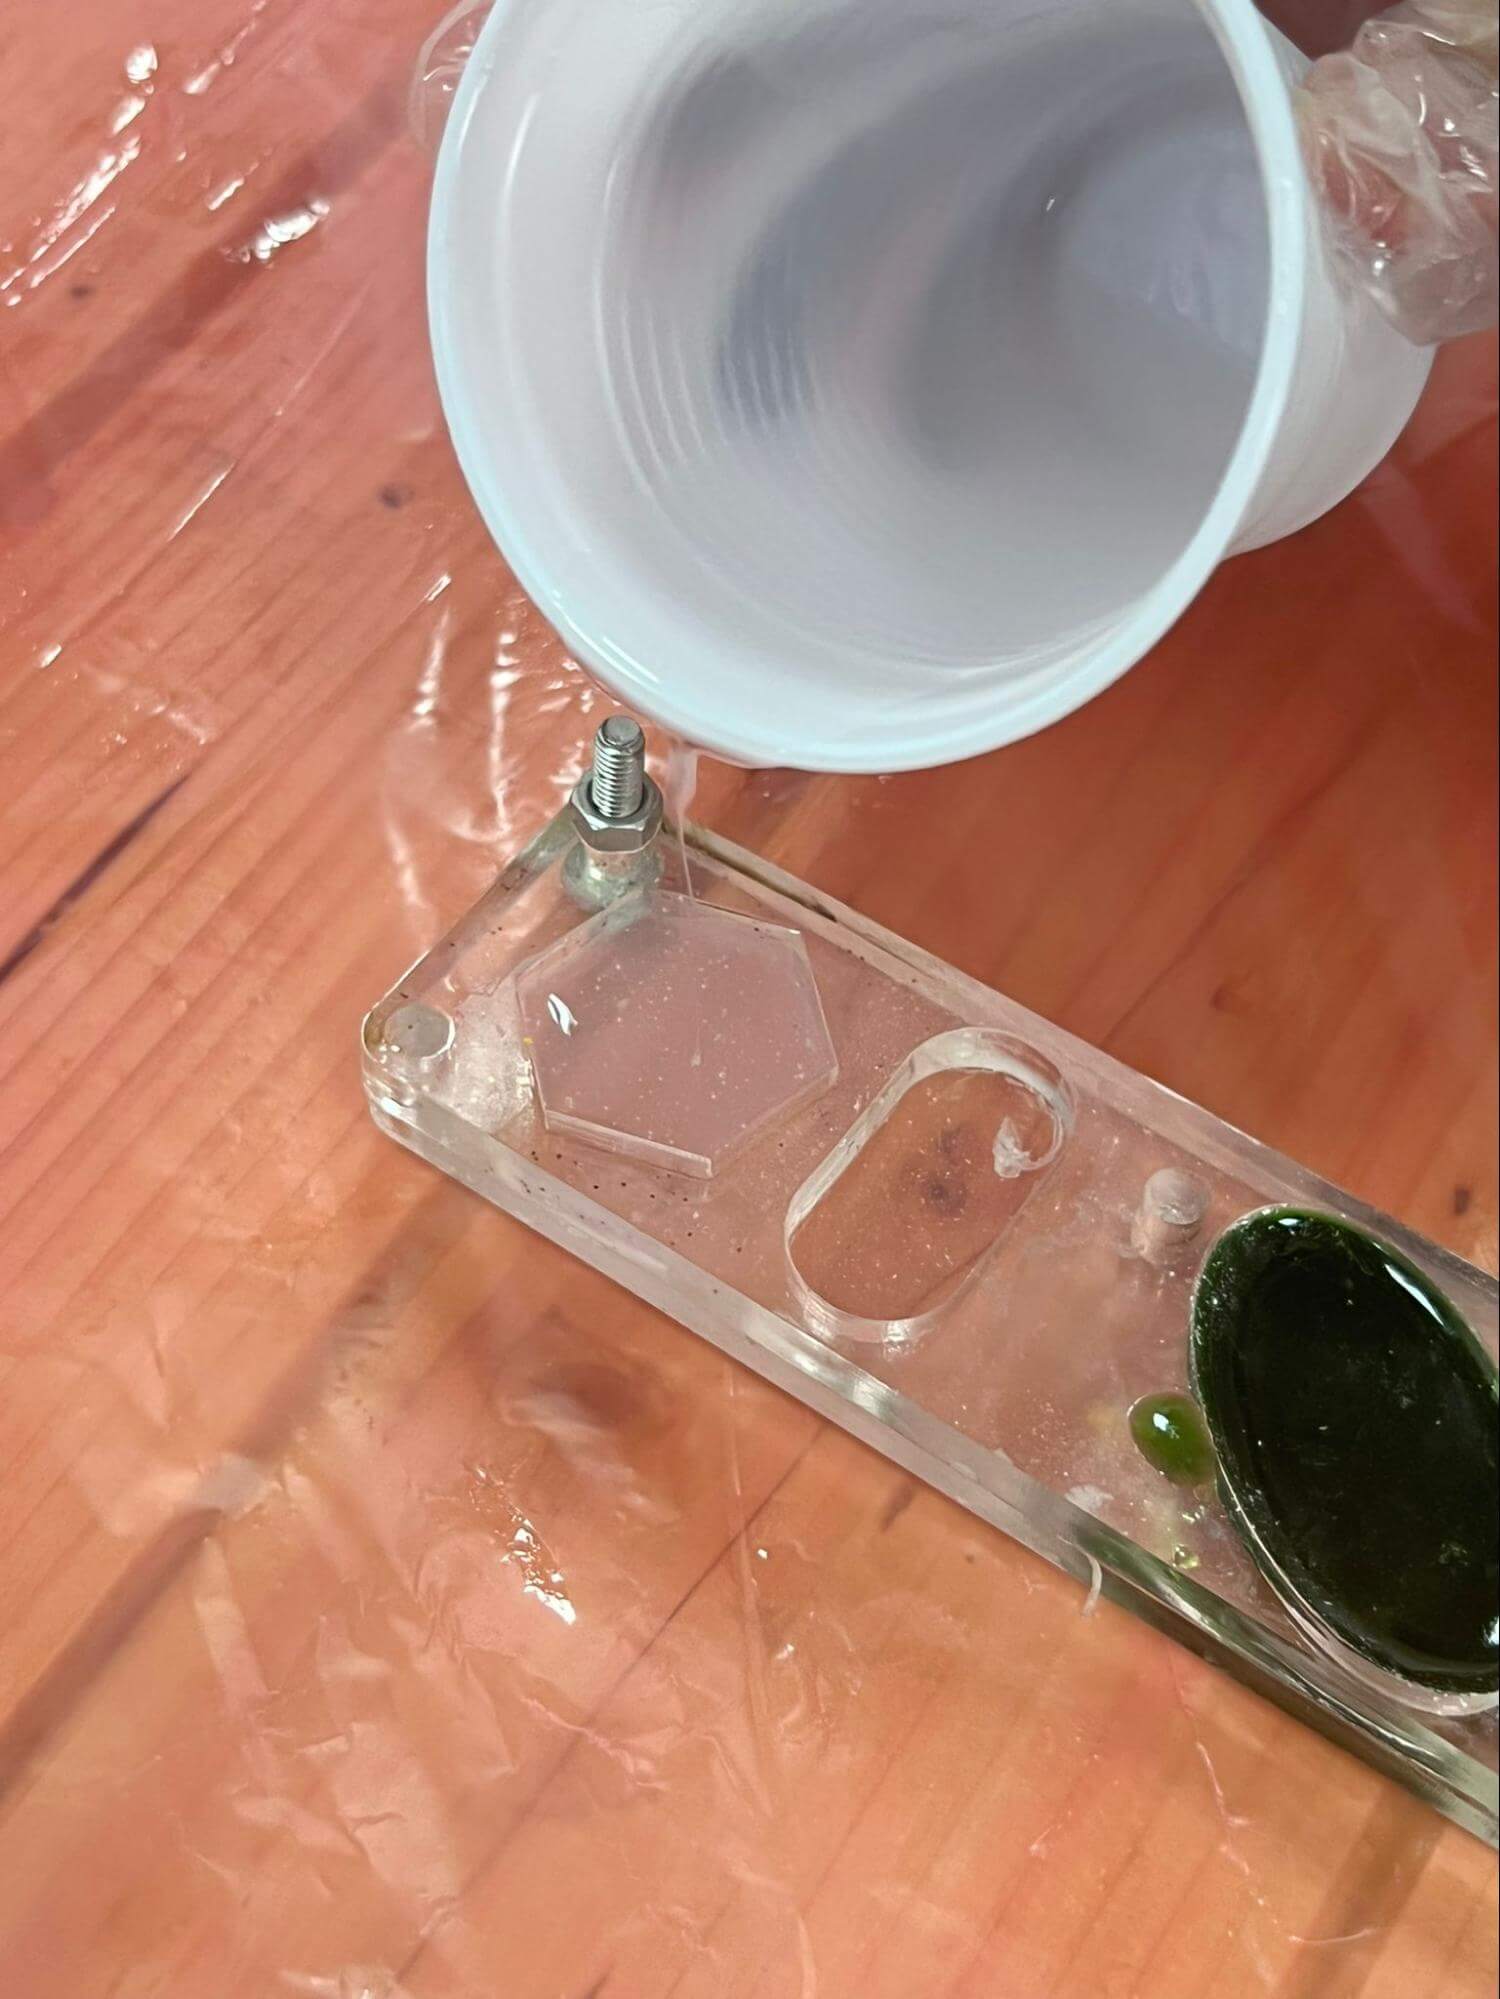
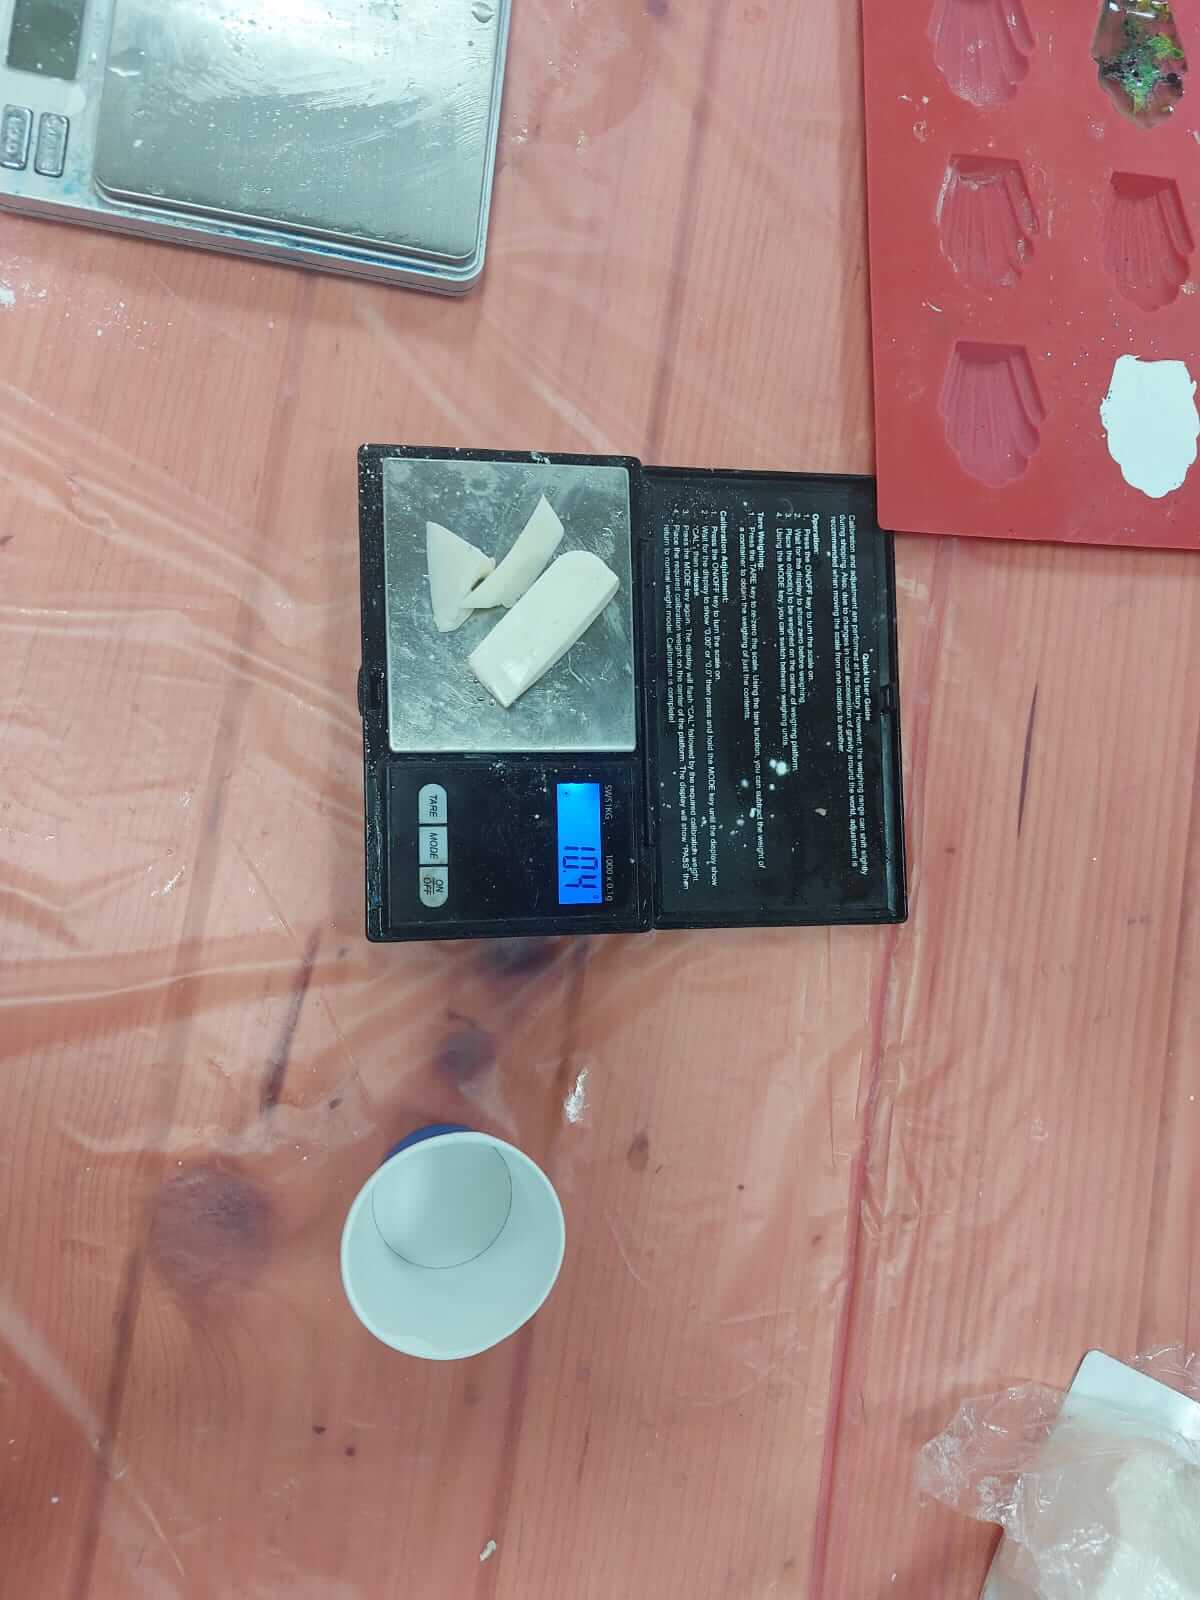
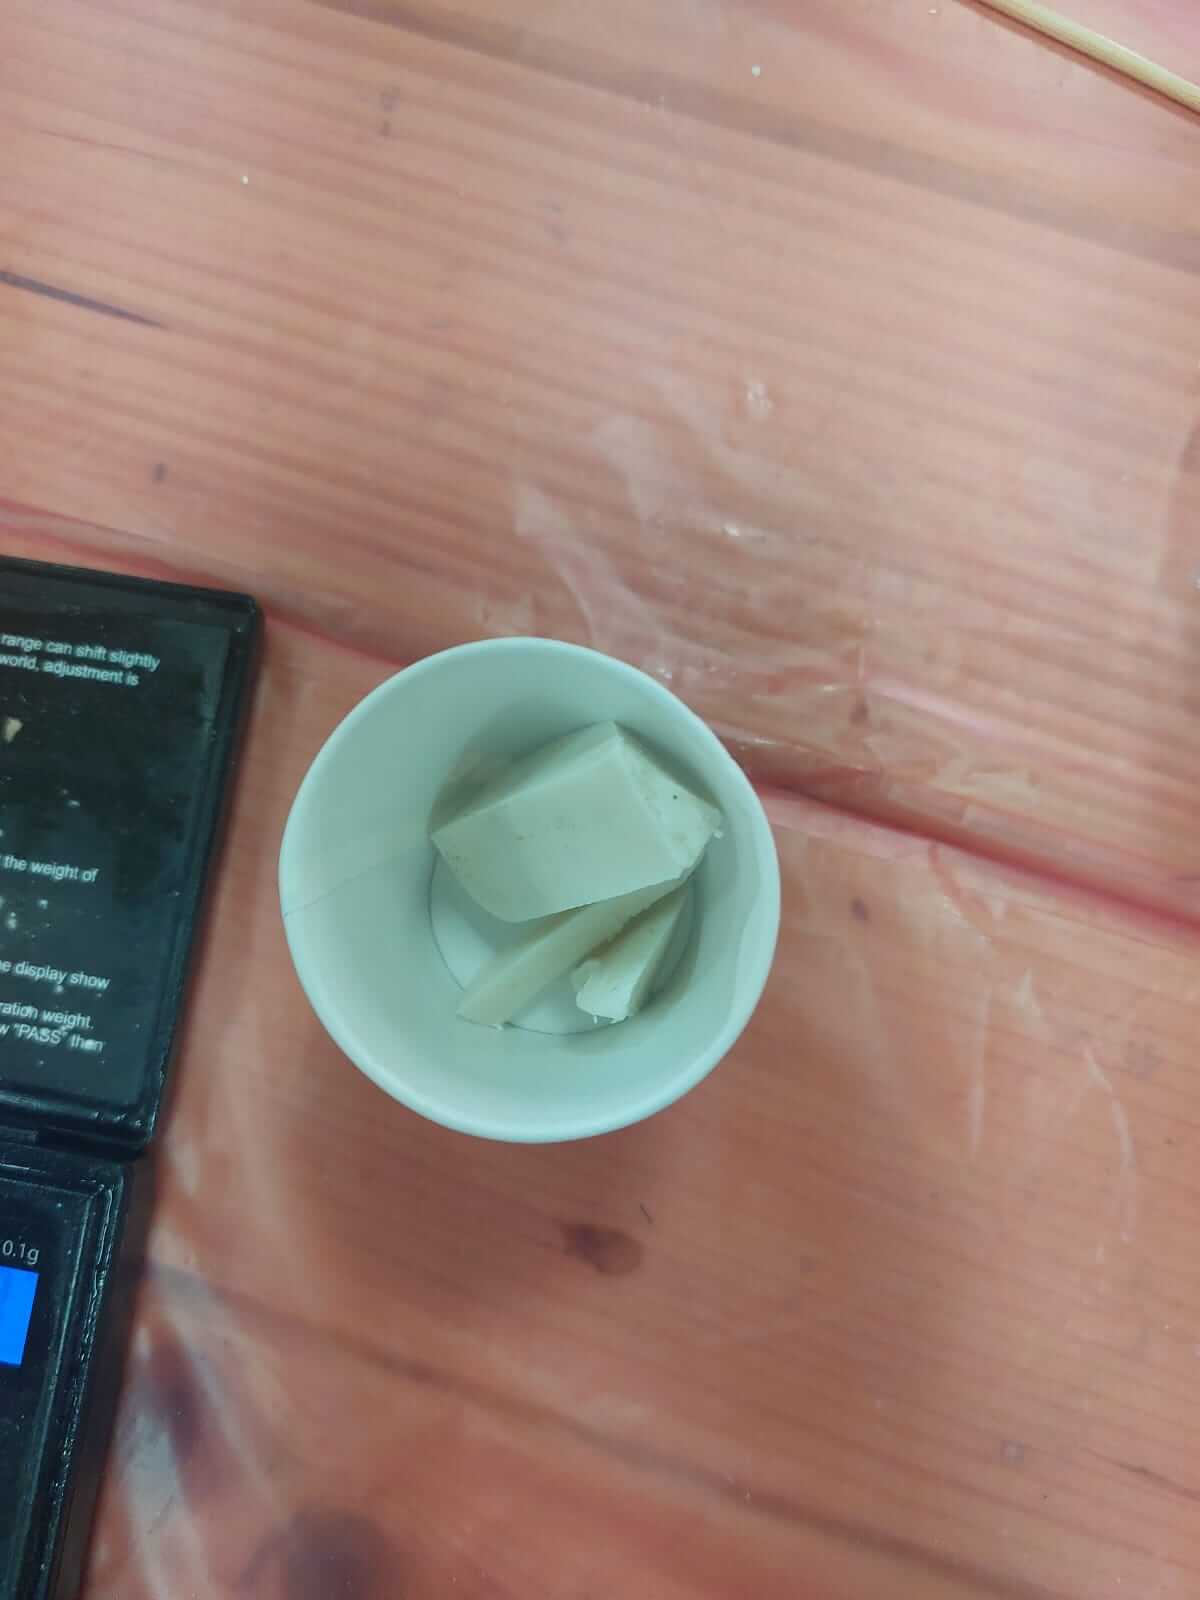
First of all, we cut the Melt and Pour Soap Base into small pieces and weight them.
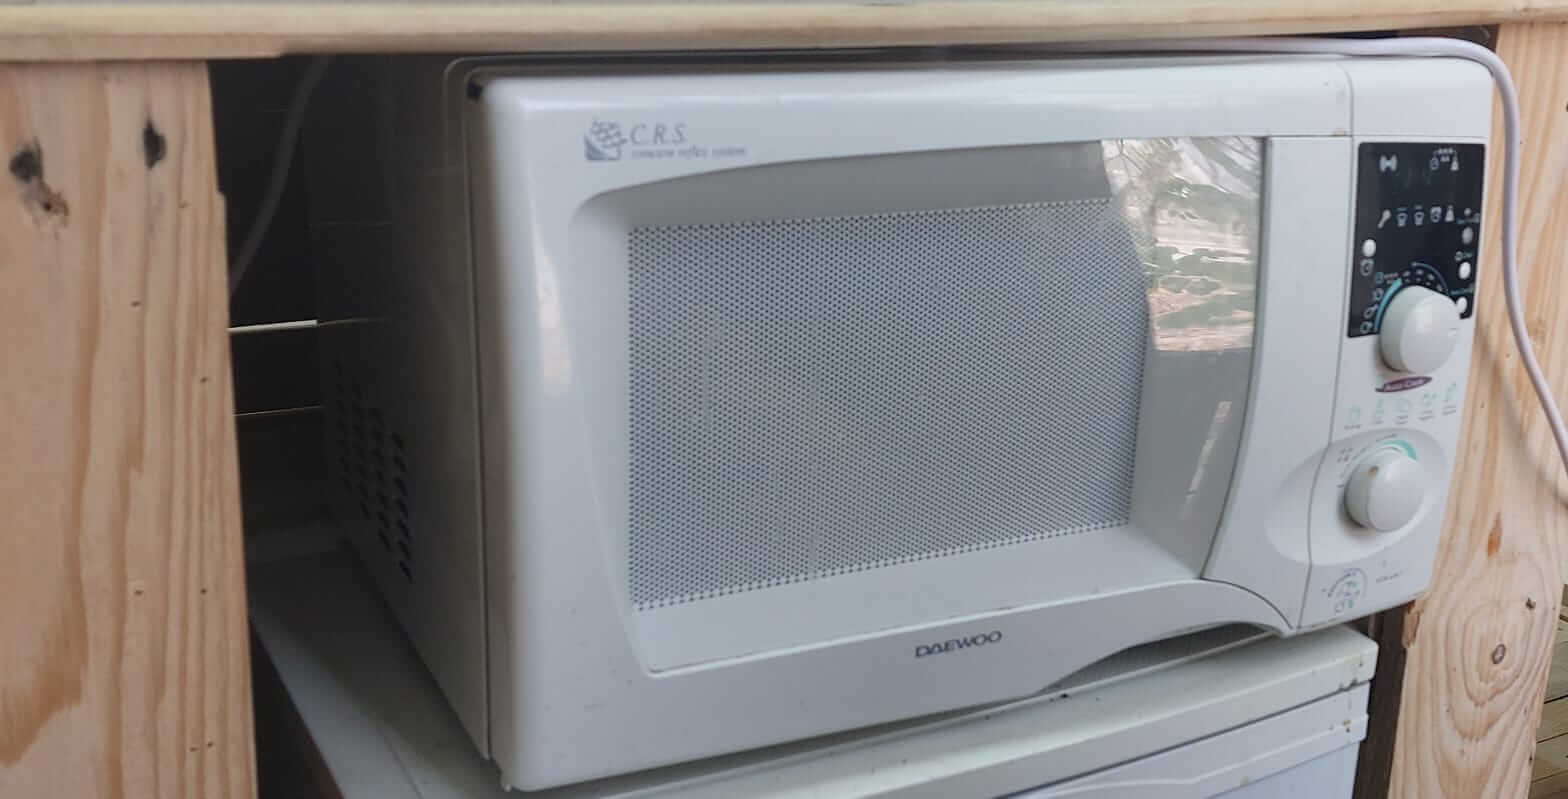
Then, We put it into the microwave and waited for 10 seconds, 10 seconds should be enough for soap to melt.
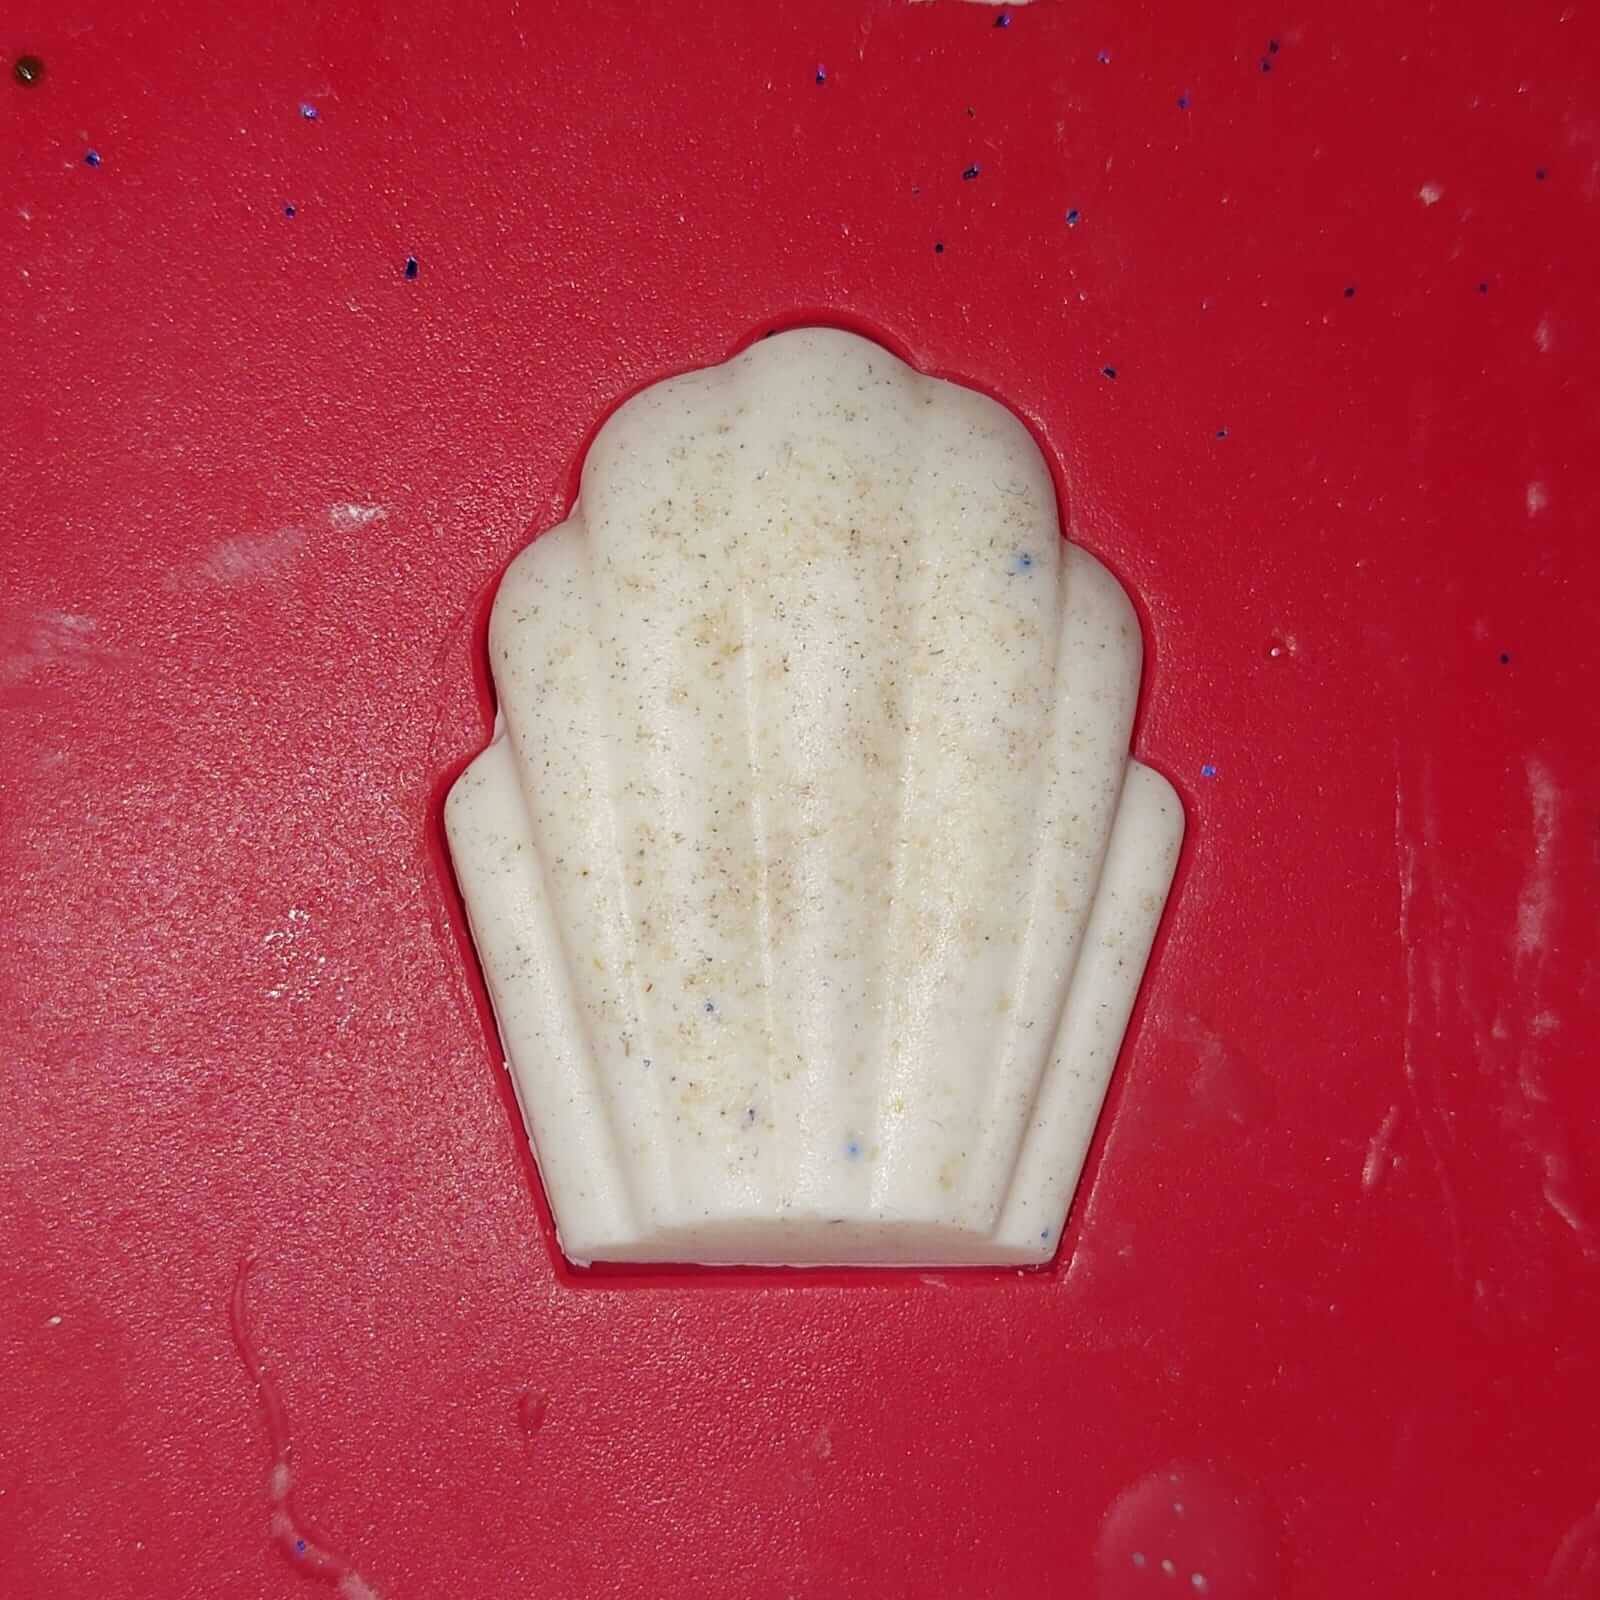
Finally, We poured the melted soap into the mold.
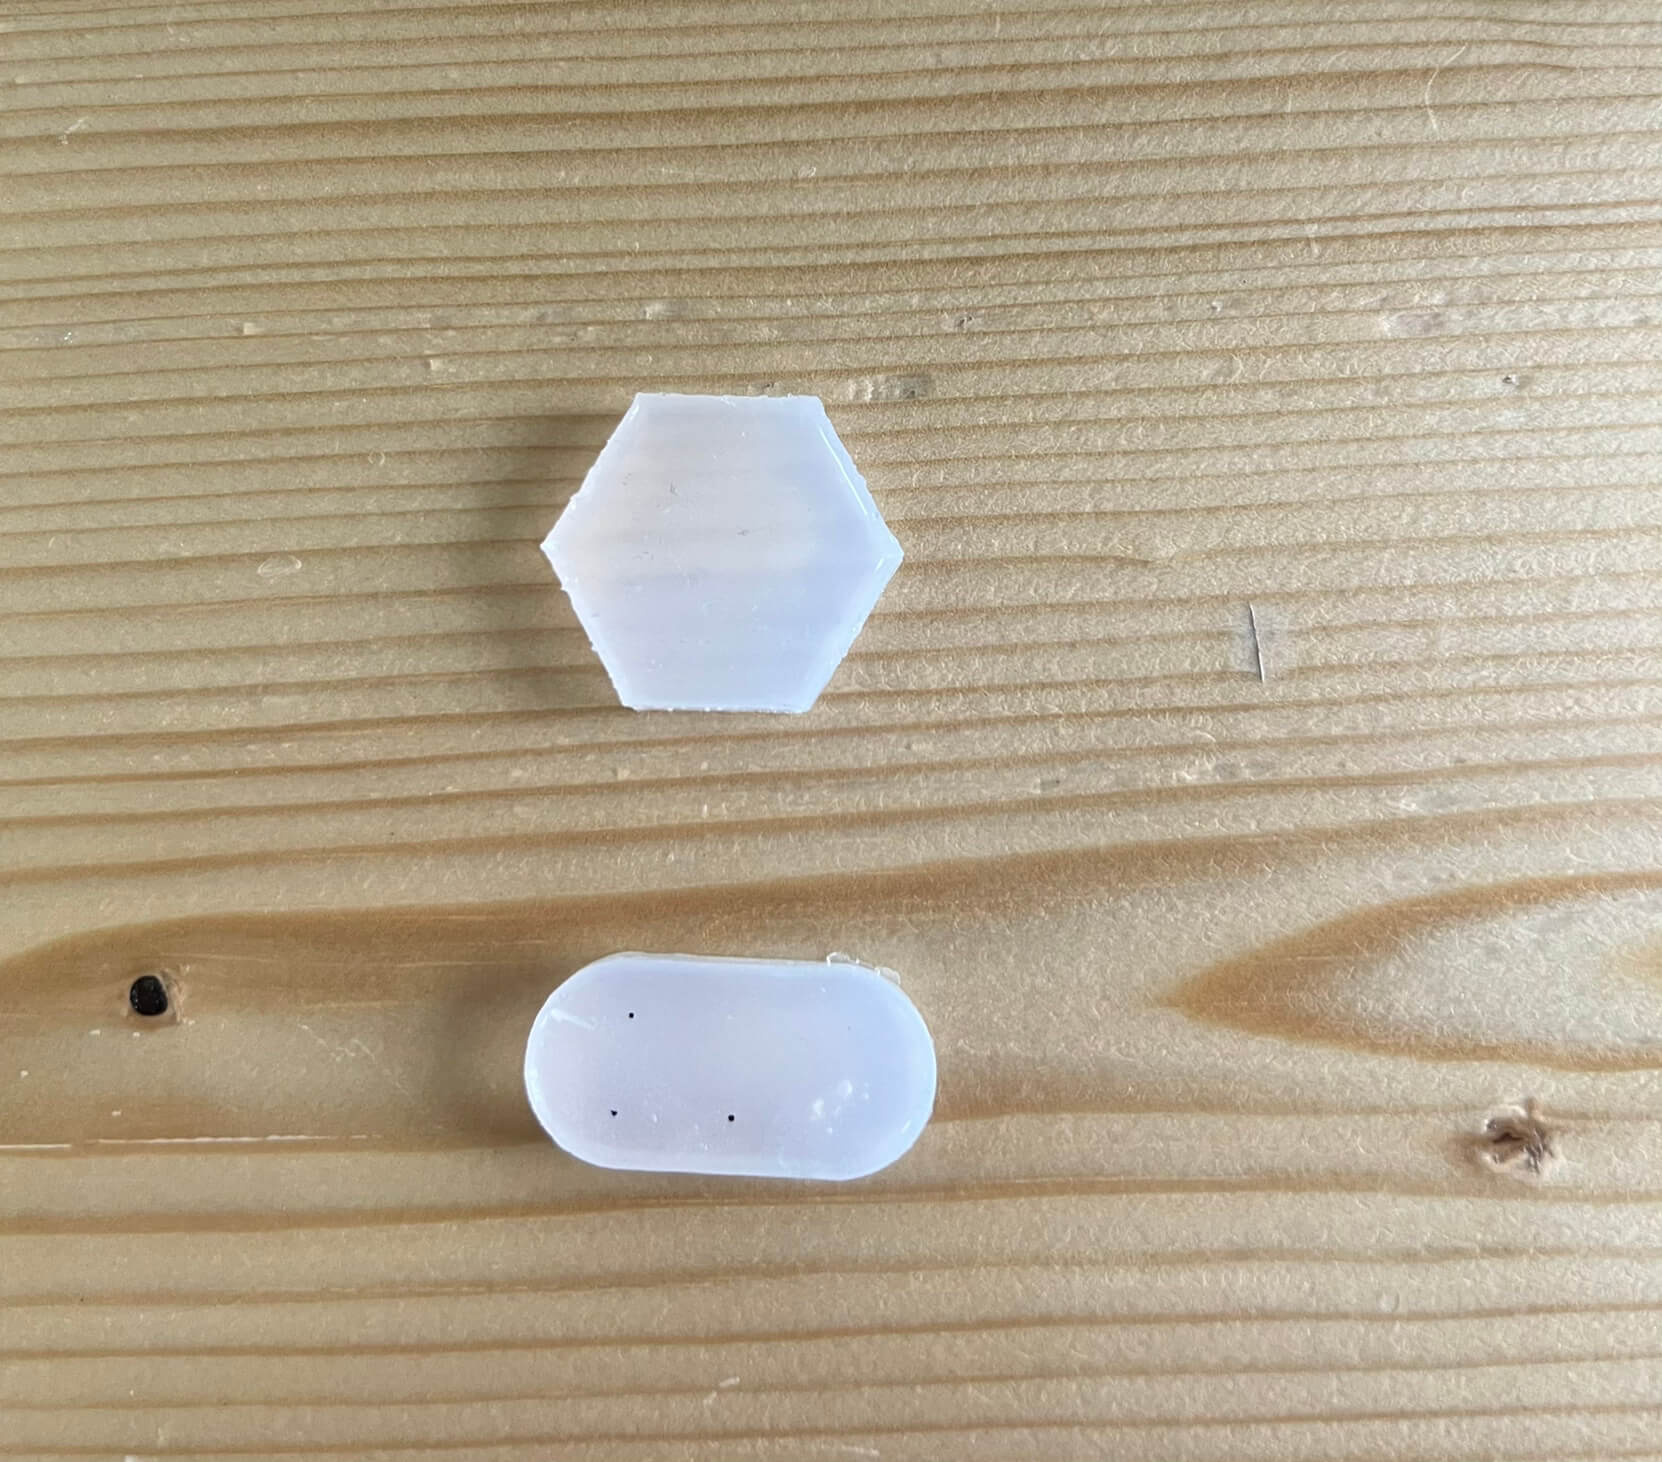
Result pictures:
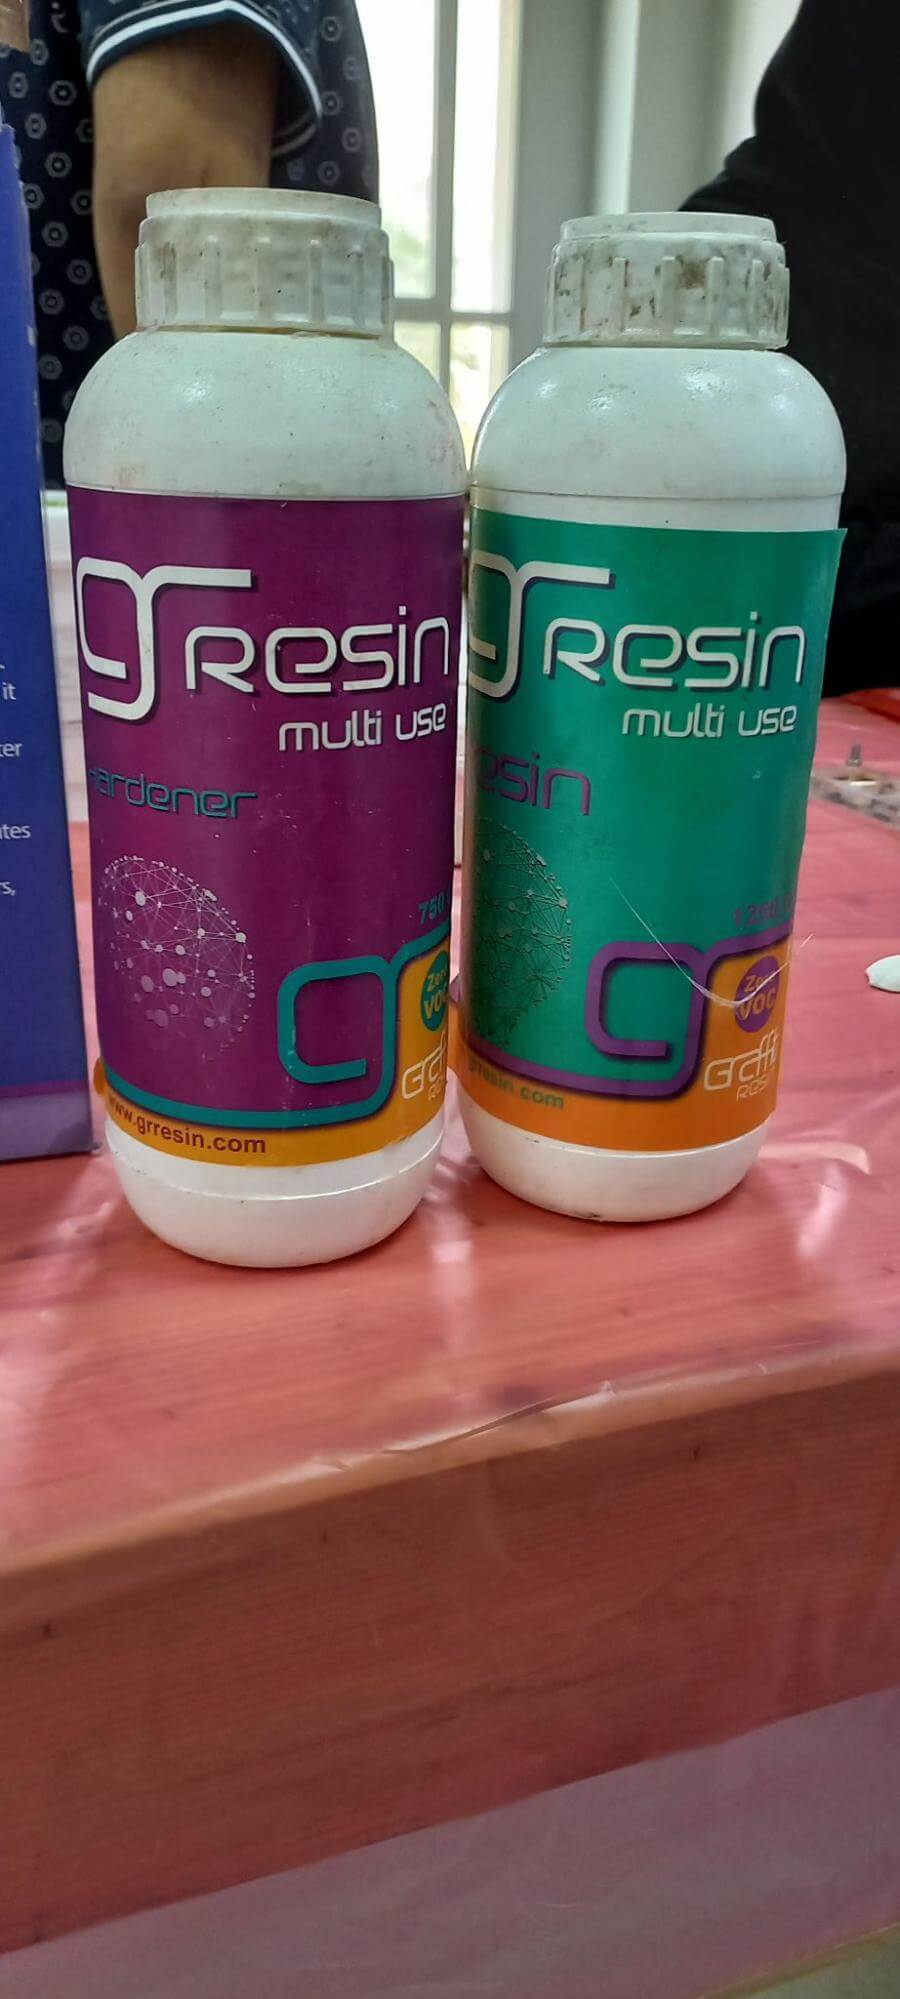
Name: Resin
Picture:
Safety:
Process steps:
Mix ratio (if applicable):
10 epoxy resin:6 epoxy hardener
Work time | Cure time |
45 minutes | 24-48 hours |
Cured material state:
The epoxy passes from the liquid state, through a gel state, before it reaches a solid state
Information Link:
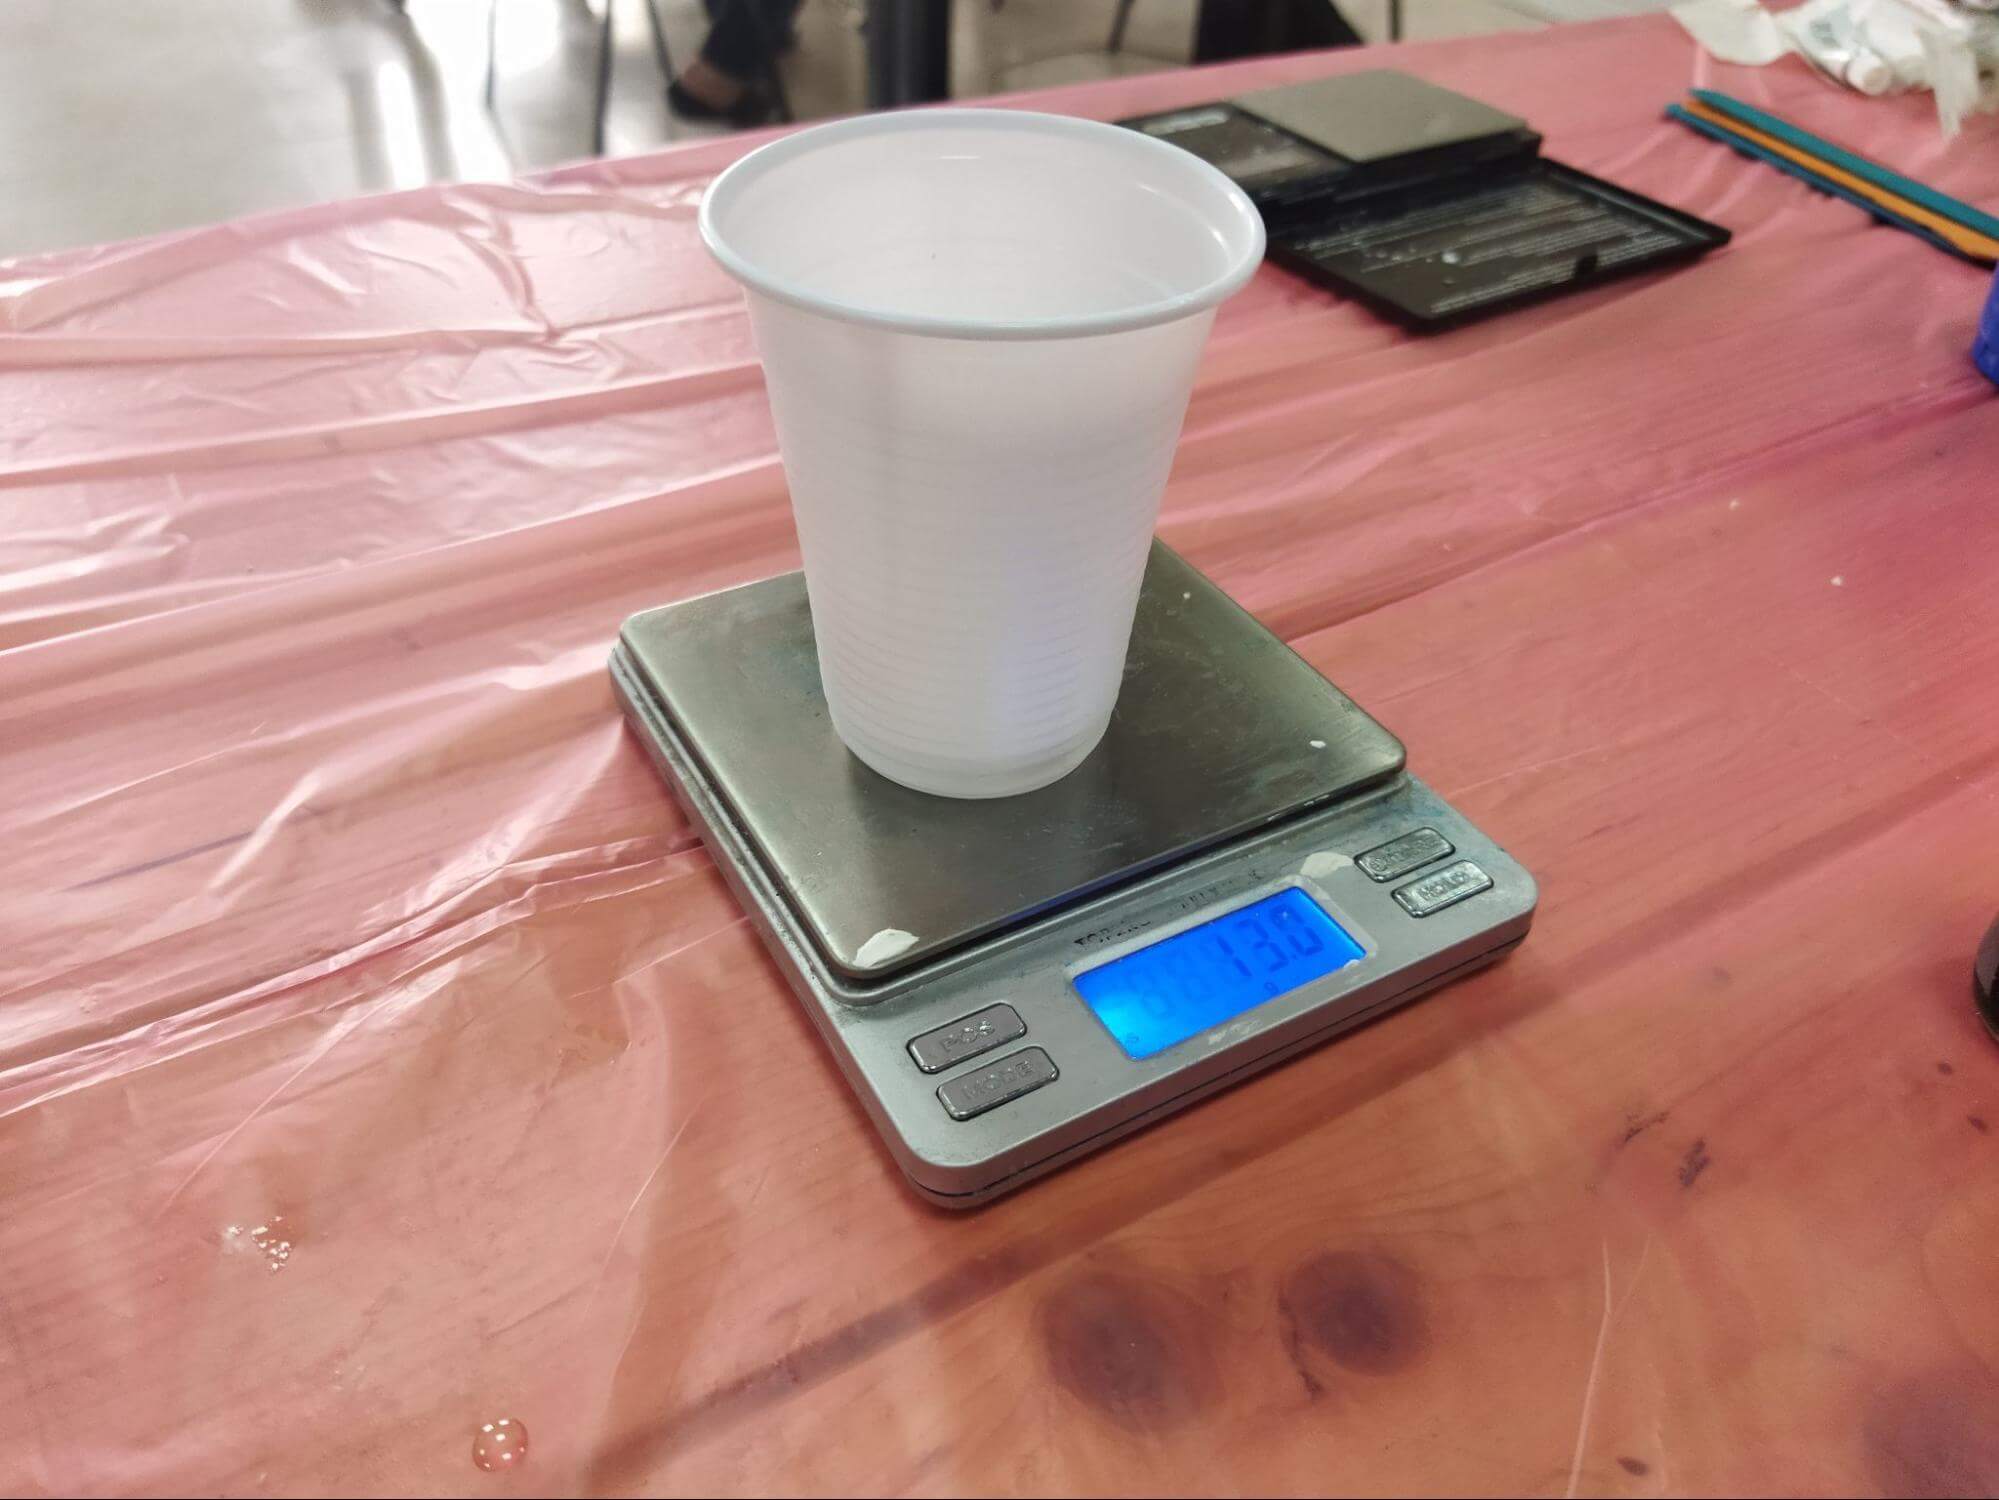
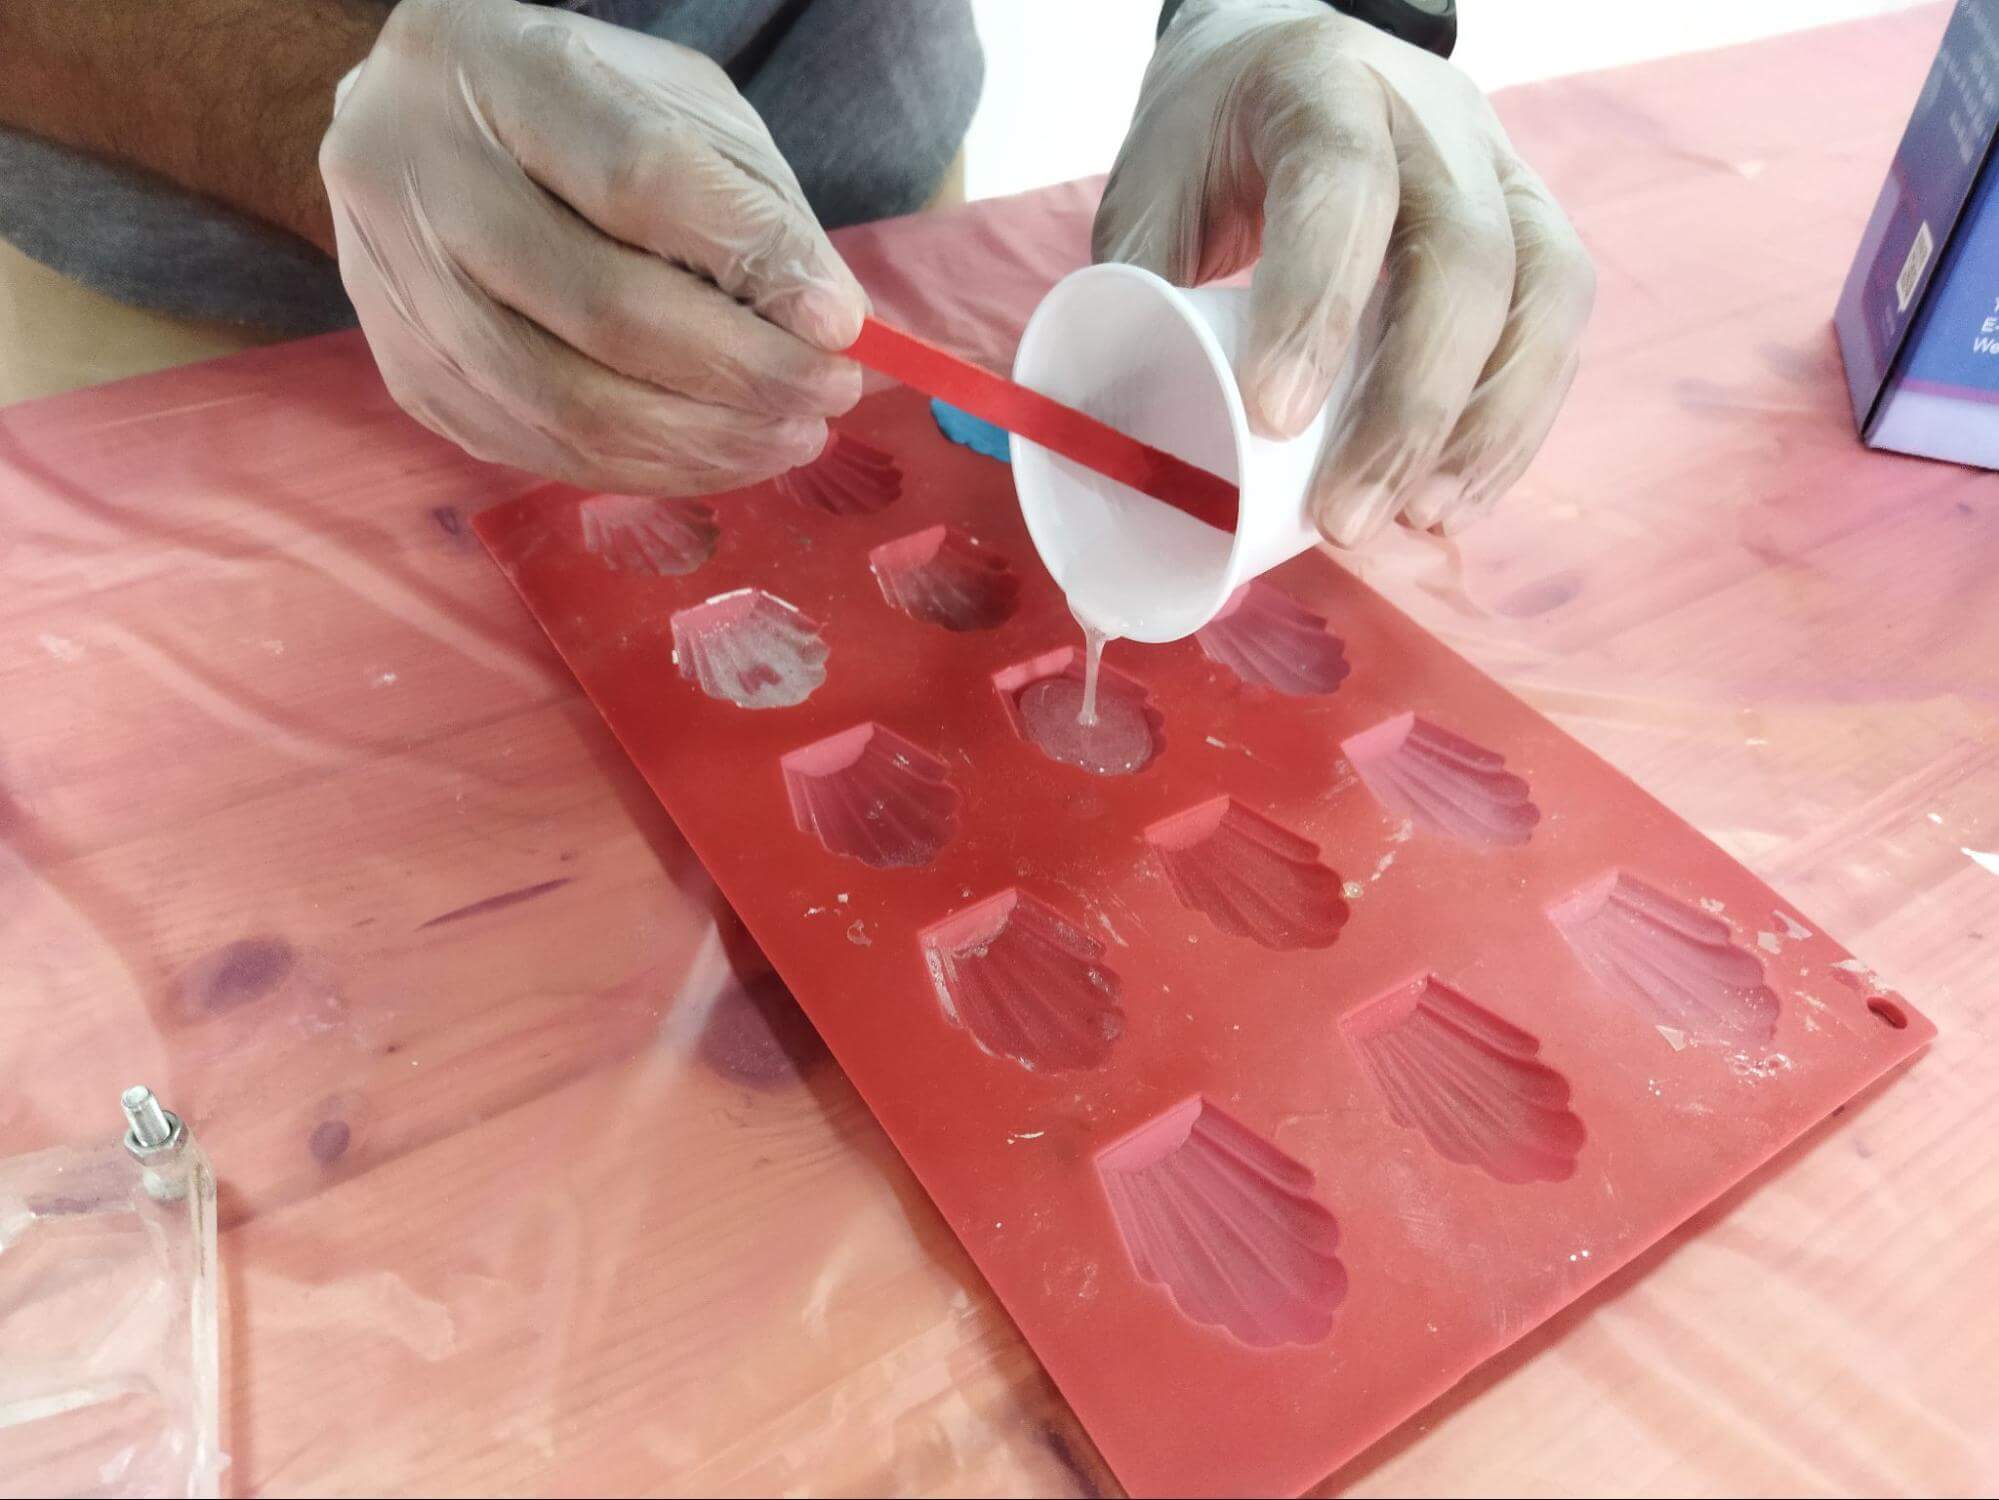
Process pictures and comments:
First: Mix the hardener and the resin with a ratio of approximately 2 resin : 1 hardener (for example: 10 grams of resin with 6 grams of hardener)
Second: Mix the mixture for 3 minutes
Third: Pour the mixture into the mold and let it rest for 24 hours
Result pictures:
(We have added colors after pouring the mixture)
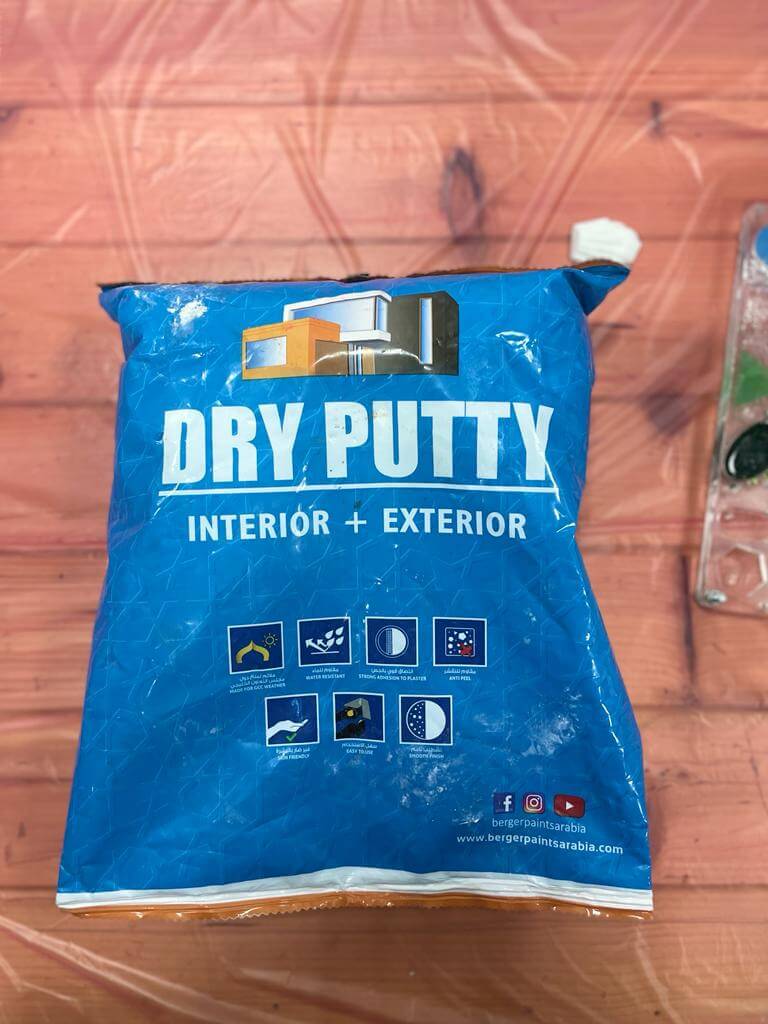
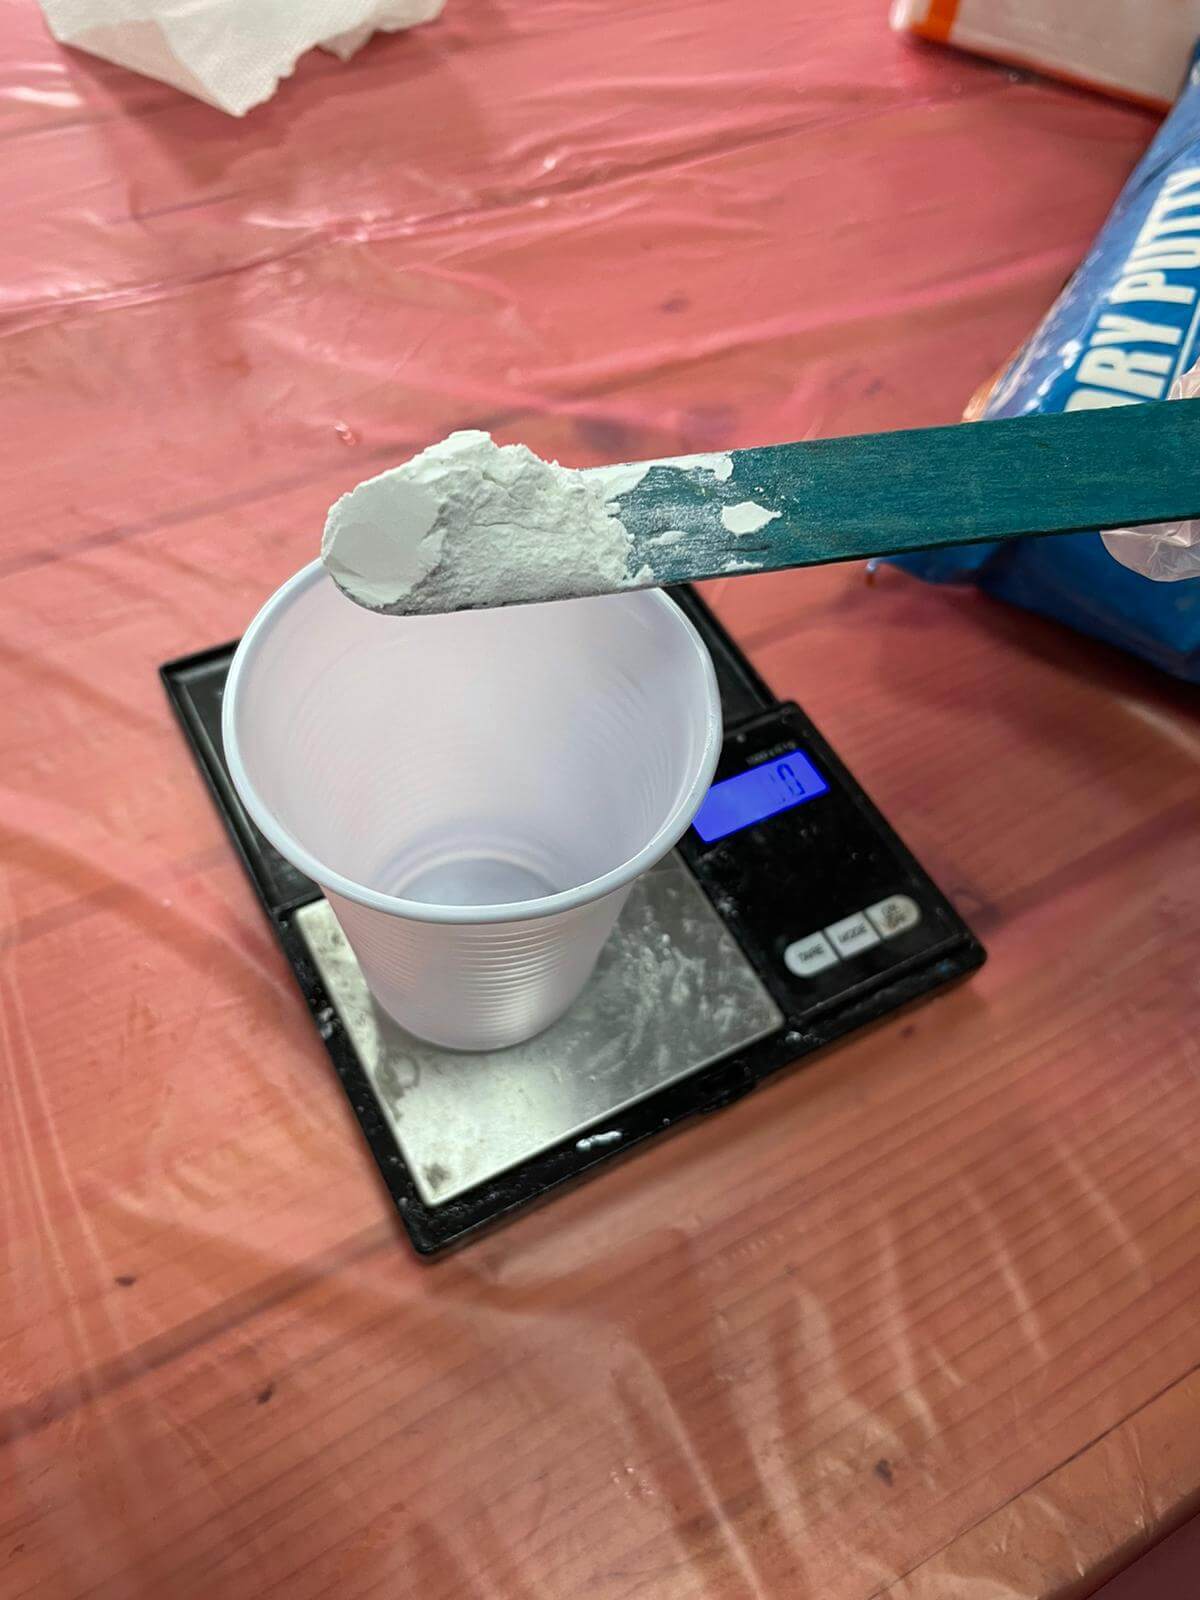
Name: dry putty
Picture:
Safety:
Gloves and protective eyewear are recommended when using the product.
Splashes on the skin or eyes should be cleaned with clean water, and if the irritation lasts for a long time, seek medical attention.
Process steps:
Mix ratio (if applicable):two parts white cement putty and one part water (2:1)
Work time | Cure time |
24-48 hours |
|
Cured material state:
The epoxy resin and hardener mixture has cured from solid to liquid to a final state solid, and you can dry sand it.
Information Link:
Process pictures and comments:
First try
1- We measured the amount of the dry putty and water by considering the mixing ratio of 2:1. Our first try was using 18 dry putty to 9 of water.
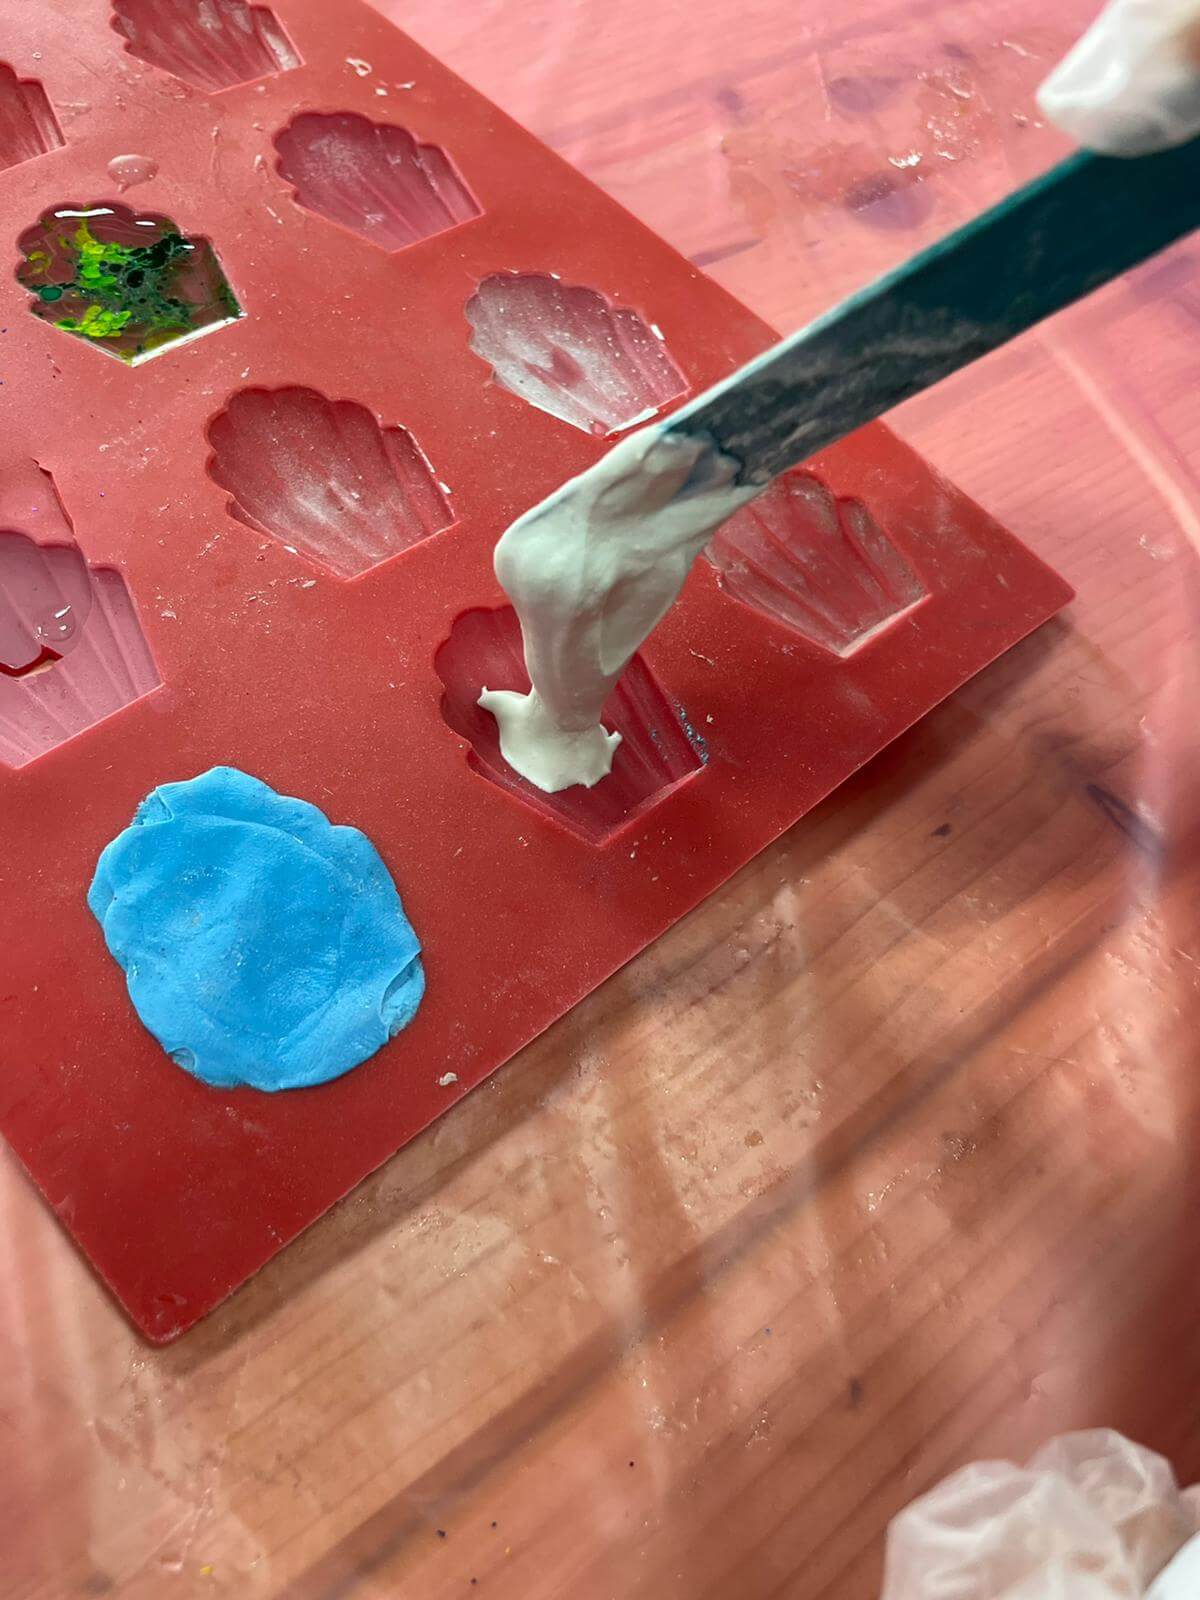
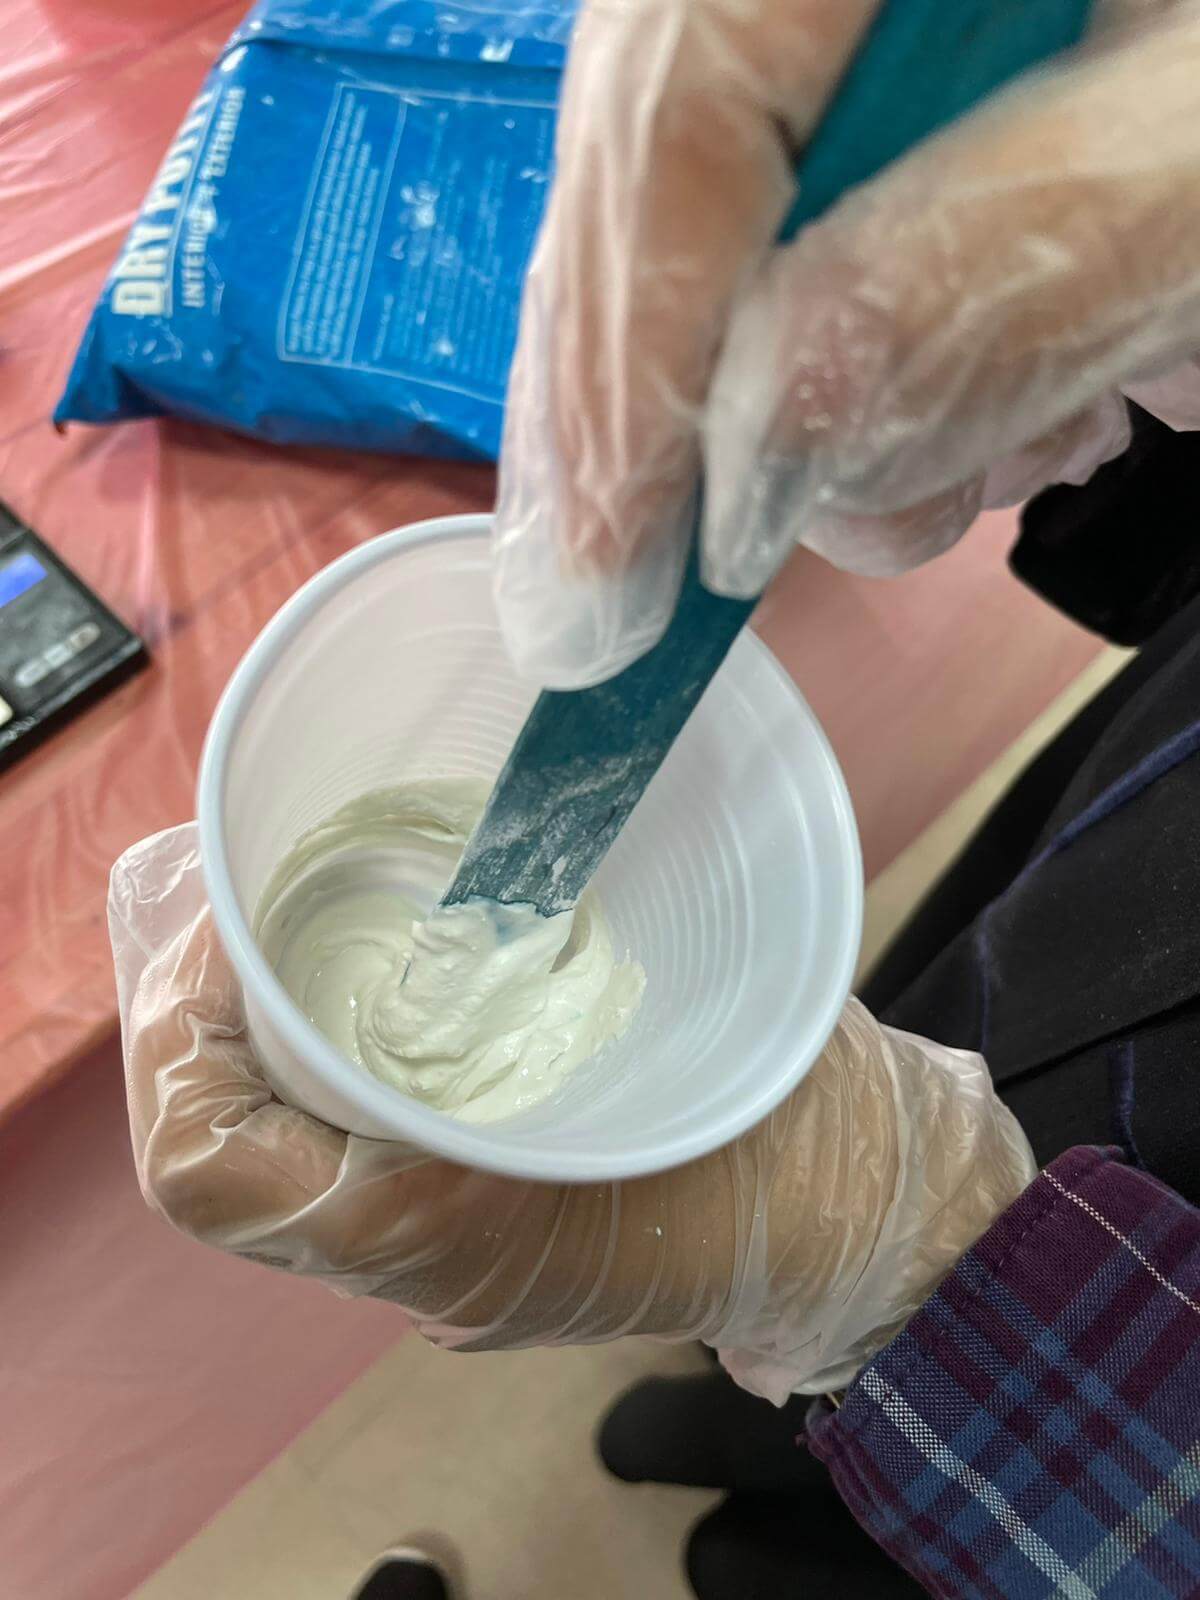
2– Next, start mixing the mixture for a few seconds until it becomes homogeneous. Then, fill the mold and wait for 24 hours to see the final result.
Second try
We followed the directions for use that are available behind the dry putty bag.
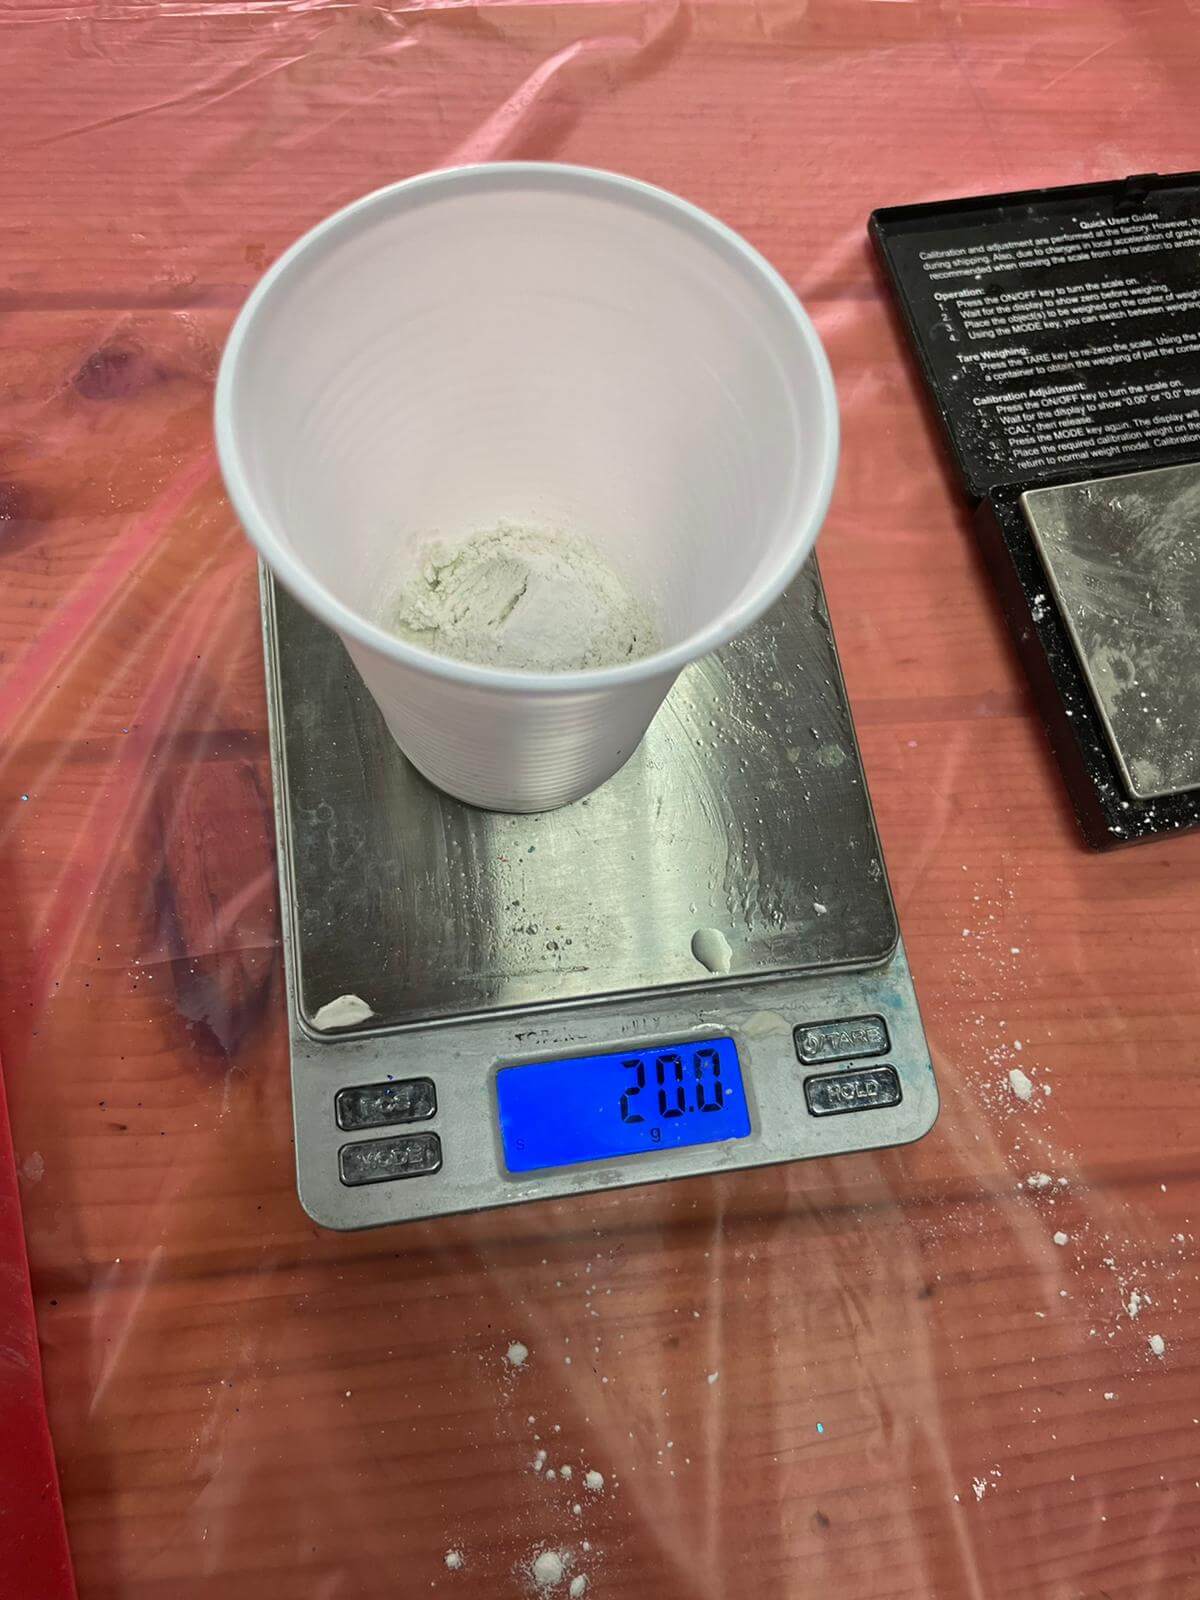
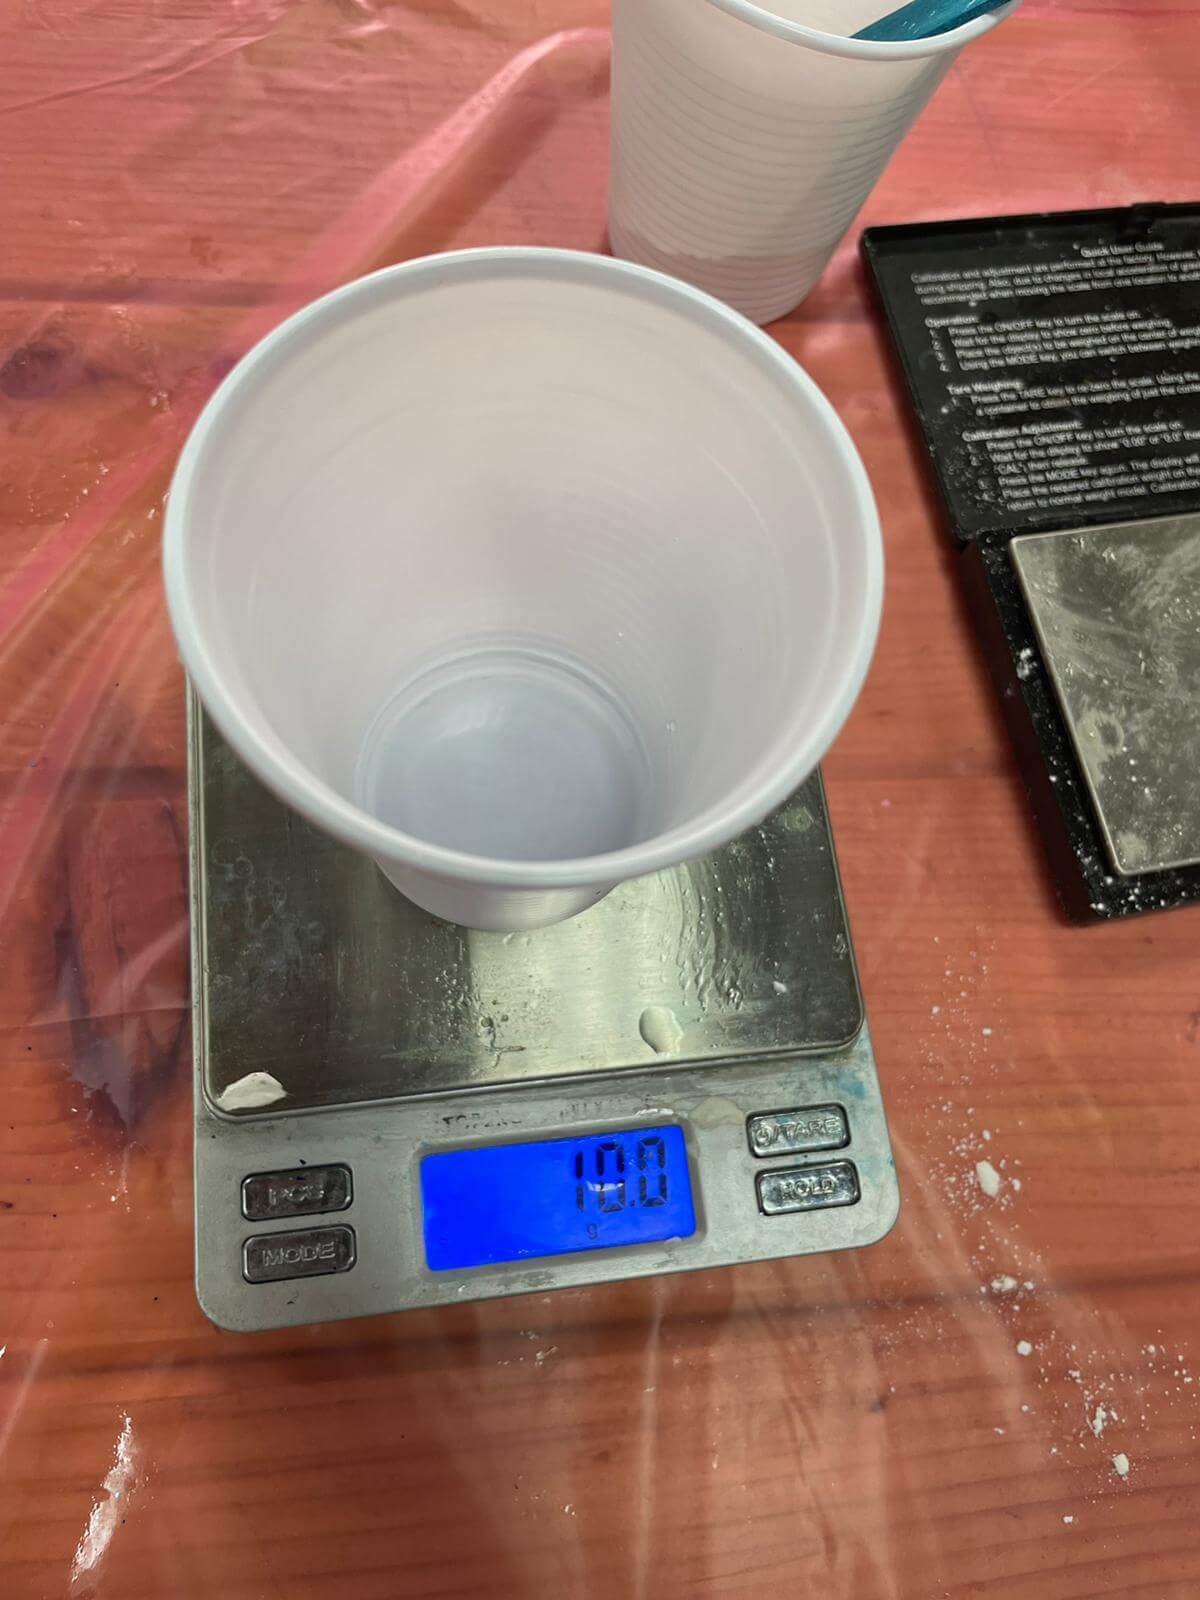
1- We measured the amount of the dry putty and water by considering the mixing ratio of 2:1. Our first try was using 20 dry putty to 10 of water.
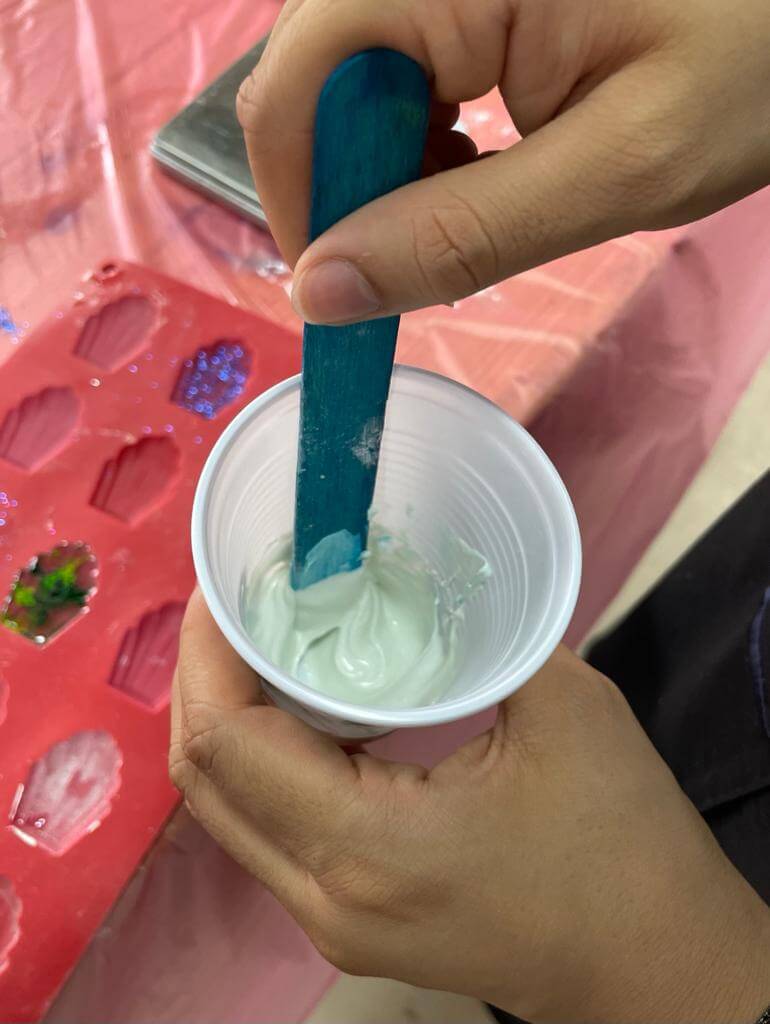
2- Start mixing the mixture for a minute. Then, allow the mixture to cure for five minutes. After that, again mix it thoroughly.
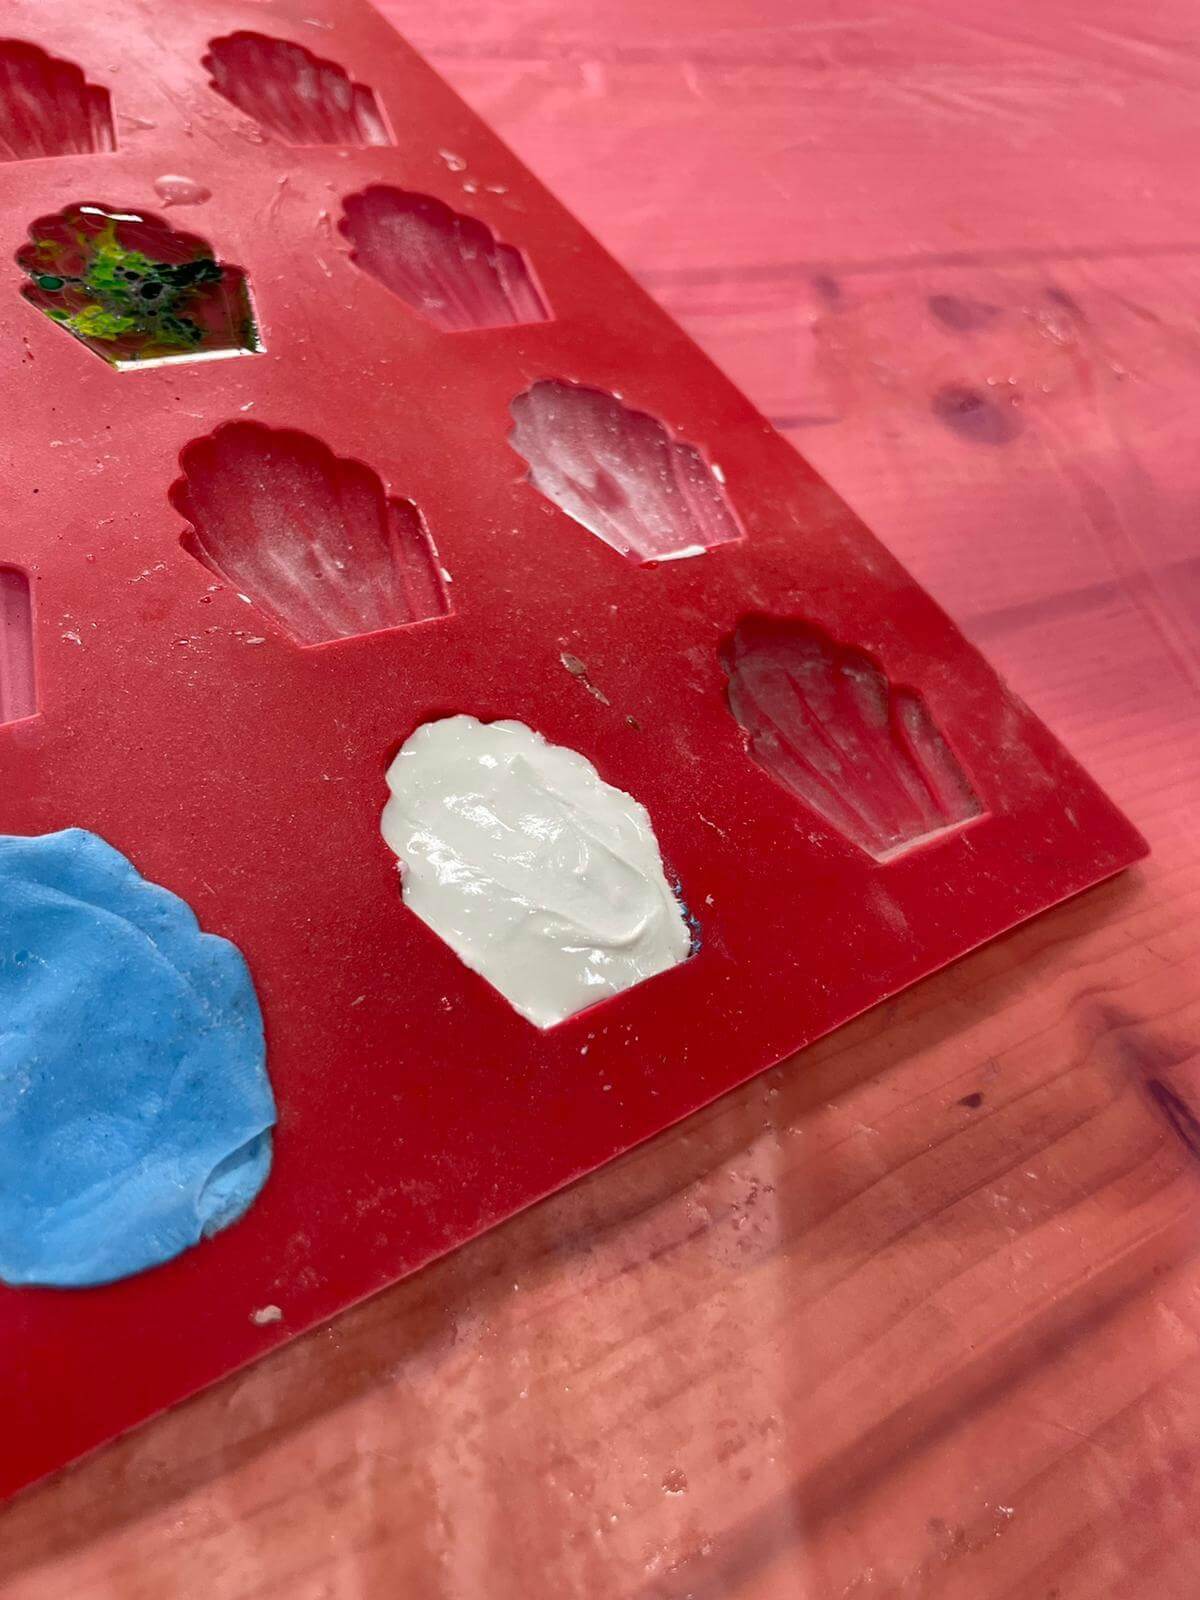
3- After being done from mixing, fill the mold and wait for 24 hours to see the final result.
Result pictures: