4. Embedded programming
This week I worked on embedded programming and started to get familiar with Arduino IDE and Thonny
Checkout the information about the microcontrollers that we have available at my colleague Faisal’s website. Reading the data sheets we learned about the number of pins that the micro controller has and the types of the pins available for you to use, in addition to the types of sensors built in the sensor, as well as the supply voltage that has to be given to the micro controller and the voltage that you can get out of it. More over and one of the most important was the language used to program it.
Arduino IDE
This week we are dealing with embedded programming with arduino’s which requires us to download its application.
download it here
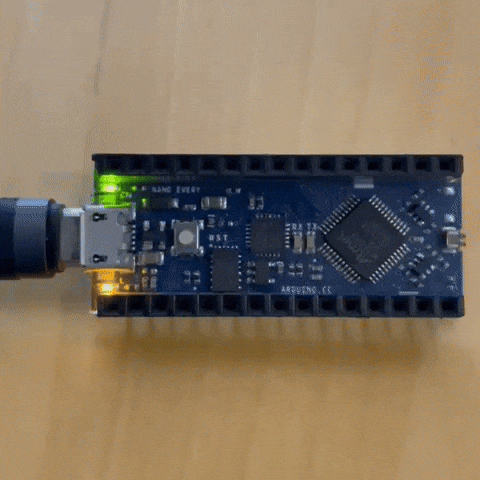
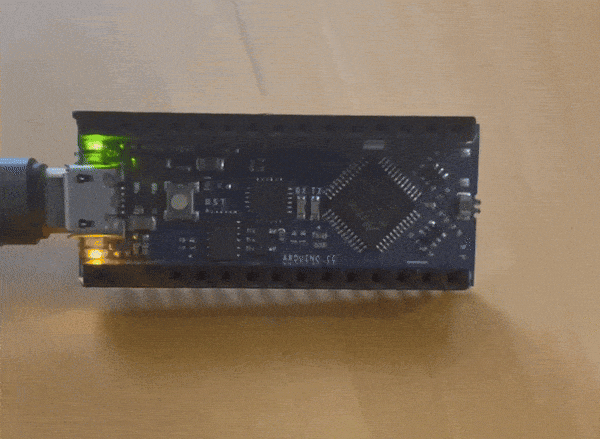
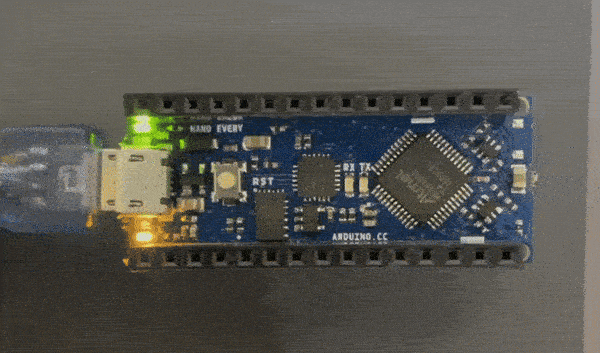
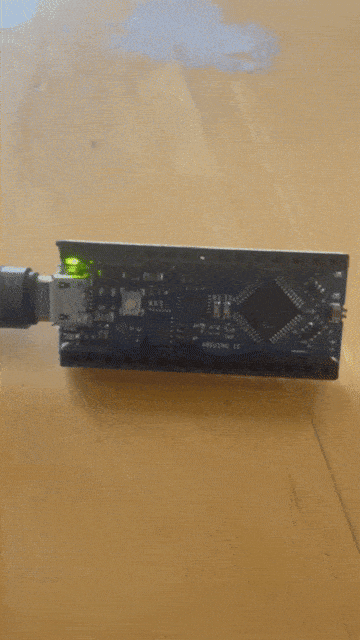
I dealt with Arduino Nano Every you can see the size of it compared to my hand

More info about Arduino Nano Every or buy it if you’d like
connecting it would make the lights turn on

we turned on the option of having the verbose output during the compile and upload to make debugging an easier task


selecting the board name to edit its program

If the library of the board is not already downloaded you are required to download it to be able to edit the program for it

to have an idea of how to code we opened the blink code example as shown in the picture

I tried to alter the default values

the results of 2 second lights on and half a second off
first test Code
// the setup function runs once when you press reset or power the board
void setup() {
  // initialize digital pin LED_BUILTIN as an output.
  pinMode(LED_BUILTIN, OUTPUT);
}

// the loop function runs over and over again forever
void loop() {
  digitalWrite(LED_BUILTIN, HIGH);   // turn the LED on (HIGH is the voltage level)
  delay(2000);                       // wait for 2 seconds
  digitalWrite(LED_BUILTIN, LOW);    // turn the LED off by making the voltage LOW
  delay(500);                       // wait for half a second
}
i wanted to make something a little more complicated while the instructor was helping the other students

this is what I came up with
The instructor gave us three challenges to complete this was the easy challenge

The random blink challenge code
void setup() {
 pinMode(LED_BUILTIN, OUTPUT);
}


void loop() {
  int x=random(1000,5000);
 digitalWrite(LED_BUILTIN, HIGH);
  delay(x);
  digitalWrite(LED_BUILTIN, LOW);
  delay(x);
}
I made a simple code to just display the word "Deer" so I wrote down each letter sequence based on the data sheet that was given to us

The data sheet

The results for the word Deer
Morse challenge code
void setup() {

  pinMode(LED_BUILTIN, OUTPUT);
}


void loop() {

   delay(5000);
  digitalWrite(LED_BUILTIN, HIGH);
  delay(2000);
  digitalWrite(LED_BUILTIN, LOW);
  delay(500);
  digitalWrite(LED_BUILTIN, HIGH);
  delay(1000);
  digitalWrite(LED_BUILTIN, LOW);
  delay(500);
  digitalWrite(LED_BUILTIN, HIGH);
  delay(1000);
  digitalWrite(LED_BUILTIN, LOW);
  delay(3000);//D

  digitalWrite(LED_BUILTIN, HIGH);
  delay(1000);
  digitalWrite(LED_BUILTIN, LOW);
  delay(3000);//E

  digitalWrite(LED_BUILTIN, HIGH);
  delay(1000);
  digitalWrite(LED_BUILTIN, LOW);
  delay(3000);//E

  digitalWrite(LED_BUILTIN, HIGH);
  delay(1000);
  digitalWrite(LED_BUILTIN, LOW);
  delay(500);
digitalWrite(LED_BUILTIN, HIGH);
  delay(2000);
  digitalWrite(LED_BUILTIN, LOW);
  delay(500);
  digitalWrite(LED_BUILTIN, HIGH);
  delay(1000);
  digitalWrite(LED_BUILTIN, LOW);
  delay(3000);//R


}
Micropython
Download Thonny here
Refer to Microbit as I find it very helpful in finding the needed commands
the micro-controller board we used which was the ESP32

Click here to know about the ESP32
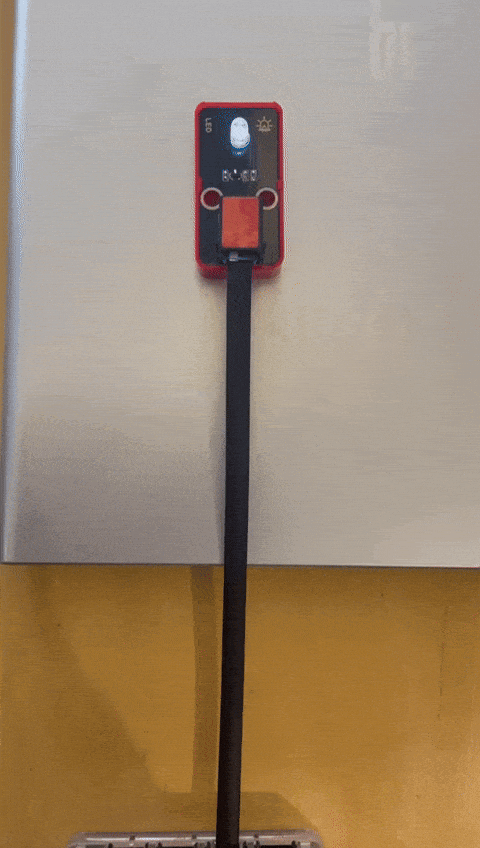
the shape of the board ports and since this is modified for kids it is made with a shell that had the port inputs and outputs written next to the port

You can see what each port has as inputs and outputs

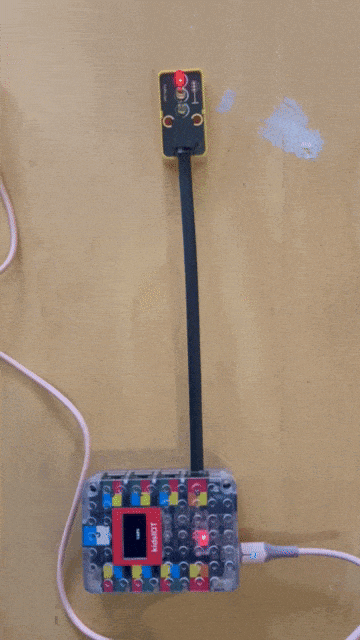
that's how you set up Thonny or (Micropython) onto the board


The results of the LED blink loop
This could be really helpful in some cases


the traffic light required a different port to be used to have each light as a different output in my case I used the port that represents output 17, 18 and 19
Traffic light code by my colleague (Jumaa)
from machine import Pin
import time
RLED =Pin(17,Pin.OUT)
YLED =Pin(18,Pin.OUT)
GLED =Pin(19,Pin.OUT)

while True:
    RLED.value(1)
    time.sleep(4)
    YLED.value(1)
    time.sleep(1)
    RLED.value(0)
    YLED.value(0)
    GLED.value(1)
    time.sleep(4)
    GLED.value(0)
    YLED.value(1)
    time.sleep(2)
    YLED.value(0)