4. Embedded programming
This week, I learned the core basics of microcontrollers, and then learned how to code in Arduino and MicroPython. I explored the basics of both languages and completed several practical challenges to apply my knowledge.
Microcontrollers
We received an overview of microcontrollers and their functionality, followed by a group assignment designed to deepen our understanding.
Group Assignment
For our group assignment, we were divided into pairs and assigned the task of researching a specific model. My assigned model was the TEENSY 3.2.
The research results from all groups were compiled into This page.
Arduino
Setting up
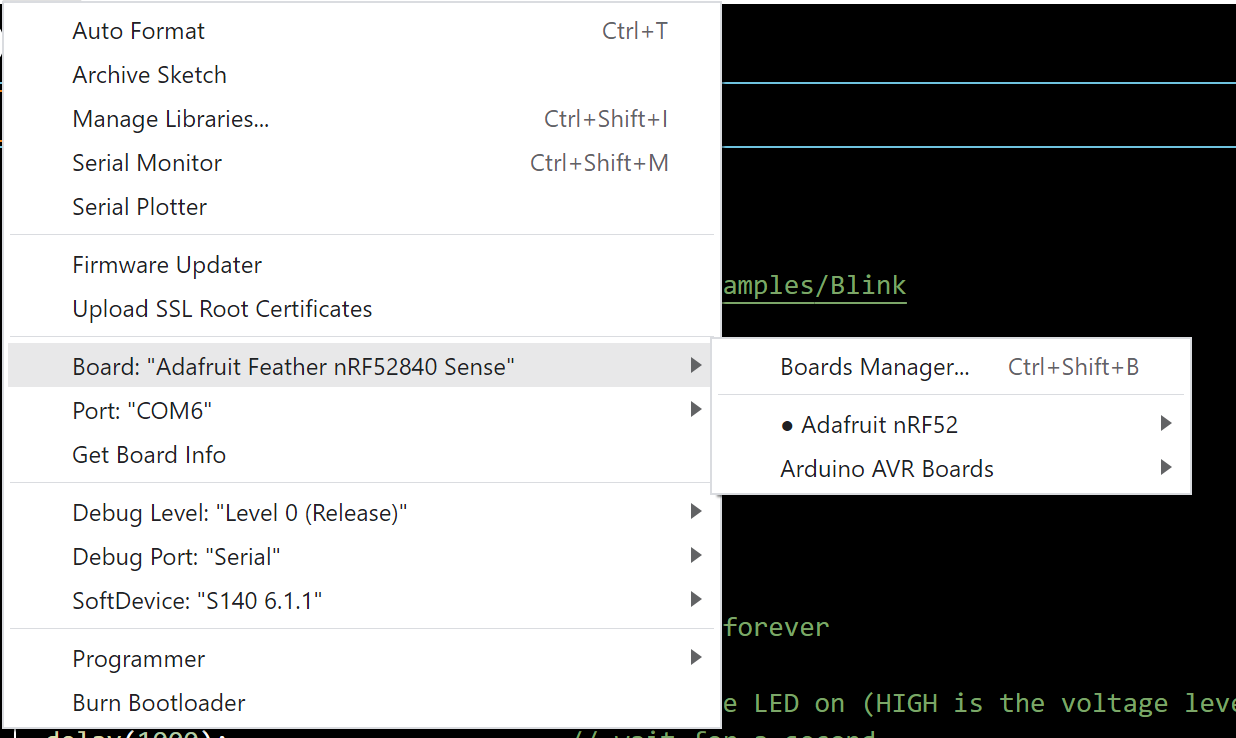
First, I installed the Arduino IDE. Then, I was given an Adafruit Feather nRF52840 Sense and tasked with connecting it. Unlike other models, this one isn’t installed by default. I needed to go to File > Preferences and add this URL in the Additional Boards Manager URLs field.


After that, I went to the Board and Port Selector, searched for Adafruit nRF52 Sense, and selected the connected port. Only then could I connect the microcontroller to the program.


Diving in
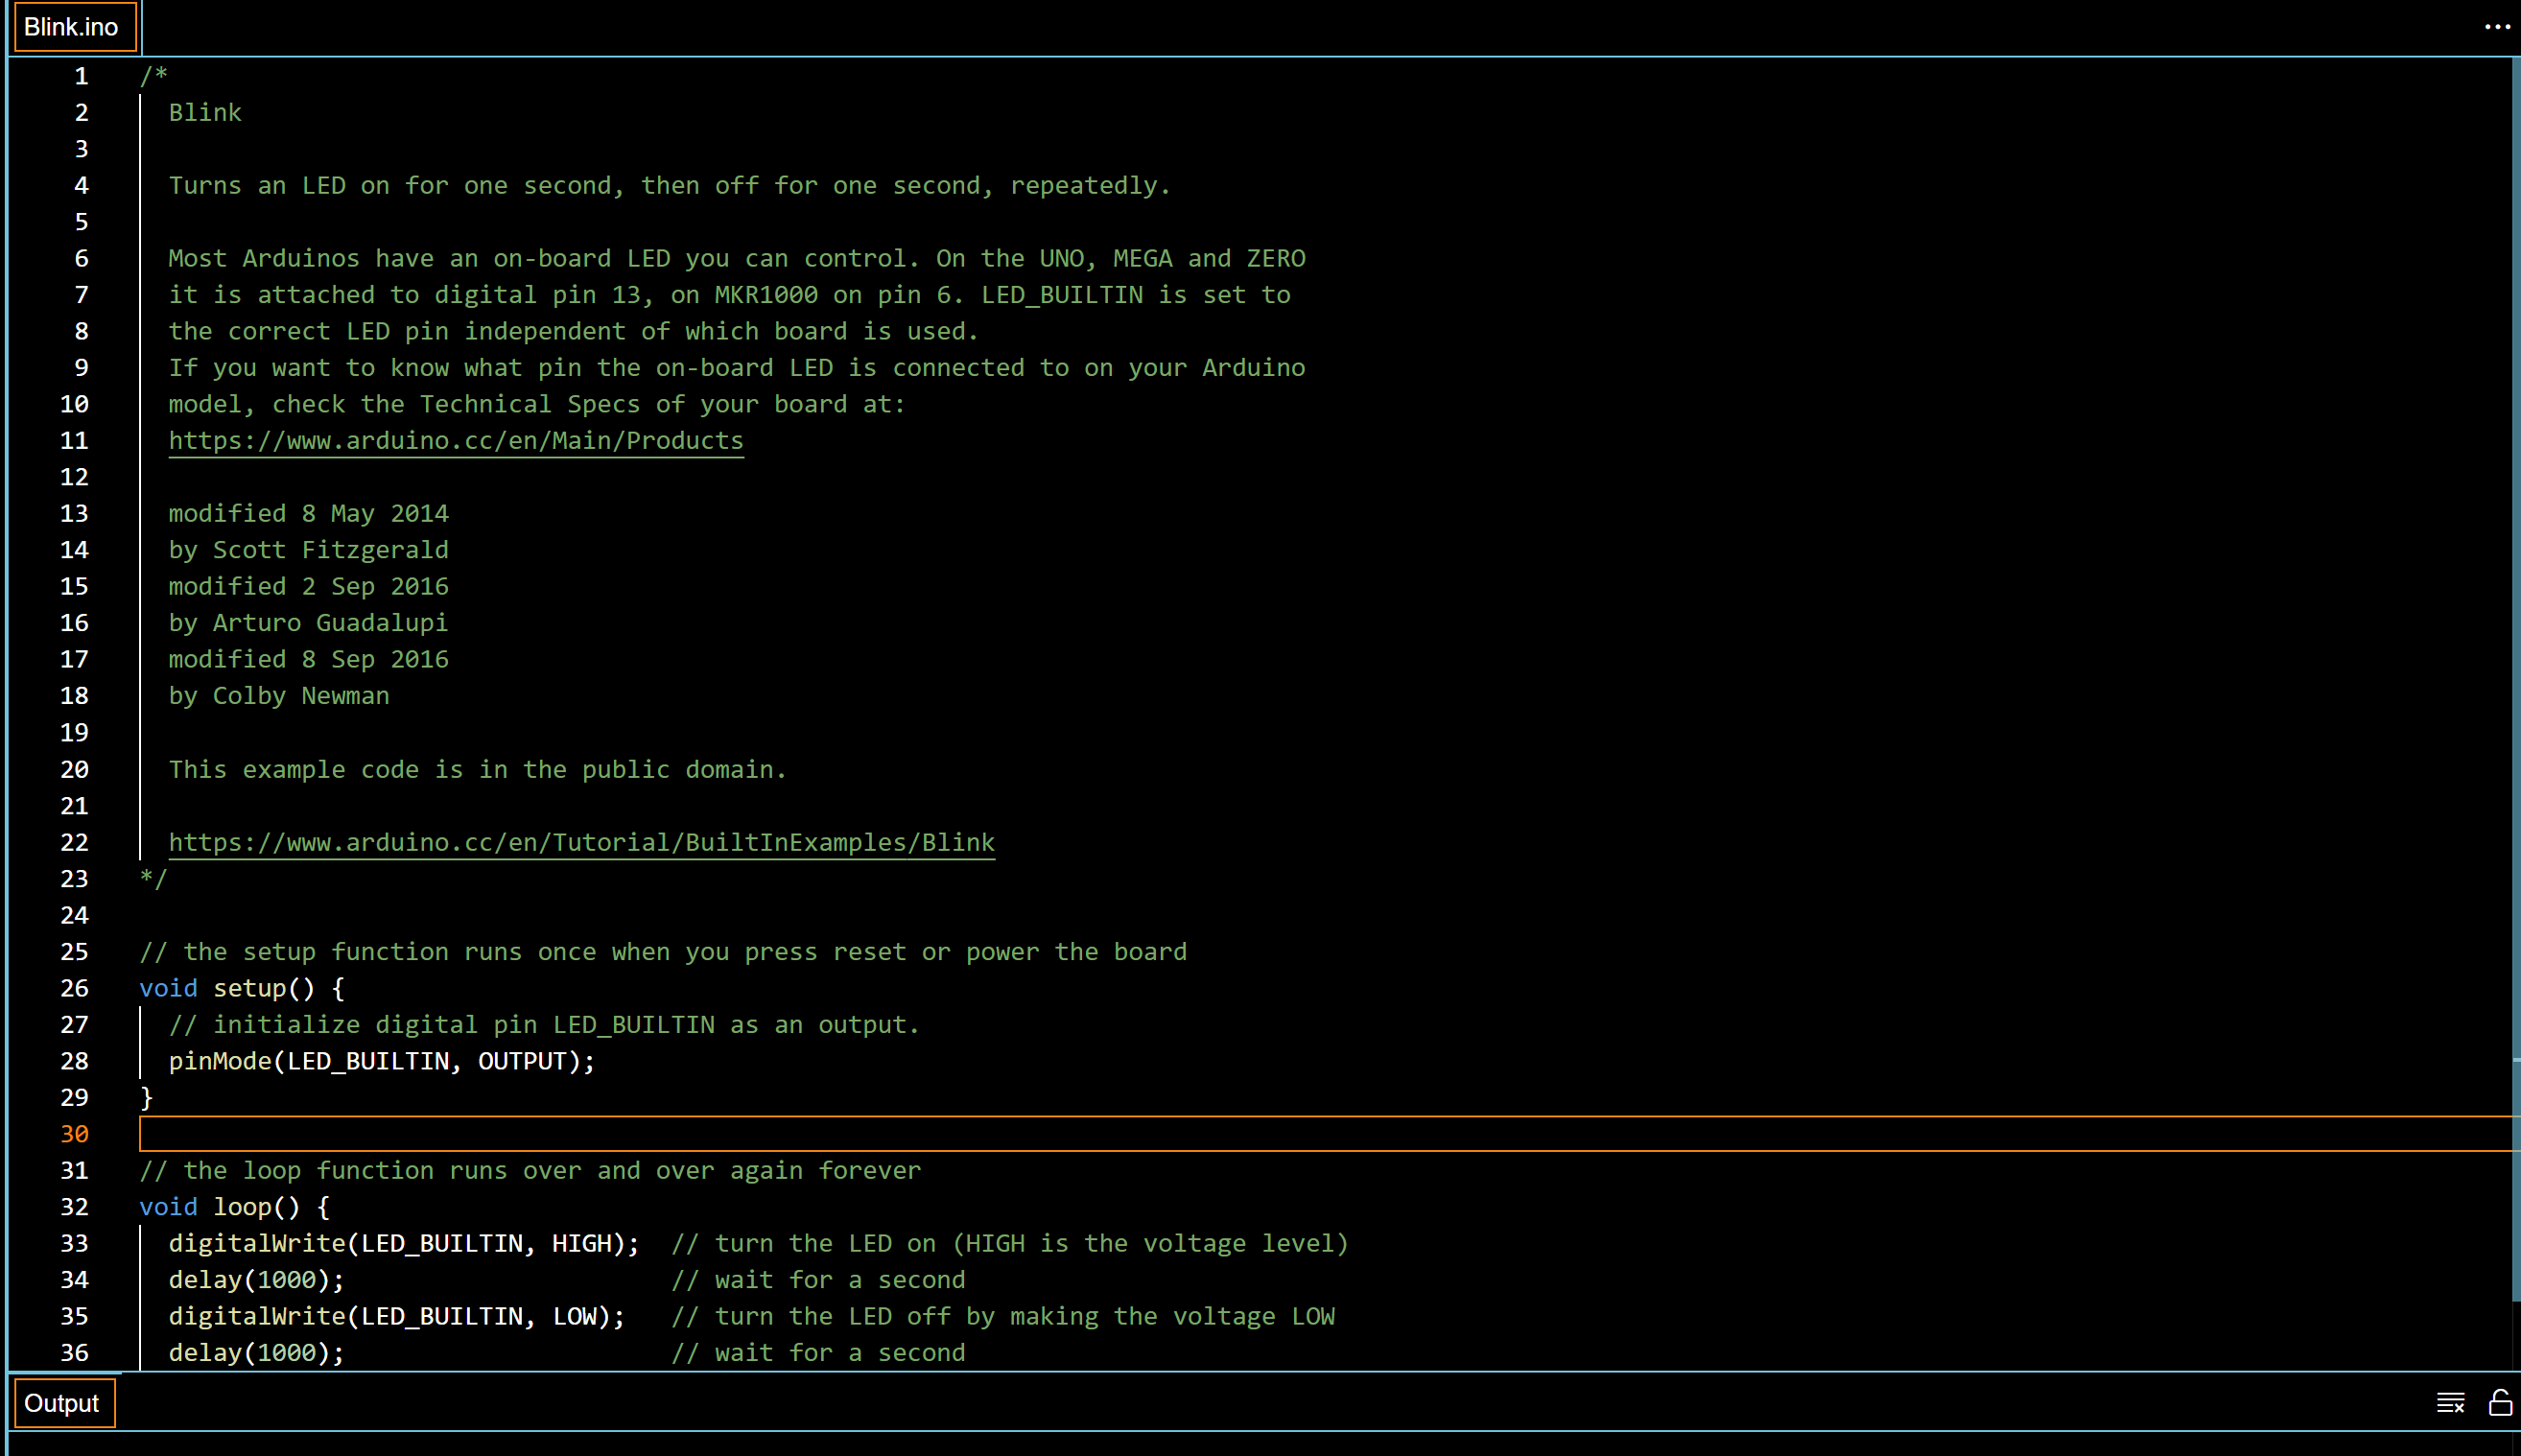
To start, I went file > examples > basics and chose my first example to open: Blink

This is how the program looks when its opened.

In Arduino, I have to first verify the code and then upload it, clicking the upload button will do both actions at the same time. After uploading, the built-in LED on the Arduino will blink on and off every second.

Afterwards, I modified the code so that the LED blinks on for 2 seconds, and off for half a second. The changes worked as expected

This basic example helped me understand the structure of an Arduino sketch and the fundamentals of controlling digital outputs.