Molding and Casting
Group assignment
Materials used:
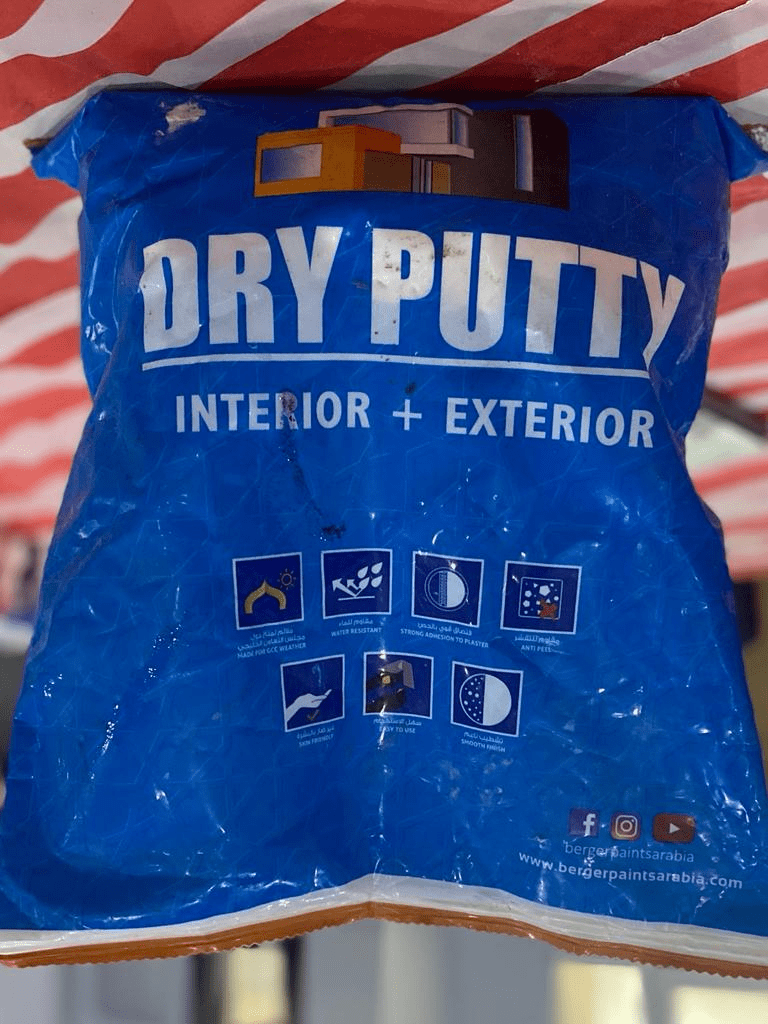
Material name: Dry Putty
Picture:
Safety:
1- Avoid contact with skin and eyes
2- wear suitable protective clothes (overalls, goggles, dusk masks and gloves)
3- Use a barrier cream
4- Ensure that there is adequate ventilation in the area where the product is being applied.
5- Do not breath vapor or spray.
6- In event of splashes, flush eyes with warm water
7- Wash skin thoroughly with soap and water - do not use solvent or thinners.
Process steps:
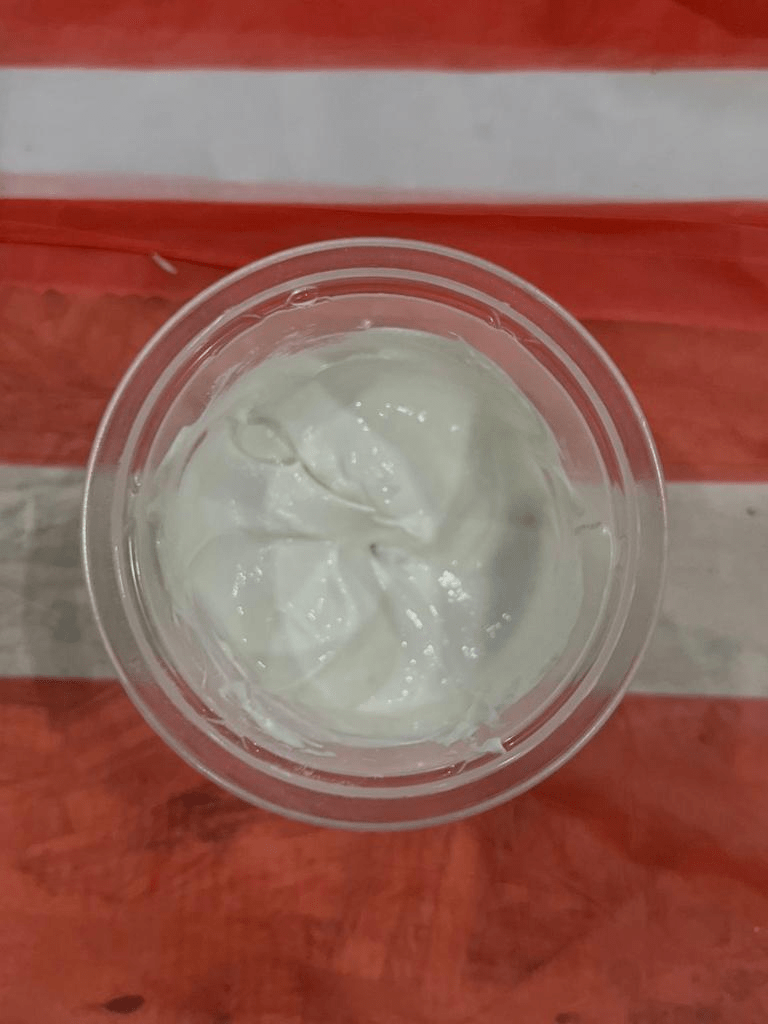
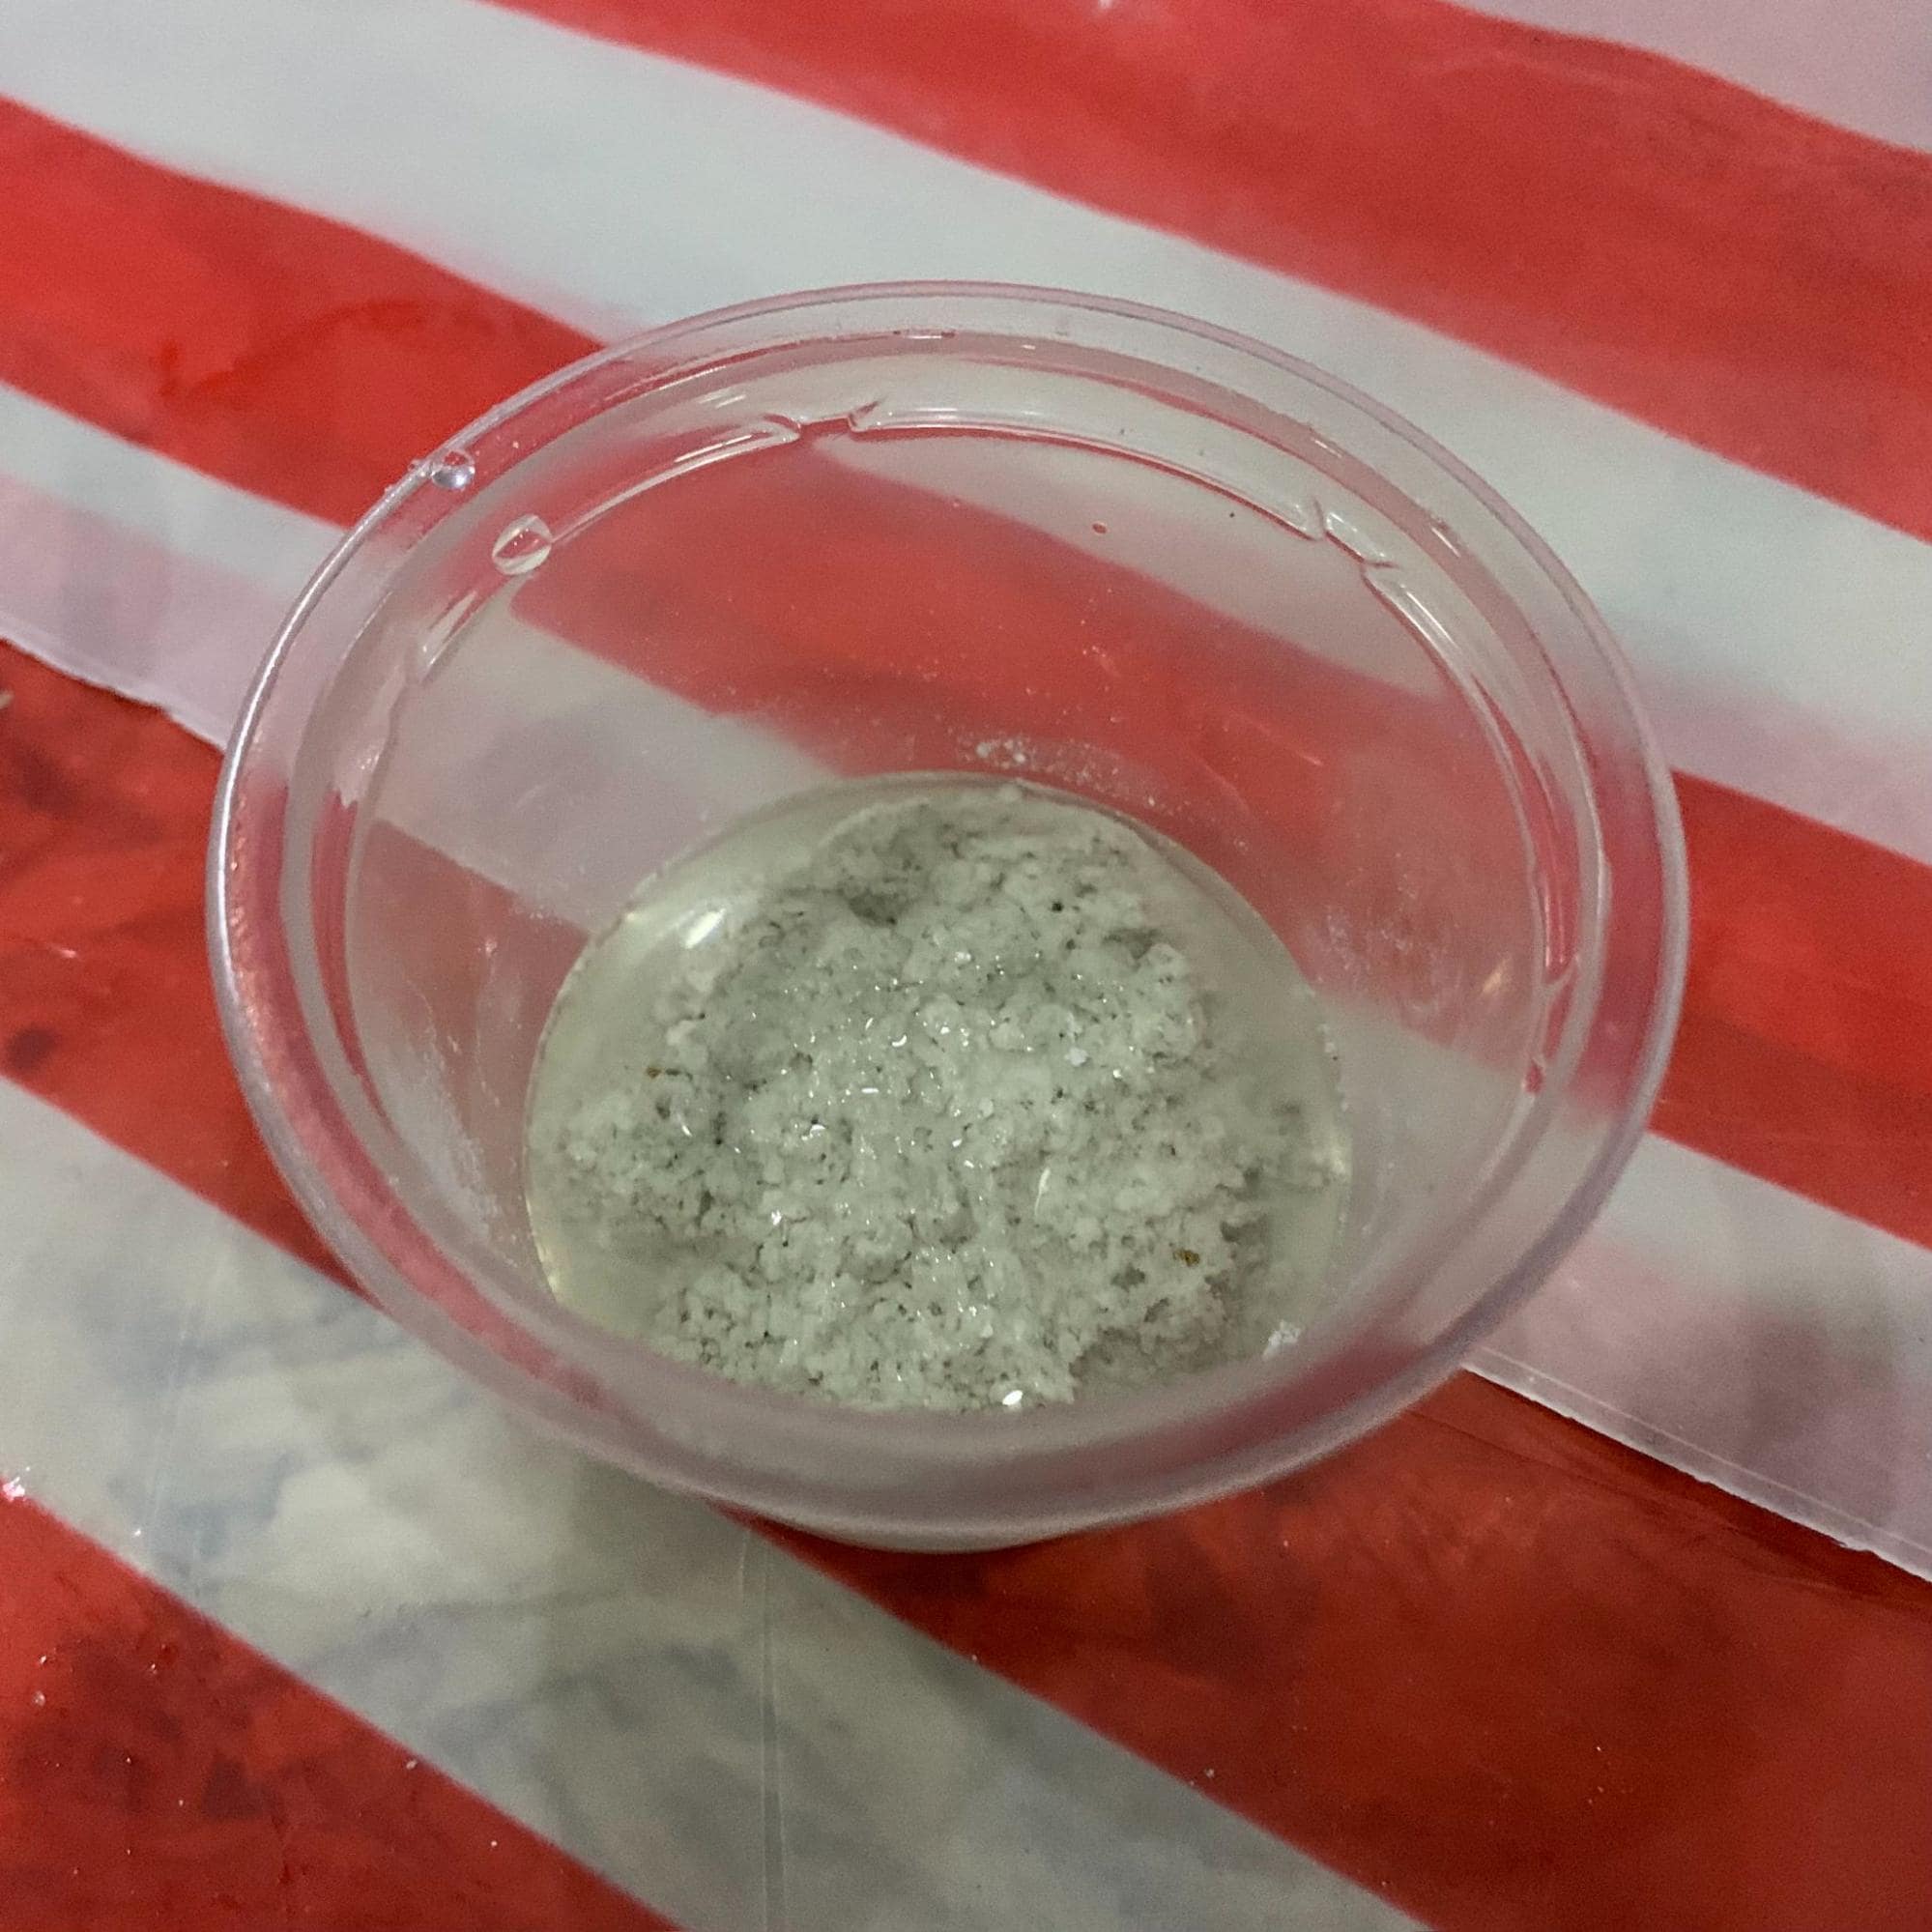
1- Mix water and dry putty gradually to a smooth paste.
2- Set aside for 5-10 mins then re-mix for one minute.
3- Apply the paste using a putty knife or trowel.
4- Build up the thickness in multiple coats (maximum 2.5 mm per coat). Allow each layer to dry completely before adding the next.
5- Final coat should be sanded with fine emery paper (#200, 220) after it has dried for at least 1 hour.
Mix ratio (if applicable):
4-5 parts water to 10 parts of dry putty
Work time | Cure time |
1 hour Appears to be closer to 15 minutes after experimenting | 2-4 Hours |
Cured material state: Matt, smooth, white, 100% solid
Datasheet and sources:
Links:https://www.asianpaintsarabia.com/resourcecontent/products/datasheets/pv001_0428.pdf
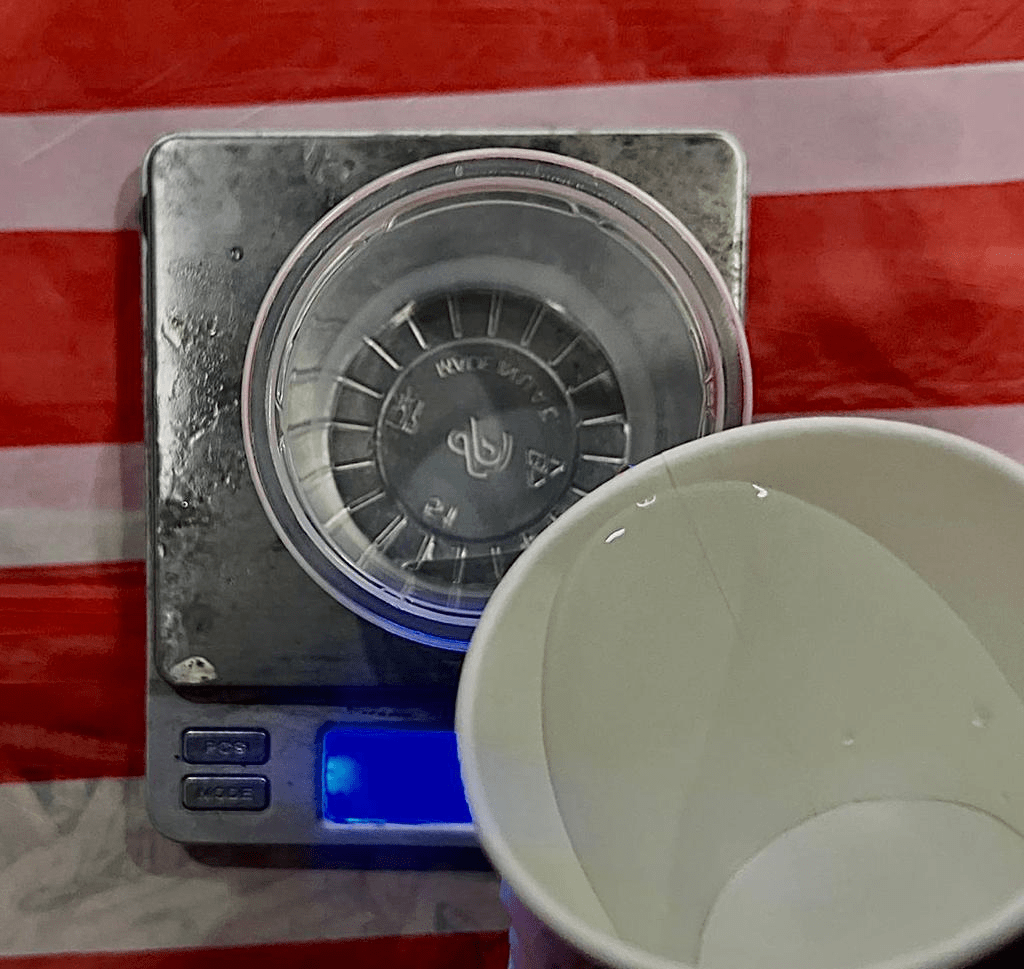
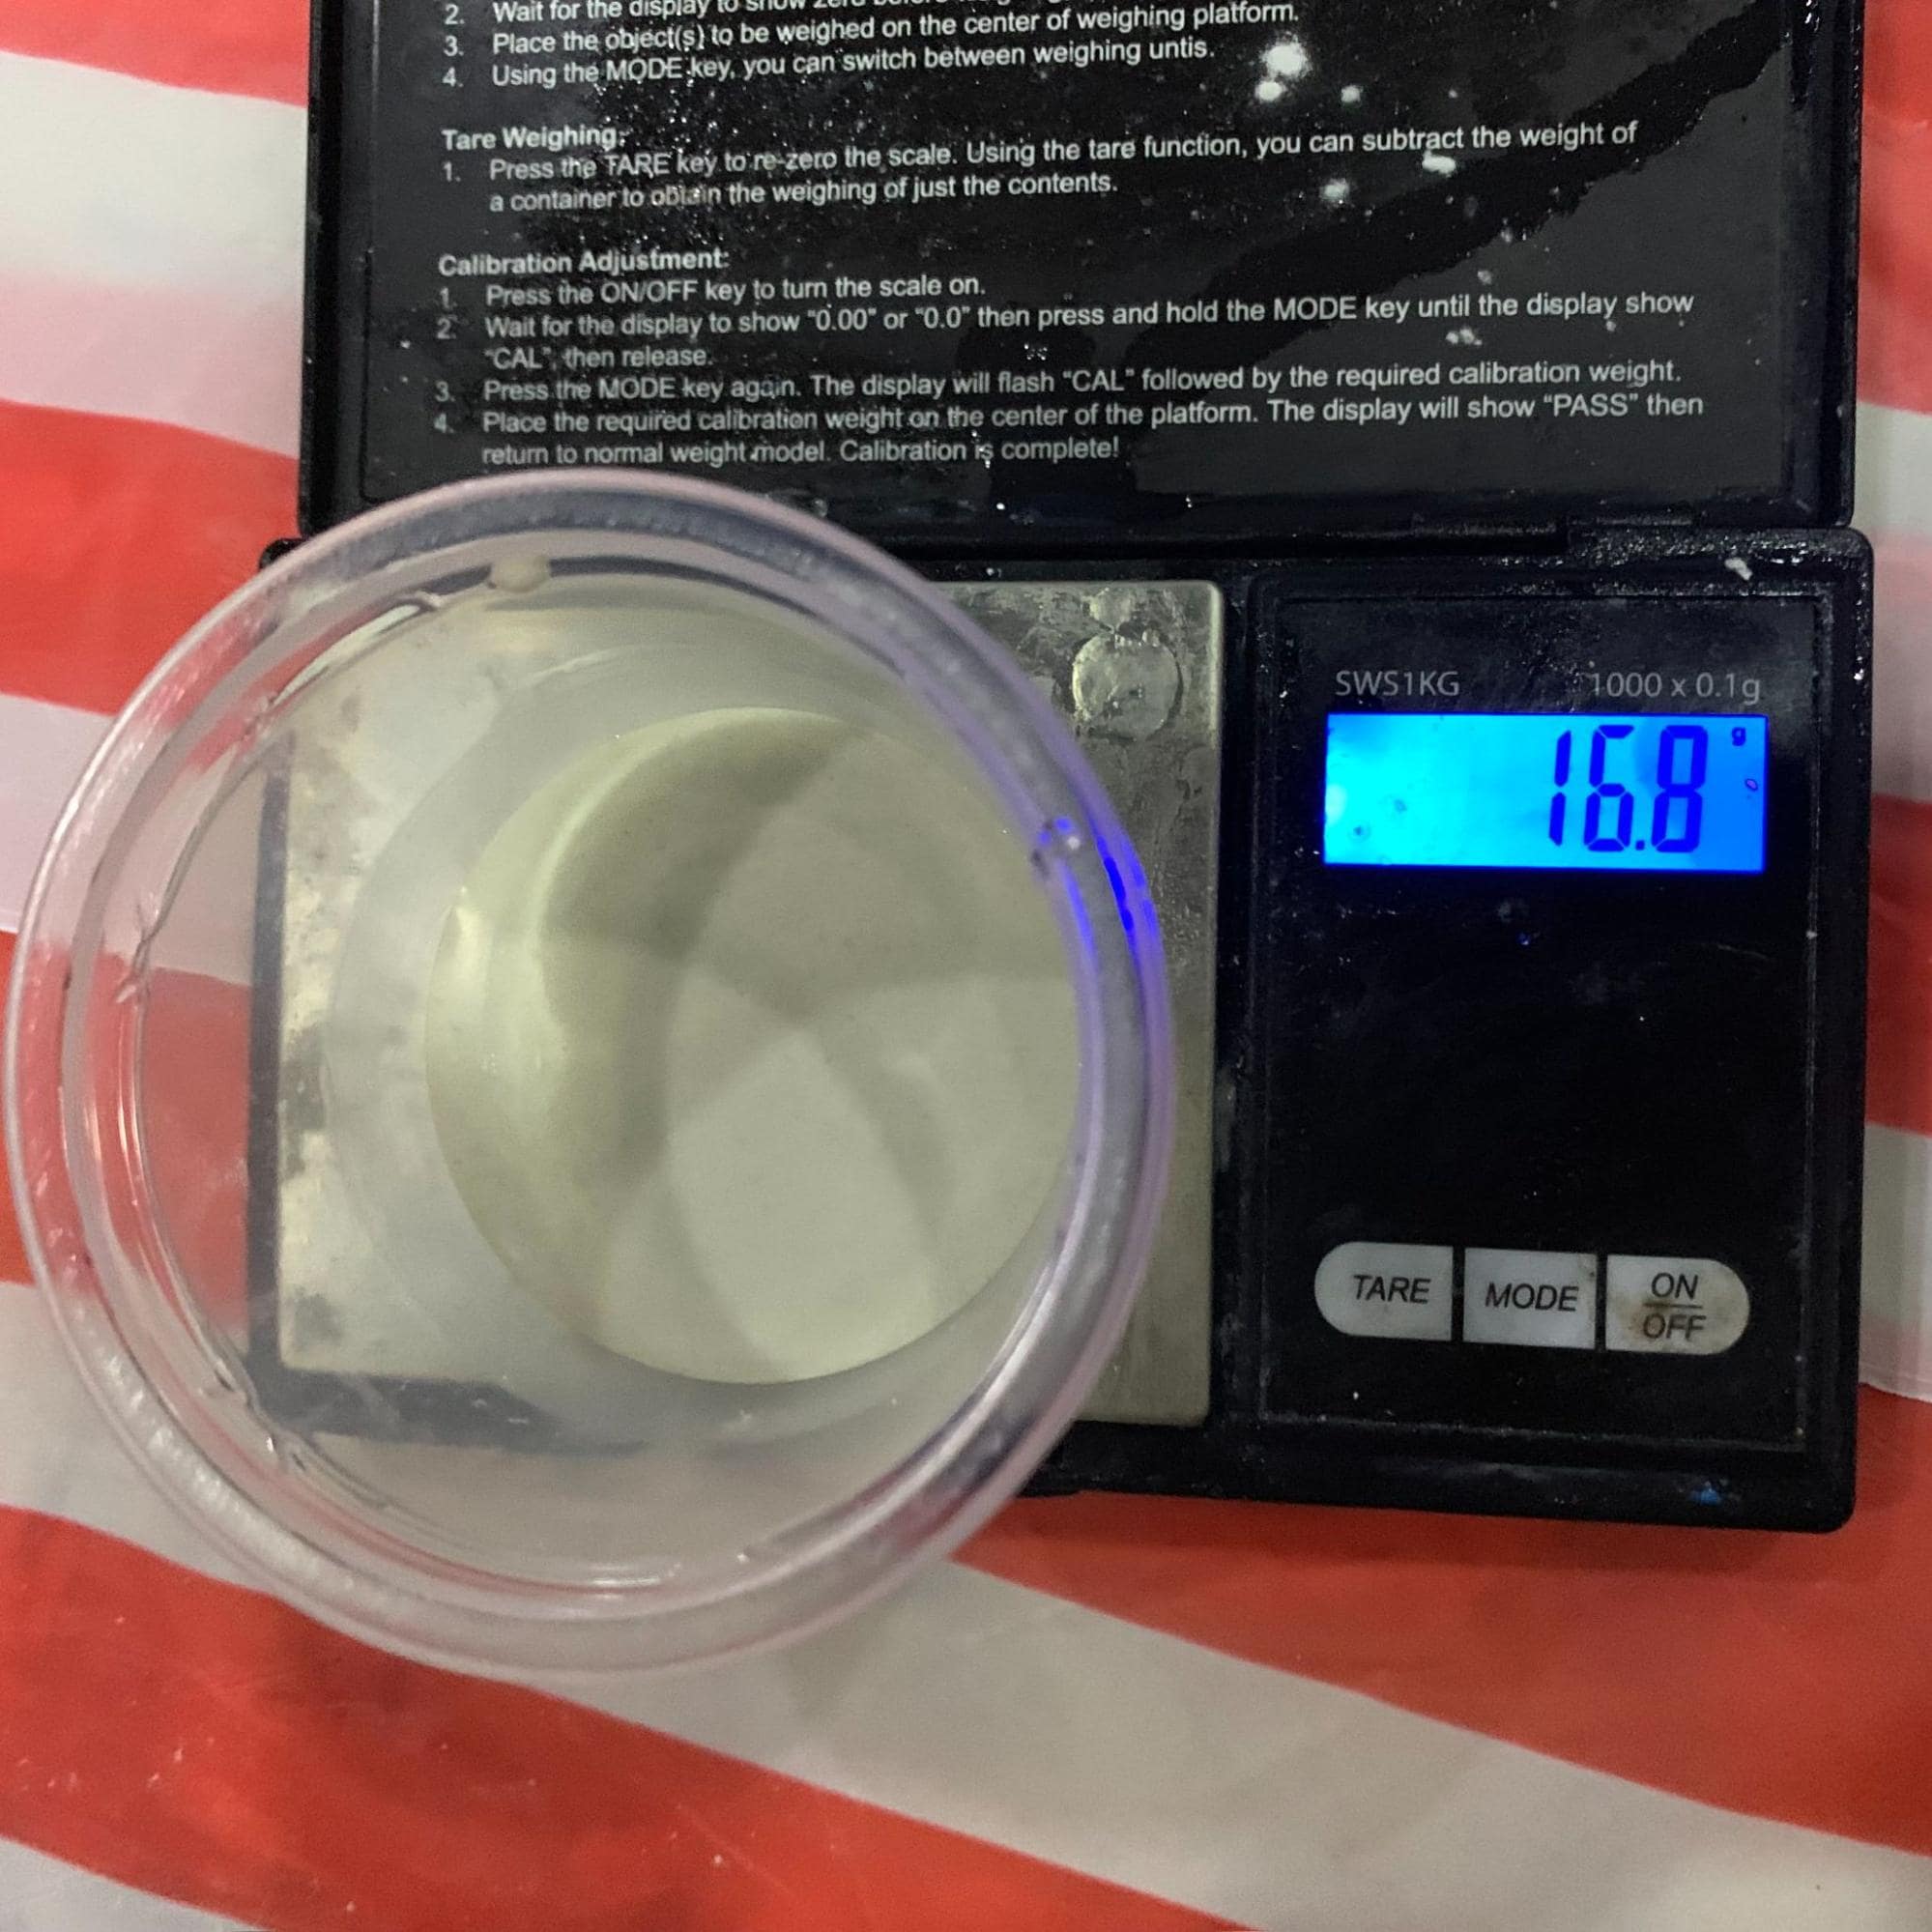
Process pictures and comments:
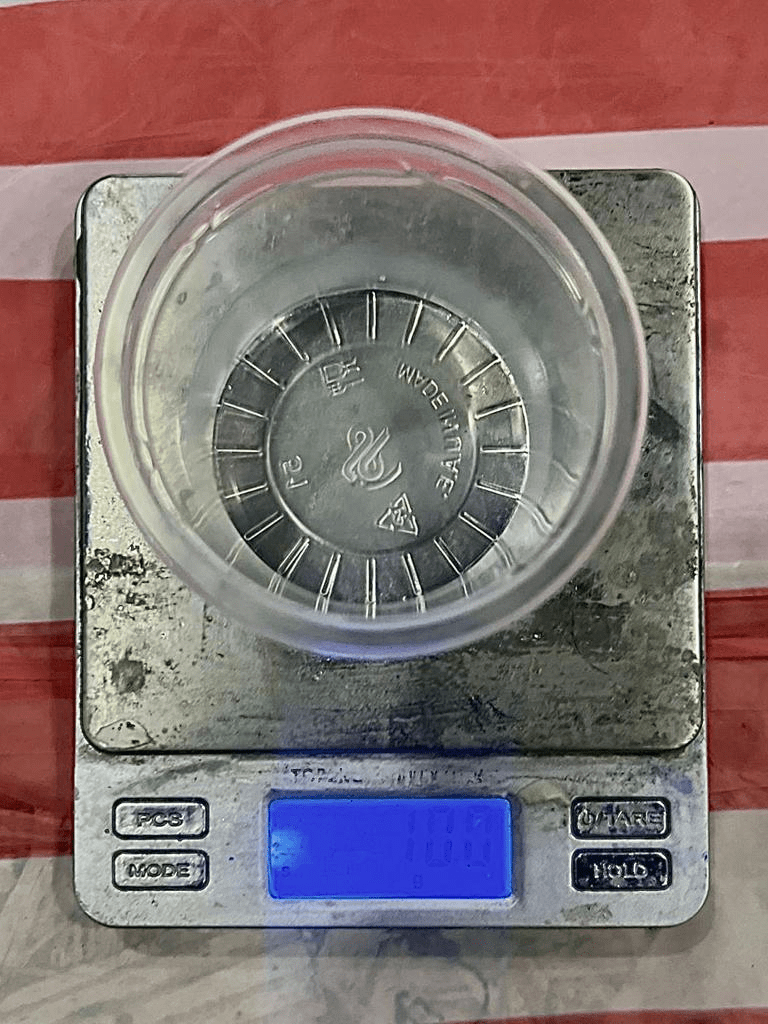
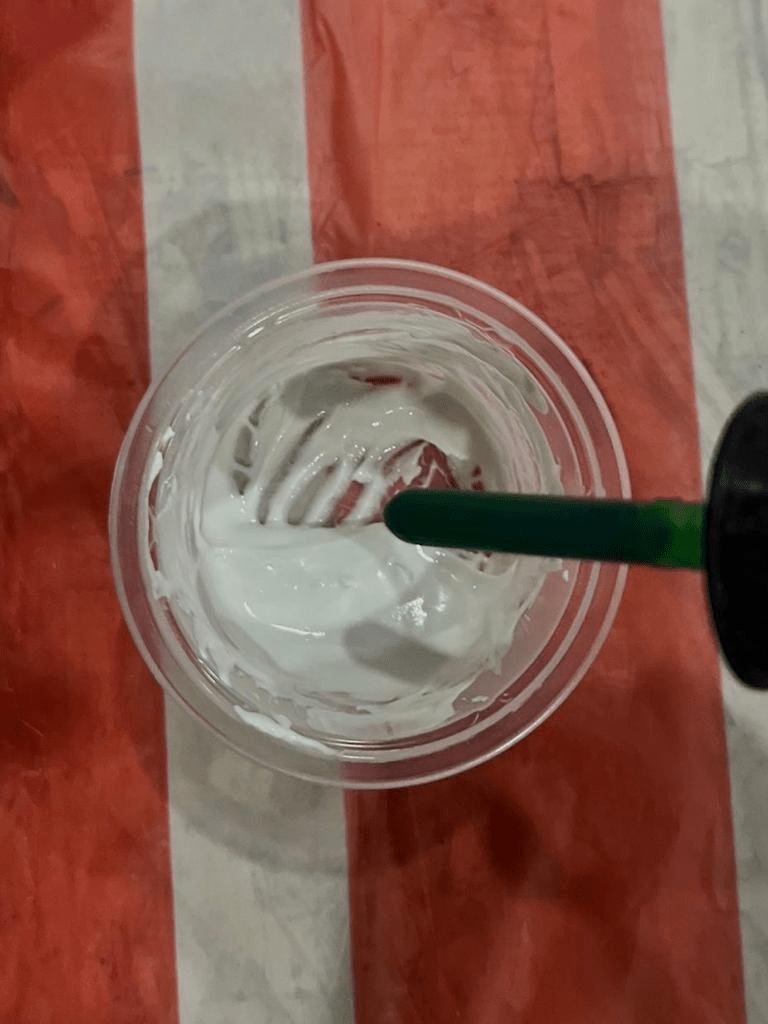
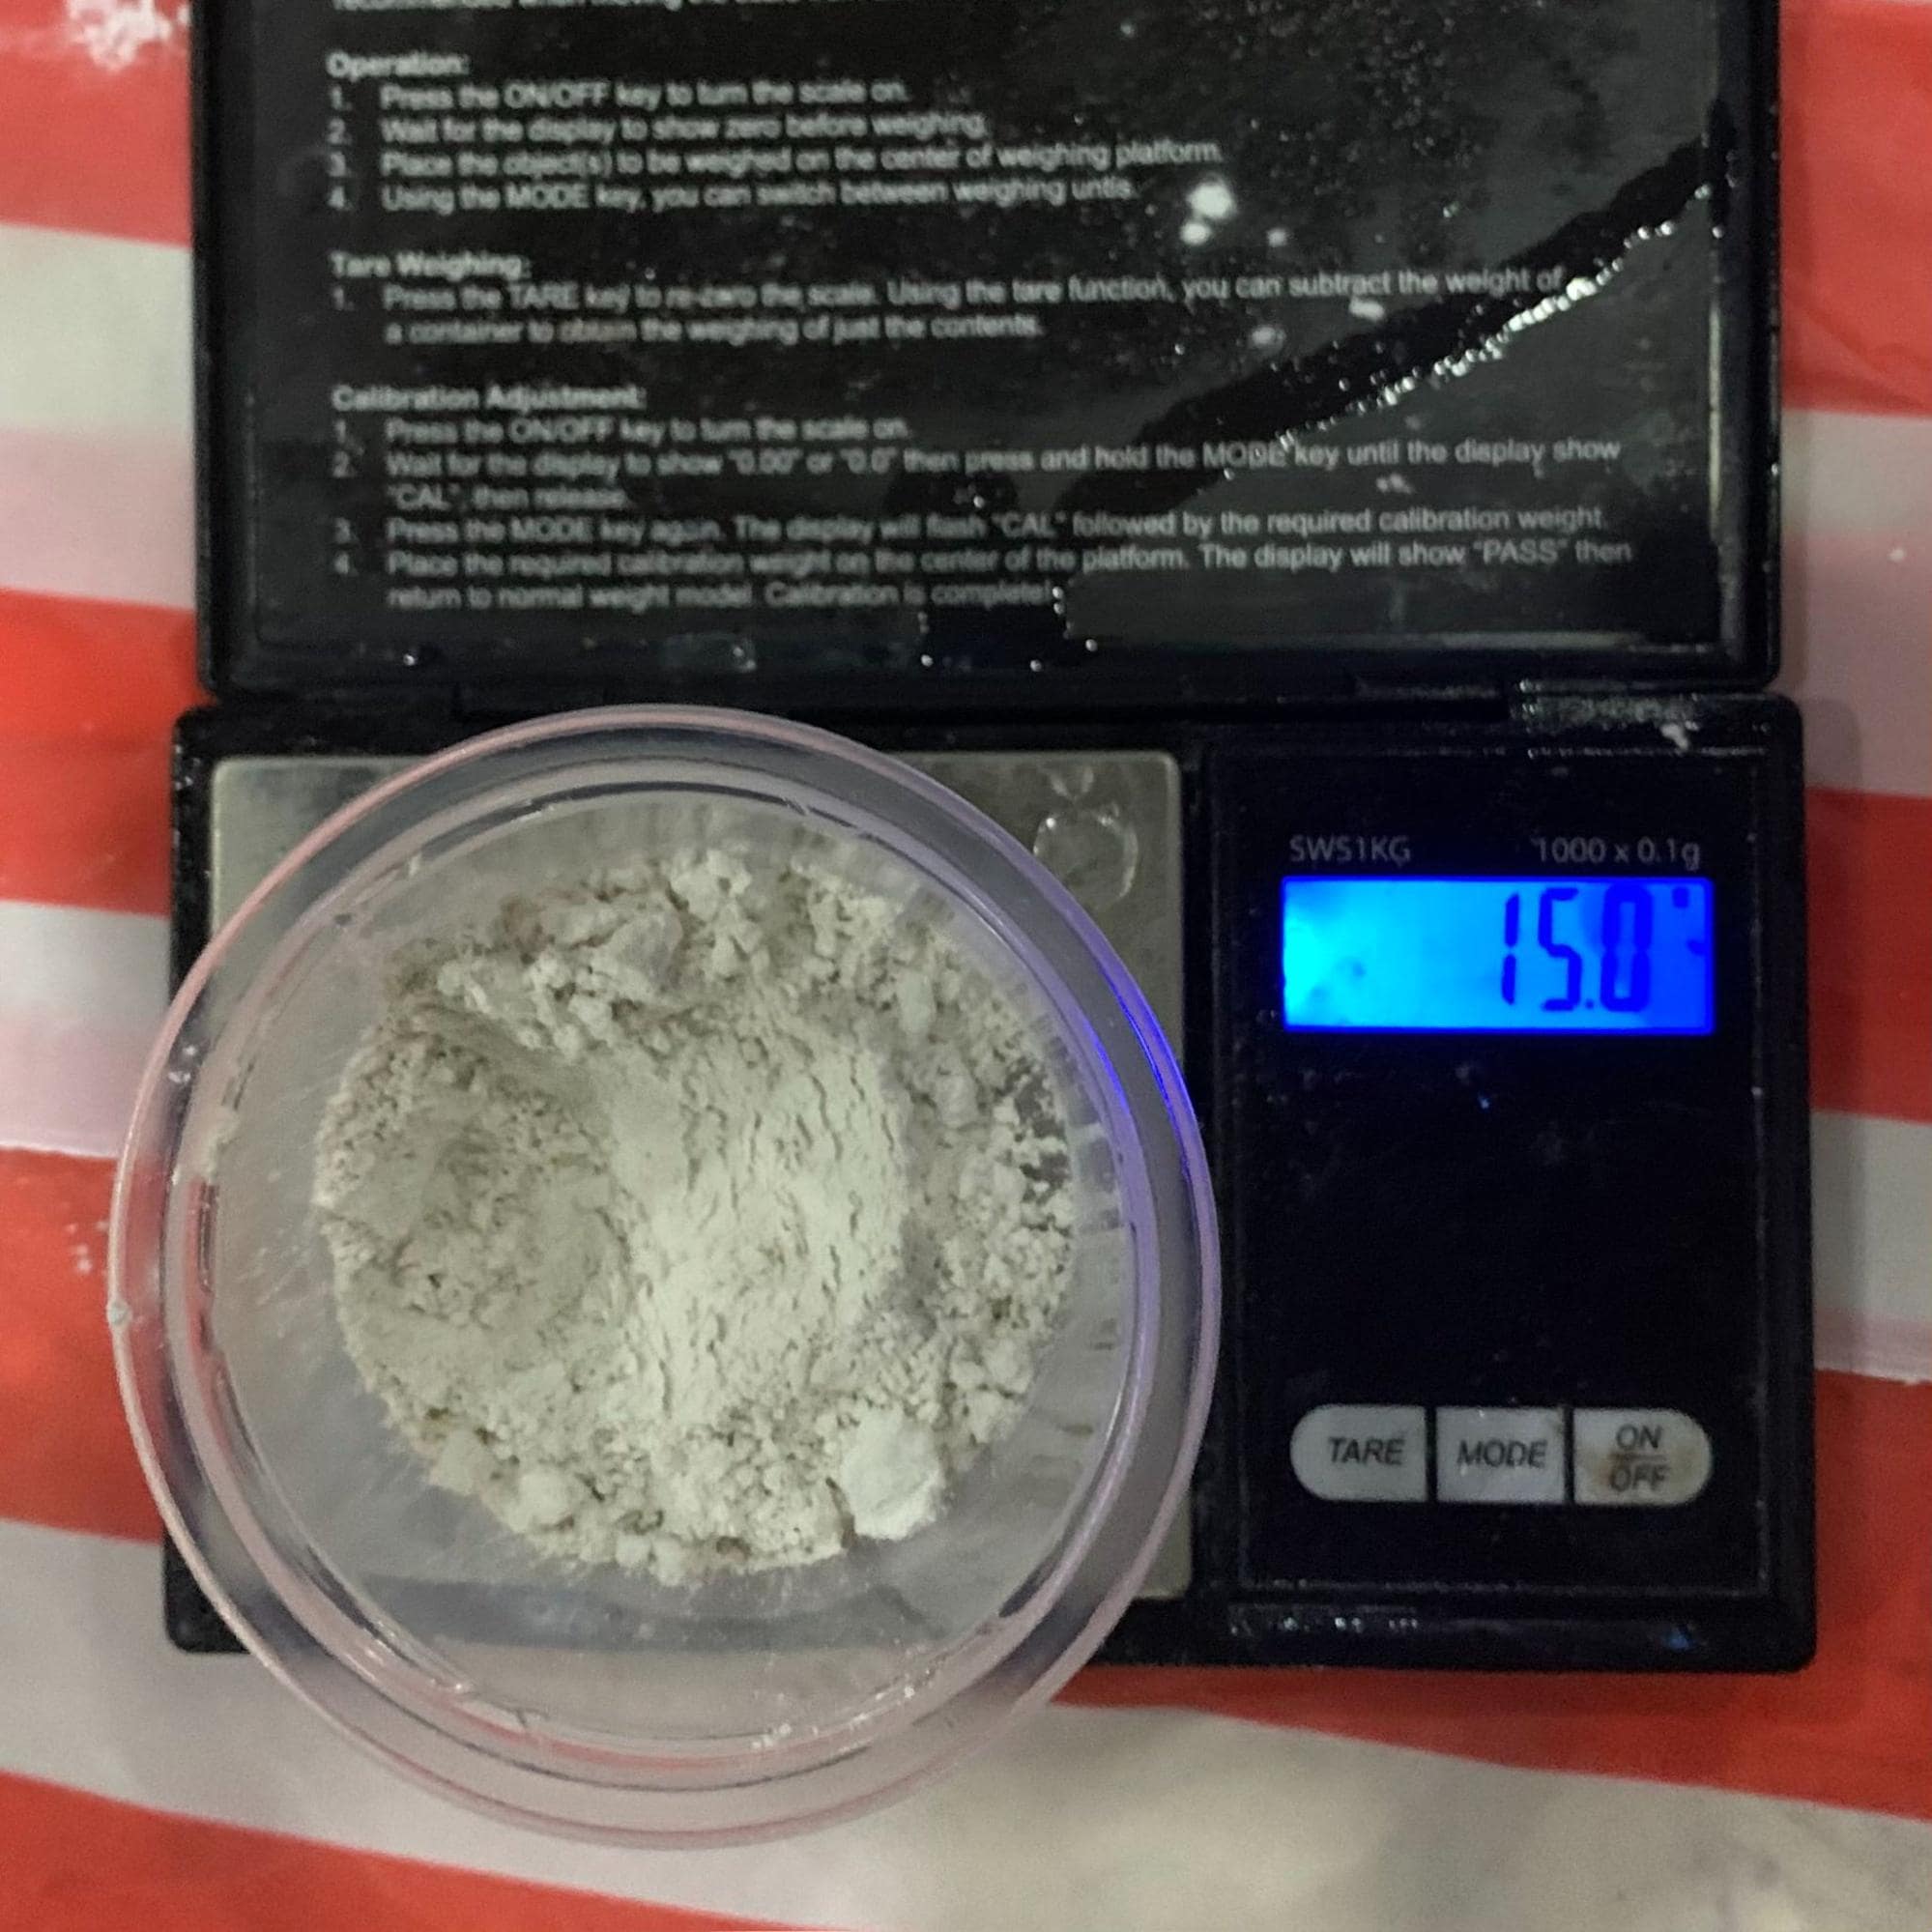
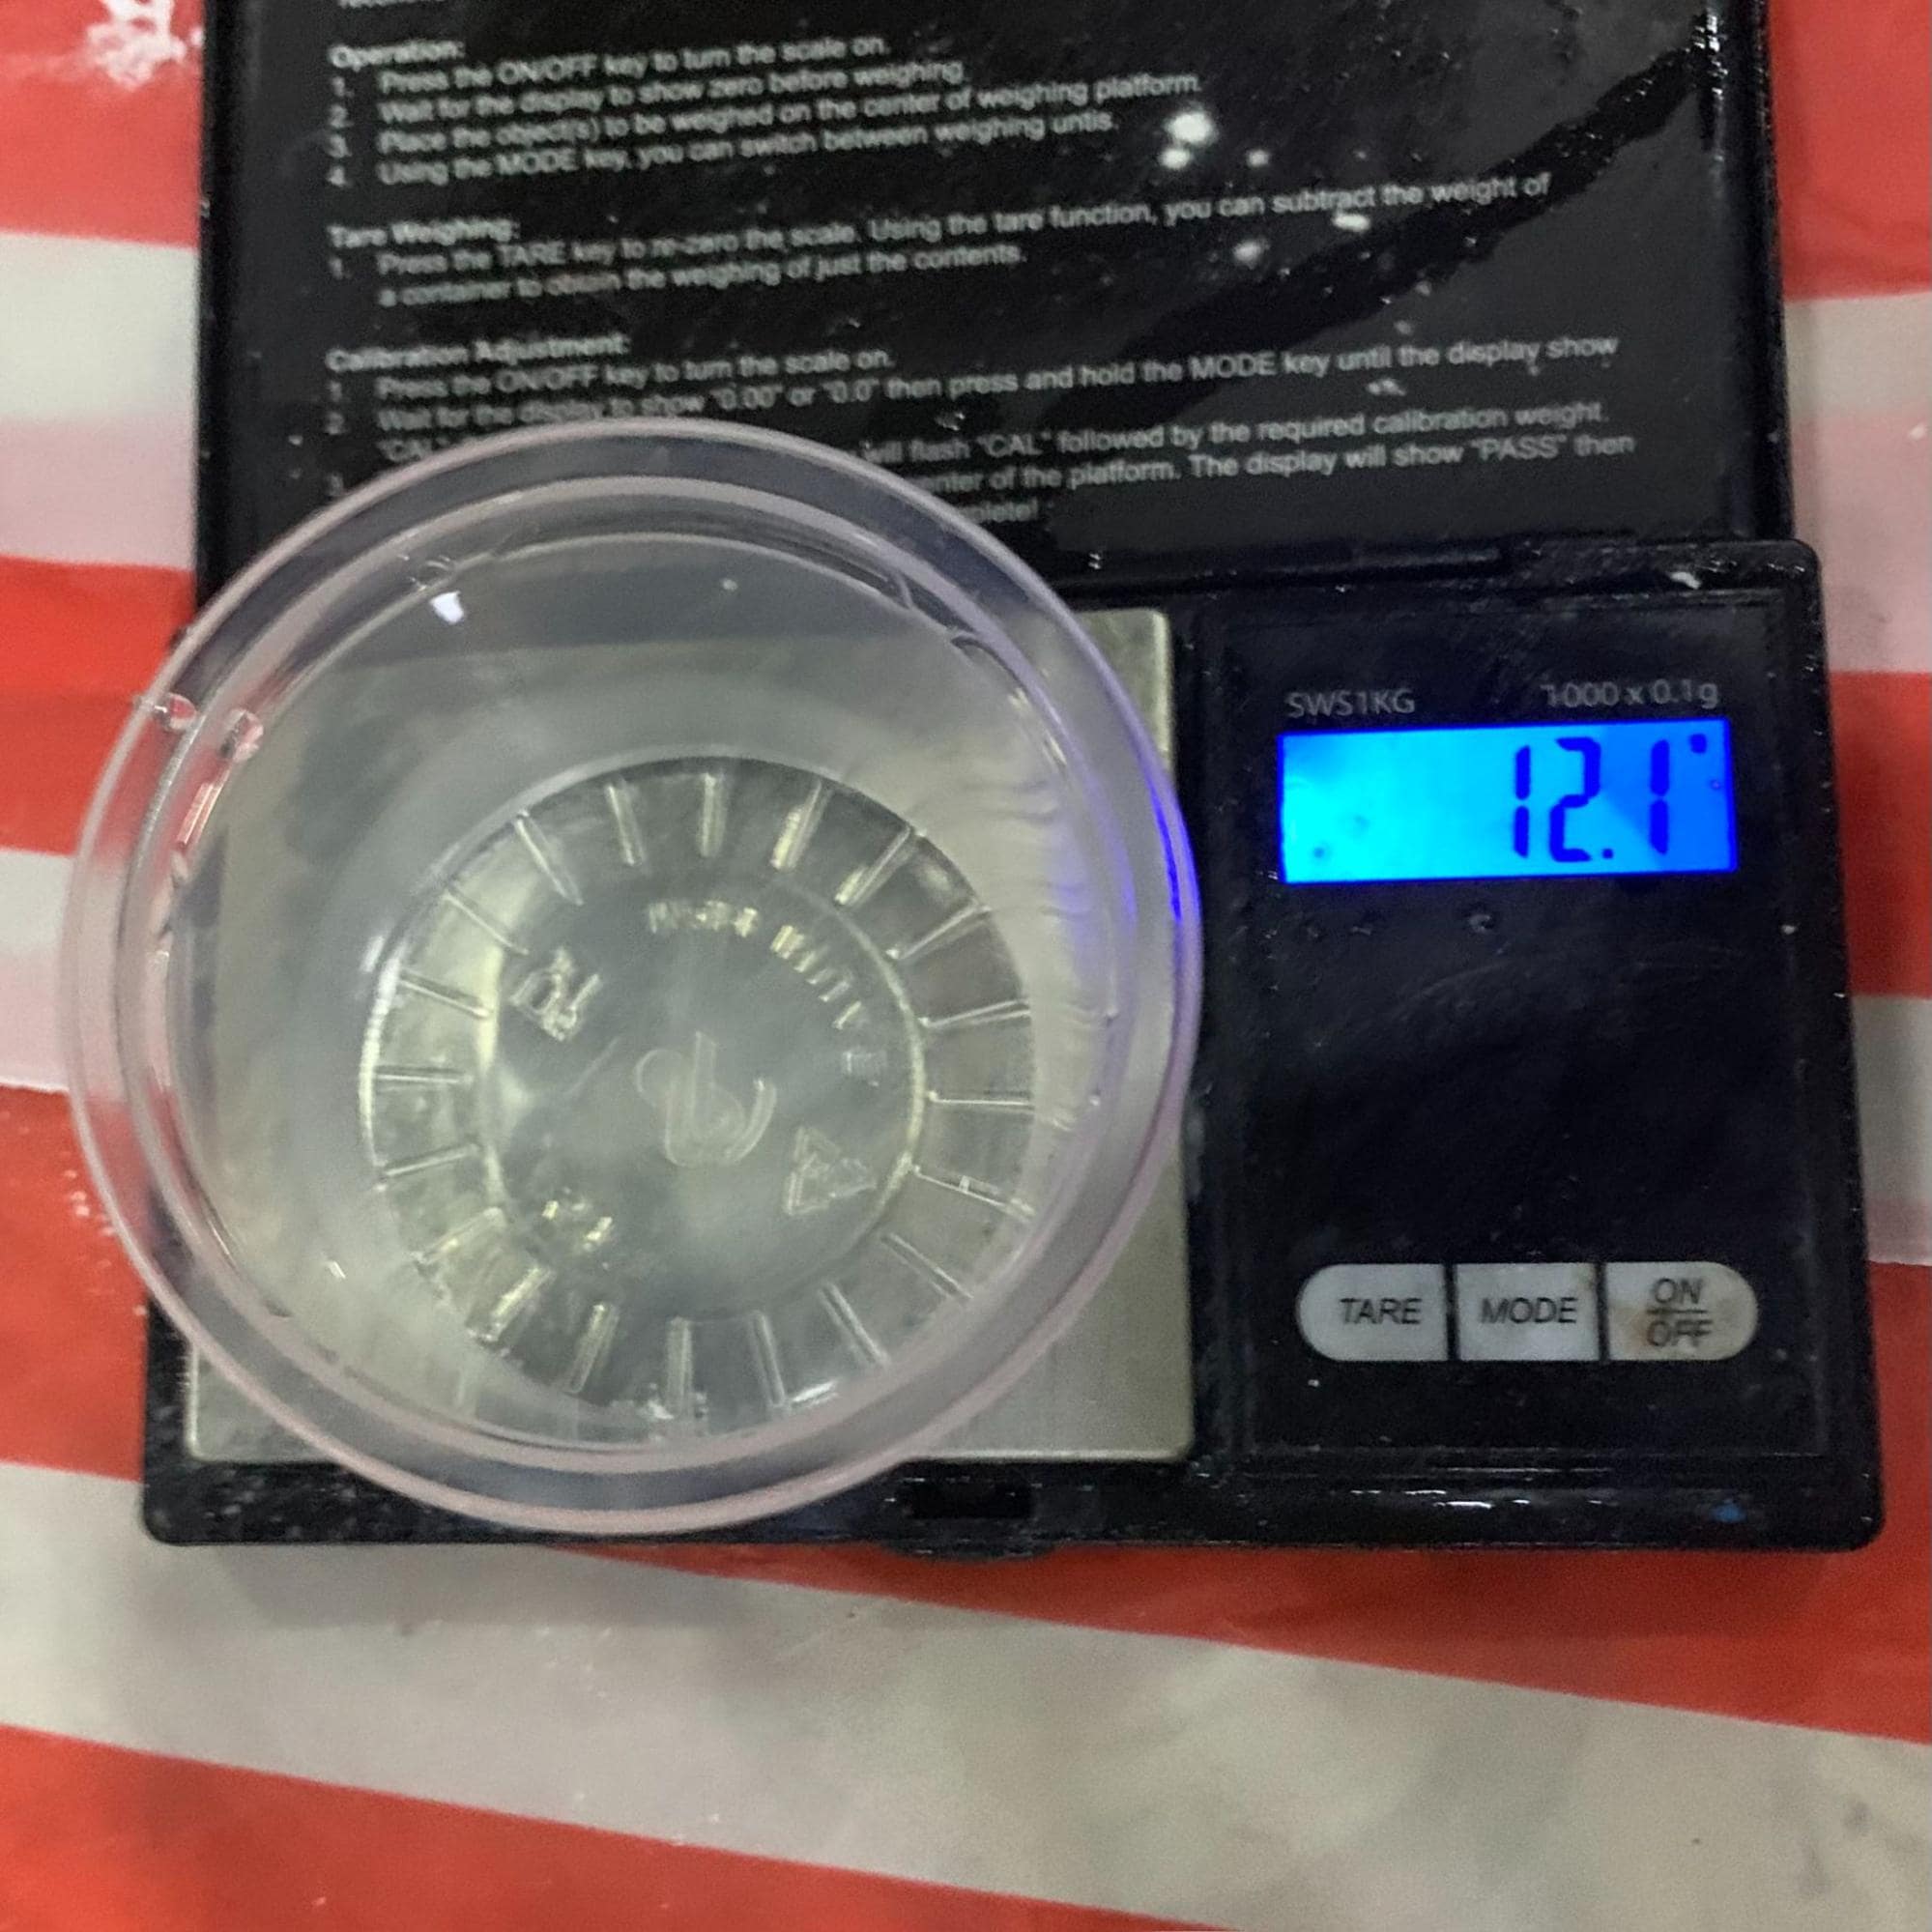
1-First we added the water ( 10 g)
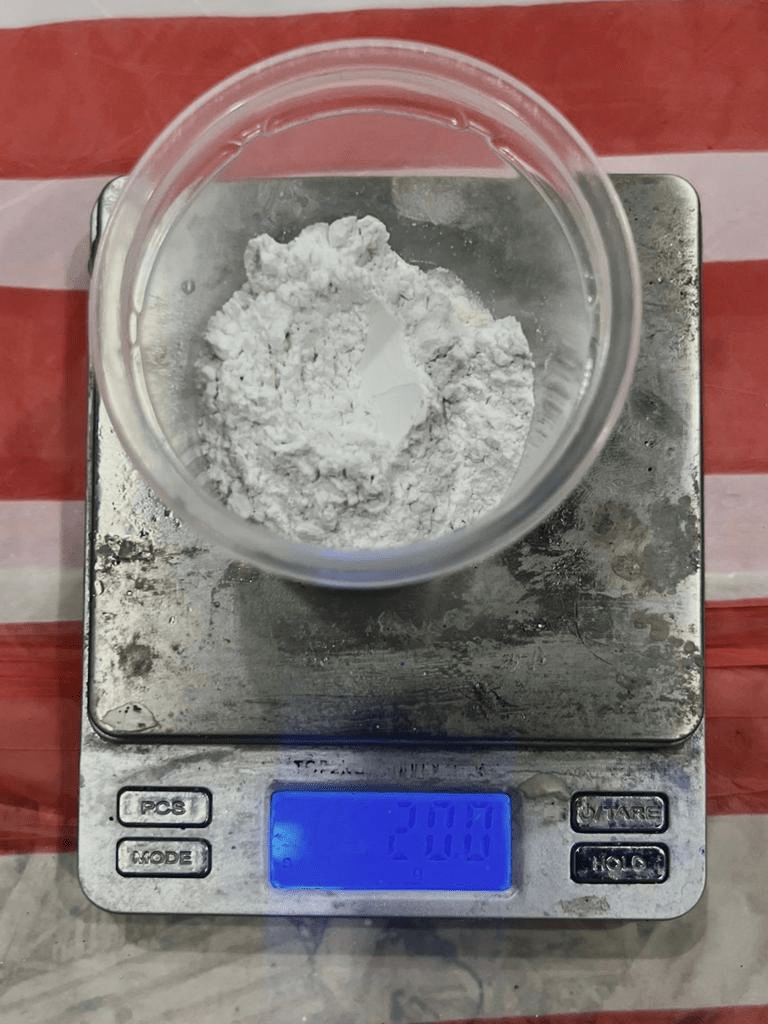
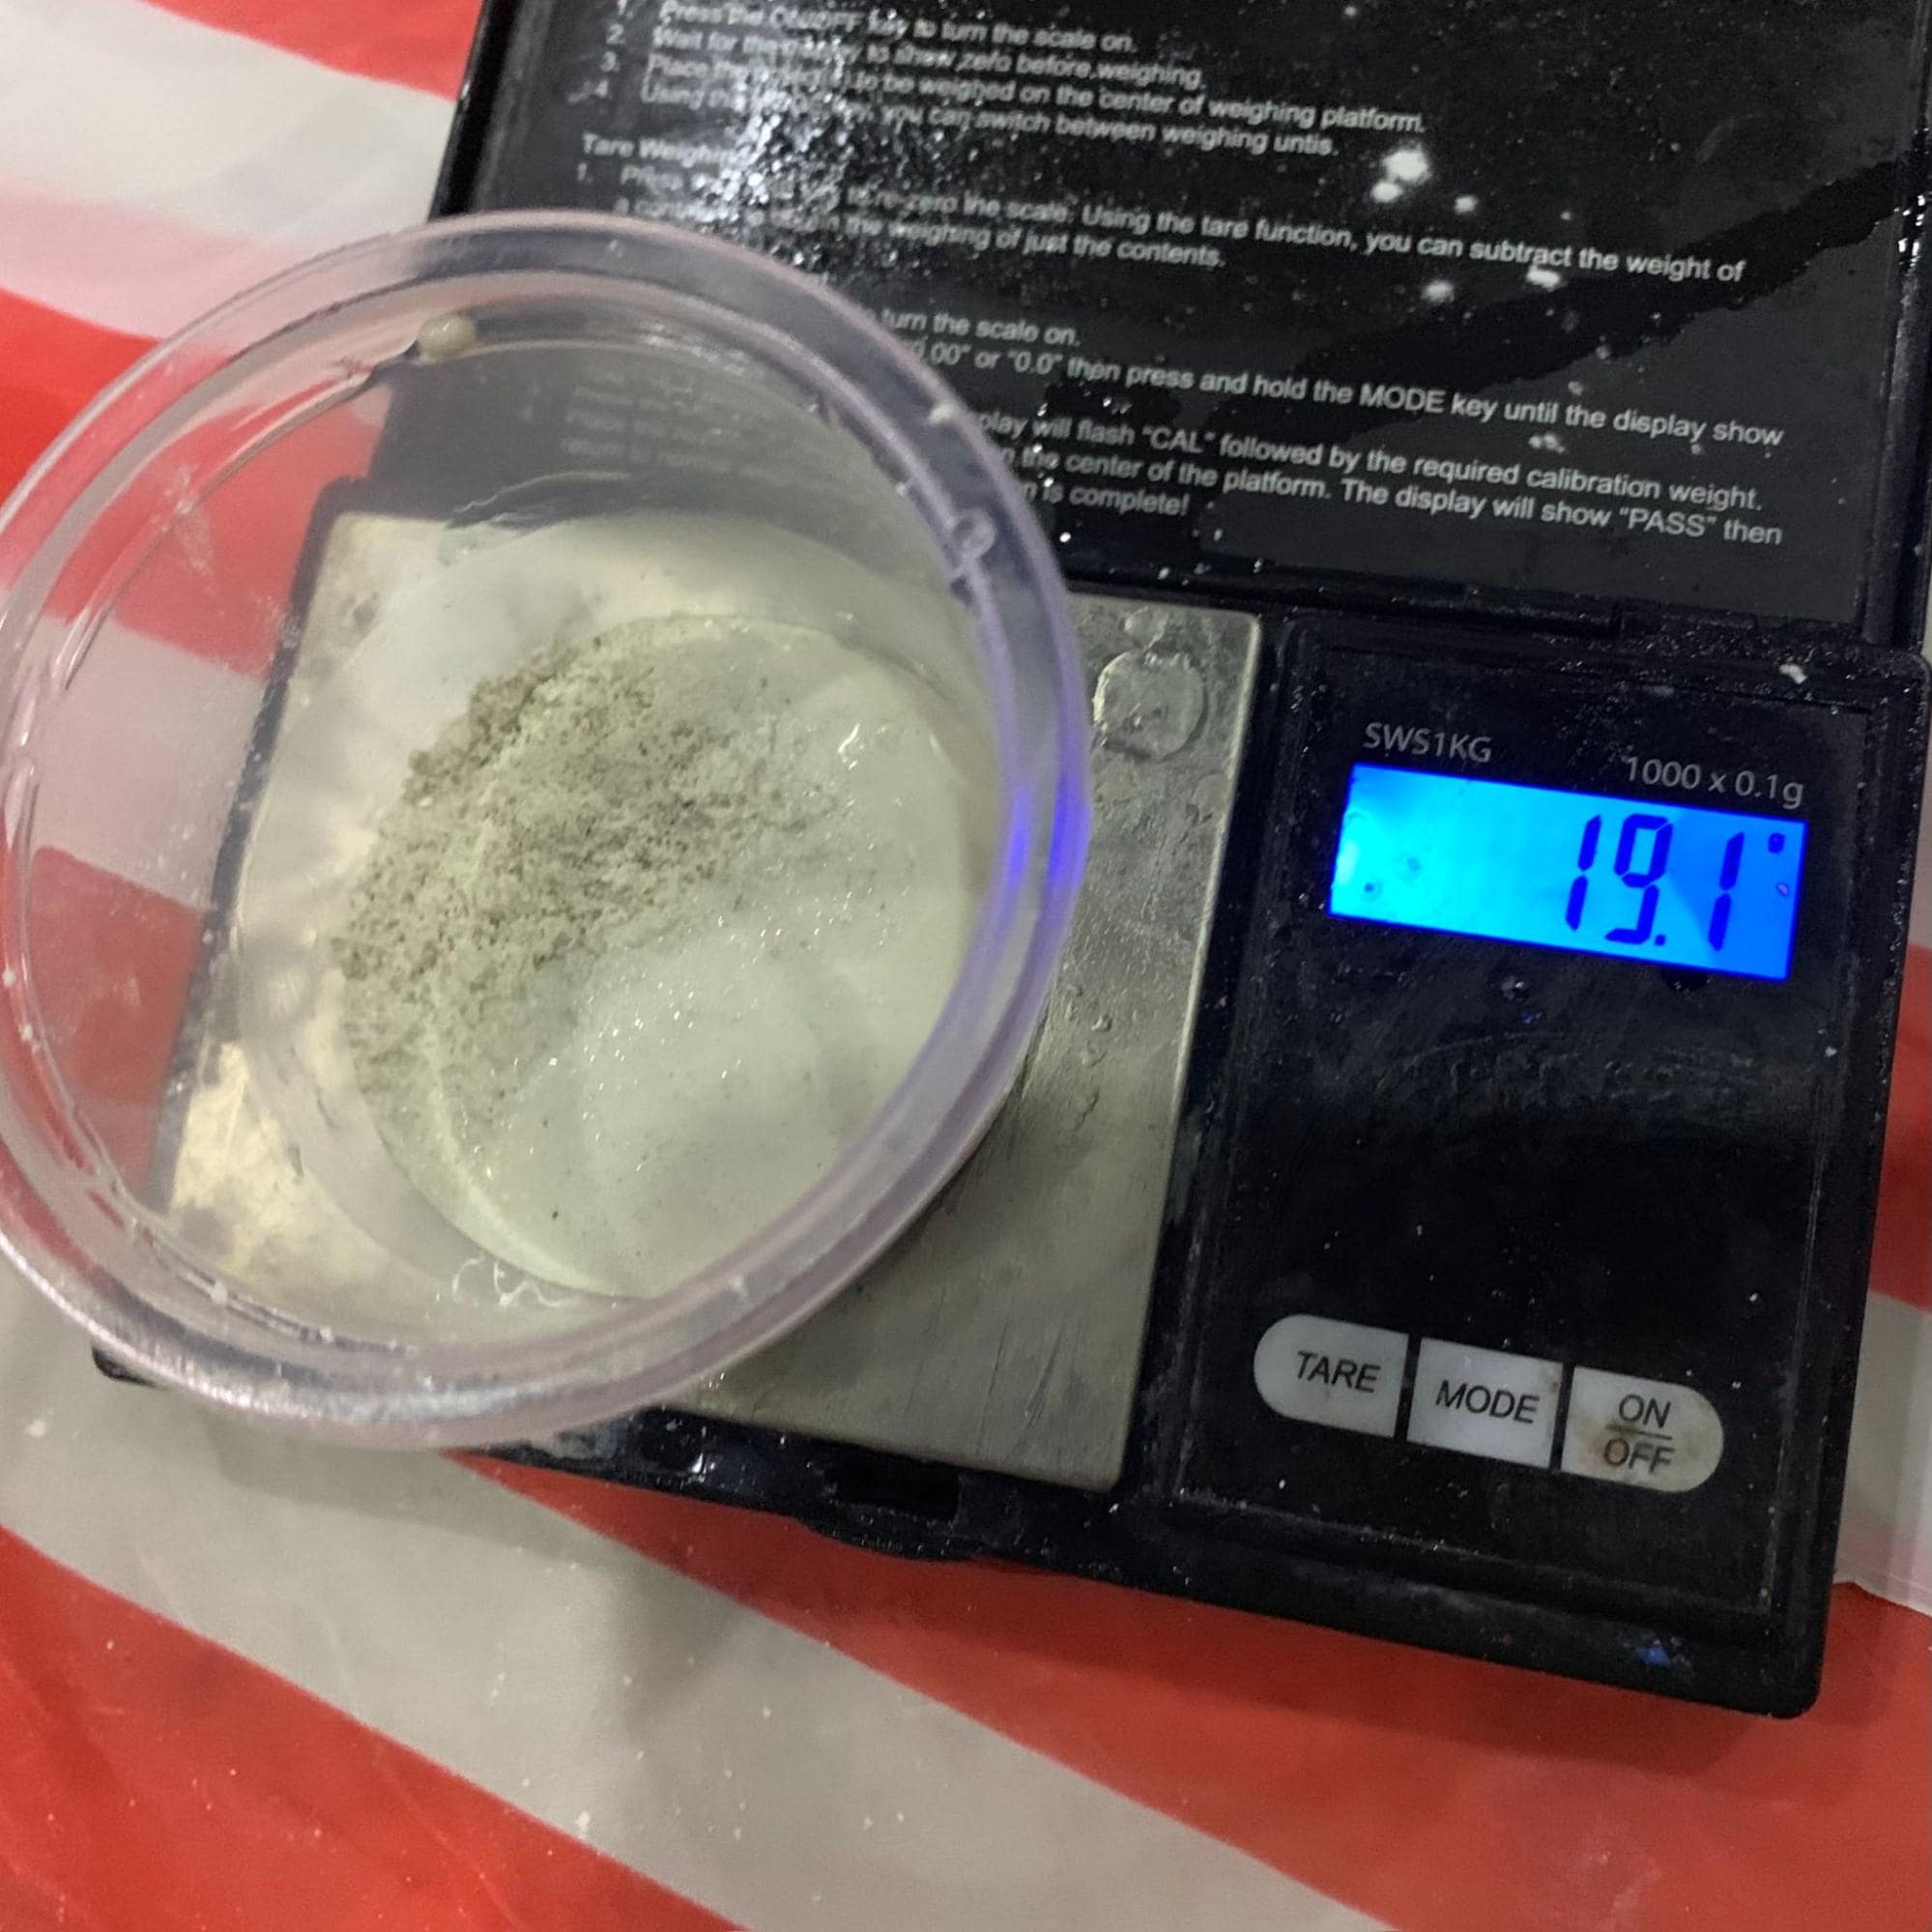
2-Then we added 20 g of the mix then we mixed them using a spoon.
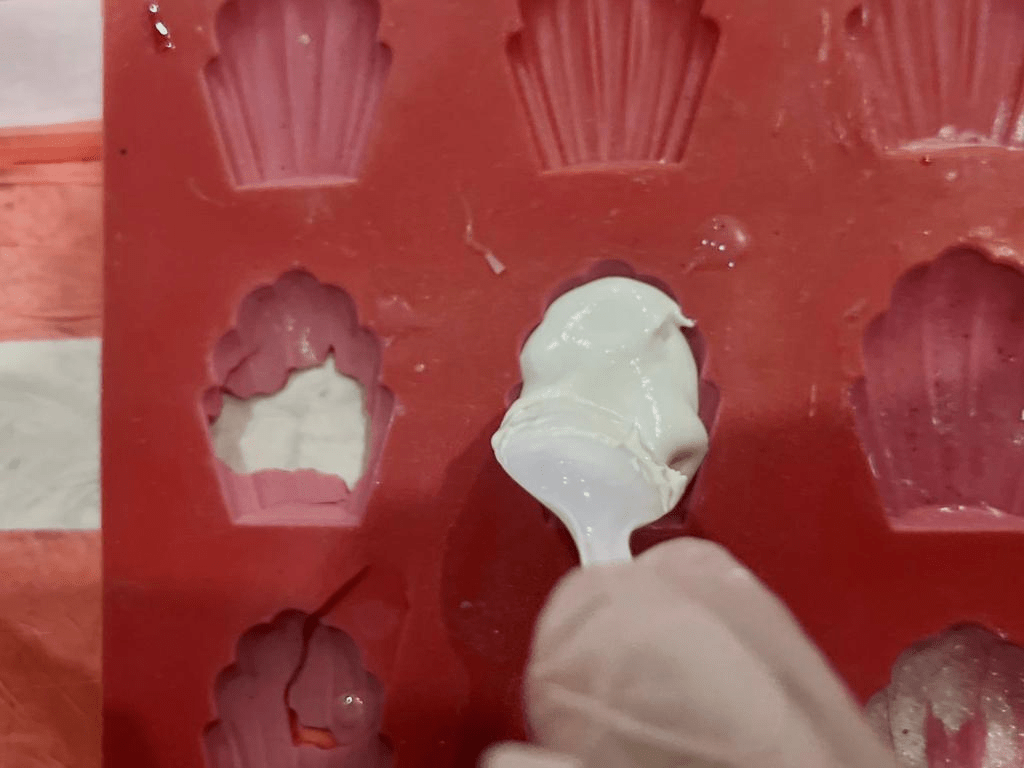
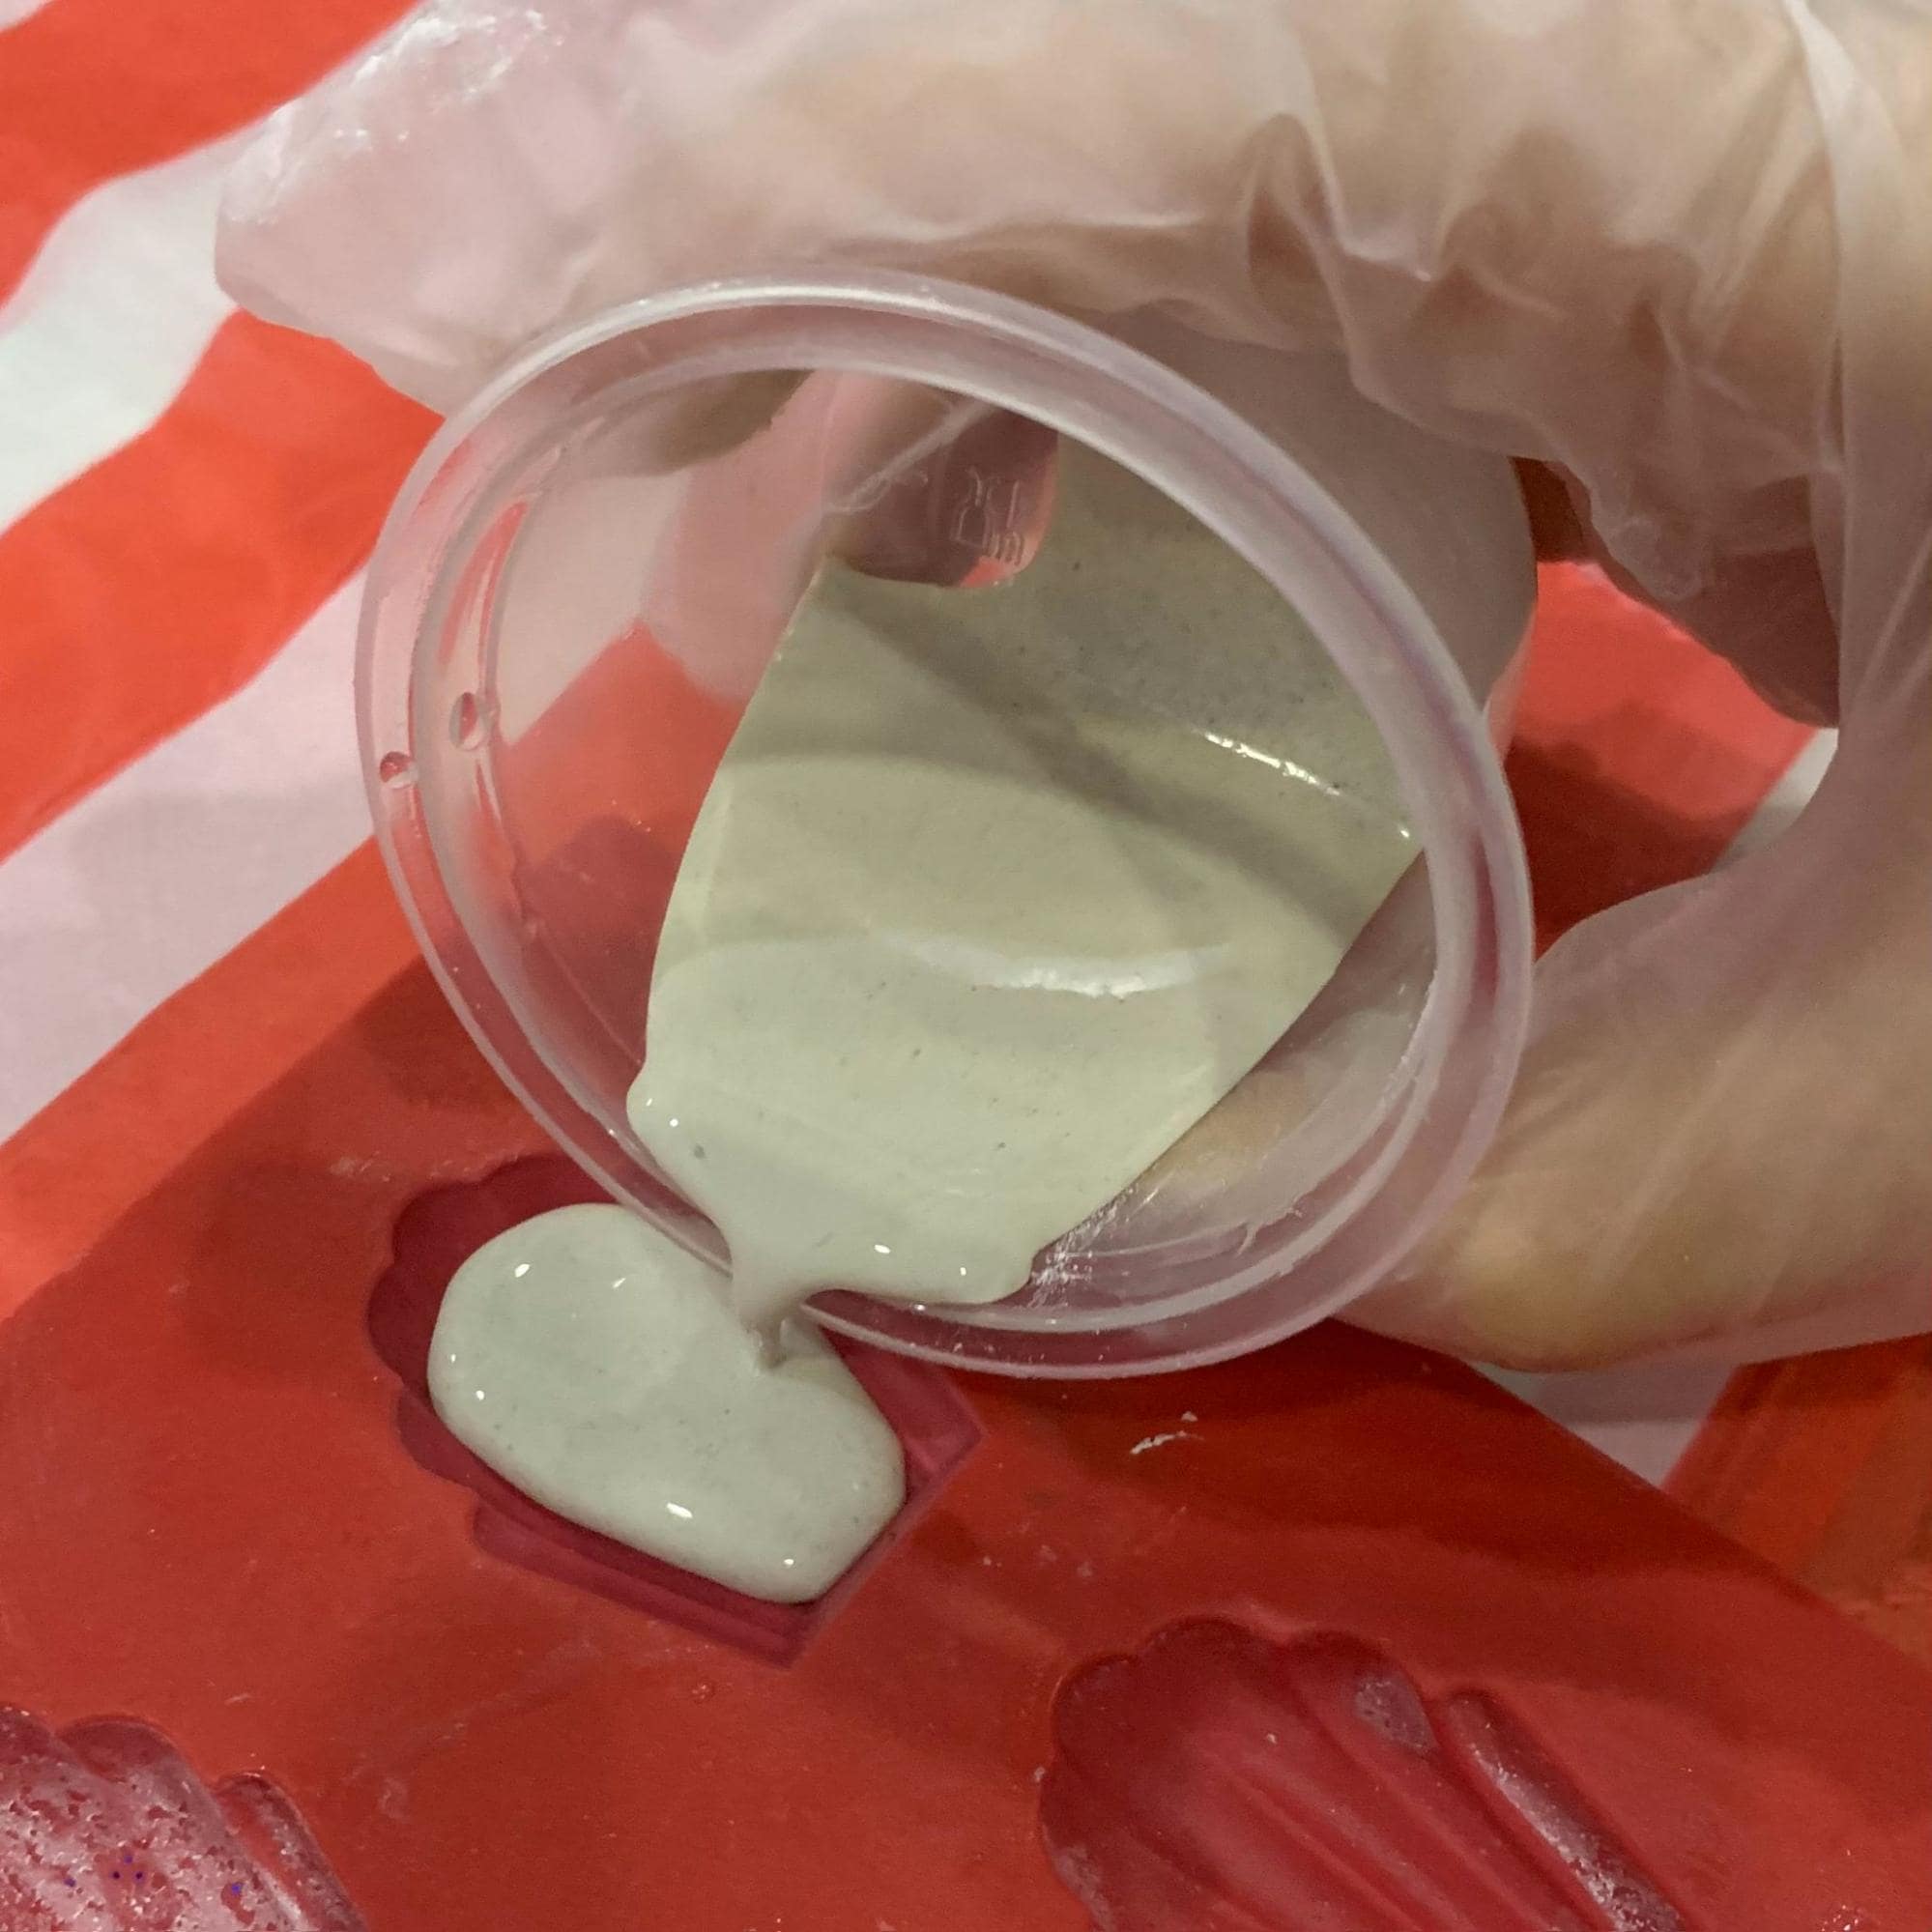
3-Lastly we added the mixture to the cast
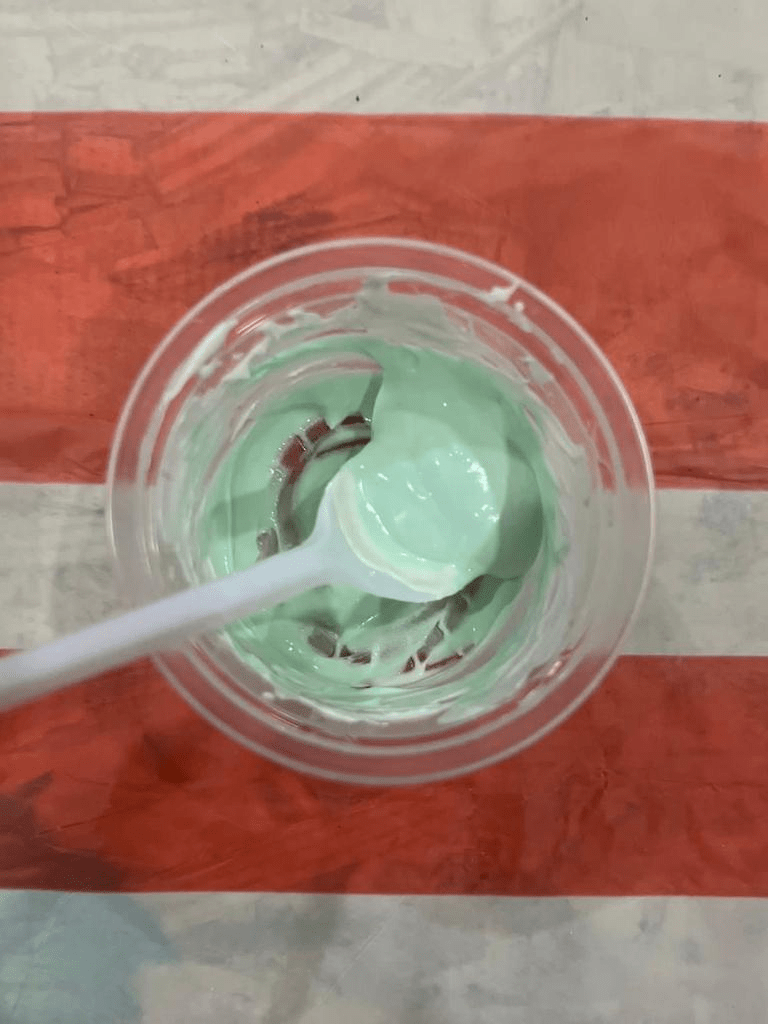
4-We had more of the mixture, so we experimented with it by adding acrylic paint
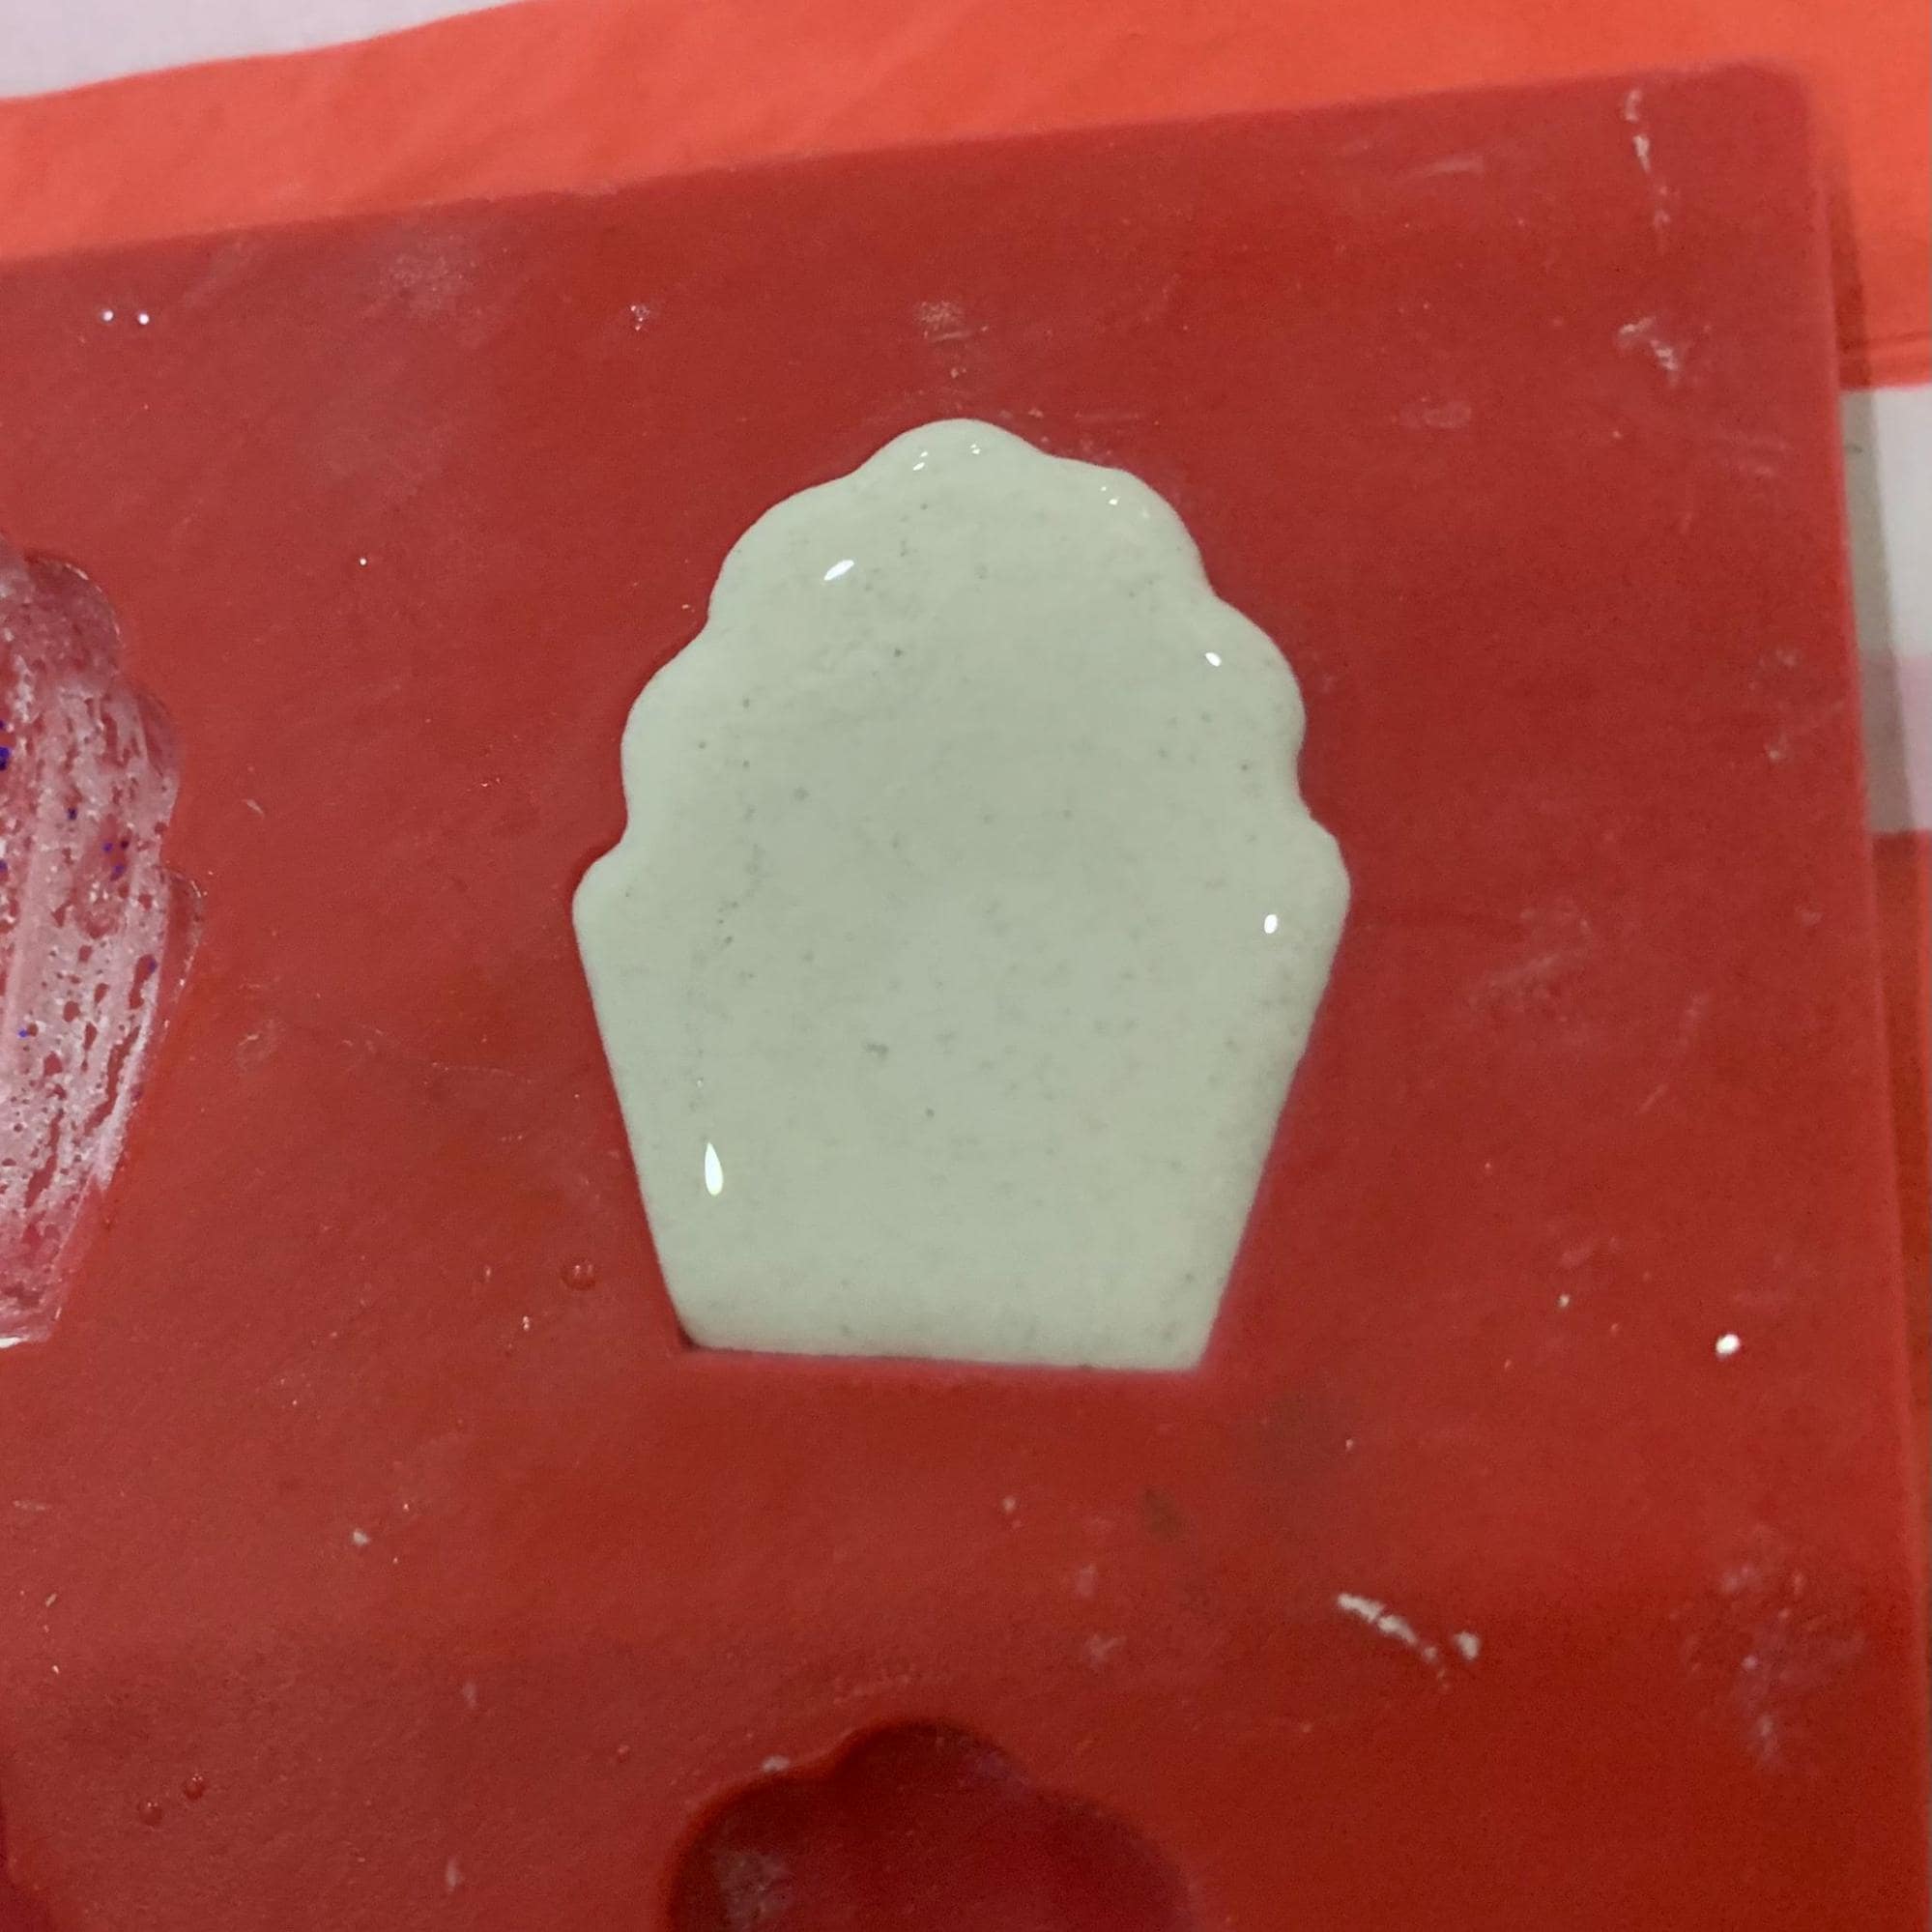
5-We added the green mixture as well.
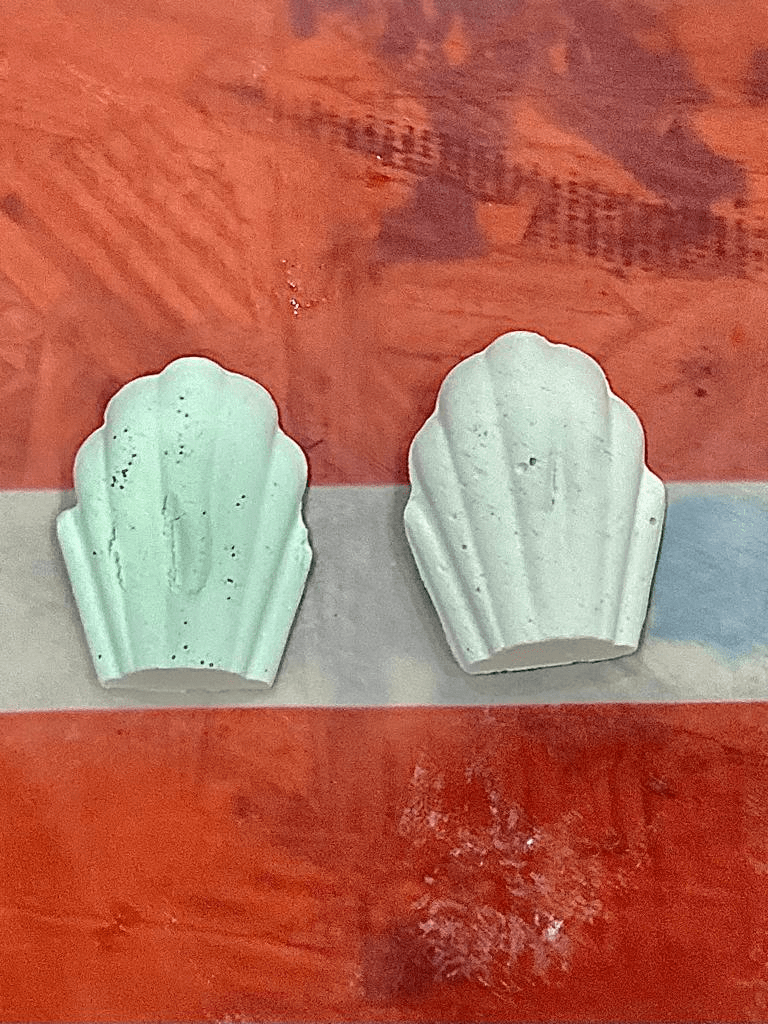
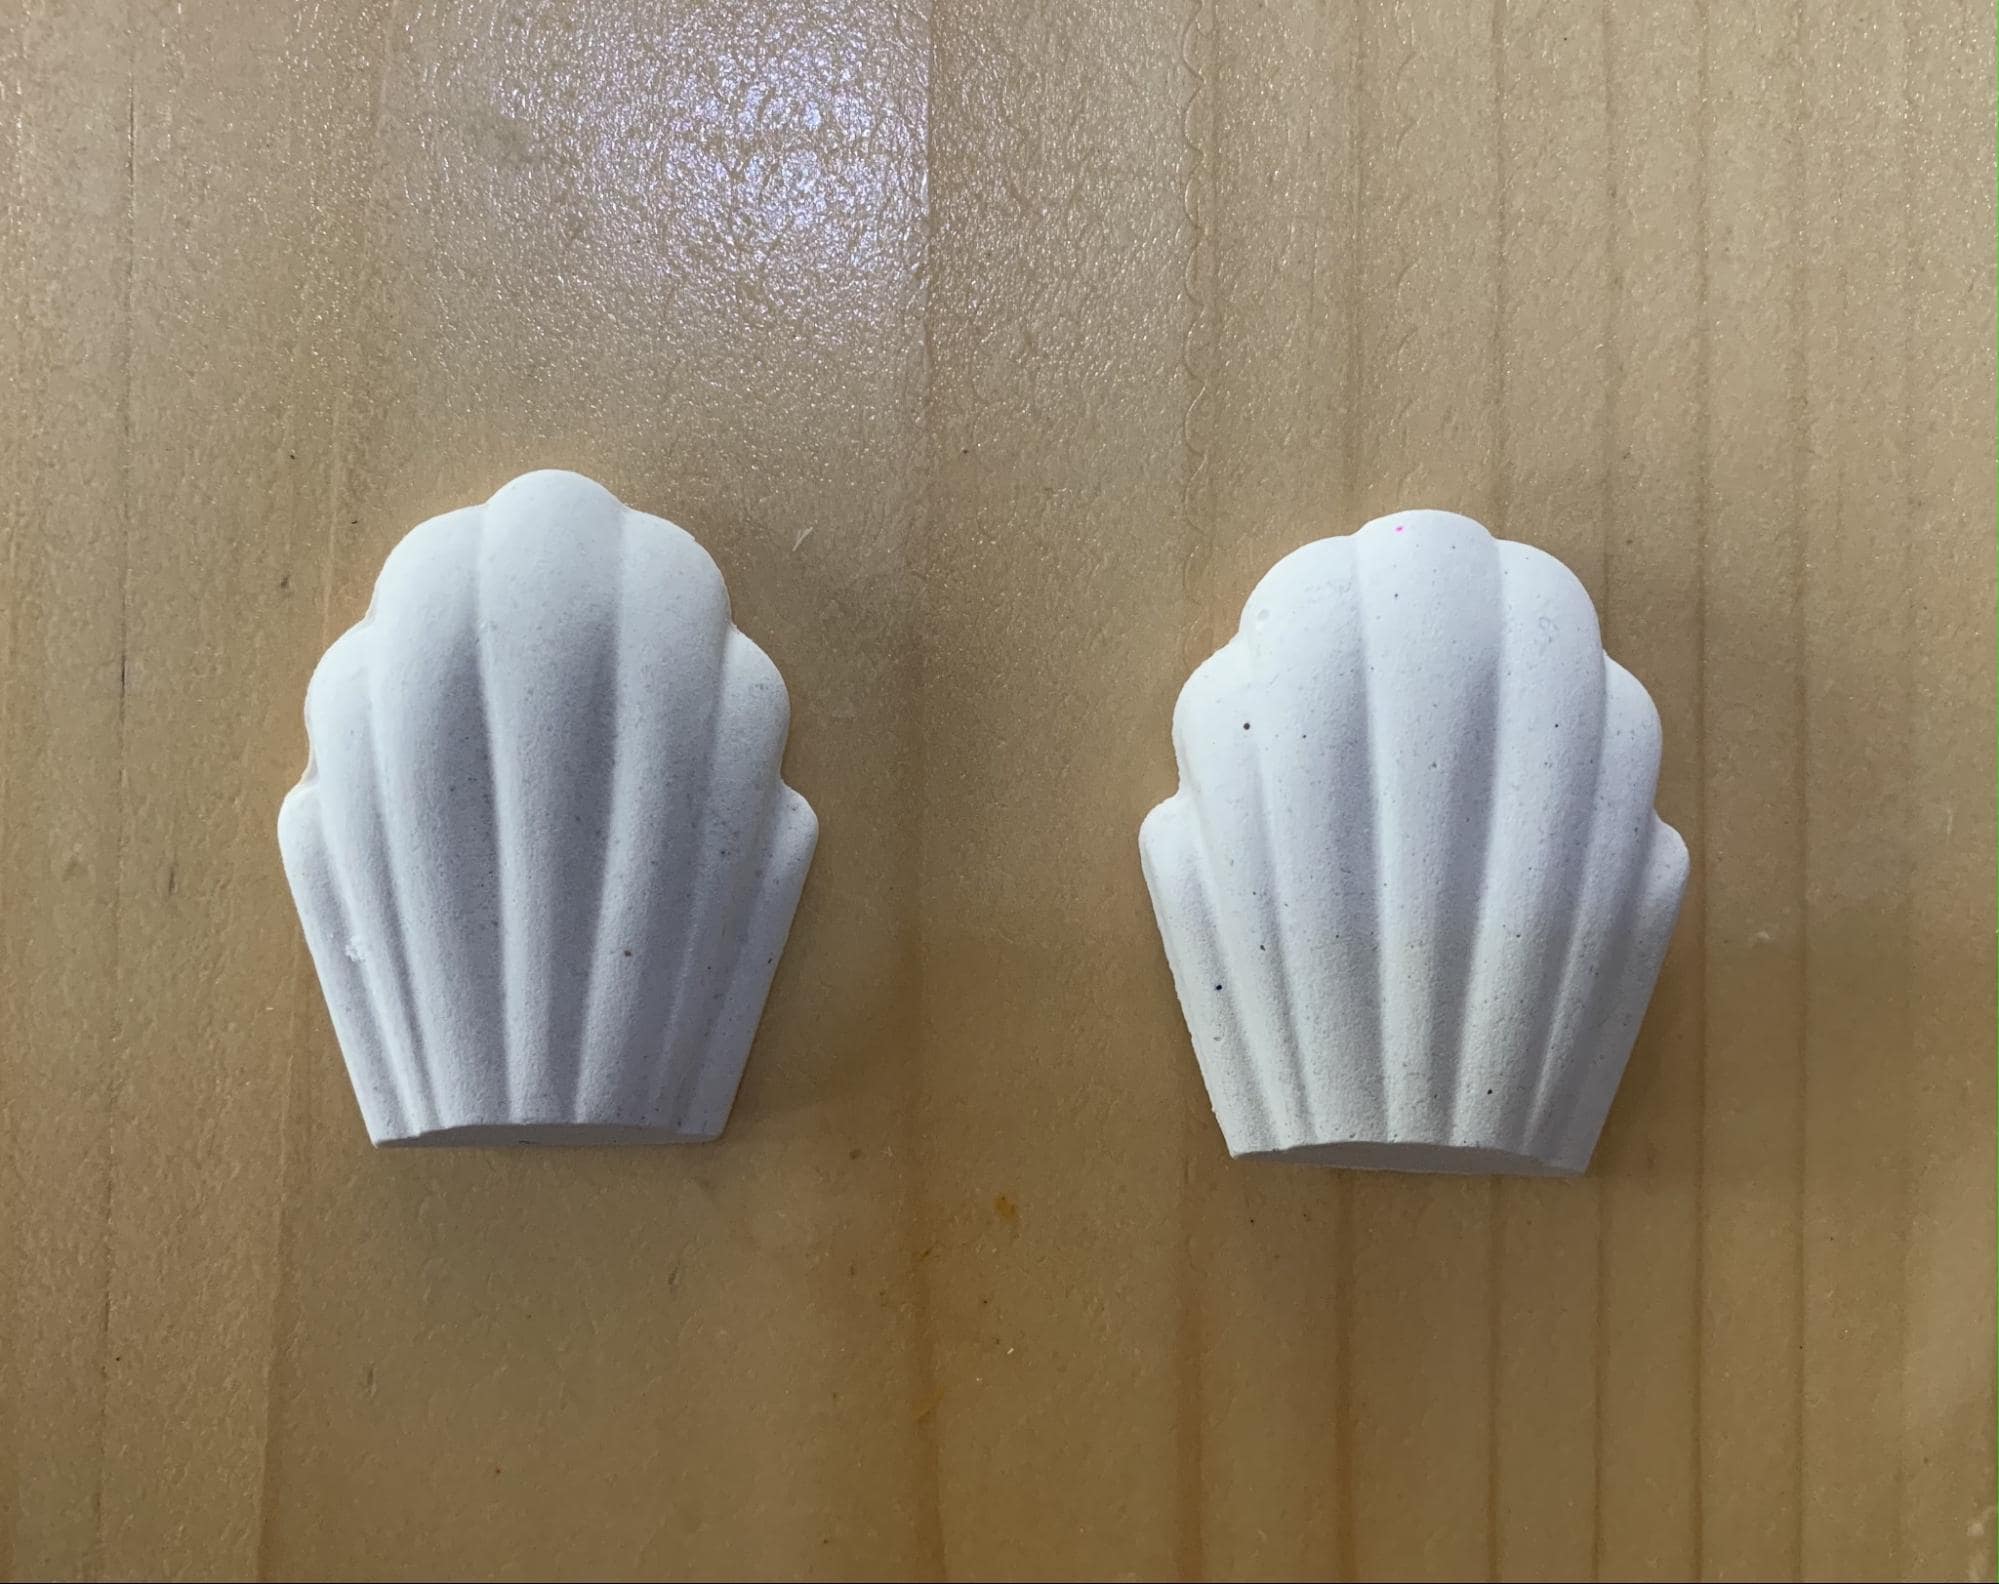
Result pictures:
Your opinion (advantages and disadvantages):
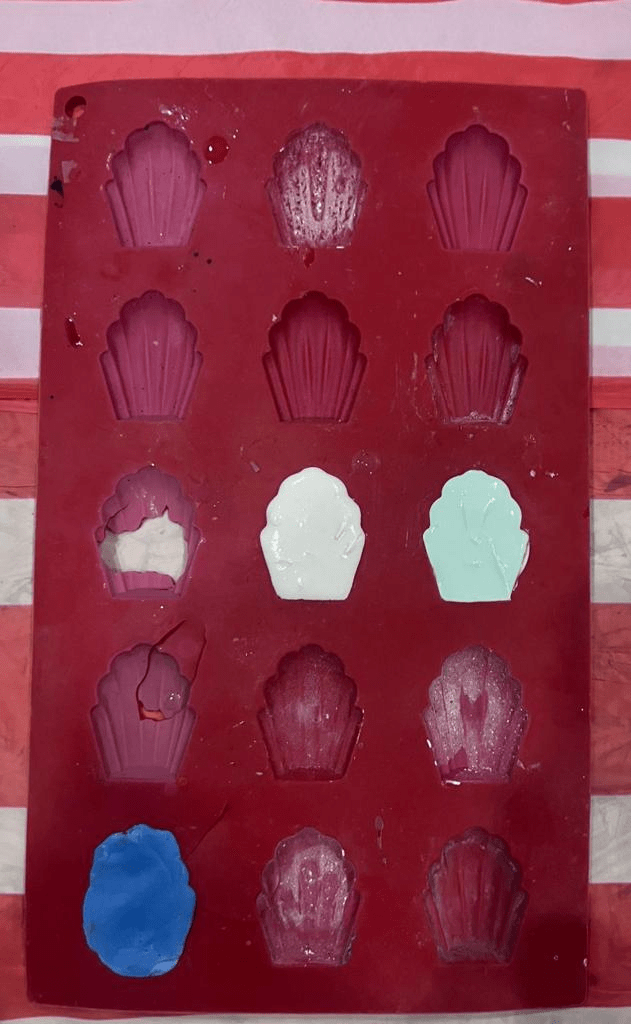
As you can see, the original one (white) came out very good, and in good shape, while the green one is a bit weaker and it also chipped on the side while we were trying to remove it. We concluded that the acrylic paint might have weakened the mixture or caused issues with the ratio.
Overall, gypsum is very easy to work with but you have to be careful while dealing with it after it dried because it might be damaged easily.
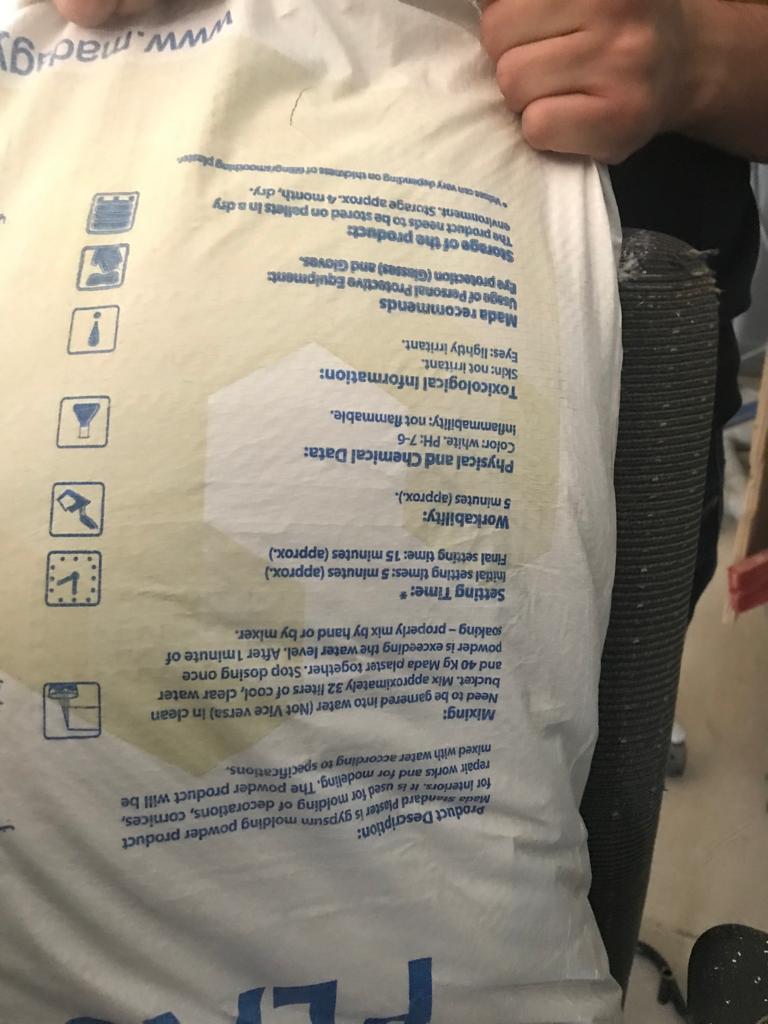
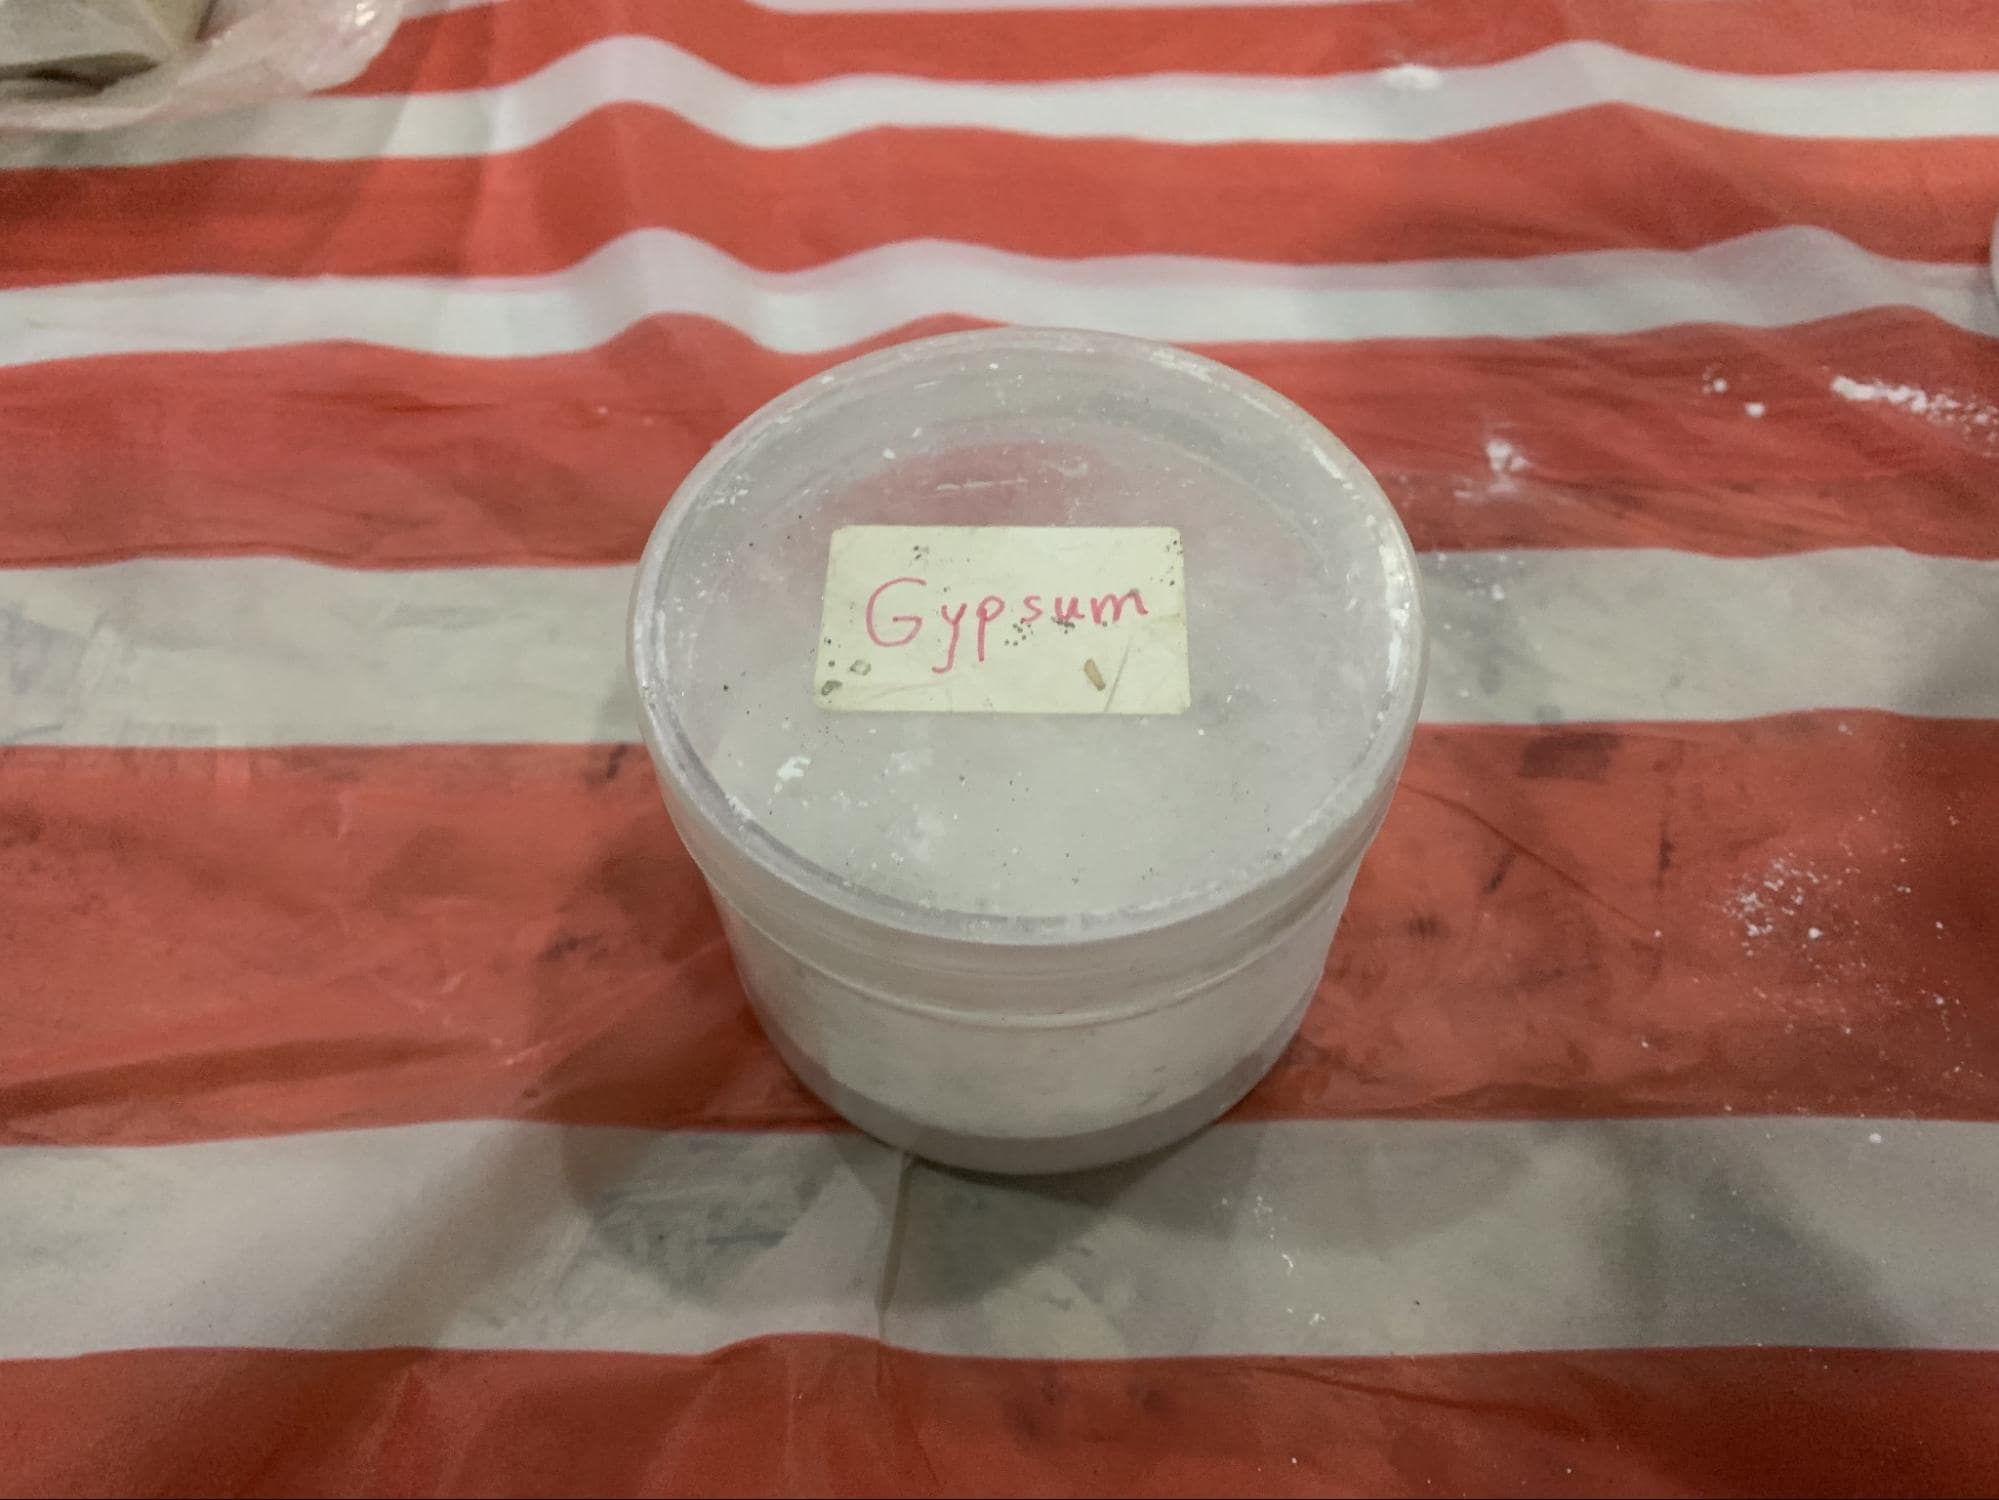
Material name: Gypsum
Picture:
Safety:
Non-toxic, non-flammable and non-irritating to skin, but slightly irritating to eyes. Wear eye protection glasses and gloves when handling. In case of contact with eyes, wash thoroughly with water.
Process steps:
Mix ratio (if applicable):
Work time | Cure time |
5 minutes approxim | 5-15 min approx |
Cured material state: solid, light color concrete look
Datasheet and sources Links: https://www.madagypsum.com/
Process pictures and comments:
Result pictures:
Your opinion (advantages and disadvantages):
It is pretty easy to work with, and it cures pretty quickly too.
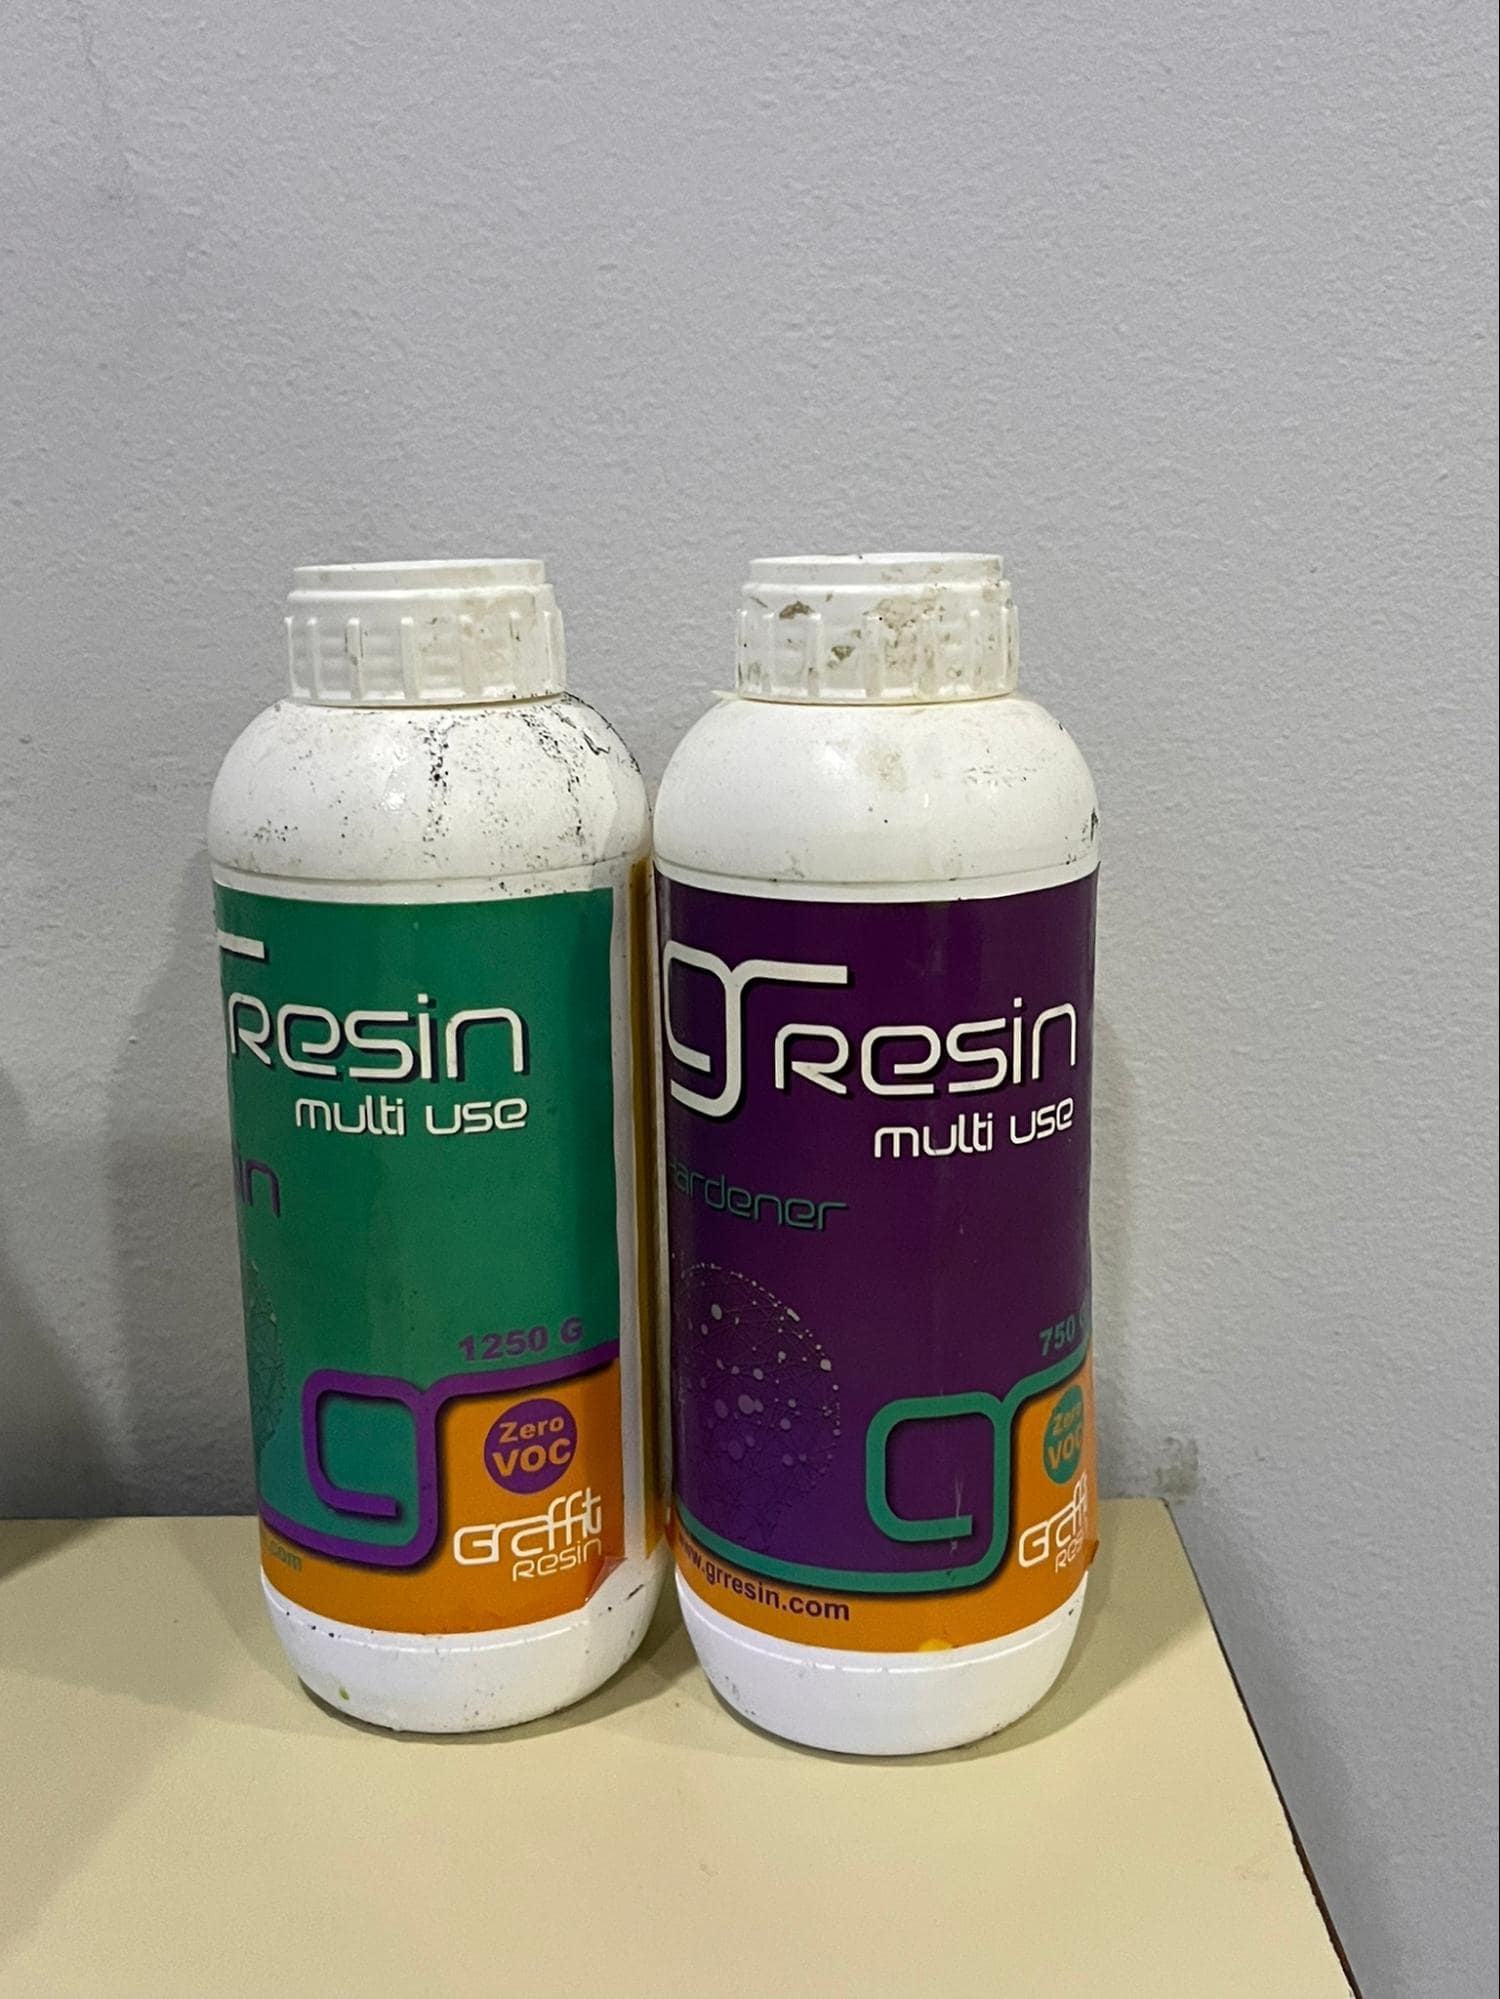
Material name: Resin
Picture:
Safety:
Although liquid 3D printing resins are toxic, potentially irritating skin and giving off harmful fumes, they are safe to use if the appropriate safety precautions are taken. Such precautions include the use of personal protective equipment like safety glasses and nitrile gloves, as well as proper disposal containers
Process steps:
Mix ratio (if applicable):
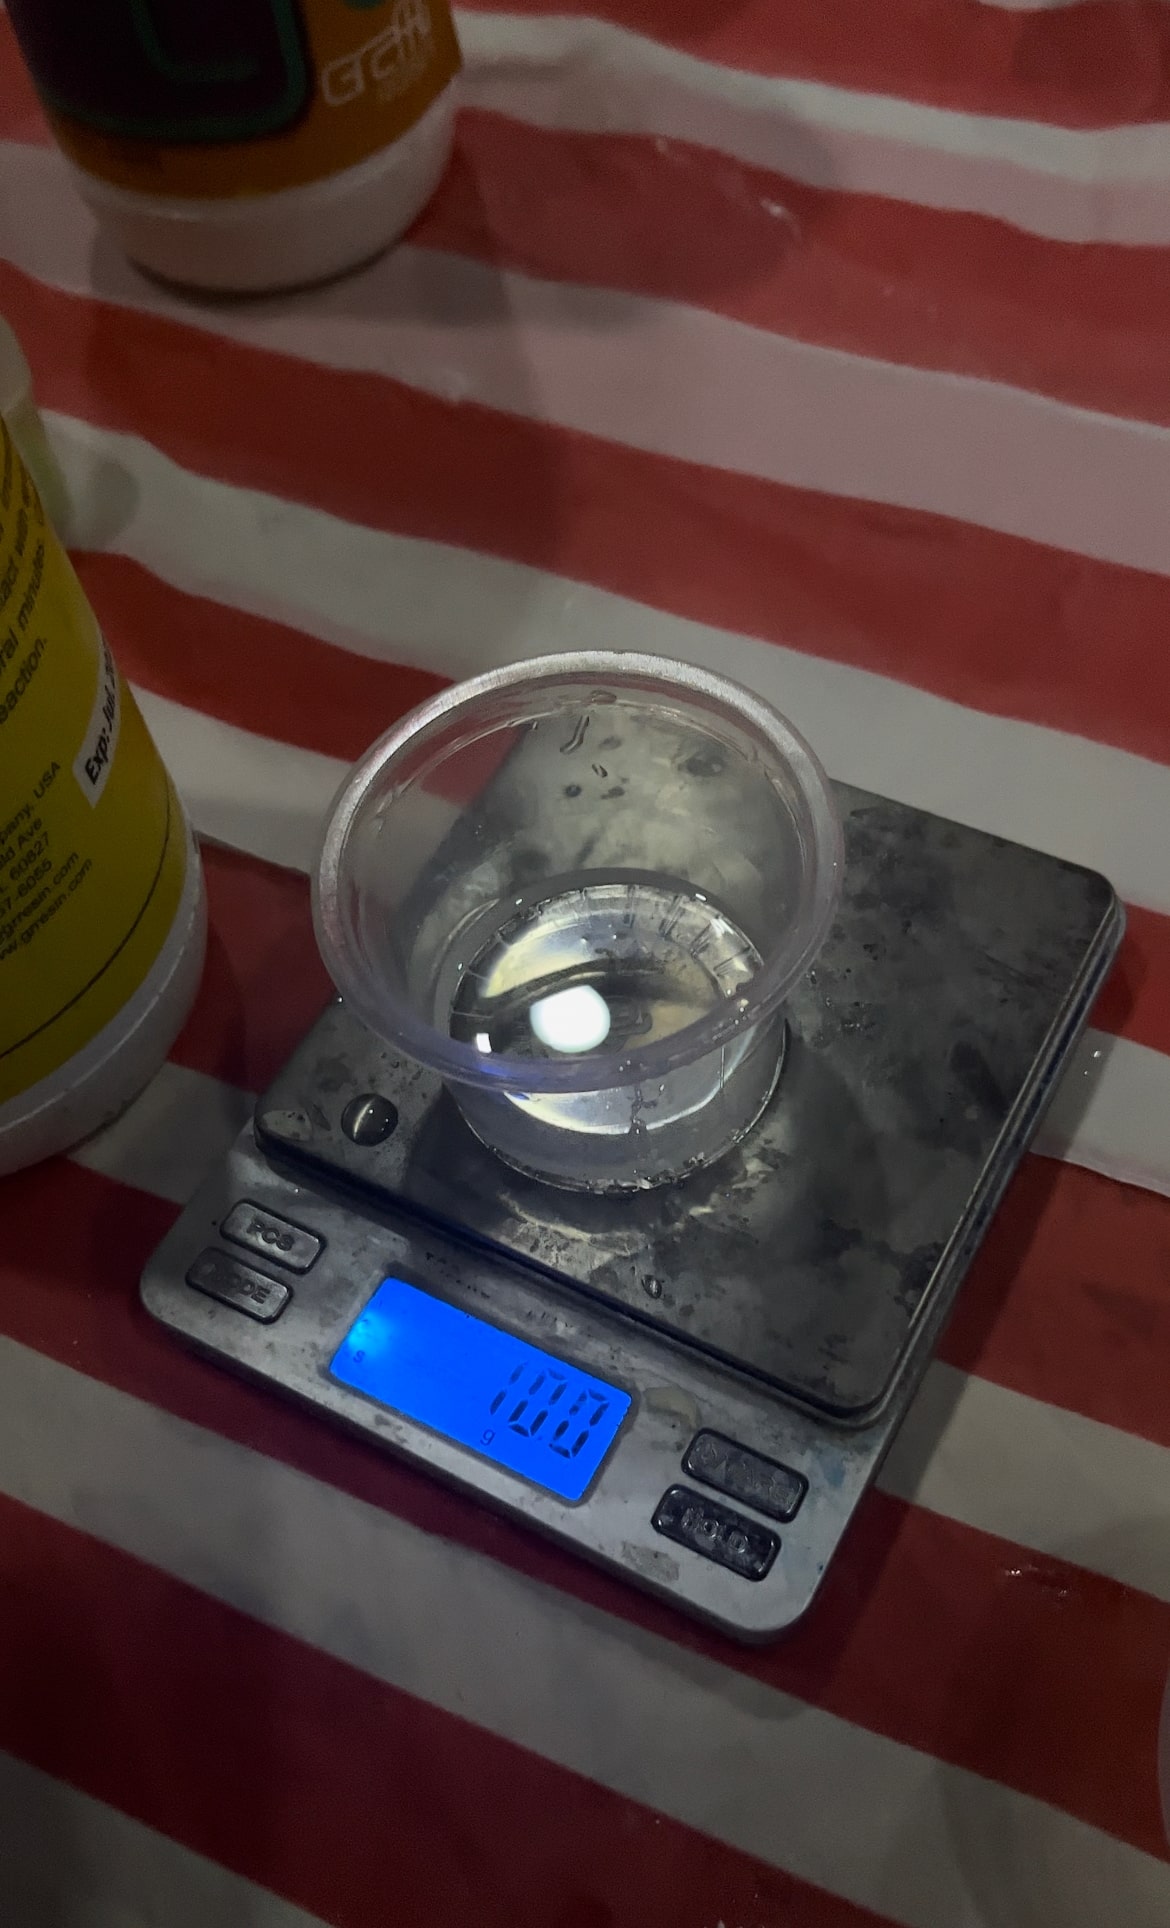
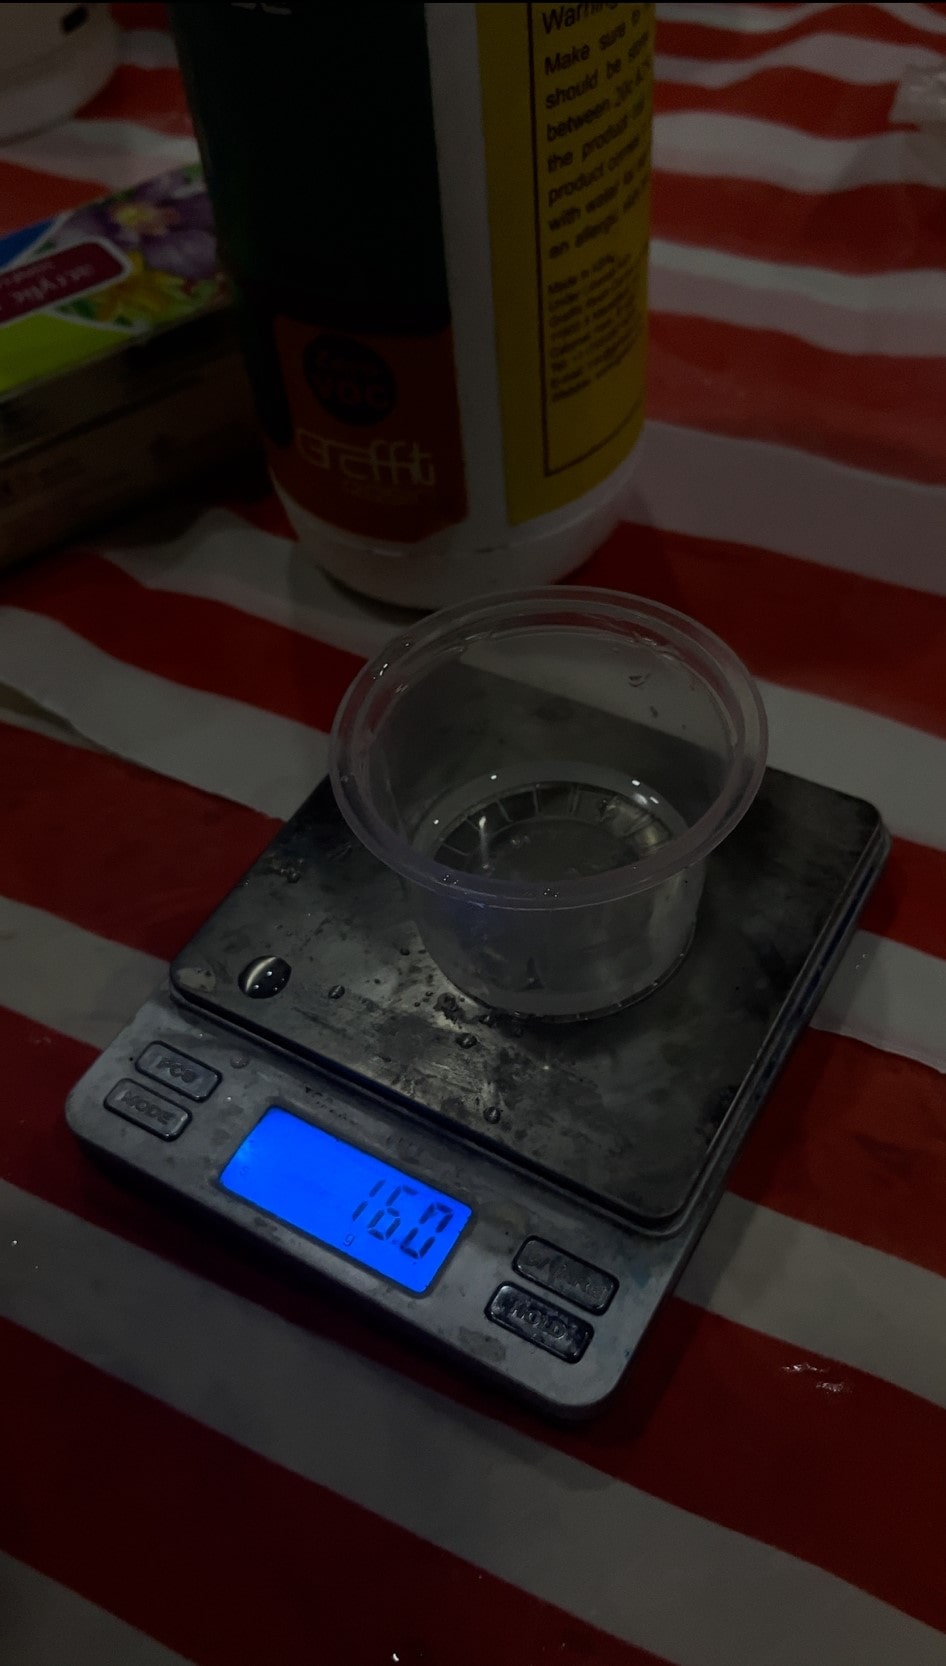
Mixing Ratio of 10:6 – Mix exact ratio of 10 grams of resin to 6 grams of hardener
Work time | Cure time |
45 Minutes | 2-24 hours (depending on the thickness and size of the project). |
Cured material state:
Datasheet and sources Links:
Process pictures and comments:
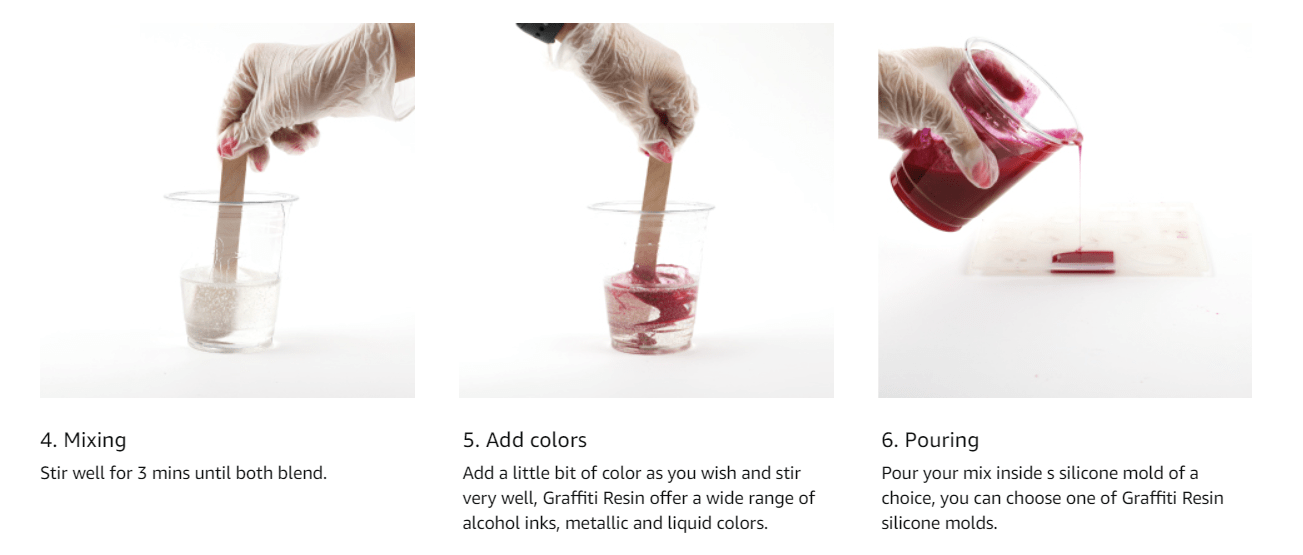
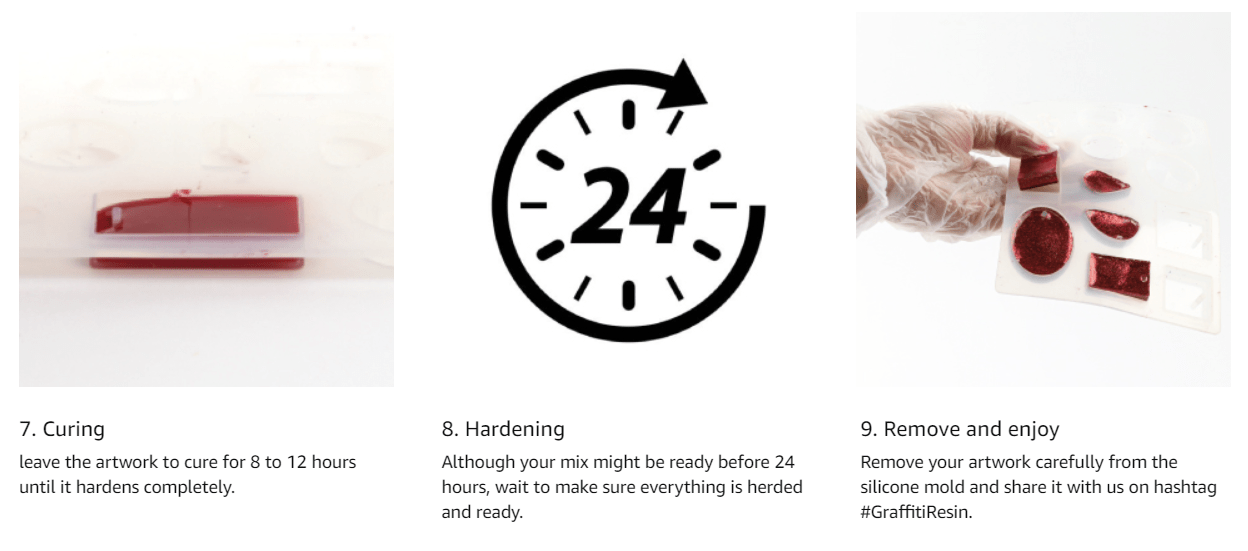
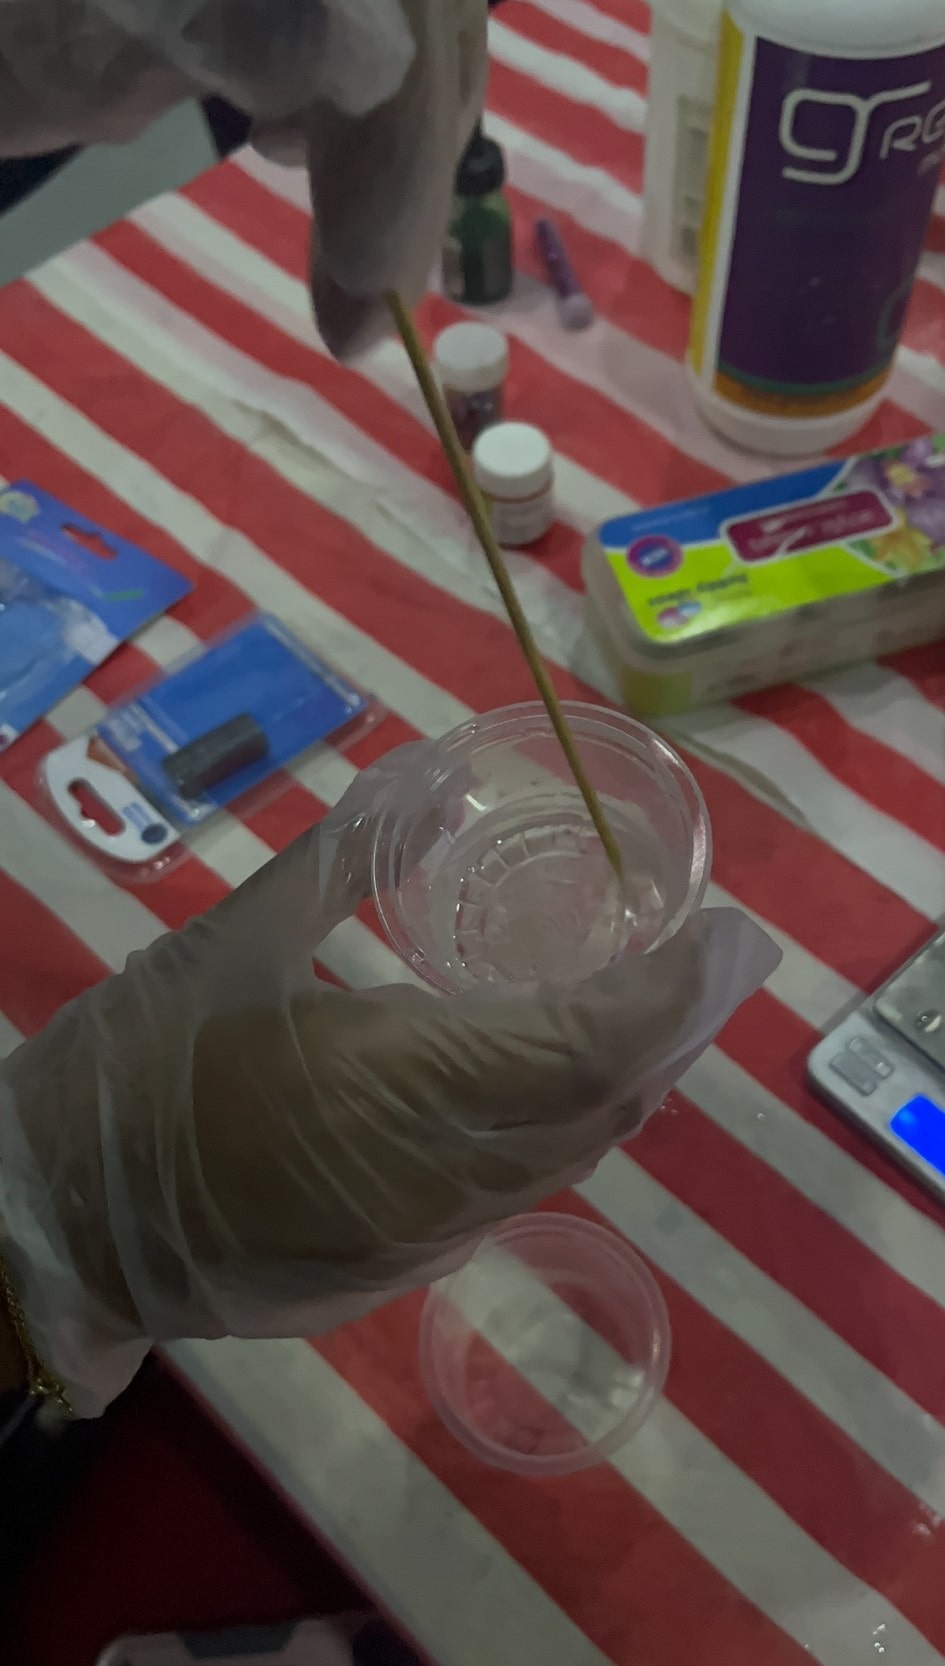
1. We started by Mixing exact ratio of 10 grams of resin to 6 grams of hardener. (make sure you use different spoon for each)
`
2. We poured the hardener into the resin and started mixing with a wooden stick.
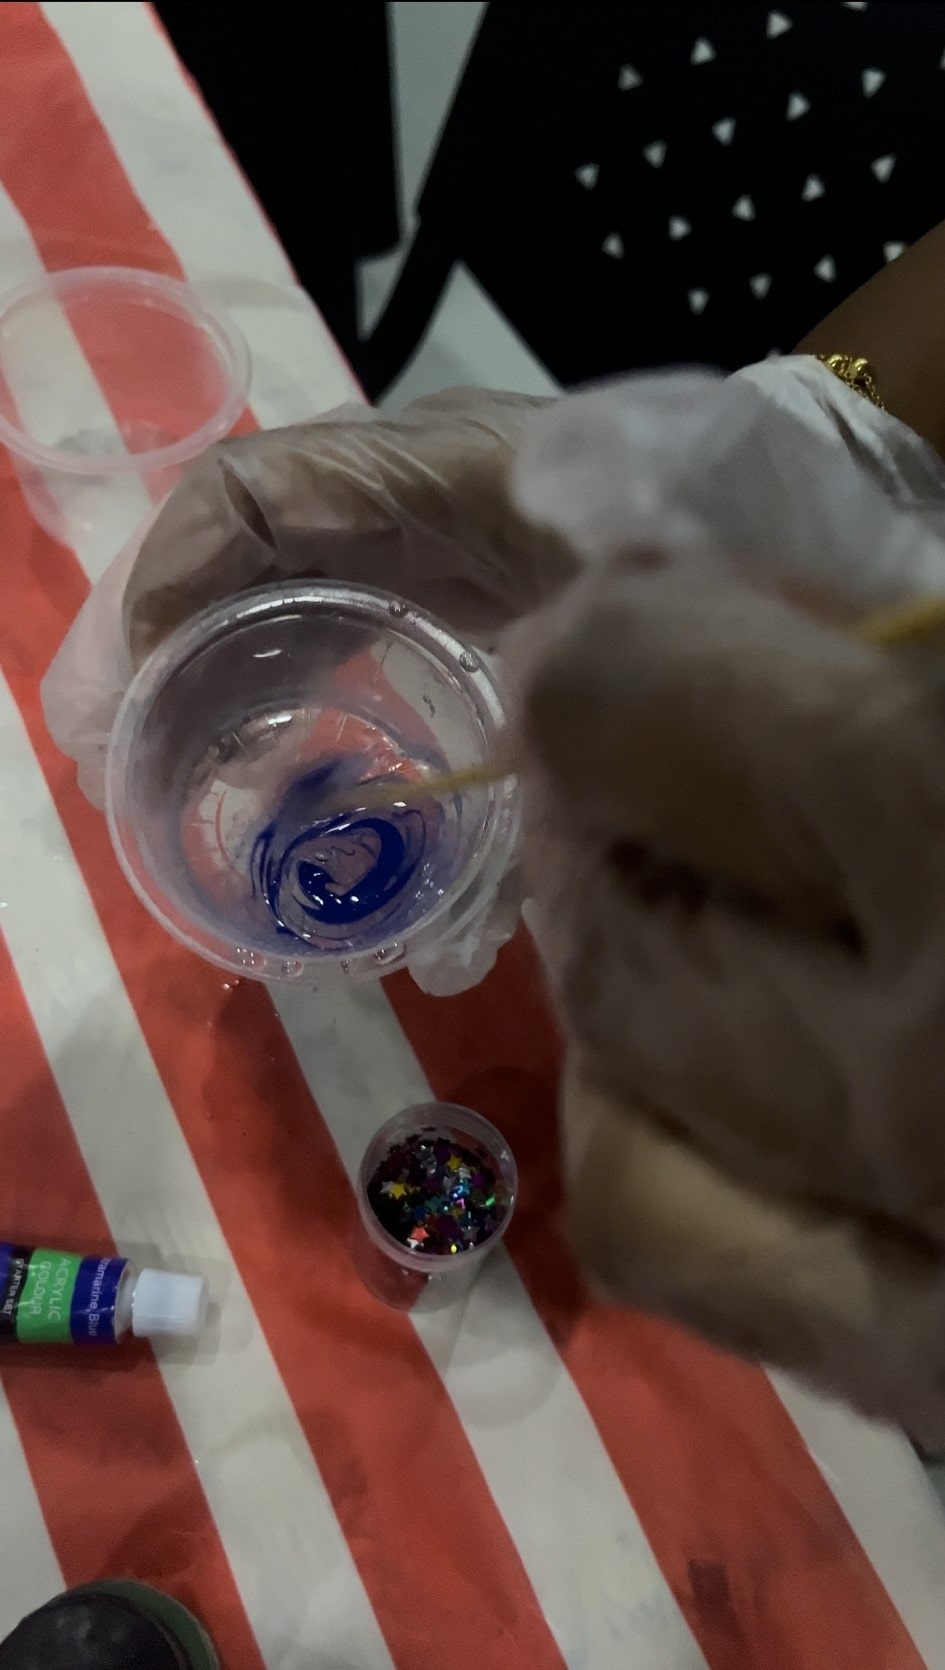
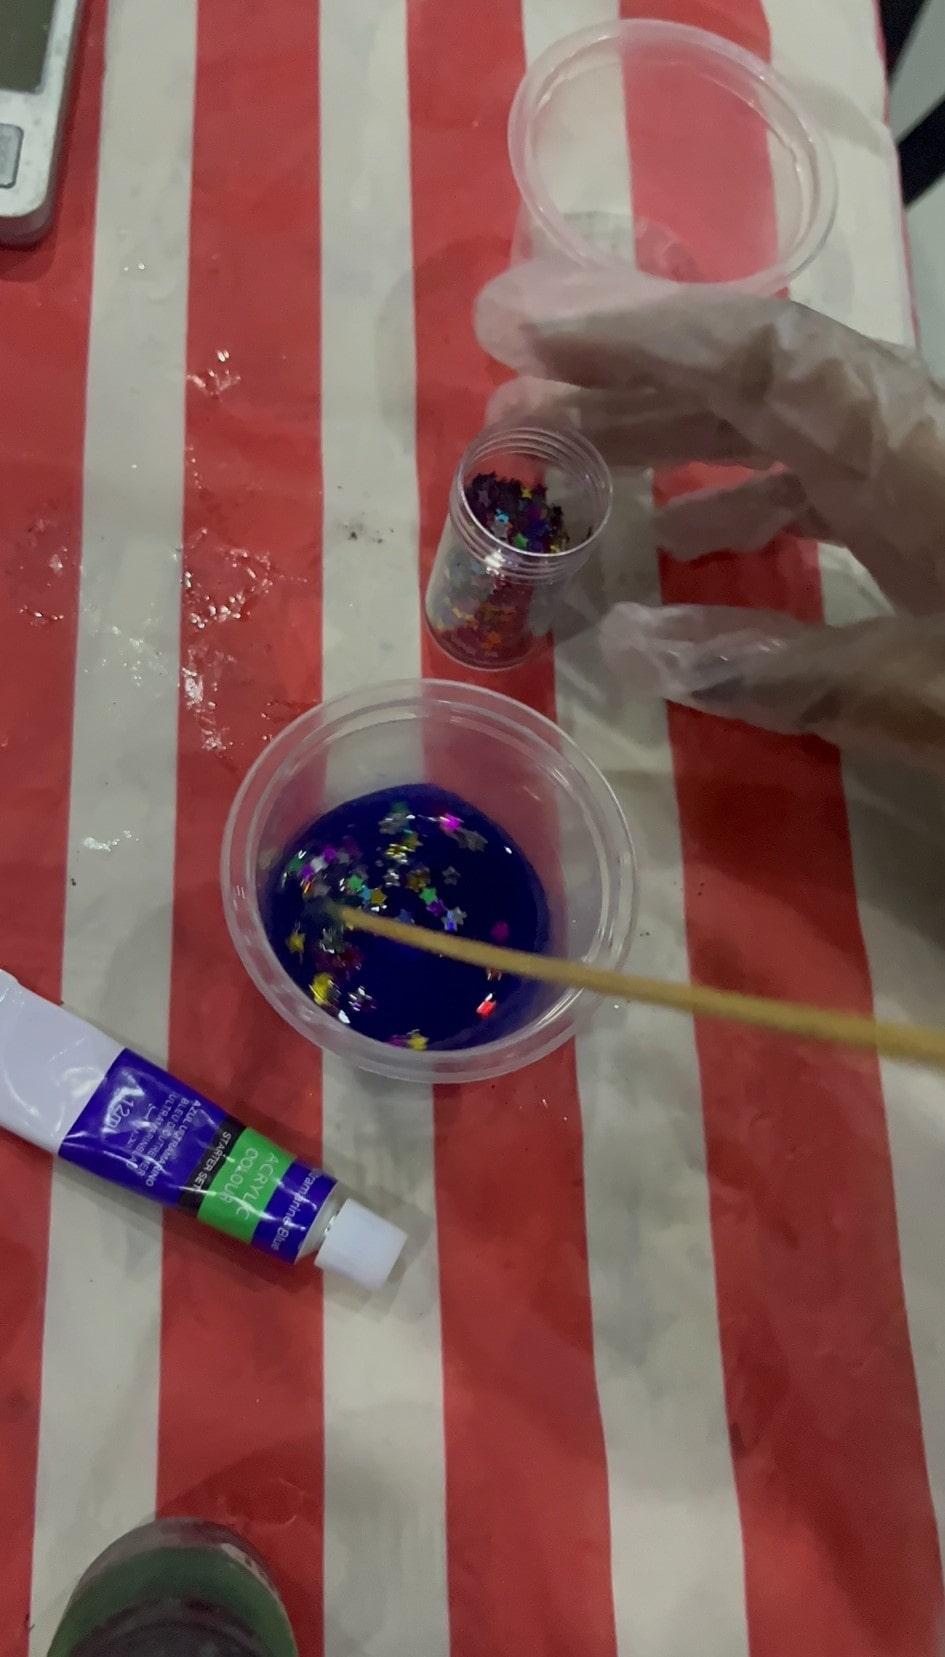
3. After mixing well, we added paint and some glitter.(note: don’t add to much paint if you want it to be transparent)
4. This is how it looked
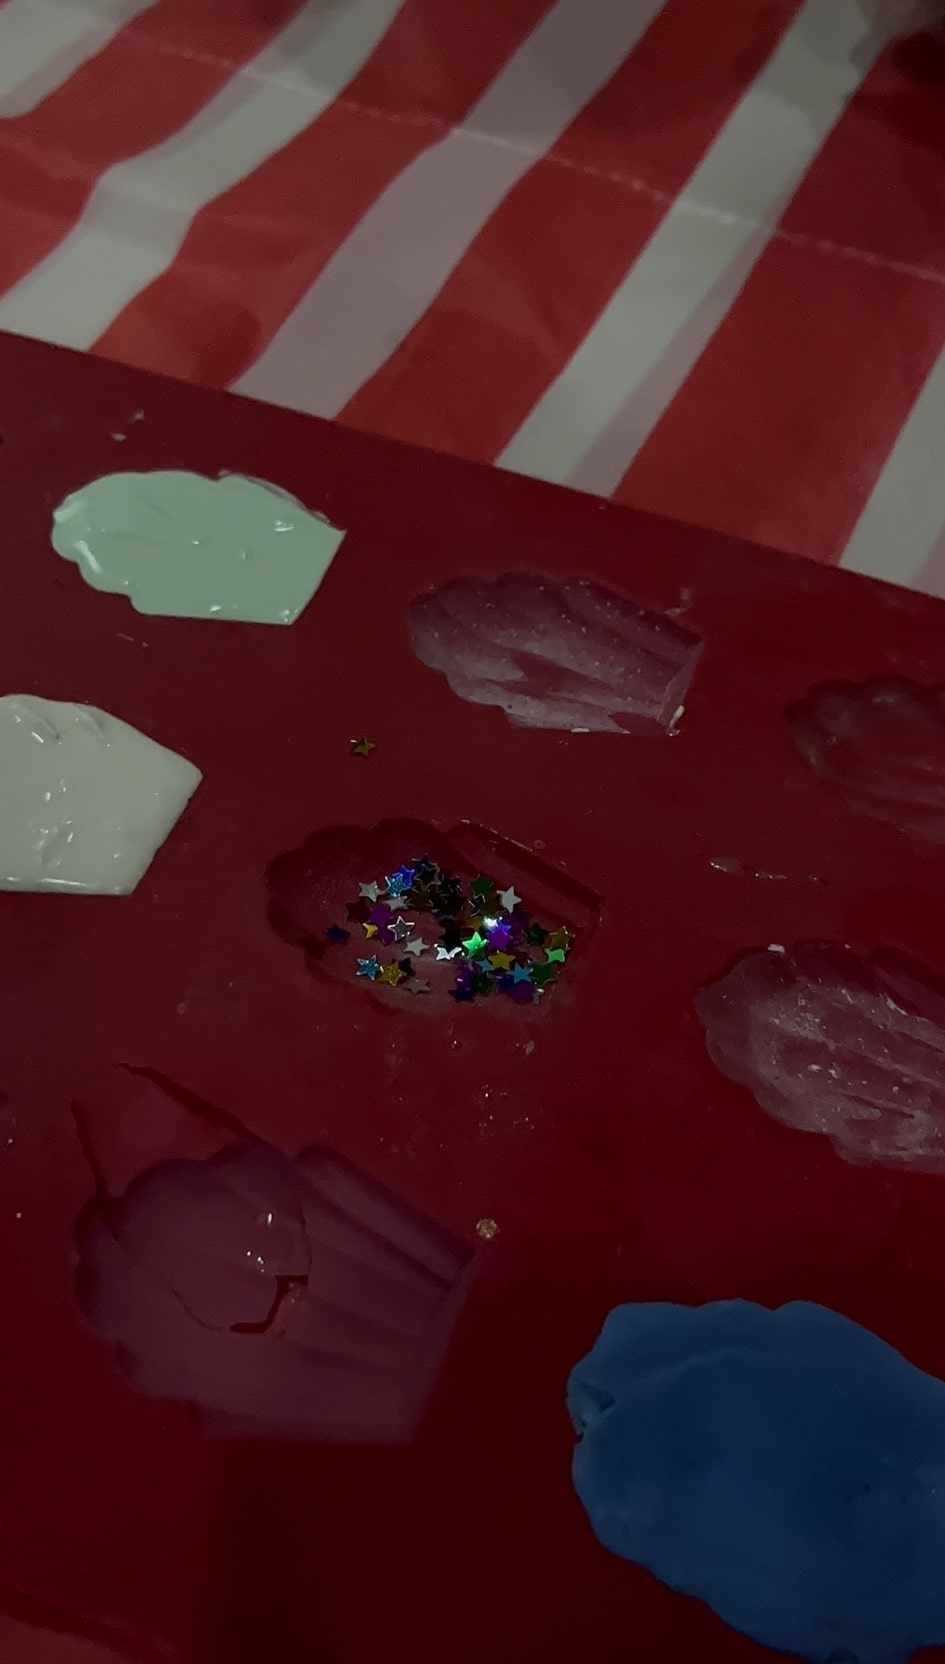
5. We added some stars at the bottom before pouring the liquid.
6. We poured the liquid but the 1st trial it overflowed so we made another one
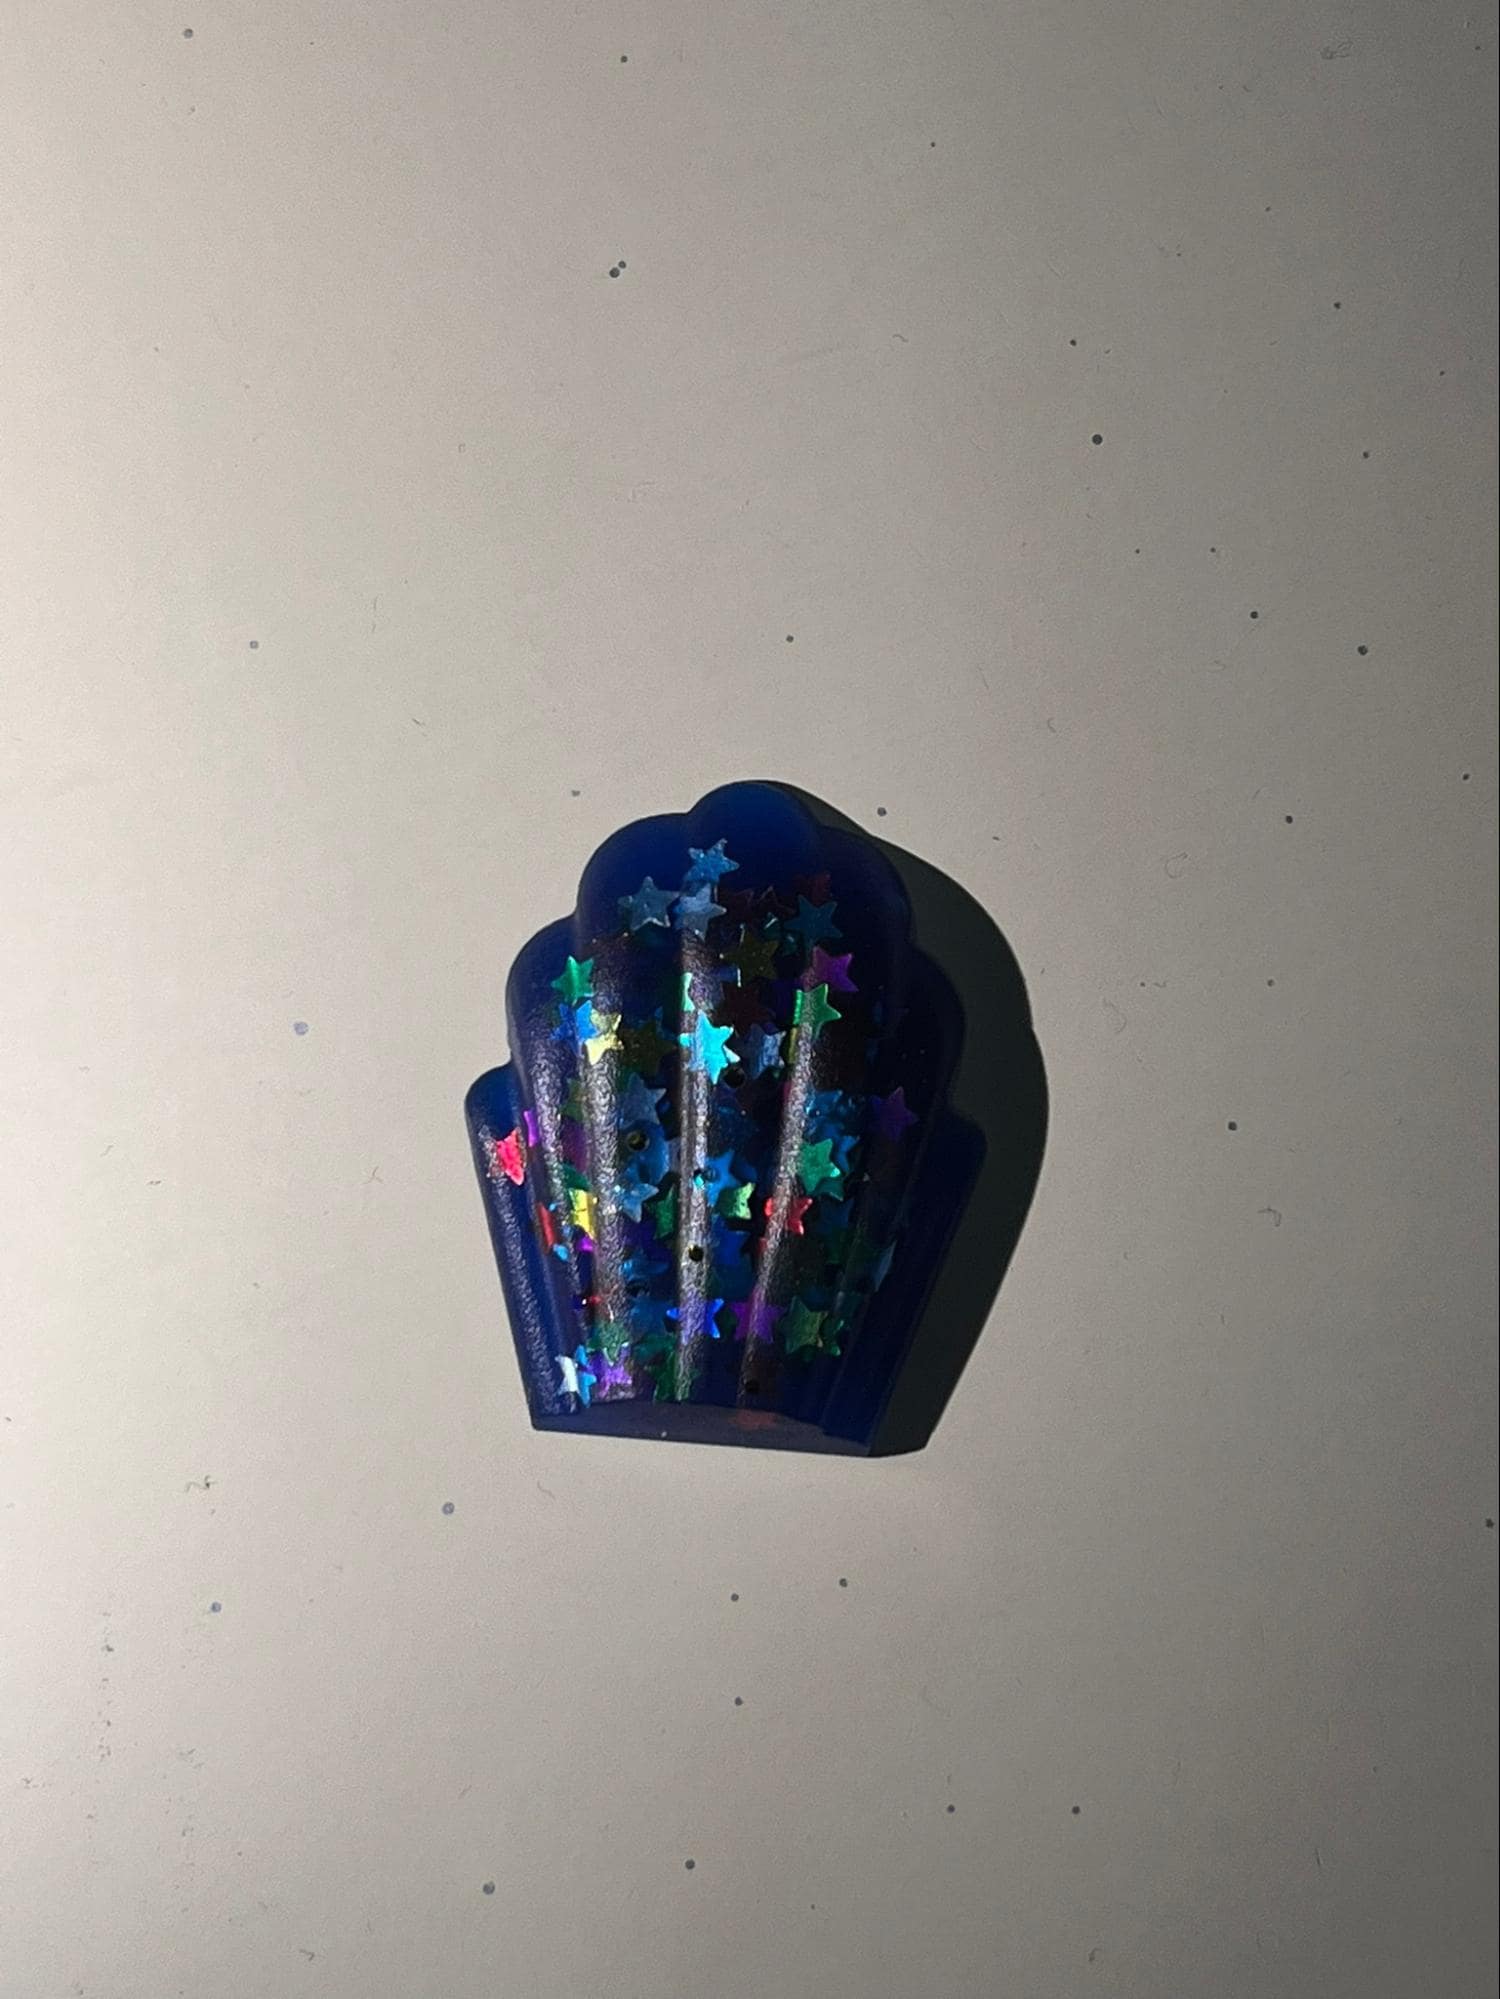
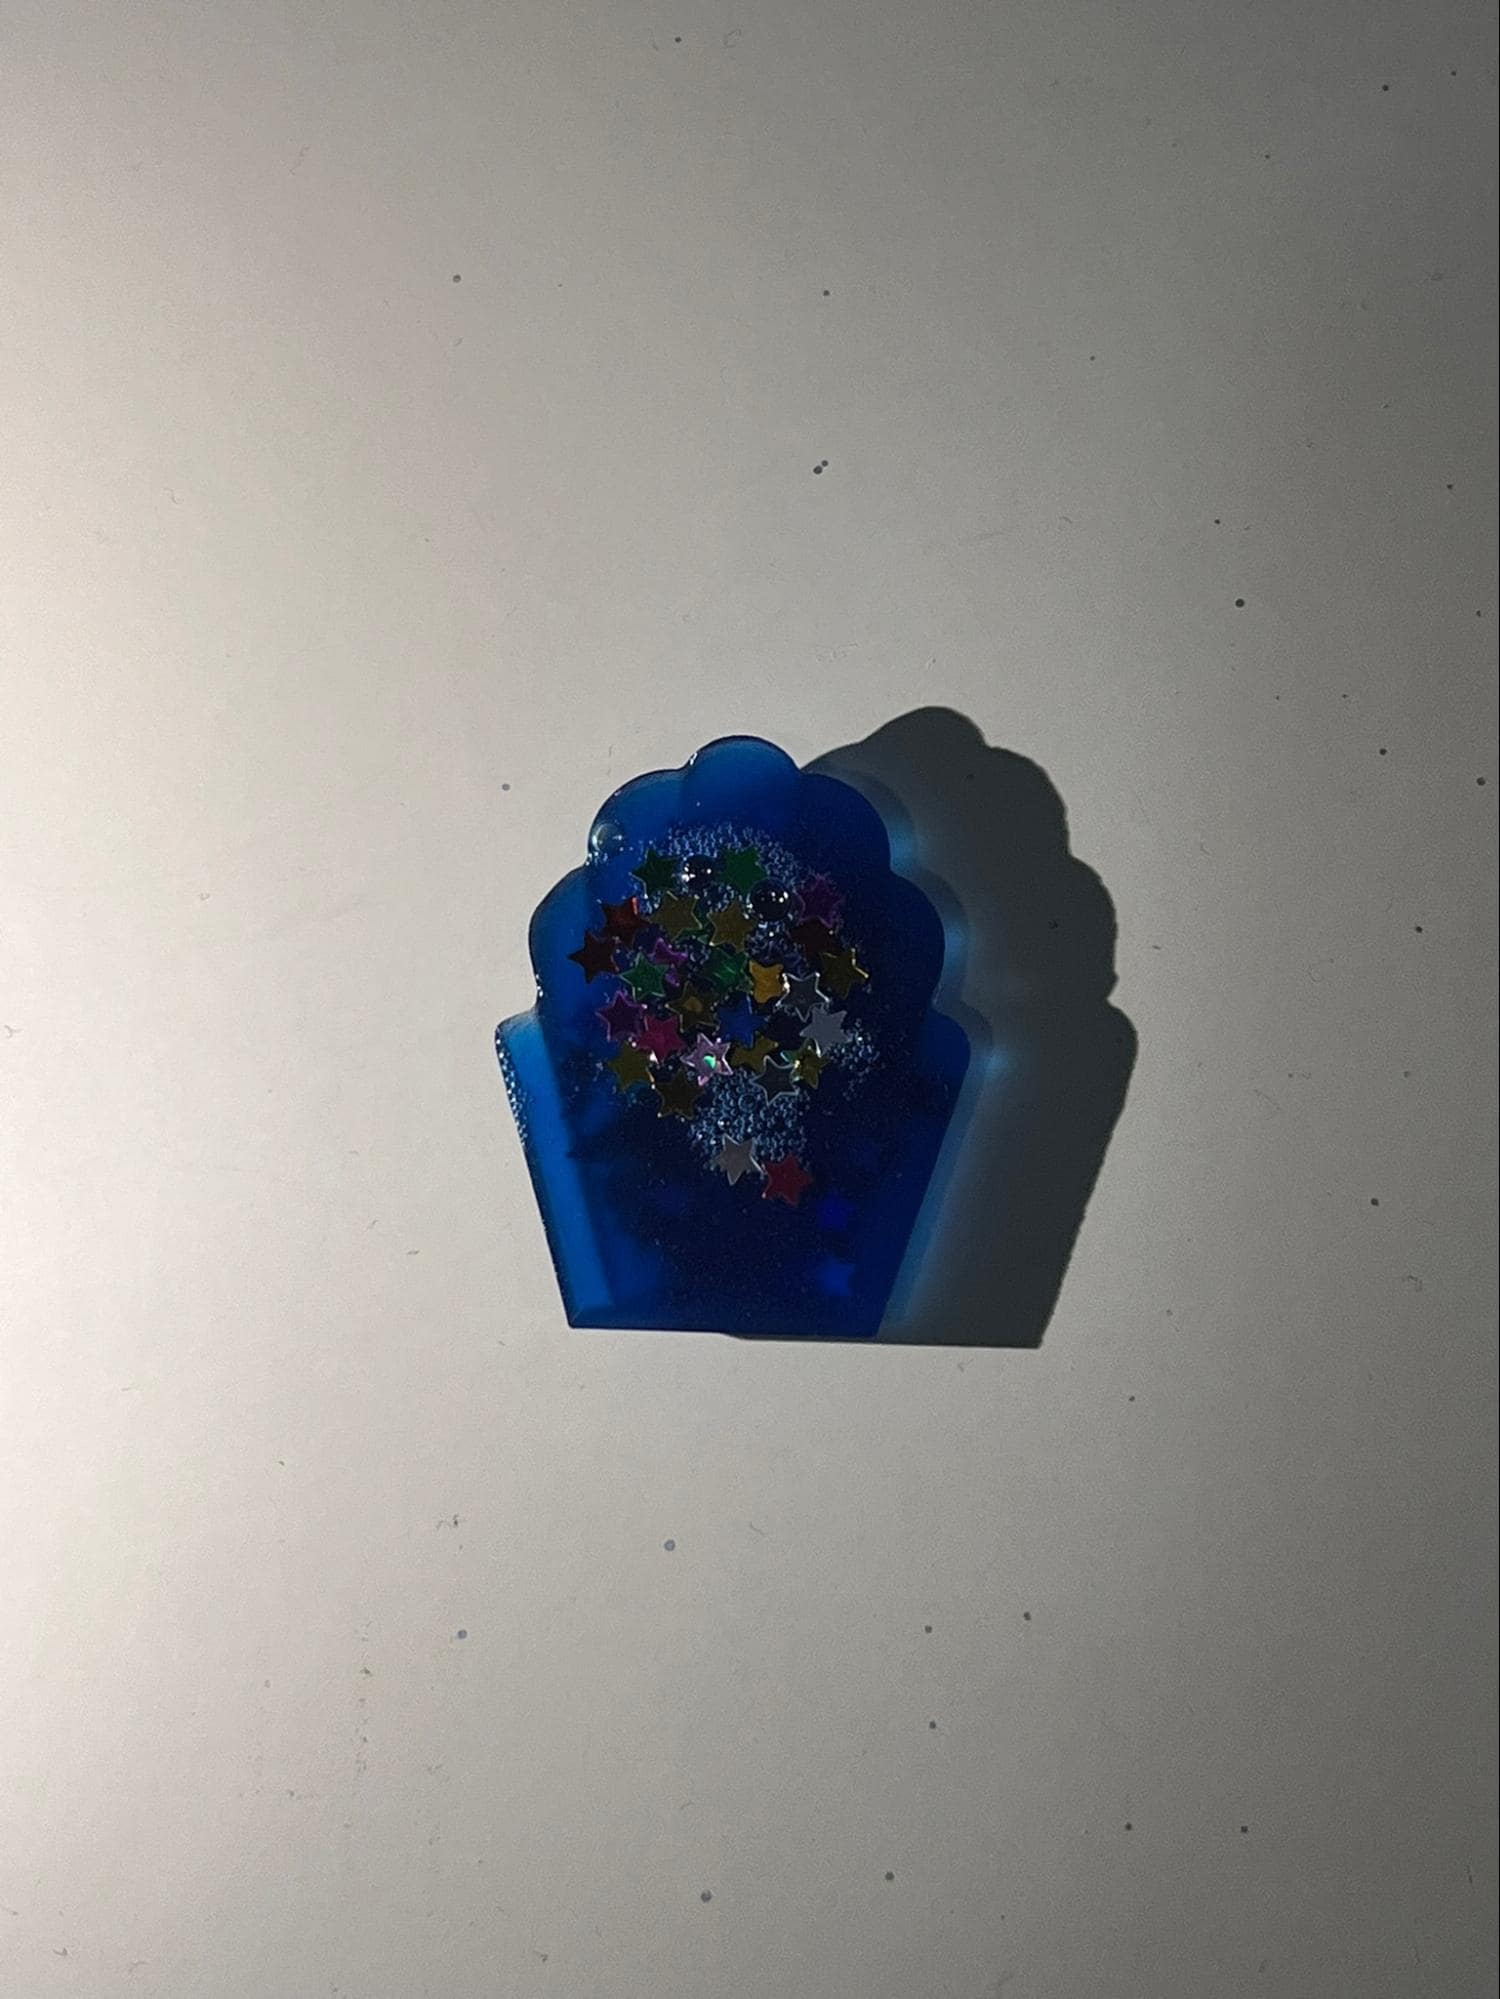
Result pictures:
Your opinion (advantages and disadvantages):
We noticed that instead of being glossy, the bottom side of the material had a reaction with the silicon mold and became matte.
Aside from this issue, we learned that resin is a really strong and simple material that still looks excellent when it's matte.
You can see that it still seems transparent in the presence of light: