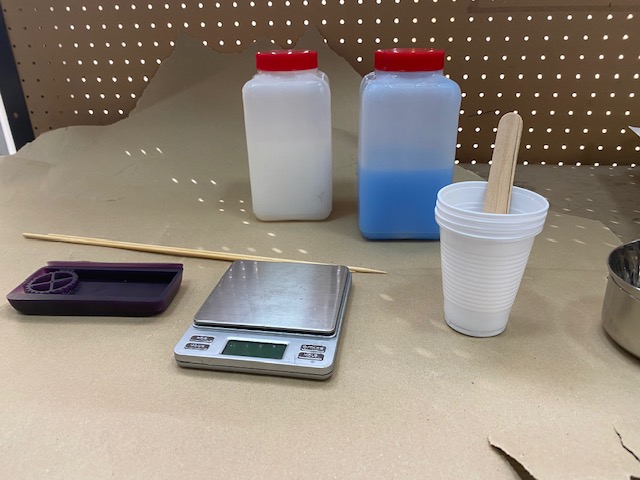
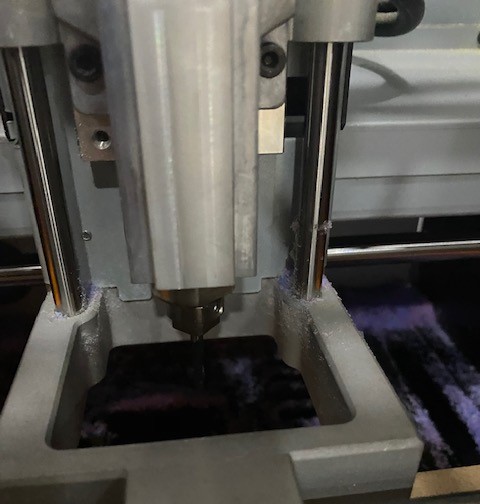
First, we need to machine the design on the 50x120 mm wax block using this machine.
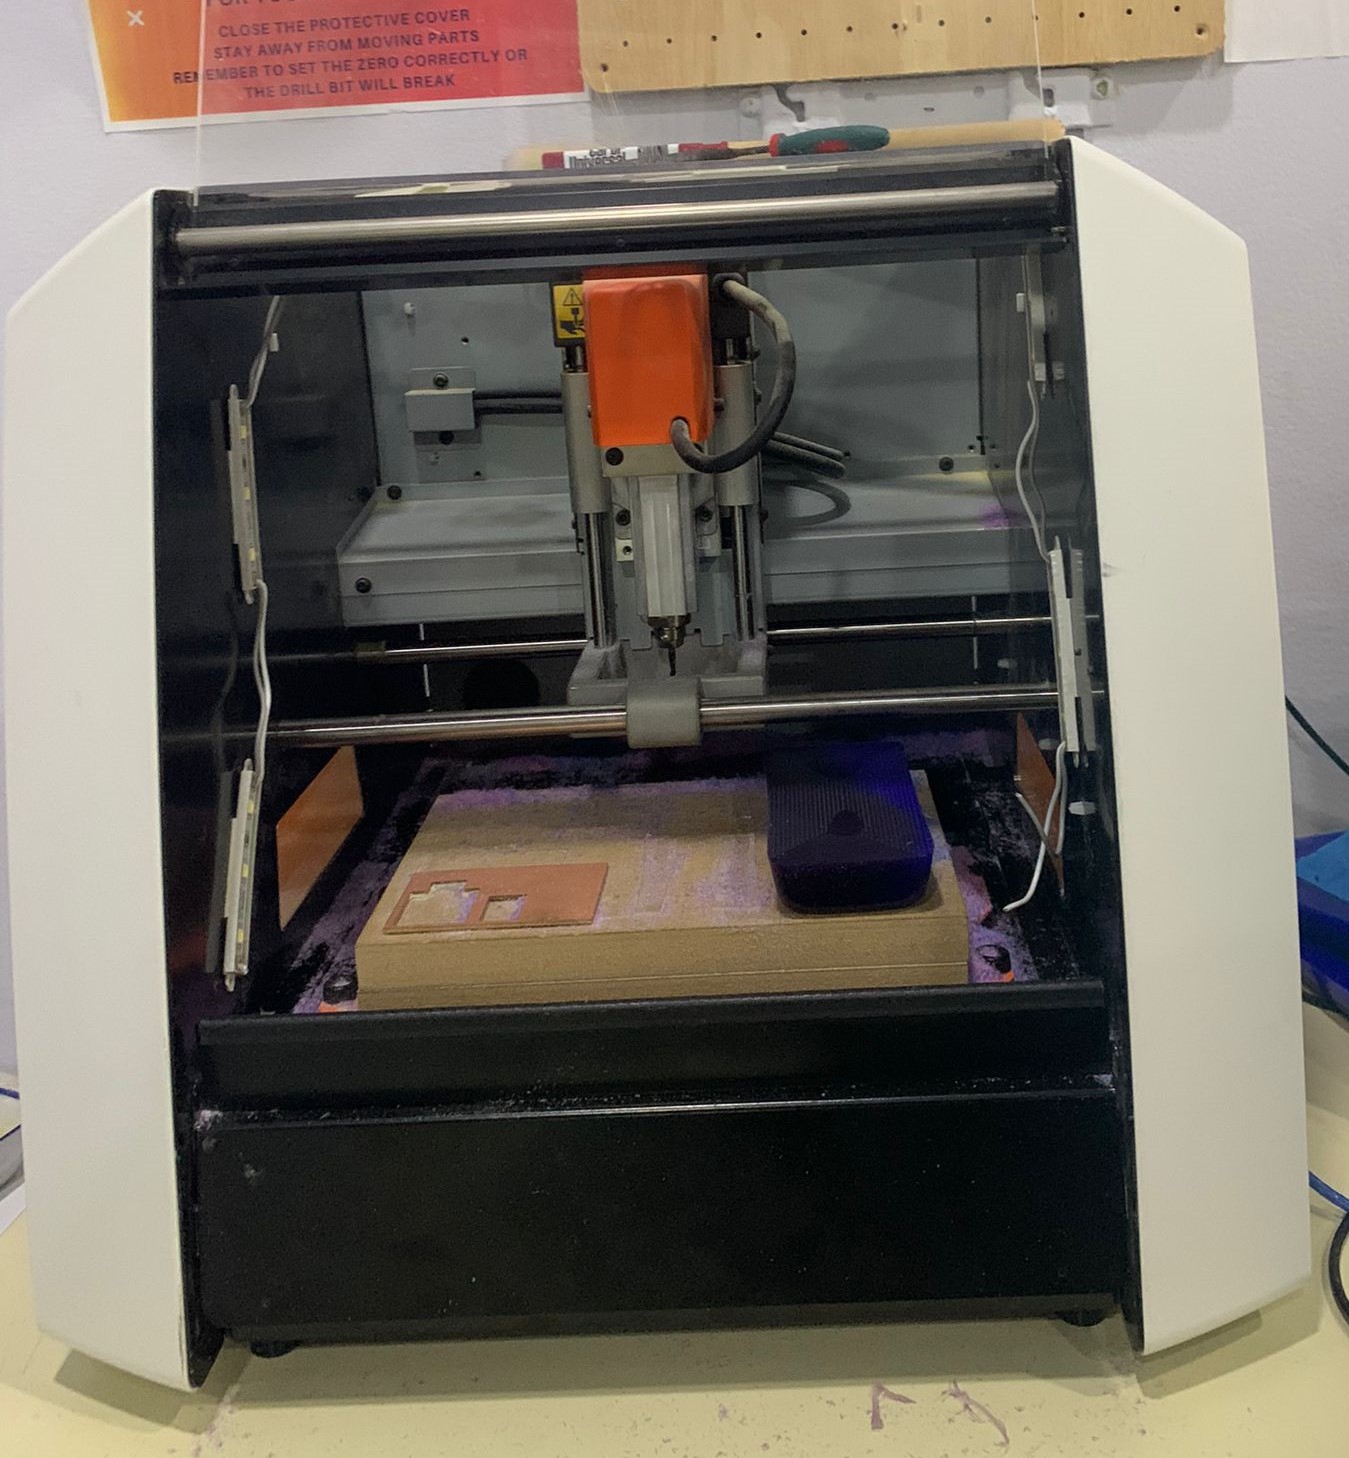 As shown in the figure, I fixed the wax on the working area using double-sided tape to hold it on its place.
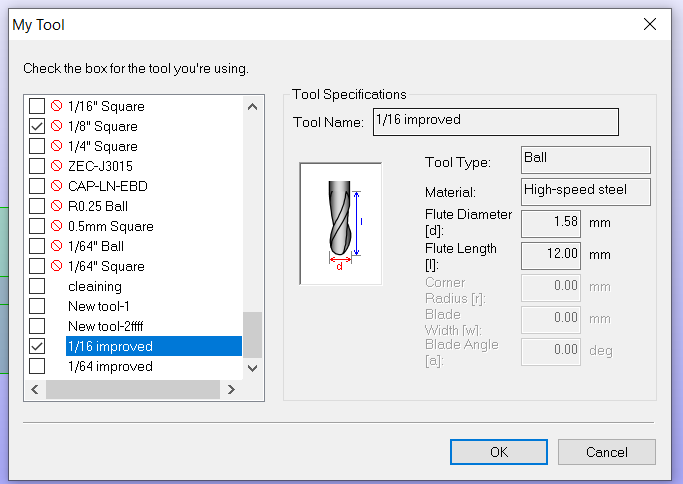
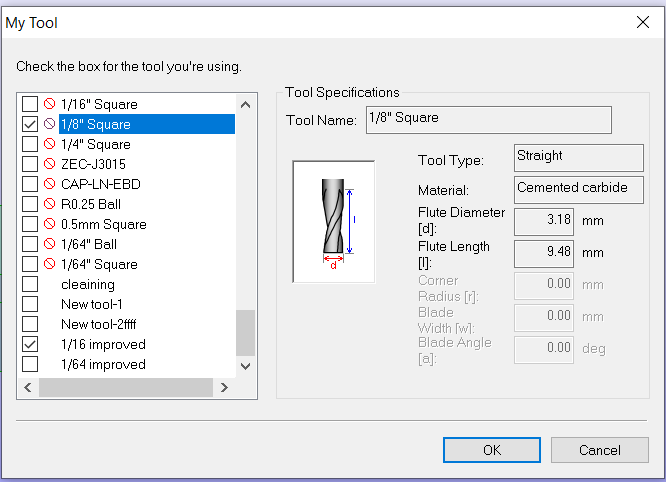
I will be using two types of tools, 1/16 for finishing and 1/8 for roughing.
As shown in the figure, I fixed the wax on the working area using double-sided tape to hold it on its place.
I will be using two types of tools, 1/16 for finishing and 1/8 for roughing.
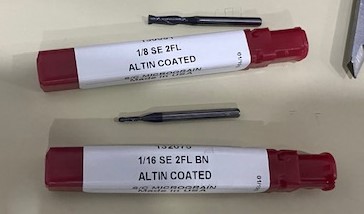 First, the machine will do the roughing process using 1/8" tool. I mounted the tool on its place as the following.
 To start machining, I opened the Bookmark design on SRP Player software, and then I imported my design in stl format.
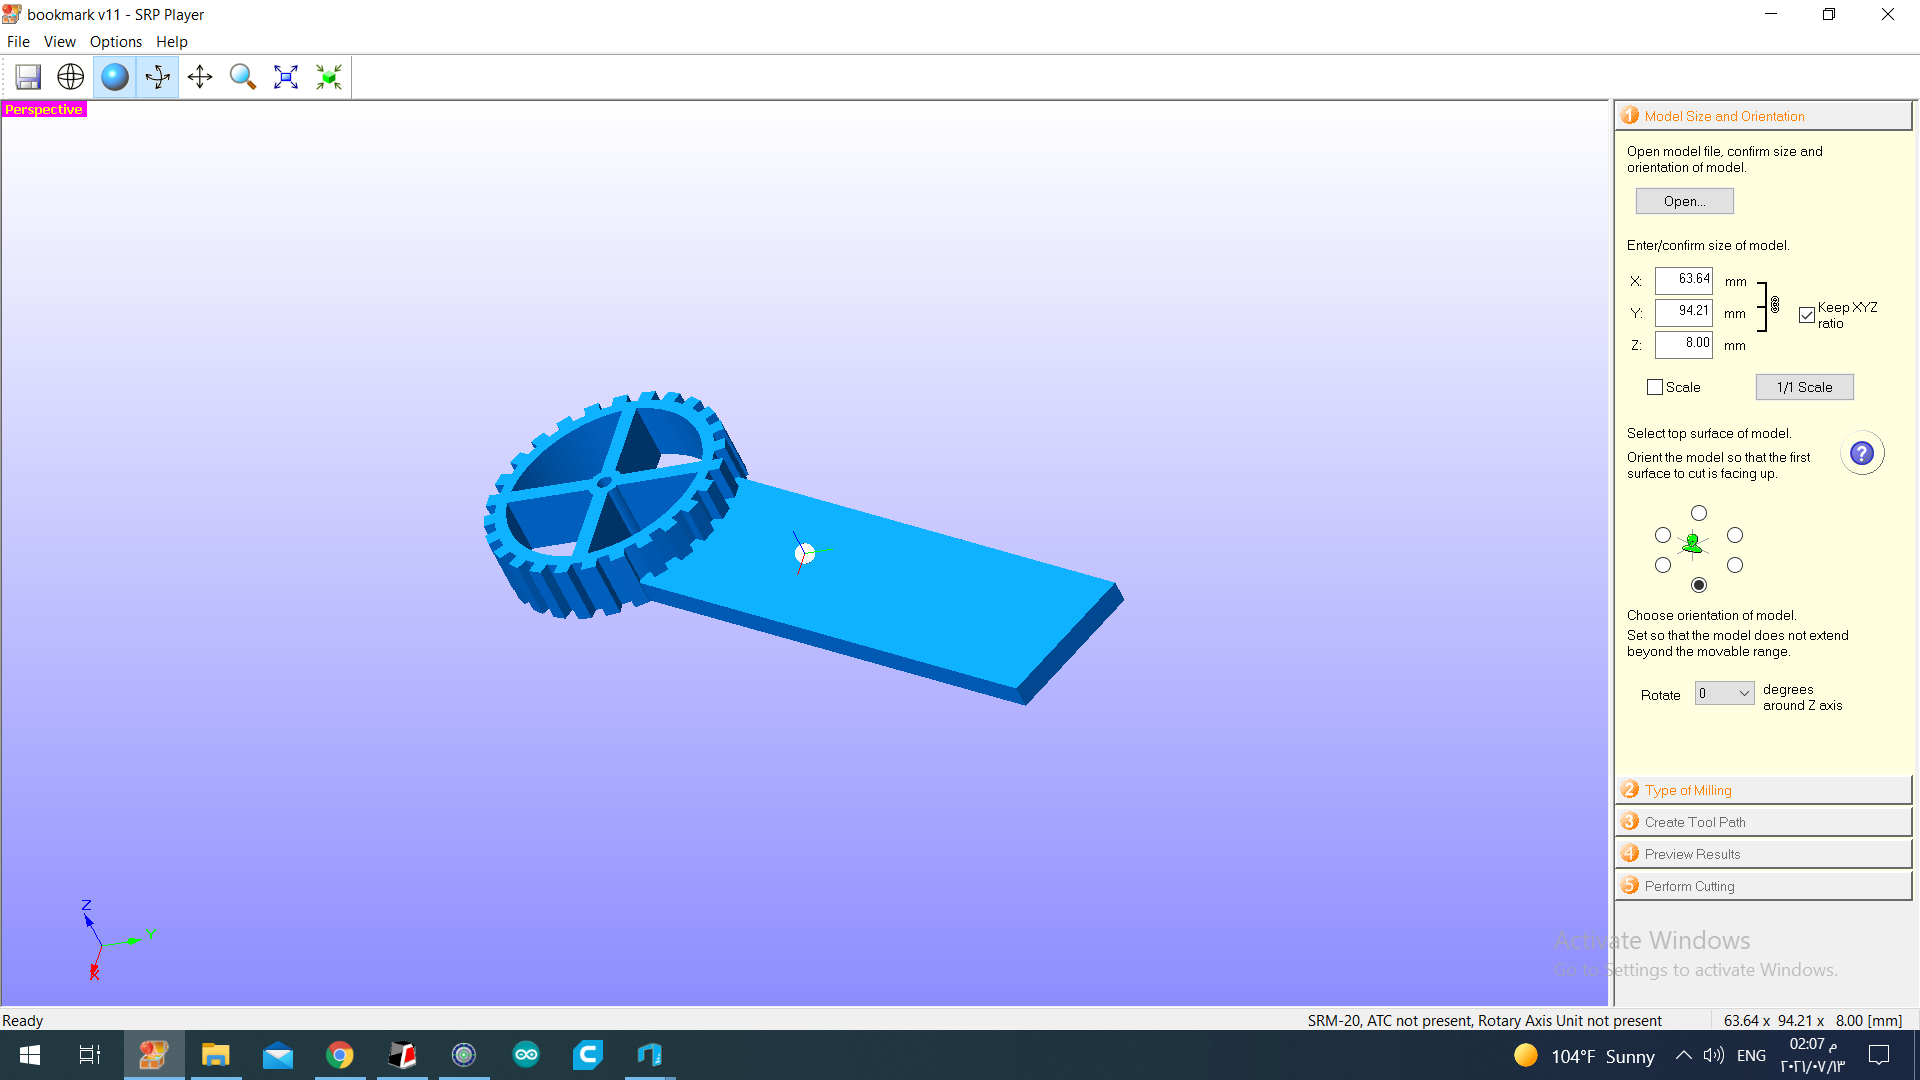
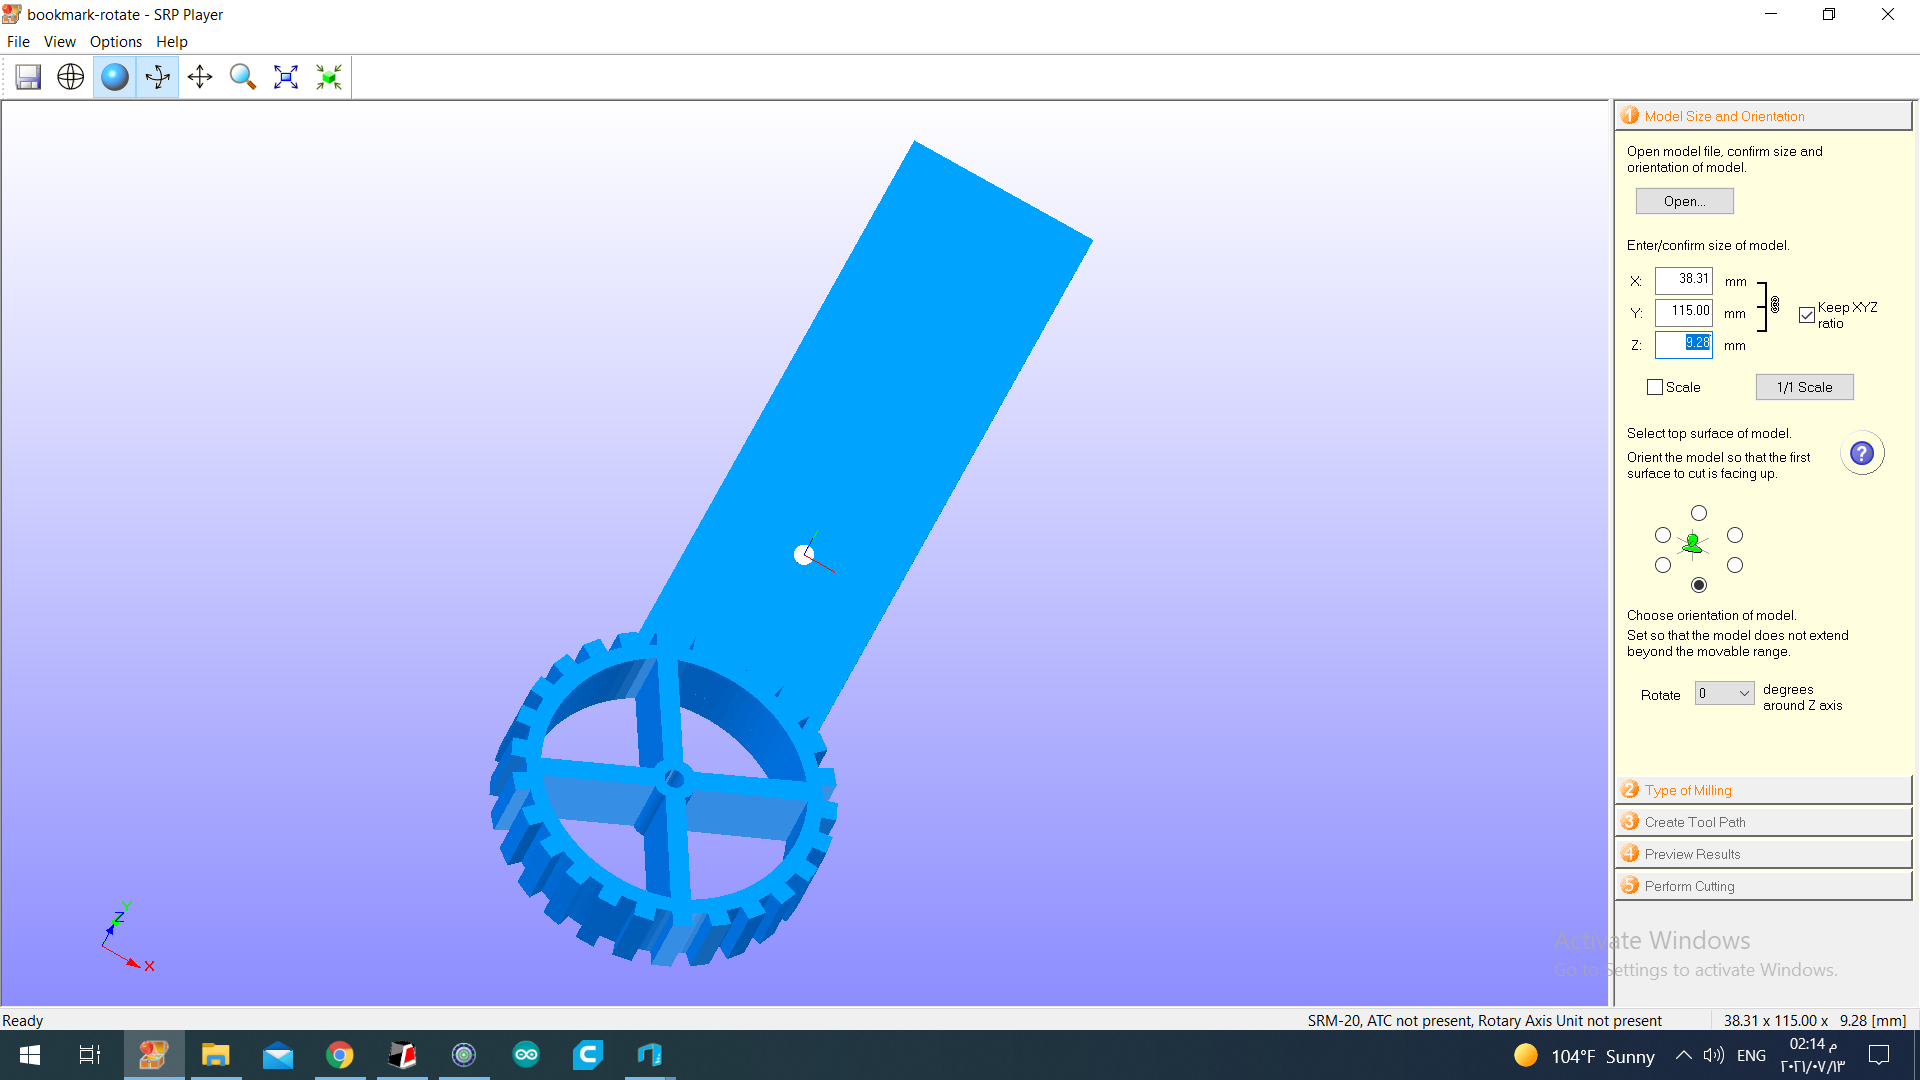
The firts step to use the Software is to check the size and orientation of the object.
As you can see here the design is tilted and not parallel to the origin, so I have to rotate the object to fix with the origin.
 And still the problem is not fixed, so I opened another software I found in the device to rotate the obejct called 3D Builder.
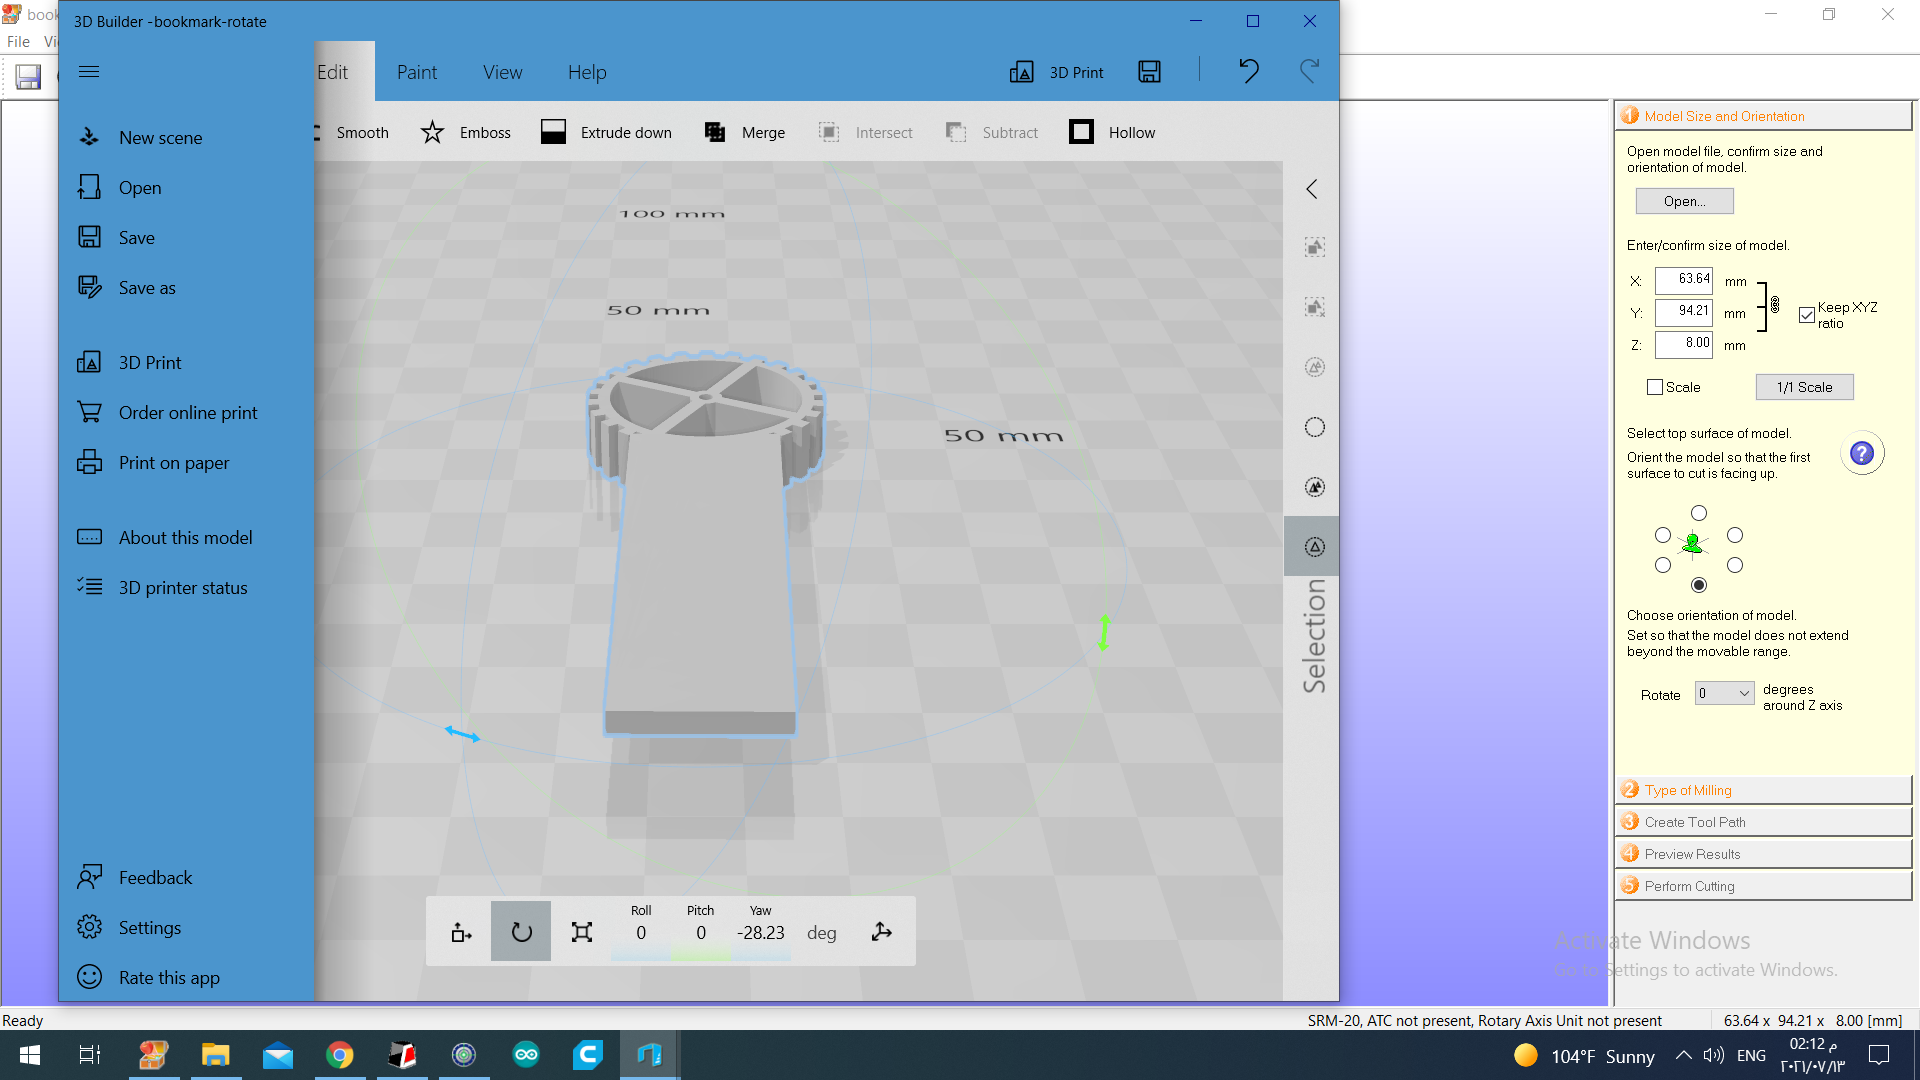 Using this device I was able to rotate the object, save it and import it again to SRP Player Software.
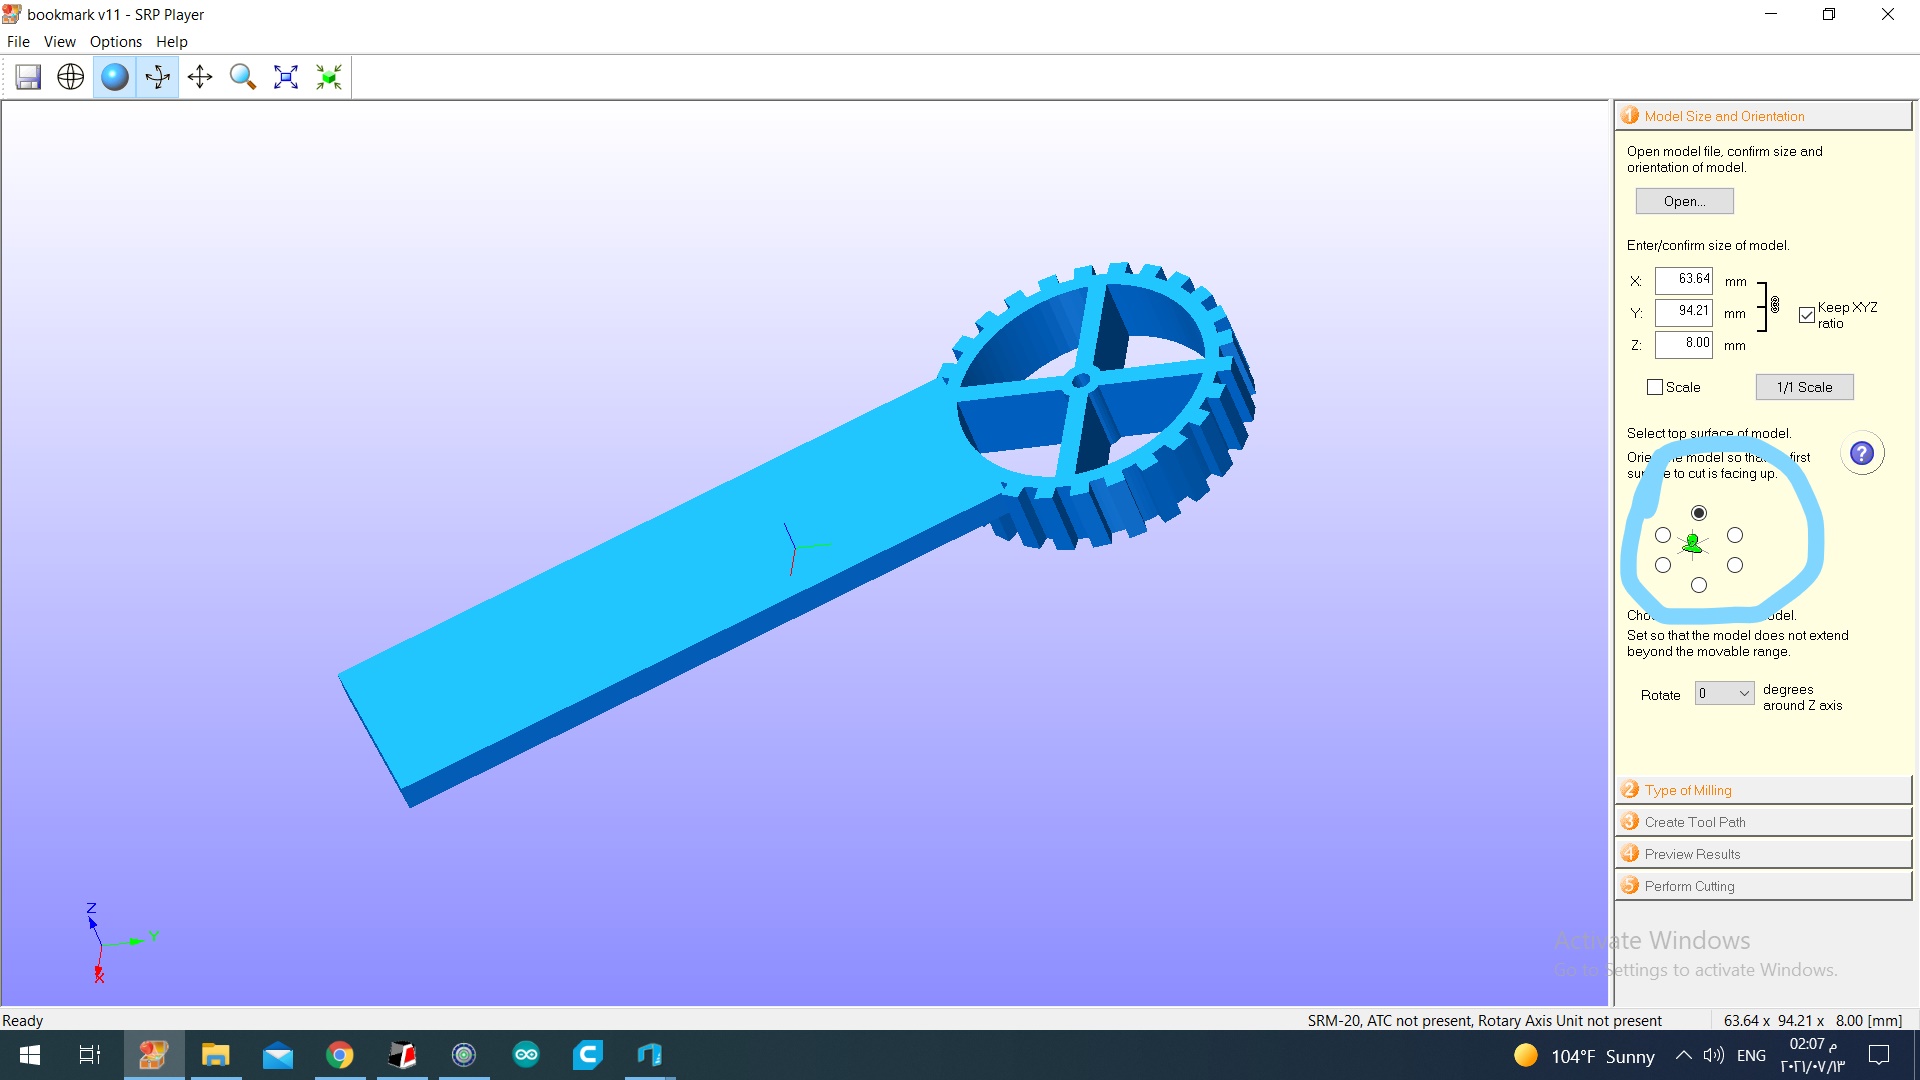
 And finally, the origin is fixed and the y-axis is parallel to the design.
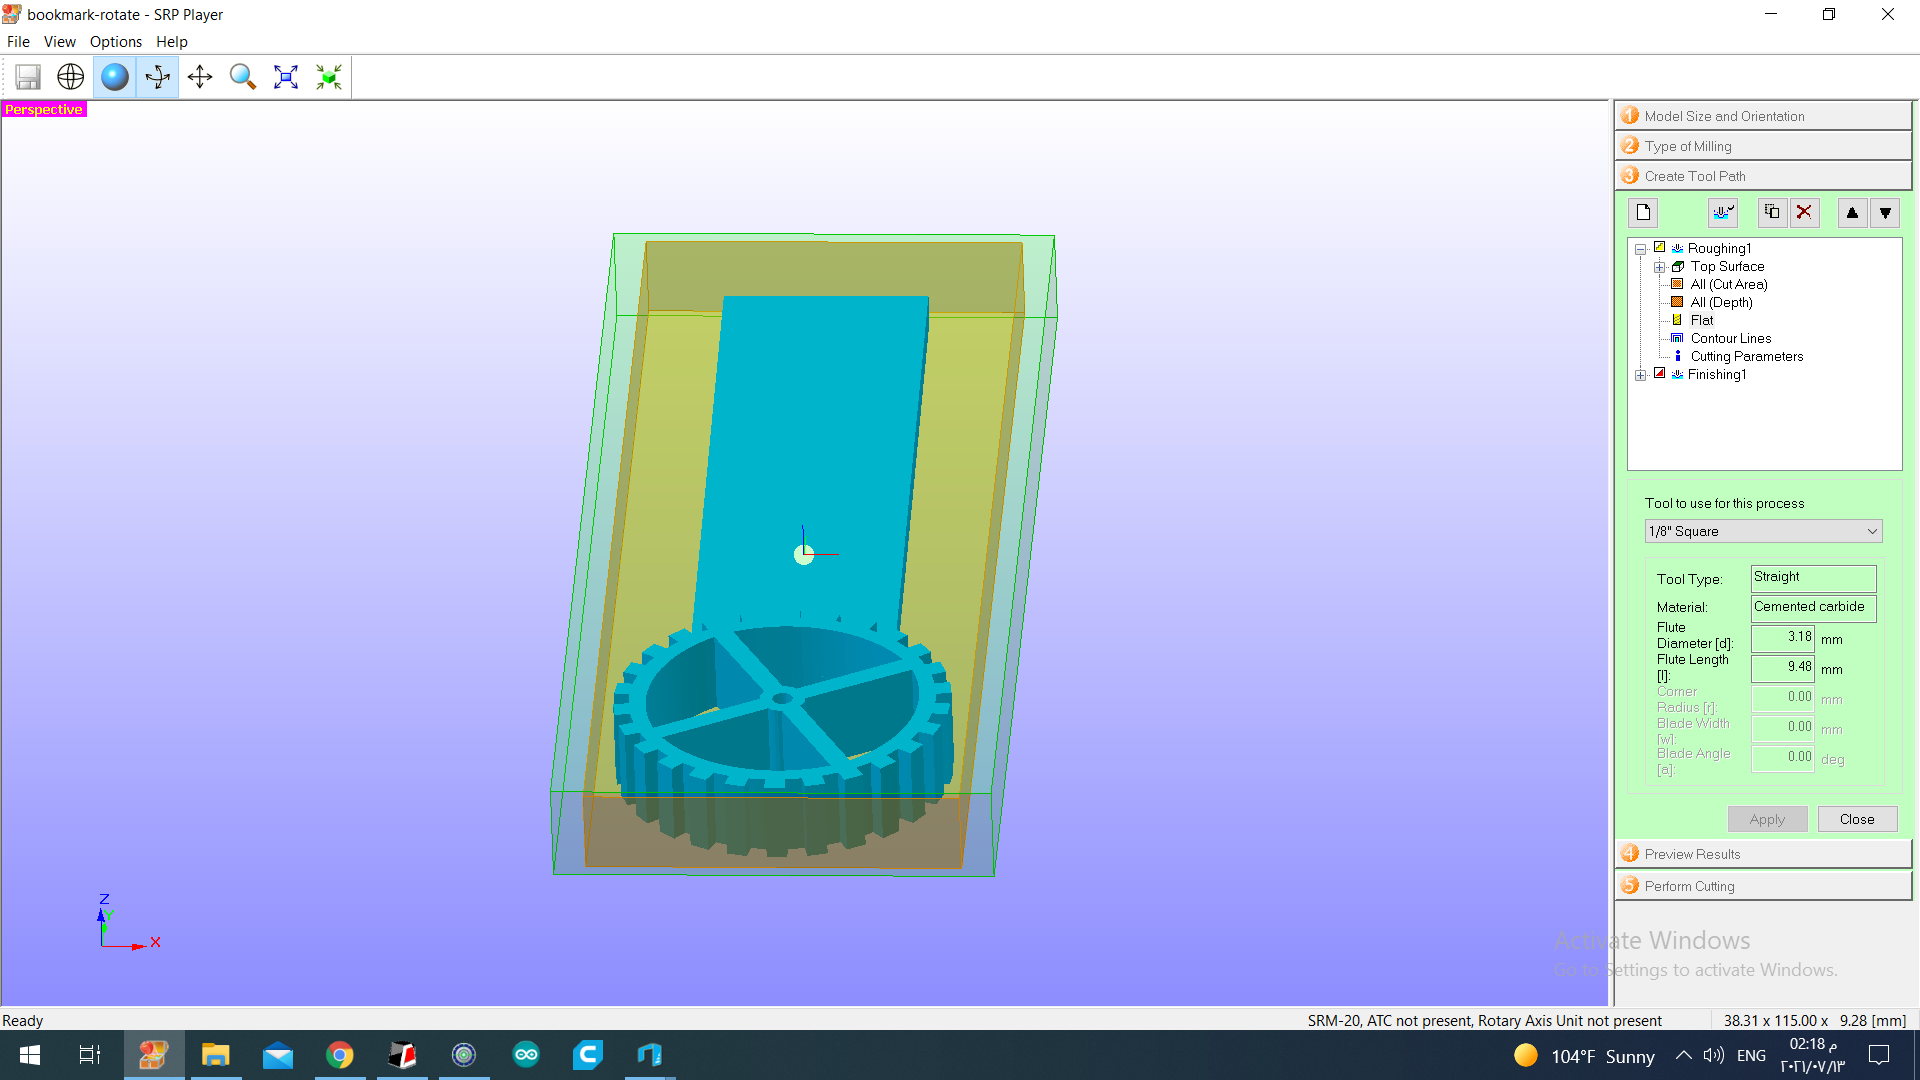
Then I opened Create Tool Path section, and make sure both tools are choosen.
And finally, the origin is fixed and the y-axis is parallel to the design.
Then I opened Create Tool Path section, and make sure both tools are choosen.
 Then click on Create Toolpath to see the process. As shown on the right hand side of the screen, the machine will start with the roughing process and then finishing.
 Then go to Preview Result section to see the result.
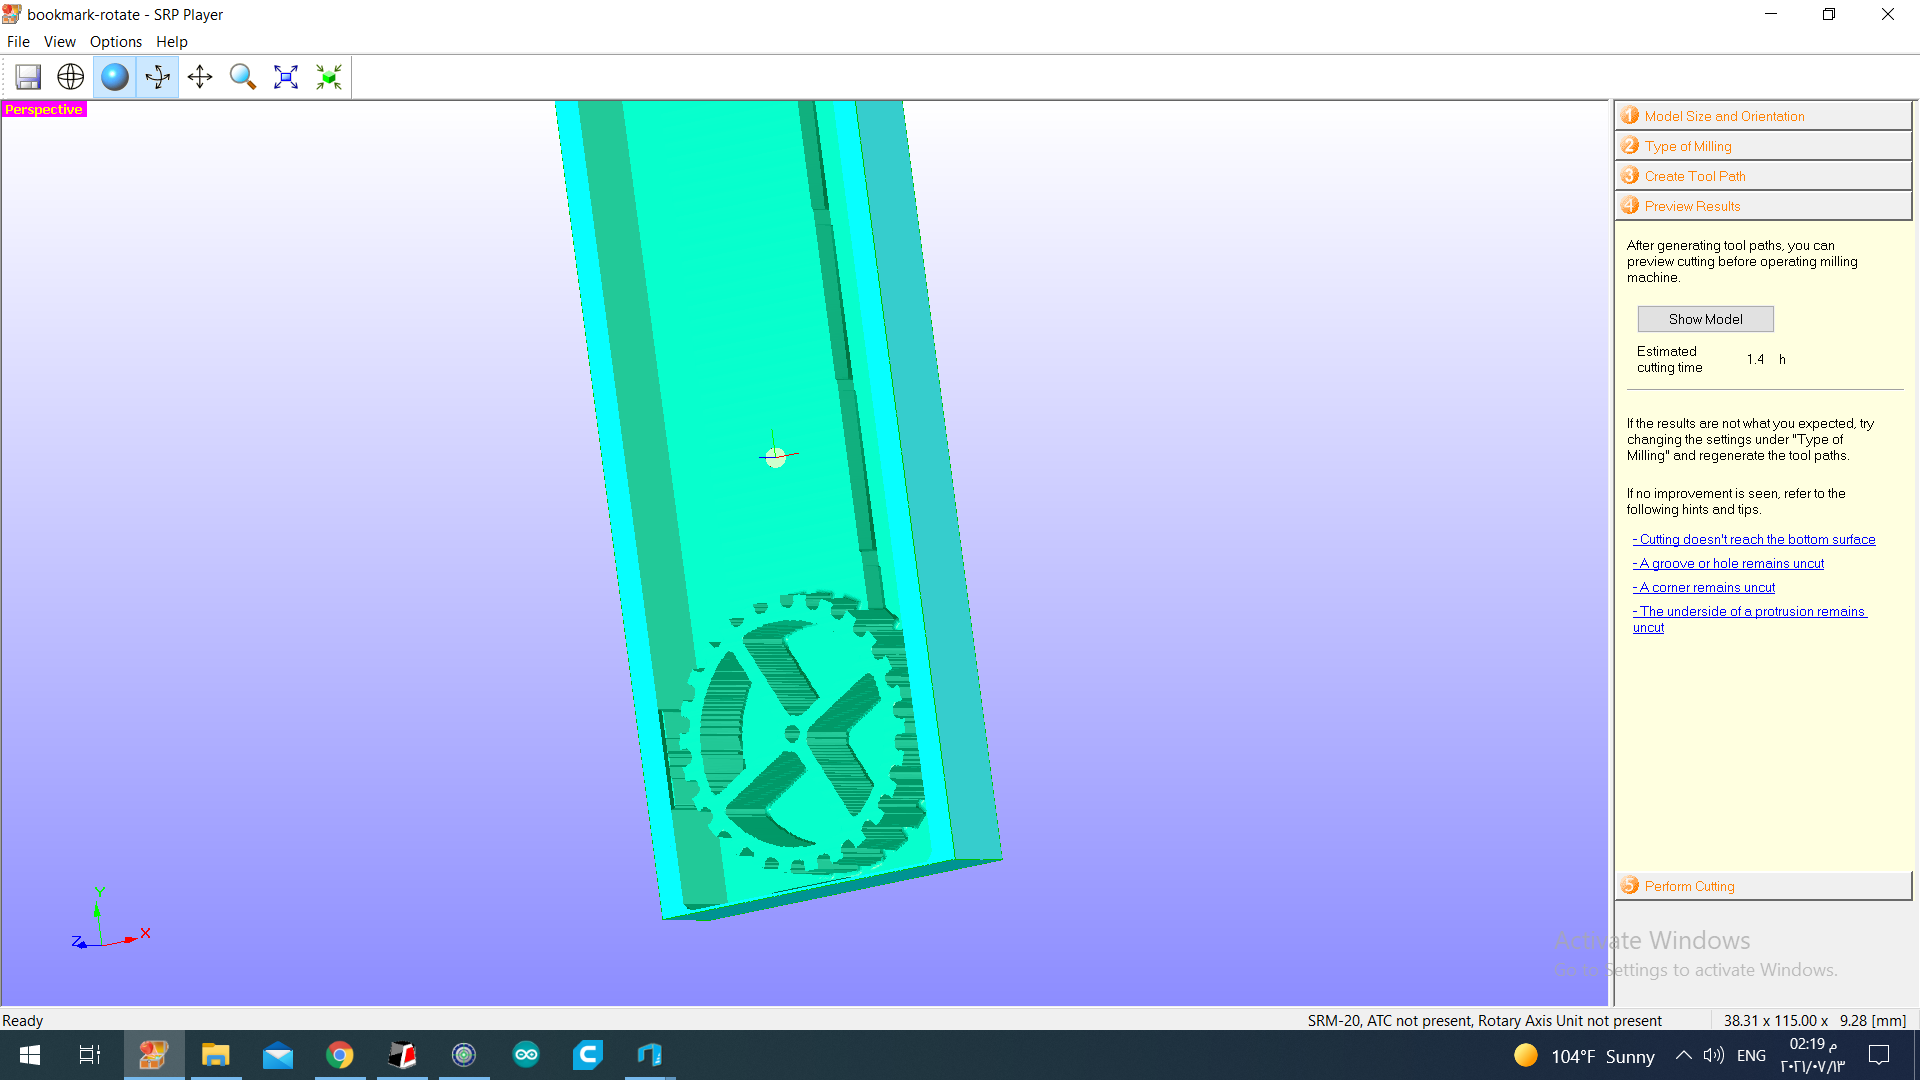
*As you can see the estimated time to finish the process is 1.4 hrs.
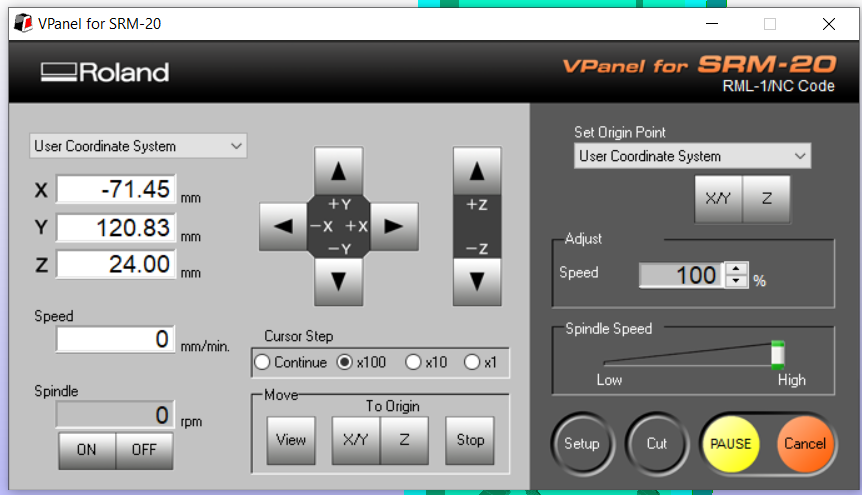
This panel is used to move the tool and working table, which should be moved up until the tool is touching the top surface of the wax.
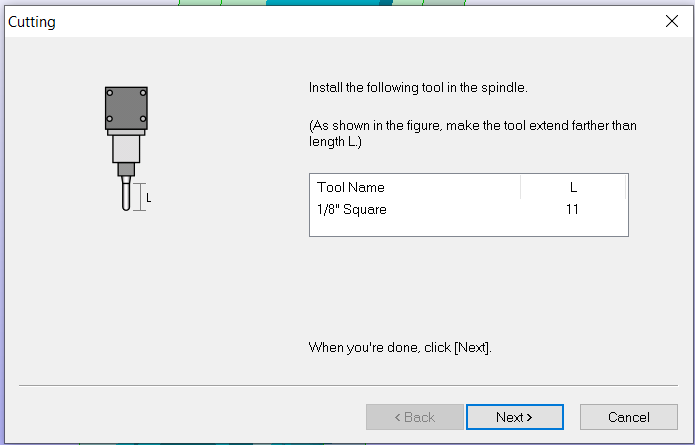
 Then go to Perform Cutting section and click on Start Cutting, a window will appear to install the tool. Press on Next if the tool is already installed.
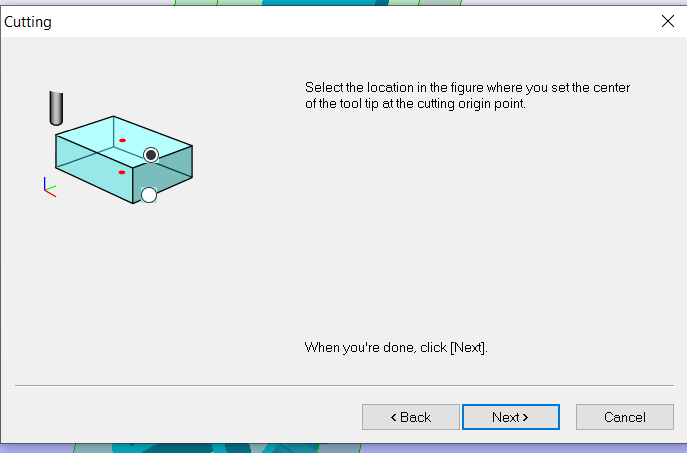
 Another window will appear to make sure where is the origin of the tool.
 And finally, press next and the machine will start operating to do the roughing process.
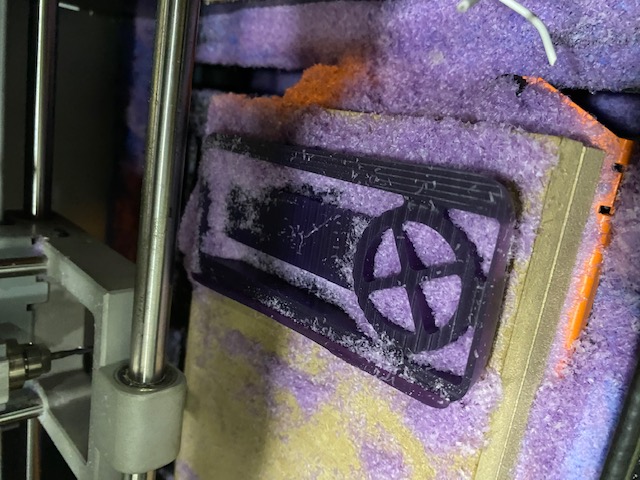
After the roughing process the machine will stop, a window will appear to remind you of changing the tool to 1/16" tool.
This is how the wax looked after the roughing process.
And finally, press next and the machine will start operating to do the roughing process.
After the roughing process the machine will stop, a window will appear to remind you of changing the tool to 1/16" tool.
This is how the wax looked after the roughing process.
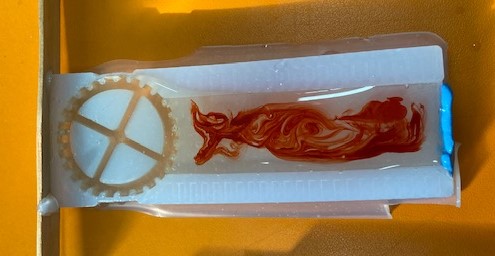
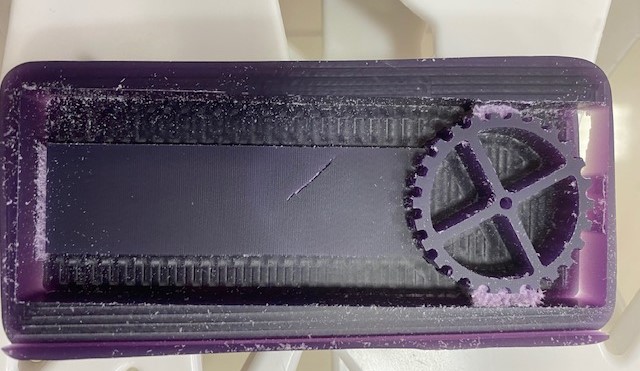
 After changing the tool, operate the machine again to do the finishing process.
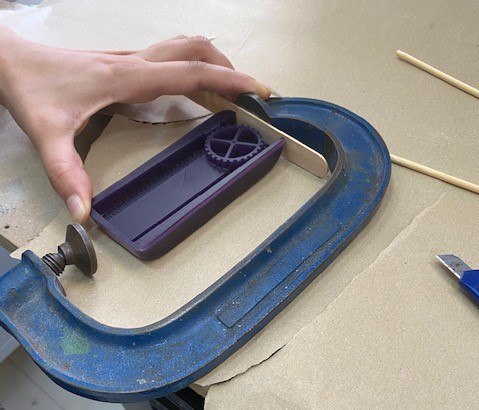
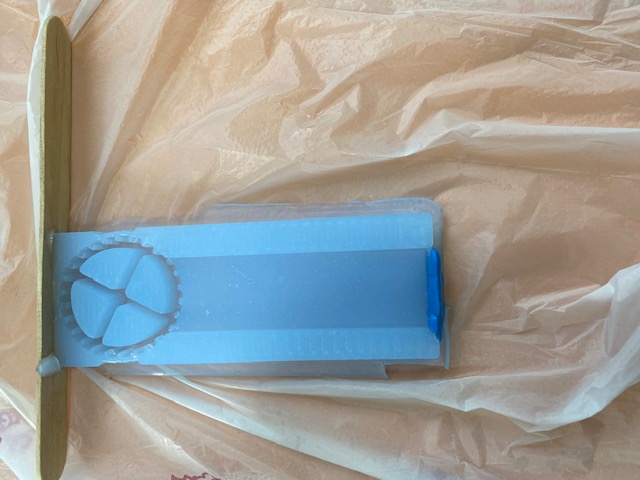
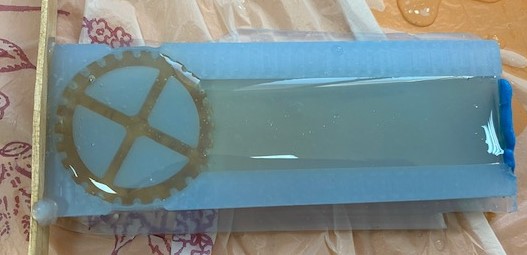
This is how the wax looked after the finishing process.
After changing the tool, operate the machine again to do the finishing process.
This is how the wax looked after the finishing process.
 The waste material was still there, so I used a brush and water to clean it.
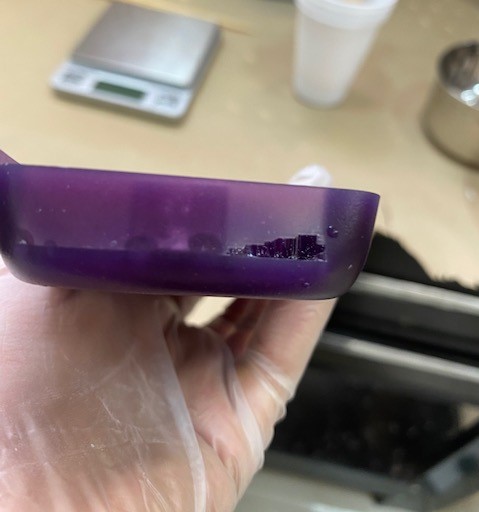
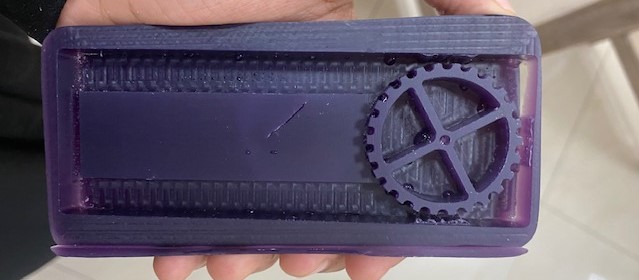 I noticed a scratch on the wax, maybe it was caused by the tool when I was changing it.