
Editing the Original Webpage
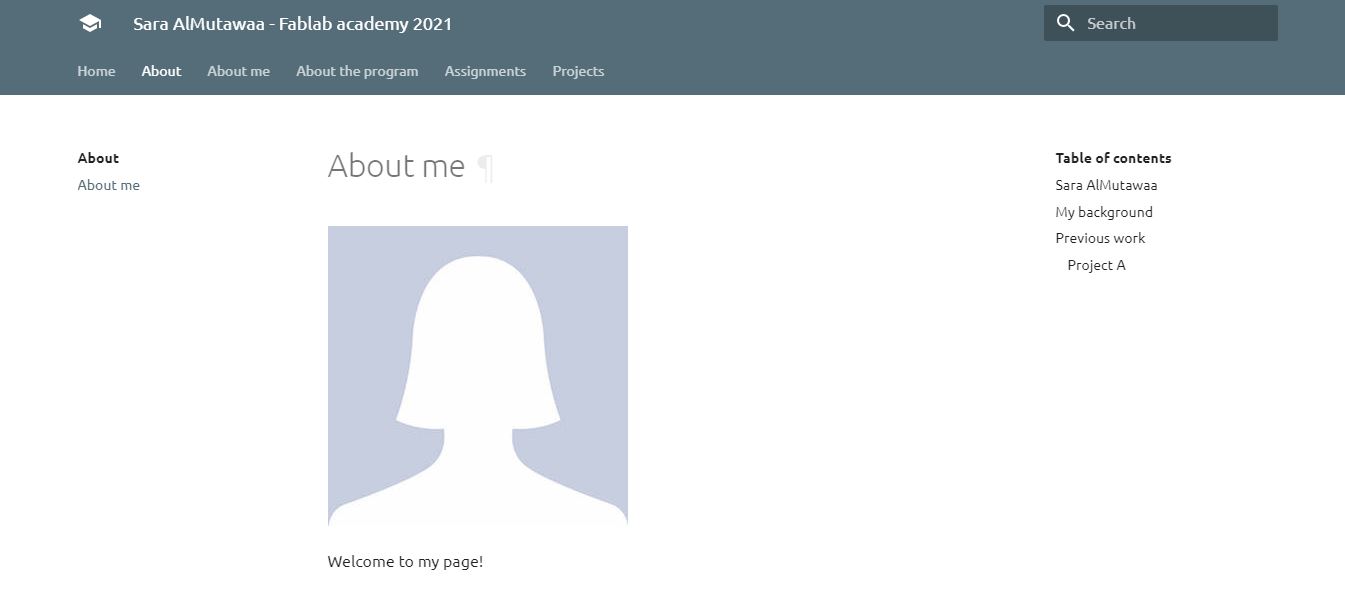
I started editing the original personal website first in mkdoks format which looks as illustrated in this picture.
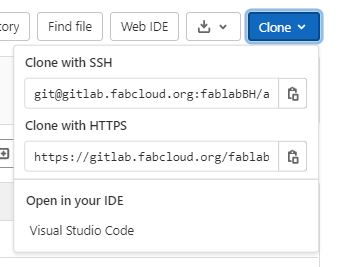
Where I faced a problem in cloning.


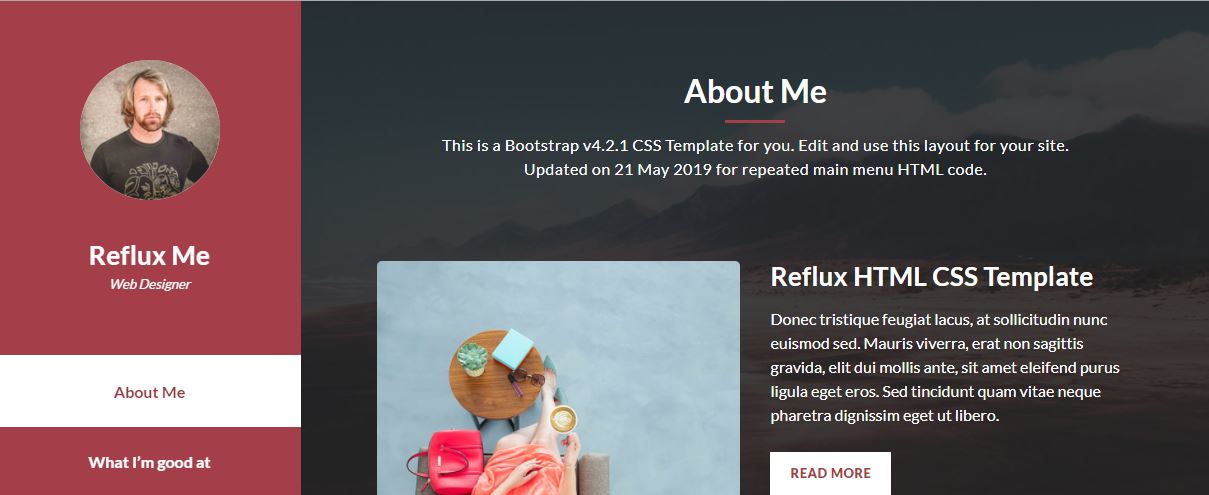
HTML Template
Adding Sections and Editing

First, creating a menu and naming the sections that should be listed on the menu by writing this code.
Then editing each section by this code, making sure to mention the section number. using h2 to identify the headings.

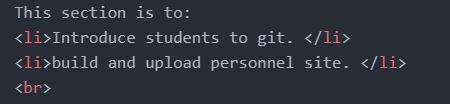
This code is used for adding bullet points. (br) is used to add an extra line.
Adding Photos and Hyperlinks

To add photos to the website this code should be used. for example, here the photo is in the images folder which is in the assets folder.
Hyperlinks are added to photos and texts by writing this code, where clicking on the word will direct you to other webpage.

Building Tables
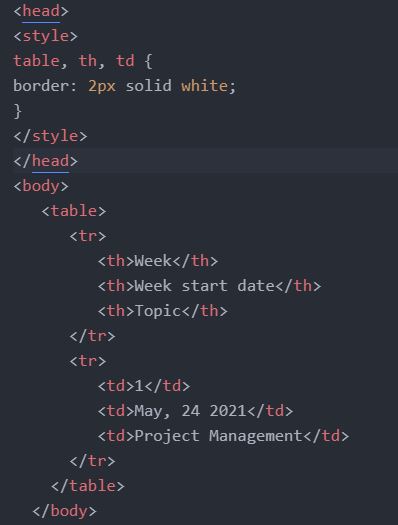
I used this code to add a table in my website with white borders.
Save, Commit & Push in Atom
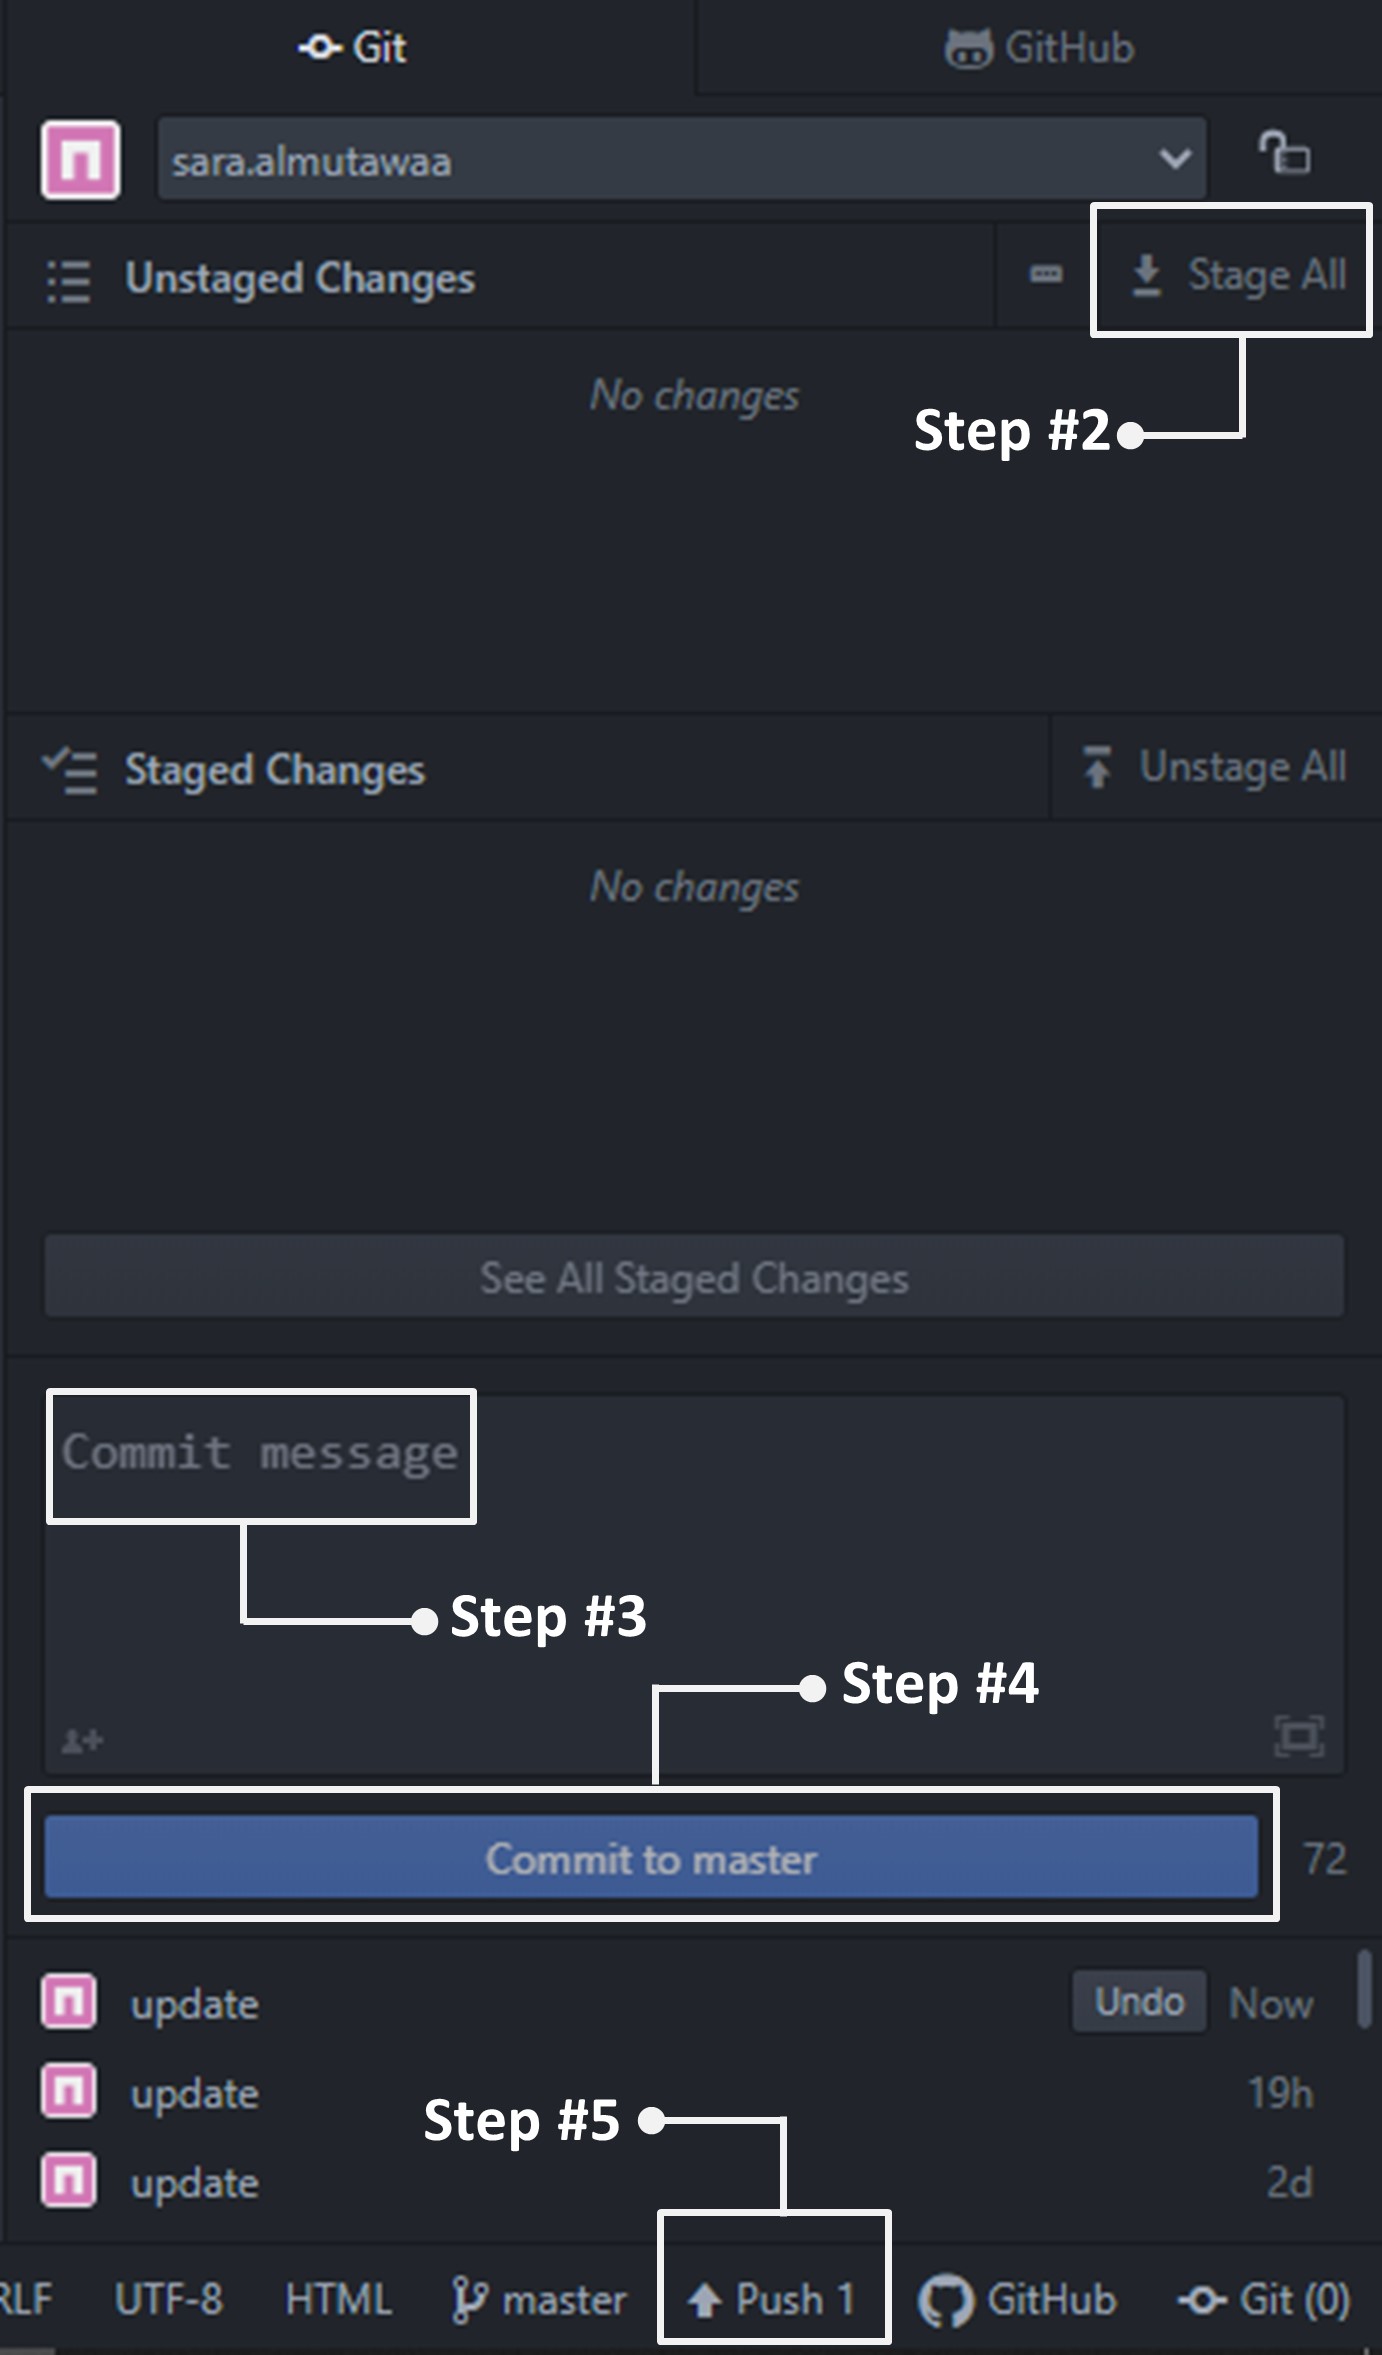
After editing the website, all the changes should be pushed to GitLab to be published to the personal website. This is done by several steps:
- Saving the changes in th HTML file (ctrl+s). The changes will then be listed as Unstaged Changes.
- Click on Stage All to move them to Staged Changes list.
- Write a Commit Message let it be any message that is related to the changes did on the file, for example, 'Update'.
- Click on Commit to master.
- The last step, is to click on Push to update the website.
Uploading html file to GitLab
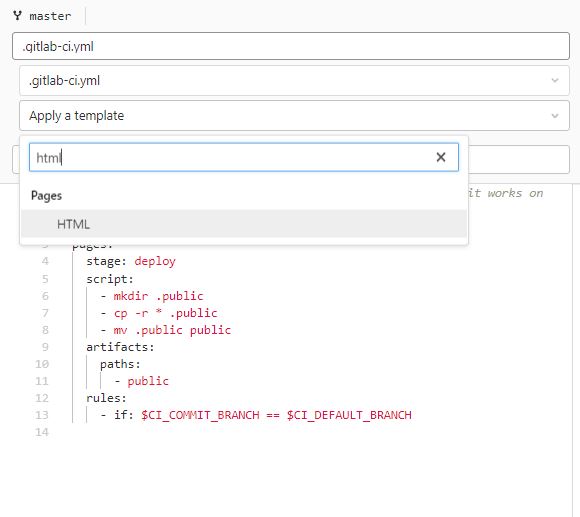
After editing the html file localy on the computer, it should be uploaded to GitLab to be published an update the original personal website. This is done easily by deleting the previous respositpry found in GitLab axcept one file, which is gitlab-ci.yml, where it will be edited. Then edit the file gitlab-ci.yml, by selecting Apply a template and then HTML. Afterthat download the new respository files and the original personal website will be updated.
Problem I faced during editing
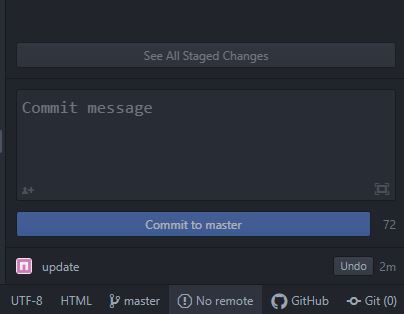
After cloning the files to my device and opening the html file to Atoms software, the Push command does not appear. Instead it shows no remote as shown in the photo. After searching and asking my instructor, we figured that this occurs because of having to Branches. so I deleted one of them, clone the repository again and it worked.