MOULDING & CASTING


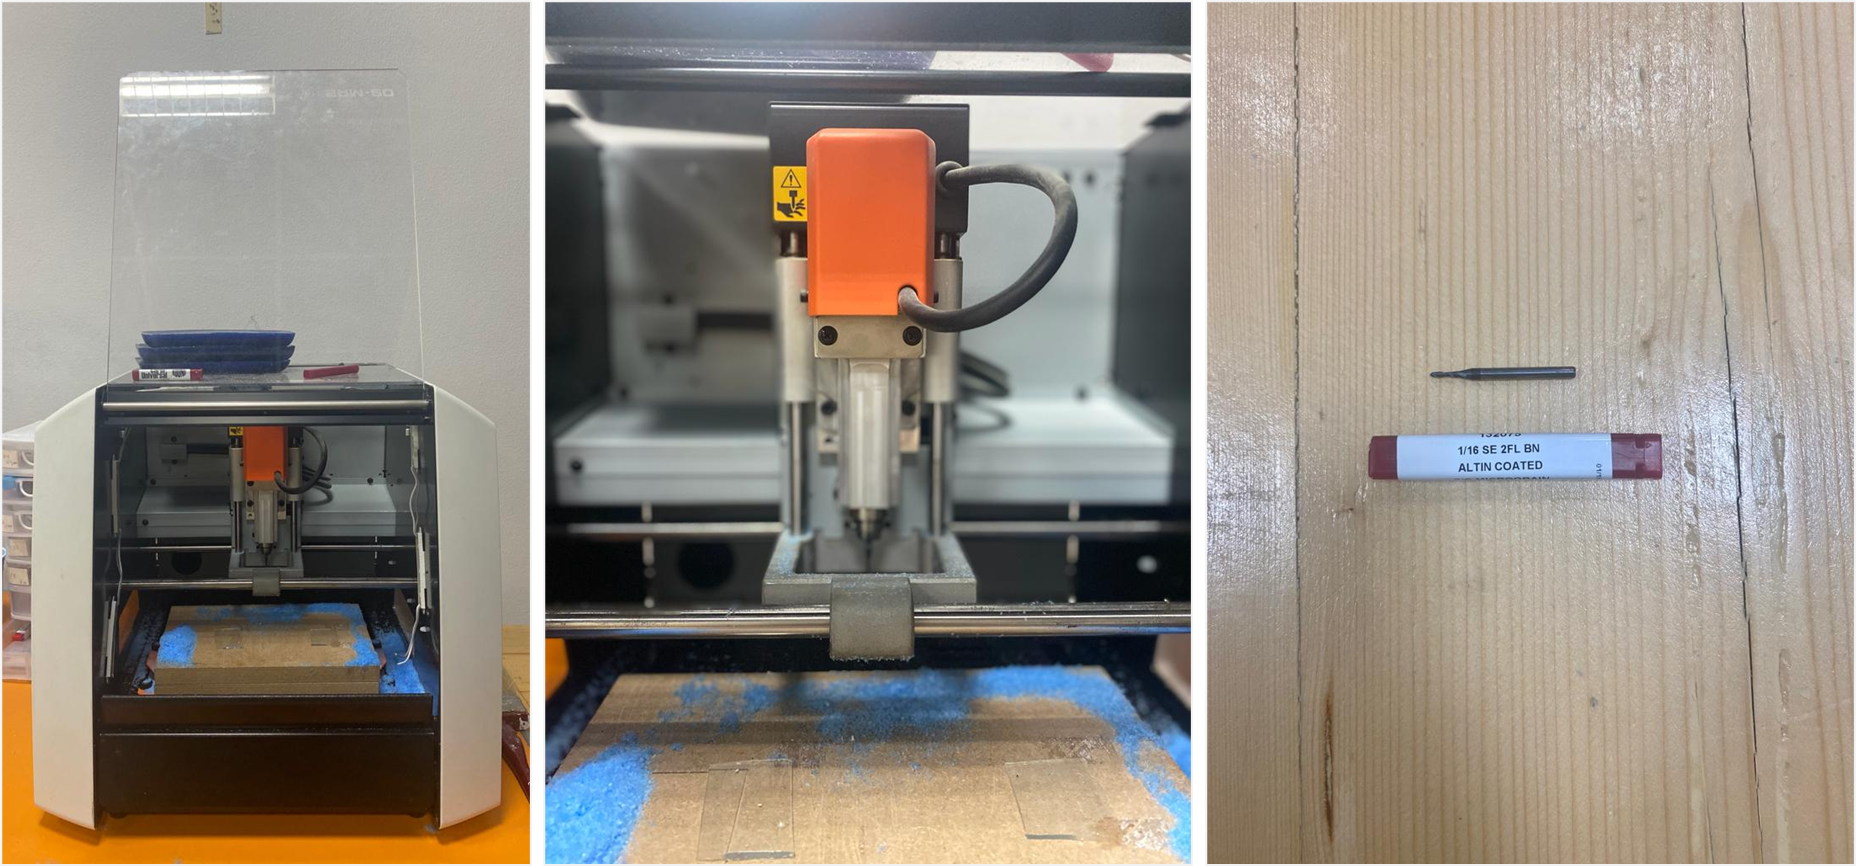
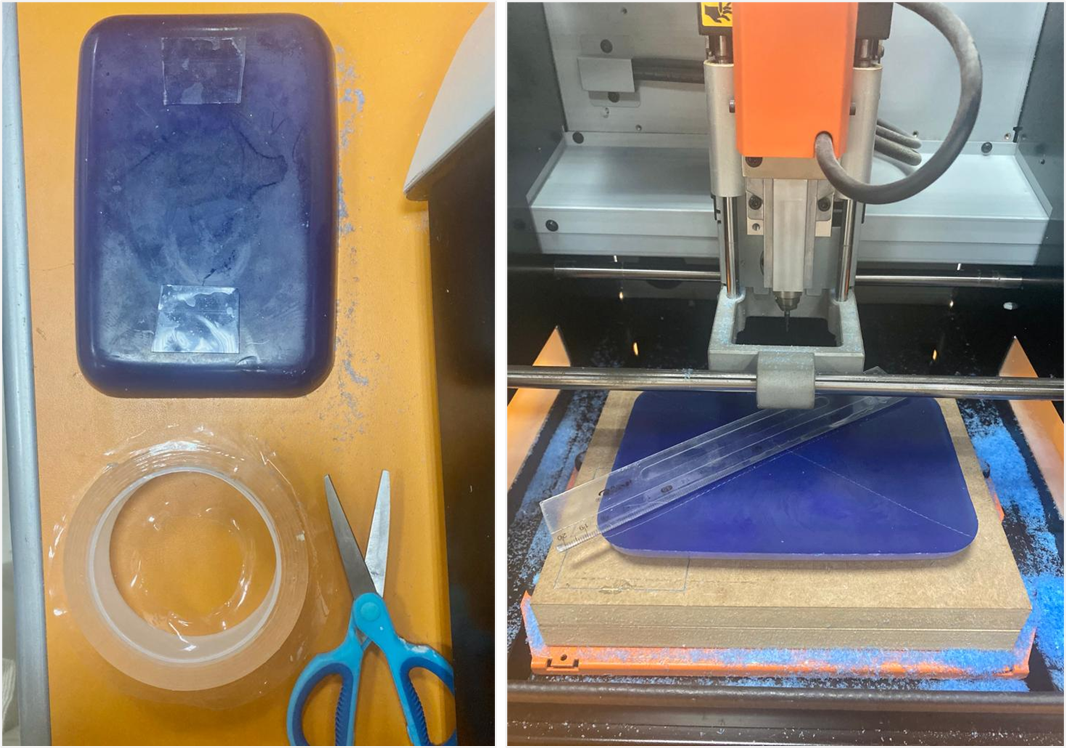
This week we were introduced to the milling machine, and the different types of materials we can use for casting. we worked in groups and individual.


What is Moulding?


is the act of creating the cavity / form that carries a negative or reverse impression of an original model. Molds can be made of a rigid material, such as plaster or plastic resin or more commonly, a flexible material such as rubber. The material to use should be chosen considering the material of the model, the material to be used to make castings, and whether there are any undercuts.
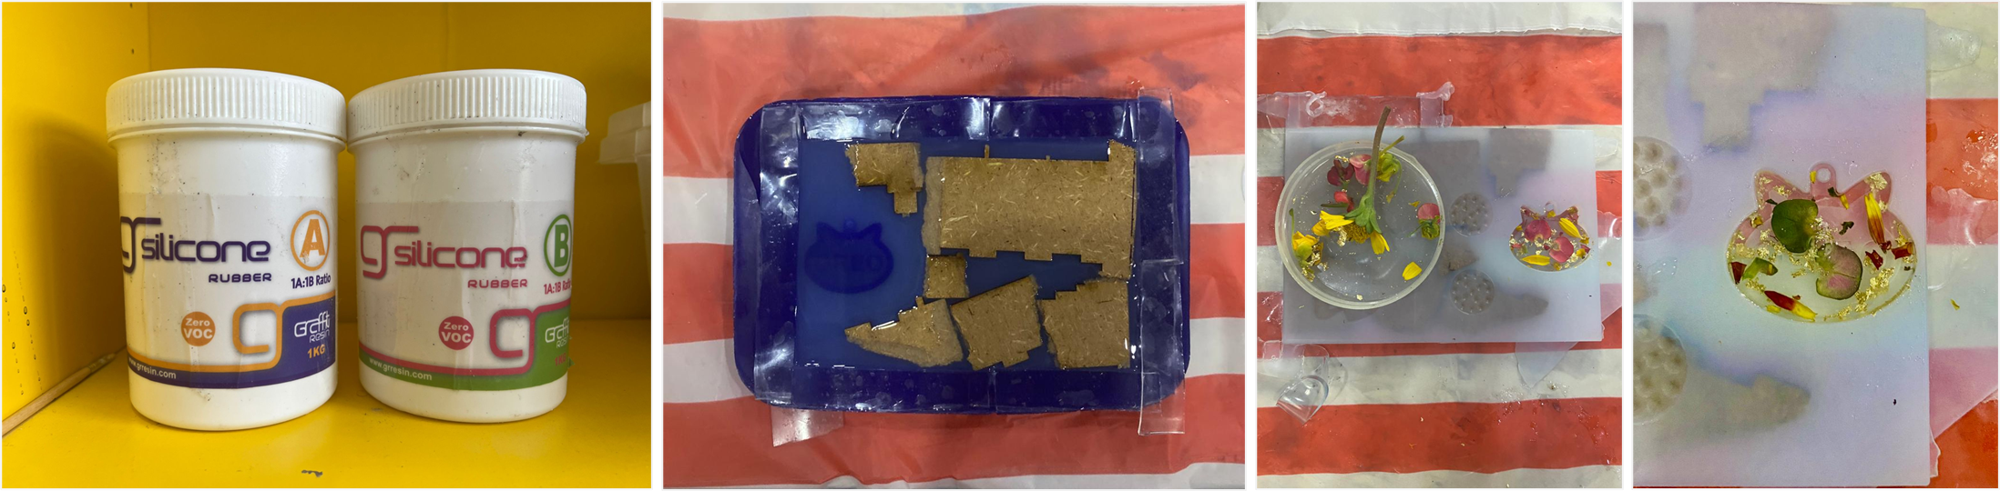
 

What is Casting?


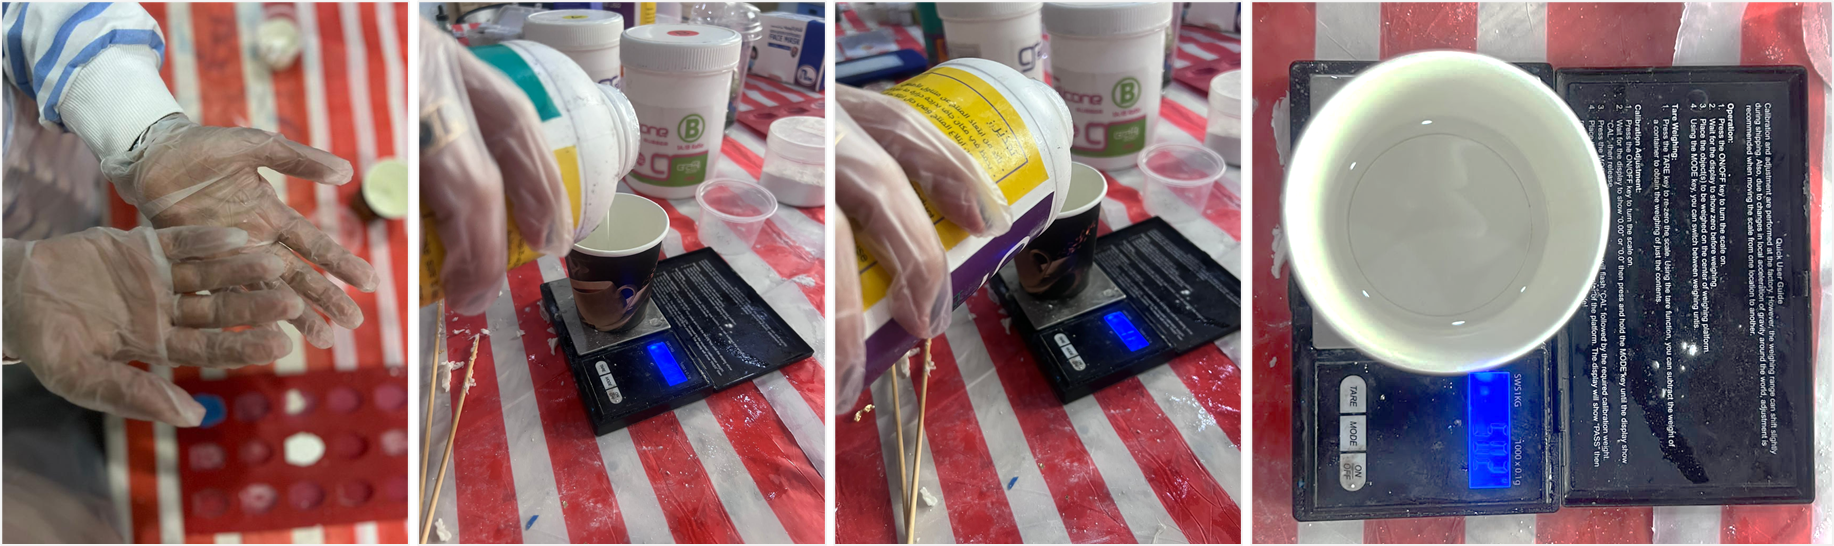
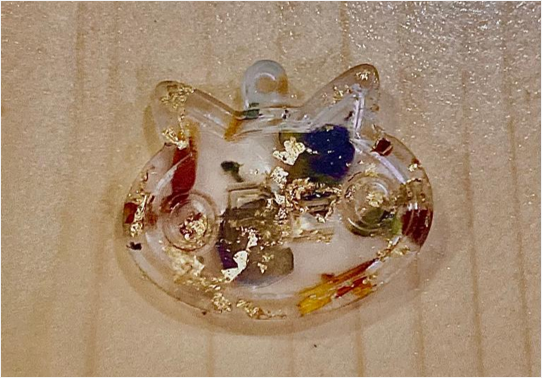
Casting is a manufacturing process in which a liquid material is usually poured into a mold, which contains a hollow cavity of the desired shape, and then allowed to solidify. The solidified part is also known as a casting, which is ejected or broken out of the mold to complete the process.


Group assignment:


In the group assignemnt each group was assigned to experiment with different types of materials for the casting and compare them all in the end. click here to learn more about each type.

Casting and Moulding


Individual assignment:

1- Creating the design, We were asked to prepare a 3d design, not exceeding the size of 6cm by 6cm. I decided to create a name tag for my cat, you can see the steps down below.


make sure to fillet the sides as shown in the picture, to prevent any harsh edges that might get broken in the process later on.

Lastly I added the name, and the design was complete, I have attached the STL file down below.

2- The milling process, Next we were introduced to the machine, it is operated through the attached computer next to it. it can cut 2.5 dimensional designs and the smallest bit it has is 1.5 so I tried to create my design with the gaps above this number. We uploaded our designs in tinkercad first to make sure of the size, then we combined my design with mariam's design as the wax block can fit two at the same time. Next, we uploaded the designs in the machine's program, on the left side window we chose the material, we made sure of the size and then we created the tool path. Lastly we adjusted the origin accordingly as shown below.


This is the machinne as show below, we changed the bit and we used the 1/16 bit.

Next, we taped the wax piece (blue) to the machine with double sided tape so it would not move, and then drew 2 lines crossing each side to find the middle point where the origin would be. Make sure that there is a very small gap between the bit and the material before you start cutting.


3- The Moulding & Casting process, we created the mold 2 times, the first time failed because the mold was not thick enough to cast anything in it, So the second time we used some thick tape to create a frame around it so it would be thicker this time. We also used some of the cardboad we had to minimize the wastage of material. To create the silcon mold we used 1:1 ration of each tub as shown below, and to measure how much was needed, we used water to check the capacity of the mold. After mixing equel ratios we poured the mixture and we left it to dry for one day. After that, THE MOLD WAS READY! so it was time to create the cast and I used Razen for this part, and added some flowers and golden flakes to decorate it.

After preparing the mold, I mixed the razen (50 grams) and added the hardener (30 grams) which equels to a 10:6 ratio, as learned in the group assignment. In this step you would need to wear gloves and an apron for saftey. Then I poured the mixture in the decorated mold and we had to wait for it to cast.

This is the final result! I would recommend using dried flowers for better results but other than that it turned out great.


click here to downland the stl file.


click here to downland the fusion file.