Project Management
During the first week I learned how to make this website, choose an online template, used multiple software’s to complete it. This website is important as I will be documenting my journey in fabLab Academy and share some of my works.
Making the Website
To make this website I followed these steps using the following programs:
Git & GitLab:
GIT: Open source software to track the changes made on the web and save backups.
GitLab: Open source software to track changes made in the web and save backups.
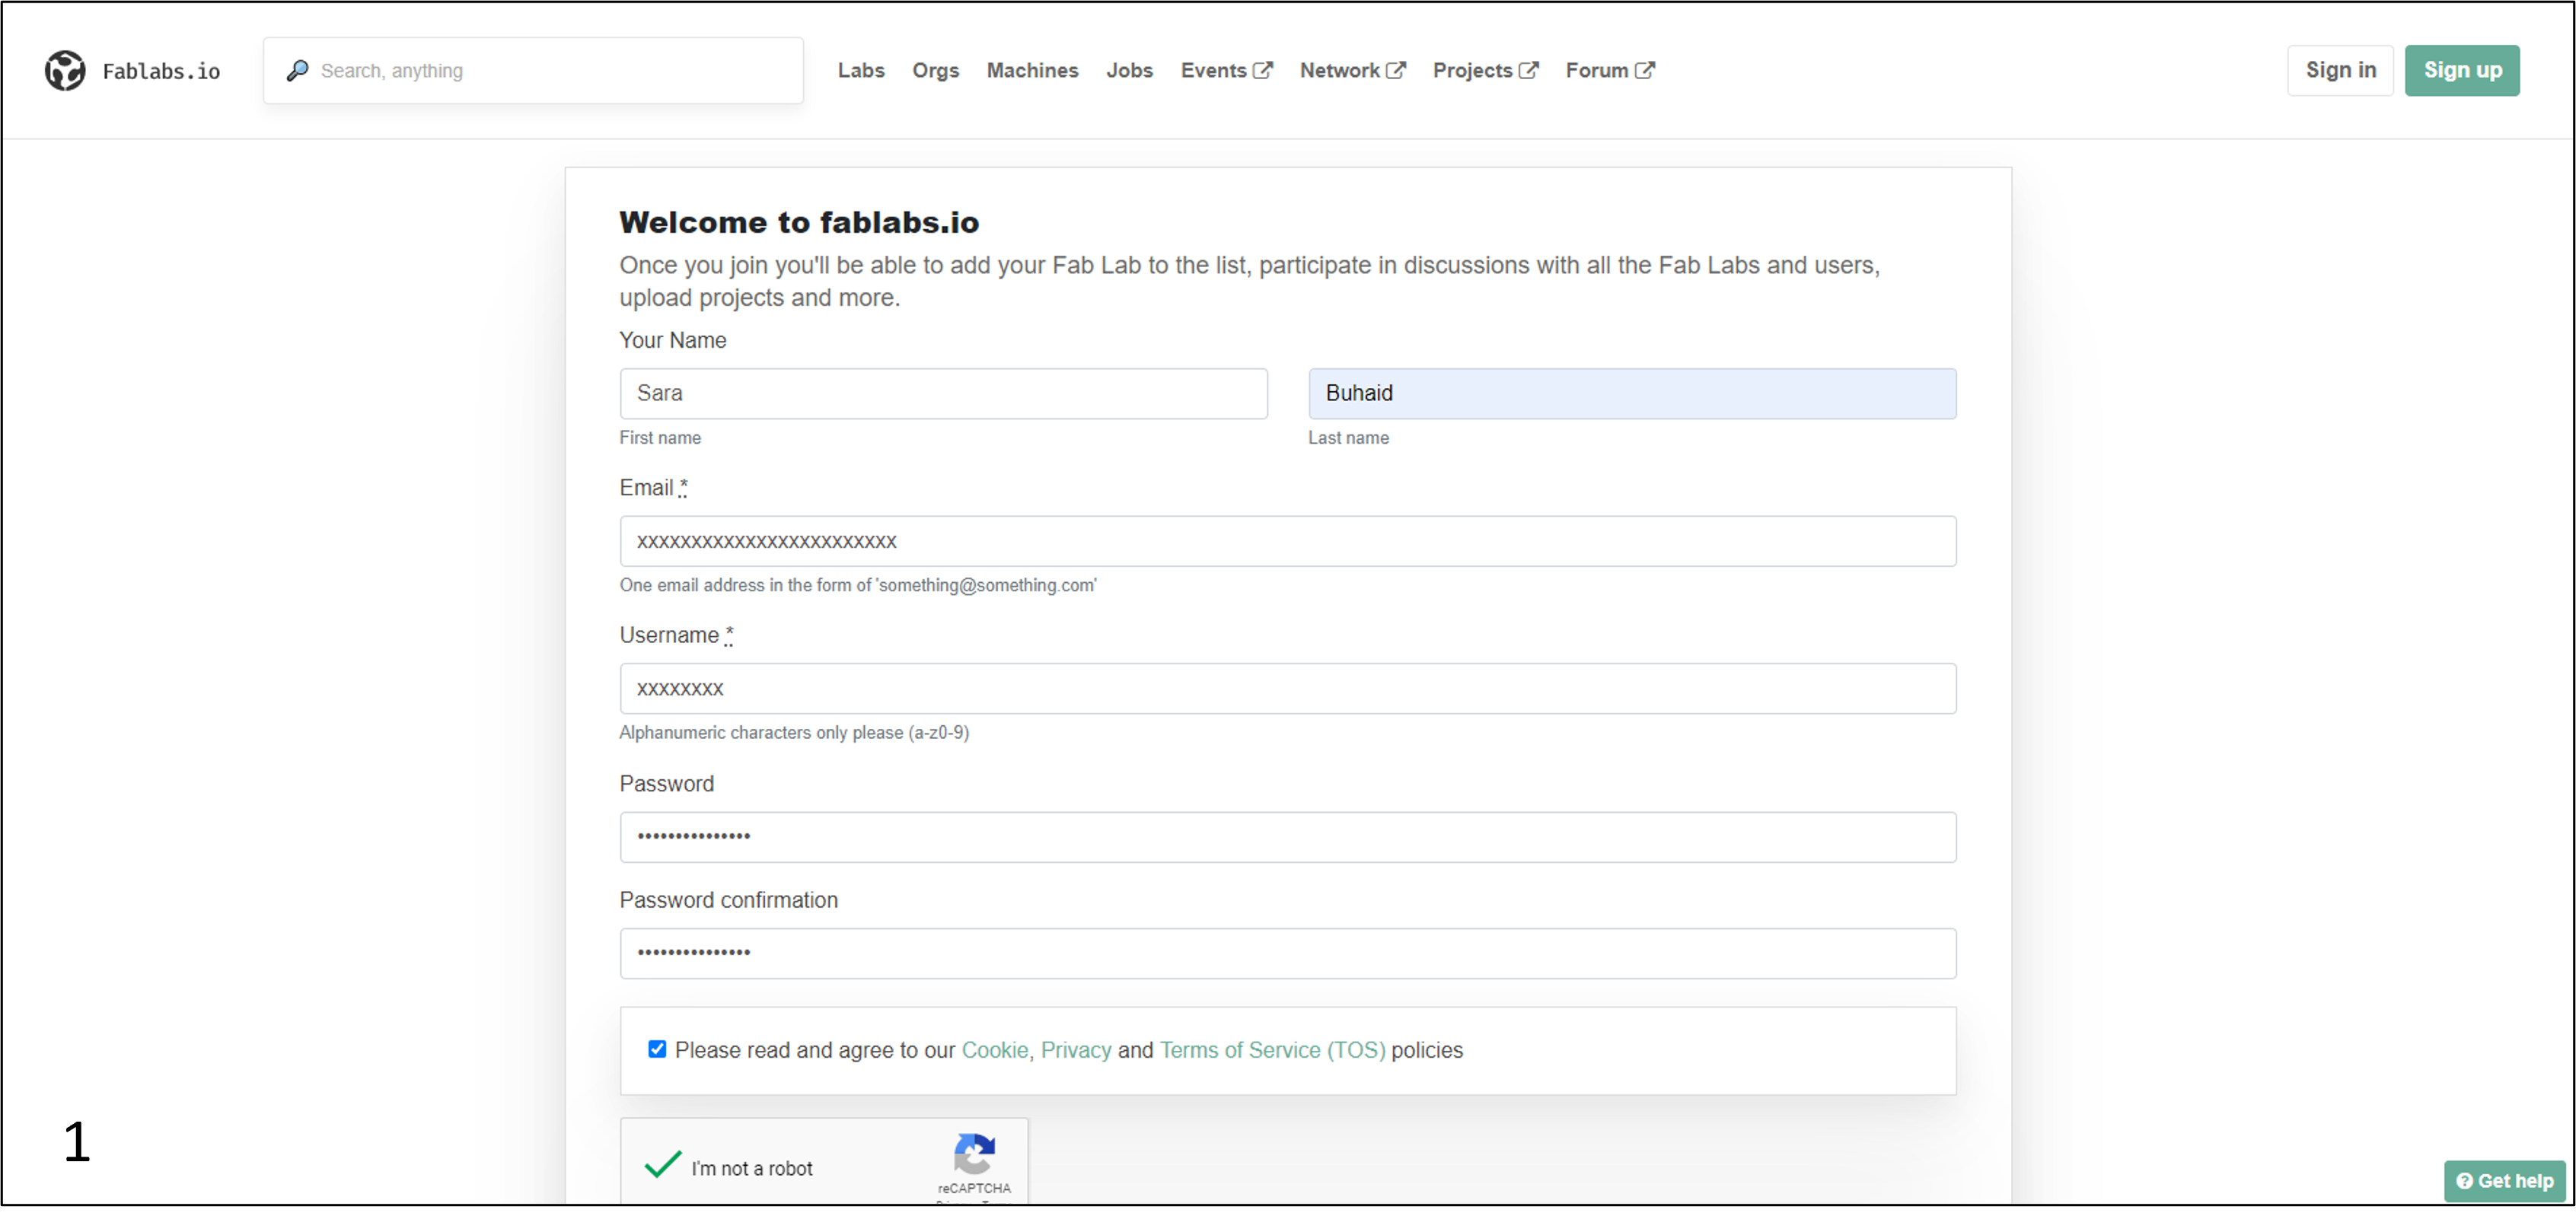
1. First I created an account in FabLab website. This account will be then used in FabLab website and in GitLab website. These two websites are important as I can access the program folders, edit my personal website and many more that will benefit me during the program.


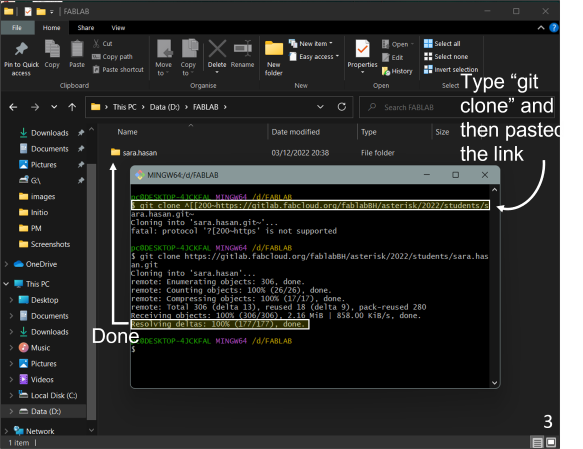
2. I downloaded Git app on my pc and launched the app; this allowed me to copy my website files and data to my pc.


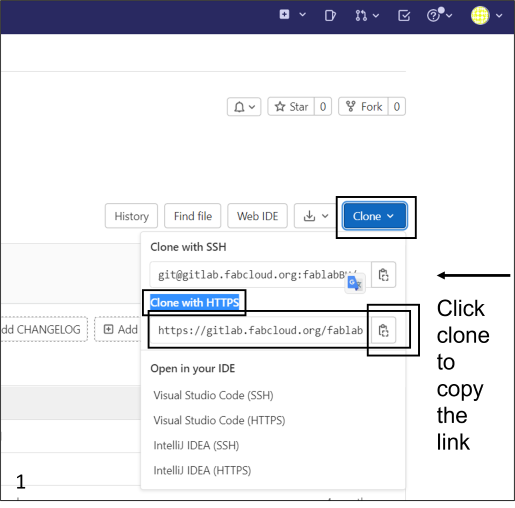
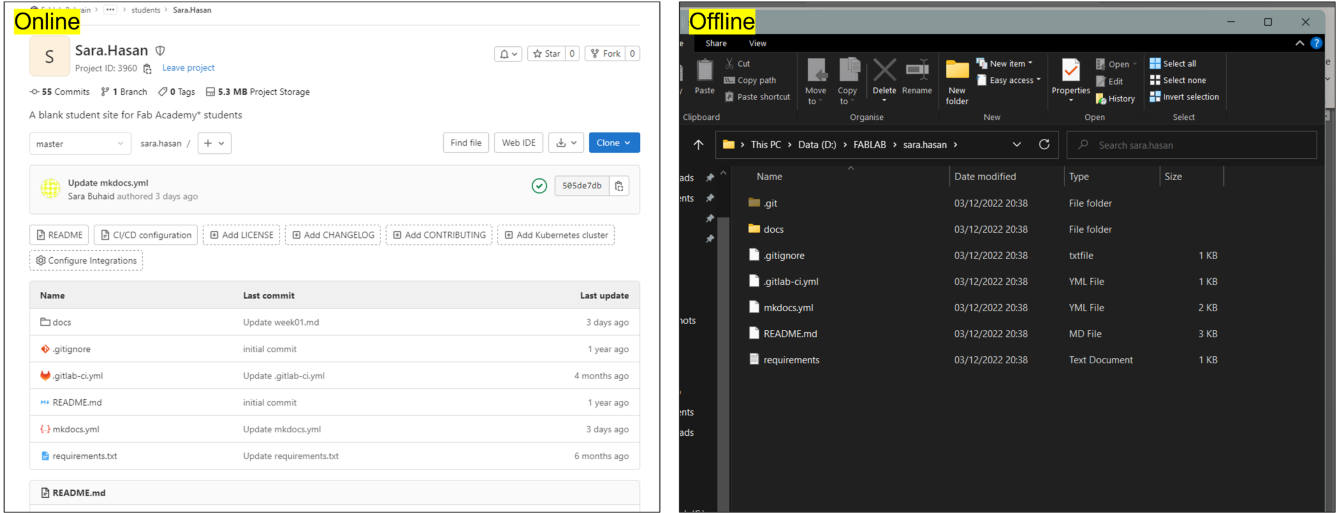
3. Cloning my website locally: -
In order to be able to edit my website locally (offline) I had to clone my website date from GitLab. In simple term copy the date and paste it in a folder on my pc using the GitLab app I downloaded.
Then I cloned my website detail from Gitlab online and clone to my pc to be able to edit my website locally (offline)

Now I can edit my website either locally or online.
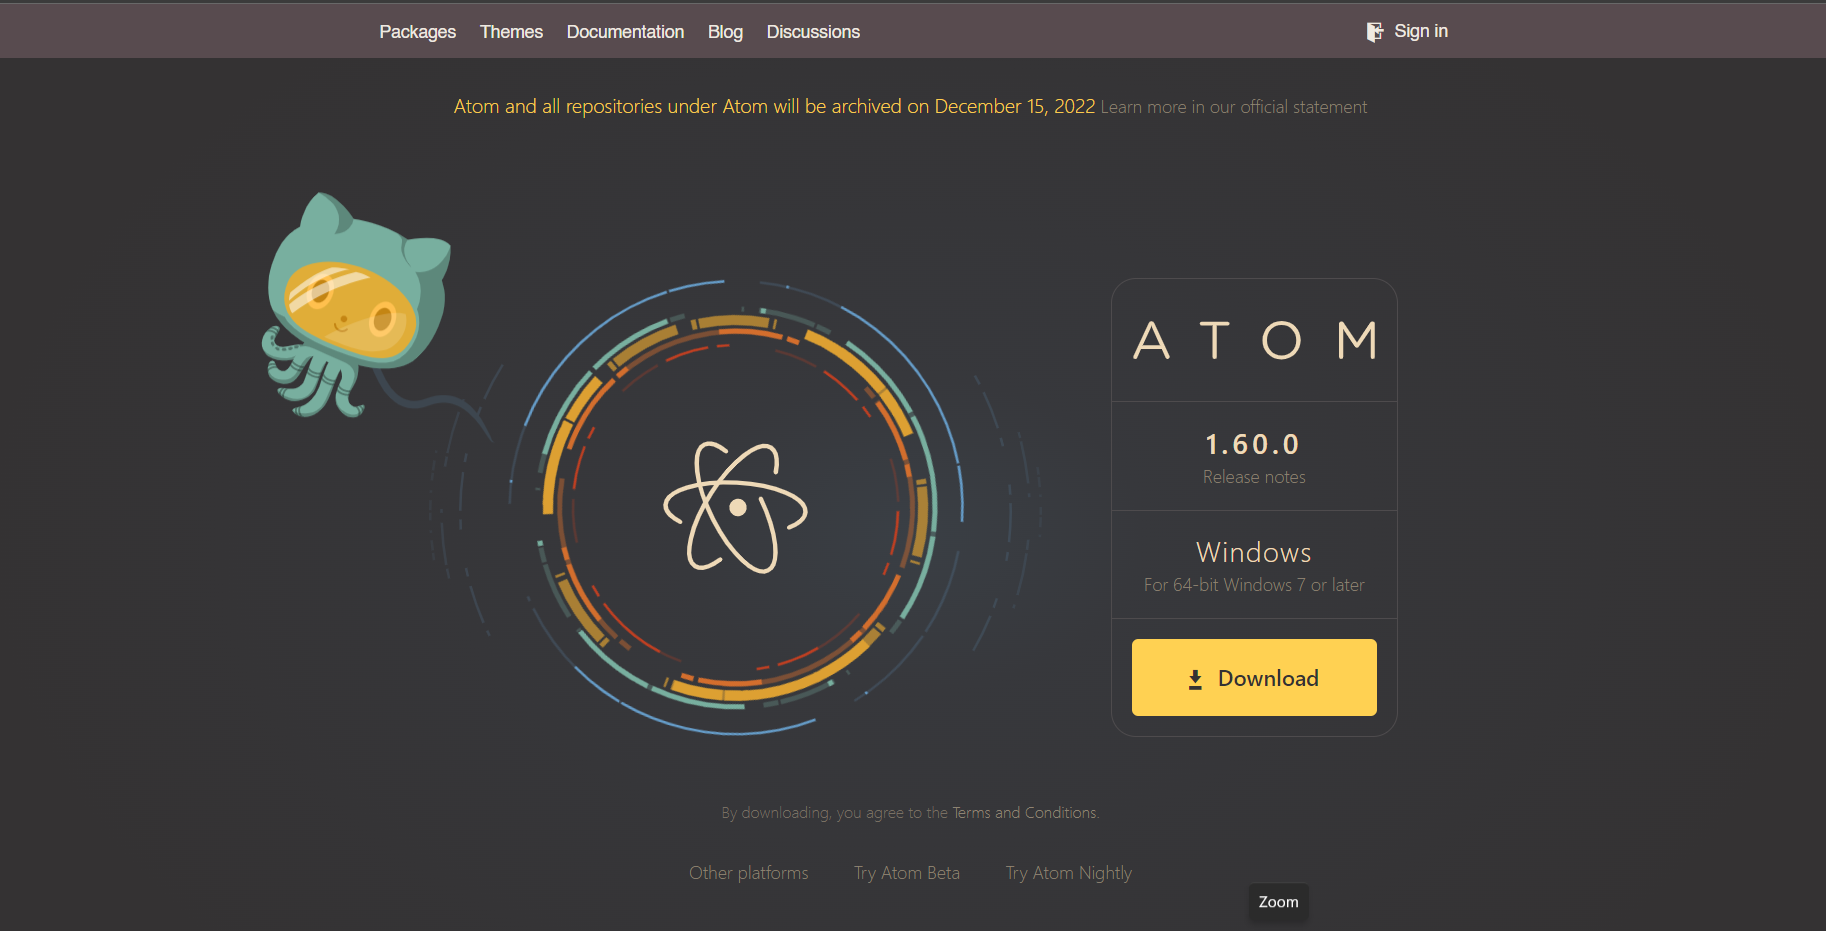
4. Using Atom app to edit the website locally
Atom: software used for coding and website text editing purposes. The main advantage of it is giving the ability to edit the website without the need to be connected to the internet.
- To be able to edit my website locally I had to download Atom app, which I then used to recode my app; editing the website to match my preferences.
- After downloading Atom, I launched the app and logged with my Git account; using the Git account gives me the authority to edit my website offline.
I edited a bit of my website both ways locally and online but then I was introduced to a website that offers free website templates, so I deiced to download a template and change it to create a website that best matches my style.
4. Choosing website template and editing it:
- I used the following link to download the template that I liked the most Free CSS.
- To edit the website according to my needs I used Atom app.
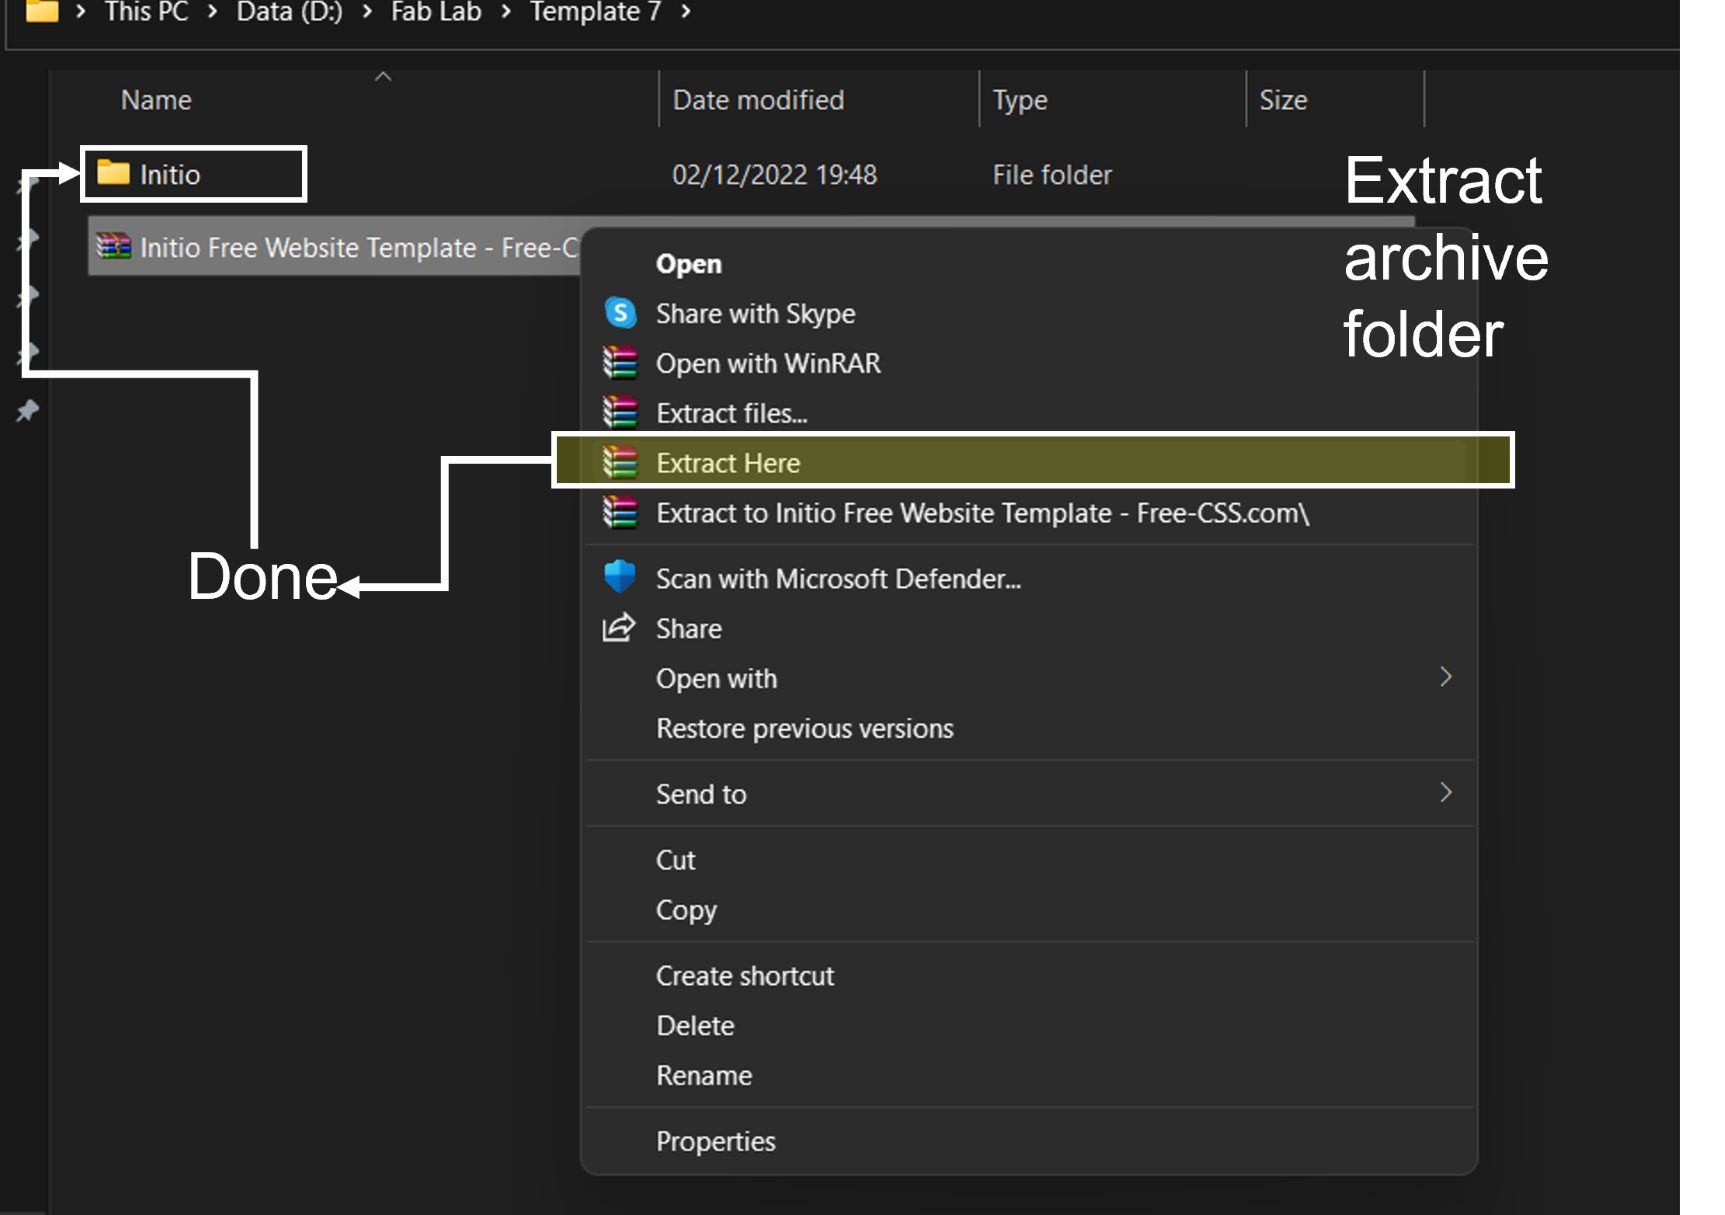
4. Editing using Atom:
- After downloading the template, I extracted the archive folder to easily navigate through the folders and edit them.
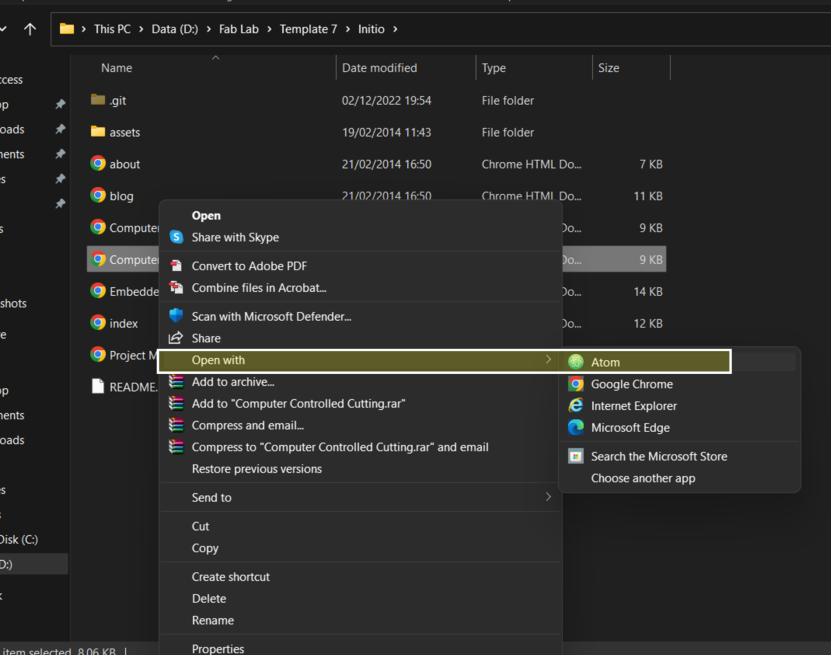
- I edited each folder which represents a separate section/tab in the website by opening the folder in Atom.
- In the Atom I edit the codes of the website.

New vocabularies and discoveries:
Besides Atom and Git there are other software that I was introduces to during the first week in FabLab
- Markdown: Website generator that creates websites and edits them. It is like HTML but what makes it different is that it’s simpler and easier, while HTML offers more varieties which makes it more complex.
- MkDocs: MkDocs is a static site generator that is fast and simple for creating project documentation. The source files for the documentation are written in Markdown and configured with a single YAML configuration file that can host anywhere.
- Push: Uploading a file to the website.
- Pull: Downloading a file from the website.
- Uploading an image to the website and its considerations:
- Image size measurements:
Discovering the method of things:
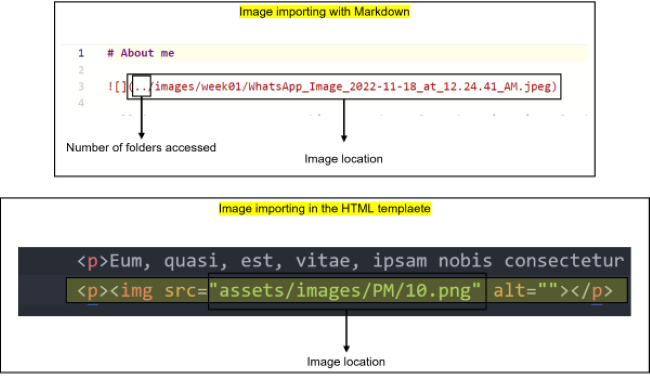
Importing images it differs in Markdown than HTML; they are different in the coding text of importing an image.
- In HTML it is important to type “img src” followed by the image location (destination).
- In Markdown it is important to start the coding with “.”, and it represents the number of folders entered to access the image destination.
- Pixels: Represents the image size in terms of width and height; in other terms how big the image is displayed on the website.
- kilobytes: Represents the image wight that holds on the website.
Editing the website:
The template I downloaded came with a ready code file, with the name ‘Styles’, for the design elements of the website. All I had to do was follow the pattern of the codes and modify it. I also used online sources to import other codes into the file; to edit the website scheme and elements.
* Some codes had to be added to the ‘Styles’ file in order to be applicable to any tab of the website and some did not need to, as they only needed to be pasted to the desired place.
- Adding headings
From the ‘Styles’ file, ‘hx’ is where the heading codes are, and I can adjust the size and number of these headings accordingly.
In the coding to assign a word to a heading; I add ‘hx’ before and after the word, as shown in the following image; where number 1 is the headings format in the ‘Styles’ file, number 2 is how it is coded in website page and number 3 is the final look.

- Adding a link
The following code is used, to add a link within paragraphs, that will open a new tab when clicking on the link.
Example:
The word Home will take you to the homepage.

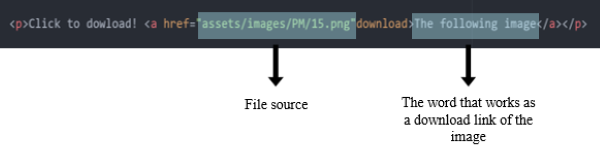
- Adding a downloadable file
The following code is used, to add downloadable files to the website, to share my work and allow everyone to download the files. The code allows to download any type of file, whether it is Photoshop file, AutoCAD file, code file, etc.
Example:
Click to dowload the following image!