Introduction to Laser Cutting Machine
There are many types of laser cutters such as Fiber Laser and CO2 Laser Cutters.
But the laser cutter that is provided in the lab and which we are going to use is called CO2 Laser Cutter.
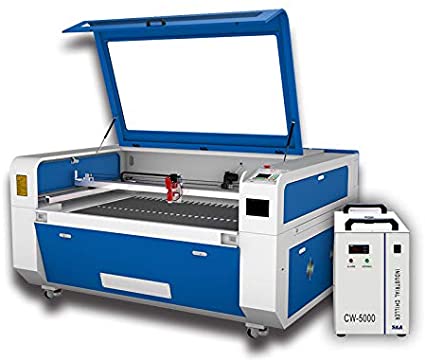
In this figure you can see the CO2 Laser Cutter.
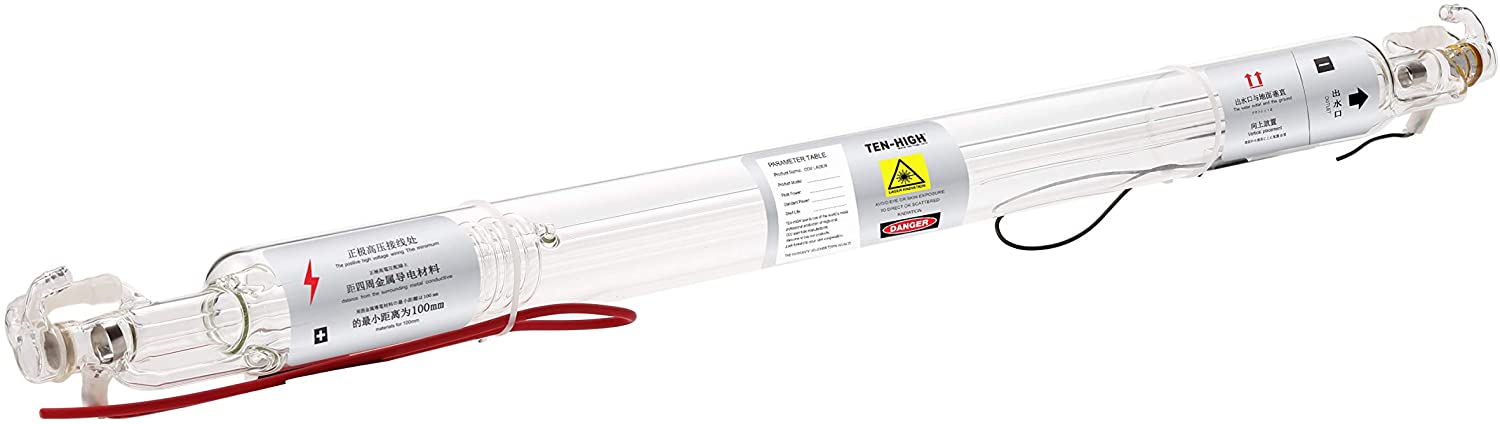
This machine contains a Laser Tube that contains a mixture of gases which will create a Laser Beam.
Different materials can be cut using this laser cutter such as, Acrylic, Cardboard, Paper and MDF.
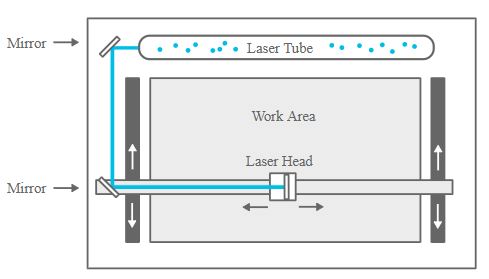
From the laser tube, an invisible laser beam is generated and directed to a mirror, in which it will be reflected to another mirror.
And then again reflected to the laser head as shown in the figure.
Inside the laser head, there is one more mirror that will direct the beam to a focusing lens. This focusing lens is to focus the
beam to one cutting point.
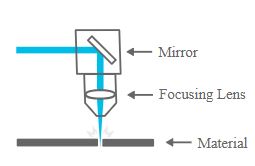
This is the laser head, in which the beam exits to be directed to the cutting point.
By an electronically controlled motors the laser head can be moved backward or forward,
right of left, and up or down. Which is basically (x,y,z) directions.
This laser head can be controlled to cut or engrave a desired shape into the material.
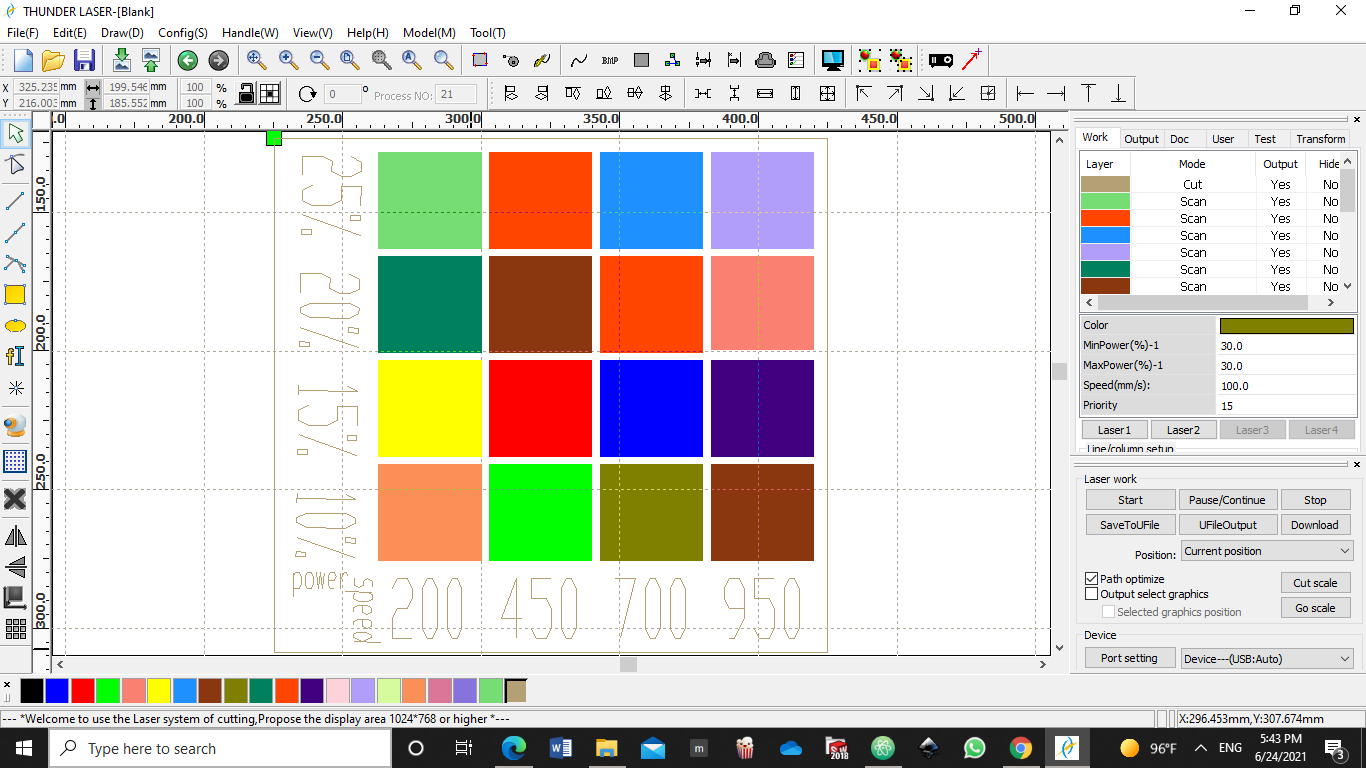
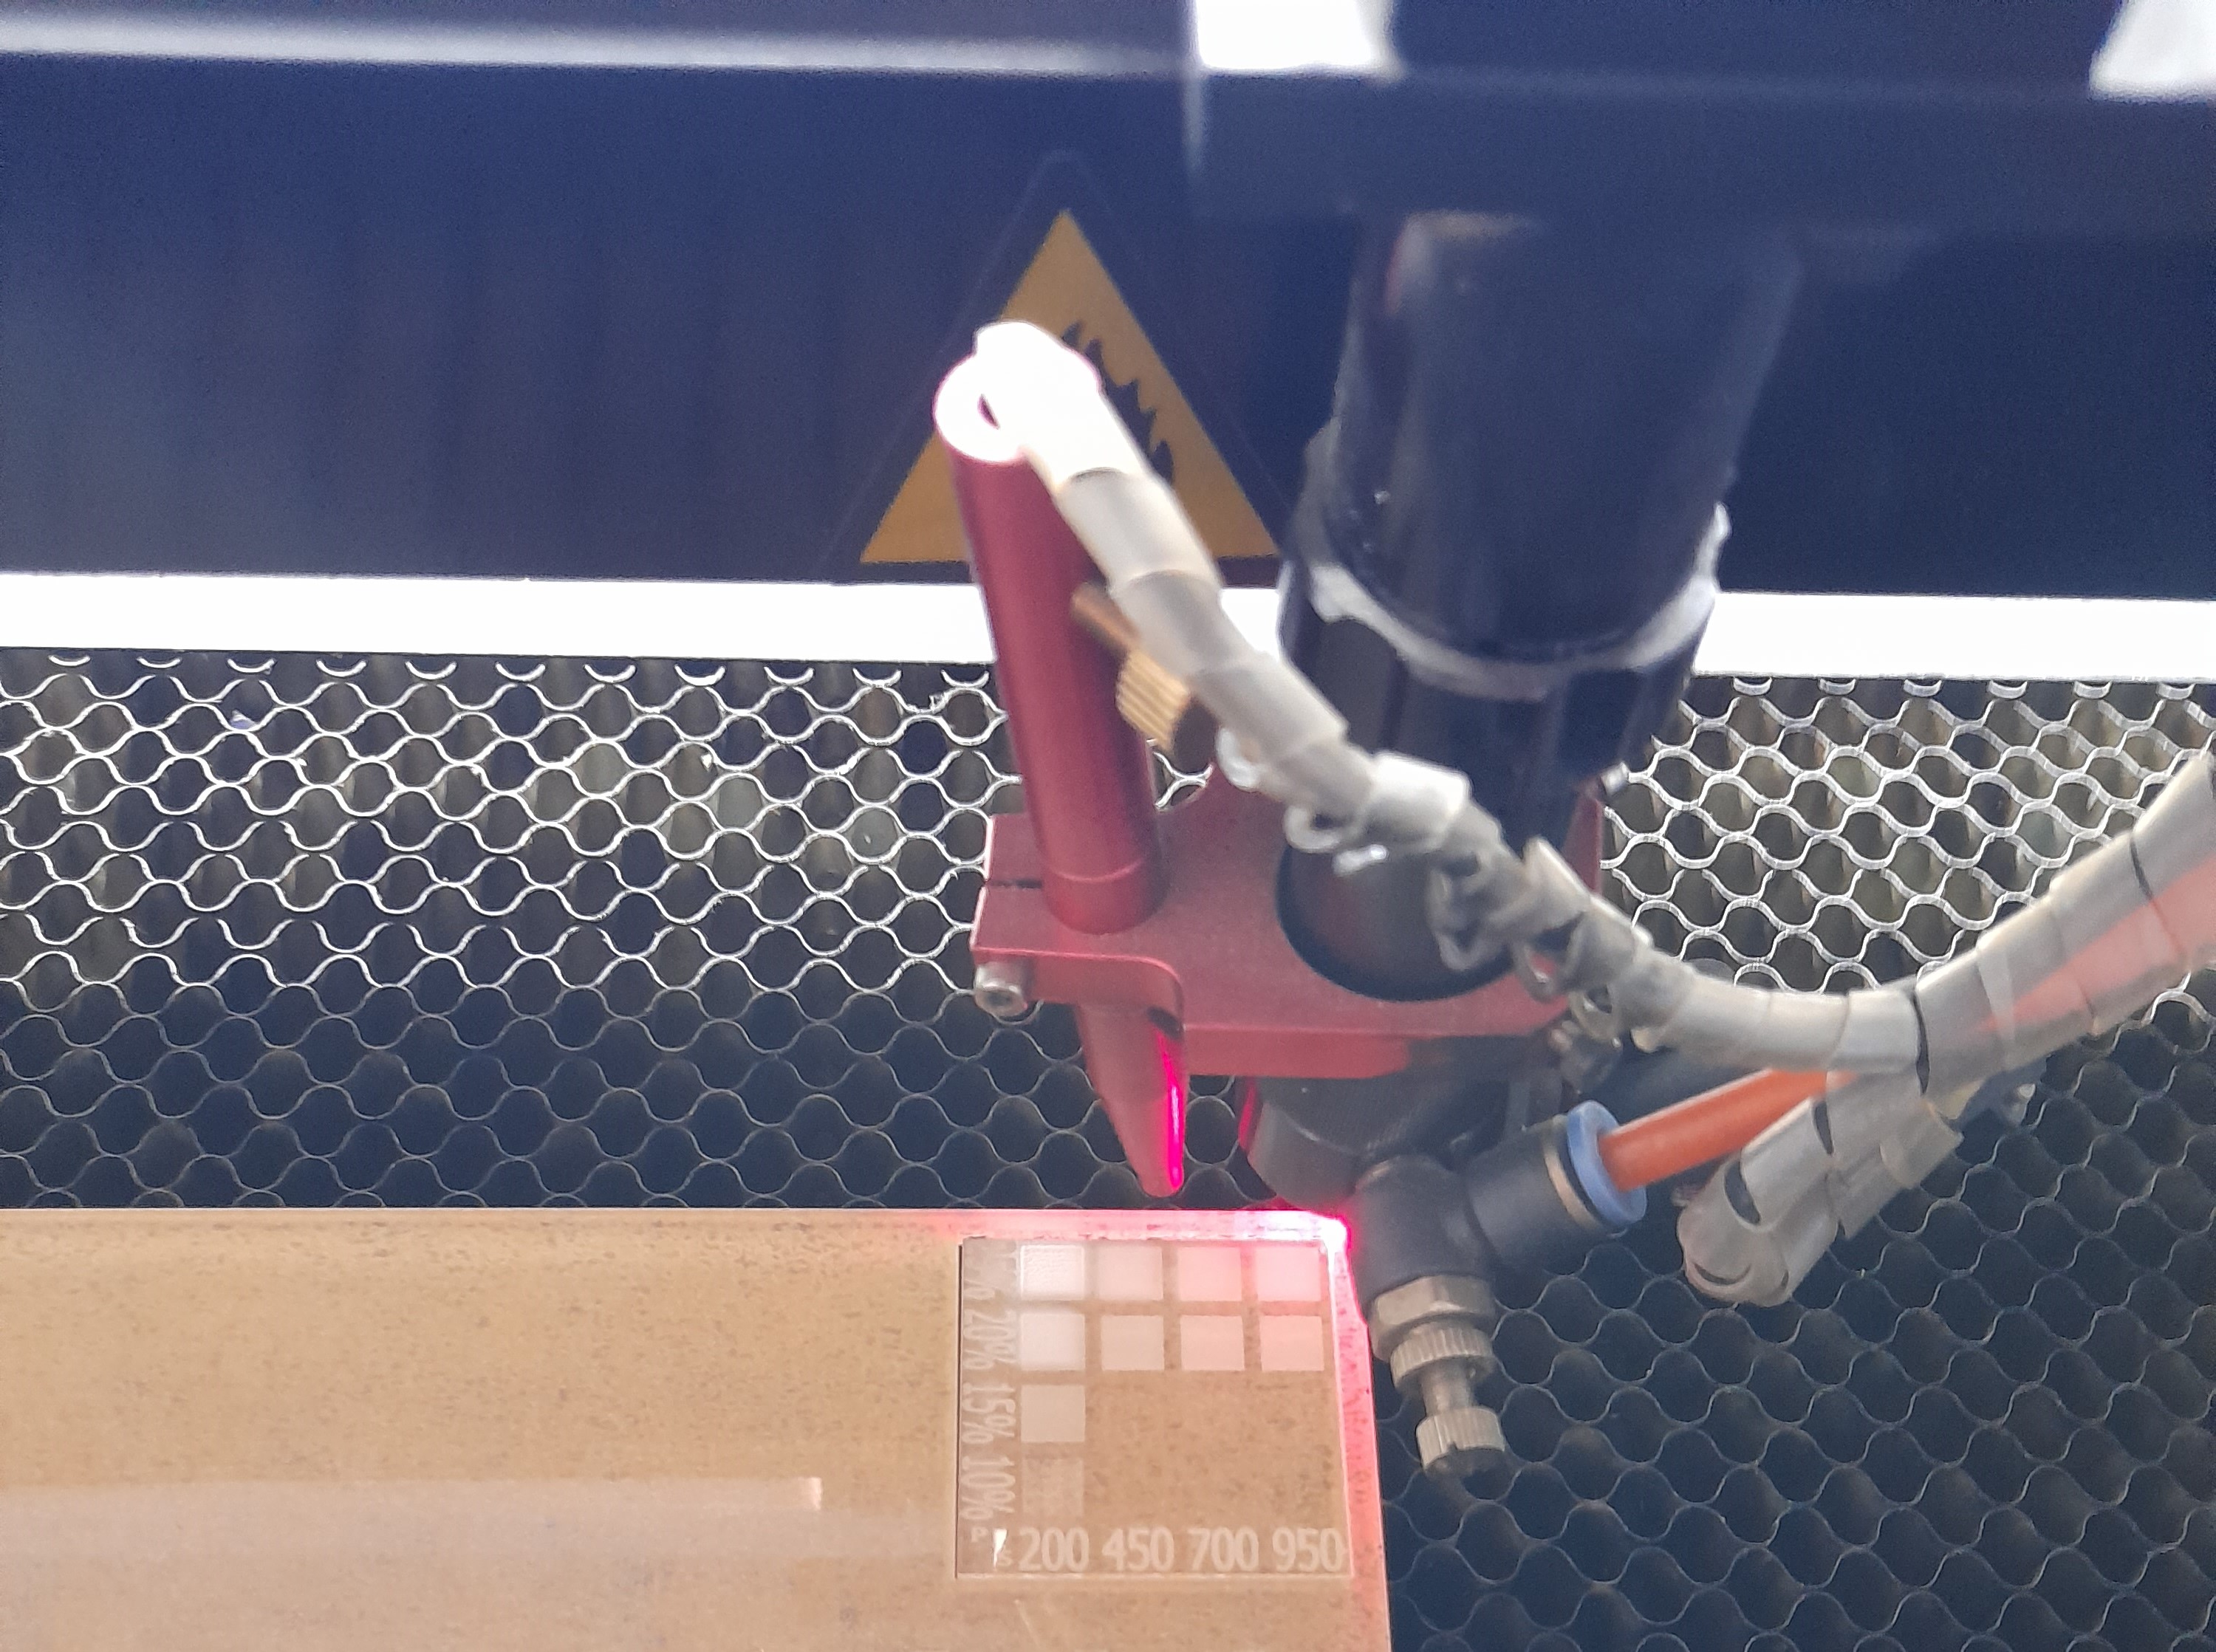
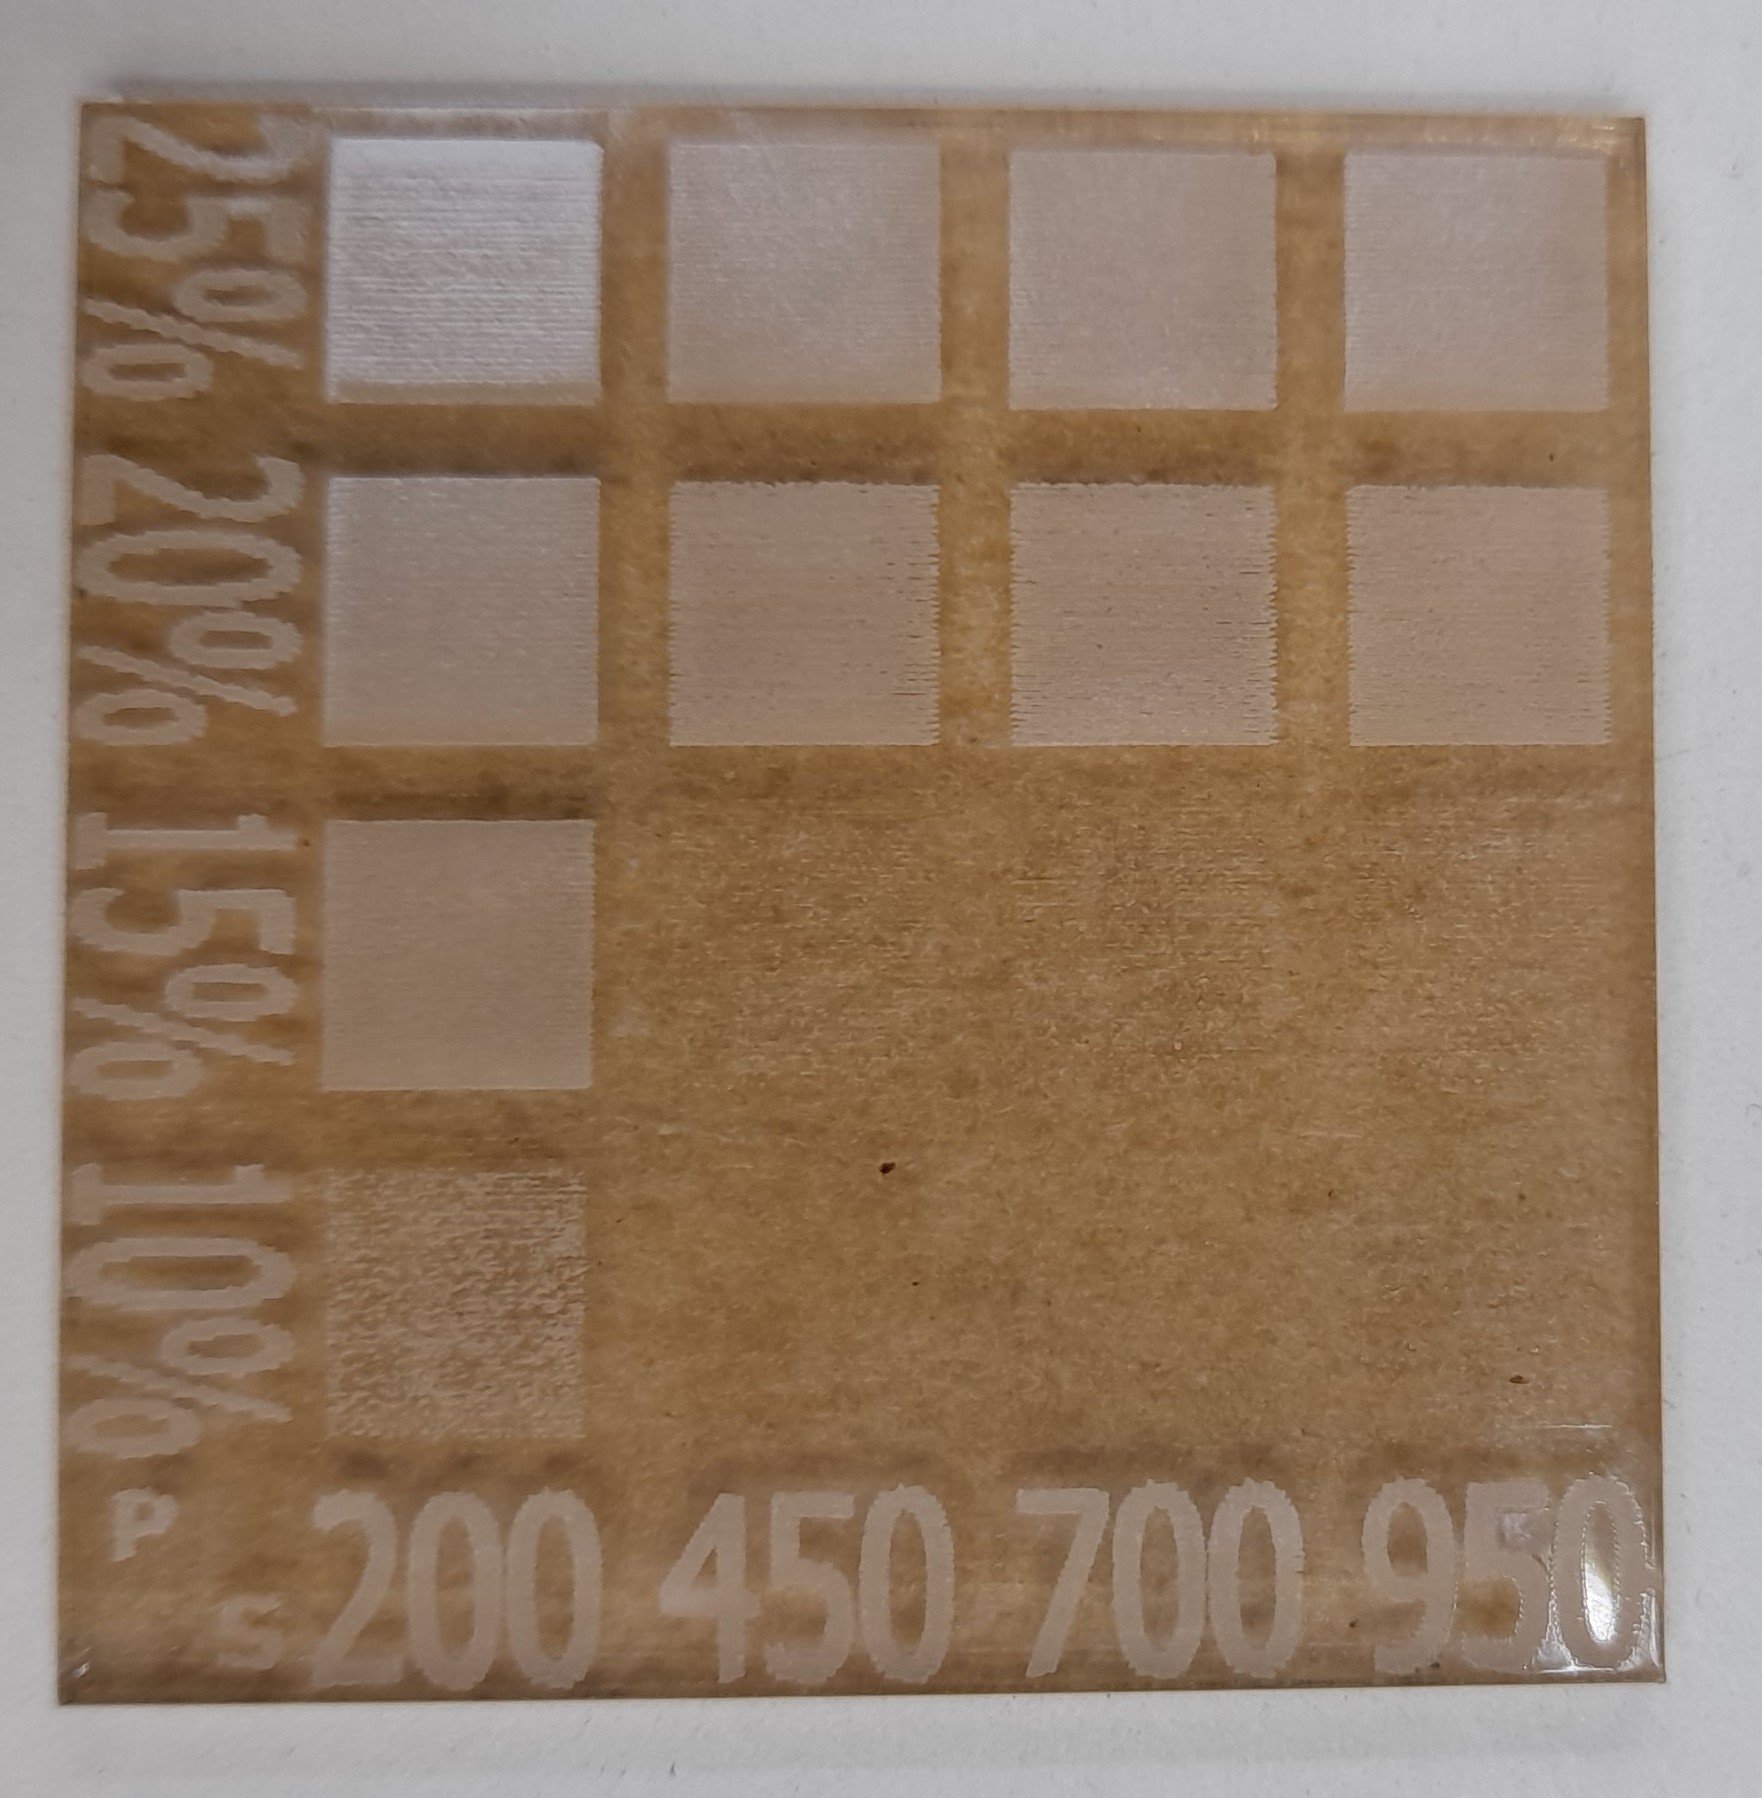
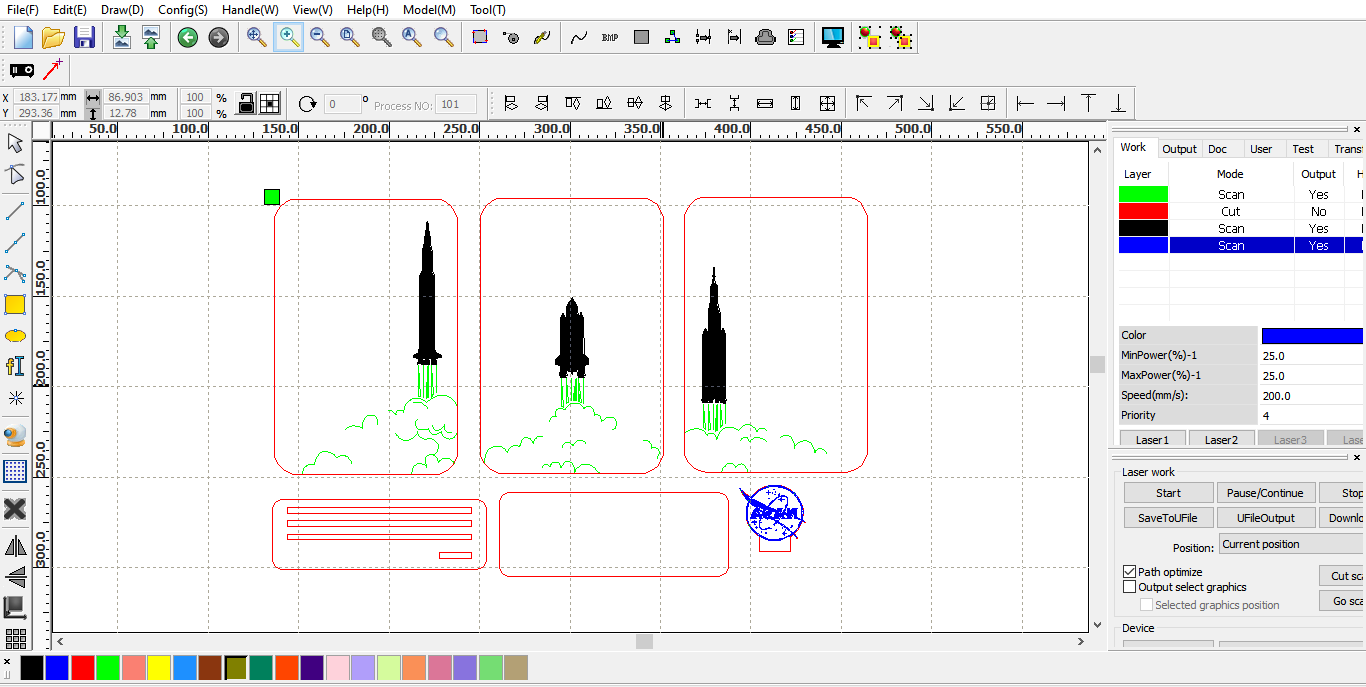
Laser Cutter - Parameters Test
Speed Vs. Power
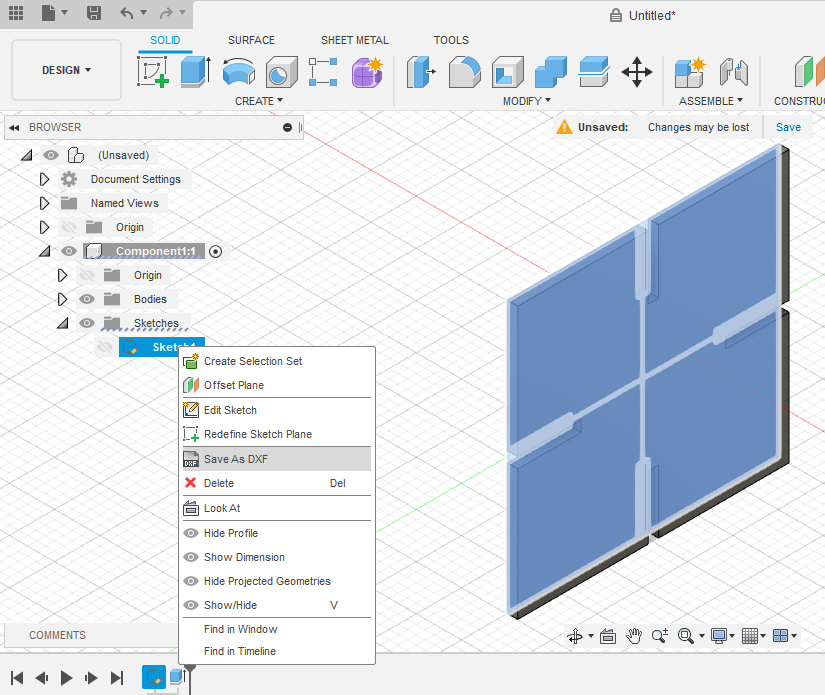
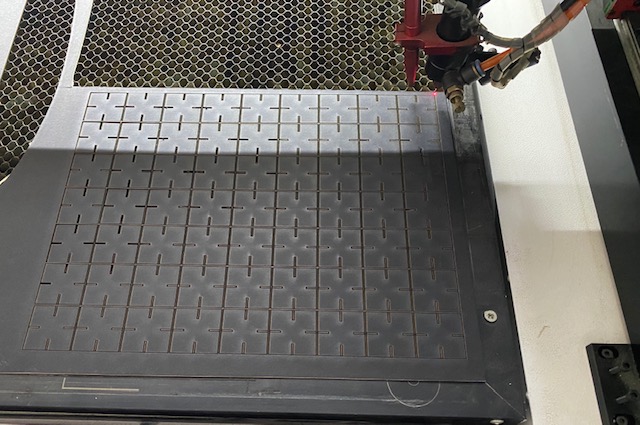
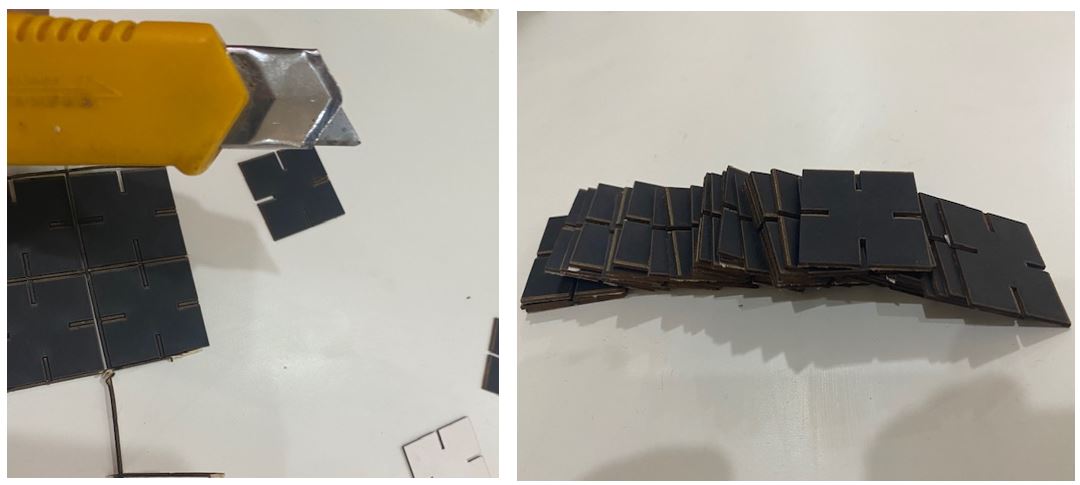
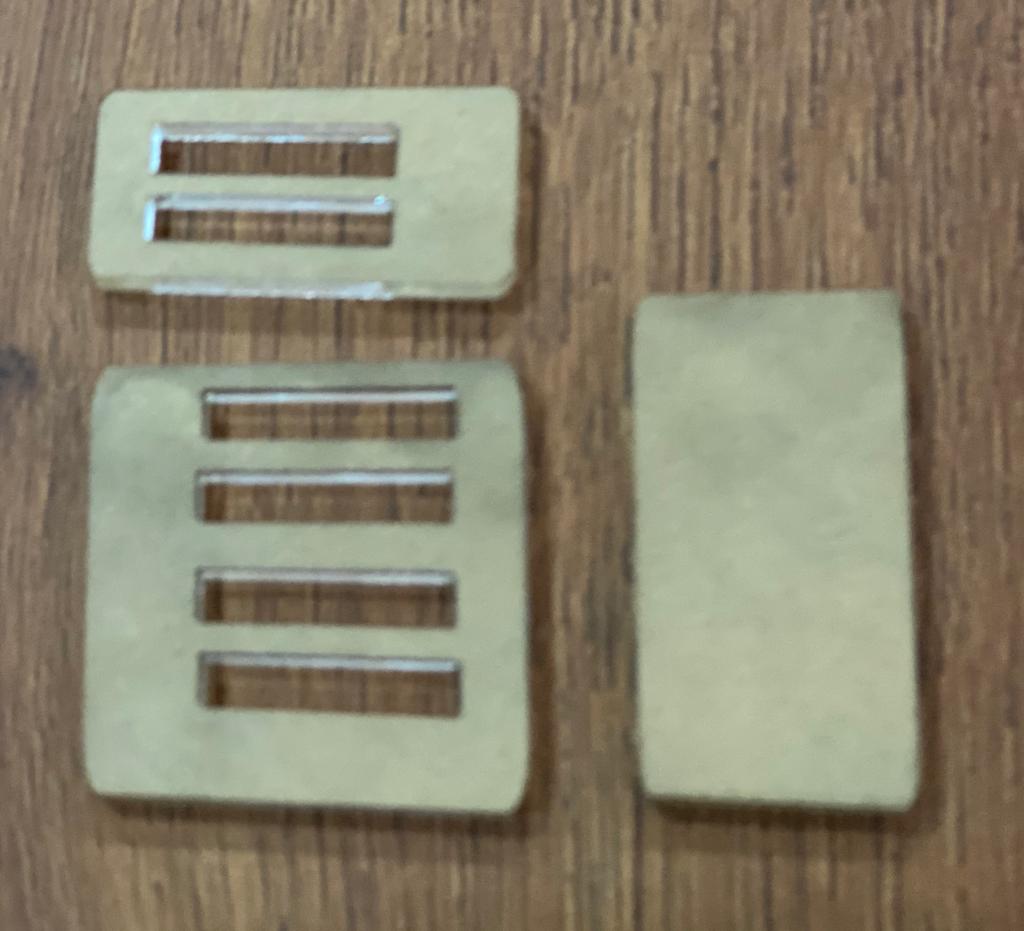
Laser Cutter - Joint test
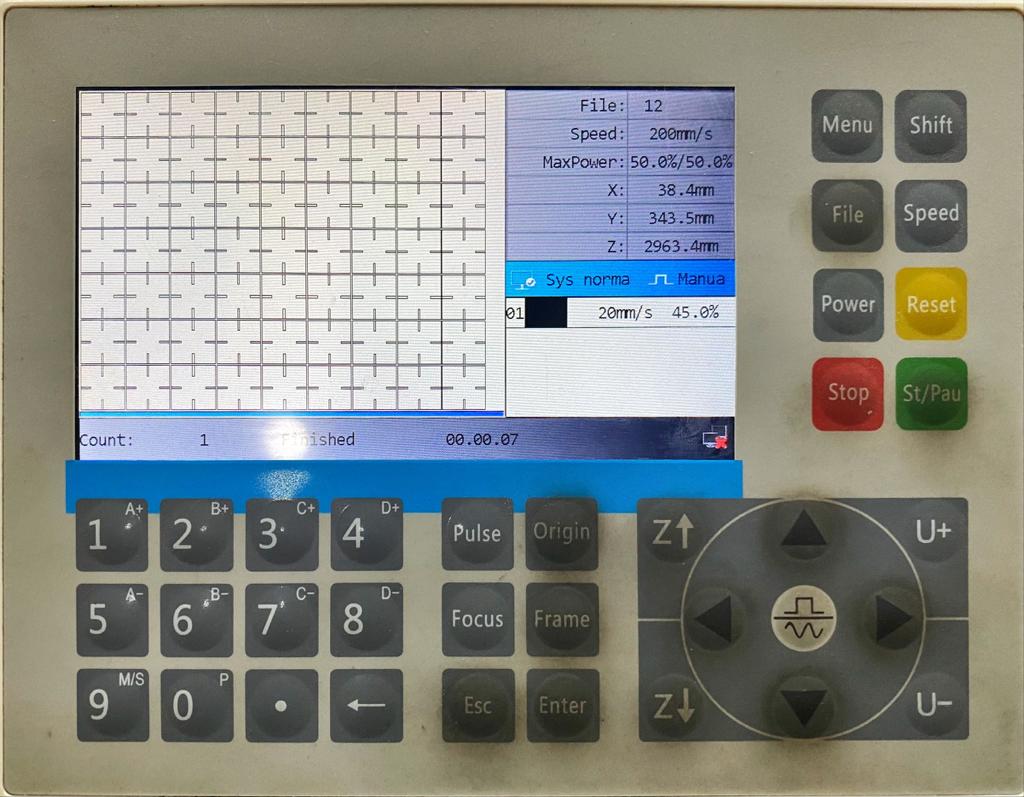
- Origin: to set the origin of the laser edge, this is done easily by pressing on the arrows and then press on Origin.
- Frame: to frame the area where the laser cutter will be moving to cut as shown in the following video, this will enable us to know if the material used is enough and place in the right position.
- St/Pau: when you are done with the pre-cutting process press on this button to start cutting.
*The 3D file of this design can be downloaded from here.
Laser Cutter - Futher Practice
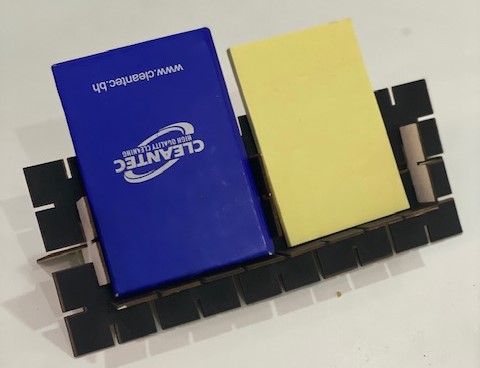
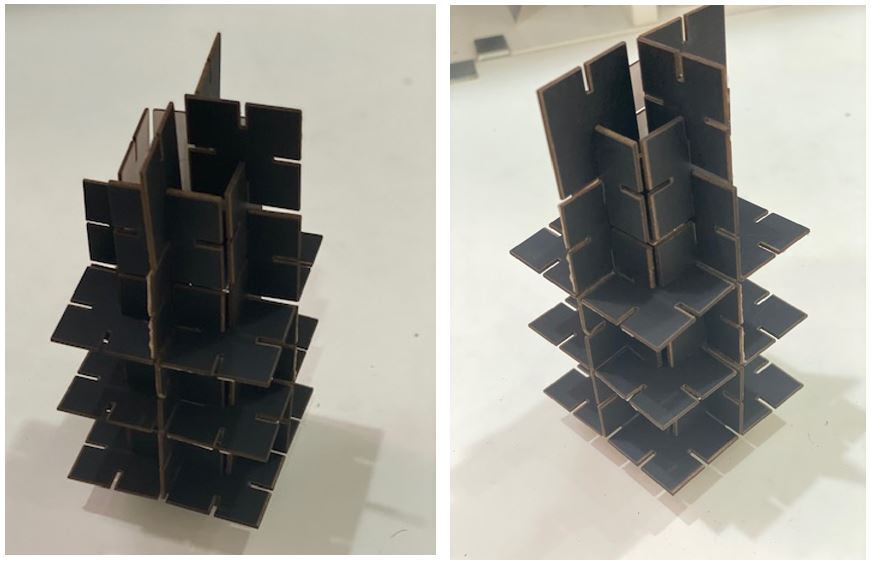
Building an Acrylic Stand
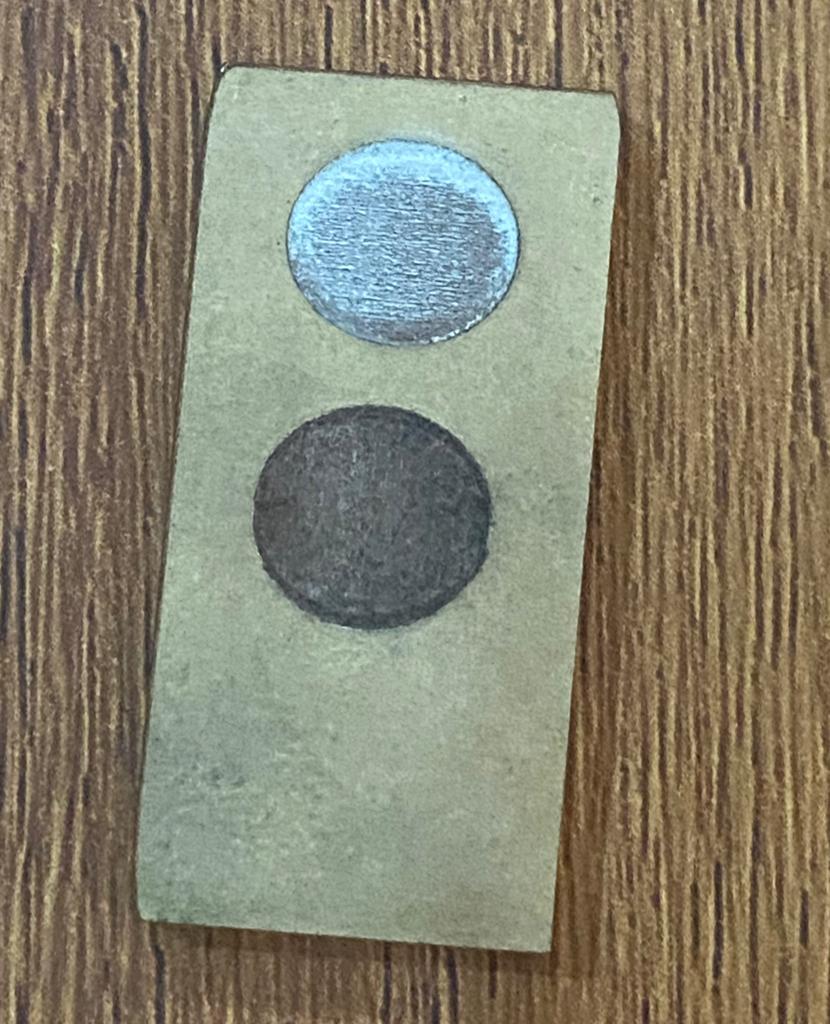
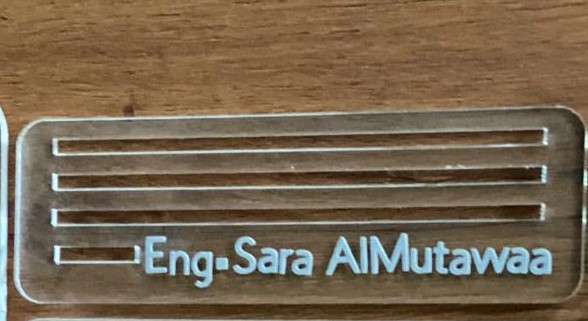
*I choosed the first setting, as you can see espacially in the seconf circle there is a black color. This is because the laser burnt the protective layer found on the Acrylic, knowing that, I removed this layer before operating the machine to avoid the burning.
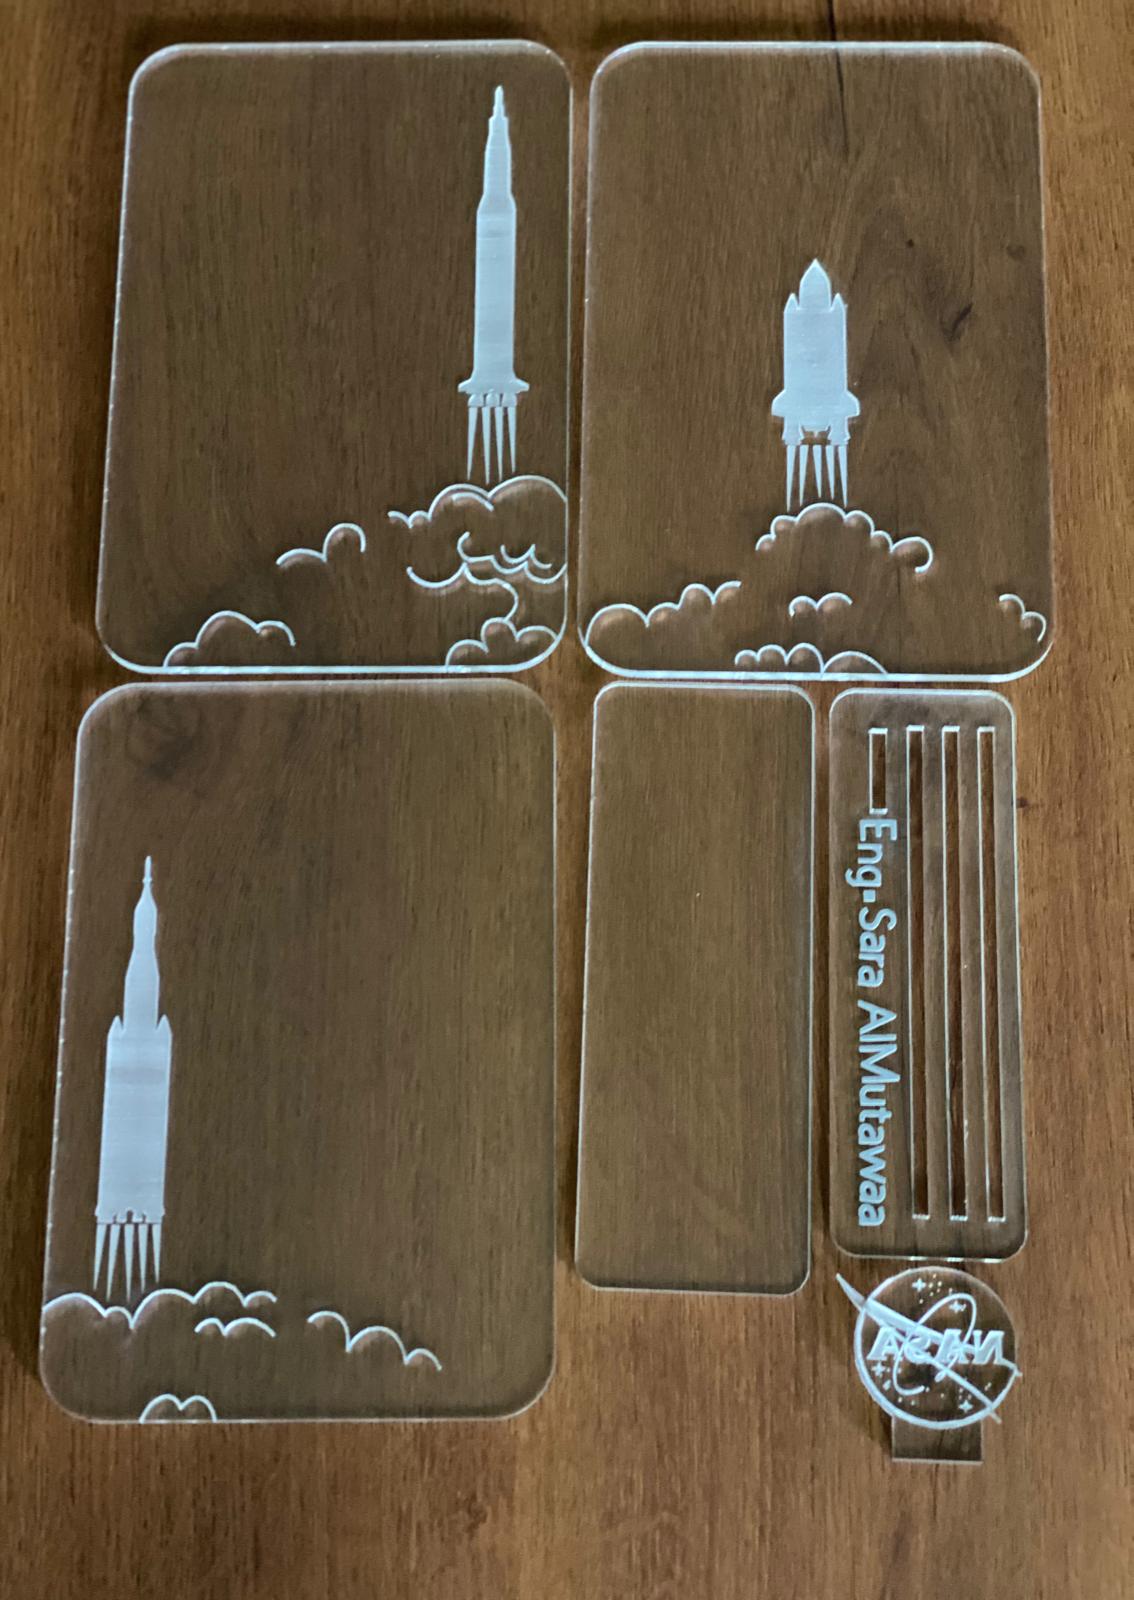
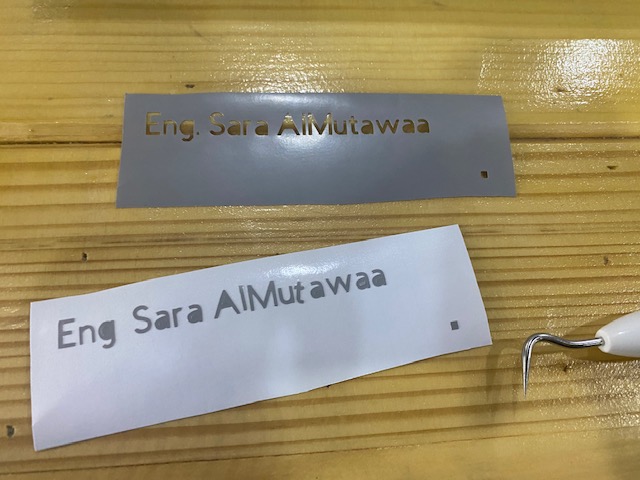
*I wrote my name using a sticker I printed using a Vinyl Cutter which I will be explaining later.
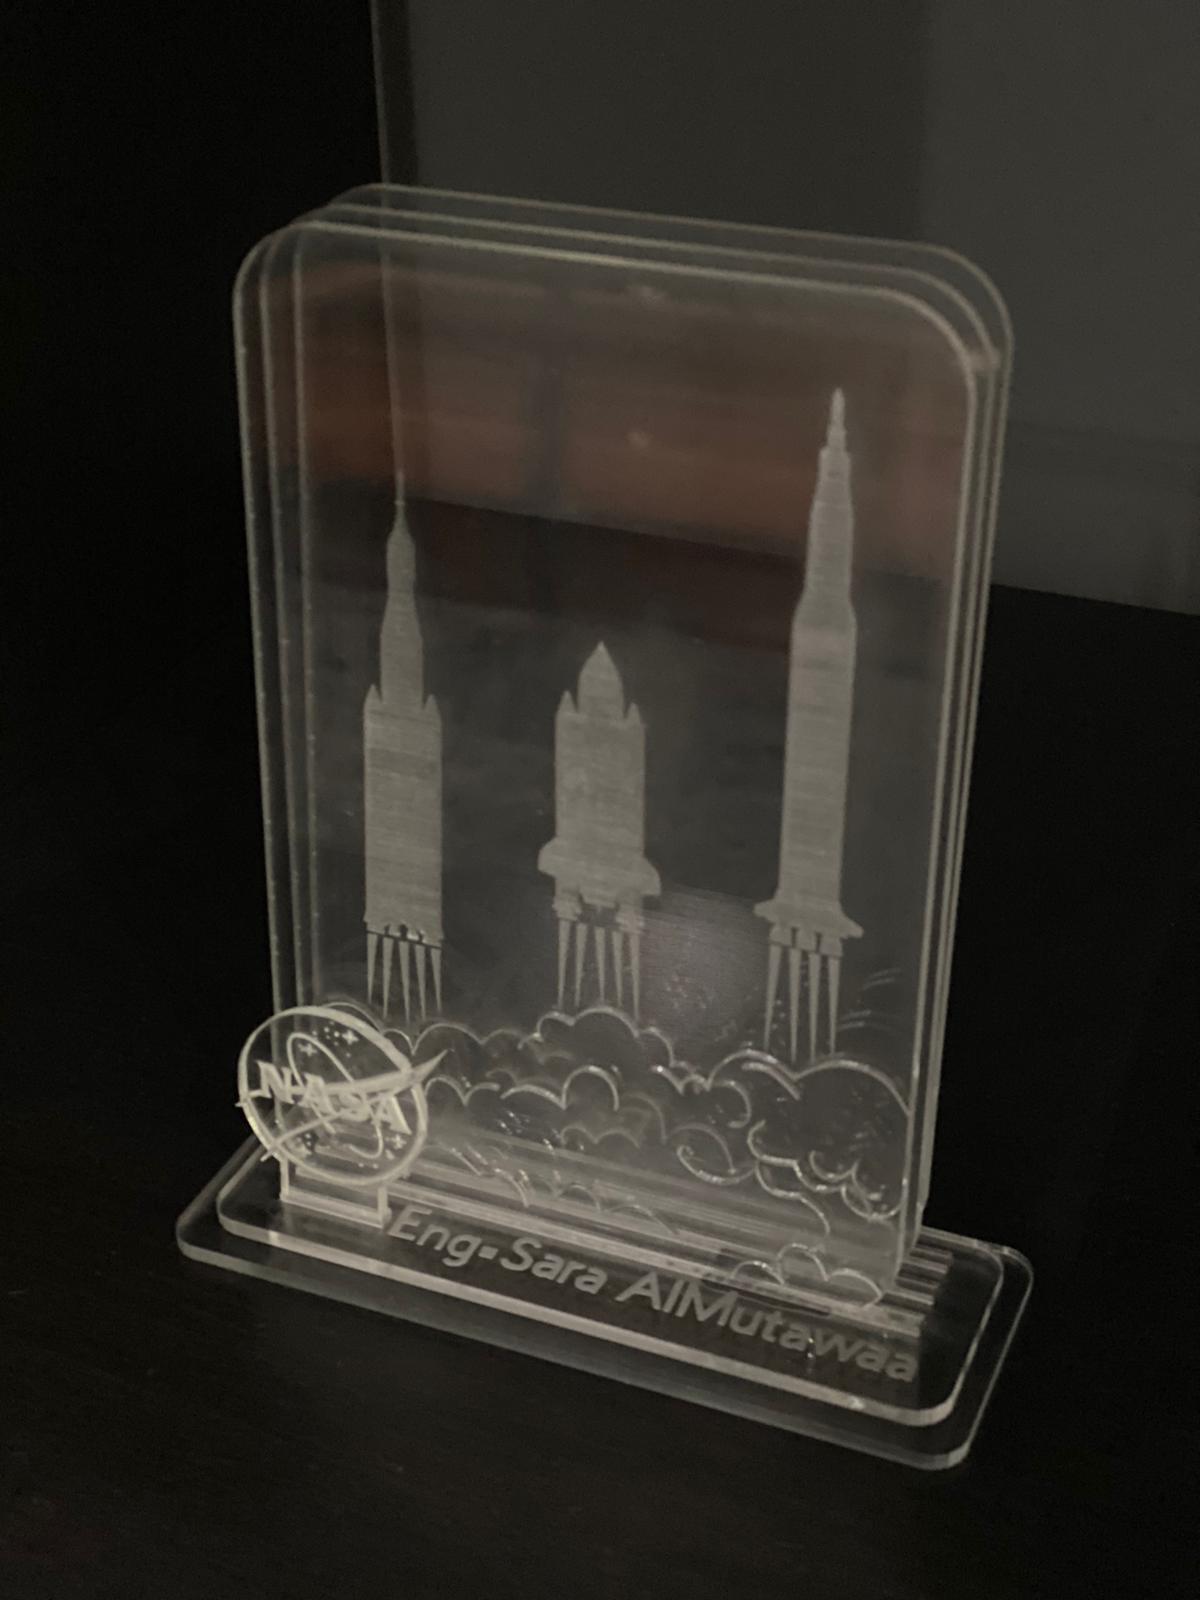
*The 3D file of this design can be downloaded from here.
Vinyl Cutter
Introduction to Vinyl Cutter Machine
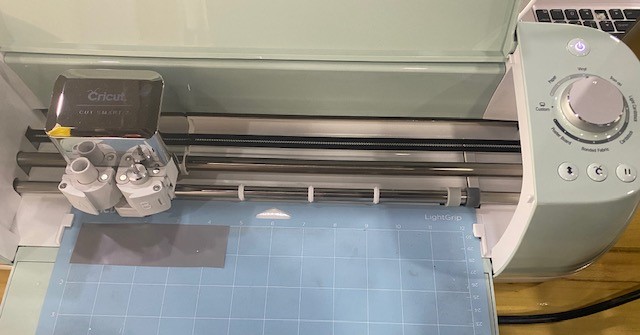
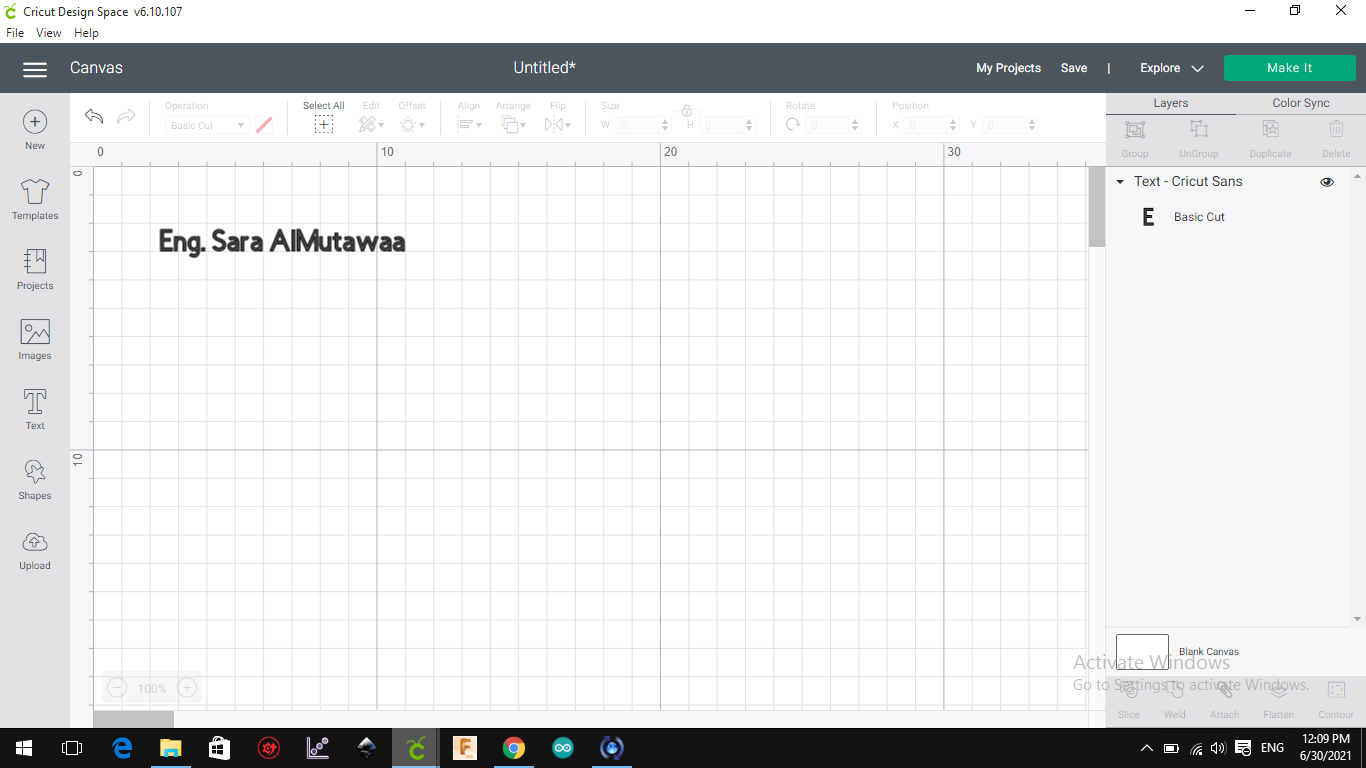
Vinyl Cutter is a type of Computer Controlled Machining that is used to cut shapes and letters from a sheet.
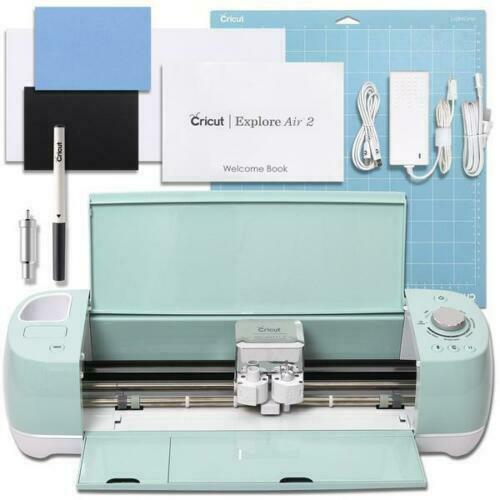
The machine found in the lab called Cricut, it is easy to use and has different tools that will make the cutting process successful.
To make your design and use the machine an app called Cricut should be downloaded.
The machine found in the lab called Cricut, it is easy to use and has different tools that will make the cutting process successful.
To make your design and use the machine an app called Cricut should be downloaded.
Vinyl Cutter - Create a Sticker
Introduction to Vinyl Cutter Machine
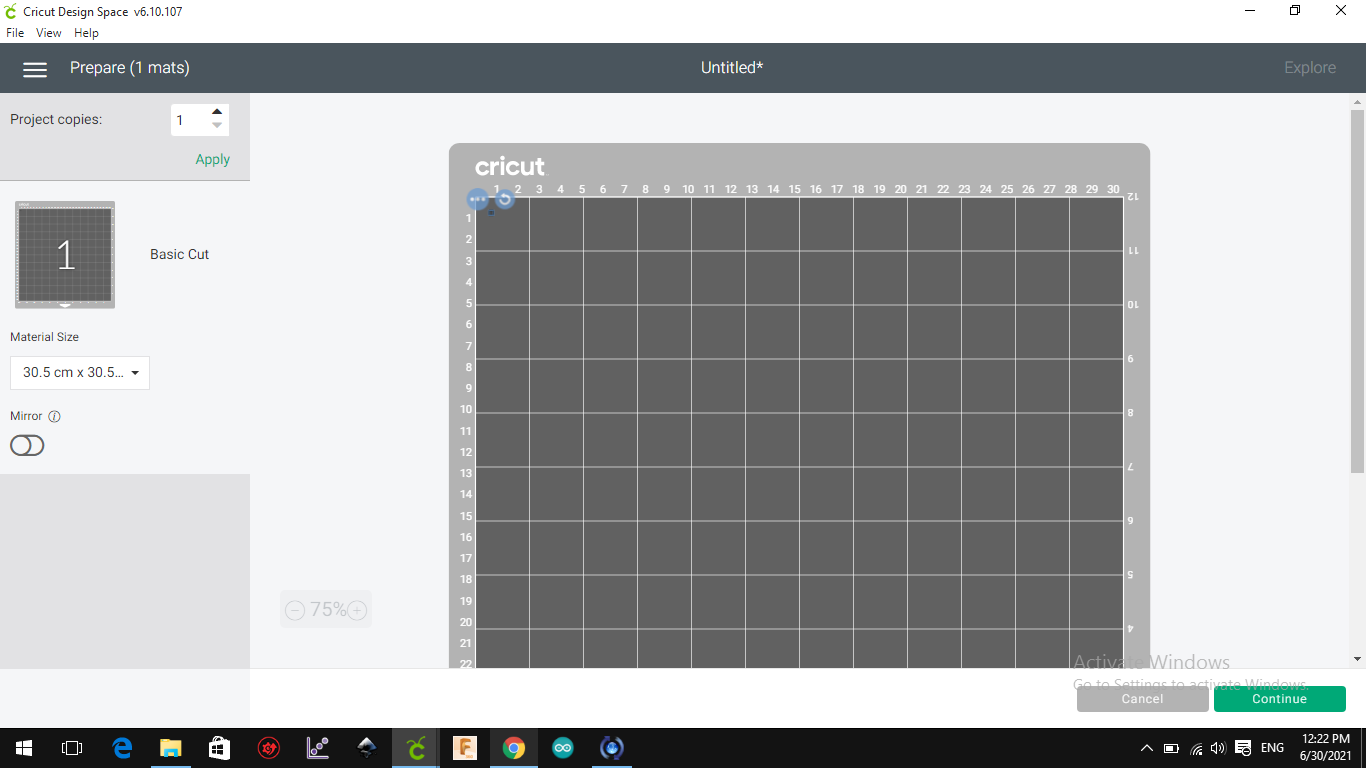
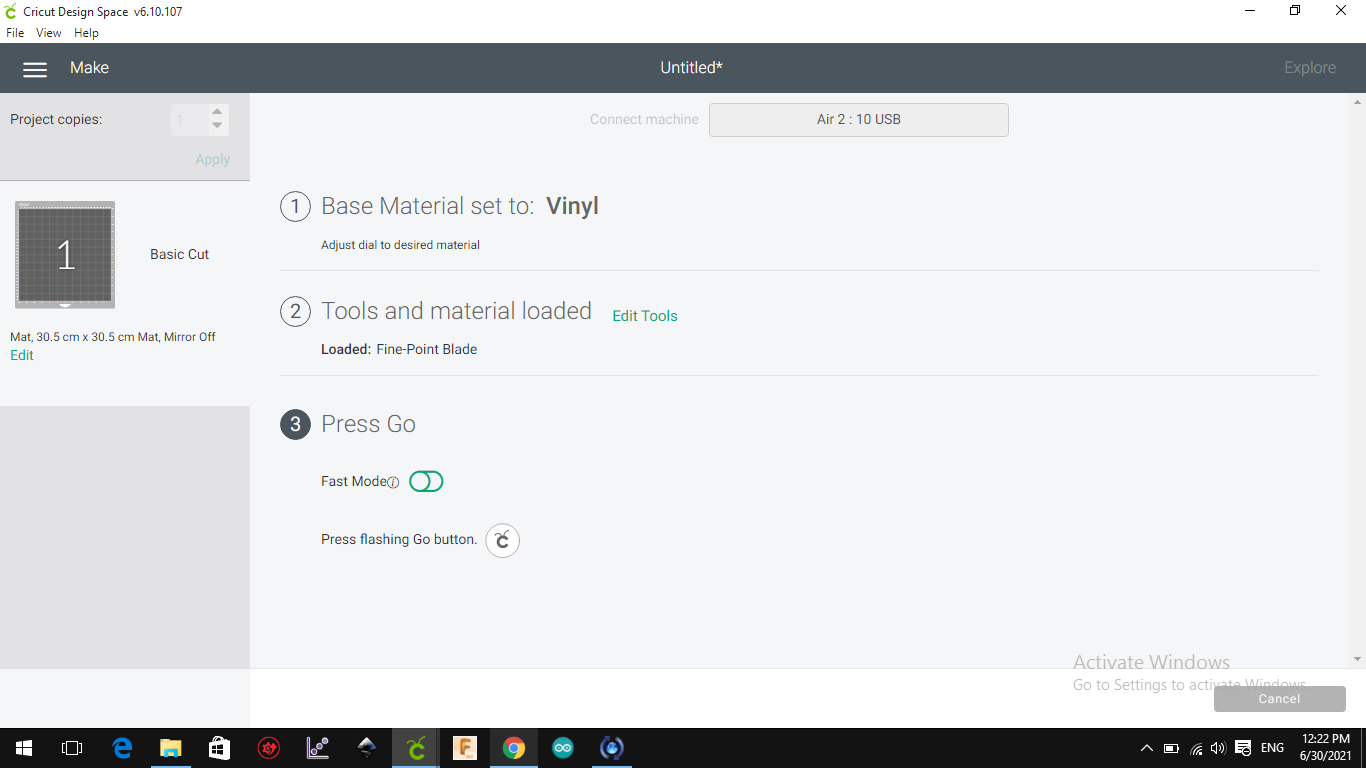
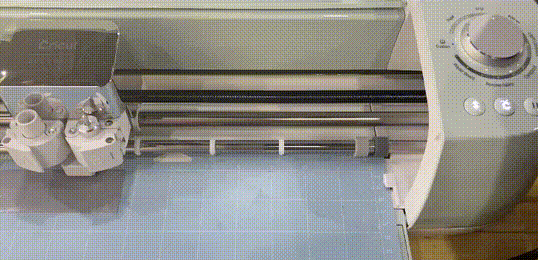
- Base material set to Vinyl: choose the material you want to cut and place it on the mat as the following.
- Tools and material loaded: make sure that the right tool is loaded which is Fine-point blade.
- Press Go: press Go button on the machine to start the cutting process.