PROJECT MANAGEMENT
The main learning outcomes for this week were to get familiar with making changes on our website and pushing those changes on to the class archive. The learning outcomes will be used throughout the course as we have to update our site on a weekly basis till the end of the course.
In order to fulfil this weeks tasks I used the following softwares:
1. Git Bash
2. Atom
GIT BASH
Git Bash is an application that provides Git command line experience on the Operating System. Git Bash is a package that installs Bash, some common bash utilities, and Git on a Windows operating system. In Git Bash the user interacts with the repository and git elements through the commands.
WHAT IS GIT?
Git is the most commonly used version control system. Git tracks the changes you make to files, so you have a record of what has been done, and you can revert to specific versions should you ever need to. Git also makes collaboration easier, allowing changes by multiple people to all be merged into one source. Git is software that runs locally. Your files and their history are stored on your computer.
ATOM
Atom is a free and open-source text and source code editor for macOS, Linux, and Microsoft Windows with support for plug-ins written in JavaScript, and embedded Git Control, developed by GitHub. Atom is a desktop application built using web technologies.
SESSION ONE TASKS
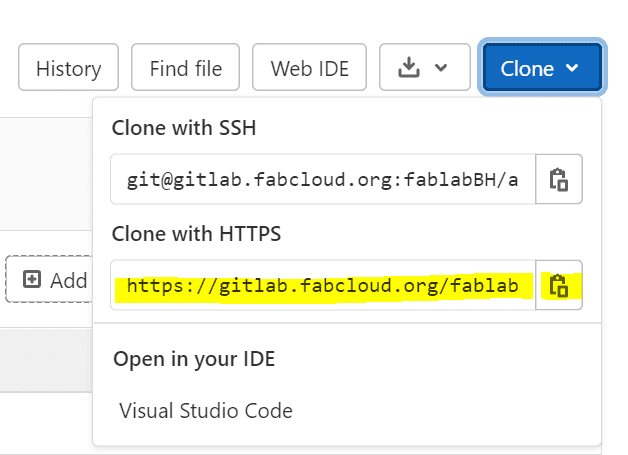
I cloned my project repository from GitLab to my computer using GitBash using the git clone command.

The link was obtained from the project on the GitLab itself under the clone button the drop-down menu has an option for copying http link.
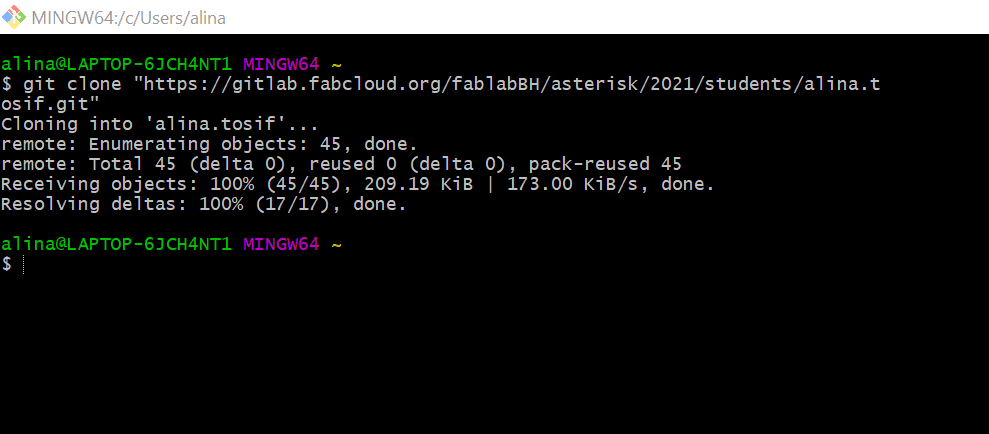
After running the git clone command a dialog box comes on the screen asking to sign in to our GitLab account using the username and password. After the login details are entered – the project is successfully copied. Lastly, the project folder was located in the Users folder of the laptop.
PROBLEMS ENCOUNTERED
Initially, when I tried logging into my account, which is required by git clone command to run successfully, I kept receiving access denied errors even though I was entering the correct login details. With the help of my instructor I was able to realize that my log in details were being denied due to this message at the top of my project page:

It turned out that I needed to click on the blue set a password text which opened the reset password page where I was able to set a password on my account.
After setting a password, I repeated the above-mentioned steps on GitBash and was able to successfully clone my repositories on my laptop.
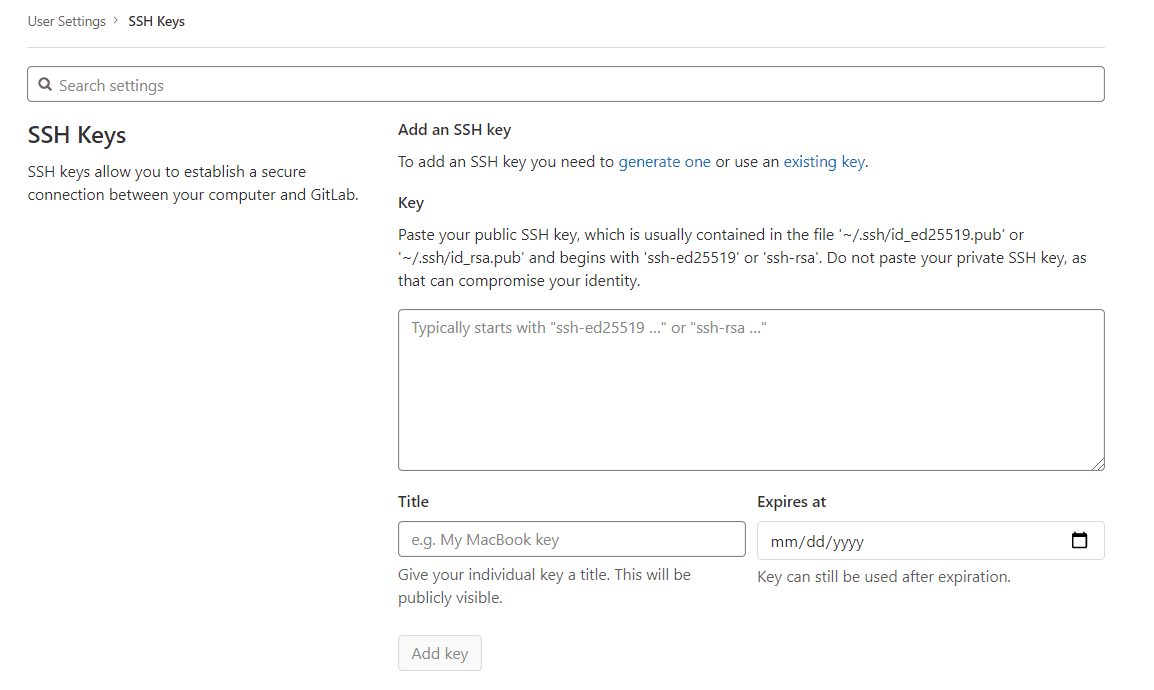
The other notification I was seeing on my project site page was about the SSH key.I used GitBash to set a SSH key on my account with the help of this YouTube tutorial.


After copying the code to my clipboard using the clip command I opened my account – went to settings and opened the SSH key section where I pasted my SSH key to add it.
SESSION TWO TASKS
In this second session we learned how to edit our repositories and push the changes onto the website.
The Atom software was used to edit the about page and to sign the agreement during the session.The same steps will be carried out for the rest of the documentation journey of the course.
The following steps were carried out to make the changes:
1. I selected Open Project in Atom which opened my laptops library. I located the repository file in my laptops library which I cloned using GitBash earlier and selected it to open in Atom.

2. Selected the Open Git Panel option.

3. I edited the default text.
4. After editing, I clicked on File in the menu bar and clicked on Save in the drop-down menu.
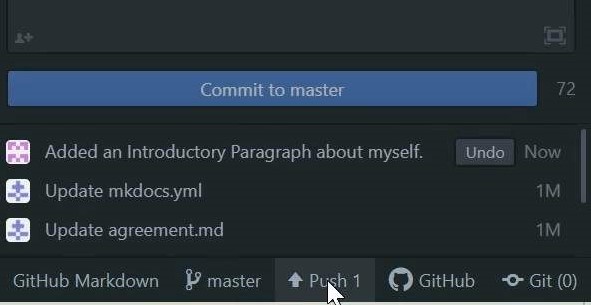
5. Then on git panel, I clicked on Stage All button.

6. I typed the Commit Message i.e., a brief text about what changes I made- which at that time were made on About Me page. Commit messages help us keep track of the changes and trace back our steps in case of an accidental deletion or error.

7. After selecting ‘Commit to master’, I clicked on push option which automatically made all the changes for me on the website.
CUSTOMIZING MY OWN HTML WEBSITE
After learning the basic use of Atom and steps to push the changes on to the class archive, I decided to try and customize an html website of my own. Since I am a beginner, I decided to download a free html website template from this site.
Then I opened the template in Atom to edit it.
To customize the website, I deleted the html pages that I felt I do not need by right clicking on them and selecting delete from the drop-down menu.
Then I changed the names of the main menu headings as per my course structure by editing these commands:

To change the icon, I checked the dimensions of the default logo and decided to fit my own profile picture into that size using adobe illustrator.
To change the icon, I edited this command:

To link my profiles to the social media icons I edited these commands:

To add line breaks in my paragraphs i used the follwing command:

PROBLEMS ENCOUNTERED WHILE UPLOADING WEBSITE
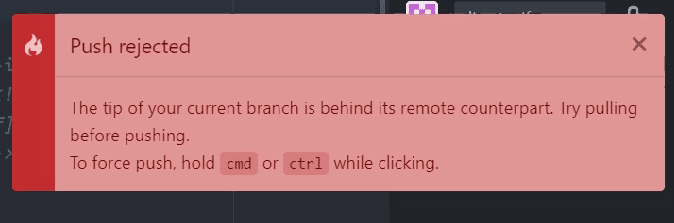
Firstly, I was getting this error as I had not pulled before pushing.
Secondly, even after replacing all the files and folders, my website was not replaced by the older one. This was due to wrong yml file format/name. To fix this I deleted the below file:

And created a new one which is the correct format:

Thirdly, I could not view my website at all and was instead getting the 404 error.

After a detailed research I found out this was due to my html file not having an index.html page which seems to serve as a home page. To fix this I decided to make my about me page as the default home page and changed its name from about.html to index.html. After doing this my website came up successfully.
Fourthly, the appearance of my website pages was not showing as it was designed and was appearing like this instead:
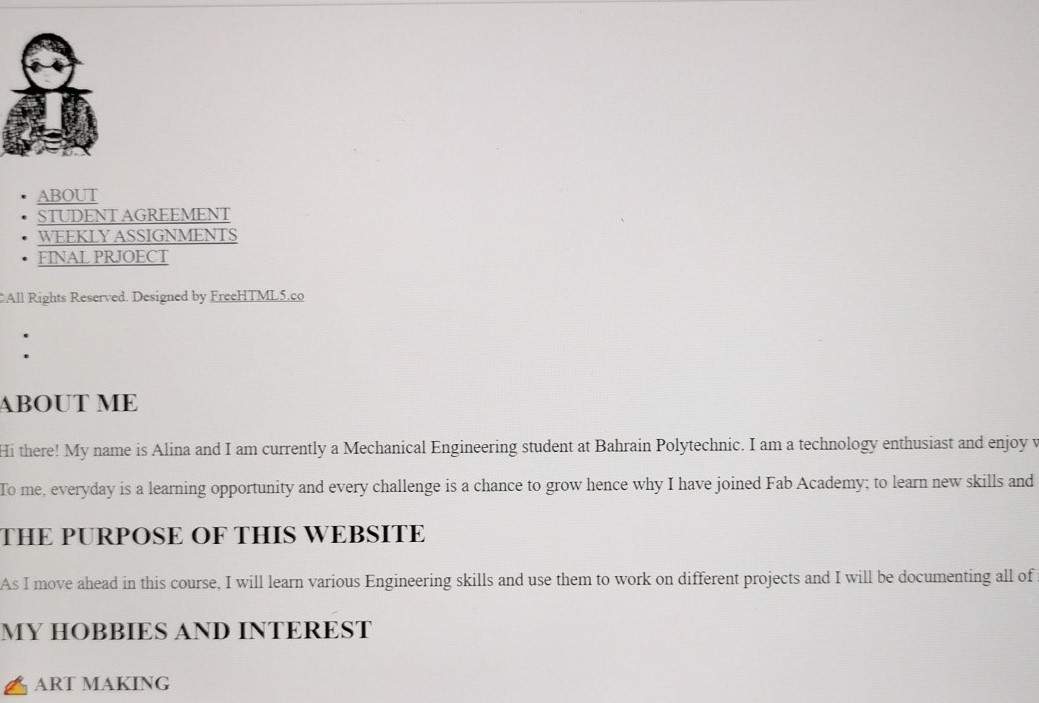
I found out it was due to my site folder not having a ‘css’ named folder which includes all the files regarding the website appearance such as animations and page setup etc. I visited the html template folder and noticed it was there but I had forgotten to move it to my main folder. After including this folder in my site folder, my sites appearance was just as it was designed.