7. Input & Output device
The sensors included into the microcontroller Arduino nano 33 BLE sense were tested this week, as was the use of an output device in conjunction with them.
Input Sensors
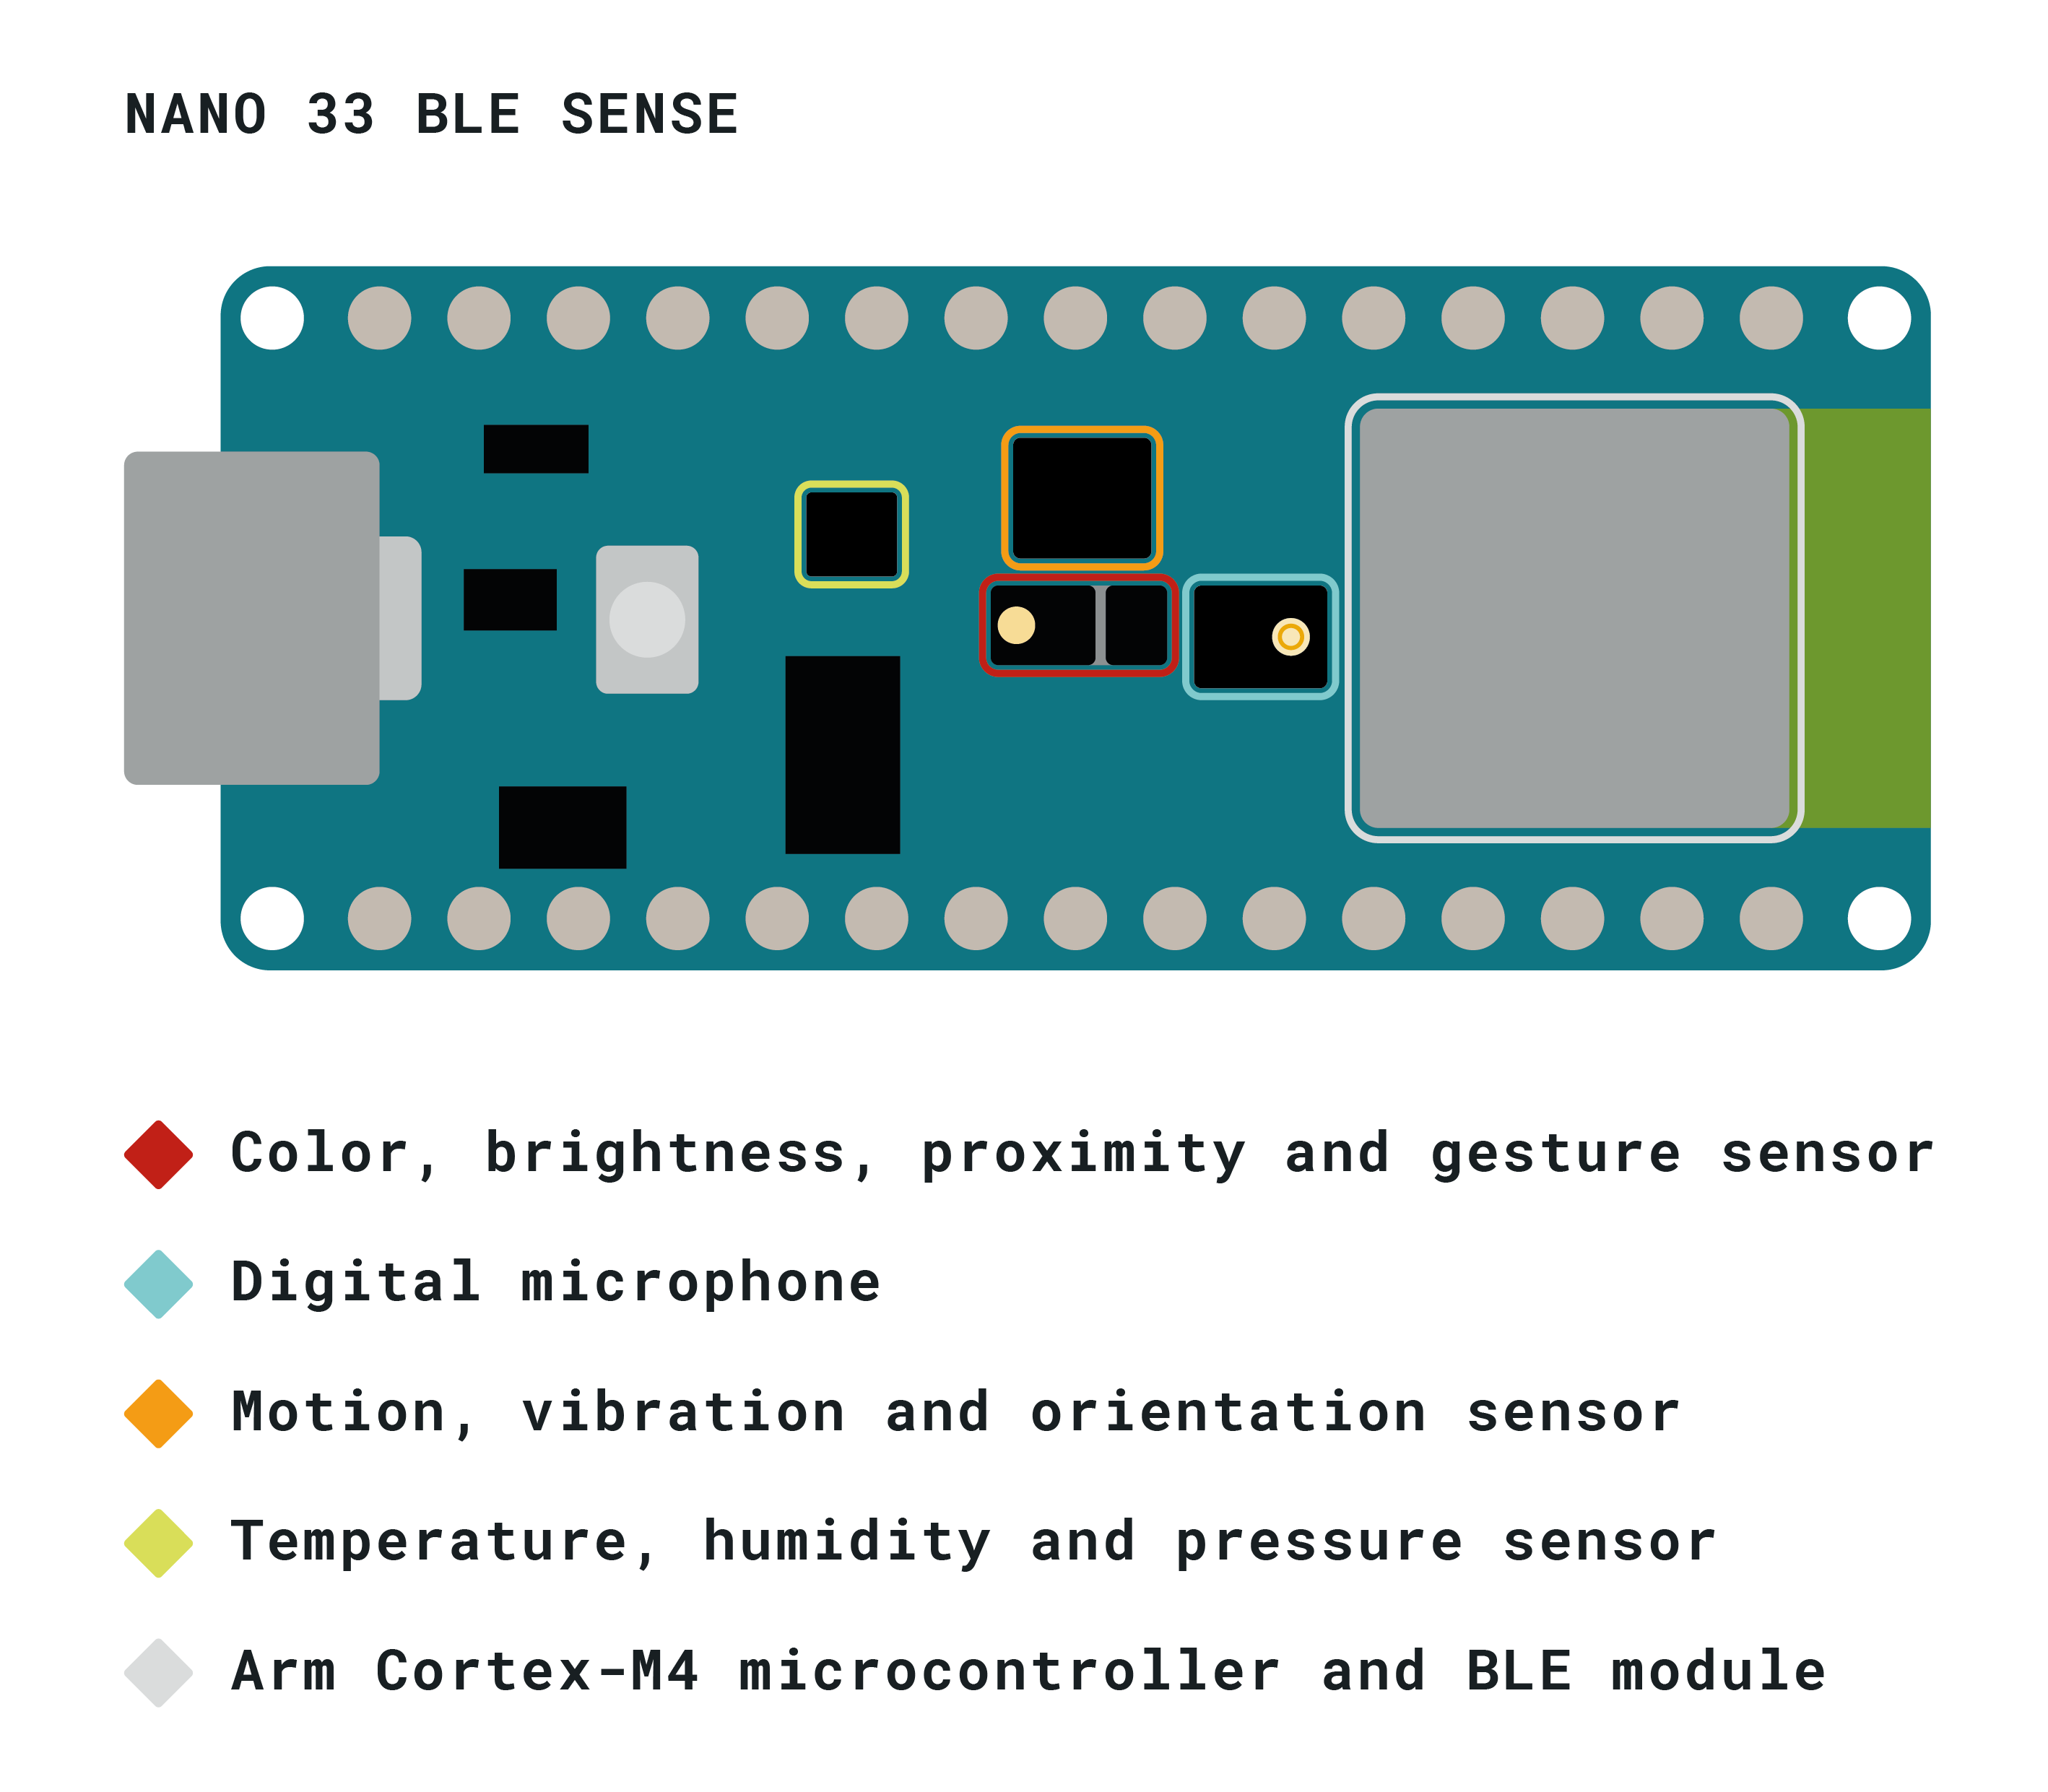
The Arduino Nano 33 BLE Sense features 5 built-in sensors that can be used for a variety of tasks.
- The sensors can be seen in the pictures below.
Downloading the Libraries
For each sensor, there is a library that must be downloaded before it can be used.
Step 1: Finding the library name.
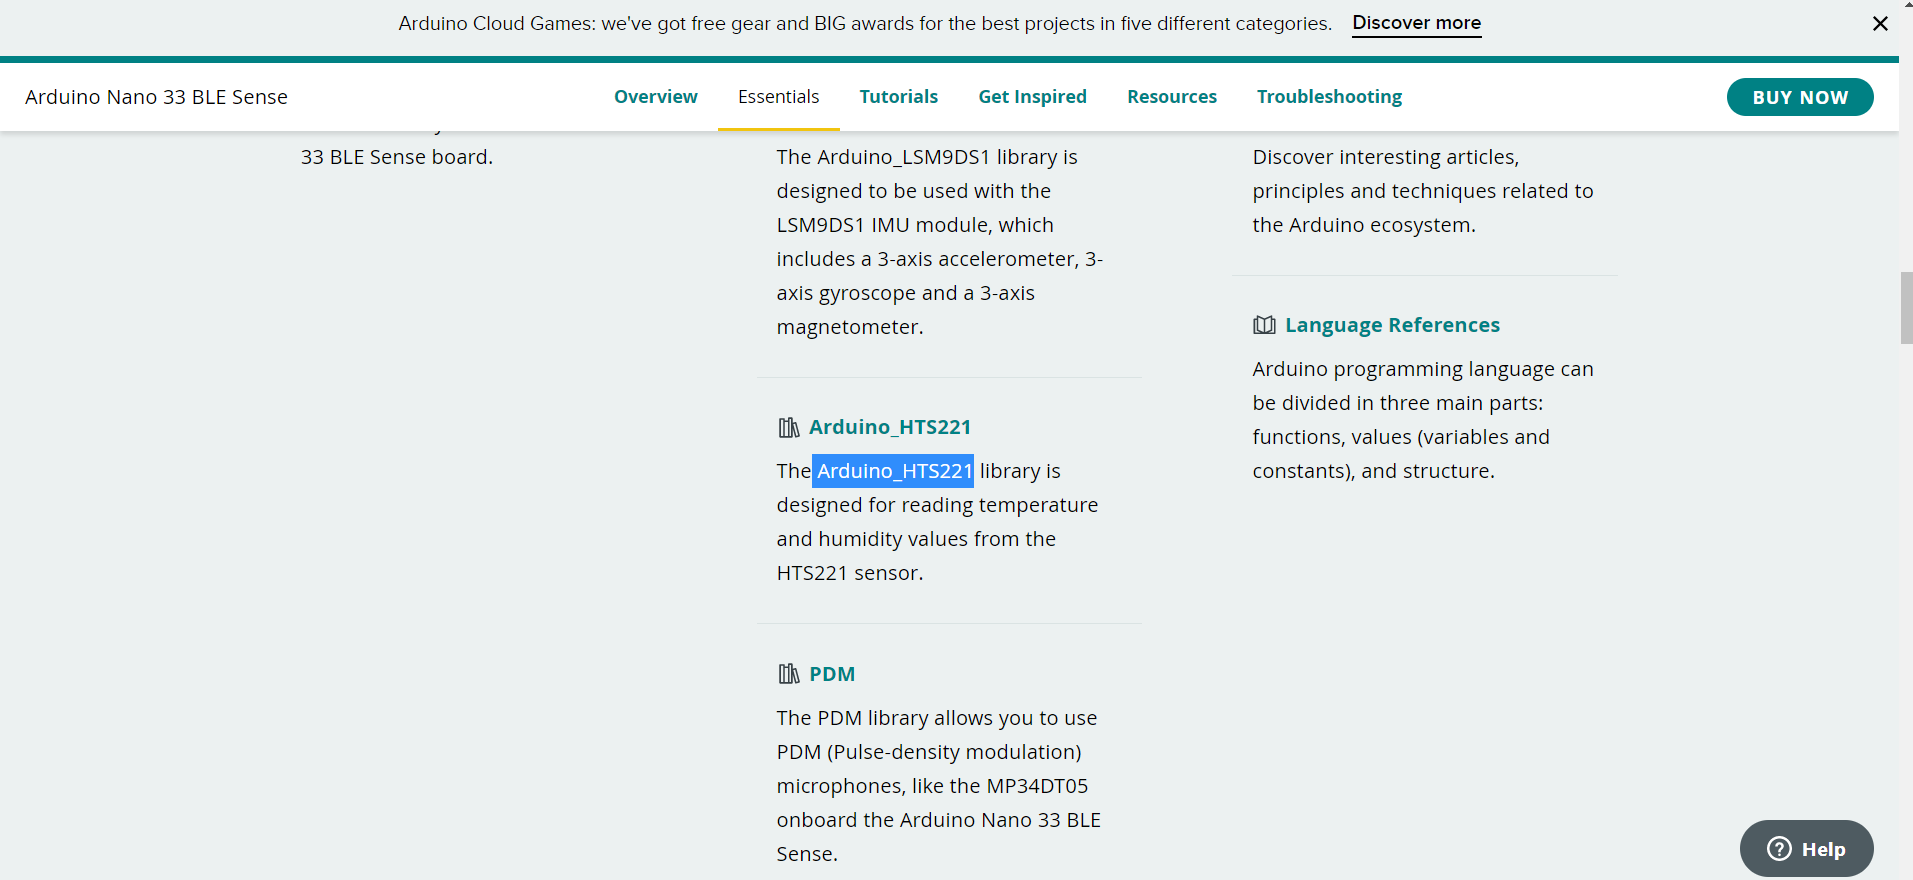
you can find the Libraries that supports The Arduino Nano 33 BLE Sense through the Arduino website
-
The sensor I choose for this test is temperature and humidity sensor.
-
The name of the Library for this sensor is HTS221 which can be found on the arduino website.
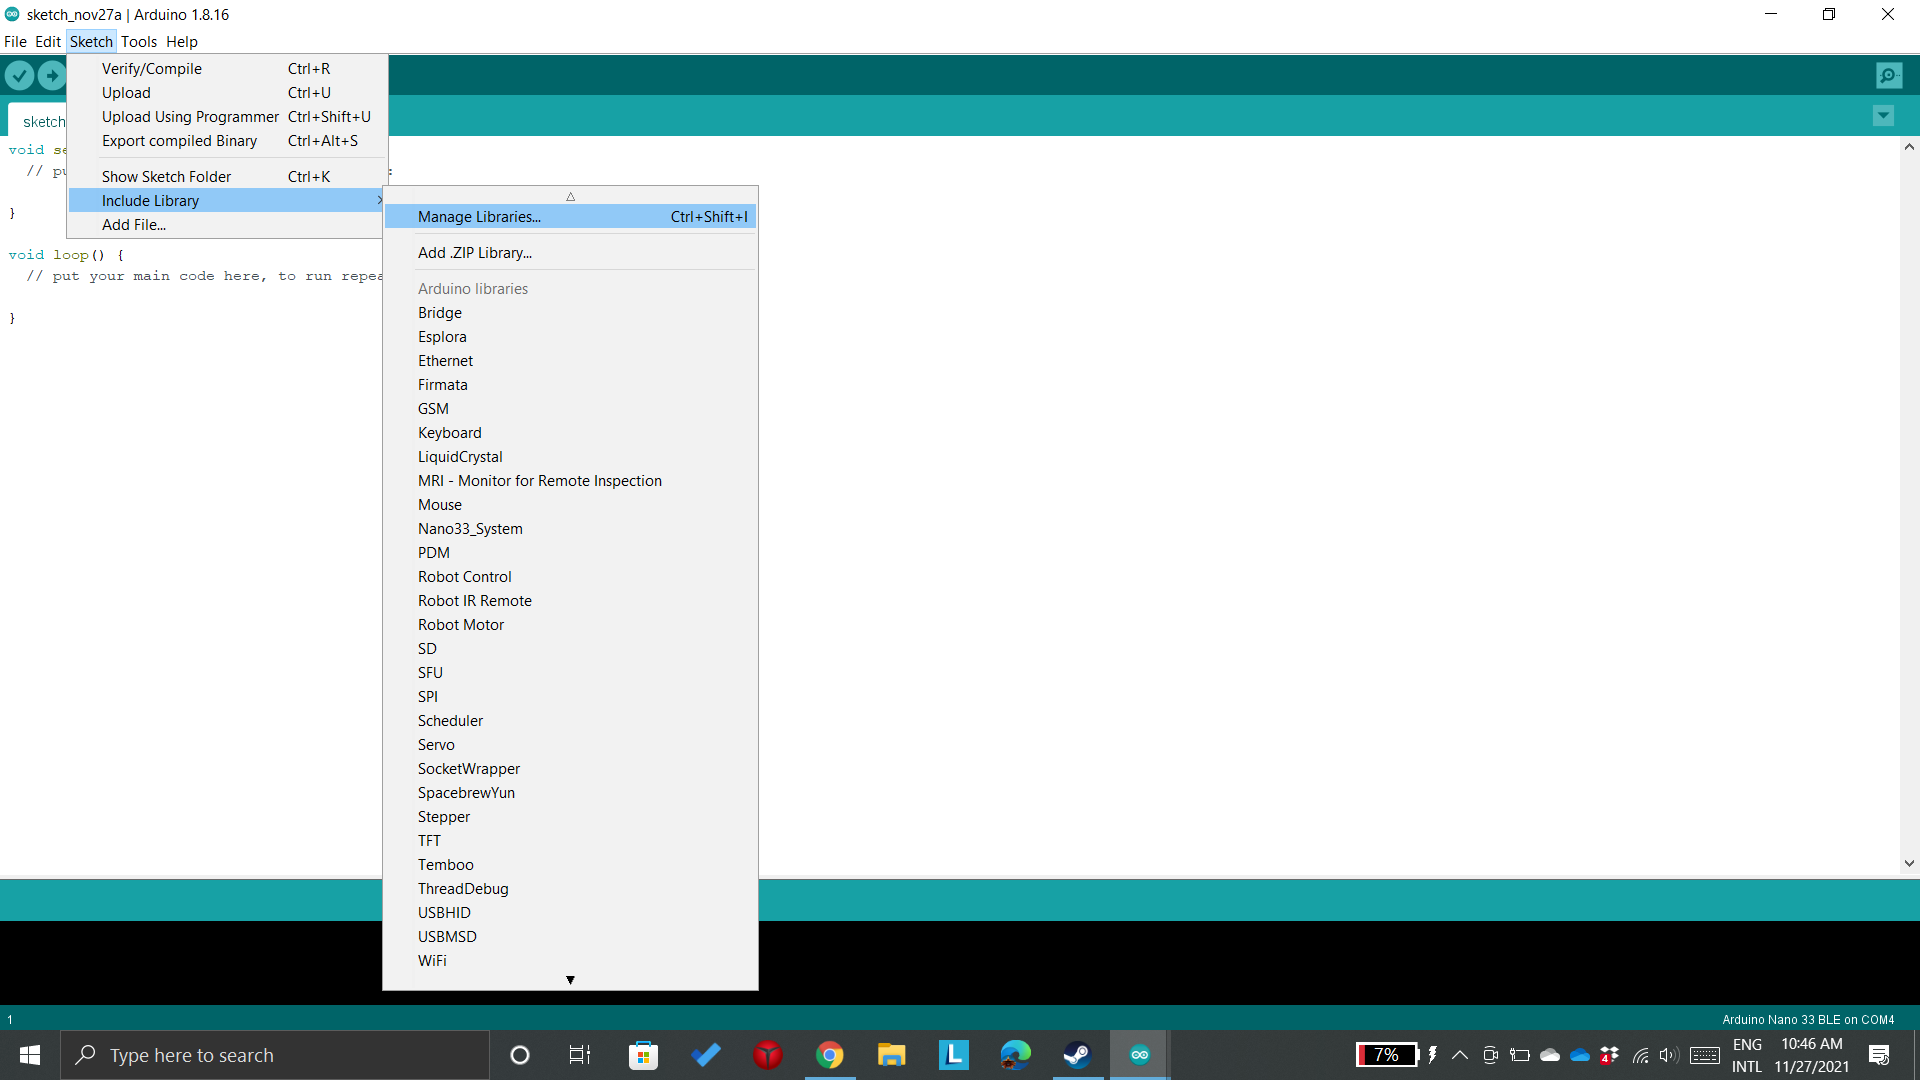
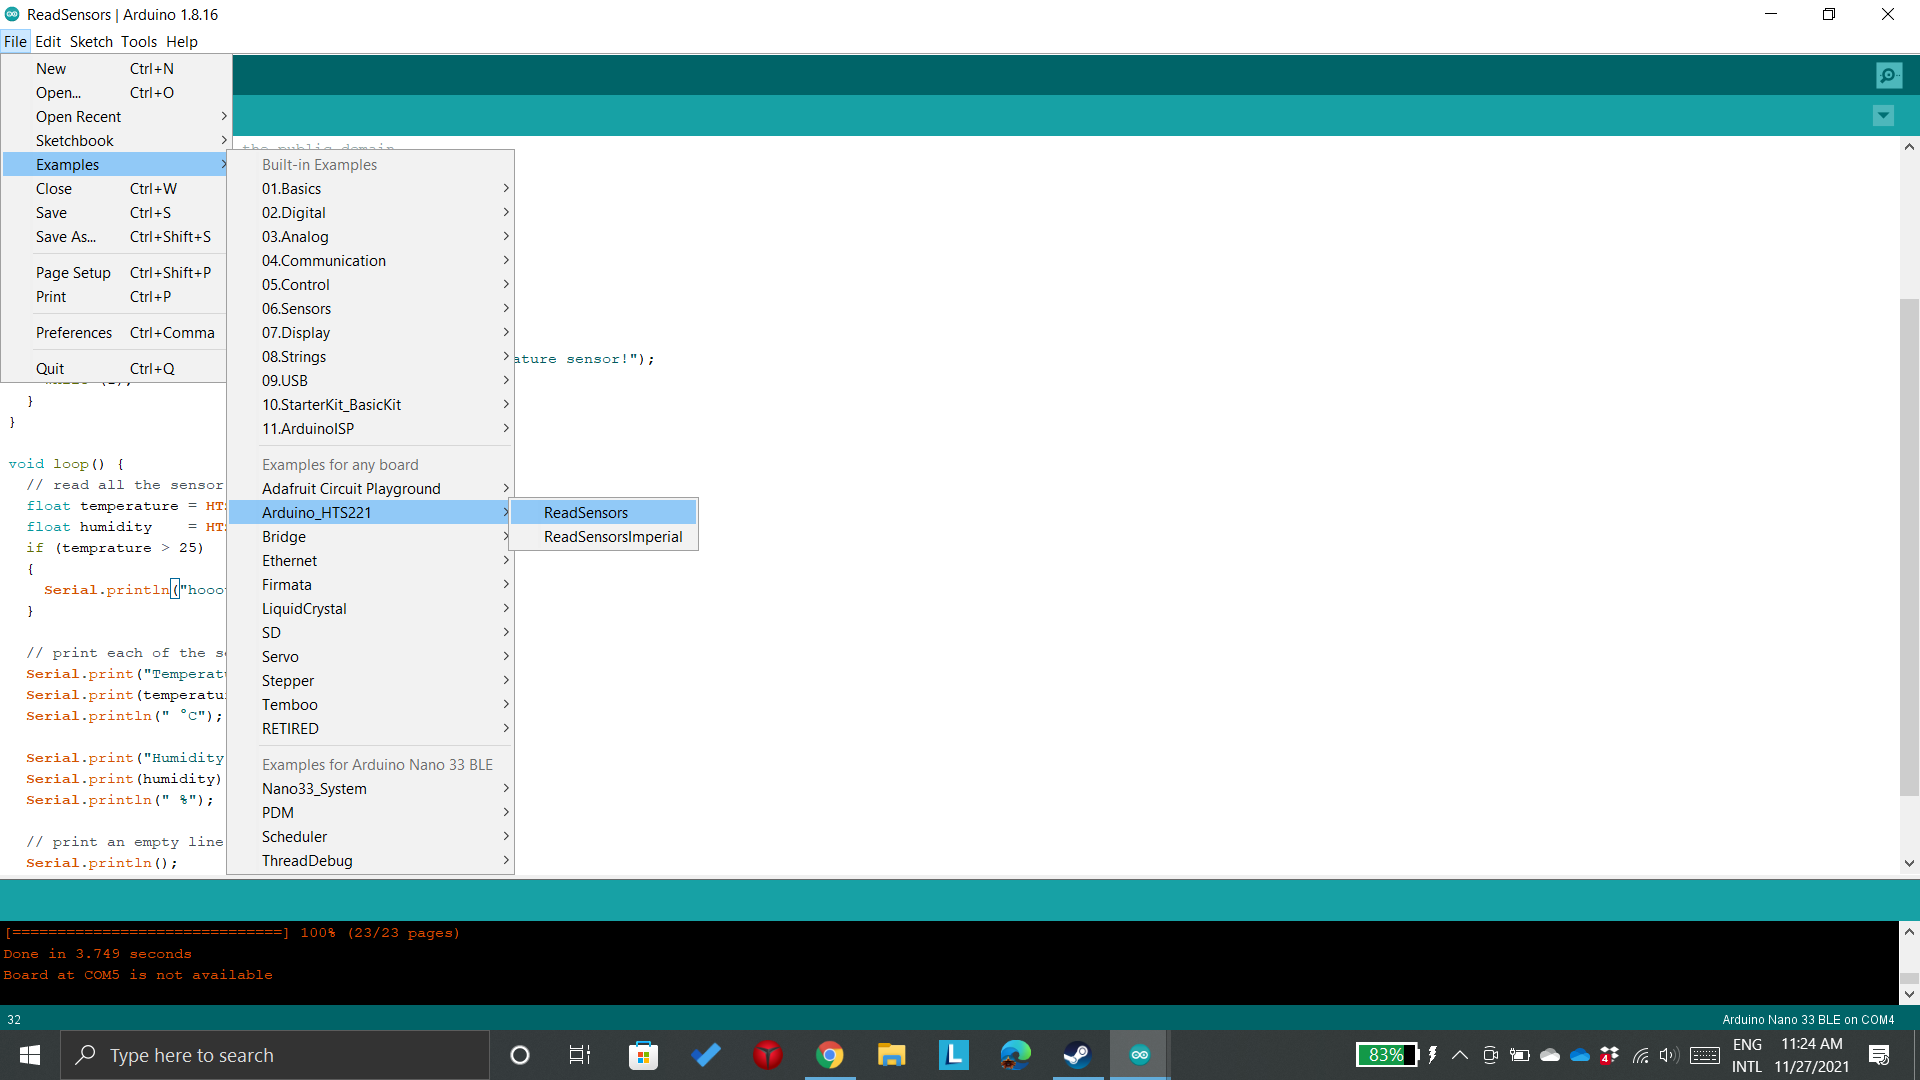
- After that we serach for the library in the arduino program
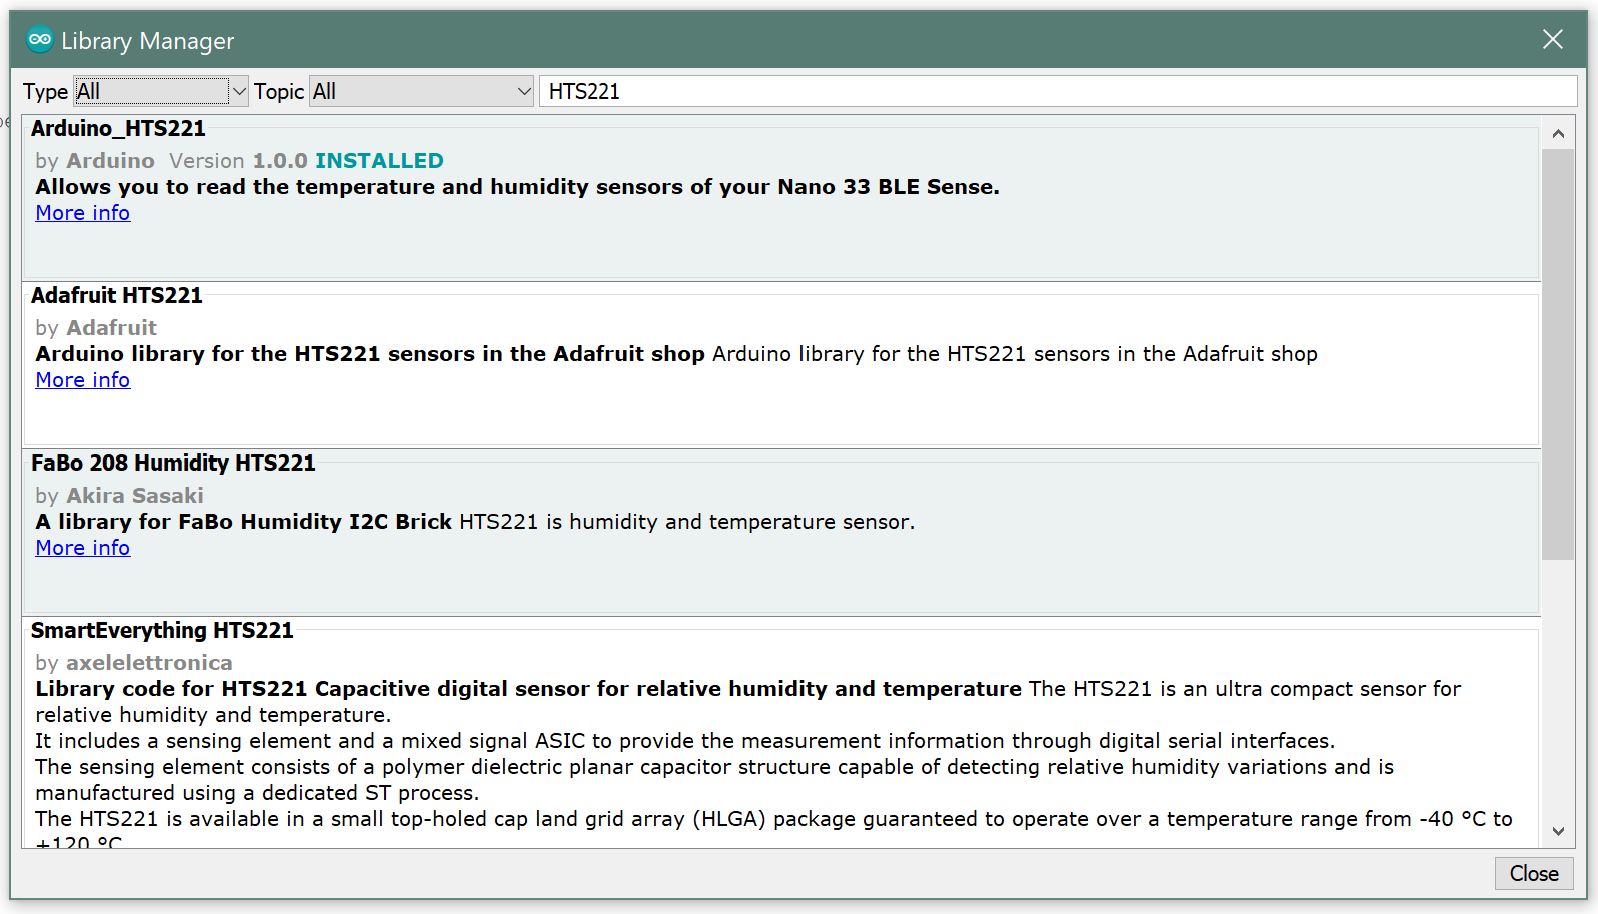
- Here we type the Library name
- After that we can open an example that will be downloaded automatically when downloading the sensor library to check if the sensor is working.
- Now I started uploading the Example code to the Arduino Nano 33 BLE Sense.
- and the result is that the Arduino is sensing the temperature around it.
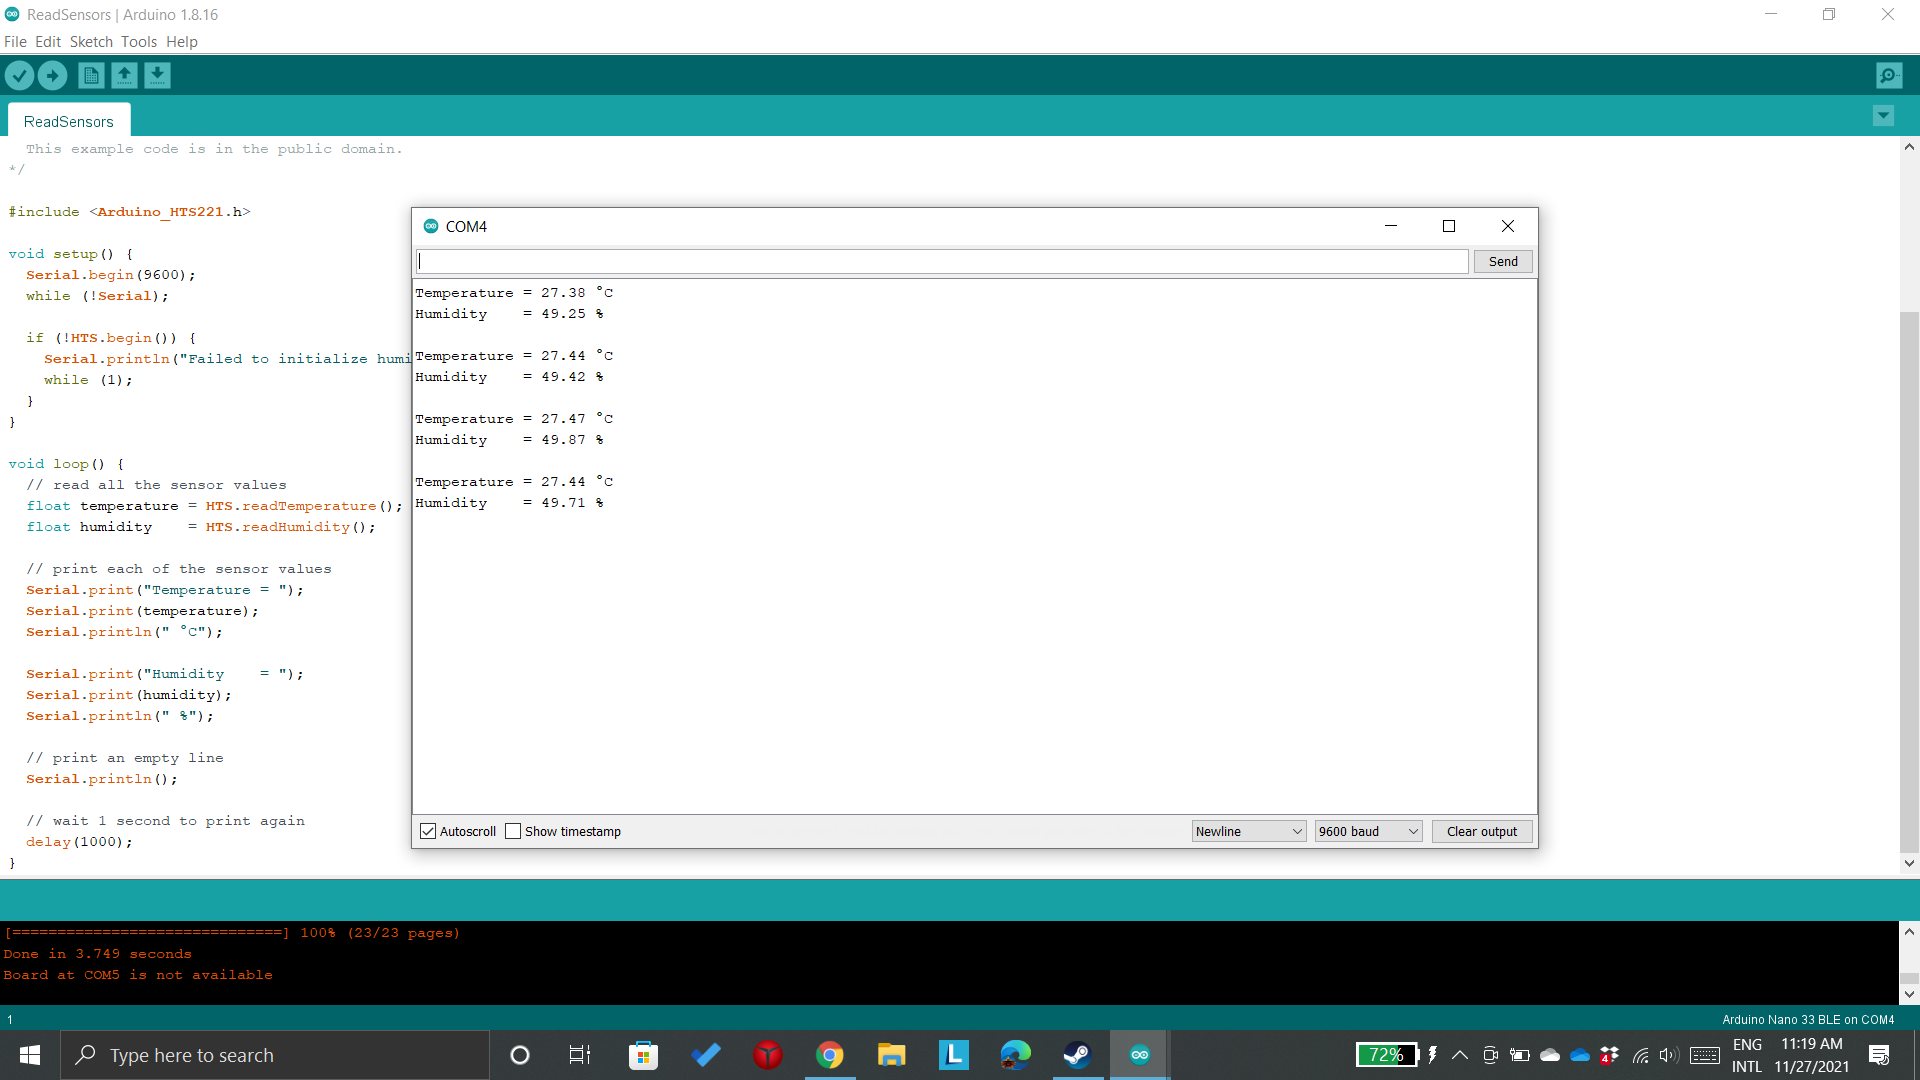
Note: you can read the seneor by clicking on the Serial Monitor icon on the top right.
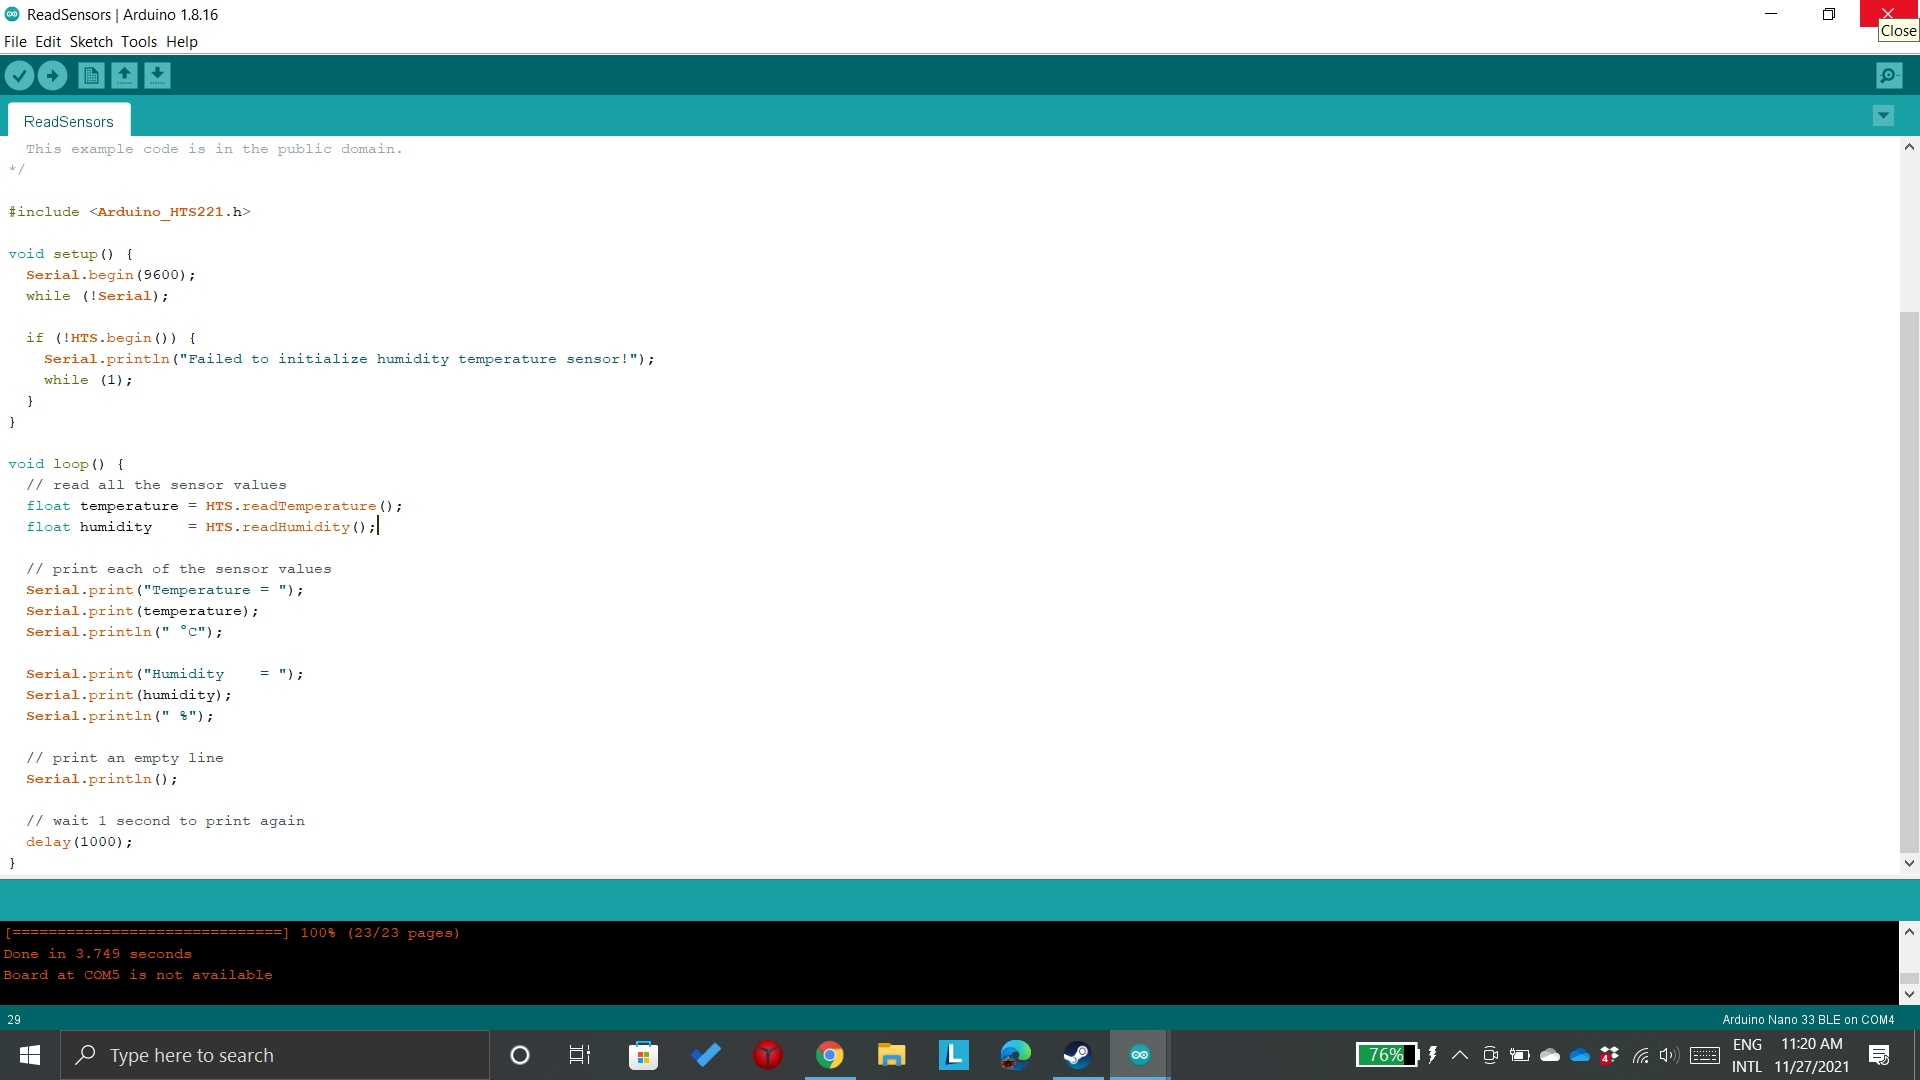
- This is the example code that I used.
Temperature & Humidity Example Code
- This is the example code that I used.
/*
  HTS221 - Read Sensors

  This example reads data from the on-board HTS221 sensor of the
  Nano 33 BLE Sense and prints the temperature and humidity sensor
  values to the Serial Monitor once a second.

  The circuit:
  - Arduino Nano 33 BLE Sense

  This example code is in the public domain.
*/

#include <Arduino_HTS221.h>

void setup() {
  Serial.begin(9600);
  while (!Serial);

  if (!HTS.begin()) {
    Serial.println("Failed to initialize humidity temperature sensor!");
    while (1);
  }
}

void loop() {
  // read all the sensor values
  float temperature = HTS.readTemperature();
  float humidity    = HTS.readHumidity();

  // print each of the sensor values
  Serial.print("Temperature = ");
  Serial.print(temperature);
  Serial.println(" °C");

  Serial.print("Humidity    = ");
  Serial.print(humidity);
  Serial.println(" %");

  // print an empty line
  Serial.println();

  // wait 1 second to print again
  delay(1000);
}
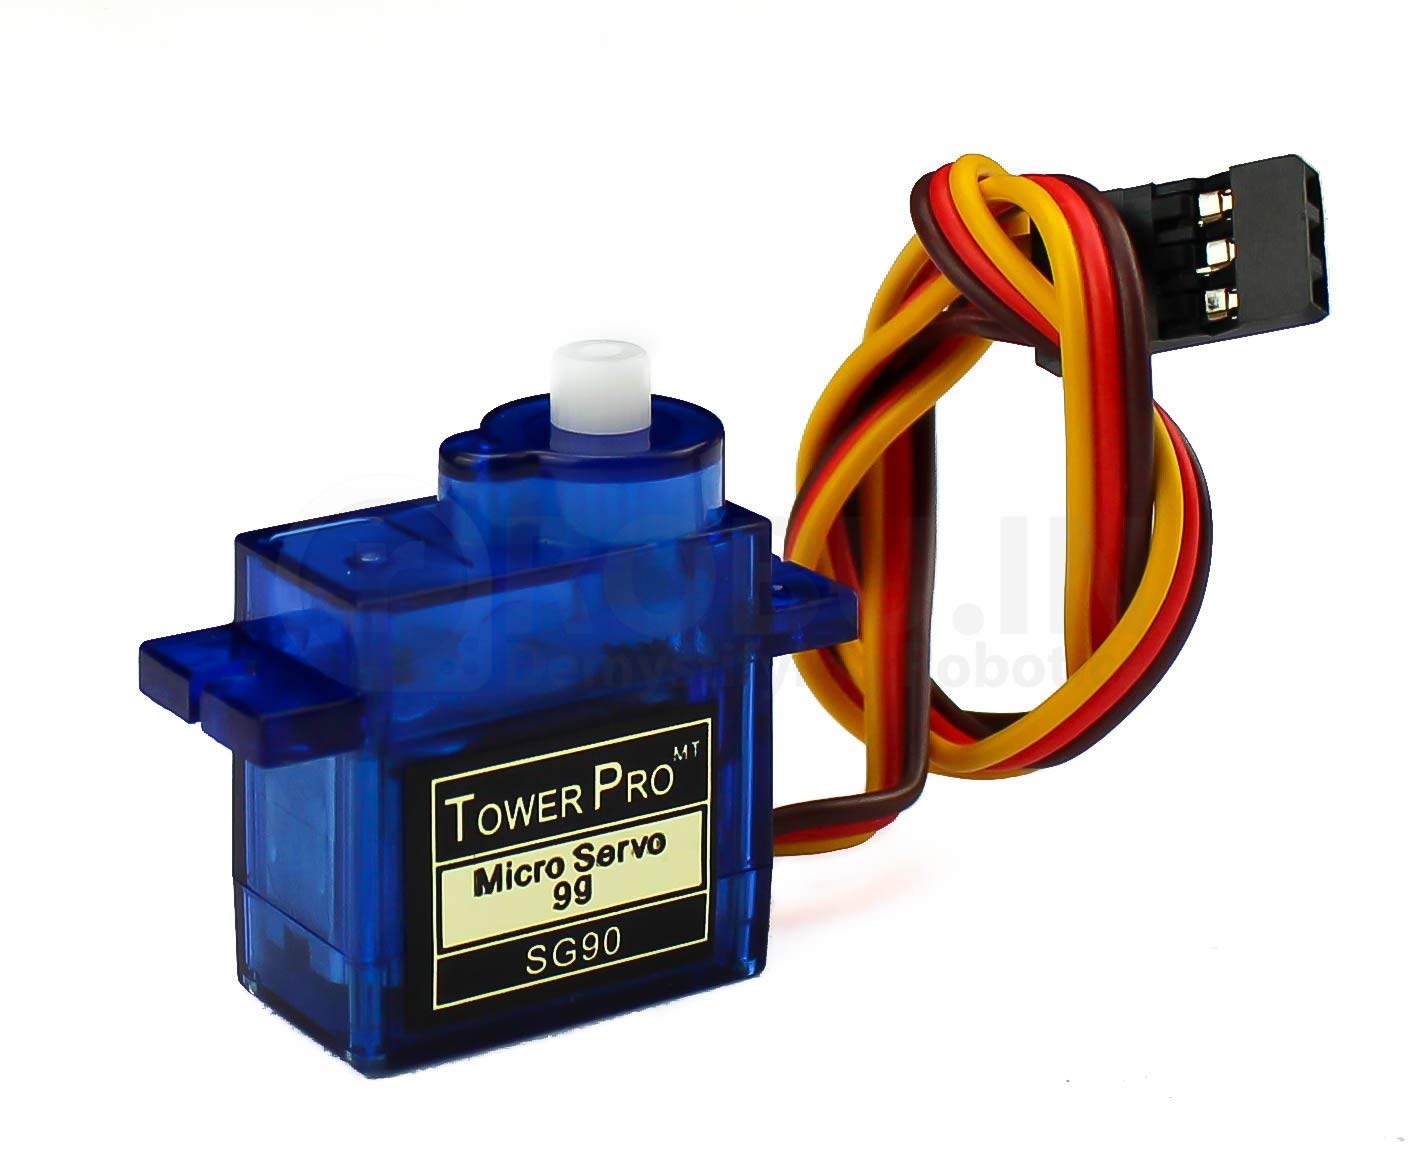
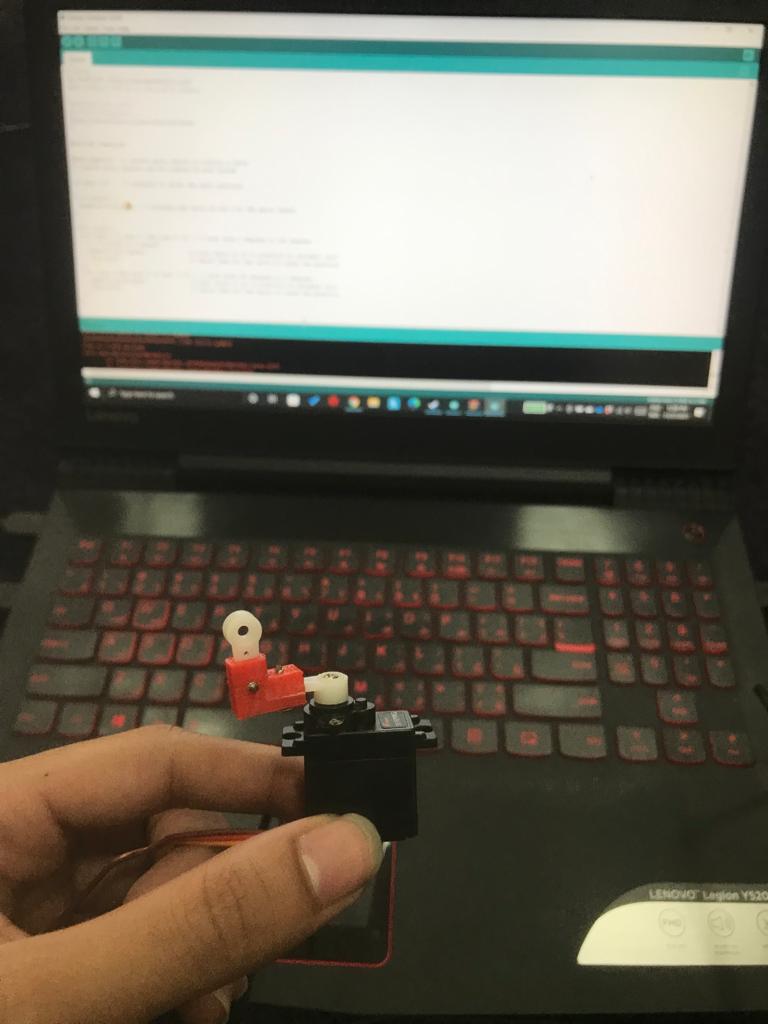
Output
To test the output device, we used the servo motor.
connecting the servo motor to the Arduino.
I connected the servo motor by connecting the darker wire (brown) to the power output ( VIN ), then connecting the Yellow wire to the GND, and Finally connecting the Lighter wire ( White ) to the Signal pins.
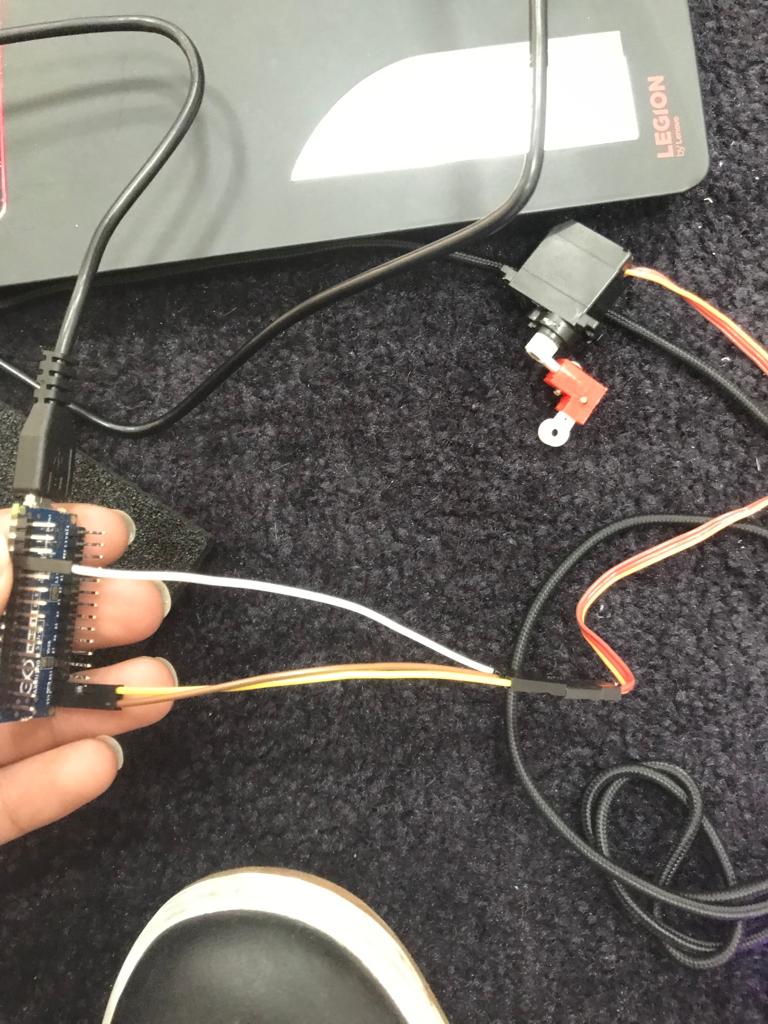
- BROWN to VIN
- YELLOW to GND
- WHITE to the Pins (D9)
Library
after connecting the wires now we can download the supported library to start testing.
- The library that support the servo motor is the sweep library.
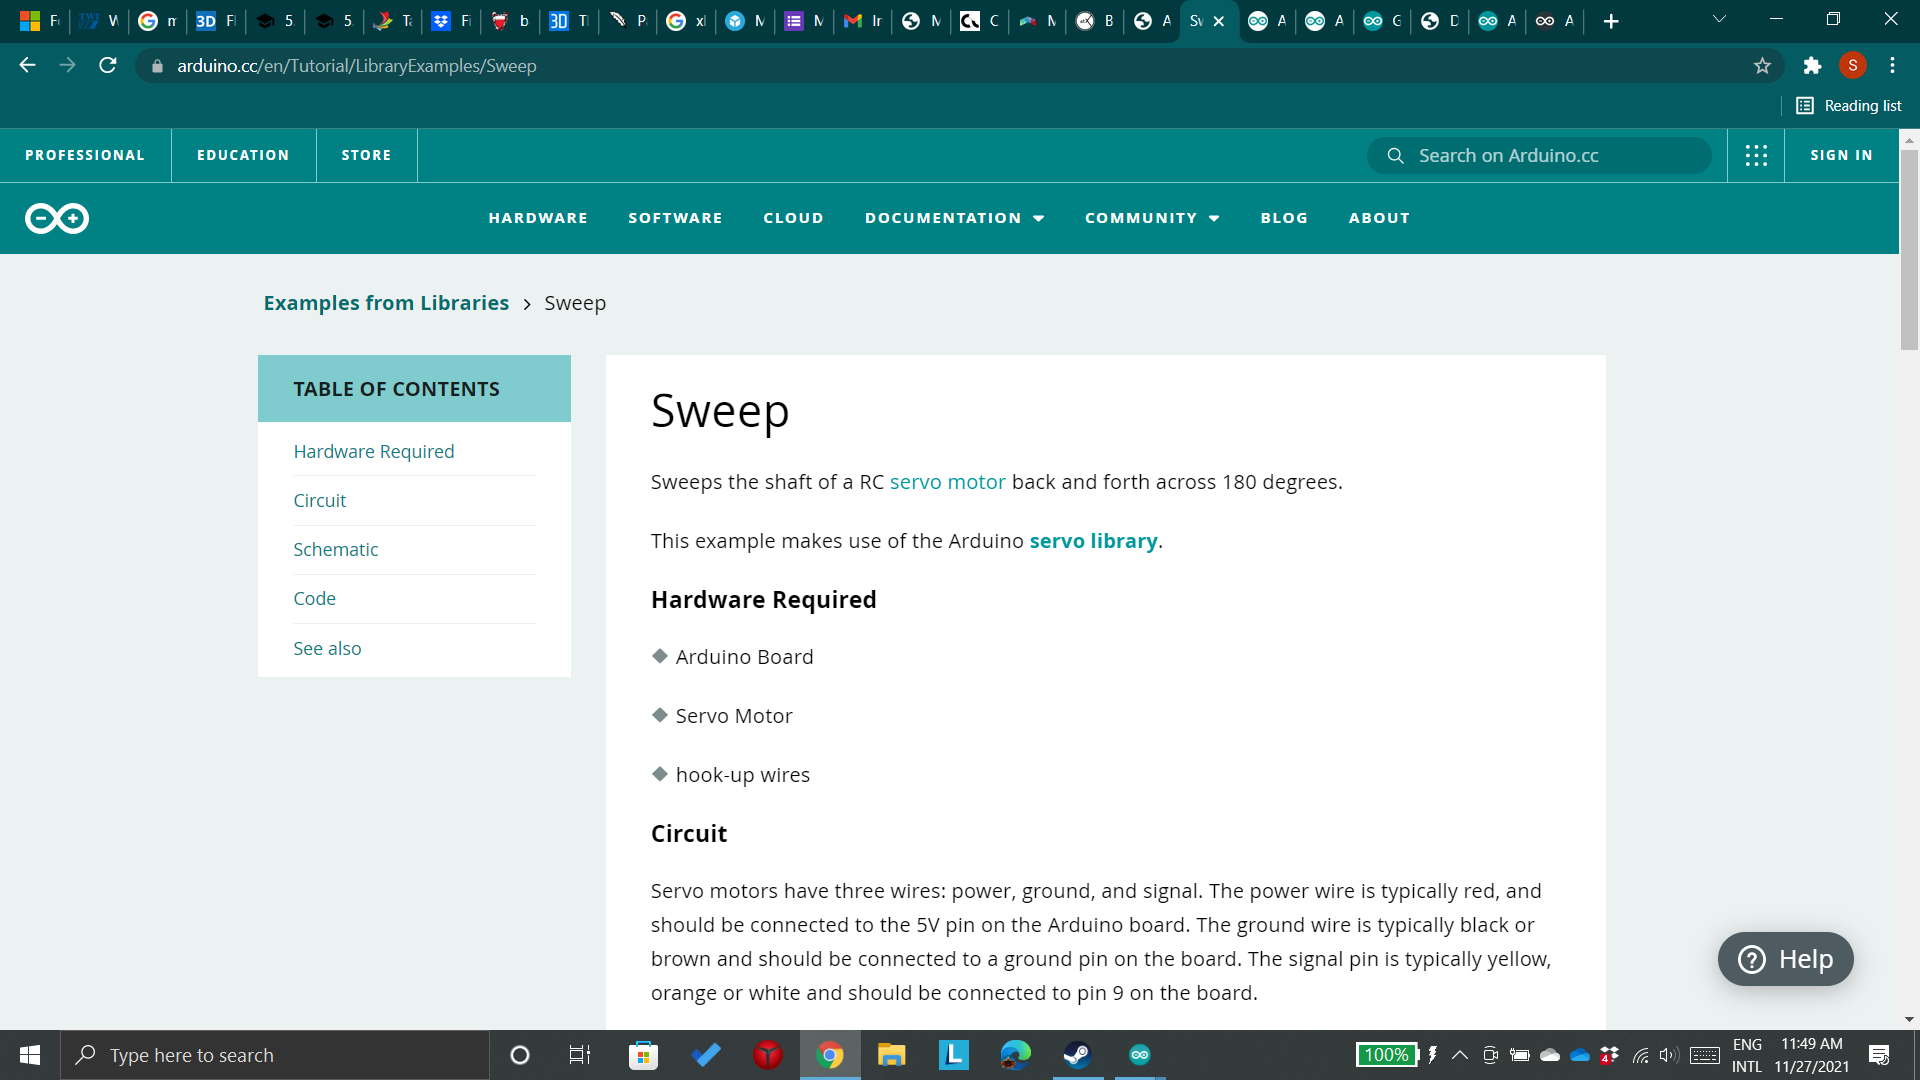
- then with the same progress as before we download the library and use the example code.
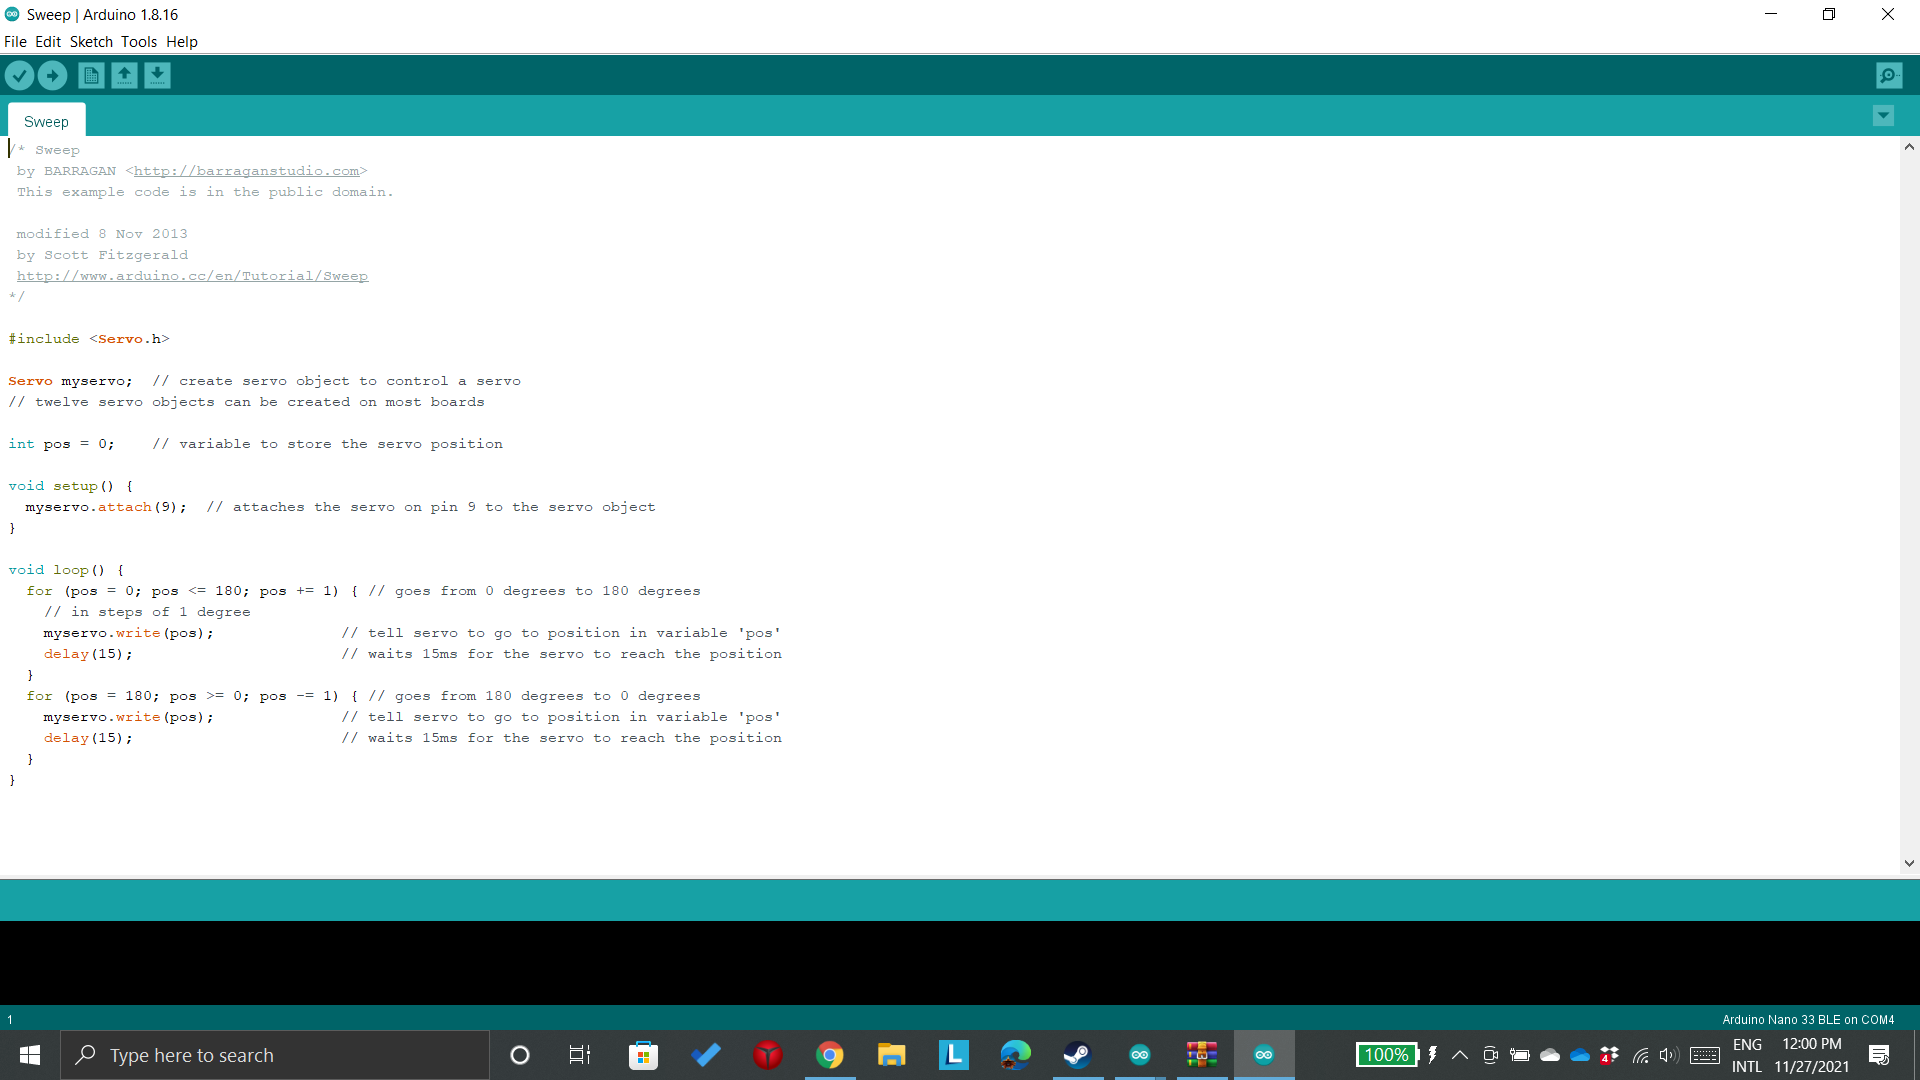
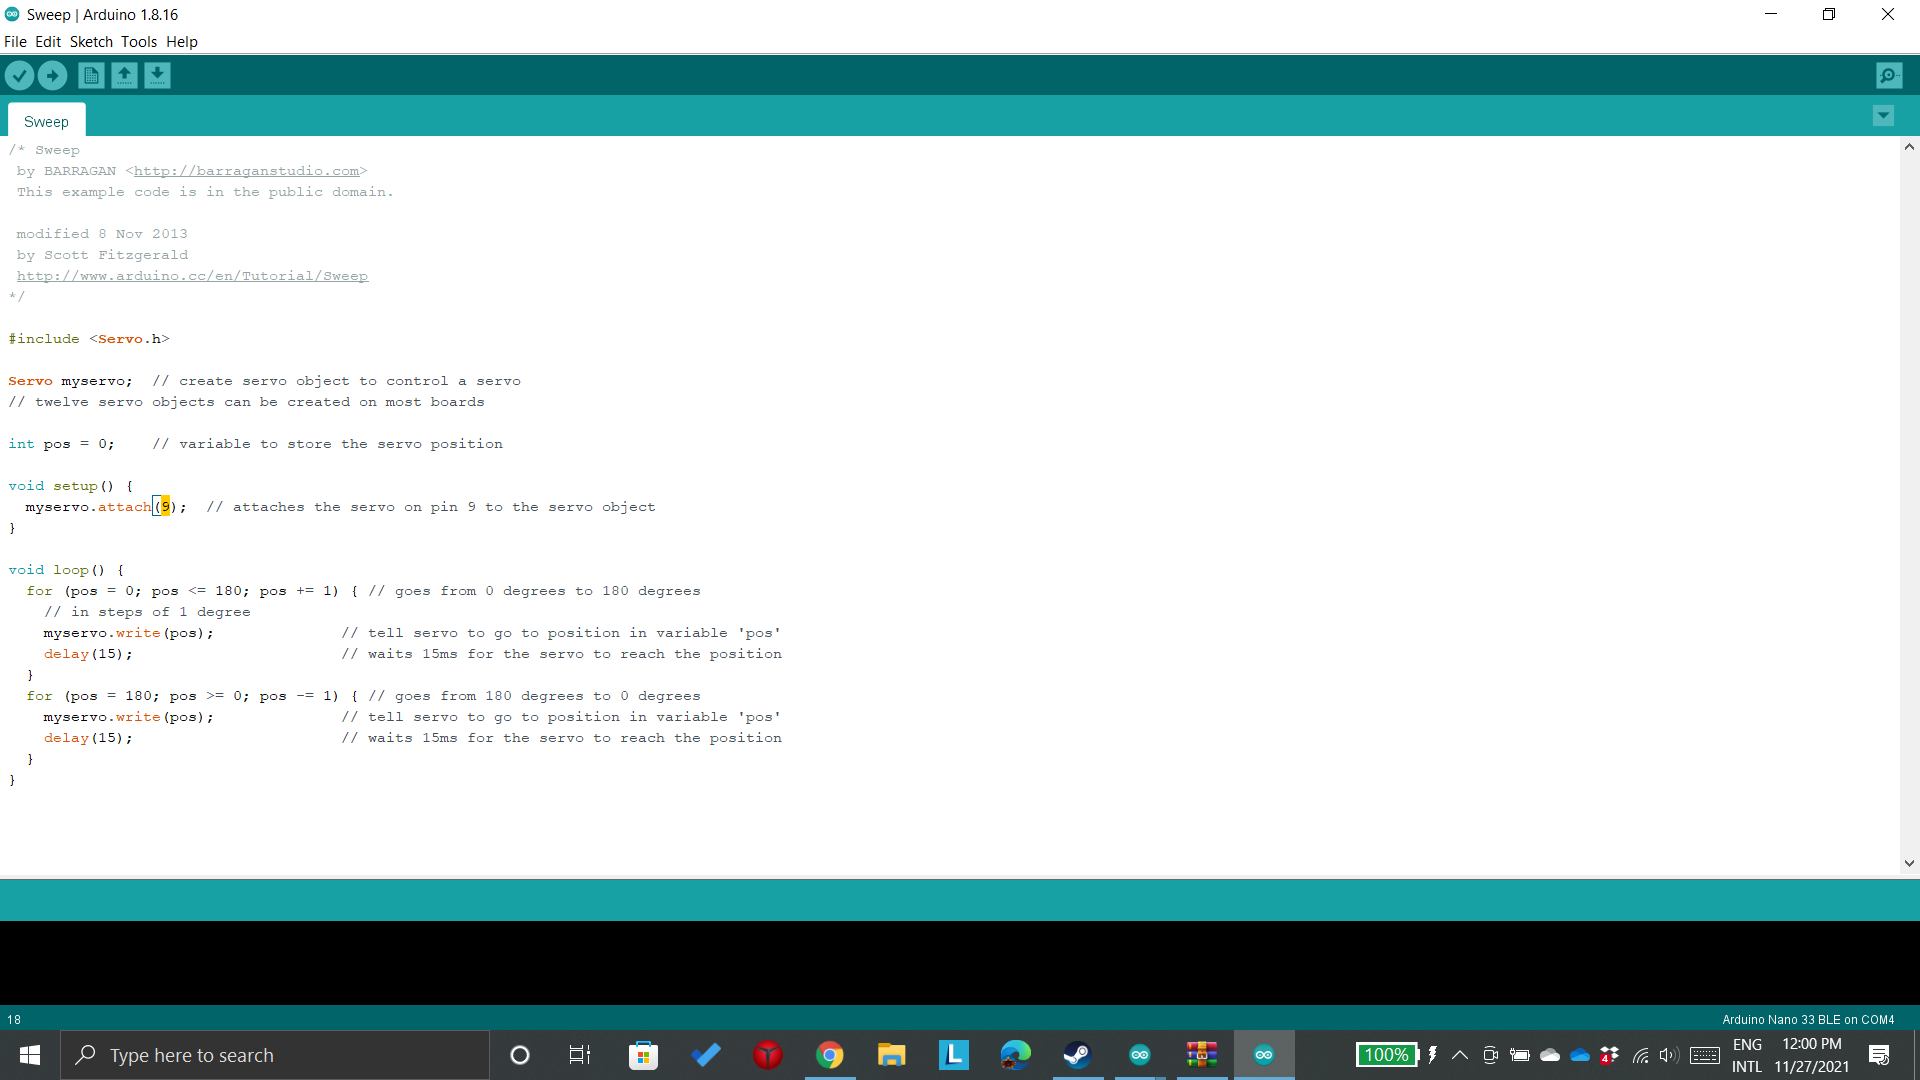
- Here we make sure that the output pin is correct.
- Now we start uploading.
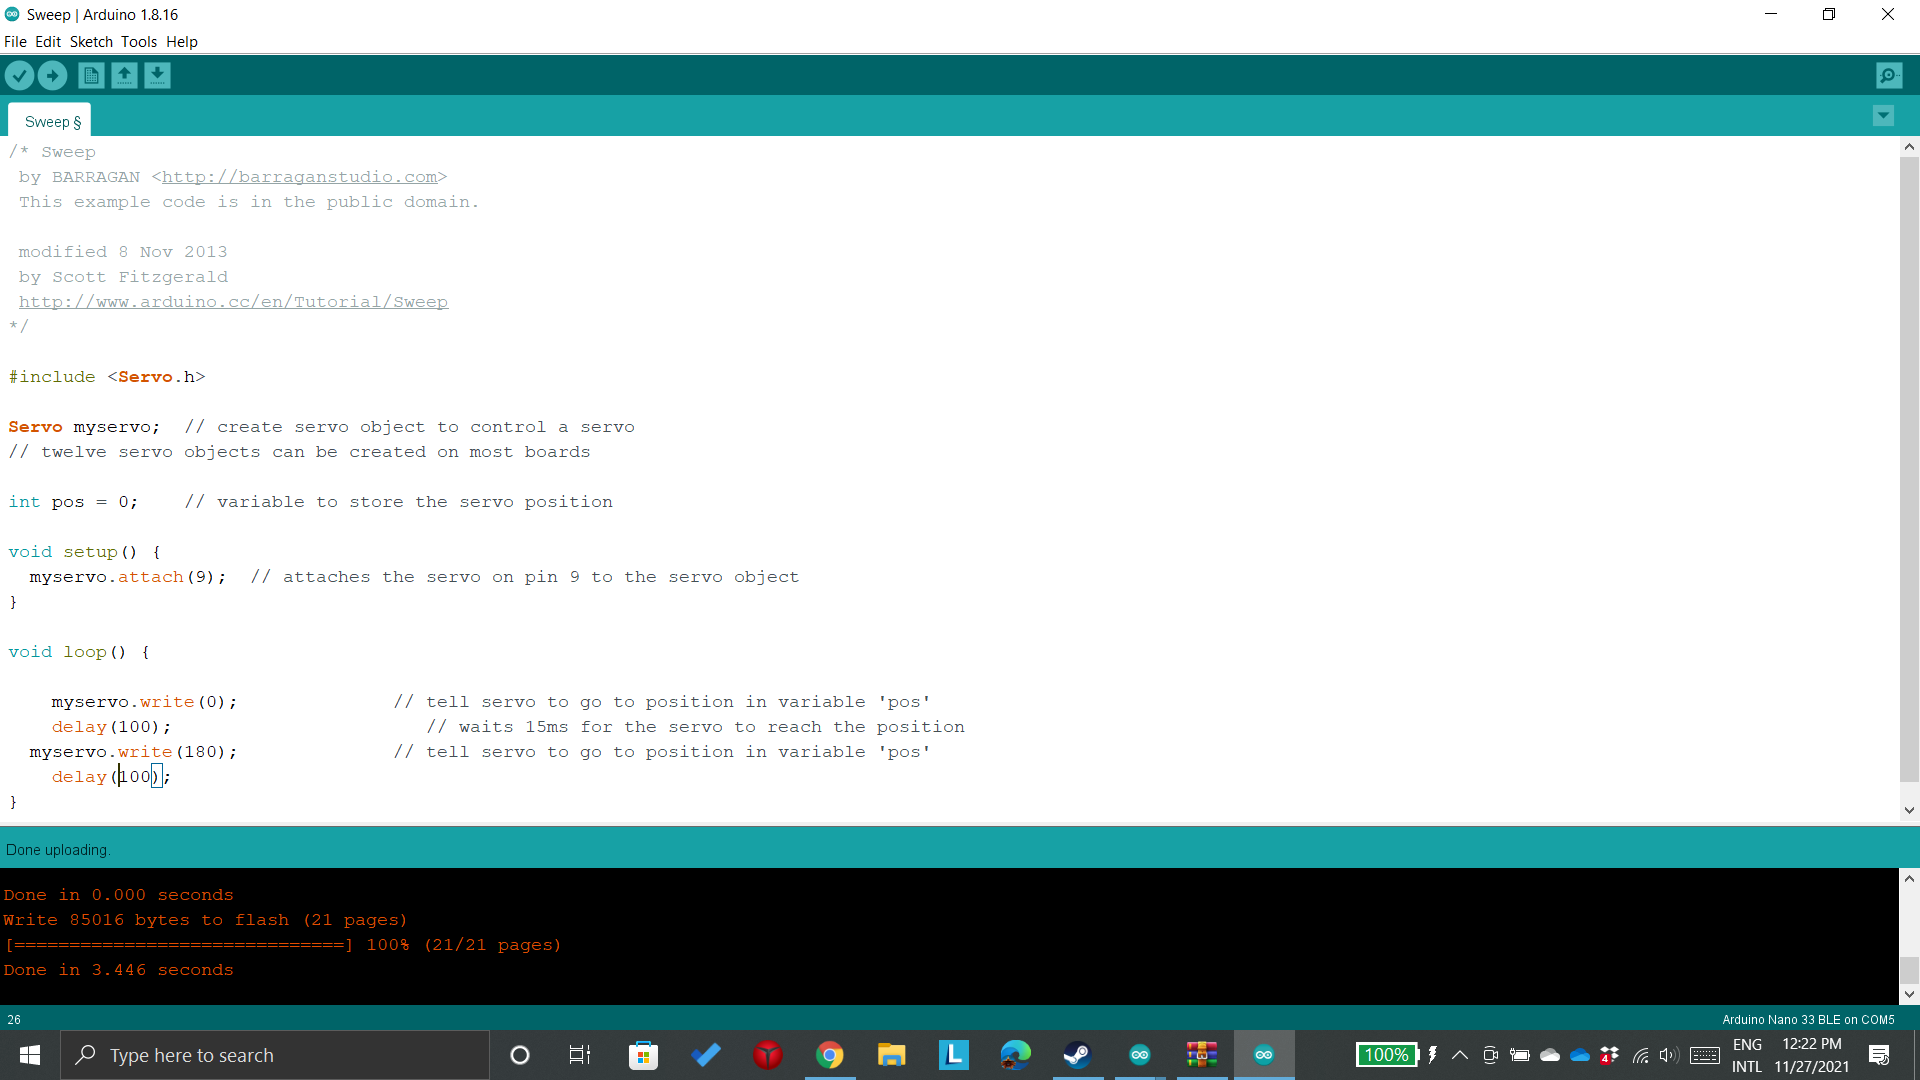
The results
Sweep code
/* Sweep
 by BARRAGAN <http://barraganstudio.com>
 This example code is in the public domain.

 modified 8 Nov 2013
 by Scott Fitzgerald
 https://www.arduino.cc/en/Tutorial/LibraryExamples/Sweep
*/

#include <Servo.h>

Servo myservo;  // create servo object to control a servo
// twelve servo objects can be created on most boards

int pos = 0;    // variable to store the servo position

void setup() {
  myservo.attach(9);  // attaches the servo on pin 9 to the servo object
}

void loop() {
  for (pos = 0; pos <= 180; pos += 1) { // goes from 0 degrees to 180 degrees
    // in steps of 1 degree
    myservo.write(pos);              // tell servo to go to position in variable 'pos'
    delay(15);                       // waits 15 ms for the servo to reach the position
  }
  for (pos = 180; pos >= 0; pos -= 1) { // goes from 180 degrees to 0 degrees
    myservo.write(pos);              // tell servo to go to position in variable 'pos'
    delay(15);                       // waits 15 ms for the servo to reach the position
  }
}