3. Computer controlled cutting
This week, we were tasked with working on three assignments that required the use of two cutting machines, a vinyl cutting machine, and a laser cutting machine.
TASK 1 - INDIVISUAL
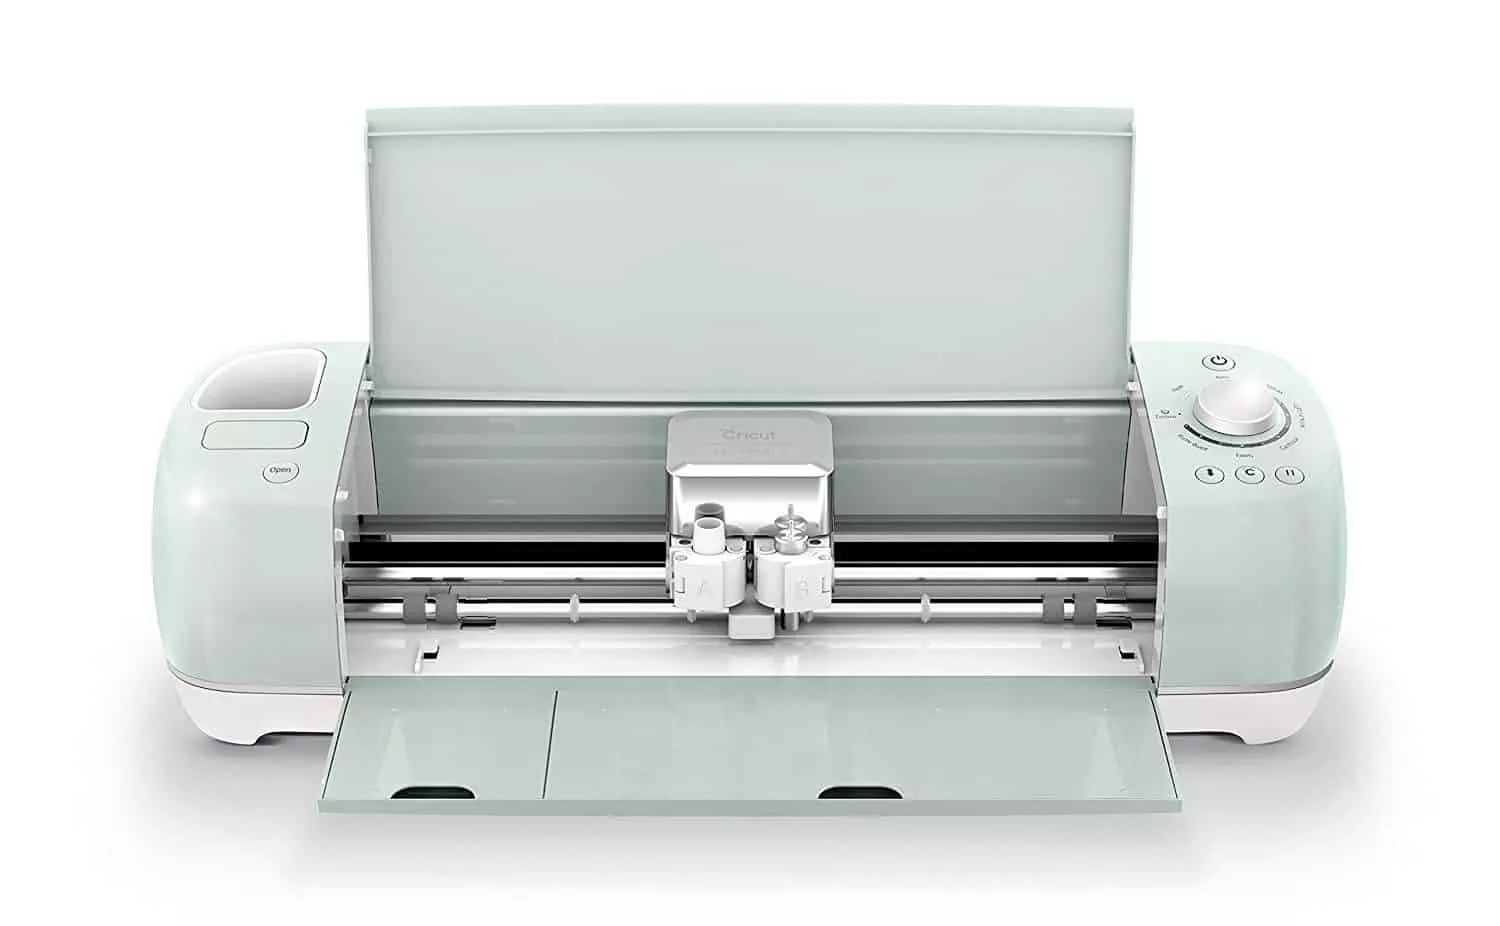
On this assignment, we were instructed to take any photo and cut it out of any material using the Cricut vinyl cutting machine
Mainly the materials used on this machine are thin like paper-thin or stickers
And in order to do that we have to follow these steps:
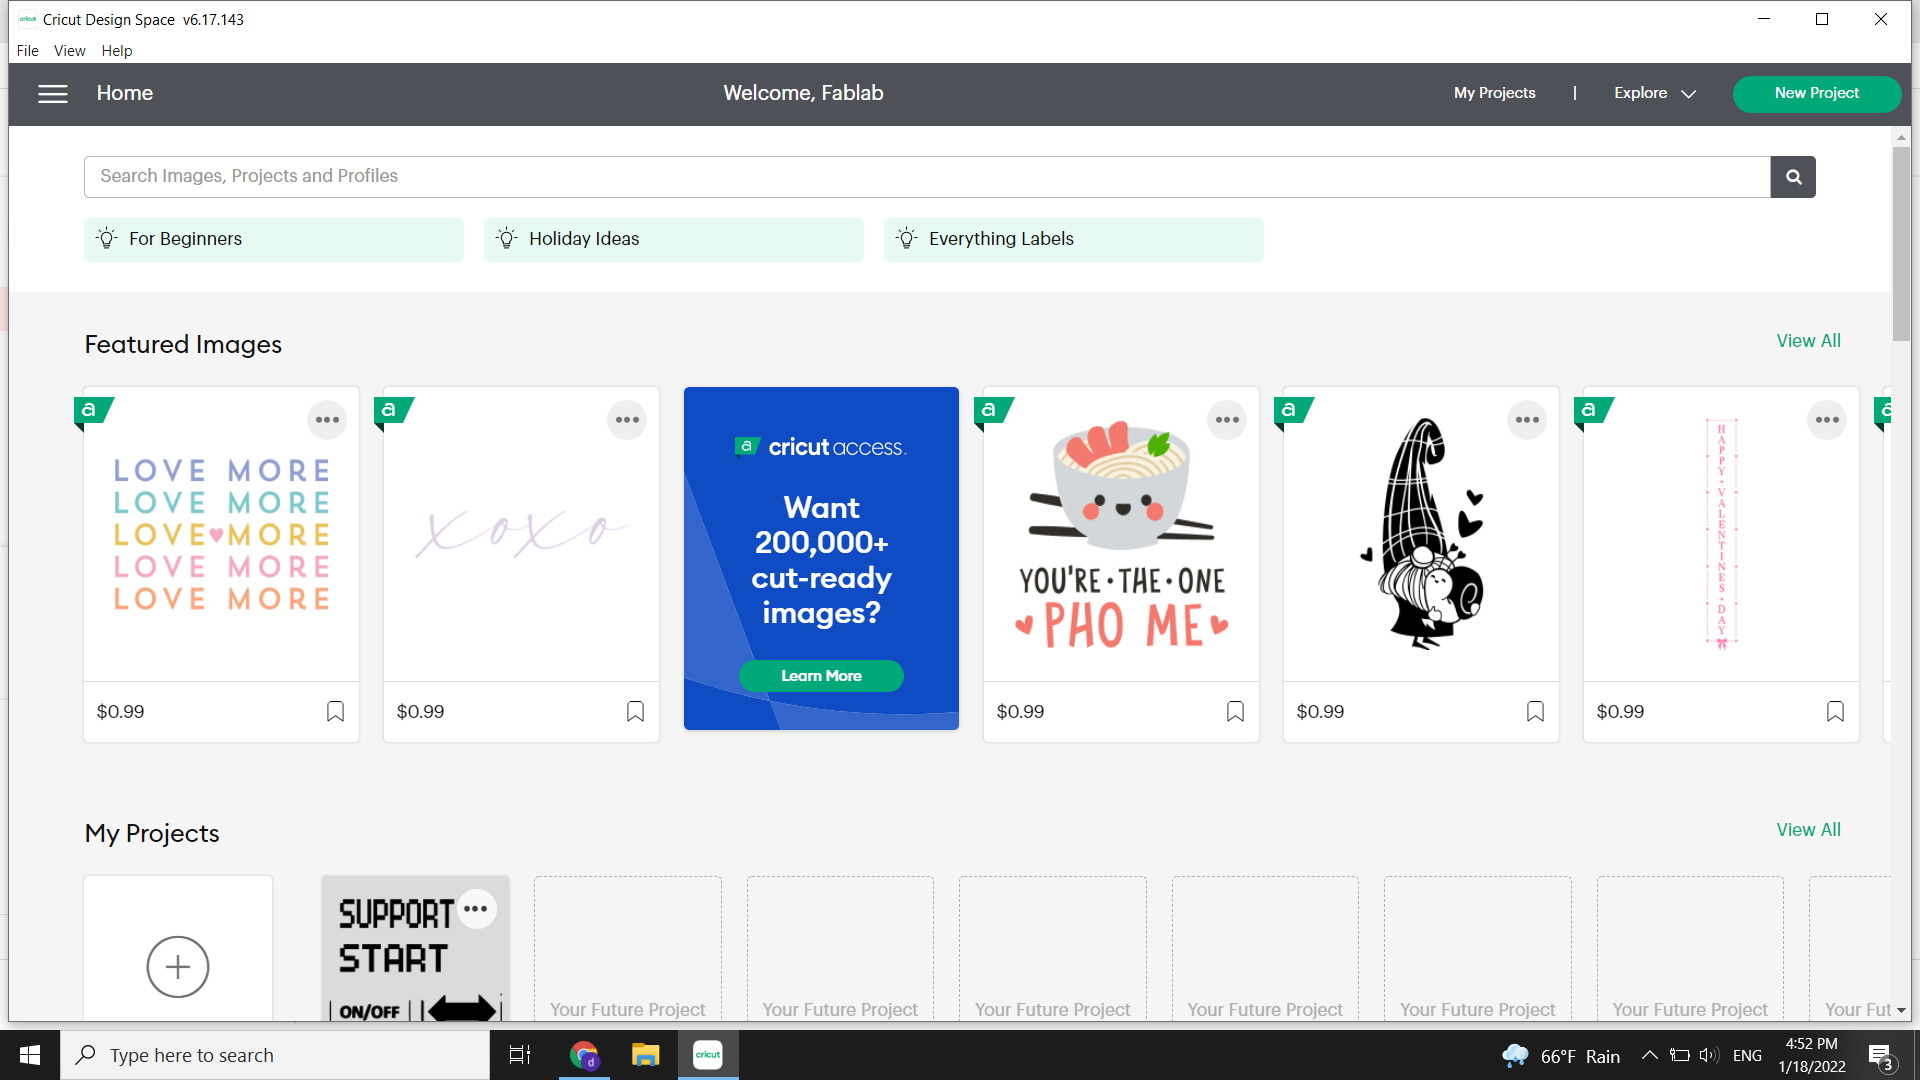
1- First, we need to download the software that understands the machine which is Cricut
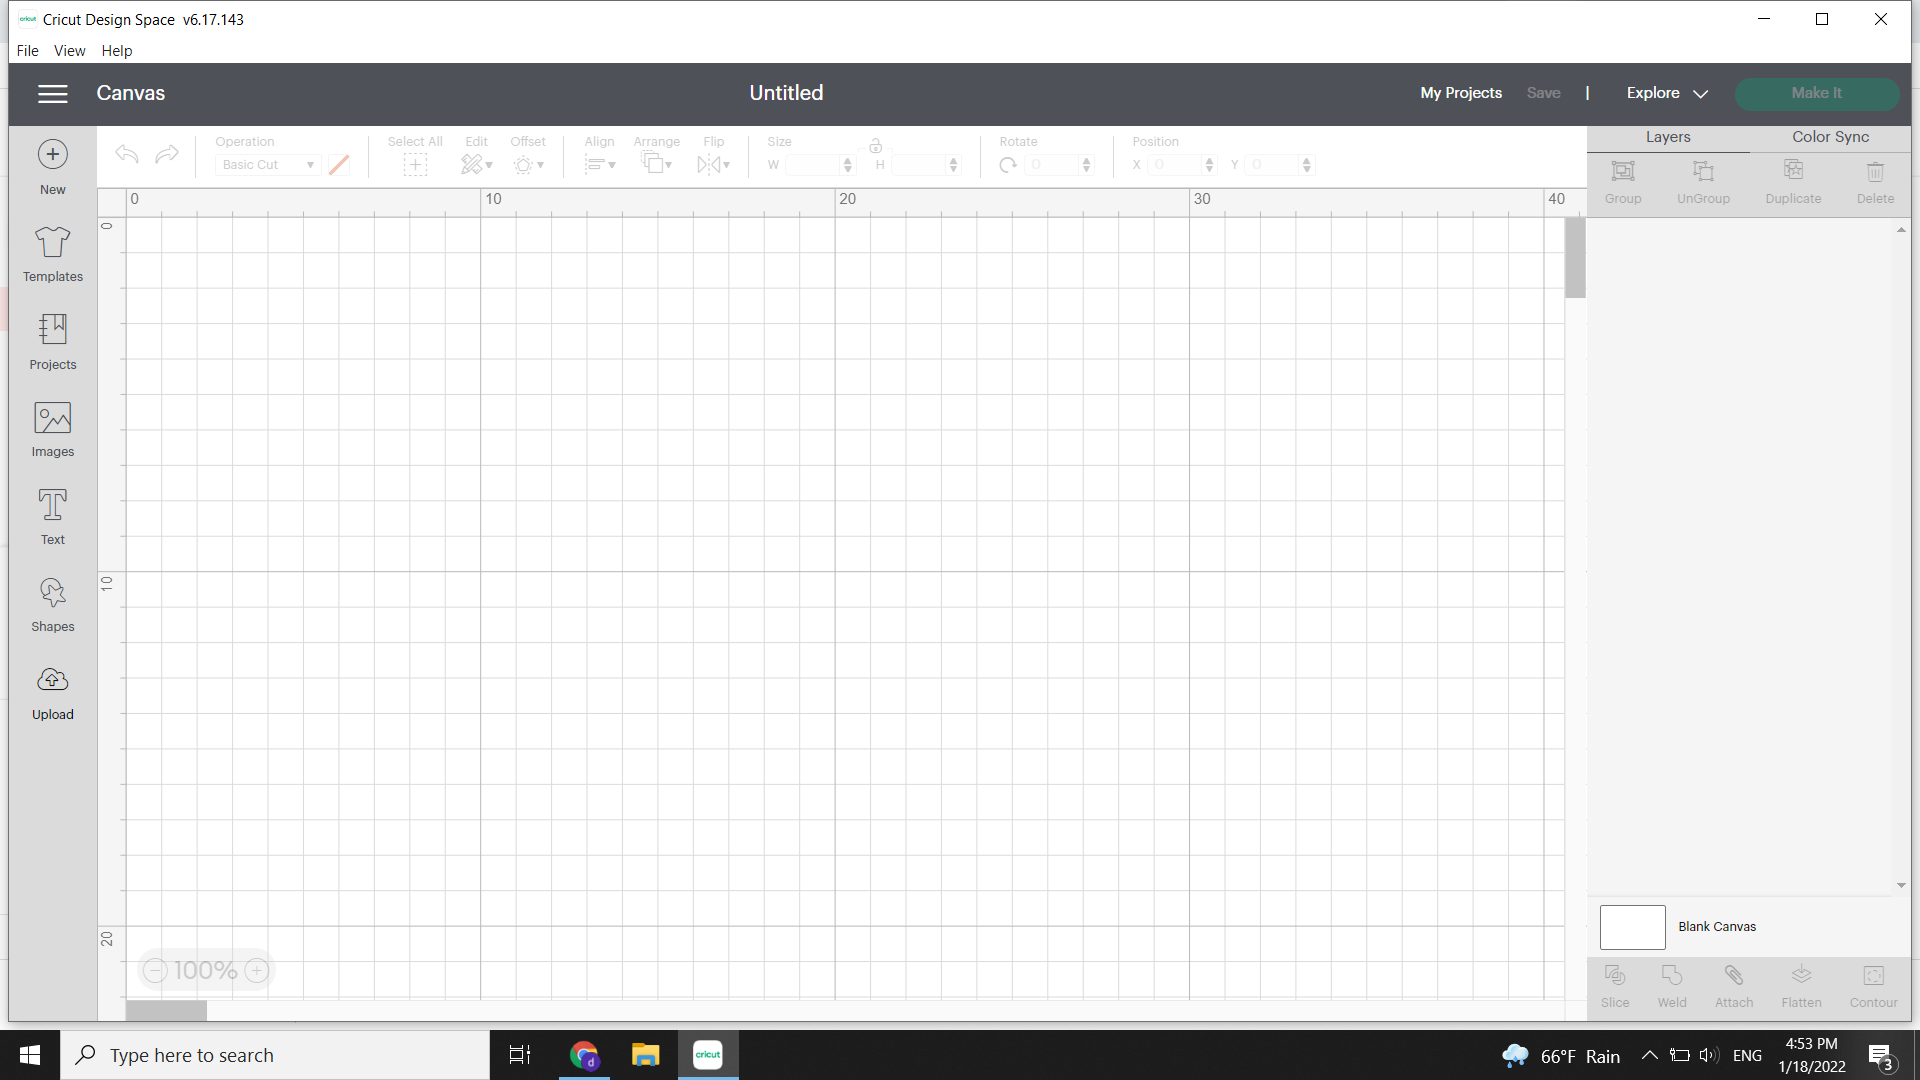
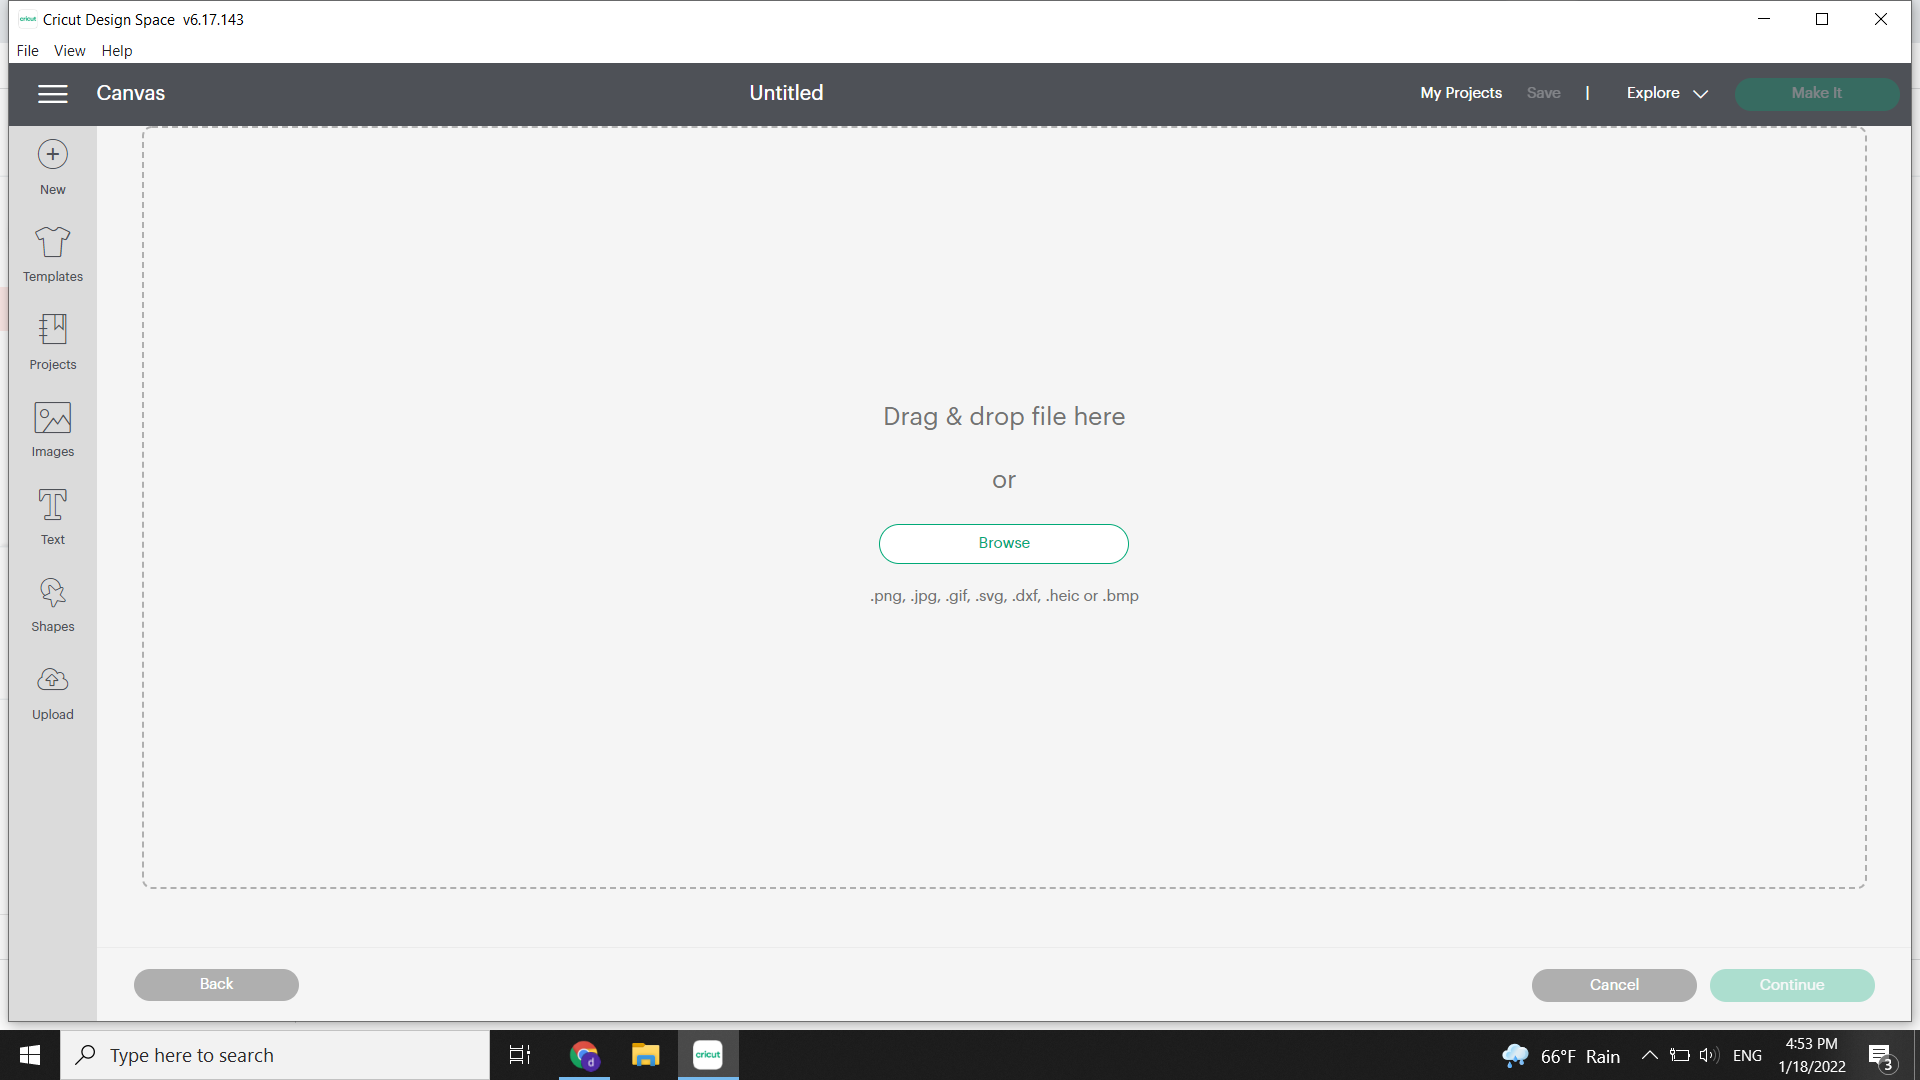
2- When we open the software we go to upload where we can upload any image of our choice
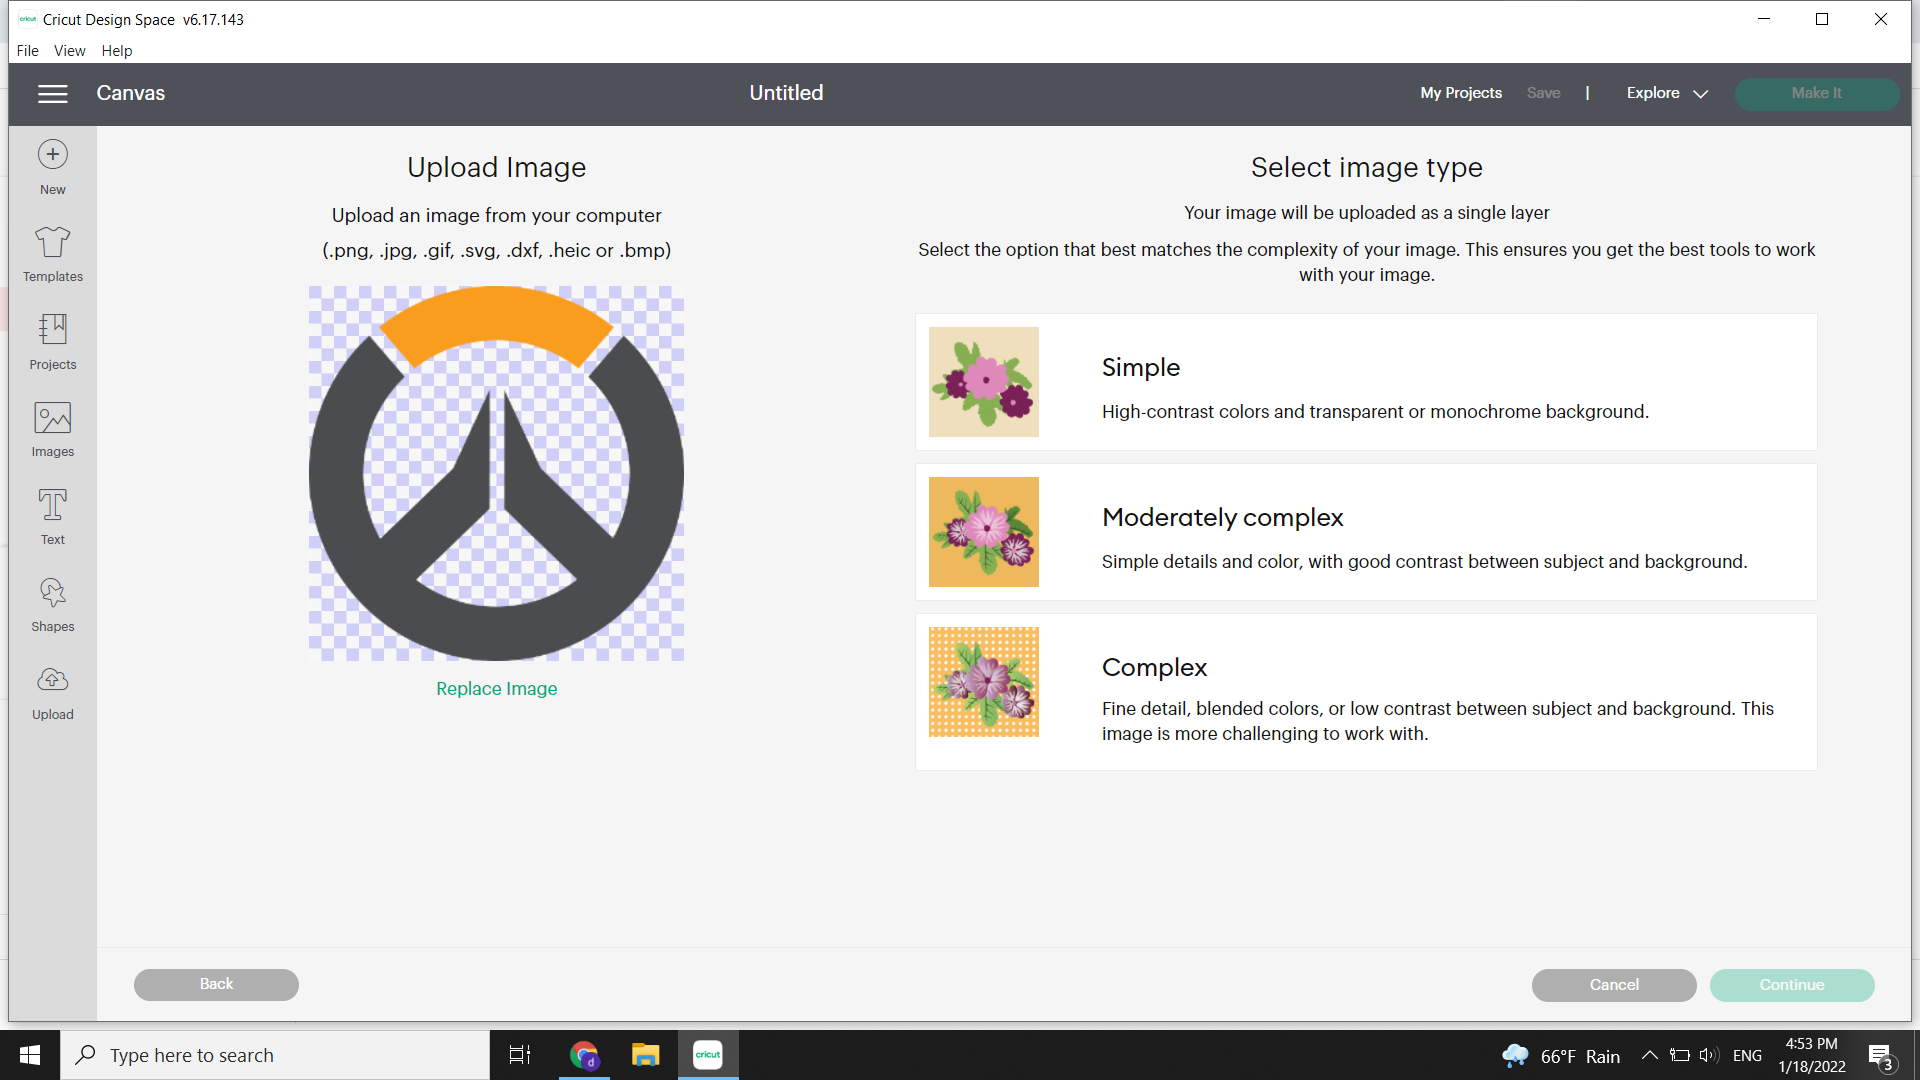
3- When we upload the image we select the image type whether it was simple or complex depending on the lines
4- Then, we go to the background remover where it removes the white parts and keeps the black lines
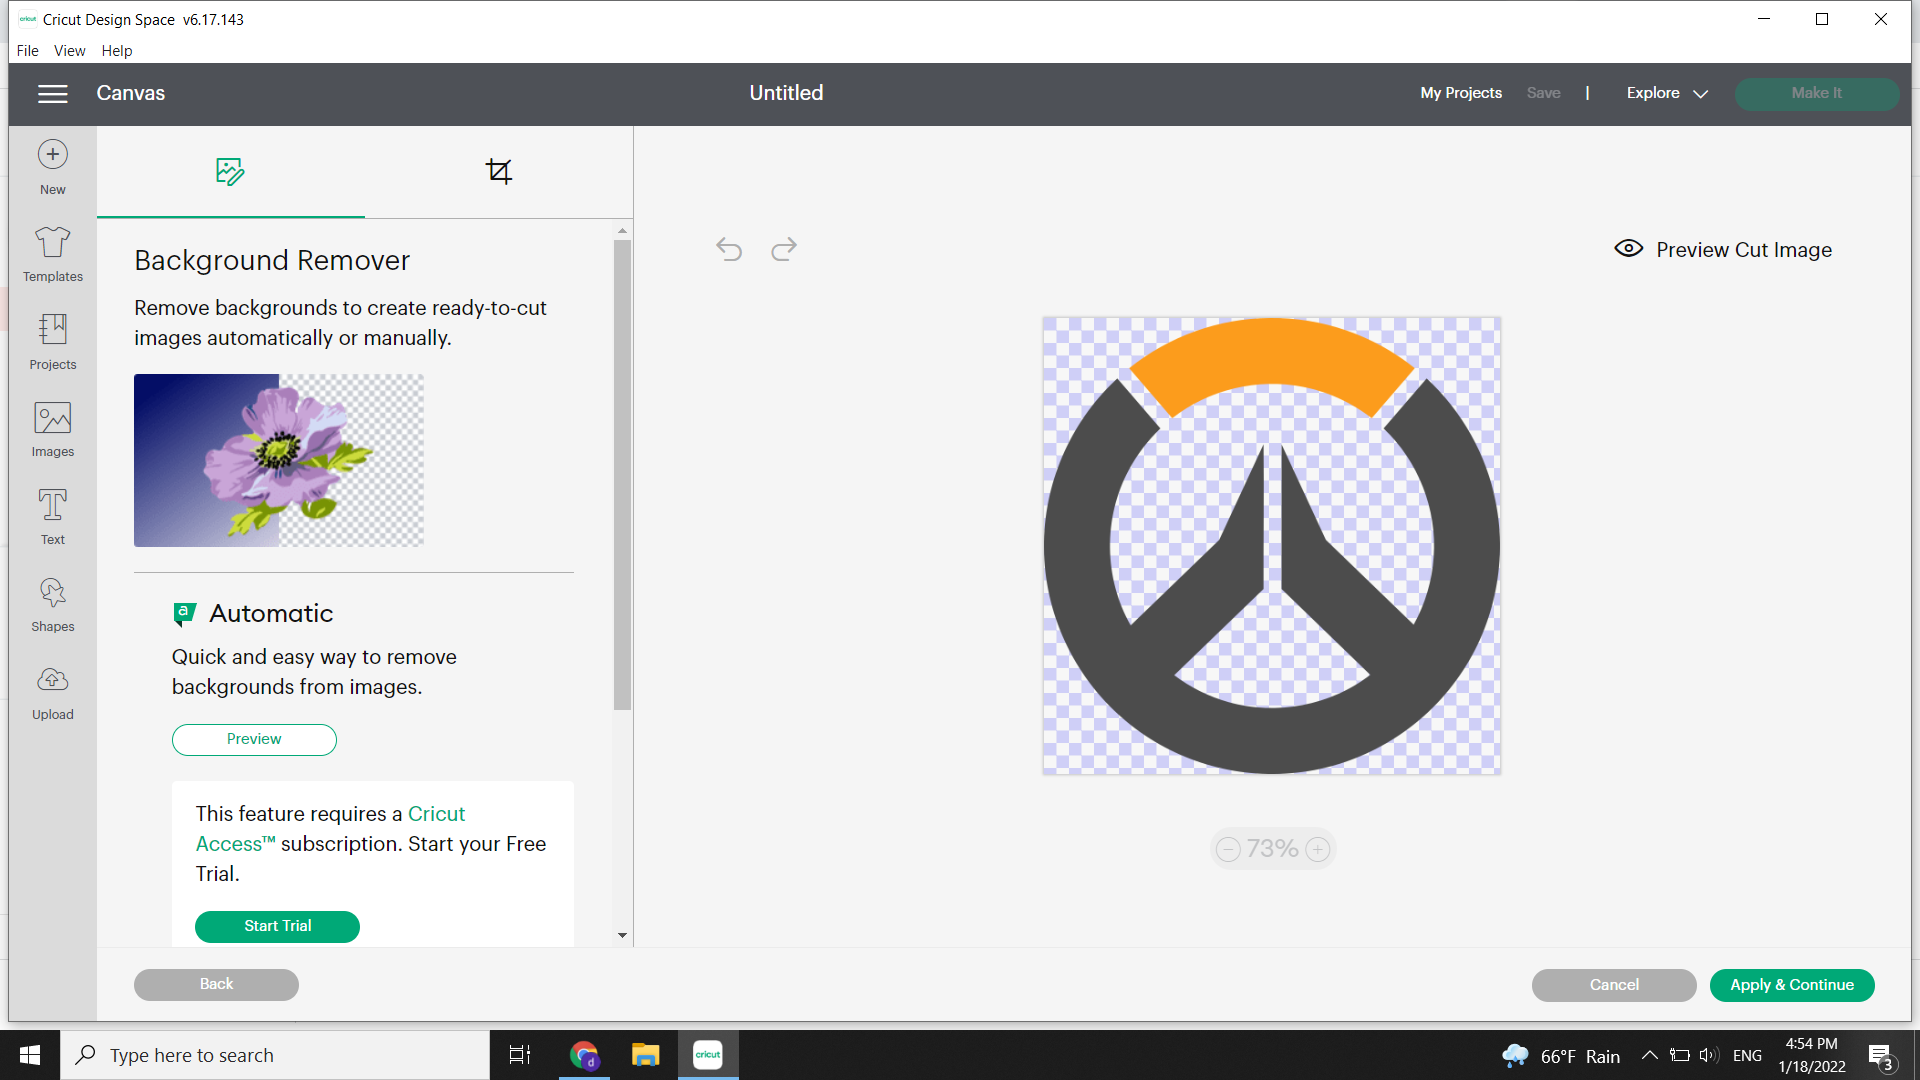
5- Here it shows you the final cut of the image before you upload it
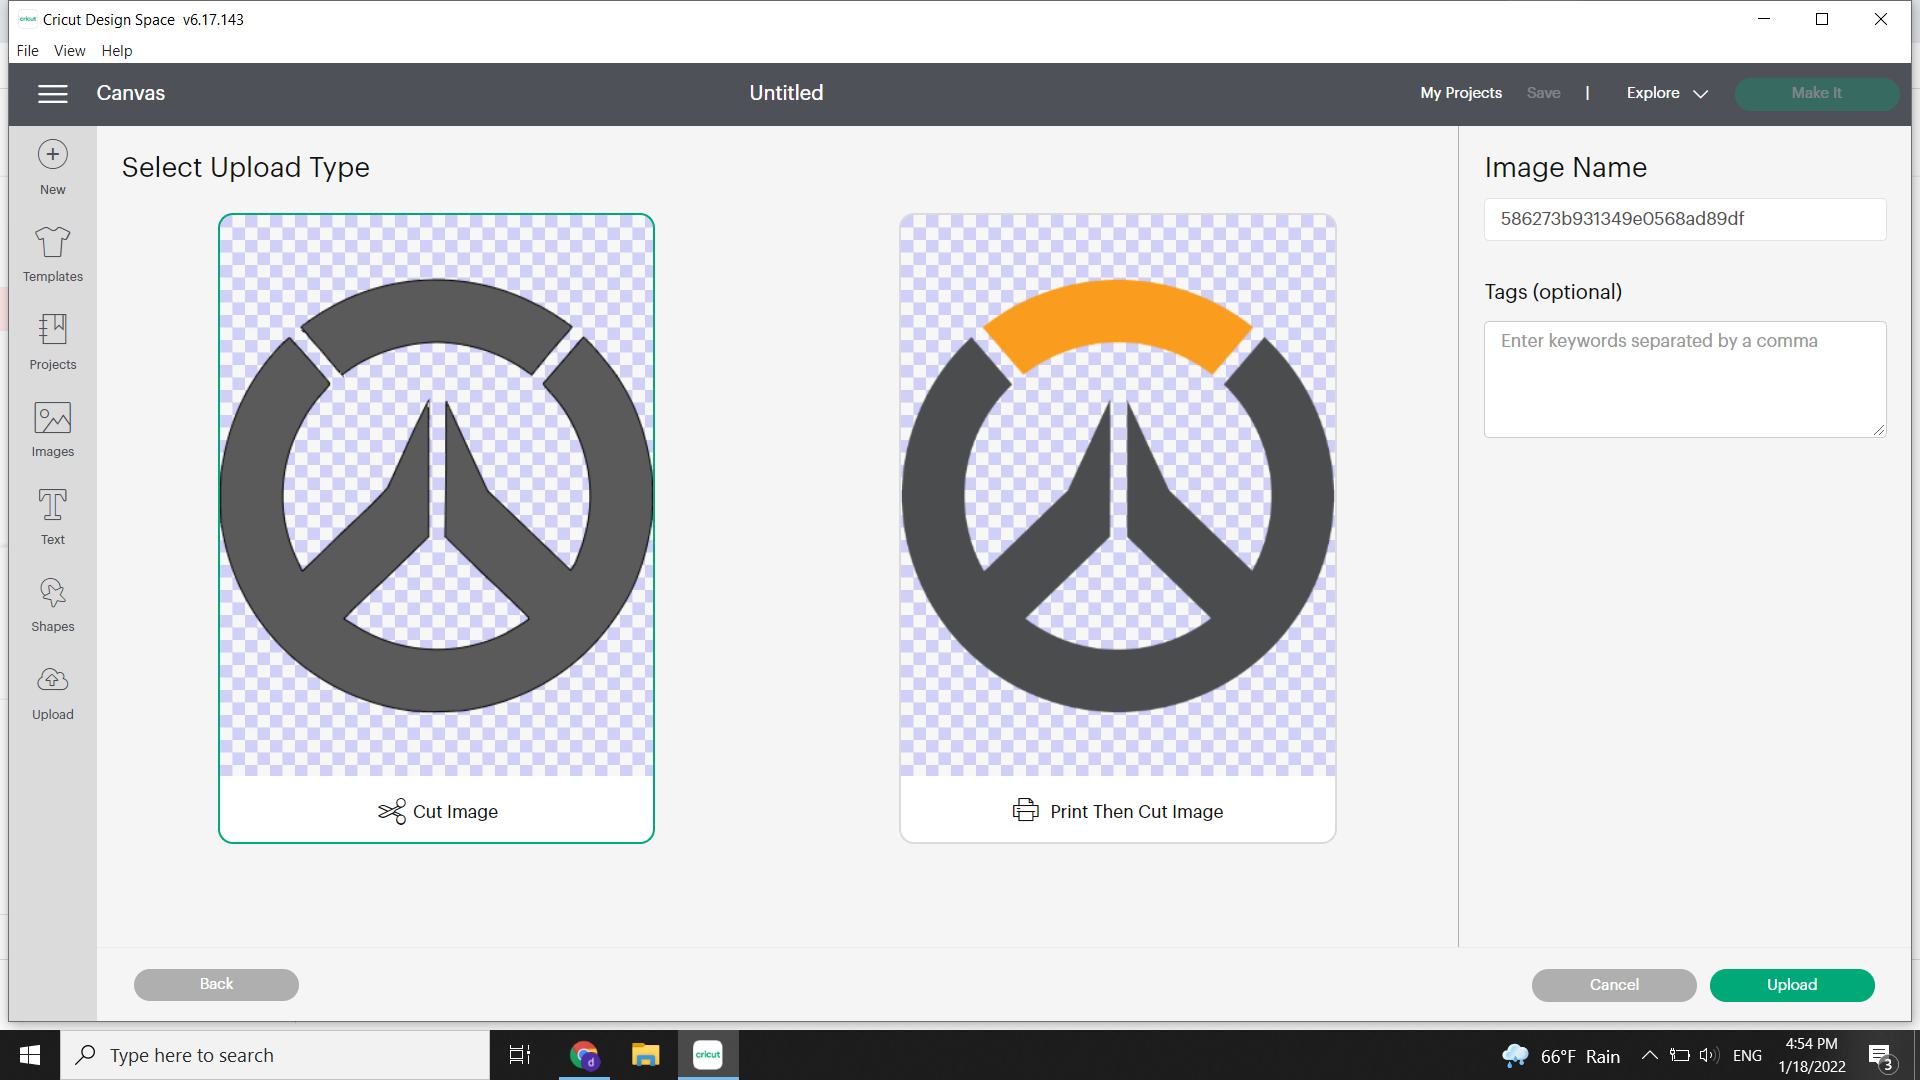
6- After that, we go to the upload page again and we can select our last upload from below and we click on add to Canvas
7- Here it shows you the size of the photo comparing to the grid of the actual base board that you’re going to place the material on it, and it allows you to change the size
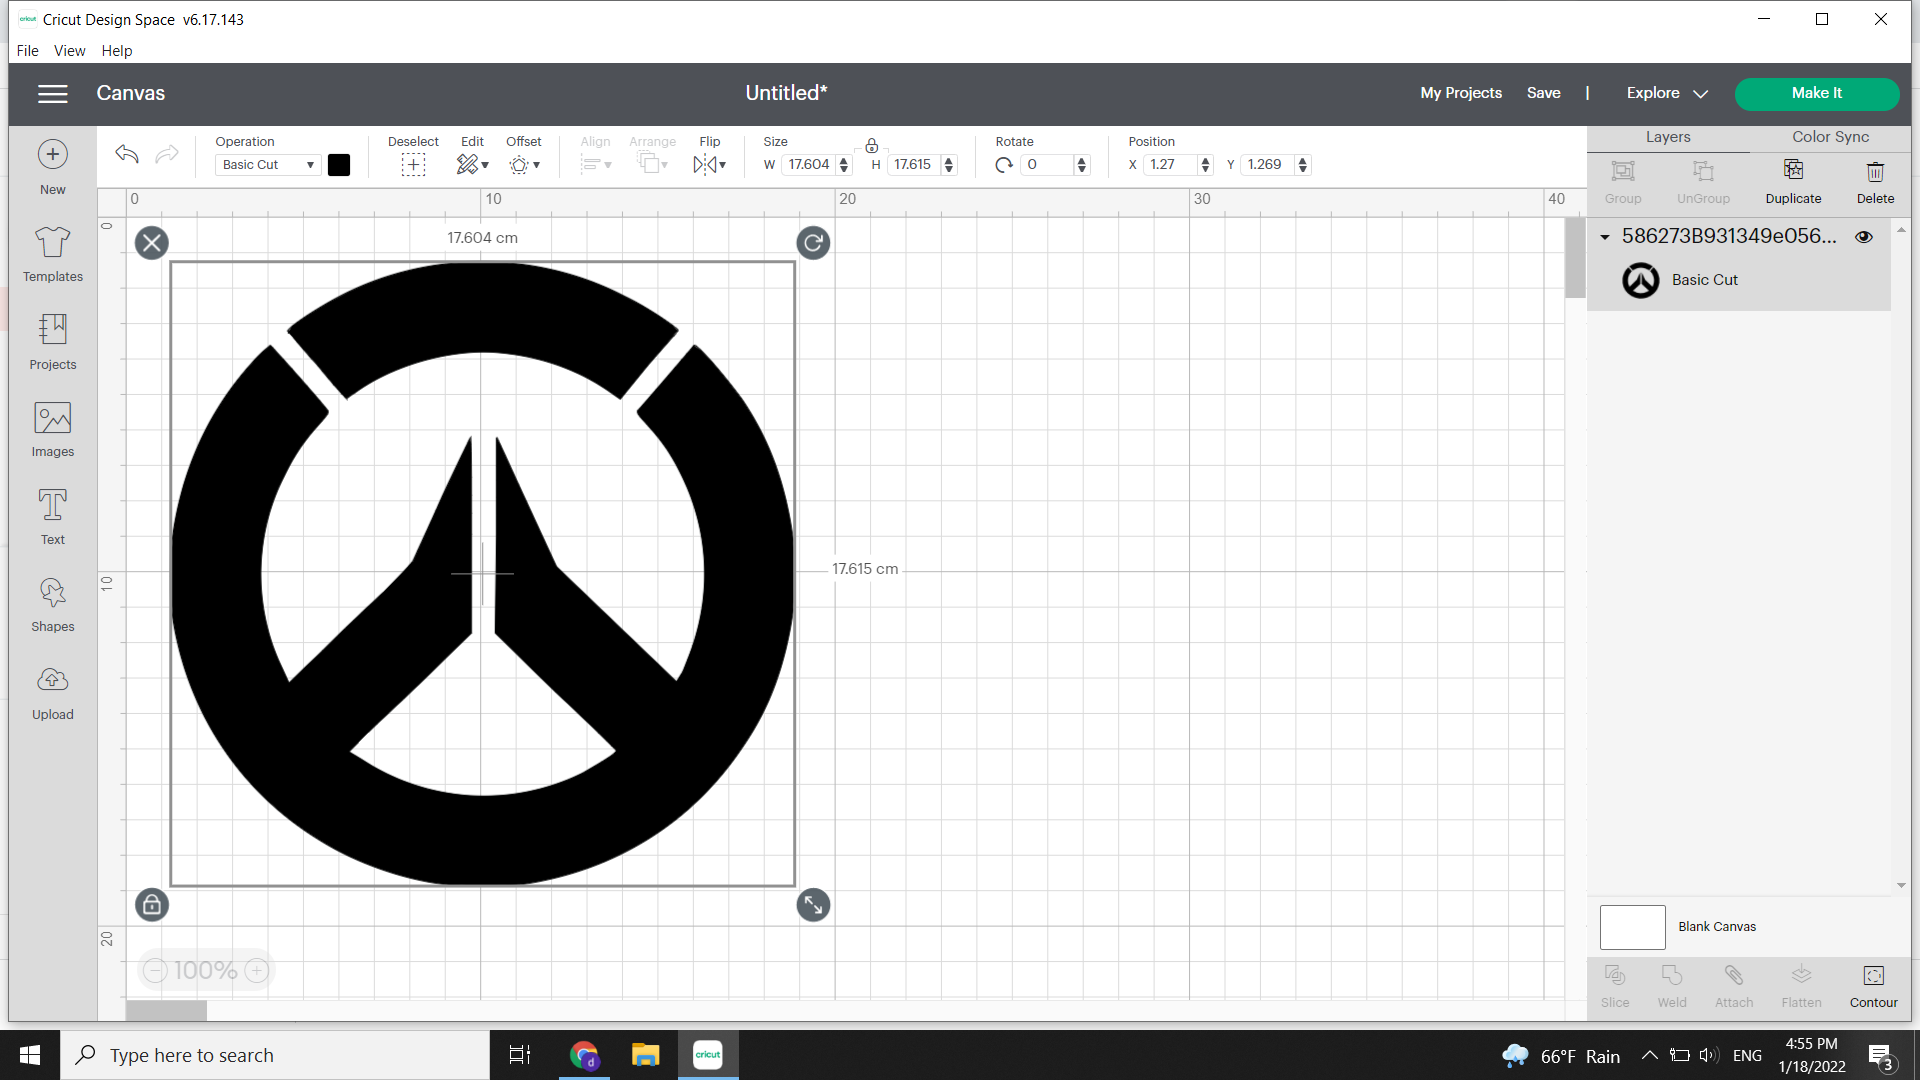
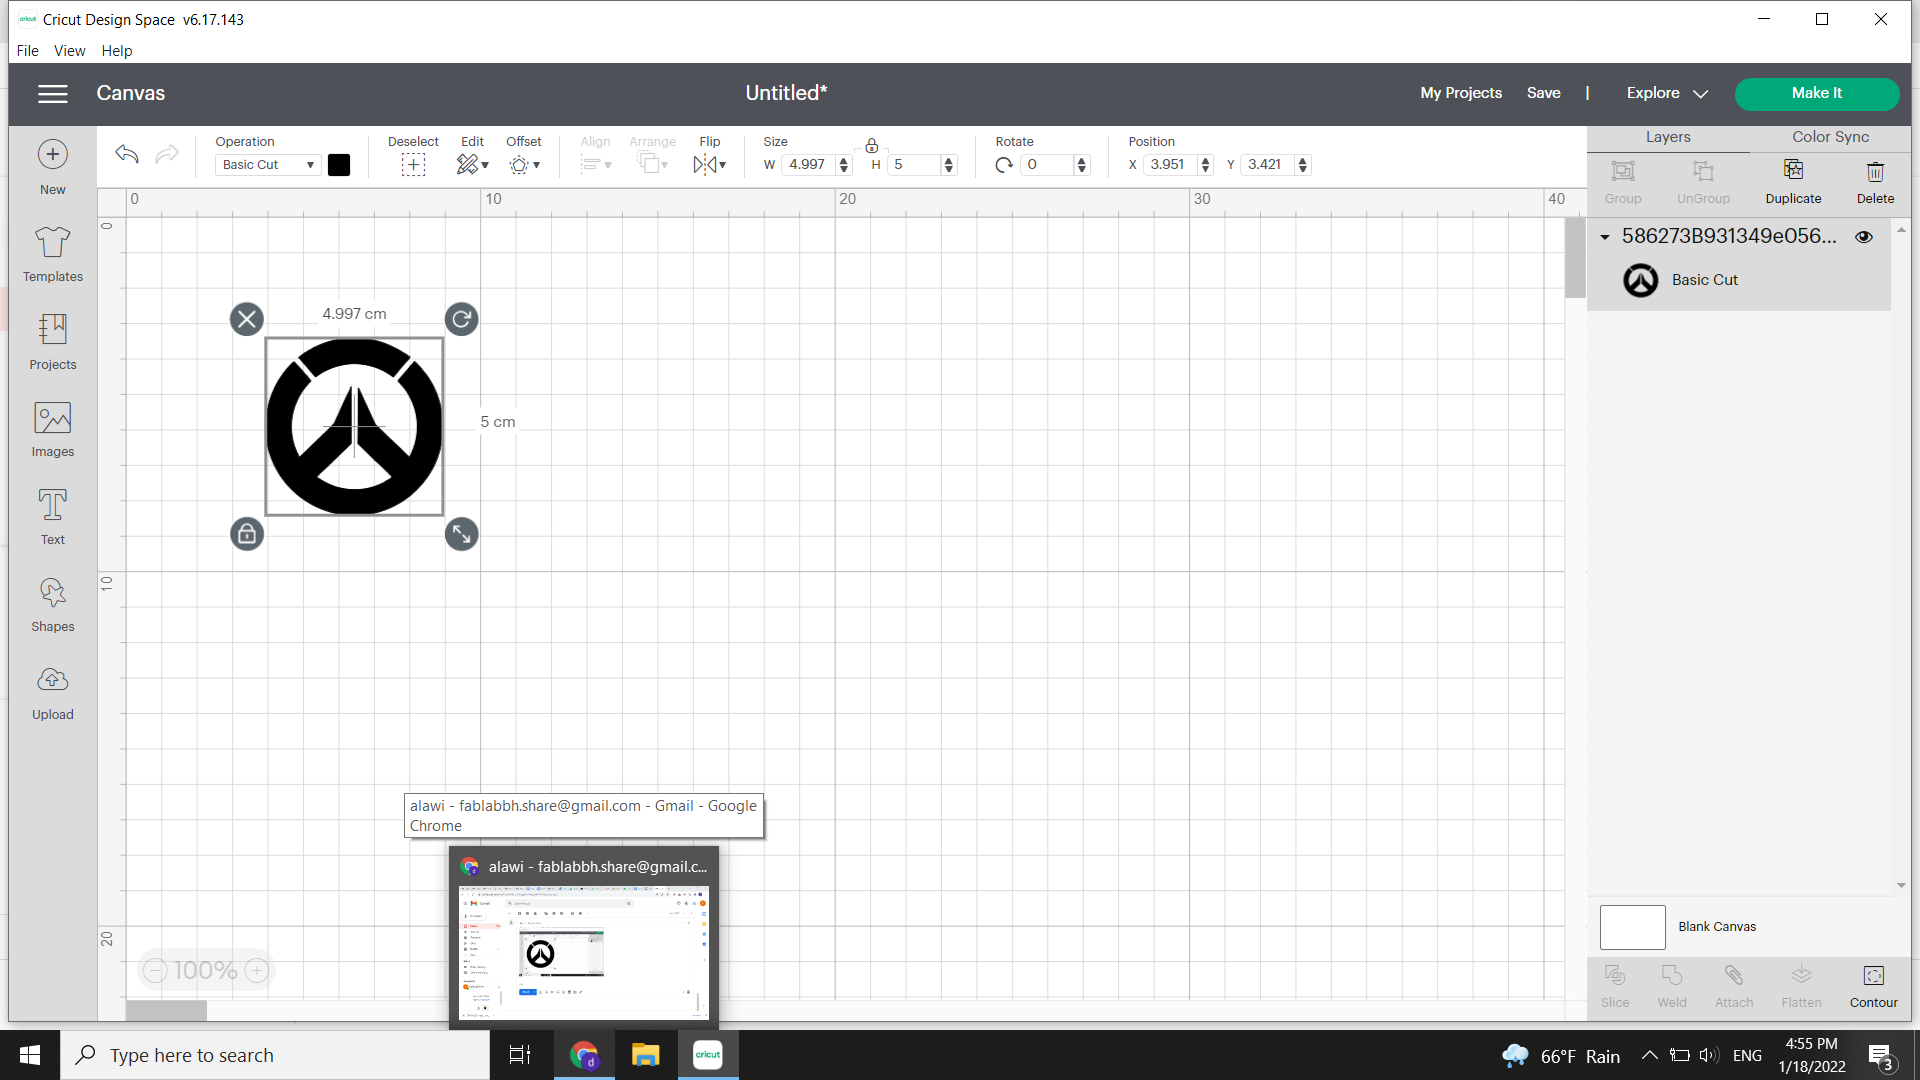
Then we click on make it and continue
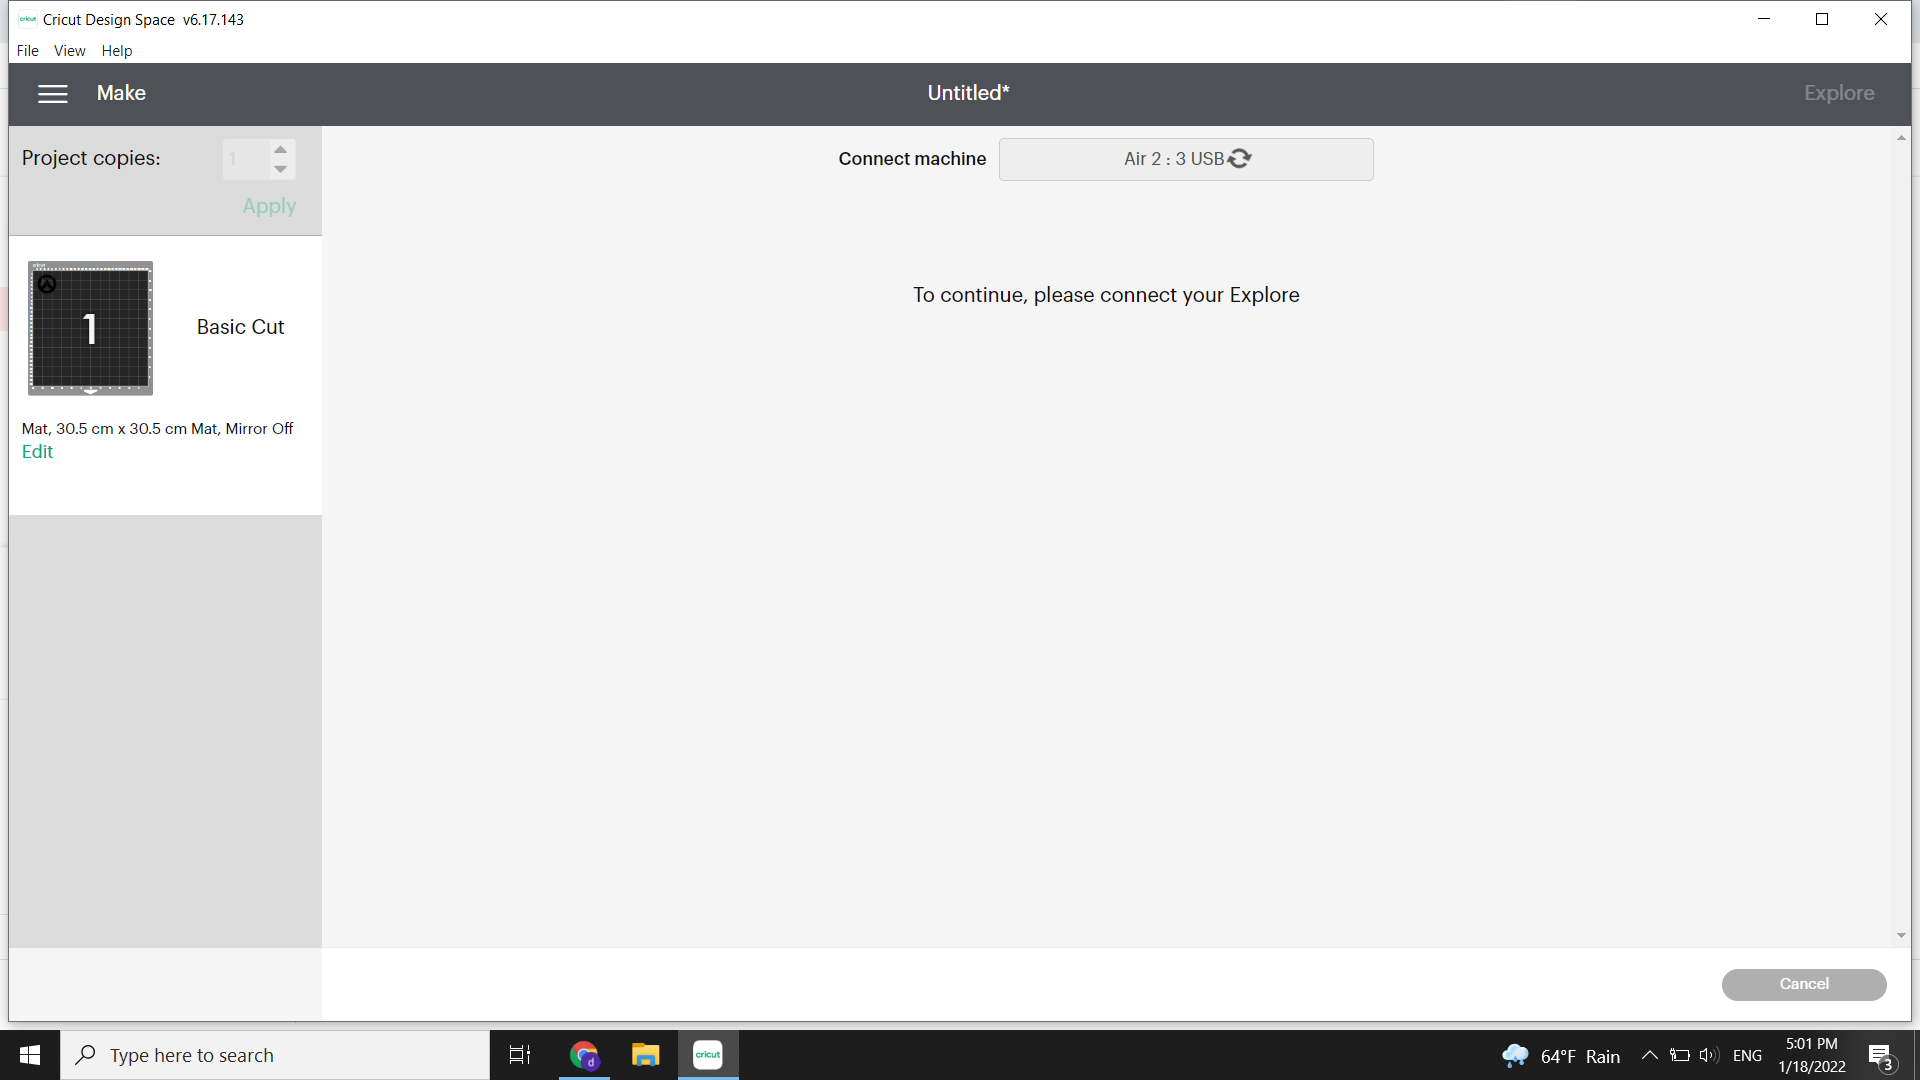
8- Finally, the software asks you to place where the cut will be and then connect your laptop to the machine
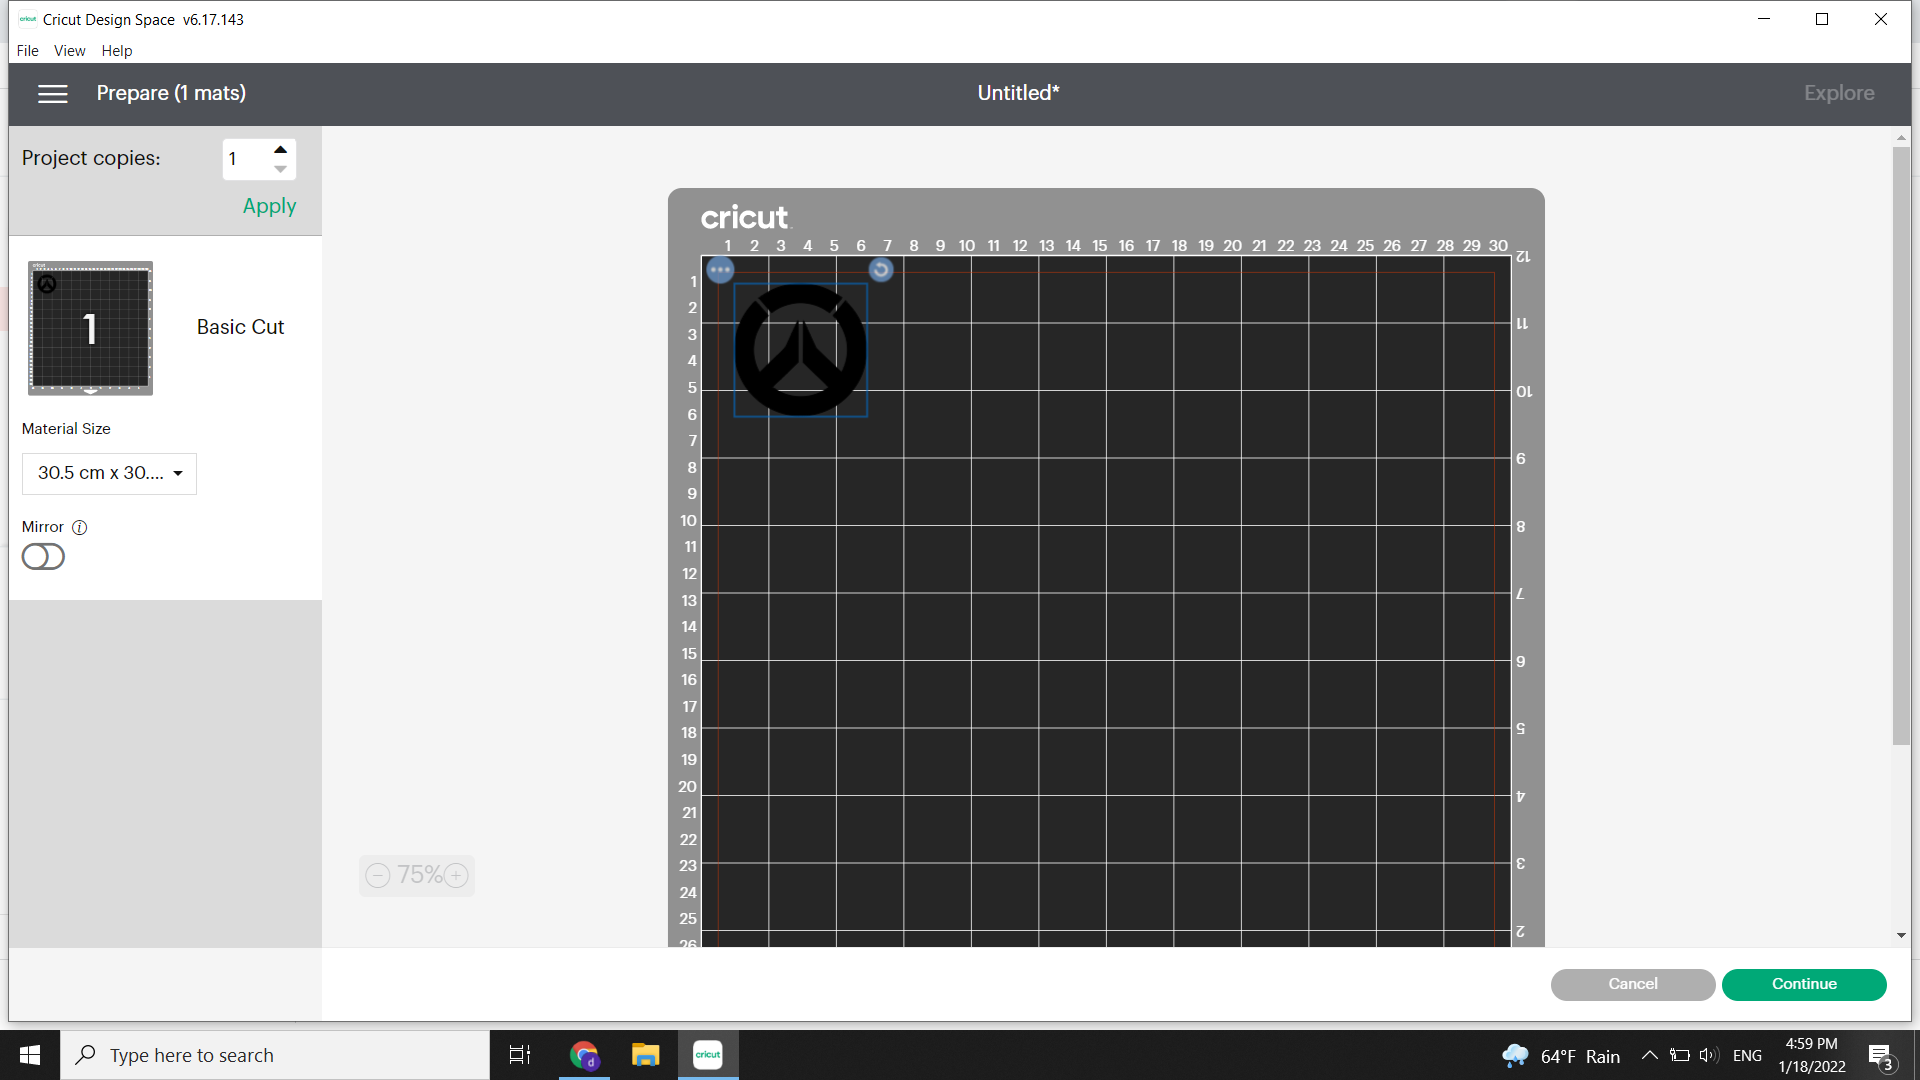
now We choose our material and cut an area that is bigger than our pic a little bit
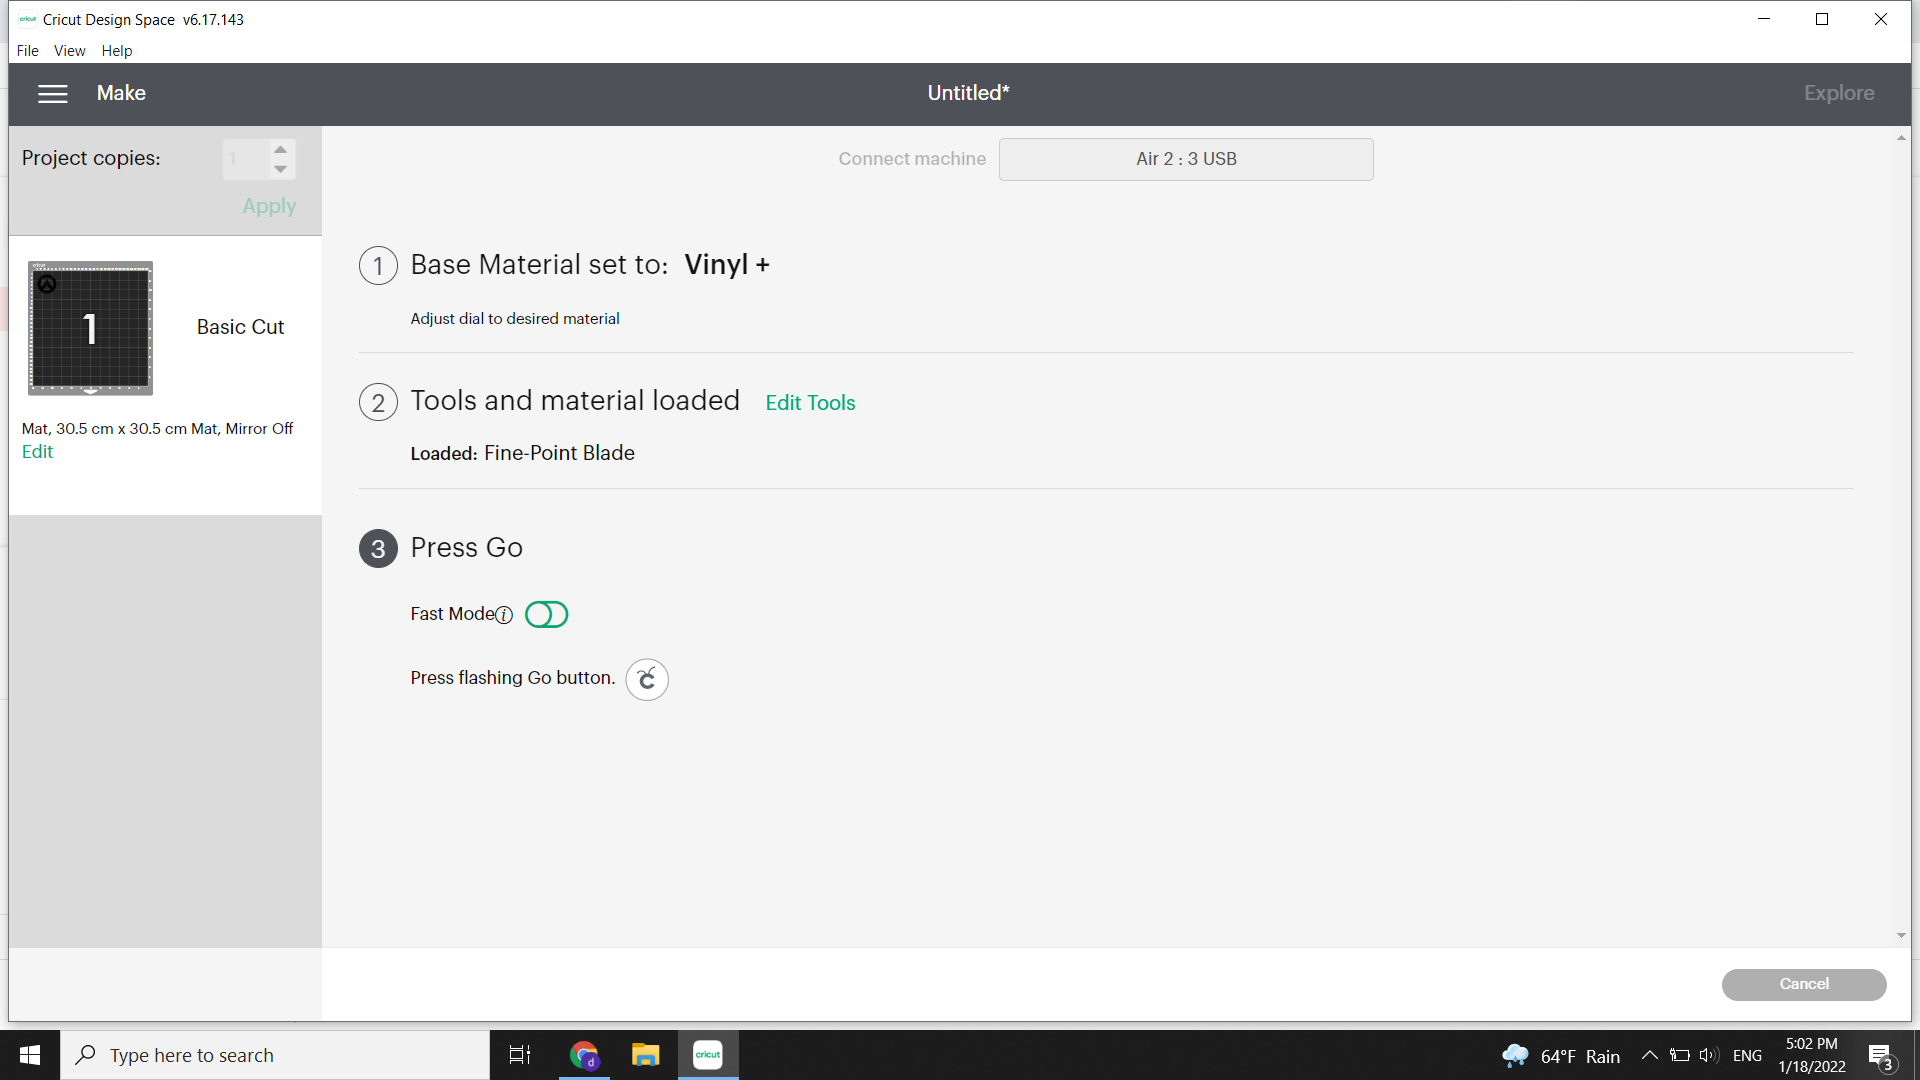
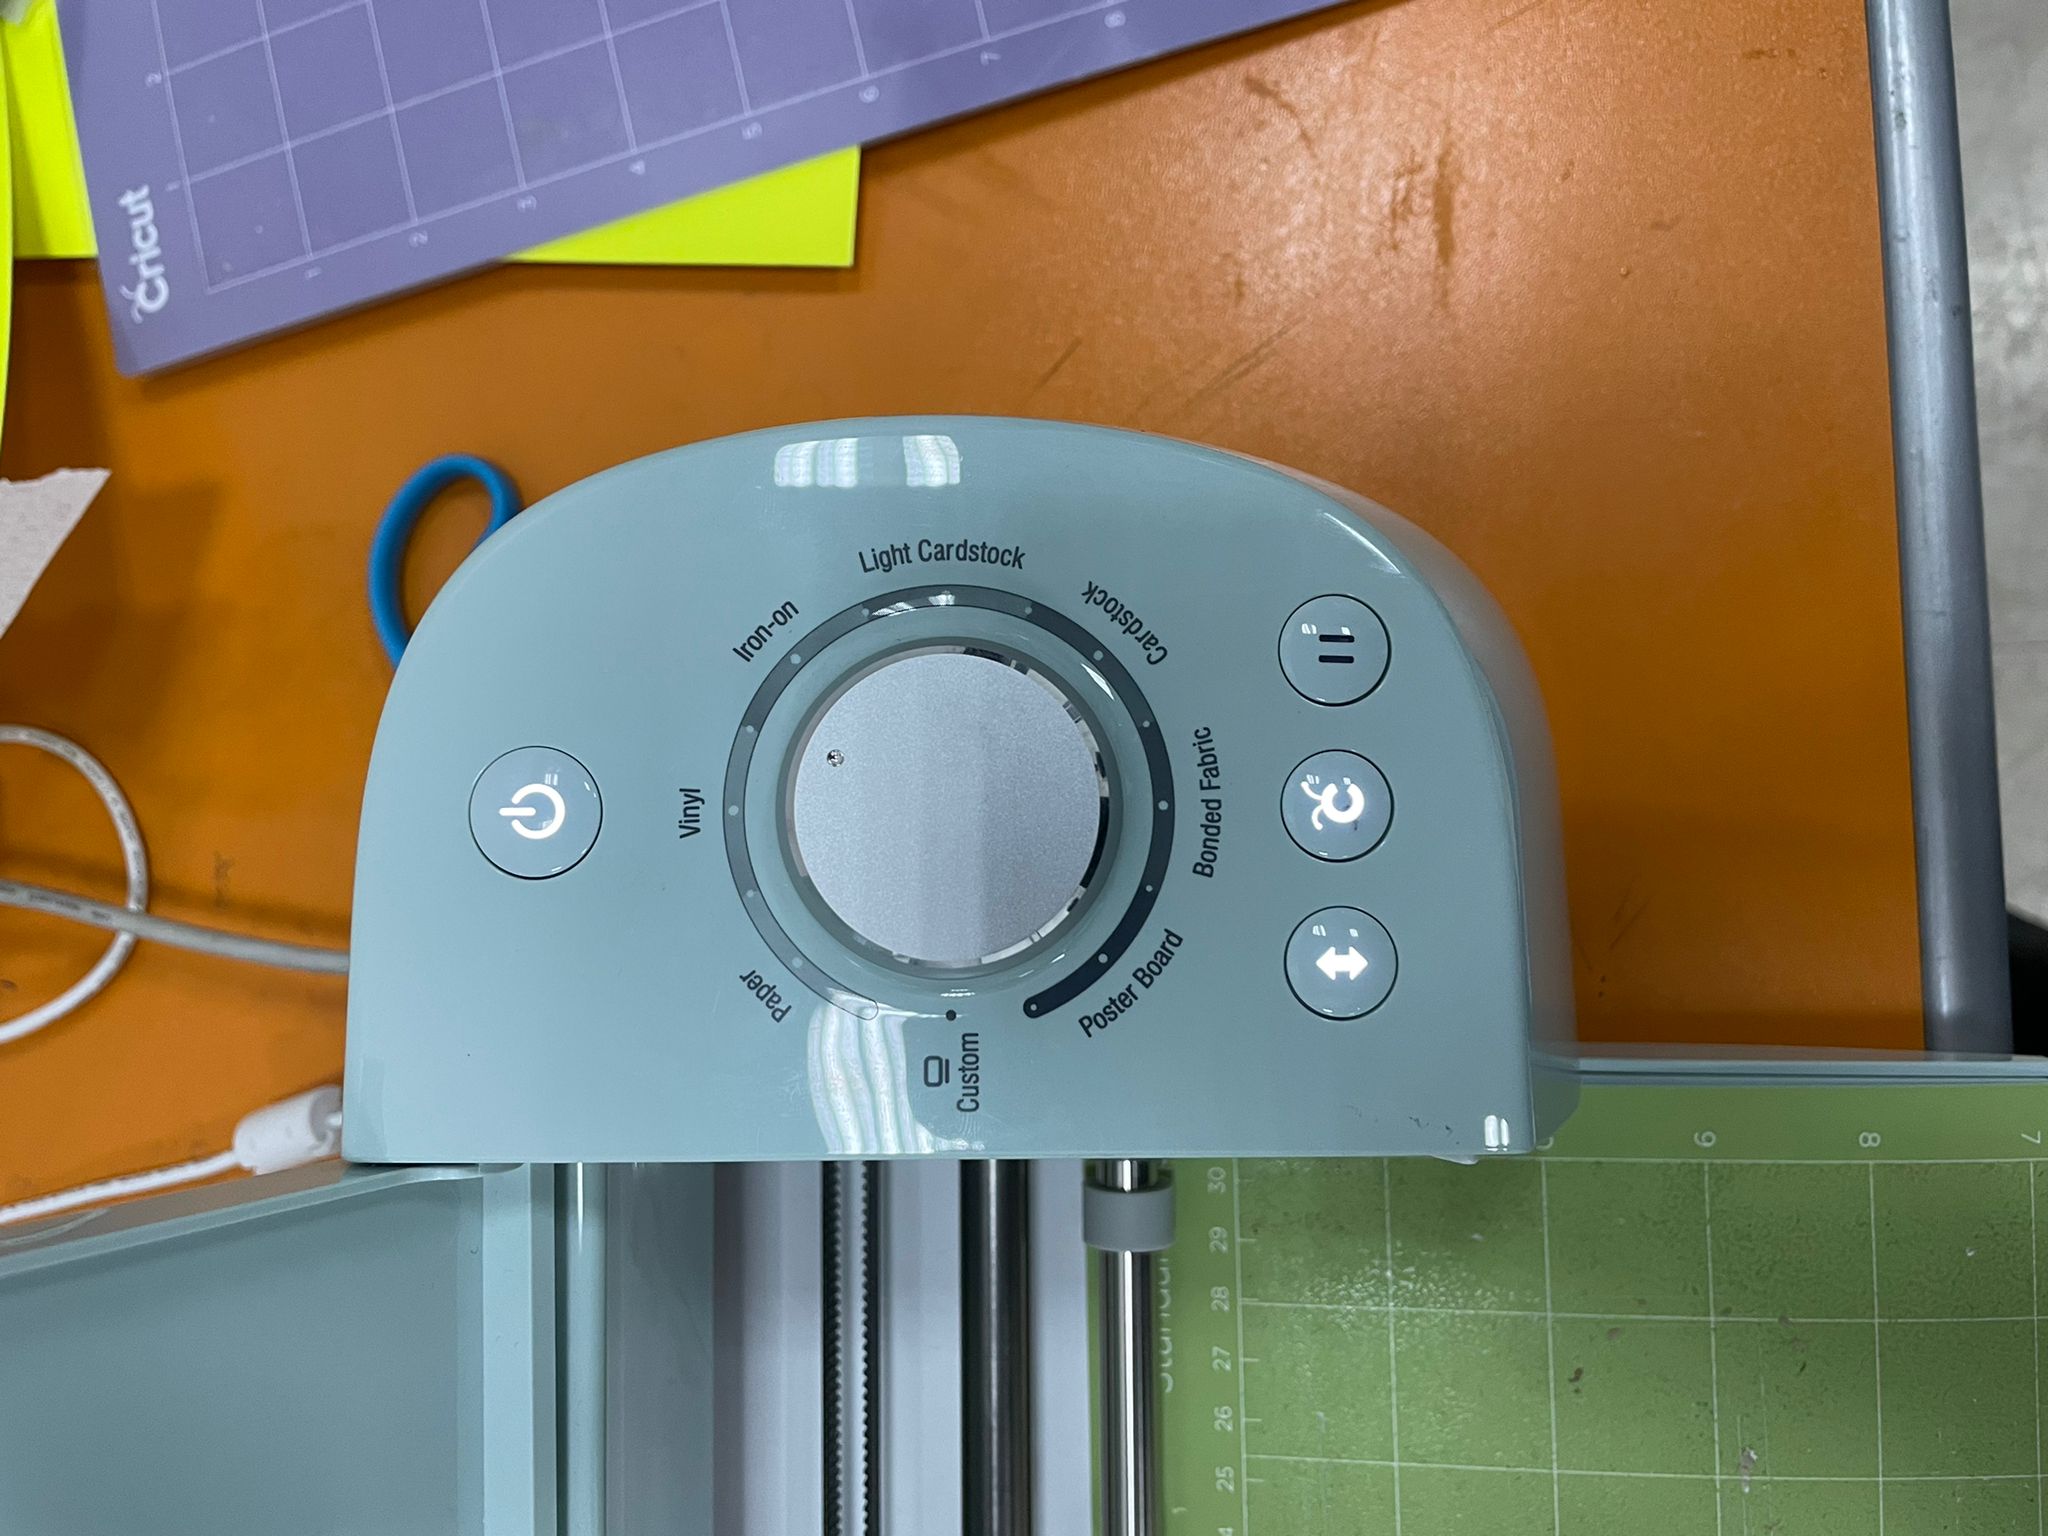
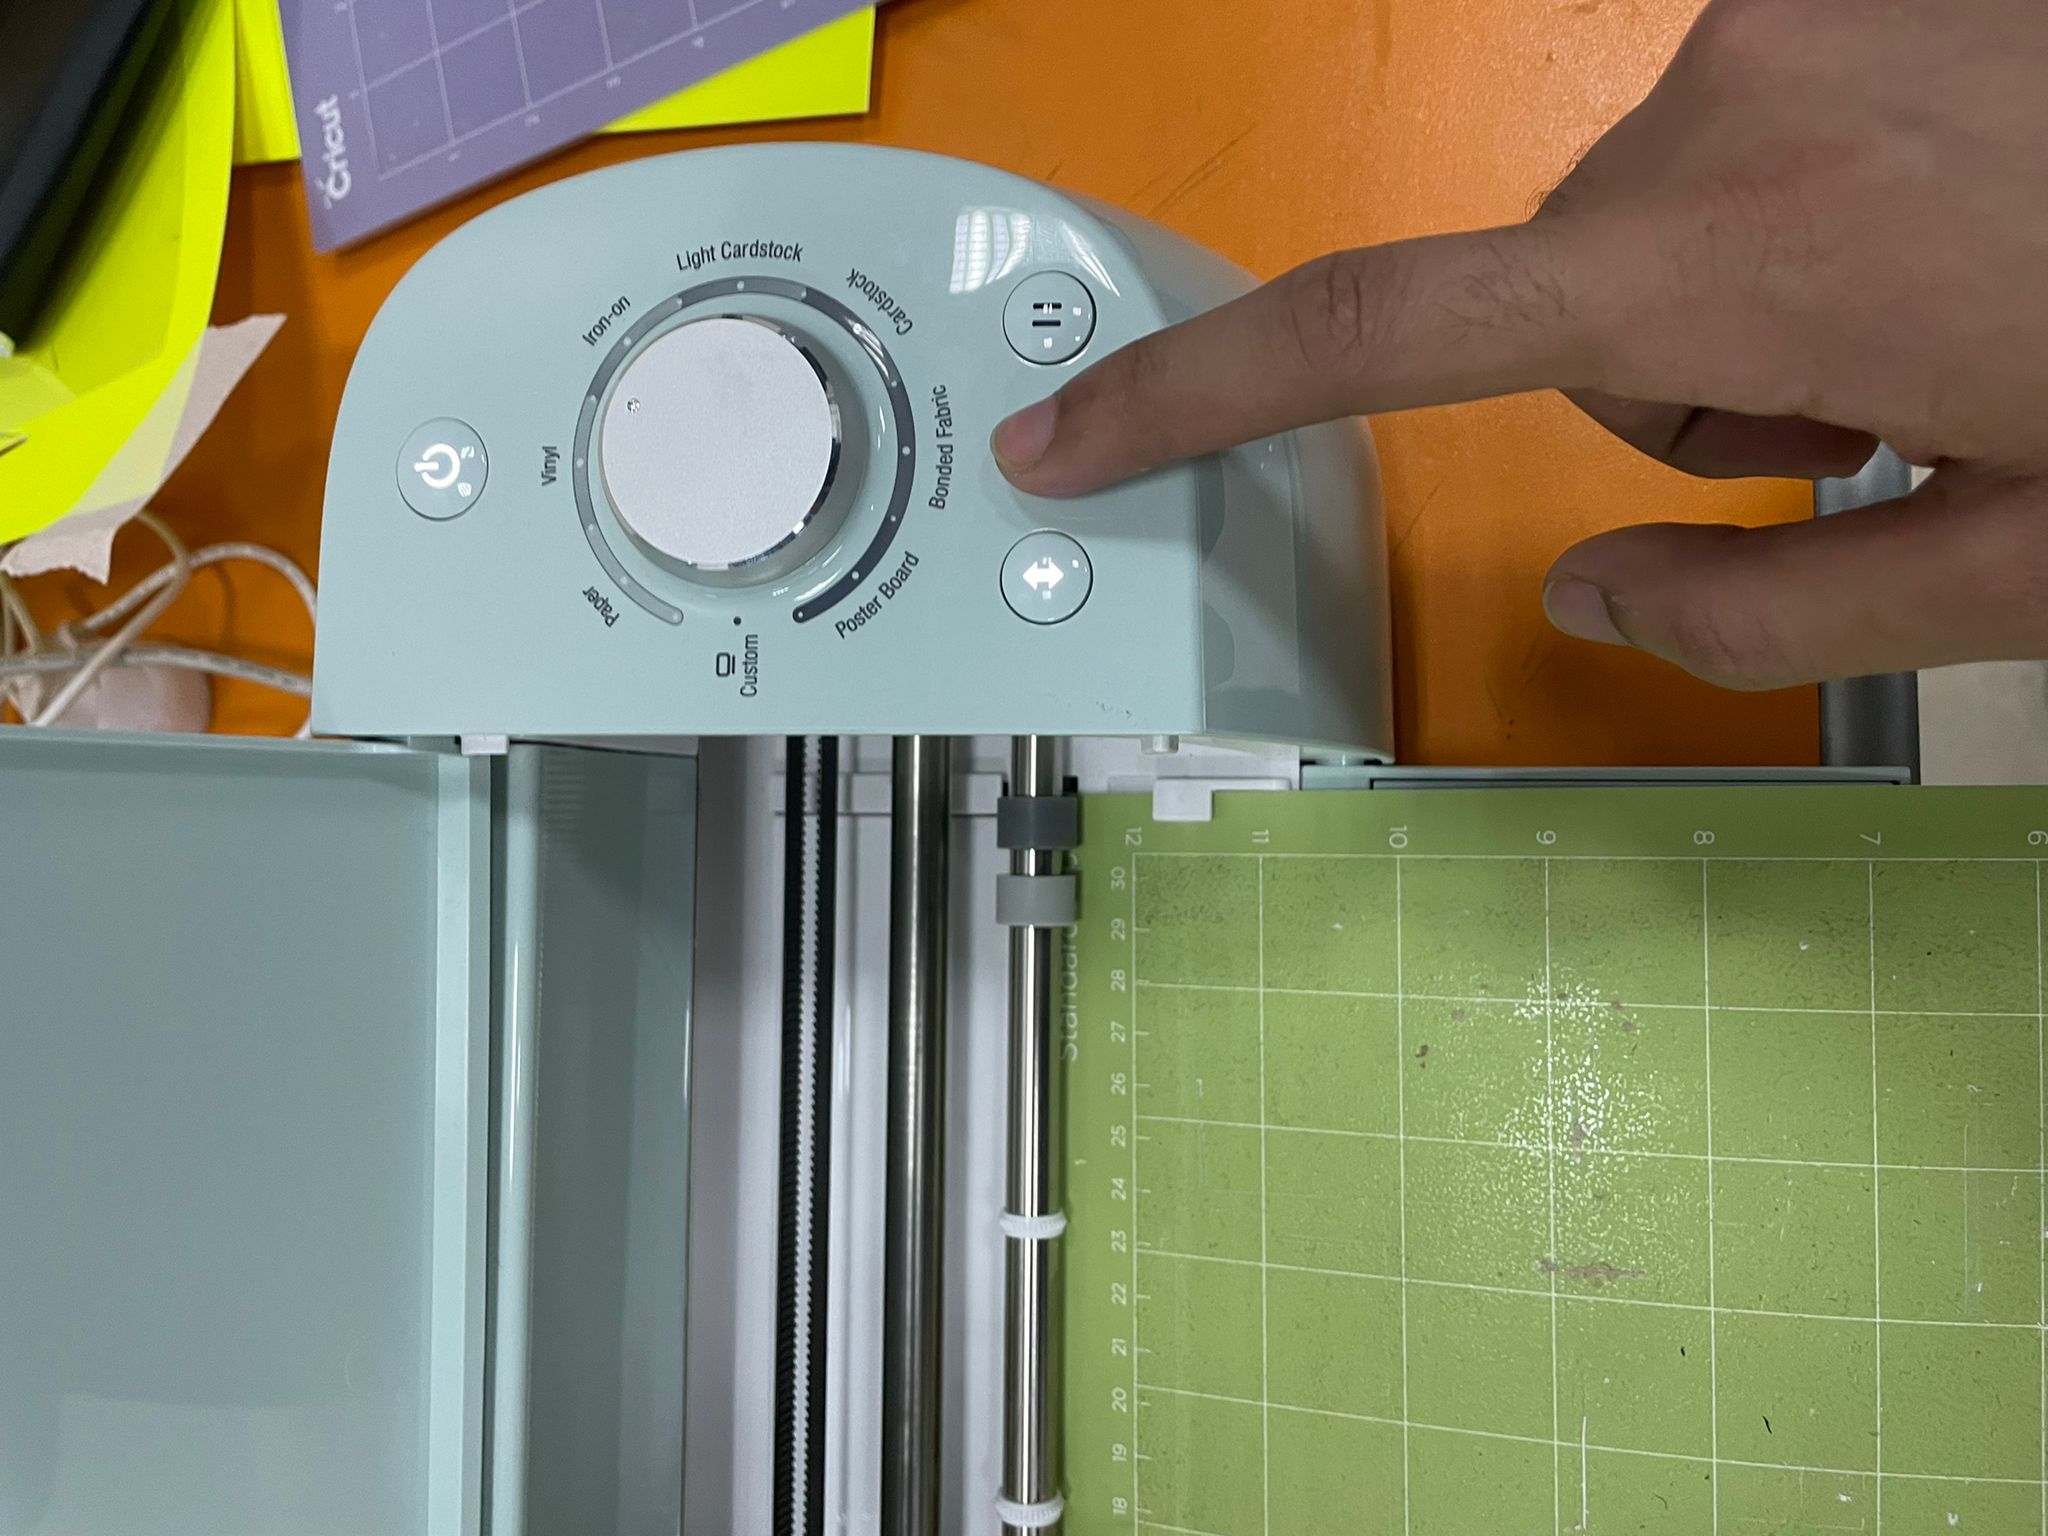
We place our material on the base board and we press on it a little bit so it can stick, then we place the sheet on the machine and put one hand supporting the edge and another hand pressing on the arrows button together at the same time (just like the pic below) so it locks the boards and prevents it from falling down

After we press on cut button we will be able to see the process percentage in the software
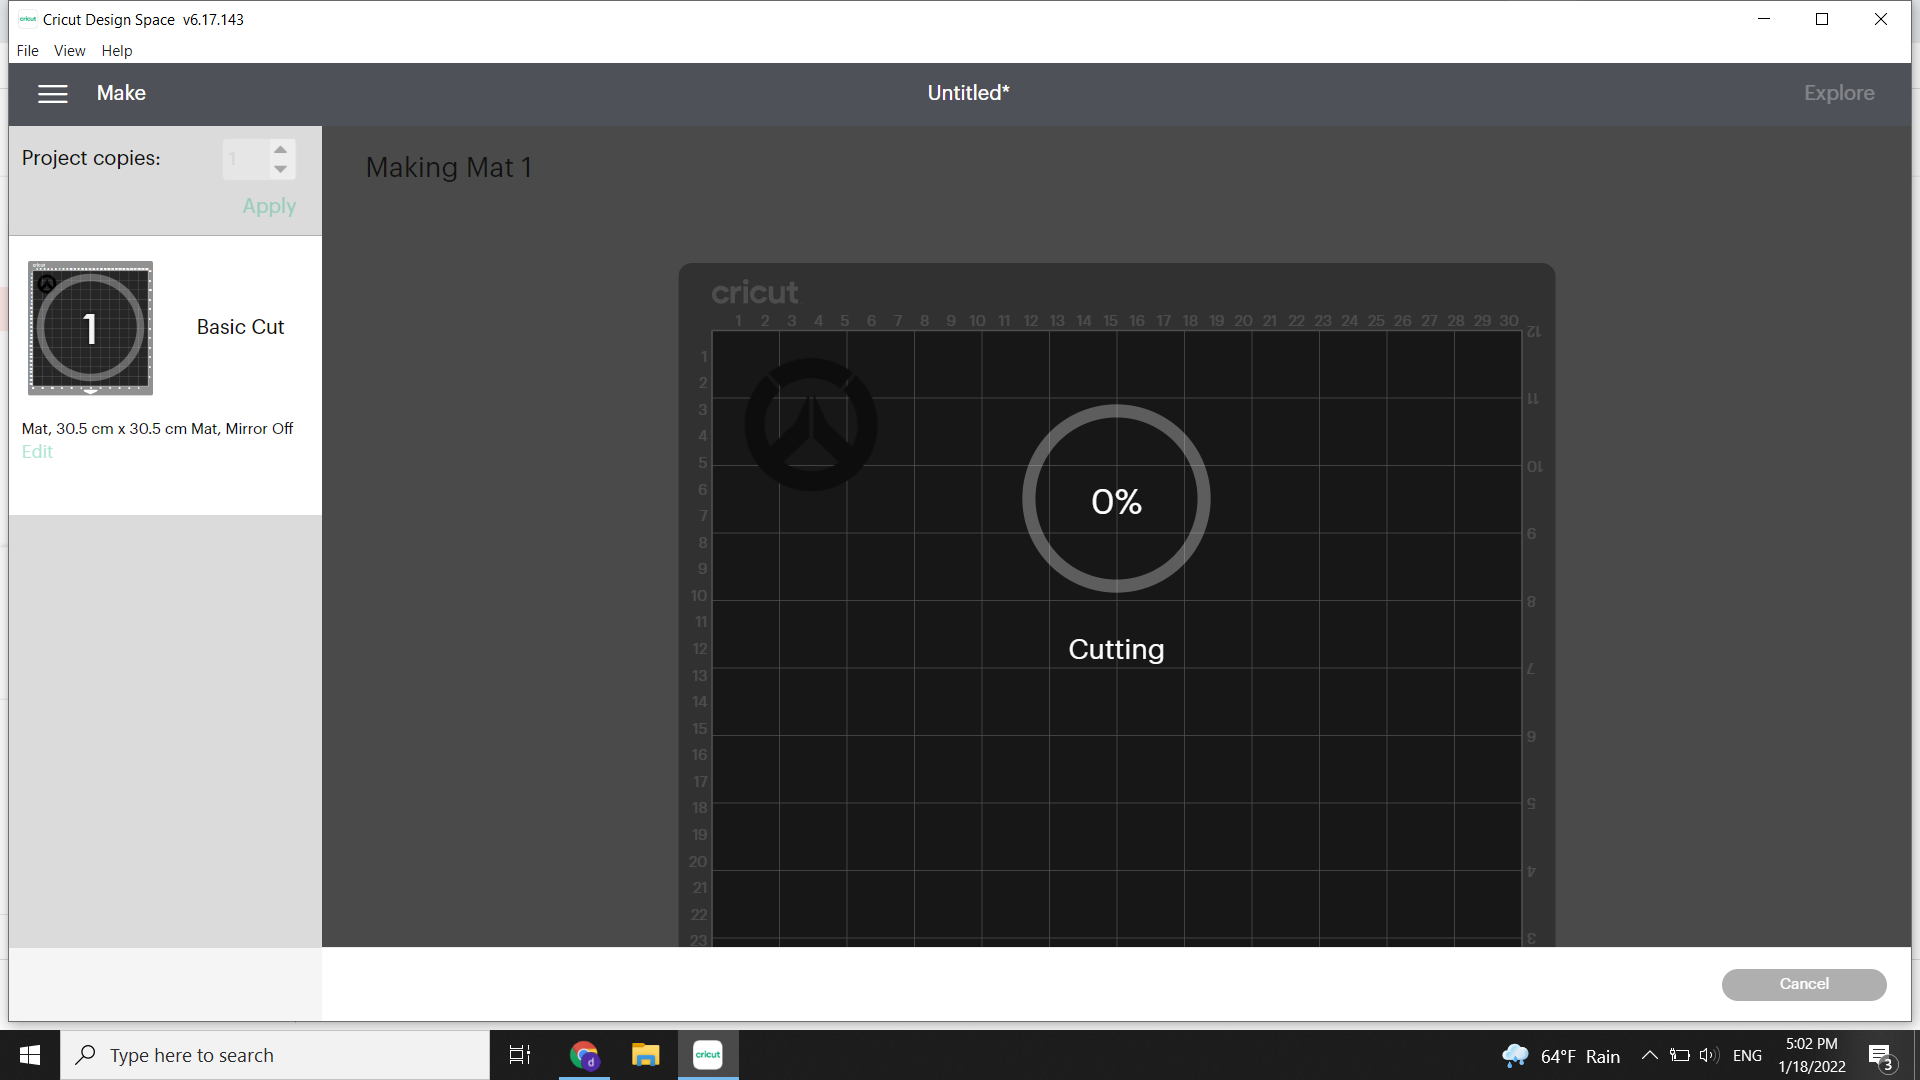
And finally my Overwatch logo sticker is ready to use.

TASK 2 - GROUP WORK
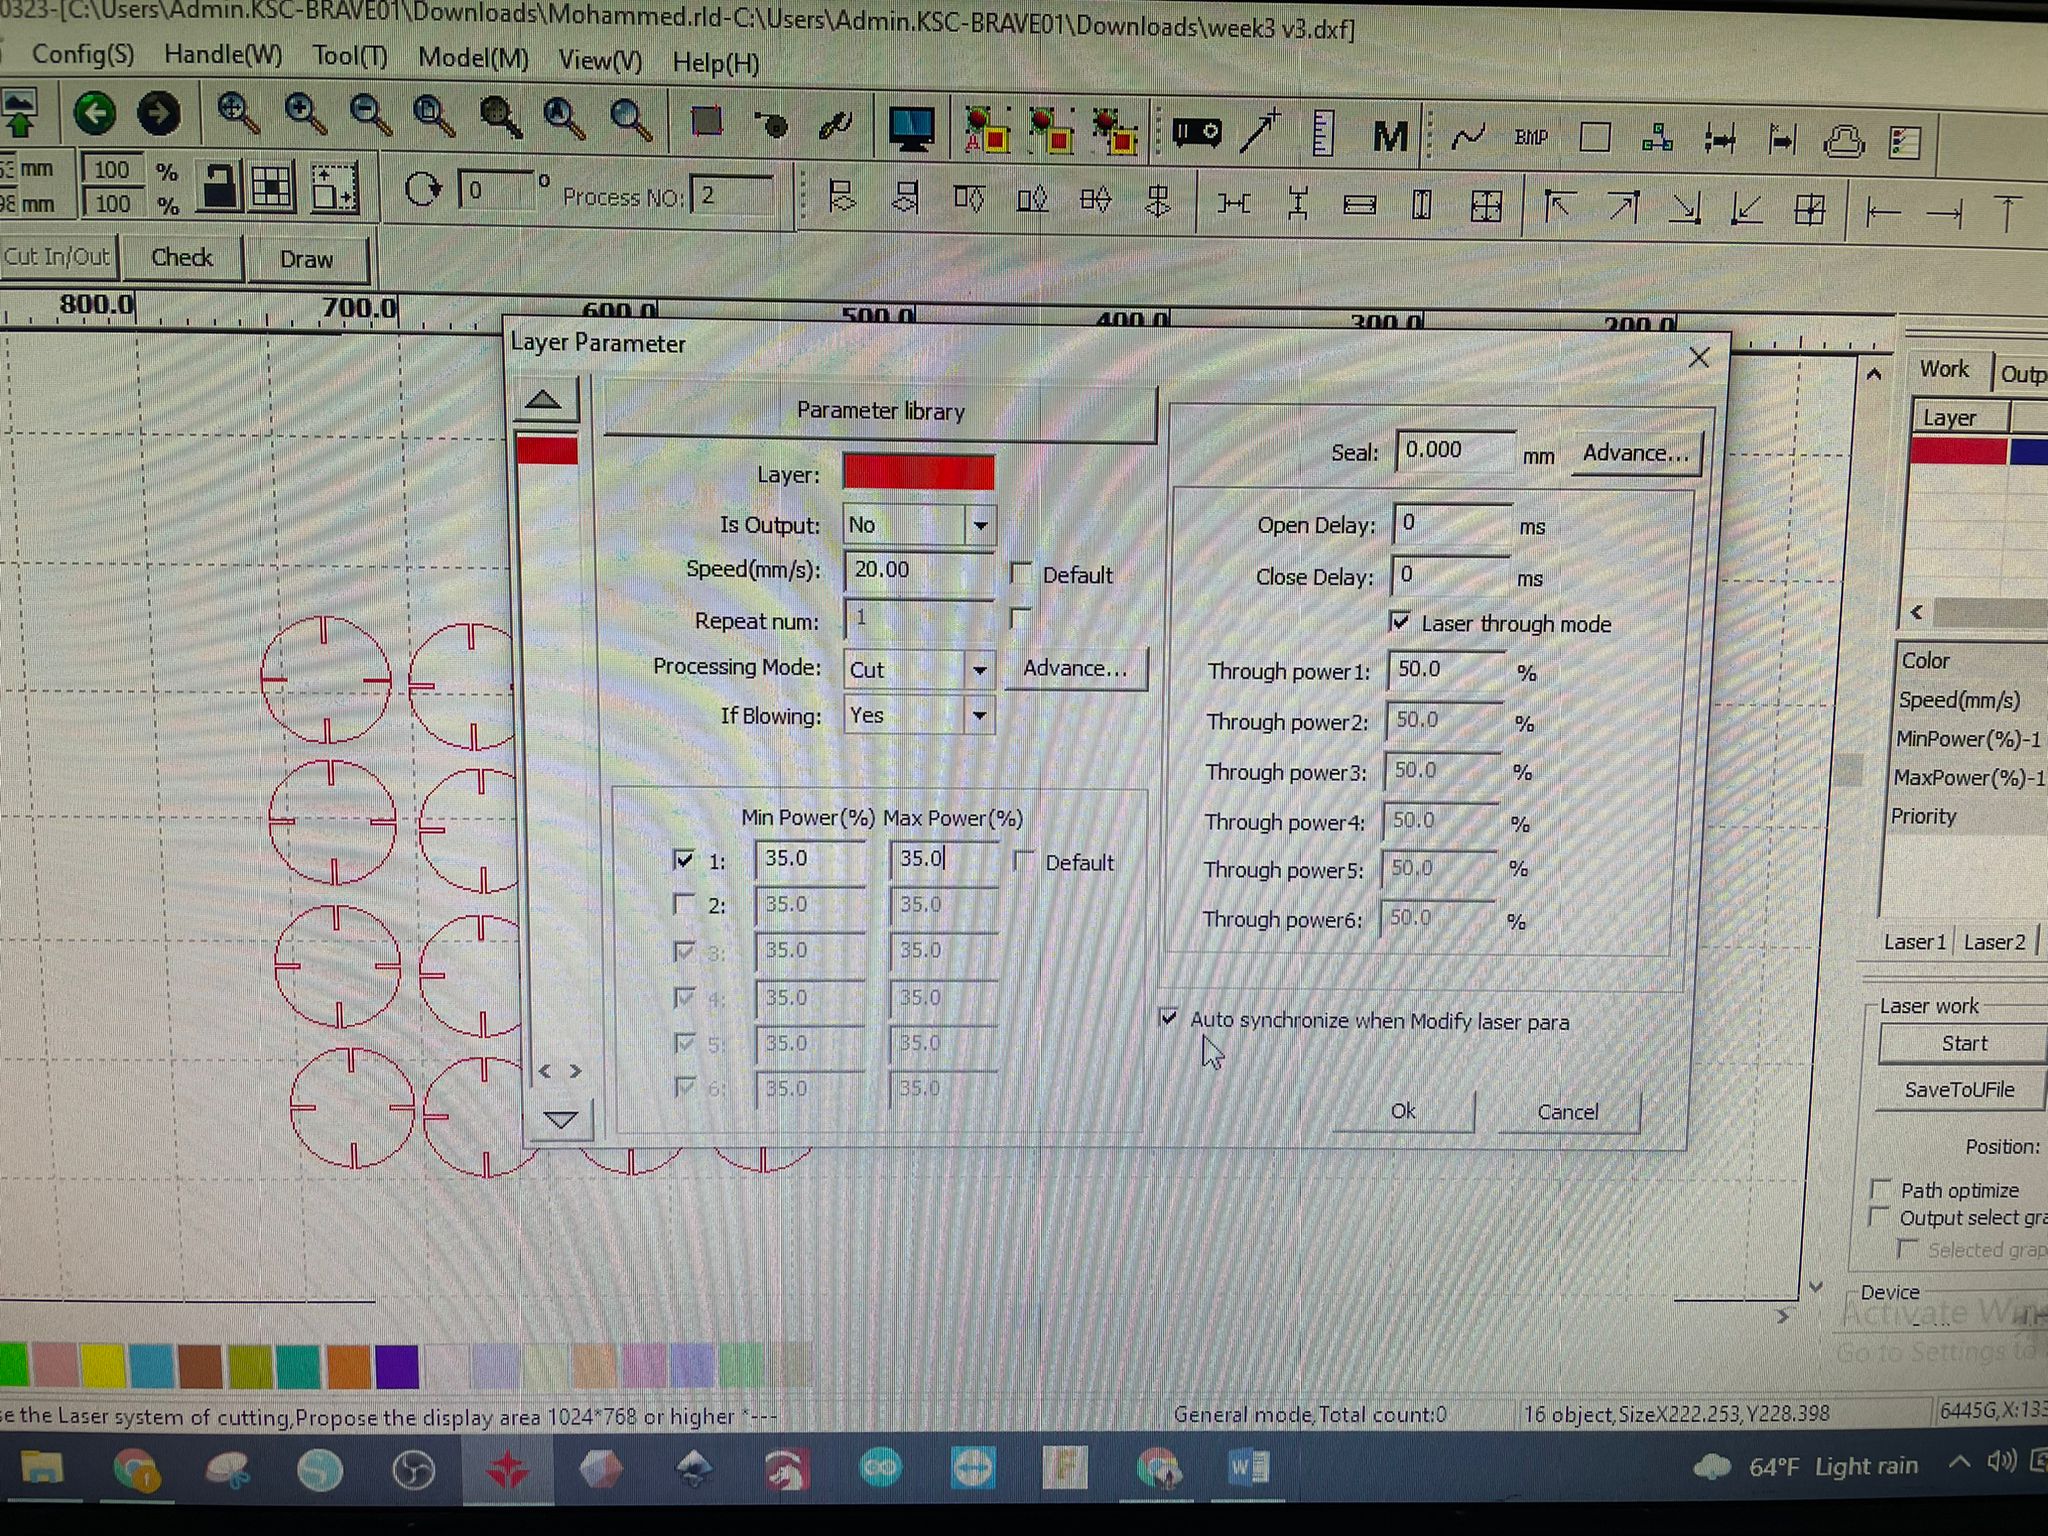
Our second assignment for this week was related to the laser cutting machine; after a series of trials, we were able to learn how to change the sittings in order to achieve the best cutting results. You can Find the Full steps on Hussain’s Page
TASK 3 - INDIVISUAL
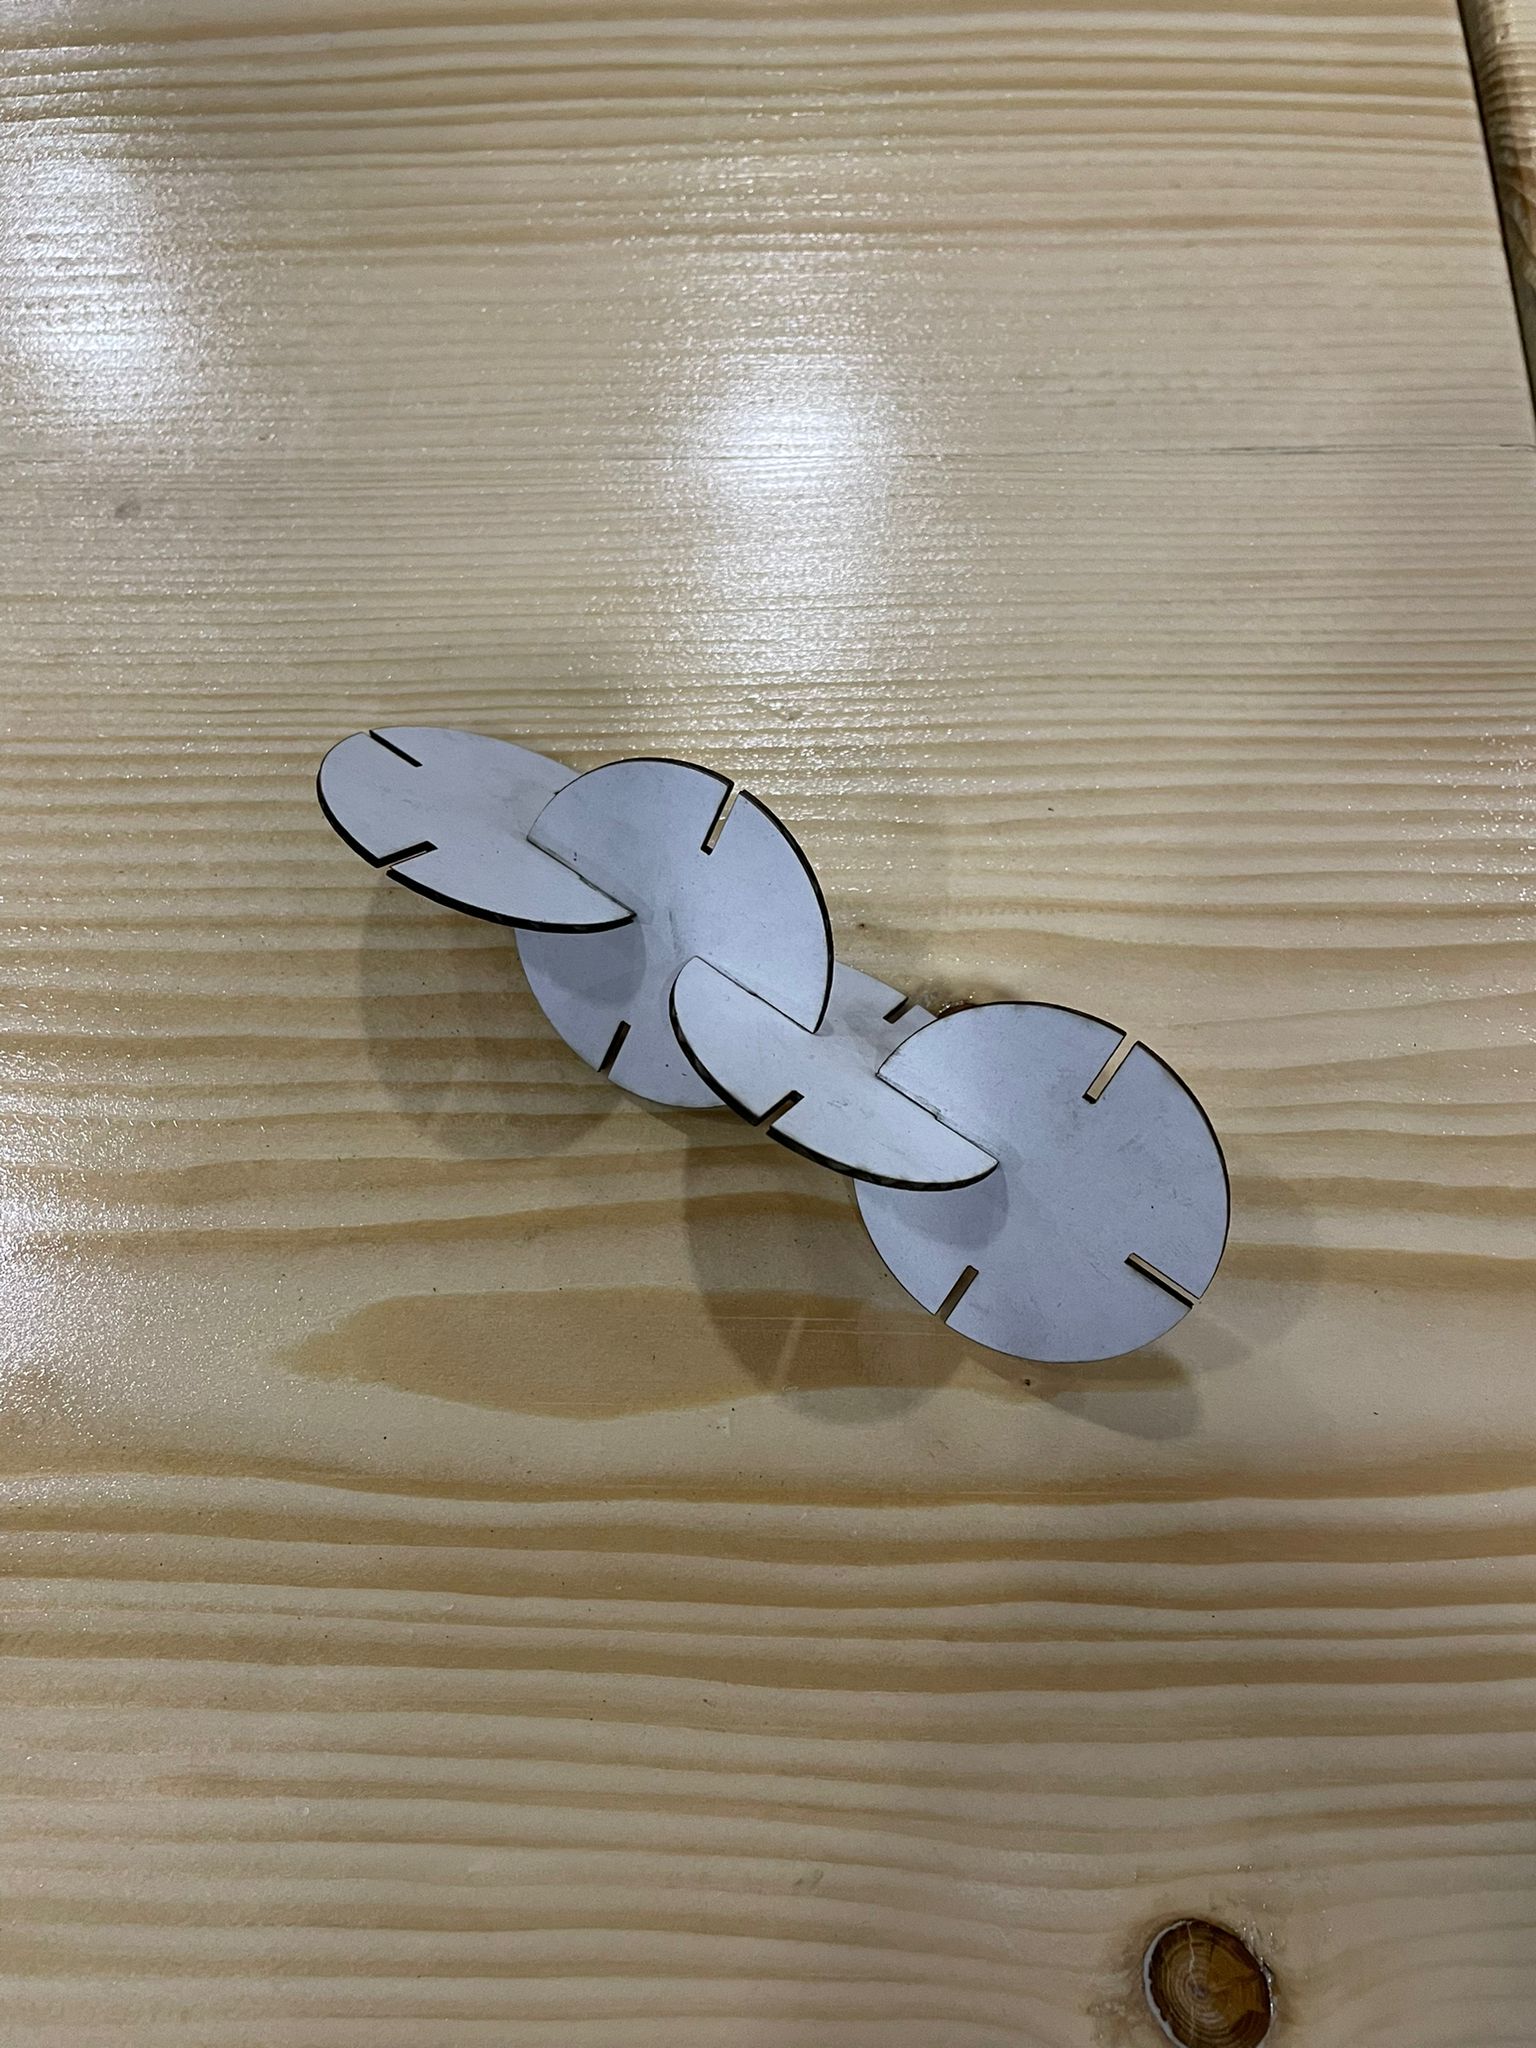
On this task, we were requested to create a 3D object that is made up of components that can be joined together using the fitting method, which is when two objects fit together to form a single item without the need for external support.
It was mentioned in the assignment that the design should be parametric, which means that variables should be used in conjunction with mathematical formulas. Fusion360, which has parametric design capabilities, was used.
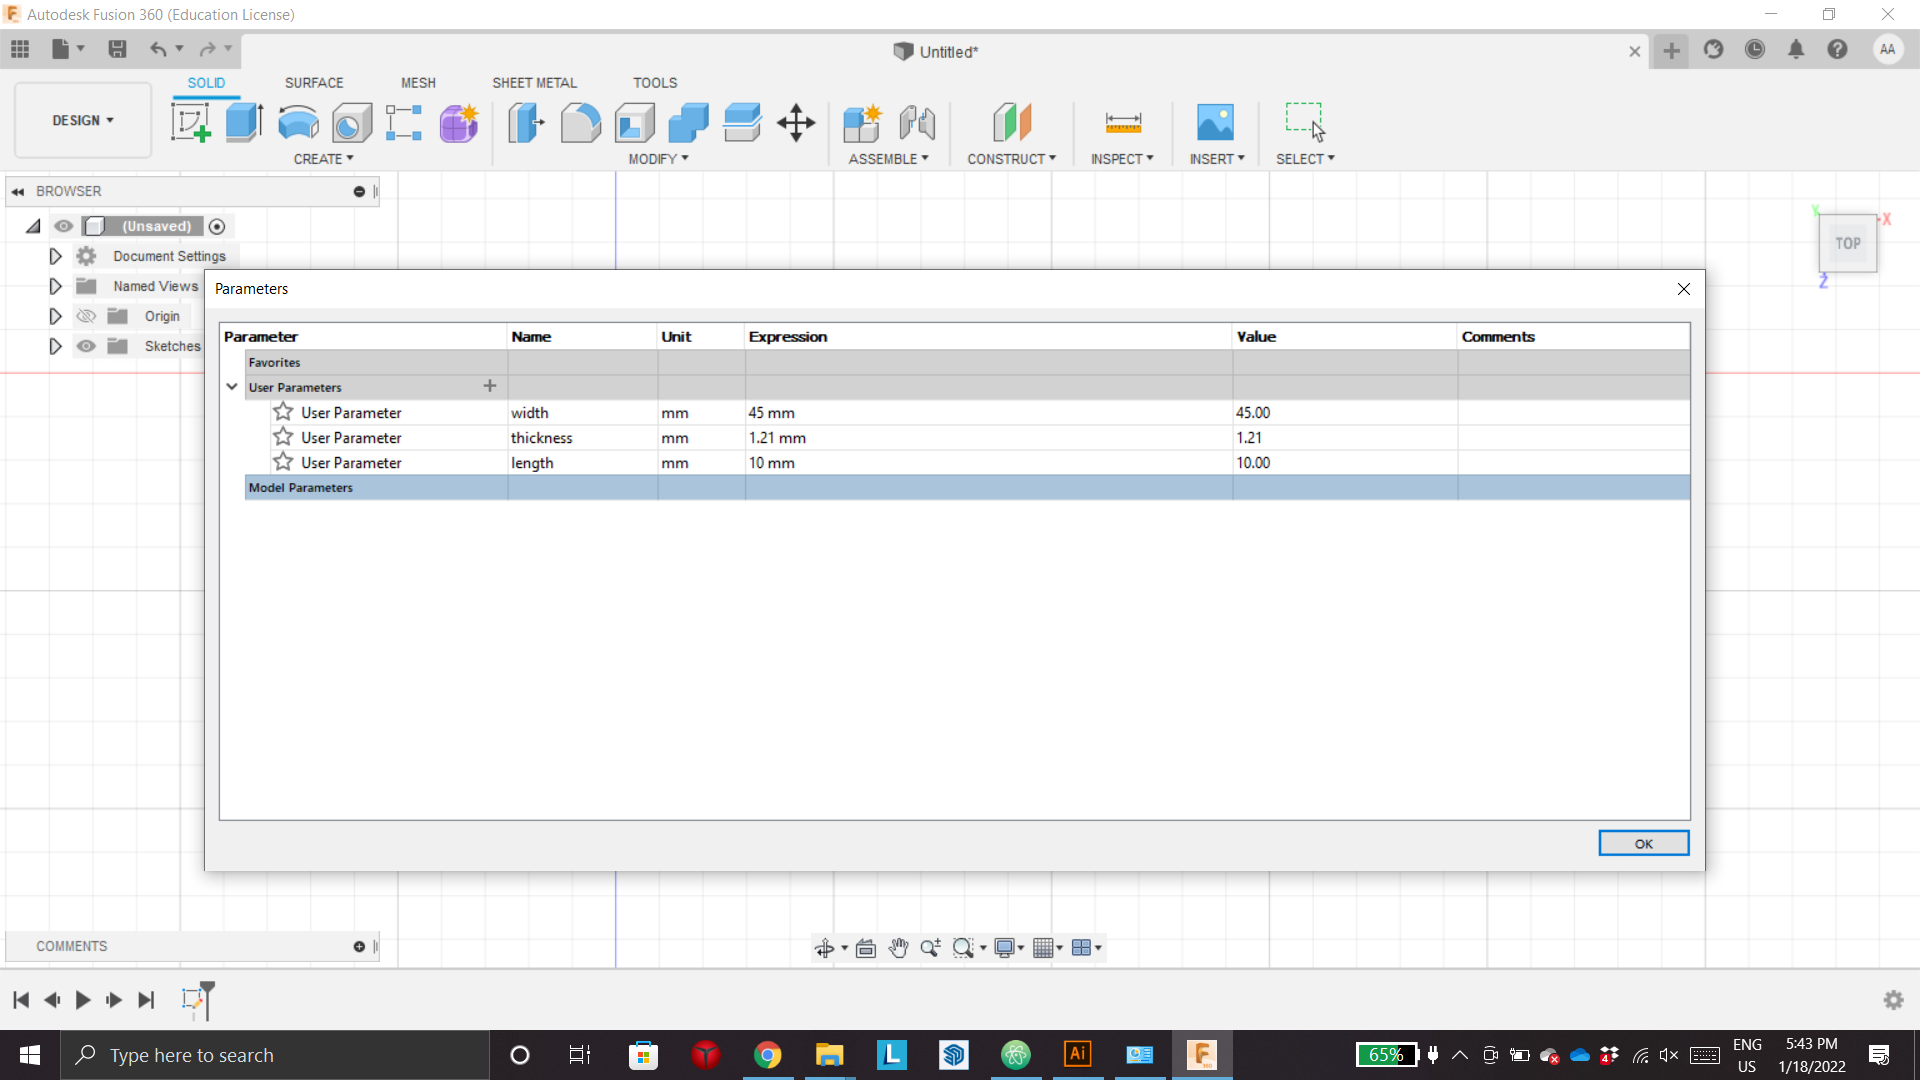
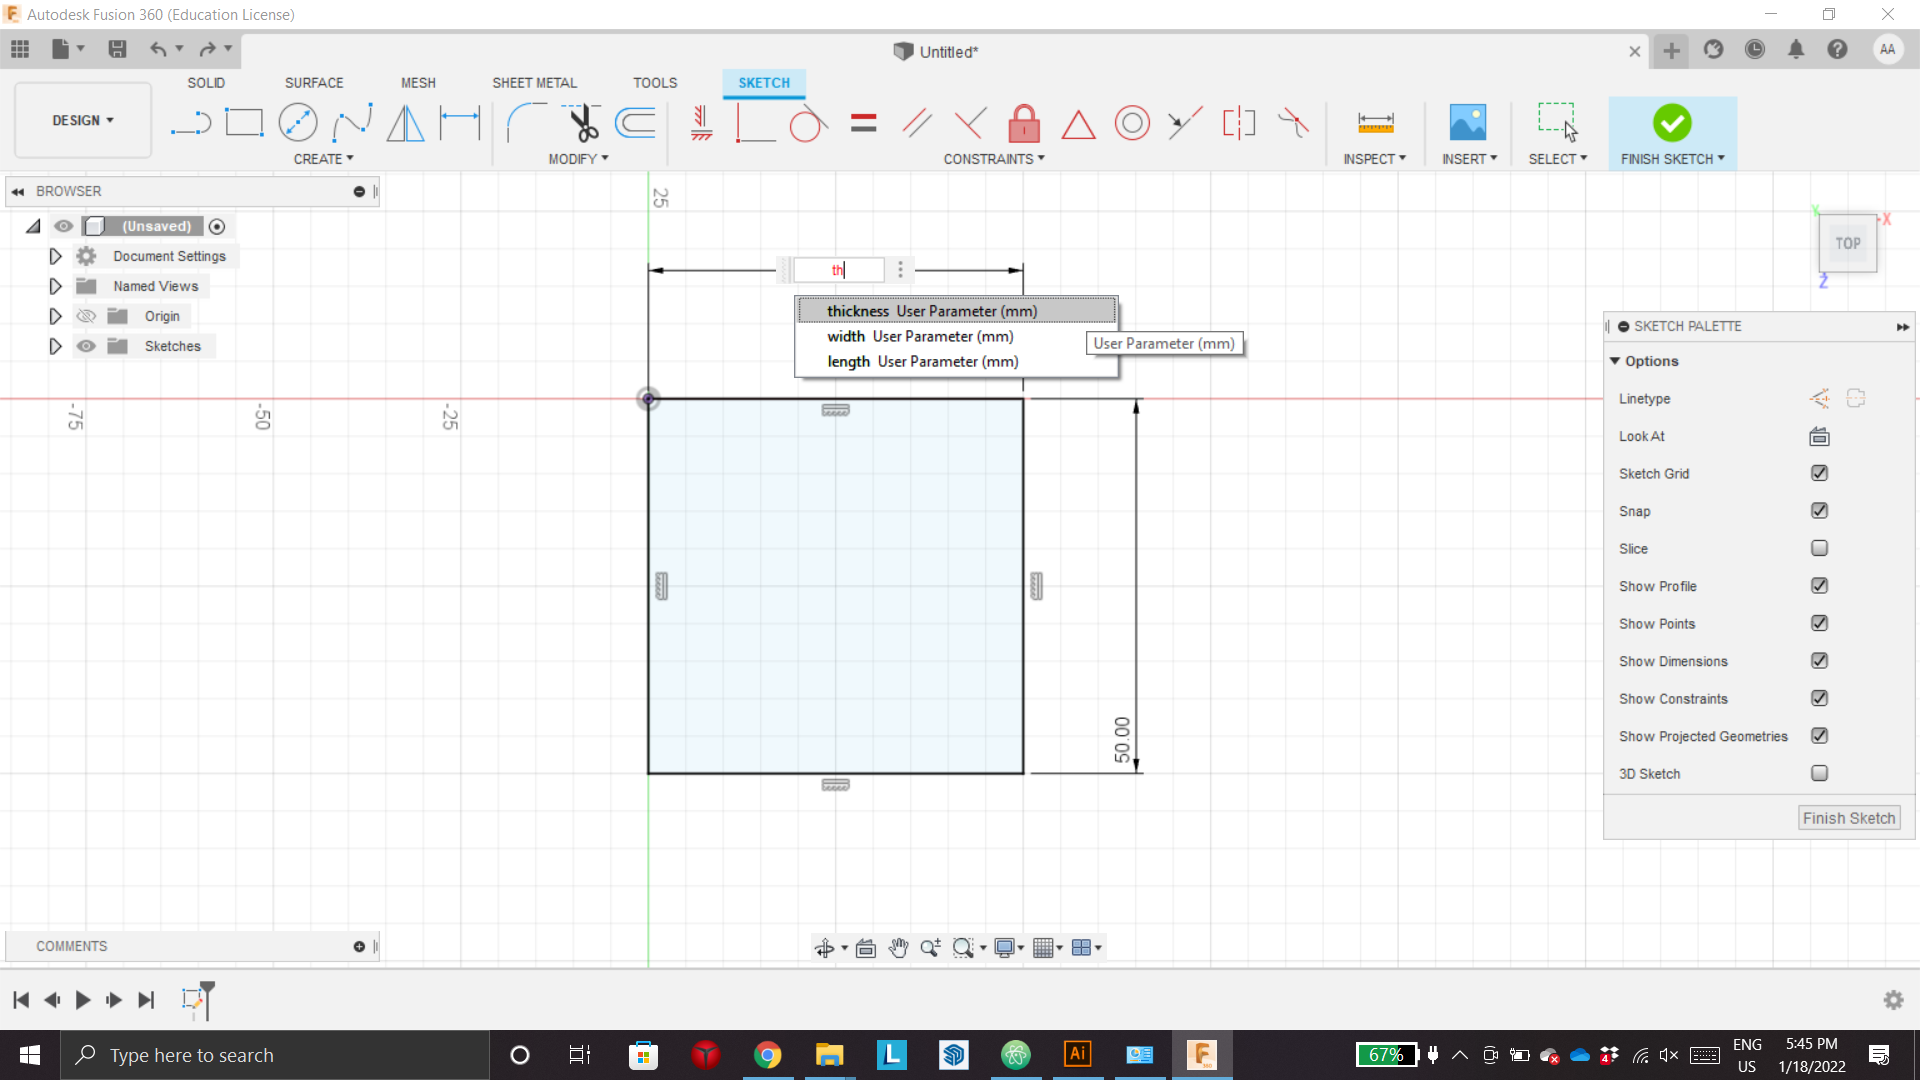
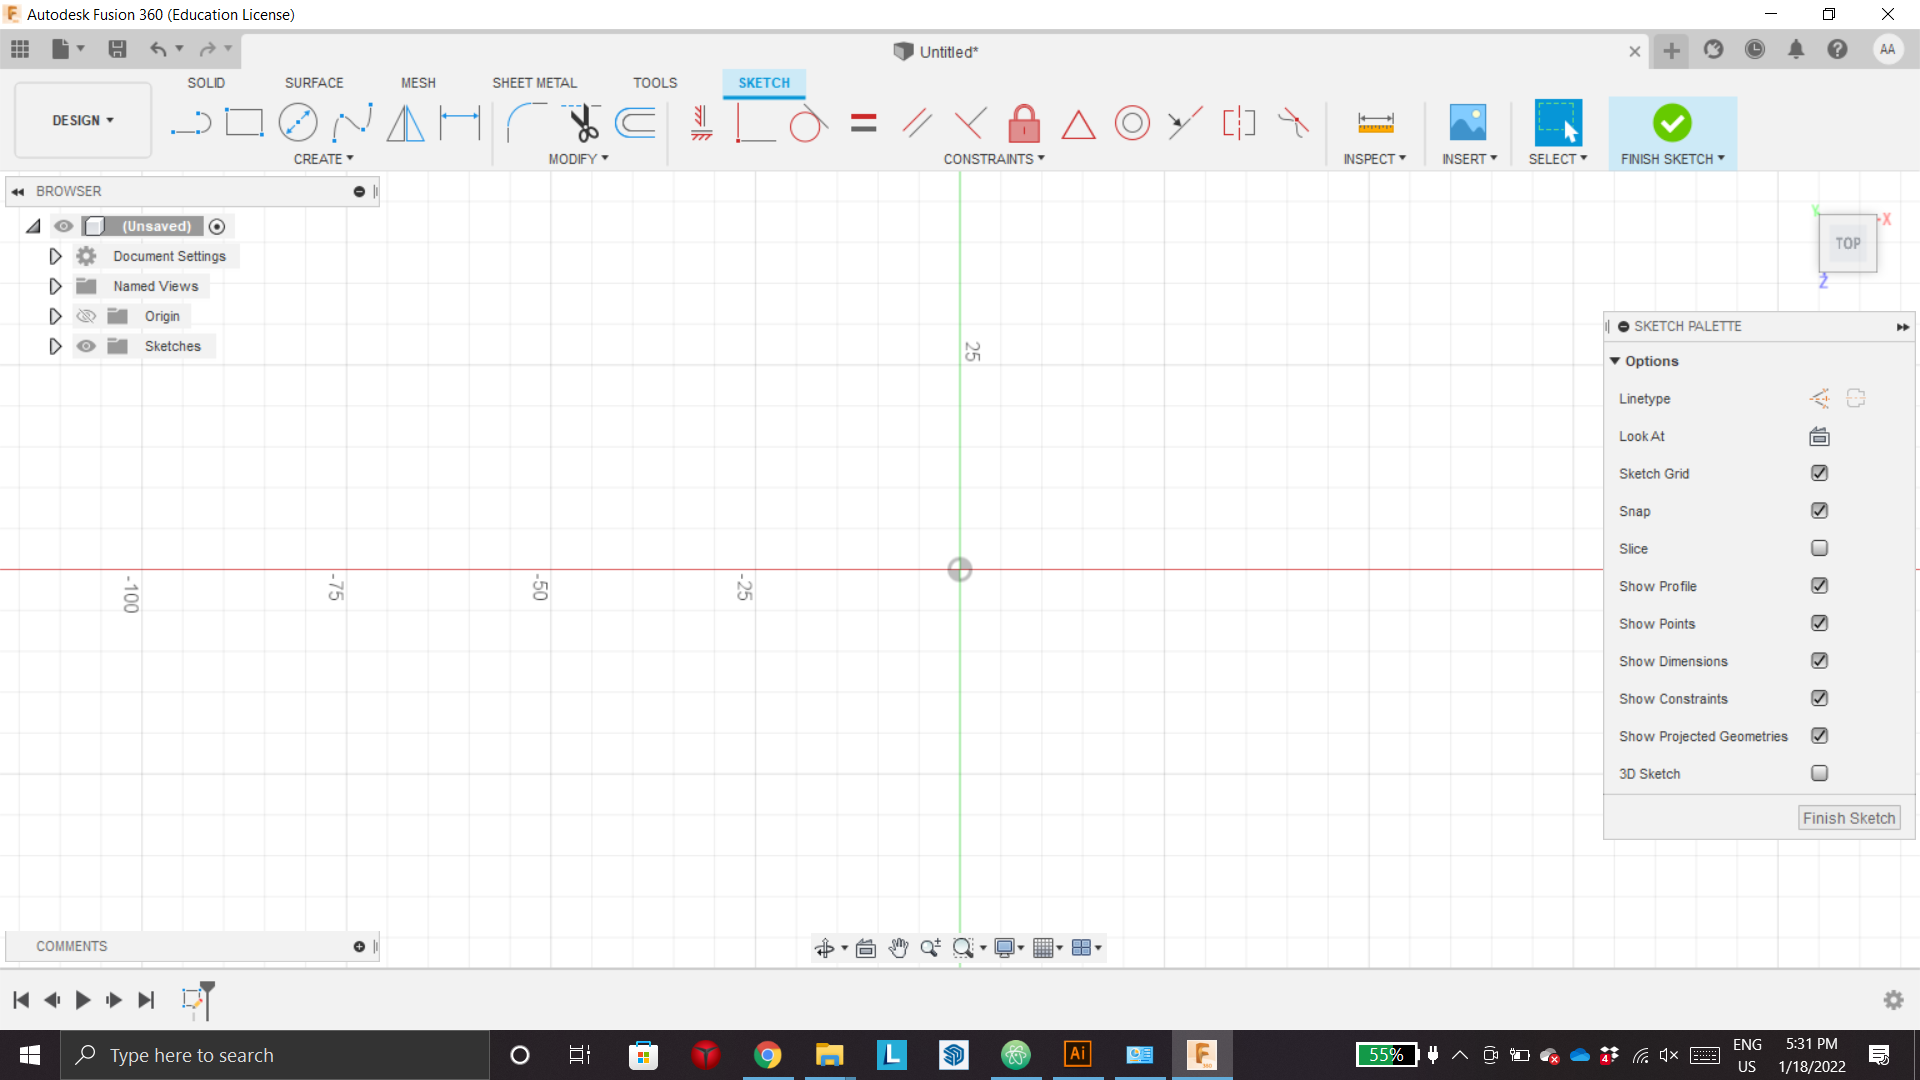
- So the first thing I did was creating a sketch and setting up the parameters schedule (Modify/ change Parameters)

Now when I want to set the formulas to specific lines (so when I want to change them later I just change the parameters in the schedule and they will change automatically) I simply press D and select one of the lines then write one of the titles that I assigned before for specific formulas
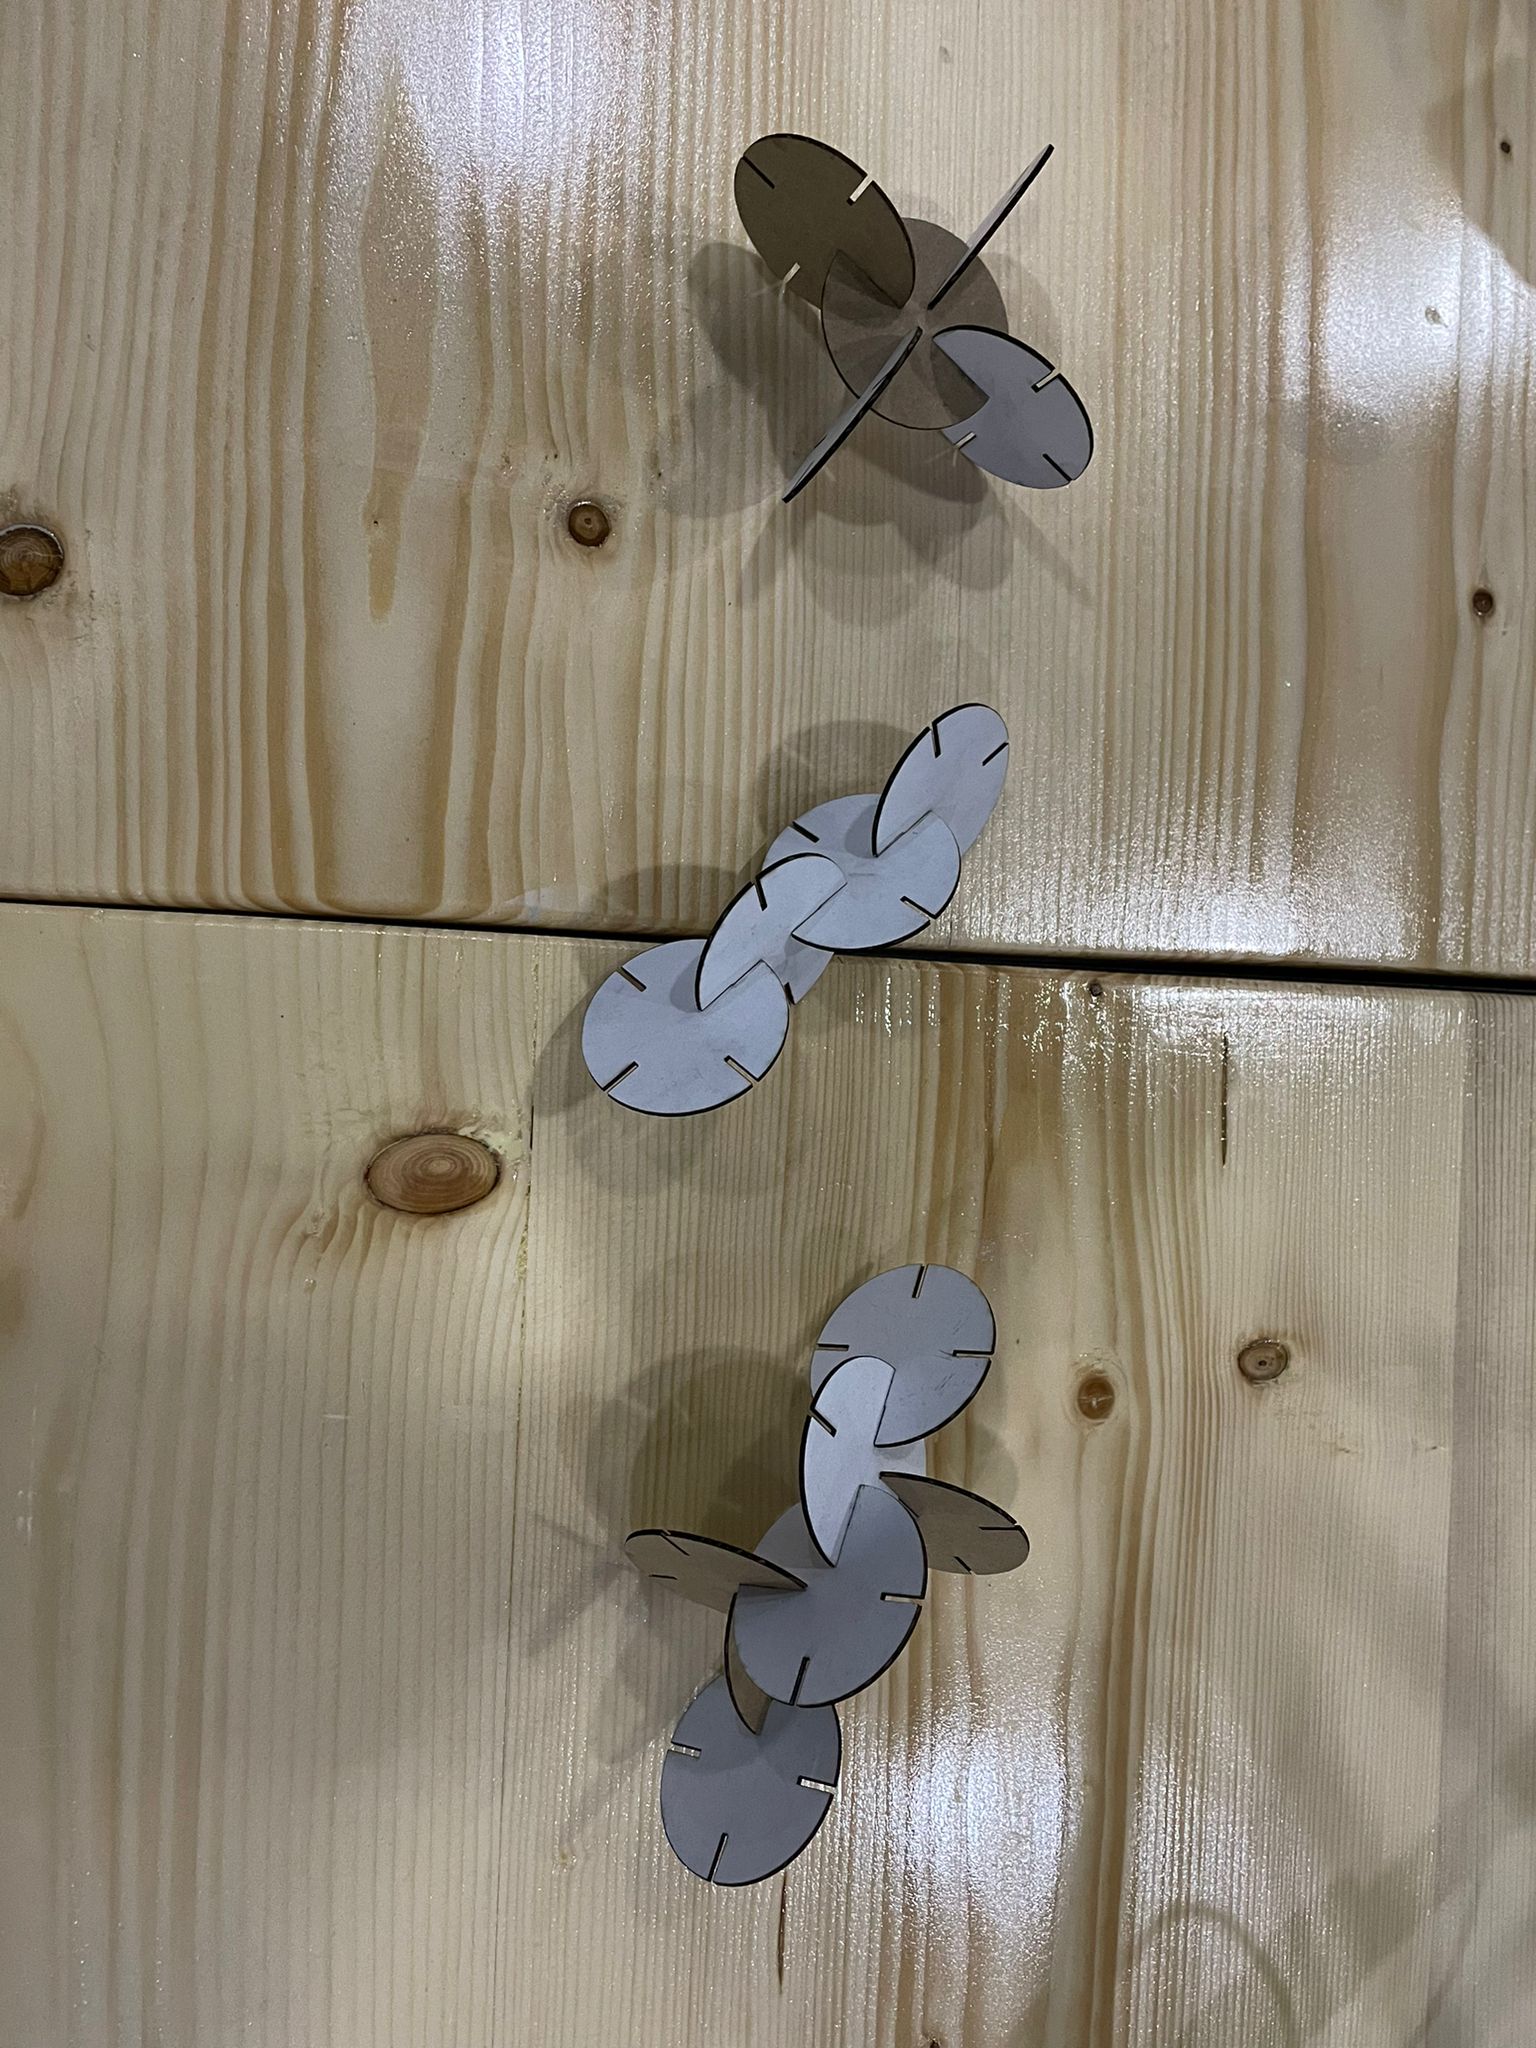
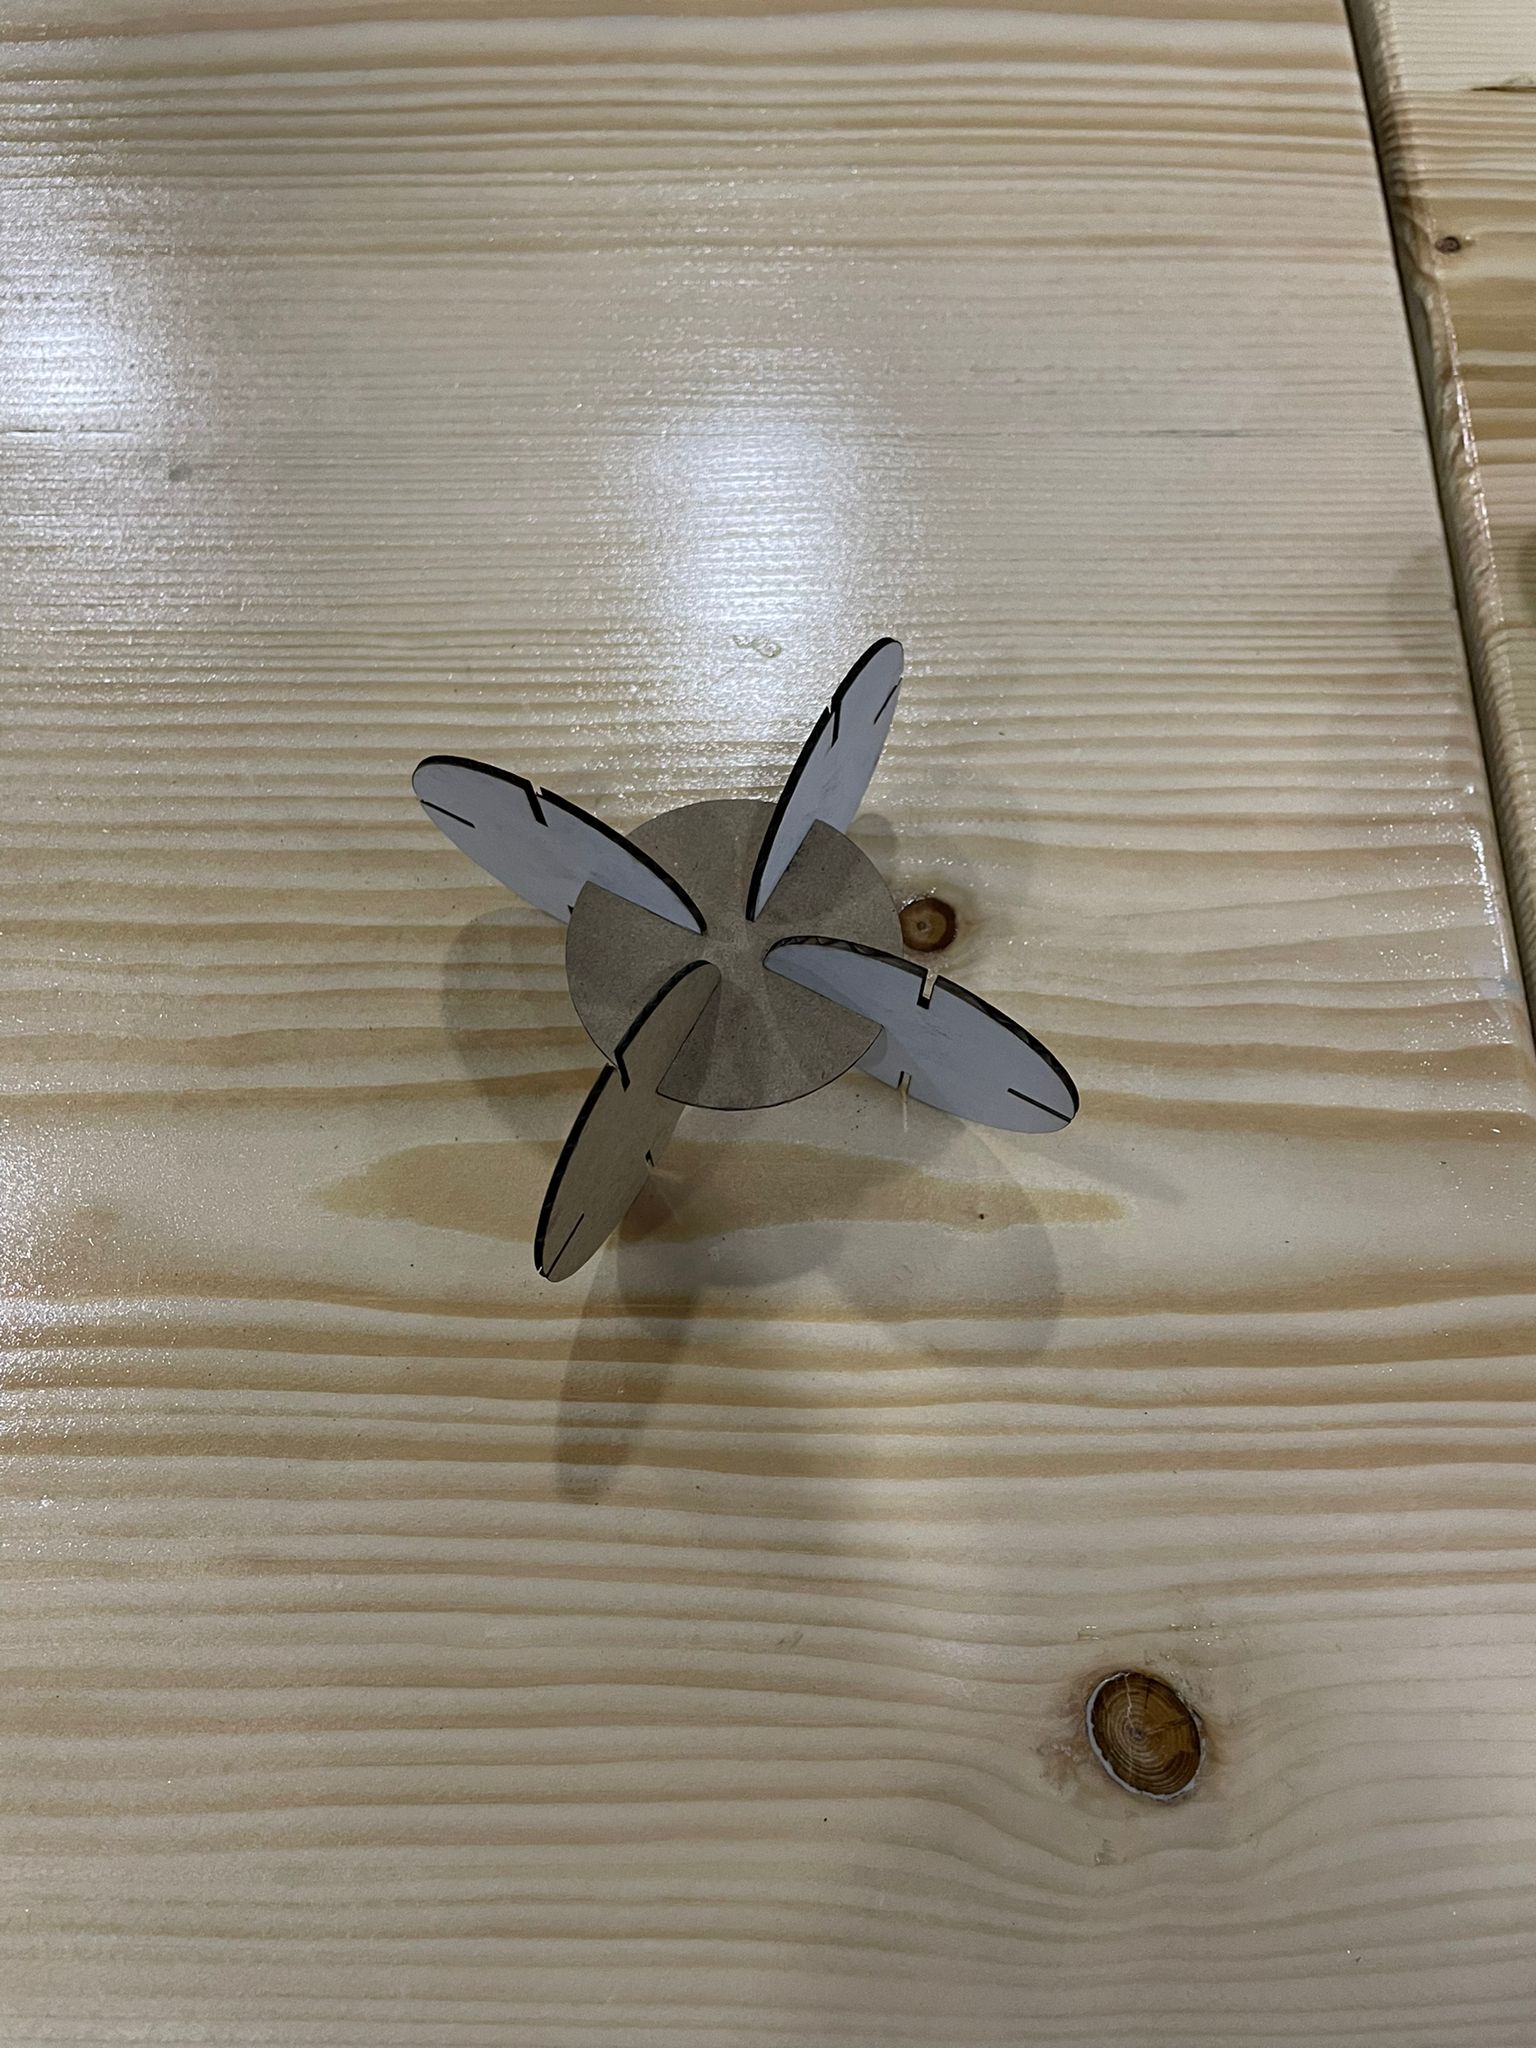
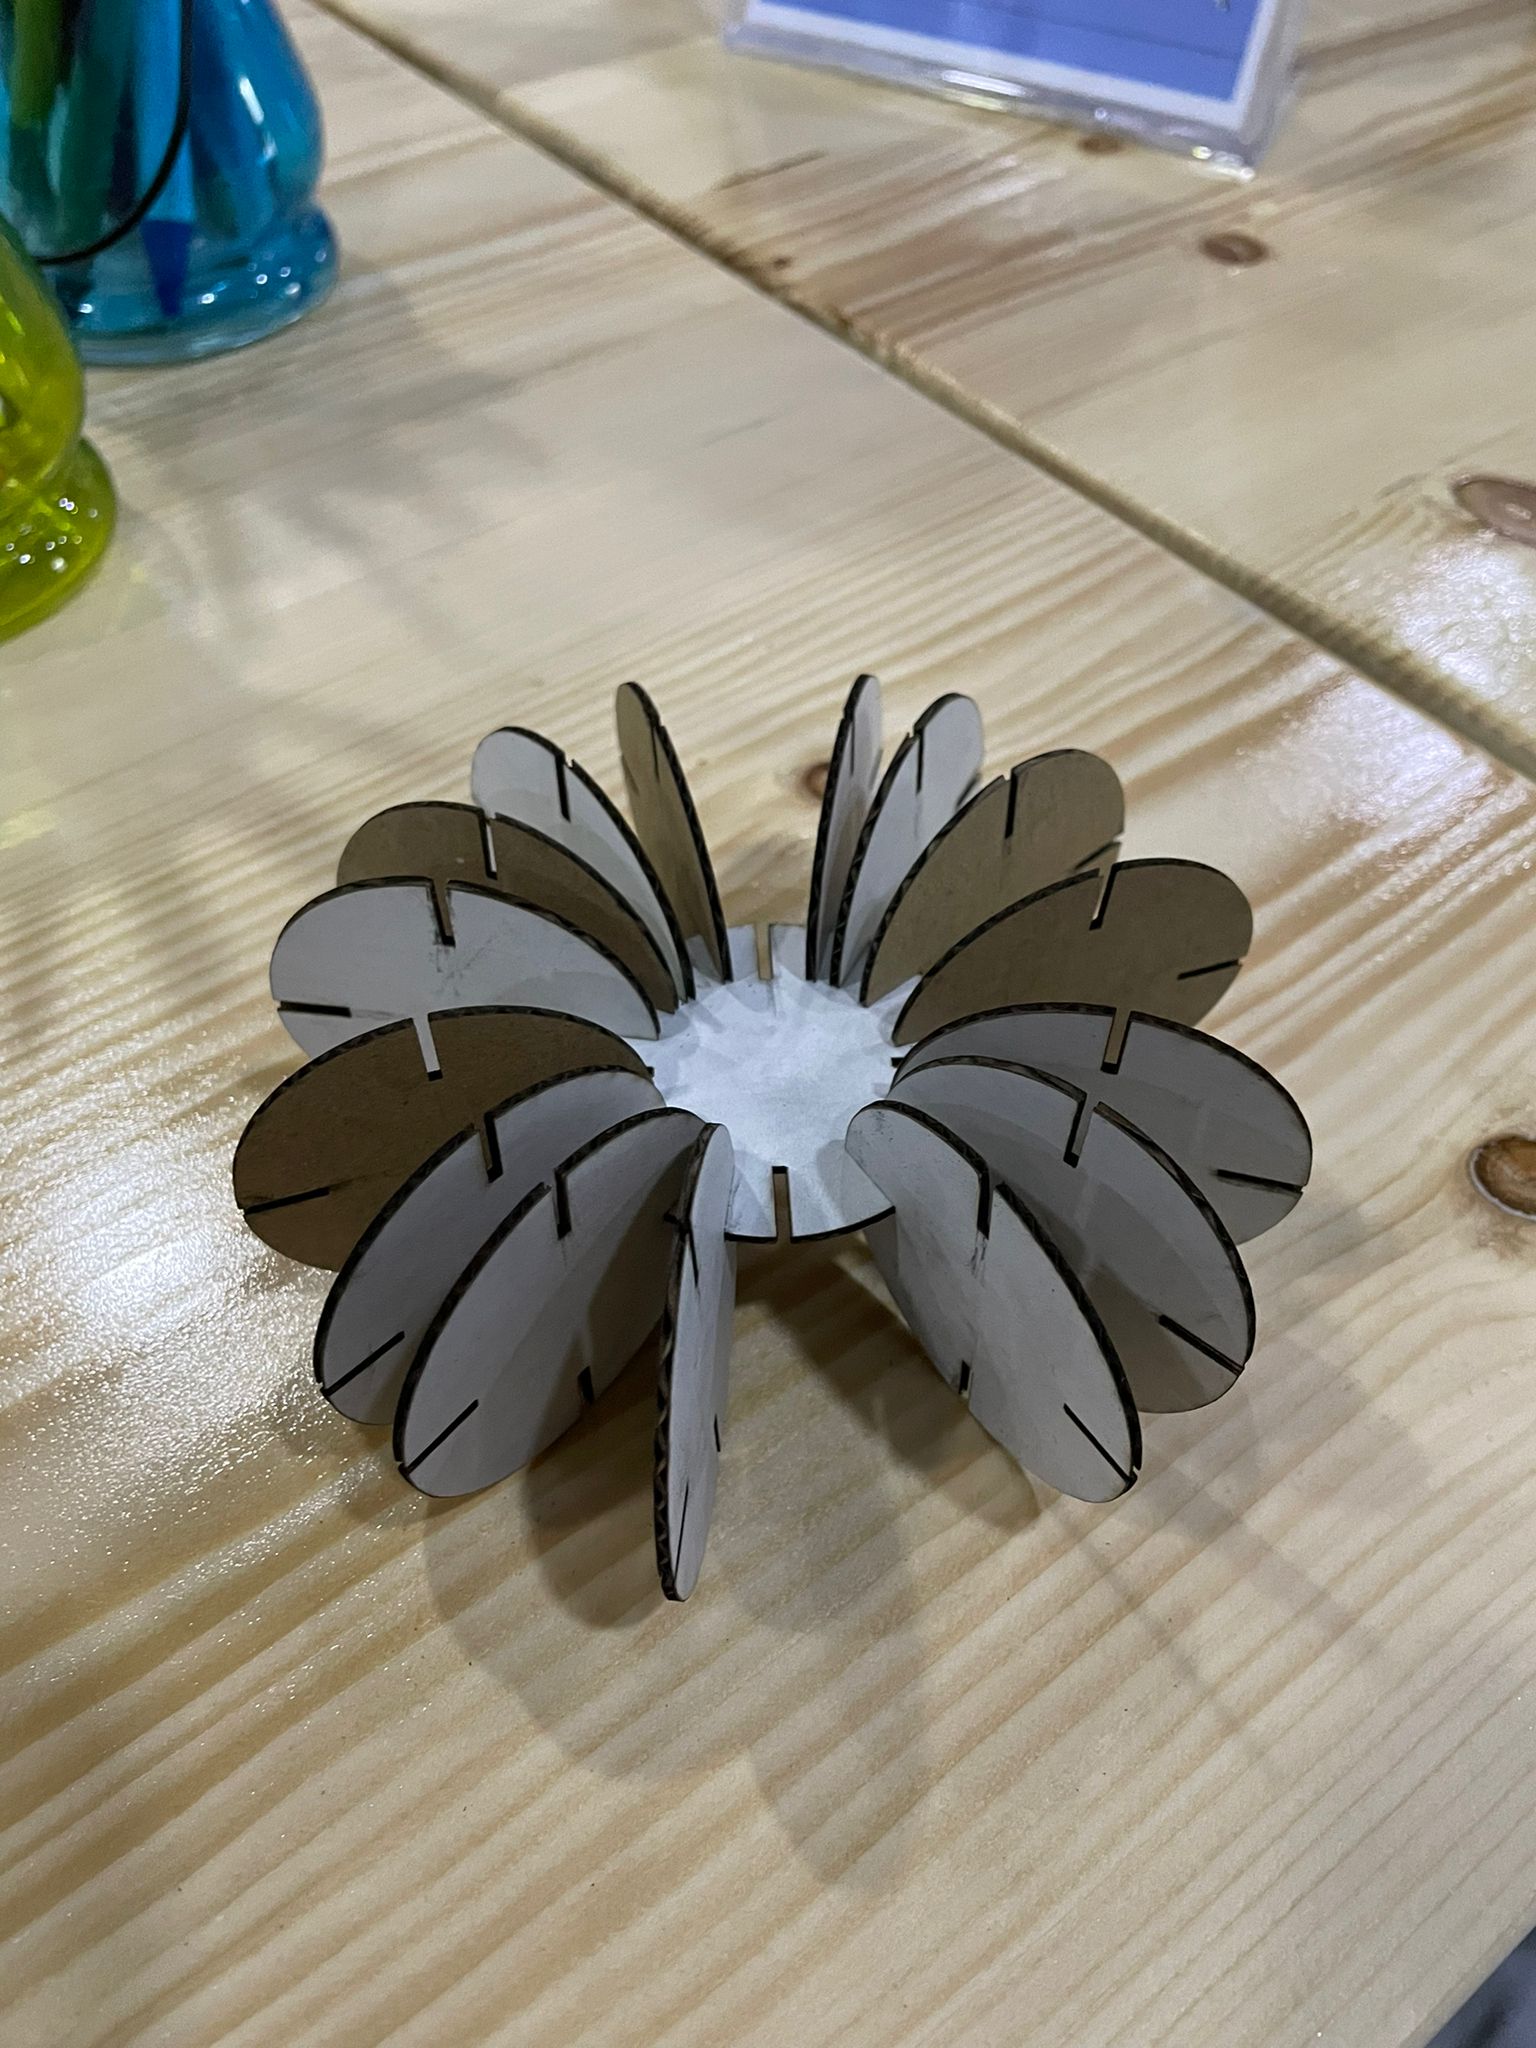
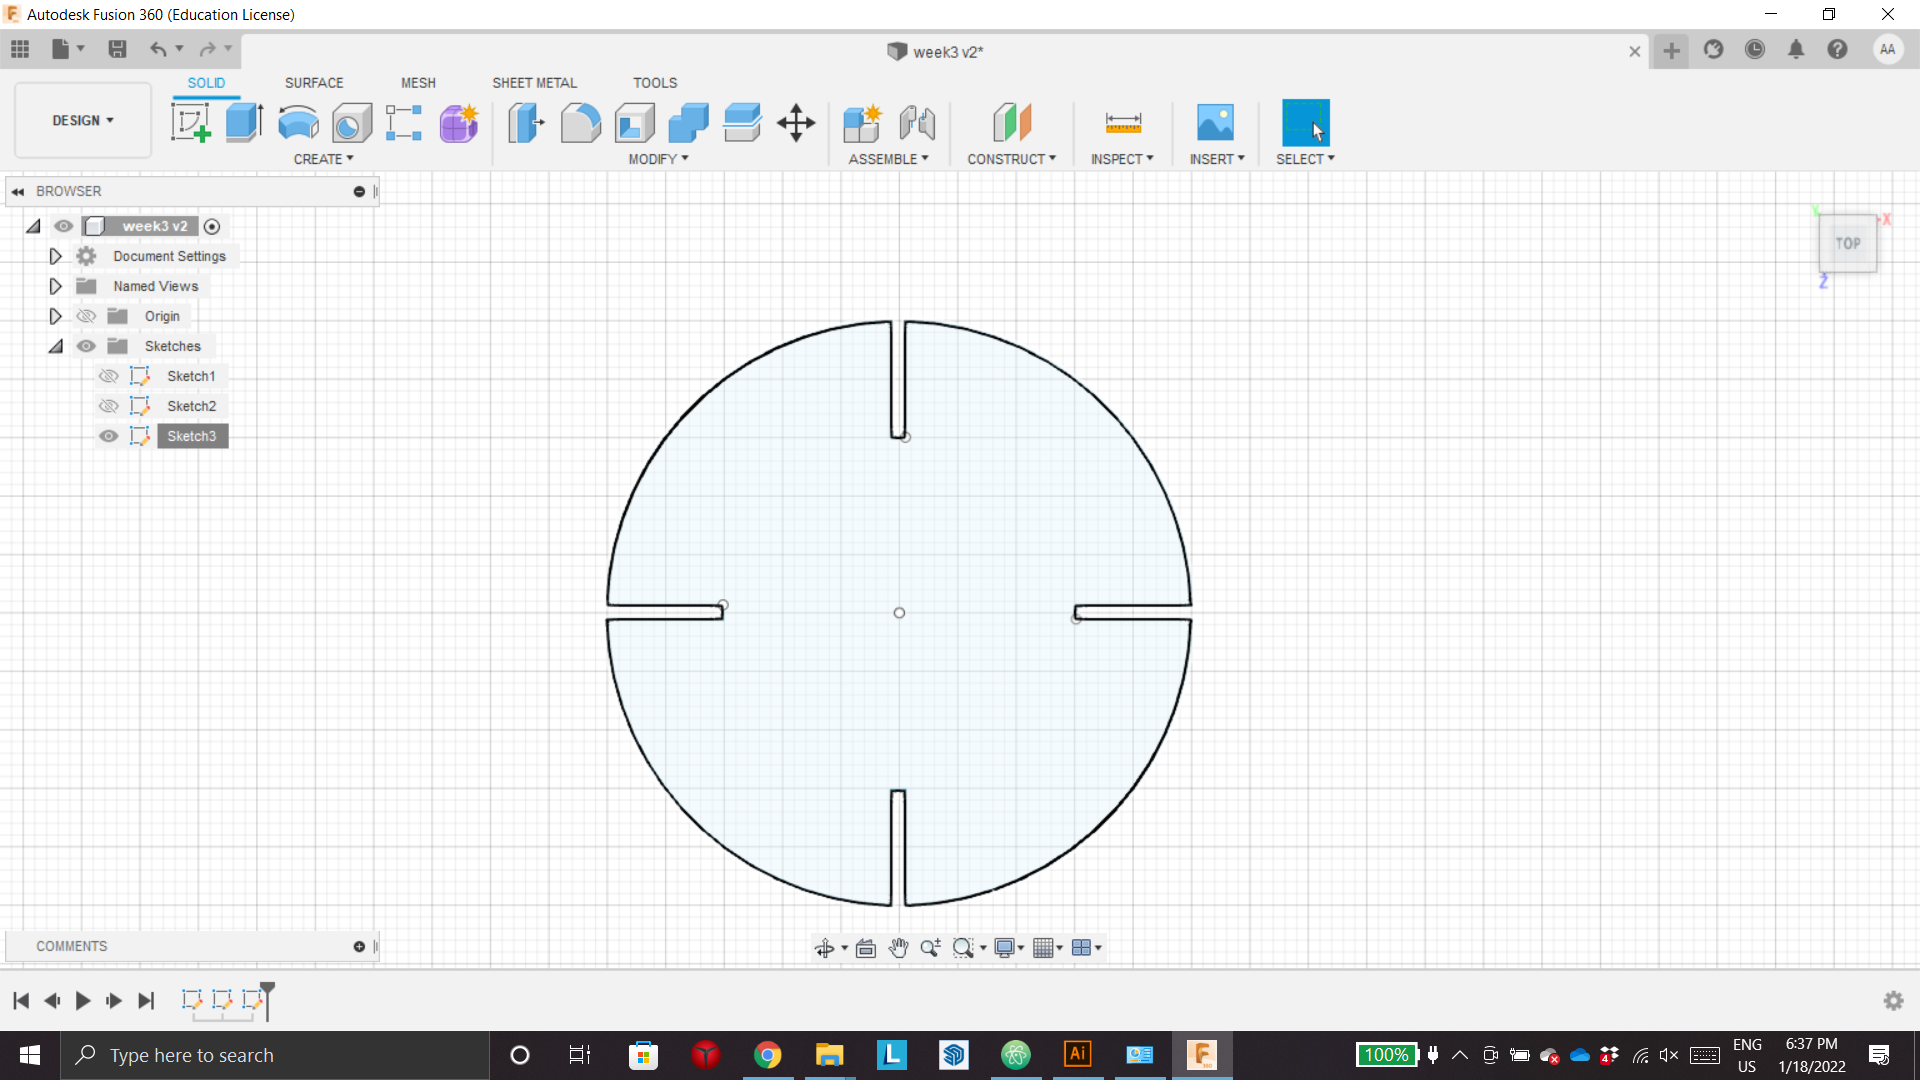
The object that I want to create consists of one object that can be combined into many shapes to create artistic figuers.
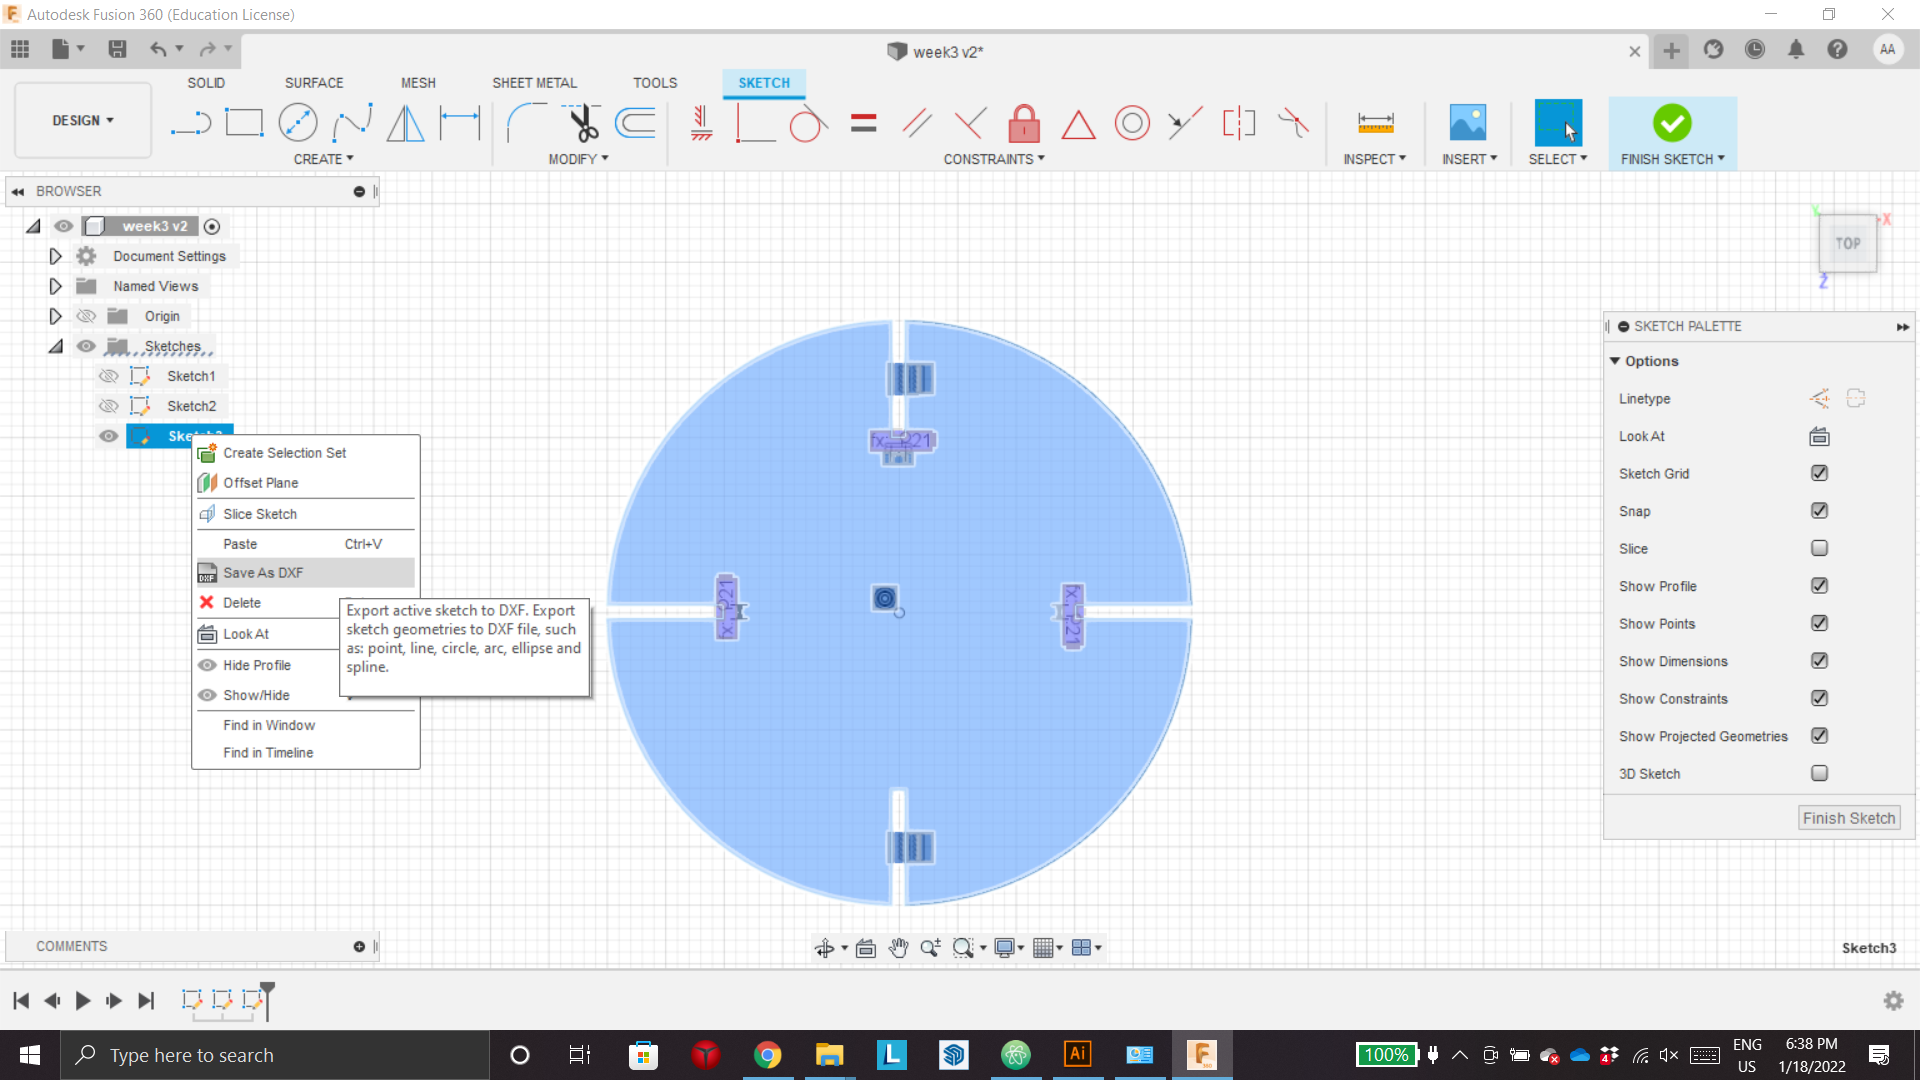
After exporting I uploadied the file to the program to cut it, and then I adjusted the settings acording to the Group assignment.
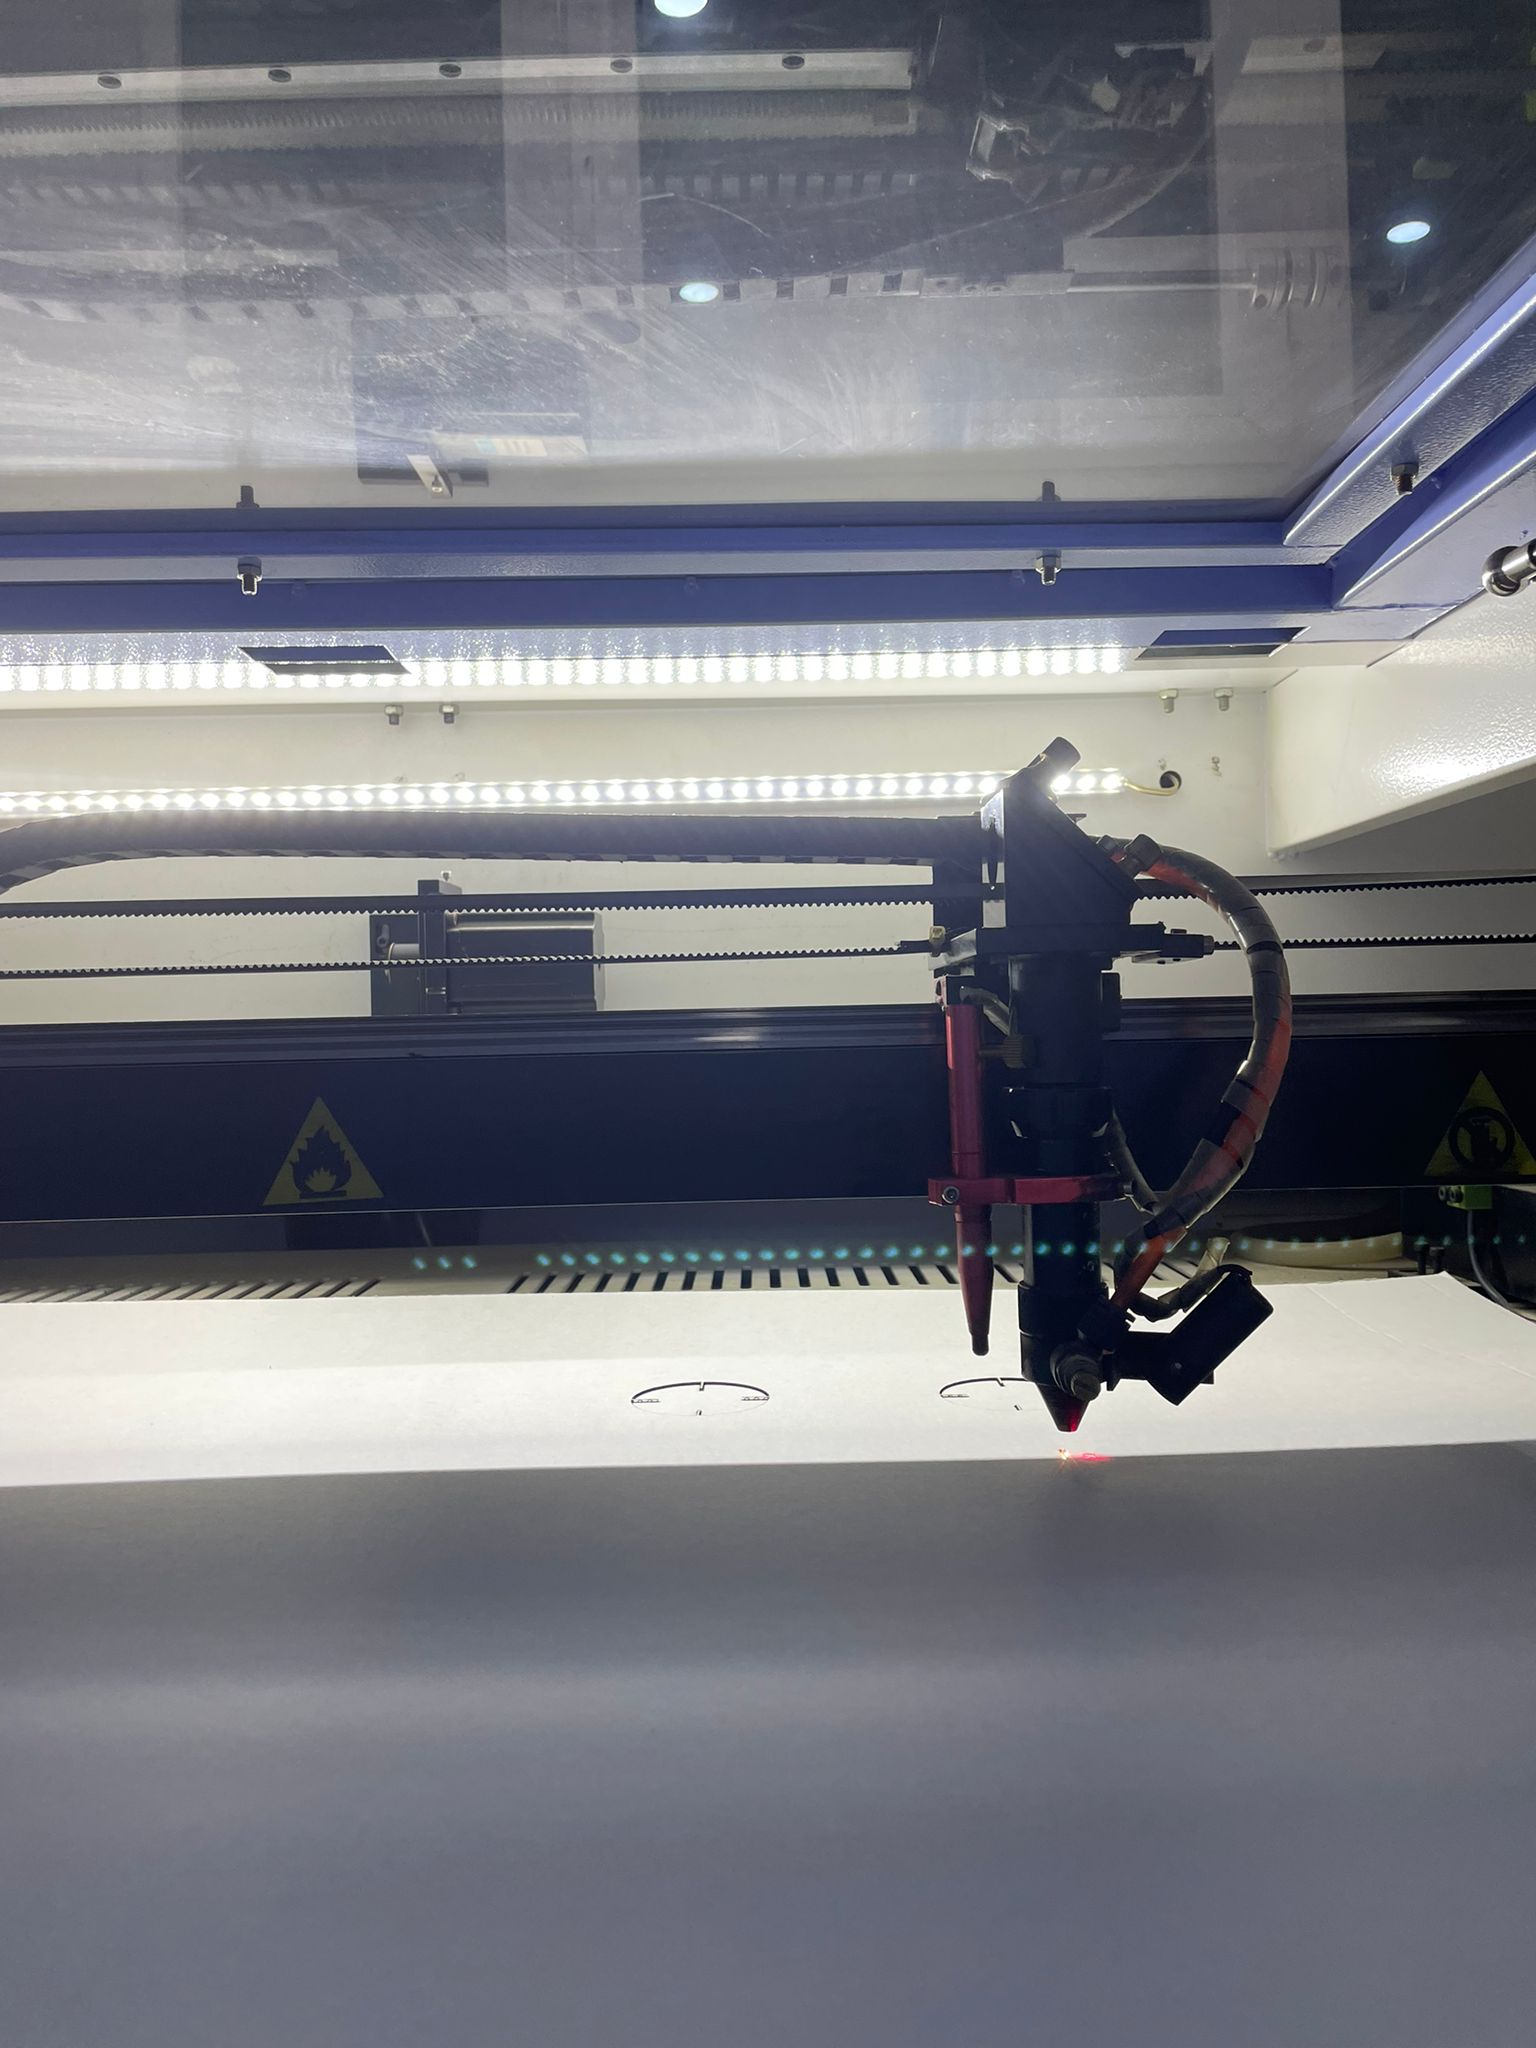
After that I started cutting.
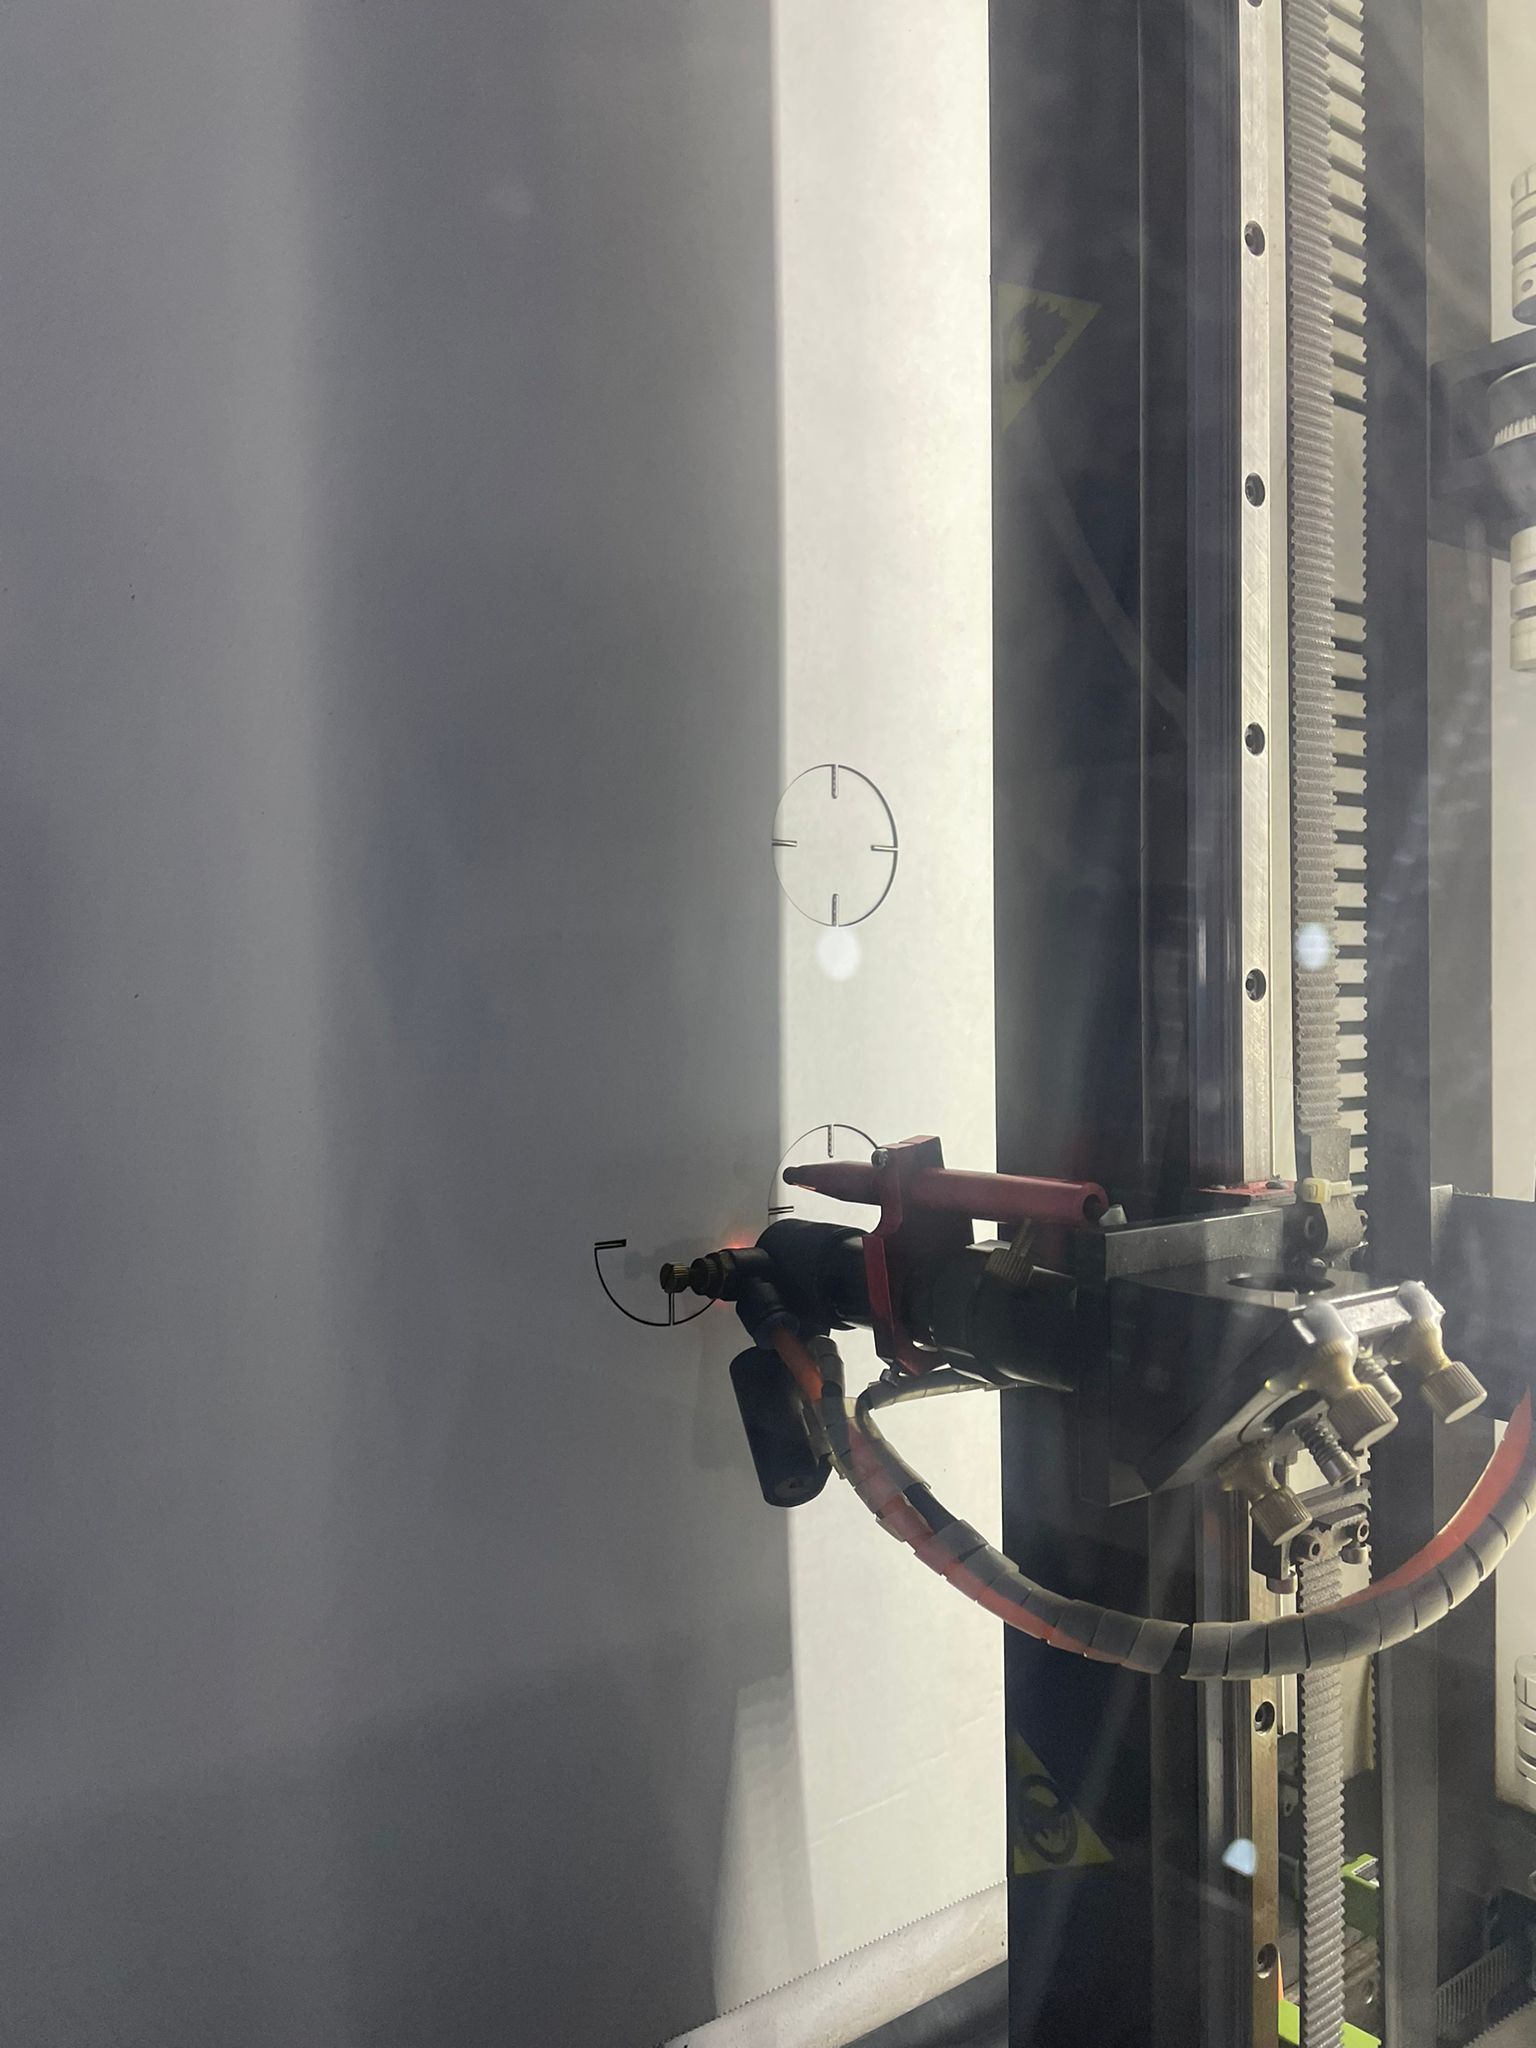

The final result is that I have the ability to create a various amount of shapes and designs using one object only.