COMPUTER CONTROLLED CUTTING
This week consisted to of two seperate assignments completed using two different machines. The two are as follows:
1. DESIGNING PARAMETRIC PRESS FIT CONSTRUCTION KIT - For this assignment a 2D design was created and was cut using Laser Cutting machine.
2. VINYL CUTTING - For this assignment, a sticker design was cut using vinyl cutter.
GROUP ASSIGNMENT: LASER CUT JOINT TESTING
Before performing the press fit kit cutting we did a joint testing assignment to identify the best fit dimension for our cardboard press fit construction kit.
The following steps were performed to do that:
1. We opened the vector drawing file on RD Works software.
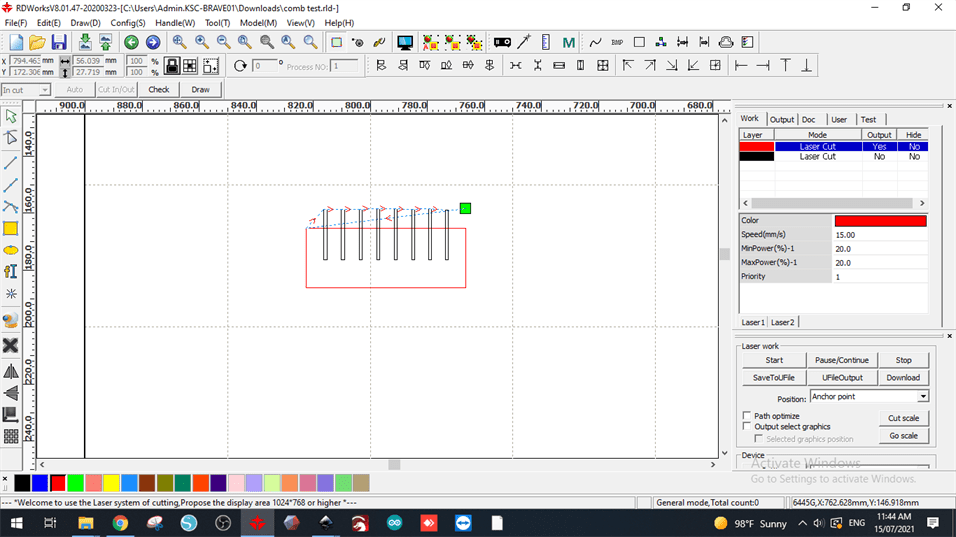
2. We set the layers. This defines what the machine would cut first. In our case,
we wanted to cut the joints of increasingly smaller sizes to be cut first and
then the outer rectangle.
Cutting passes are also set on the software which in our
case was set to 2 which meant the laser beam would cut the piece by moving around it two times.
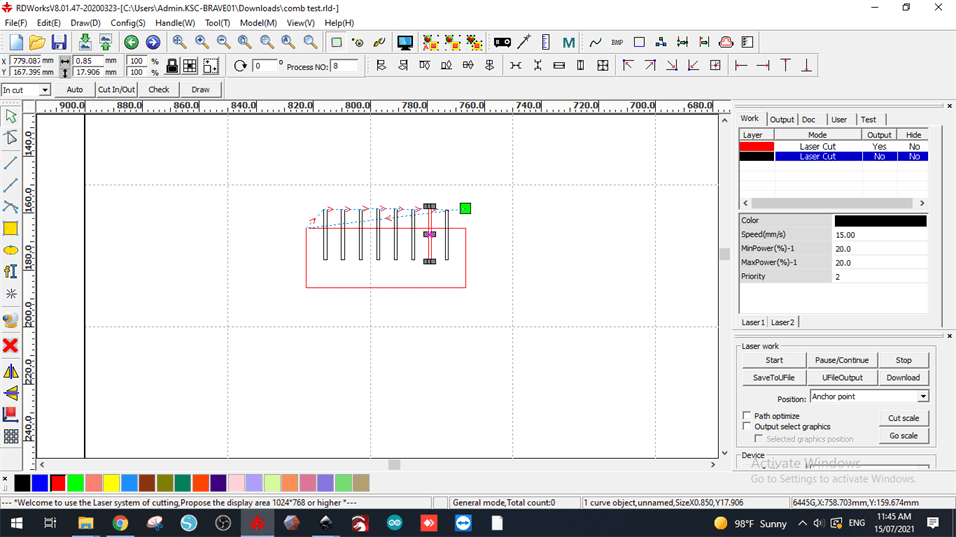
3. Then we saved the file and moved on to the machines control panel.
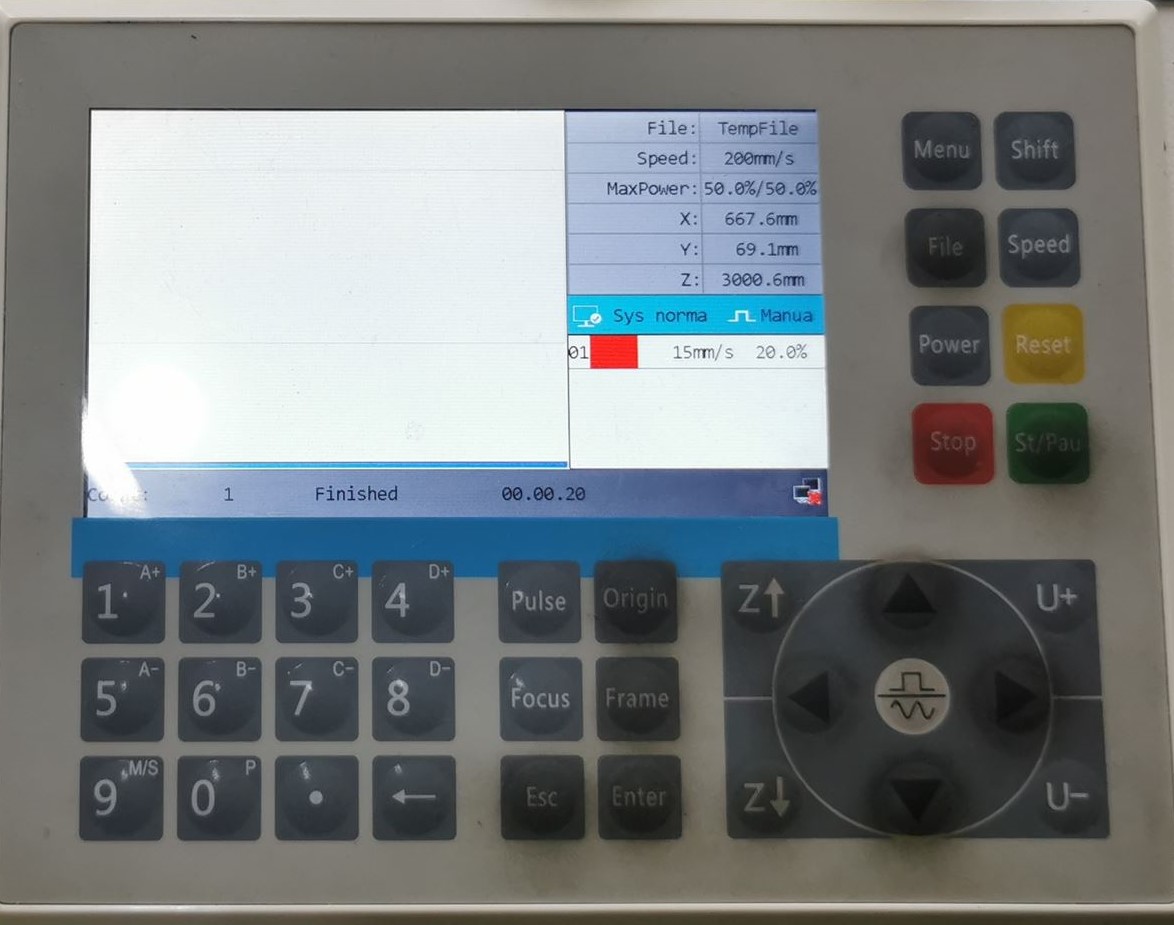
4. We selected our drawing file.
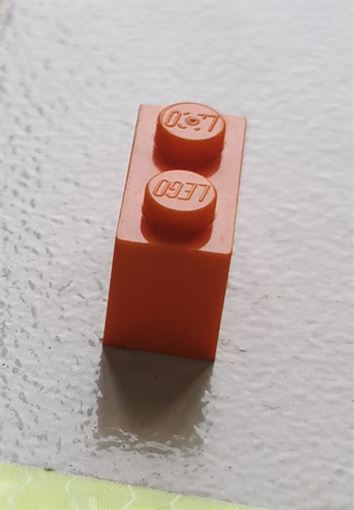
5. Then we positioned our laser cutter at an approriate height and place on the cardboard.
Appropriate height is important for good/accurate cutting with laser. It is supposed to be around 0.80cm
which happens to be the height of a lego piece which we placed beneath the laser bit to check.
6. Once positoned properly we clicked the Origin button on panel which is the starting point basically.
7. Then to view a real time simulation of our cutting we pressed Frame button
which as the name indicates shows the frame of our design and how the
machine would move.
8: Finally we clicked the Start button to begin cutting.
The best fit dimension I felt was 0.85mm so I went to my parametric design and changed my joint width to 0.85mm.
ASSIGNMENT 1: LASER CUT PRESS FIT KIT
DESIGNING ON SOLIDWORKS
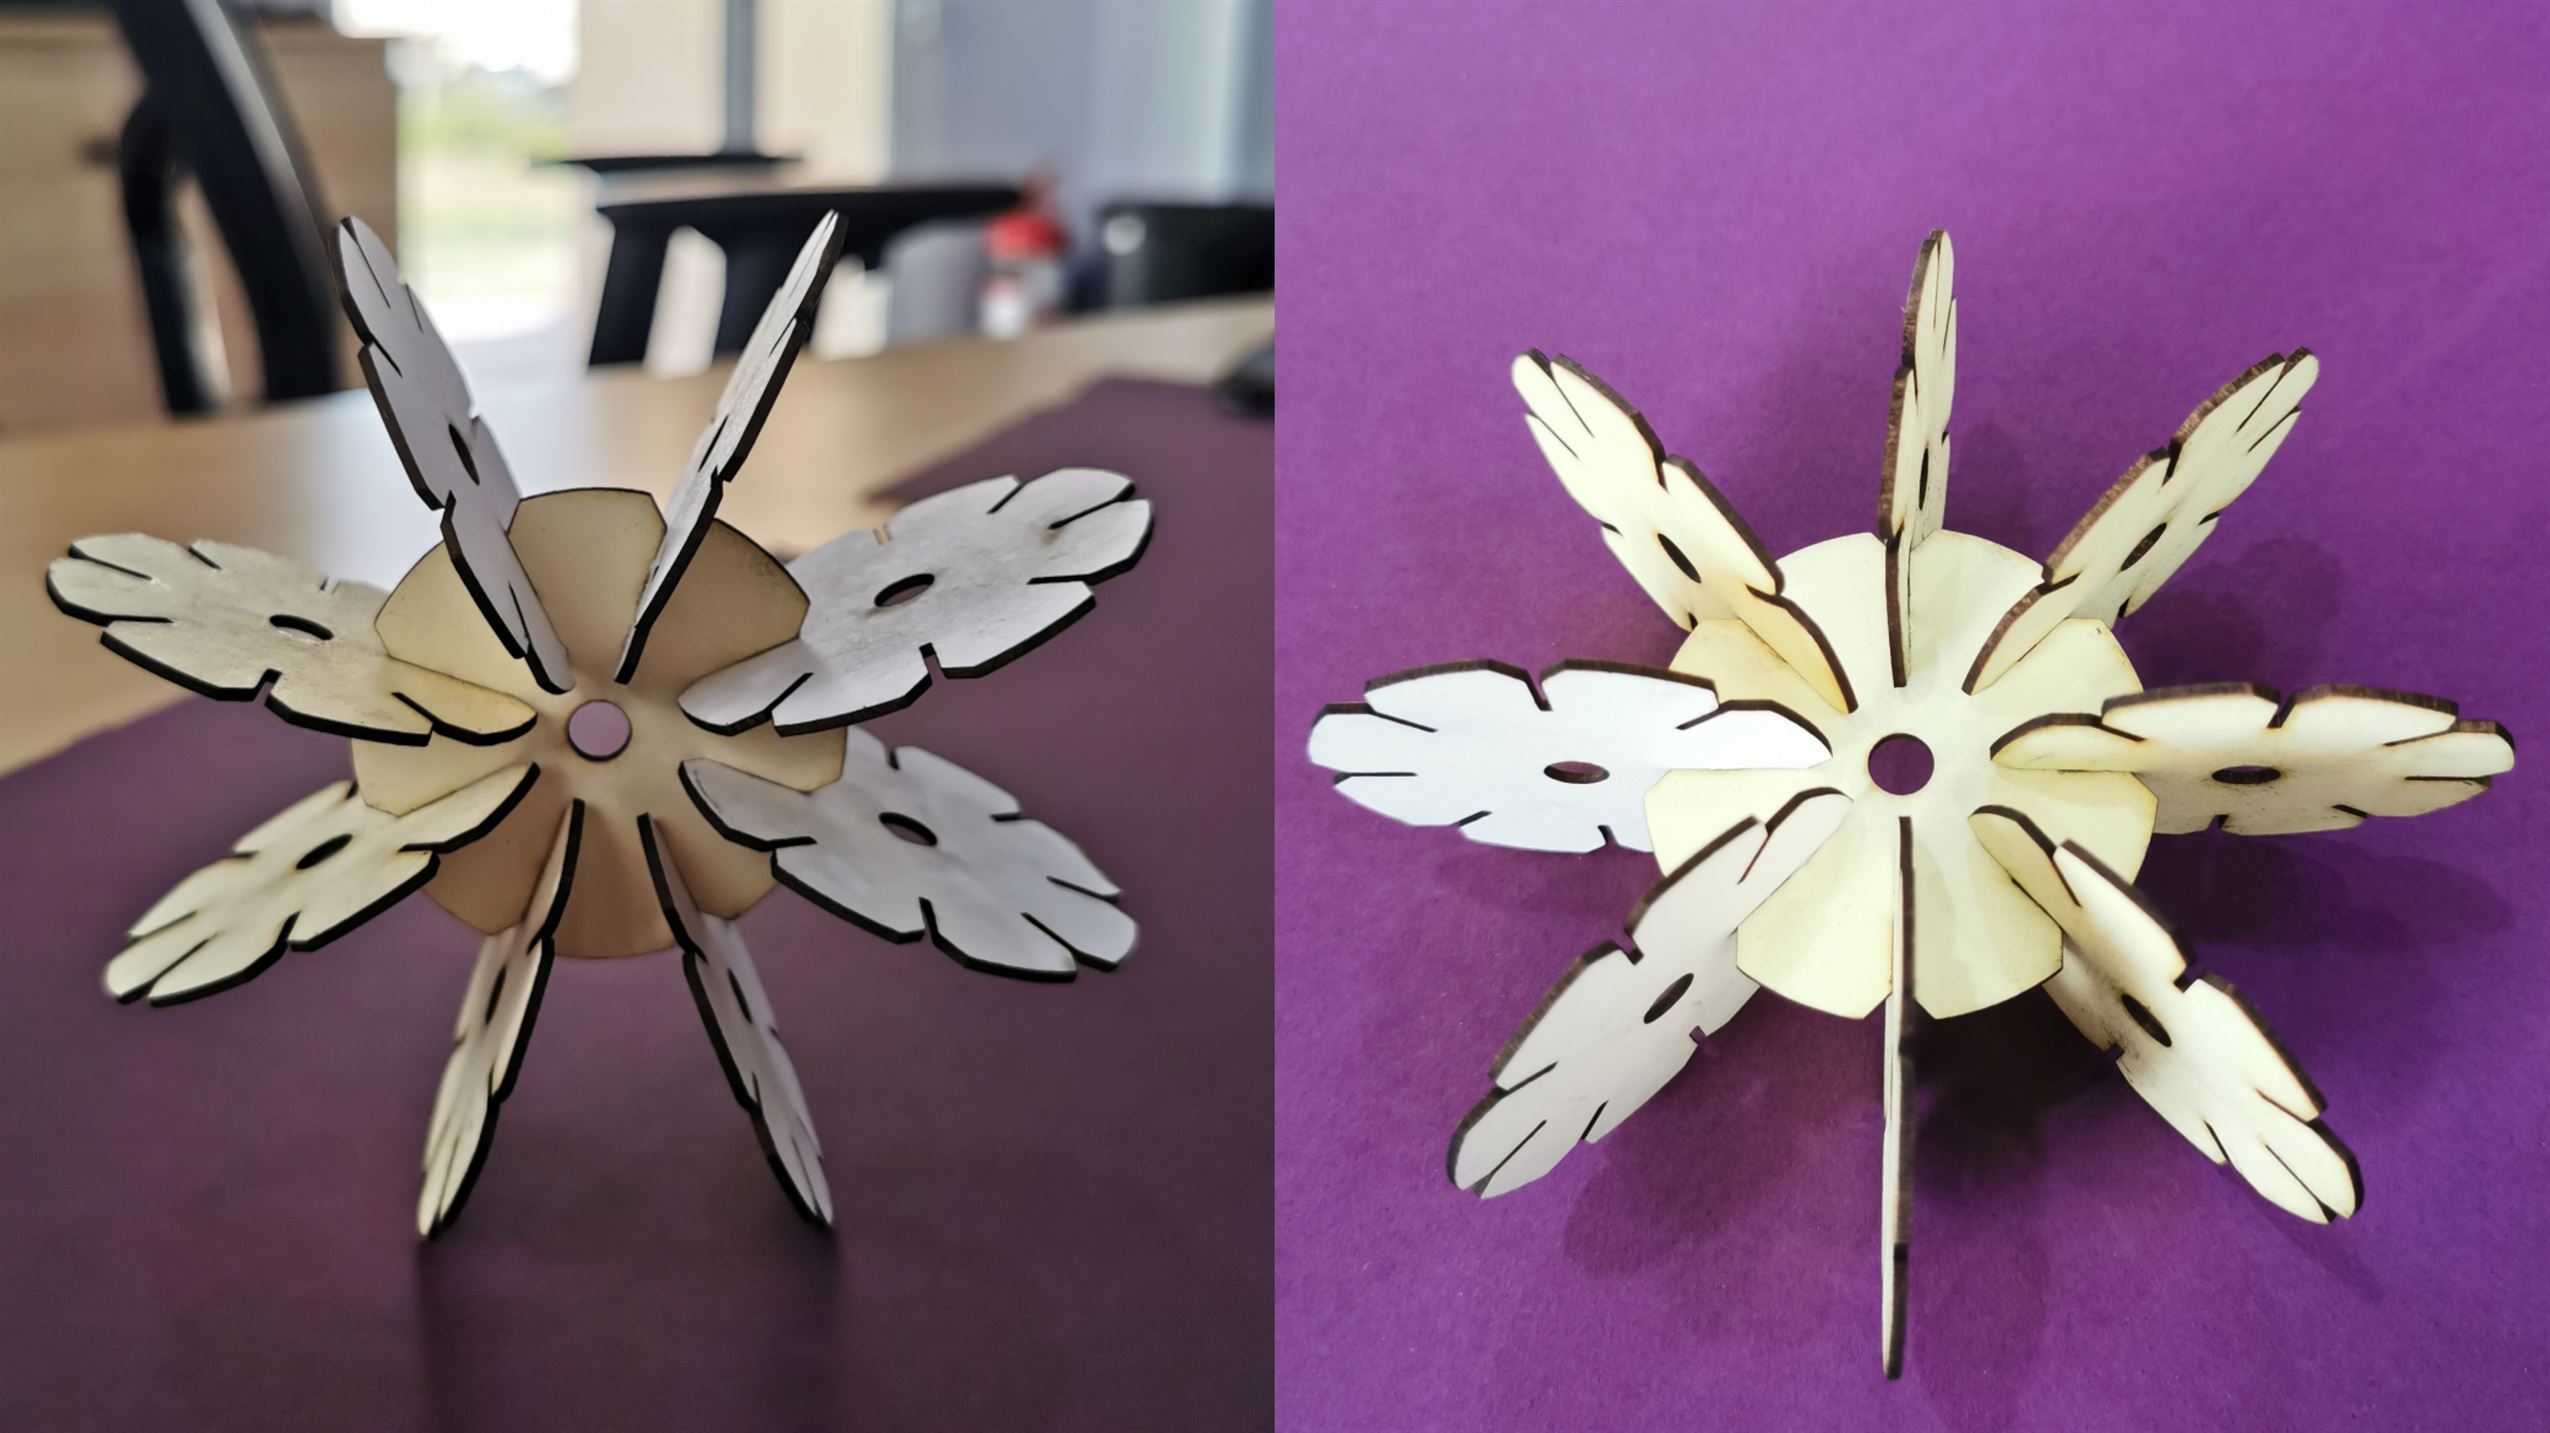
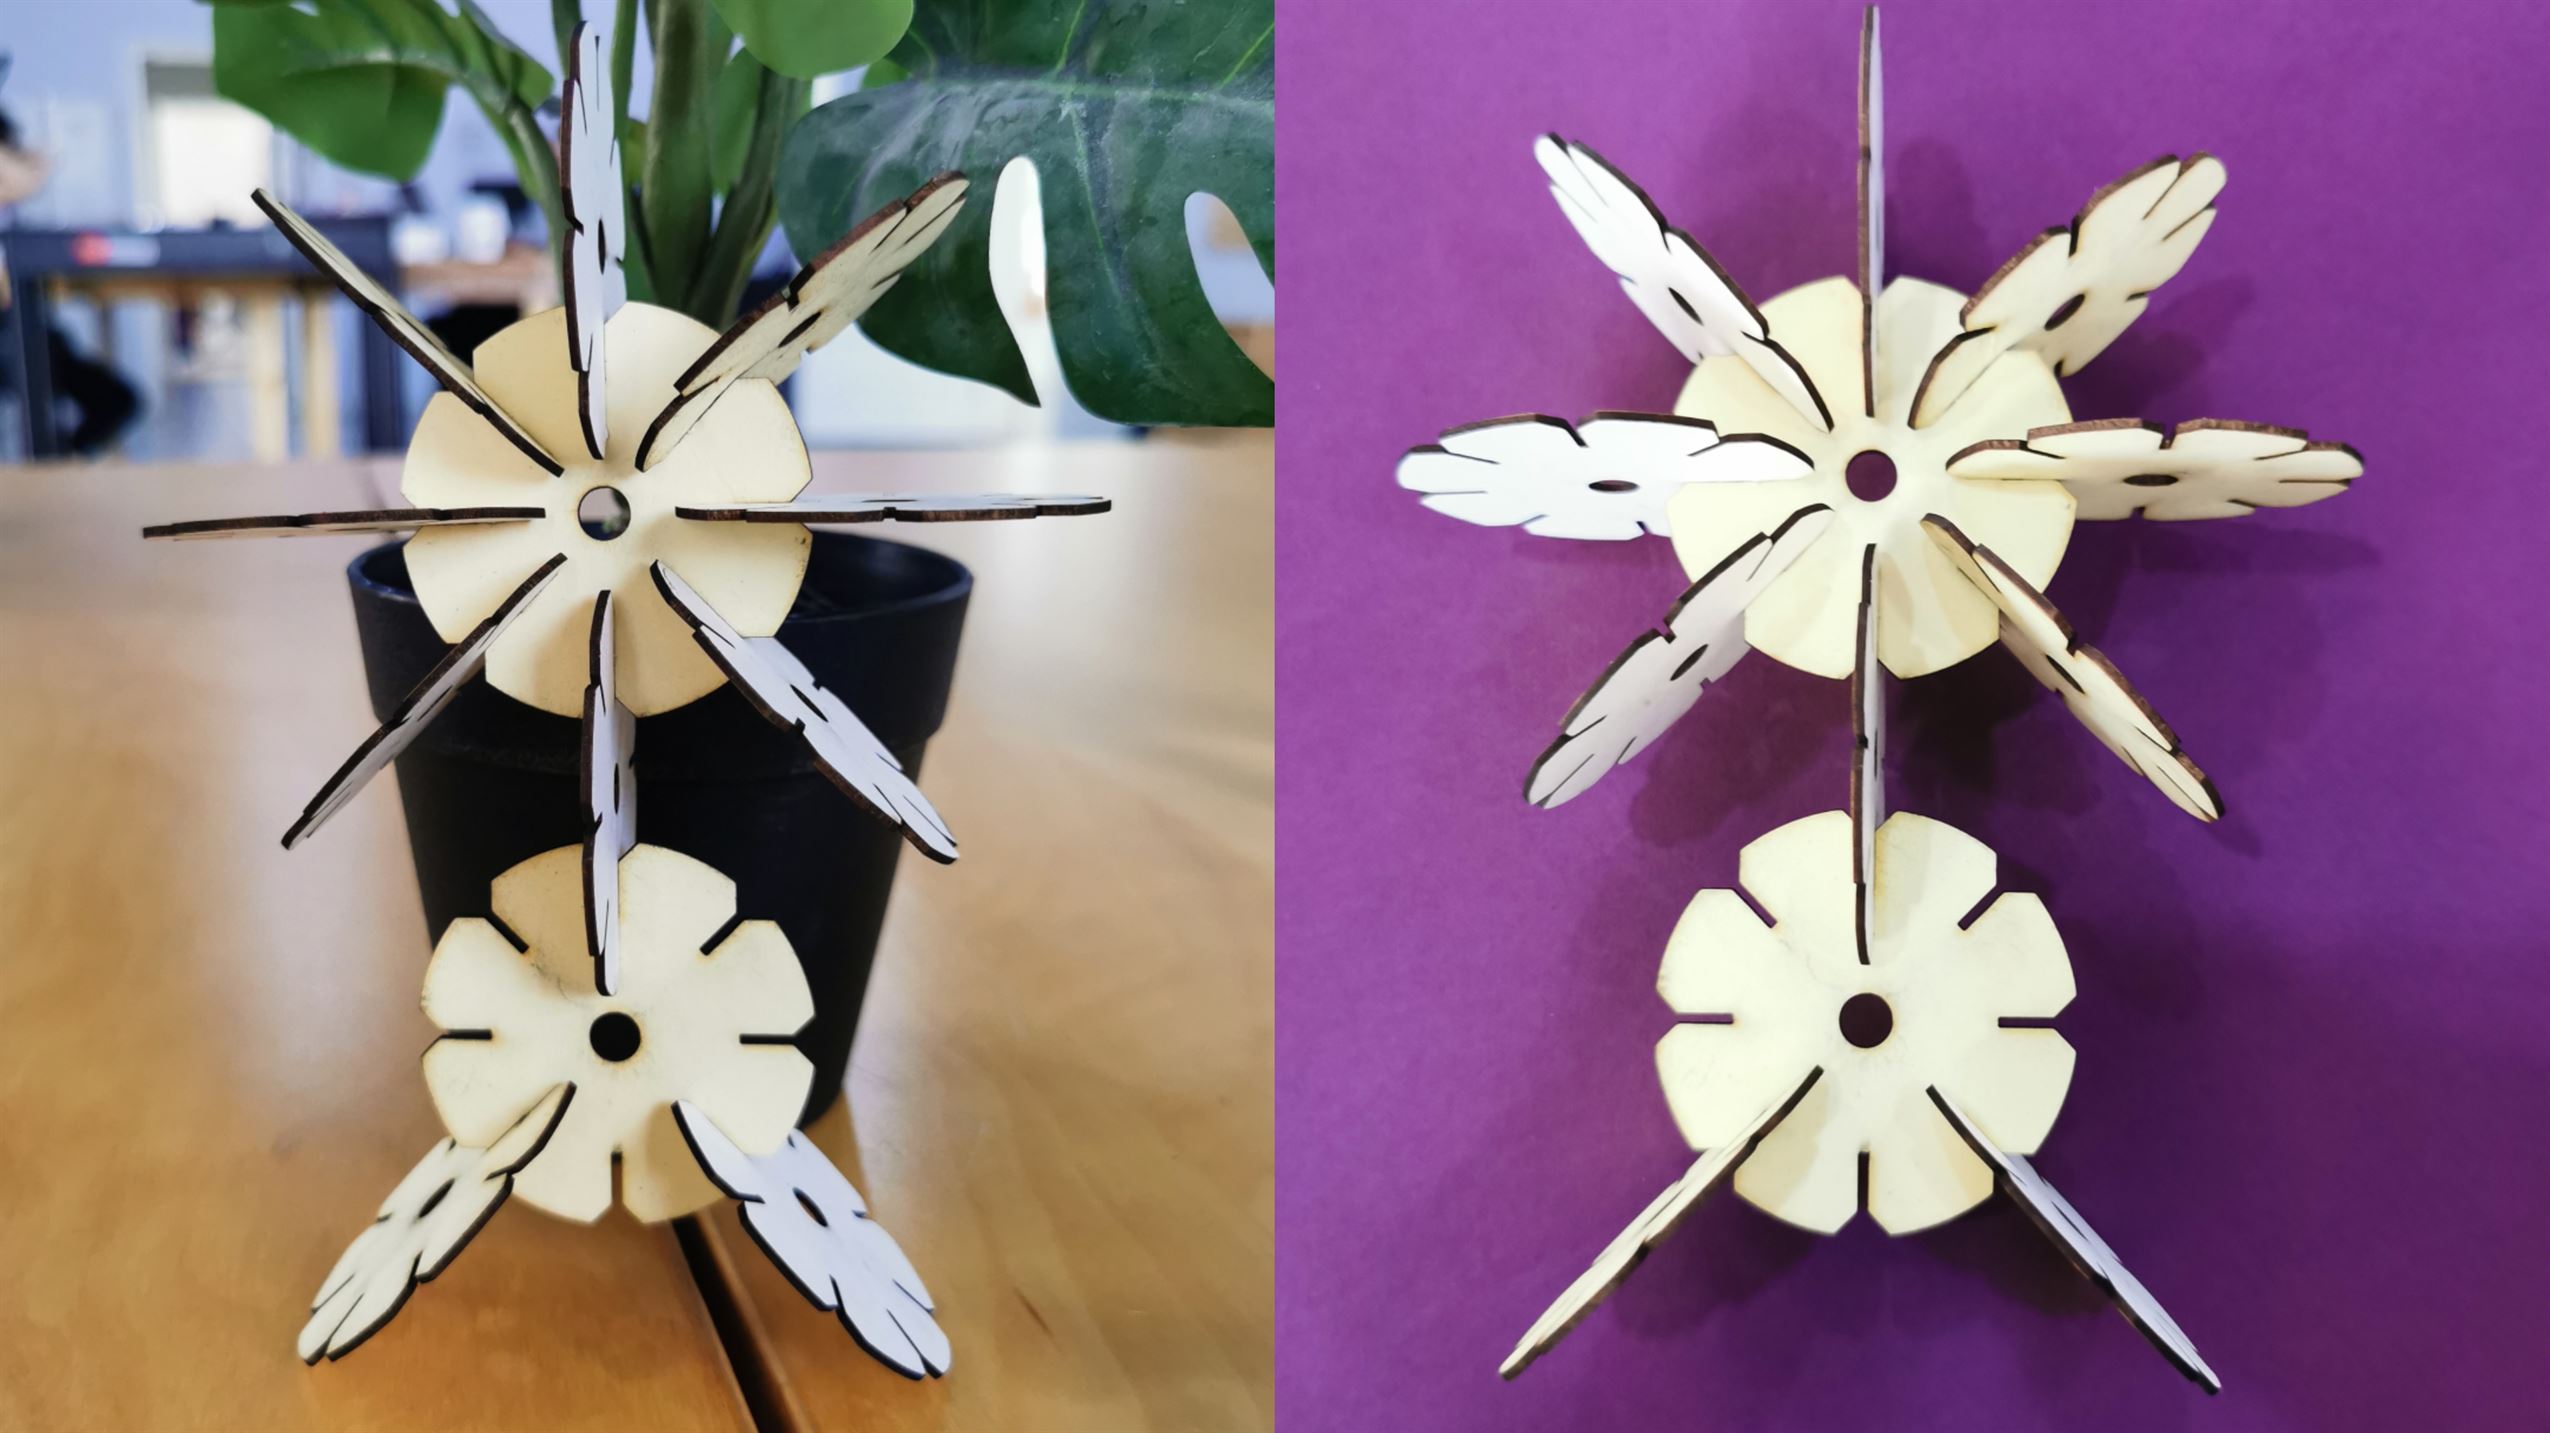
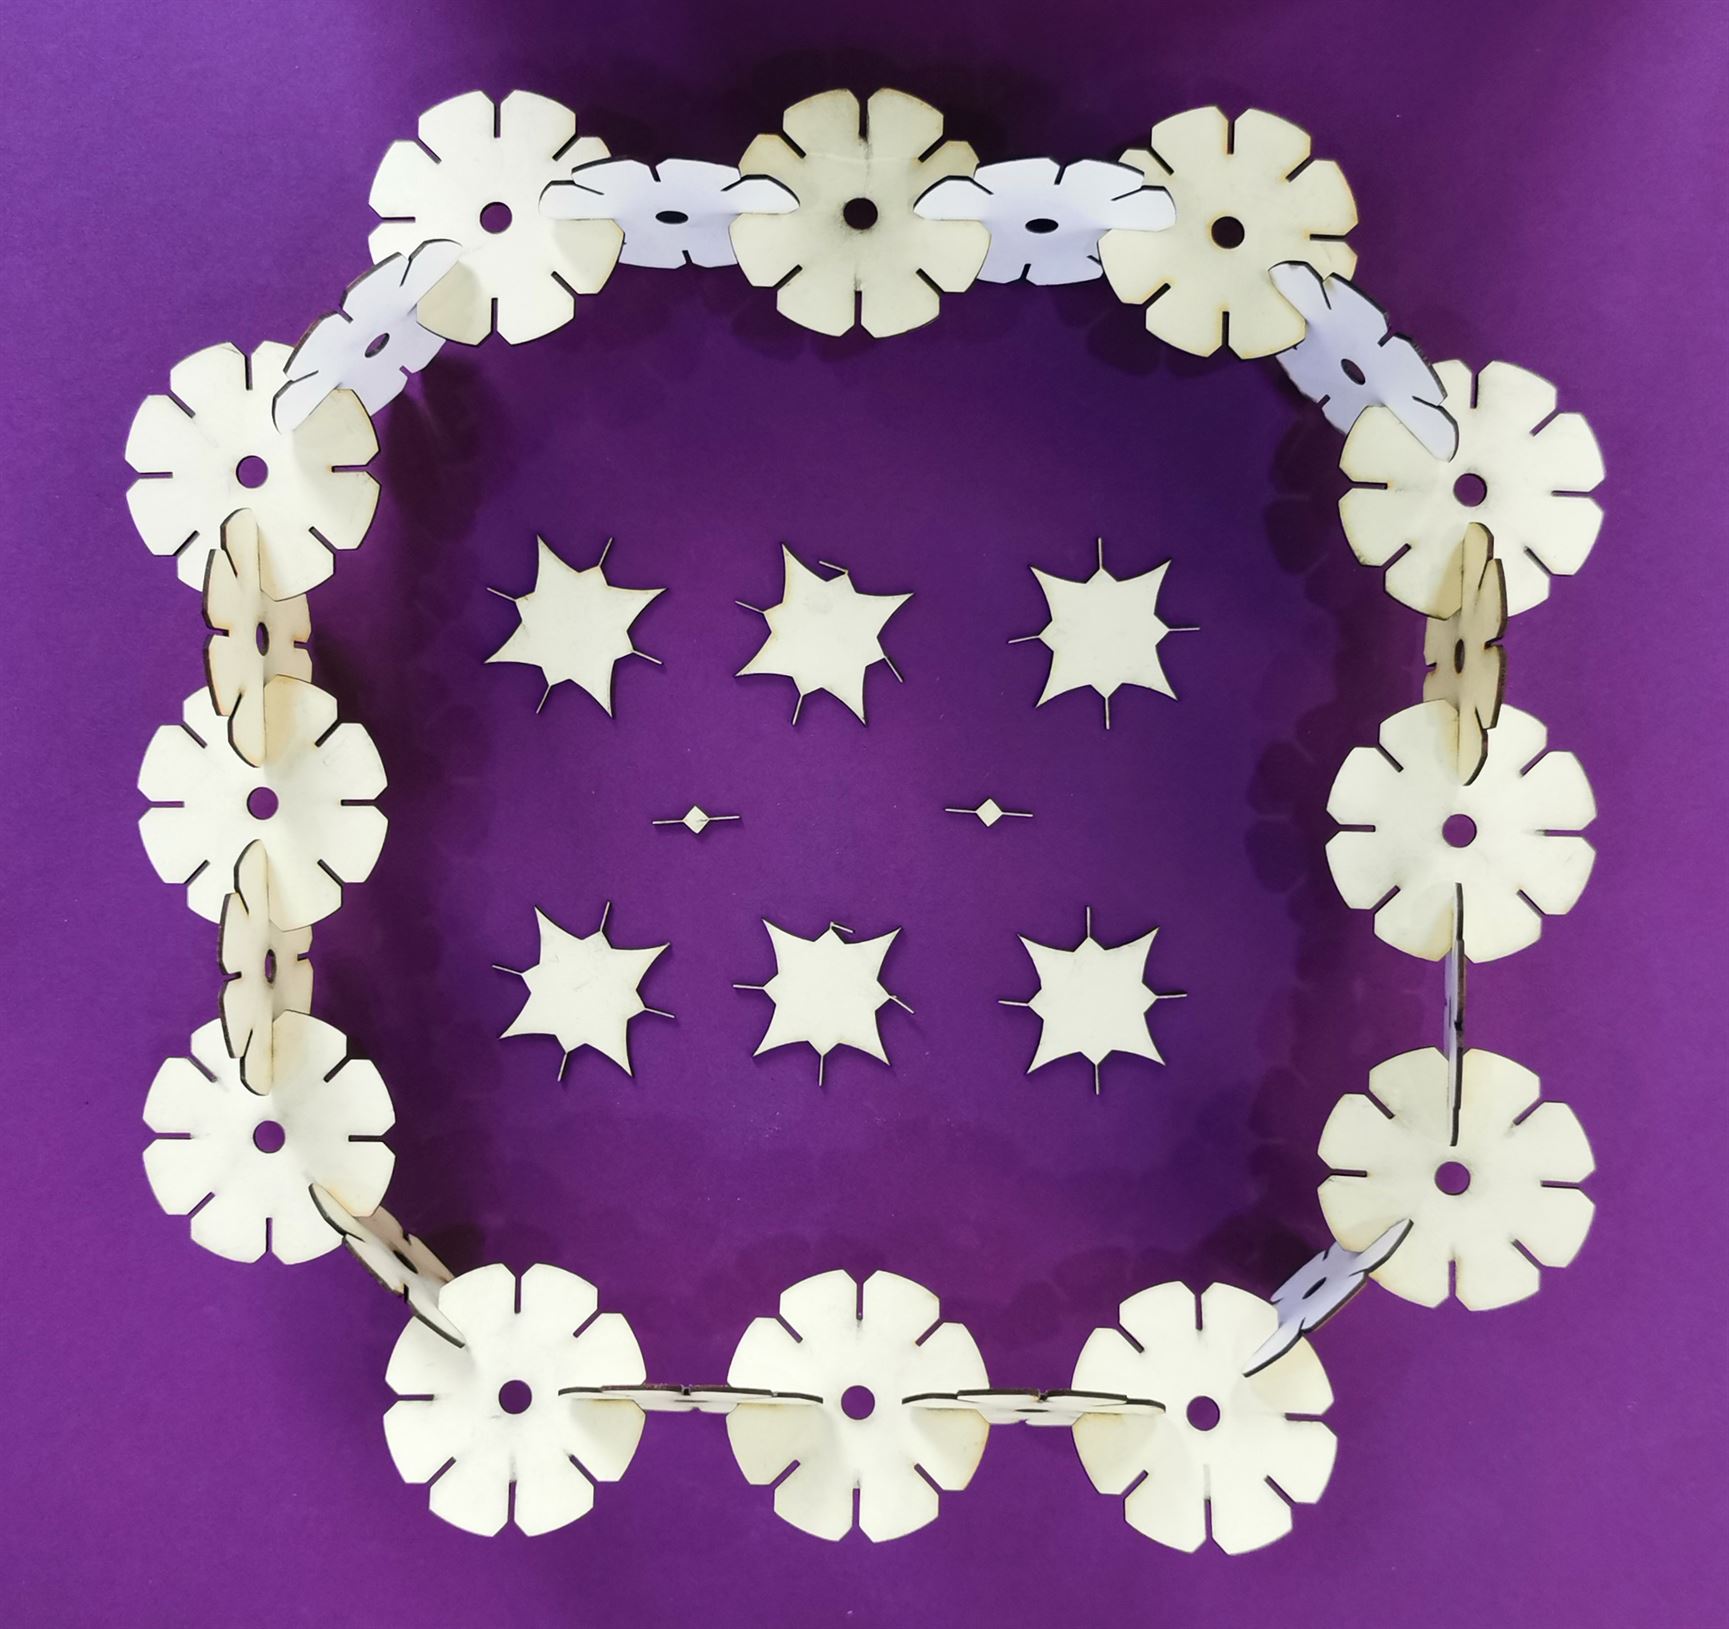
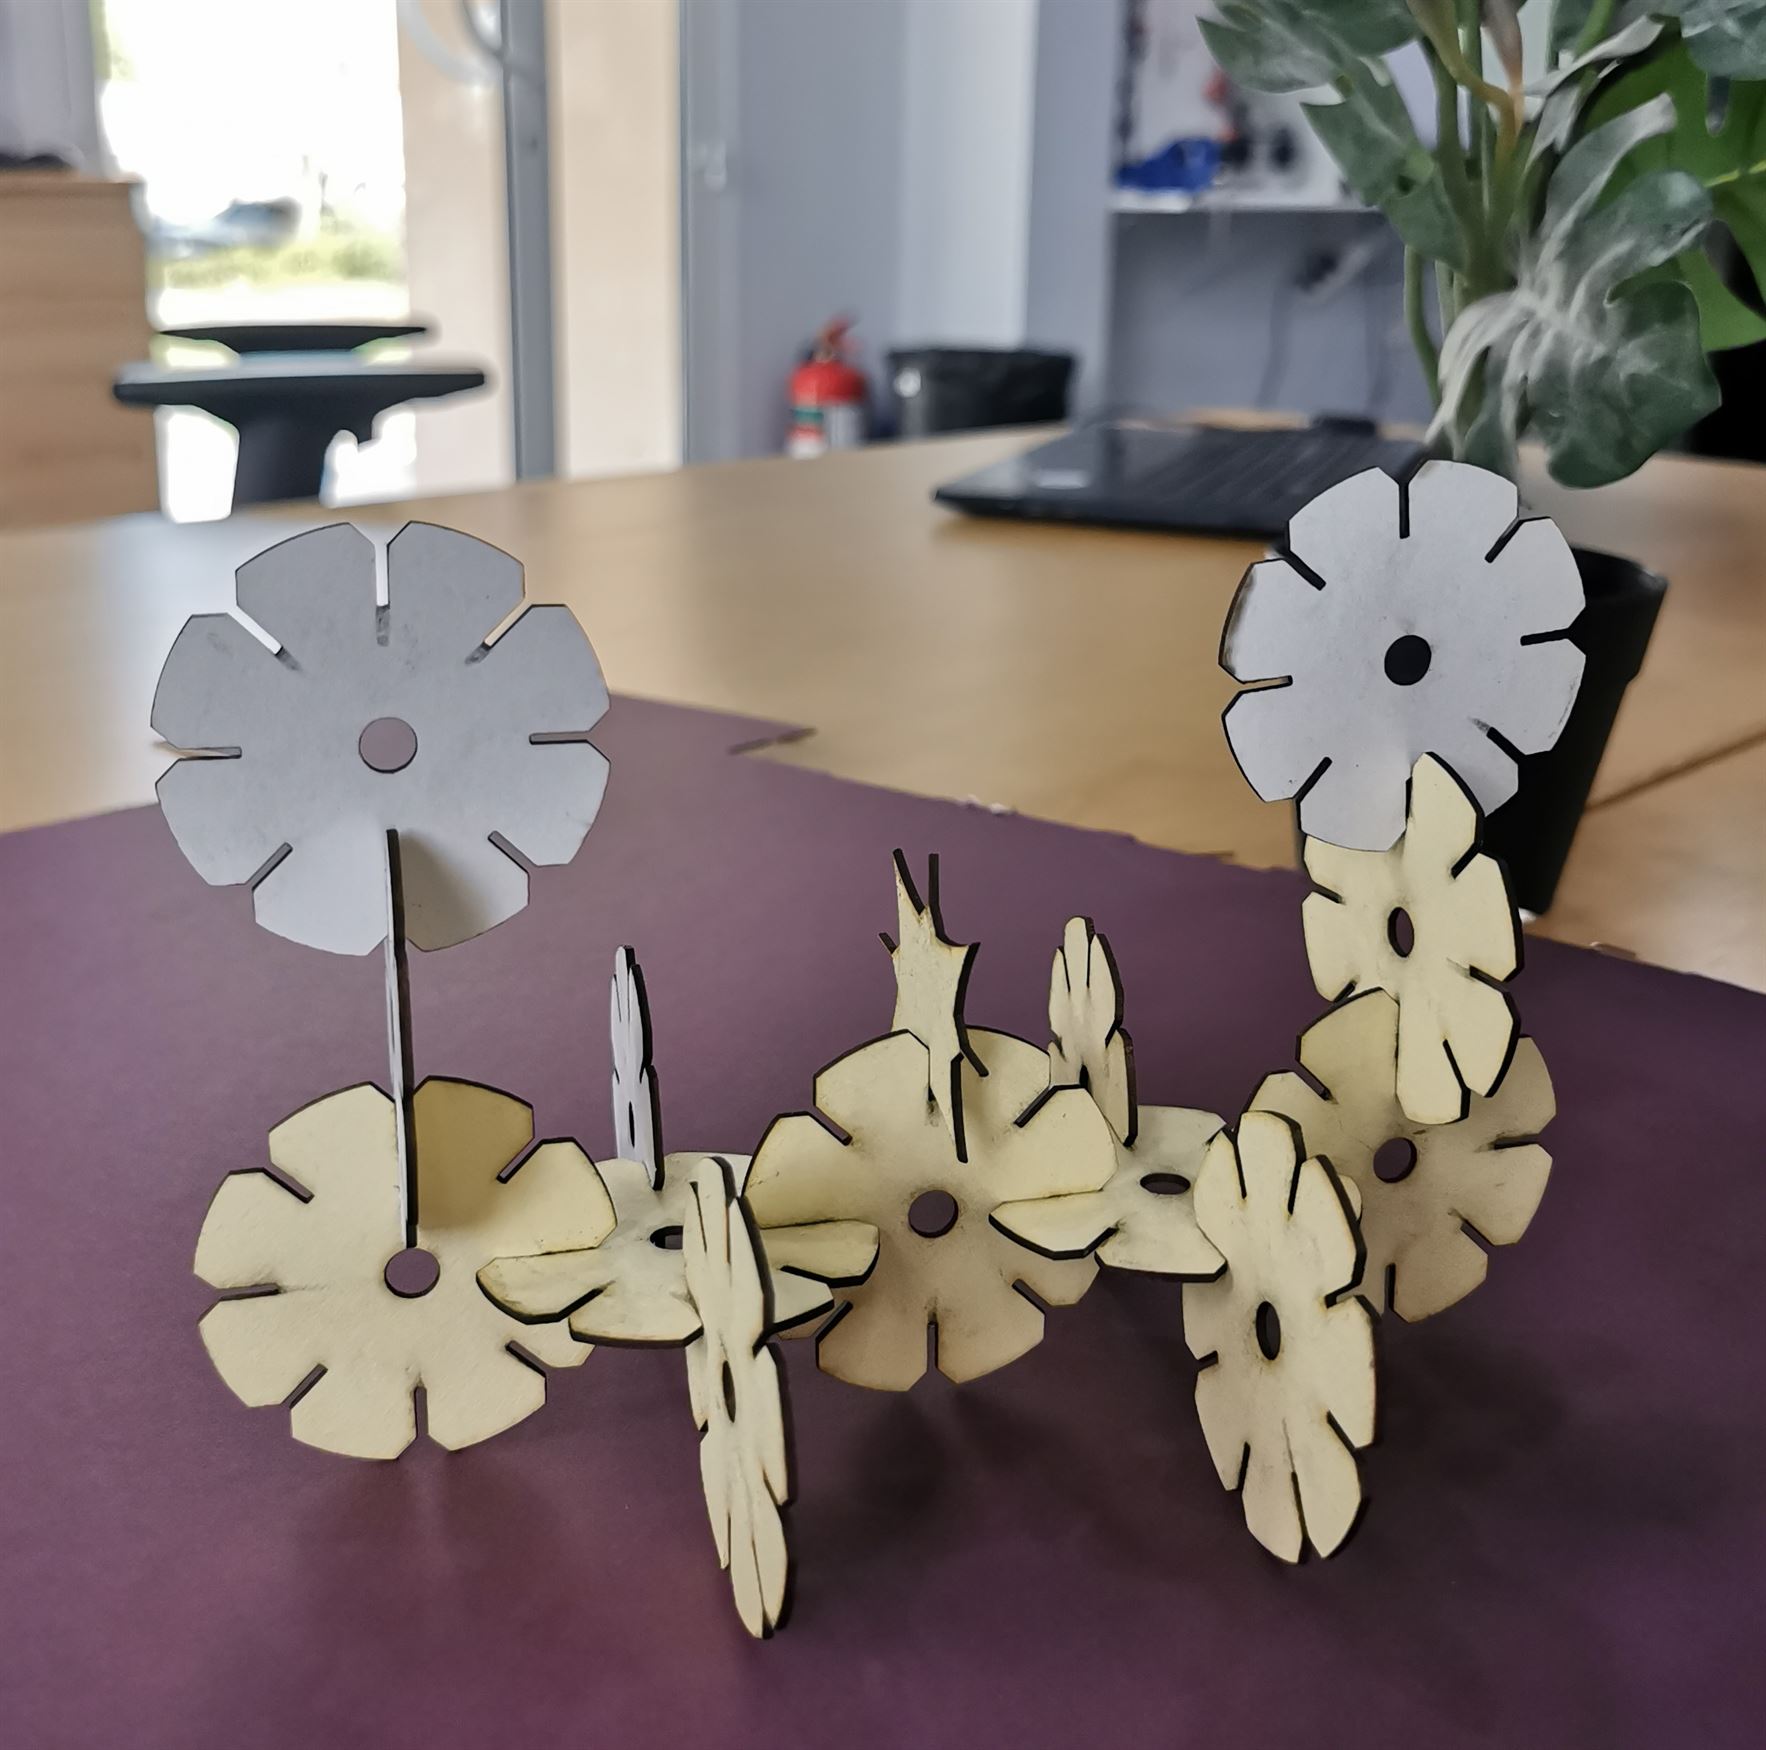
My press fit kit is basically a flake/flower shape with 8 joints based on this interlocking disc kit that i duplicated on the laser cutting machine to have a collection of them for joining in different shapes.
I designed it on solidworks by performing the following steps:
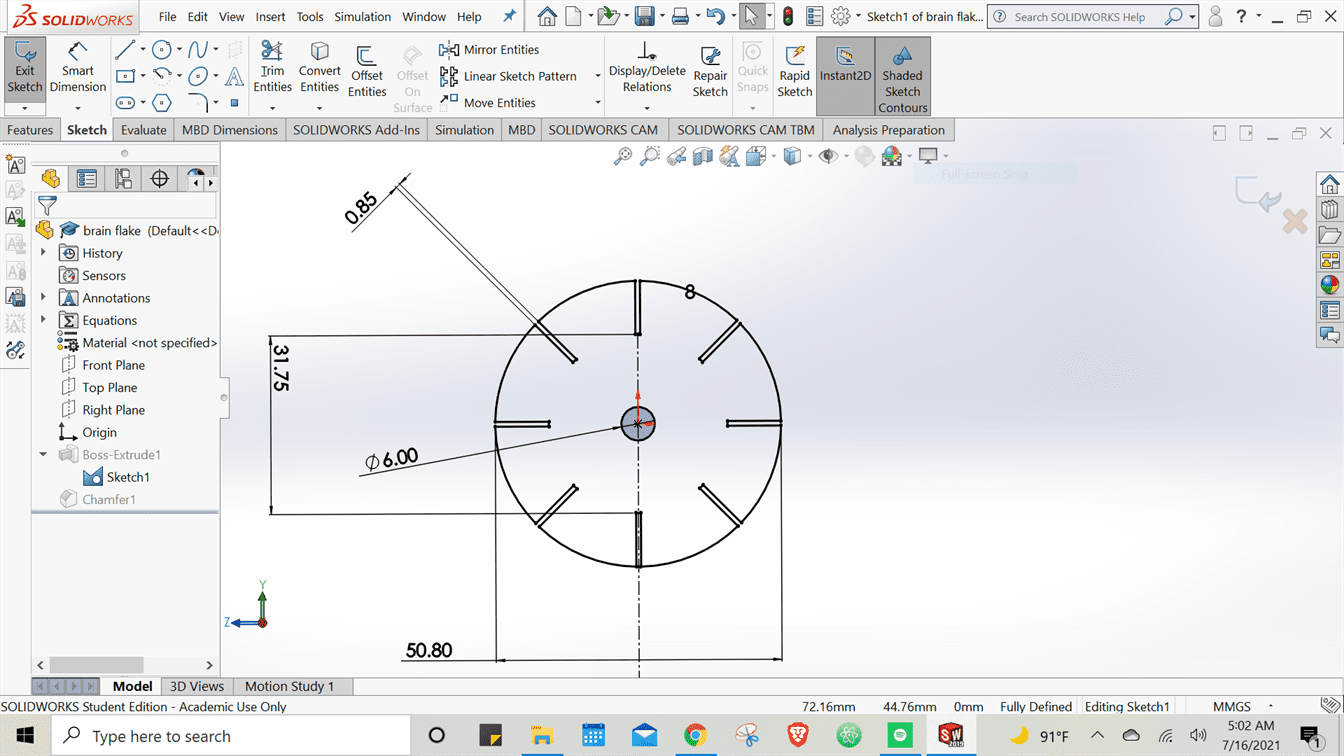
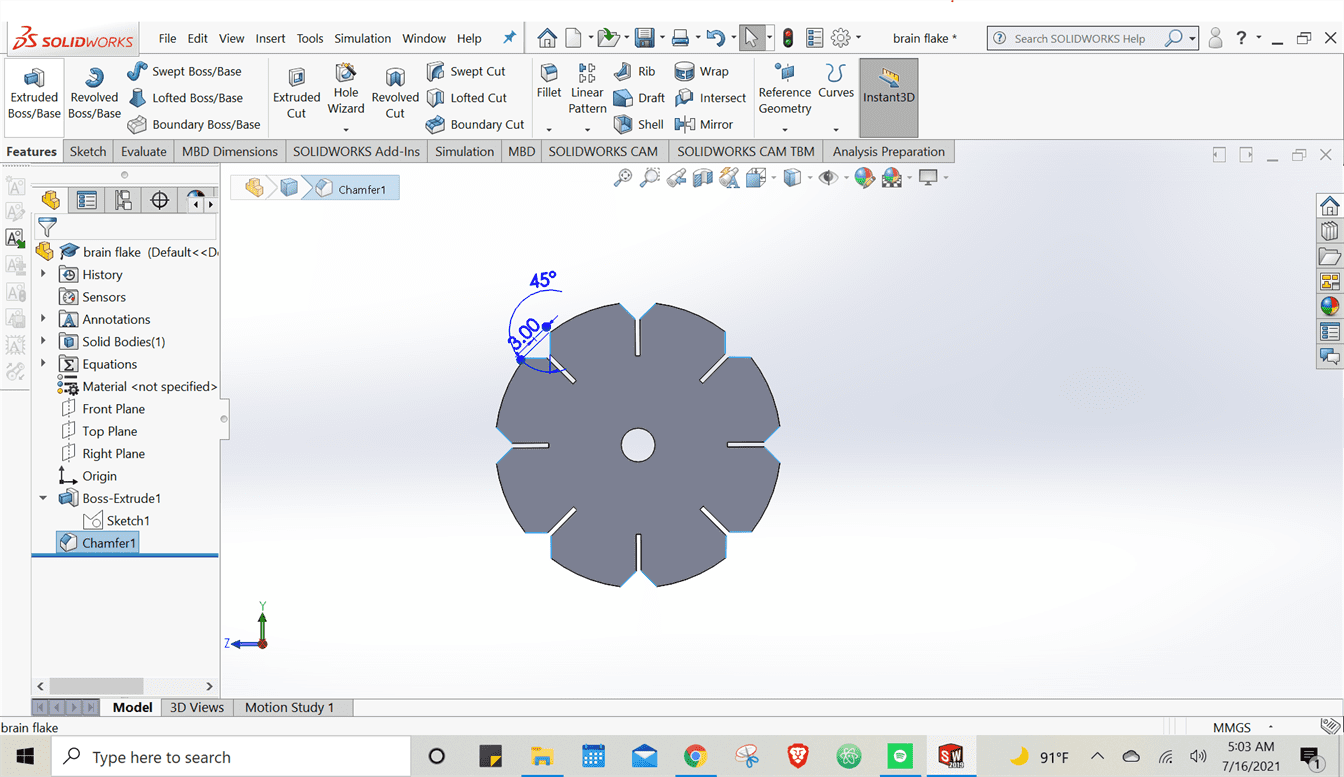
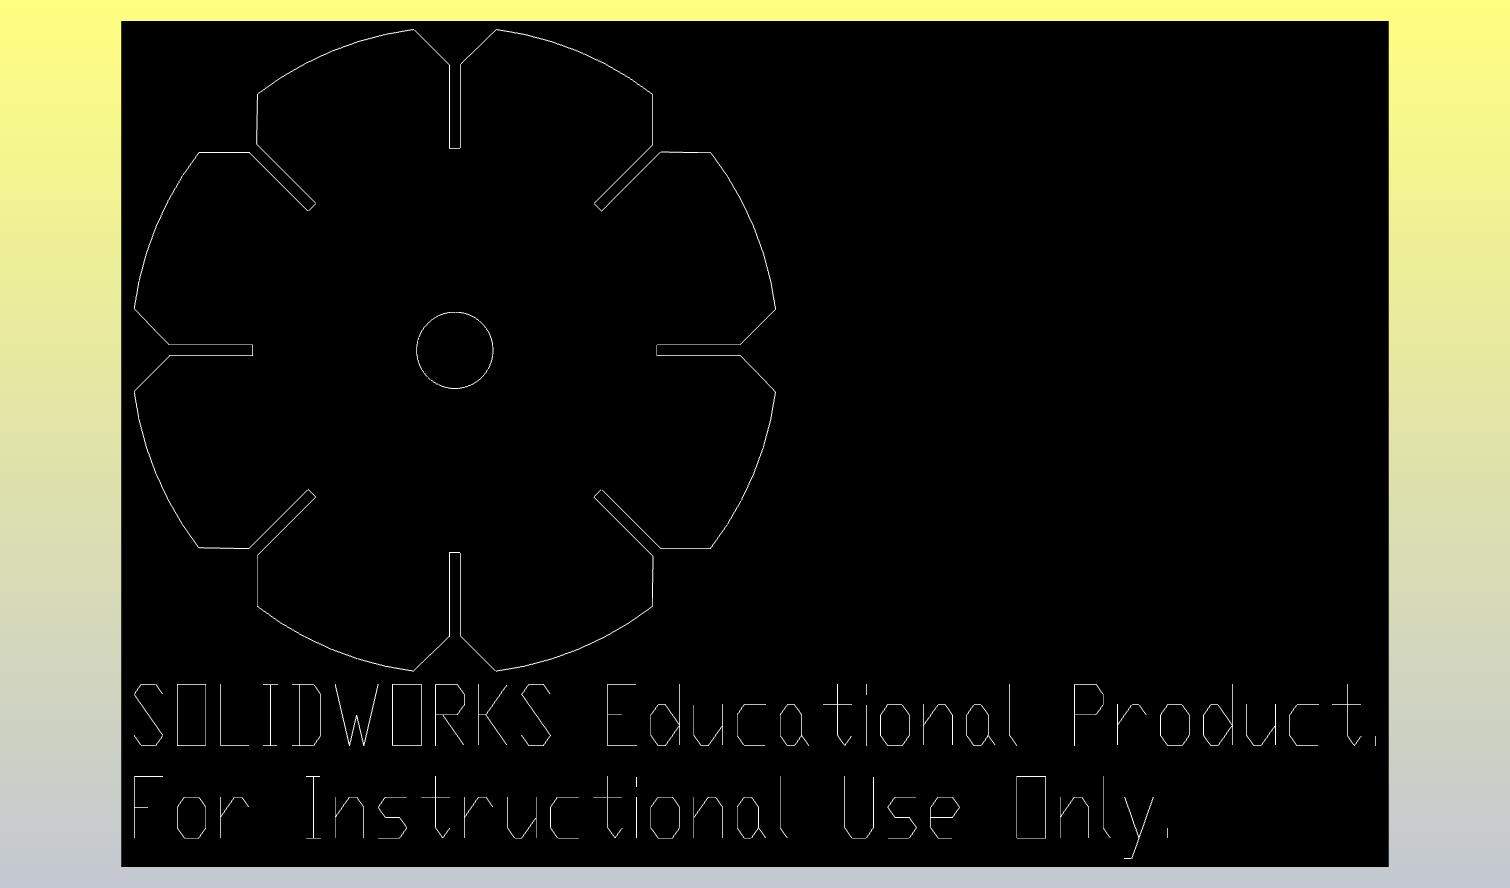
Lastly, I exported my design as a dxf file to import on the laser cutting machine software.
LASER CUT PROCESS
The following steps were performed to laser cut:
1: The dxf file of my design was opened on the software.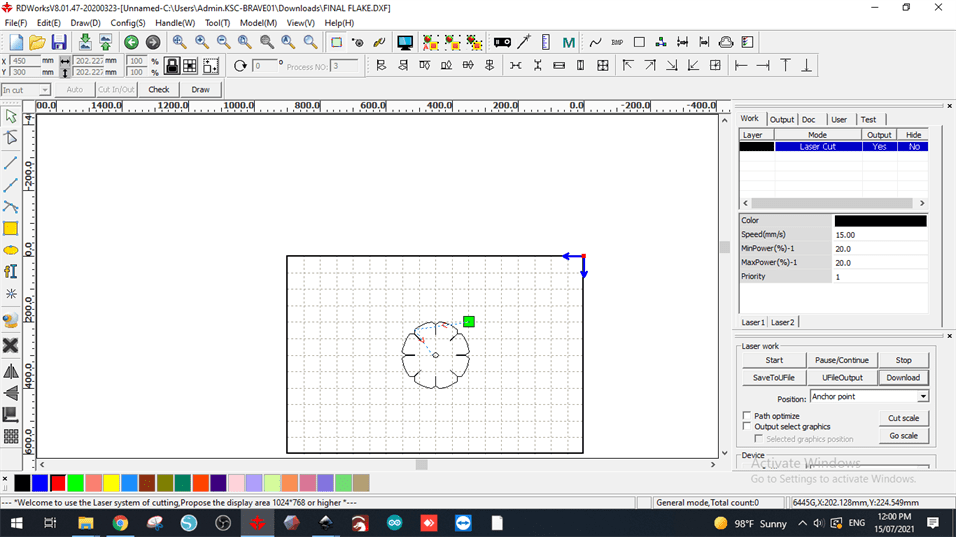
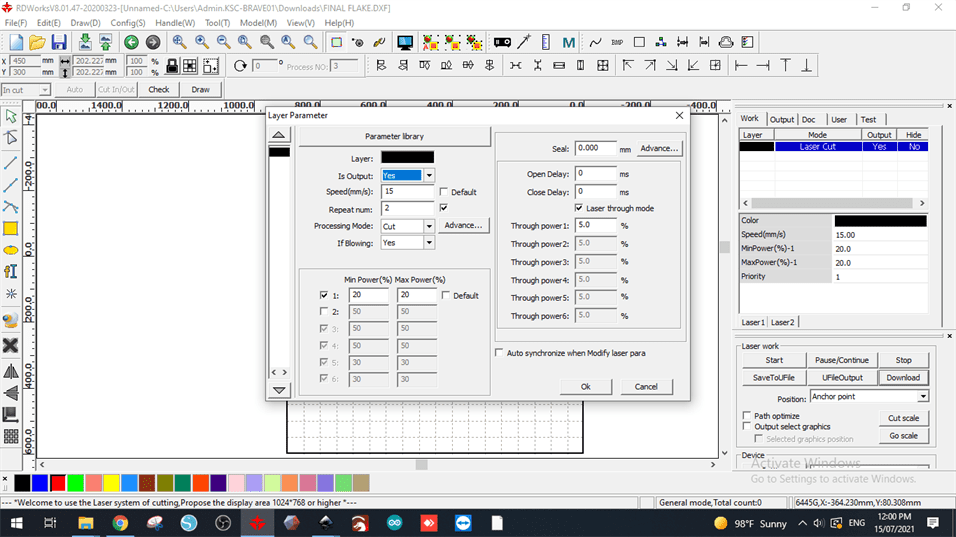
2: Layers were set and the speed, power etc as well which were already set in our case as they are of the best fit for the cutting proven by experiments done by our instructors.
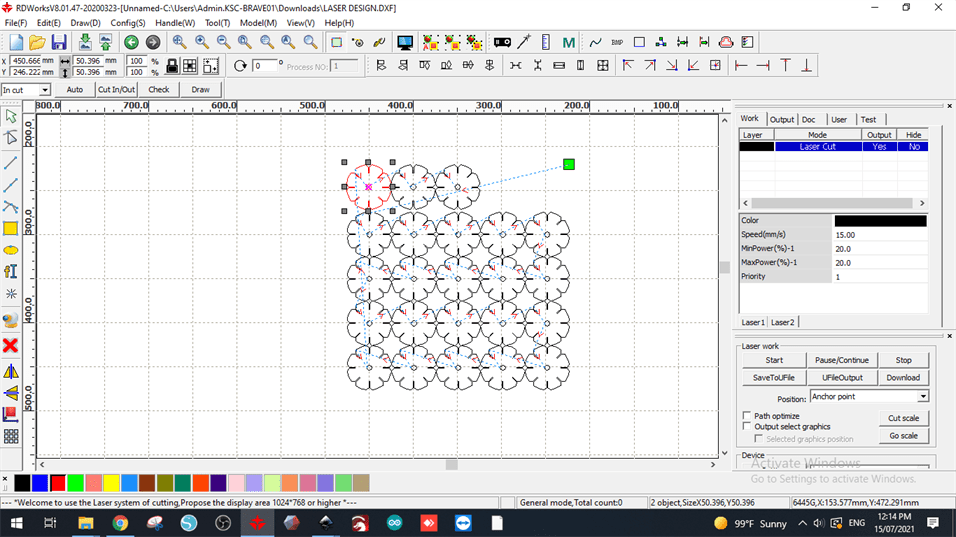
3: Array copy was done since I wanted multiple pieces of the same design.
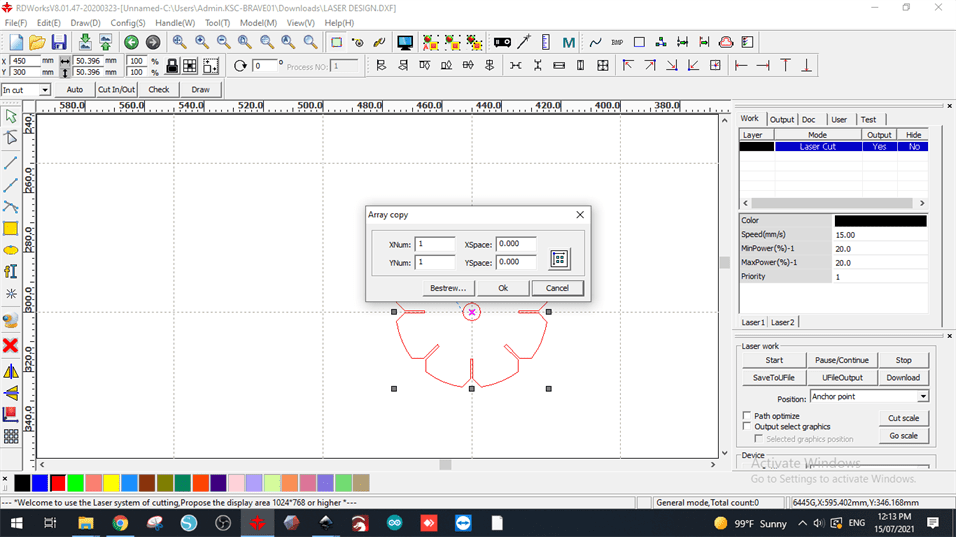
4: In the array copy panel we defined how many pieces we wanted but adding the numbers layers and columns. There is also an option for x and y spacing between the copies but it was not required here.
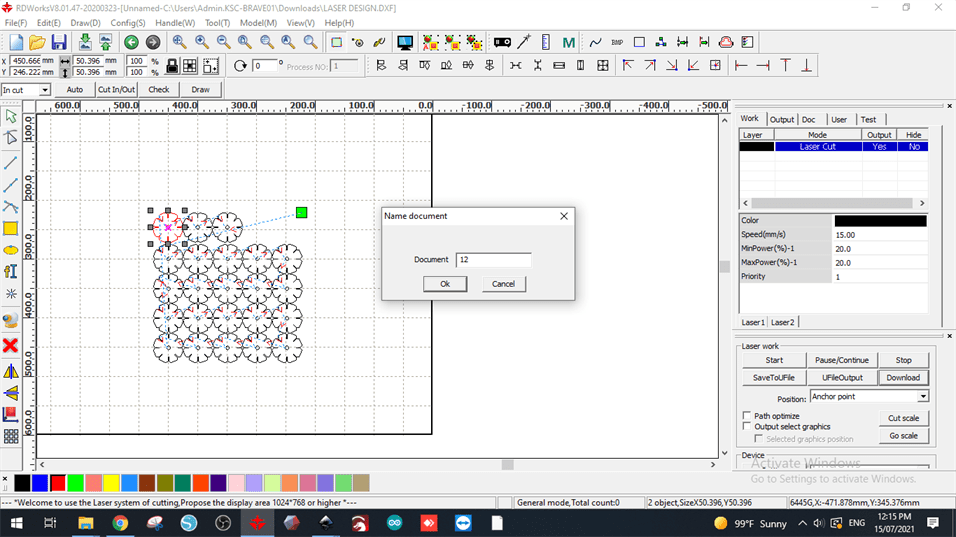
5: Document file was named and saved.
6: On the machine bed we put the carboard and taped it around the corners so that it stays in place while cutting.
7: We cut one piece seperately earlier for testing which took 40 seconds so we calculated how much time 23 pieces would take which was 15 minutes.
8: On the machines control panel we performed the same steps I have mentioned in the group assignment section and finally pressed Start to cut.
The pieces were cut successfully and finally I assembled them to form different things.
✨ HERO SHOTS ✨
1.
2.
3.
4.
ASSIGNMENT 2: VINYL CUT STICKER
CUSTOMIZING DESIGN
2.
3.
4.
ASSIGNMENT 2: VINYL CUT STICKER
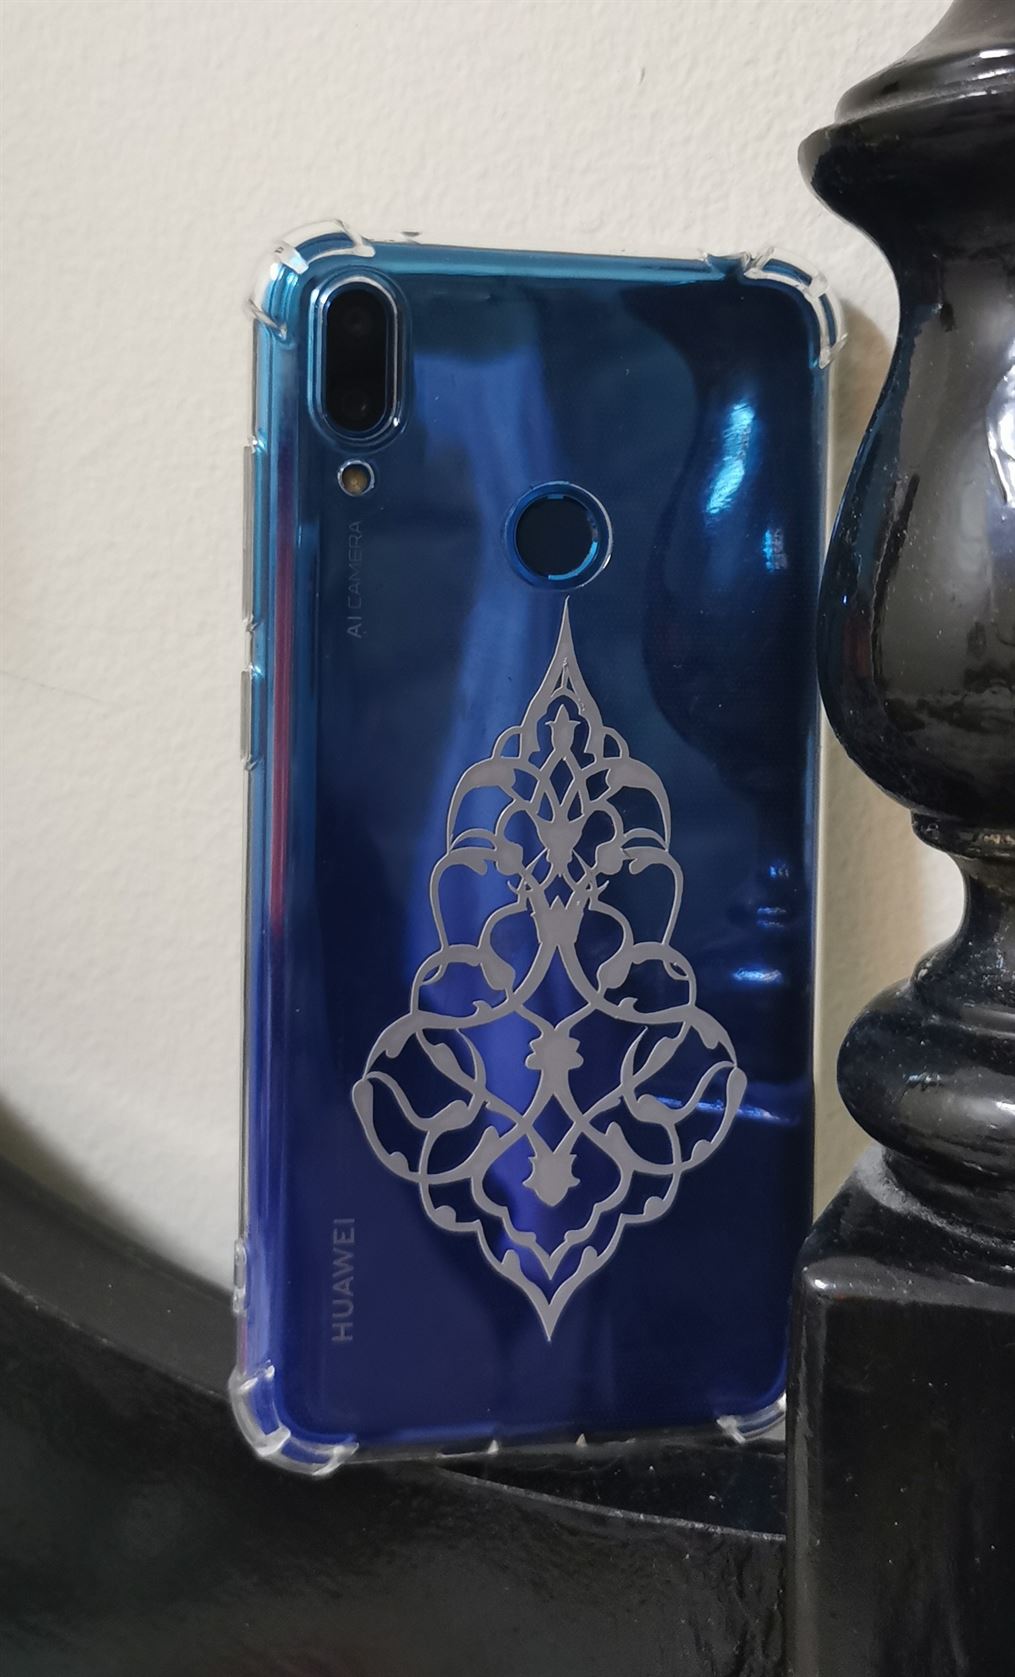
For vinyl cutting I decided to cut a sticker for my mom's phone case but since she likes motif designs which I am not very good at drawing, I downloaded a design from this website. The original design was multi-coloured but I wanted it to be of one color so I opened it on Adobe Illustrator, traced it and changed its color to white. Lastly I exported it as png image in order to import it on to the vinyl cutter software.
VINYL CUTTING PROCESS
The following steps were performed to vinyl cut the sticker design:
1: I cut the color paper sheet on which I wanted to cut my design.
We cut a little more than required just to have a margin.
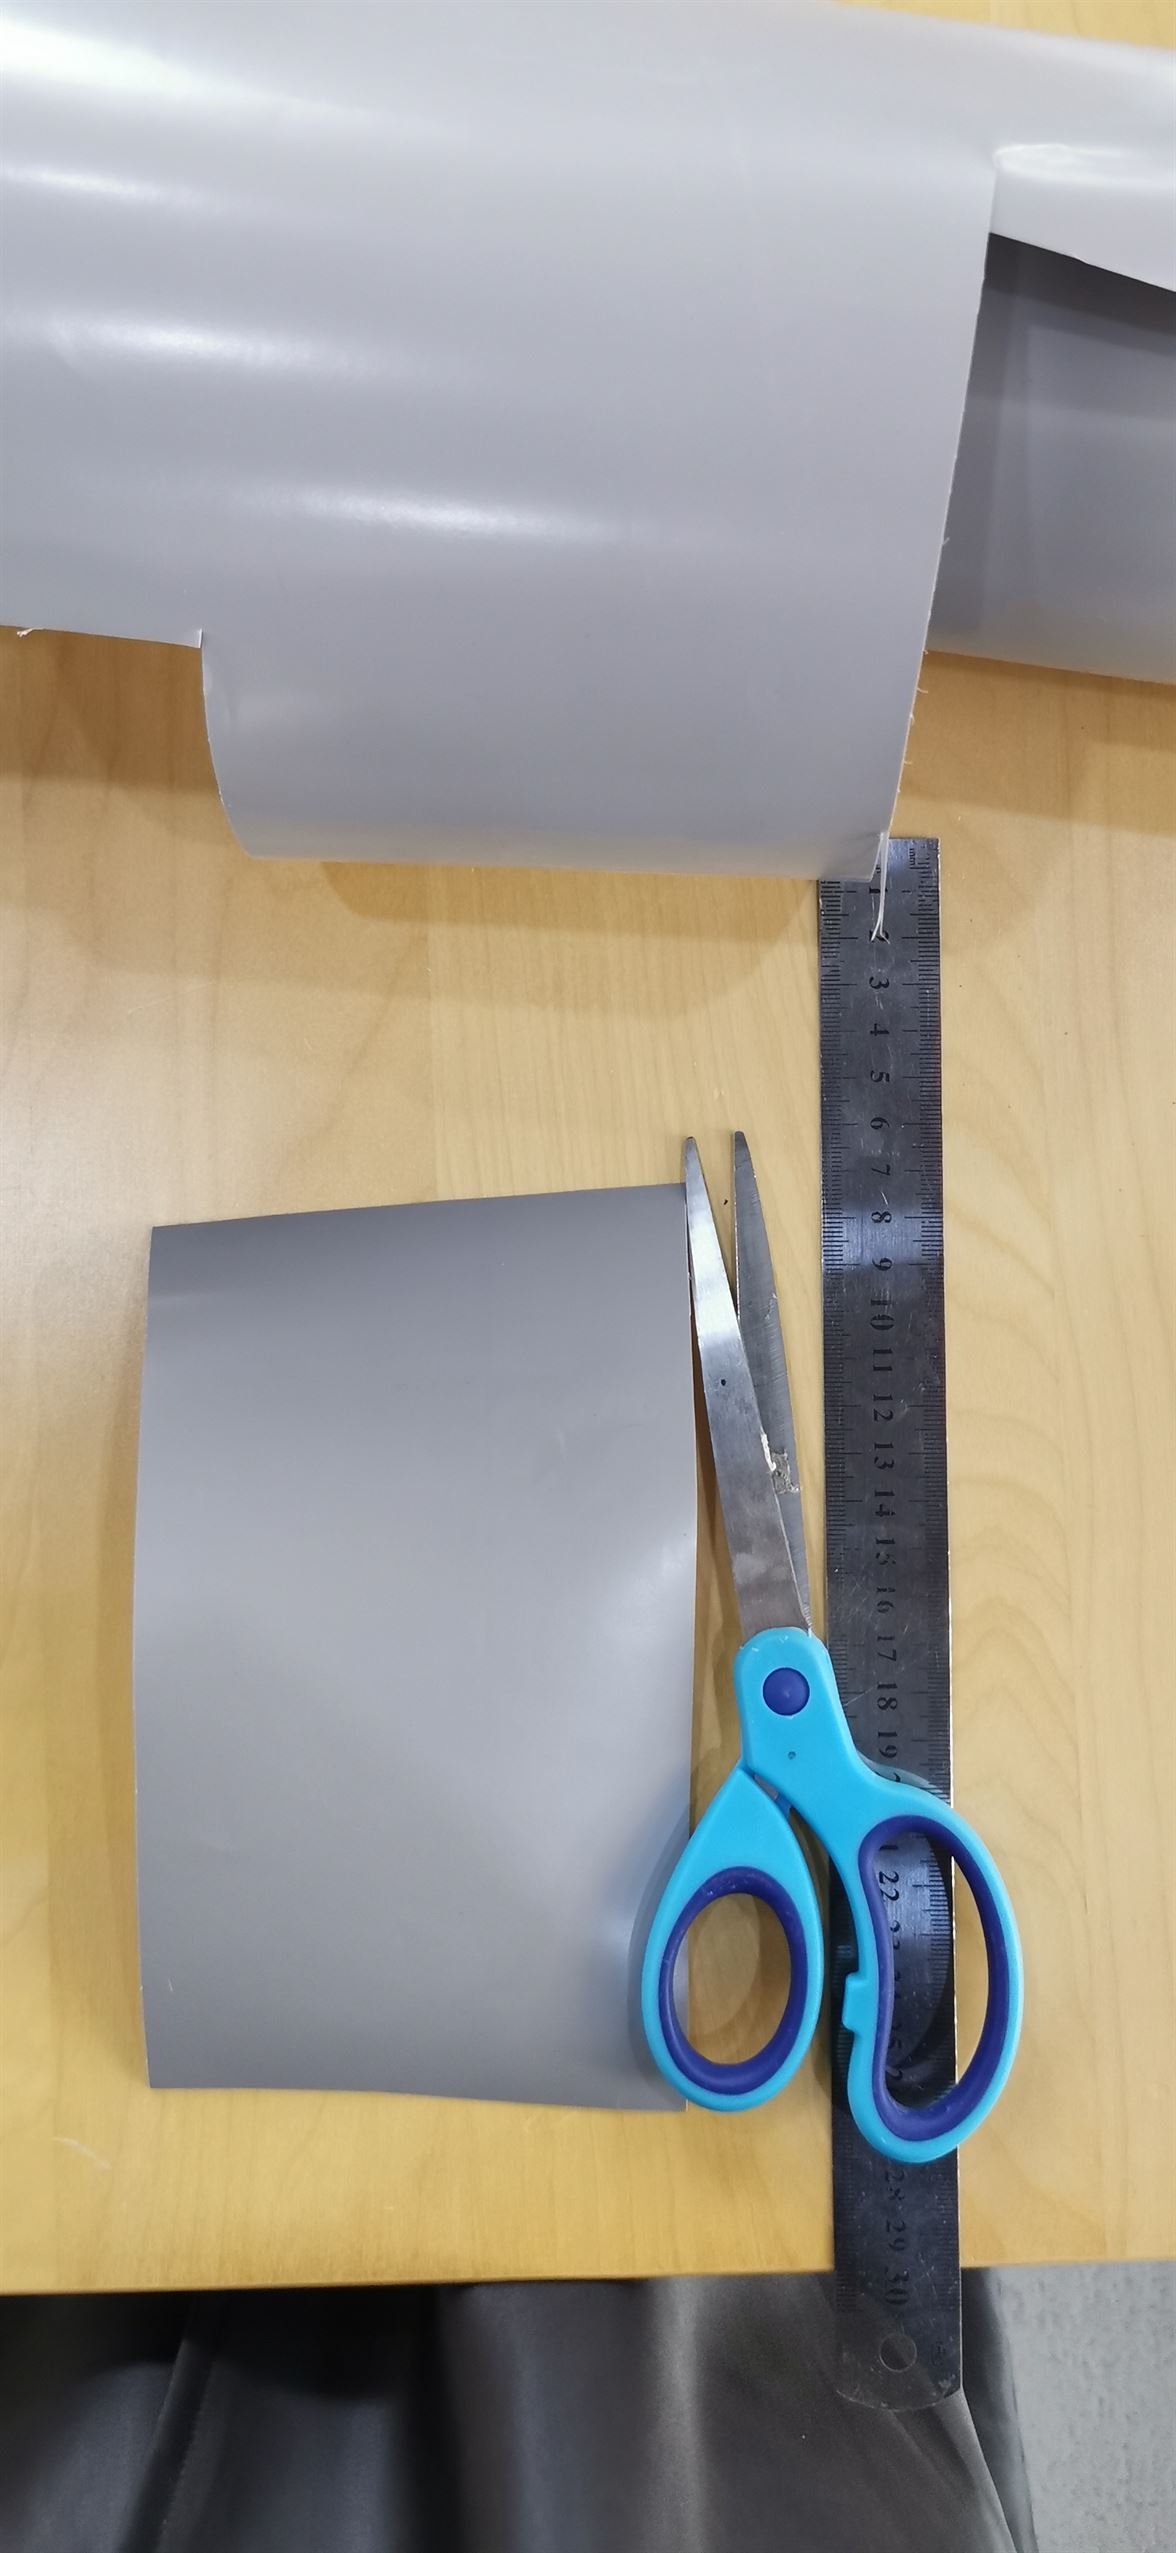
2: I sticked it on the cutting mat.
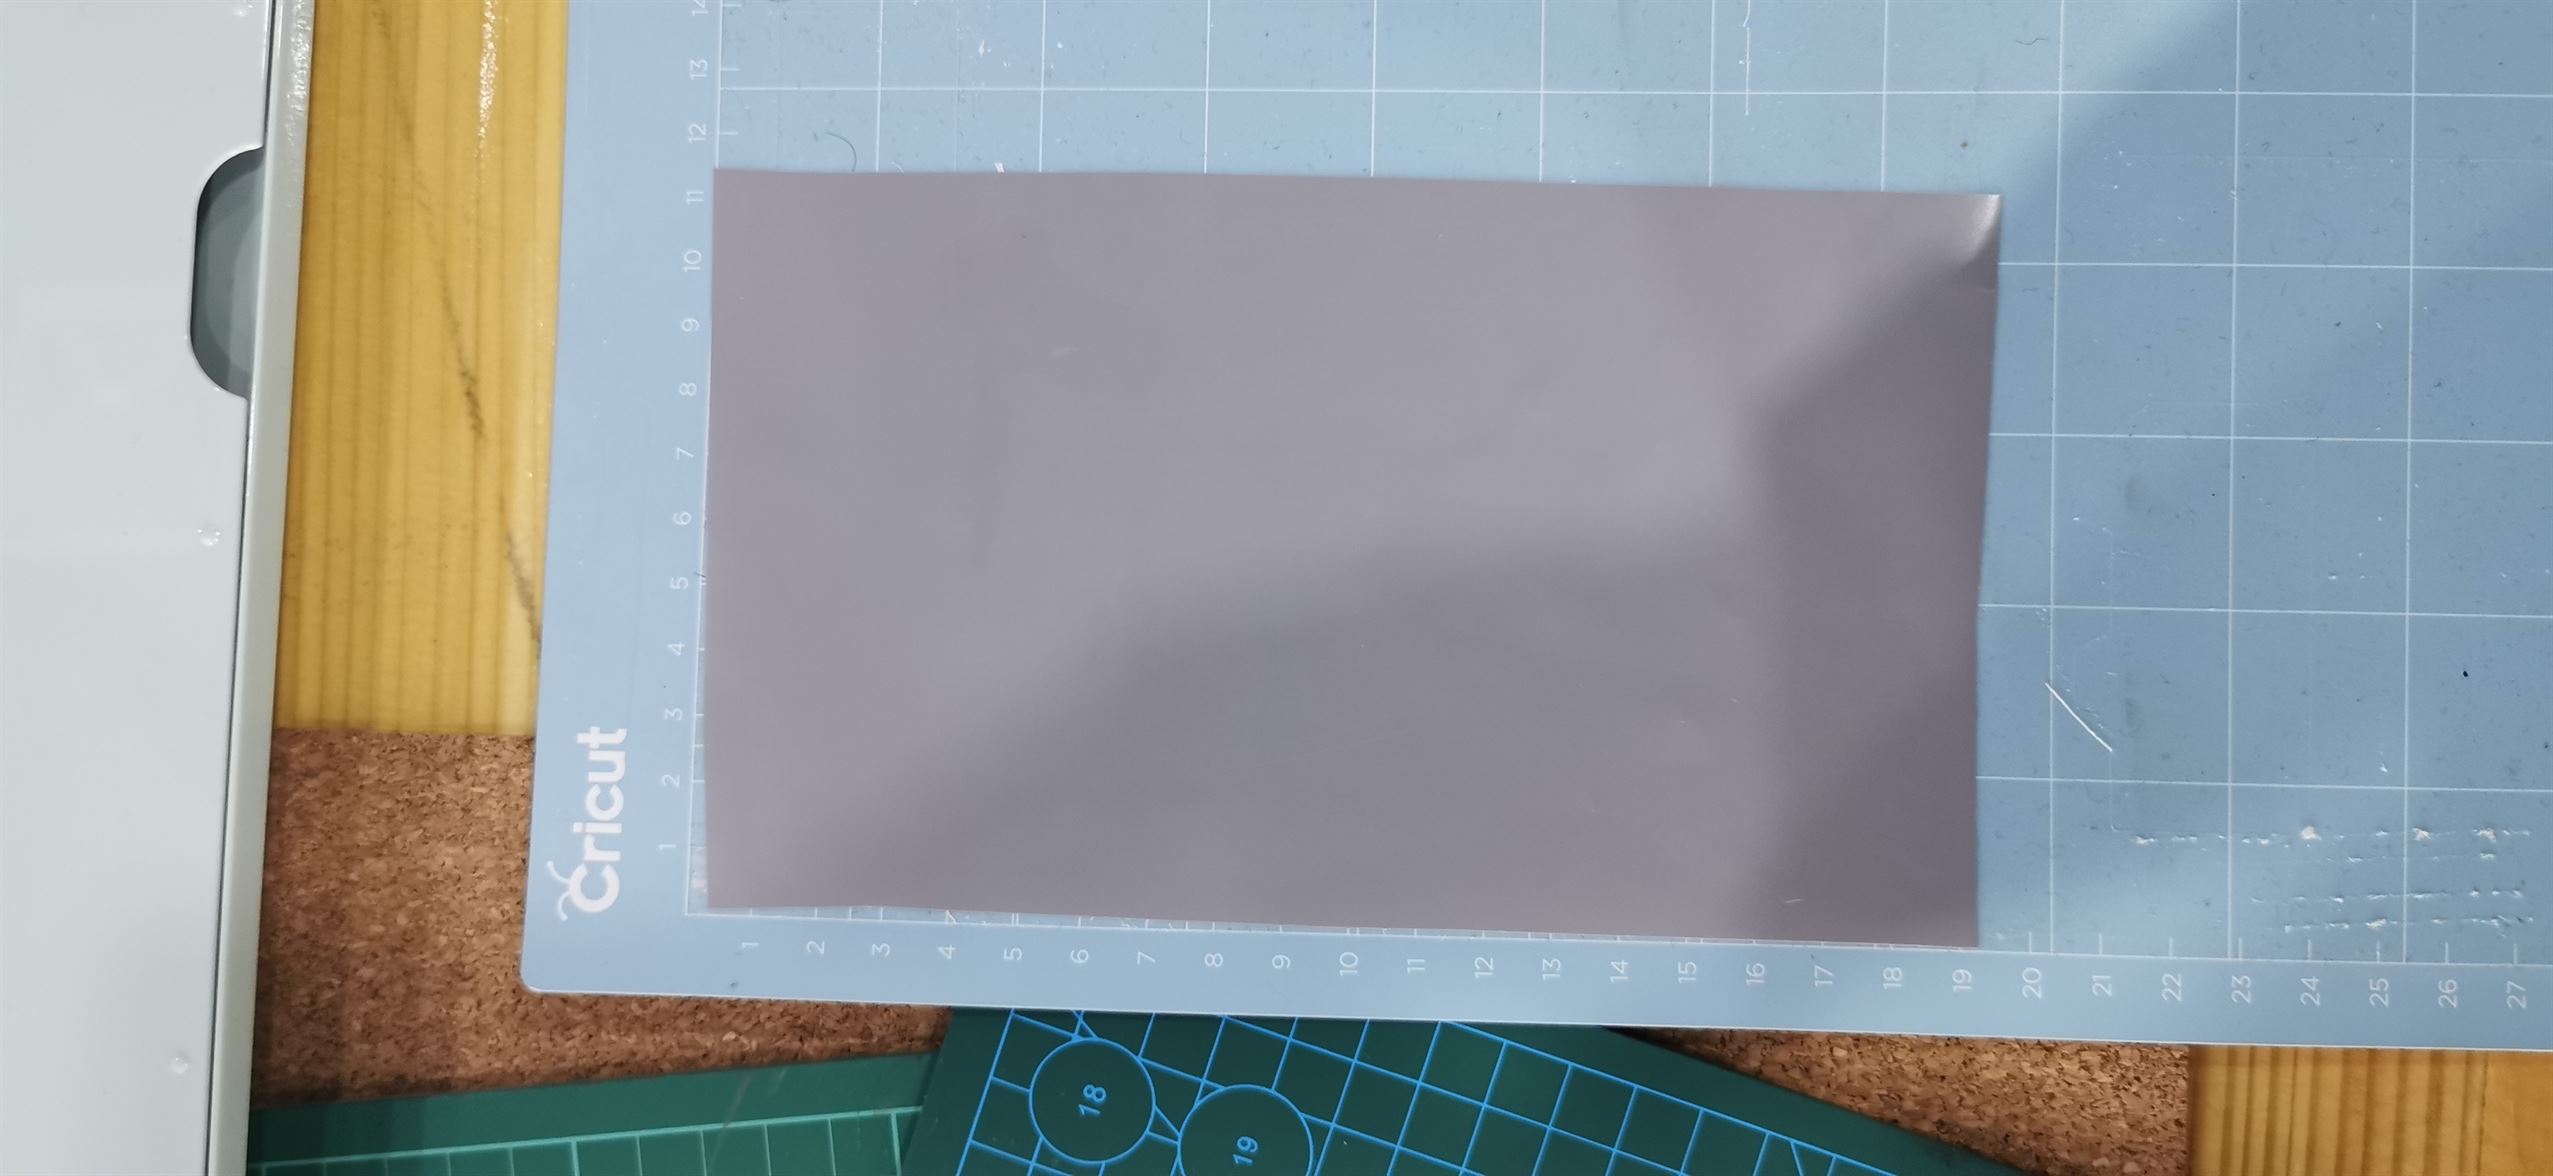
3: Then I slided the mat into the machine which it rolled in and detected automatically.
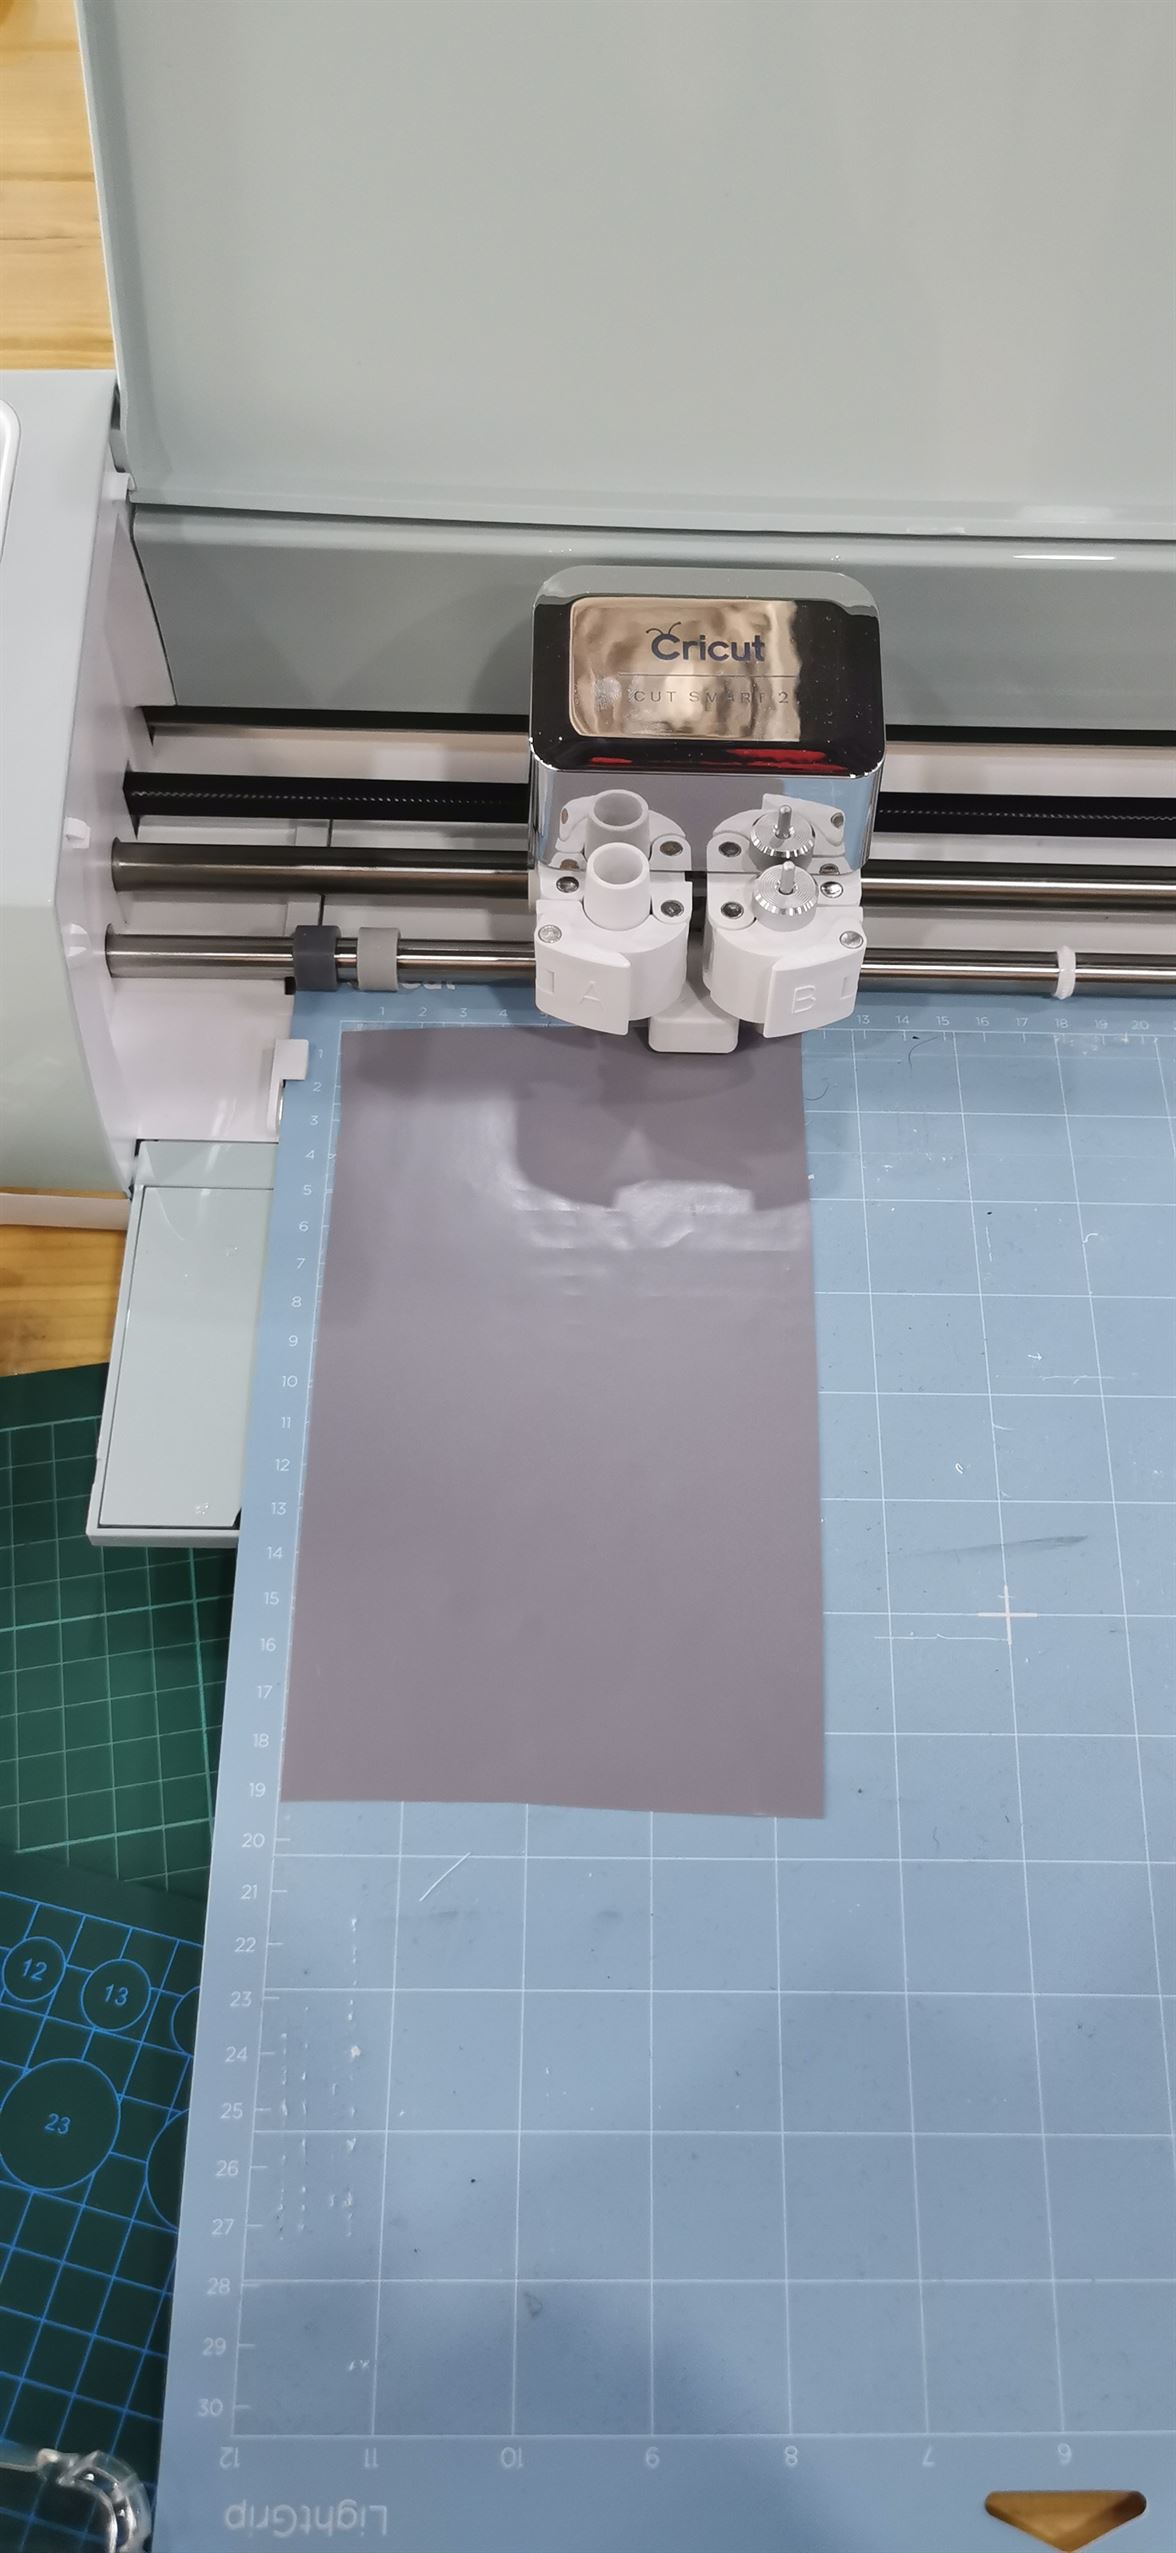
4: On the Cricut Design Space software, we opened a new document.
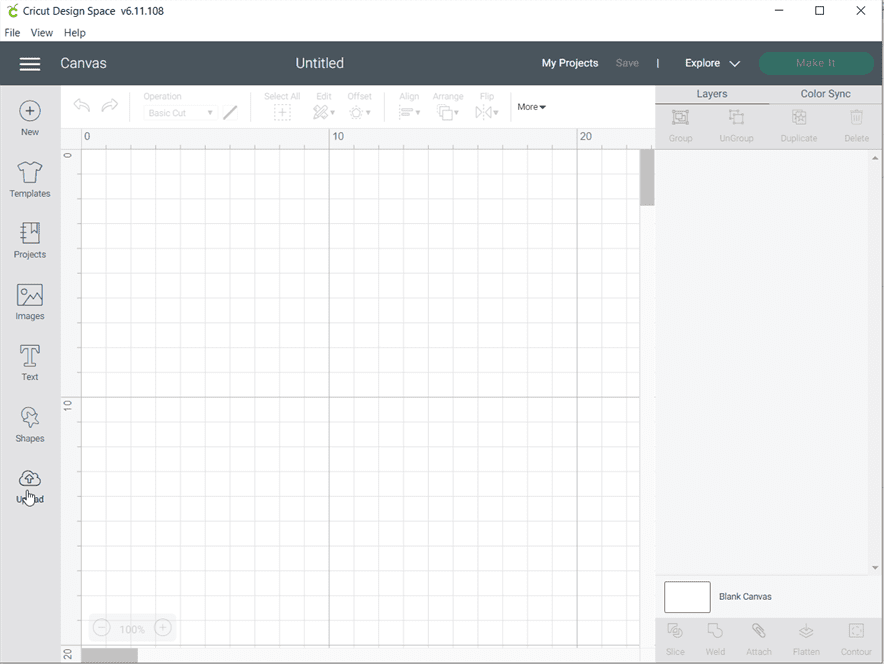
5: Then we uploaded my design image.
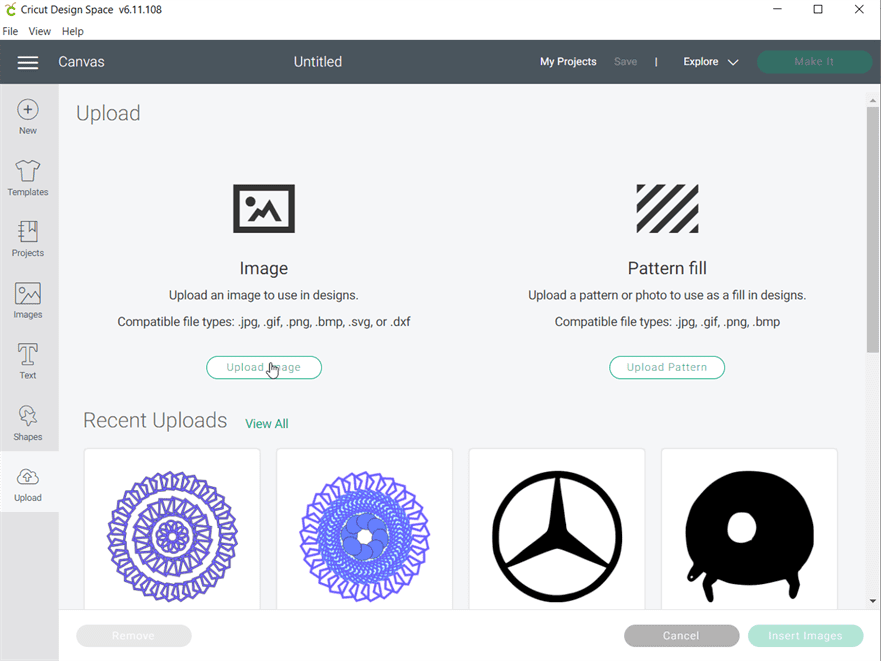
6: Then the software asked us to select the image type [simple, moderately complex, complex] which in my case was complex.
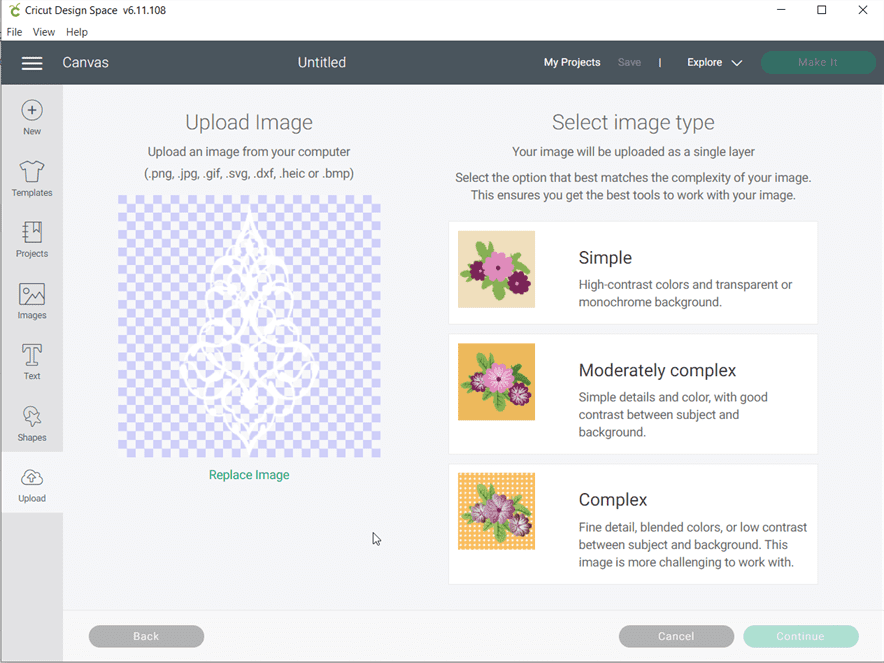
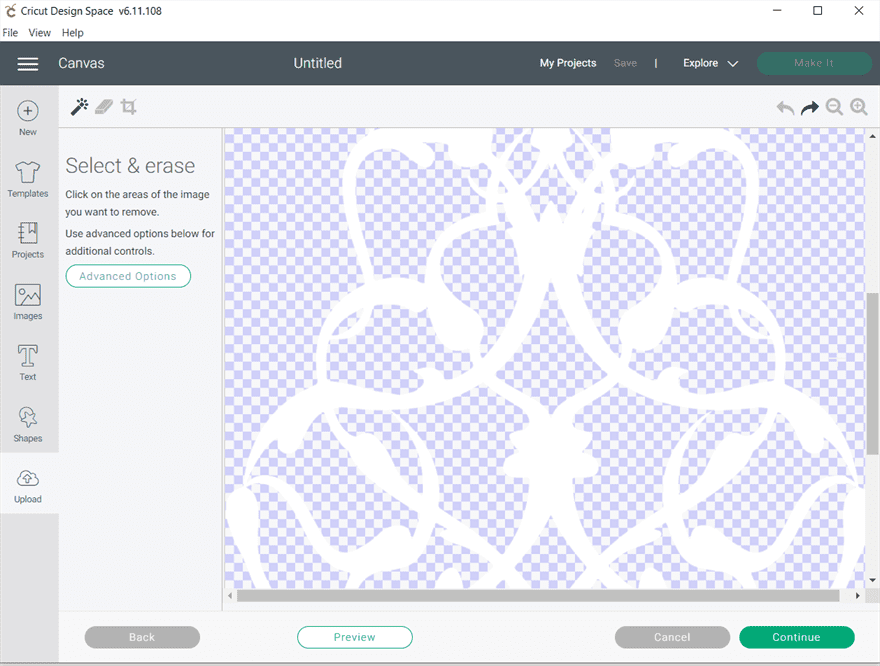
7: Then we got an option to select an erase pieces in the design we didn't need.
I did not notice anything extra so we proceeded without erasing anything.
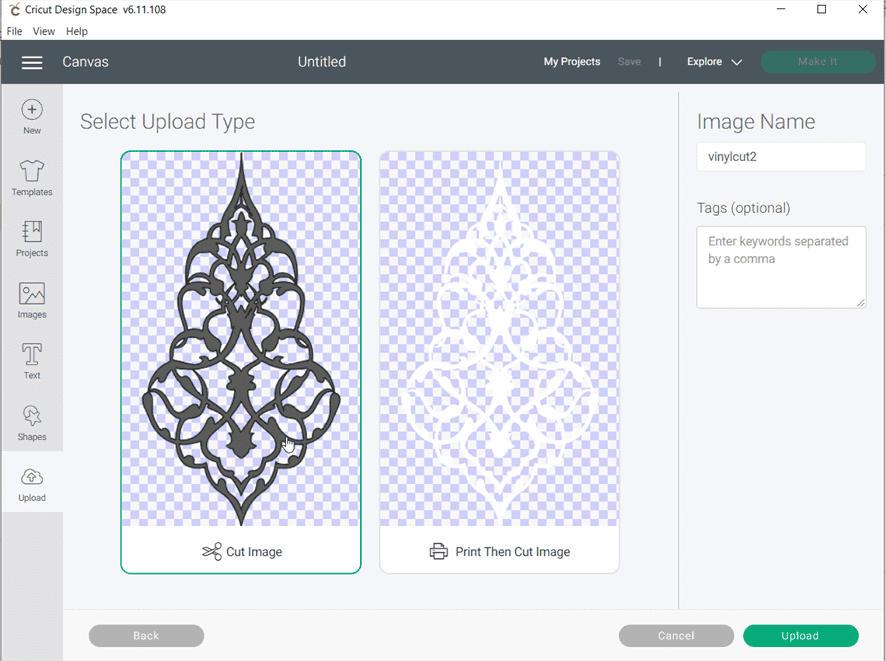
8: Then we selected the upload type [cut image or print then cut] which in my
case was cut image since I was simply cutting a sticker whereas the latter is
for textile stickers as far as I know.
9: Then we set the dimensions which I simply scaled on the phone case.
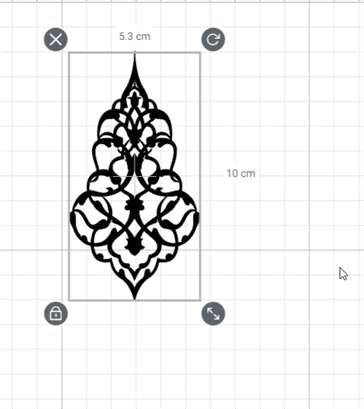
10: Finally we clicked on Make It option which made our mat appear and the place where the design would cut.

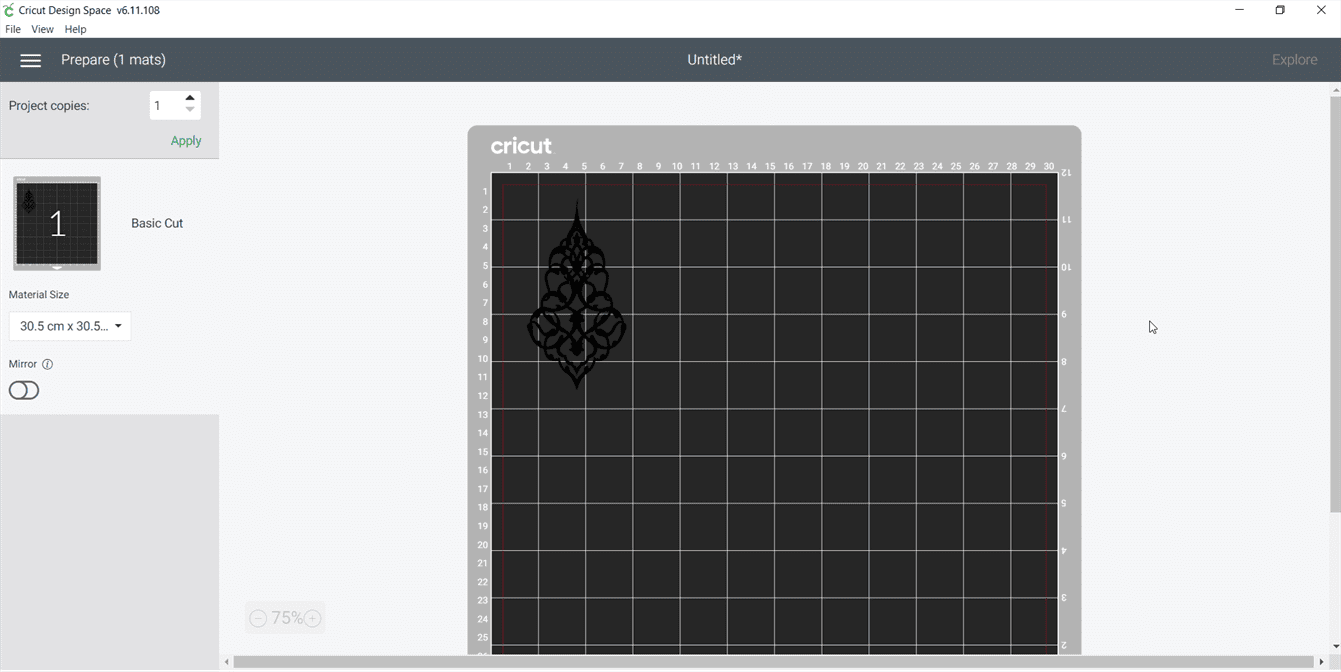
11: Then the software detected the Cricut Air2 machine and connected to it.
This control panel requires to look at our machines control panel and cutting tool.
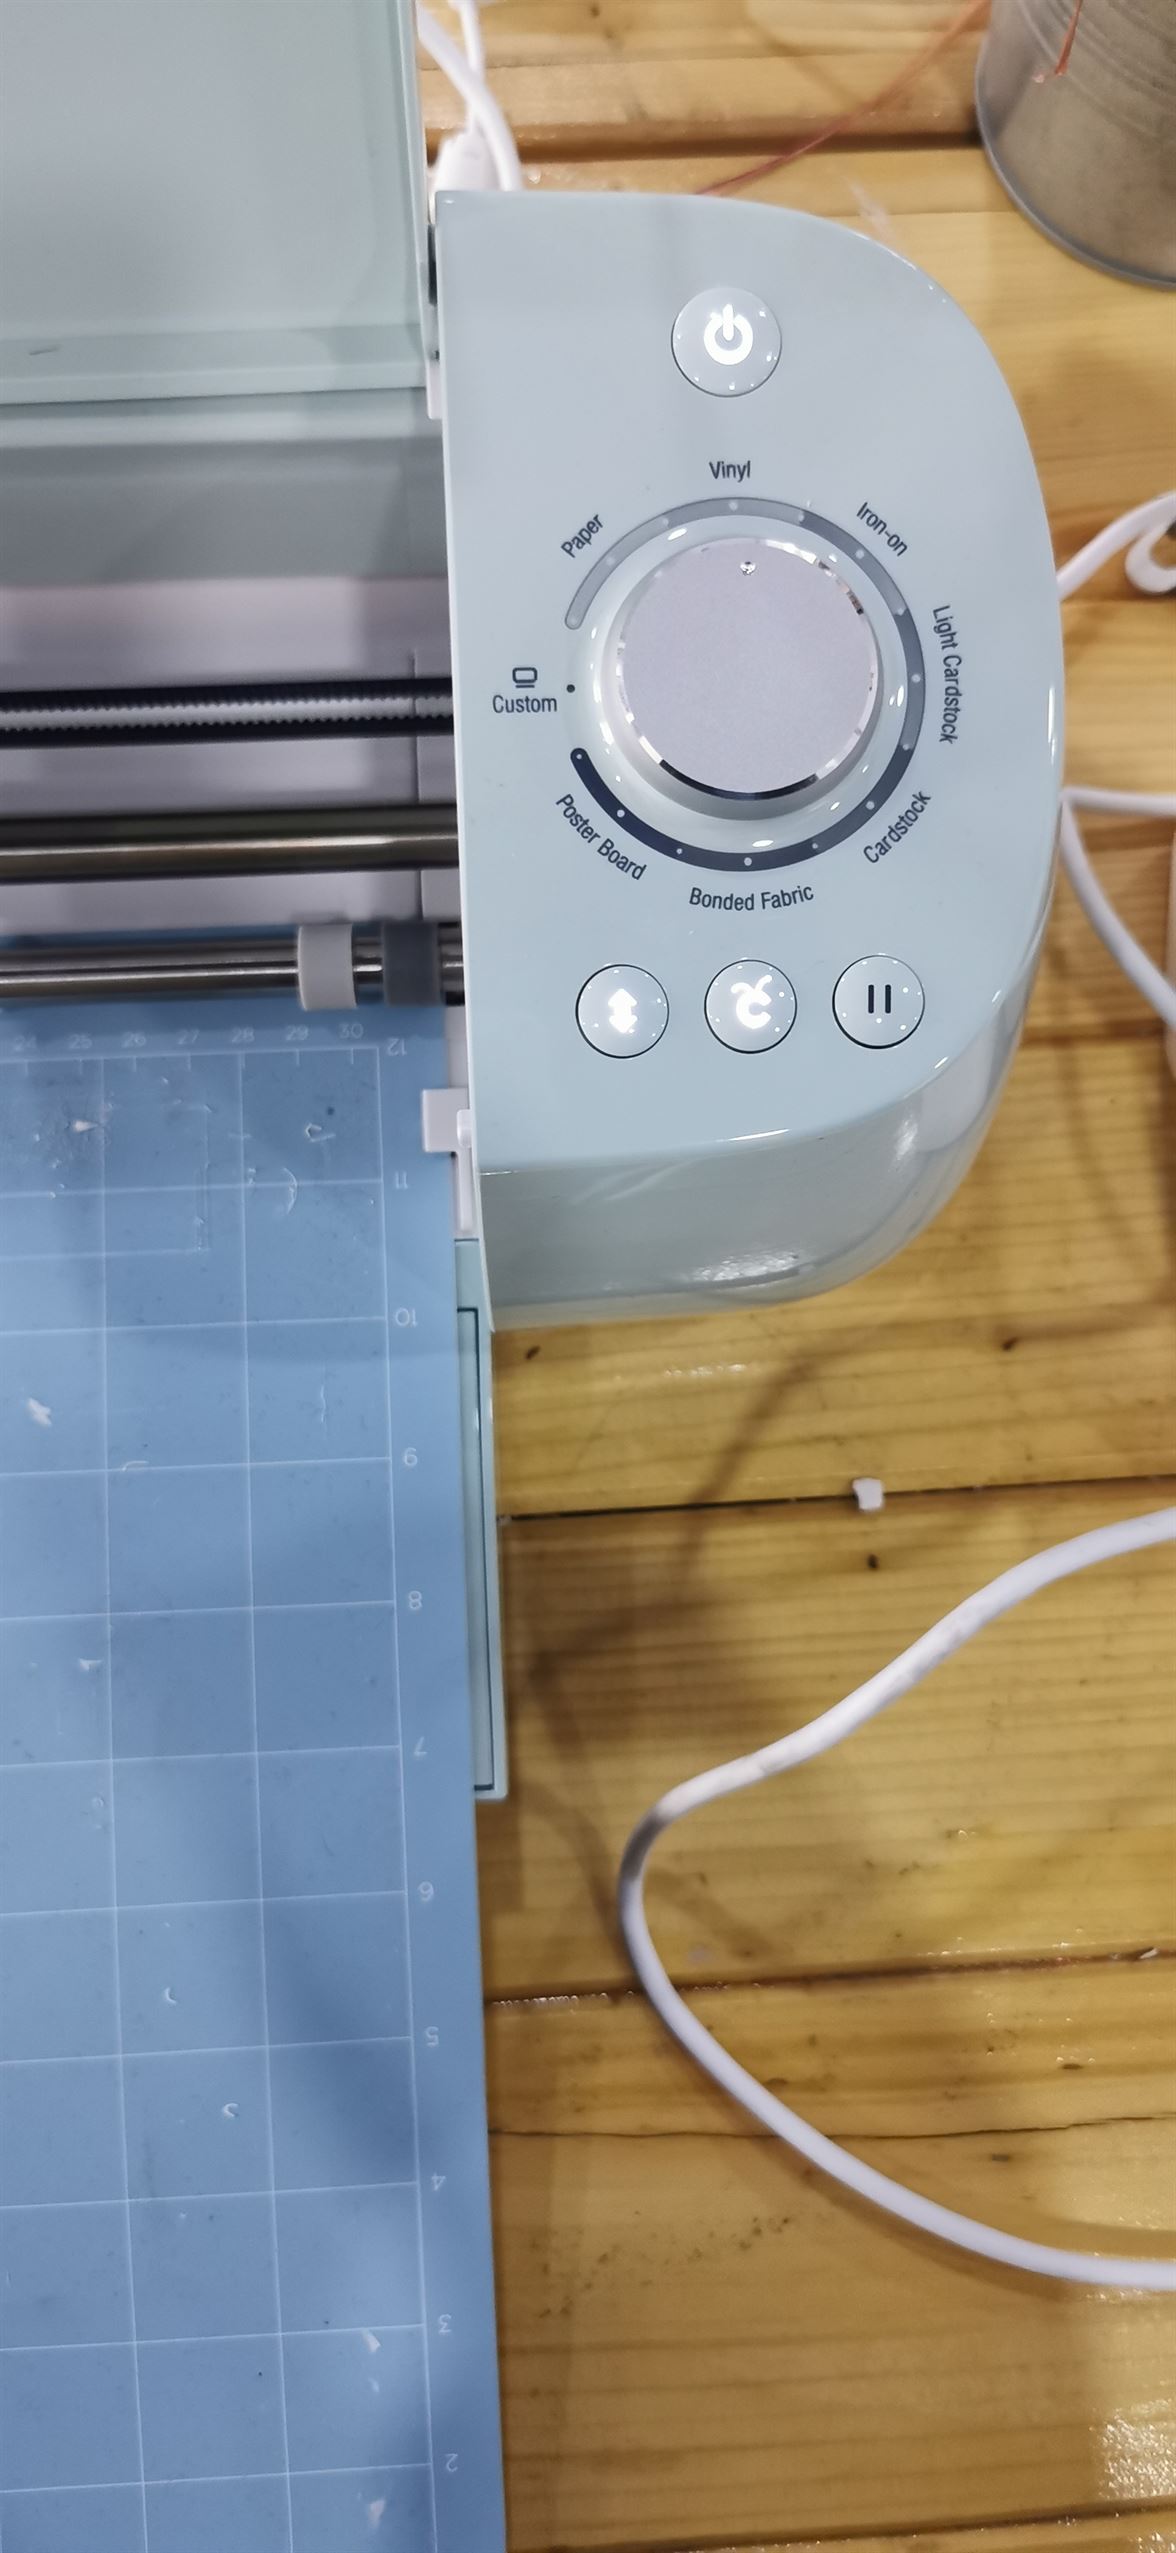
Firstly since the machine has alot of cutting options we choose appropriate one
which in my case is simple vinyl cut. For thicker, textiles etc there are different settings.
Then we checked the cutting tool - it was already inside the chuck.
12: Finally to cut, we pressed the blinking button in the middle of the control panel of the machine
to begin its cutting.
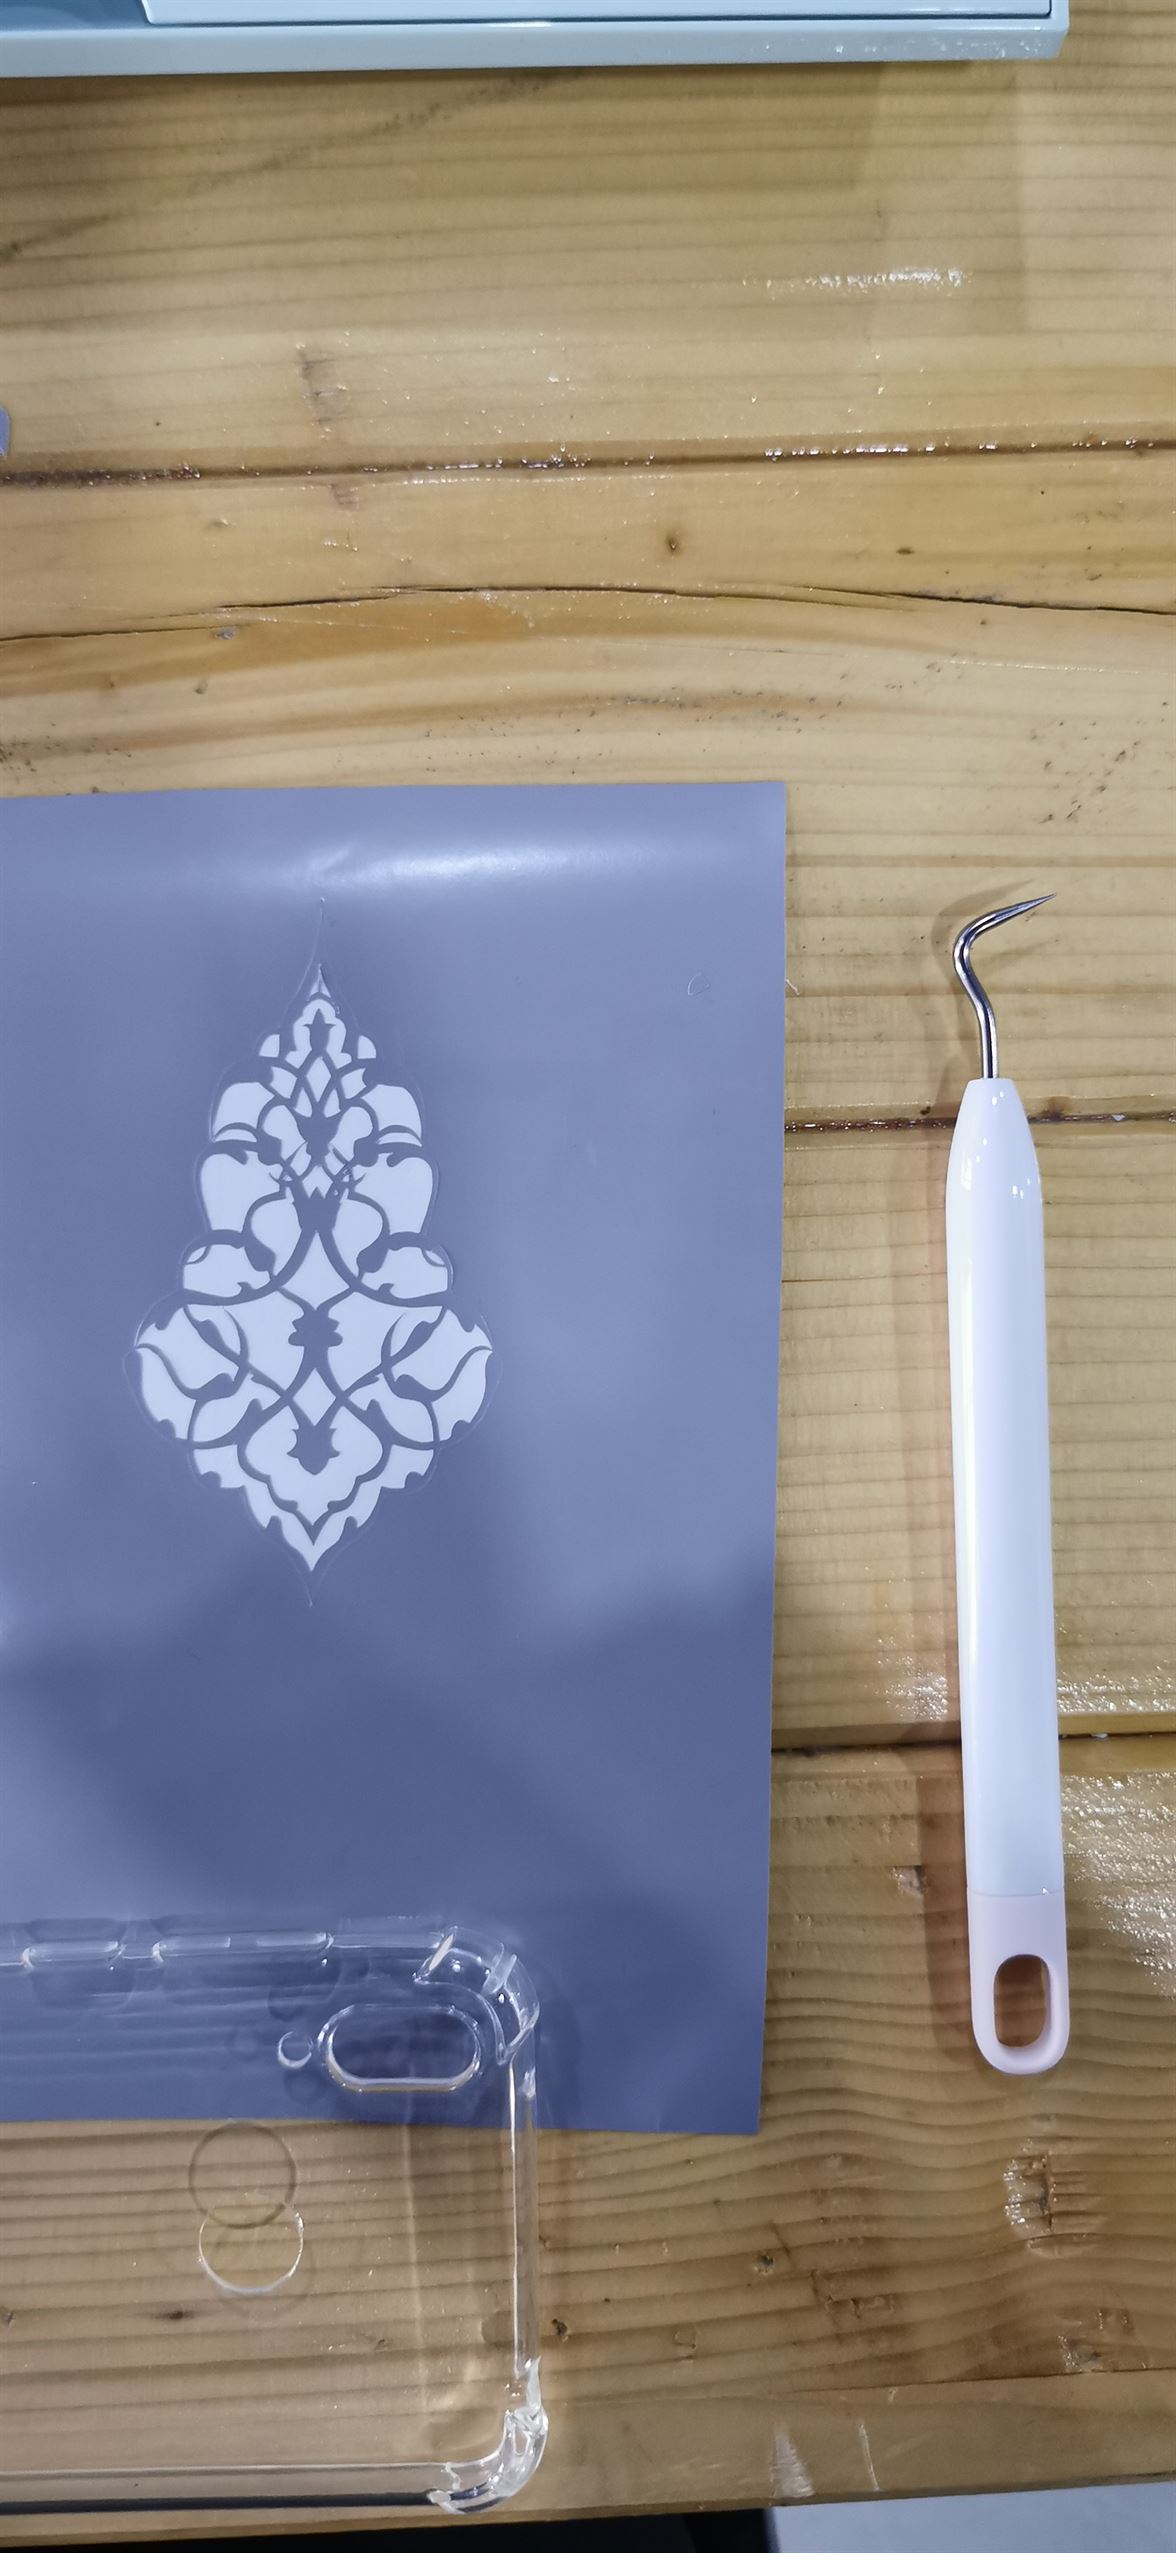
Lastly, my design had alot of bits that I didn't need so I used a tweezer to pluck them out and my sticker was ready for applying!
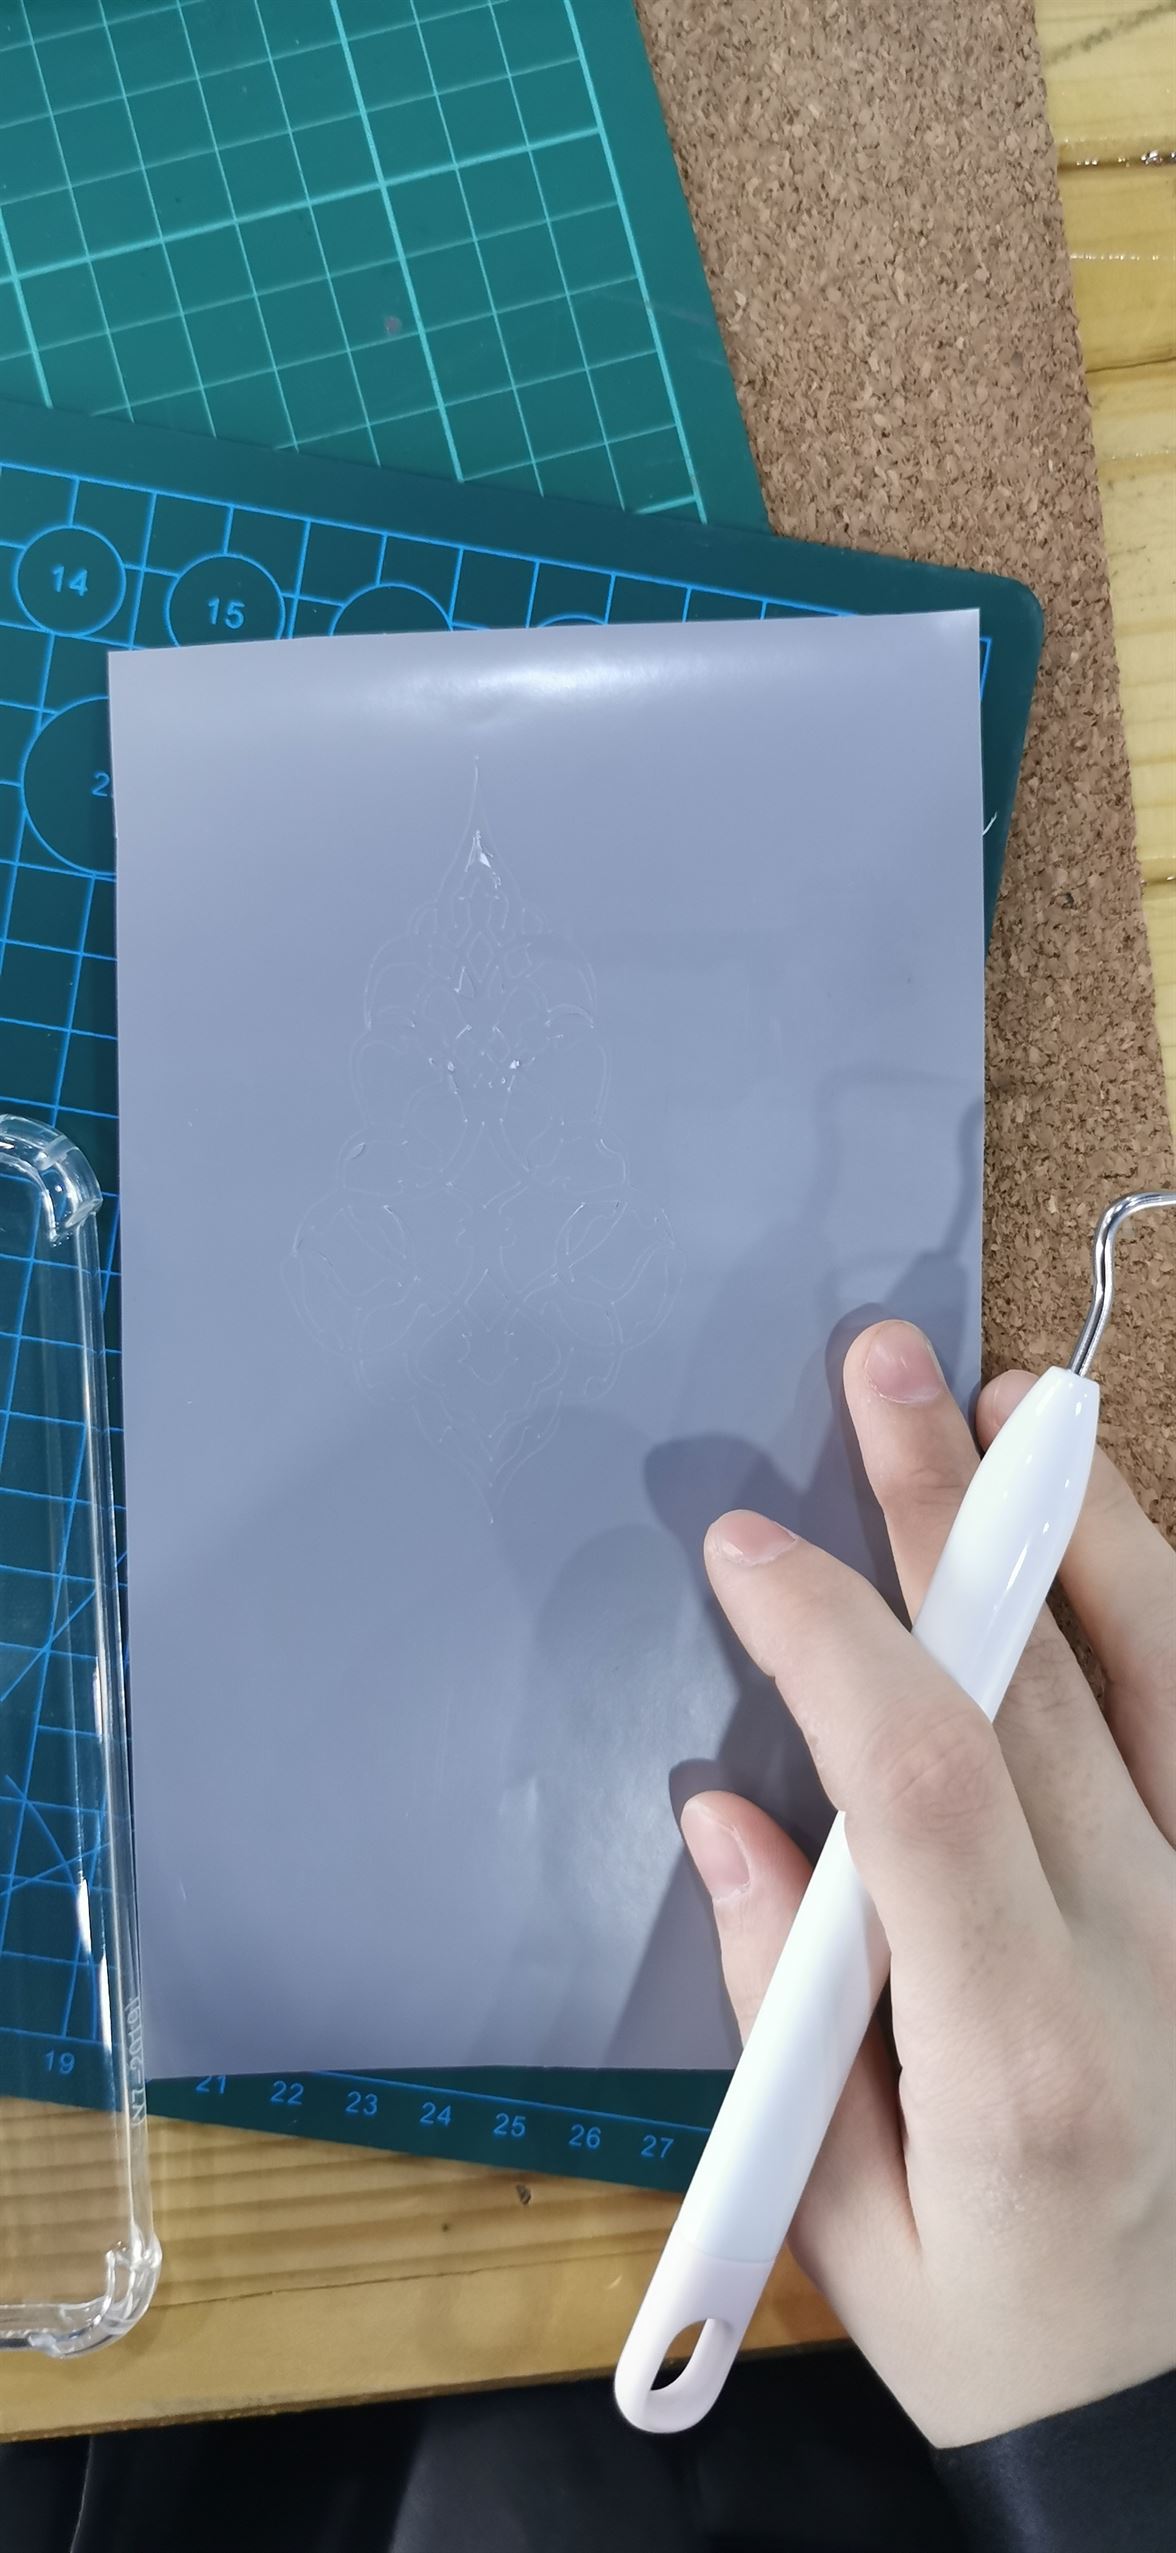
✨ HERO SHOT ✨
REFERENCE LIST
REFERENCE LIST