1. Project management
This week I worked on defining my final project idea and started to getting used to the documentation process.
Git set-up
I started by making an account in GitLab and I was able to access a repository that was prepared for me for my time with FabLab. We were introduced to GitLab and how to use it and we had to install two programs: Atom and Git Bash.
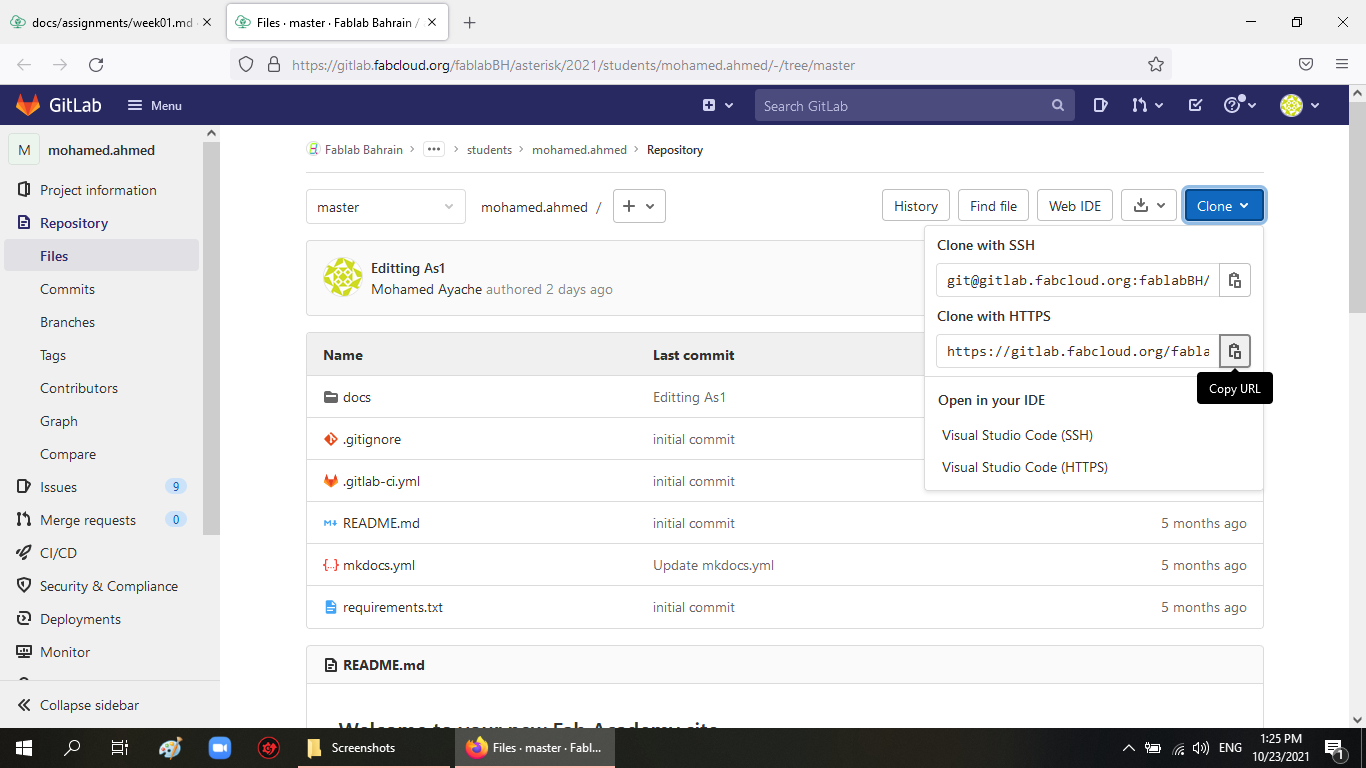
The installation process was straightforward, I first installed Git then Atom. After that, with some assistance, I cloned my repository using ‘Clone with HTTPS’ as appears in
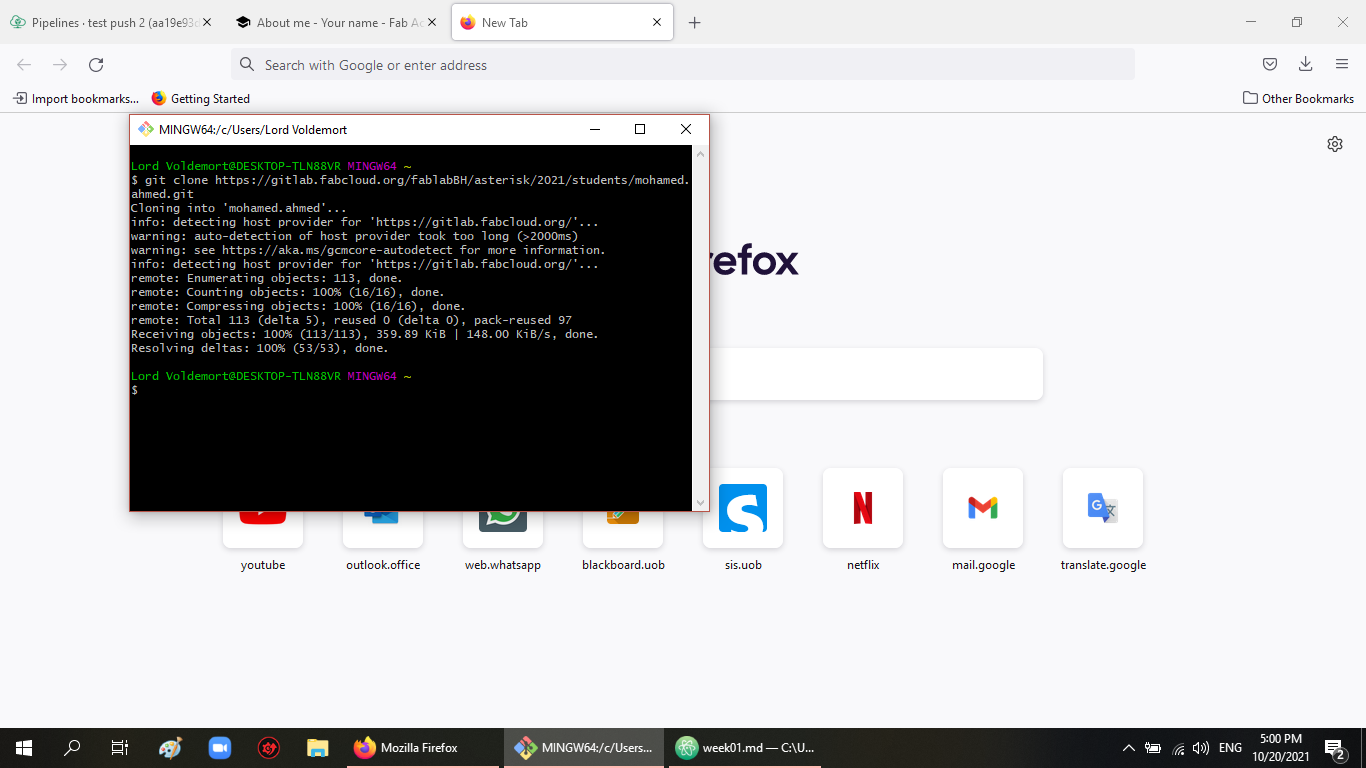
and then I went to Git Bash and entered the command ‘git clone ‘URL’ ‘
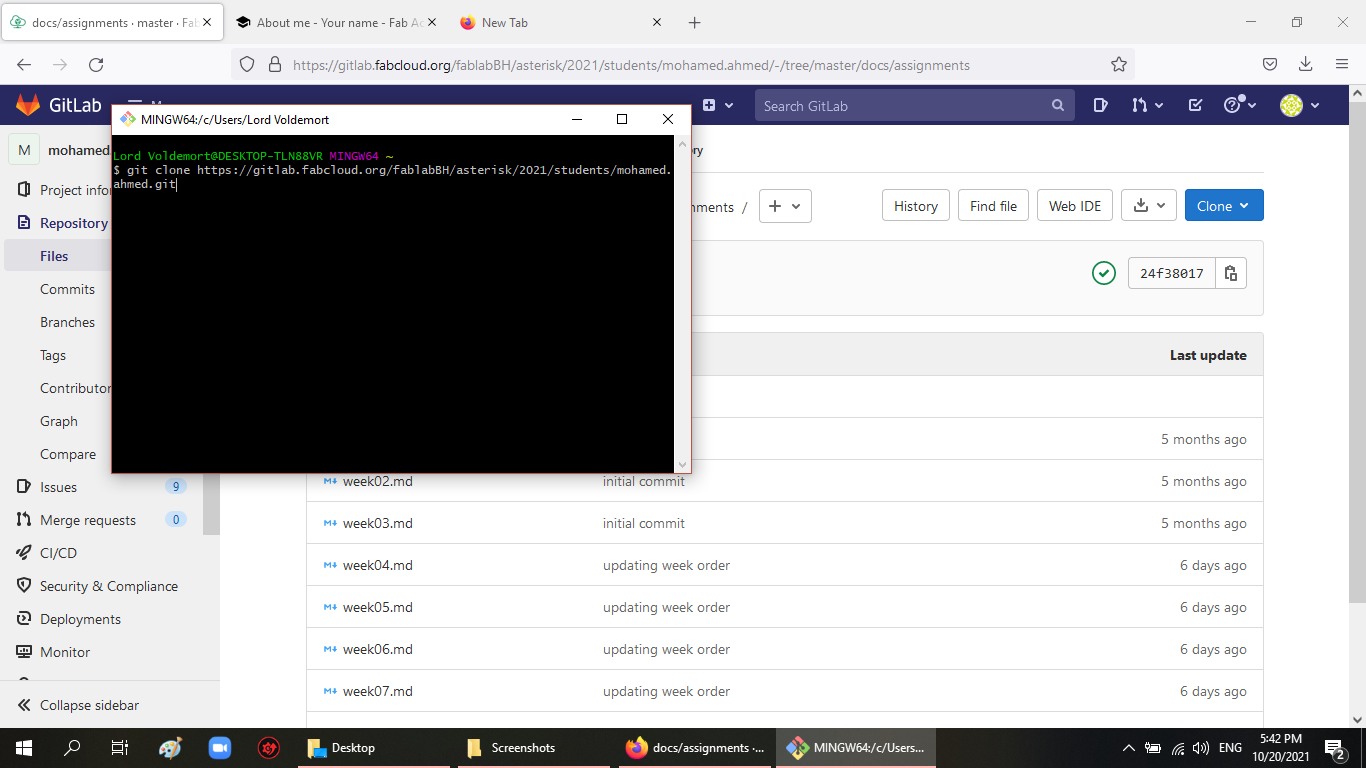
the cloning process started and I was prompted for my username and password from GitLab, which I provided, and then the cloning process was finished
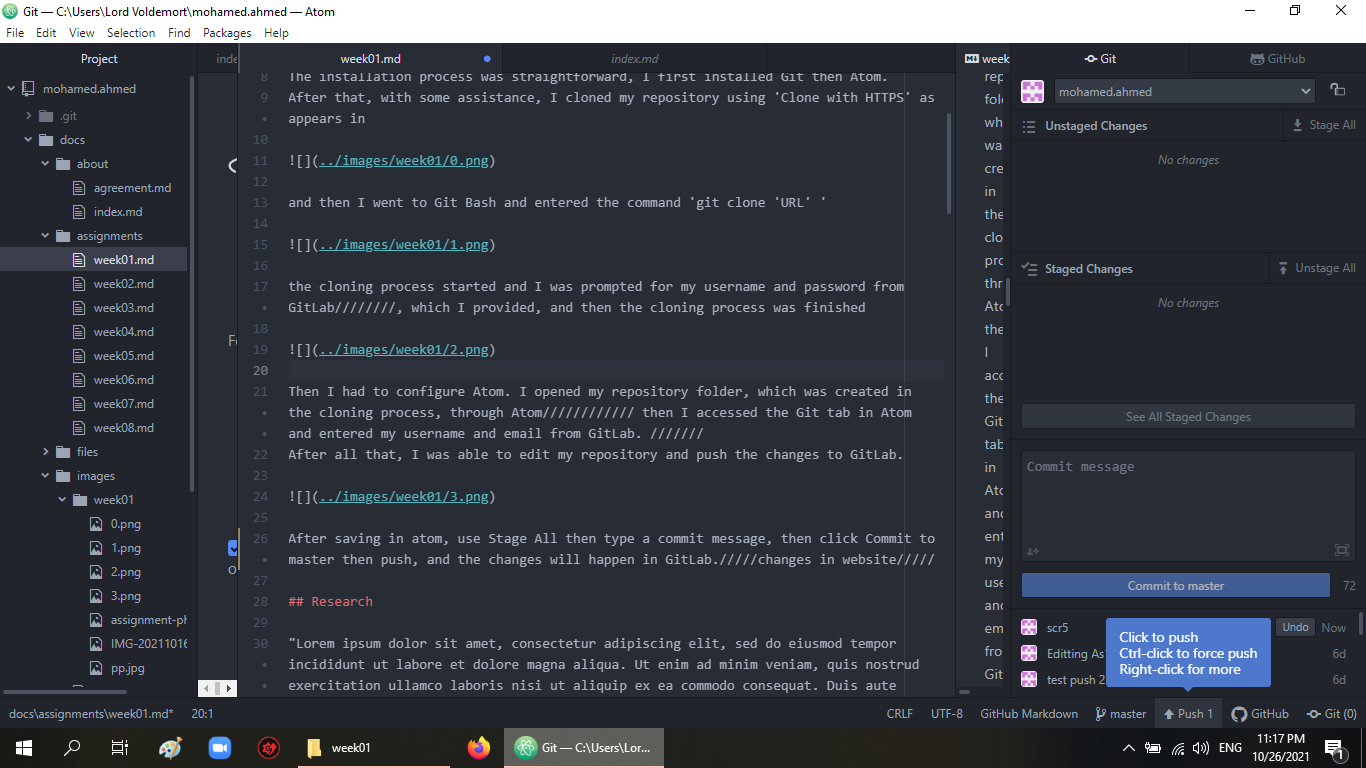
Then I had to configure Atom. I opened my repository folder, which was created in the cloning process, through Atom then I accessed the Git tab in Atom and entered my username and email from GitLab.
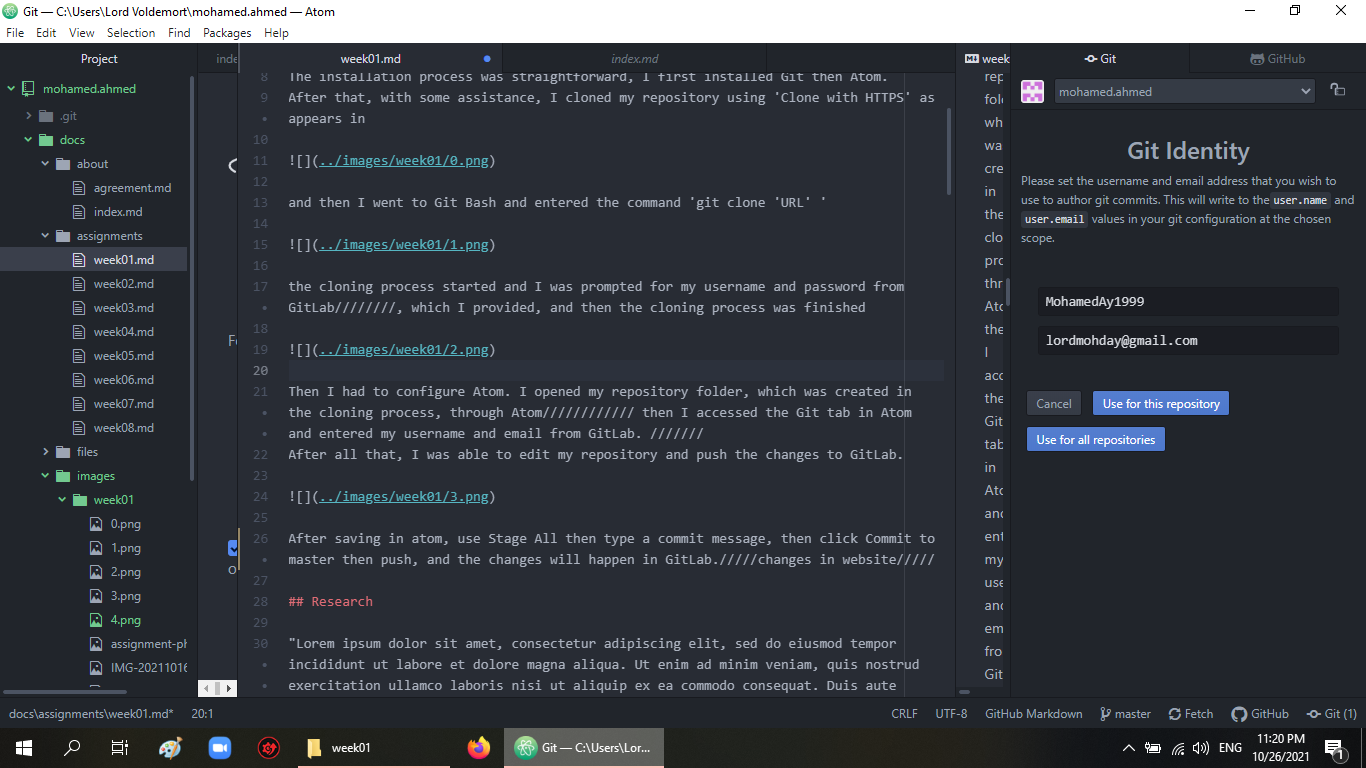
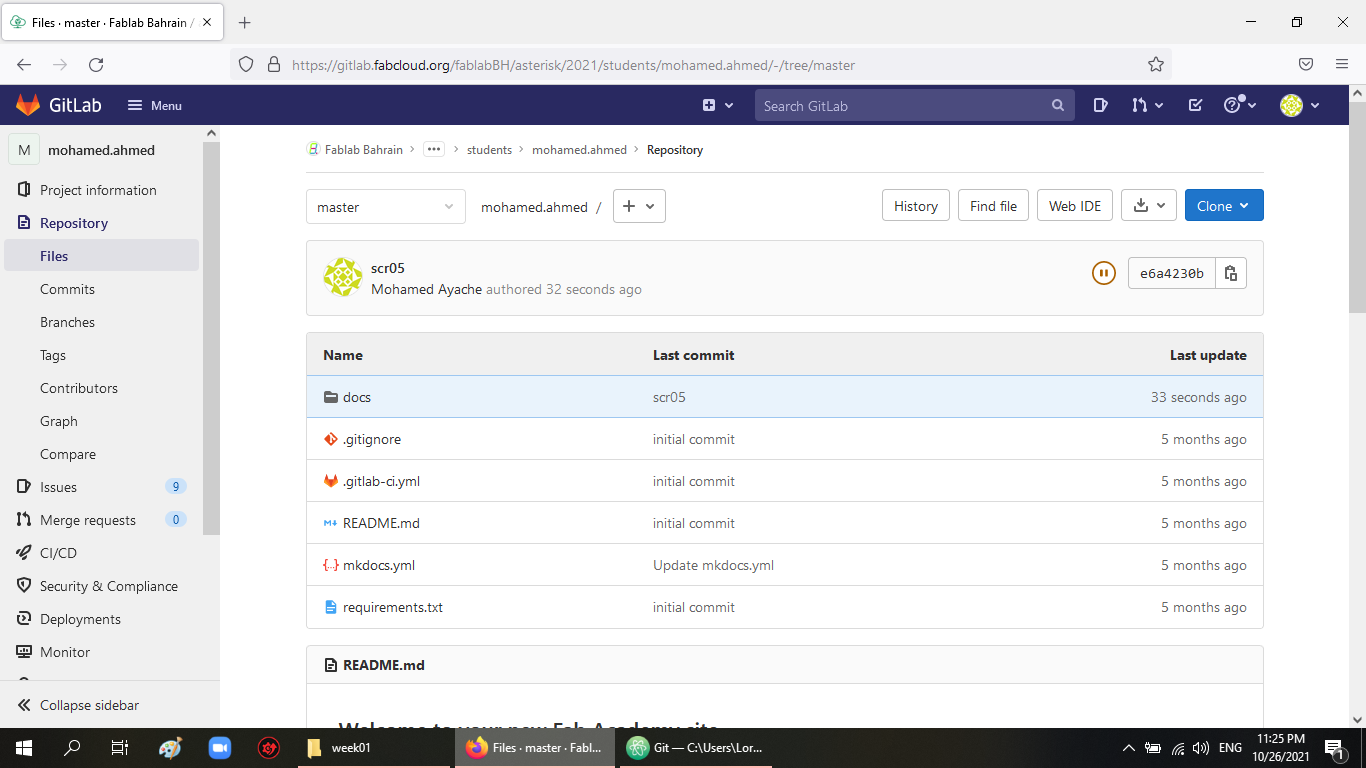
After all that, I was able to edit my repository and push the changes to GitLab.
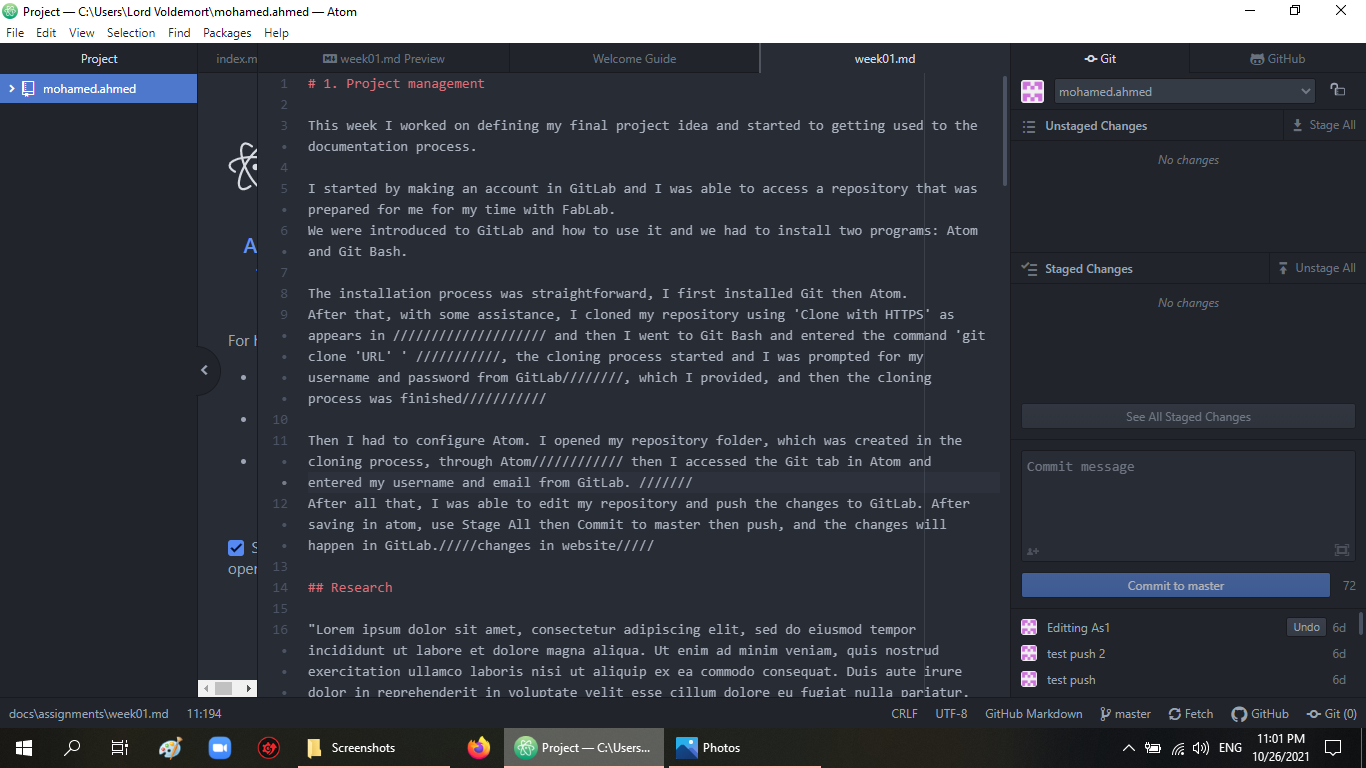
After saving in atom, use Stage All then type a commit message, then click Commit to master then push, and the changes will happen in GitLab.
Markdown
Our site uses MkDocs which is “a fast, simple and downright gorgeous static site generator that’s geared towards building project documentation” -https://www.mkdocs.org/
The documentation is written using the Markdown language, which is ” a lightweight markup language for creating formatted text using a plain-text editor” -https://en.wikipedia.org/wiki/Markdown
The point of writing using this language, is that we don’t have to deal with HTML, and writing in Markdown is almost like writing in a normal text editor. Moreover, putting our work on a website is great for future reference if we ever want to go back to it.
This link is for basic syntax in Markdown.