7. Input & Output device
RC Boat
Idea
I wanted to create something I can control remotely. I first thought about making a helicopter or some sort of RC plane. But considering the limited time I had, I settled on creating a more simple project that I could finish, and that idea was a Remote Controlled boat.
Design
I first looked into how boats are usually designed, so that I make a good design that sails well and does not sink. This video was particularly helpful. Link
Structure
Body
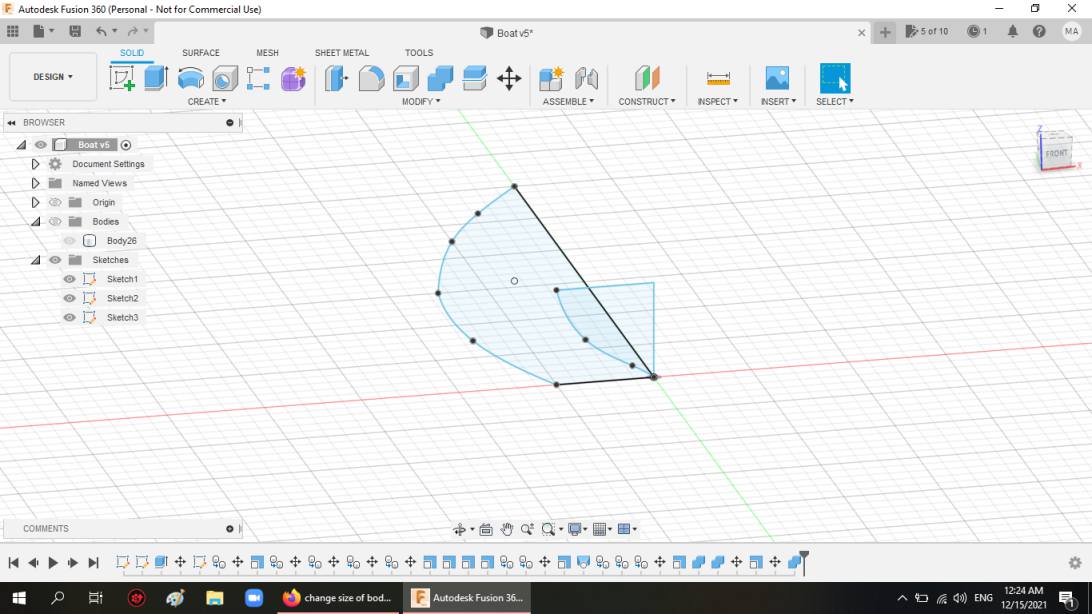
The boat’s body was designed in Fusion360. A helpful tutorial I found was This.
This is me designing the boat
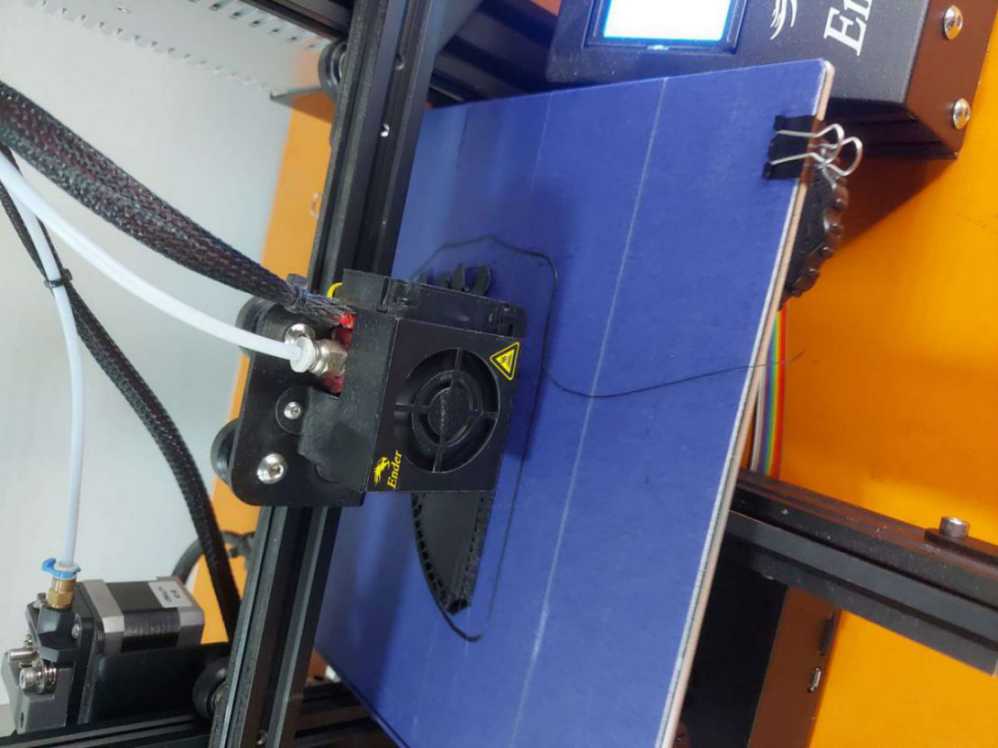
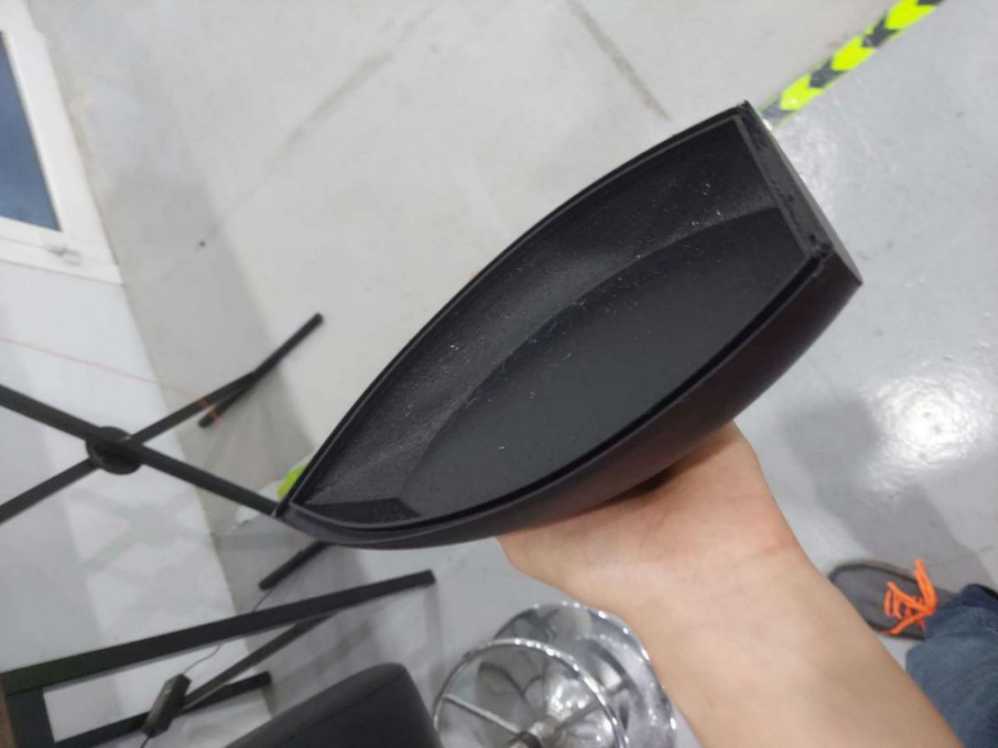
This is the boat being printed
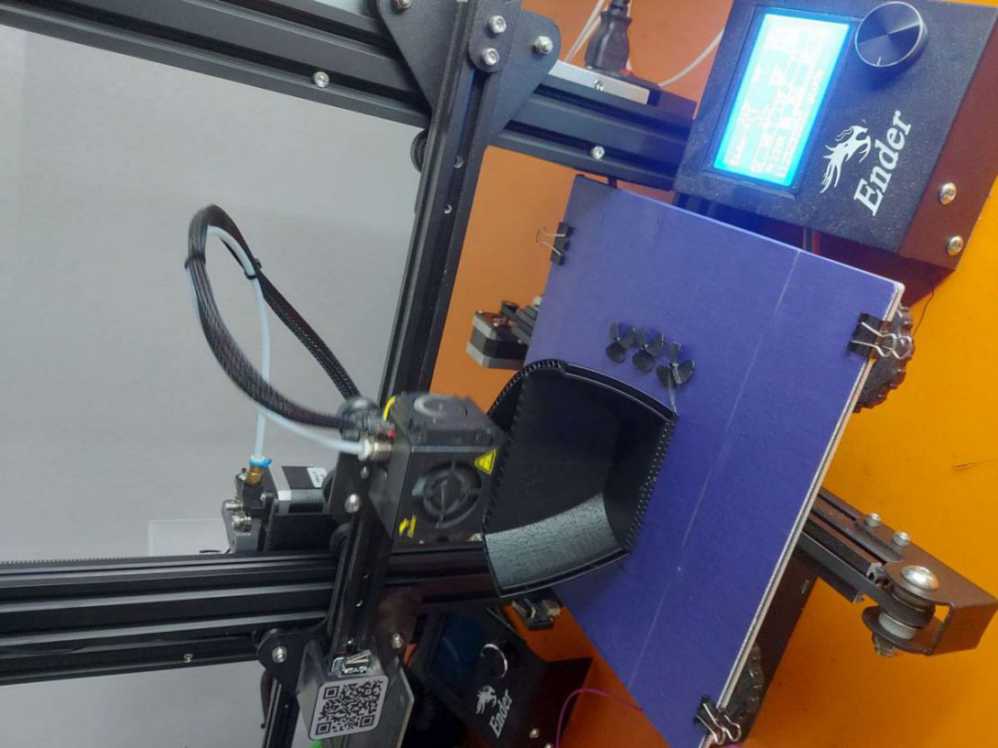
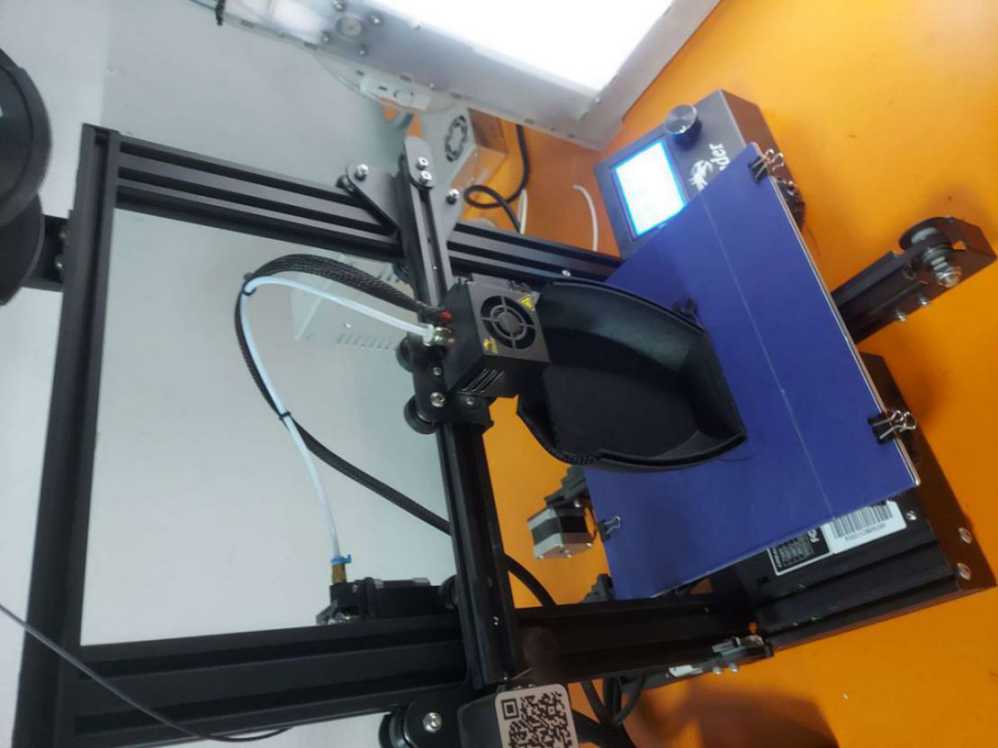
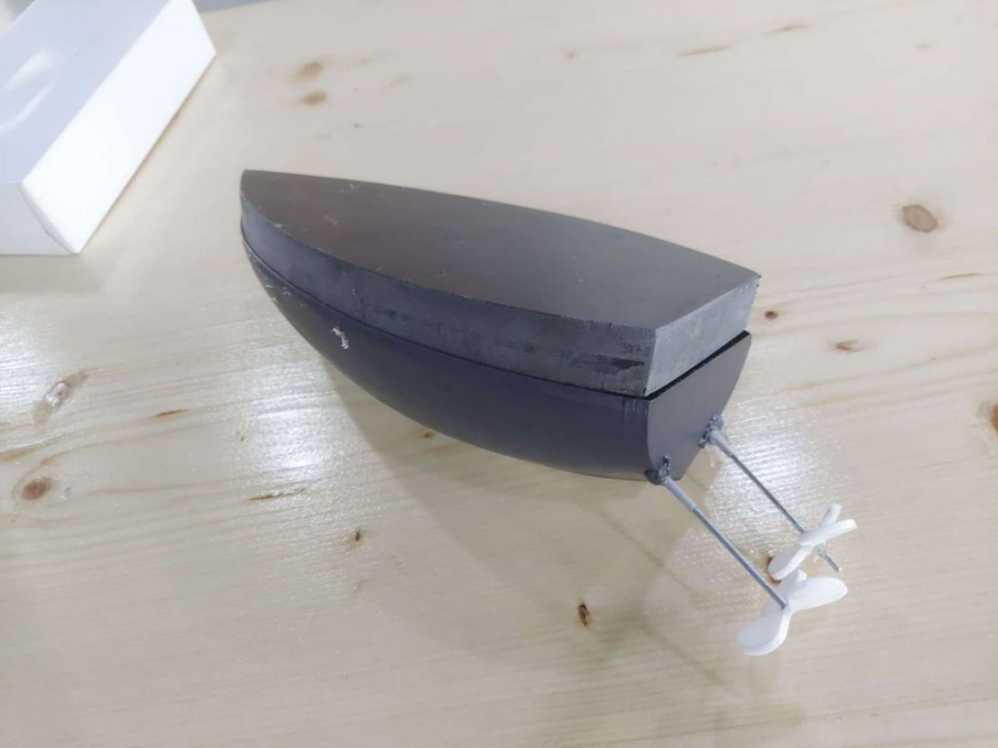
This is how the print came out
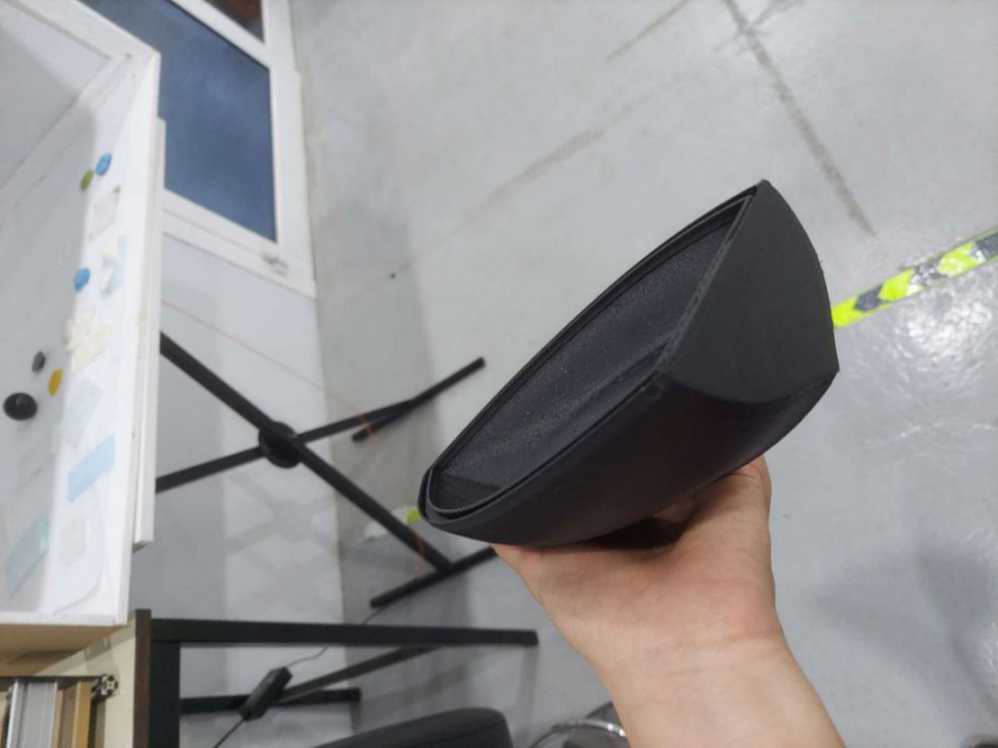
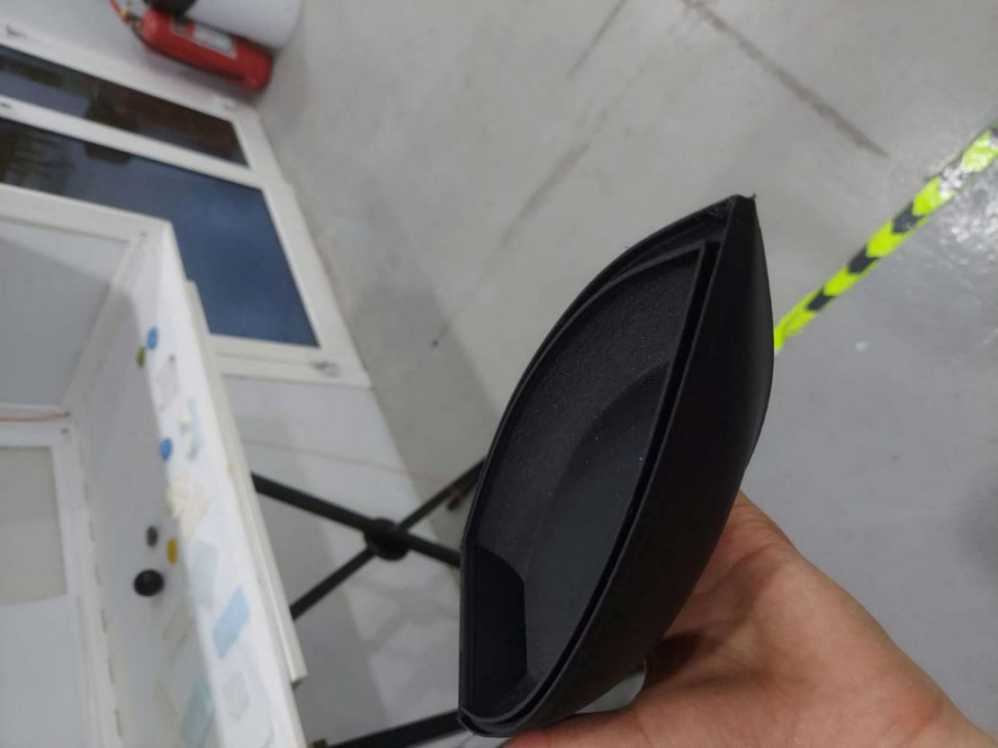
This is a simple cover I designed and printed at a later stage.

Testing and water durability
The problem with 3D printing a boat is that it is not water tight. 3d prints have very small gaps that water can come through.
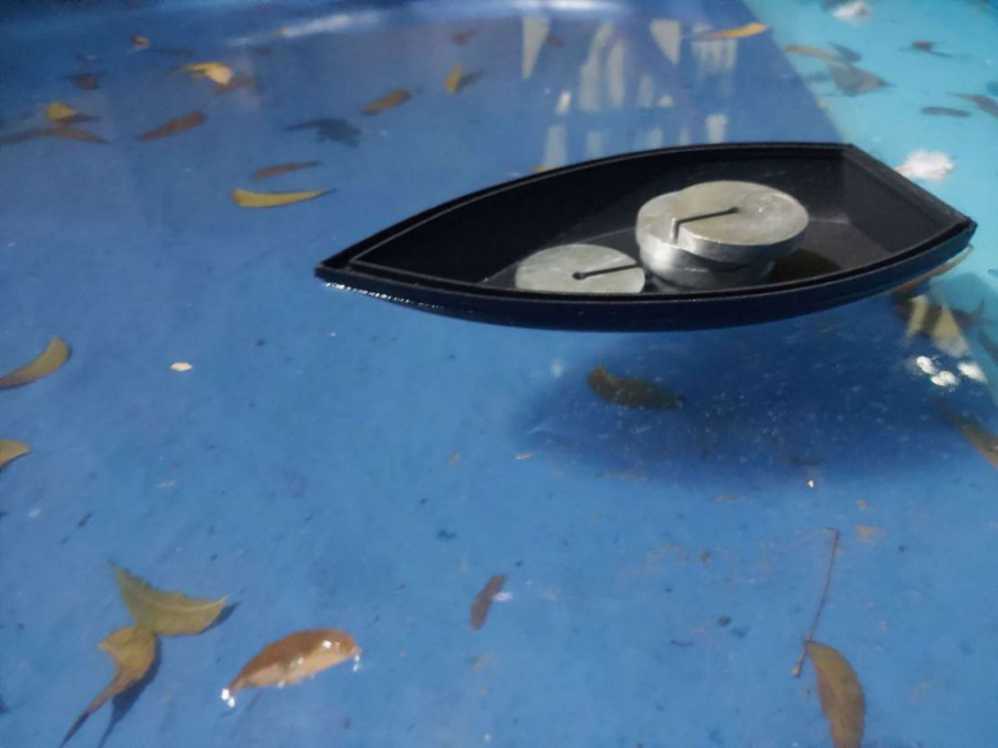
I first tested the boat in water to see if it would float. The boat sailed very well.

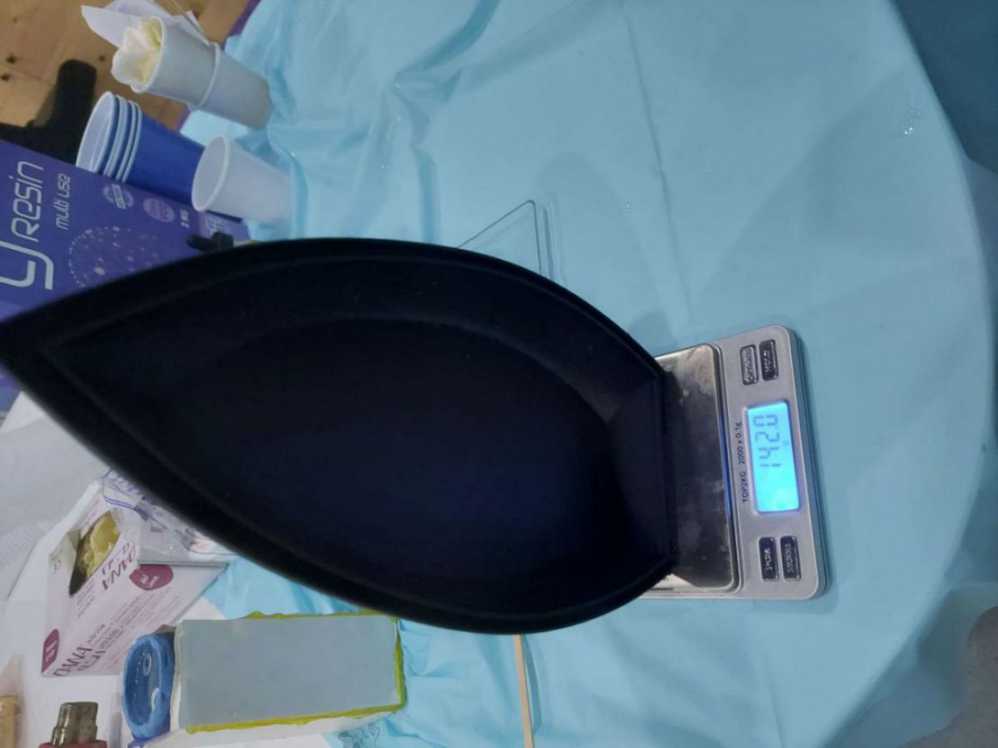
I weighed the boat before going into the water and after. This showed that the boat is indeed absorbing some water.
Before
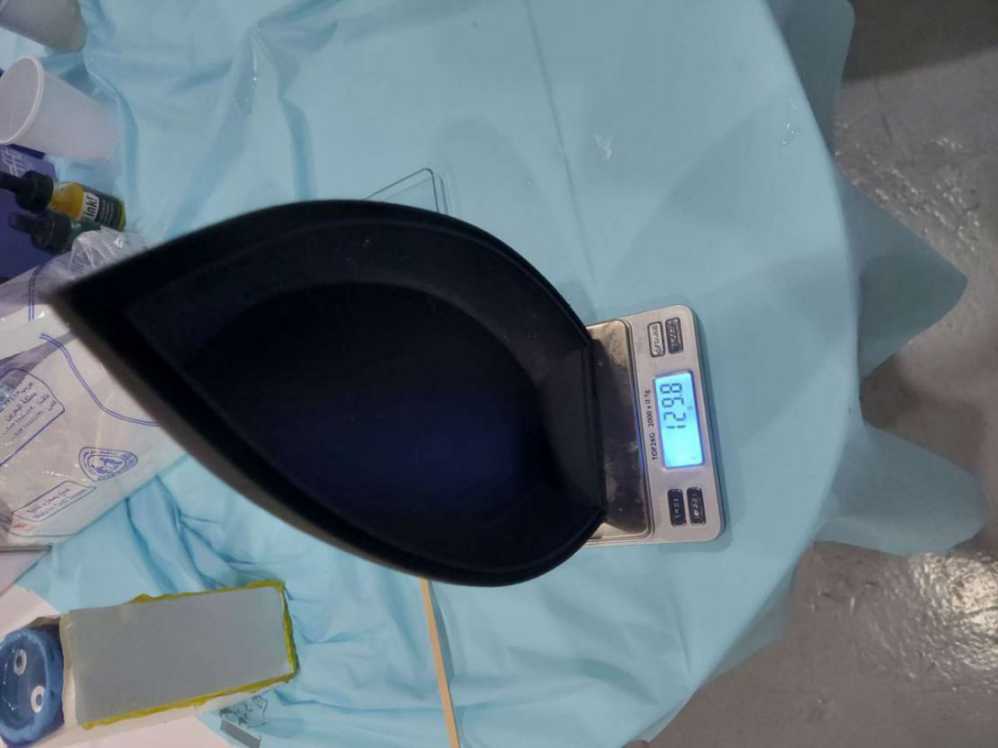
After
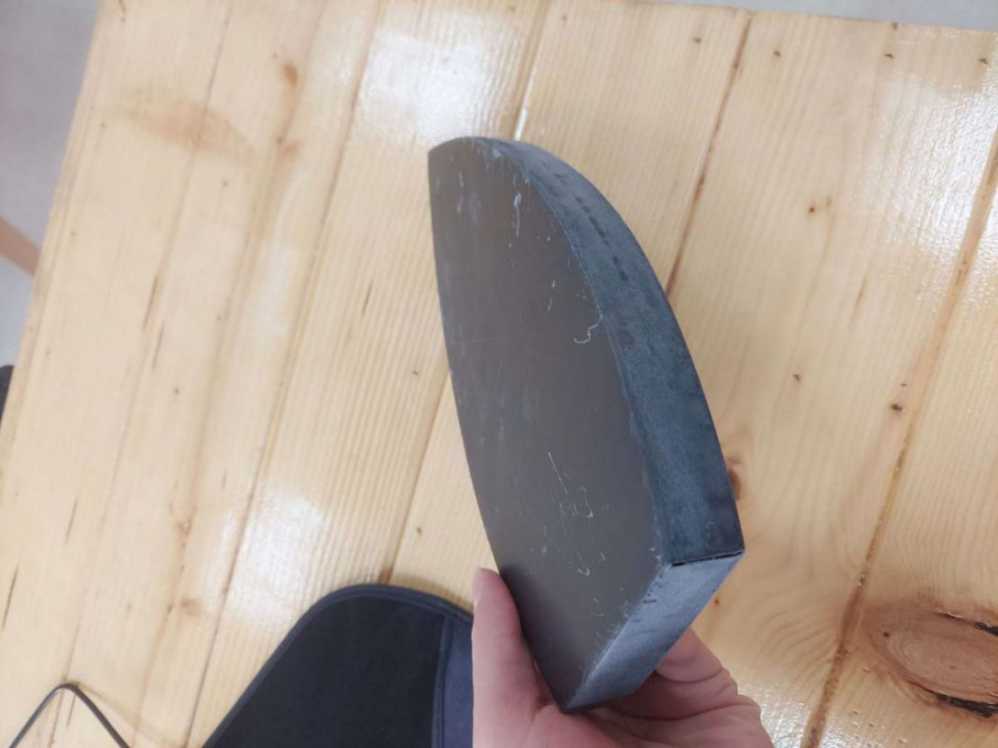
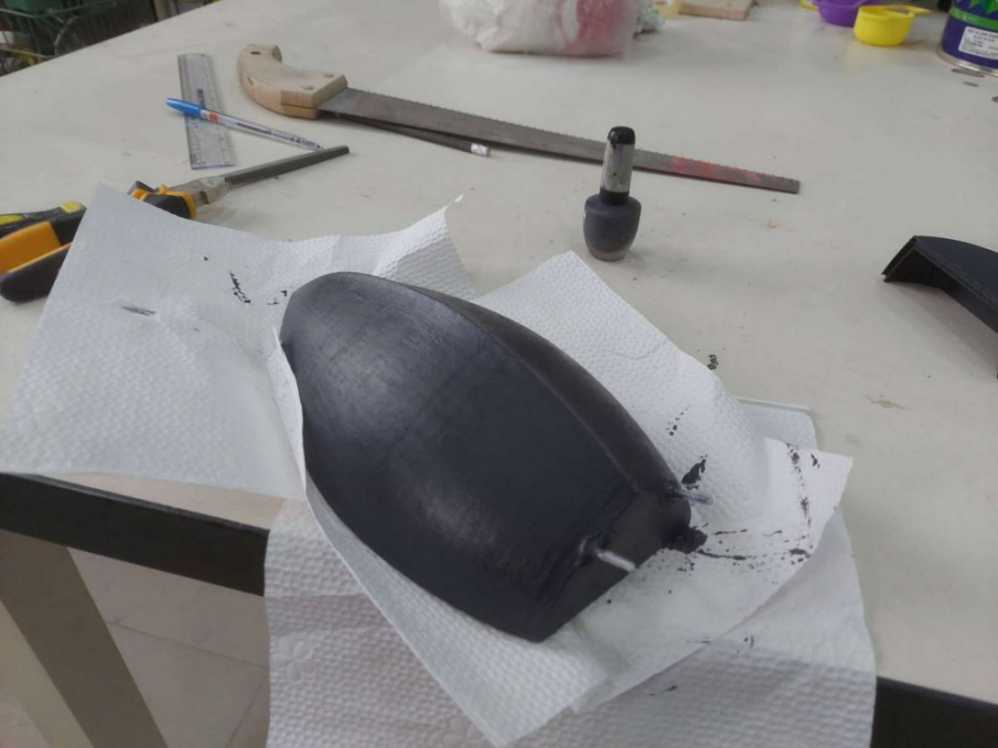
To fix this issue, I had to coat the boat with some layer. I used multiple layers of nail polish which had the advantage of drying very quickly.
I also tested how much weight the boat is able to handle without sinking. This was found to be 600 grams, as opposed the rough theoretical estimation of 450 grams.
Propellers
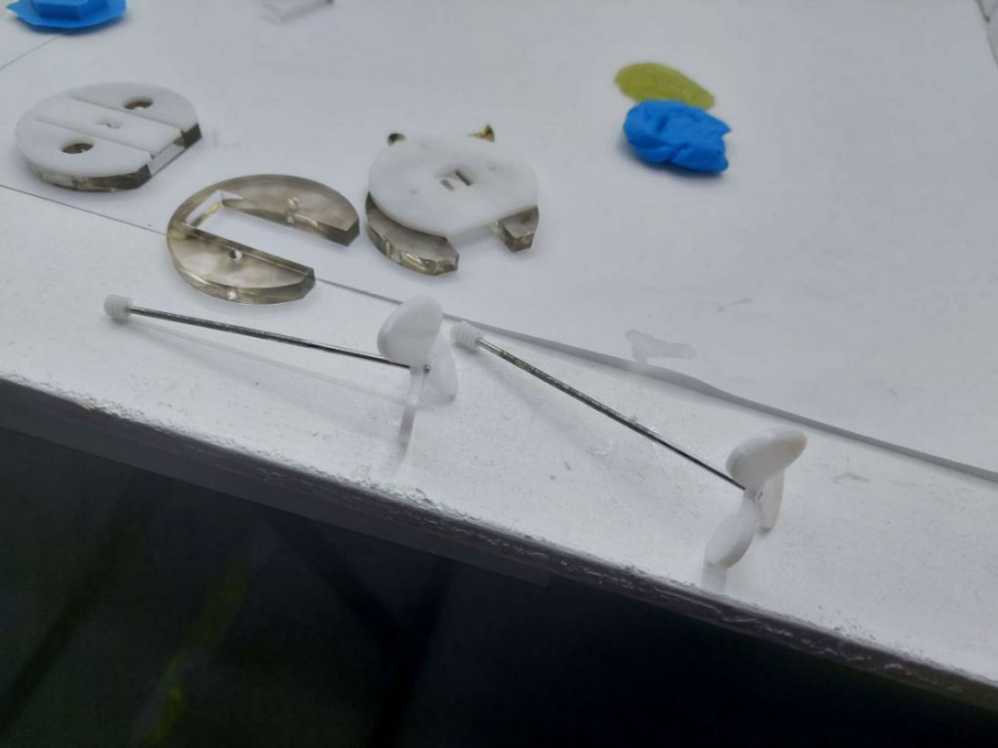
The propellers were made from white acrylic that was laser cut. After that, heat was applied to the fans so that they can be bent to have nice curve to them. This can help with better water propulsion.
These are the propellers after connecting them to the rods

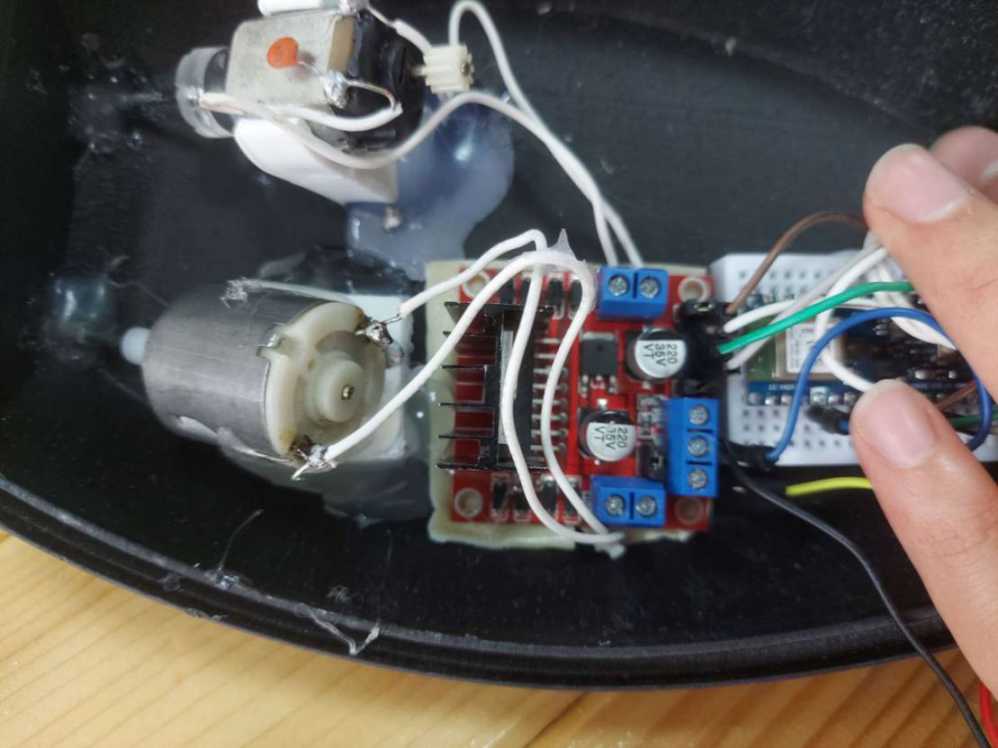
Electronics
-
Arduino The brain of the boat is the Arduino nano 33 BLE Sense. Its main function was radio communication using its Bluetooth Low Energy feature it had, as well as sending signals to the motor driver.
-
Two DC motors to move the boat forward and steer it.
- L298N motor driver This is used to be able to control the DC motors speed and direction of rotation. This video was very helpful to learn how to use it with Arduino. Link
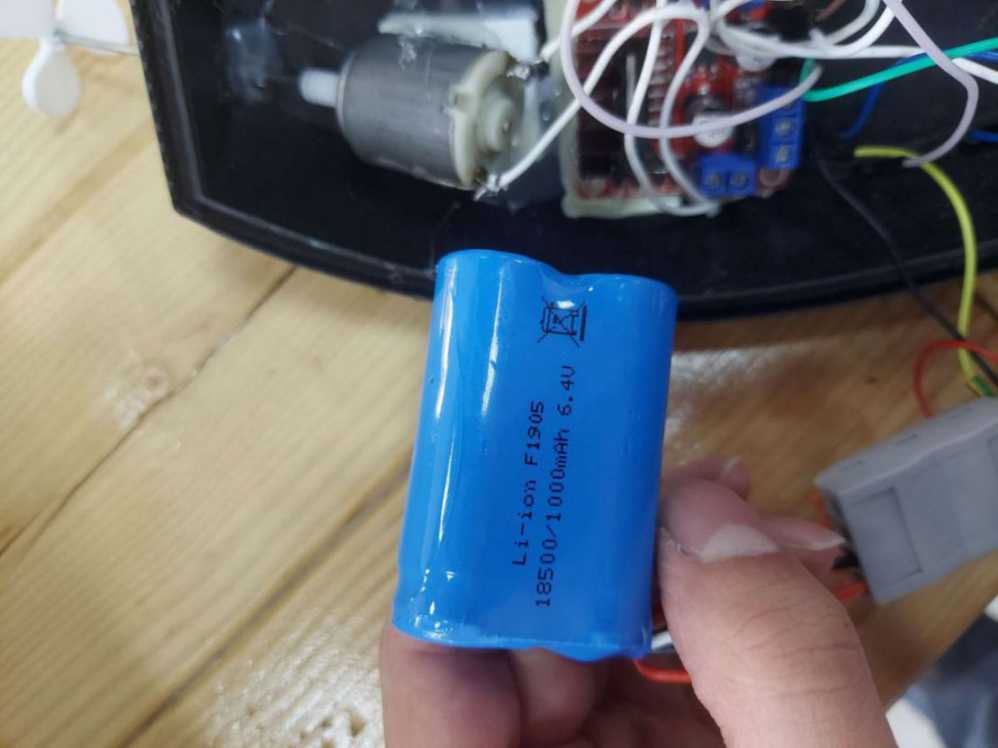
- Batteries Those would power the motor driver and the DC motors.
- A 5V power bank This was used to power the Arduino. This was needed so that the Arduino can have a separate power source from the rest of the electronics.
- Connecting wires
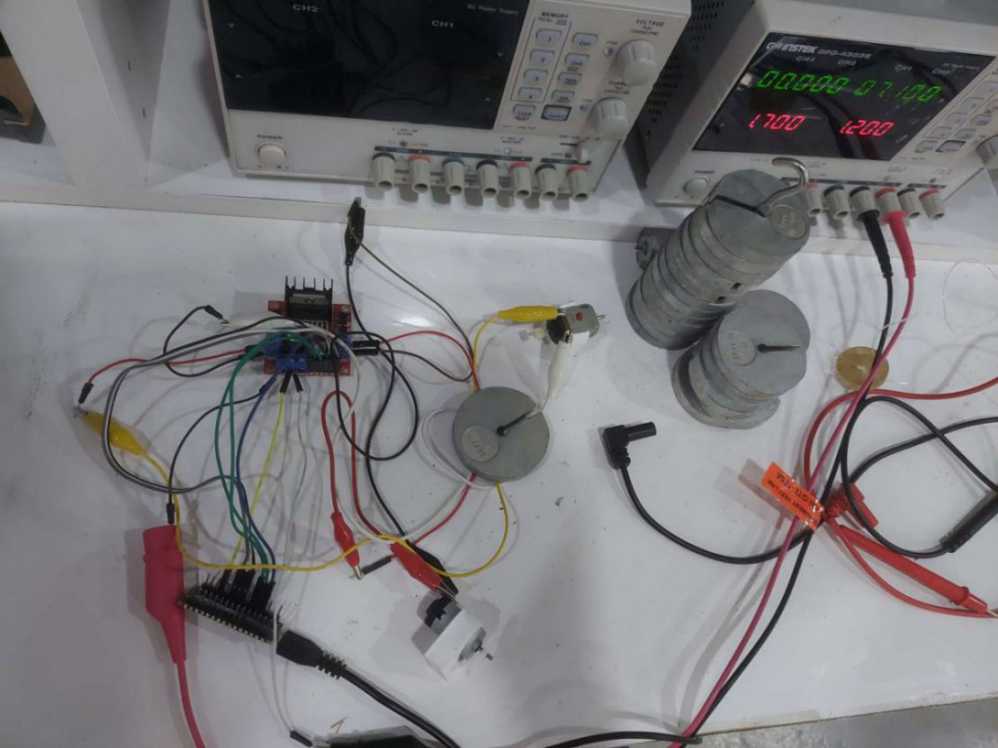
This is when I tested the electronics outside the boat
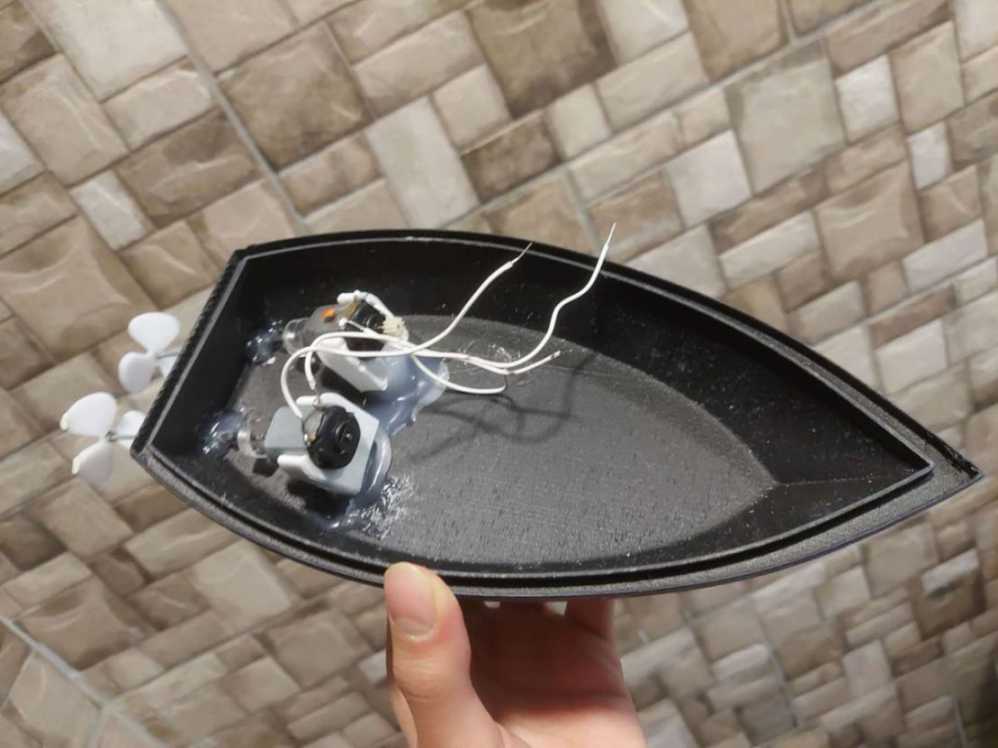
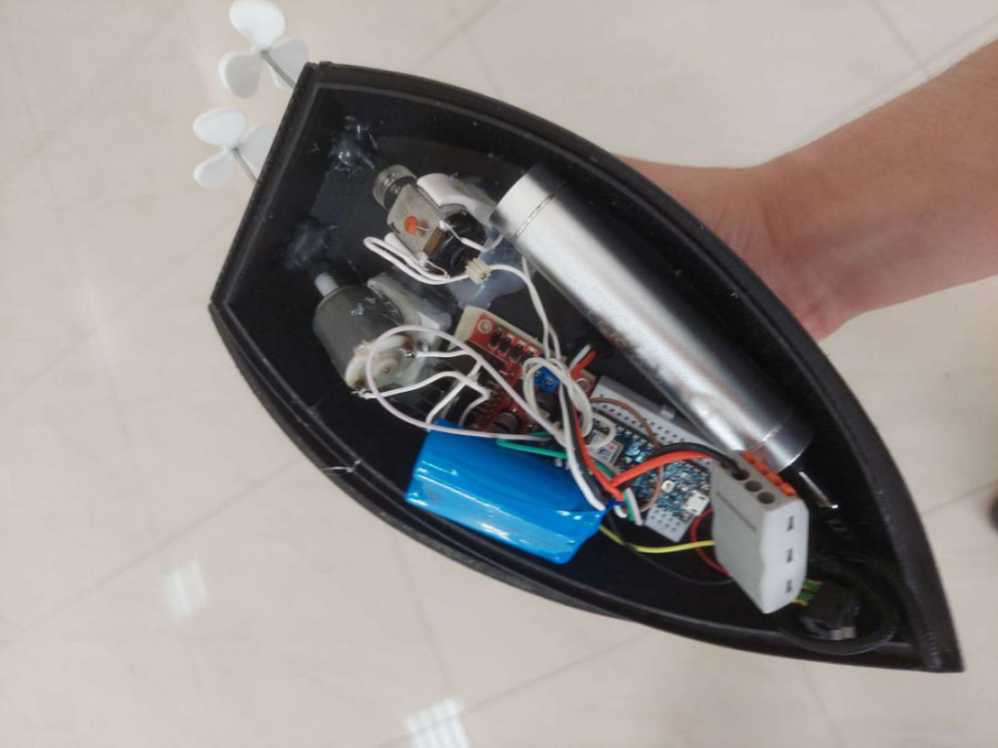
And these are some pictures of the electronics inside the boat

Application & Code
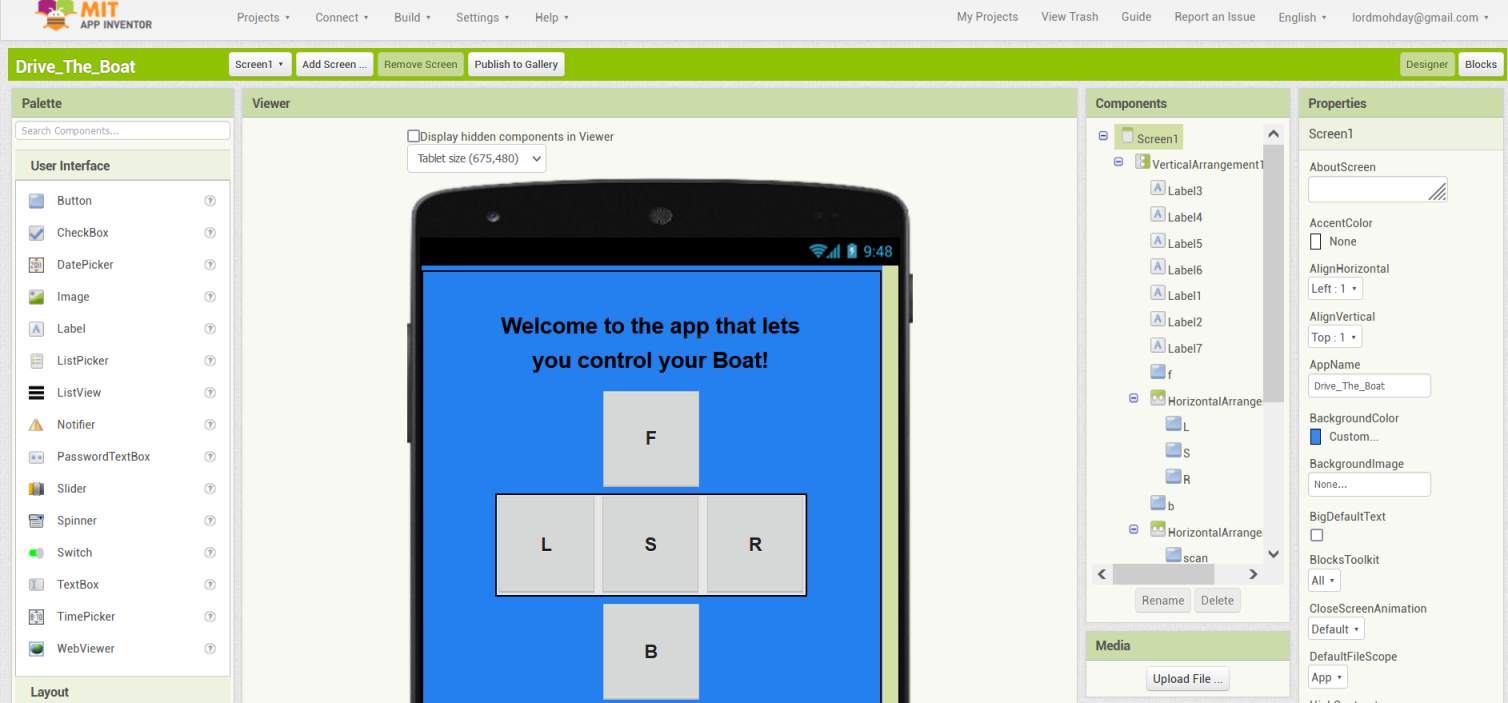
App
To control the boat I had to make an application that I could use with my phone. This was done using MIT App Inventor which is a great tool to design simple apps for use by mobile by using simple design elements and blocks.
This is the app on MIT App Inventor.
These are the logic blocks

The Code
The coding part was comprised of multiple parts. 1. Code that for BLE communication between the Arduino and the phone. 2. Code that is used communicate with the motor driver. 3. Code to control the built-in Arduino LED.
This is the code uploaded to the Arduino.
#include <ArduinoBLE.h>

// Motor A connections
//int enA = 9;
int in1 = 8;
int in2 = 7;
// Motor B connections
//int enB = 3;
int in3 = 5;
int in4 = 4;

BLEService ledService("19B10000-E8F2-537E-4F6C-D104768A1214"); // BLE LED Service

// BLE LED Switch Characteristic - custom 128-bit UUID, read and writable by central
BLEByteCharacteristic switchCharacteristic("19B10001-E8F2-537E-4F6C-D104768A1214", BLERead | BLEWrite);

const int ledPin = LED_BUILTIN; // pin to use for the LED

void setup() {
  //Serial.begin(9600);
  while (Serial);  //!Serial

  // set LED pin to output mode
  pinMode(ledPin, OUTPUT);

  // begin initialization
  if (!BLE.begin()) {
    Serial.println("starting BLE failed!");

    while (1);
  }

  // set advertised local name and service UUID:
  BLE.setLocalName("LED");
  BLE.setAdvertisedService(ledService);

  // add the characteristic to the service
  ledService.addCharacteristic(switchCharacteristic);

  // add service
  BLE.addService(ledService);

  // set the initial value for the characeristic:
  switchCharacteristic.writeValue(0);

  // start advertising
  BLE.advertise();

  Serial.println("BLE LED Peripheral");

  // Set all the motor control pins to outputs
 // pinMode(enA, OUTPUT);
  //pinMode(enB, OUTPUT);
  pinMode(in1, OUTPUT);
  pinMode(in2, OUTPUT);
  pinMode(in3, OUTPUT);
  pinMode(in4, OUTPUT);

  // Turn off motors - Initial state
  digitalWrite(in1, LOW);
  digitalWrite(in2, LOW);
  digitalWrite(in3, LOW);
  digitalWrite(in4, LOW);
}

void loop() {
  // listen for BLE peripherals to connect:
  BLEDevice central = BLE.central();

  // if a central is connected to peripheral:
  if (central) {
    Serial.print("Connected to central: ");
    // print the central's MAC address:
    Serial.println(central.address());

    // while the central is still connected to peripheral:
    while (central.connected()) {
      // if the remote device wrote to the characteristic,
      // use the value to control the LED:
      if (switchCharacteristic.written()) {
      if (switchCharacteristic.value()==49) {   // any value other than 0
          Serial.println("LED on");
          digitalWrite(ledPin, HIGH);         // will turn the LED on
          Serial.println(switchCharacteristic.value());
        }
        else if (switchCharacteristic.value()==48){                          // a 0 value
          Serial.println(F("LED off"));
          digitalWrite(ledPin, LOW);          // will turn the LED off
          Serial.println(switchCharacteristic.value());
        }
        else if (switchCharacteristic.value()==50){     //forward
          Serial.println(F("Forward"));
          // Turn on motors
              digitalWrite(in1, LOW);
              digitalWrite(in2, HIGH);
              digitalWrite(in3, LOW);
              digitalWrite(in4, HIGH);
              // Accelerate from zero to maximum speed

        }
        else if (switchCharacteristic.value()==51){     //Backward
          Serial.println(F("Backward"));
          // Turn on motors
              digitalWrite(in1, HIGH);
              digitalWrite(in2, LOW);
              digitalWrite(in3, HIGH);
              digitalWrite(in4, LOW);
              // Accelerate from zero to maximum speed

        }
        else if (switchCharacteristic.value()==52){     //Right
          Serial.println(F("Right"));
          // Turn on ONE motor
              digitalWrite(in1, LOW);
              digitalWrite(in2, HIGH);
              digitalWrite(in3, LOW);
              digitalWrite(in4, LOW);
              // Accelerate from zero to maximum speed

        }
        else if (switchCharacteristic.value()==53){     //Left
          Serial.println(F("Left"));
          // Turn on ONE motor
              digitalWrite(in1, LOW);
              digitalWrite(in2, LOW);
              digitalWrite(in3, LOW);
              digitalWrite(in4, HIGH);
              // Accelerate from zero to maximum speed

        }
        else if (switchCharacteristic.value()==54){         //Stop
          Serial.println(F("Stop"));
          // STOP SPINNING
              digitalWrite(in1, LOW);
              digitalWrite(in2, LOW);
              digitalWrite(in3, LOW);
              digitalWrite(in4, LOW);
          }
      }
  }
  // when the central disconnects, print it out:
    Serial.print(F("Disconnected from central: "));
    Serial.println(central.address());
}
}
Problems & Further Improvements
I faced some problems while making this project, but all of them could be fixed with further work.
- The motors had problems rotating the propellers. This can be fixed with better stronger motors, and designing shafts that can rotate with little friction.
- The controls of the boat are very simple. Forward makes the motors spin at top speed. This can be refined with further coding.
- For some reason, I could not power the Arduino with the same power source as the motor driver, or the Arduino would get hot and burn. I used a turn-around solution where I powered the Arduino using a safer 5V USB power bank. It worked fine.
- BLE does not have a very big range. For longer ranges, better radio communication methods should be used.
- The propellers in my boat were not very well installed. One had to be further out otherwise they would hit each other. Of course, this can be easily fixed with more accurate and careful installation.