8. Moulding and casting
This week I worked on molding and casting. We had two main assignments:
- A group assignment where we test out different casting materials and we research their how to use them and their safety.
- Creating an object by making a mold out of using the 3-axis machine and casting it to create an object.
The Group Work
The group work was to test available casting materials using the already available molds and write about their use and safety instructions.
These are links to my friends’ pages who tested different materials
More links from my friends will be available soon.
My Part
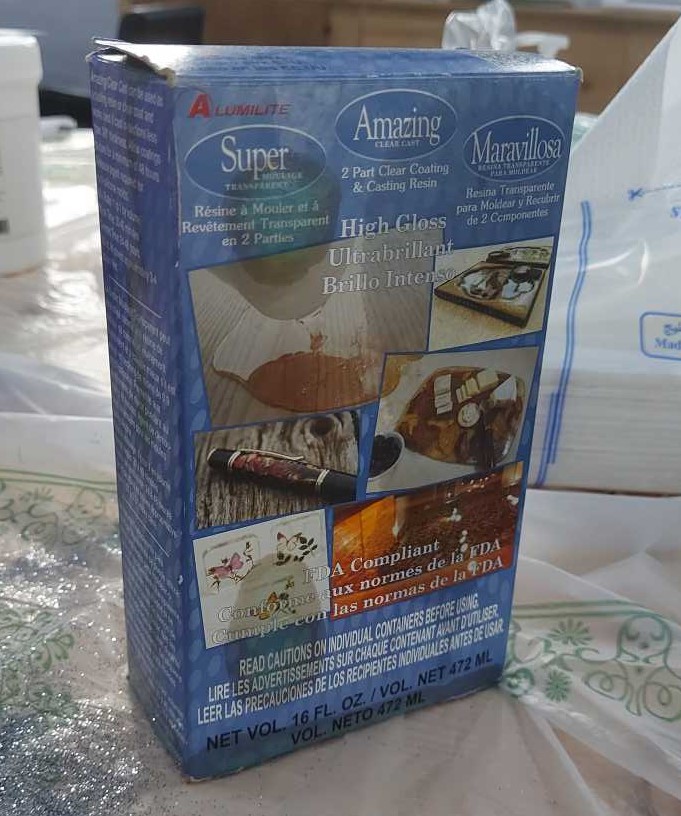
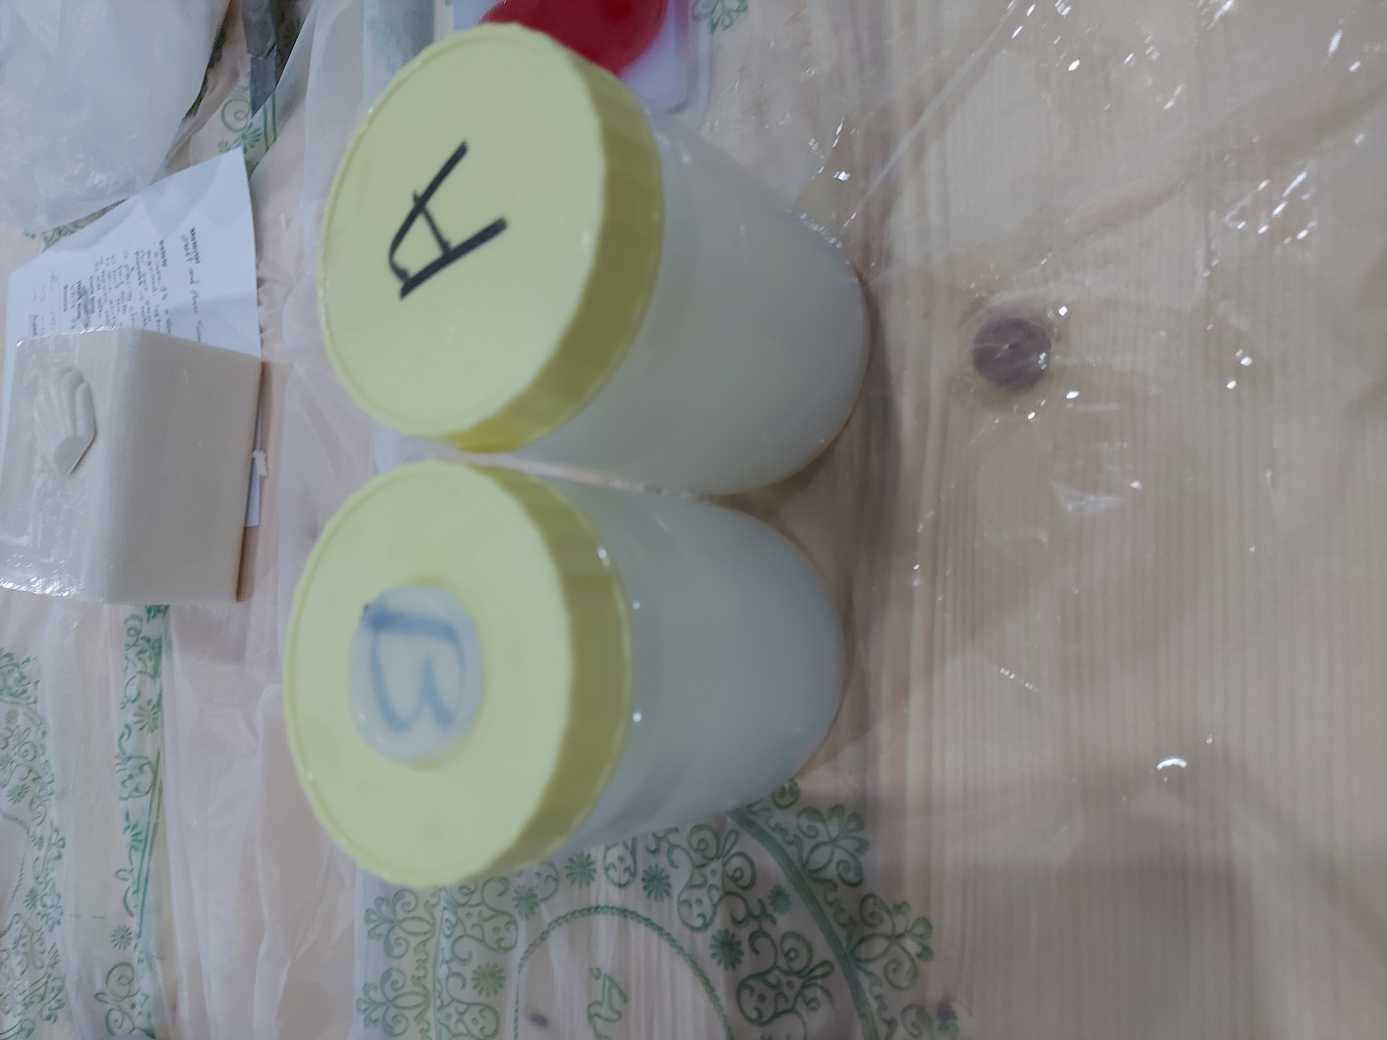
My part was to test an epoxy resin material called Amazing Clear Cast. It consists of two containers; the A-side and the B-side, which are mixed before use.
This is a picture of the product
Safety
- The materials can cause irritation to the skin, and therefore it needs to be handled with gloves and contact with skin must be avoided.
- The substances should not be swallowed as they can be toxic.
- Inhalation of the fumes must be avoided, and a mask should be worn when handling the materials.
- The materials must not come in contact with the eyes.
- Pregnant women should handle materials cautiously.
More on the safety of the product can be found on the manufacturer’s website.
Process
- Equal amounts of the two materials should me measured.
- Then they are mixed thoroughly.
-
The mixture is then poured slowly.
-
The work time for the mixture is 30 to 40 minutes.
- The cure time is 24 to 48 hours.
Results
I added green glitter to the mixture and then poured it in a seashell mold. Two days later, I checked the result which was relatively good, except for a yellowish color that the object had. I also added a black color to the remaining resin and poured it in a hemisphere mold.
This is the result
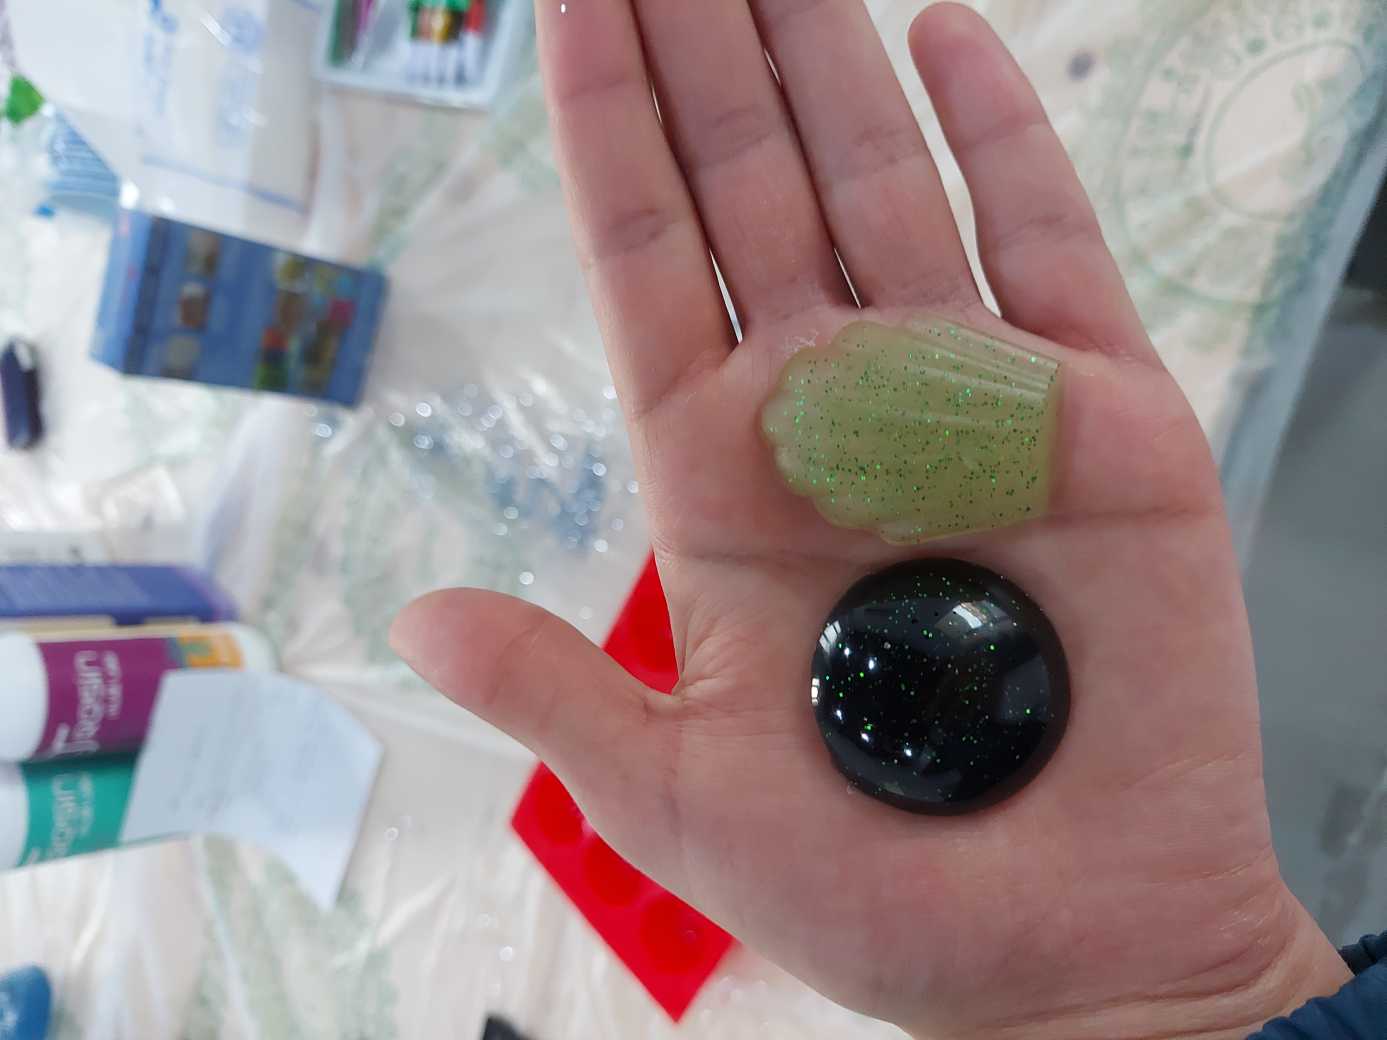
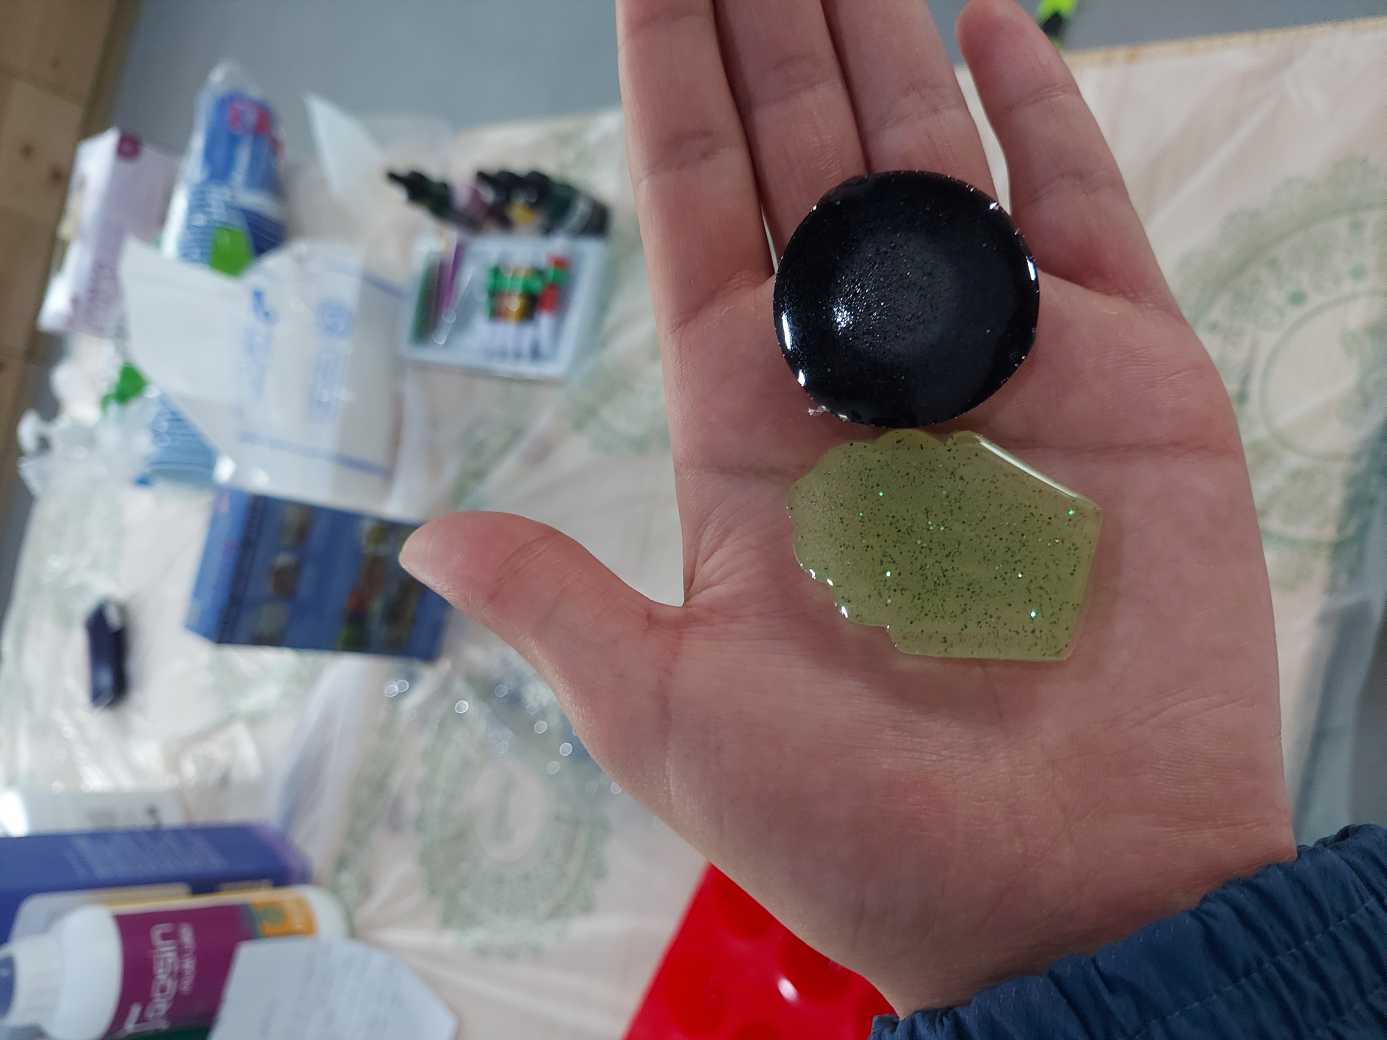
I believe the yellow color is due to an unequal mixture of the two materials, especially since one of them has a yellow color. Nevertheless, the result looked nice.
What I made
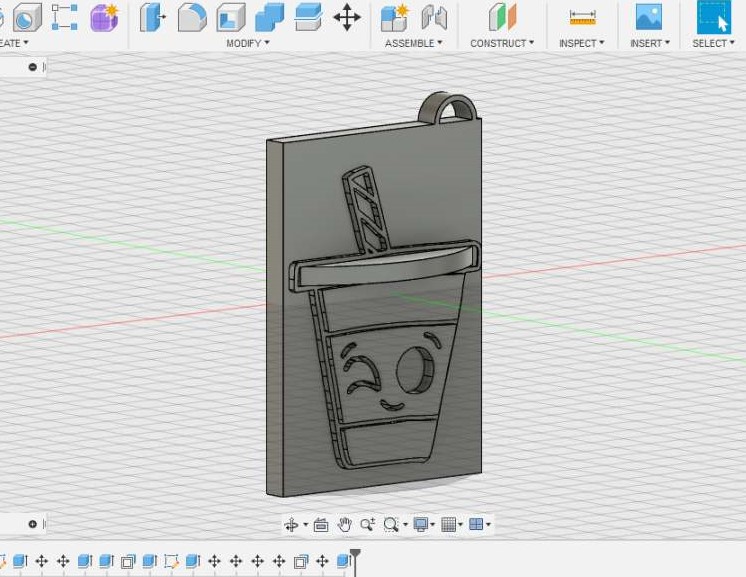
Since the dimensions of the object were supposed to be small, I decided on designing a keychain.
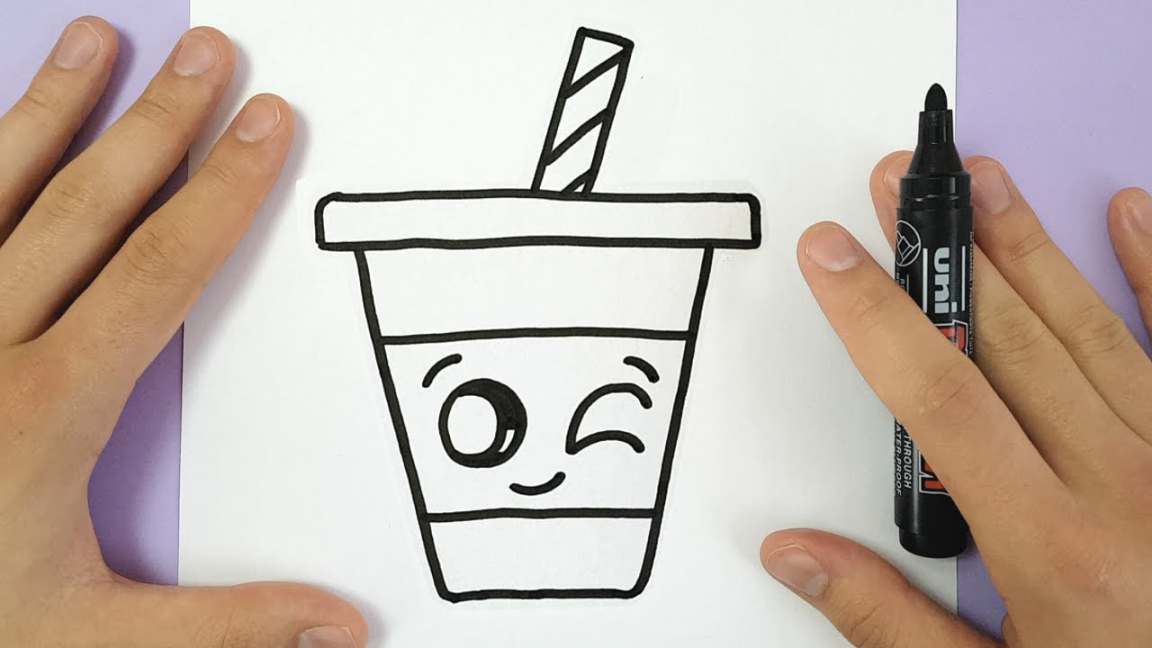
I found this cool image on the web and decided to use it in the design. This is the image’s link
This is the original image
I then followed this tutorial -Link- to convert the pixeled image into a vector image, which I can insert into Fusion360, in order to add it to my design.
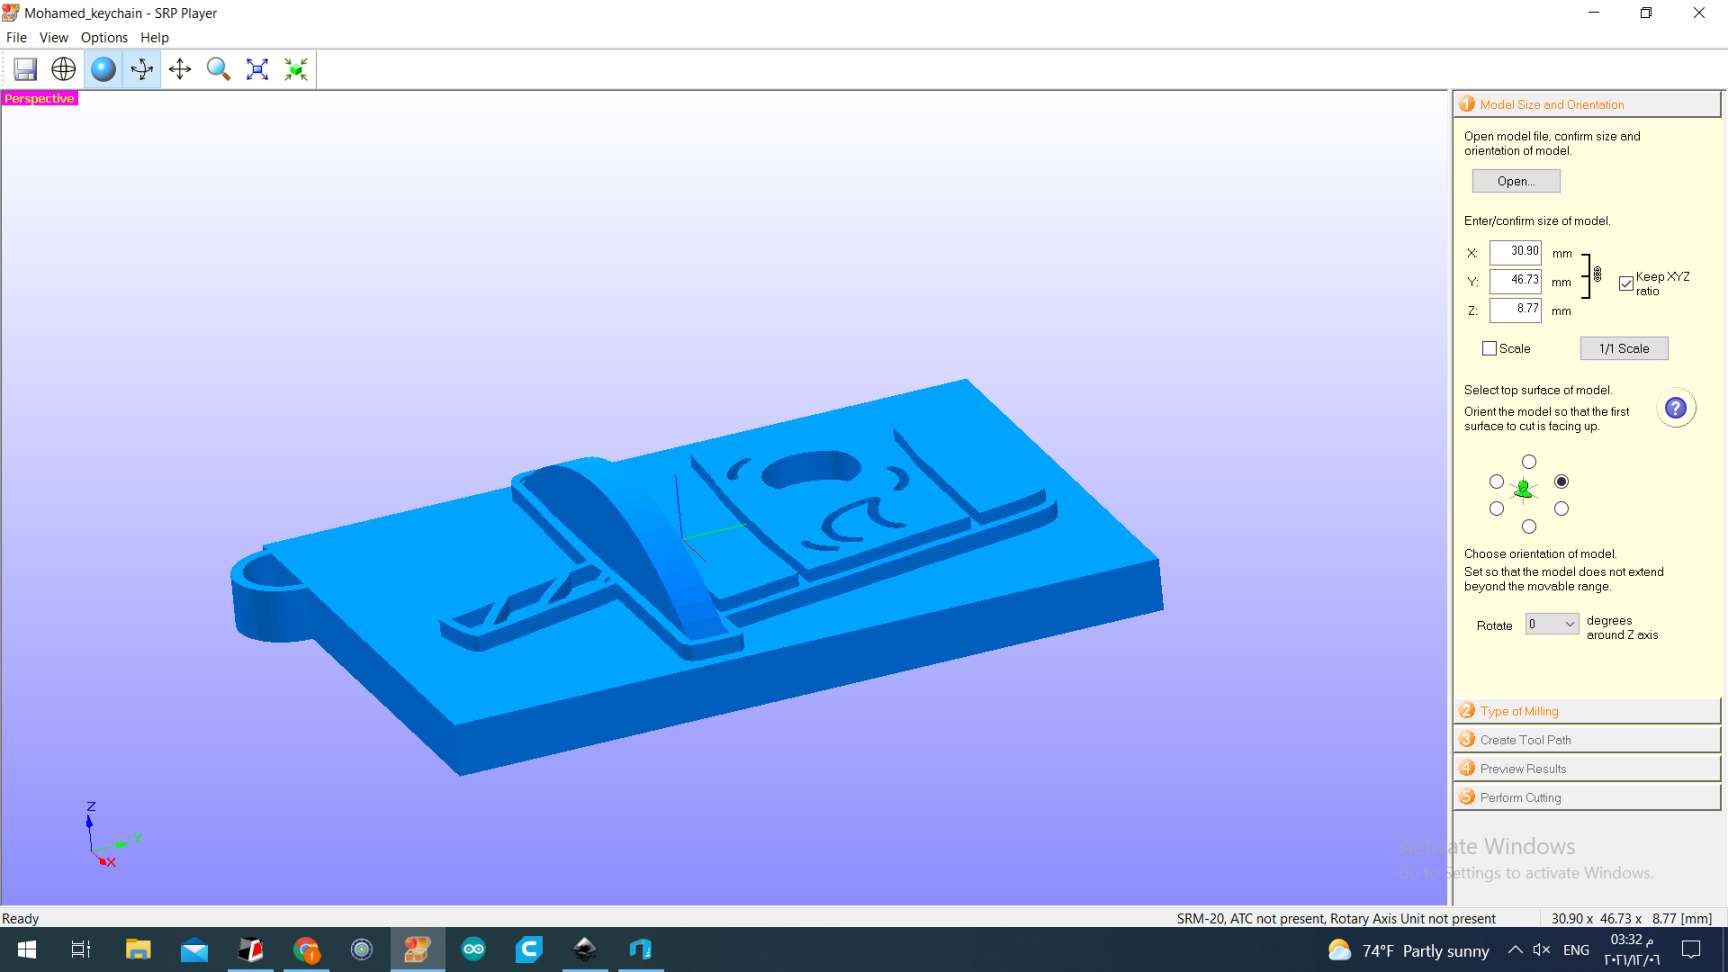
This is the design I came up with.
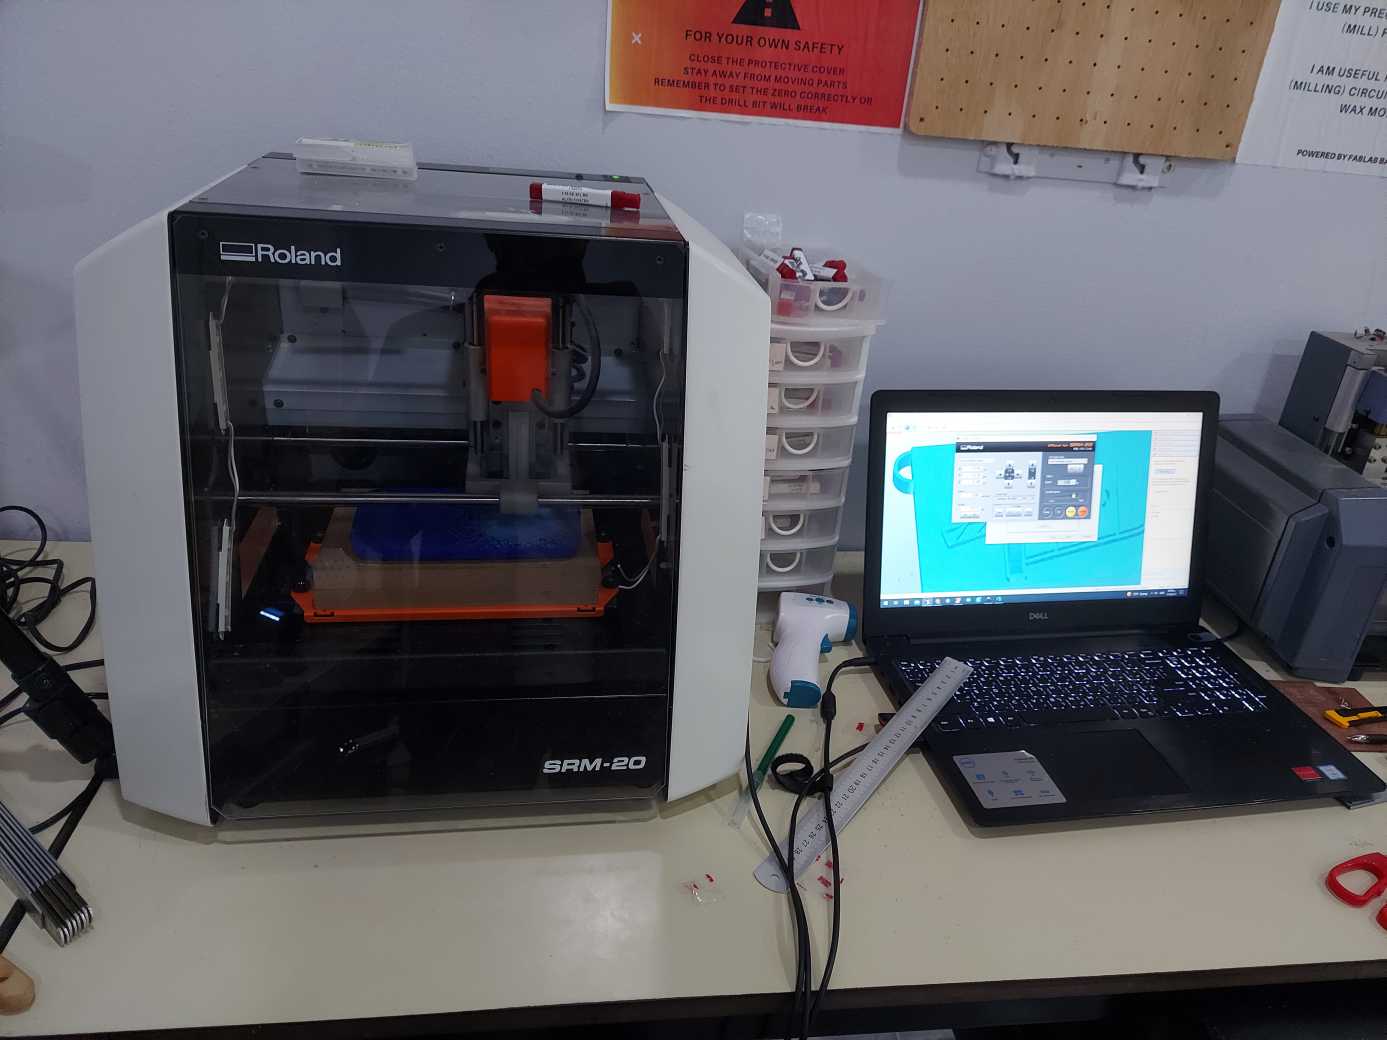
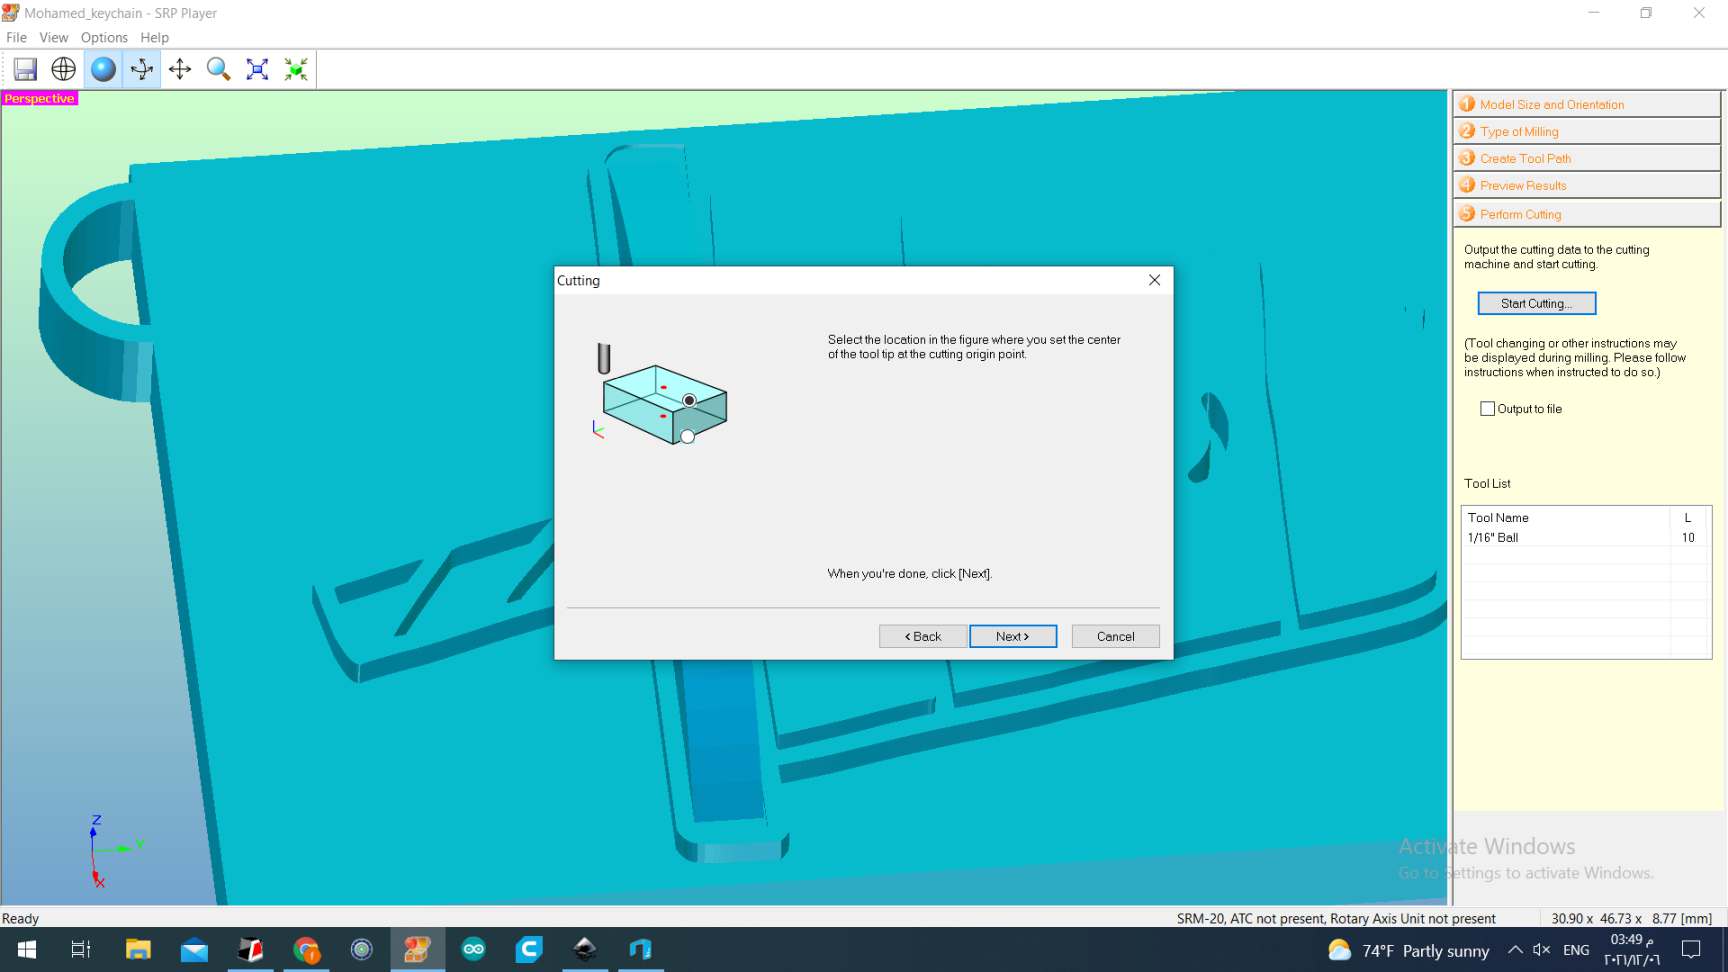
This is the machine we used to do the fine milling which is a Roland SRM-20.
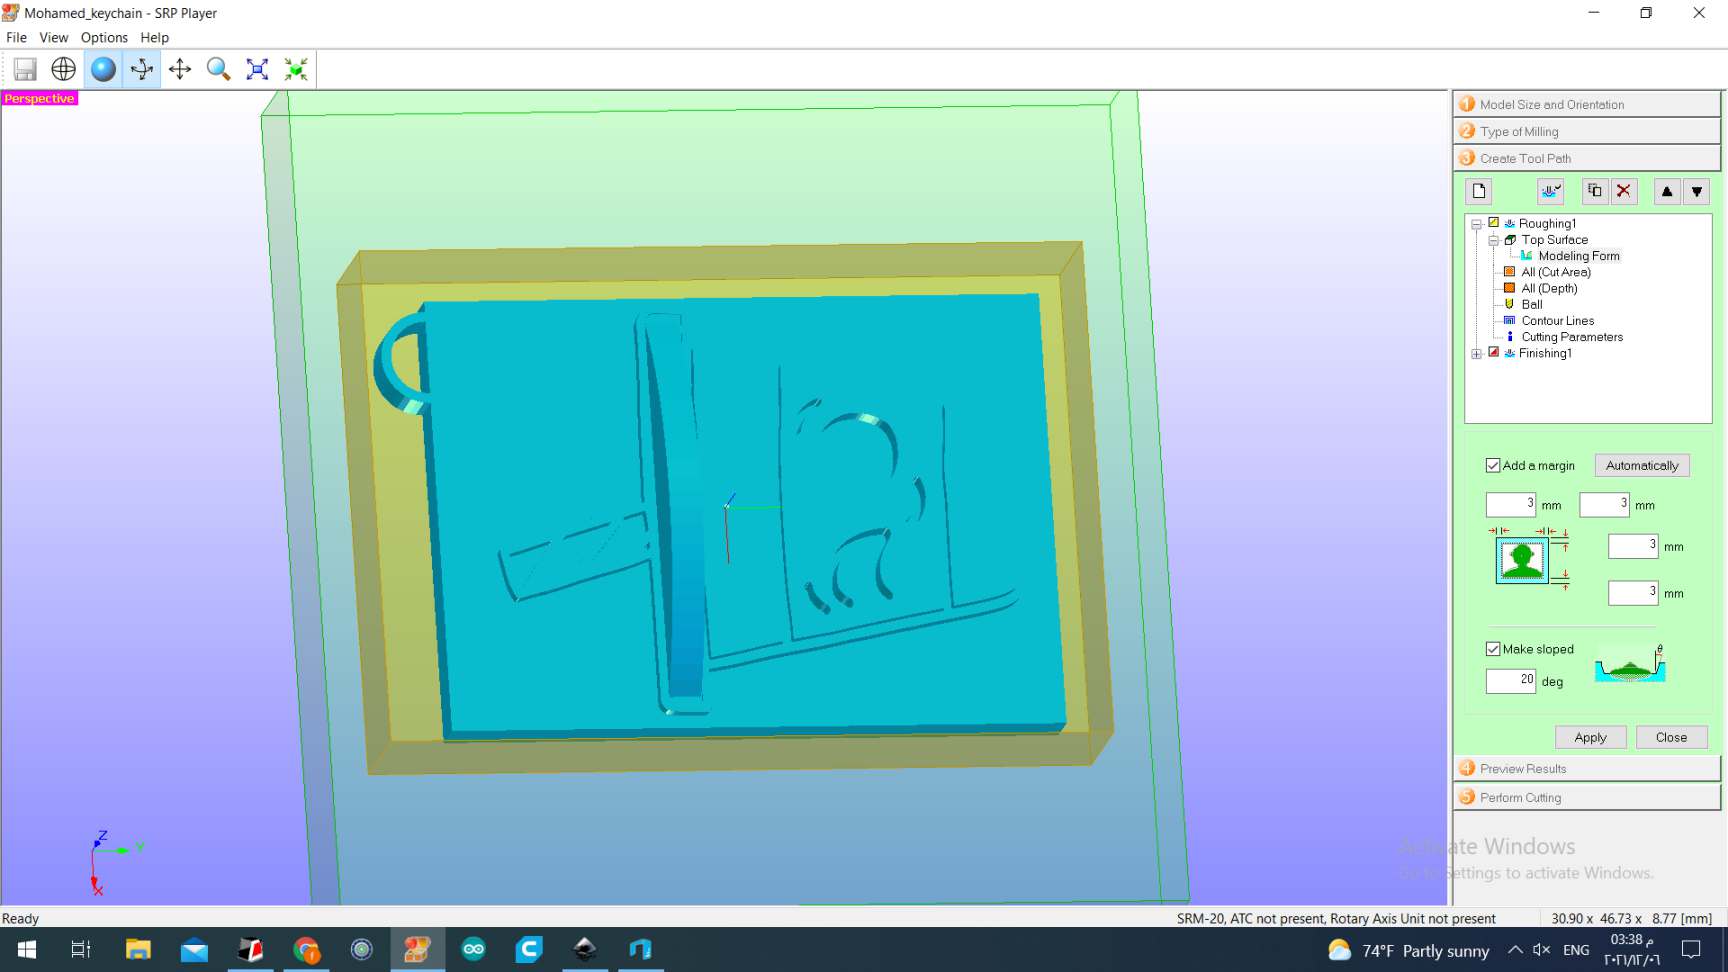
This is the software we used to prepare the design for milling, which is called SRP Player. This is what comes up after opening the design file:
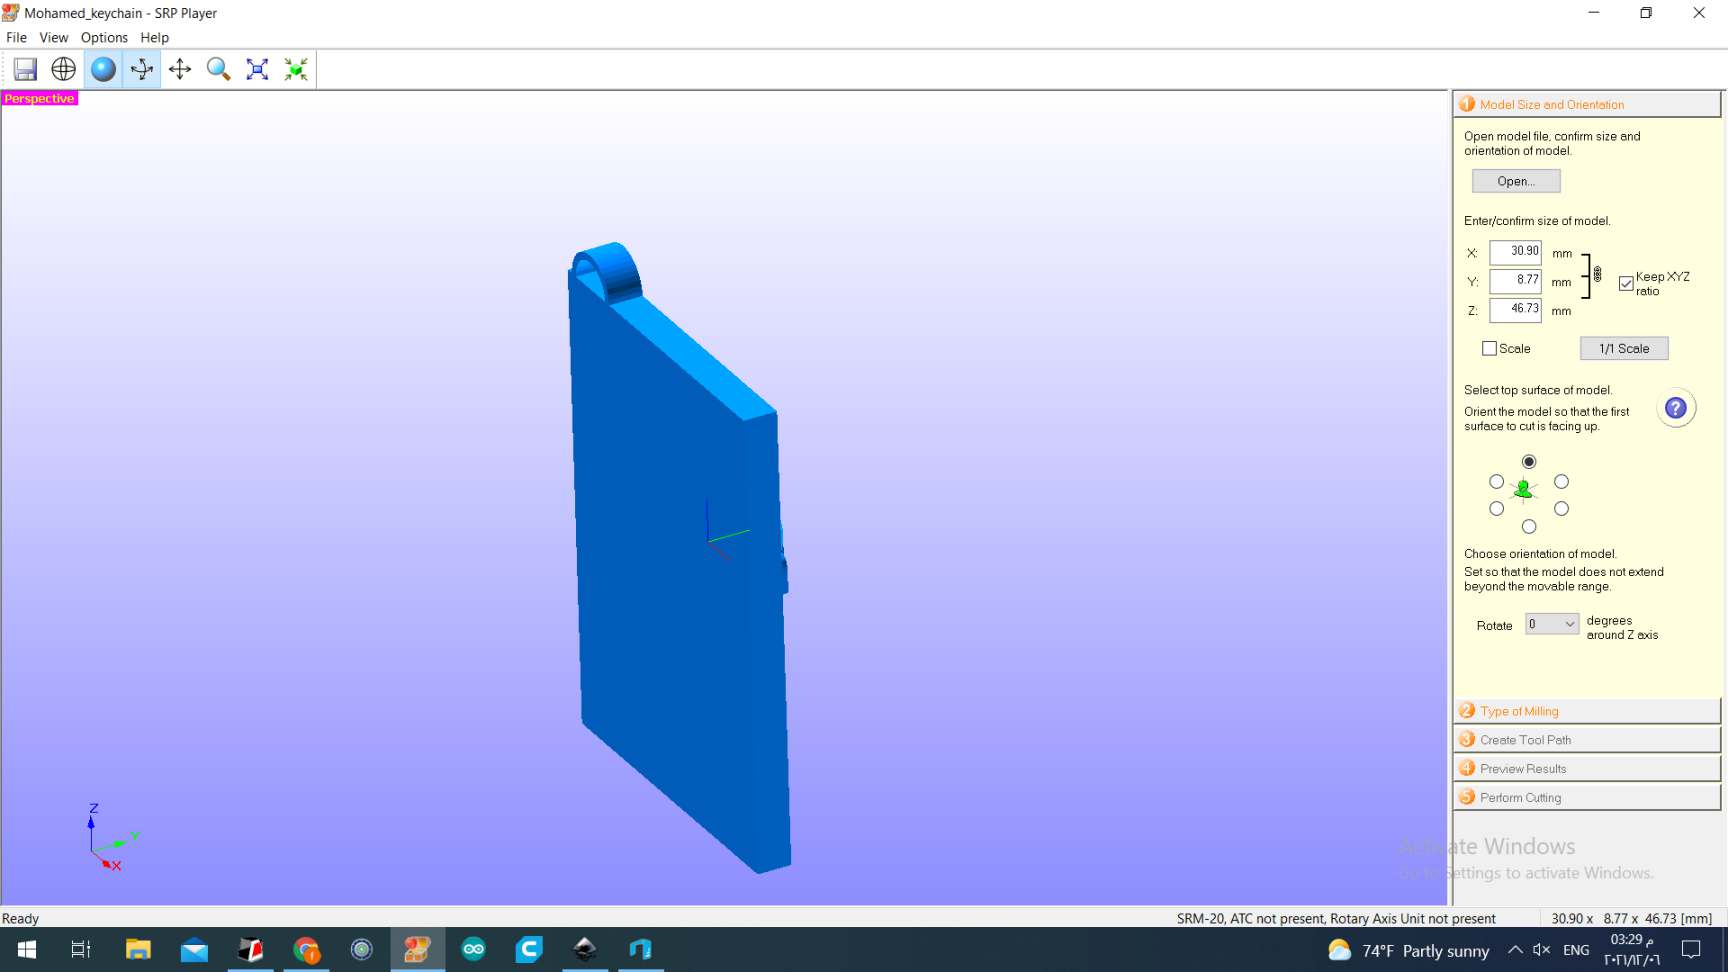
We first set the orientation of the design, baring in mind how the machine can mill the design and its limitations.
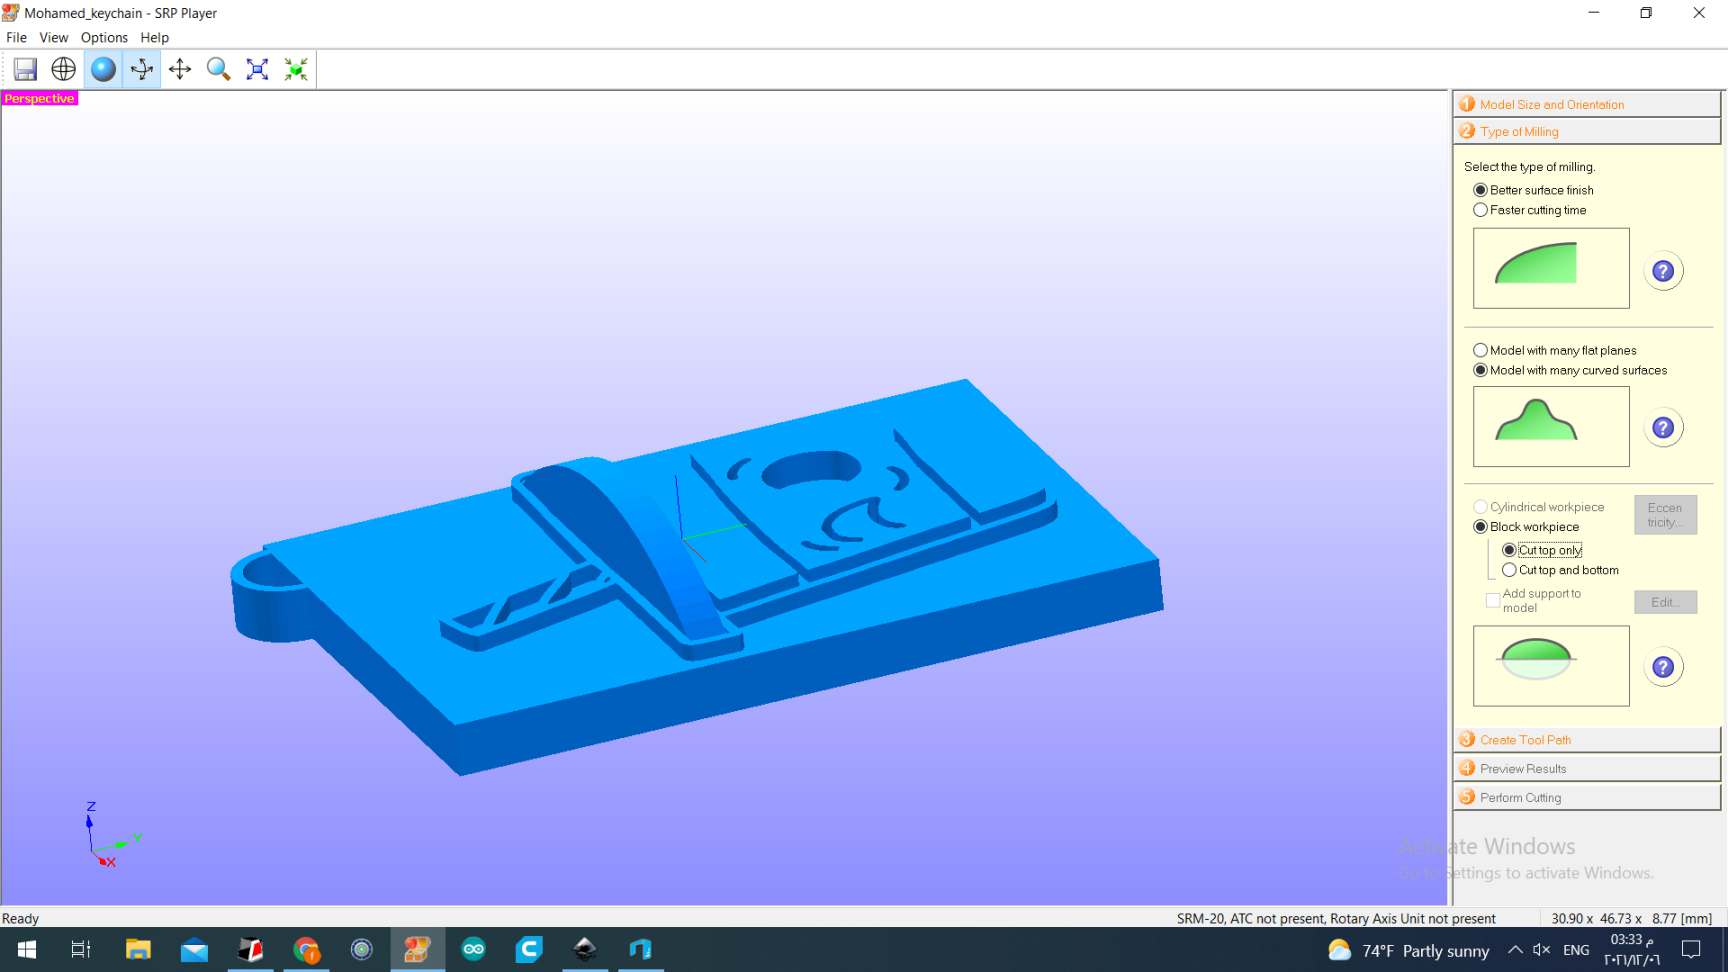
Then, we choose the type of milling
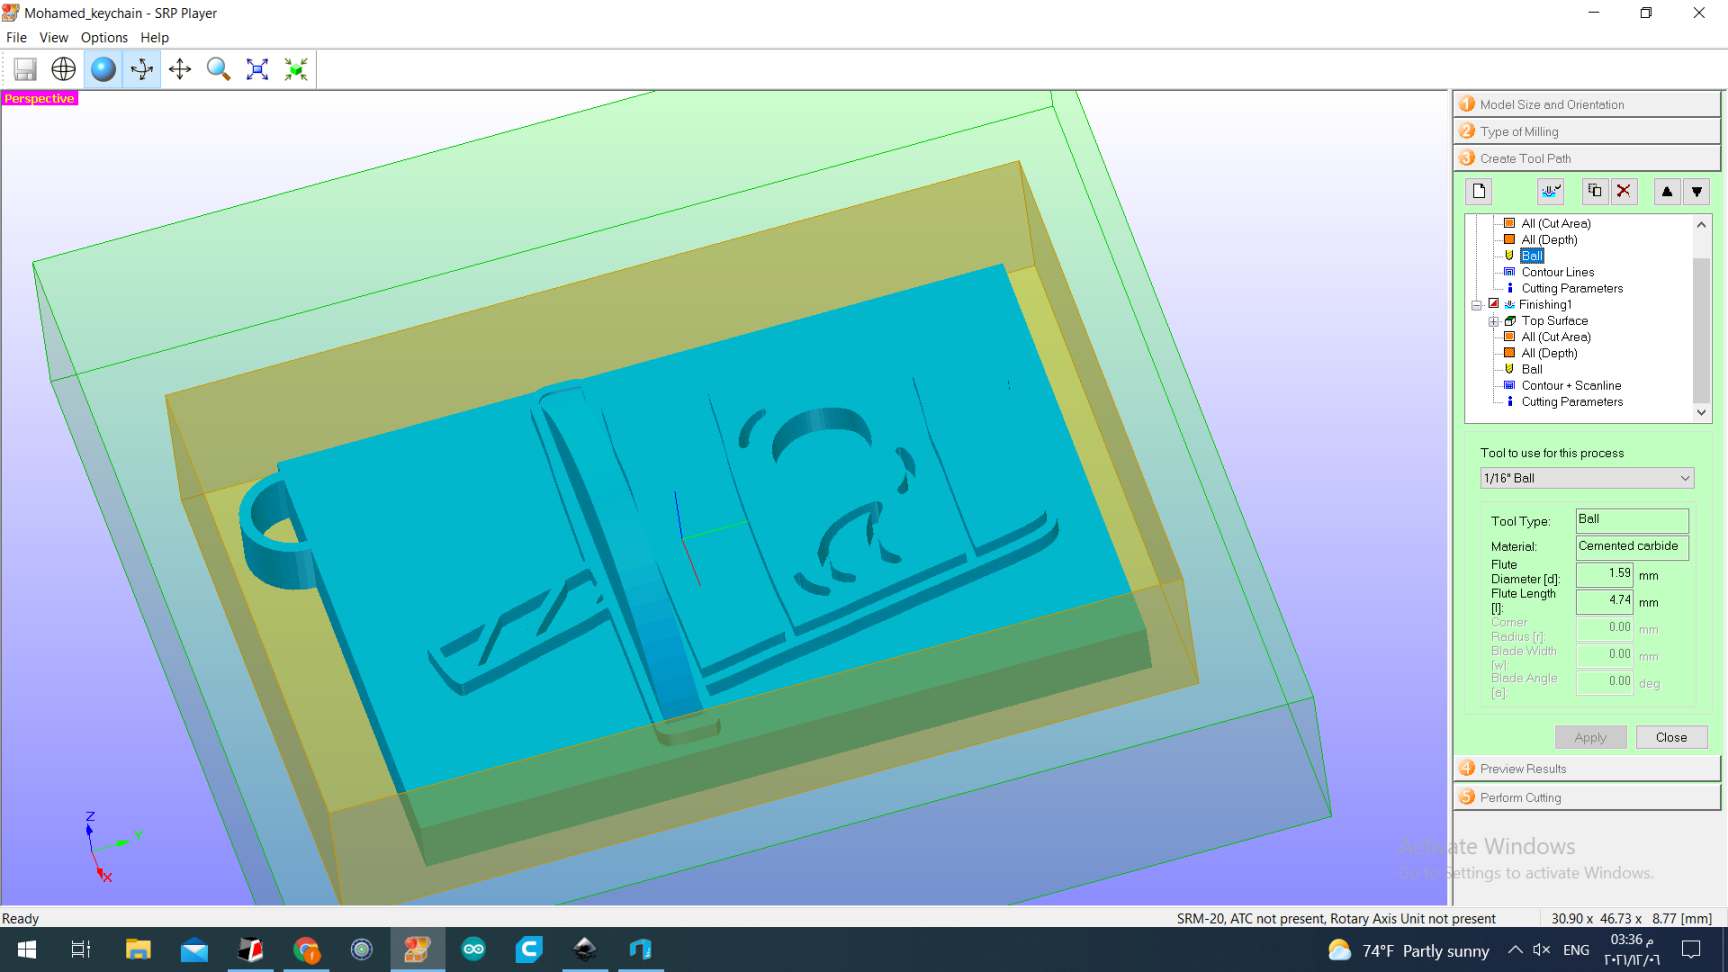
then we create the tool path and choose the appropriate settings
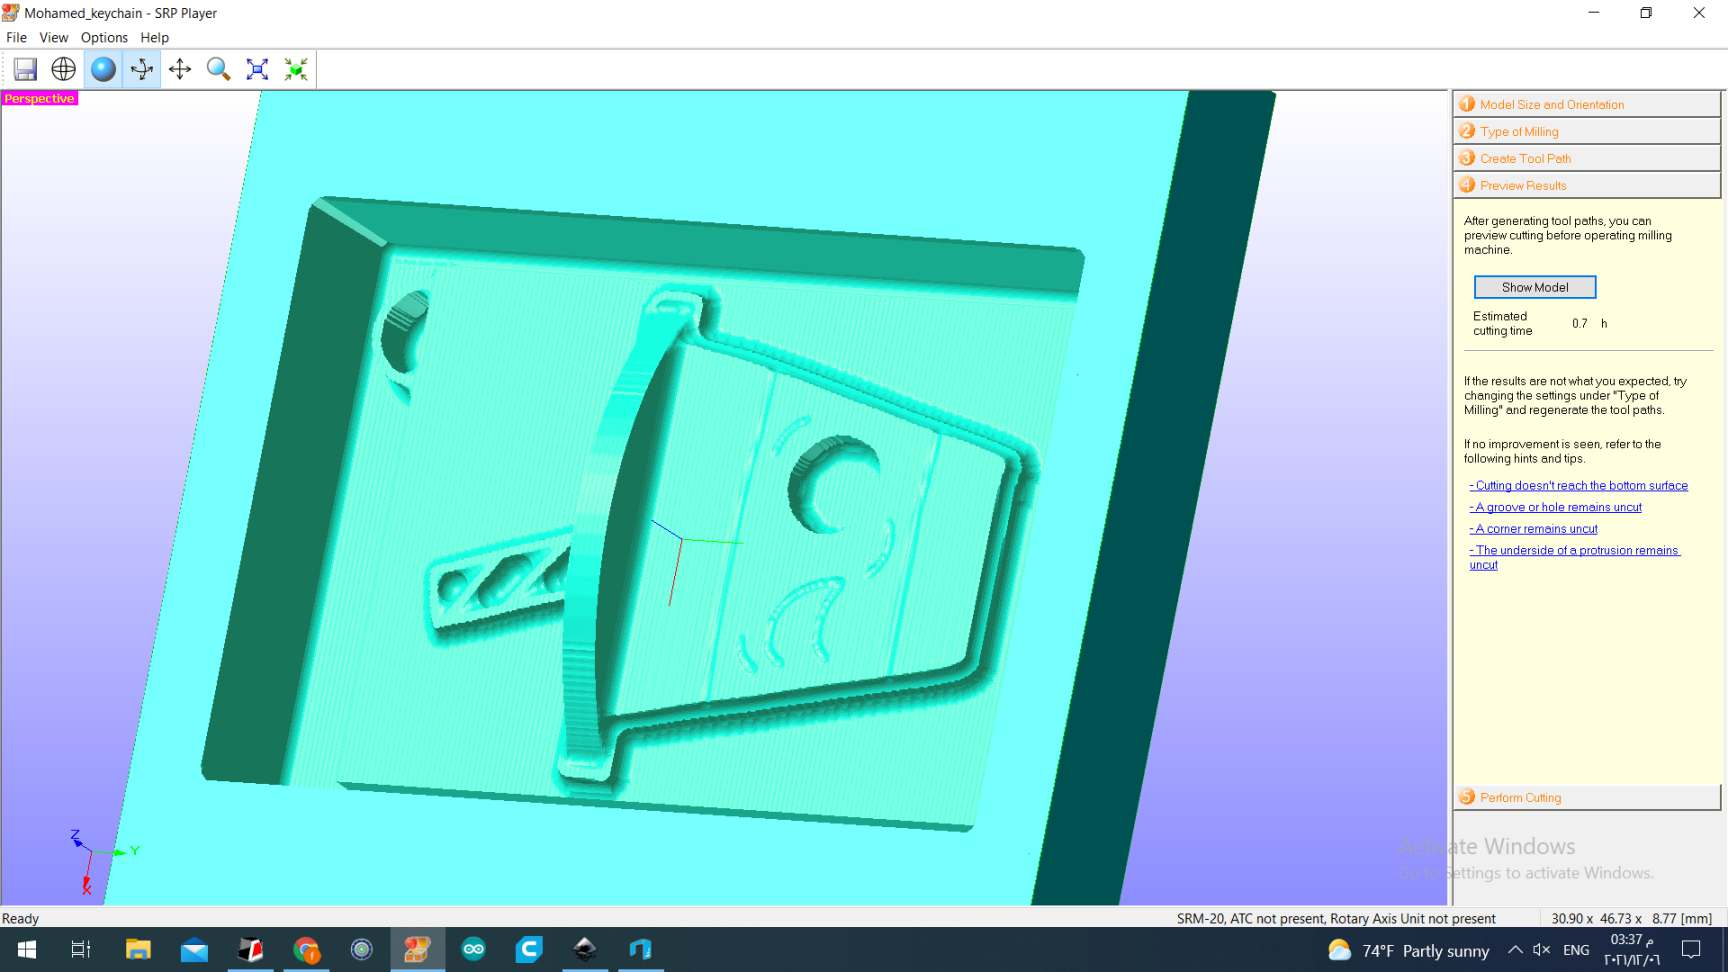
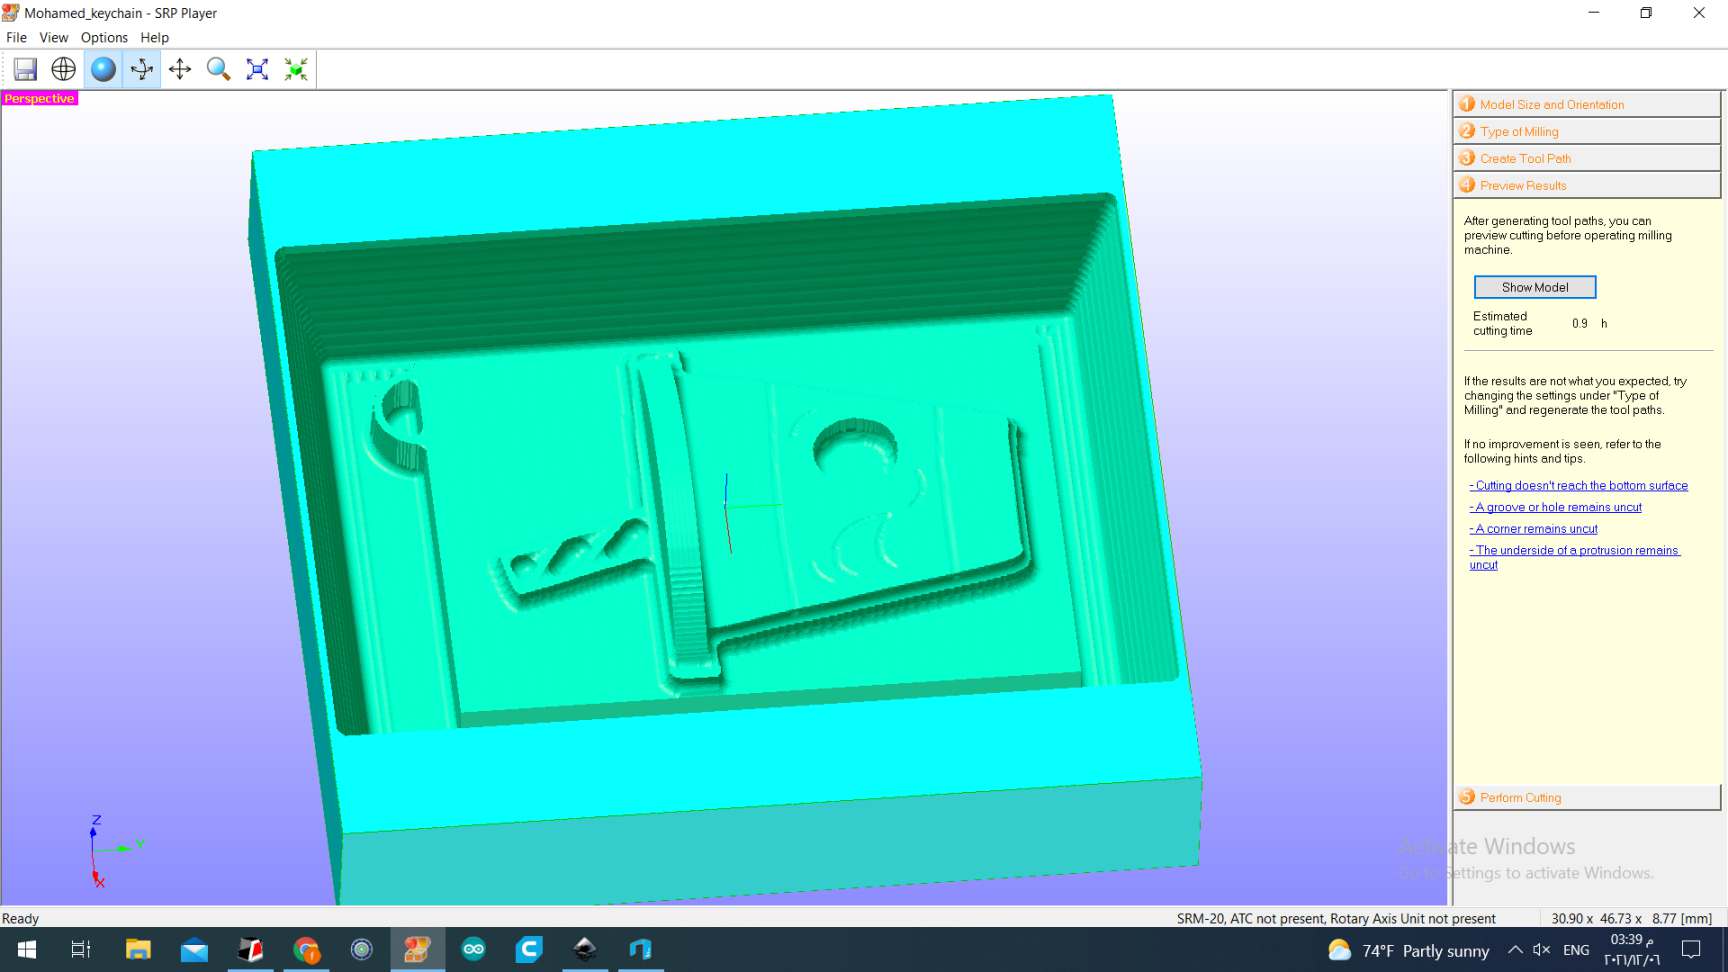
The next step is to preview the results
We decided to leave a bigger space between the design and the walls of the big rectangular cut and to make the walls sloped at 20 degrees, so that the cast object can be easily removed from the mold without damage. This resulted in some additional milling time.
This is the preview of the mill. the estimated milling time is 0.9 hour.
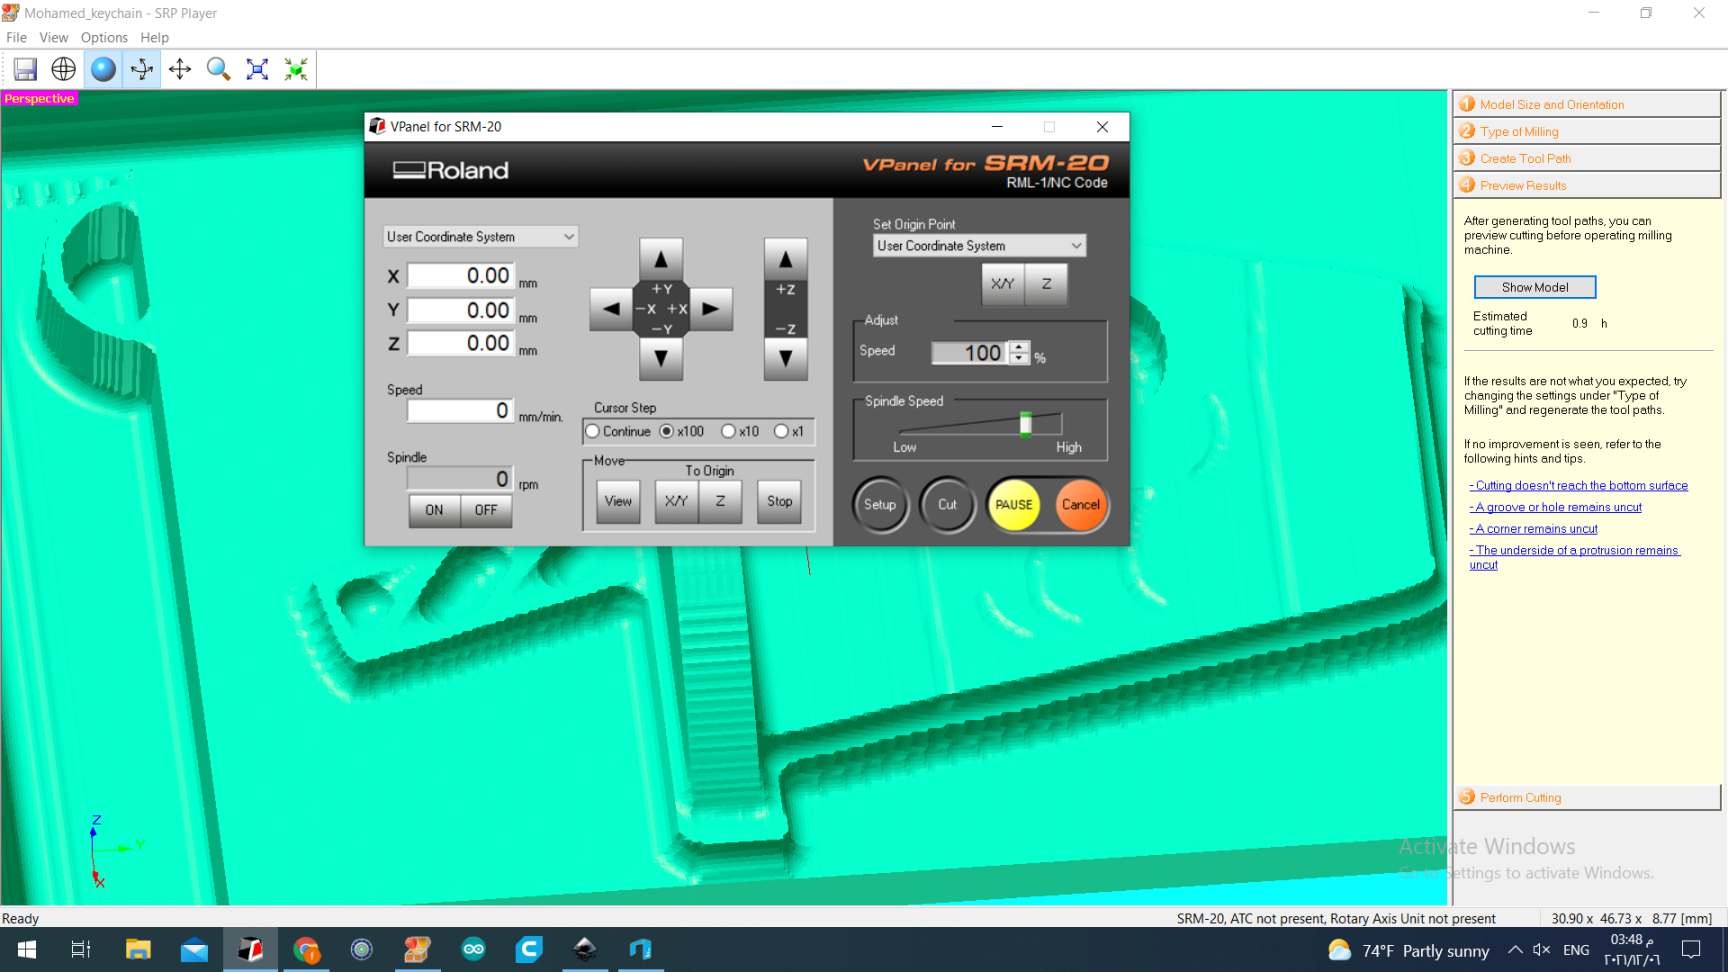
After all that, we use another program to set the origin for our drill bit. This is done very carefully and the origin must be in the middle of the area which we are going to mill. After setting the x and y origins, we set the z origin carefully to not damage the wax we are going to mill, and when the drill bit gets too close, we adjust it manually by loosening it, bringing it down a slight distance and tightening it again.
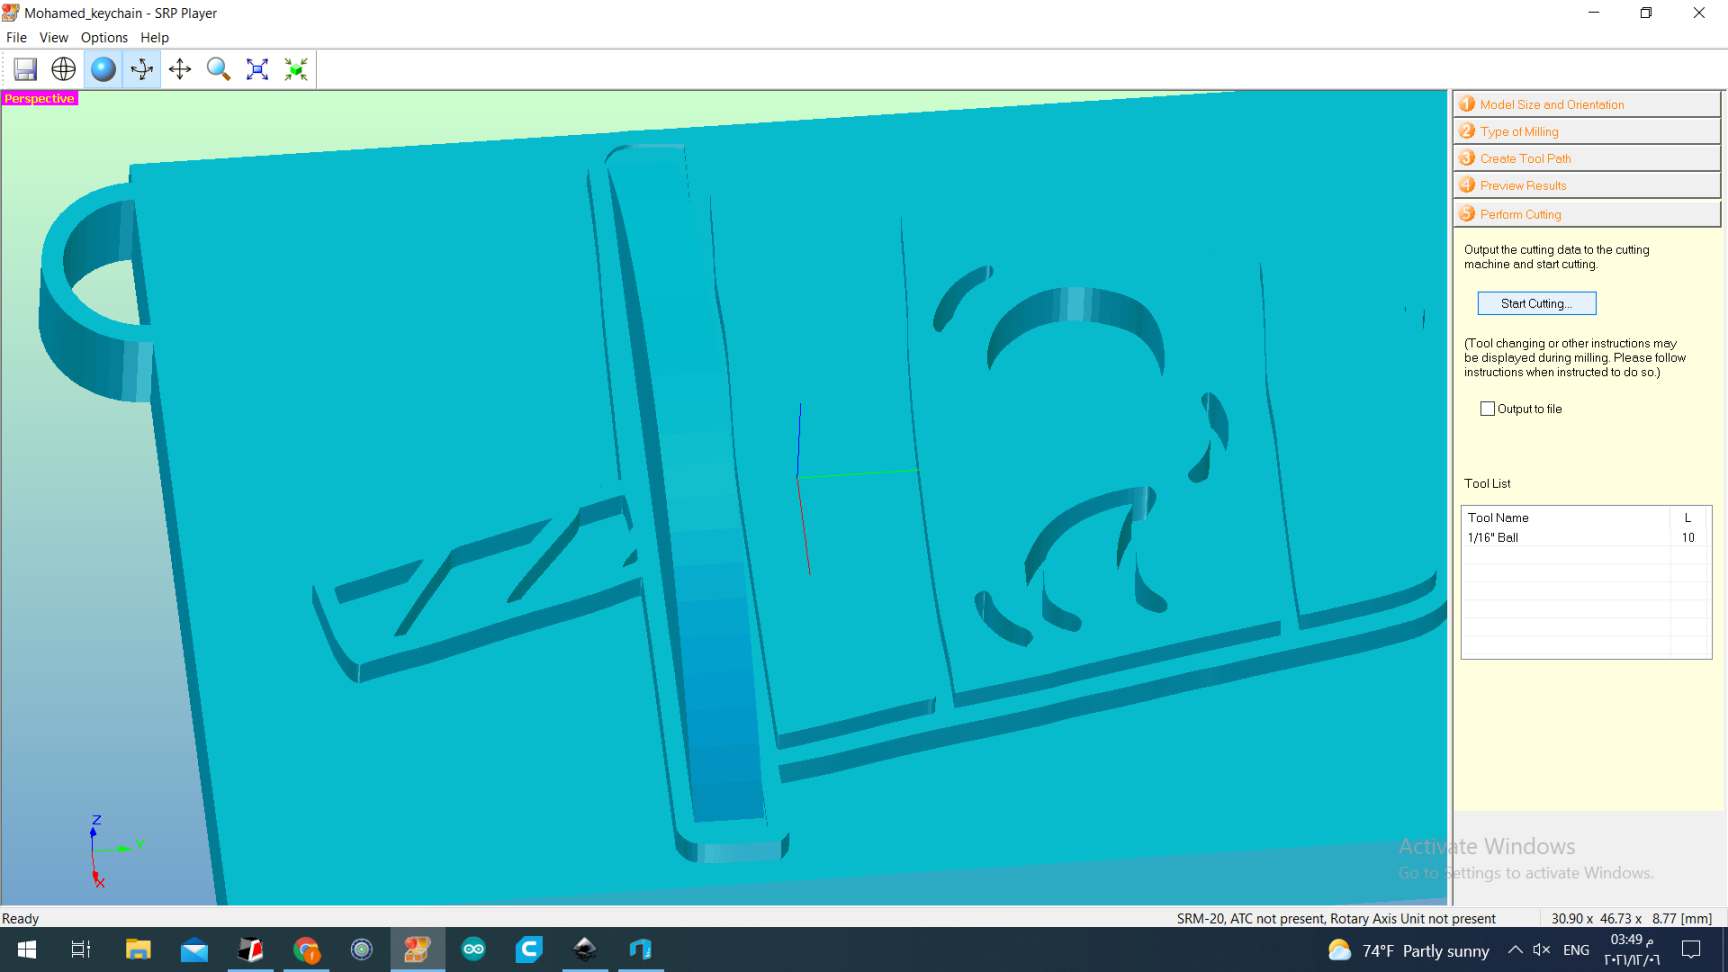
We then go back to the earlier software and hit start cutting.
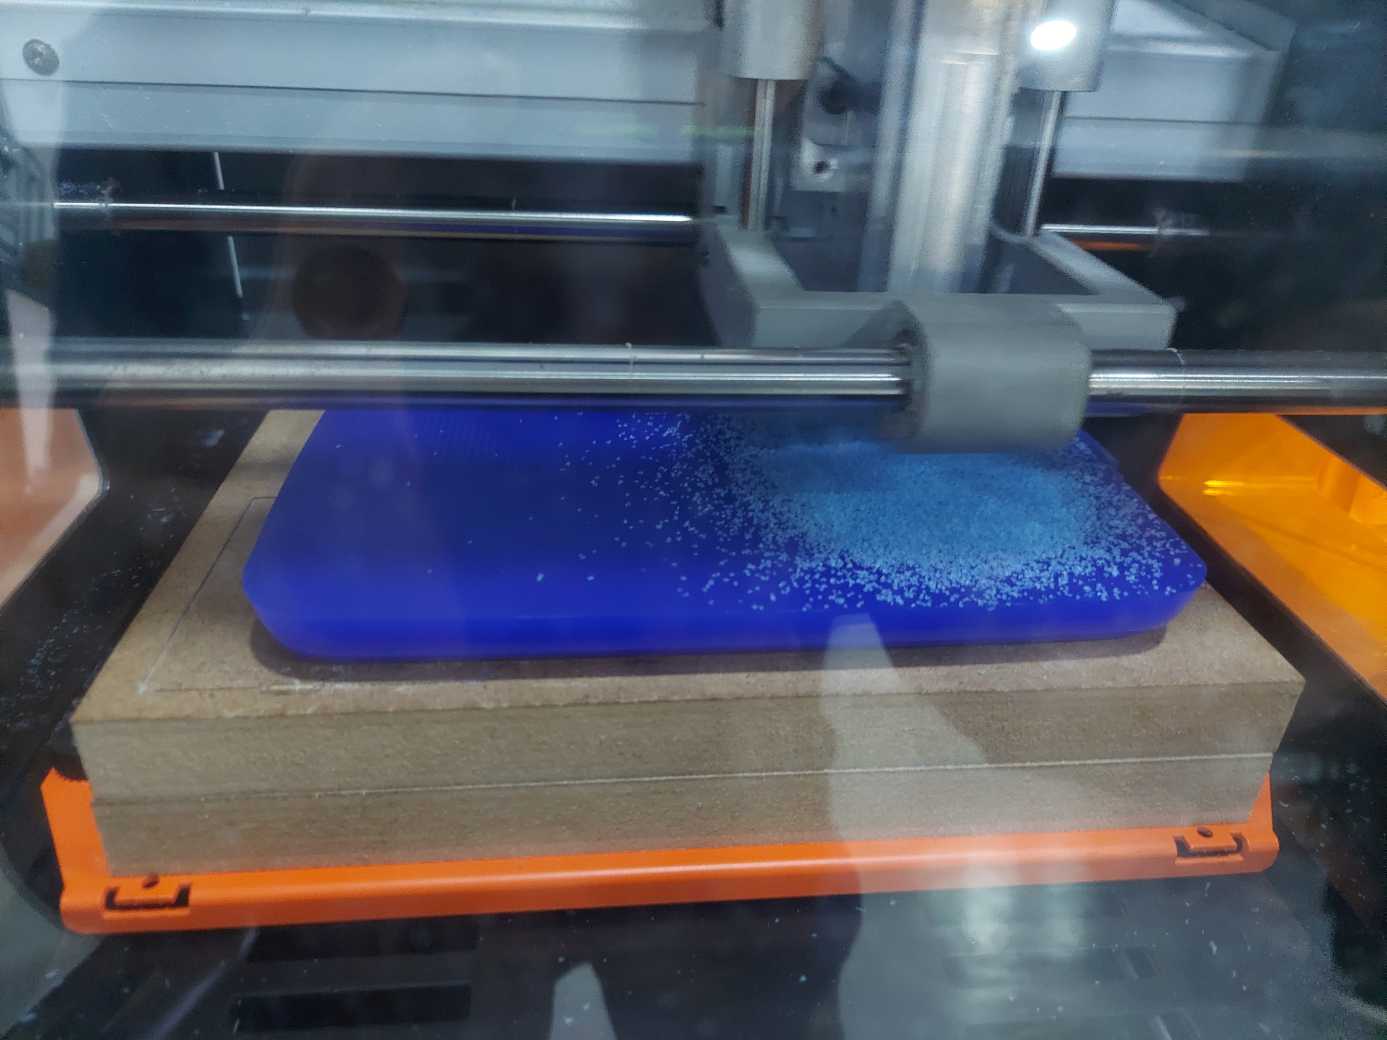
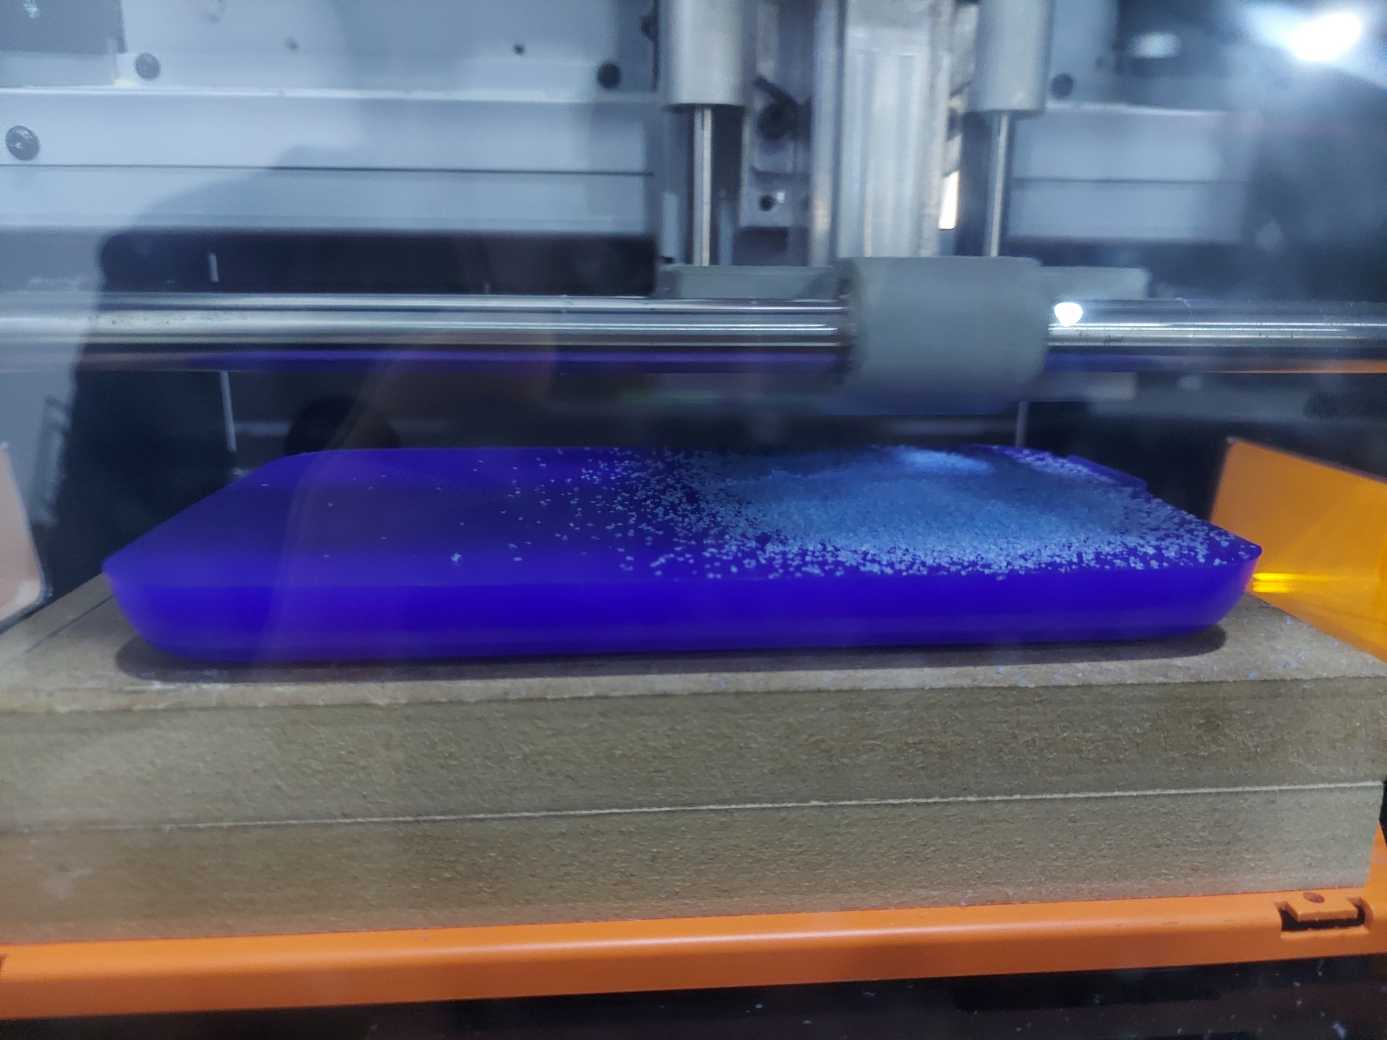
This is the machine doing the mill
This is the final result of the mill:
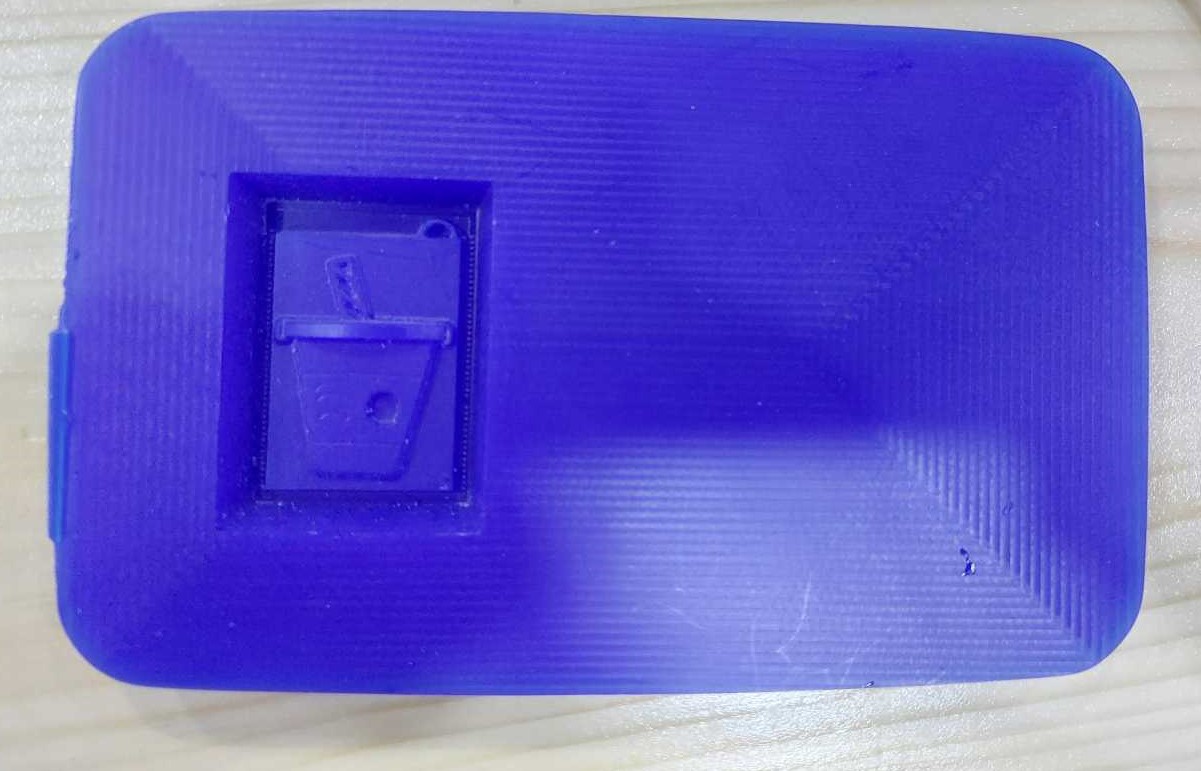
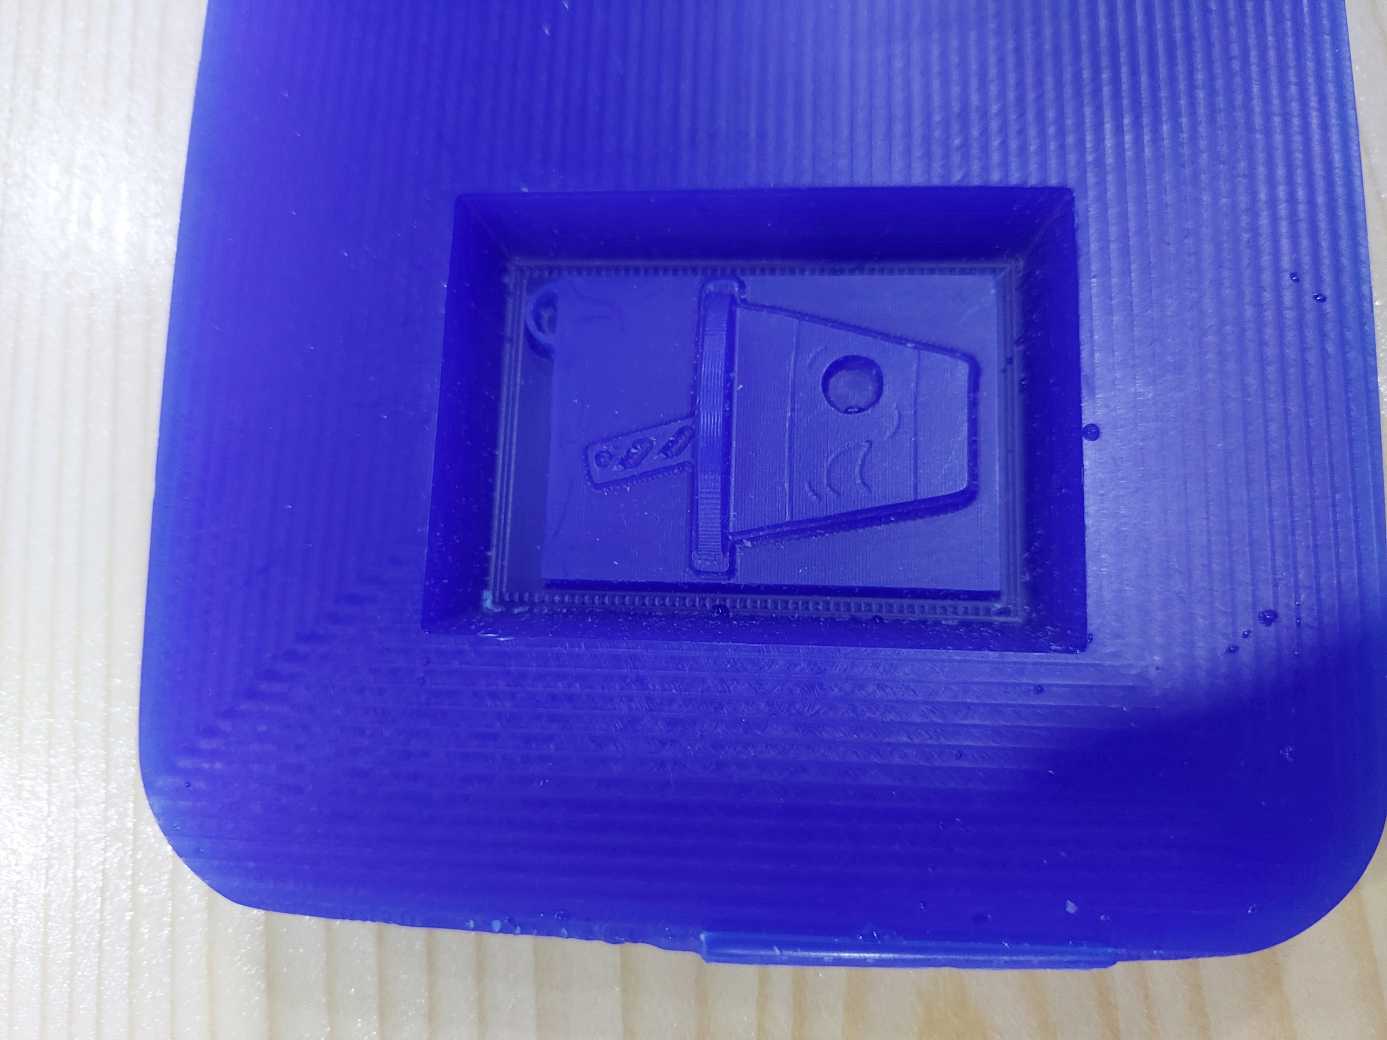
Unfortunately some details of the winky face were too fine for the drill bit. This can be fixed by changing to a smaller drill bit.
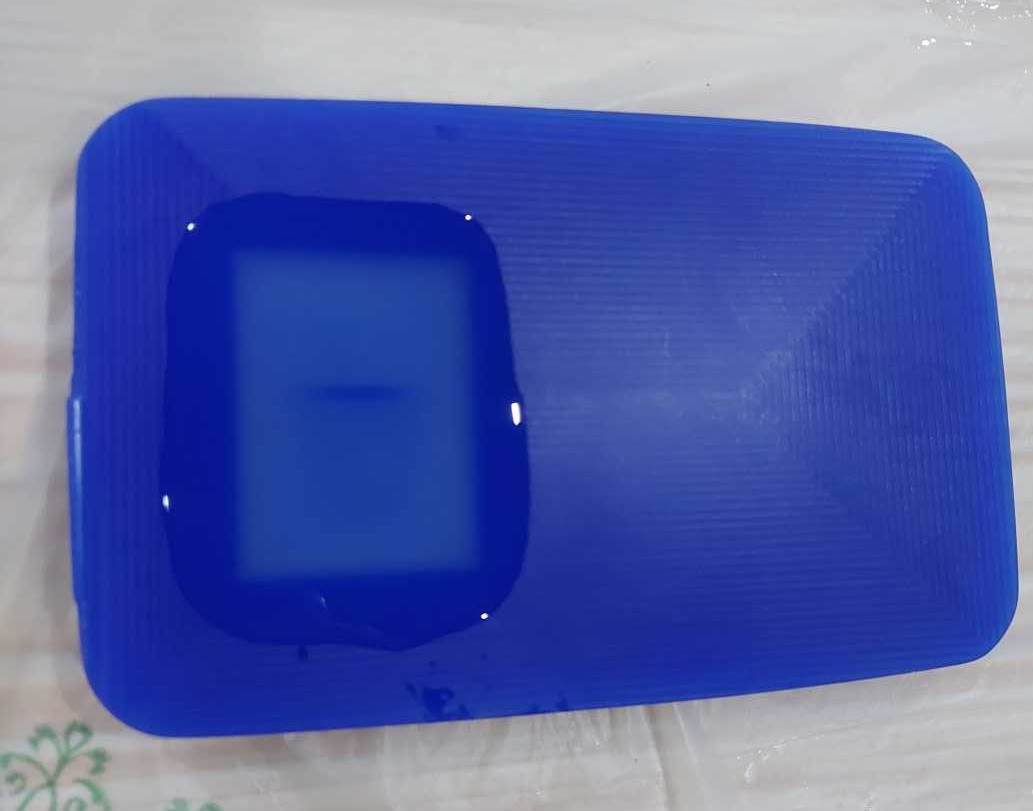
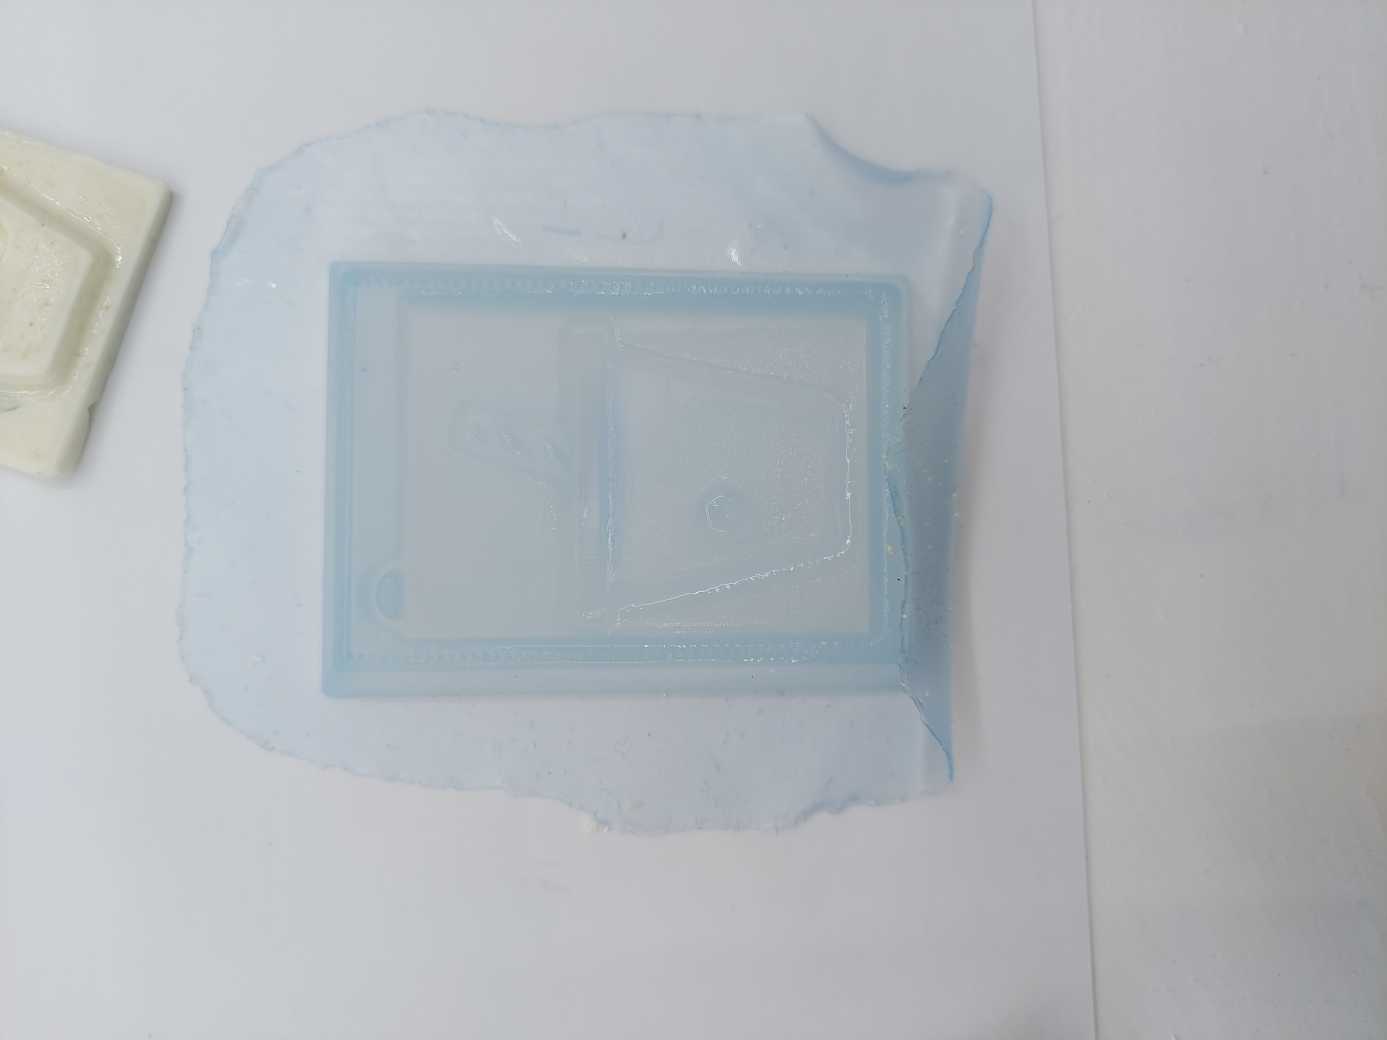
I then used this soft silicone material to cast my second mold. for this material, we need to mix A and B thoroughly and then pour it. The result is ready in 24 hours.
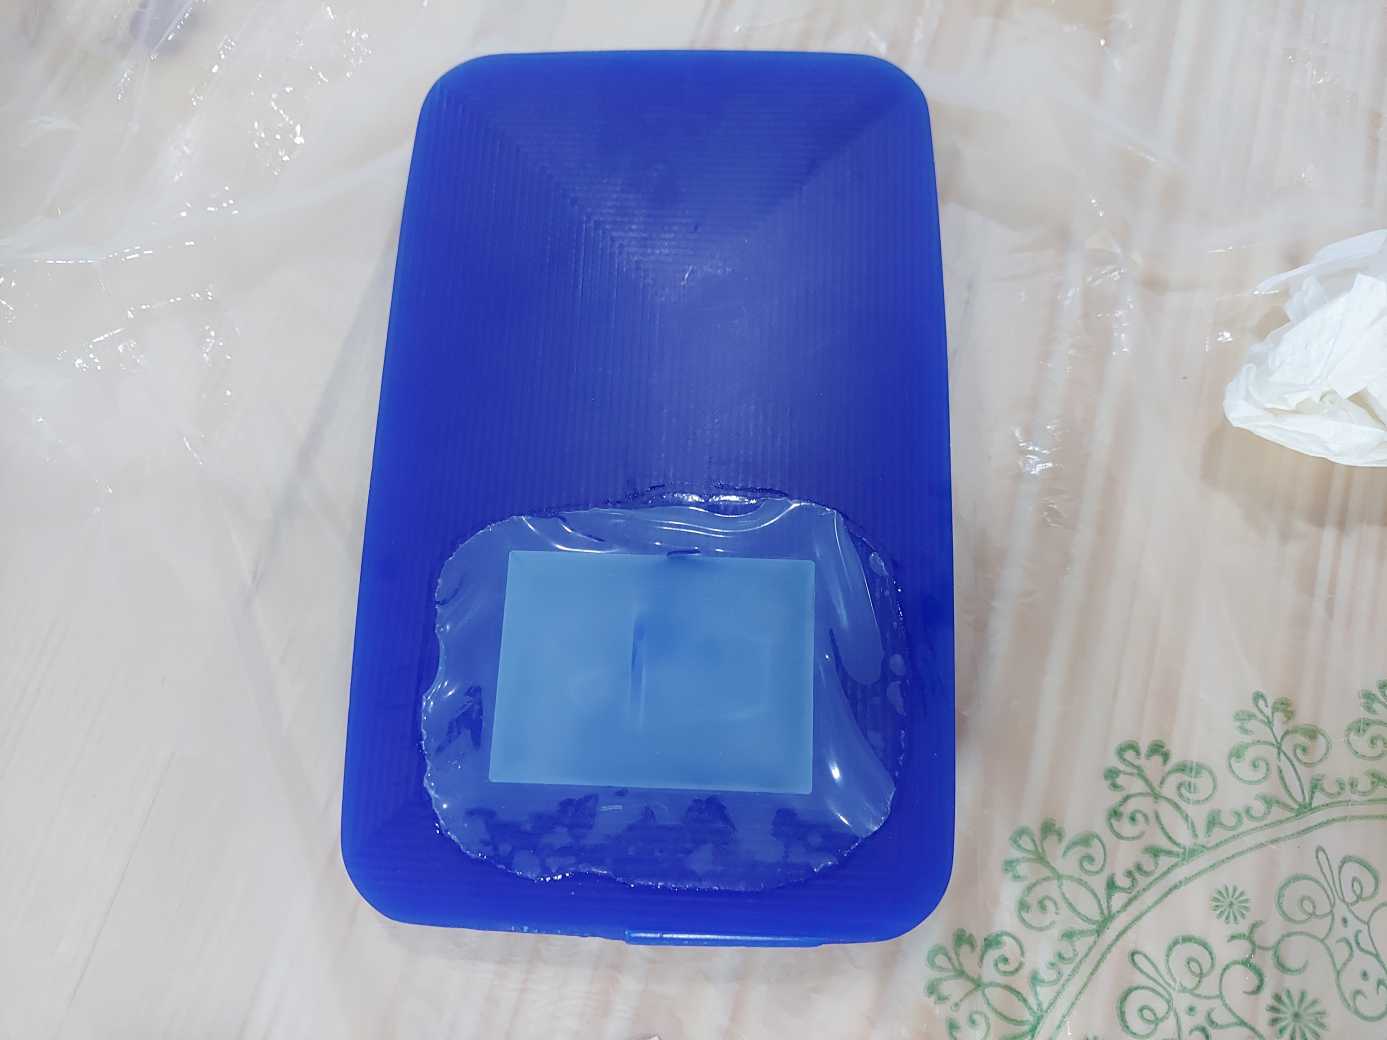
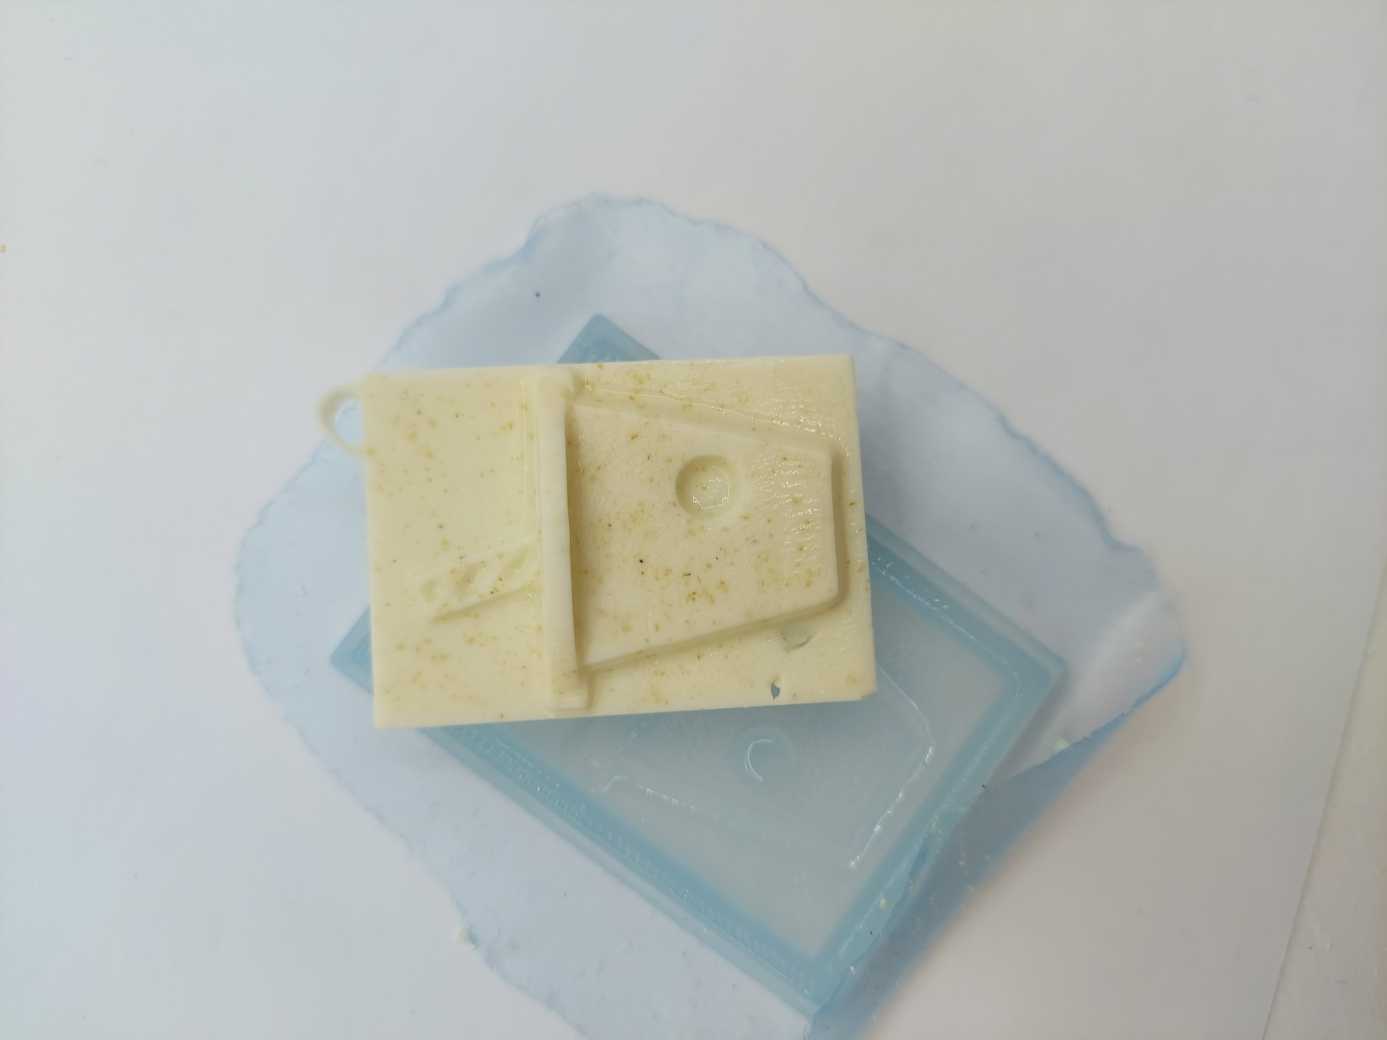
I got the silicone out of the mold, and voila, I made a mold out of a mold!
The result was very good, but for some reason parts of the silicone were sticky, and unfortunately the some details of the winky face were less clear than before.
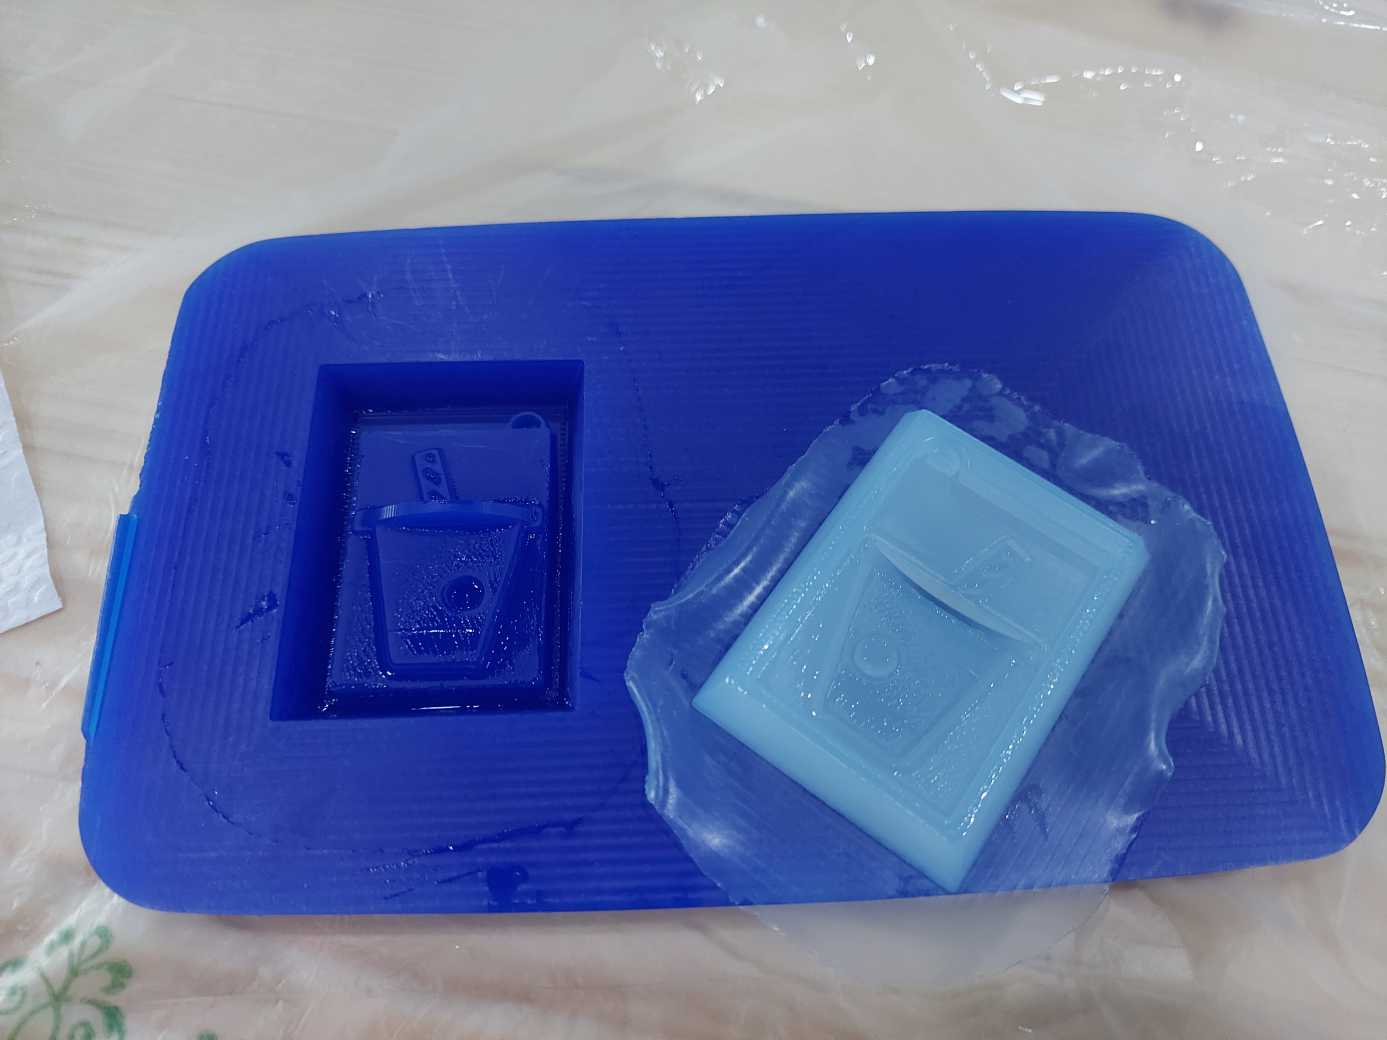
After all of that, I tested my mold by melting soap and casting it in the silicone mold. I did this to get a nice quick result since the soap would dry in minutes. The result was nice. However, no winky face.
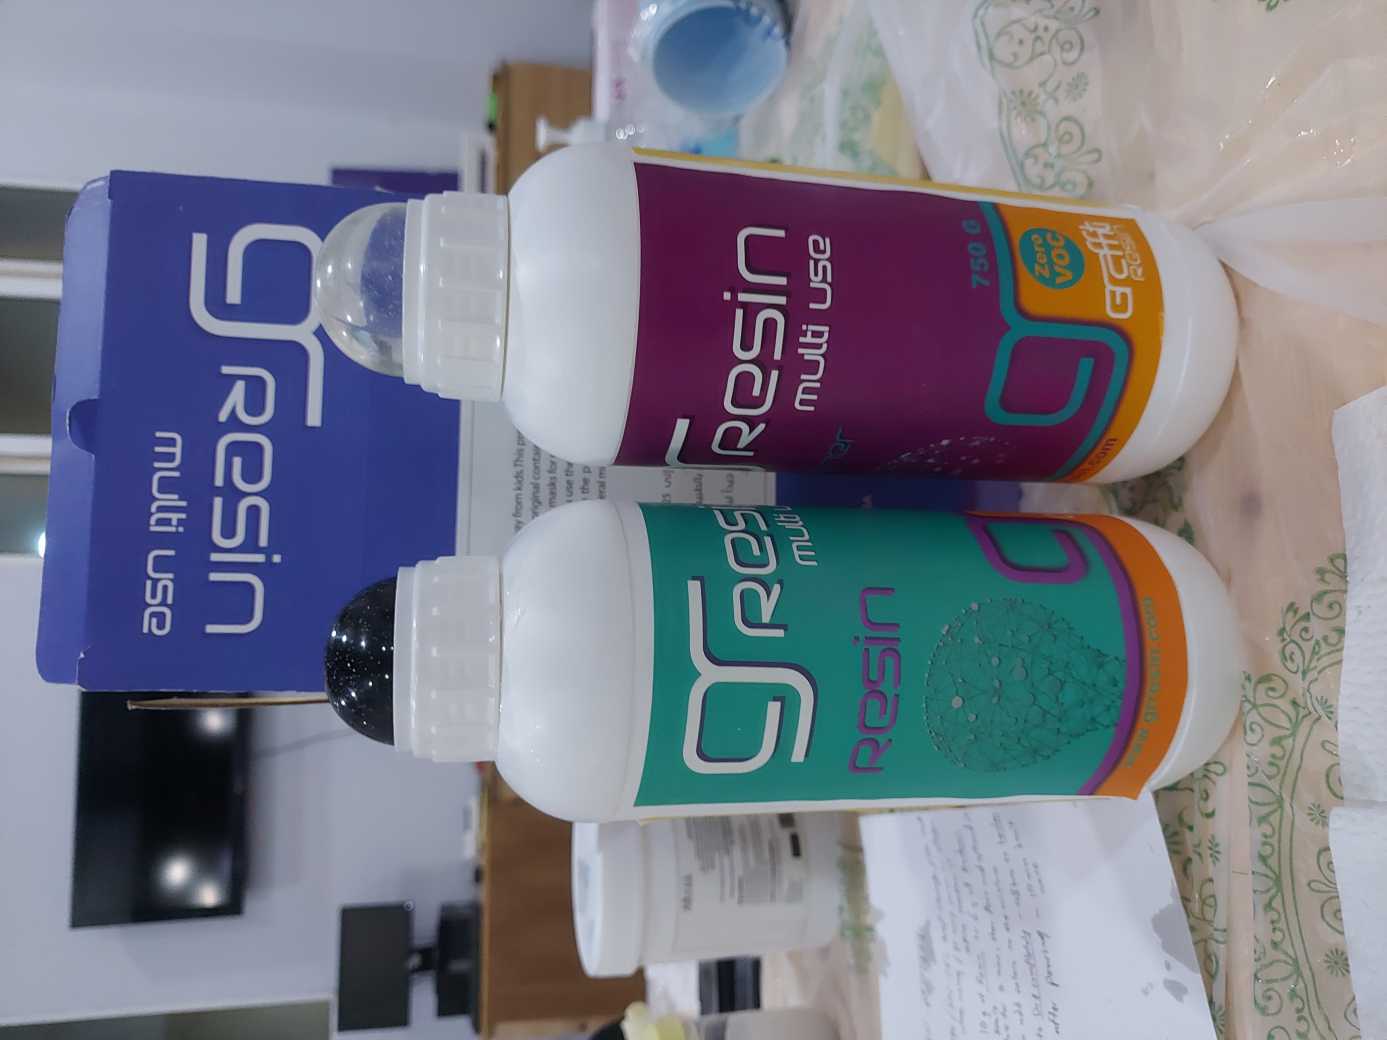
Now, I was ready to make a second cast. I used this resin called gresin multi use.
After following the appropriate steps, I poured the resin in the mold. I experimented a little by adding a small twig from a plant from FabLab’s garden inside the cast.
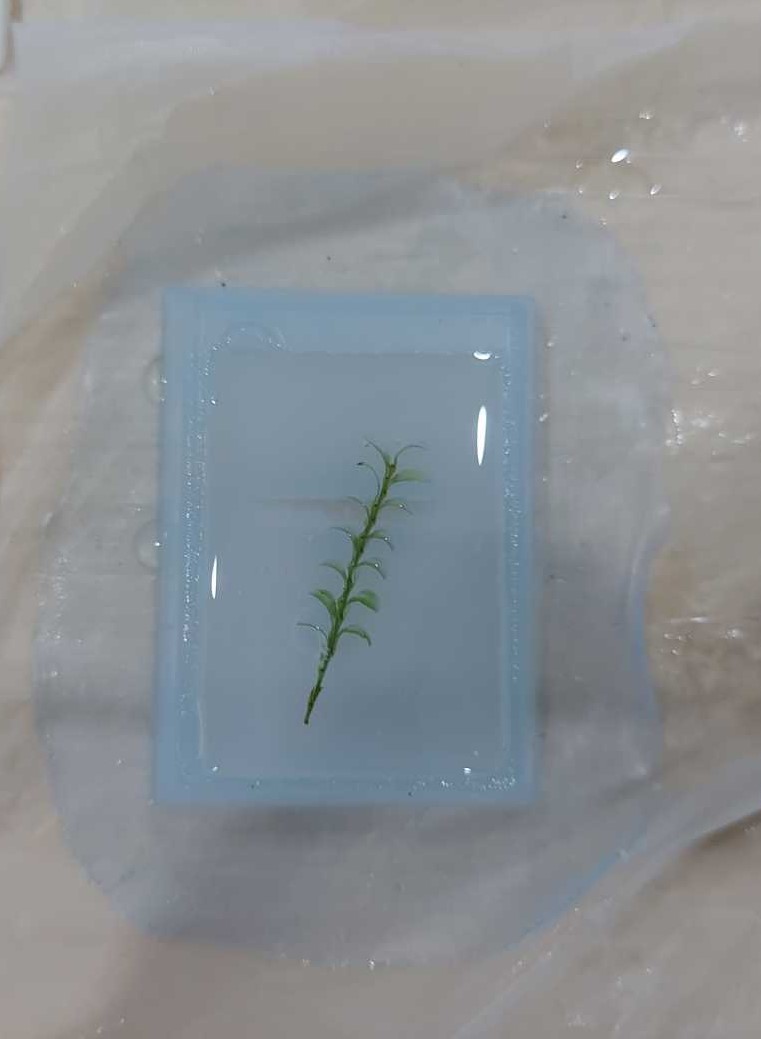
After waiting for 24 hours, I got the keychain out of the mold, and this was the result.
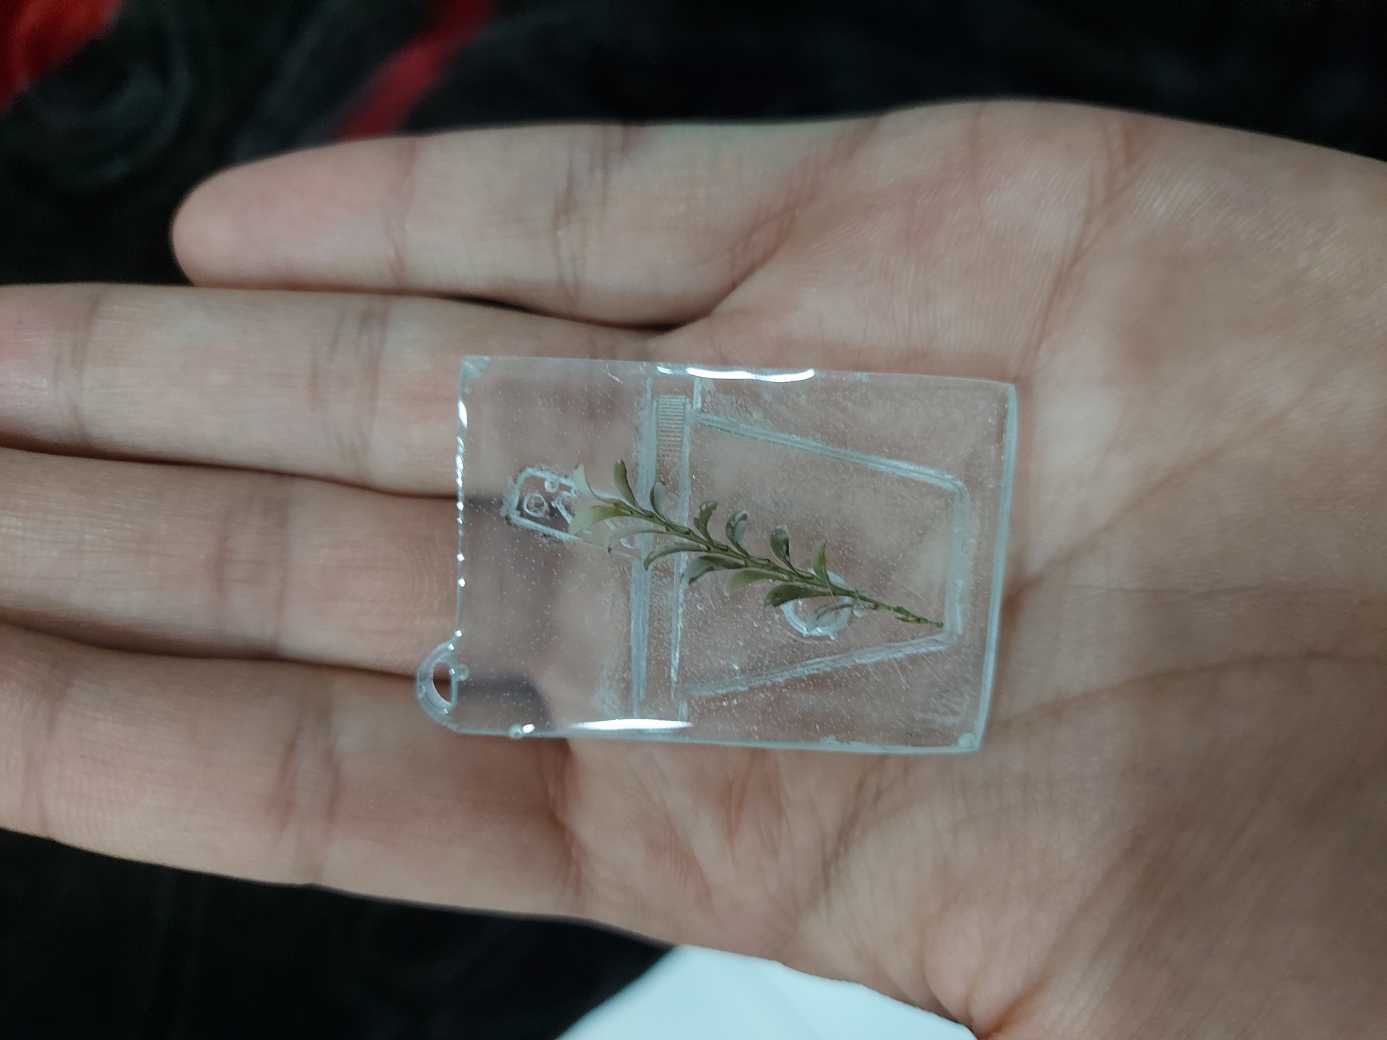
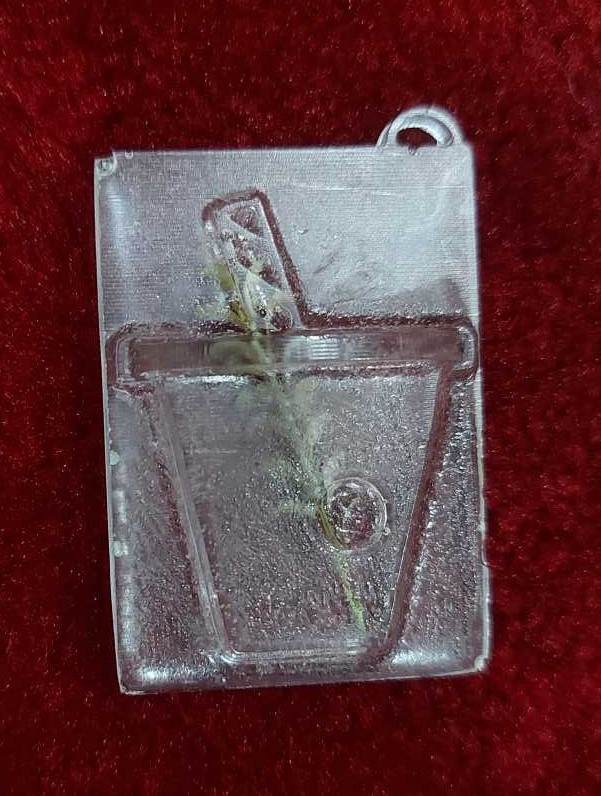
The result was great, despite that the winky face was lost. The twig was sitting nicely inside the keychain. The face that faced the air while drying was very smooth due to gravity and the liquidity of the resin after pouring, however the other face was less smooth since it faced the silicone side, and also since the silicone side was a bit sticky. Of course this no big deal, since the surface and the edges can be easily polished, but I actually like having one side smooth and the other rough.
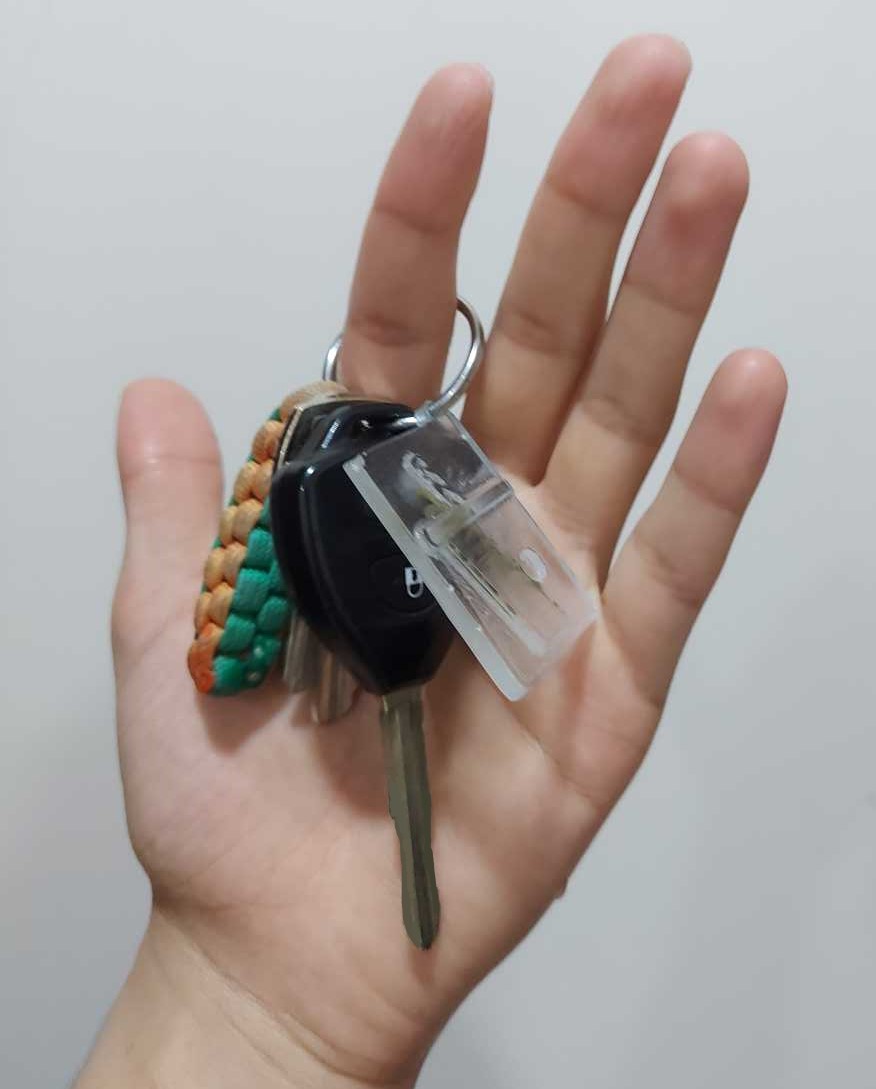
Finally, after sanding the edges, I attached the keychain to some keys.
This is my keychain hero shot !!!