4. Embedded programming
this week i learned how to use programming and how to dell with a microcontroller
what is a microcontroller
Sometimes referred to as an embedded controller or microcontroller unit (MCU), microcontrollers are found in vehicles, robots, office machines, medical devices, mobile radio transceivers, vending machines and home appliances, among other devices. They are essentially simple miniature personal computers (PCs) designed to control small features of a larger component, without a complex front-end operating system (OS).
how dose it works
A microcontroller is embedded inside of a system to control a singular function in a device. It does this by interpreting data it receives from its I/O peripherals using its central processor. The temporary information that the microcontroller receives is stored in its data memory, where the processor accesses it and uses instructions stored in its program memory to decipher and apply the incoming data. It then uses its I/O peripherals to communicate and enact the appropriate action.
Microcontrollers are used in a wide array of systems and devices. Devices often utilize multiple microcontrollers that work together within the device to handle their respective tasks.
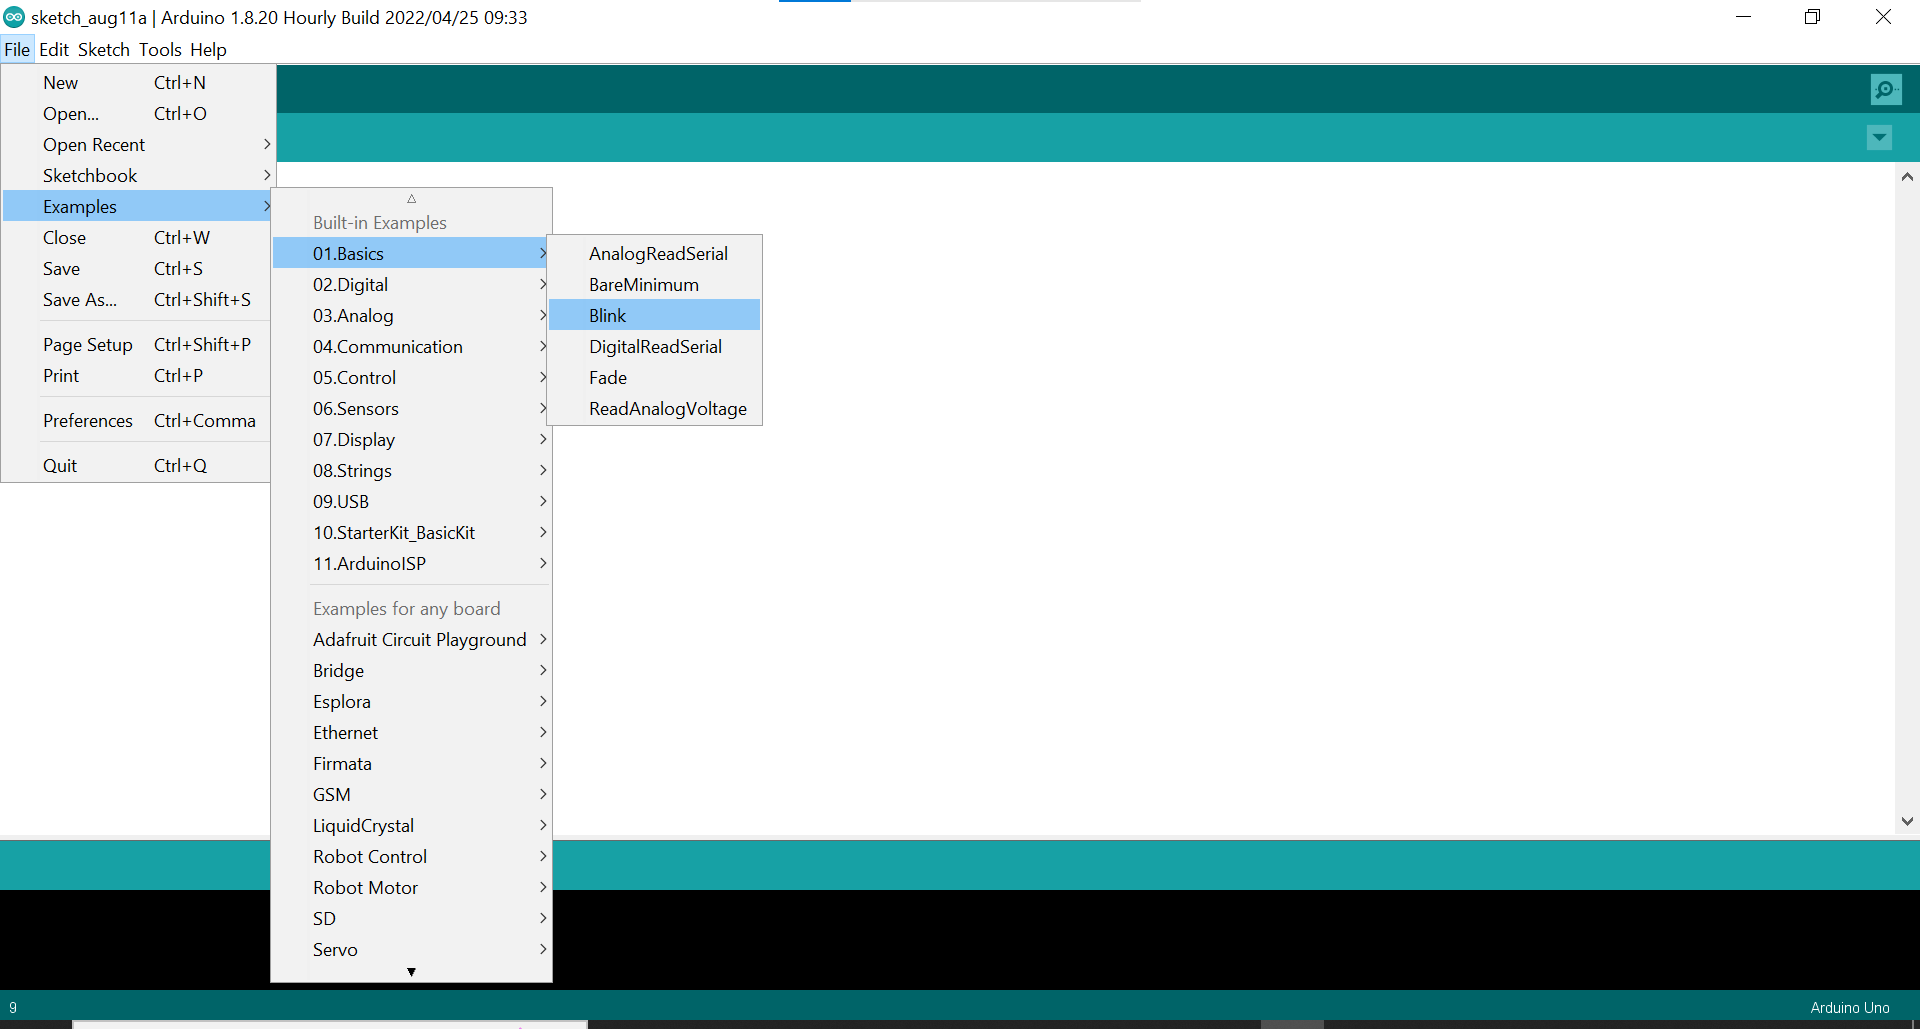
first
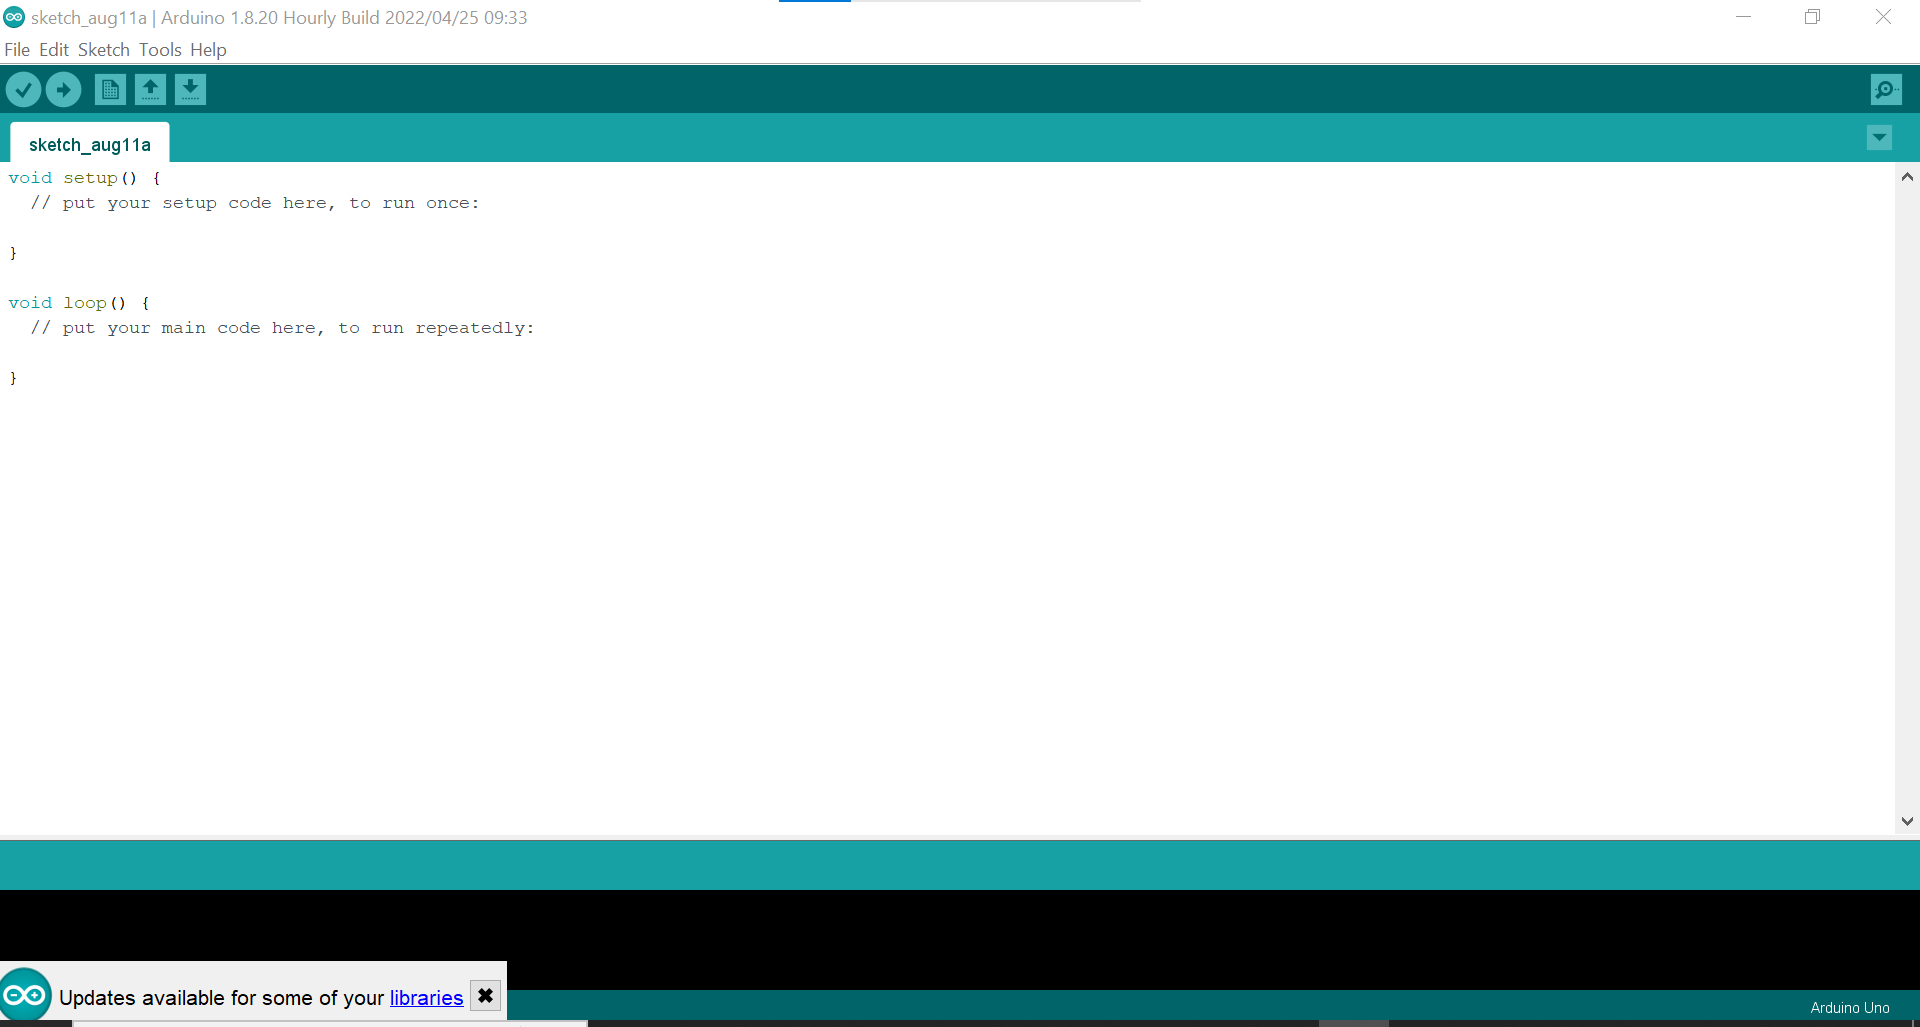
i downloaded the program


then
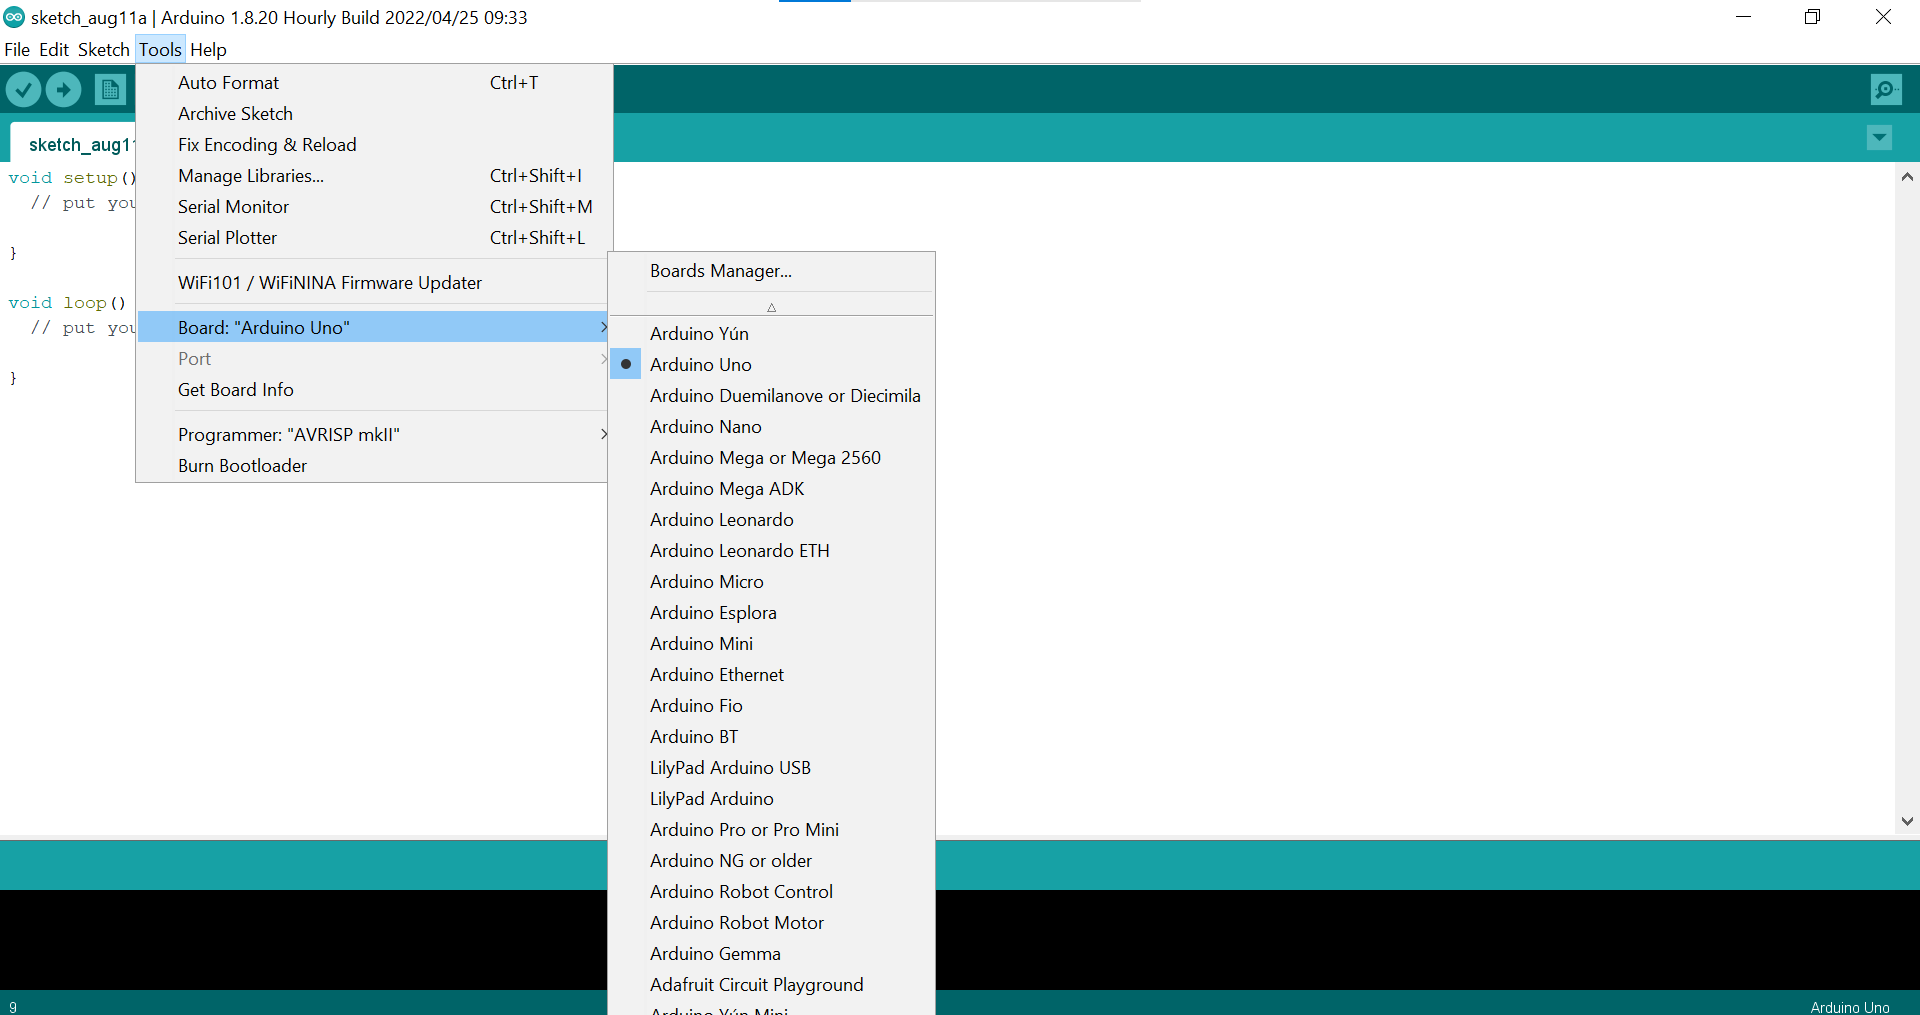
i opened it and chosed the pord type

after that
i used one of the code examples to use the program
and i used morse code to connect it with the code
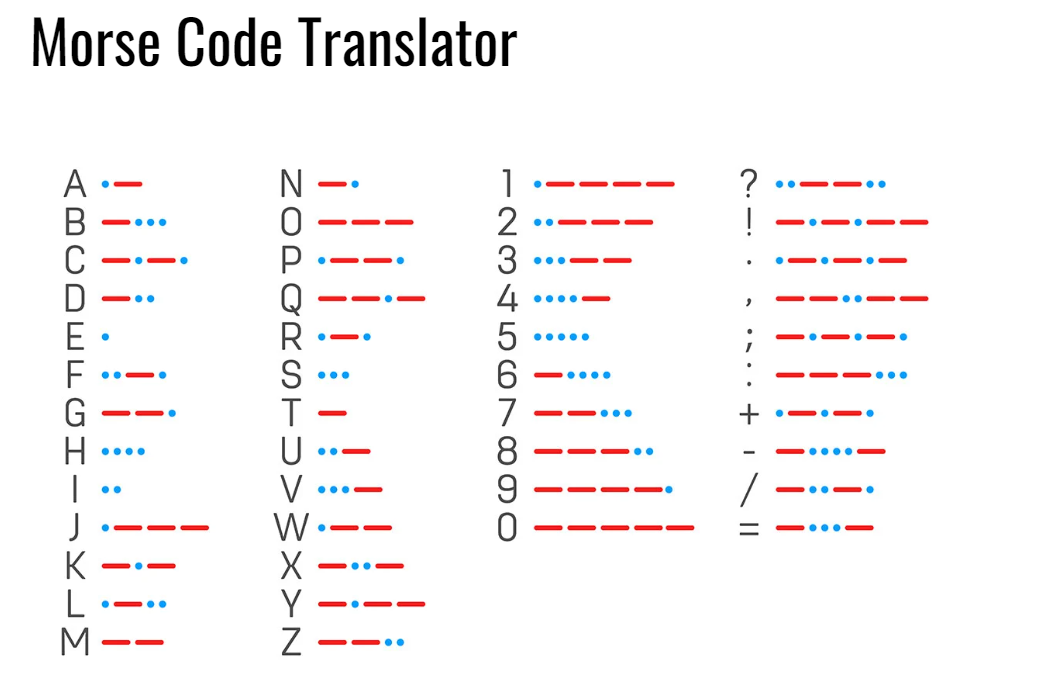

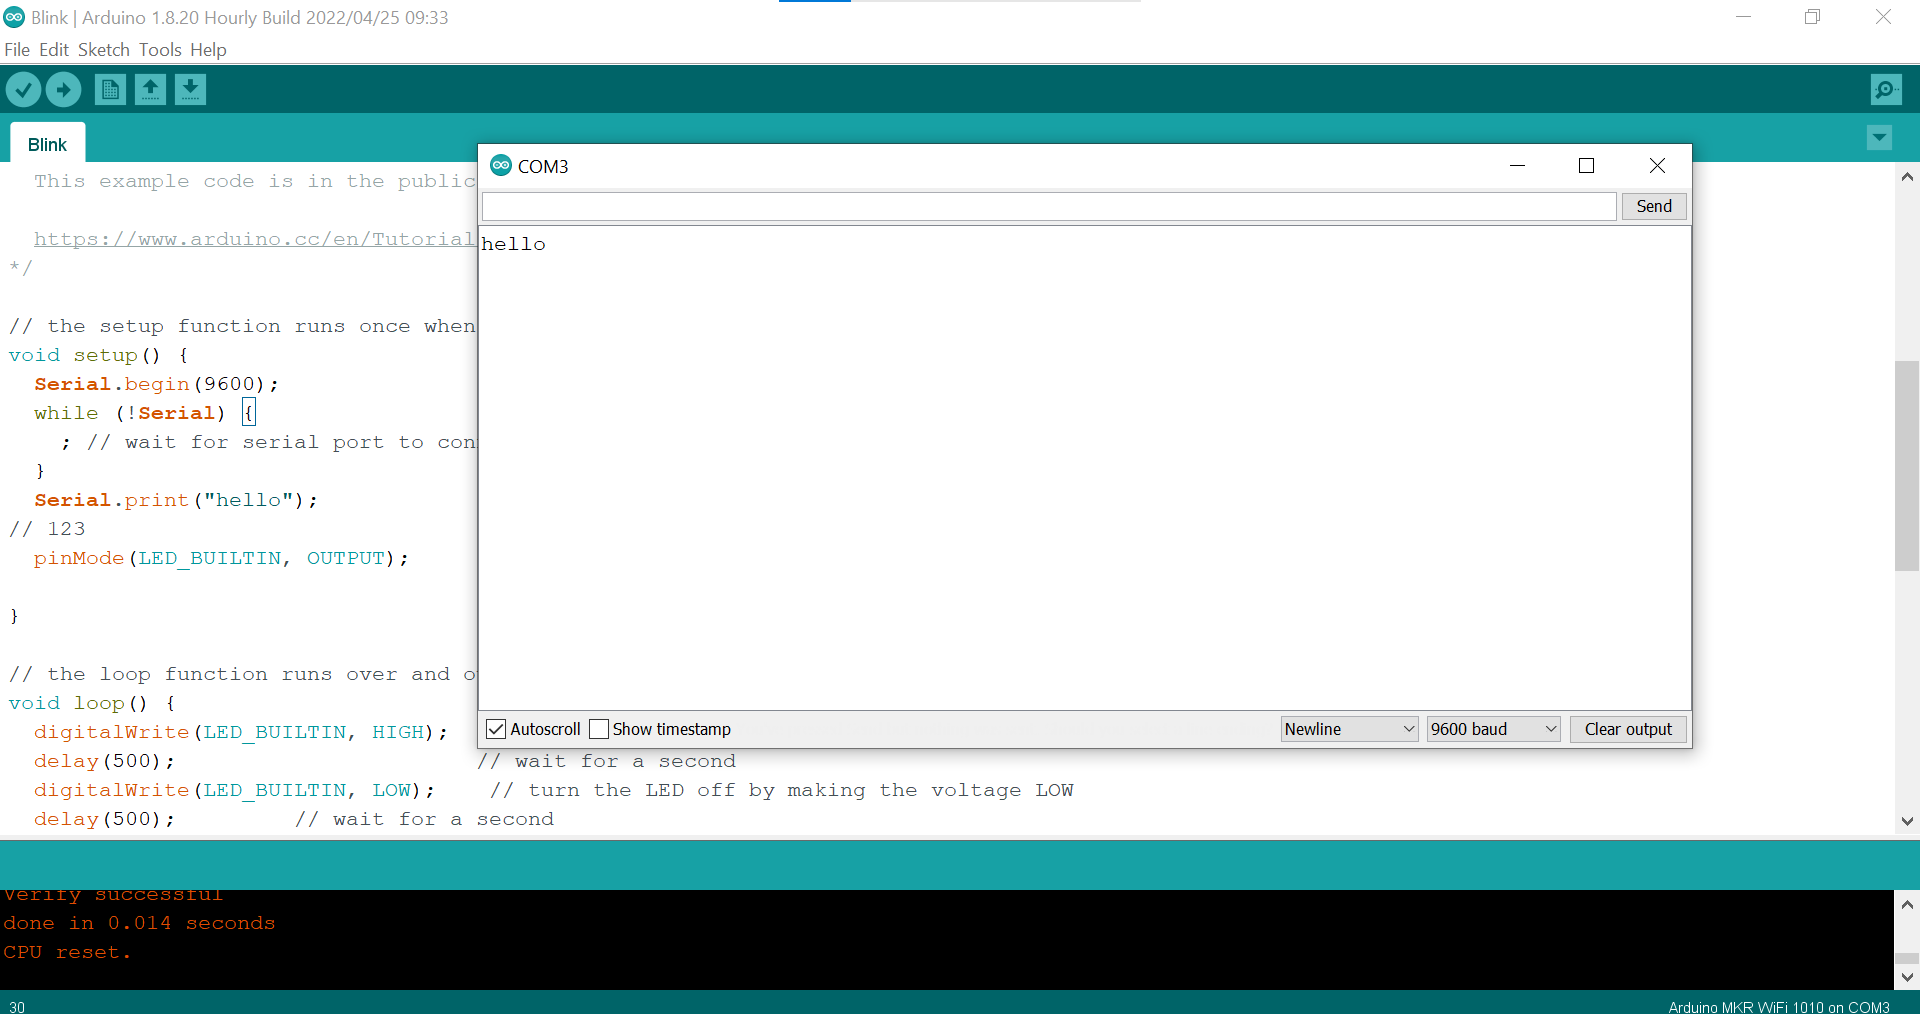
this is the code of saying (HELLO) in morass code
// the setup function runs once when you press reset or power the board
void setup() {
 // initialize digital pin LED_BUILTIN as an output.
 pinMode(LED_BUILTIN, OUTPUT);
}

// the loop function runs over and over again forever
void loop() {
 digitalWrite(LED_BUILTIN, HIGH);   // turn the LED on (HIGH is the voltage level)
 delay(1000);                       // wait for a second
 digitalWrite(LED_BUILTIN, LOW);    // turn the LED off by making the voltage LOW
 delay(500);                       // wait for a second
 digitalWrite(LED_BUILTIN, HIGH);   // turn the LED on (HIGH is the voltage level)
 delay(1000);
 digitalWrite(LED_BUILTIN, LOW);    // turn the LED off by making the voltage LOW
 delay(500);
 digitalWrite(LED_BUILTIN, HIGH);   // turn the LED on (HIGH is the voltage level)
 delay(1000);
 digitalWrite(LED_BUILTIN, LOW);   // turn the LED on (HIGH is the voltage level)
 delay(500);
 digitalWrite(LED_BUILTIN, HIGH);   // turn the LED on (HIGH is the voltage level)
 delay(1000);
 digitalWrite(LED_BUILTIN, LOW);   // turn the LED on (HIGH is the voltage level)
 delay(2000);

 digitalWrite(LED_BUILTIN, HIGH);   // turn the LED on (HIGH is the voltage level)
 delay(1000);
 digitalWrite(LED_BUILTIN, LOW);   // turn the LED on (HIGH is the voltage level)
 delay(2000);

 digitalWrite(LED_BUILTIN, HIGH);   // turn the LED on (HIGH is the voltage level)
 delay(1000);
 digitalWrite(LED_BUILTIN, LOW);   // turn the LED on (HIGH is the voltage level)
 delay(500);
 digitalWrite(LED_BUILTIN, HIGH);   // turn the LED on (HIGH is the voltage level)
 delay(2000);
 digitalWrite(LED_BUILTIN, LOW);   // turn the LED on (HIGH is the voltage level)
 delay(500);
 digitalWrite(LED_BUILTIN, HIGH);   // turn the LED on (HIGH is the voltage level)
 delay(1000);
 digitalWrite(LED_BUILTIN, LOW);   // turn the LED on (HIGH is the voltage level)
 delay(500);
 digitalWrite(LED_BUILTIN, HIGH);   // turn the LED on (HIGH is the voltage level)
 delay(1000);
 digitalWrite(LED_BUILTIN, LOW);   // turn the LED on (HIGH is the voltage level)
 delay(2000);

   digitalWrite(LED_BUILTIN, HIGH);   // turn the LED on (HIGH is the voltage level)
 delay(1000);
 digitalWrite(LED_BUILTIN, LOW);   // turn the LED on (HIGH is the voltage level)
 delay(500);
 digitalWrite(LED_BUILTIN, HIGH);   // turn the LED on (HIGH is the voltage level)
 delay(2000);
 digitalWrite(LED_BUILTIN, LOW);   // turn the LED on (HIGH is the voltage level)
 delay(500);
 digitalWrite(LED_BUILTIN, HIGH);   // turn the LED on (HIGH is the voltage level)
 delay(1000);
 digitalWrite(LED_BUILTIN, LOW);   // turn the LED on (HIGH is the voltage level)
 delay(500);
 digitalWrite(LED_BUILTIN, HIGH);   // turn the LED on (HIGH is the voltage level)
 delay(1000);
 digitalWrite(LED_BUILTIN, LOW);   // turn the LED on (HIGH is the voltage level)
 delay(2000);


  digitalWrite(LED_BUILTIN, HIGH);   // turn the LED on (HIGH is the voltage level)
 delay(2000);
  digitalWrite(LED_BUILTIN, LOW);   // turn the LED on (HIGH is the voltage level)
 delay(500);
  digitalWrite(LED_BUILTIN, HIGH);   // turn the LED on (HIGH is the voltage level)
 delay(2000);
  digitalWrite(LED_BUILTIN, LOW);   // turn the LED on (HIGH is the voltage level)
 delay(500);
  digitalWrite(LED_BUILTIN, HIGH);   // turn the LED on (HIGH is the voltage level)
 delay(2000);
  digitalWrite(LED_BUILTIN, LOW);   // turn the LED on (HIGH is the voltage level)
 delay(500);
}

Example code of random blinking
/*
  Blink

  Turns an LED on for one second, then off for one second, repeatedly.

  Most Arduinos have an on-board LED you can control. On the UNO, MEGA and ZERO
  it is attached to digital pin 13, on MKR1000 on pin 6. LED_BUILTIN is set to
  the correct LED pin independent of which board is used.
  If you want to know what pin the on-board LED is connected to on your Arduino
  model, check the Technical Specs of your board at:
  https://www.arduino.cc/en/Main/Products

  modified 8 May 2014
  by Scott Fitzgerald
  modified 2 Sep 2016
  by Arturo Guadalupi
  modified 8 Sep 2016
  by Colby Newman

  This example code is in the public domain.

  https://www.arduino.cc/en/Tutorial/BuiltInExamples/Blink
*/

// the setup function runs once when you press reset or power the board
void setup() {
  // initialize digital pin LED_BUILTIN as an output.
  pinMode(LED_BUILTIN, OUTPUT);
}

// the loop function runs over and over again forever
void loop() {
  int A=random(500,5000);
  Serial.println(A);
  int B=random(500,5000);
  Serial.println(B);

  for(int j=0; j<10; j++){
    digitalWrite(LED_BUILTIN,HIGH);  // turn the LED on (HIGH is the voltage level)
    delay(A);                        // wait for a second
    digitalWrite(LED_BUILTIN,LOW);   // turn the LED off by making the voltage low
    delay(B);
  }                         // wait for a second

}

