
Safety
Before you start remember your safety and health is very important.
Safe & Unsafe Materials for the Laser Cutter
In case of Fire:
- Use the fire blanket.
- Switch off the machine + the power extension cable.
User manuals
User manual for LCD control panel
About the machine
[Type] CO2
[Bed size] 600mm x 900mm
[Power] 100watt
[Beam width] 0.32mm to 0.10mm depends on material
[File formats] 2D formats (.dxf .pdf .ai .svg ...)
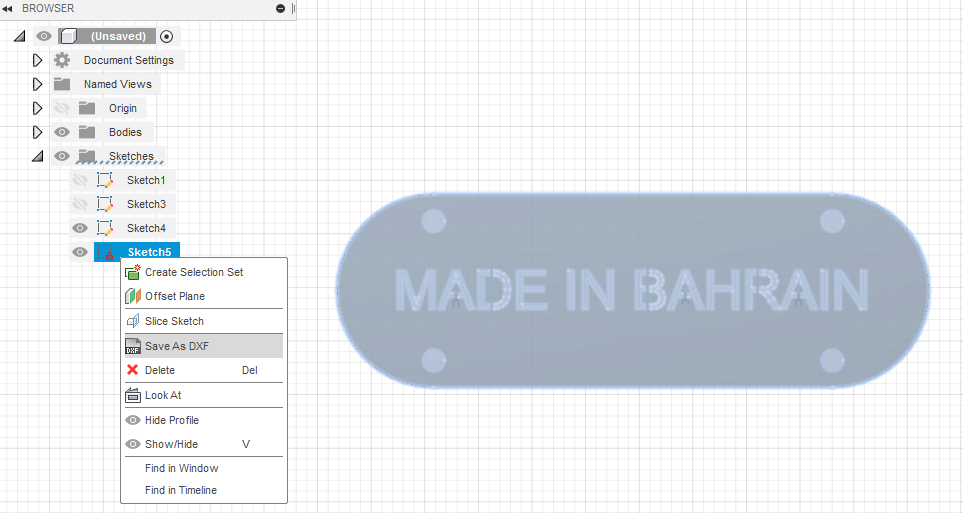
File prepration:
1
Save your sketch as (.DXF).
2
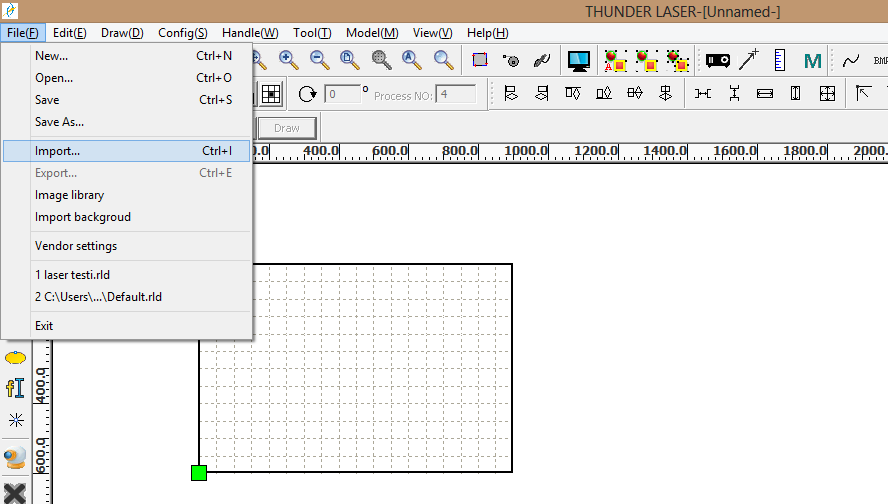
Download RD works from Thunder Laser check the RD works user manual for more information.
3
Open the software click file >> import.
Make sure that the dimensions are correct.

If it was rotated you can double click on the middle (X) and adjust its orientation.

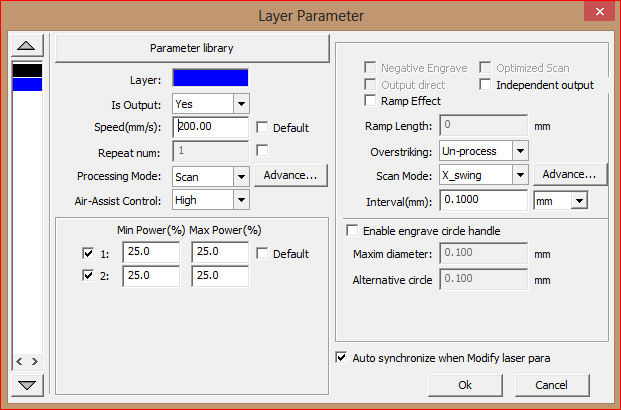
To cut or engrave any material you will need to adjust two main parameters (power of the laser, speed of laser head movement) you canopen this table for more information.
4
Click on the black lable located in the upper right table.
If you will use the black color to cut 3mm wood make sure that :
Speed = 15 mm/s
Processing mode = Cut
Max power = Min power = 45
5
Select the area you want to engrave and color it for example I used the blue color.
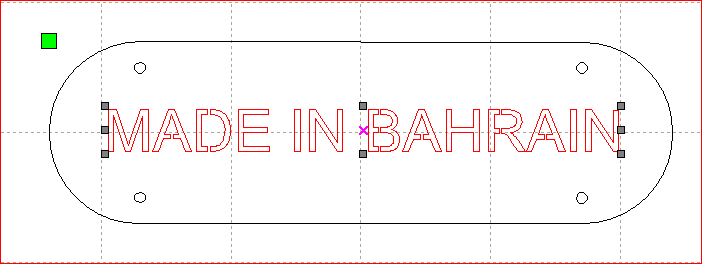
6
Click on the blue label located in the upper right table.
7
We will engrave 3mm wood using these settings:
Speed = 200 mm/s
Processing mode = scan
Max power = Min power = 25
Note: you can try to laser cut this test to test the different engraving power and speed.
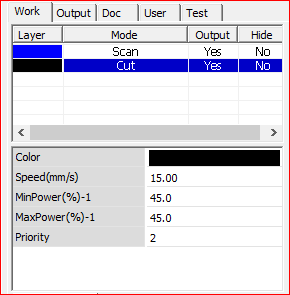
8
Set the priority of scan “engraving” to ( 1 ) and cutting to ( 2 )
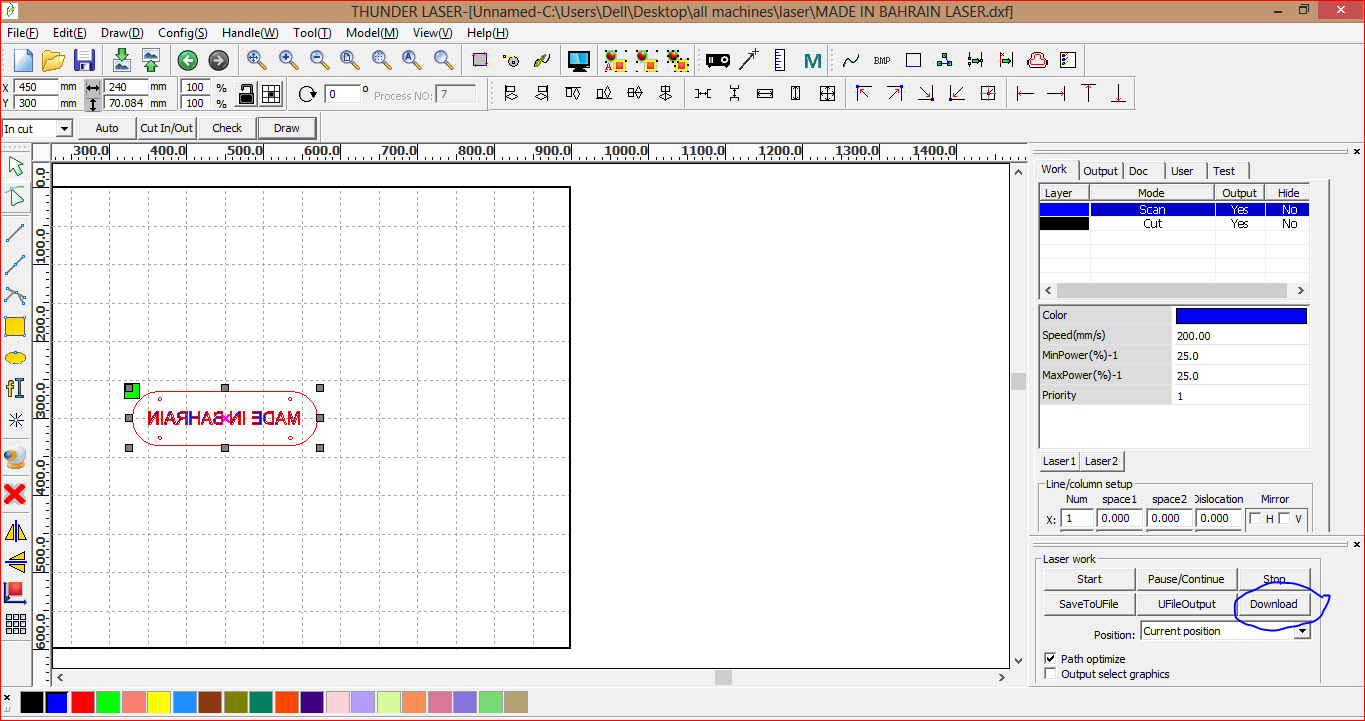
9
Mirror your design using the mirror tool

10
Make sure that your USB cable is connected then click “Download” to upload the file to the laser cutter

Operation :
1
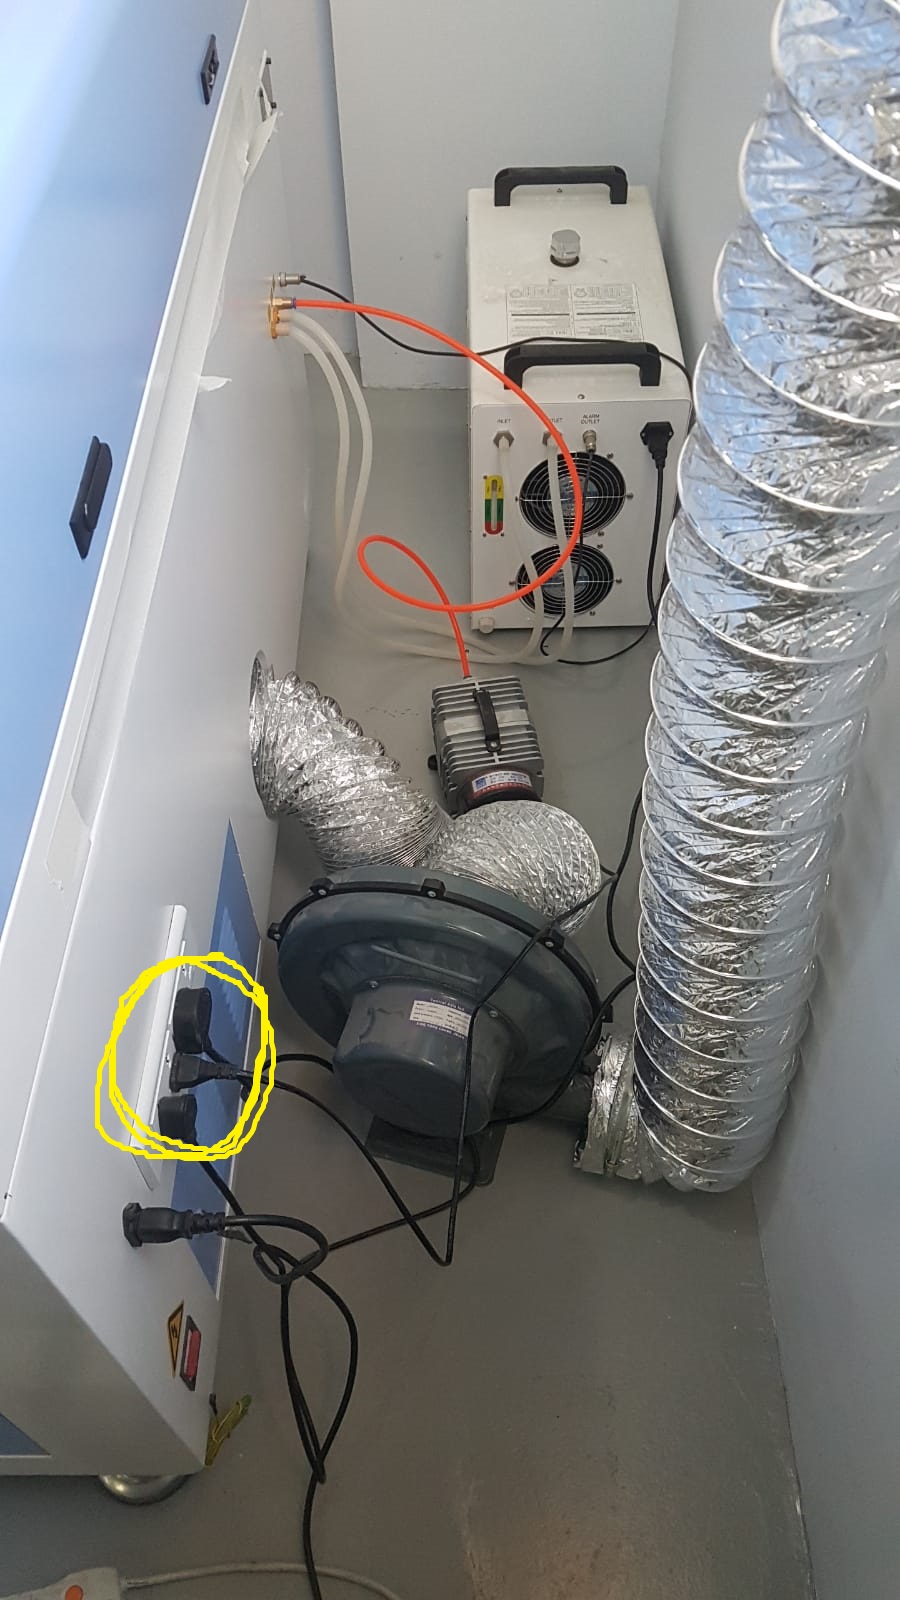
Make sure that all three plugs are connected (laser tube cooler , air pump ,vacuum pump).
2
Switch on the power from the main plug.

3
Switch ON the laser by pressing the green button and immediately press ESC.

You can check the User manual for LCD control panel for more information.
4
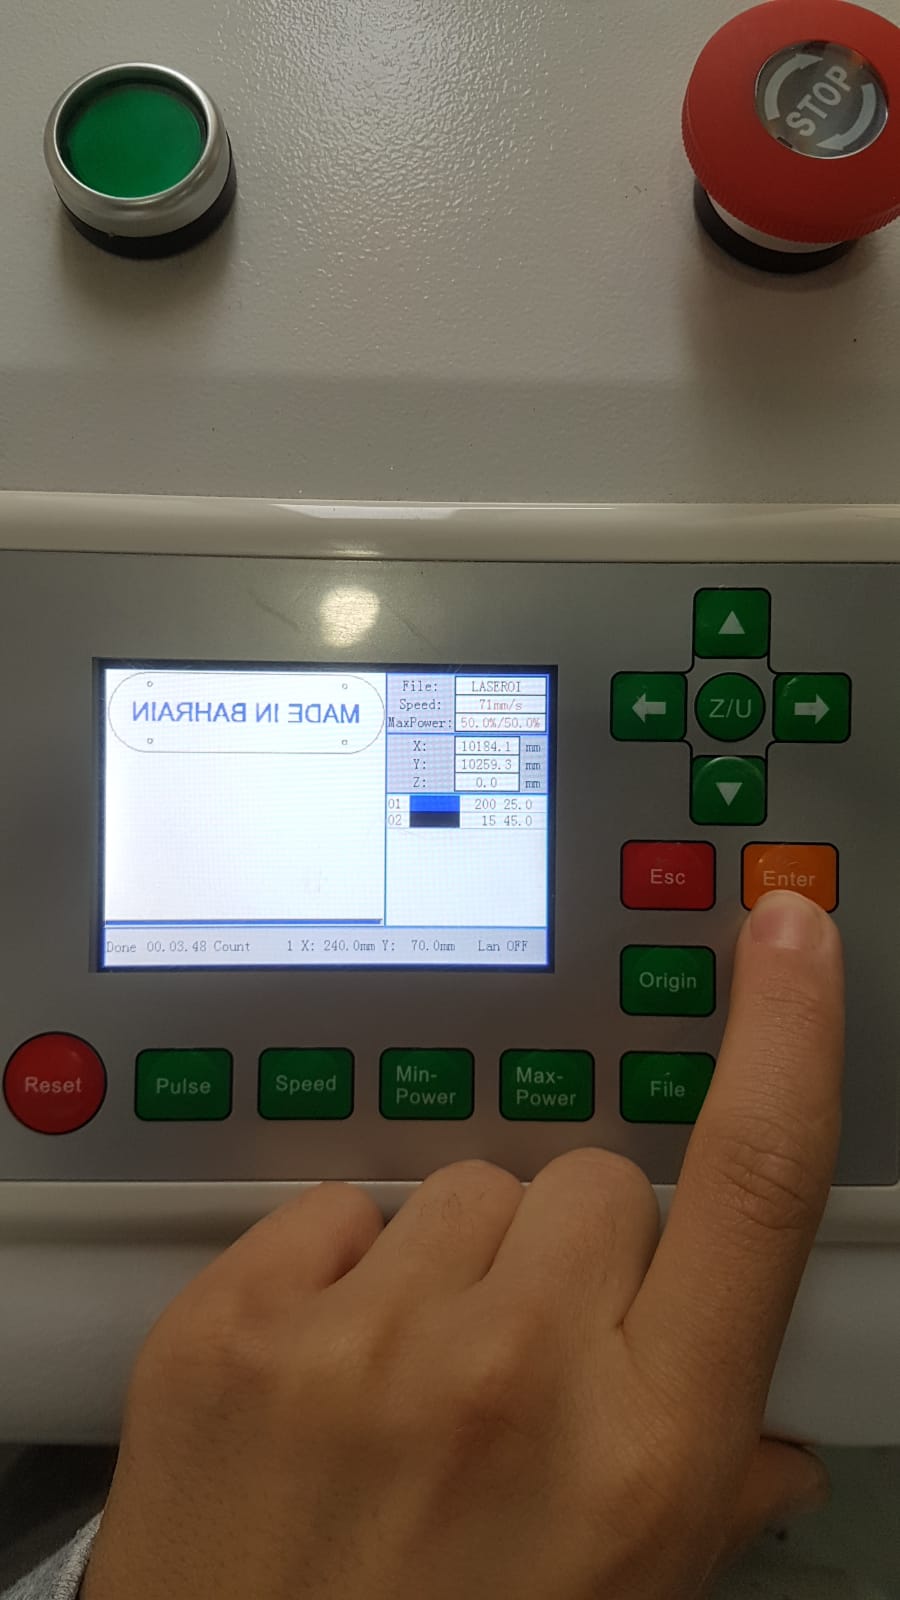
Click File
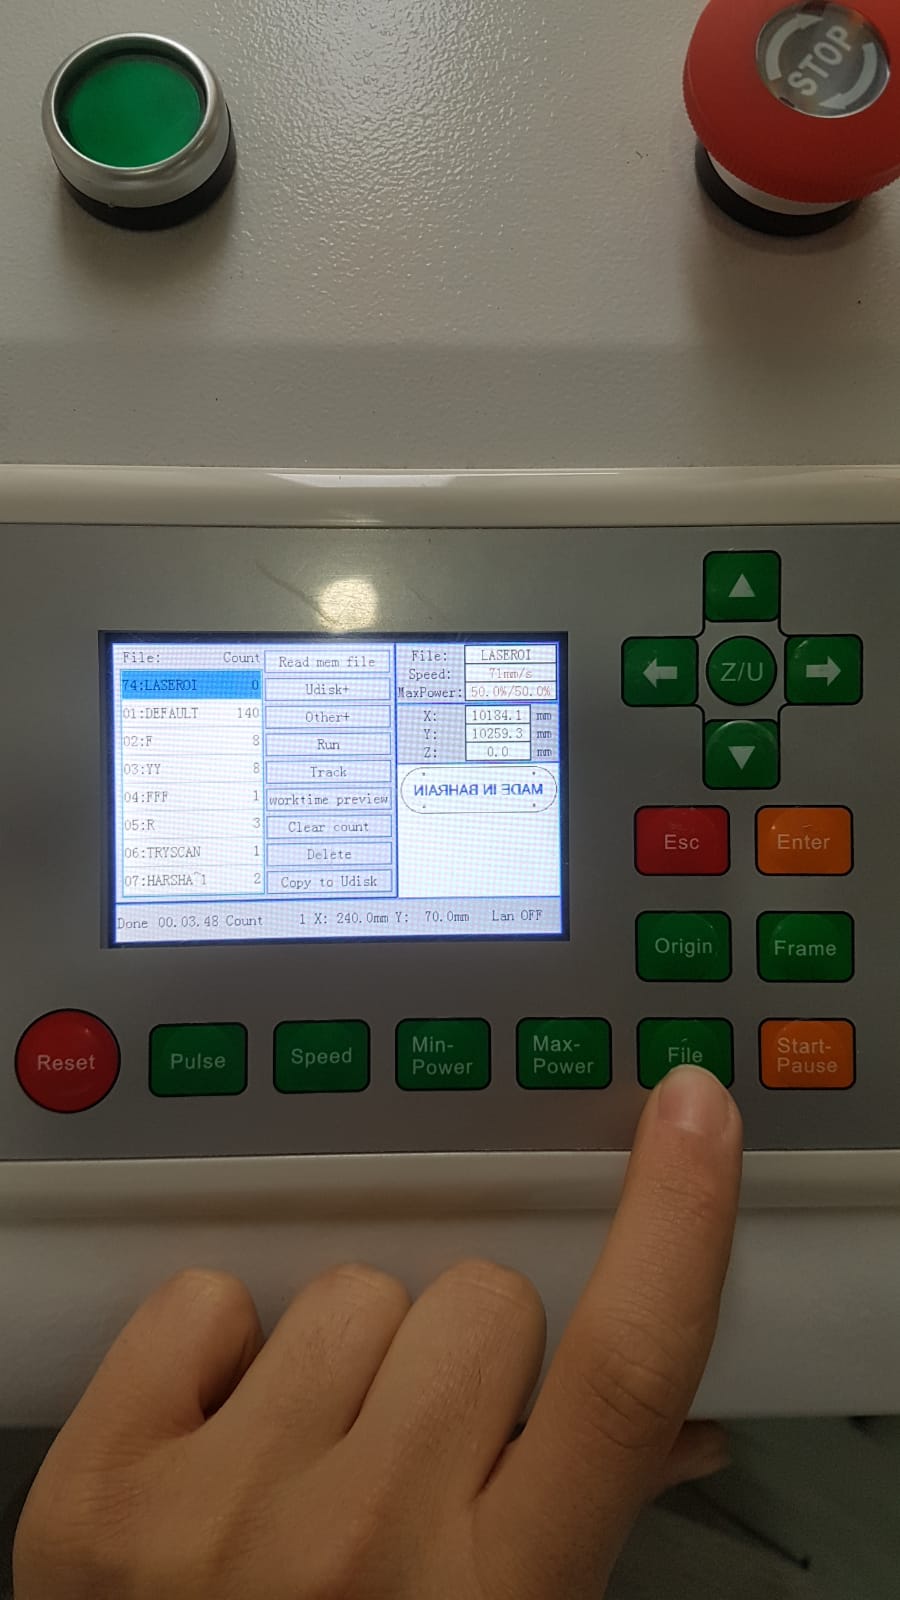
then click Enter
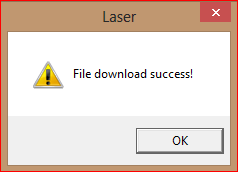
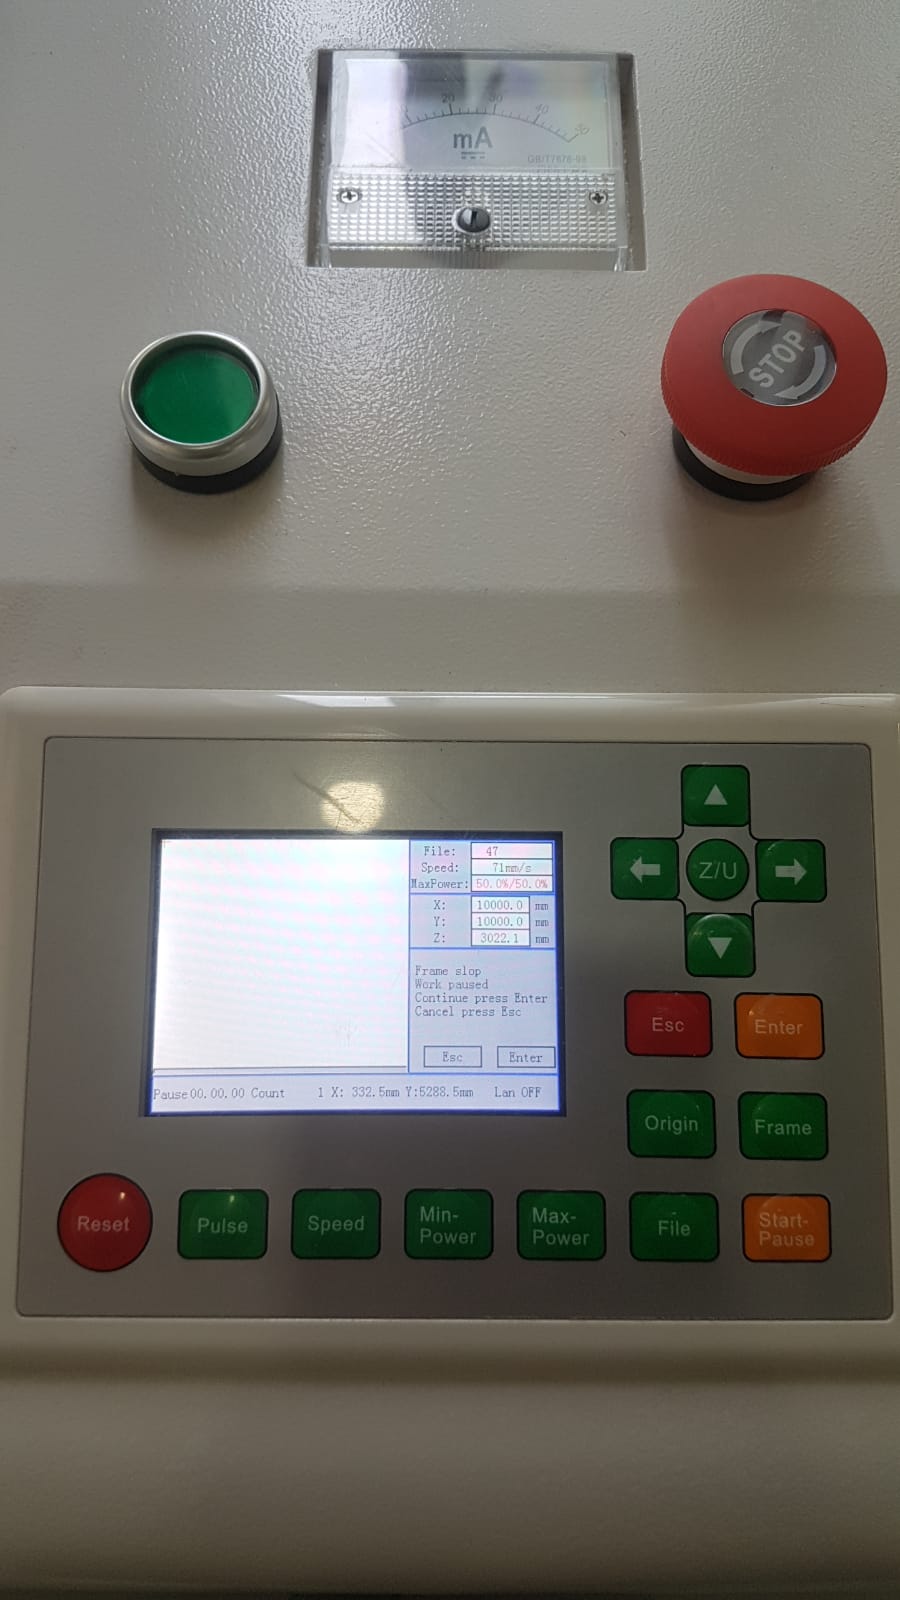
Important Note if the below note appeared press ESC this means that your design dimension is exceeding the laser machine size which means you can’t cut your design
5
Click ( Z/U )  then click the right arrow to lower the laser bed
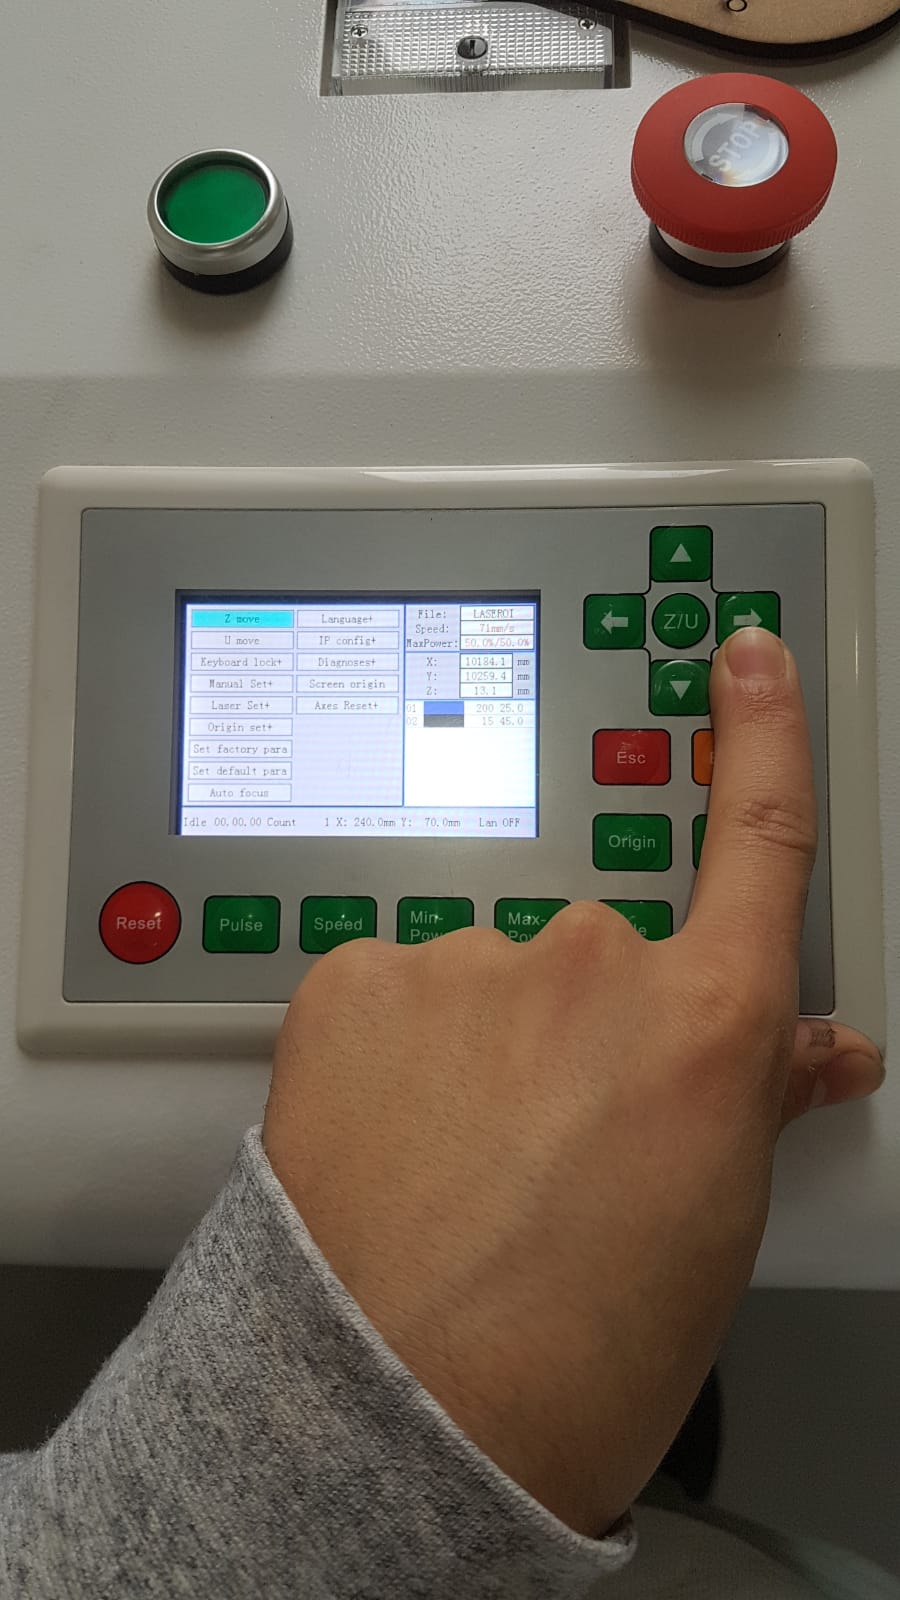
6
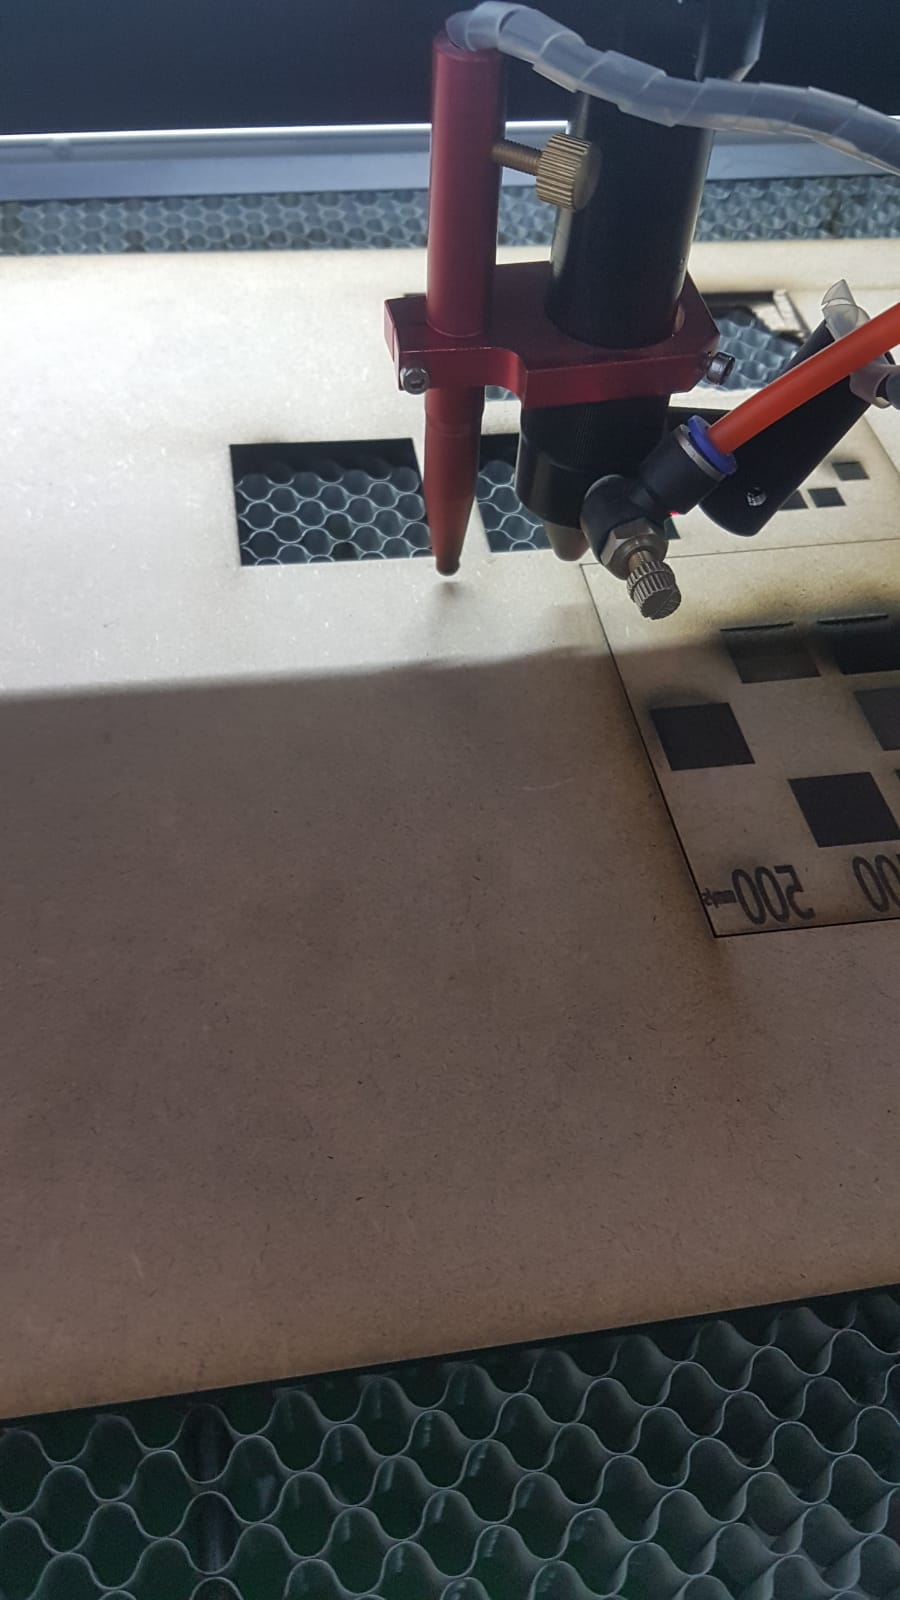
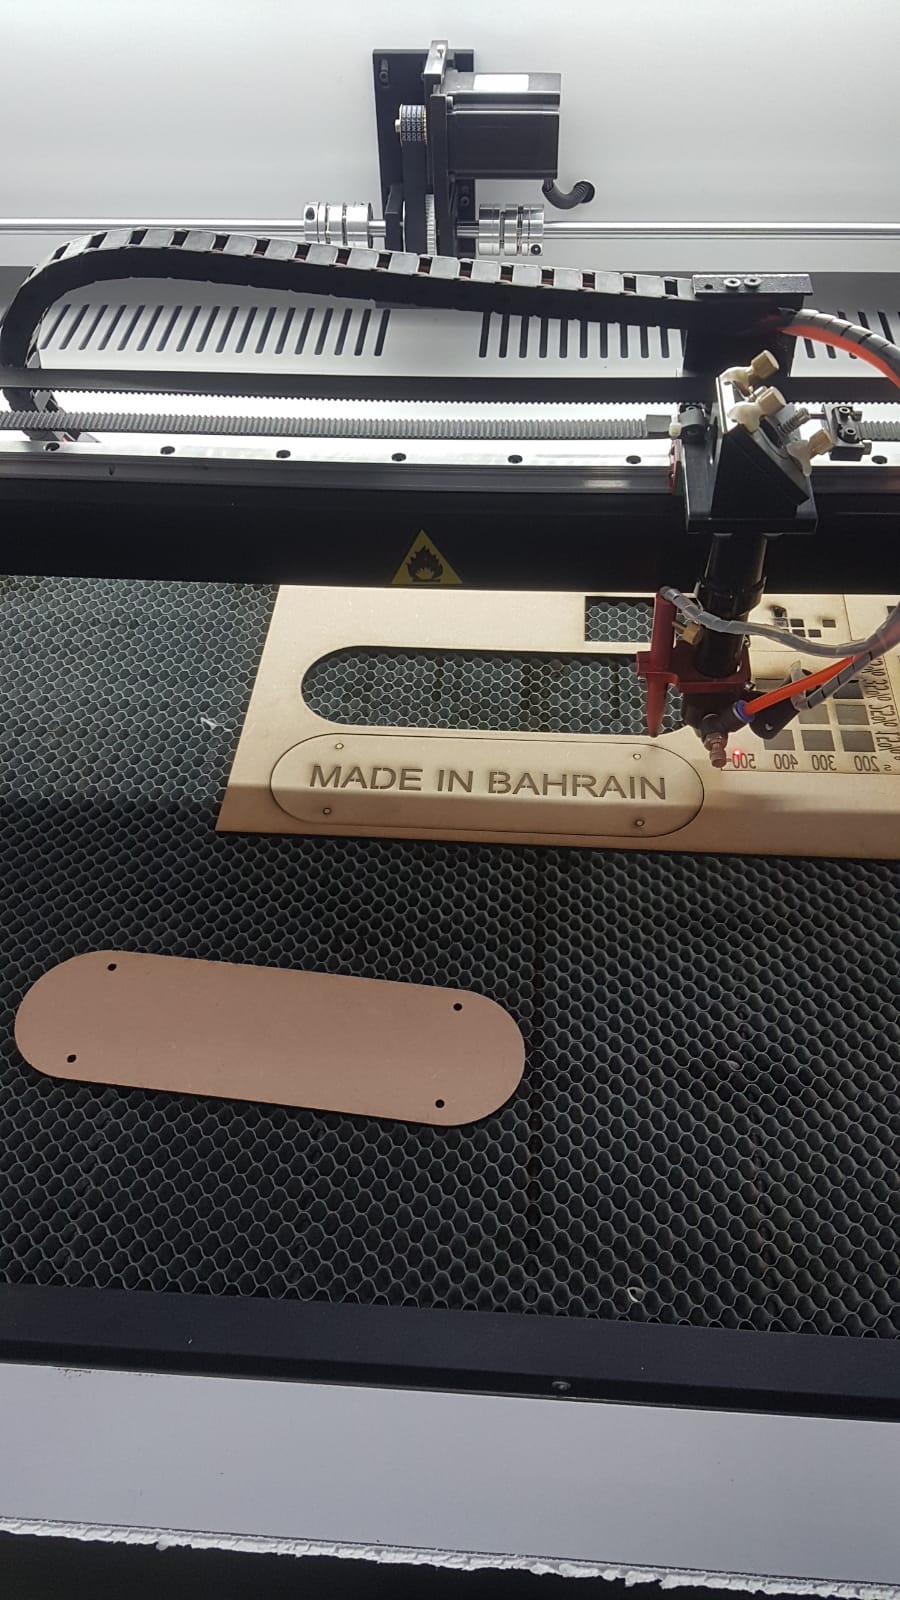
Place your sheet

and make sure that the sheet is under the laser tip
7
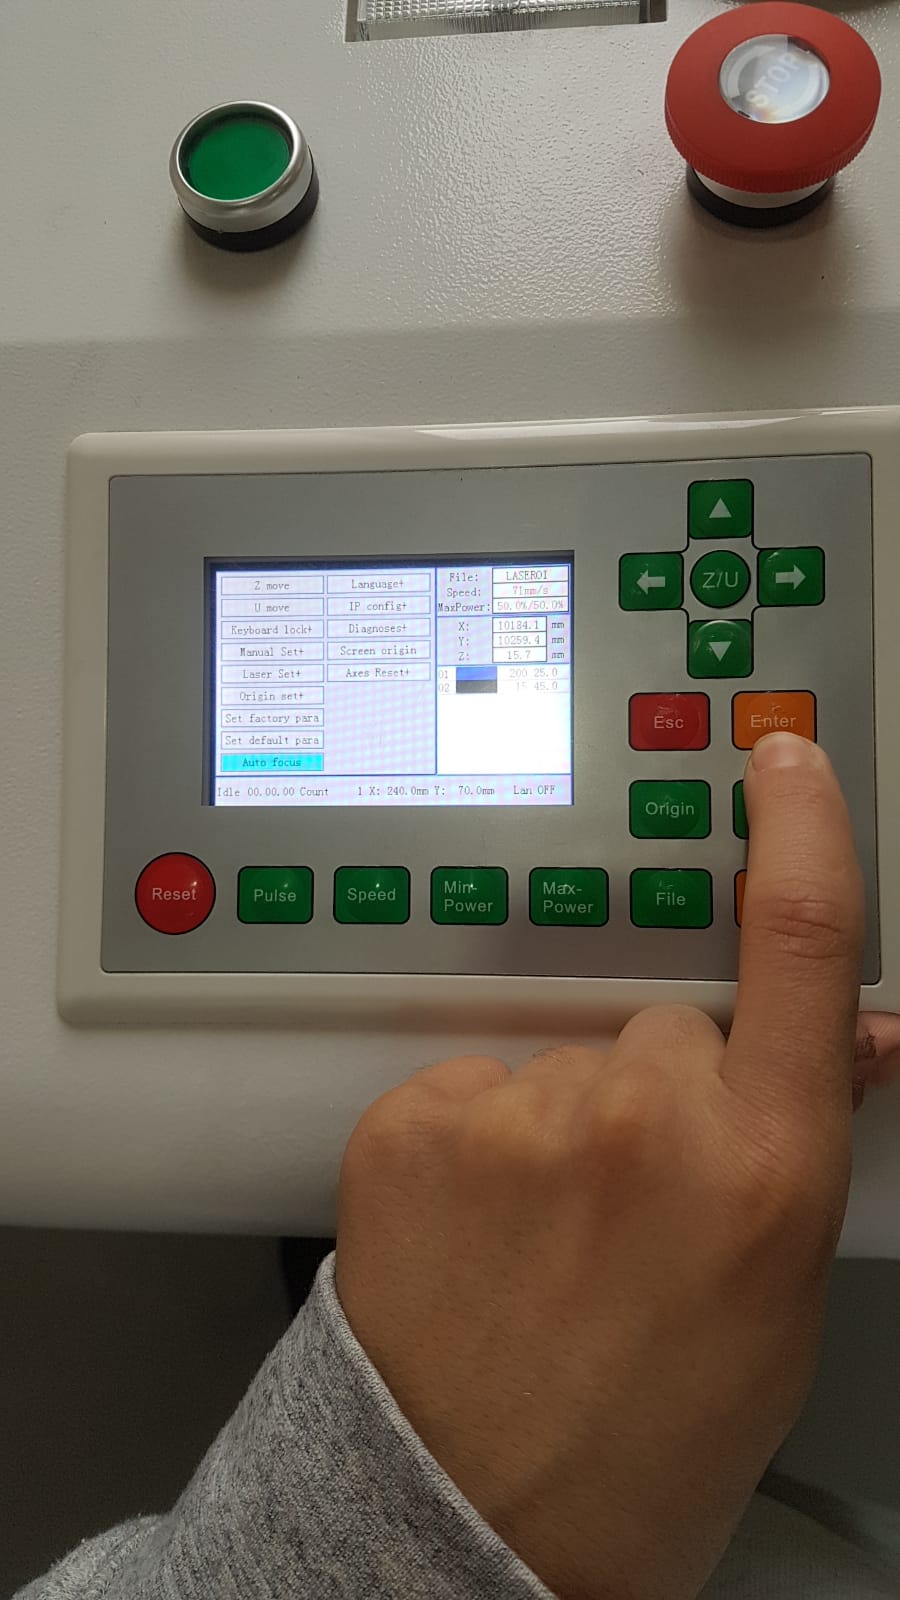
Scroll down and choose “Auto Focus”

then press Enter
8
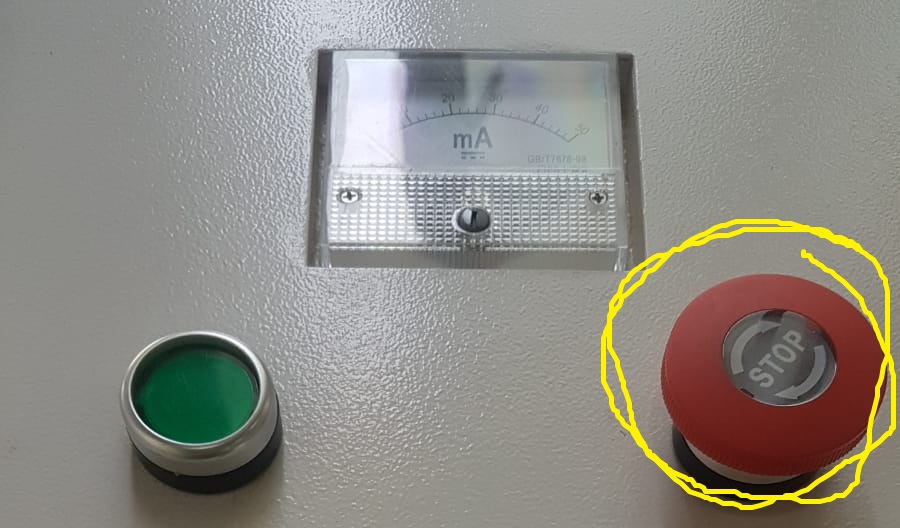
Click origin to set the starting point
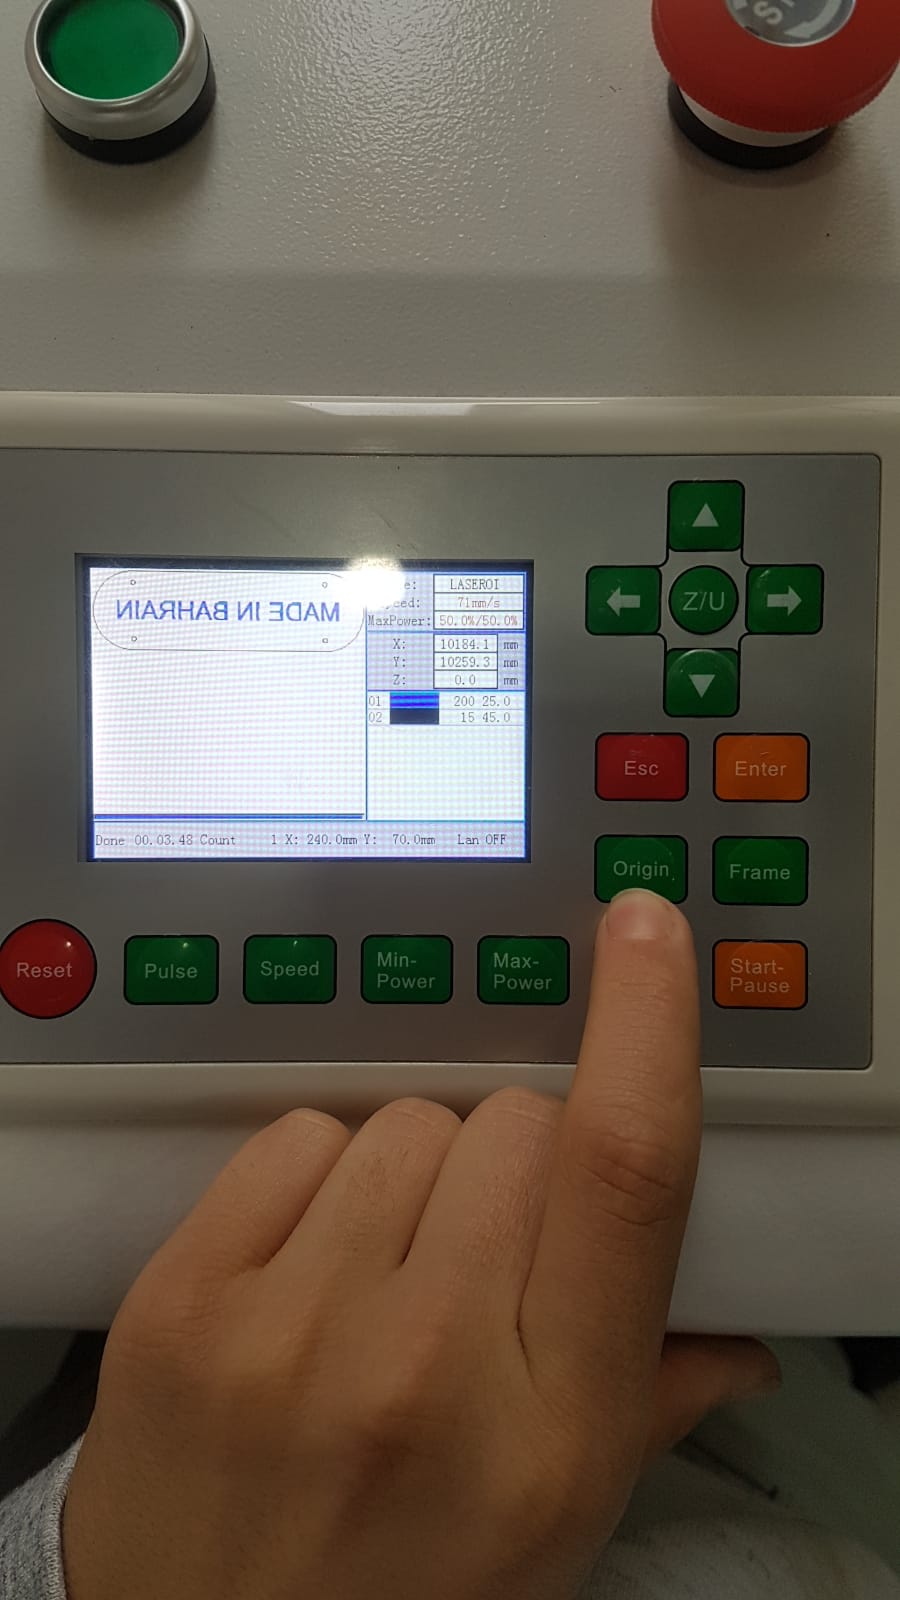
Important Note the laser is not provided with limit switches this means that it may want to move beyond its axis limits. If you predicted that it will continue moving beyond the axis stop it immediately by pressing the red stop button.
9
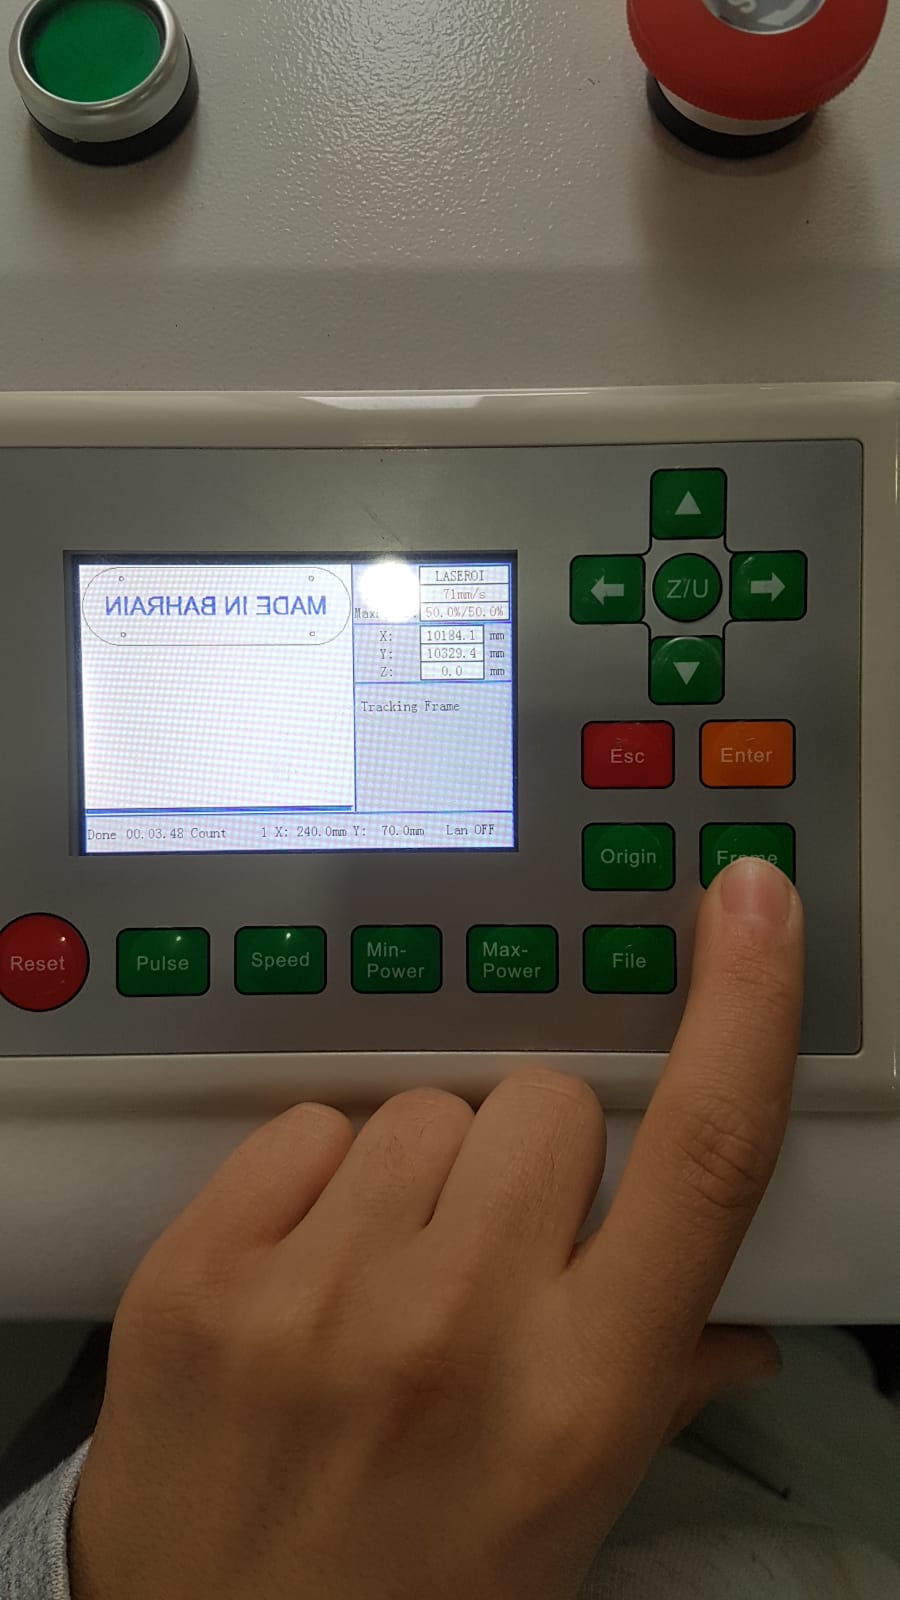
Before you start read the above note Click frame to see the laser path for cutting
10
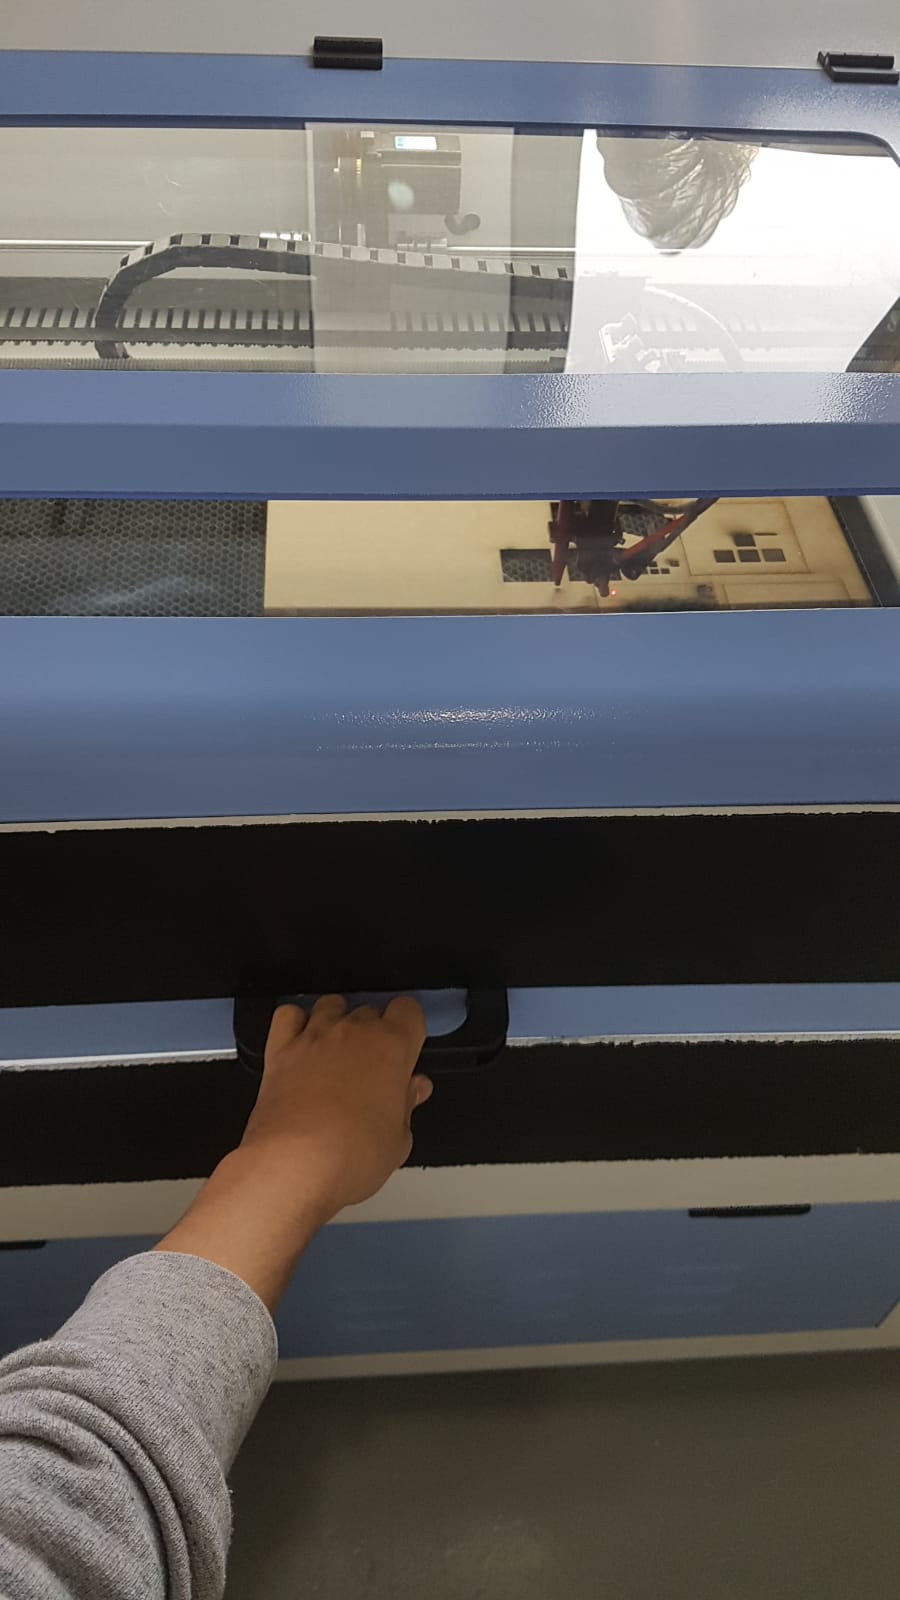
Close the laser door
11
click start/pause button
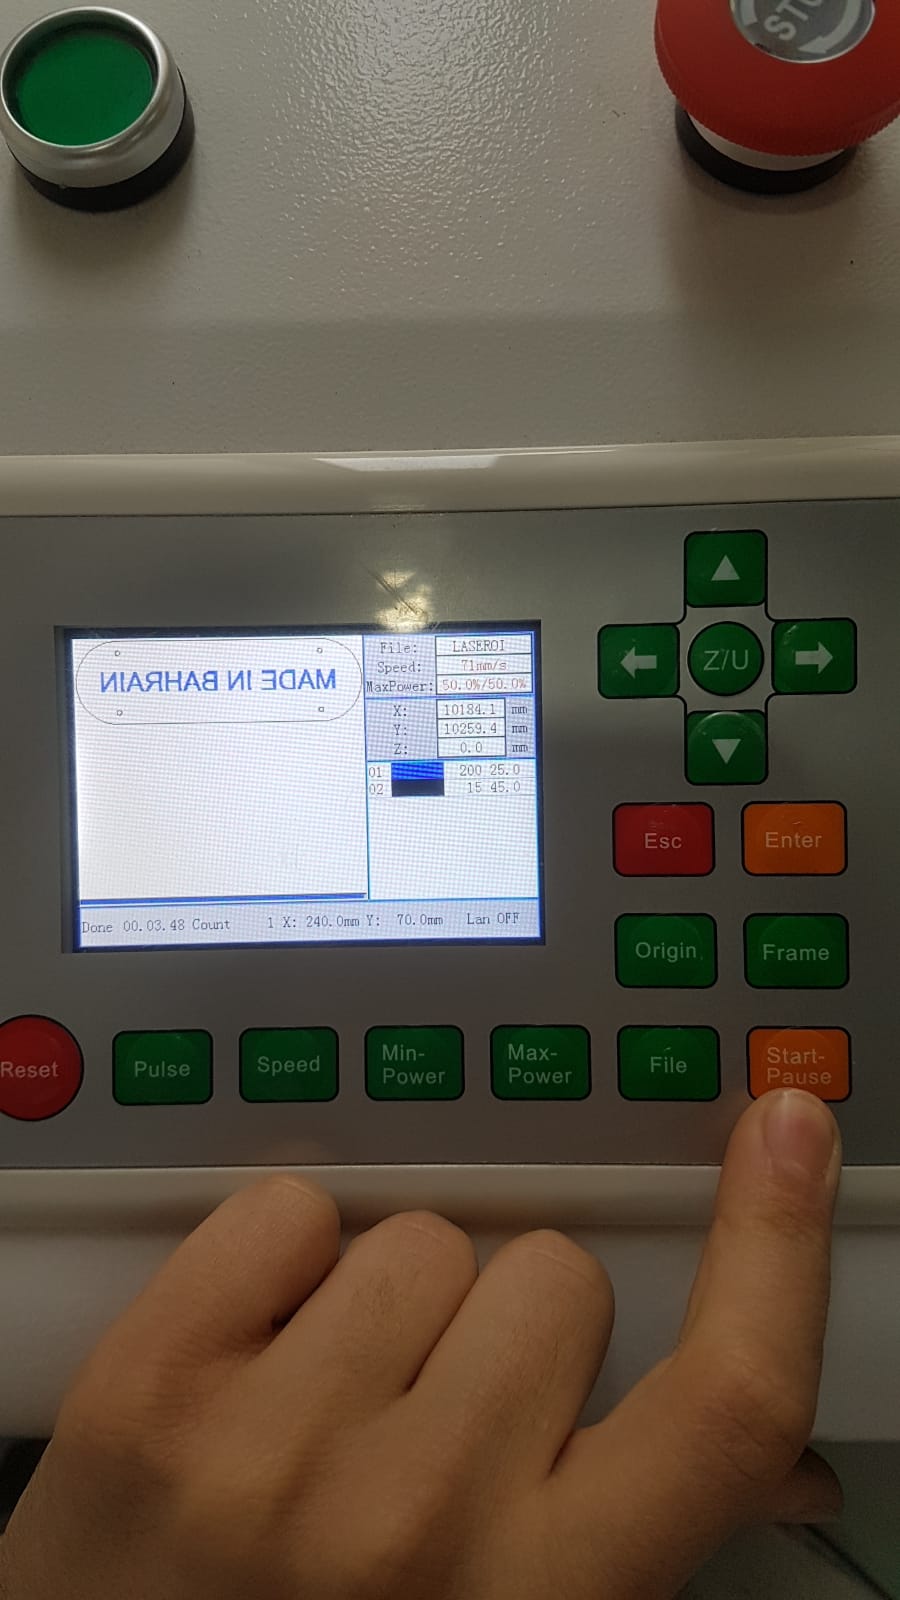
12
keep a safe distance between you and the machine then wait till the cutting is over and all the smoke is sucked out then you can open the laser door


Tutorials
Laser Engraving Advanced Tutorial
Laser cutter Advanced Tutorial