Safety
Wear all safety equipments such as goggles ,earmuffs and a face mask
User manual/Resources/tutorials/Maitanence
Resource for applied Tutorials
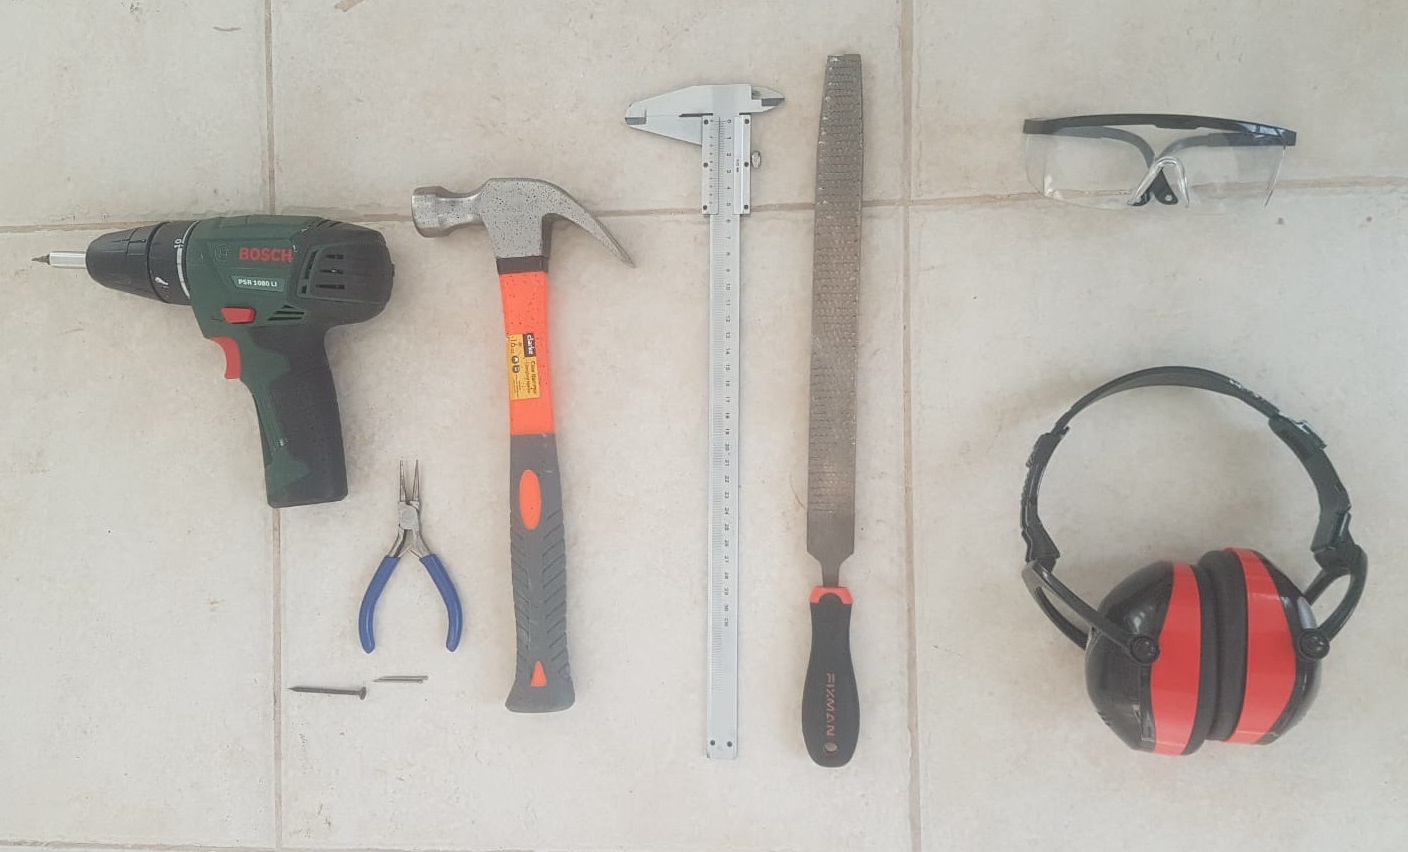
Tools you may need
File prepration
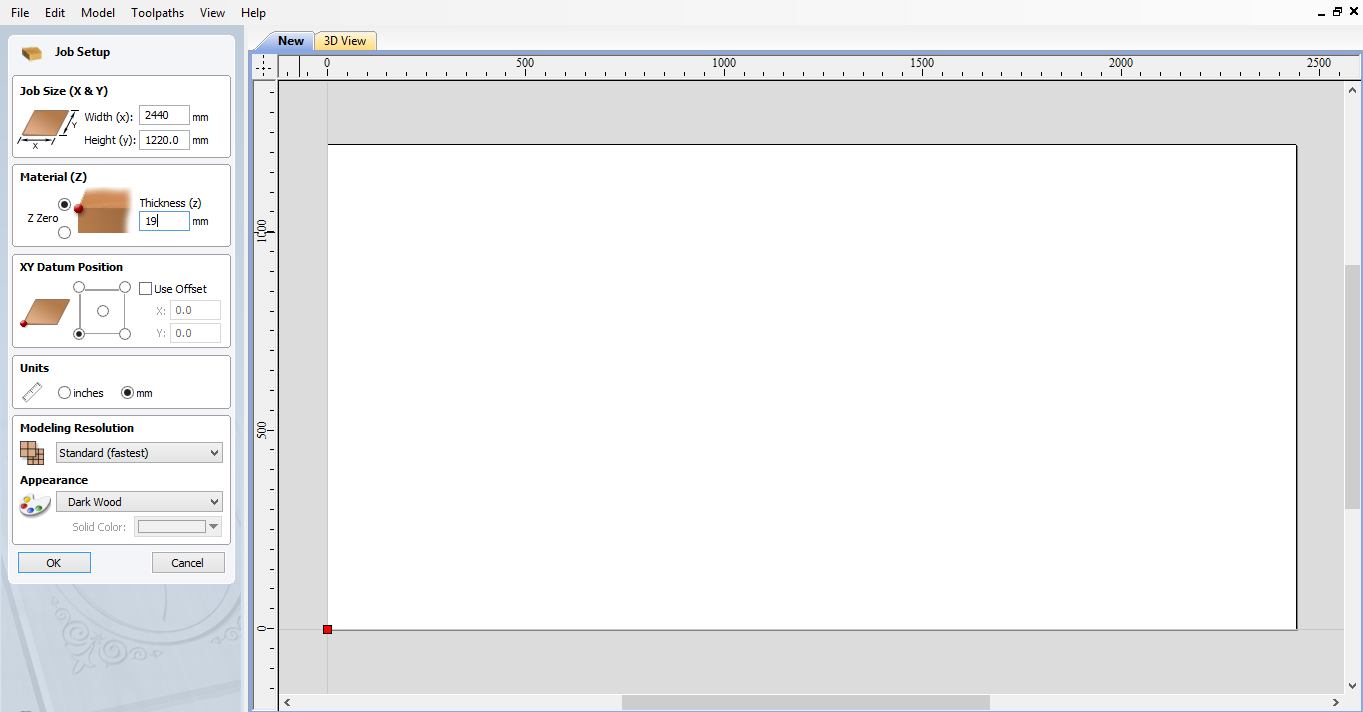
1
Open vcarve pro and enter your sheet dimensions (Width ,Height ,Thickness) then choose your starting point "zero zorner" thenk click OK.
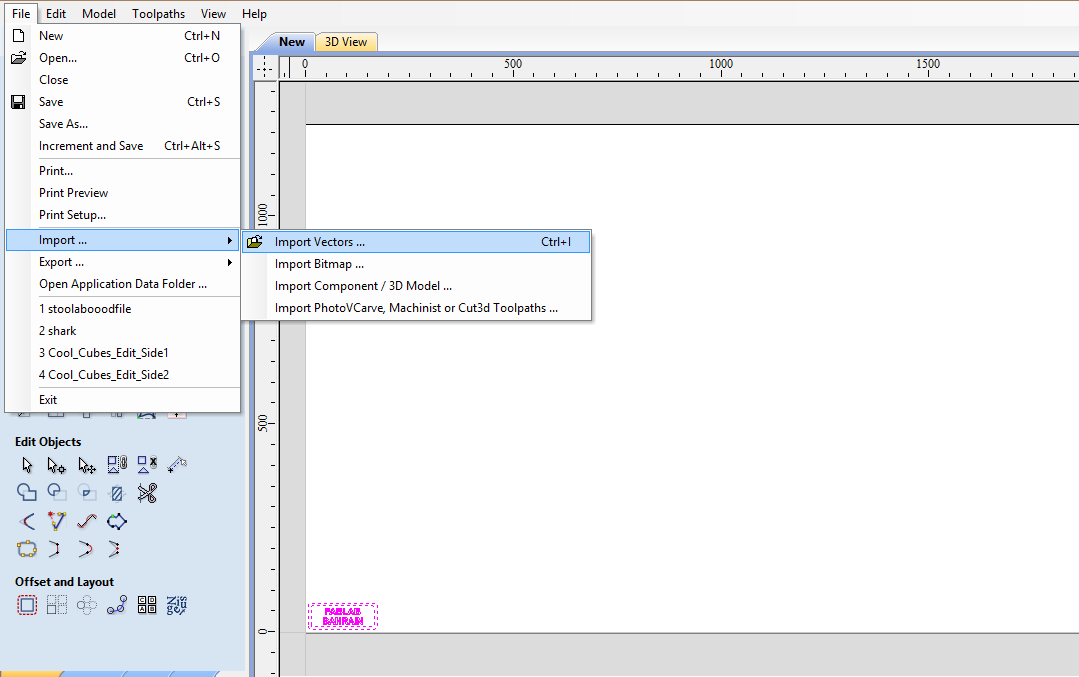
2
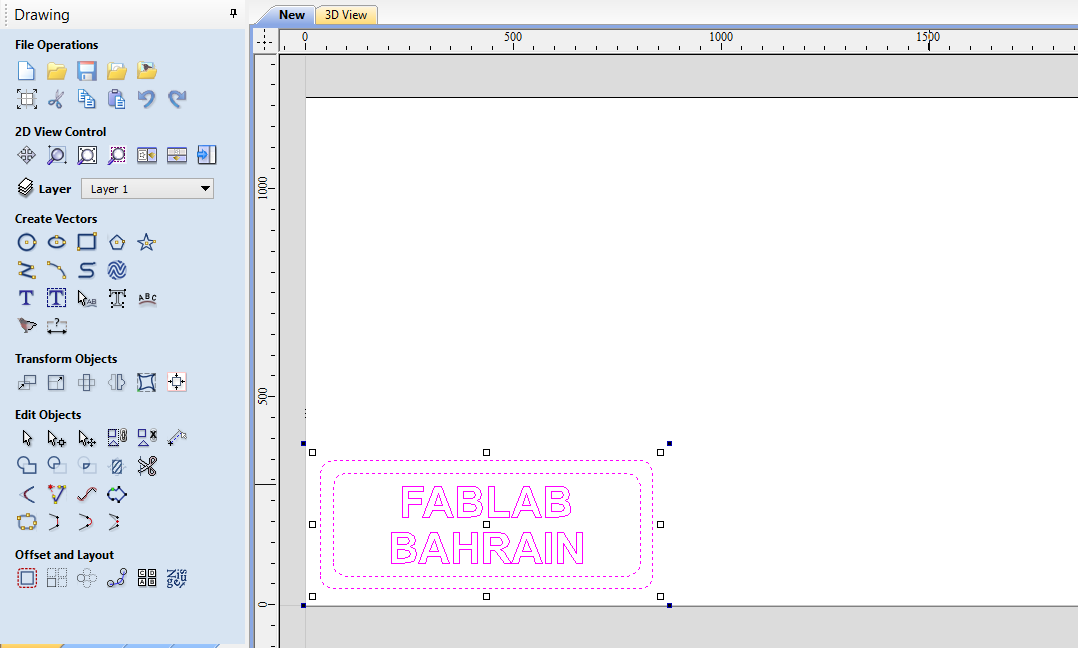
Go to file and import your vector file or press ctrl + I
then move your file away from the edges leave at least 2 cm you can also press ctrl + A and use the arrow keys to move your file. Scale your design using the same tool

3
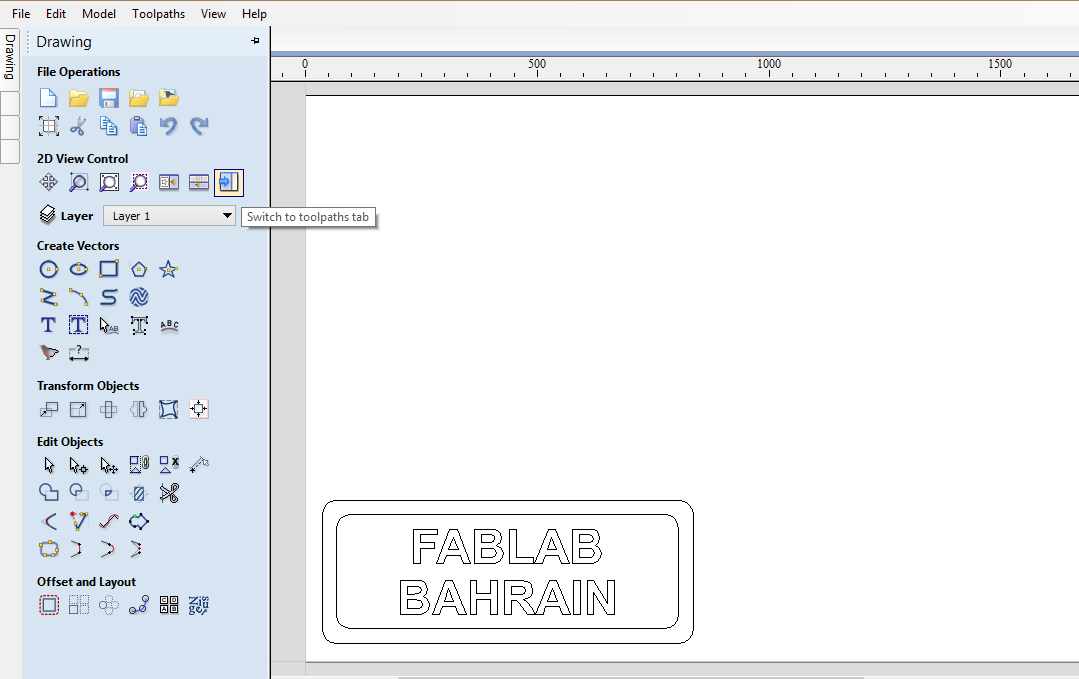
Switch to toolpaths tab
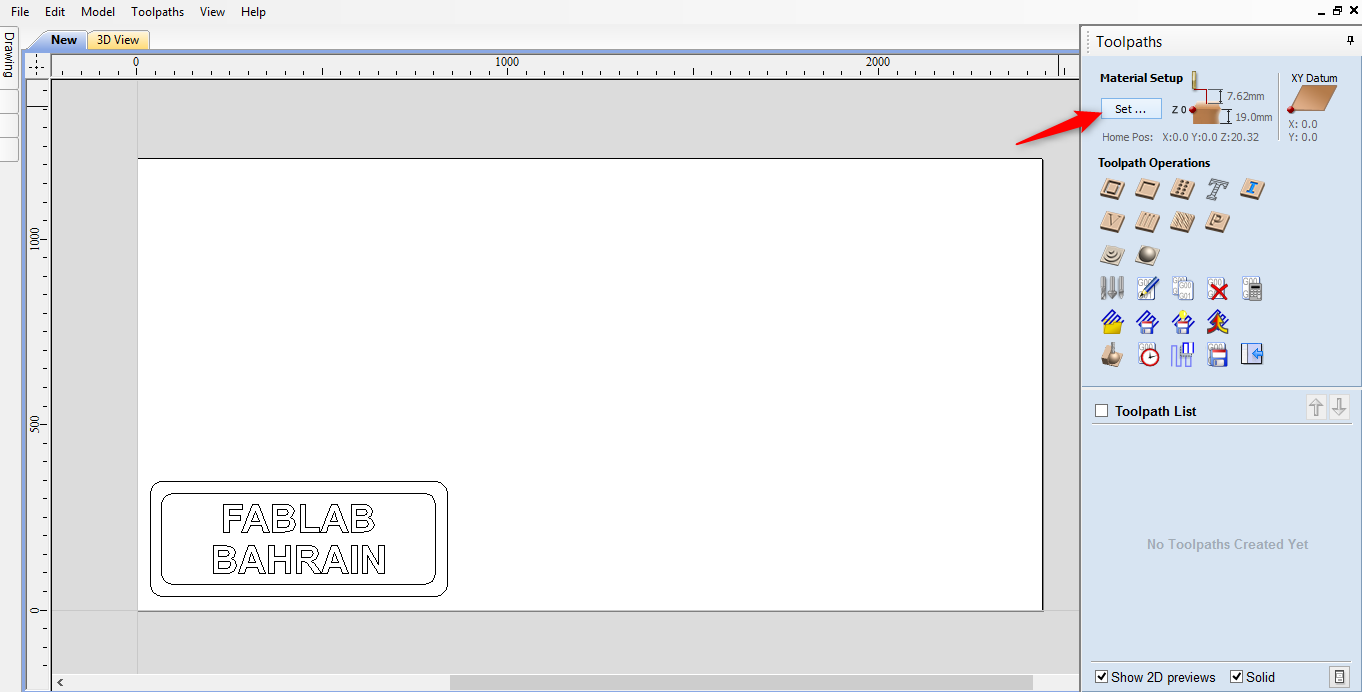
then click on set to make sure your sheet dimensions are correct
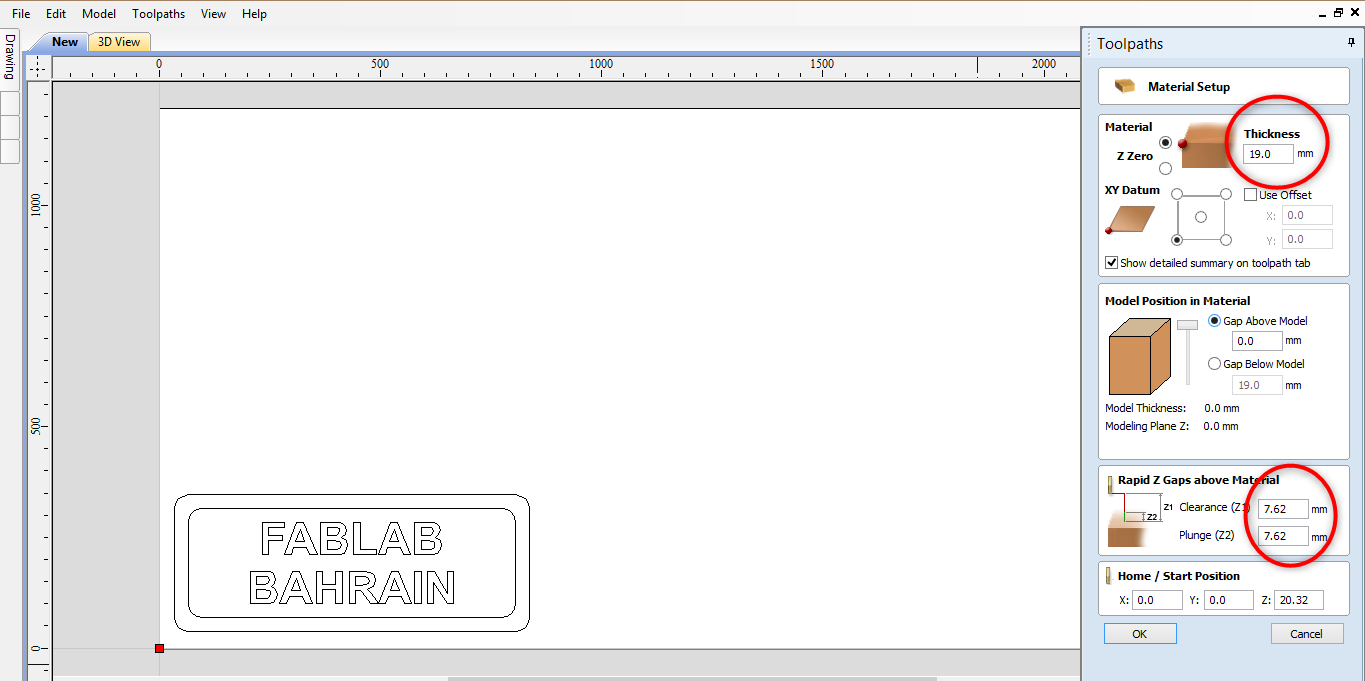
make sure that you have some clearence and plunge then click OK
4
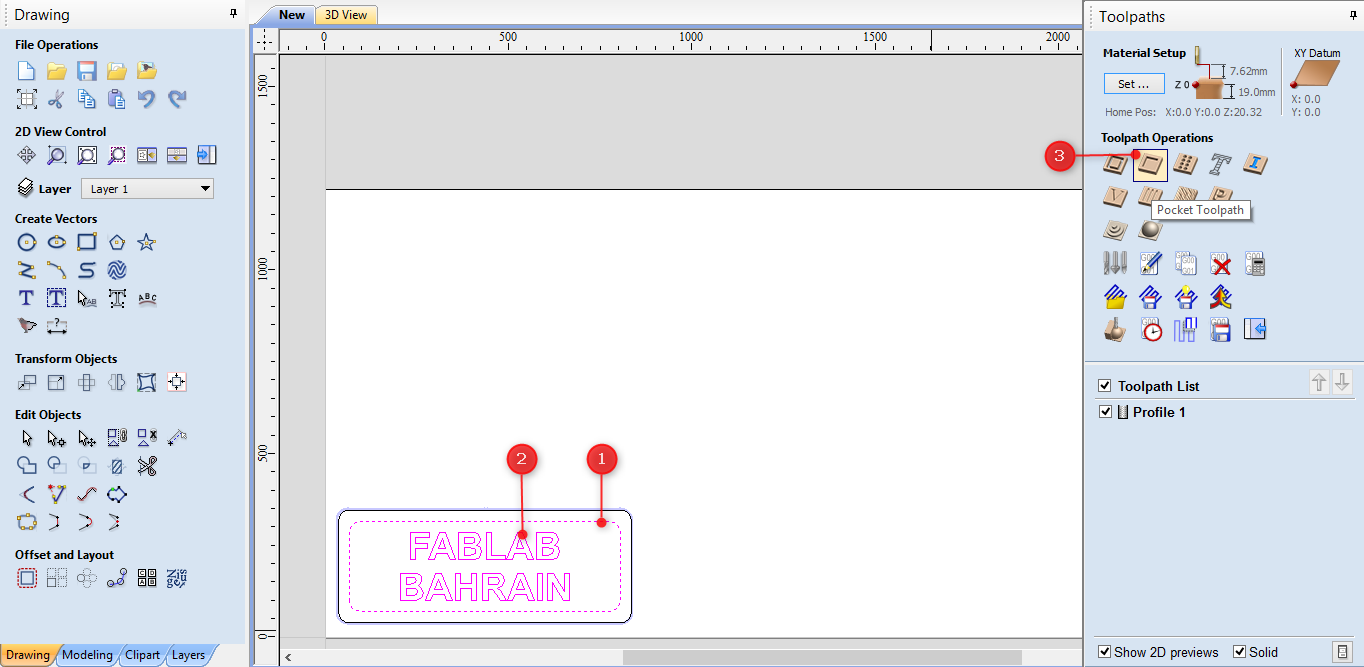
Now we will start adding the tool paths
For a single straight cuts we will use the profile toolpath
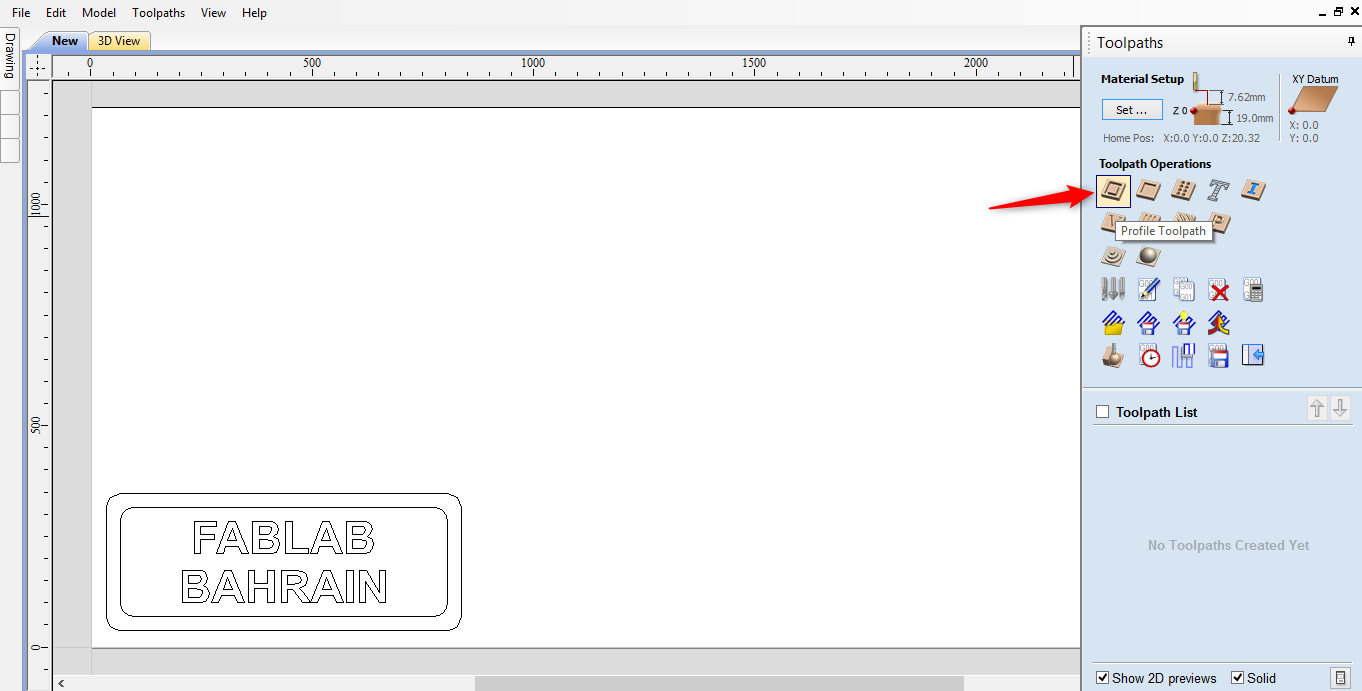
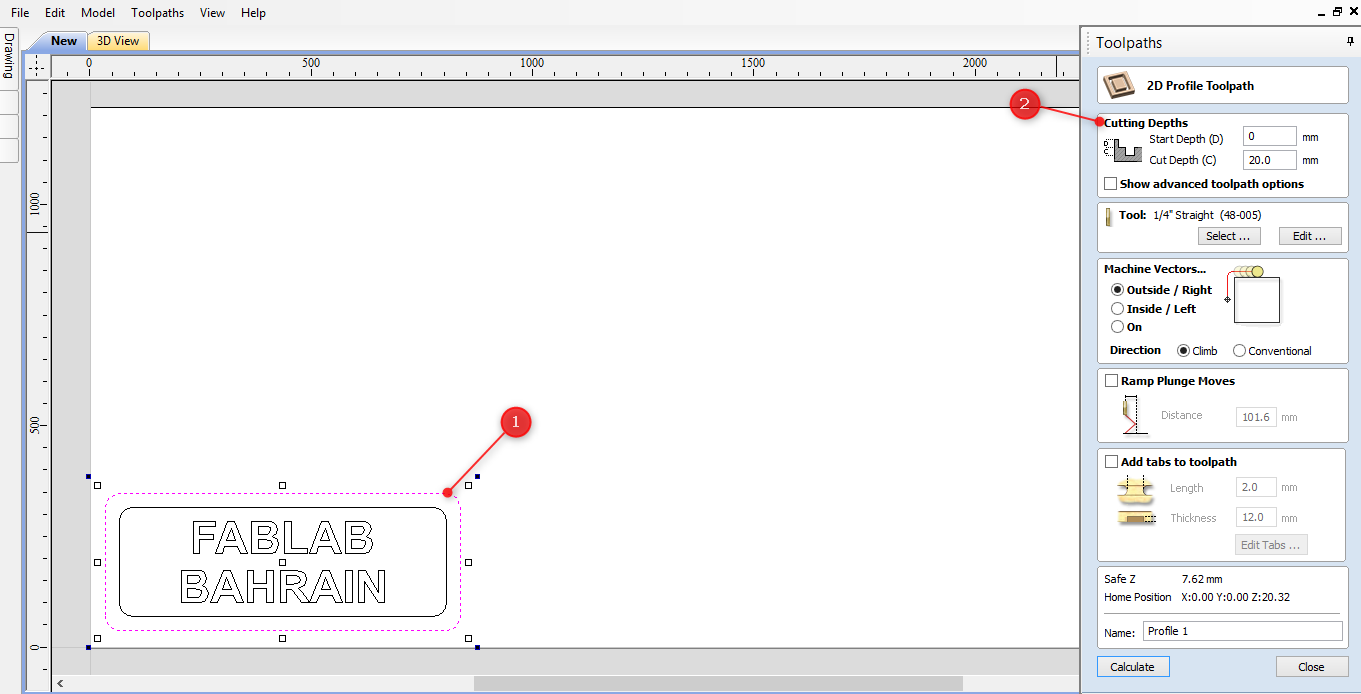
select the vector you want to cut
Then set the cutting depth note that I added 1 mm to the material sheet thickness.
This is to ensure cutting the parts also note that I have already installed a wood sacrifice sheet which the extra 1 mm will be engraved.
Note that there are different types of cutting tools , check the difference between the common cutting tools here
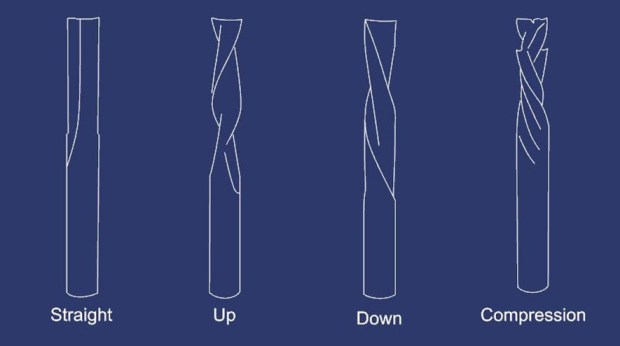
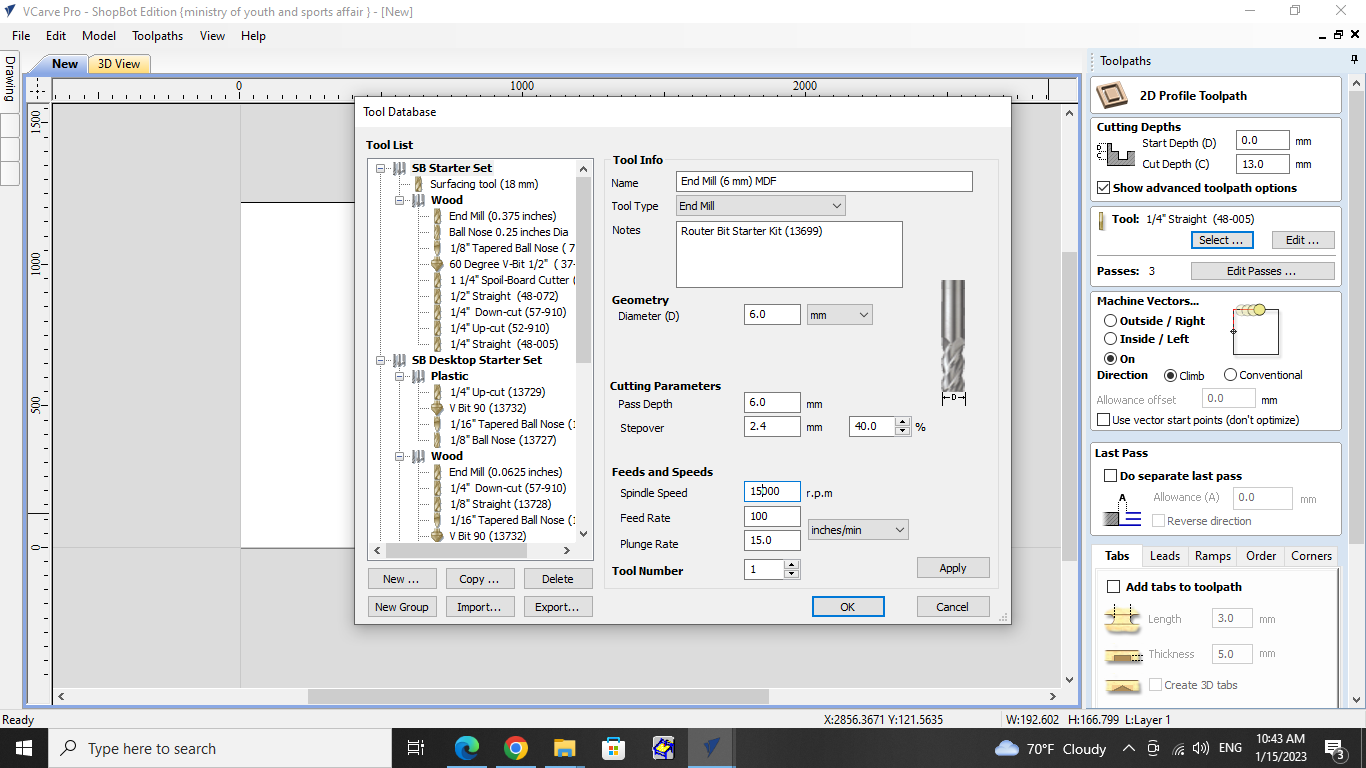
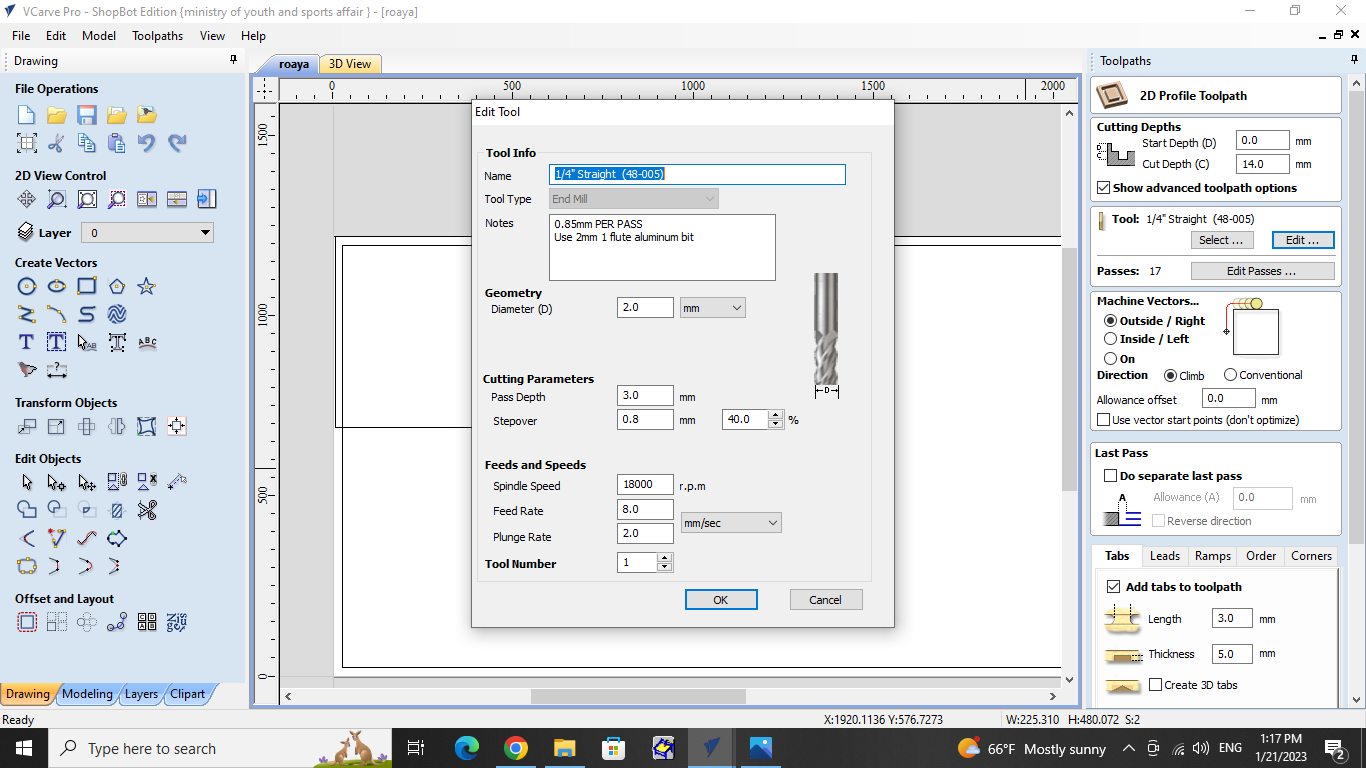
We will be using a straight 2 flute 6 mm drill bit, click on select and choose the drill bit then click APPLY after that click edit to adjust the spindle speed ,feed rate and plunge rate.
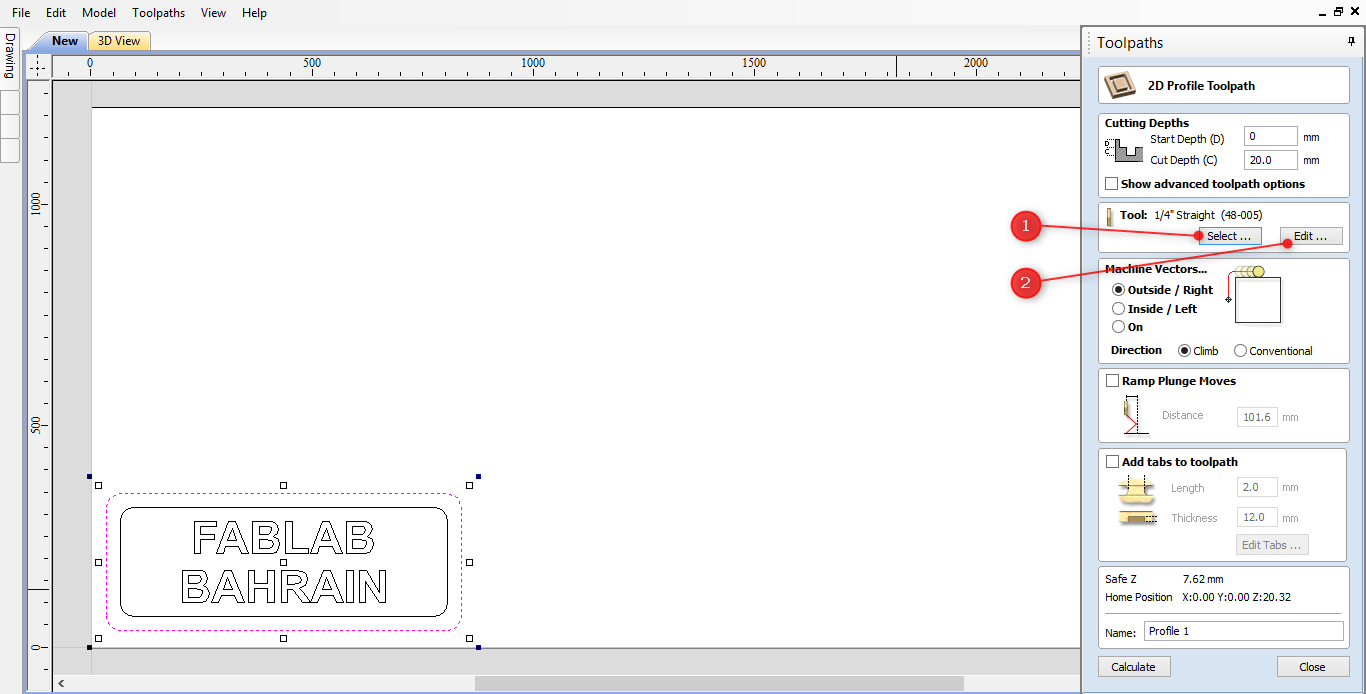
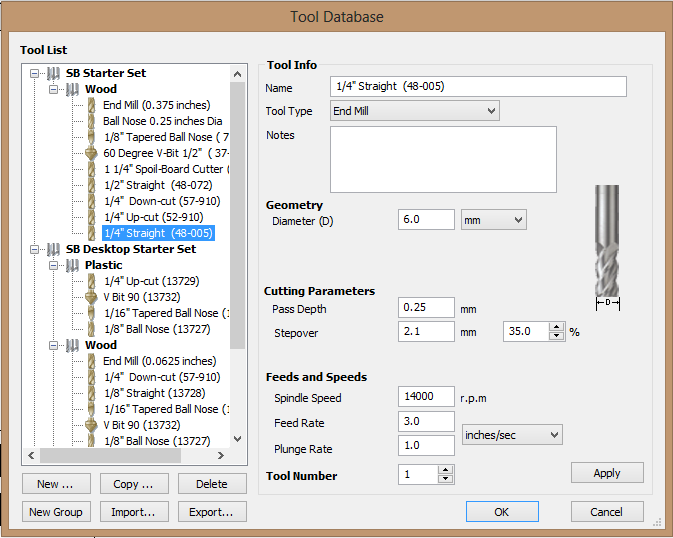
Click on edit I changed the spindle speed and plunge rate based on some experiments for more information about the speeds and feeds click here and here
Each material will require different speeds and feeds settings for MDF "Medium density fibreboard" I used this settings.
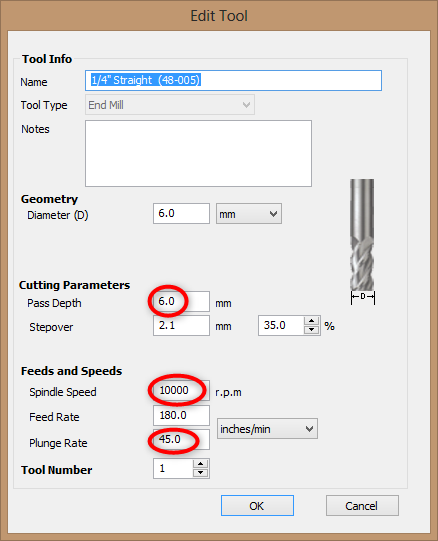
Pass depth: General rule if the diameter is 3mm this means the bit can go down by 3mm each pass.
Feeds and speeds: General rule The bit should be warm after cutting "You can touch it" not hot "You can't touch it" + Listen to the CNC and feel it if the sound is aggressive lower the feed rate or increase the spindle speed.
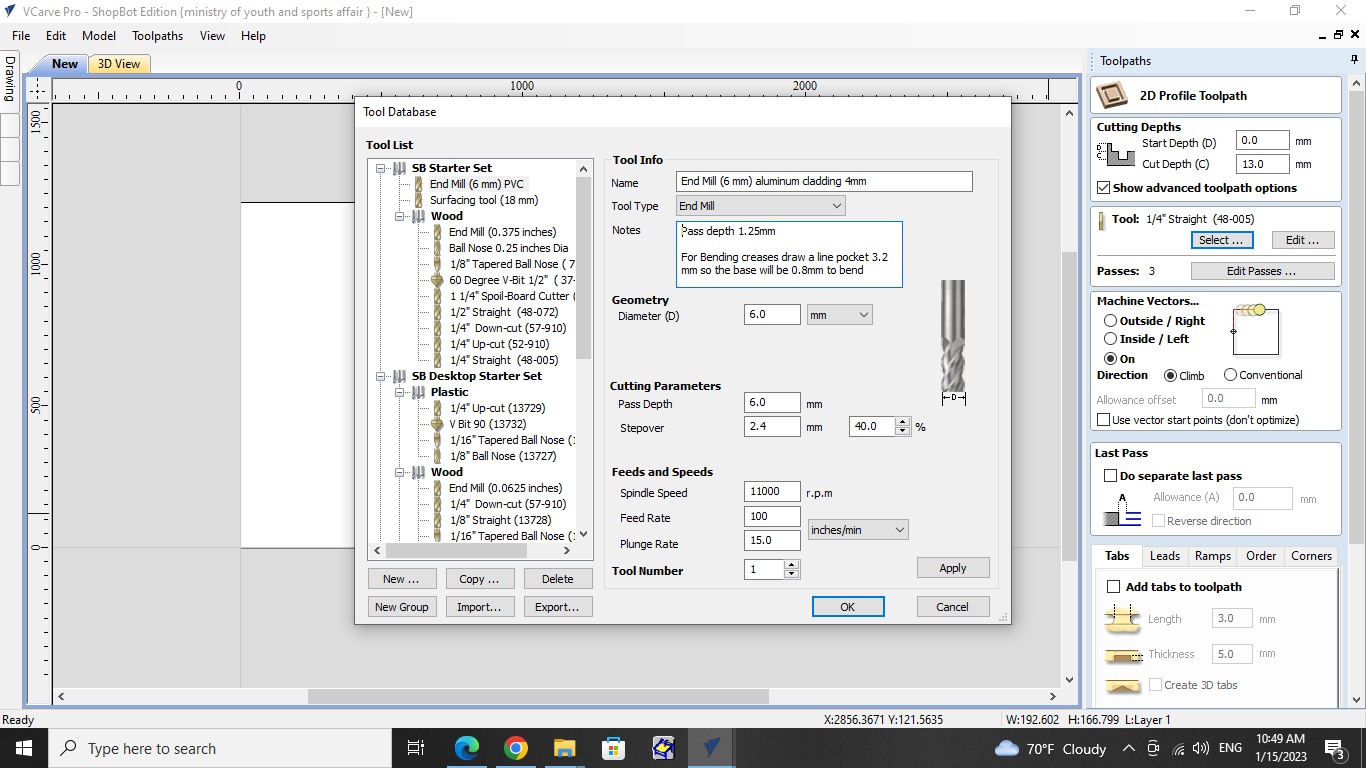
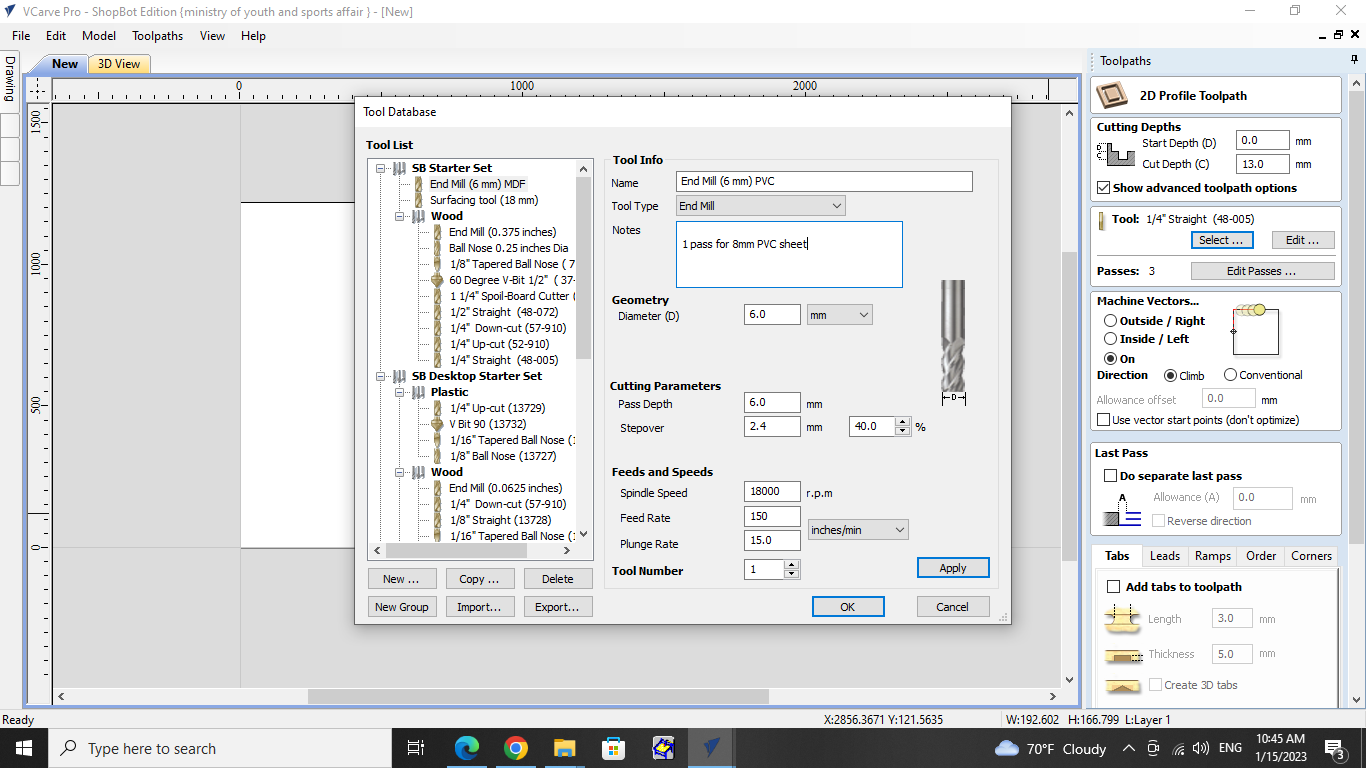
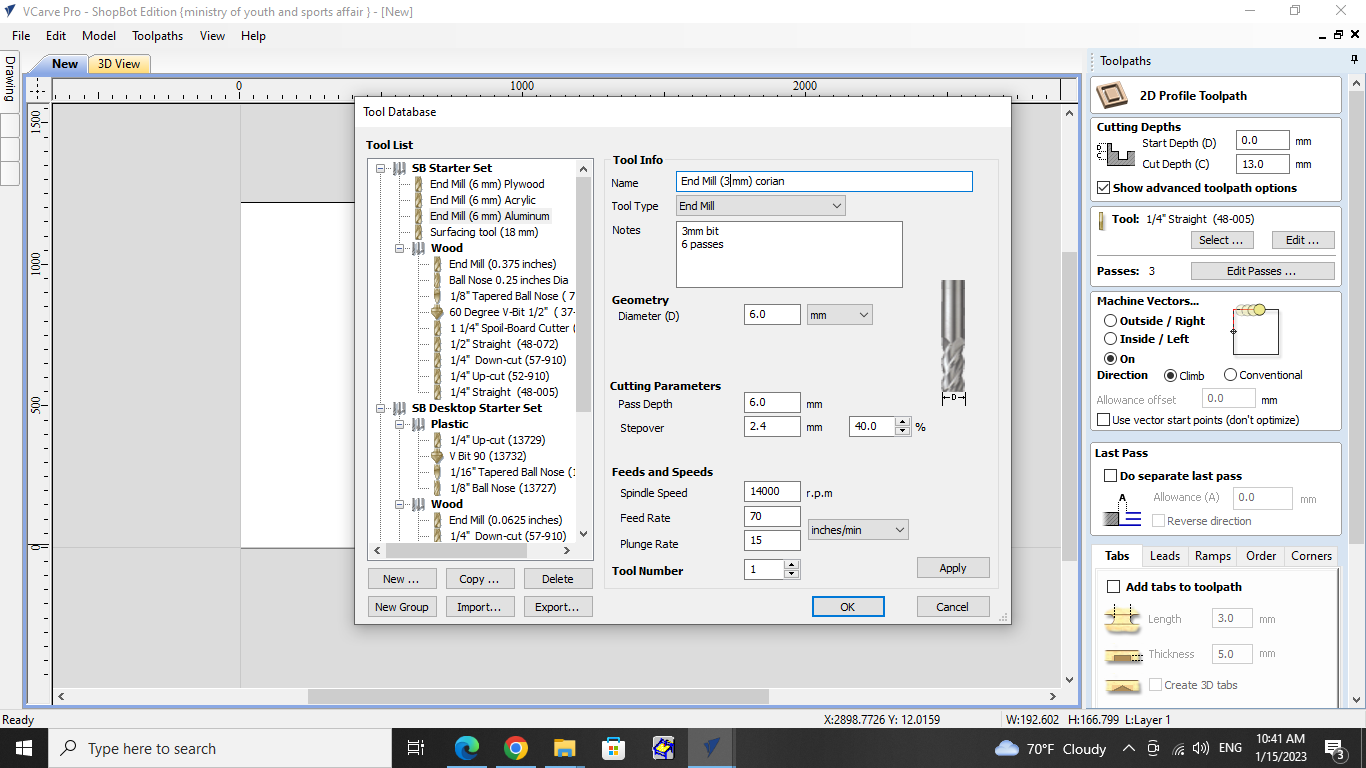
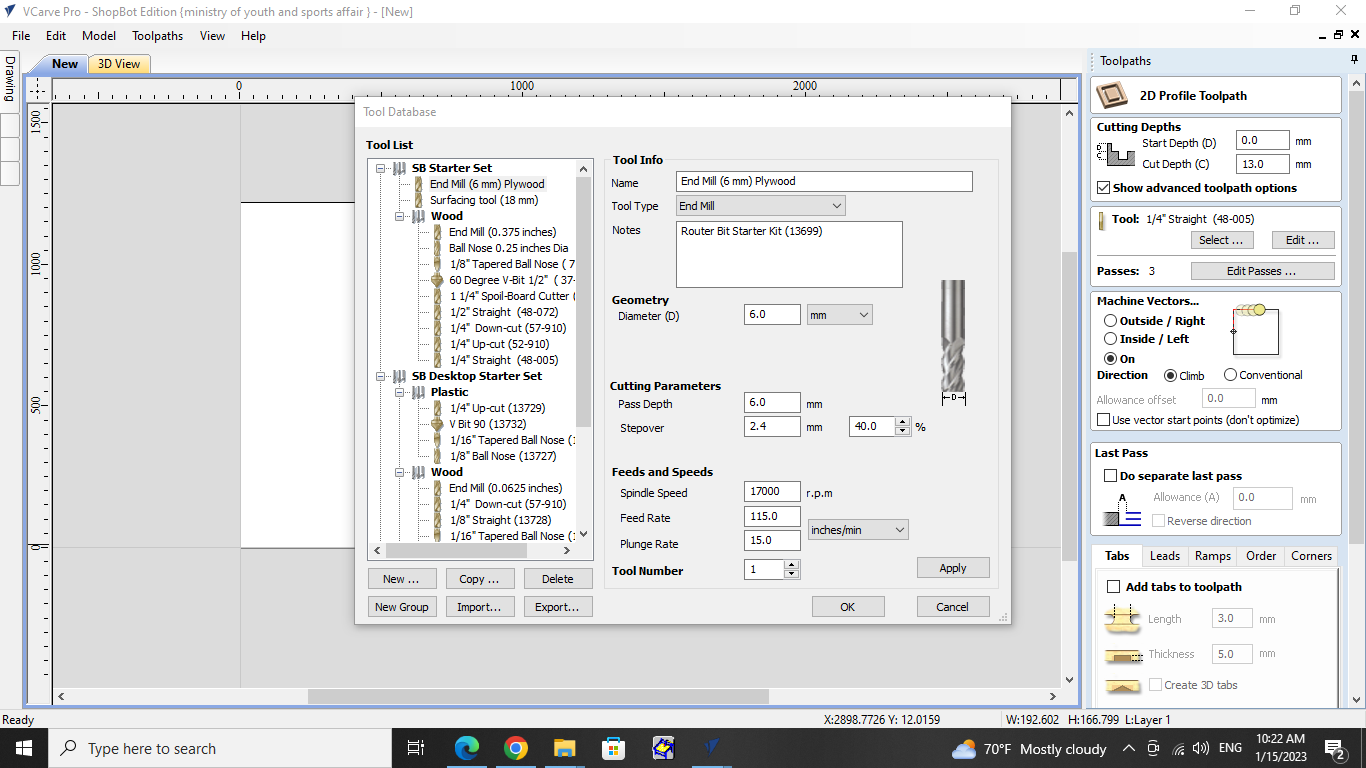
For other materials use these settings and read its notes (MDF, Plywood, Acrylic, corian, Aluminum, Aluminum cladding, PVC)
Aluminum cladding
 PVC
PVC
 MDF
MDF
 Aluminum
 Corian
 Acrlic
 Plywood
Choose the machine vectors and the direction

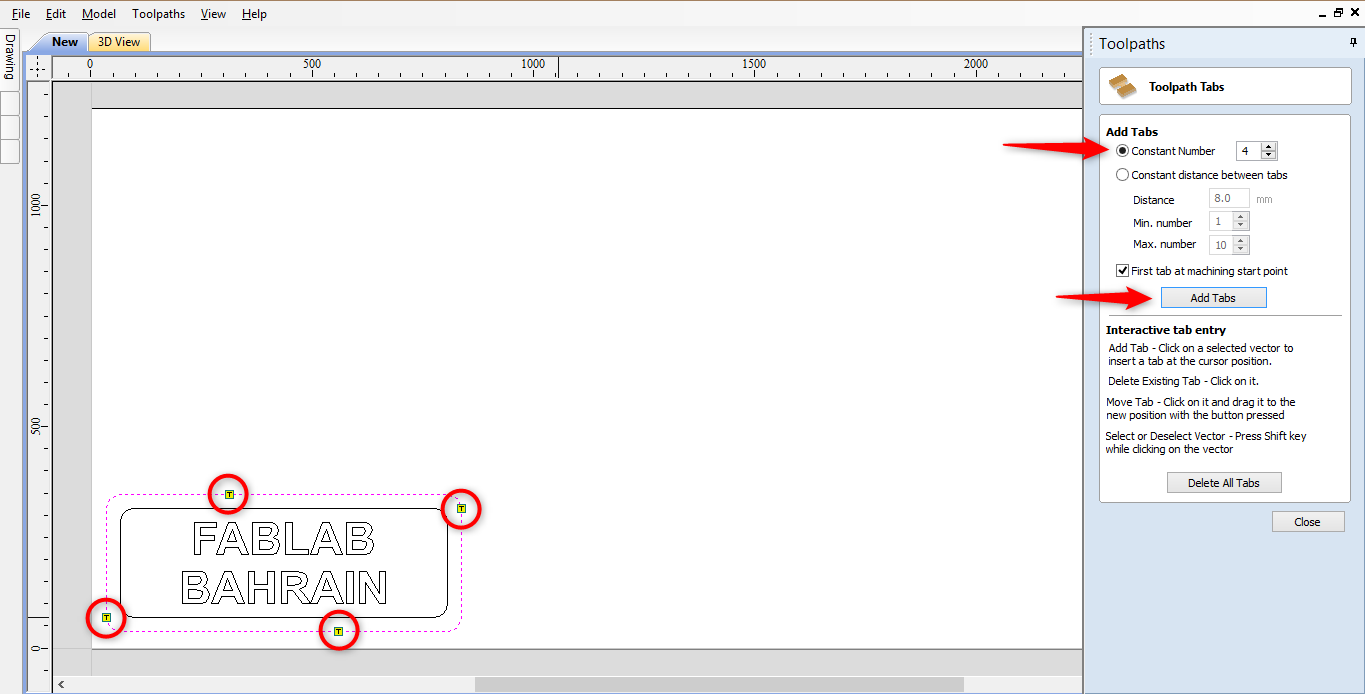
I will add tabs to keep me design in its place while cutting for my 19 mm thick MDF sheet I added a 2 mm length and 12 mm thick tabs.
Click the white box then set the tab dimensions after that click "Edit Tabs" set the number of tabs then click Add tabs. Note that you can change the tabs location by dragging them to the desired location.
click calculate
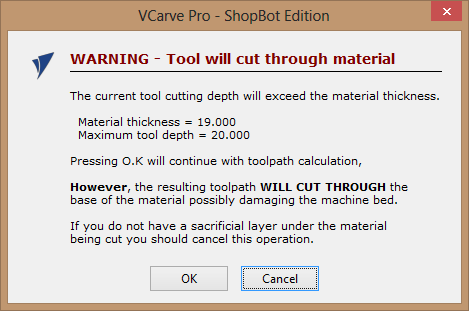
This massage will appere to allert you that the CNC will cut the material and cut the CNC bed ,but as I noted earlier I installed a sacrifice sheet click OK to ignore it.
You can click on the play icon to preview the toolpath you can also change the speed of simulation.
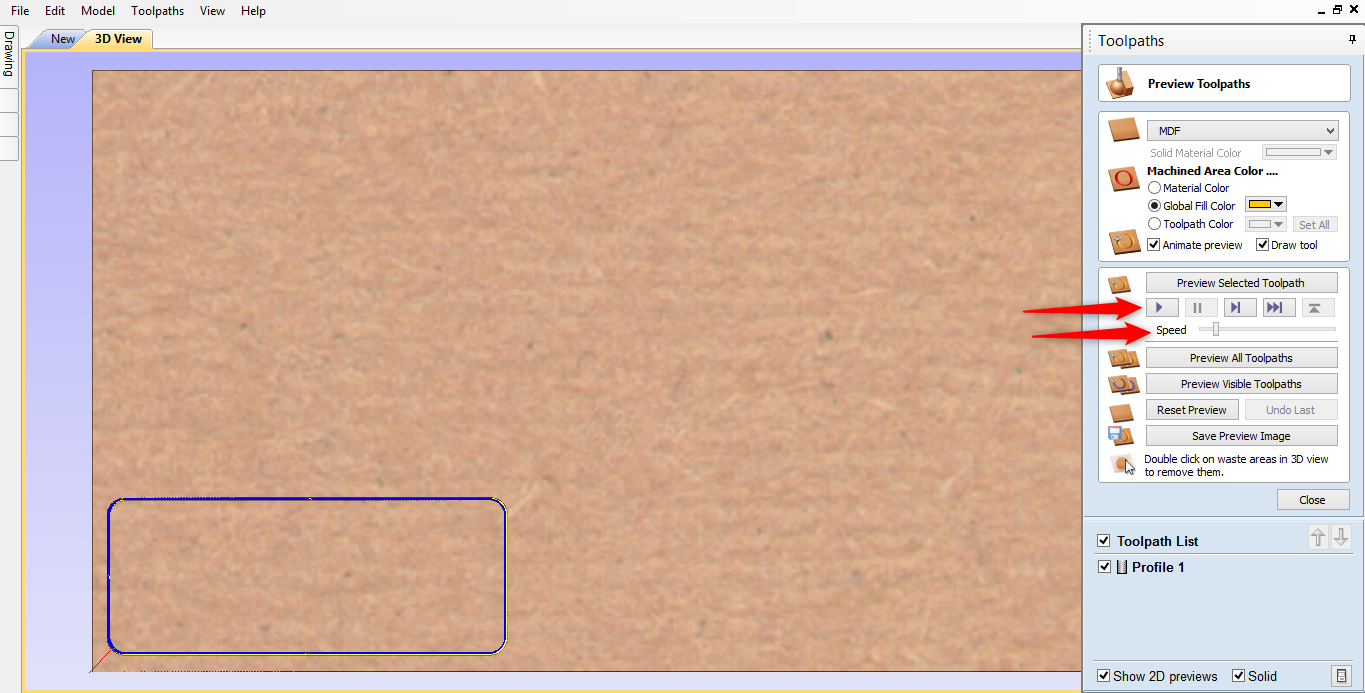
Click close
5
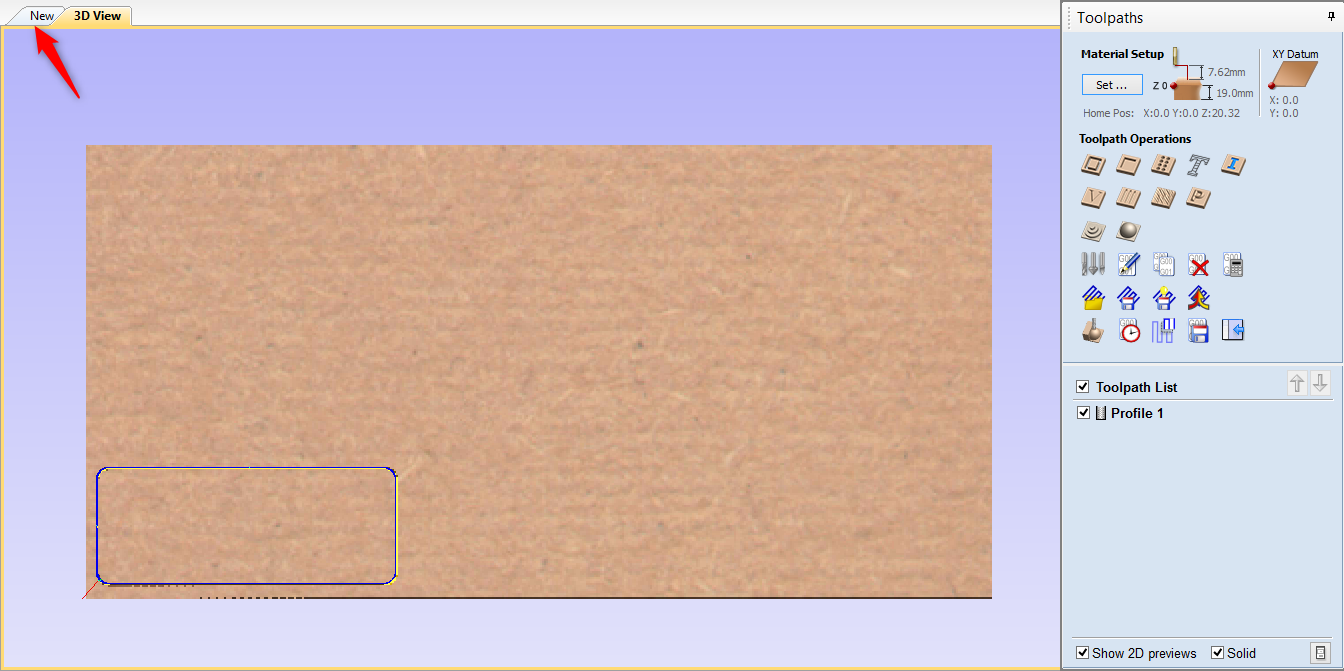
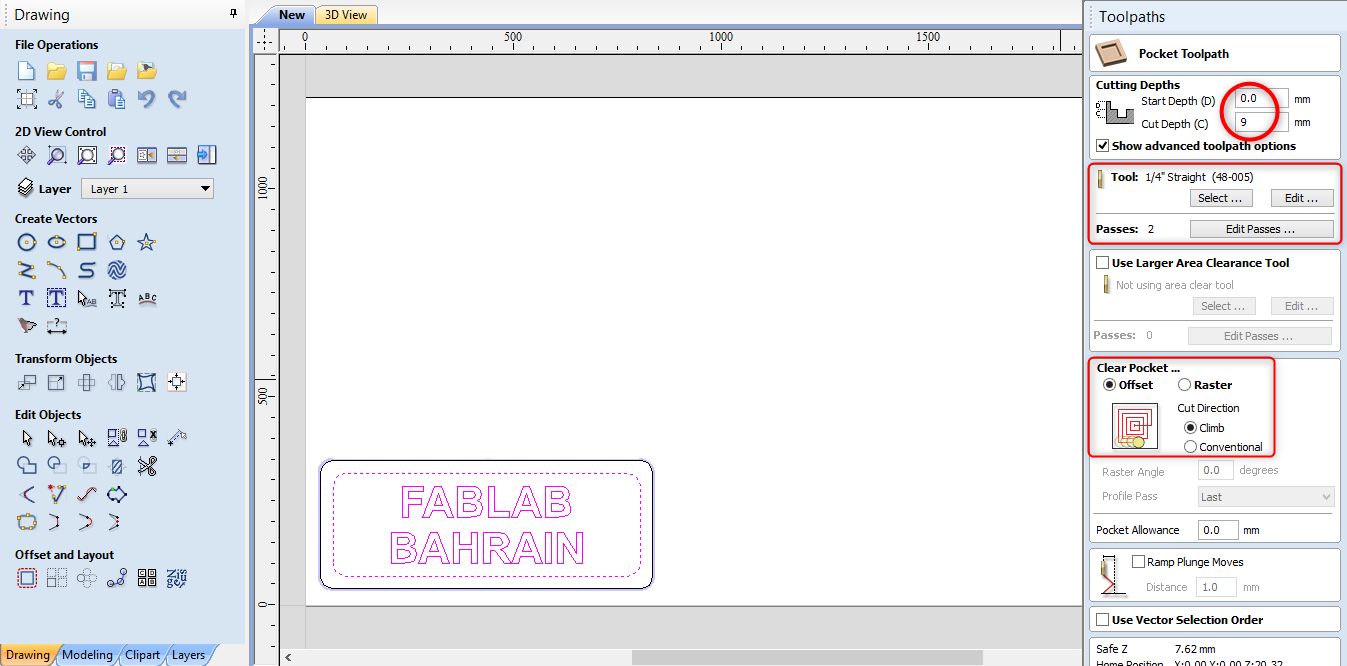
For the second tool path I want to engrave the space between the text and the inner frame. click "new" to go back to the drawing mood.
Then select the vectors you want to engrave between using "Shift" in the keyboard then, click the pocket toolpath.
Enter the cutting depth and use the same tool then, set the clear pocket to raster and climb then, click calculate.
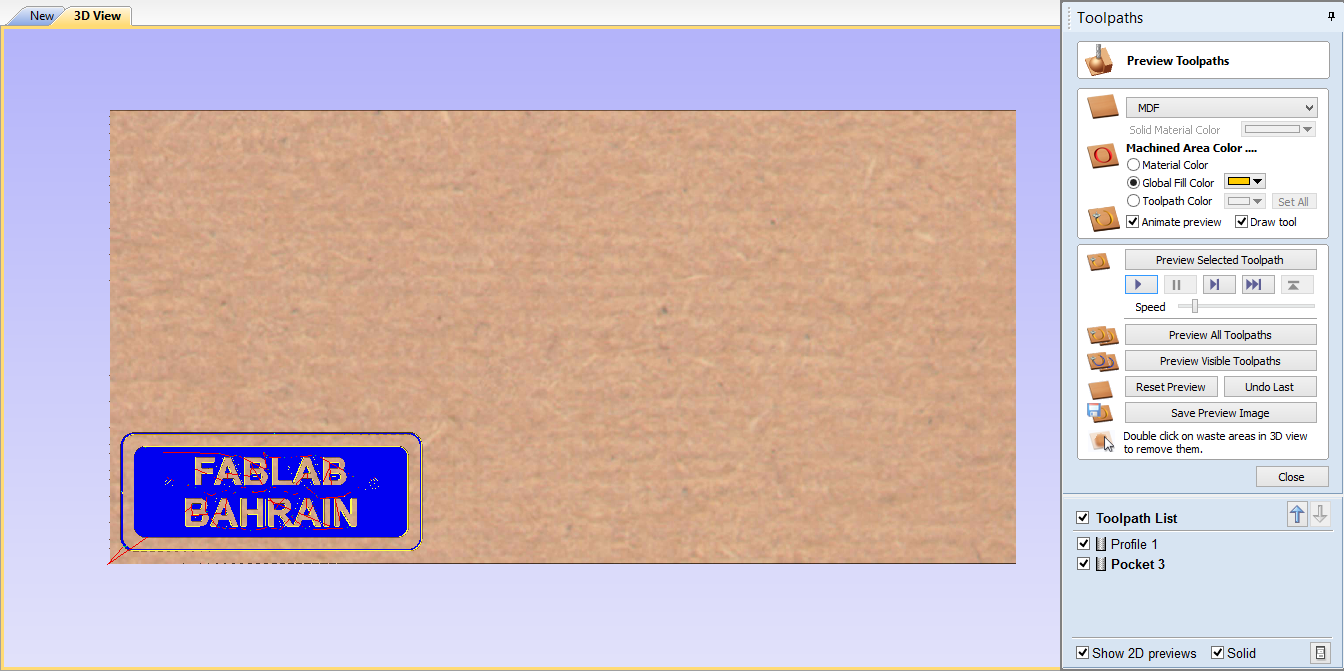
The blue color indicates the drill cuts.
Make sure all toolpaths are selected then click save toolpath.
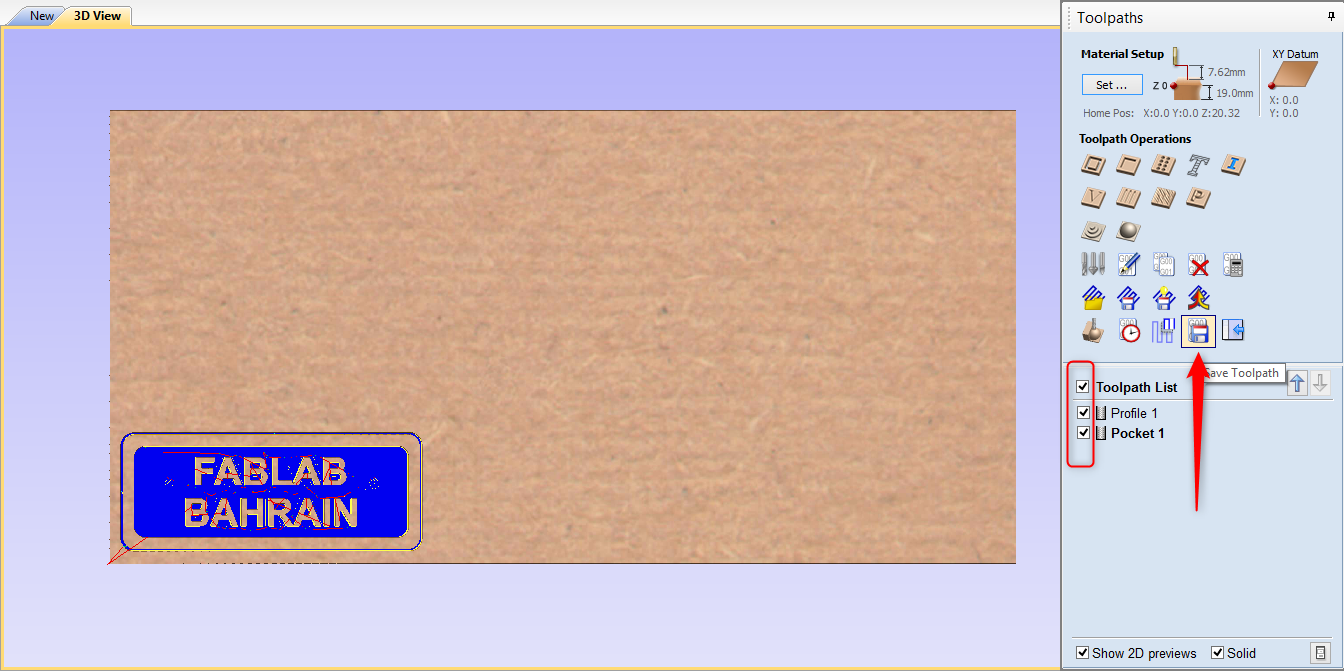
Make sure that post processor is set to MM "millimeters" then click save toolpath(s) to file.
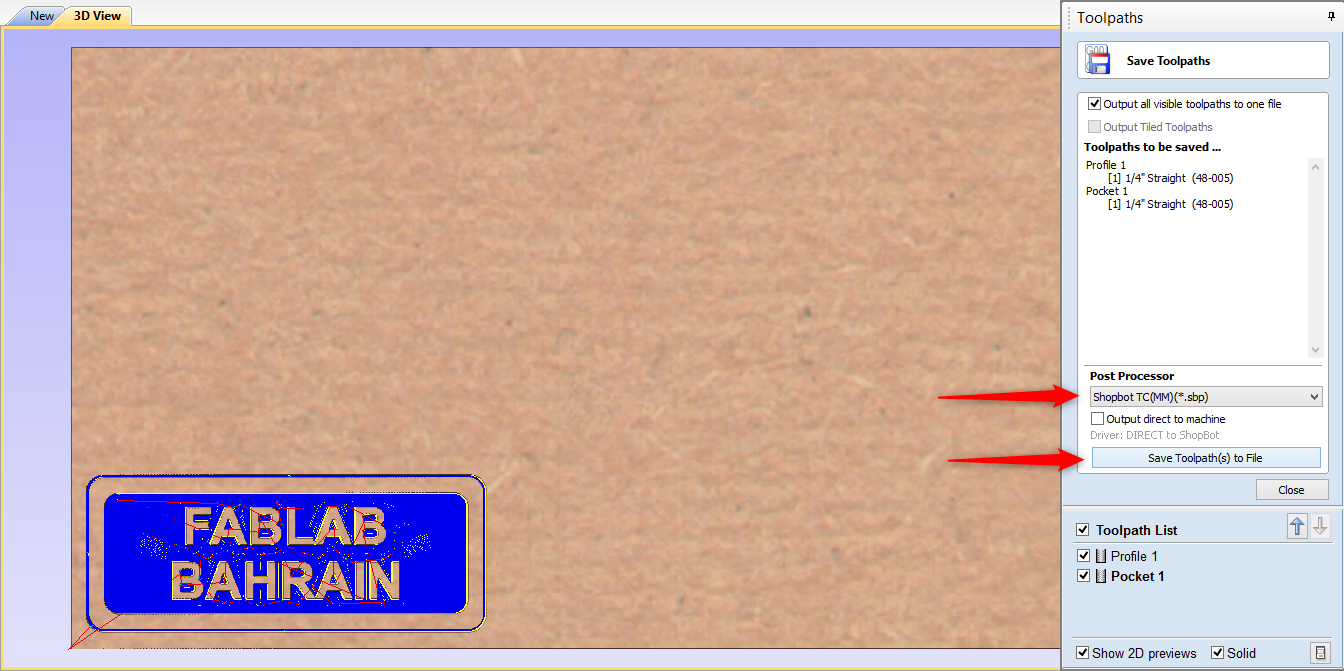
Our file is ready!
Operation
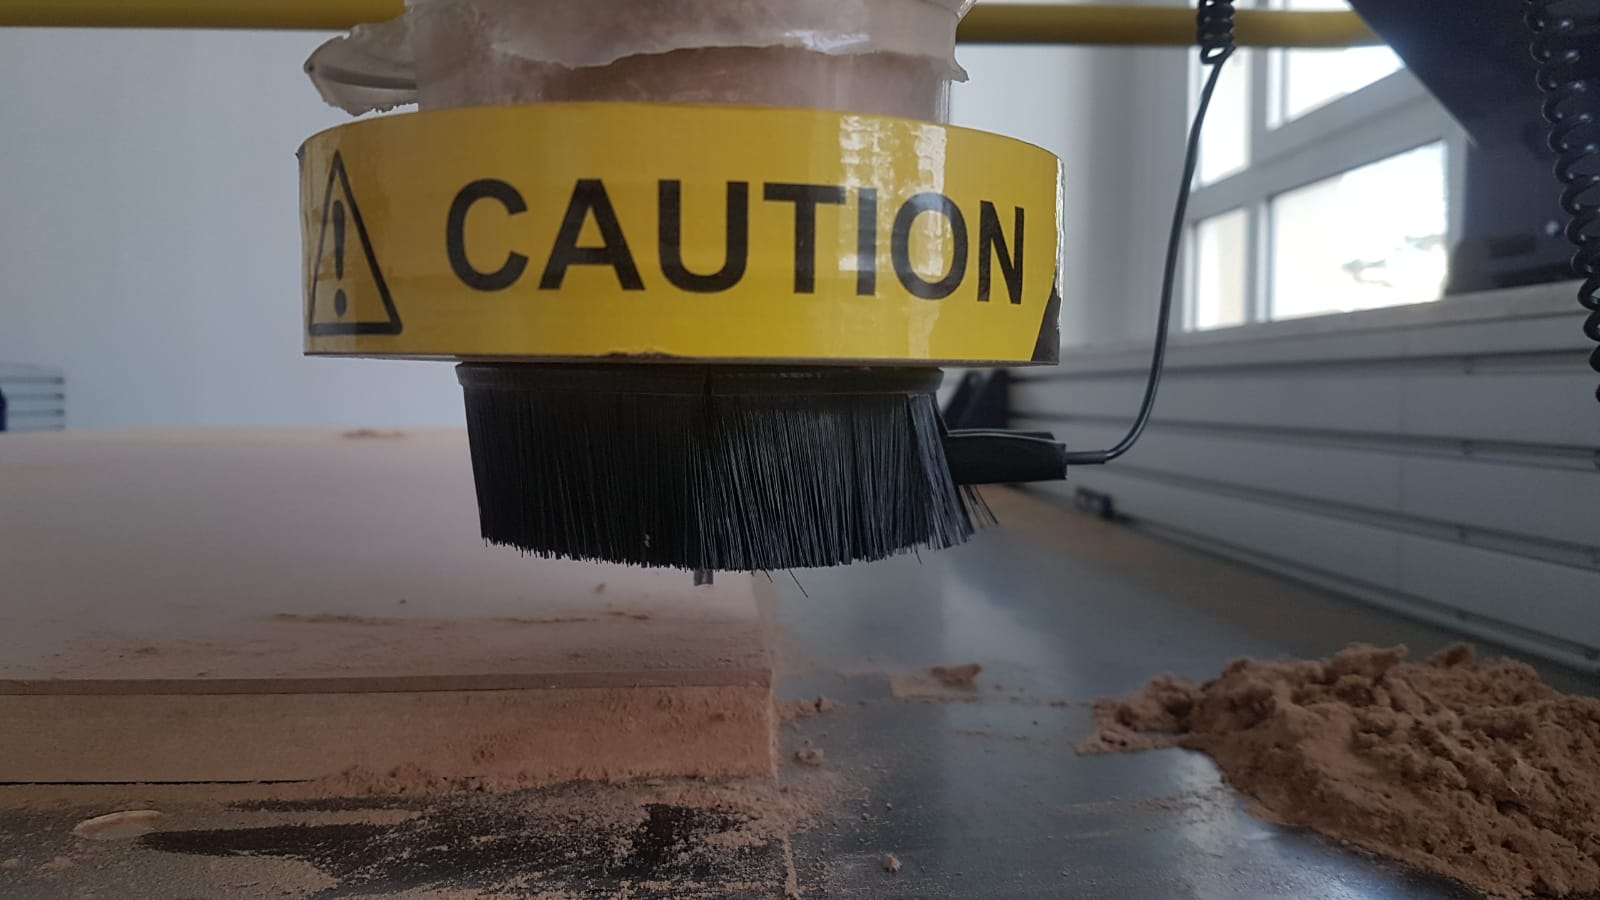
Make sure no other objects on the CNC bed except the sheet you want to cut. Moreover, clean the place from any dirt Remember to wear all safety equipments.
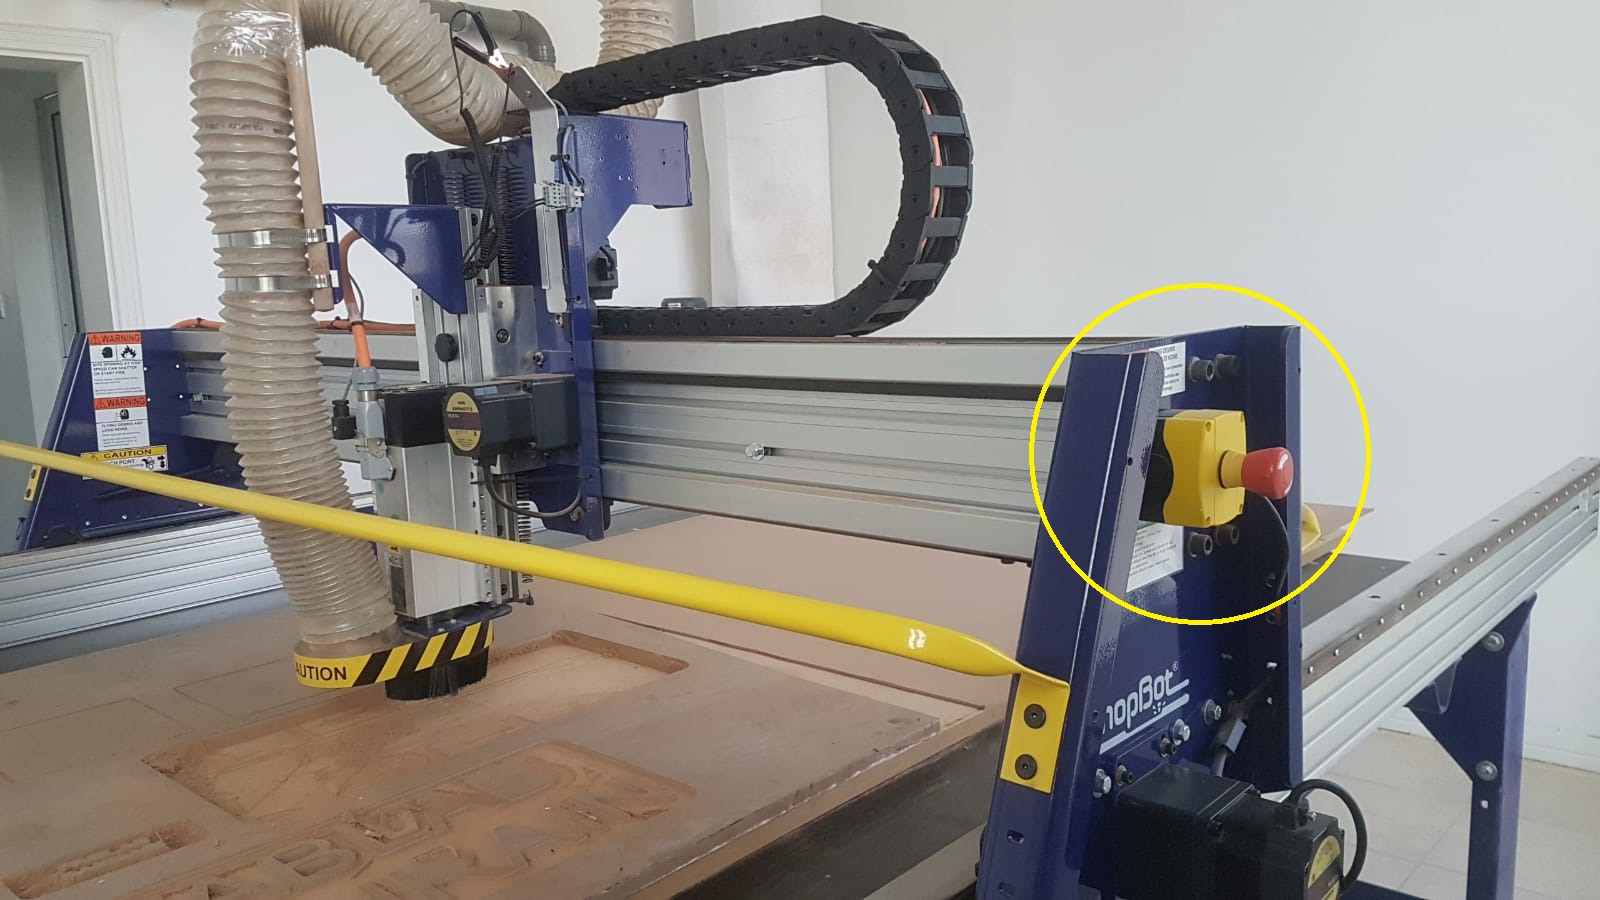
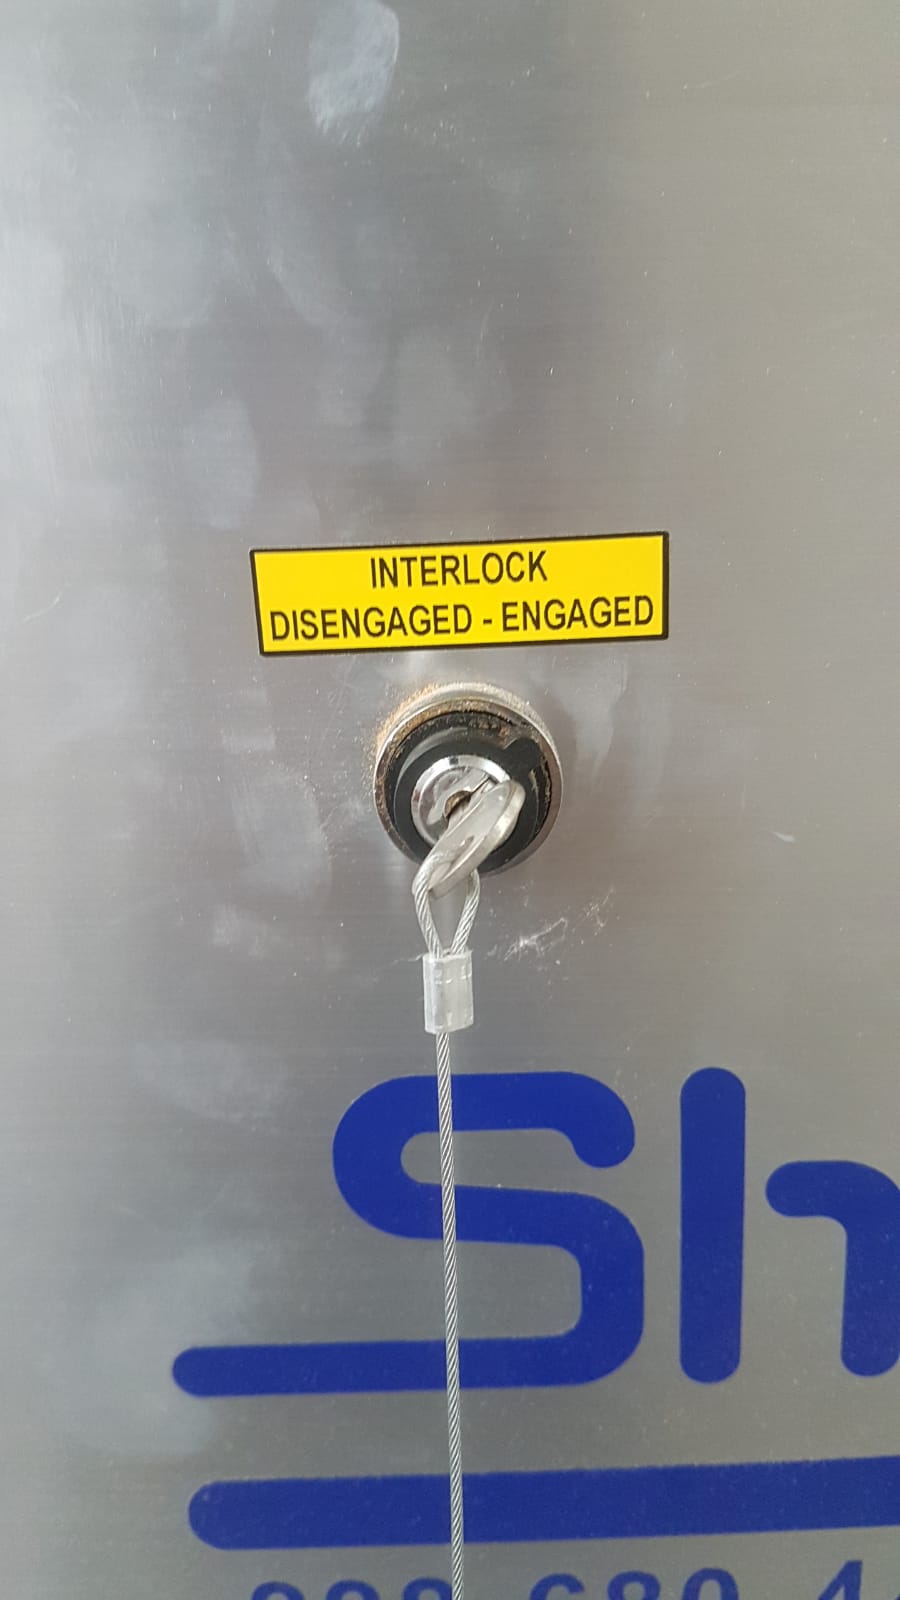
Caution !! if for any reason anything happened immediately press the red button you can press it from two locations.
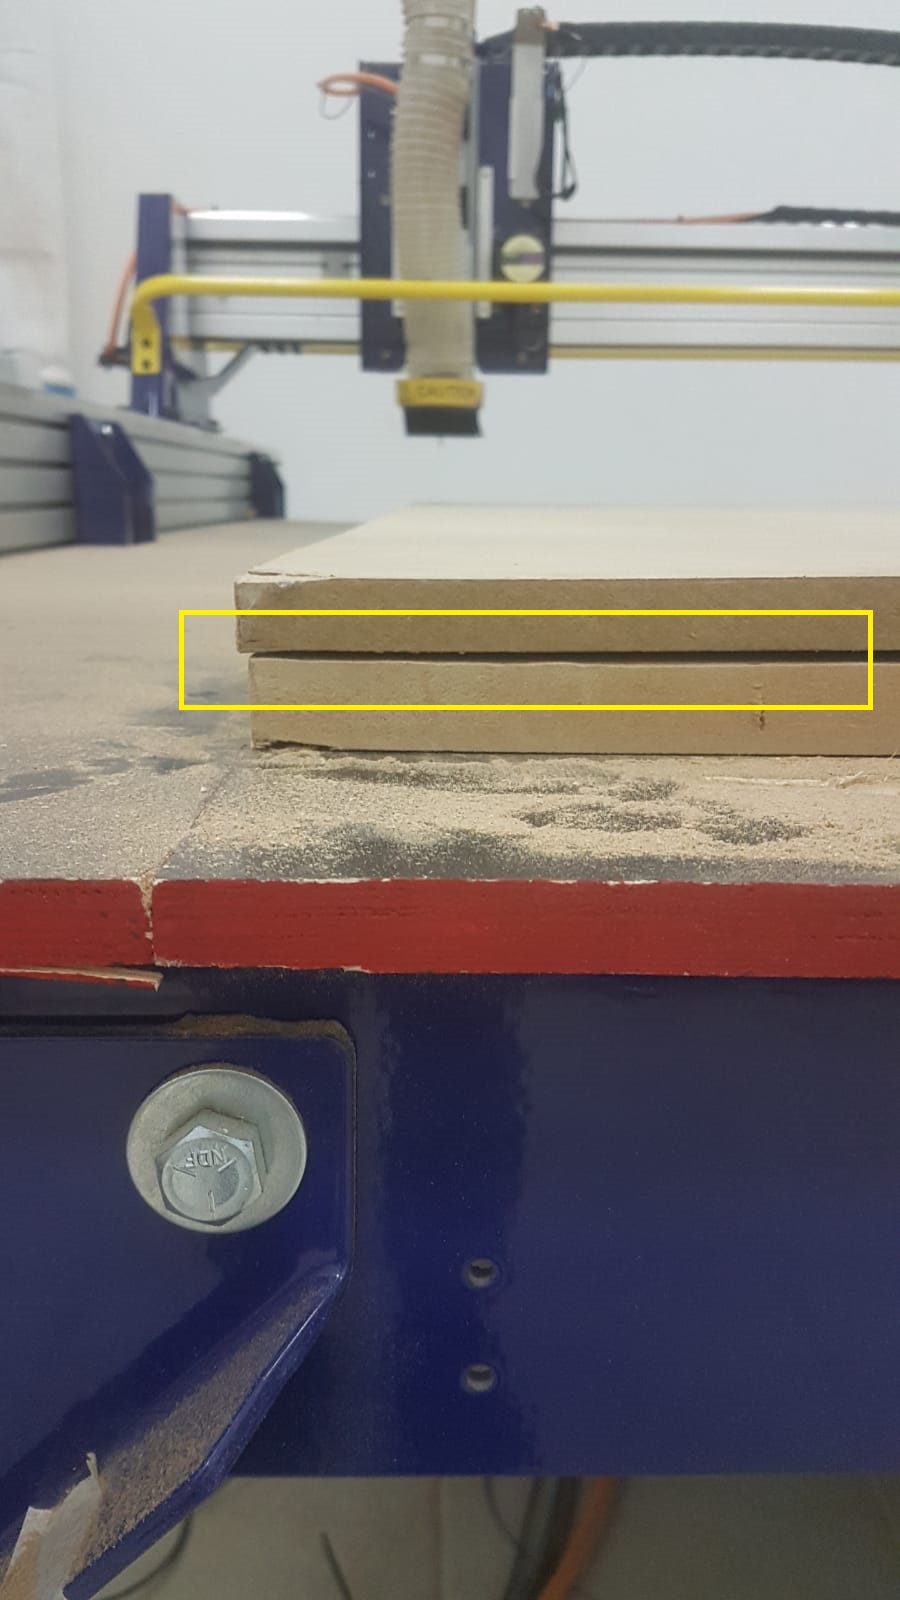
1 Bed preparation
Clean the sacrifice sheet.
Use a hammer and some nails to secure your shet on top of the sacrifice sheet you can also use the power drill and some screws
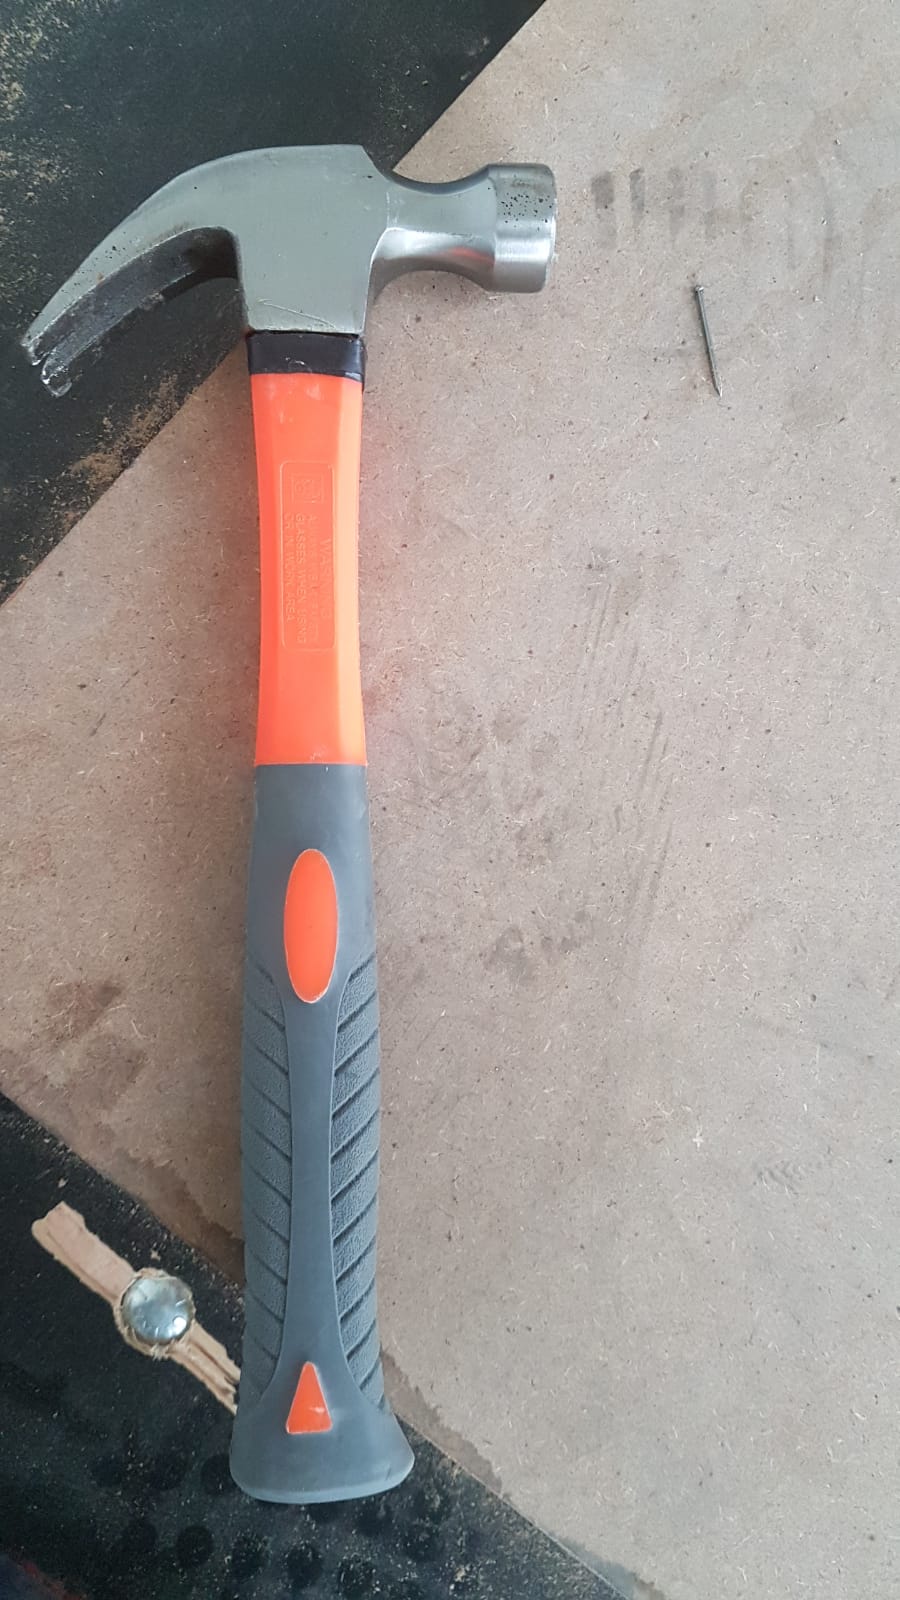
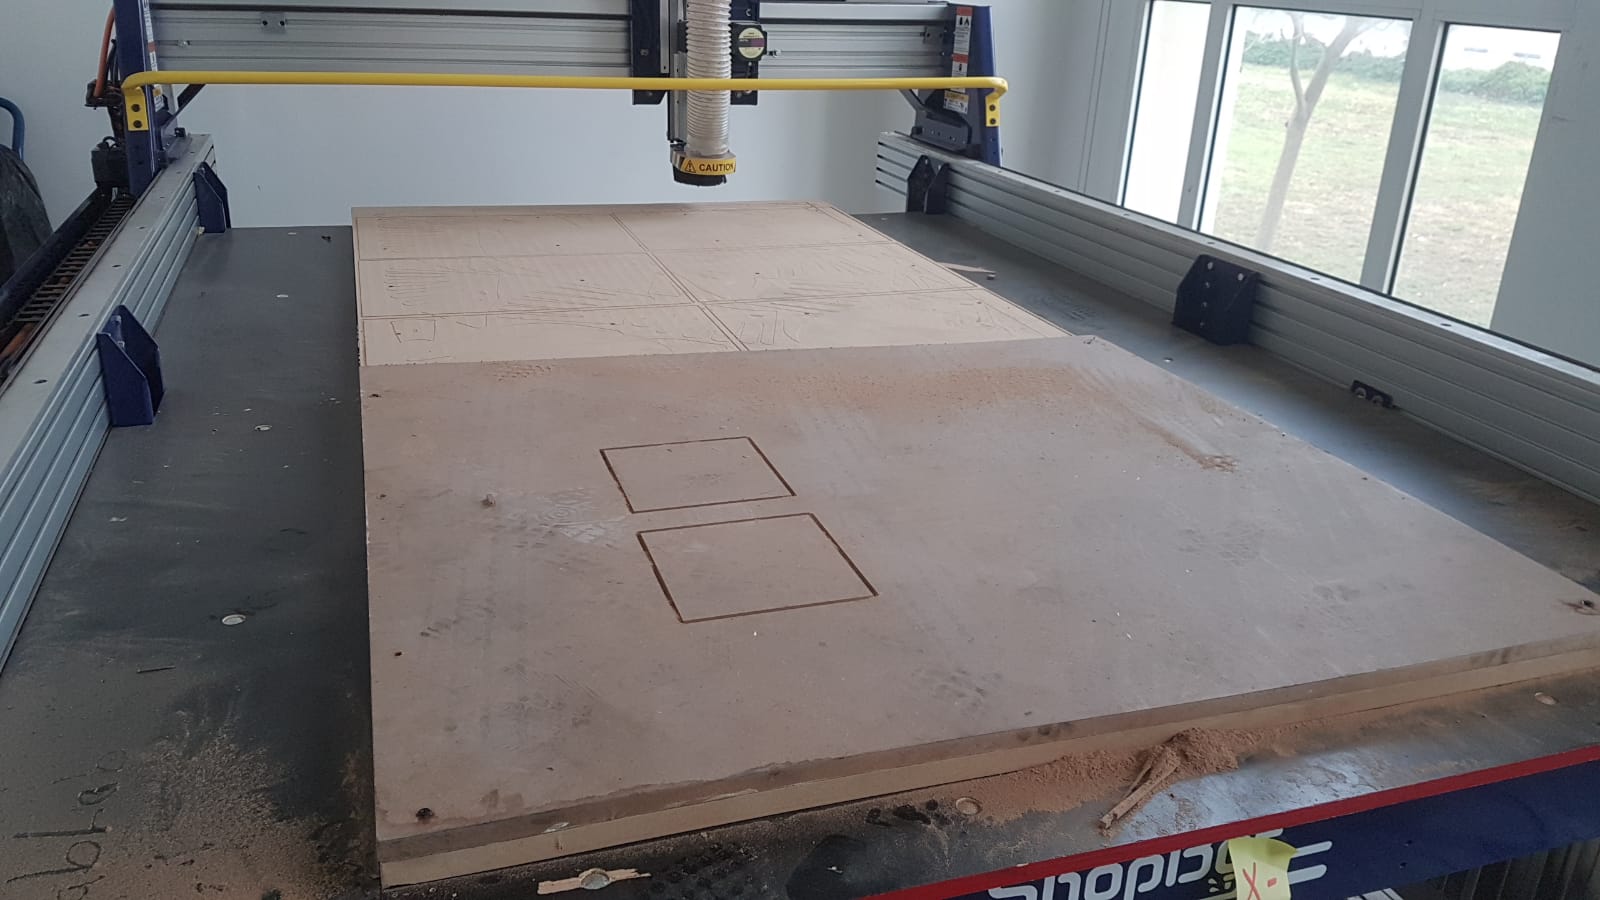
Note : Make sure there is no gap between the sheets.
2 switch it ON
Connect the usb cable.
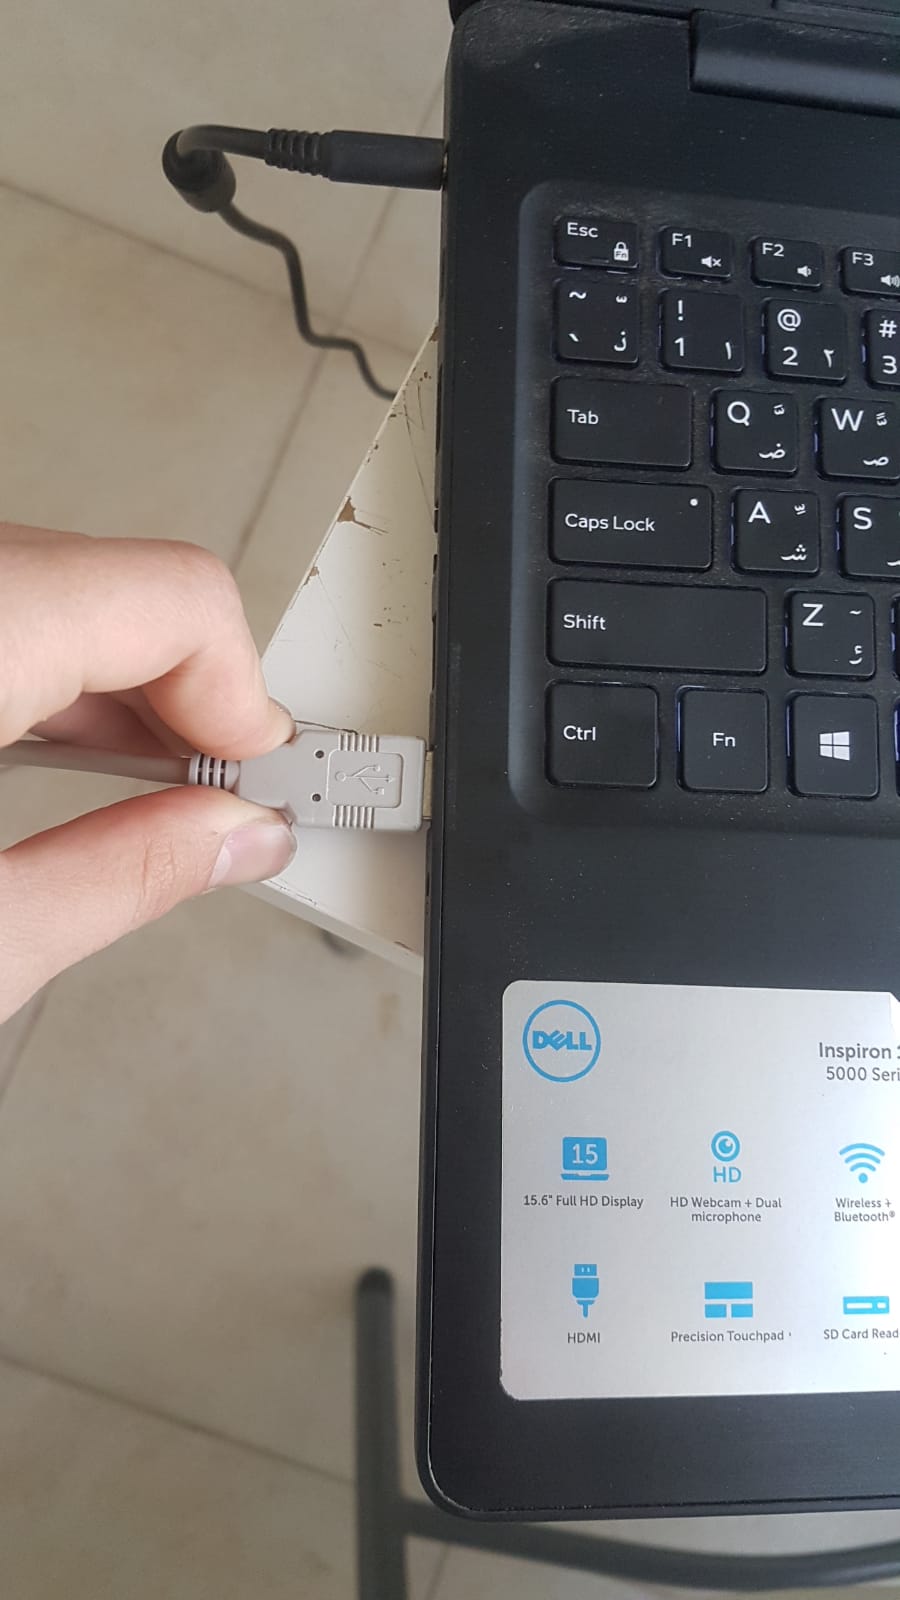
Power the CNC ON.
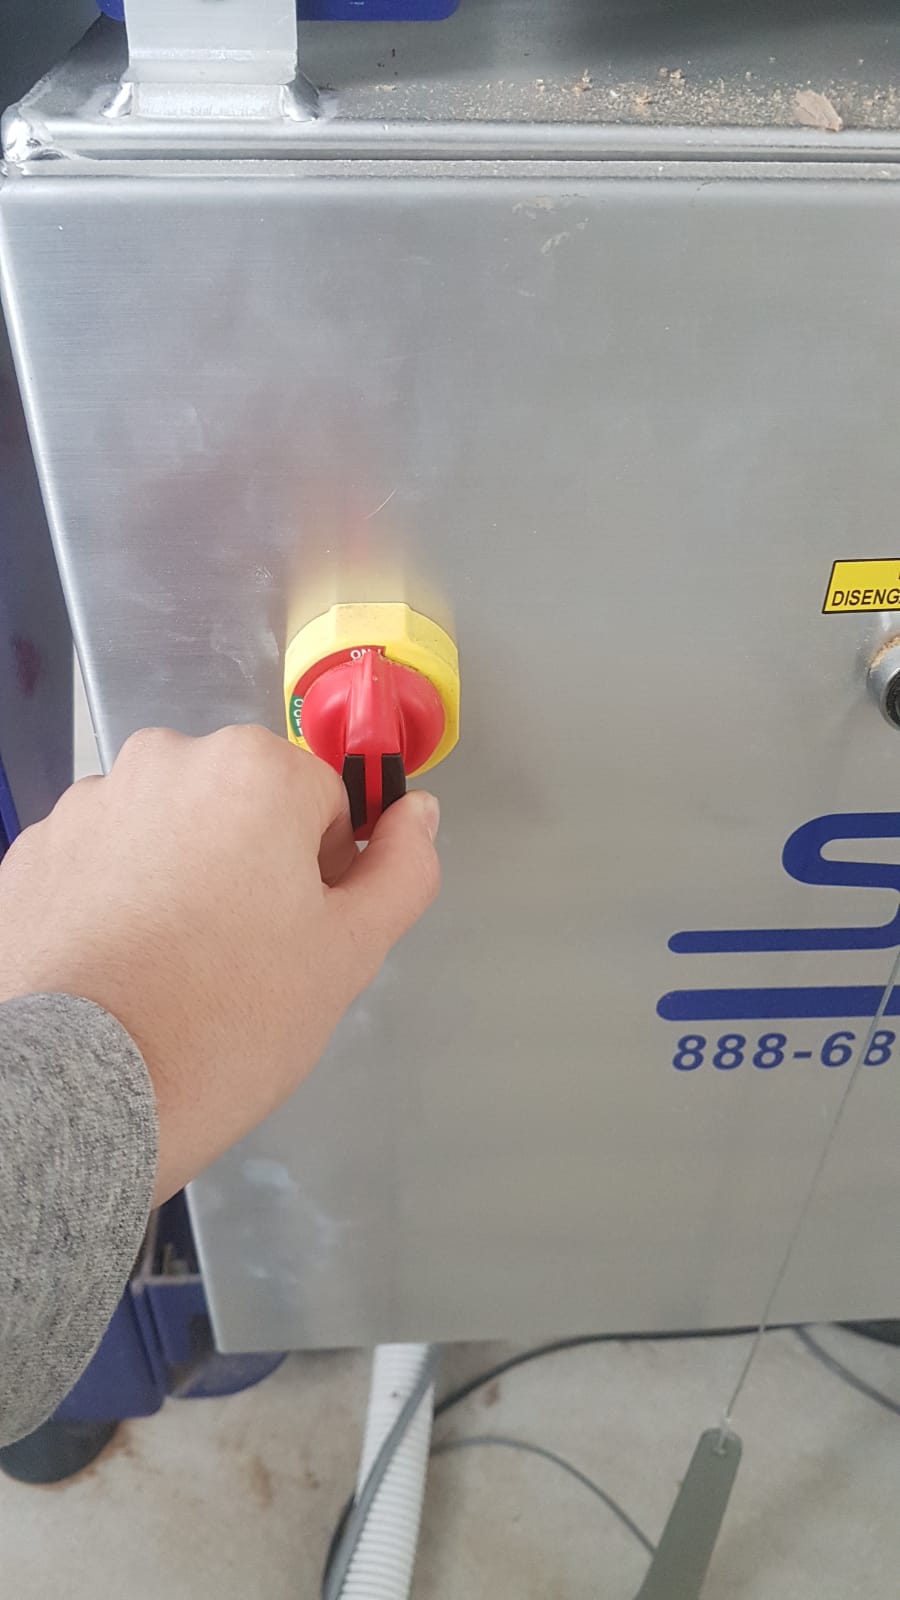
Open the shopbot software.

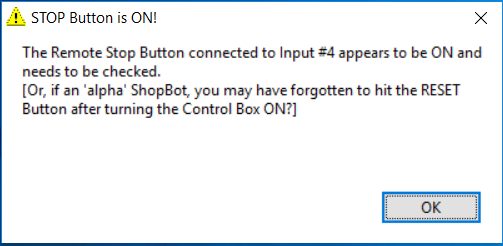
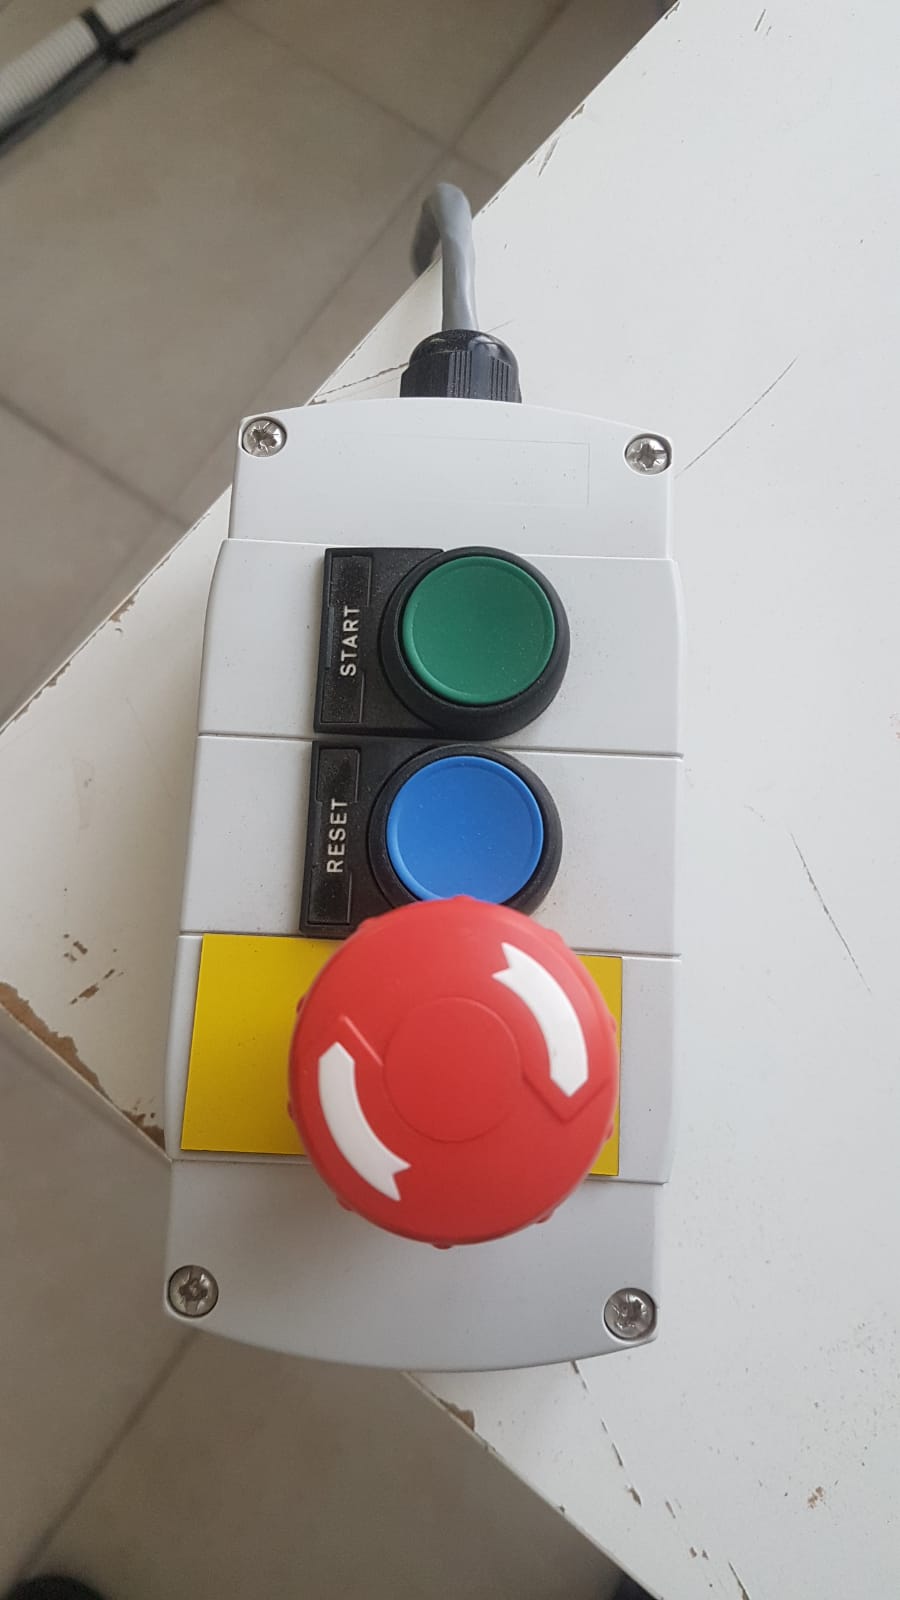
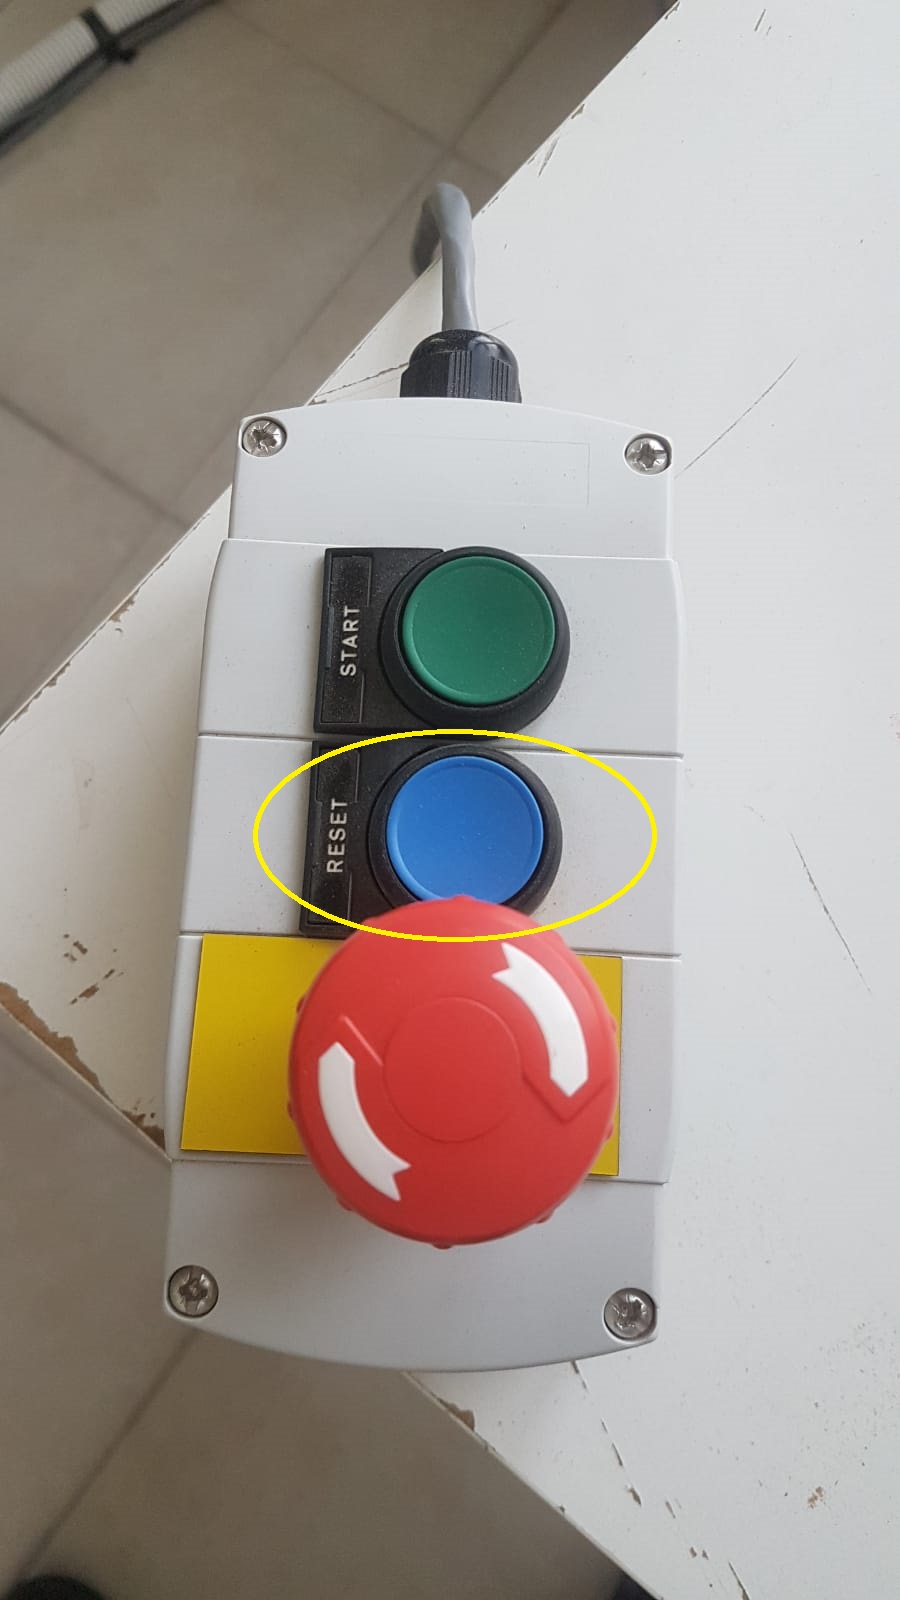
If this message appears press the reset button then click OK.
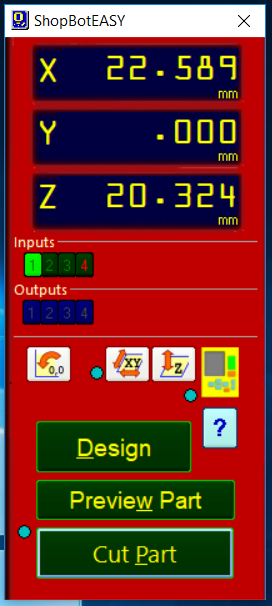
3 Clibration and setting the zero
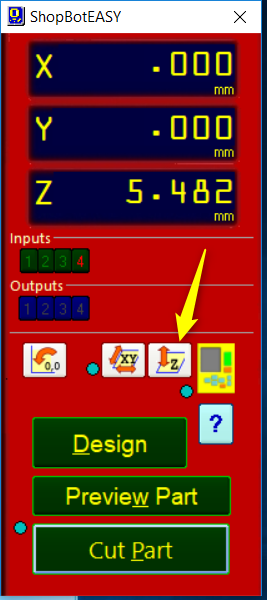
Click the yellow panel "keypad".
Move the spindle up.

Move the spindle to your zero "starting point".
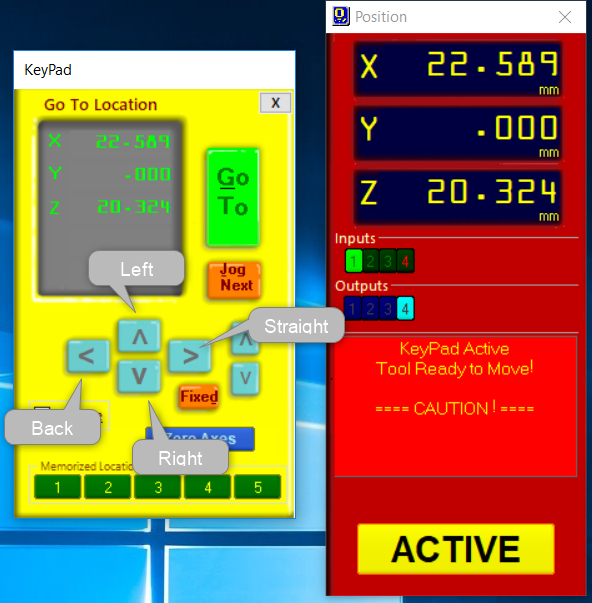

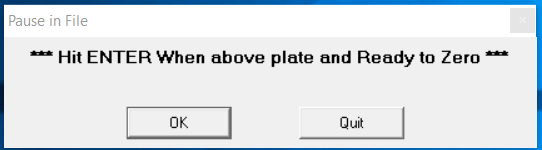
Click on "Zero Axes" to set your position to zero.
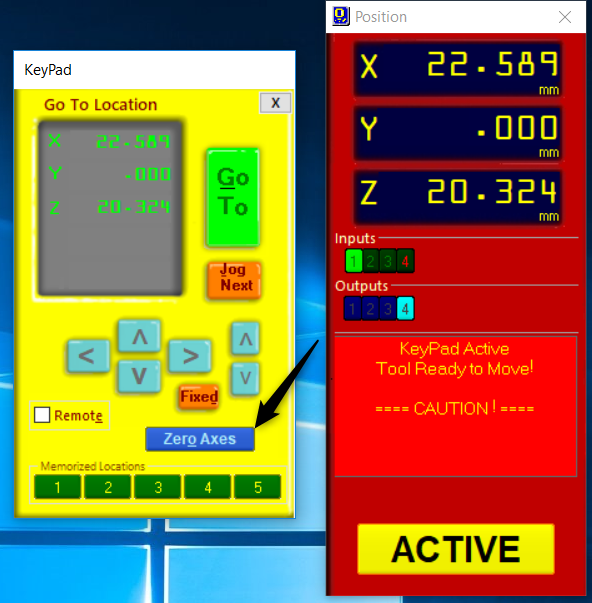
then choose X and Y.

To calibrate Z axes pull up the conductive plate.

Place the alligator clamp with the collet.
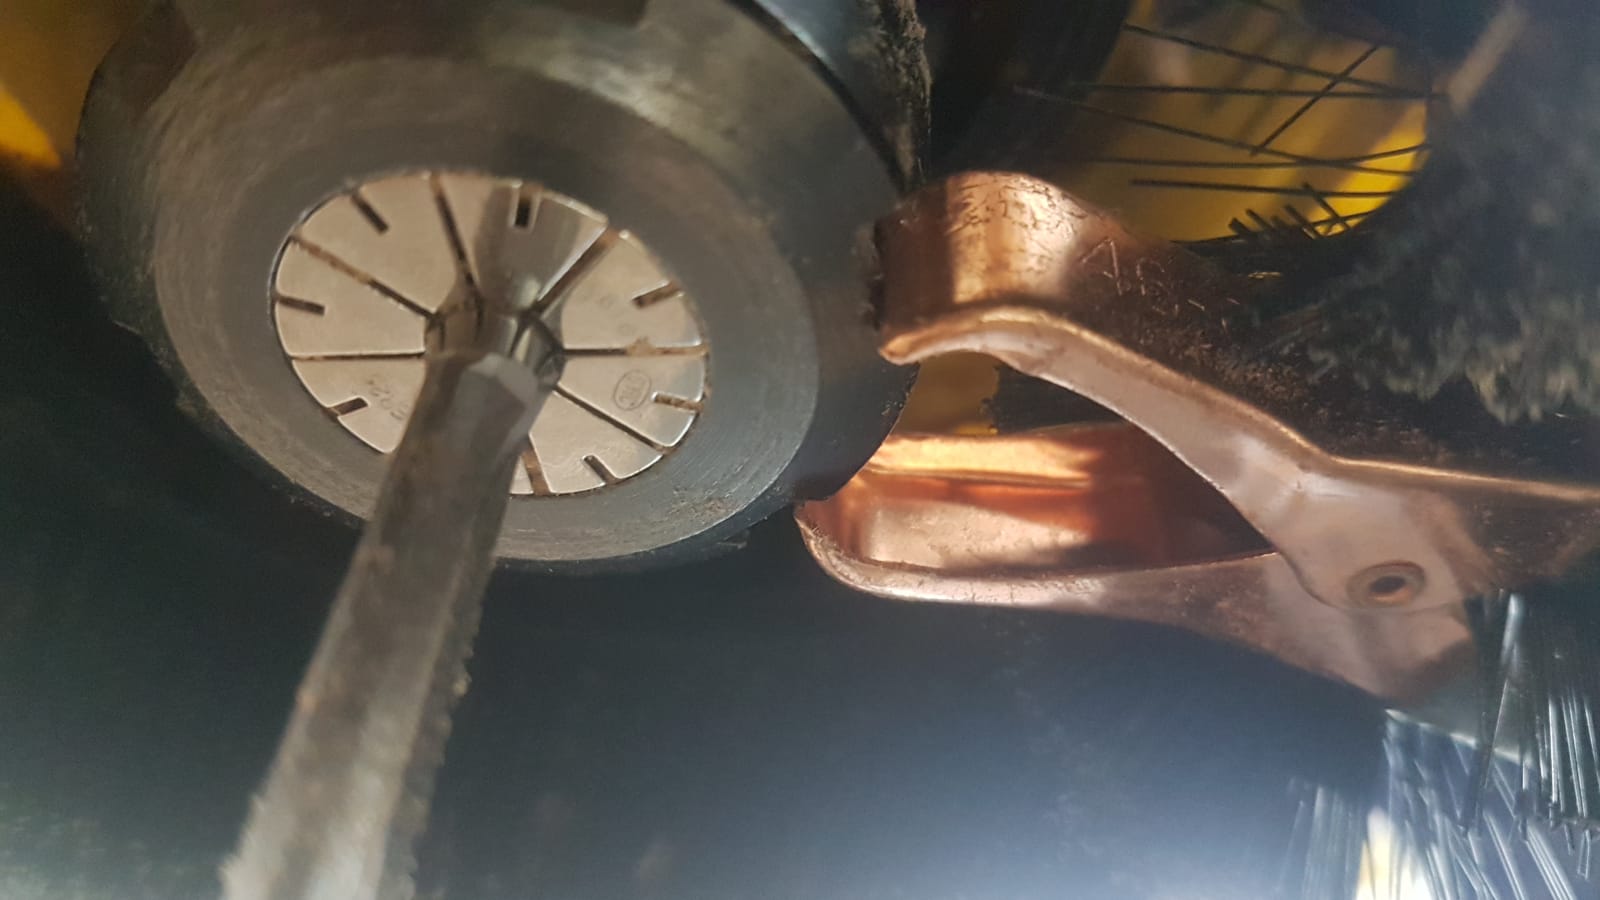
Place the conductive plate under ther drill bit.
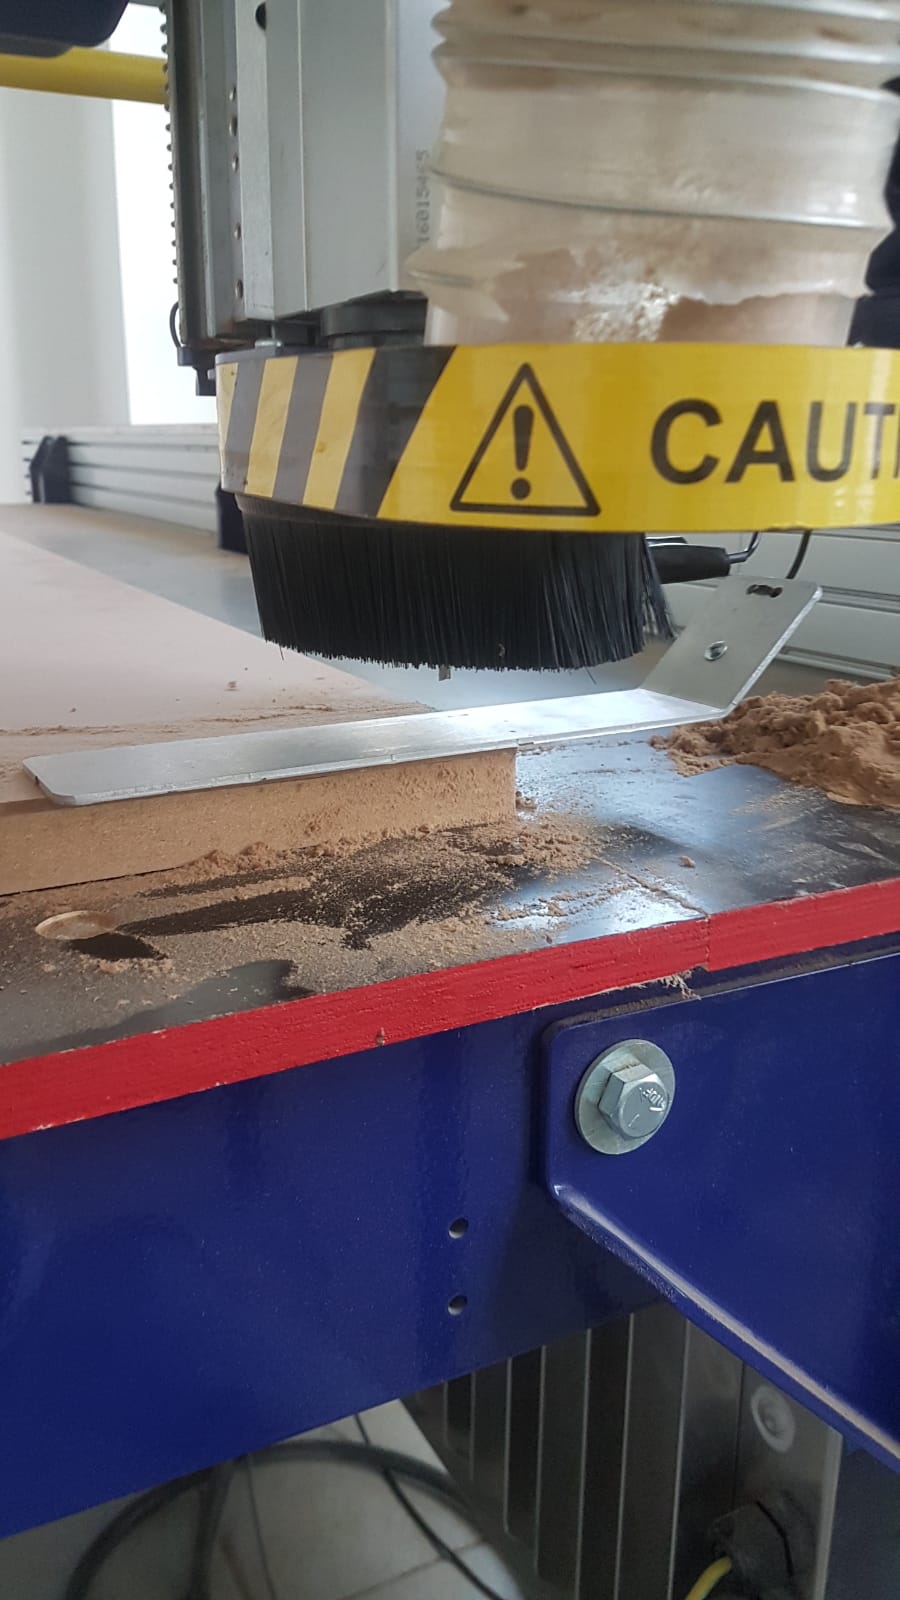
Click on Z icon.
Make sure that your plate is plased correctly ,then click OK
Caution keep your hand on the red button in case the plate went off.

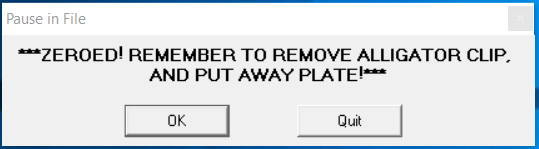
Put the plate back to its place and attach the alligator clamp to it.
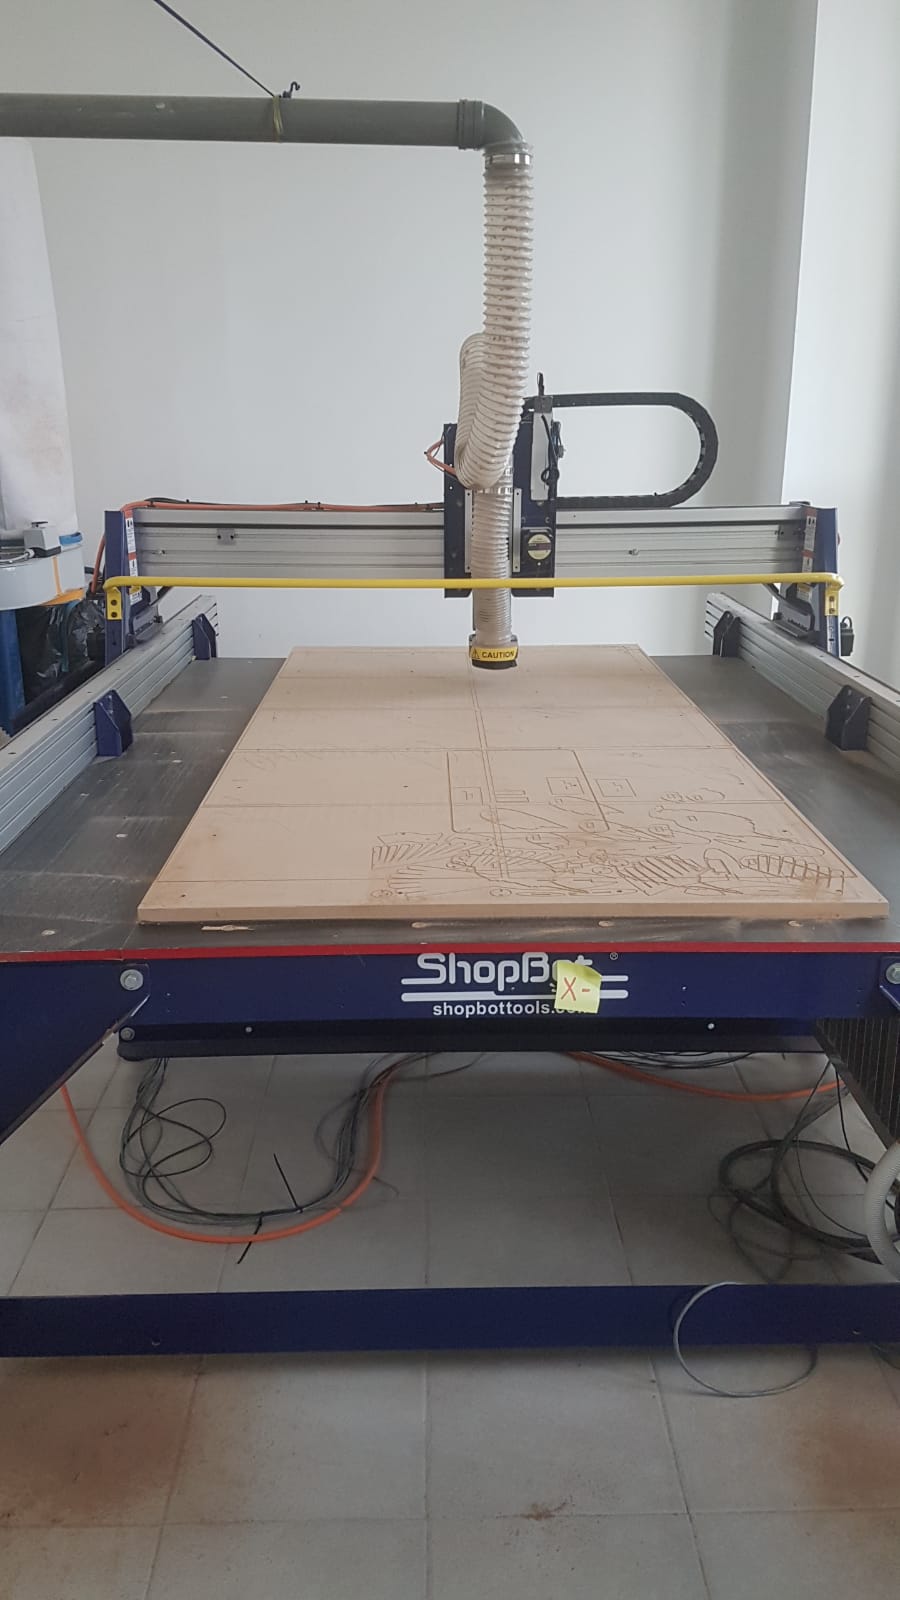
4 Cut the part
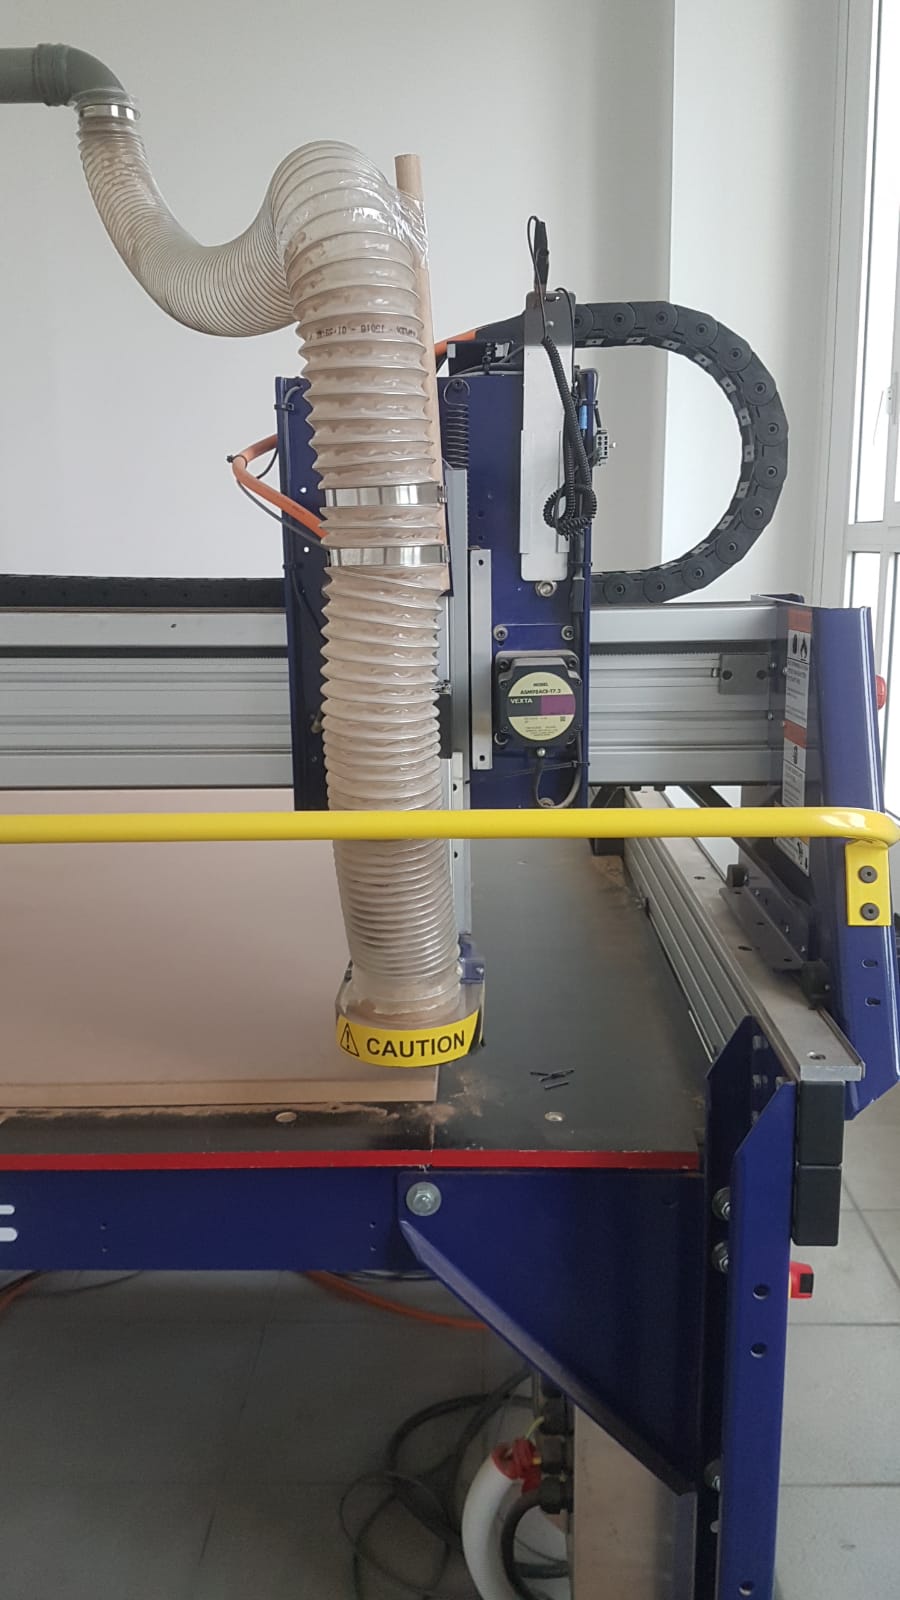
Switch ON the vacuume.
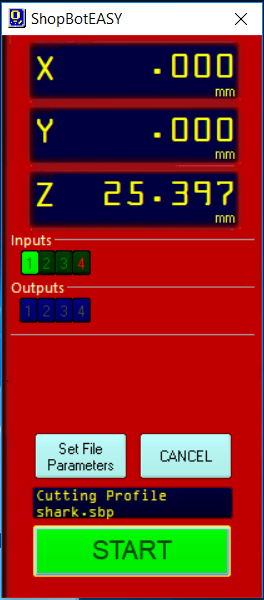
Click cut part.
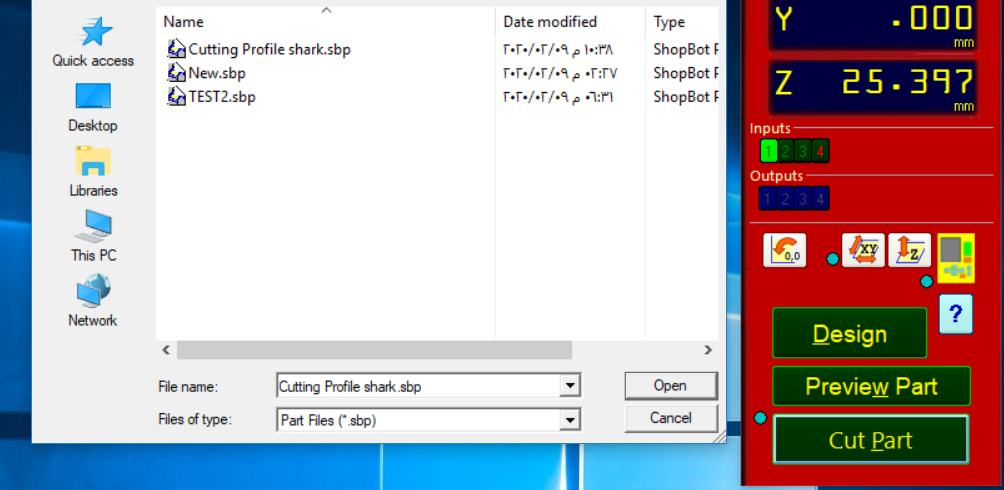
Click start.
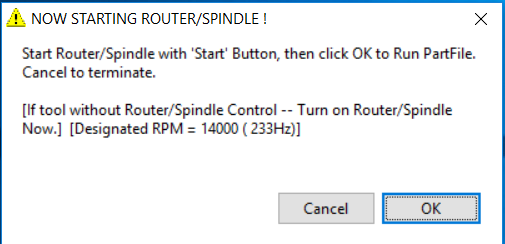
Start the spindle by pressing the start button for three seconds.

Click OK.
Caution Enjoy cutting! and be careful where to put your hand and what you walk on the floor may be slippery and remember to wear your safety equipments.