3. Computer controlled cutting
This week we were assigned to work on 3 tasks containing 2 cutting machines, Vinyl cutting machine and laser cutting machine
TASK 1 - INDIVISUAL
On this task we were assigned to take any photo and cut it on any material using Cricut vinyl cutting machine
Mainly the materials used on this machine are thin like paper-thin or stickers

And in order to do that we have to follow these steps:
1- First, we need to download the software that understands the machine which is Cricut

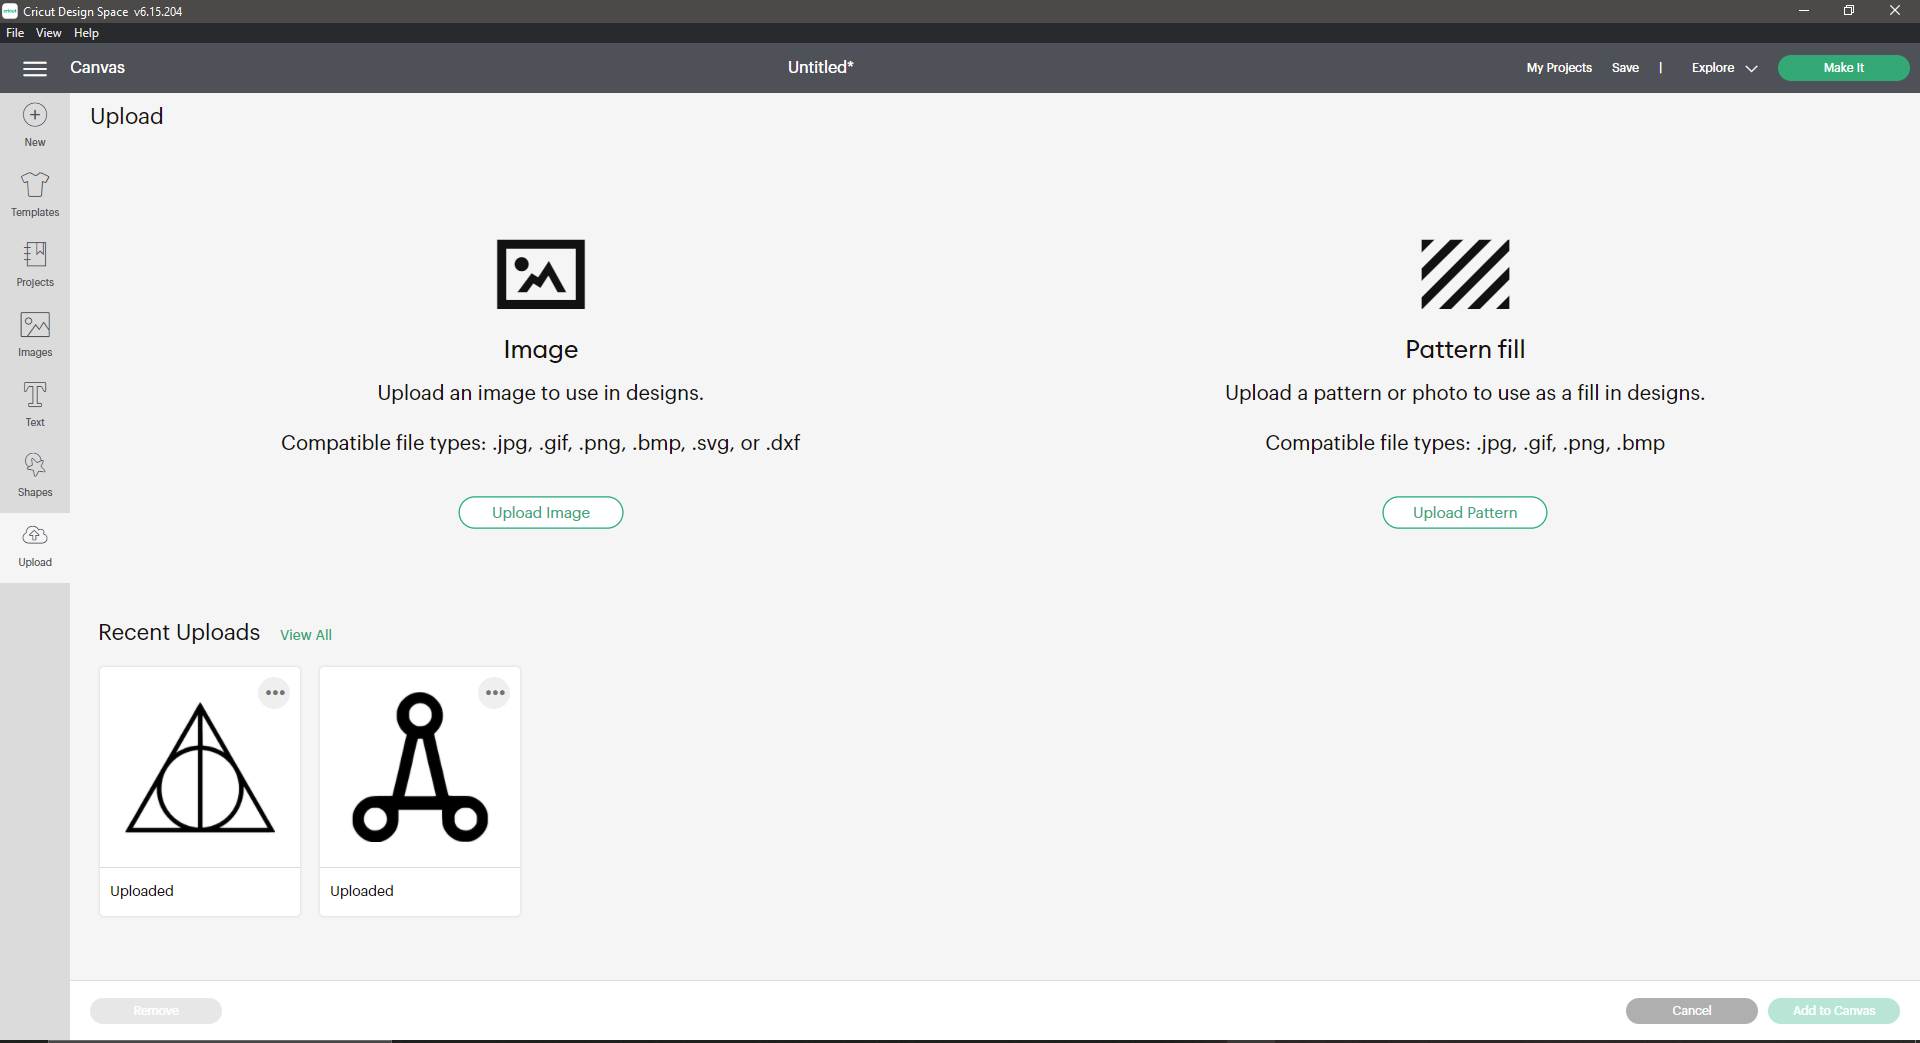
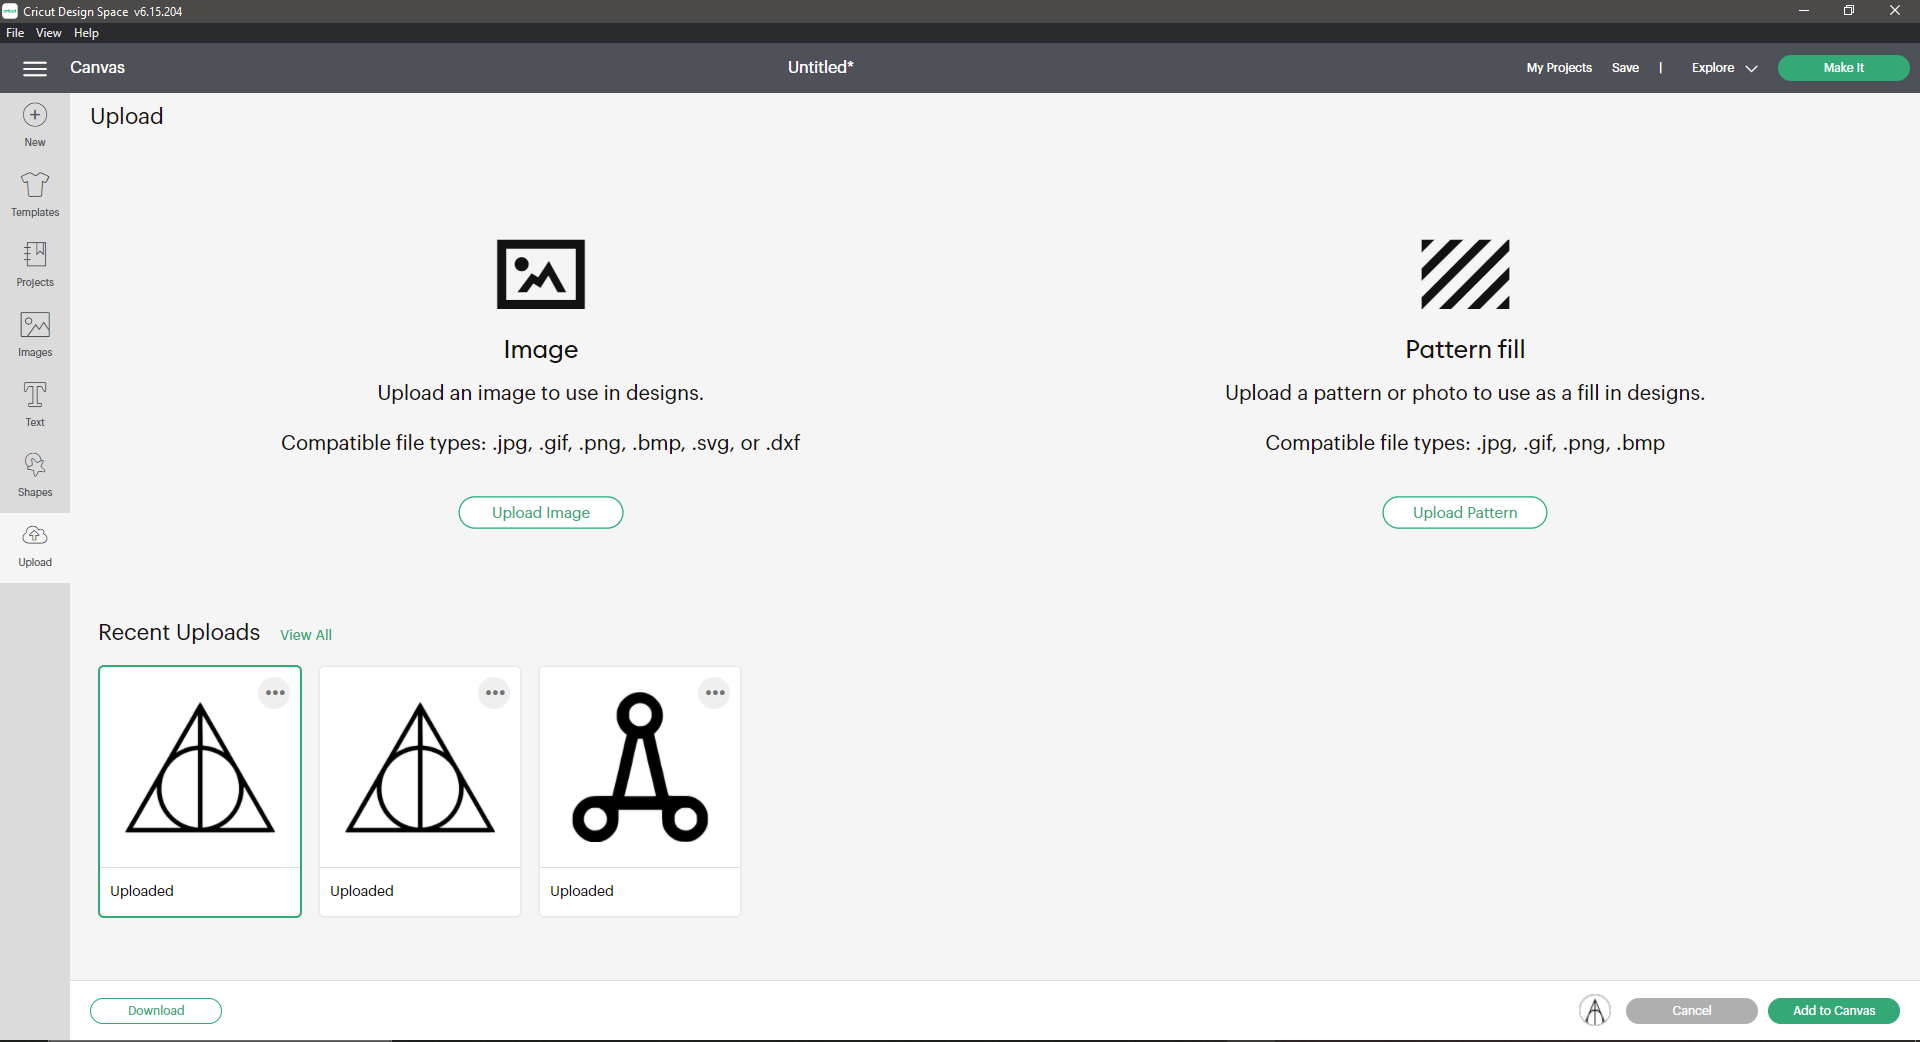
2- When we open the software we go to upload where we can upload any image of our choice
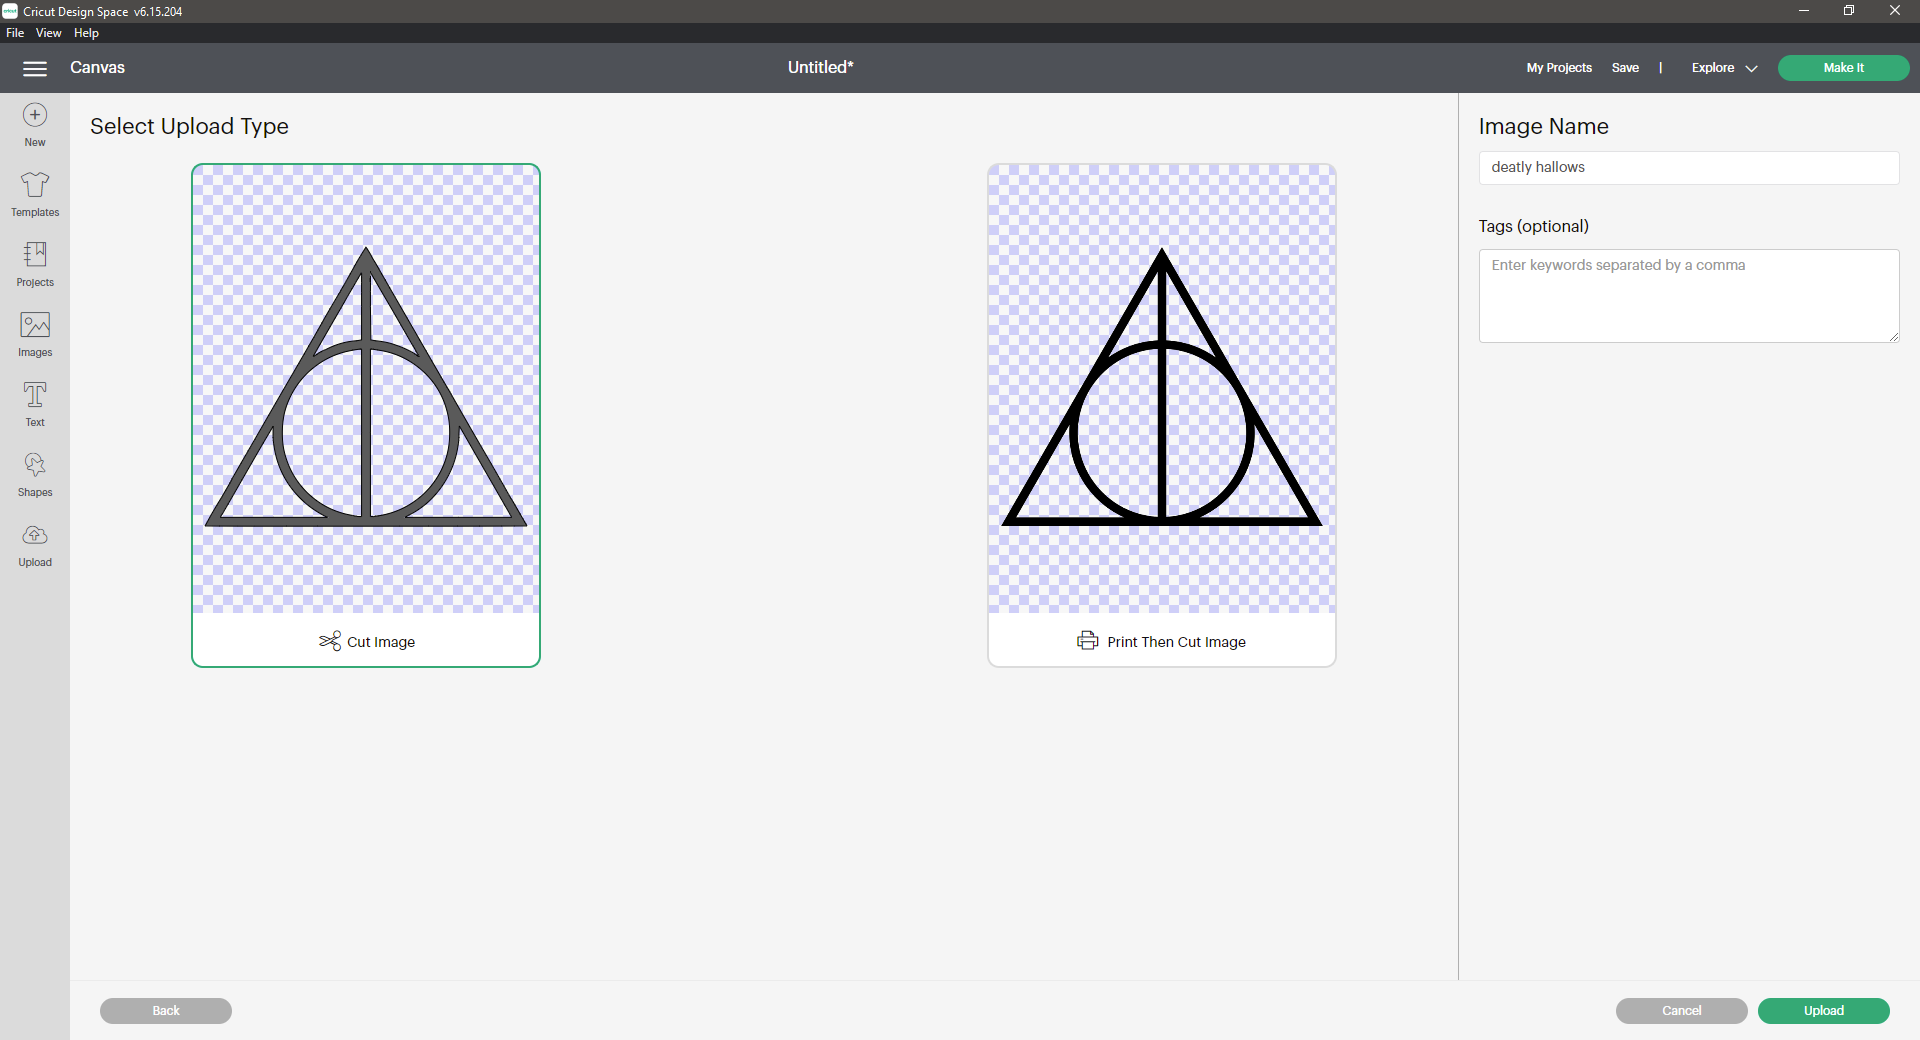
3- When we upload the image we select the image type whether it was simple or complex depending on the lines
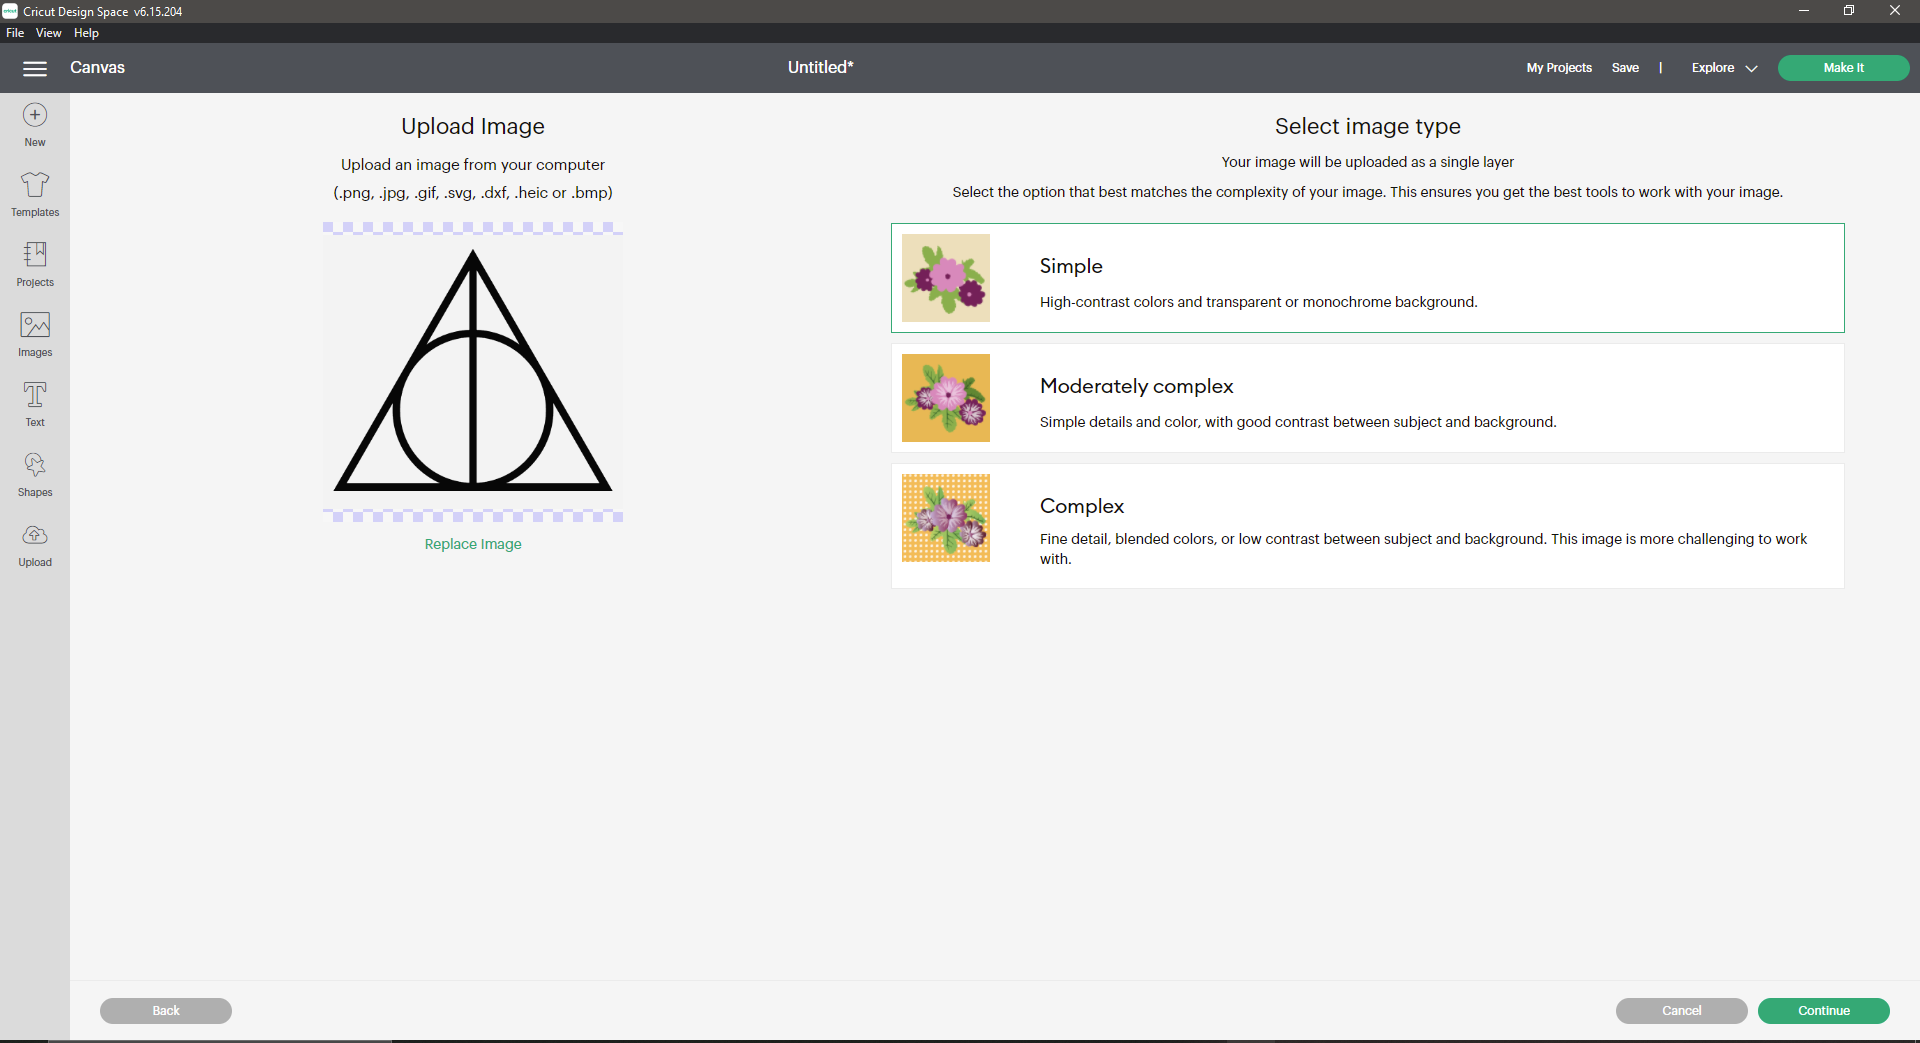
4- Then, we go to the background remover where it removes the white parts and keeps the black lines
That’s why the photo that you upload should be black & white
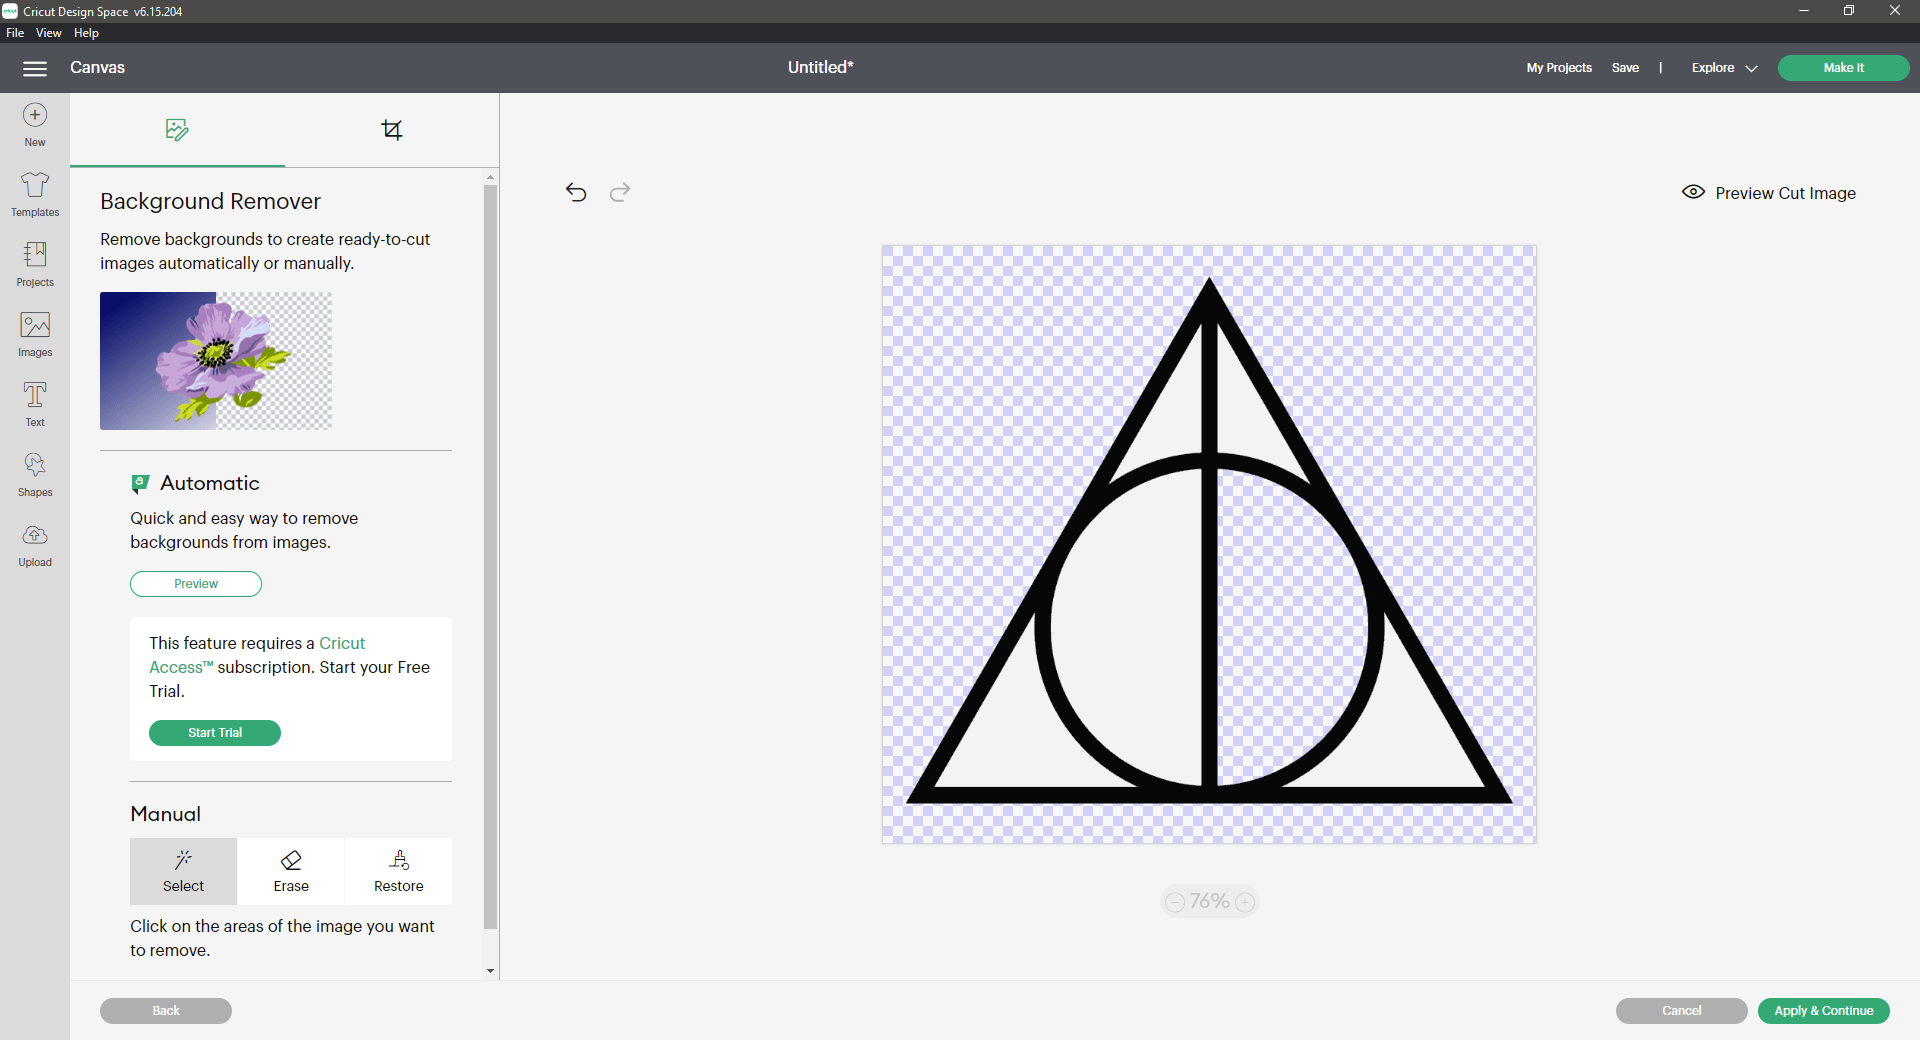
5- Here it shows you the final cut of the image before you upload it
6- After that, we go to the upload page again and we can select our last upload from below and we click on add to Canvas
7- Here it shows you the size of the photo comparing to the grid of the actual base board that you’re going to place the material on it, and it allows you to change the size
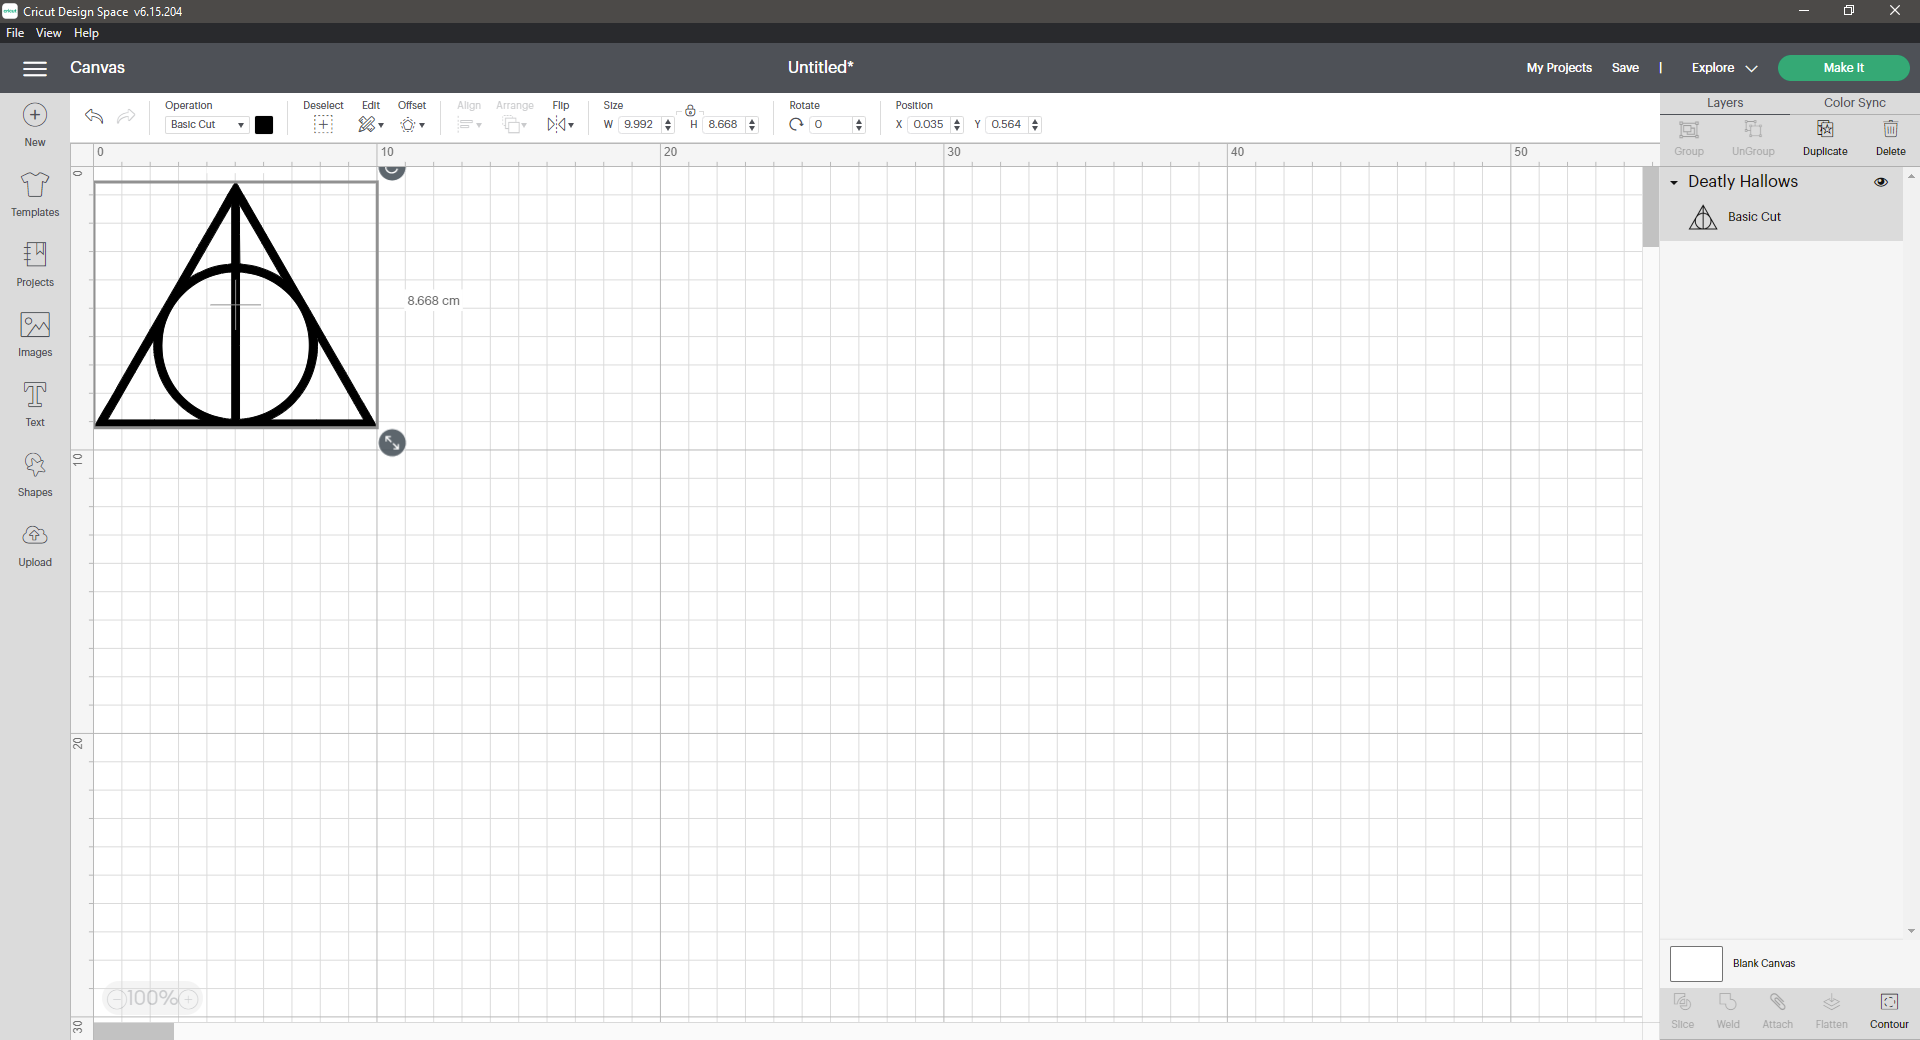
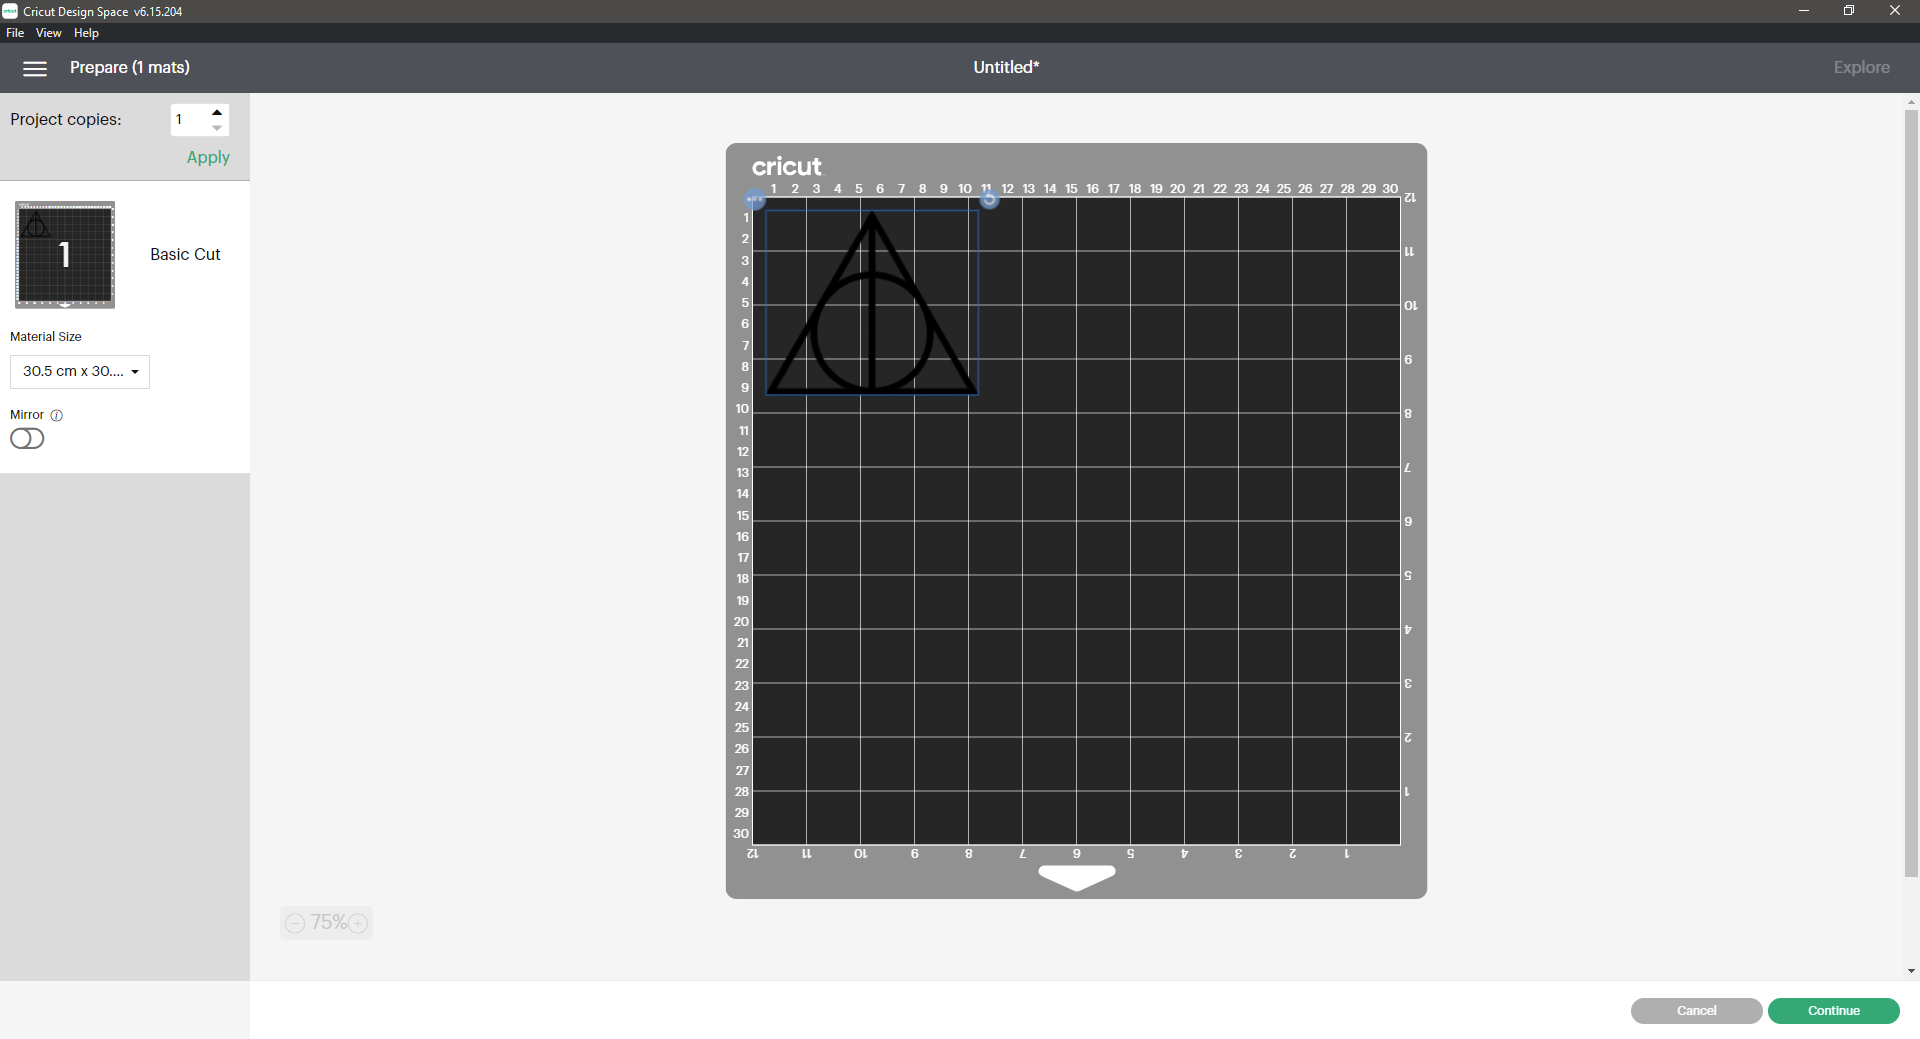
Then we click on make it and continue
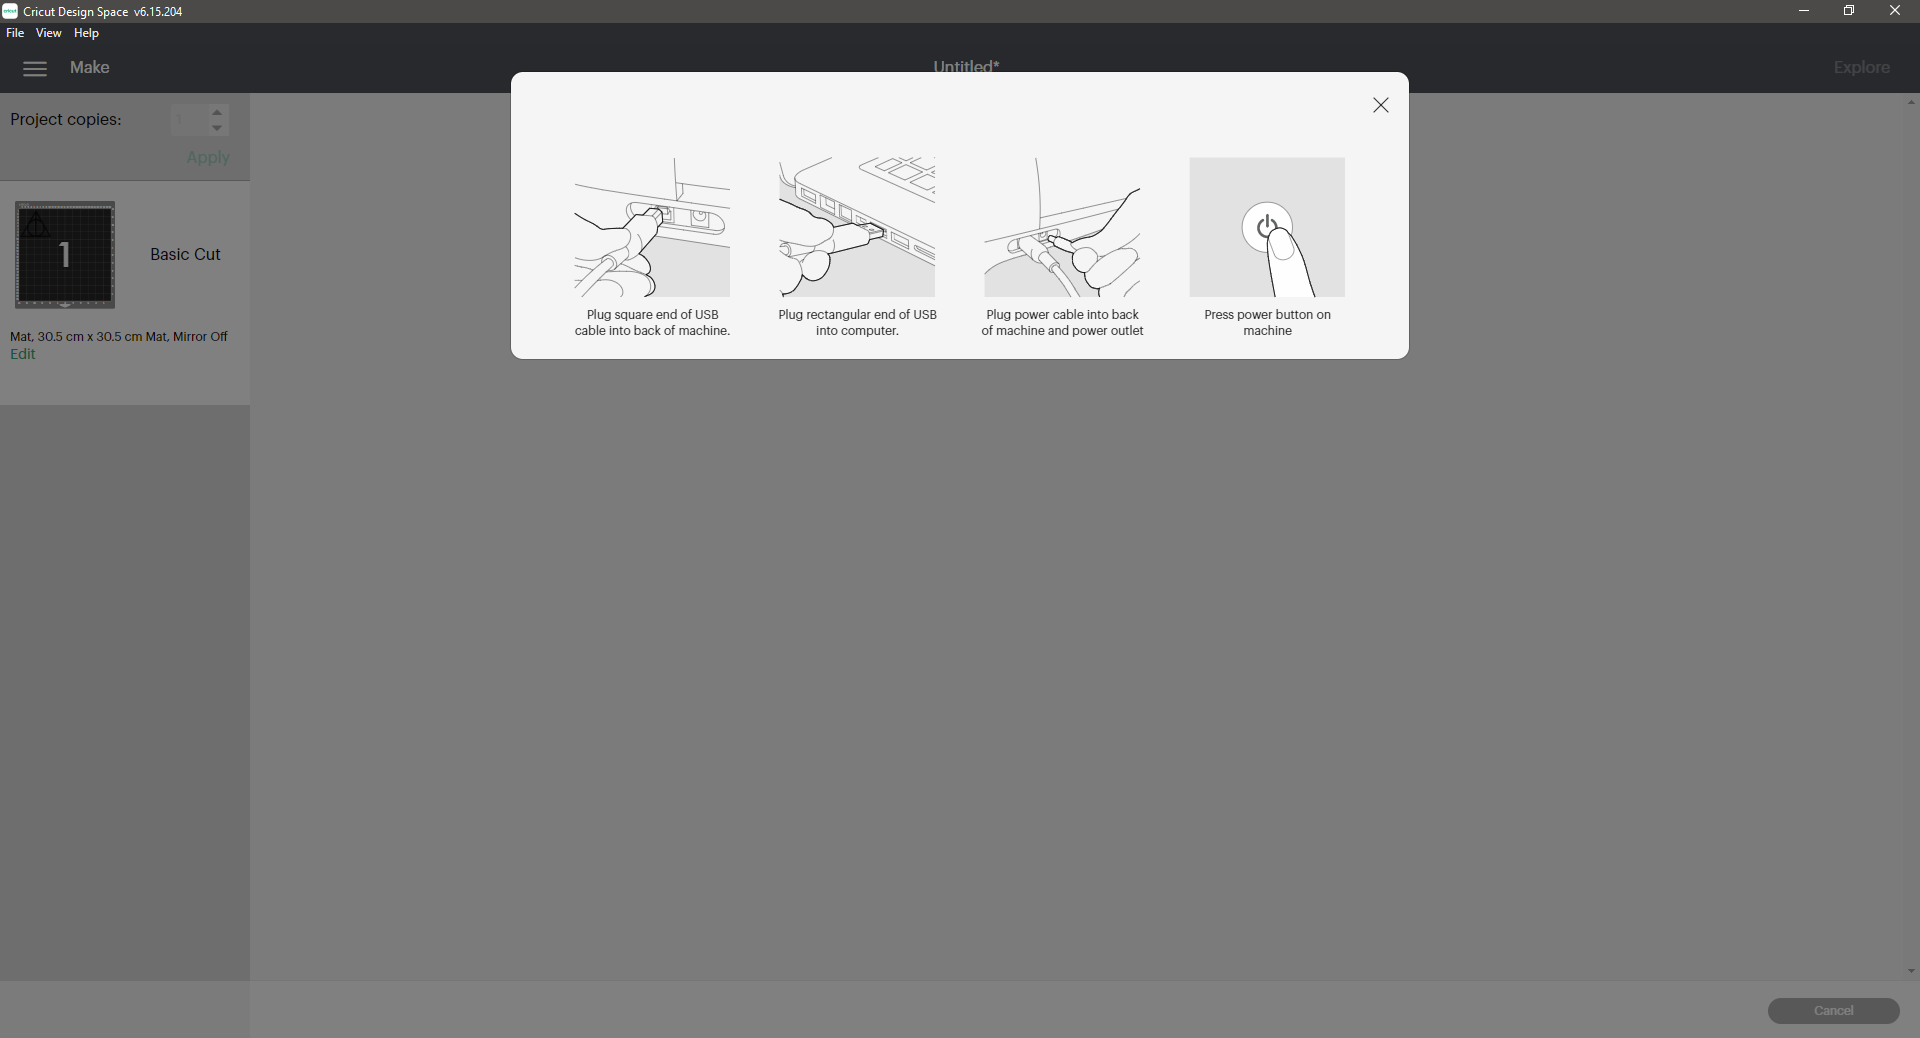
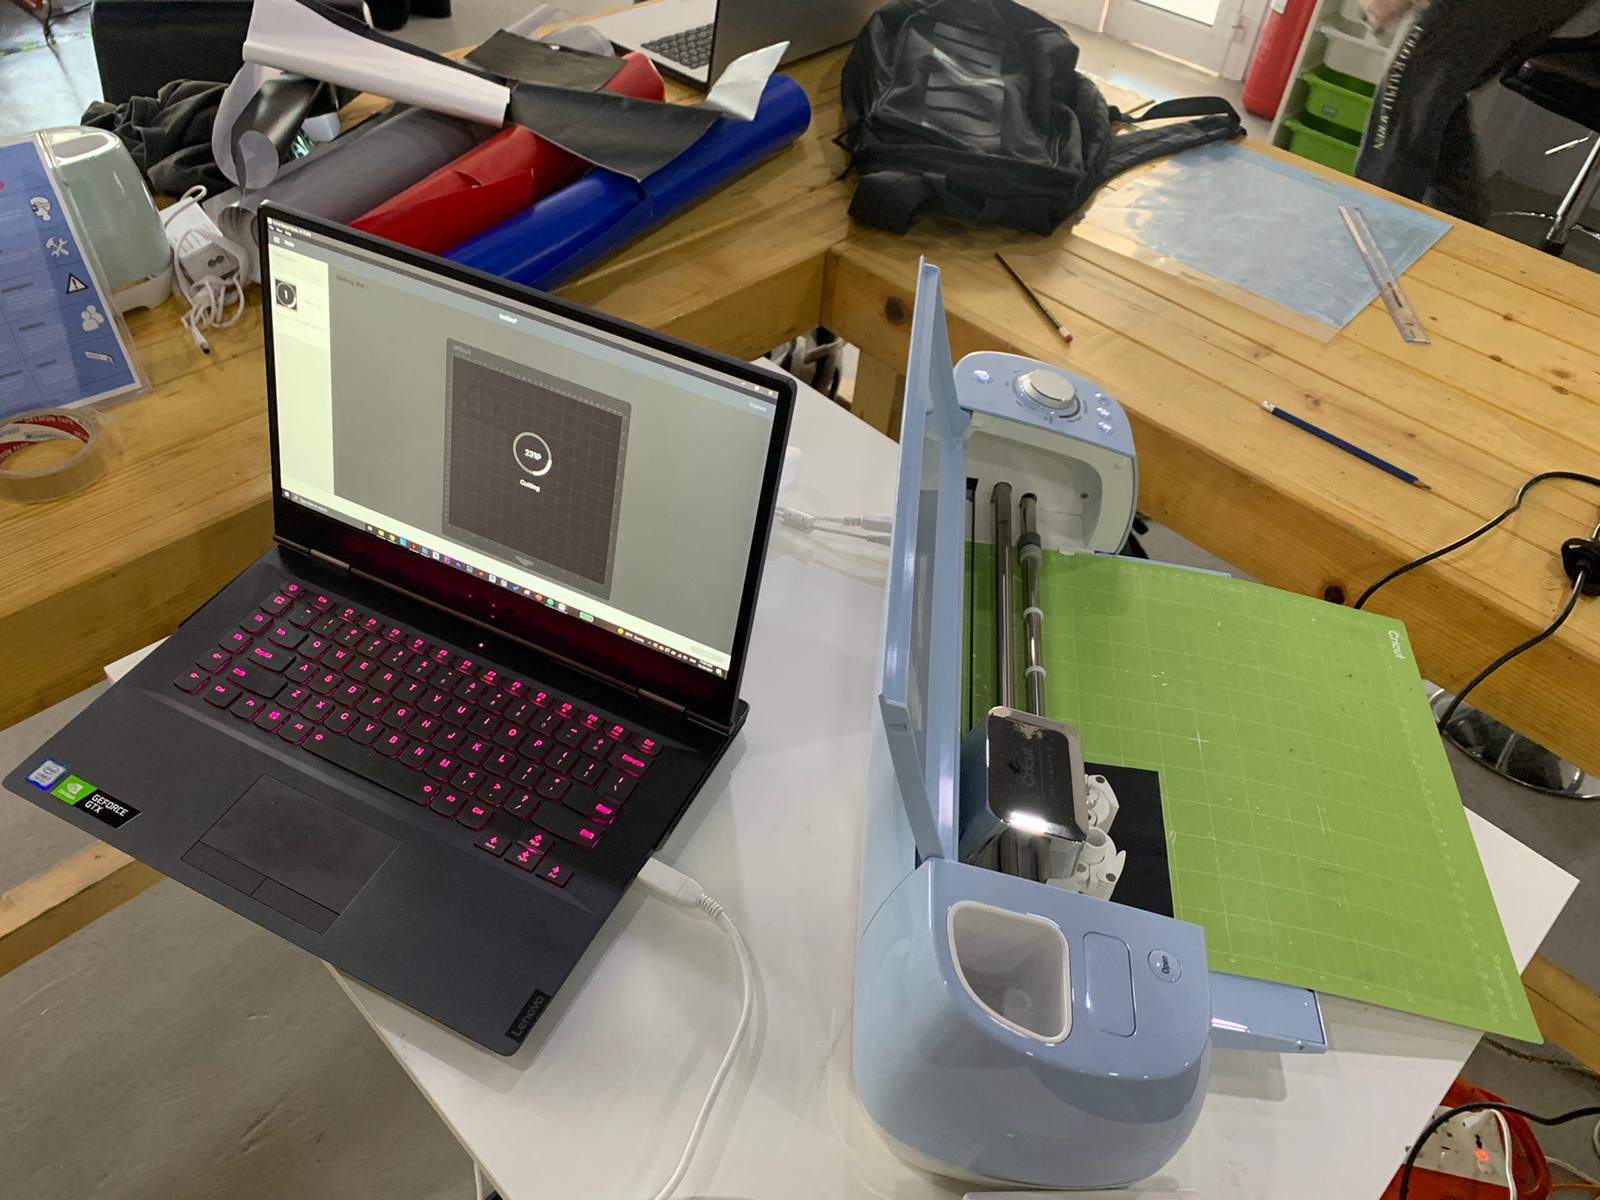
8- Finally, the software asks you to connect your laptop to the machine
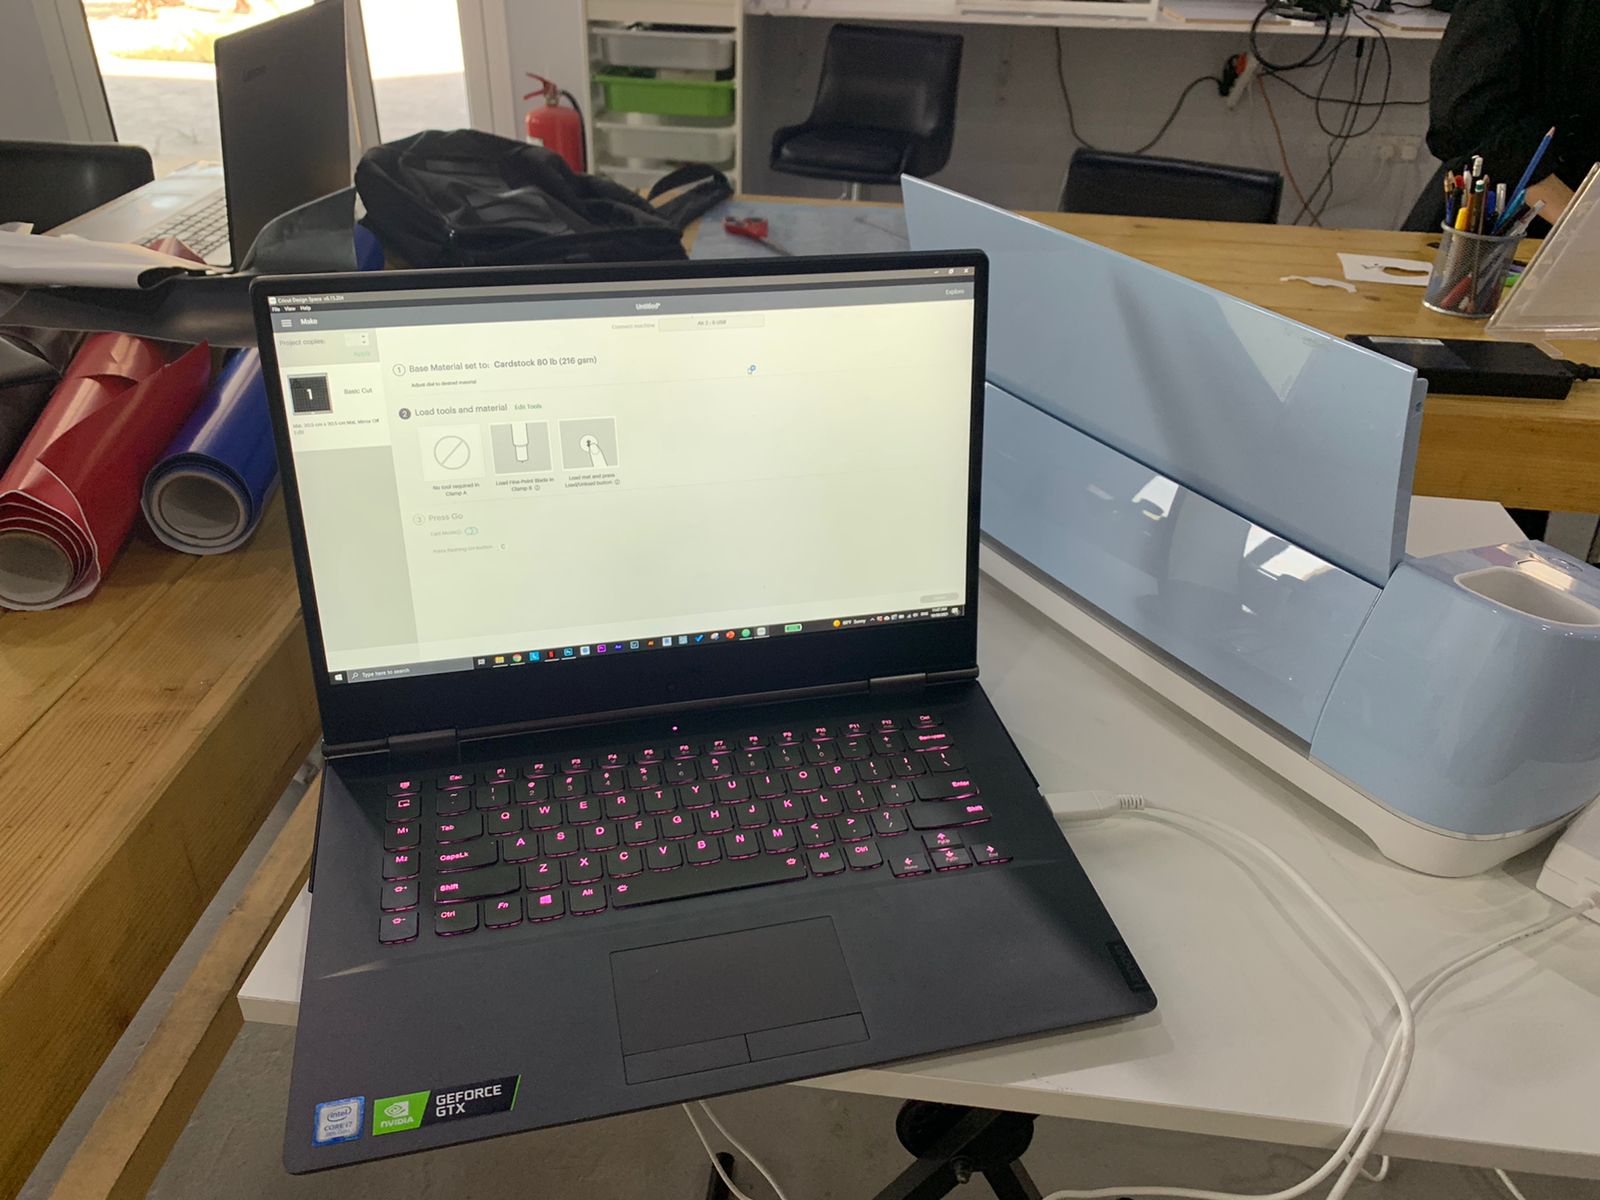
Now comes the fun part..
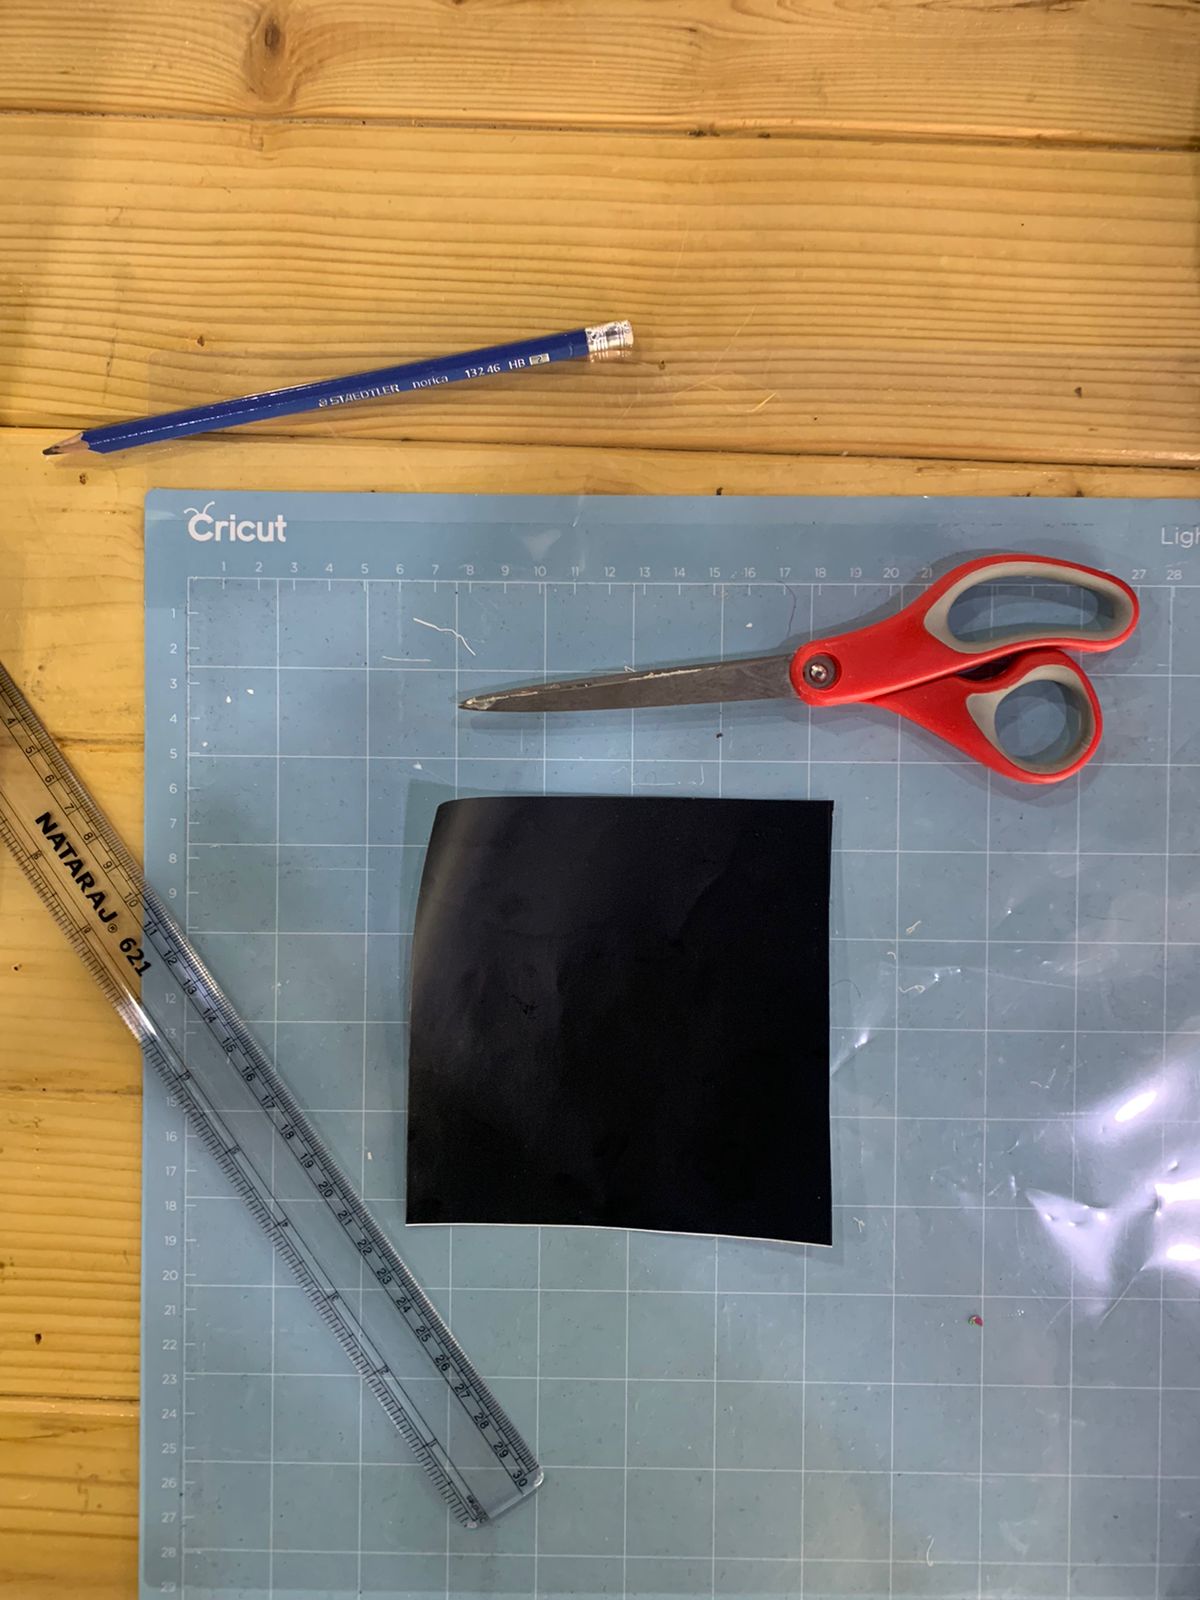
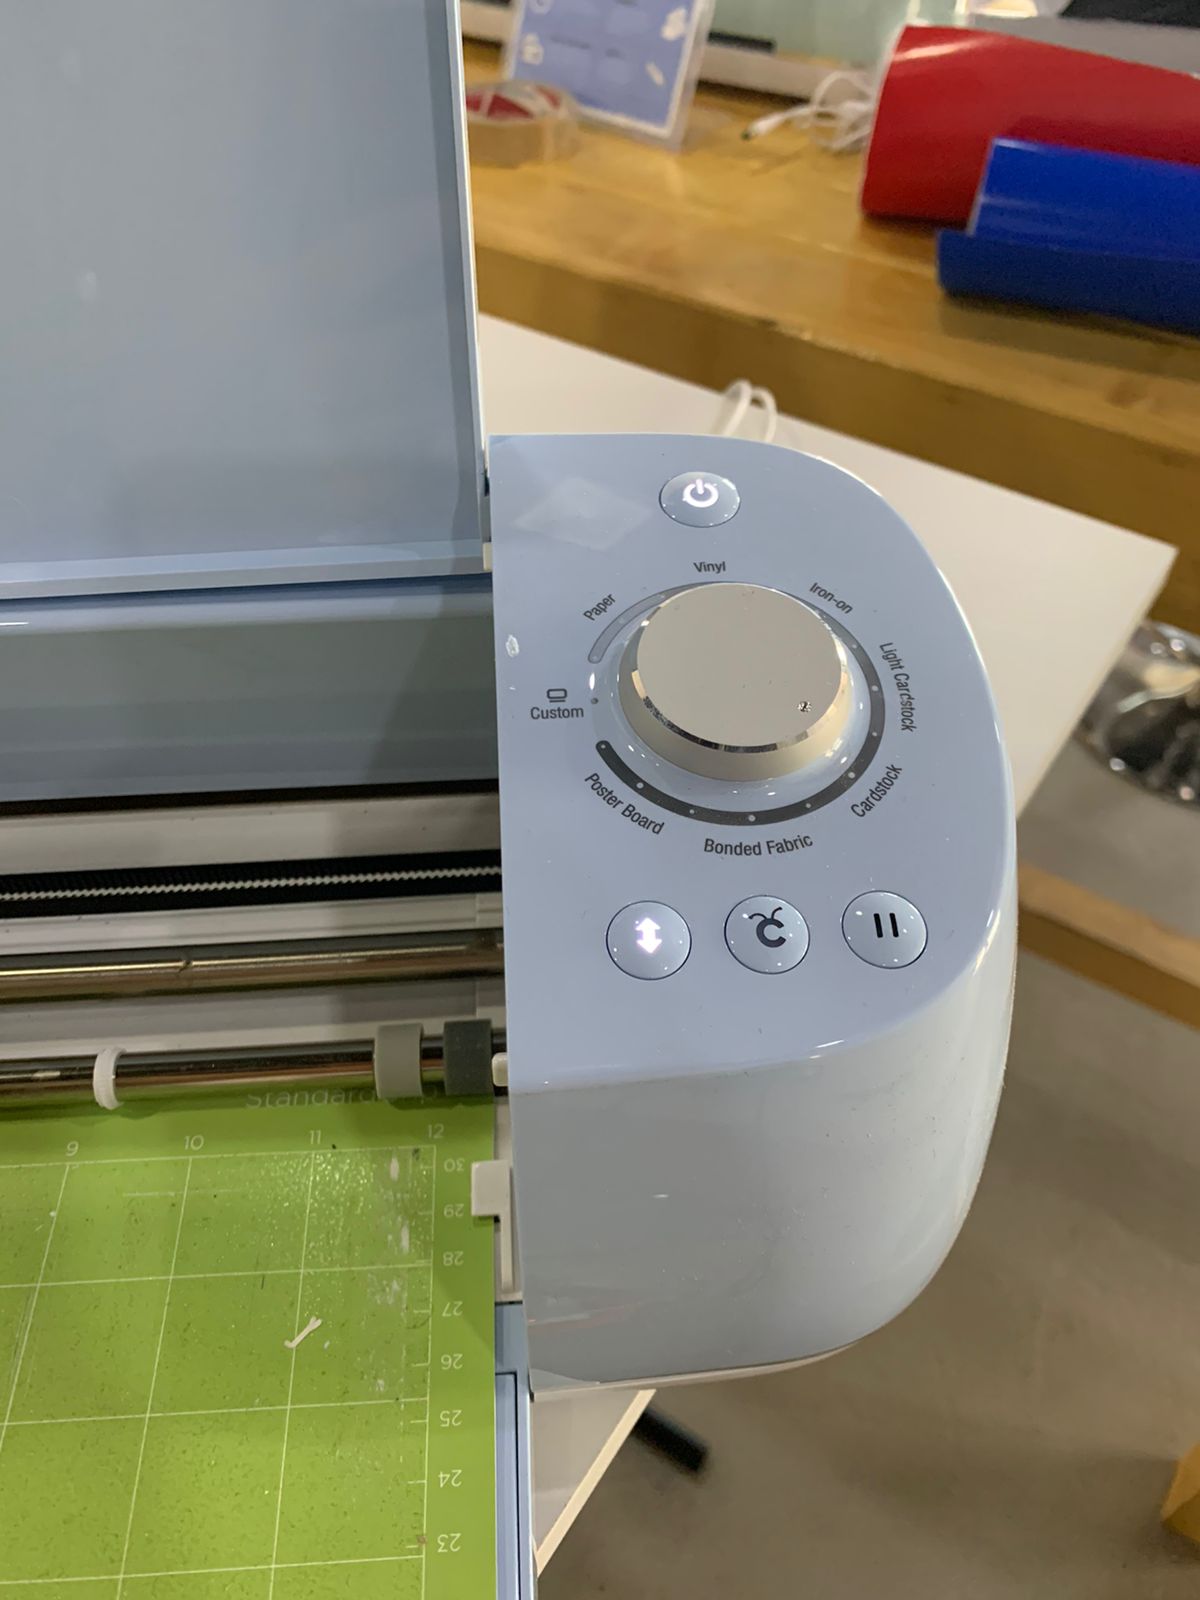
We choose our material and cut an area that is bigger than our pic a little bit
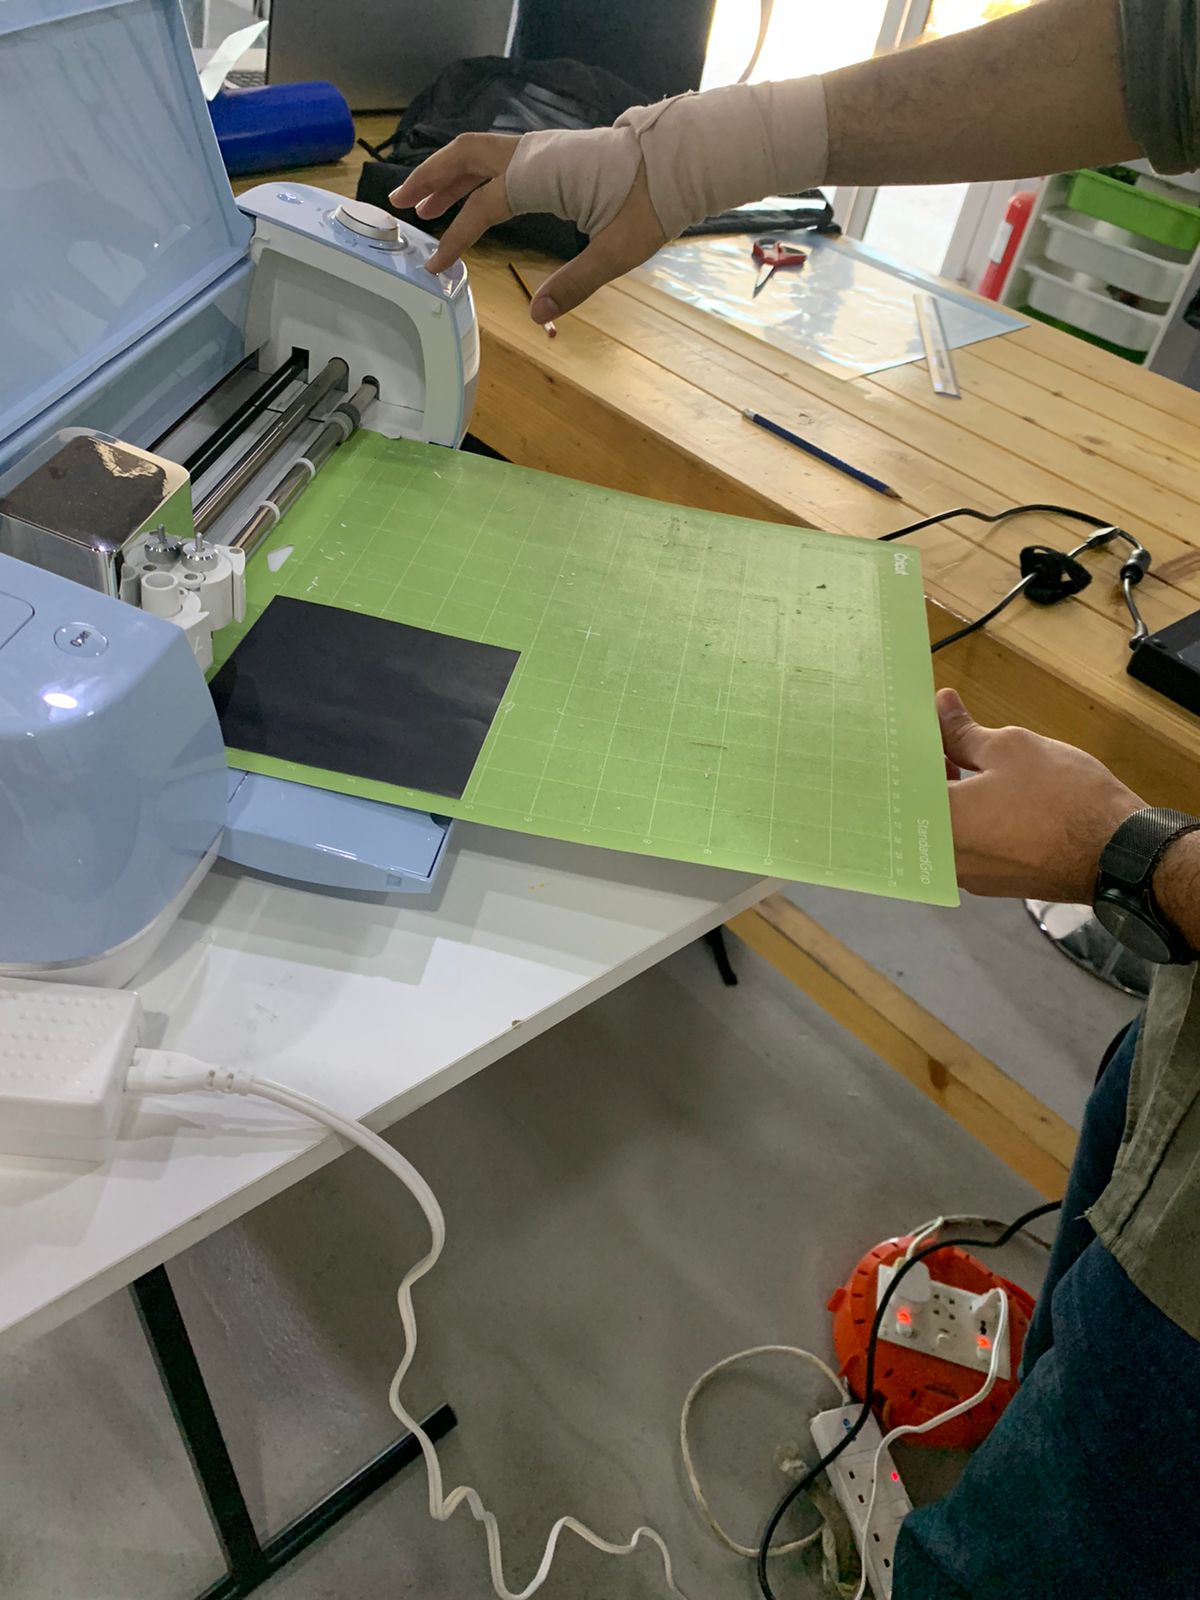
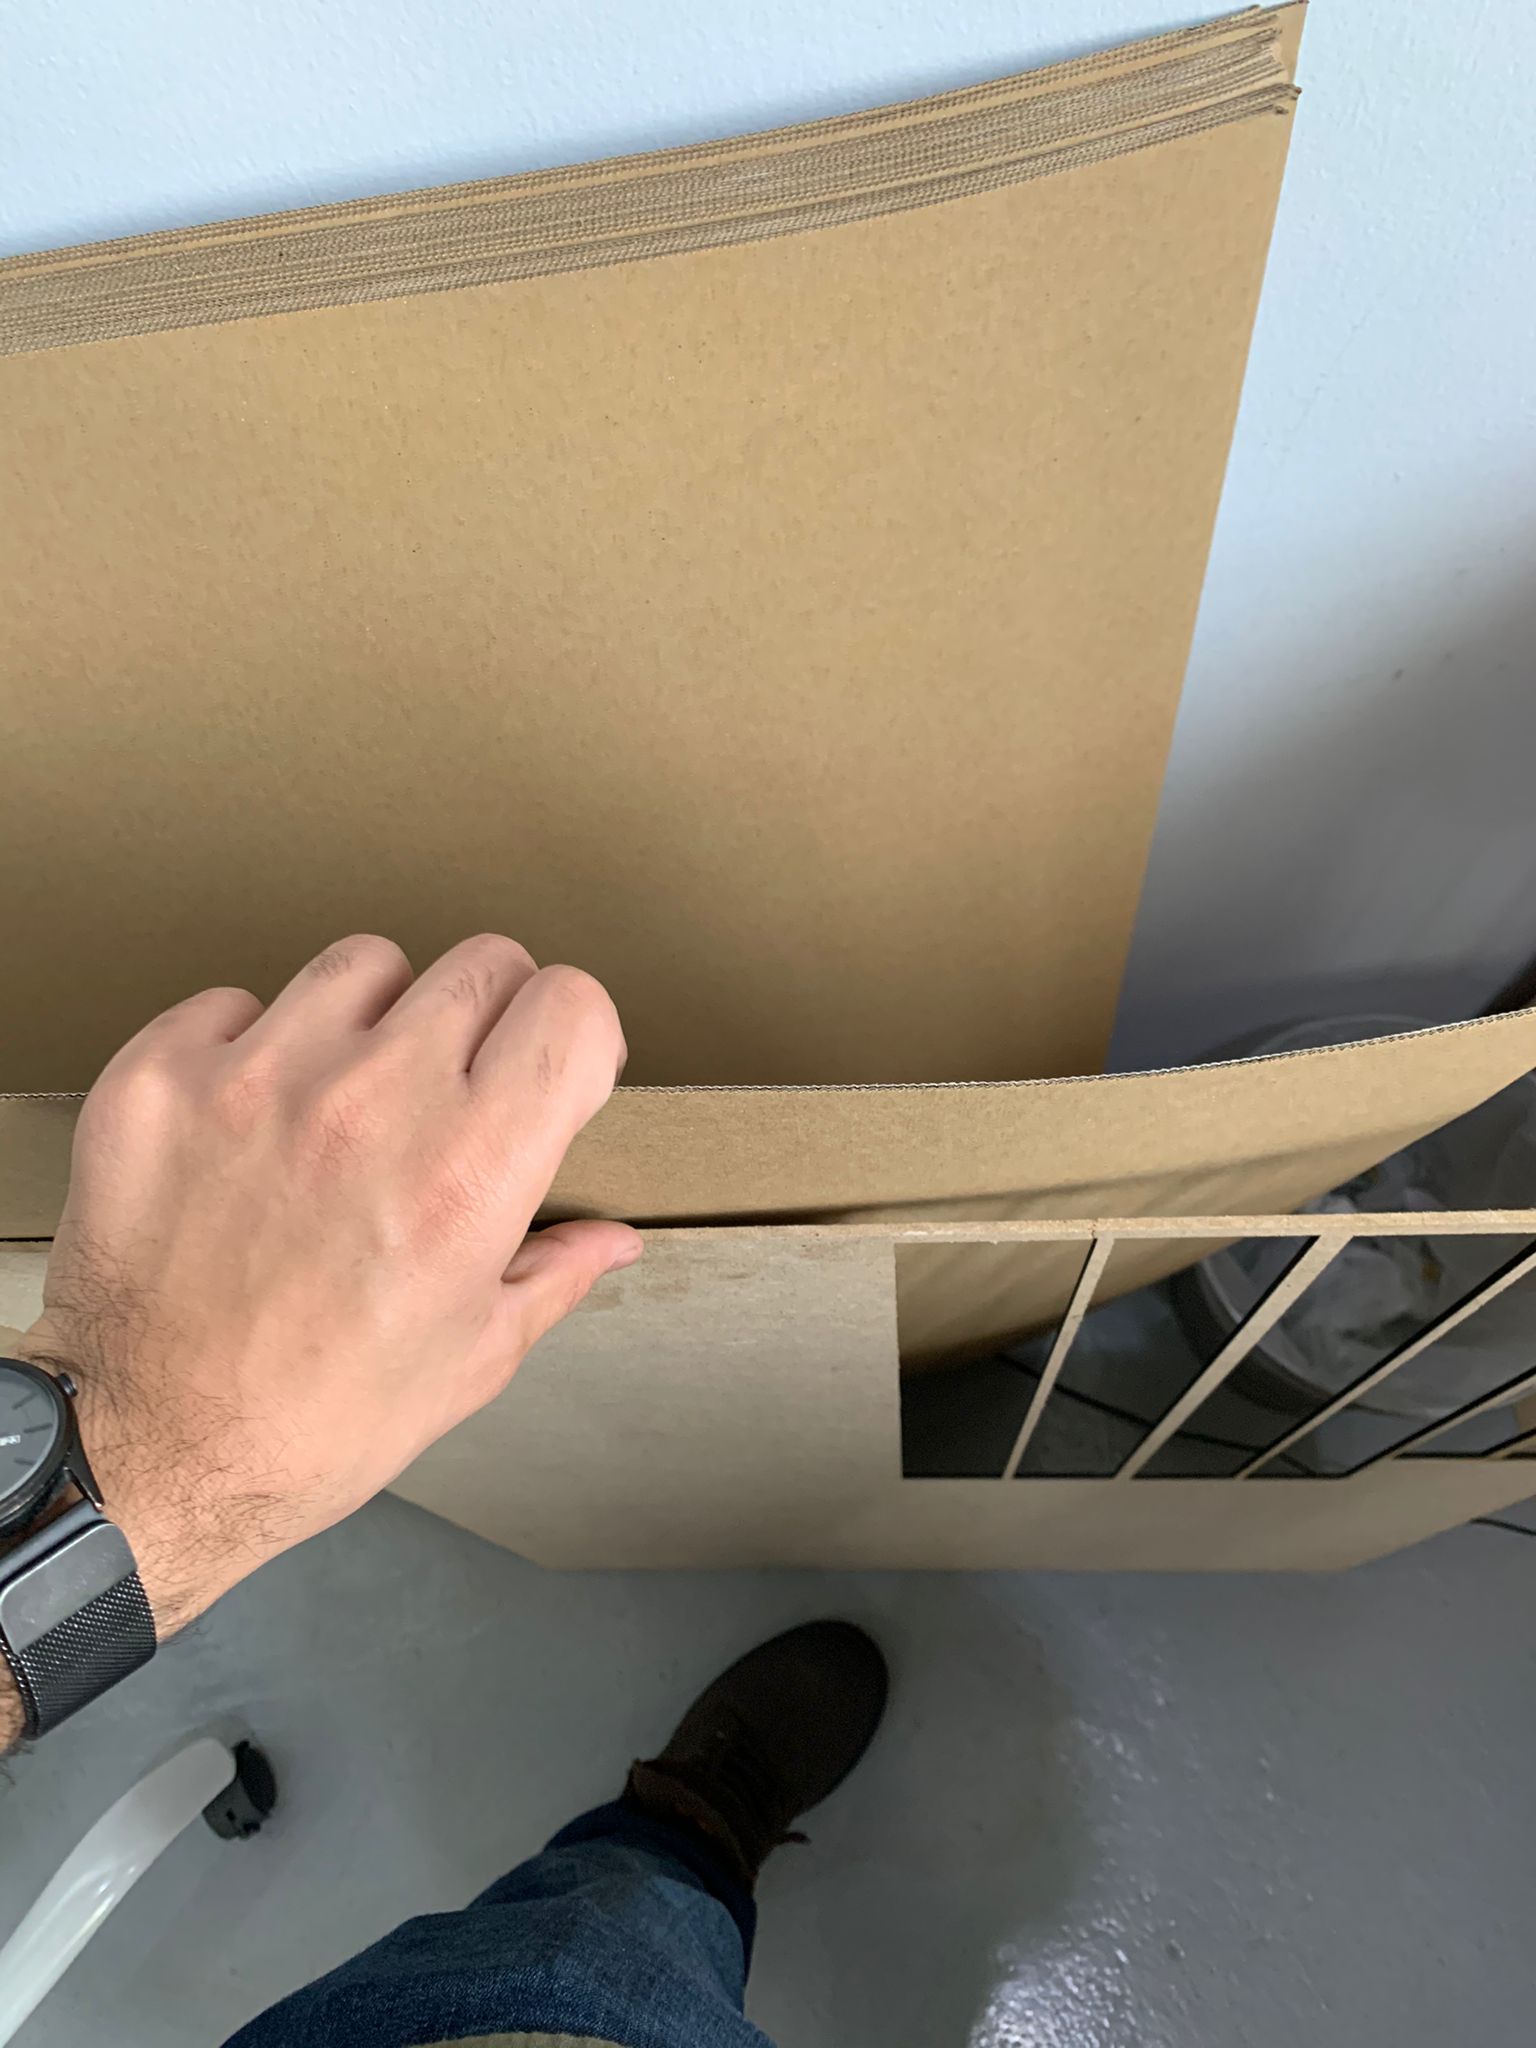
We place our material on the base board and we press on it a little bit so it can stick, then we place the sheet on the machine and put one hand supporting the edge and another hand pressing on the arrows button together at the same time (just like the pic below) so it locks the boards and prevents it from falling down

After we press on cut button we will be able to see the process percentage in the software

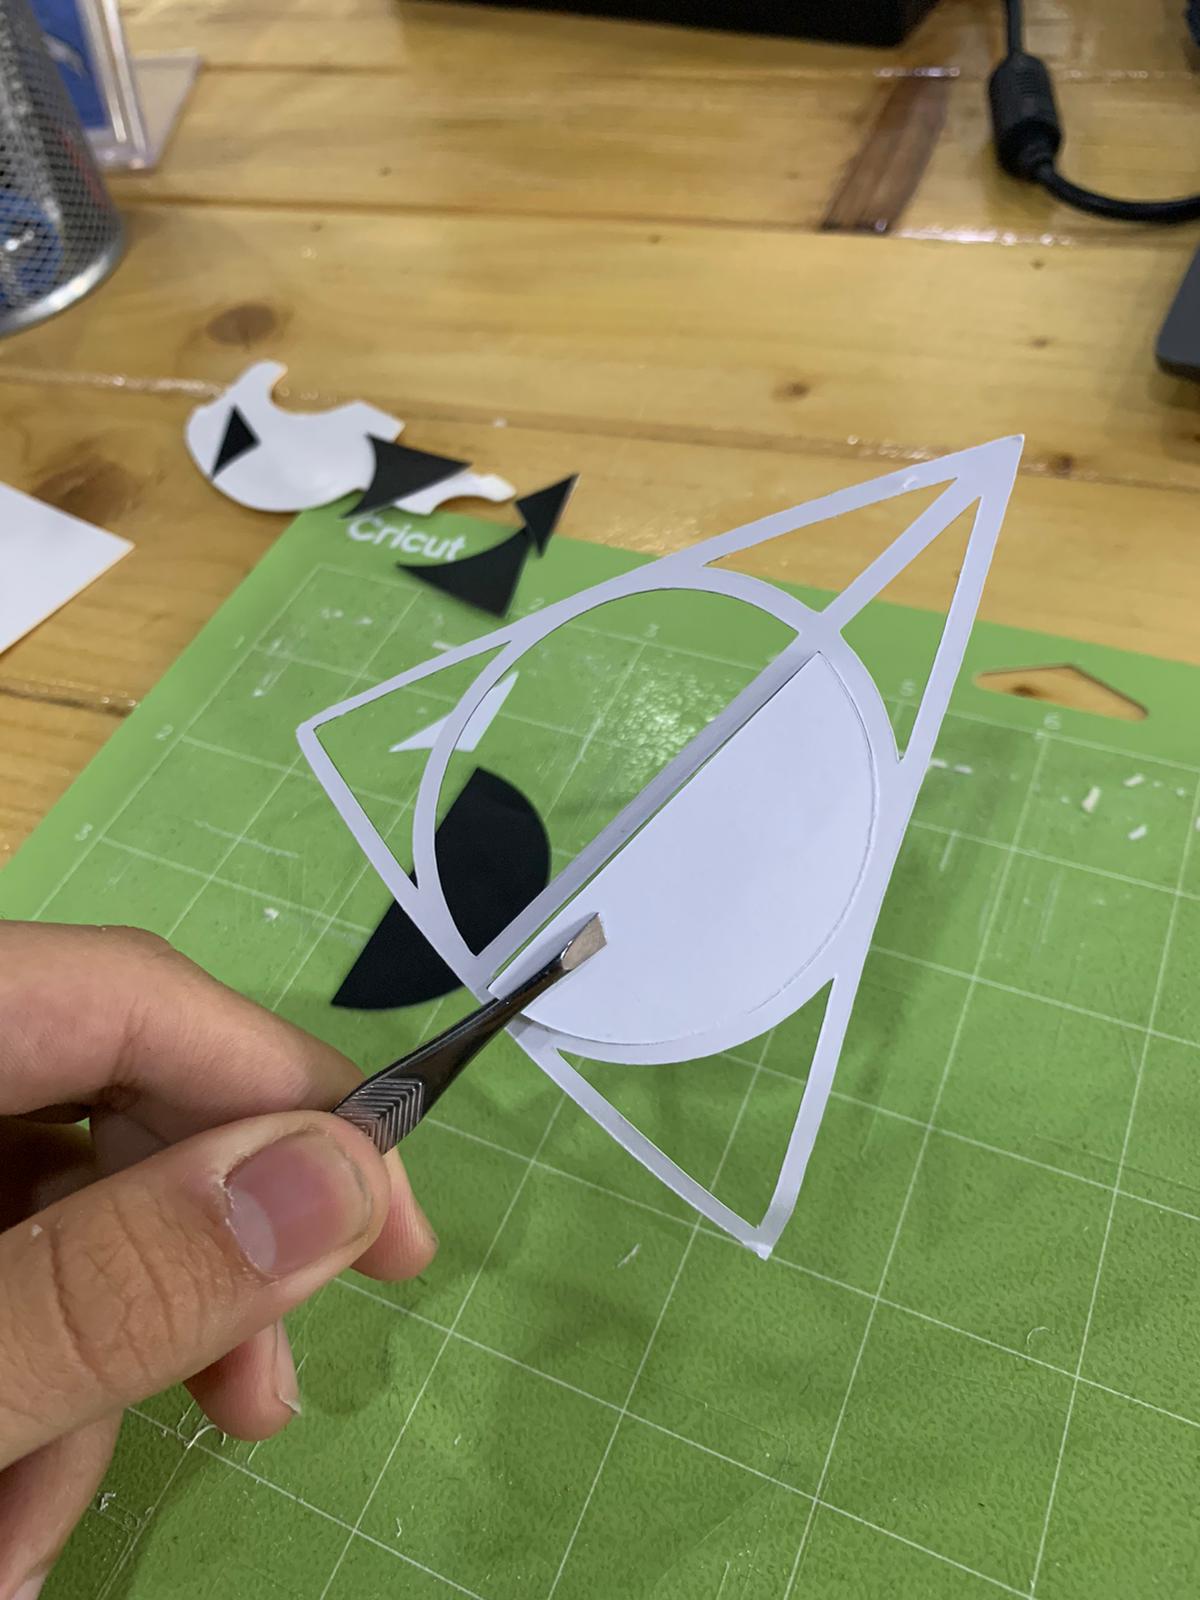
And finally my Deathly Hallows stickers is ready to use!!
Final note: This tool is going to be your friend whenever you’re cutting out stickers, so find it and use it to remove the unwanted parts of the sticker

TASK 2 - GROUP WORK
Our second task for this week was related to laser cutting machine, we got to know how to adjust the sittings to end up with the best cutting results by going through a number of experiments. Find the steps of our experience below:
Computer Settings
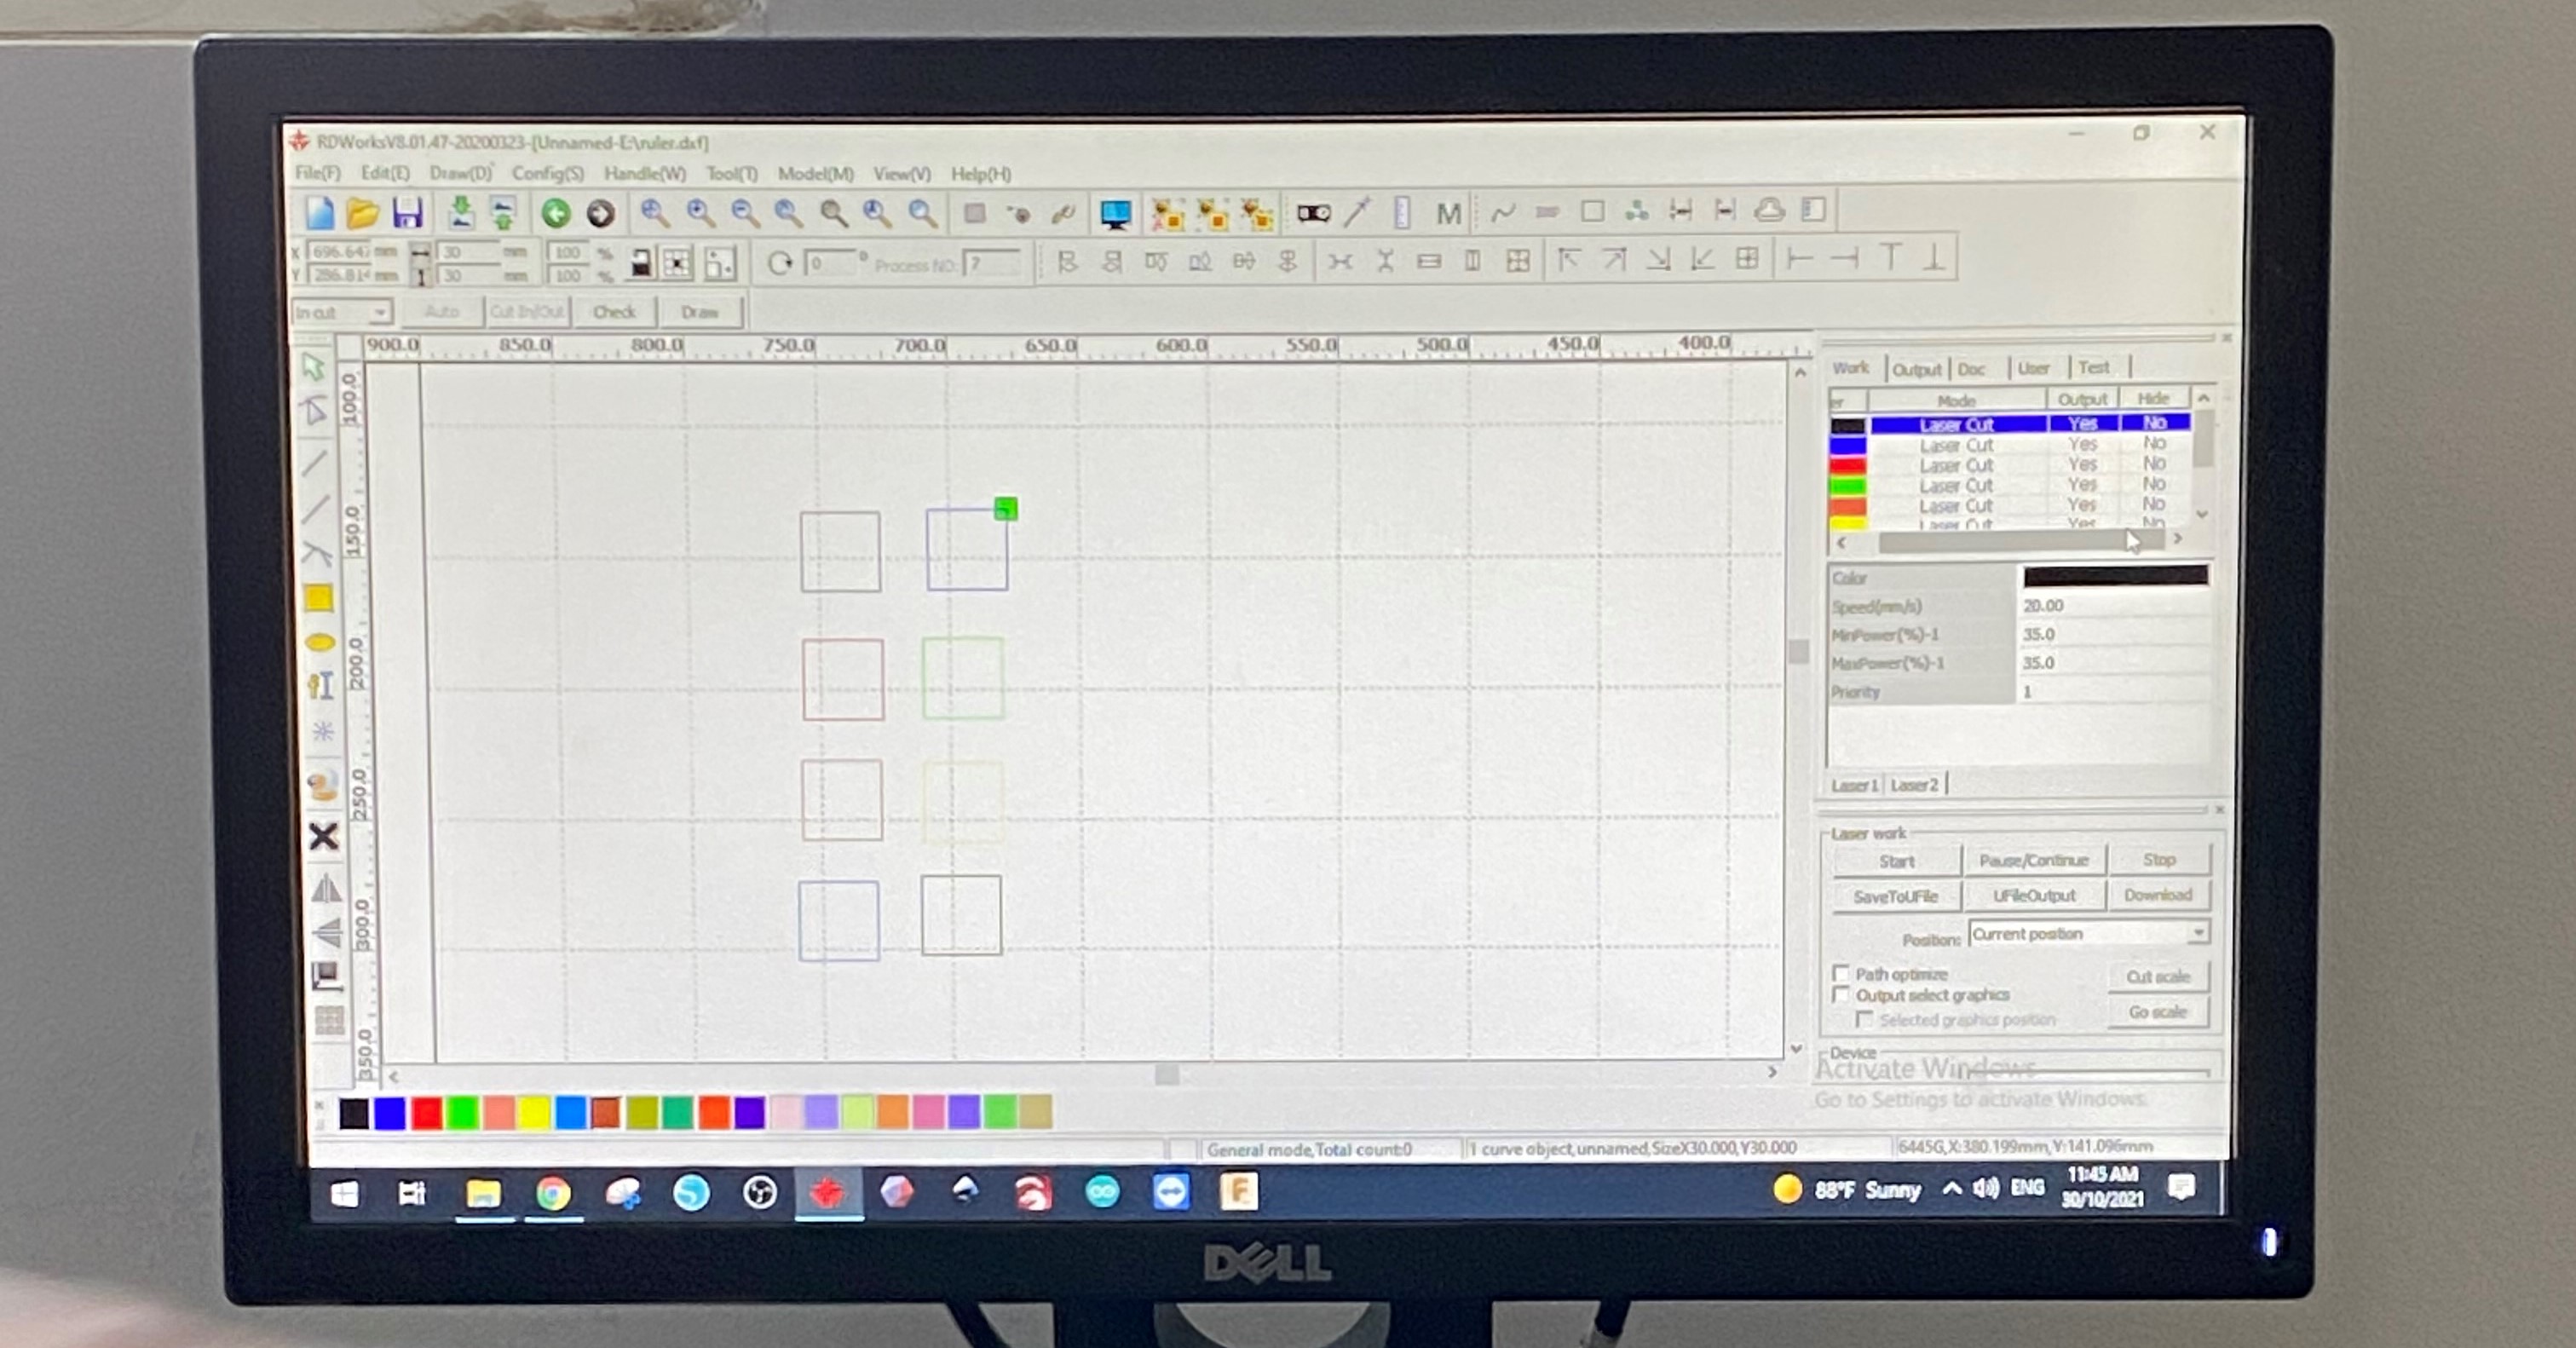
The first thing we did was preparing a basic testing sheet that includes a number of squares, then we adjusted the settings where every square got a different colour with variable speeds and power. For example, S20 and P35. Finally, we uploaded the drawing to the machine. The propose of this experiment was to figure out the best power and speed options for laser cutting.
Machine Settings
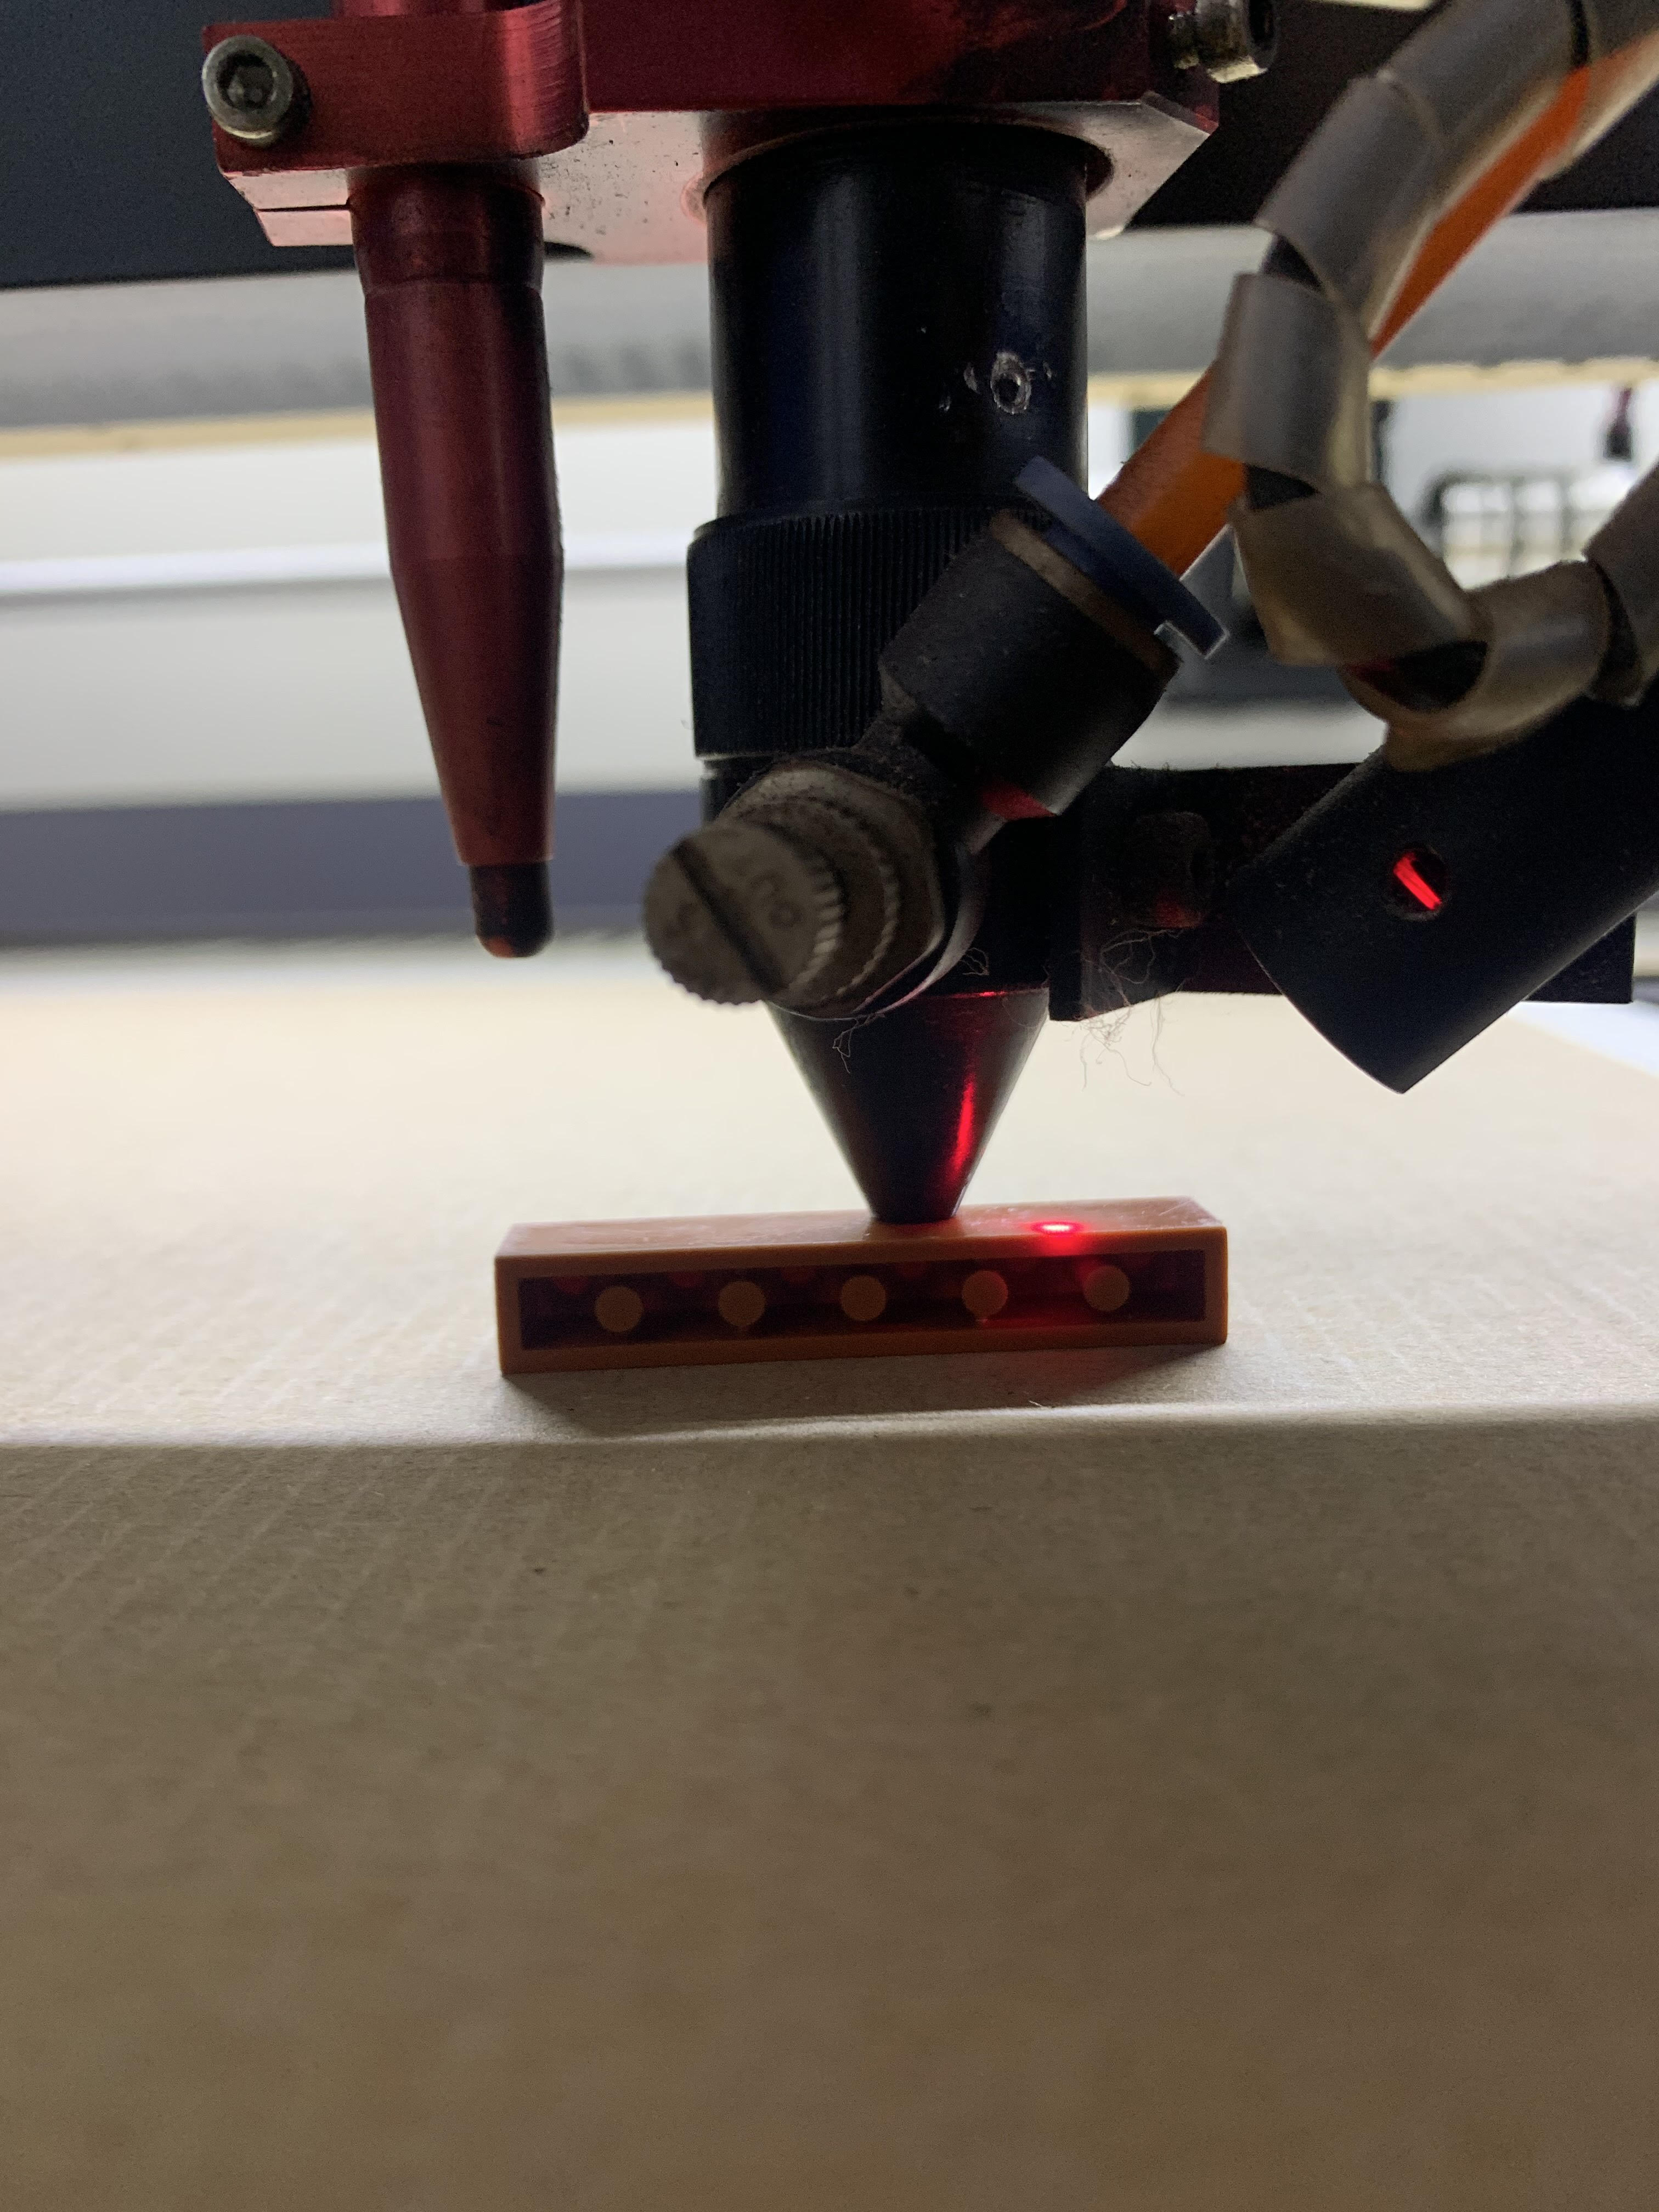
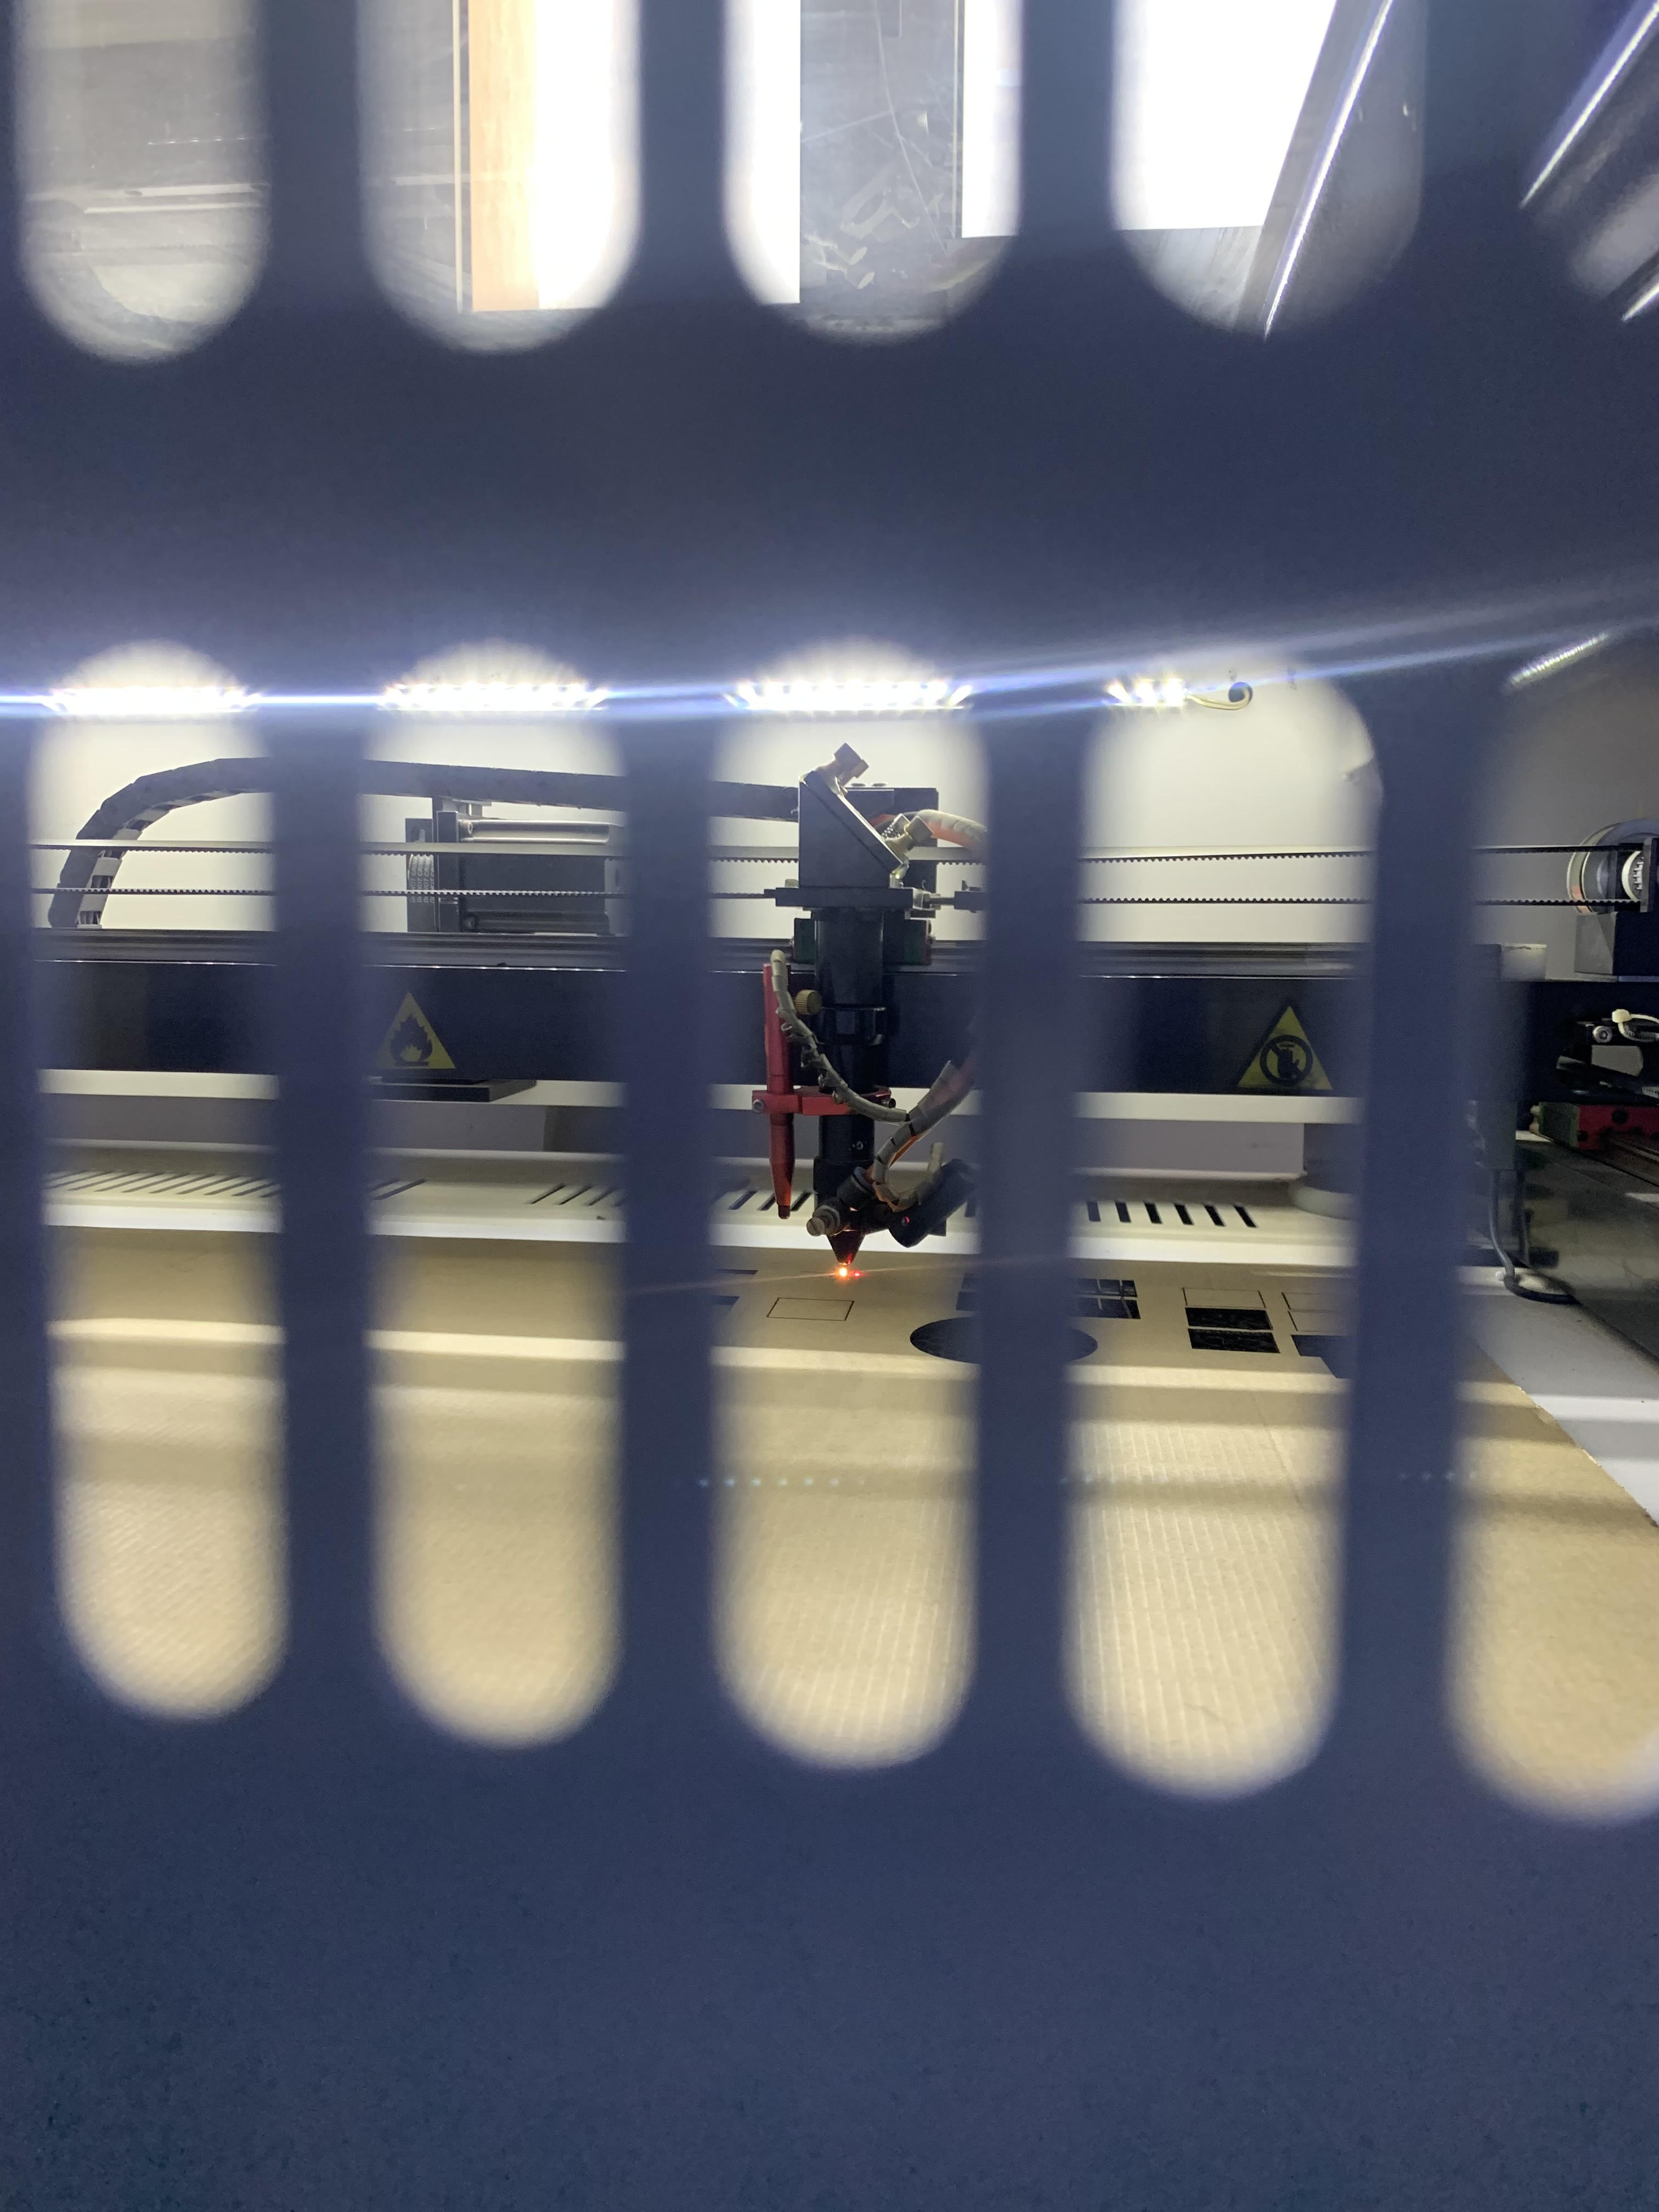
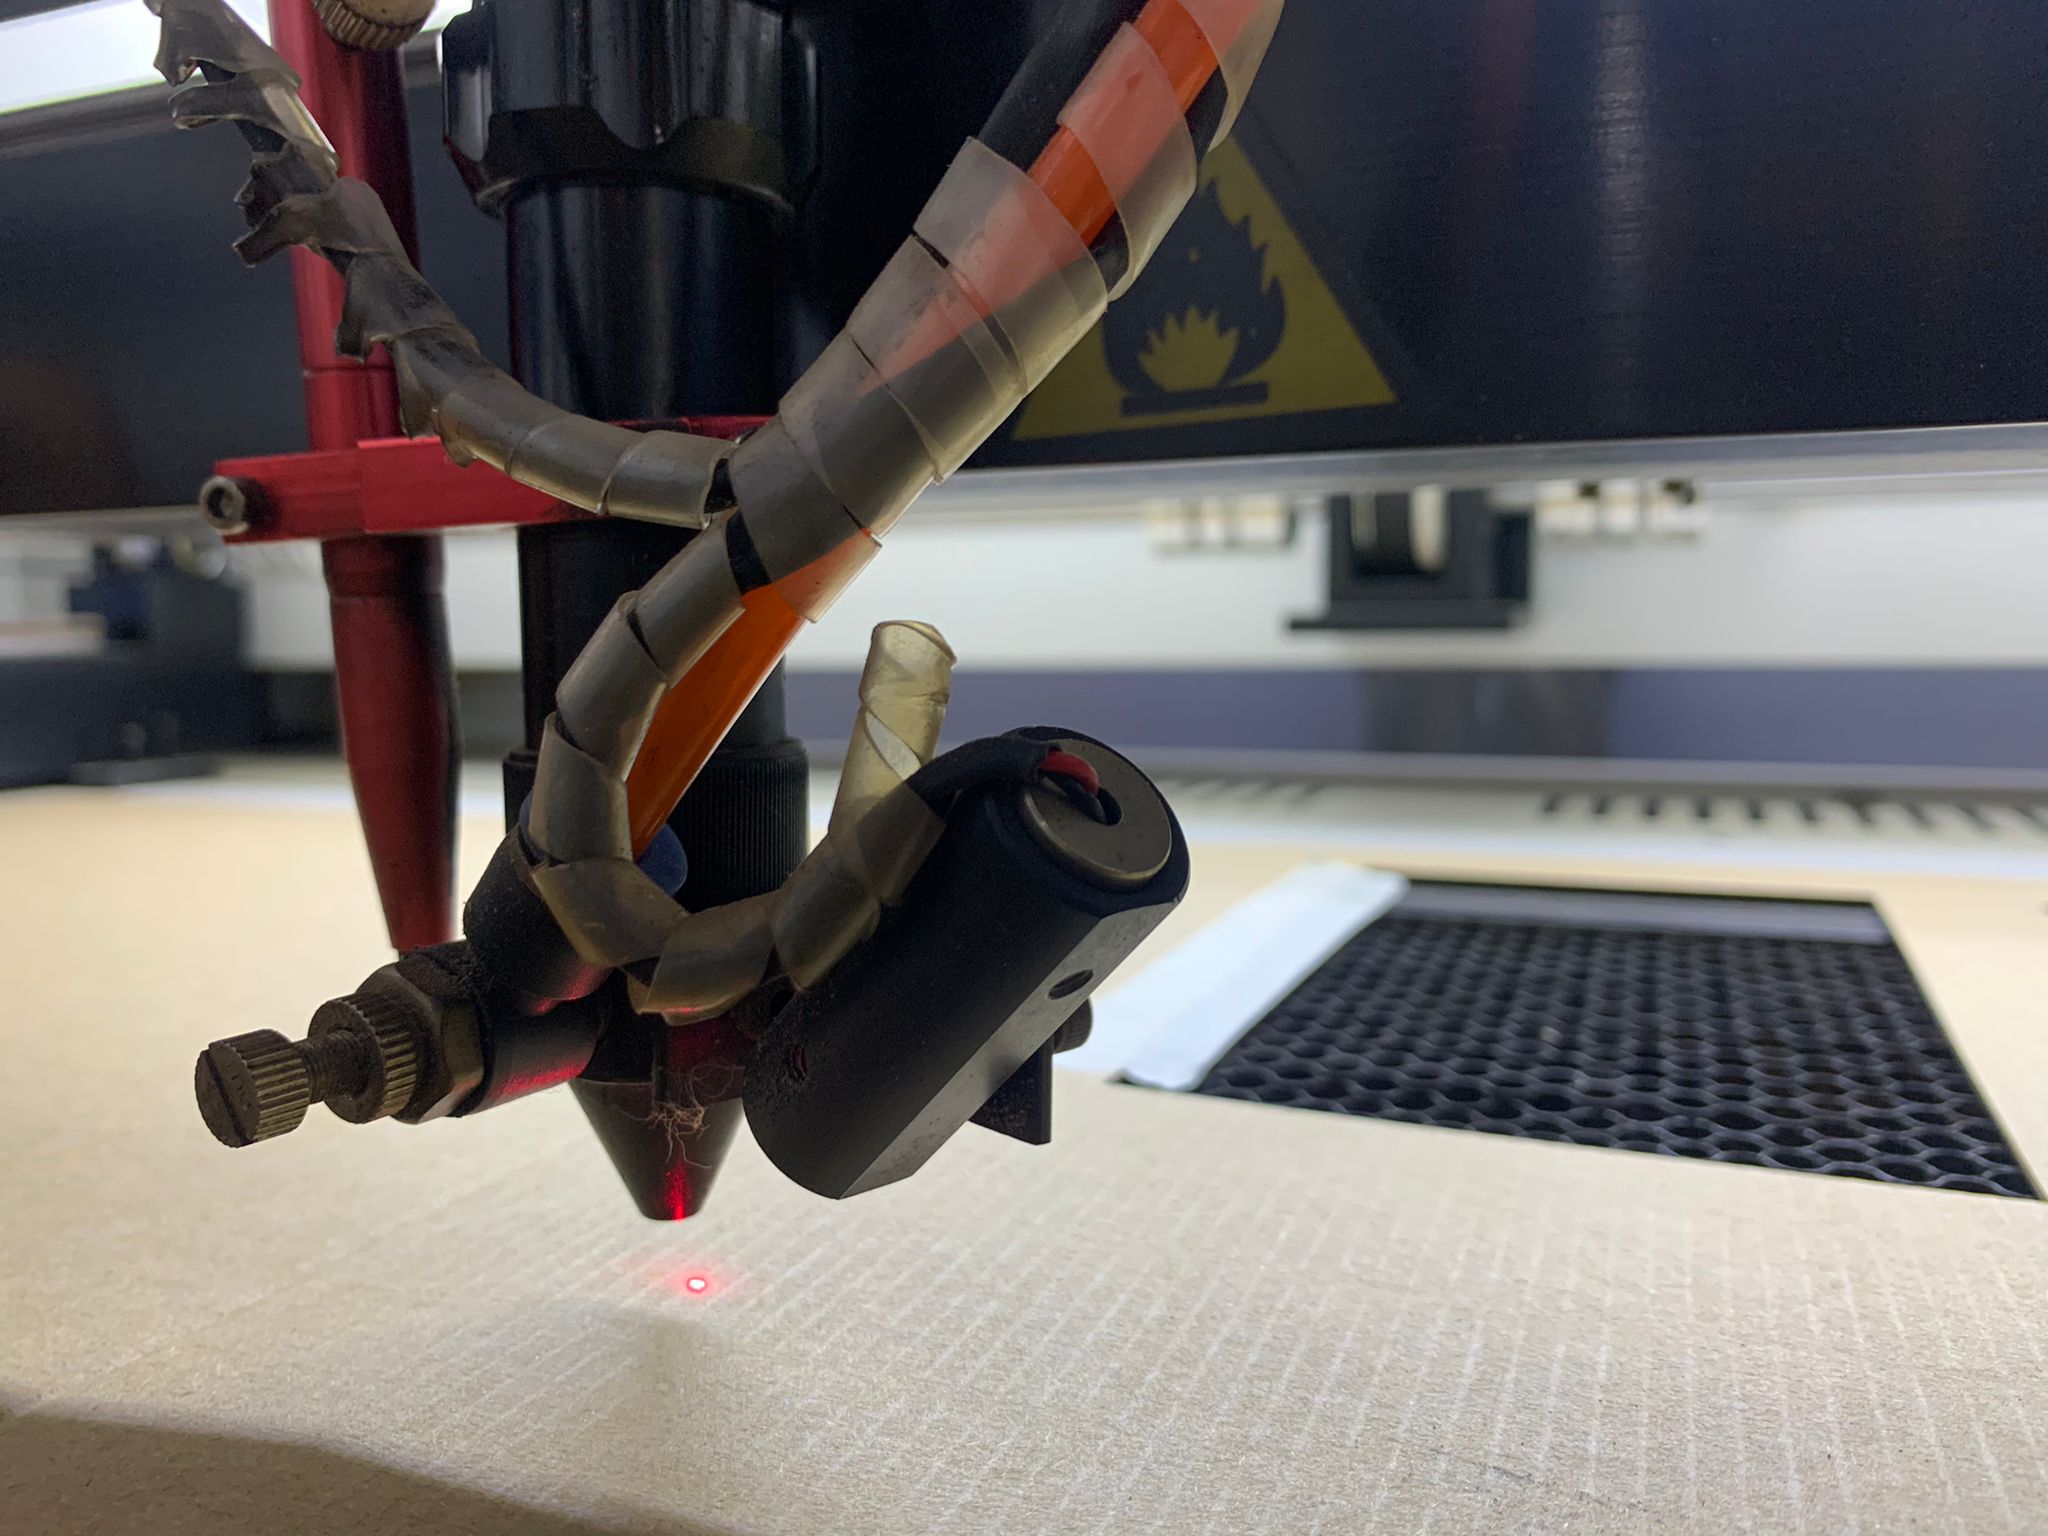
After adjusting computer sittings, we moved on to machine sittings. First, we used a small lego piece to adjust the distance between laser cutting head and the surface of cardboard to get the ideal distance (focal length).
Second, we had to select the location of the drawing on the cardboard sheet by using direction arrows, then press origin and frame to make sure that the machine is going to cut the drawing in the right location.
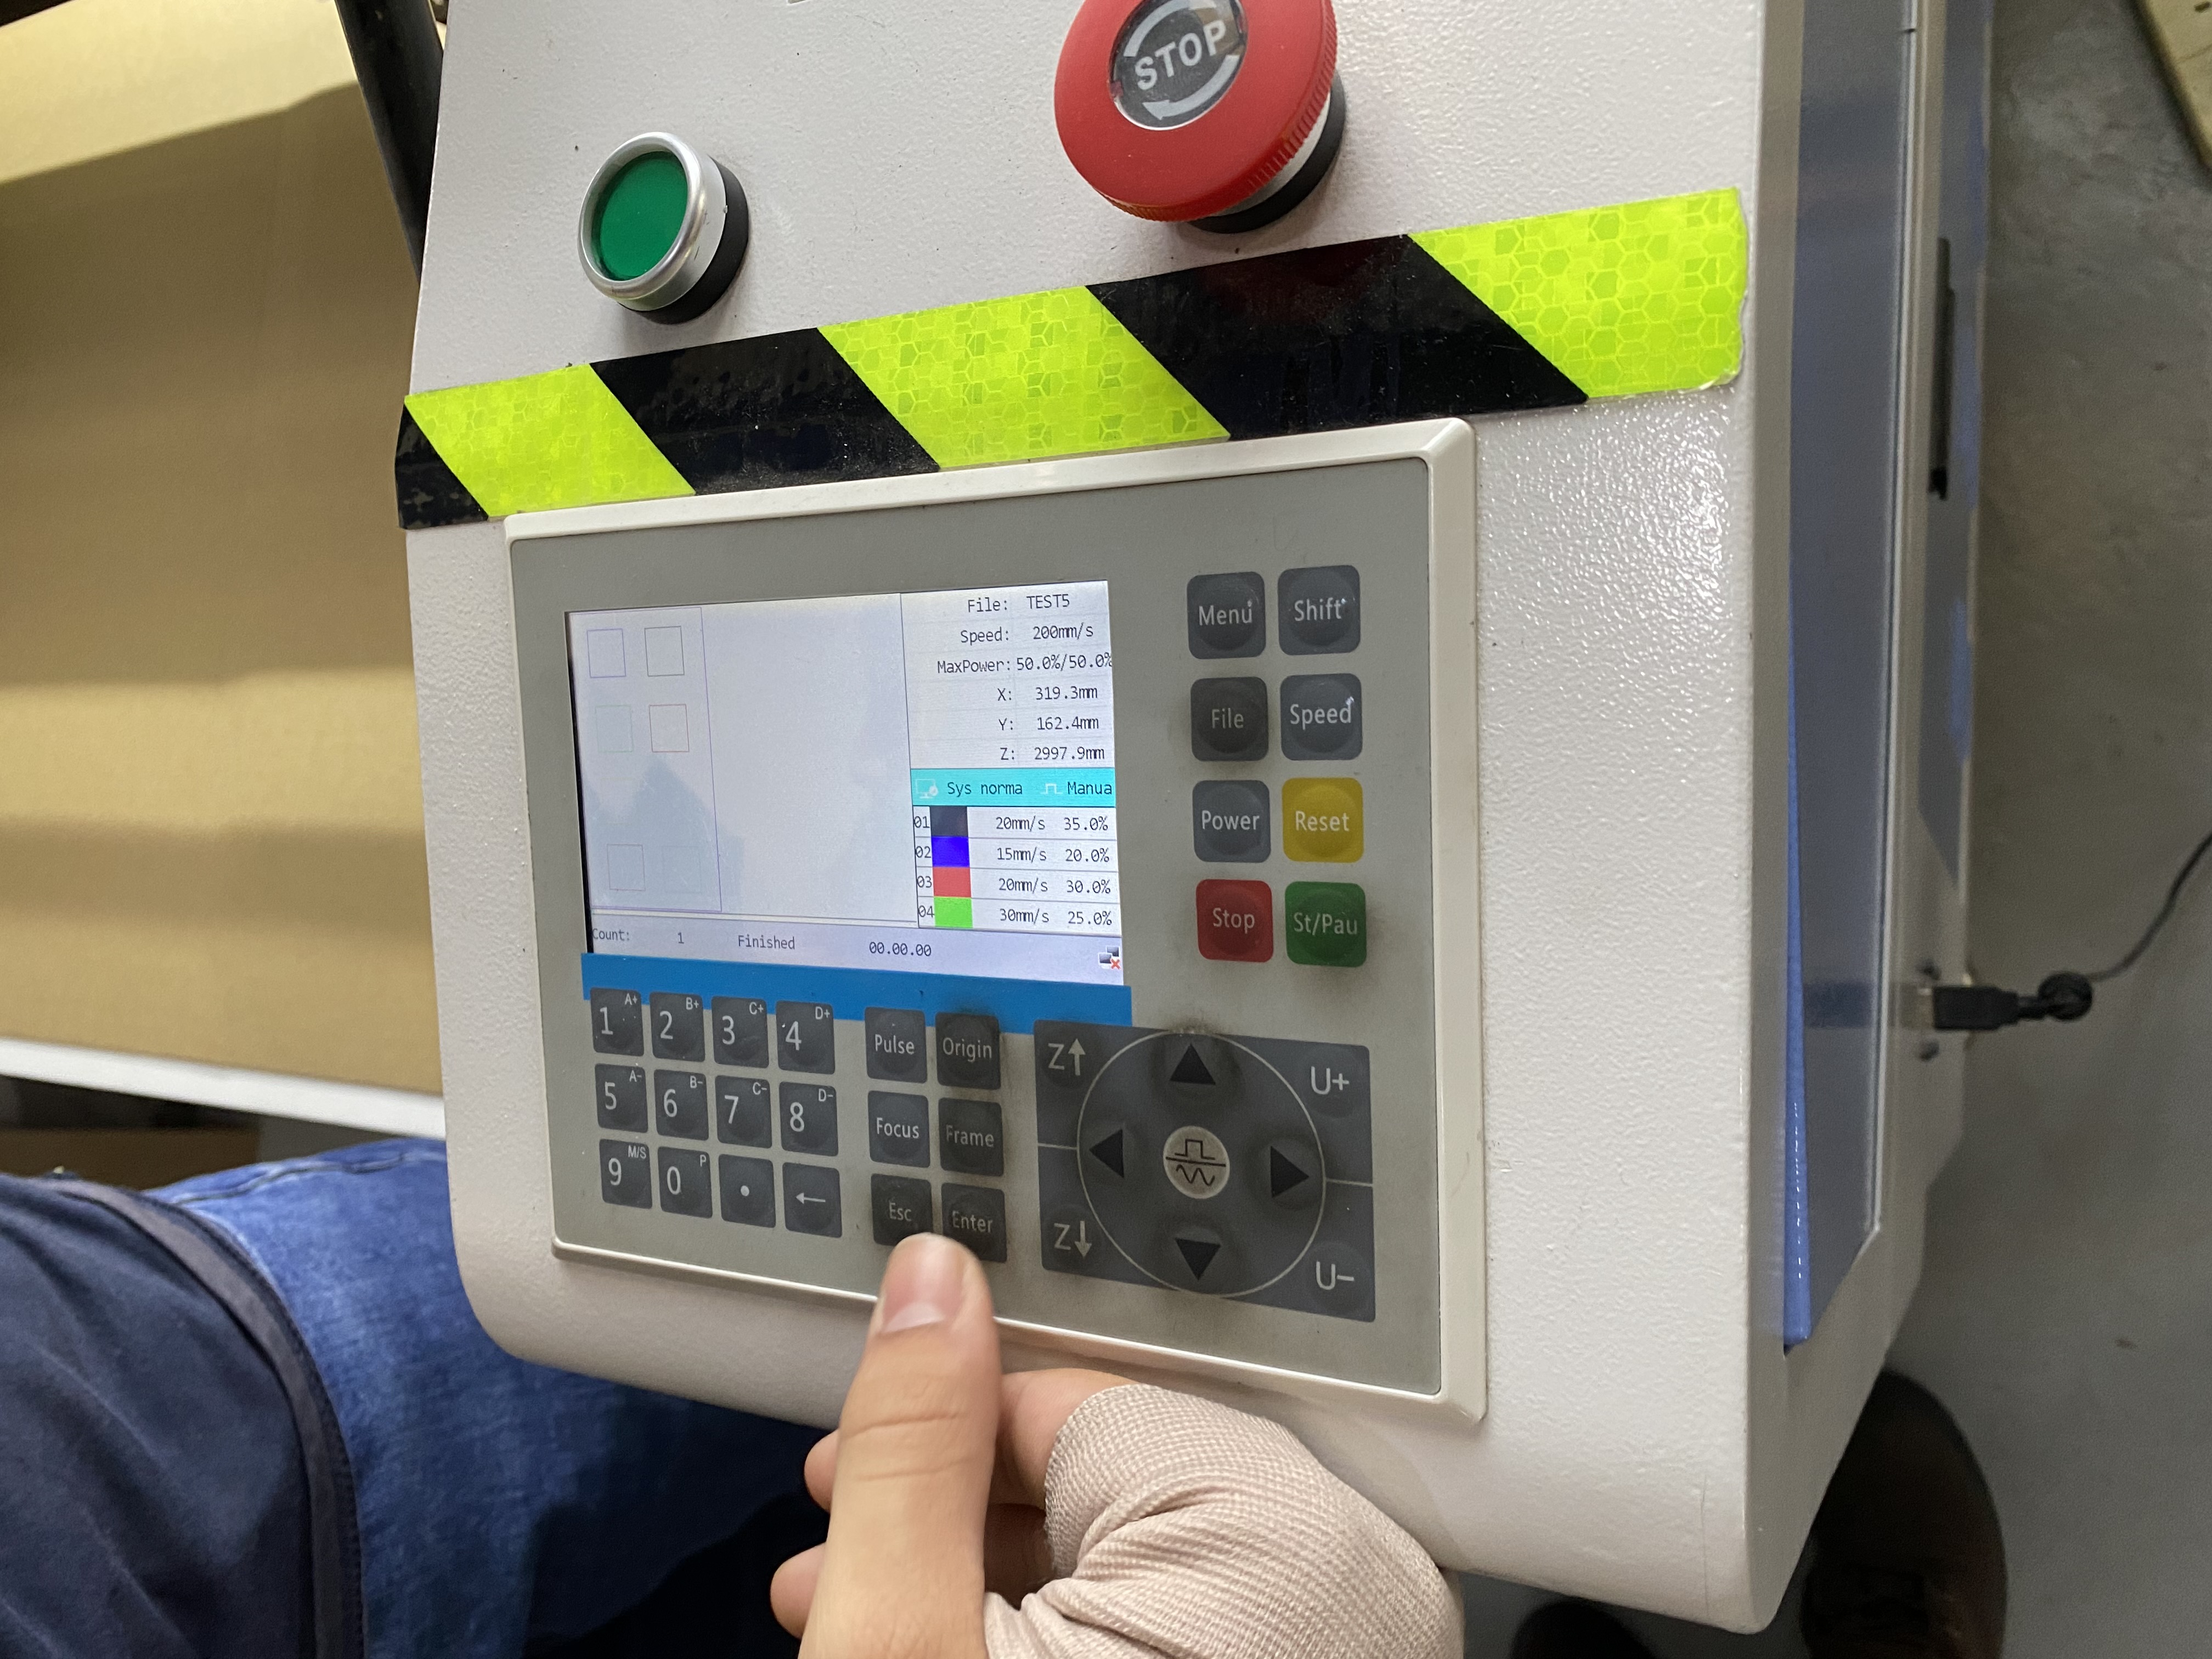
Finally, we pressed on start button to begin the cutting operation.
First Test
When we came to actually test on the machine, we noticed many materials available there. We decided to go with the most available material (cardboard) as a first try
When we did all the steps that are mentioned before, we closed the cover of the machine and pressed start
After the machine is done with the cutting you will hear a notifying sound
After that we got our results out from the machine and we labeled each one with the exact settings that was applied on before
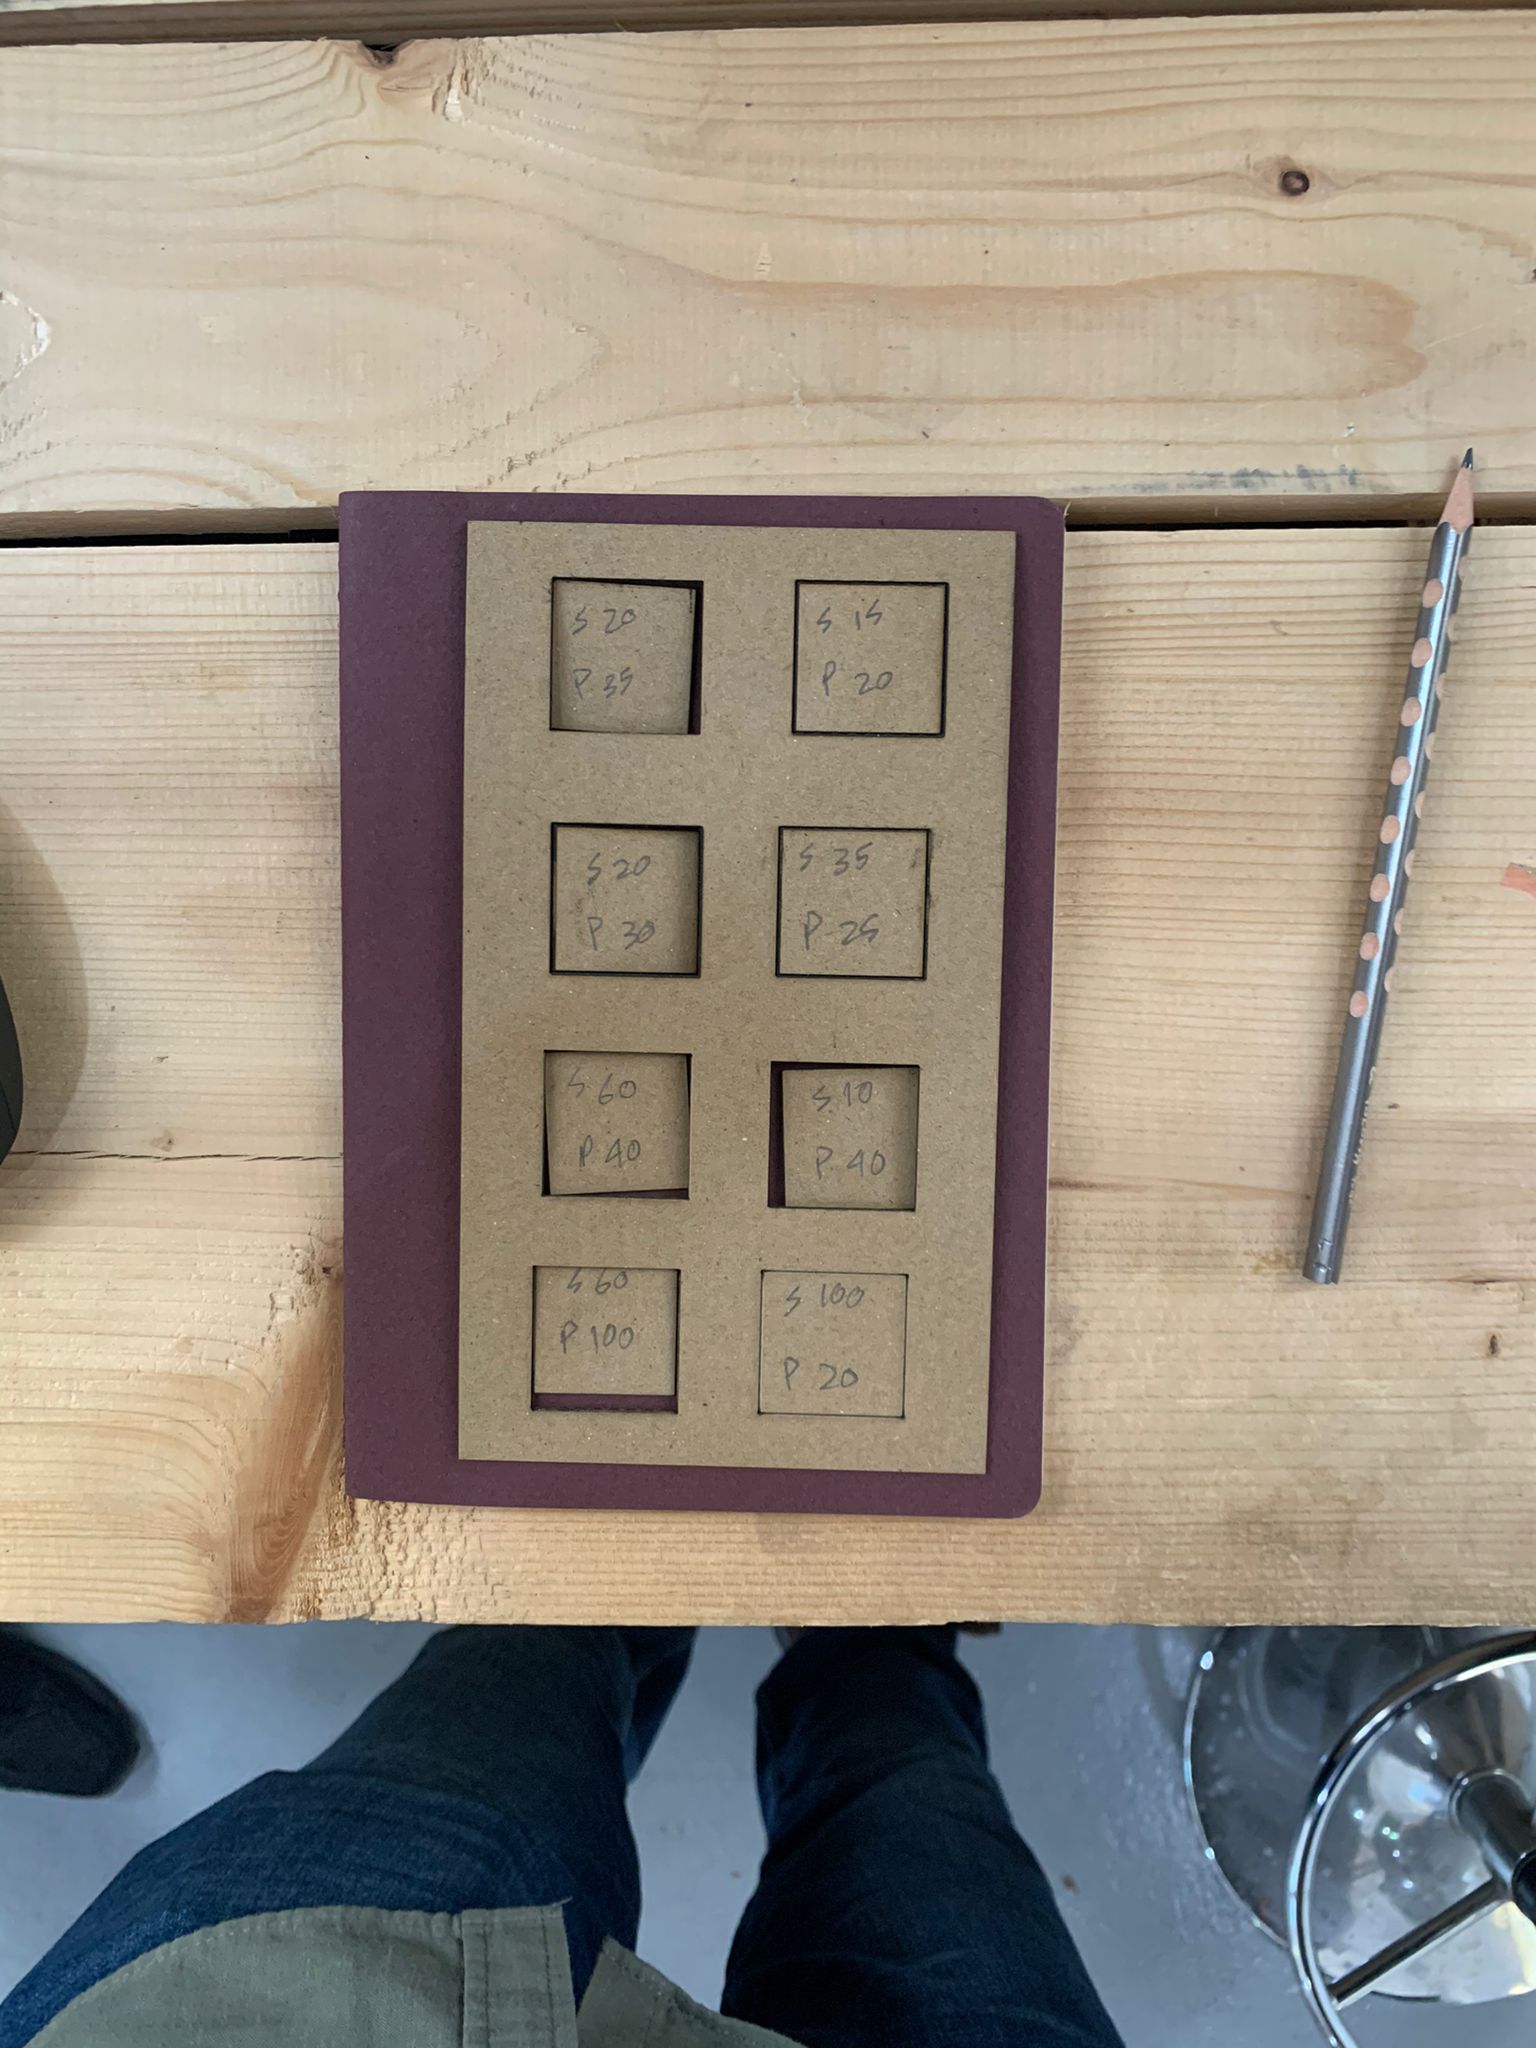
We noticed that (S20 P35) is the best setting to cut cardboard without any burns, and it is used to cut the upper left piece and also the frame
Here are also some notes we took during the process

One of the problems we faced during the process was that the cardboard sheet is not straight and curved a little bit so some of the parts were close to the laser cutting head so they got burnt
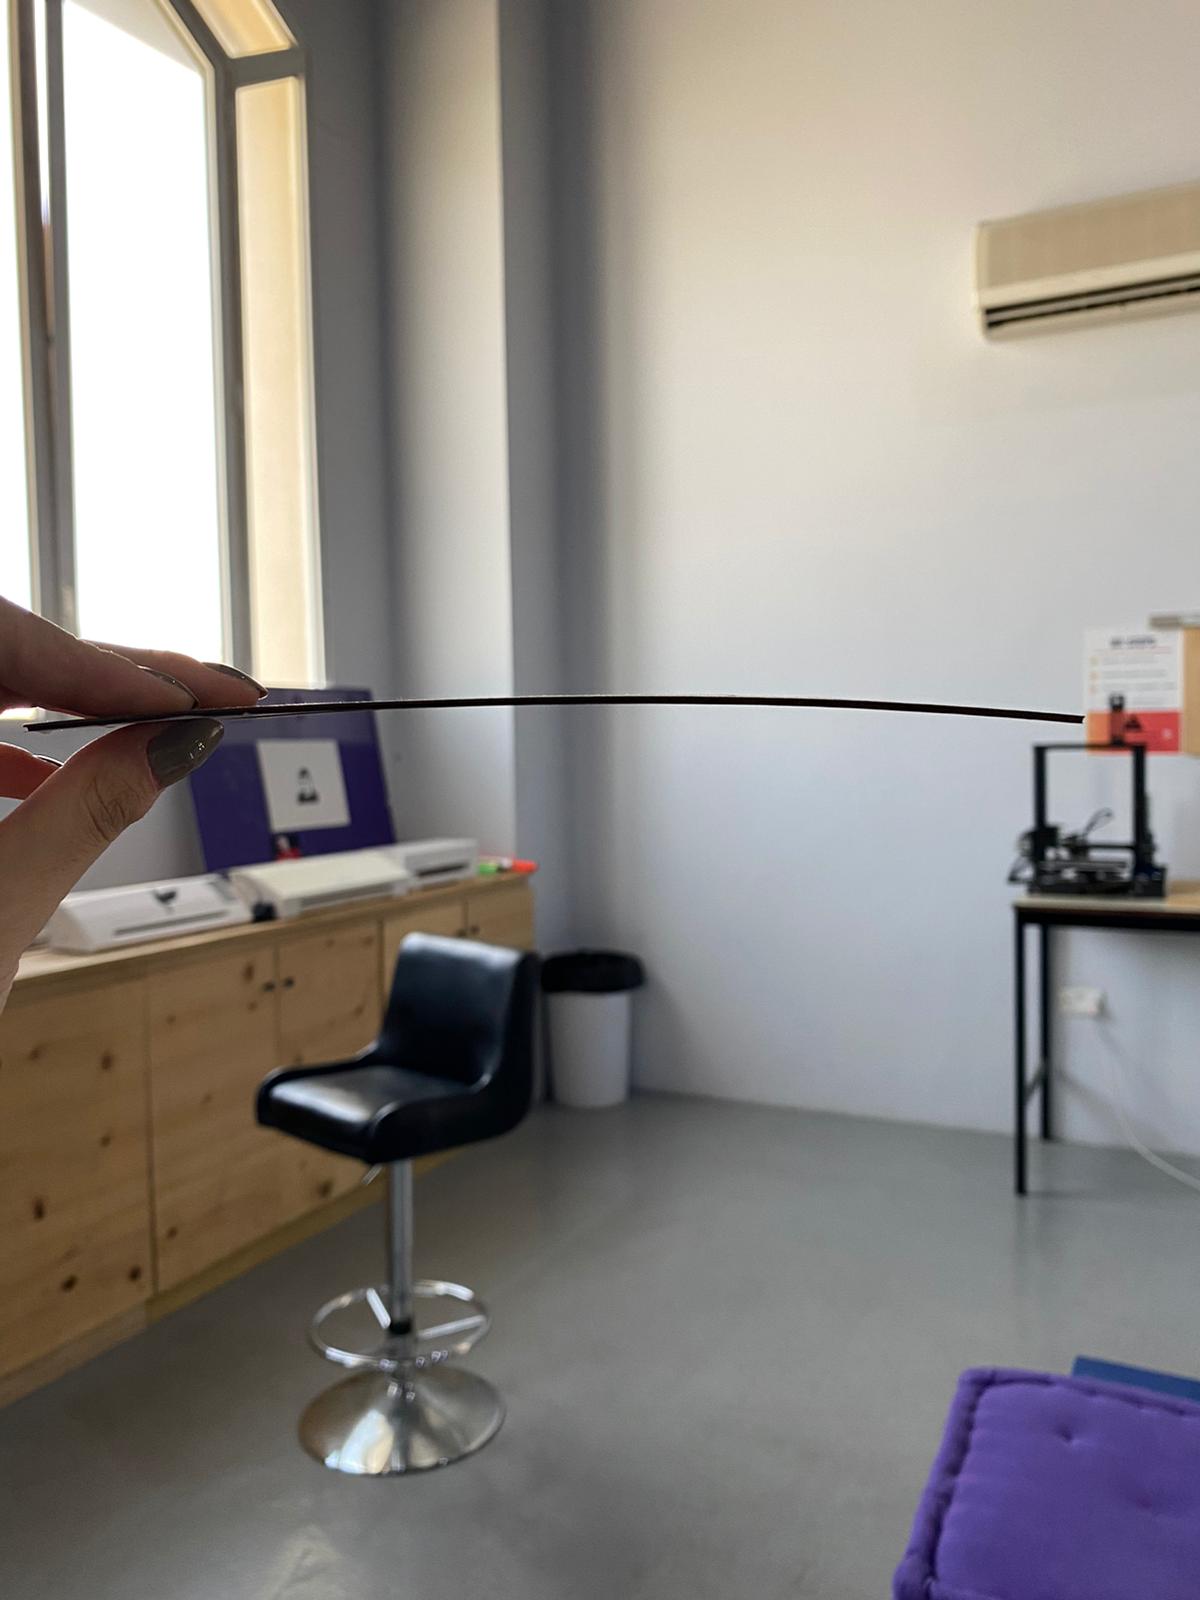
There are two solutions to this issue, one is to tape down the curved parts of the cardboard, and another is to put weights like acrylic pieces just to straighten down the curvature of the cardboard and to make it an even surface
Acrylic Test
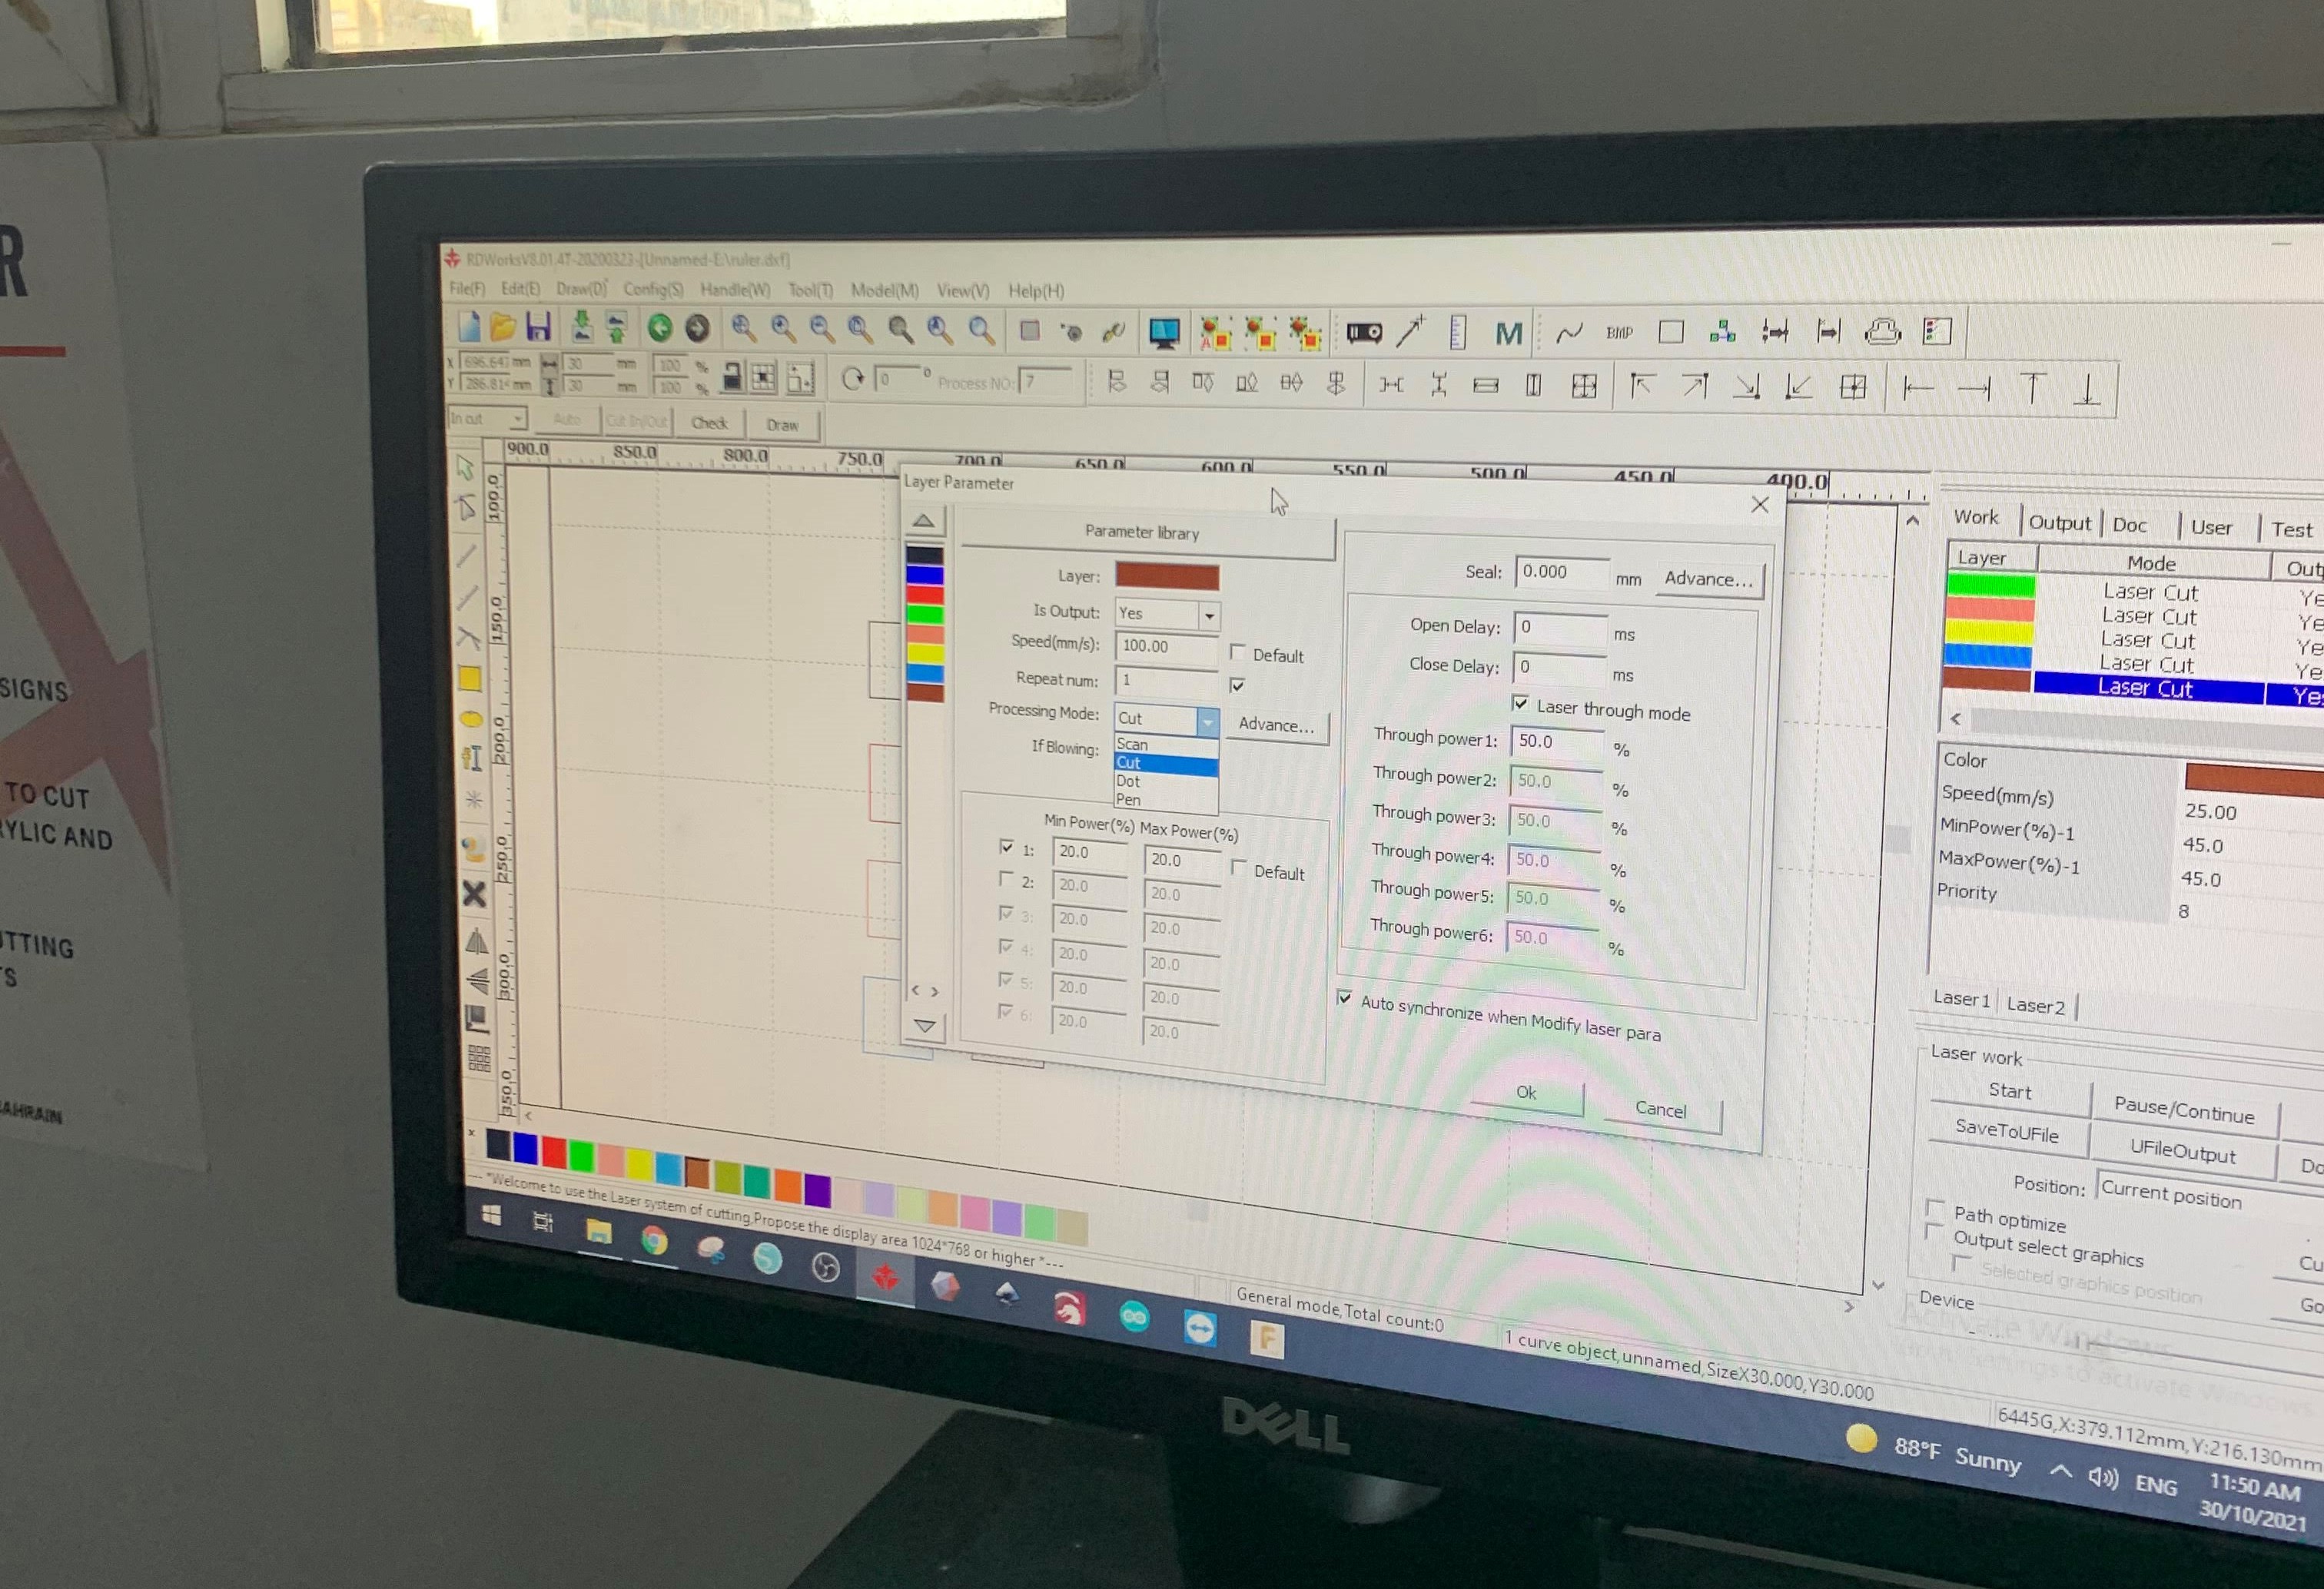
As an additional experiment we tried cutting on acrylic instead of cardboard, and we noticed that the settings differ from the cardboard settings
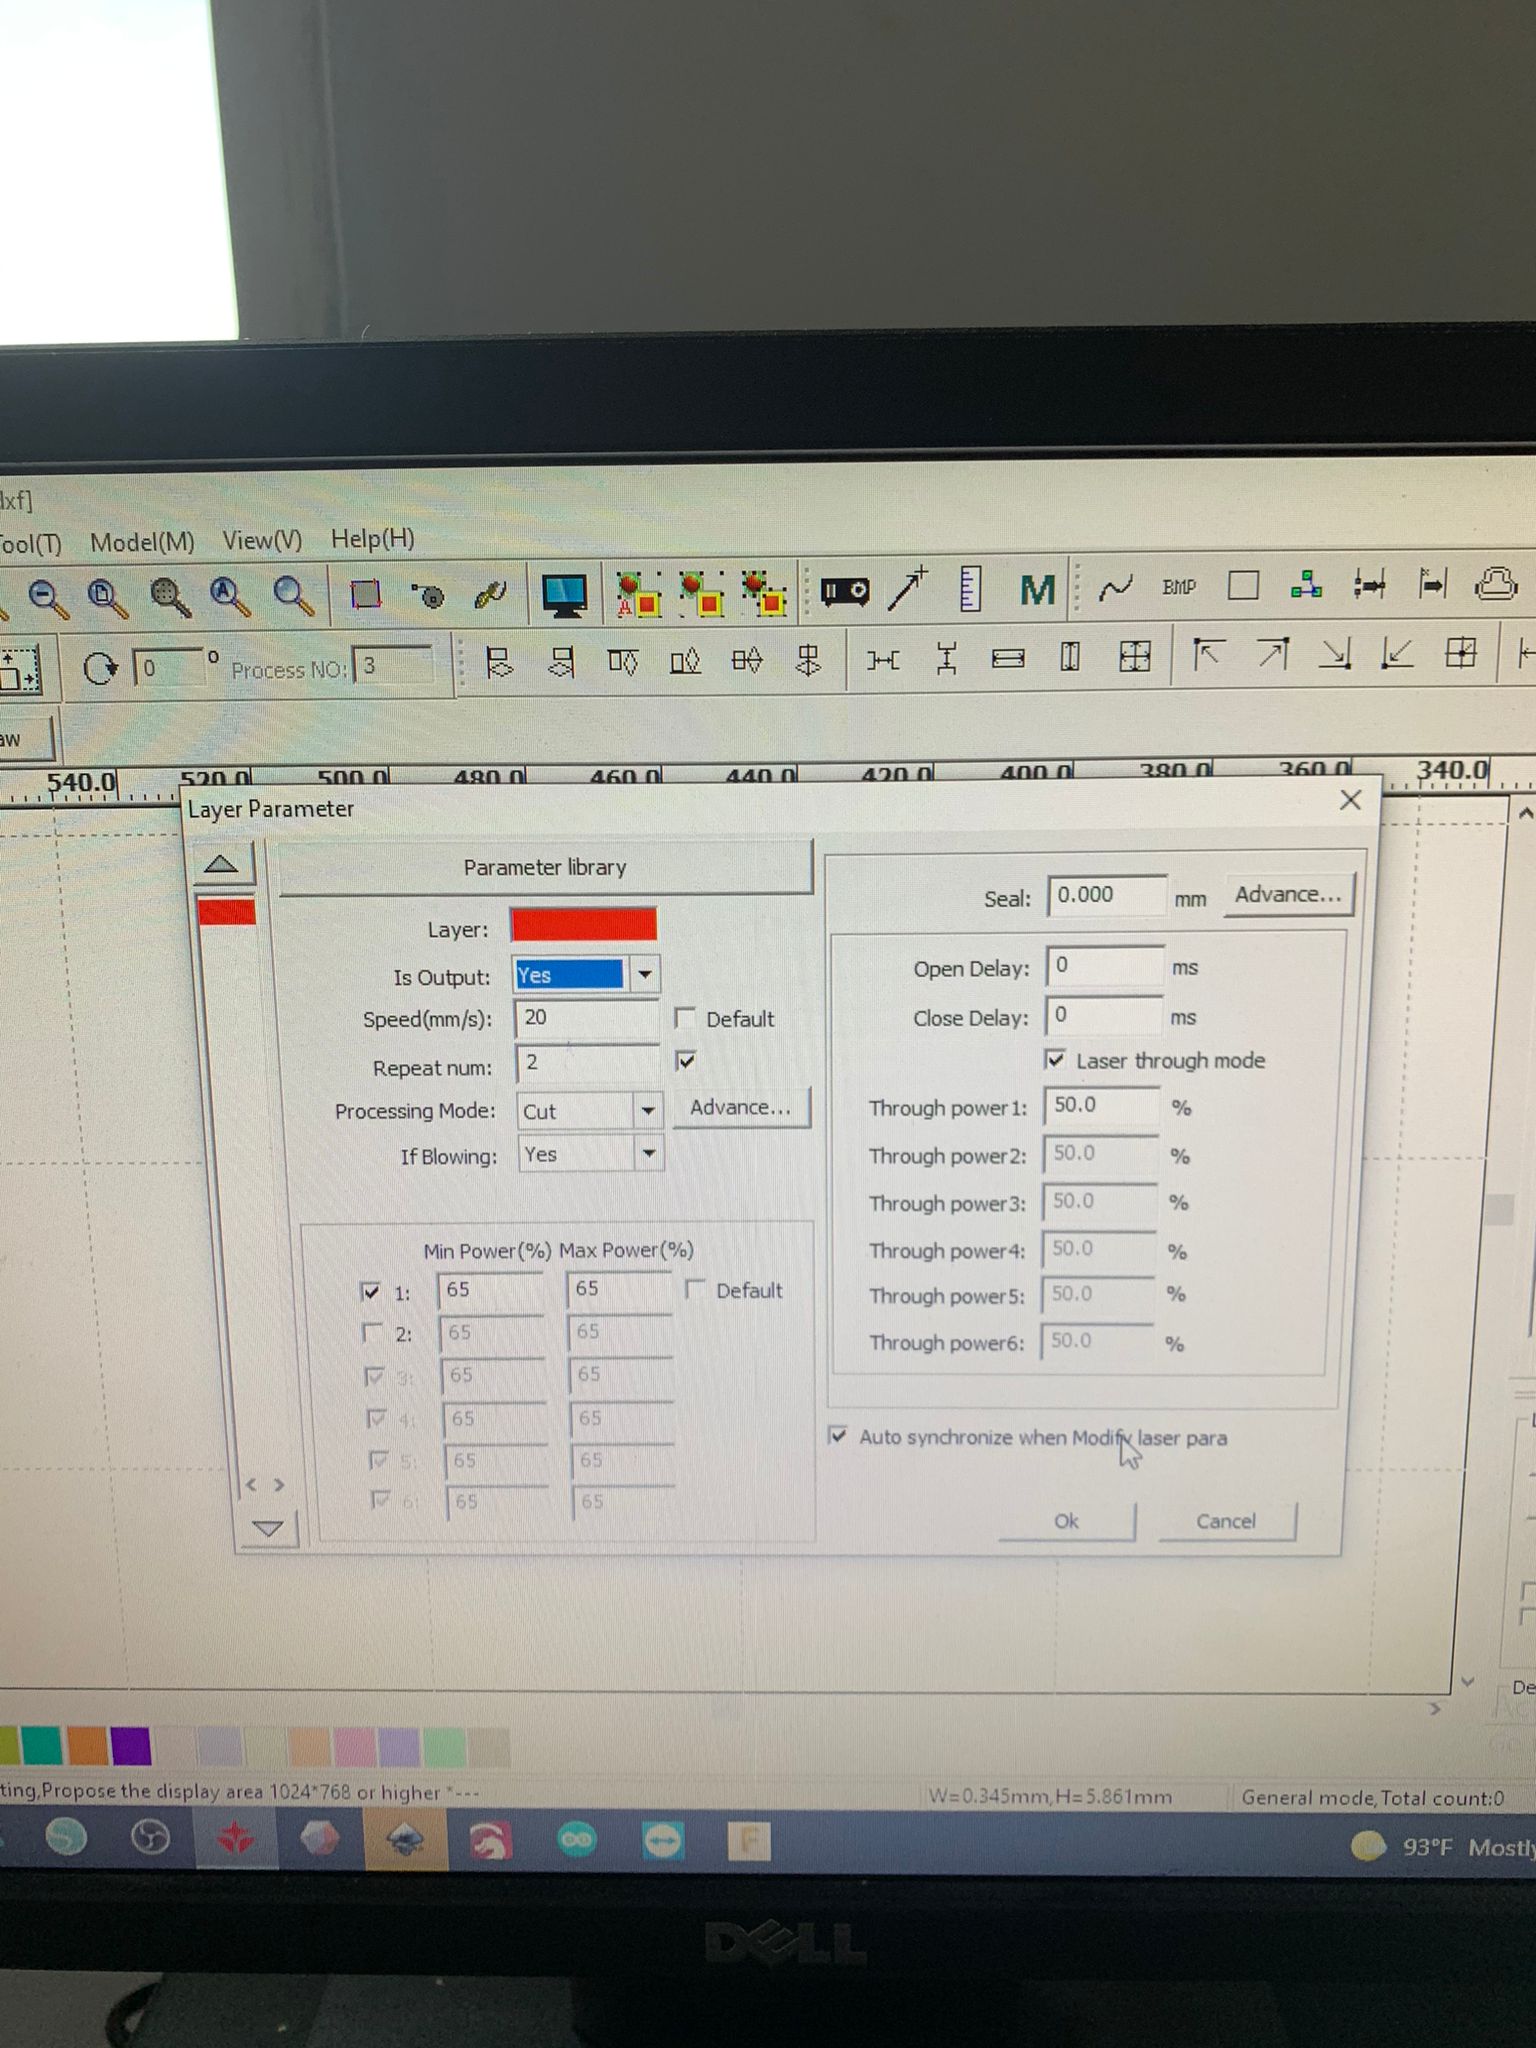
Acrylic mostly needs 2 rounds of cutting, and you can refer to the photo for 3mm acrylic settings
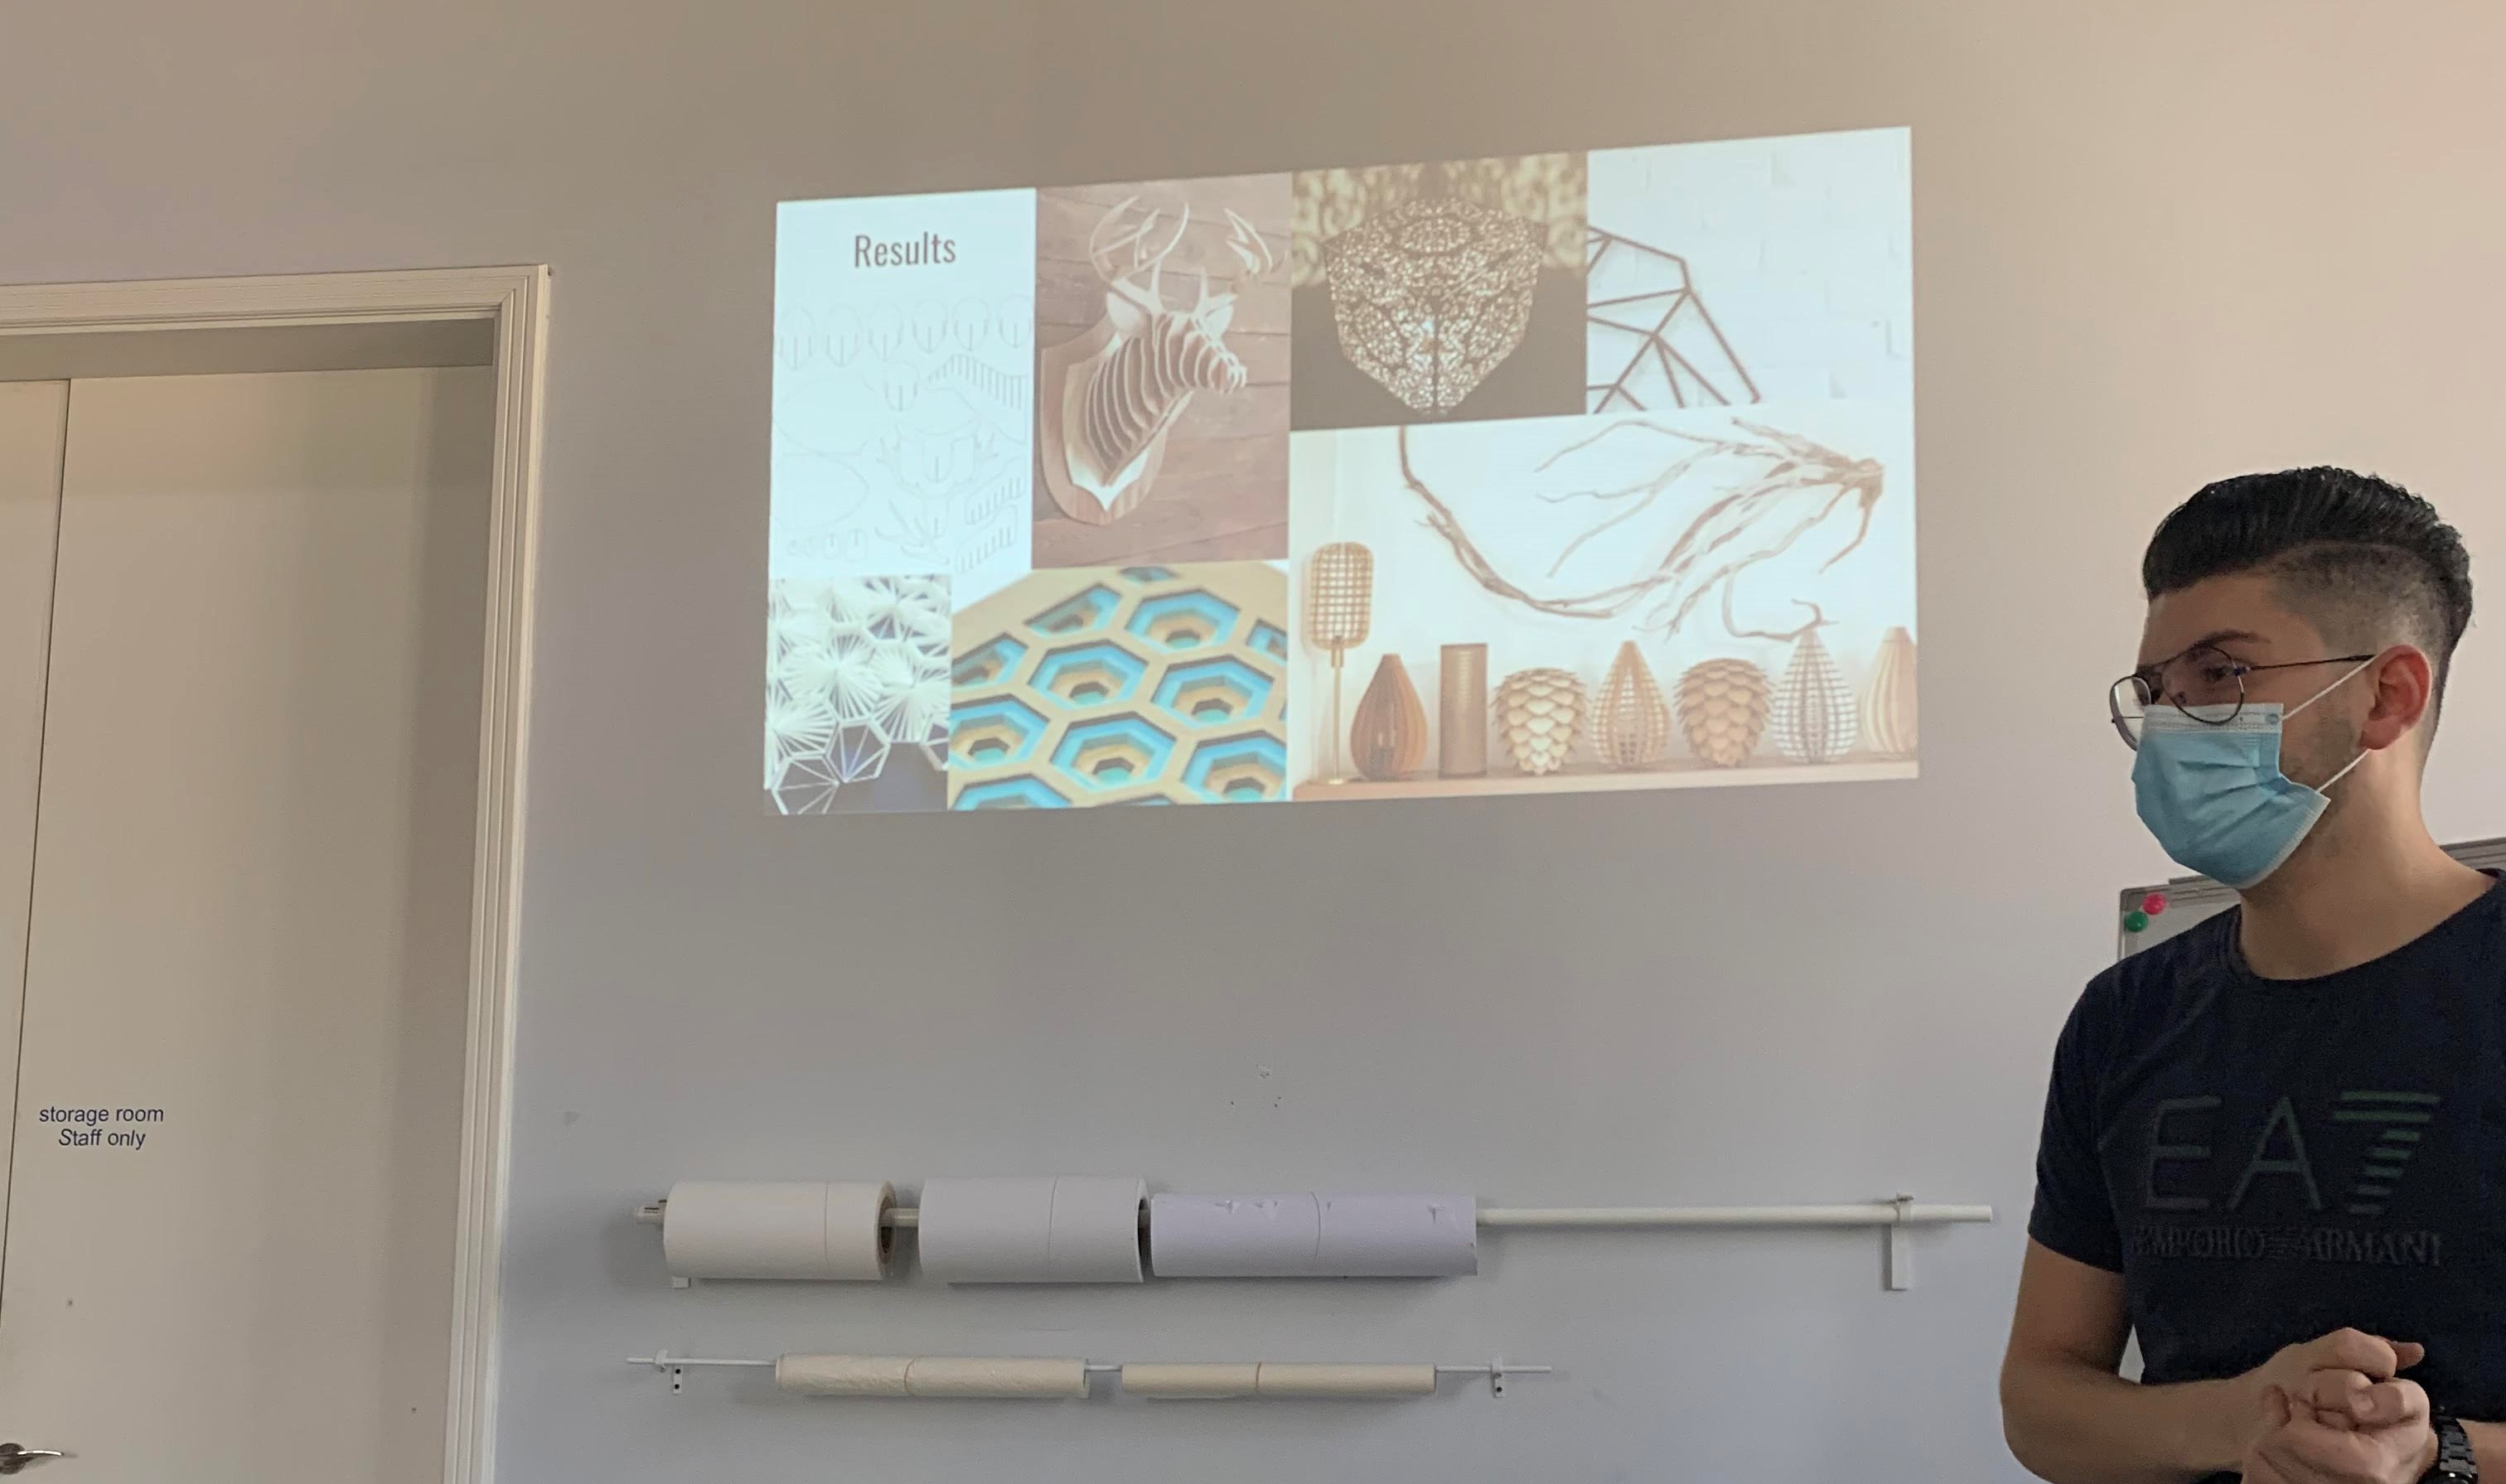
And here are the final results!
For more info please check our colleagues part
TASK 3 - INDIVISUAL
On this task we were asked to design a 3d object consists of parts that can be combined together using fitting method, which is when two objects fit together into one without any external support
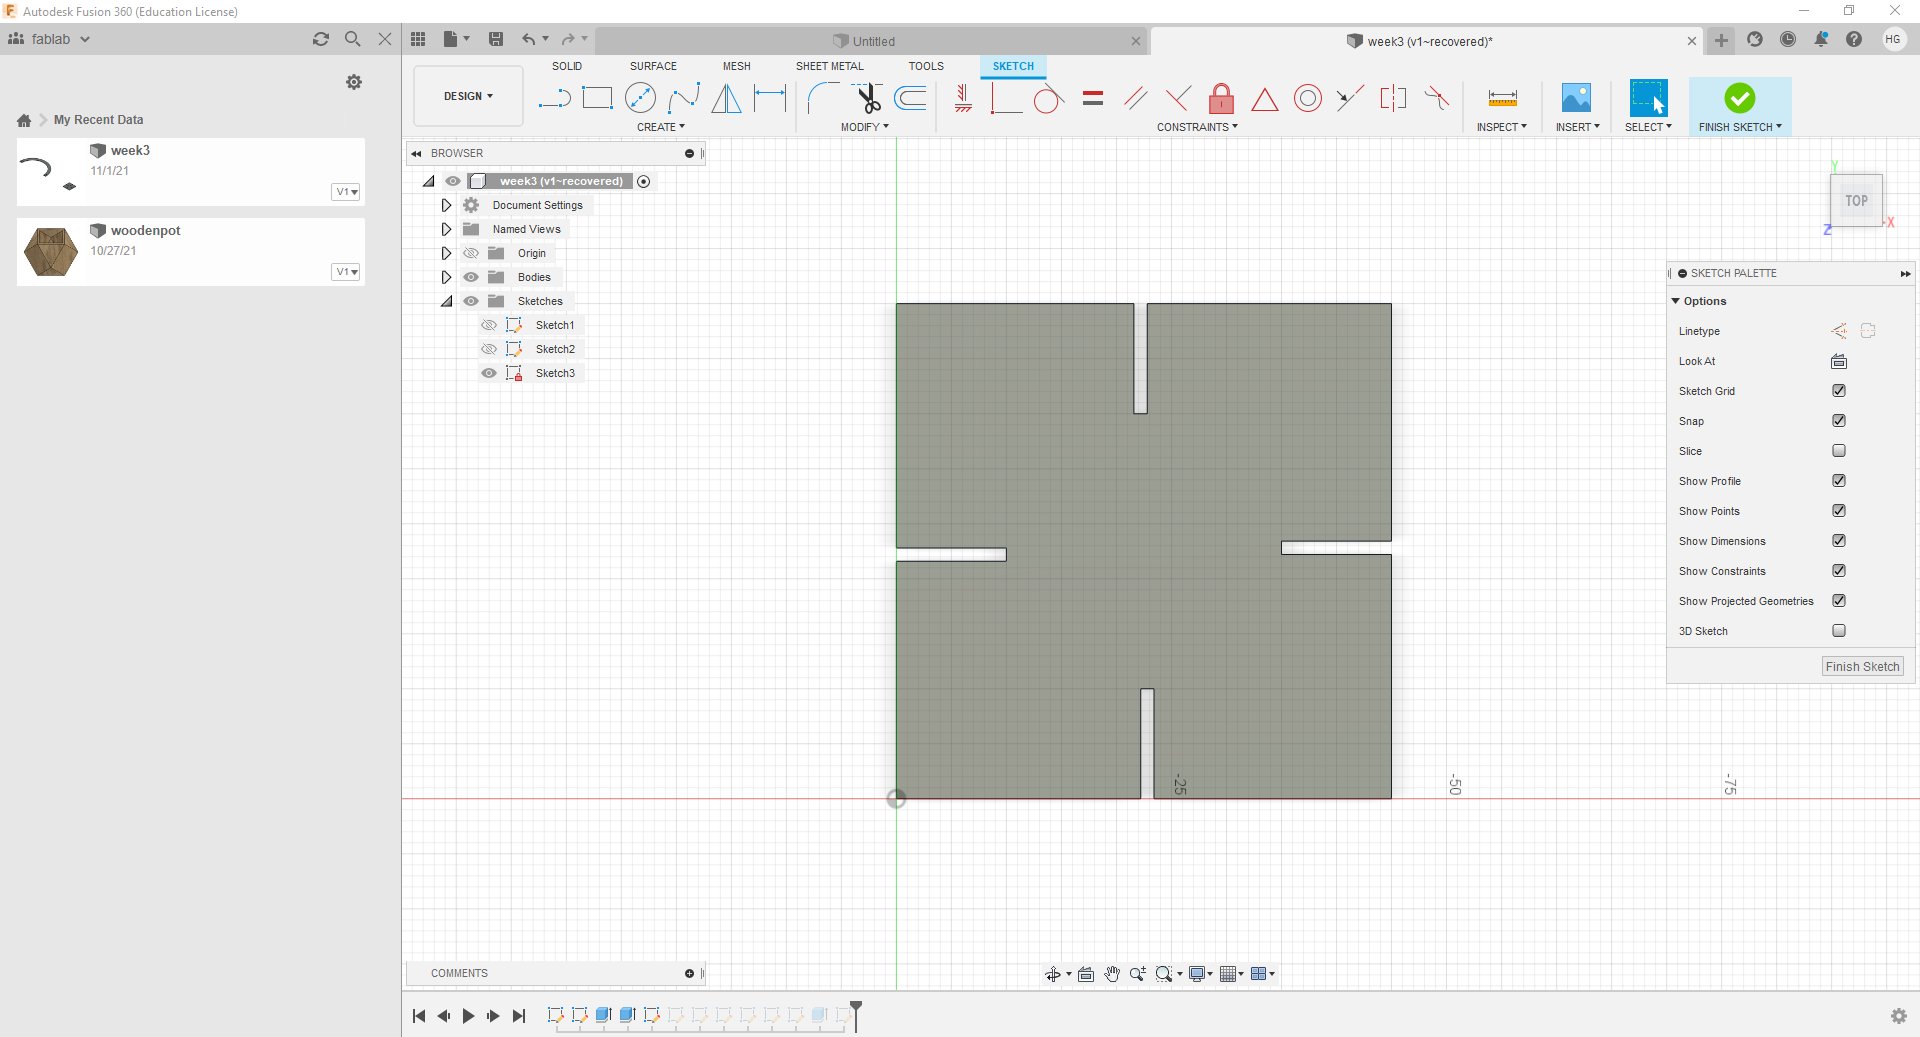
It was specified in the assignment that the design should be parametric, which means using variables through formulas. I used Fusion360 which has parametric design. So the first thing I did was creating a sketch and setting up the parameters schedule (Modify/ change Parameters)
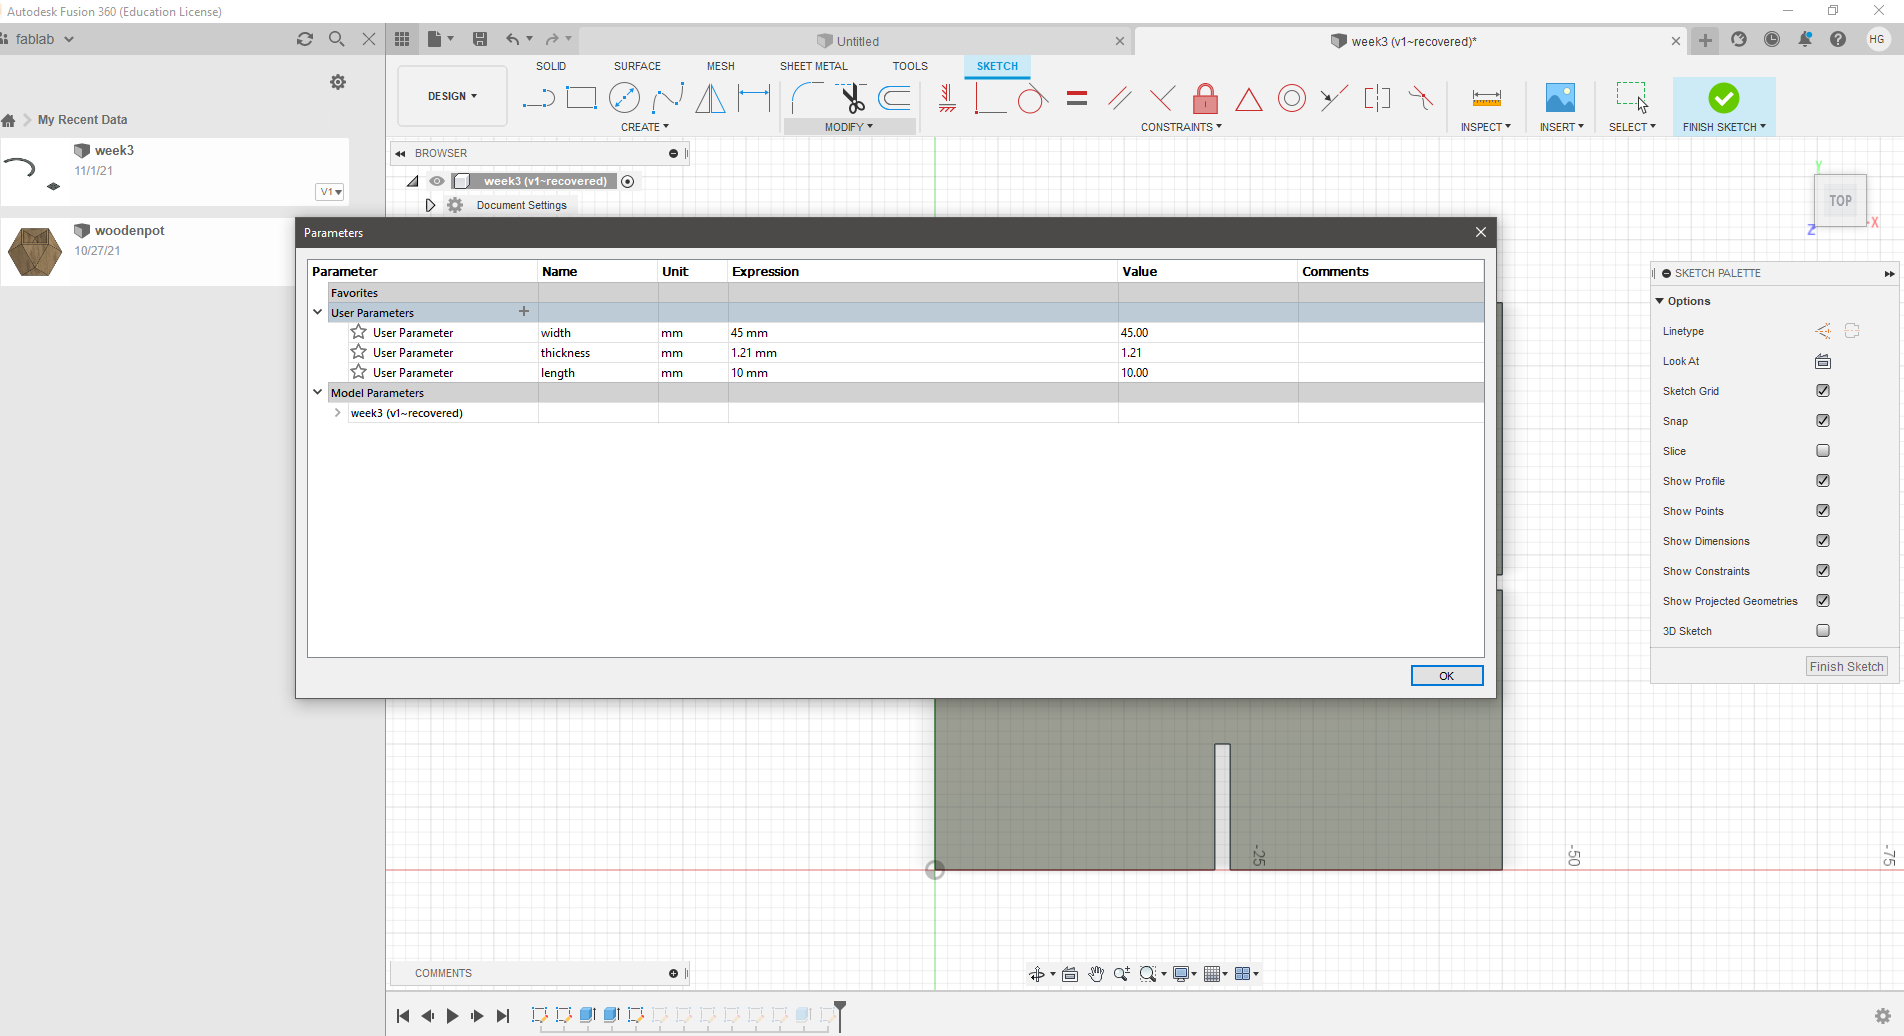
Now when I want to set the formulas to specific lines (so when I want to change them later I just change the parameters in the schedule and they will change automatically) I simply press D and select one of the lines then write one of the titles that I assigned before for specific formulas

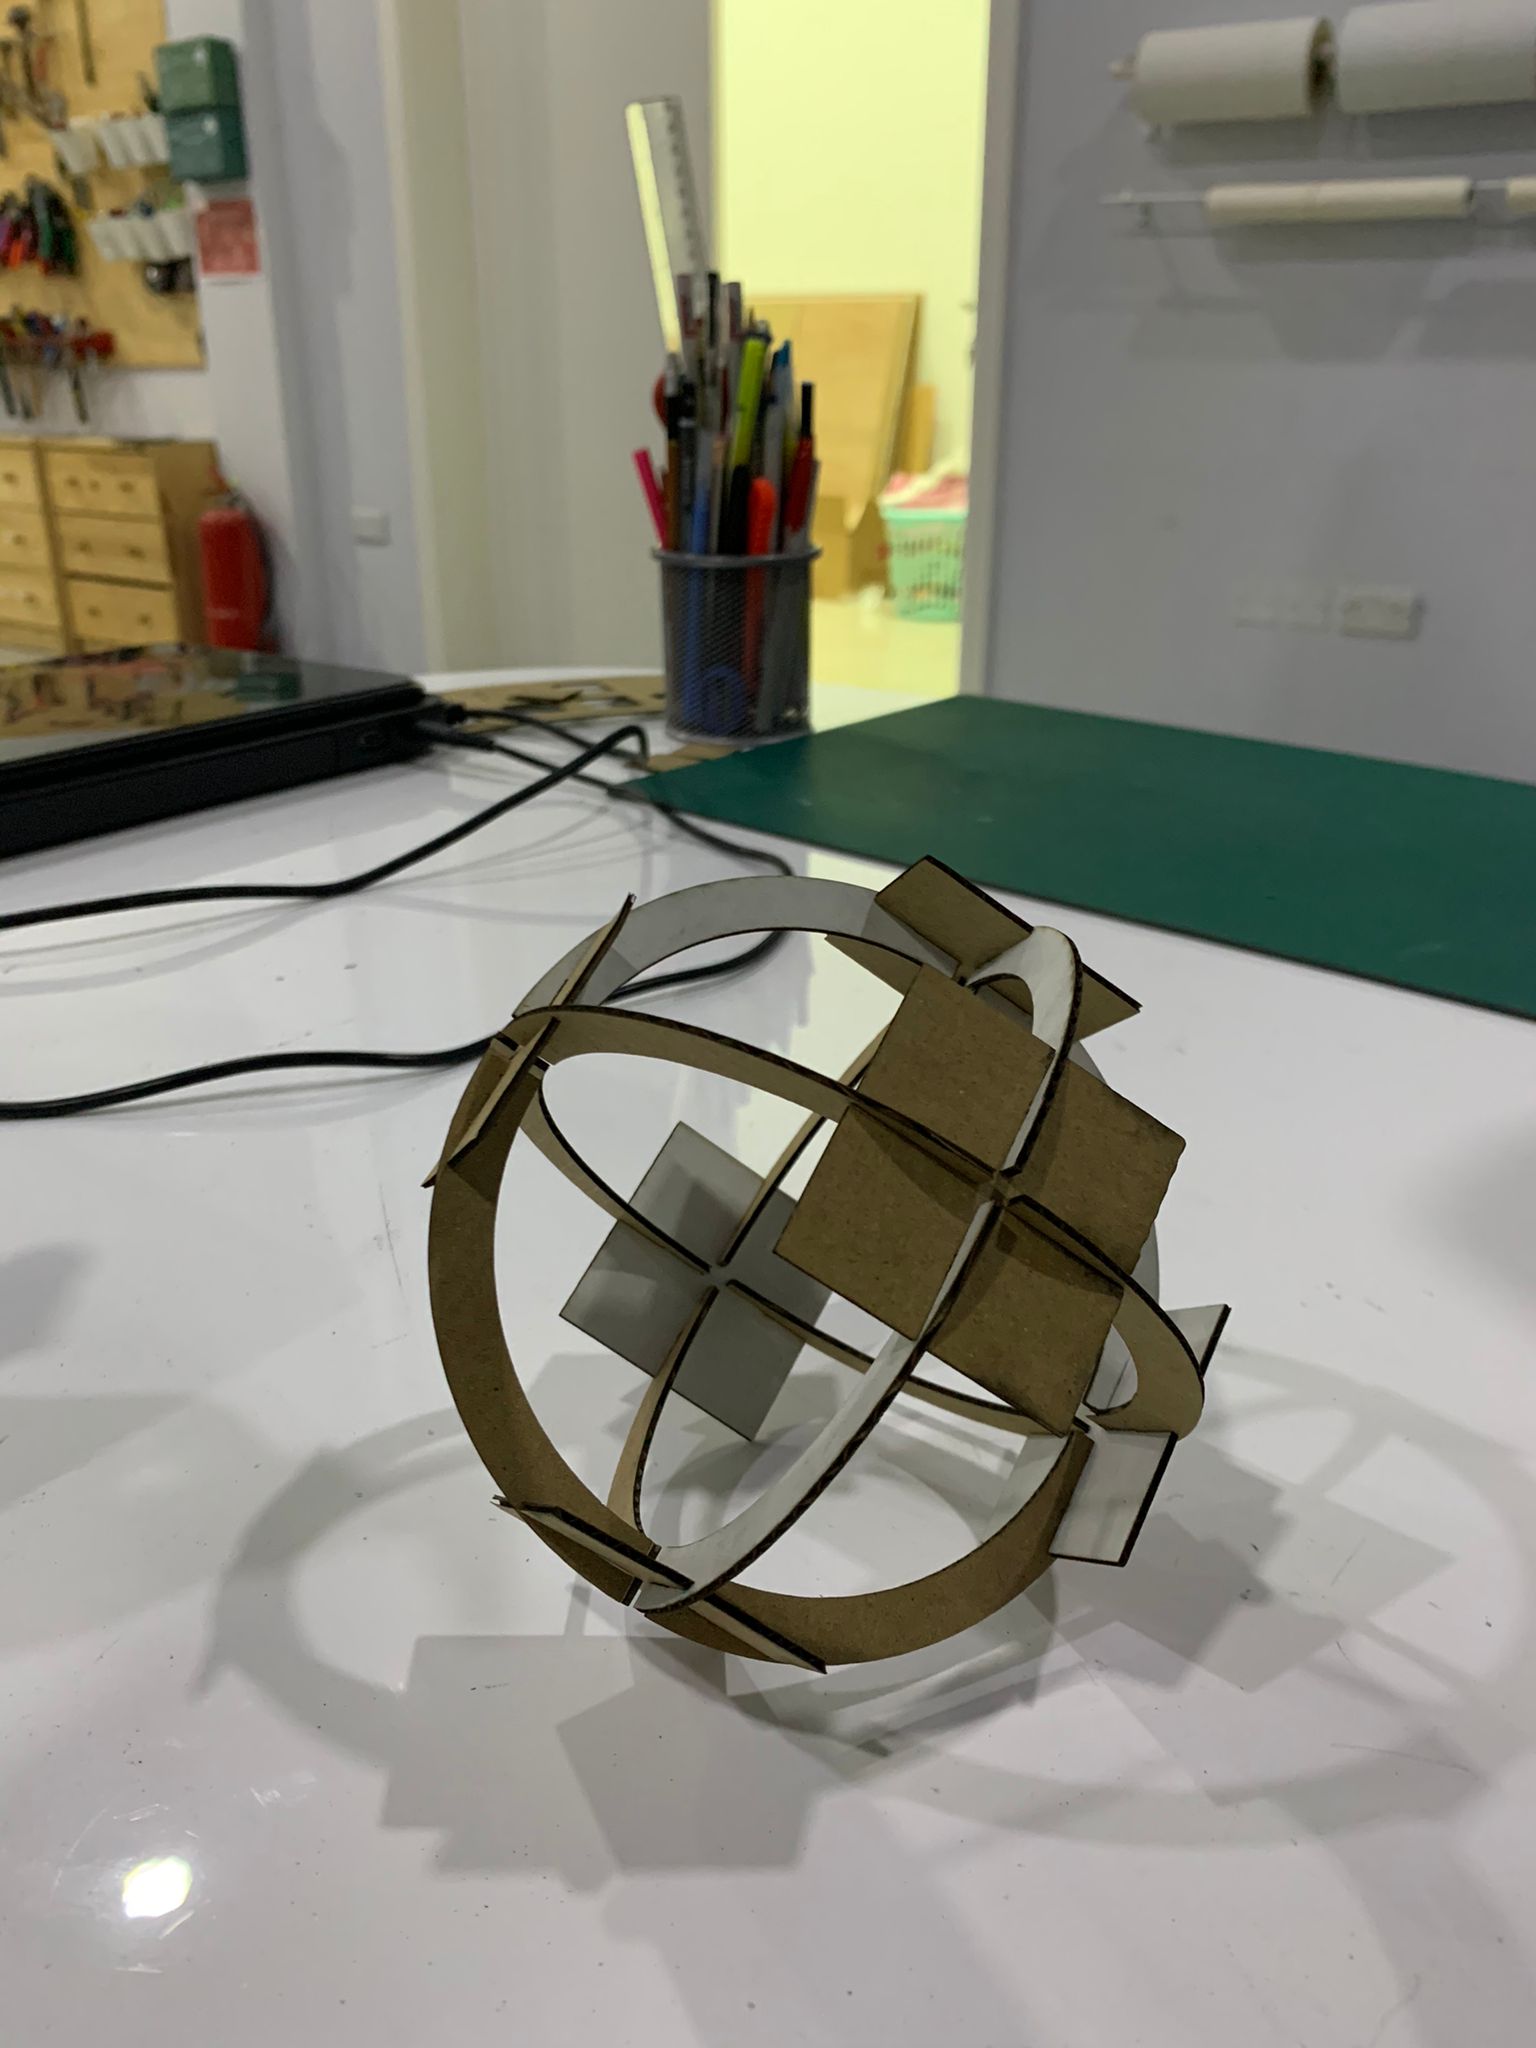
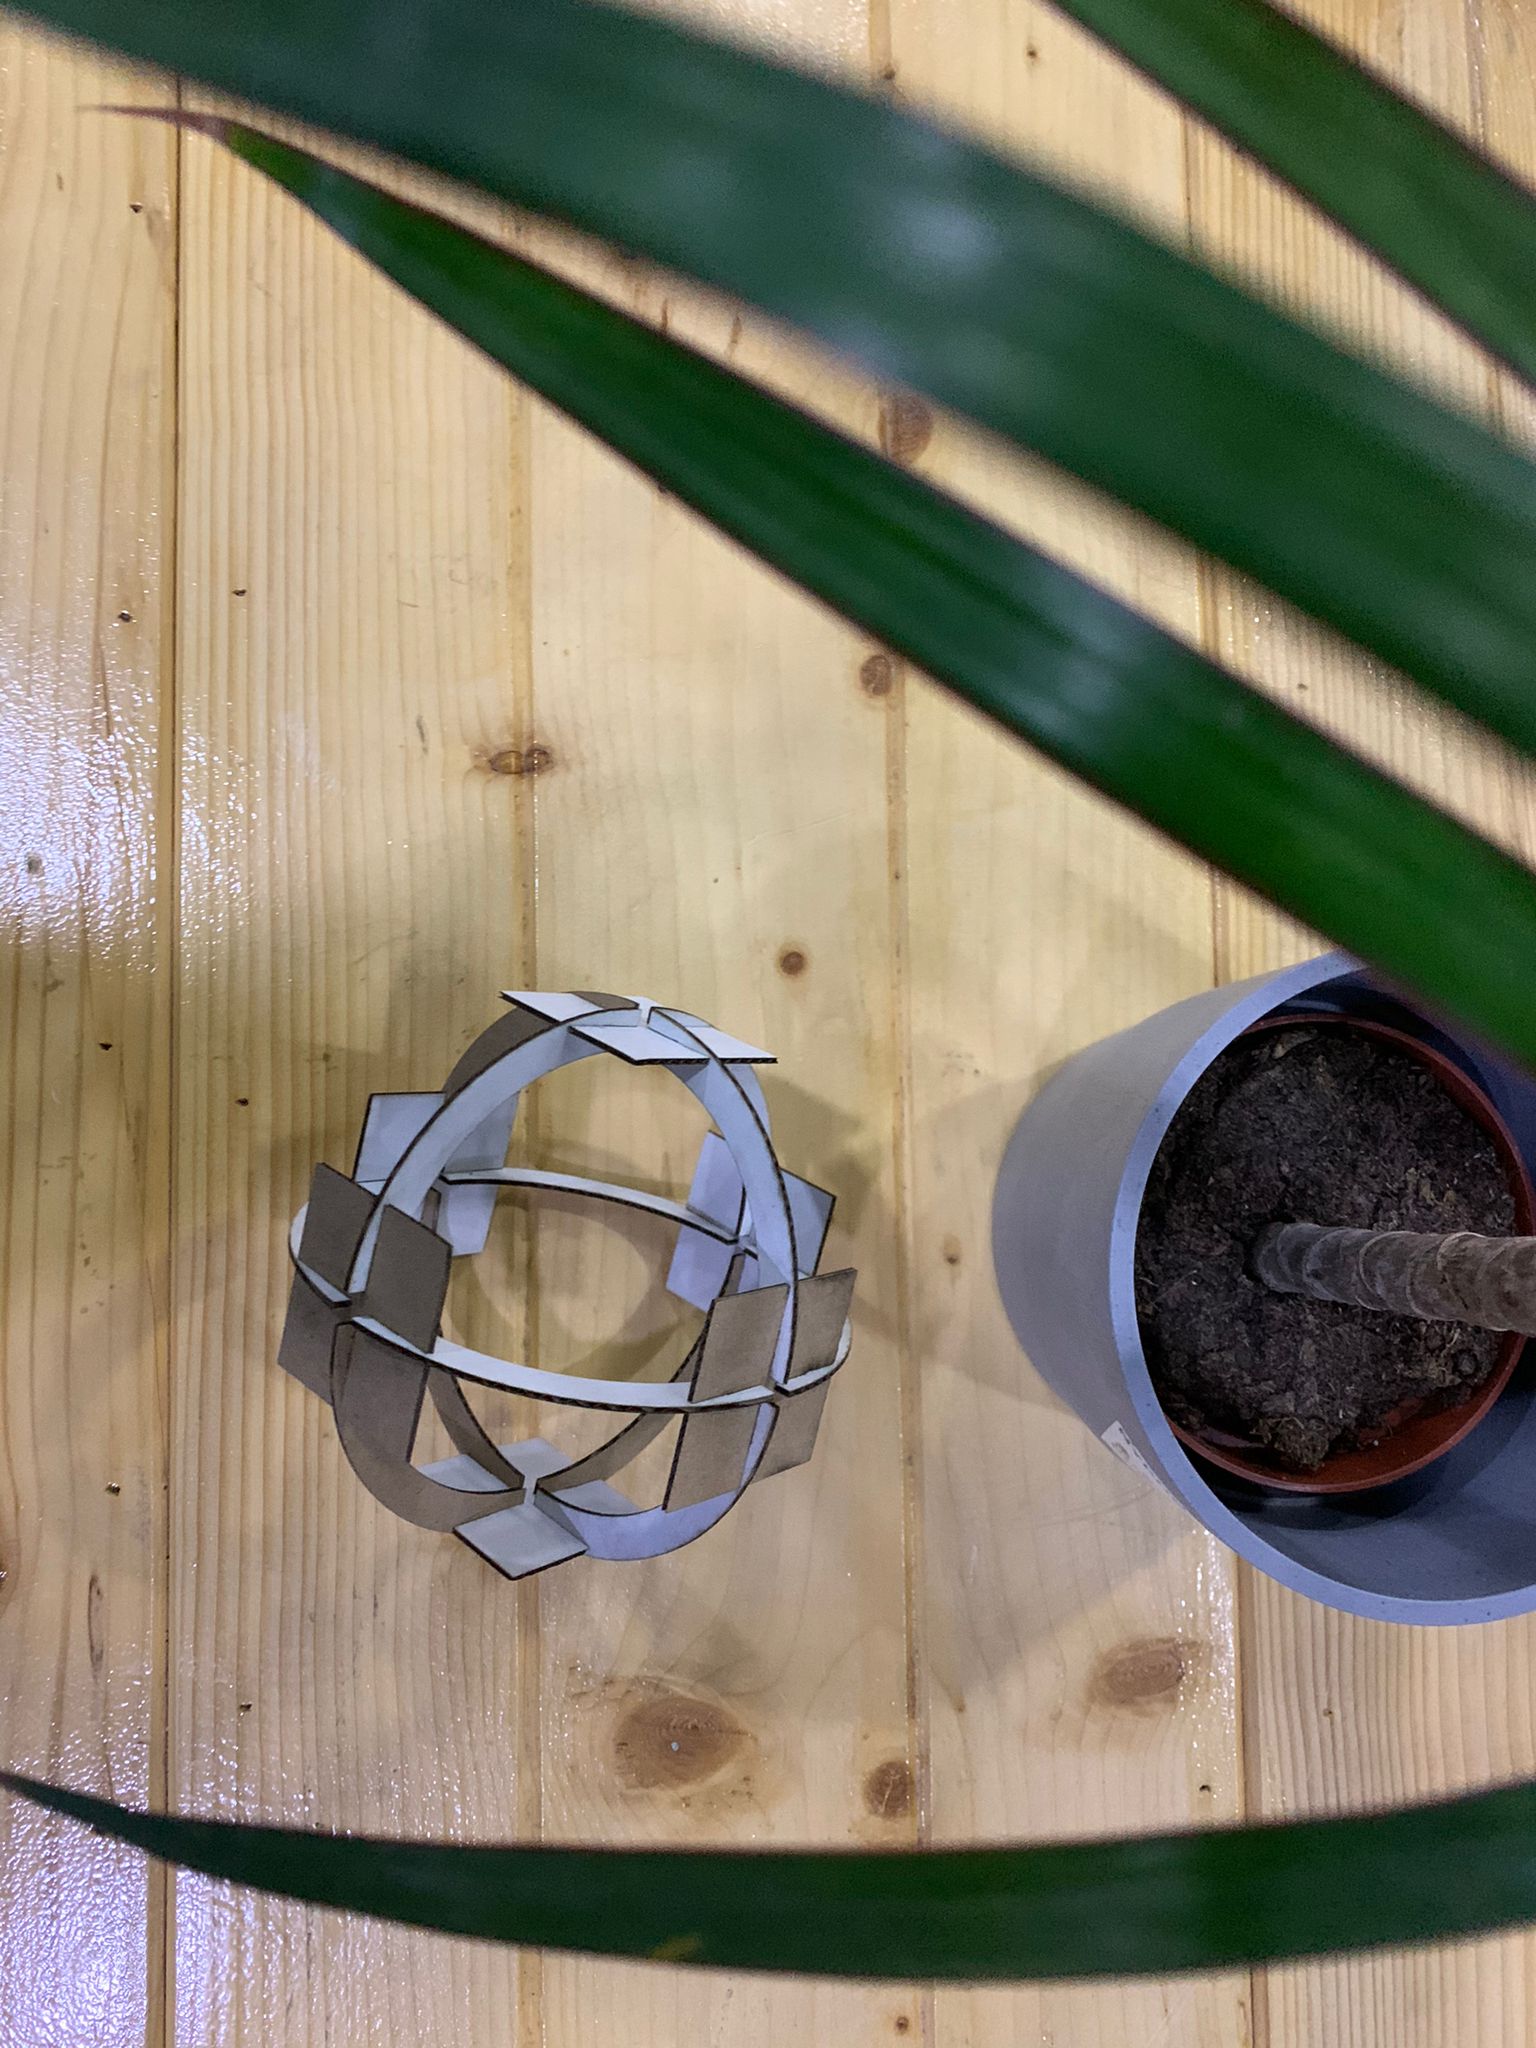
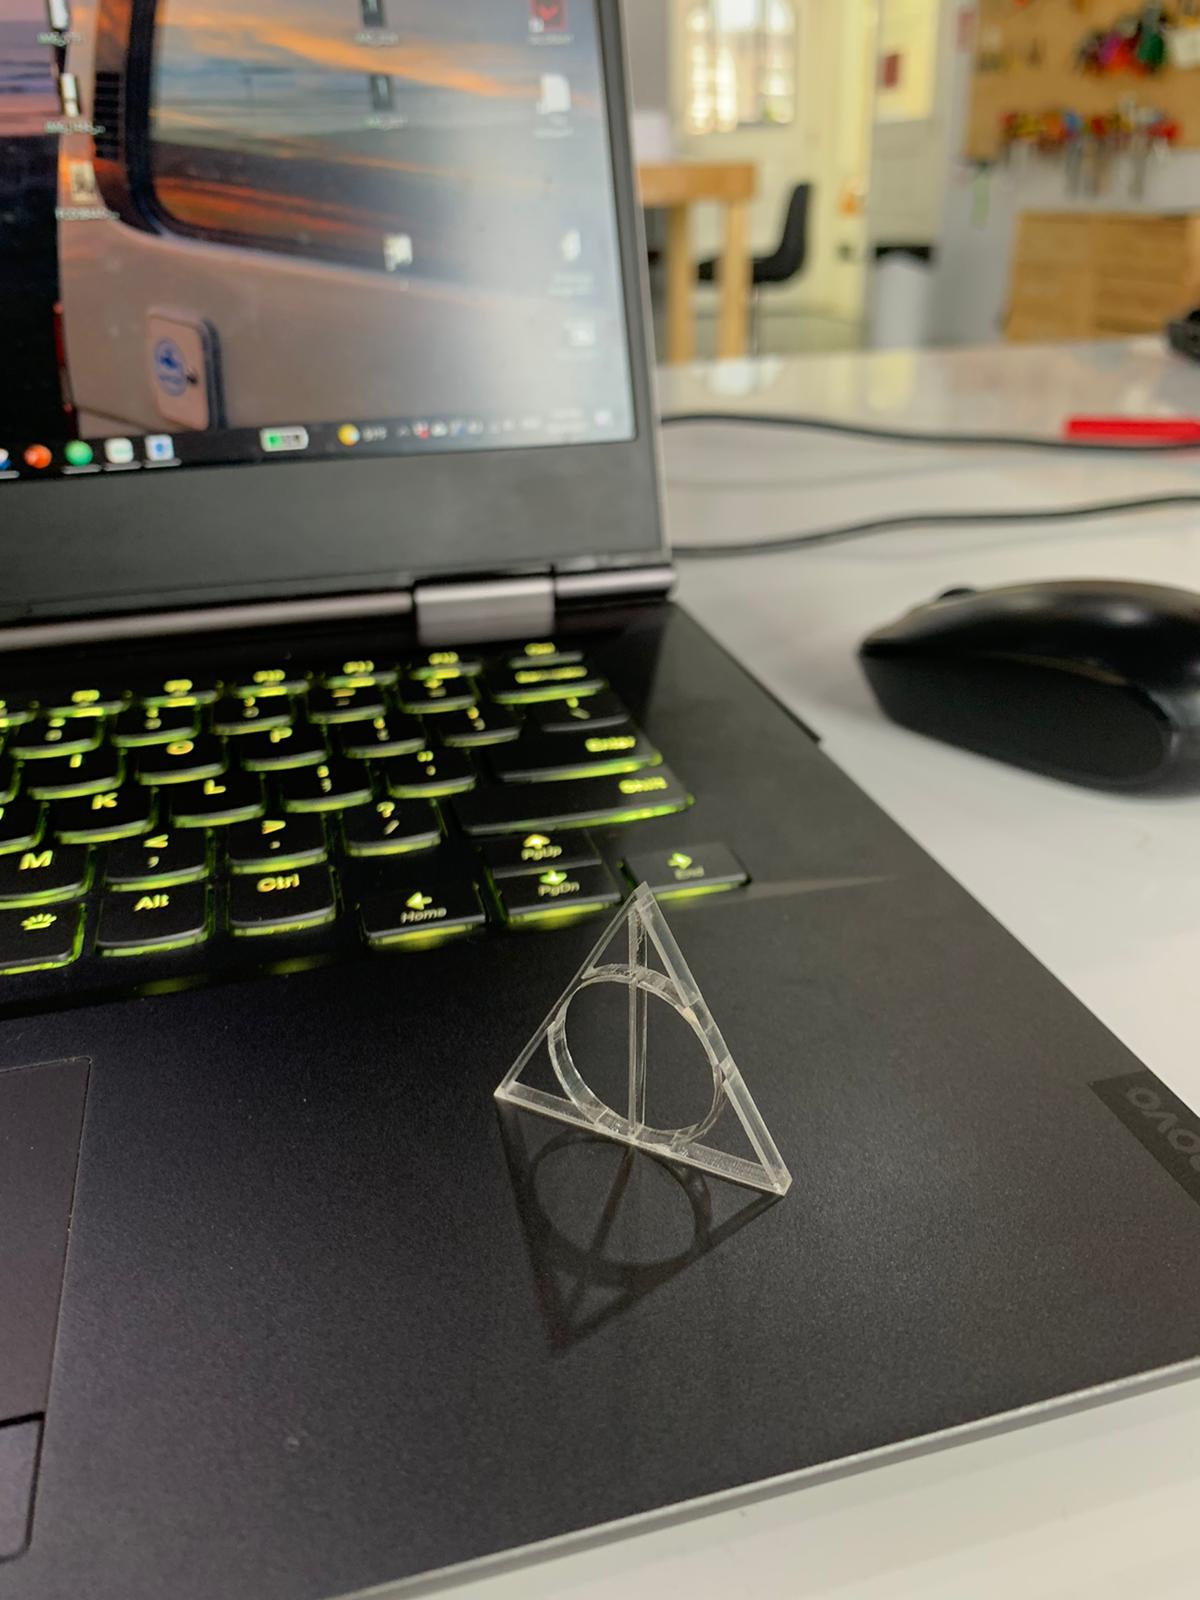
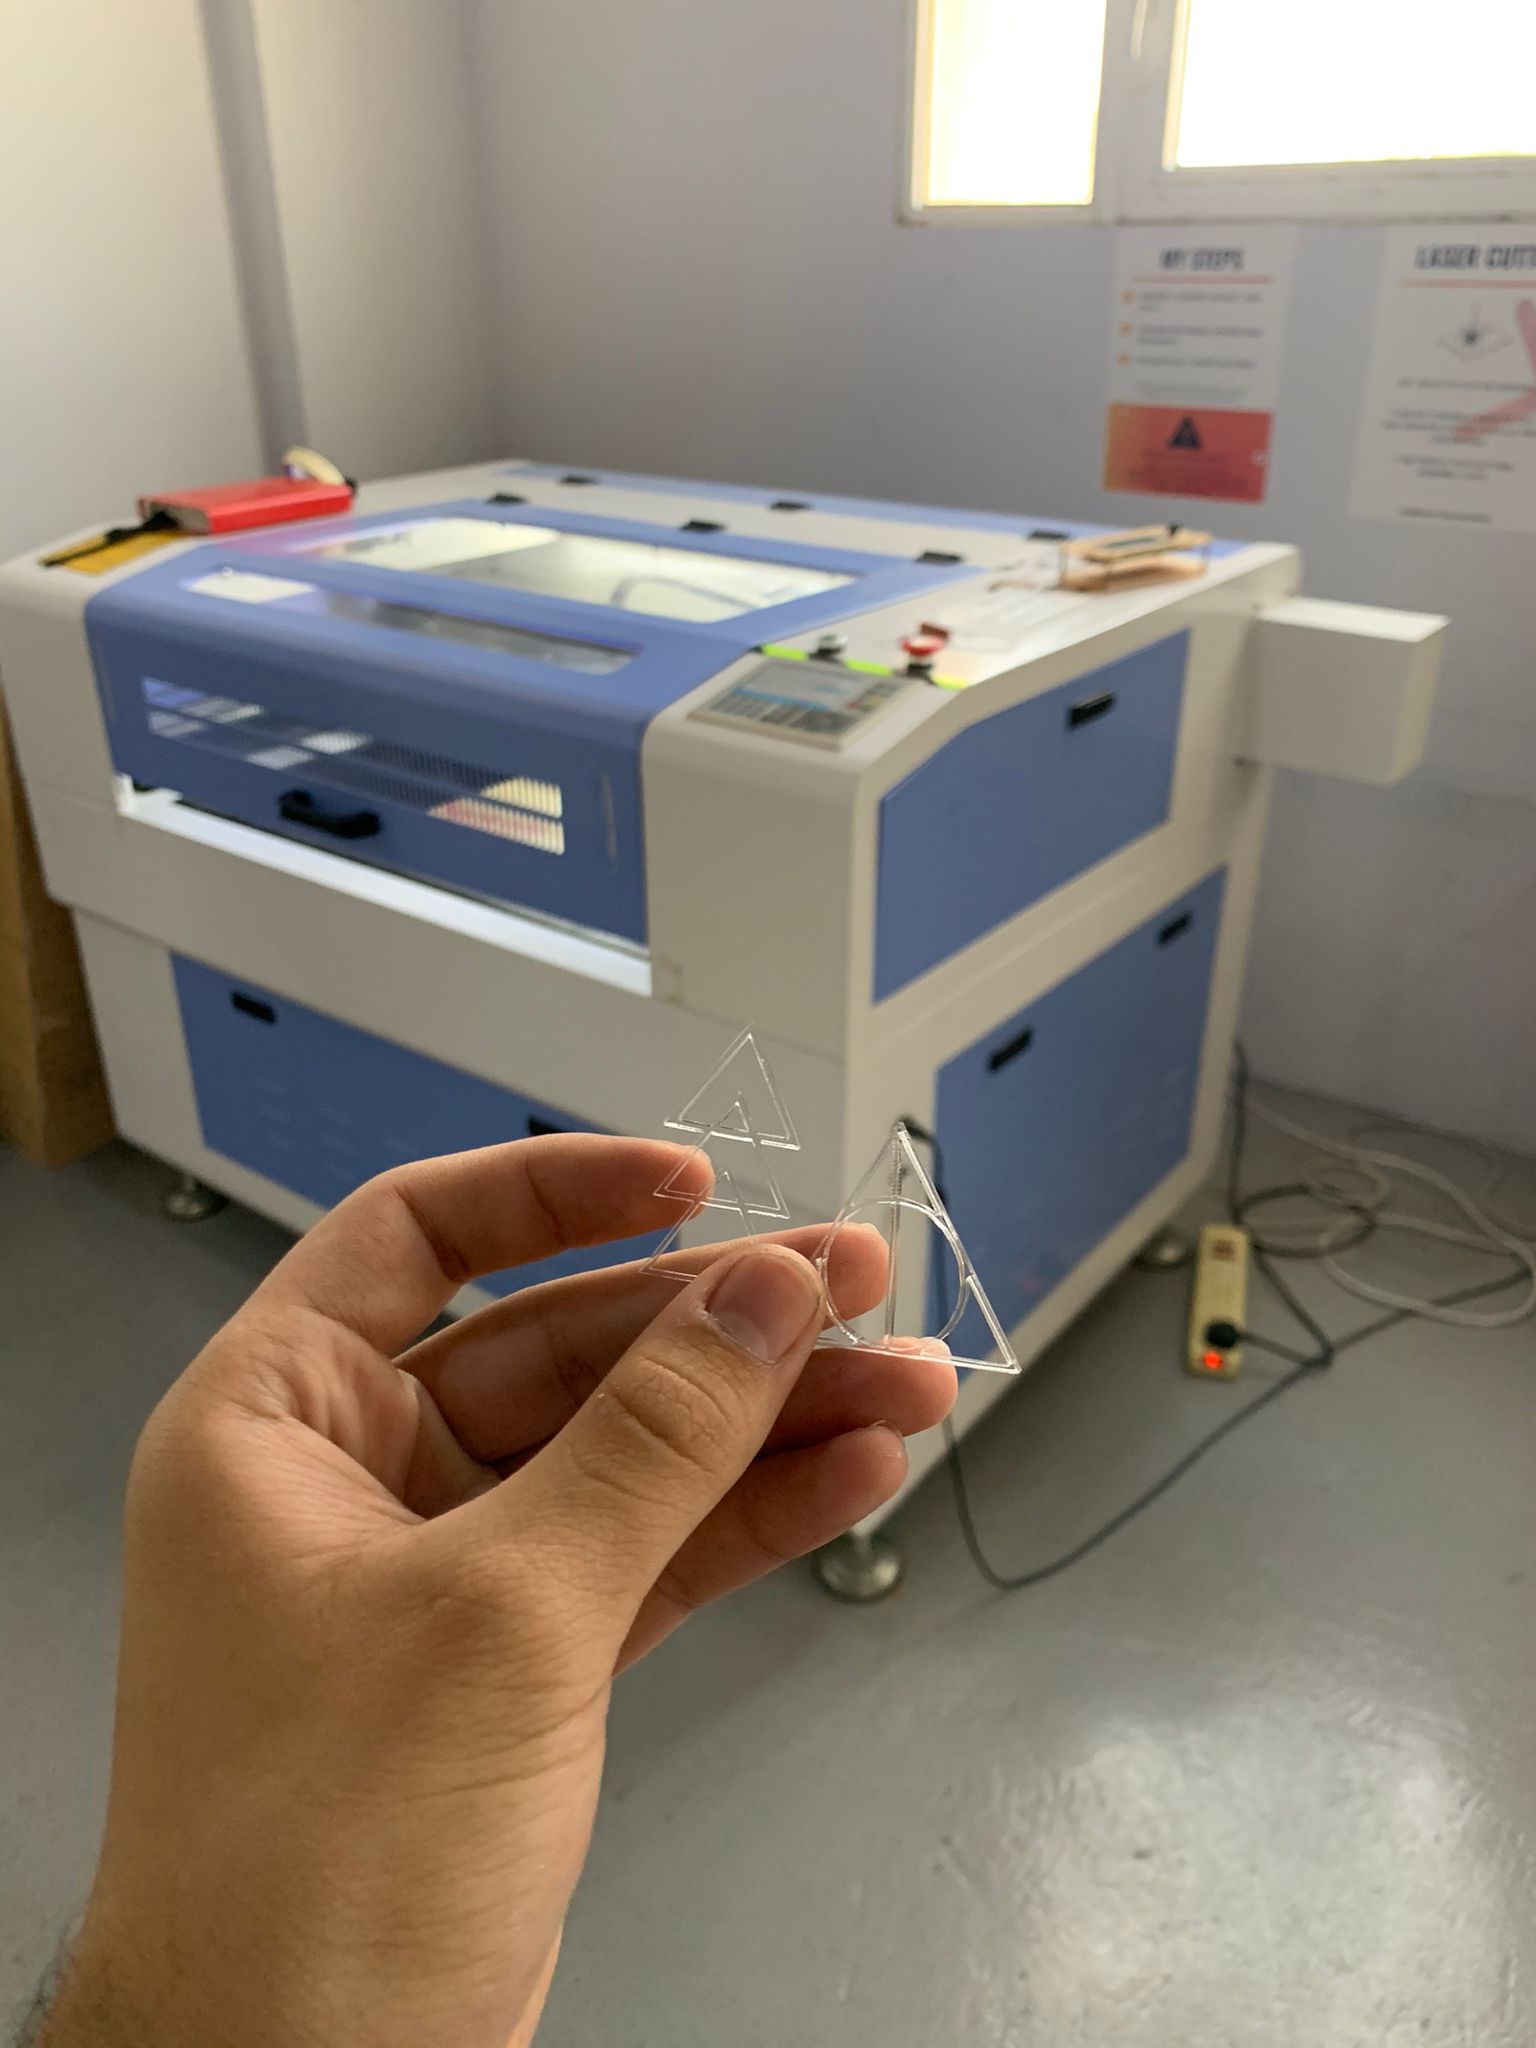
The object that I want to create consists of two objects: joint and frame. The aim is to design a sphere that consists of three circles intersect with each other through square joints
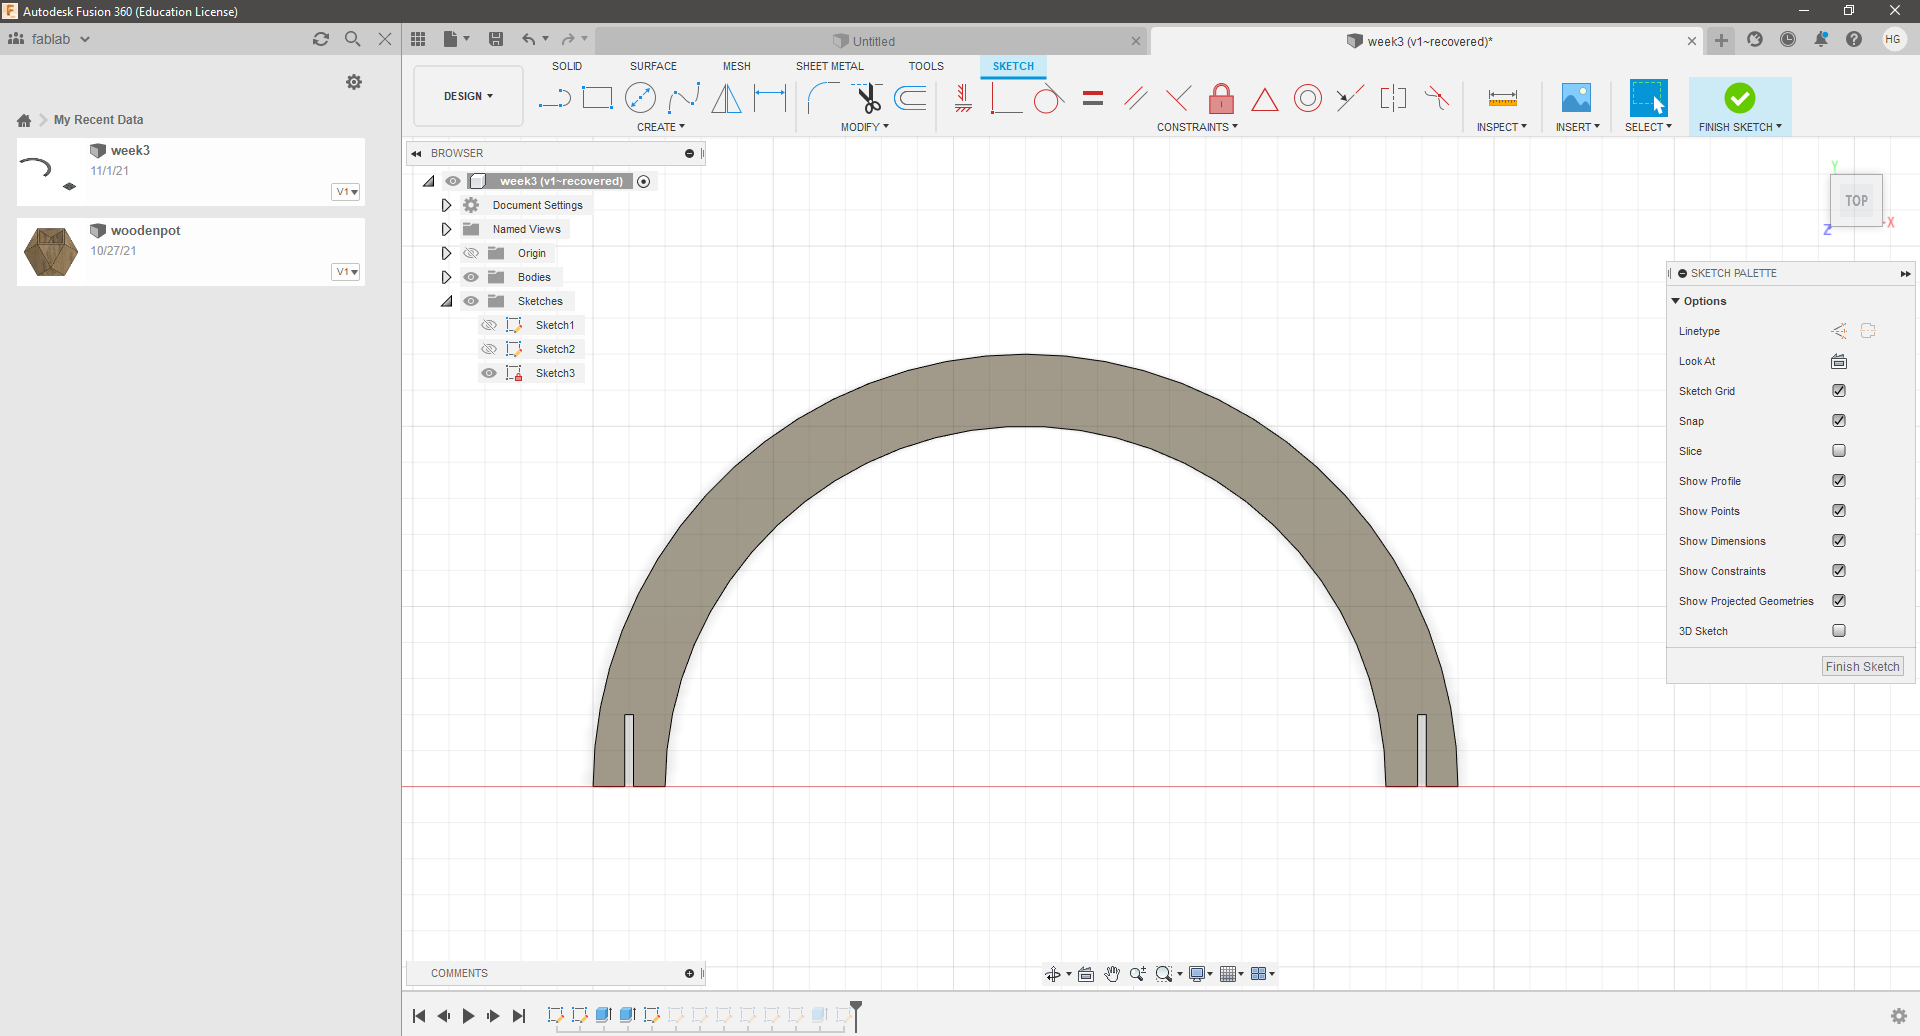
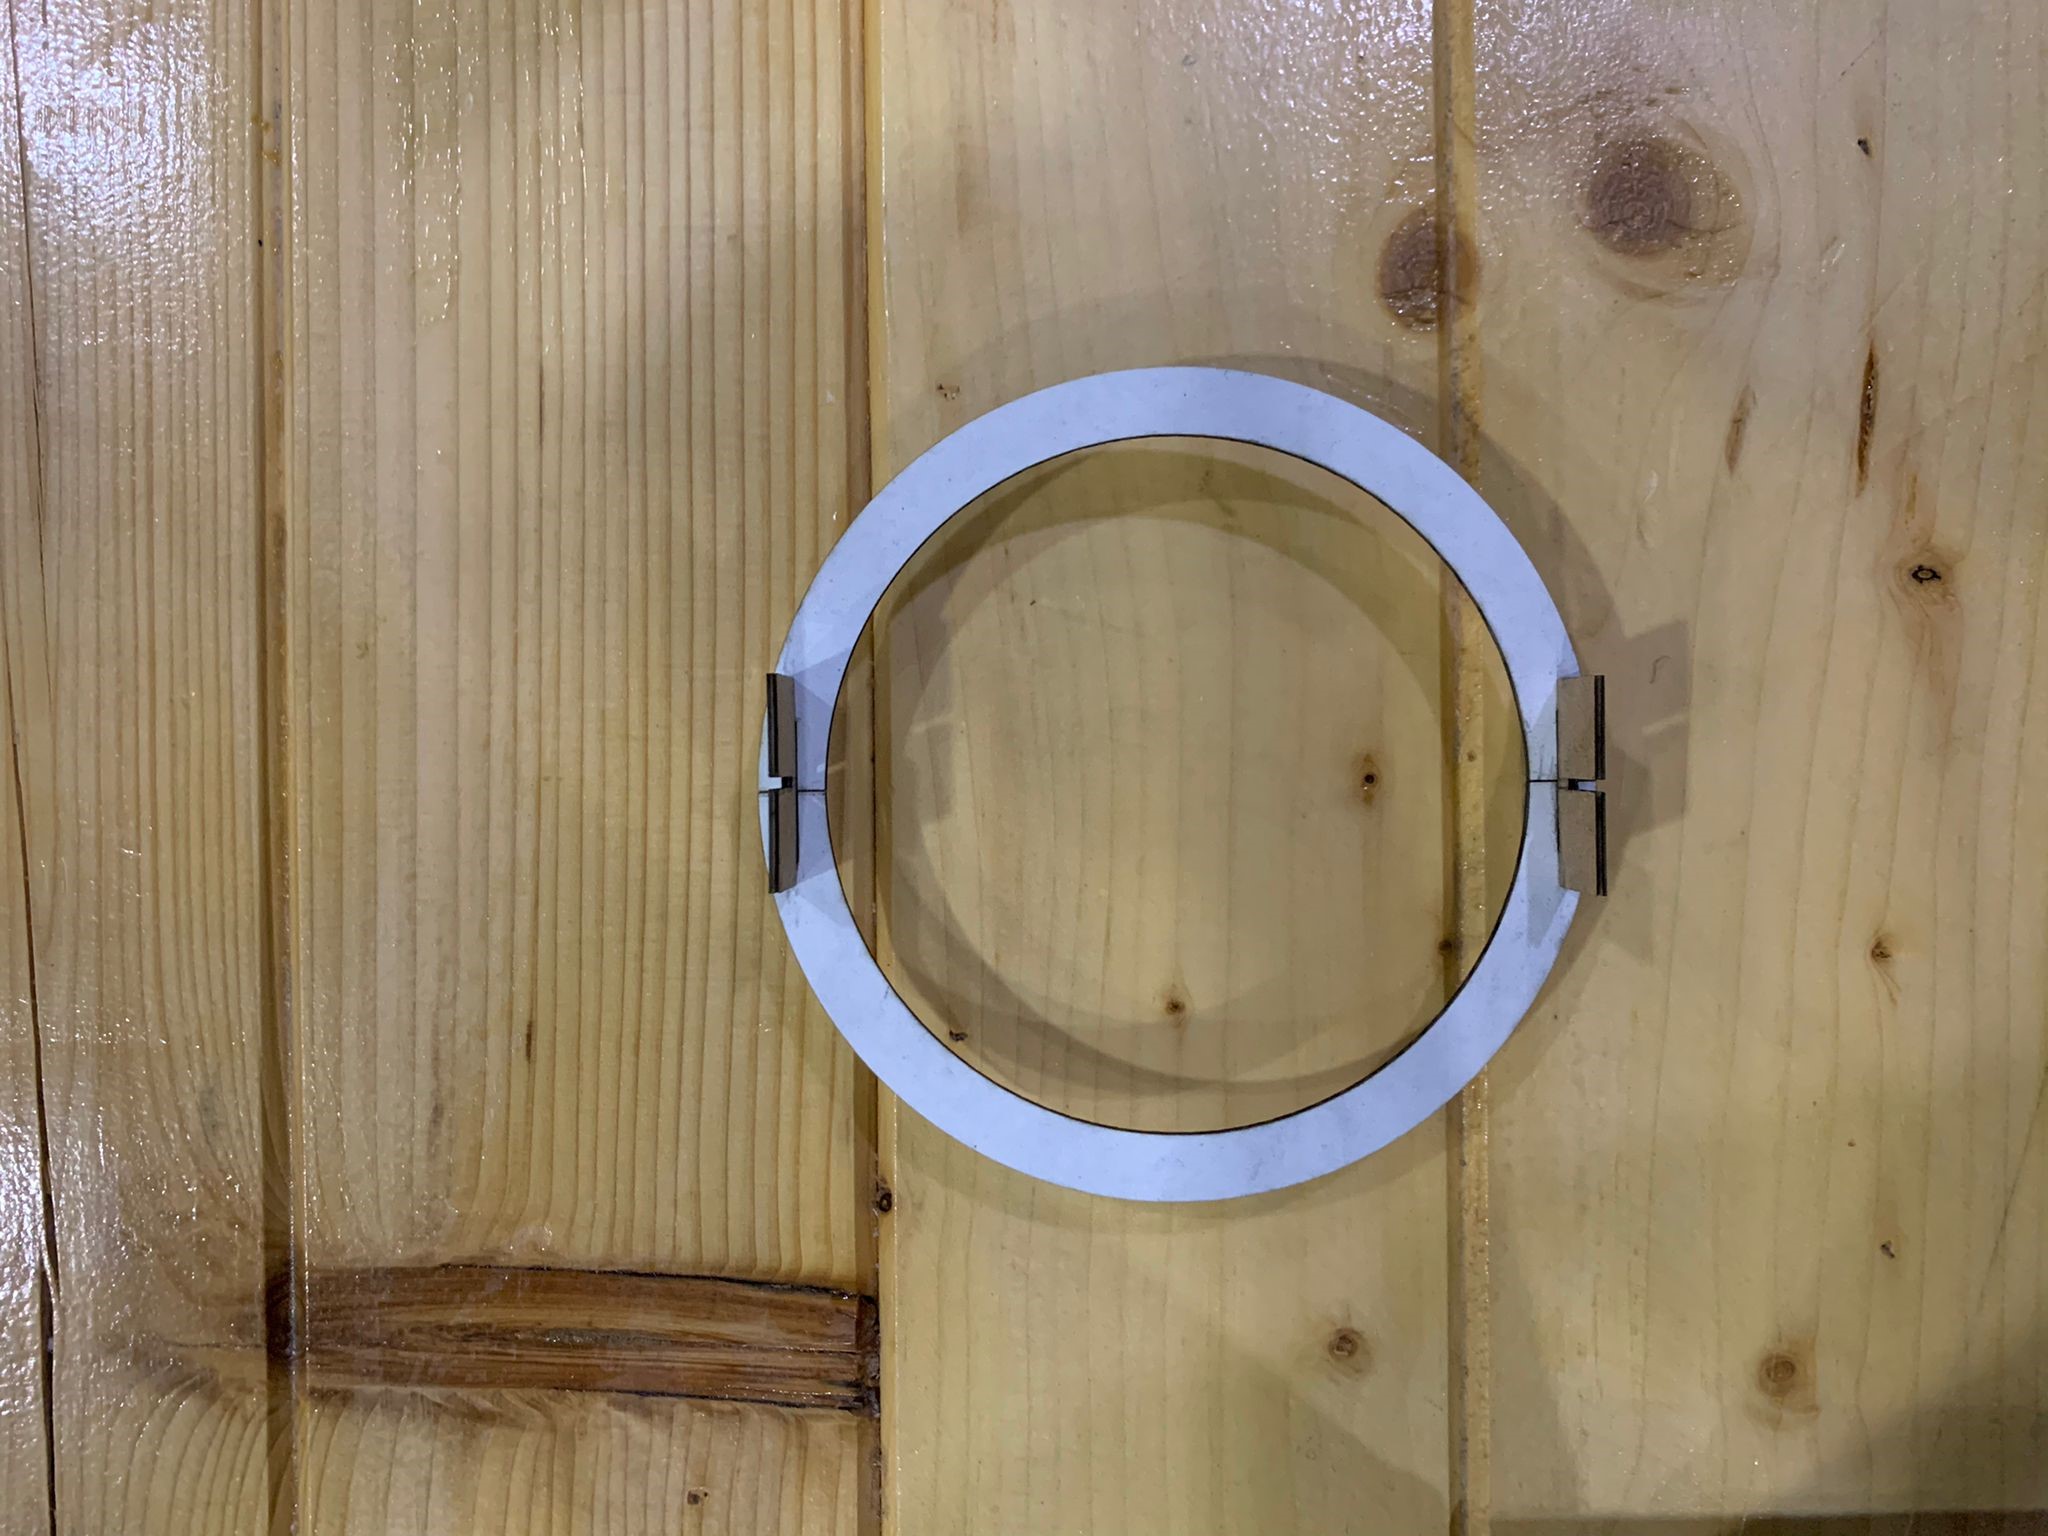
So after cutting the first shapes on the laser machines (using the gain experience in terms of settings from Task 2), I realized that when I connect them together it gives me a chance only to add one another circle so the shape will consist of two shapes only. And I didn’t want that
The settings used to cut these pieces are (S20 P35) with fitting thickness from varies from 1.23mm to 1.21mm

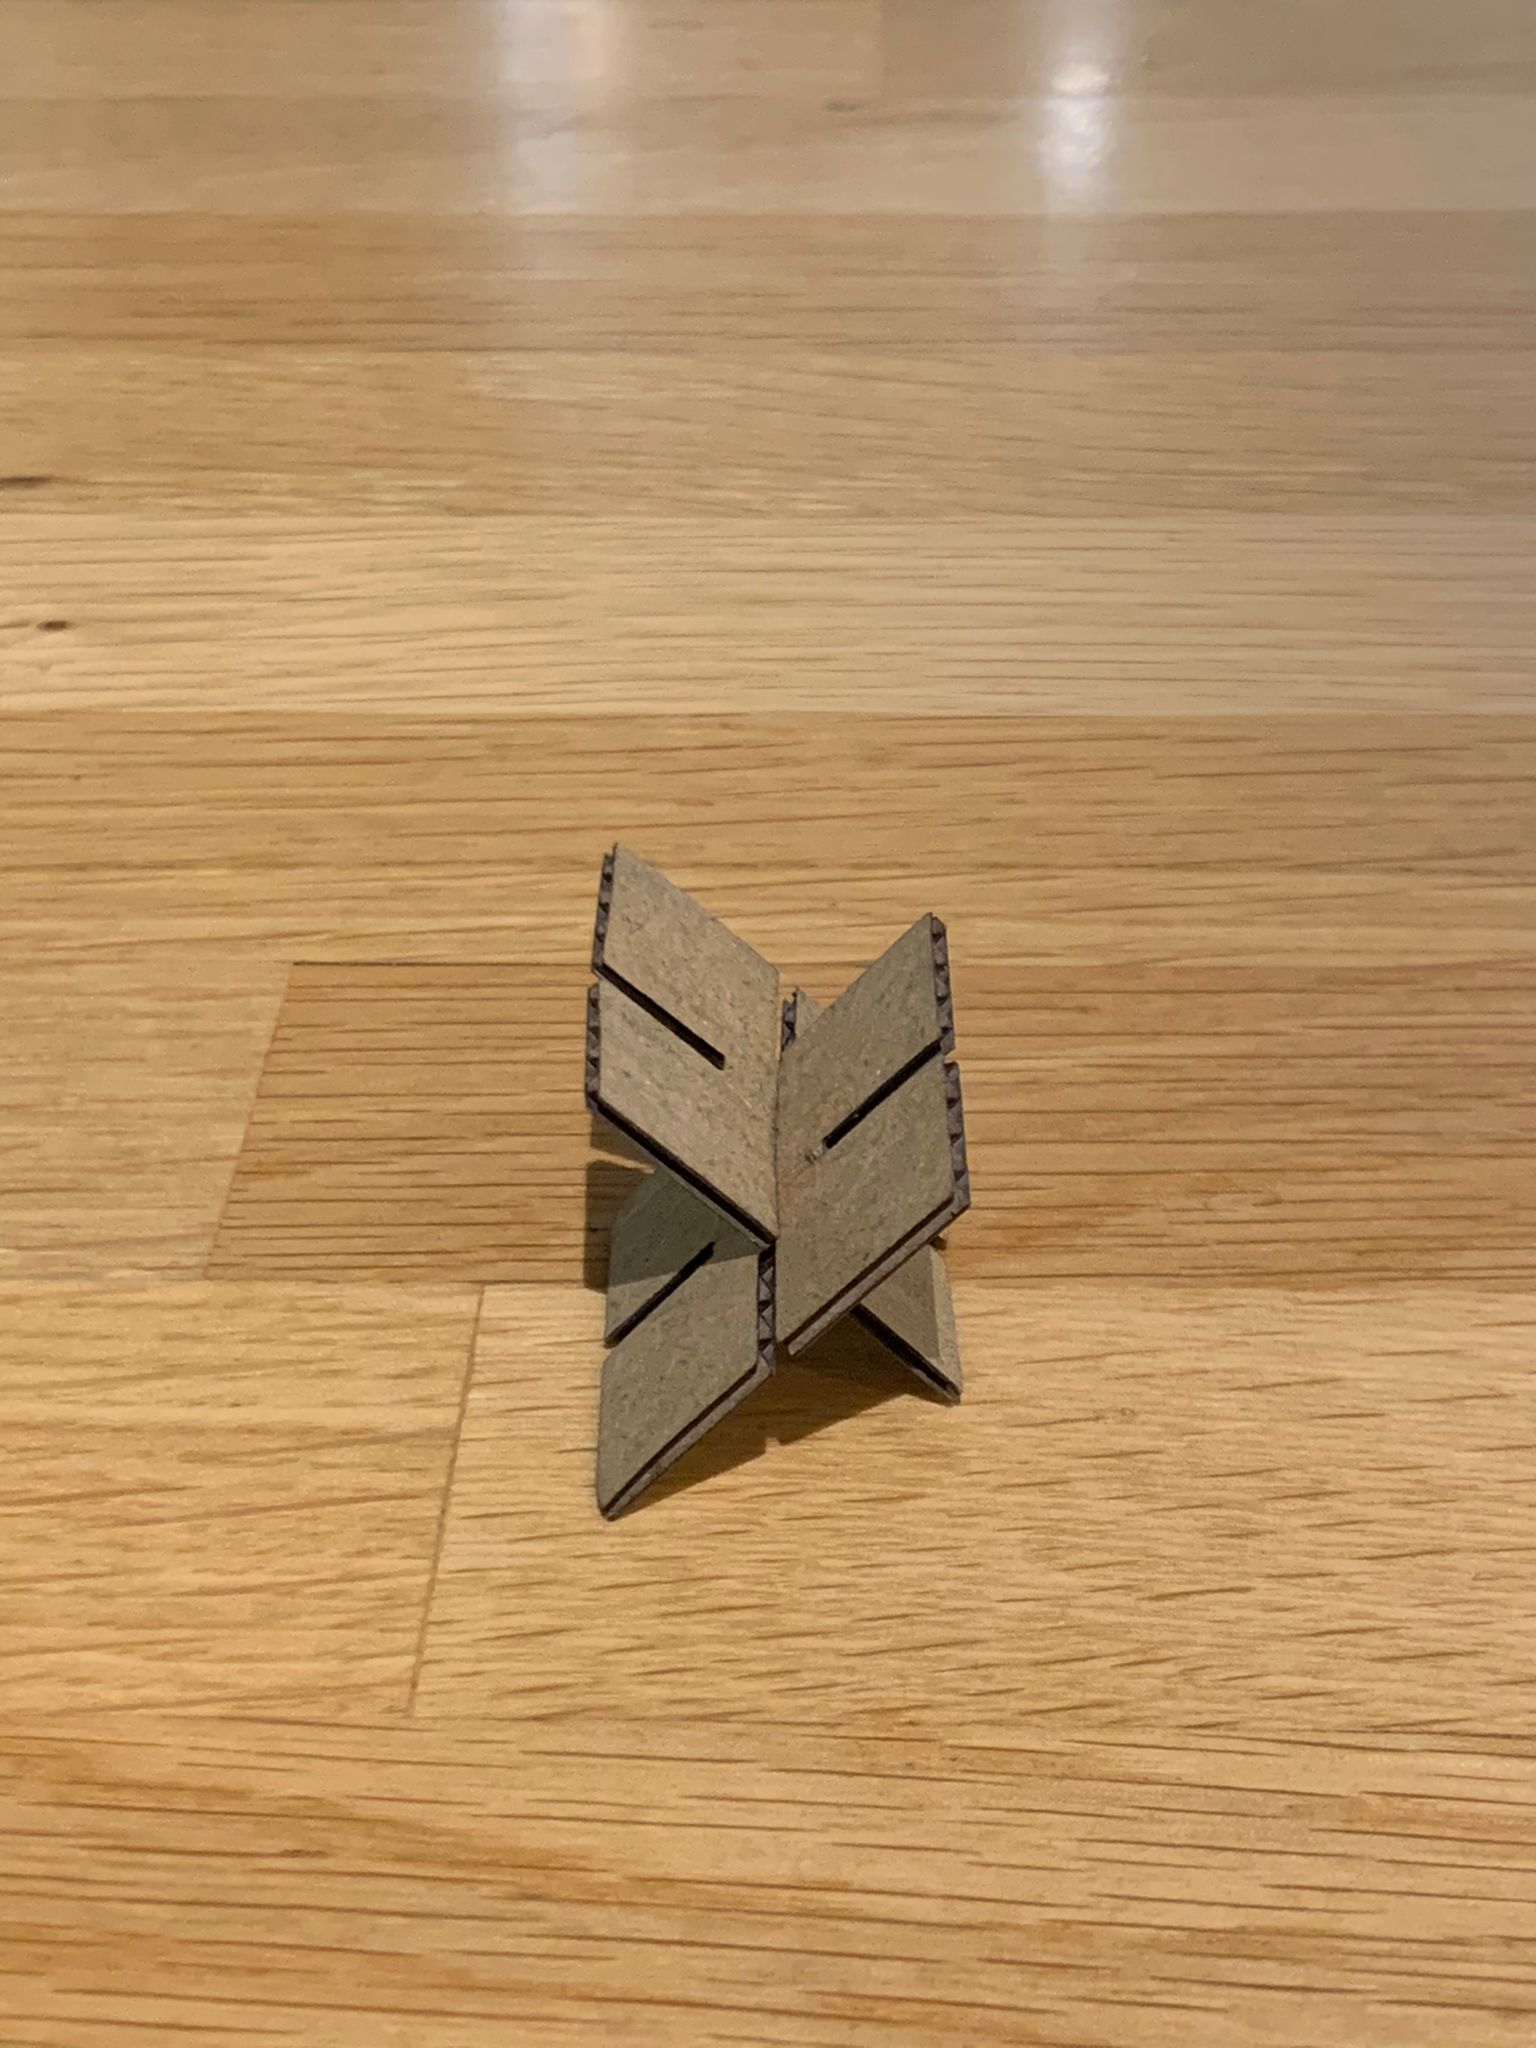
So to solve this I needed to make a quarter circle instead of a half circle in order to fit three circles in three directions
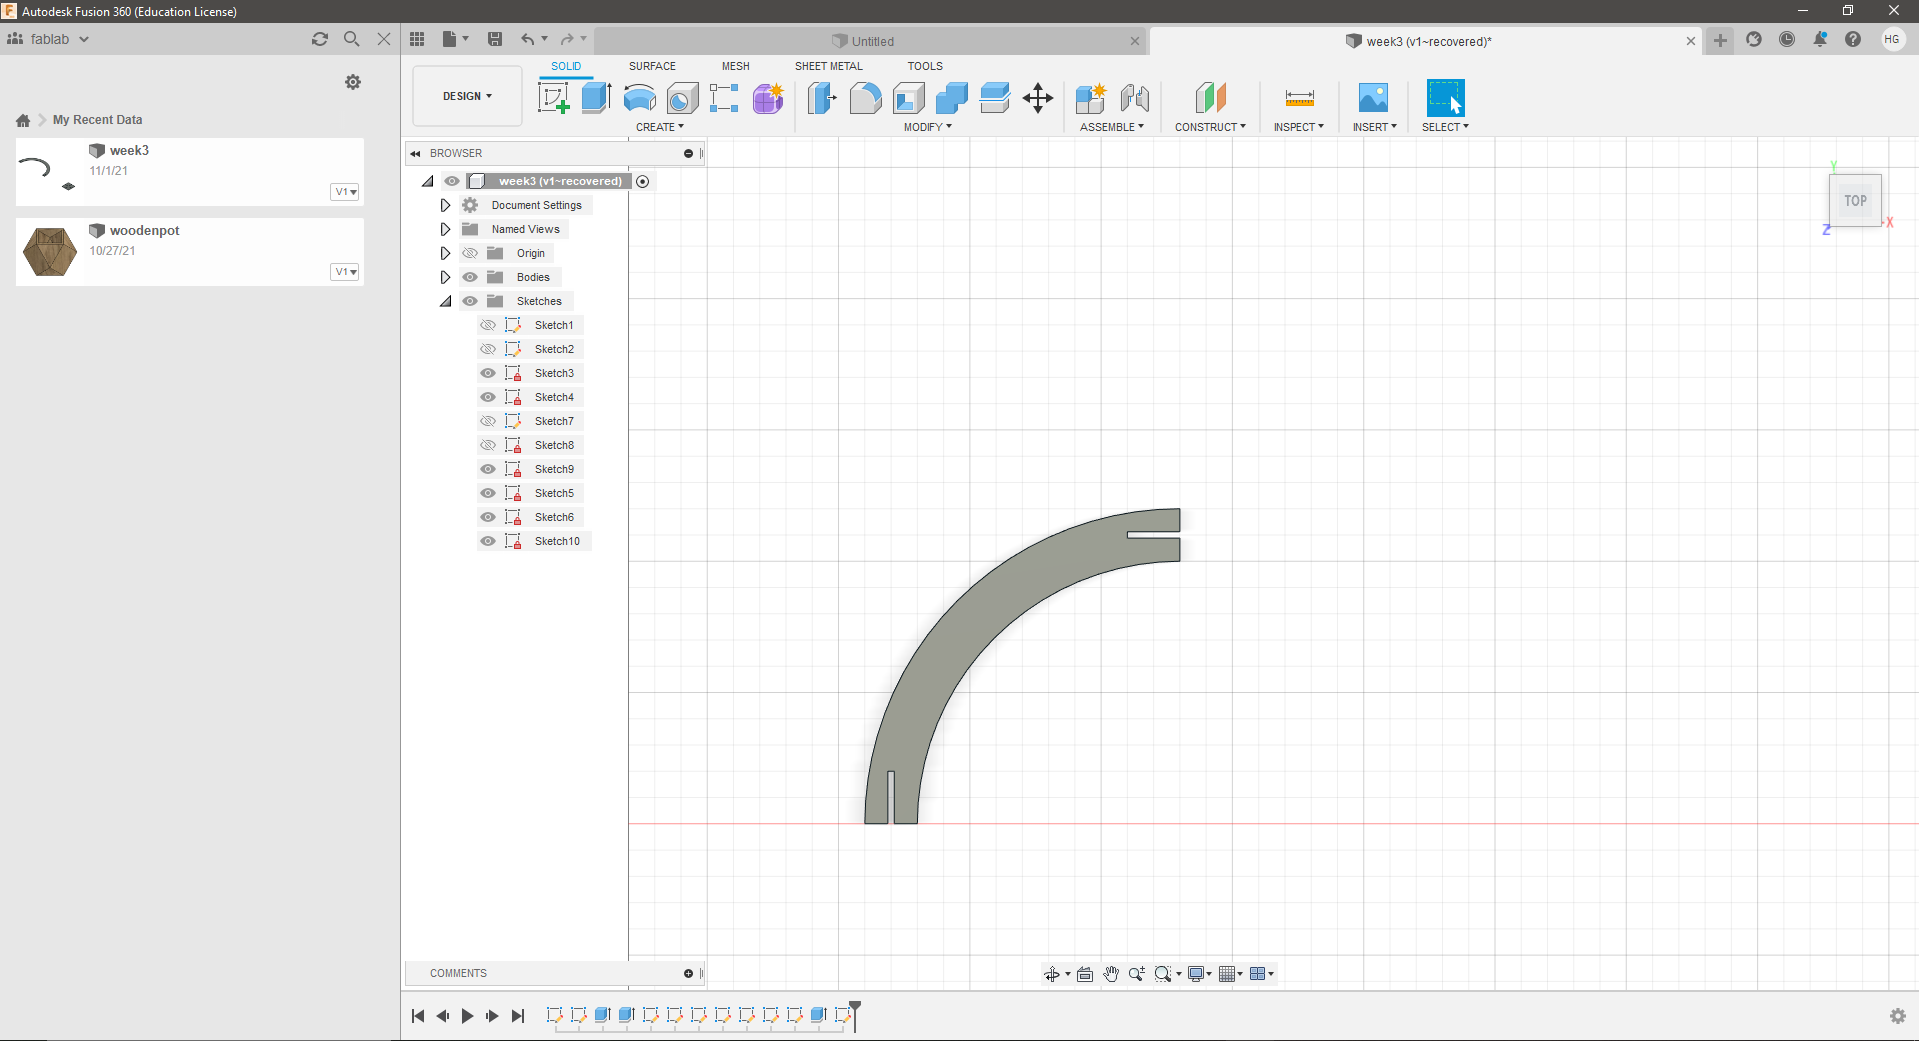
After cutting few testing samples it turned out great and I was able to come up with the final shape as planned with a sphere-like object with three circles as frames and 6 square joints that each one holds two quarters of a circle