3. Computer controlled cutting
THIS WEEK’S TASKS
1- Design, lasercut, and document a parametric press-fit construction kit, which can be assembled in multiple ways. Account for the lasercutter kerf. 2- cut something on the vinylcutter ==========================================================================================================================================
LASERCUTTING
Laser cutting uses a high-power laser which is directed through optics and computer numerical control to direct the beam or material. Typically, the process uses a motion control system to follow a CNC or G-code of the pattern that is to be cut onto the material. The focused laser beam burns, melts, vaporises or is blown away by a jet of gas to leave a high-quality surface finished edge.
The laser beam is created by the stimulation of lasing materials through electrical discharges or lamps inside a closed container.
Designing process
I used Fusion360 to design a construction kit that can be assembled but with a little twist !
Here is the reference I used done by the lab to choose the prefered joint for my project.
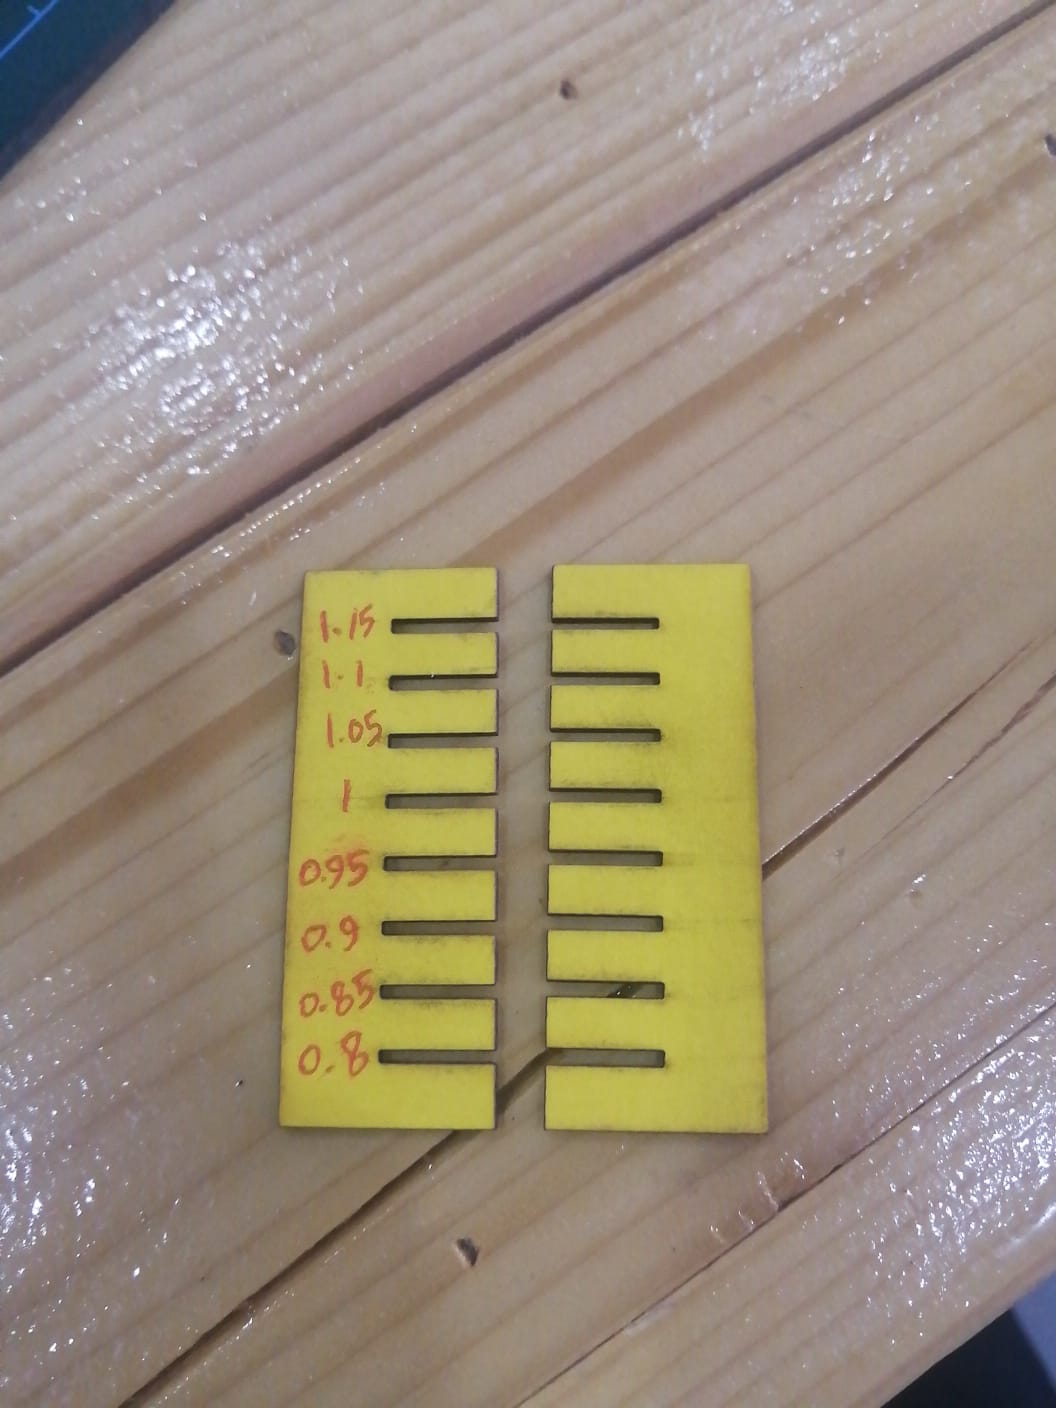
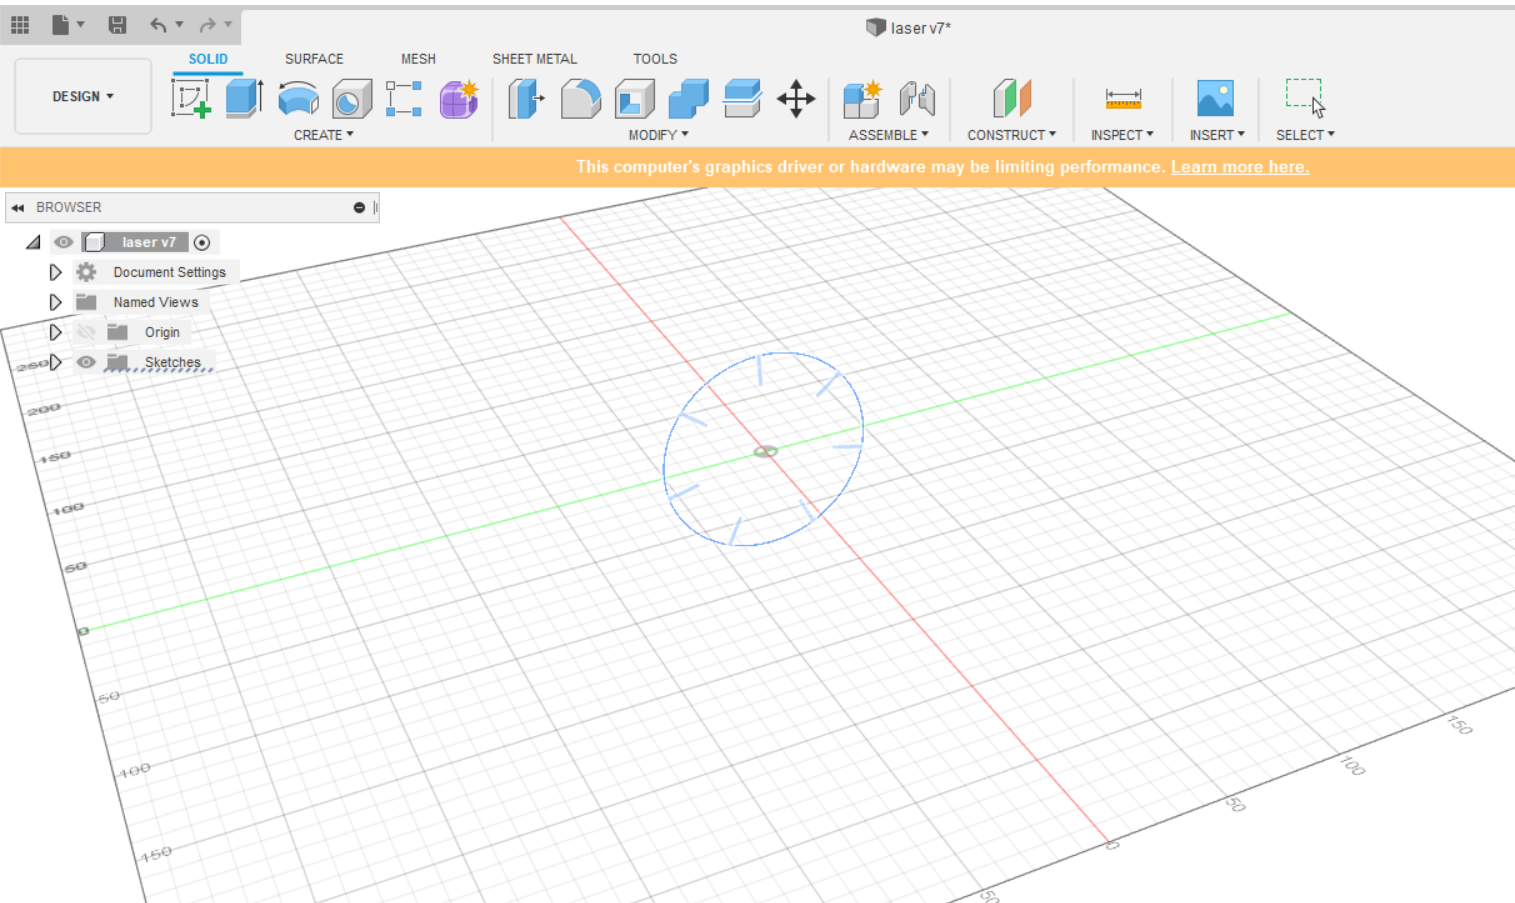
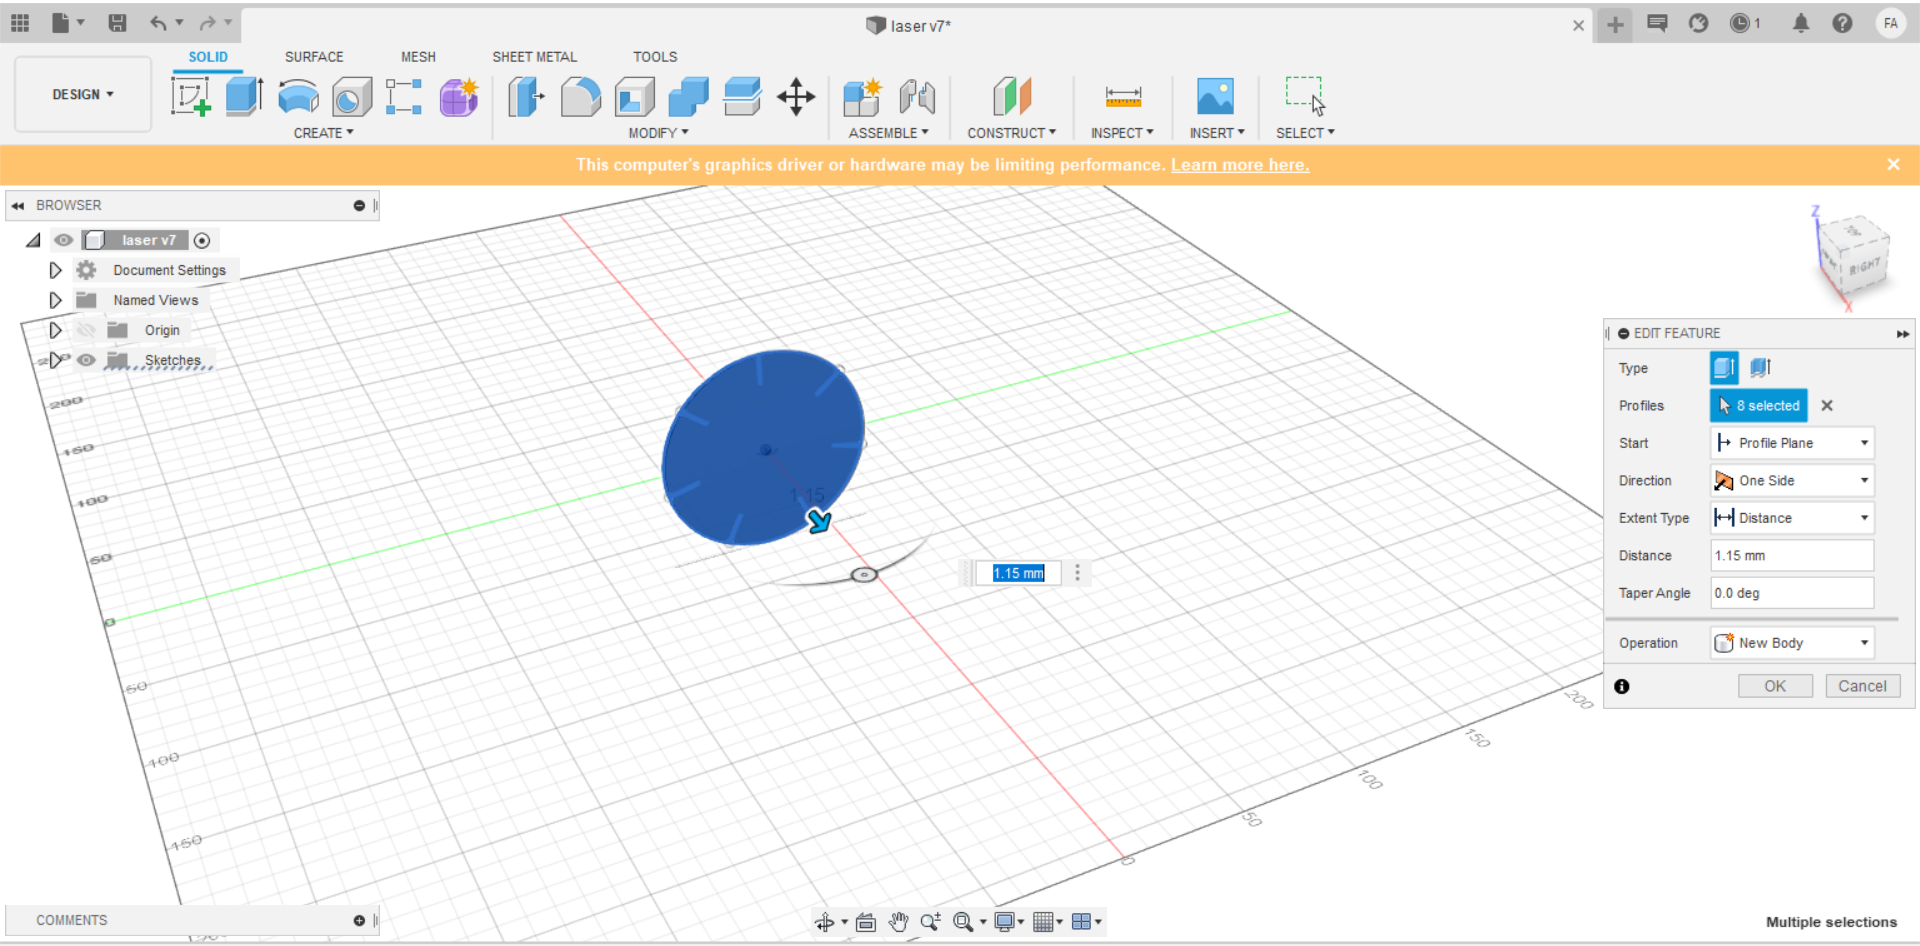
Firstly, I created a new sketch and drew a circle , then added the joints using the line option and according to the thickness of the material and uniformly placed it using the circular pattern option.
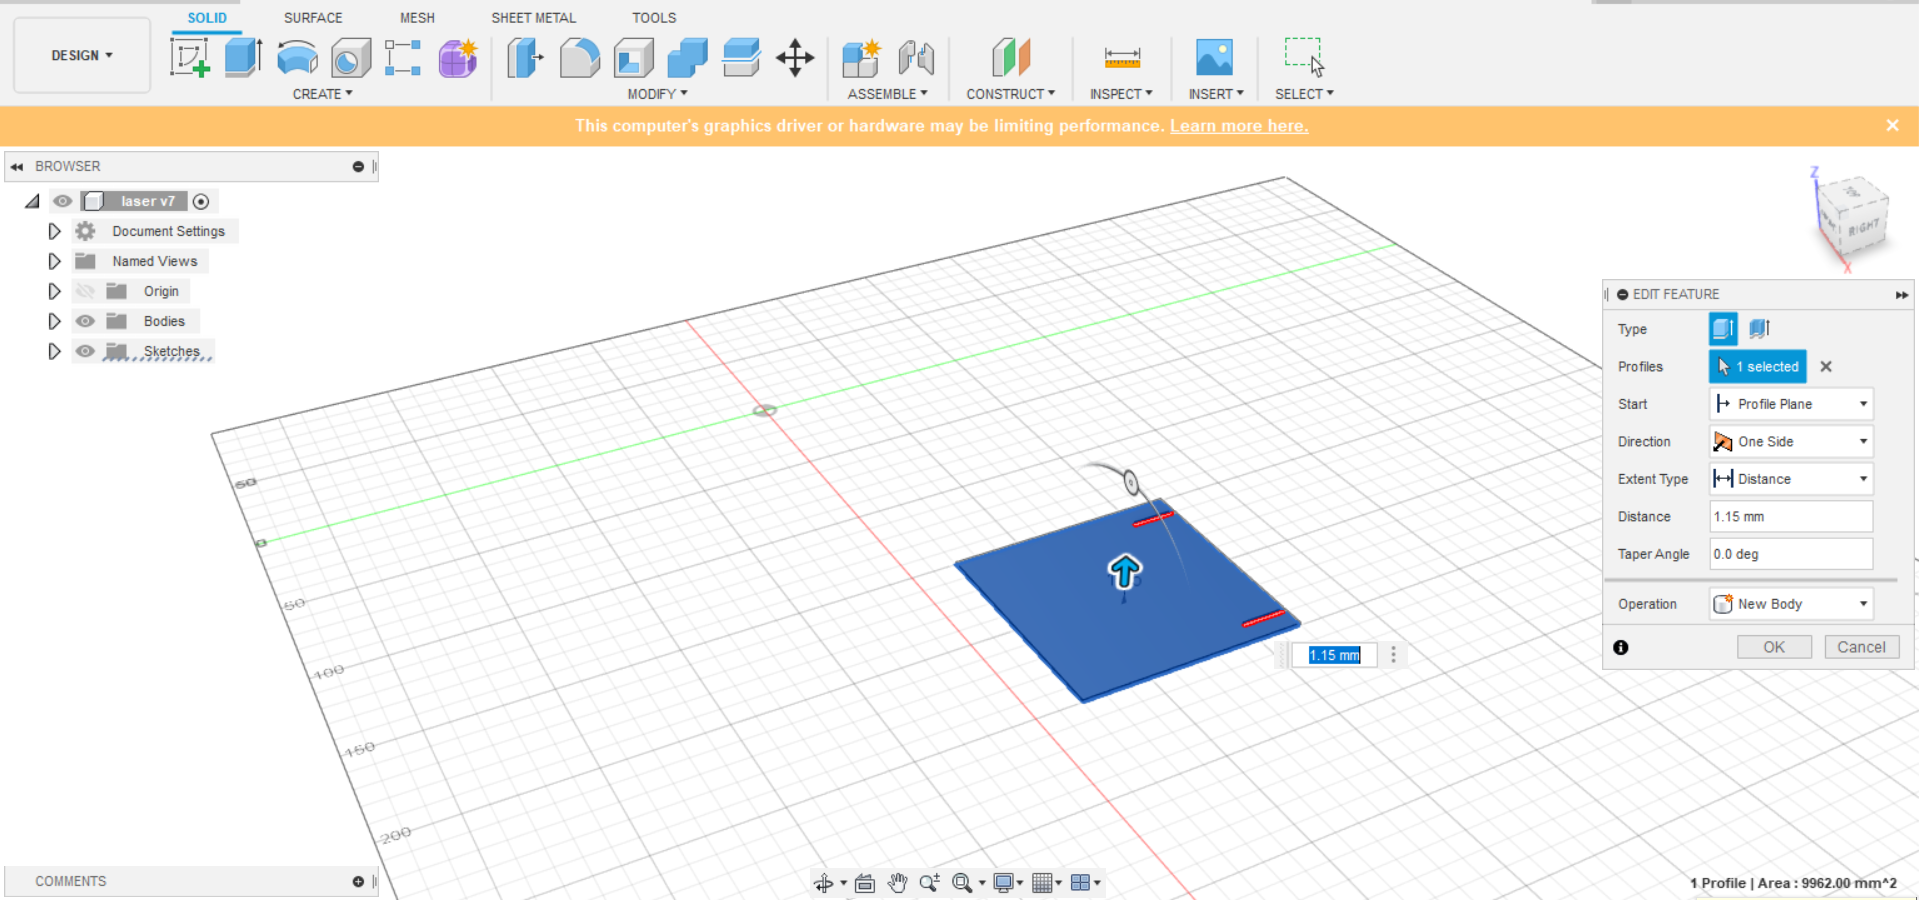
Next, I extruded the profile
And I repeated the same steps but for a rectangle
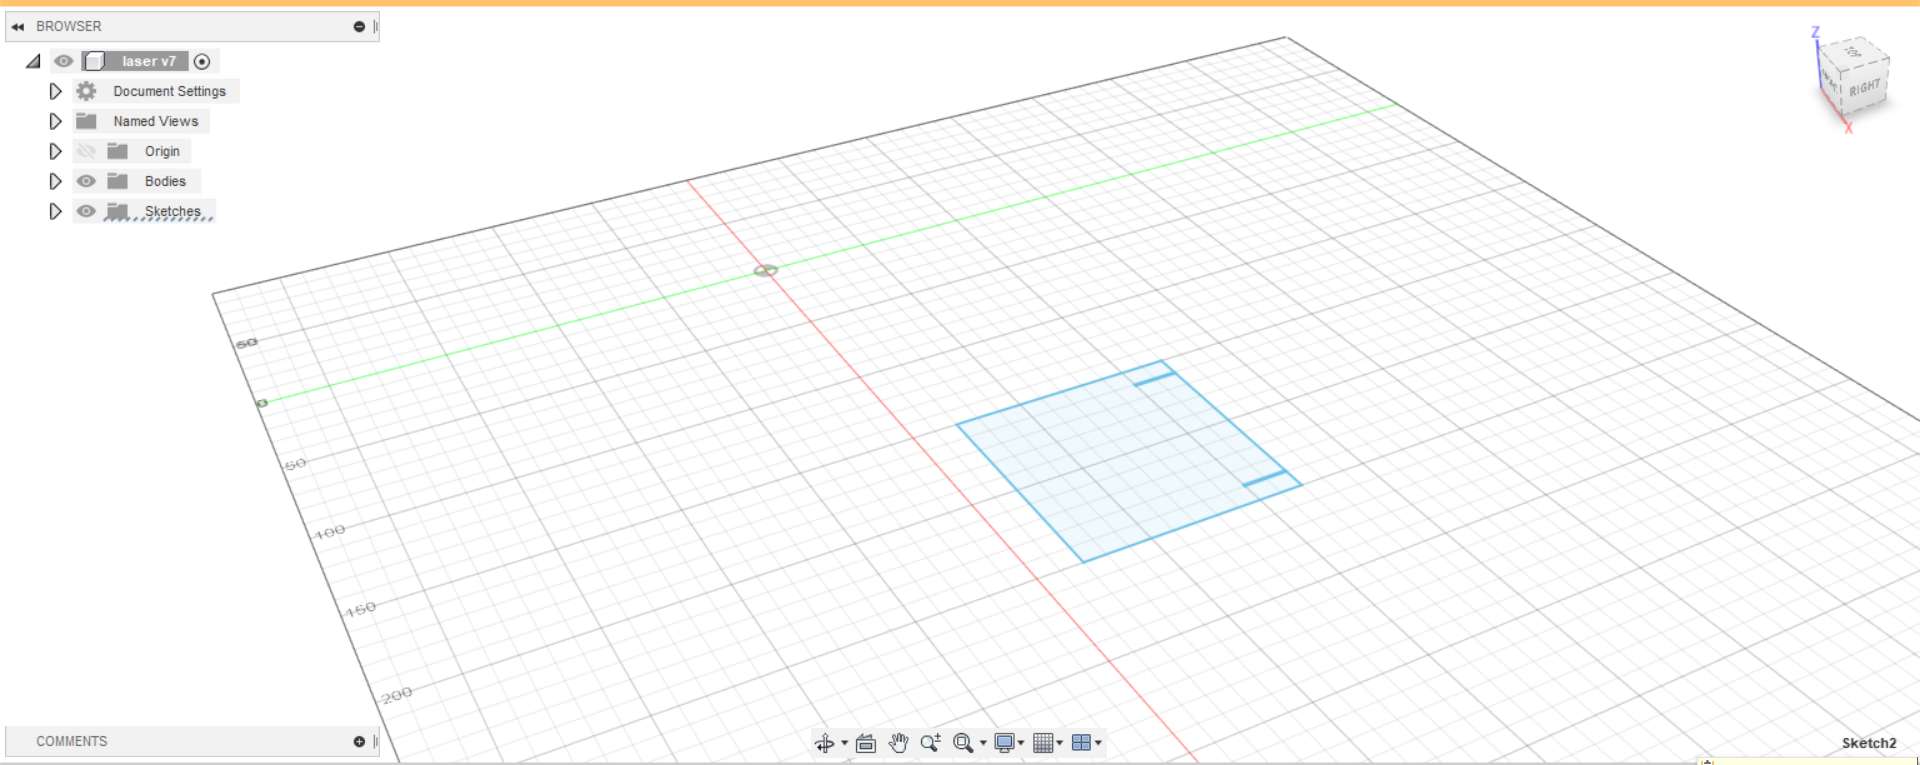
I added two joints on the top and extruded the profile
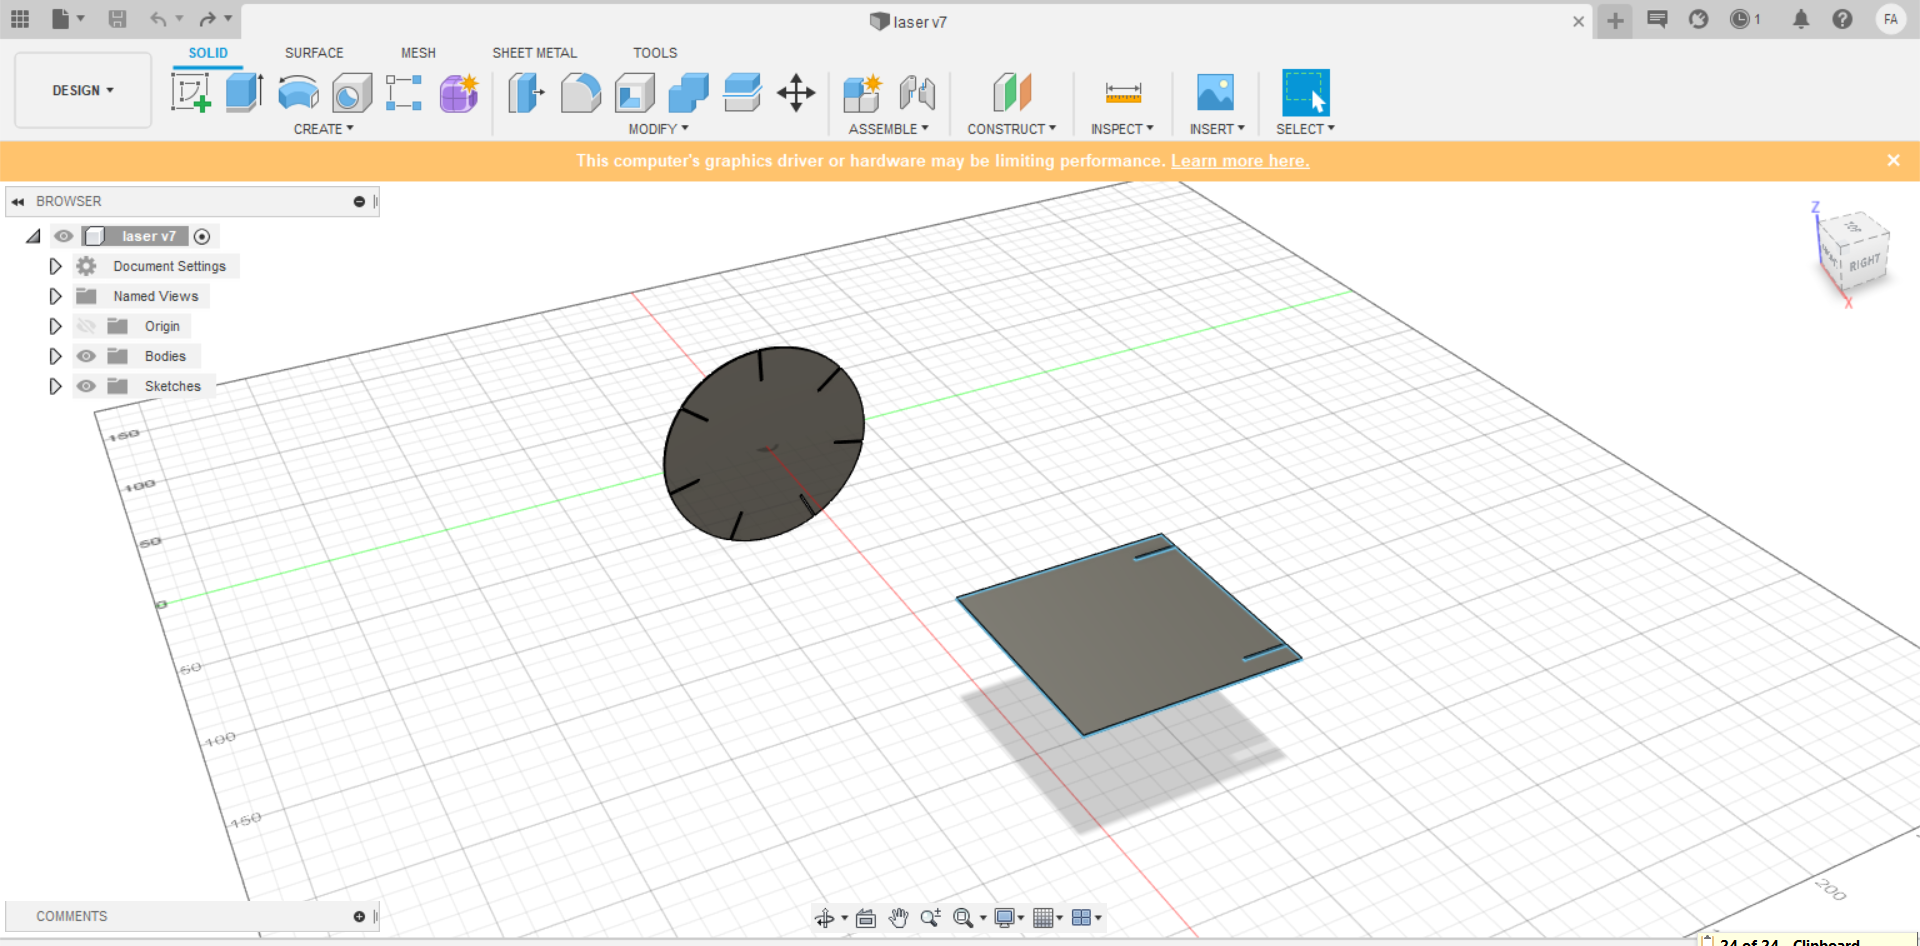
Lastly, I exported the two shapes as a dxf file
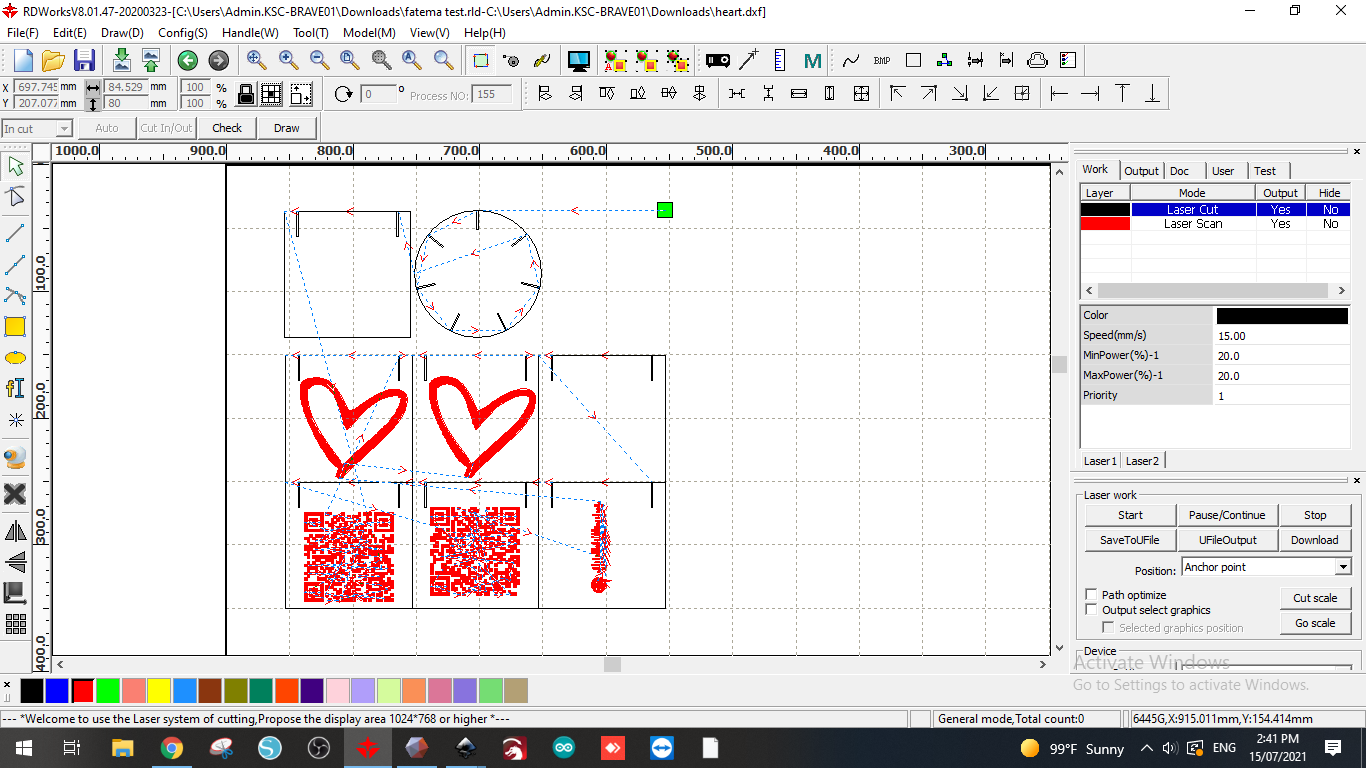
RD WORKS
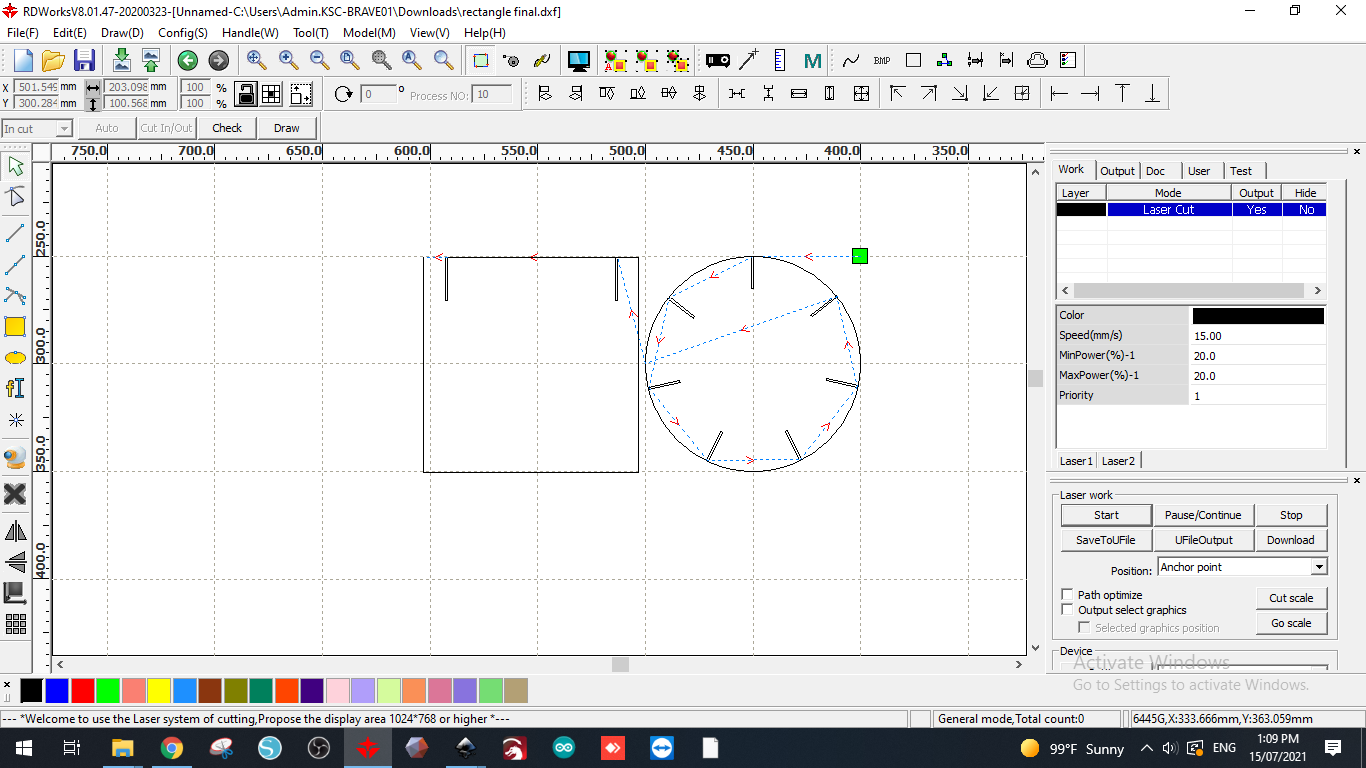
Firstly, we exported the dxf file to a software called RD Works to laser cut .
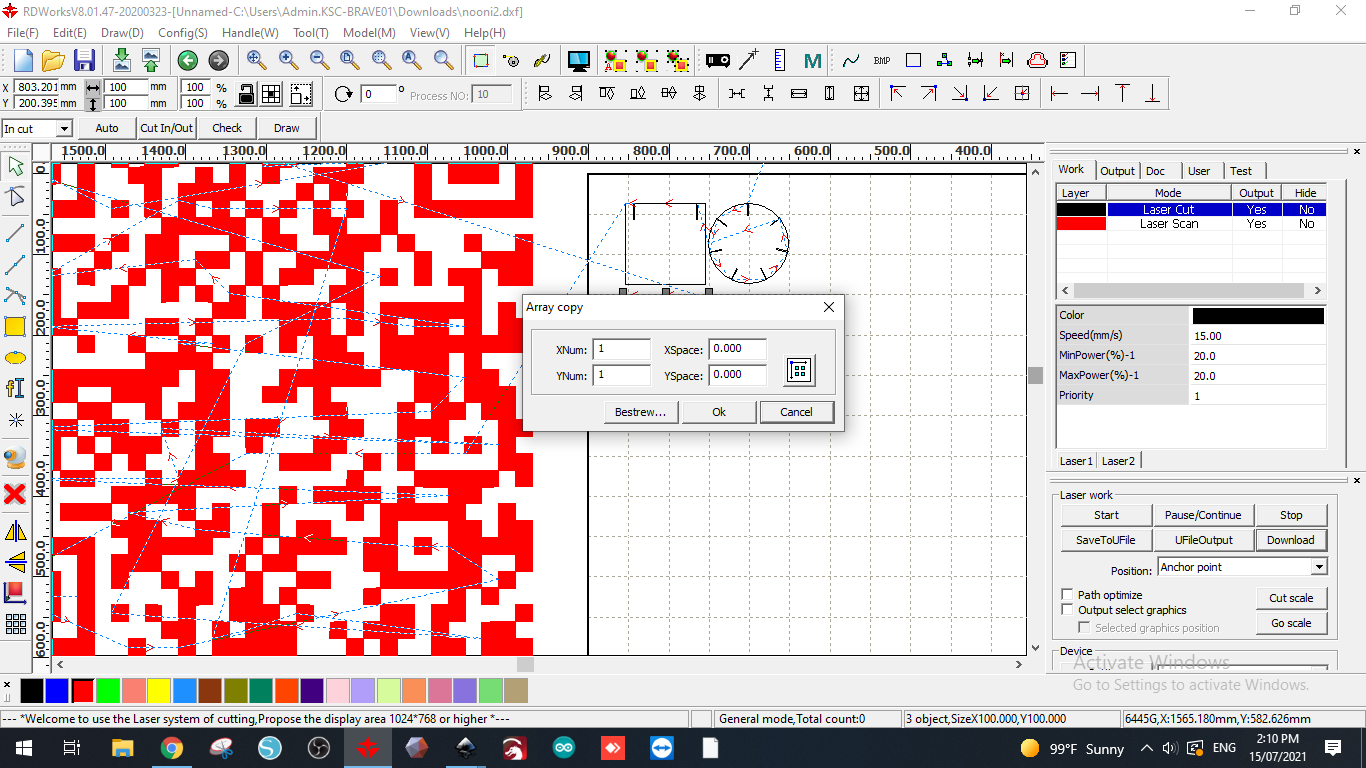
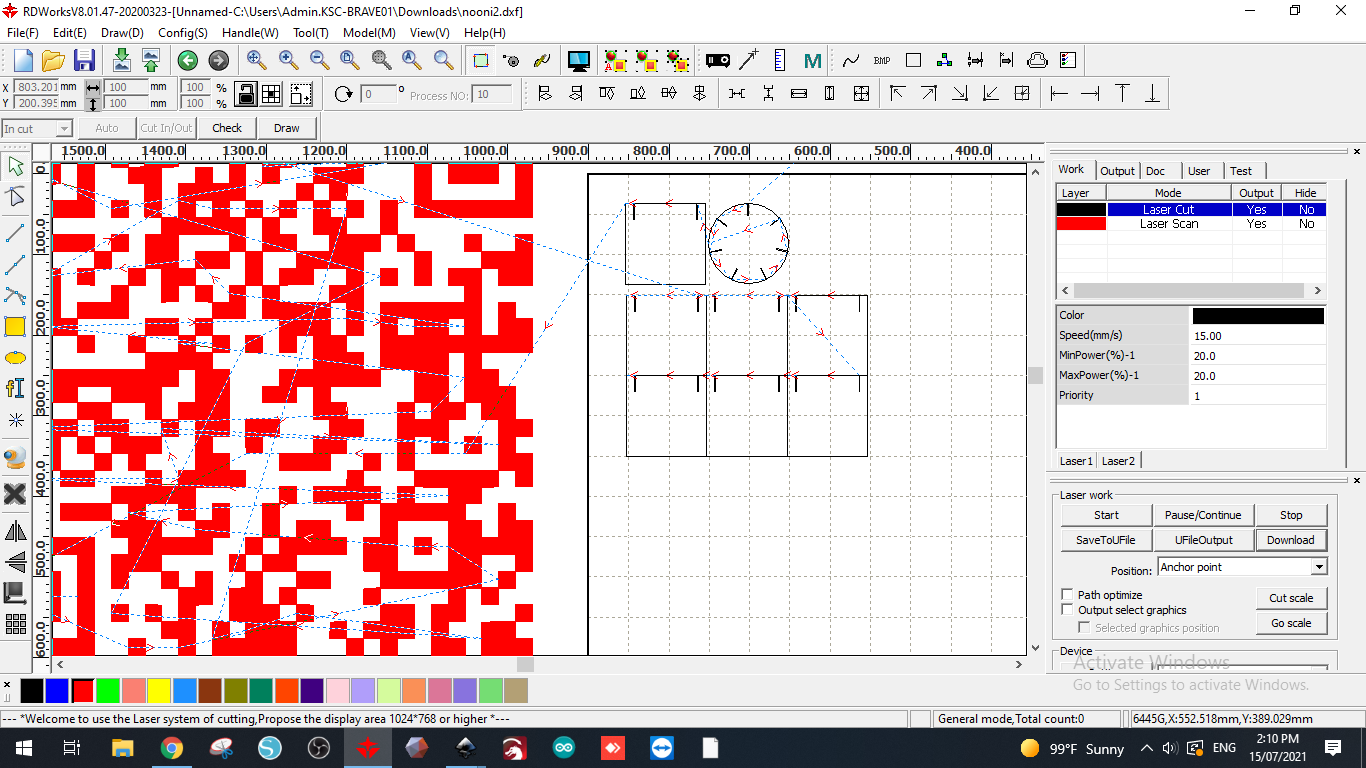
Next, we copied the designs easily depending on how much we need using this feature.
Then, I exported some pictures to be engraved using inkscape and turning them into dxf filesand the importing it into RD works.
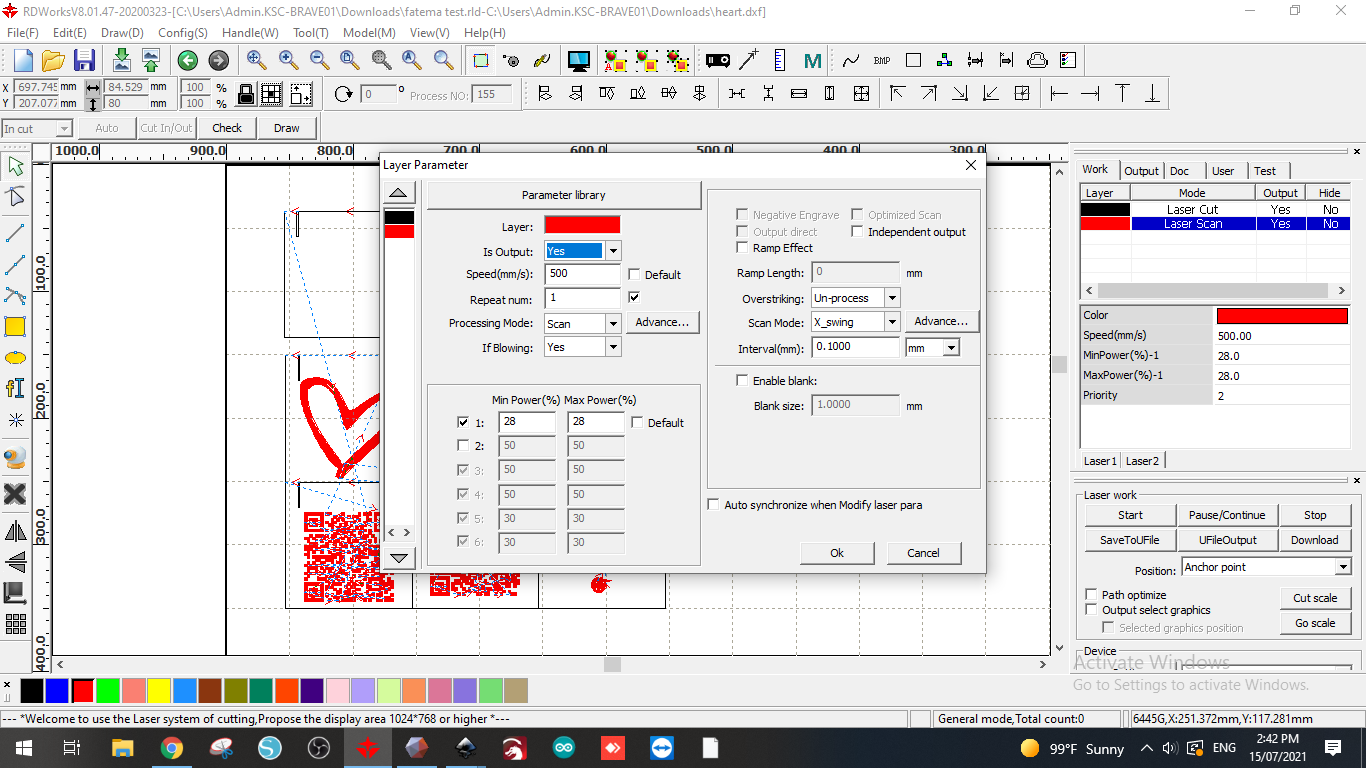
Here, we are using the layer parameter option to decide how to shapes should be lasercut and at what speed Sketch
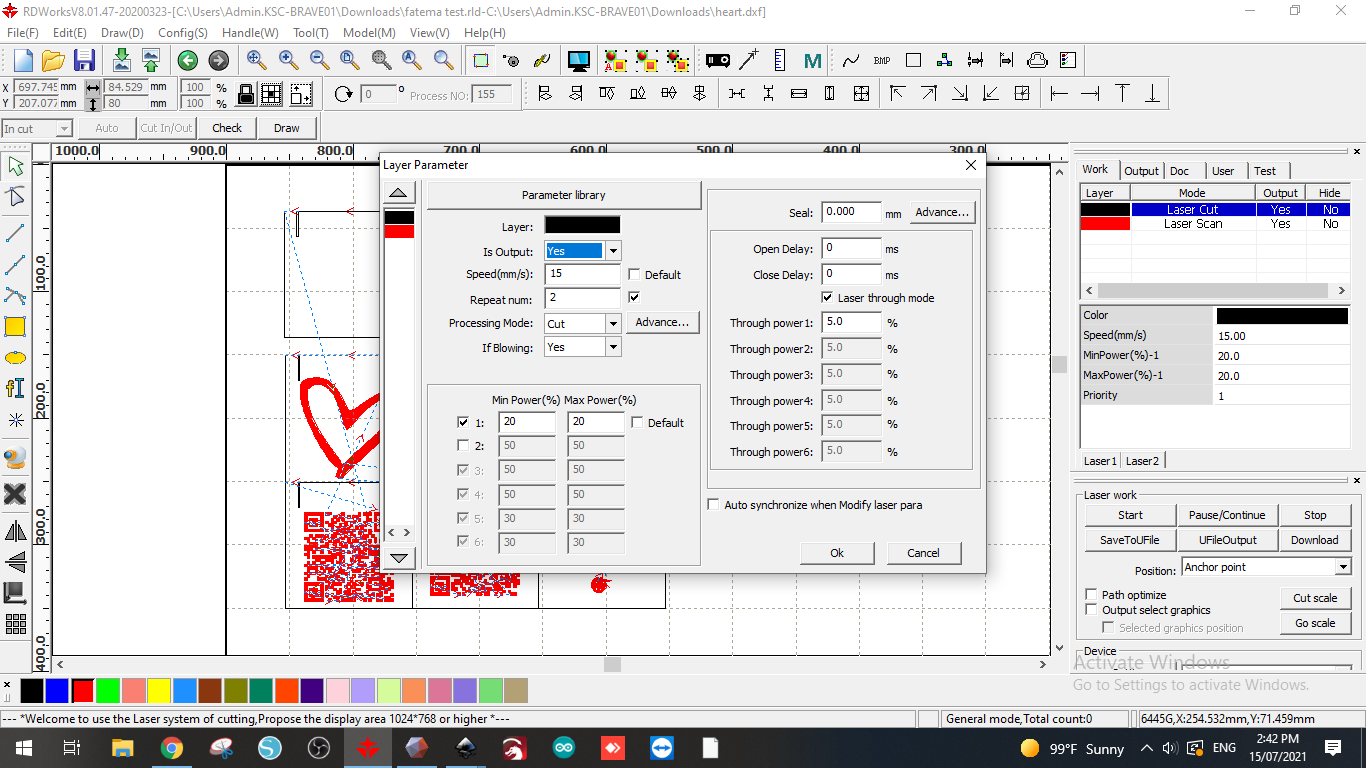
As you can see , we can use color to differentiate the settings of the cut we modified the setting and used black for complete cutting and red for engraving
And here it is ready to be cut!
=============================================================================================================================================
PRACTICAL
PRECAUTIONS TO BE TAKEN
LASER cutters use a high intensity beam of LASER light that produces extremely high temperatures as it comes into contact with the materials it is engraving, marking or cutting
- NEVER operate the system unattended. One operator must be present at ALL times.
- ALWAYS keep the area around cutter free of debris, clutter and flammable materials.
- ALWAYS keep a properly maintained fire extinguisher in the area. Keep the interior of the LASER cutter clean and free of debris. Visually inspect the interior between uses and clean tray if debris or residue are present.
- DO NOT modify or disable any safety features of the laser system.
- DO NOT operate the laser unless all covers are in place and are working properly.
- DO NOT look directly into LASER beam
Firstly we did a test runout
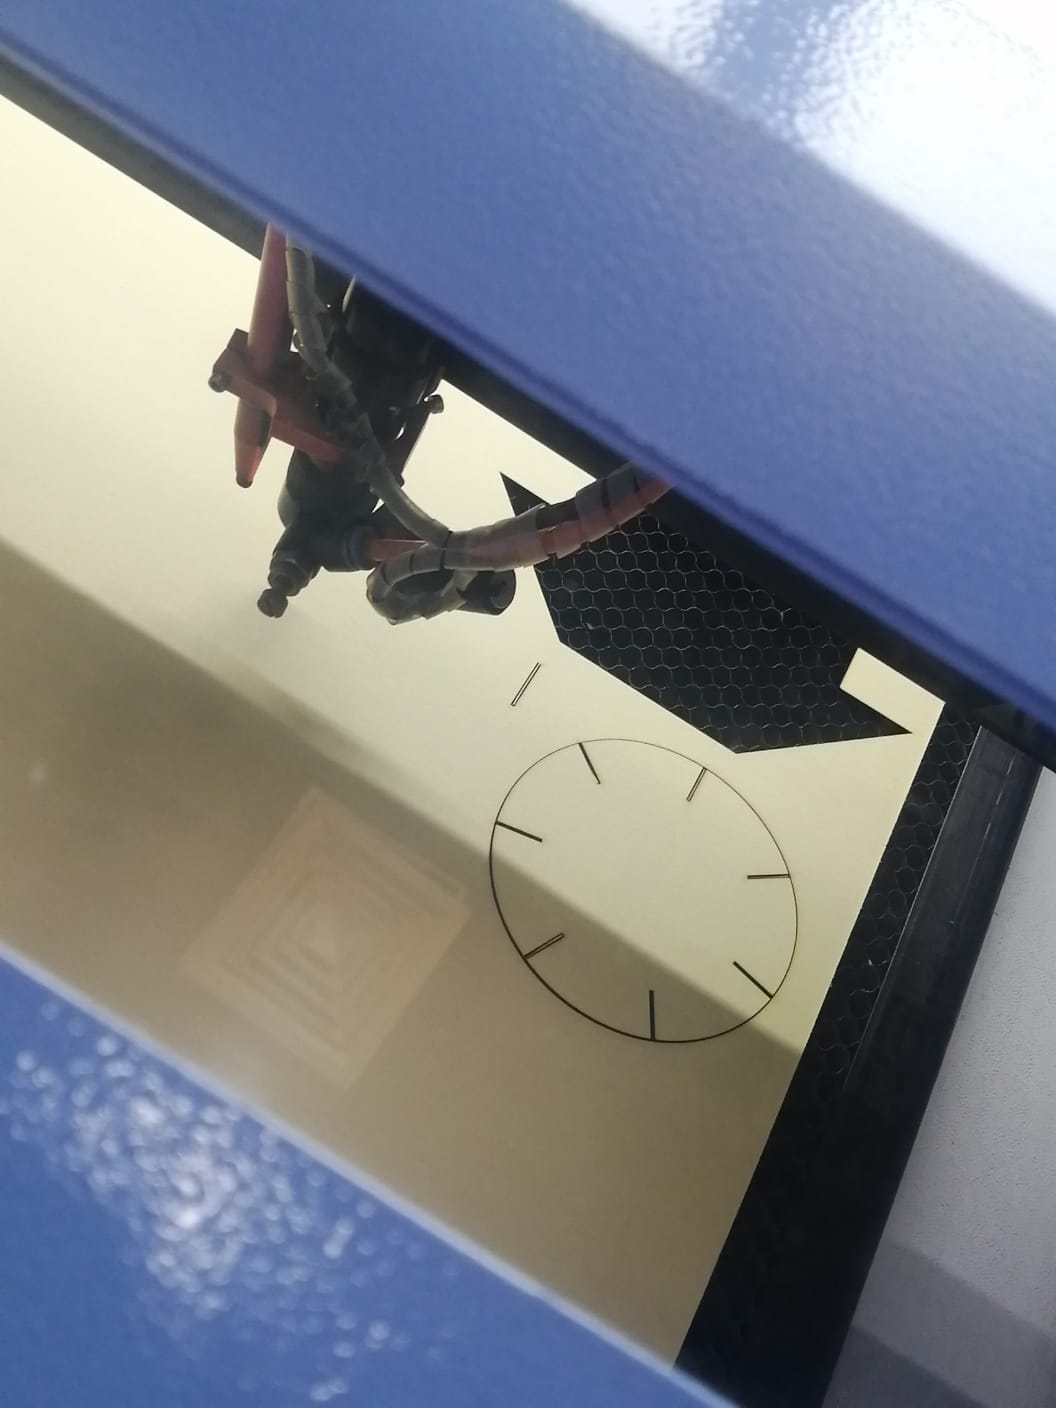
and it came out just right !
So then we moved ahead with the actual cutting....
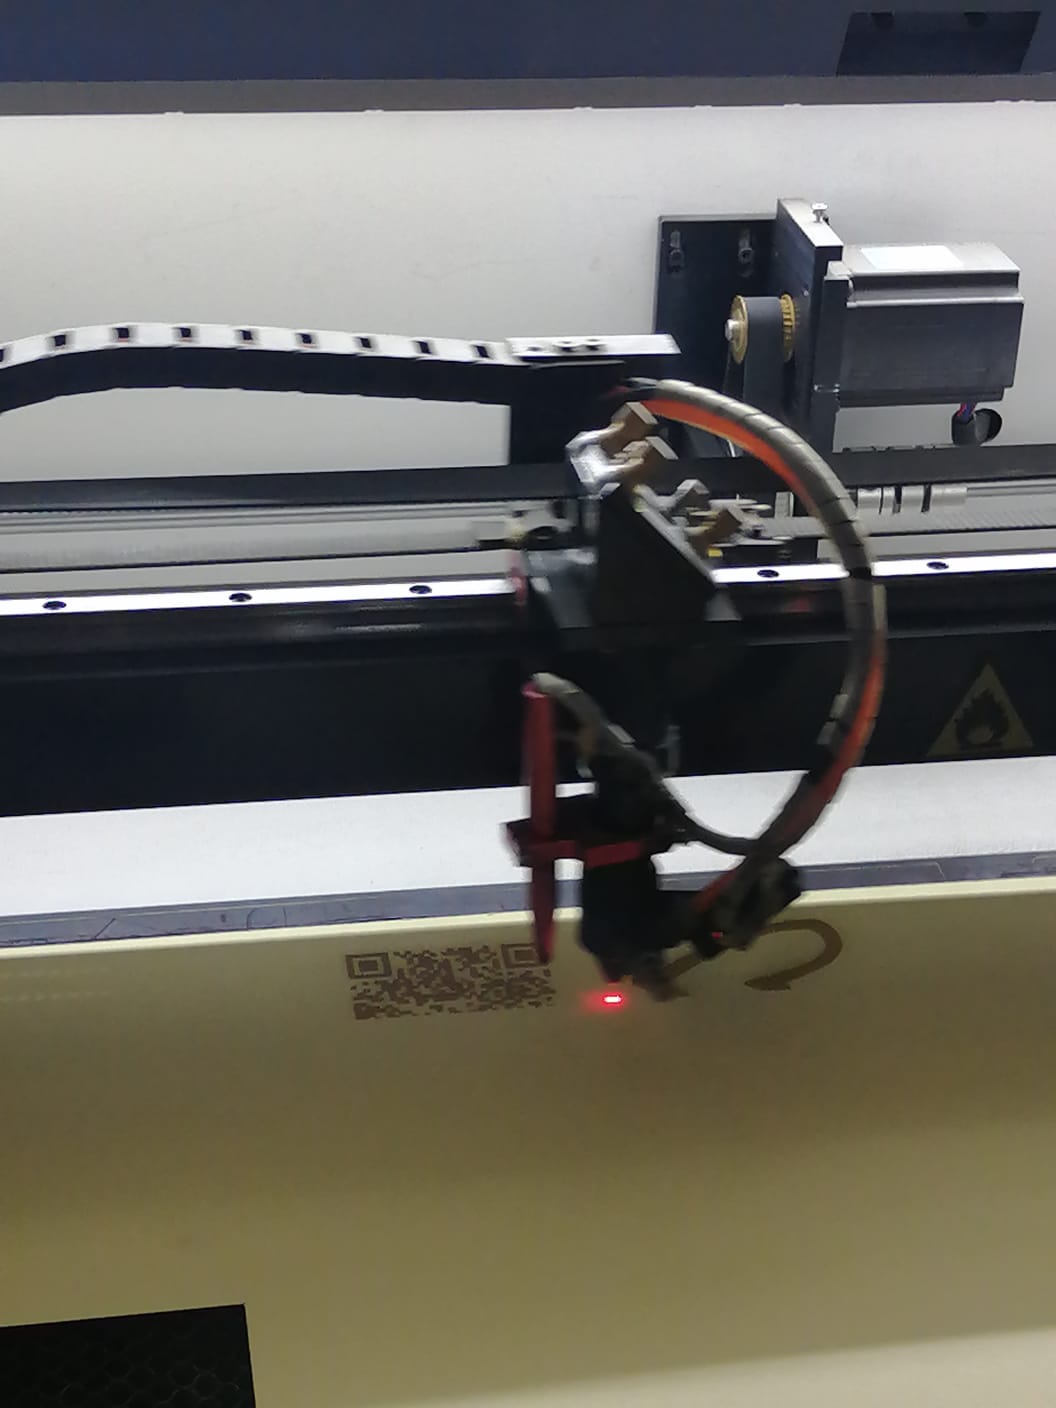
After saving the work in RD work, the file should appear in the machine
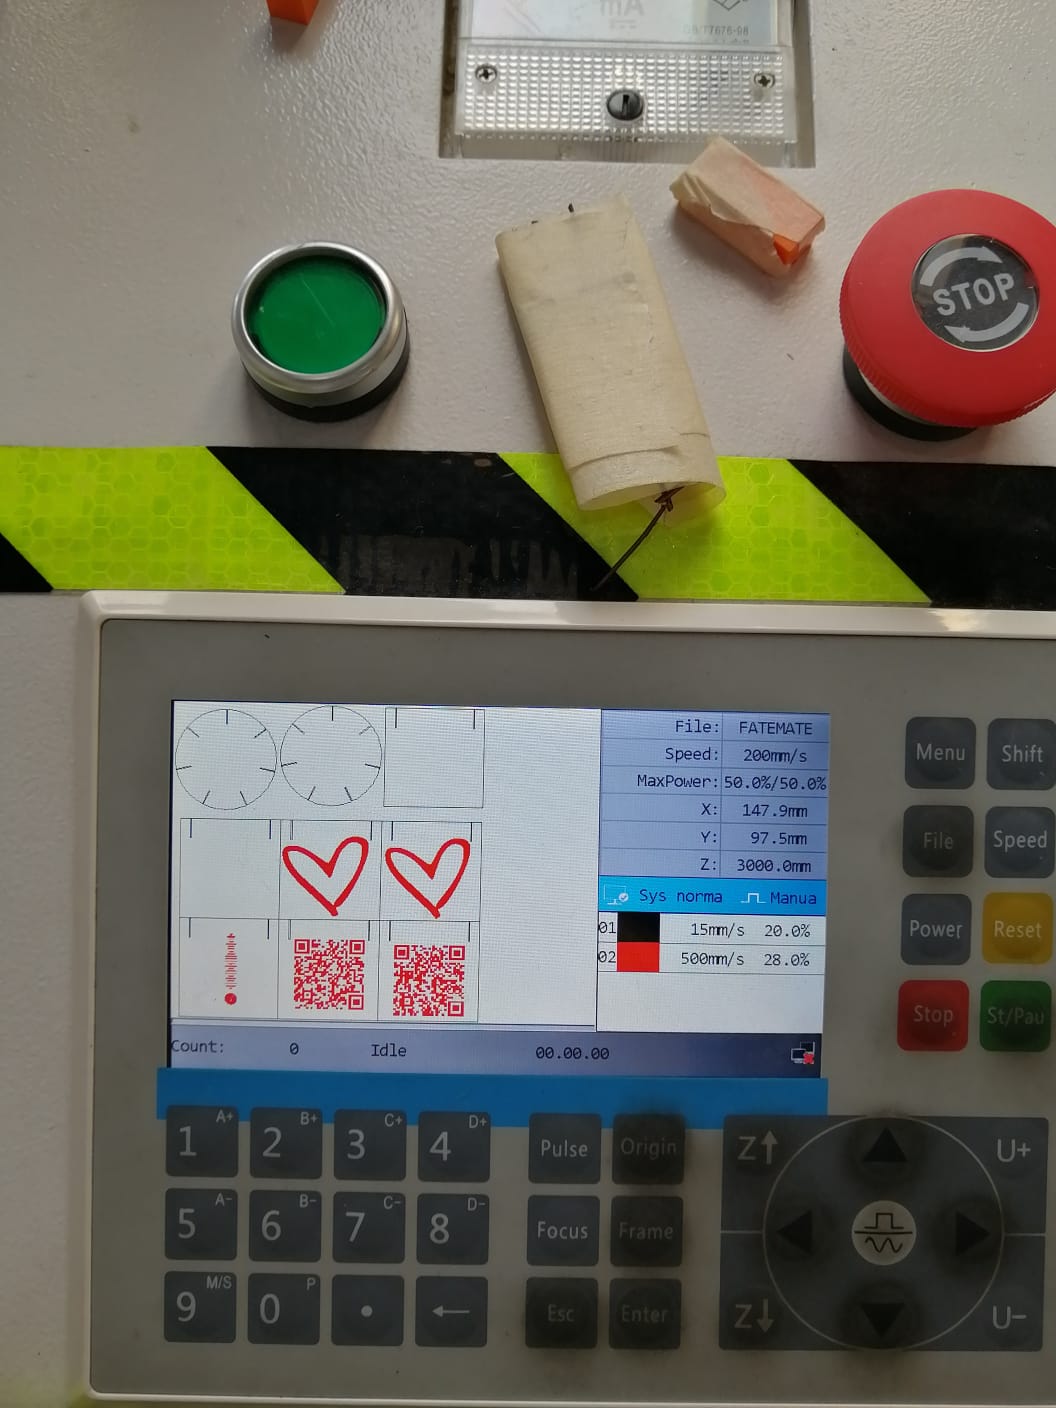
We used the “orgin” and “frame” buttons to show us the space the machine will use The sheet was taped down to prevent unnecessary movement and some space should be left around the edges.
Here, the machine started by engraving the details.

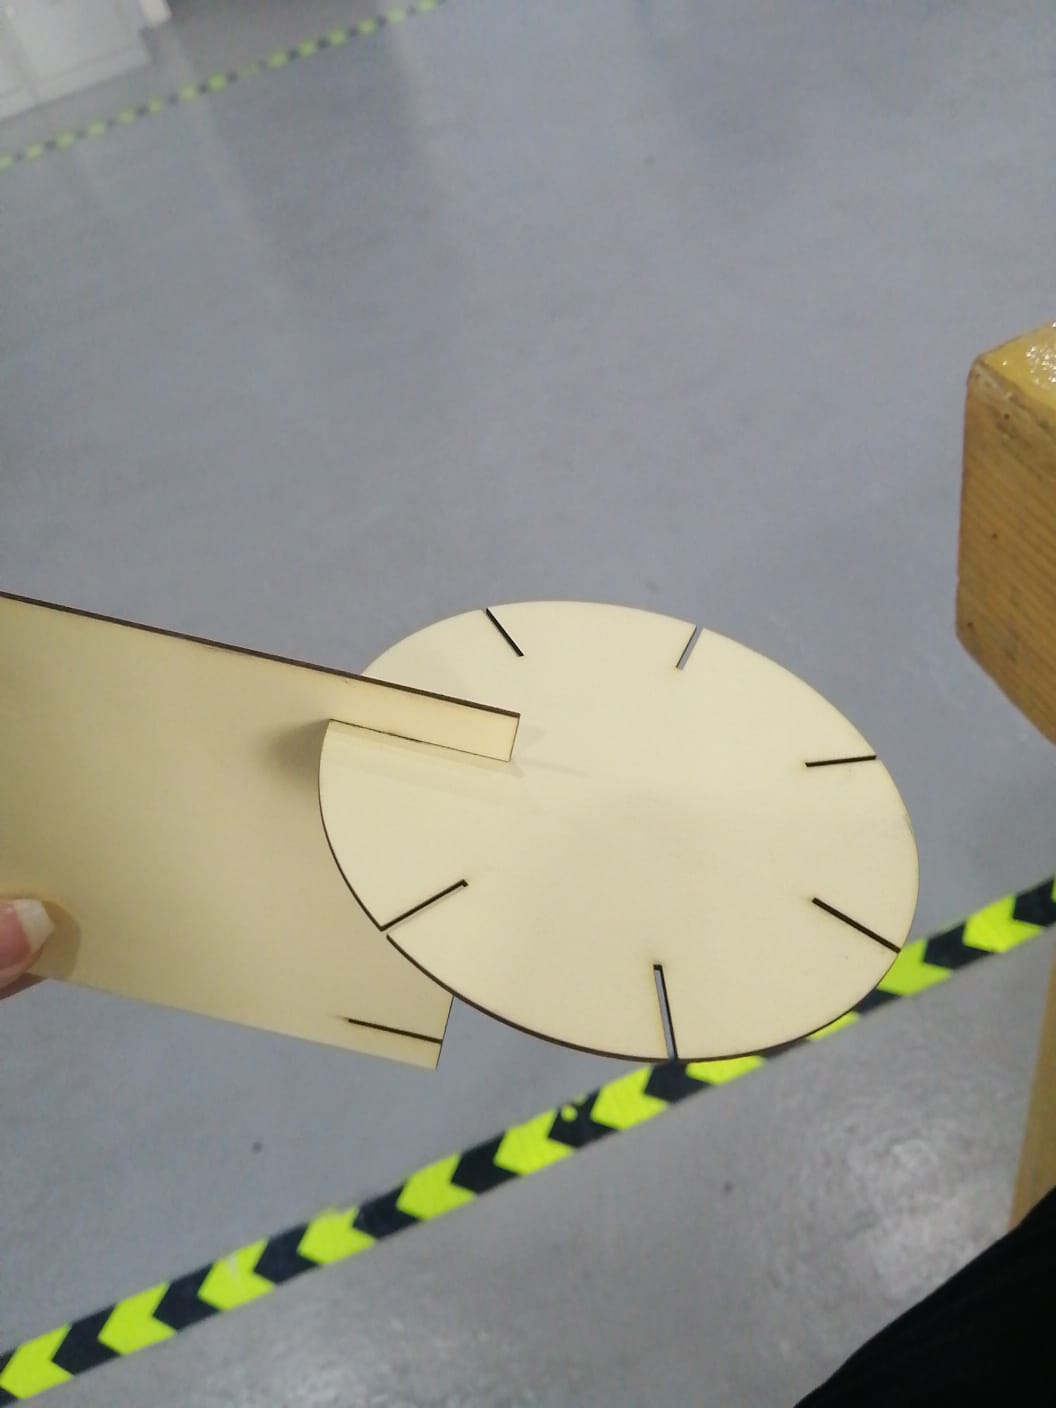
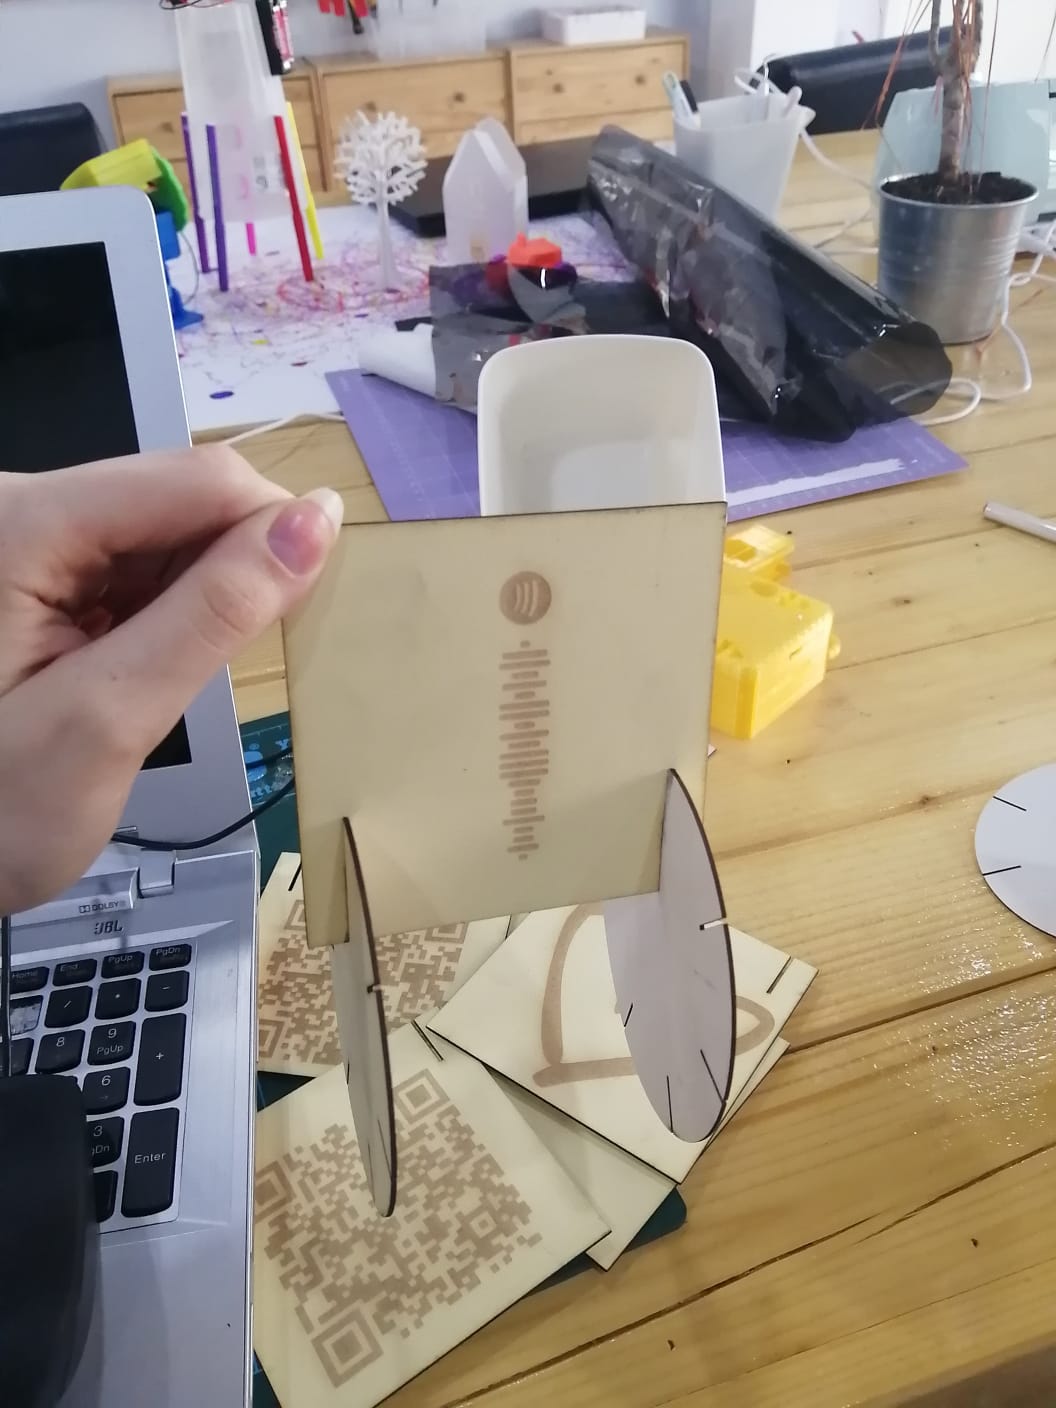
Here’s me putting together the pieces
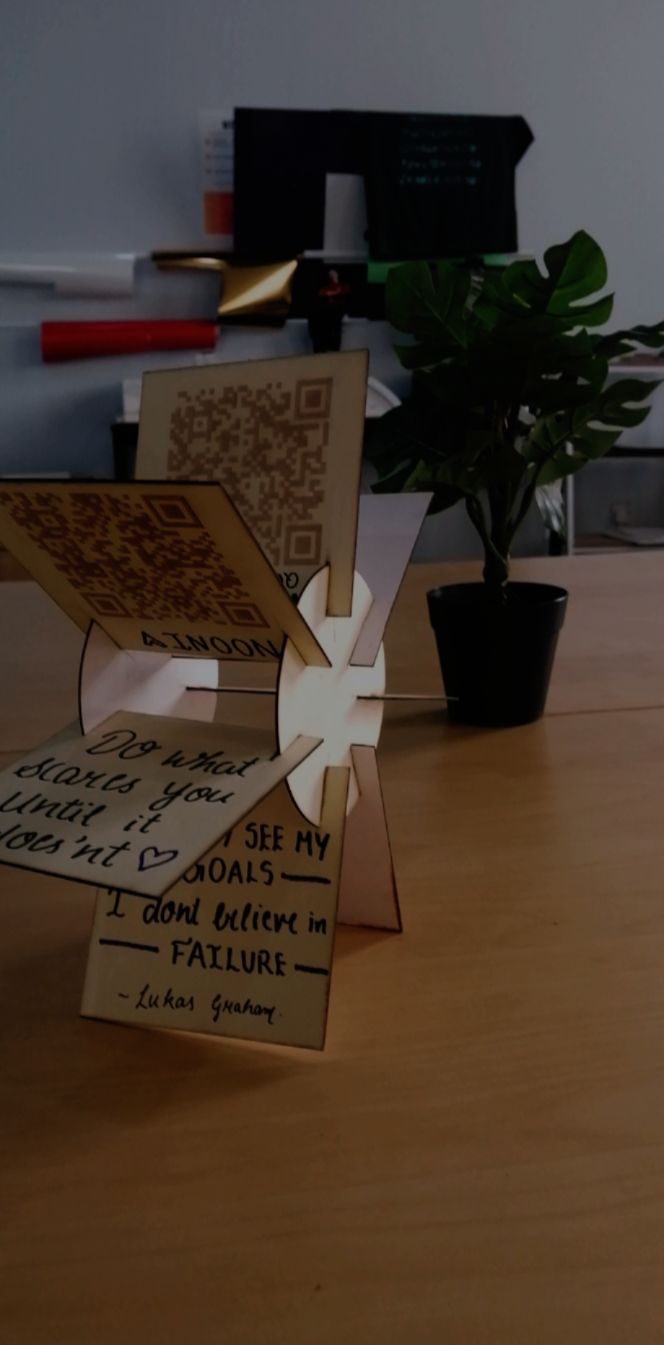
HERO SHOT
Viola!
DOWNLOADABLE FILES
==========================================================================================================================================
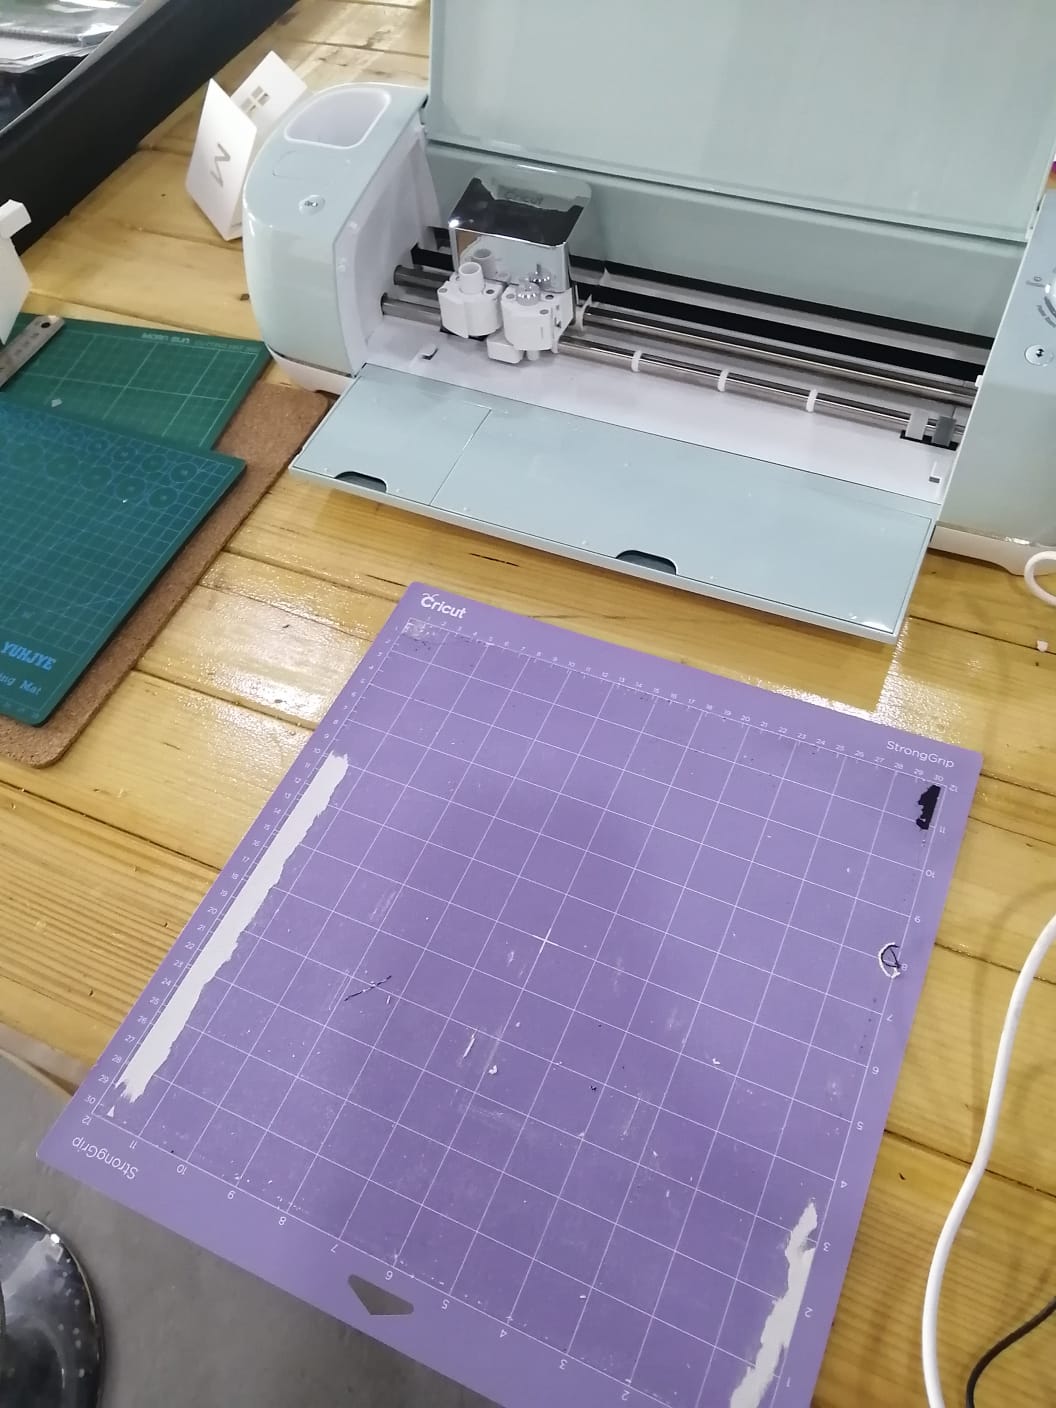
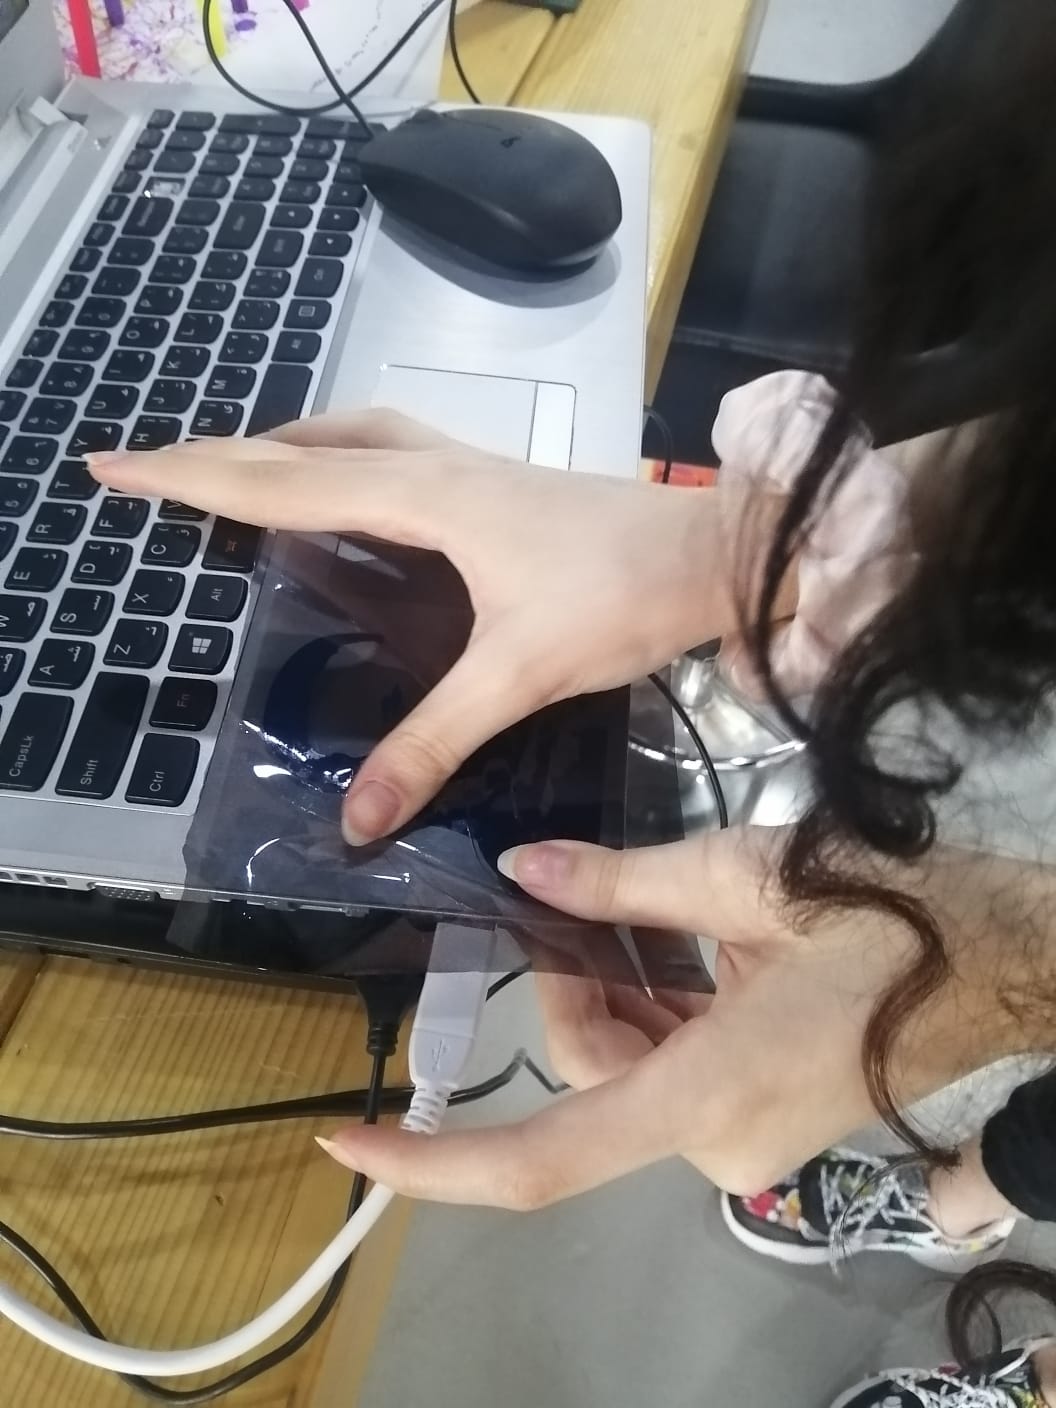
VINYL CUTTING
Vinyl cutter ia s a type of computer-controlled machine , it controls the movement of sharp blade over the surface of the material to the prefered design. This blade is used to cut out shapes and letters of thin self-adhesive plastic. It is usually connected through a USB or Serial cable.
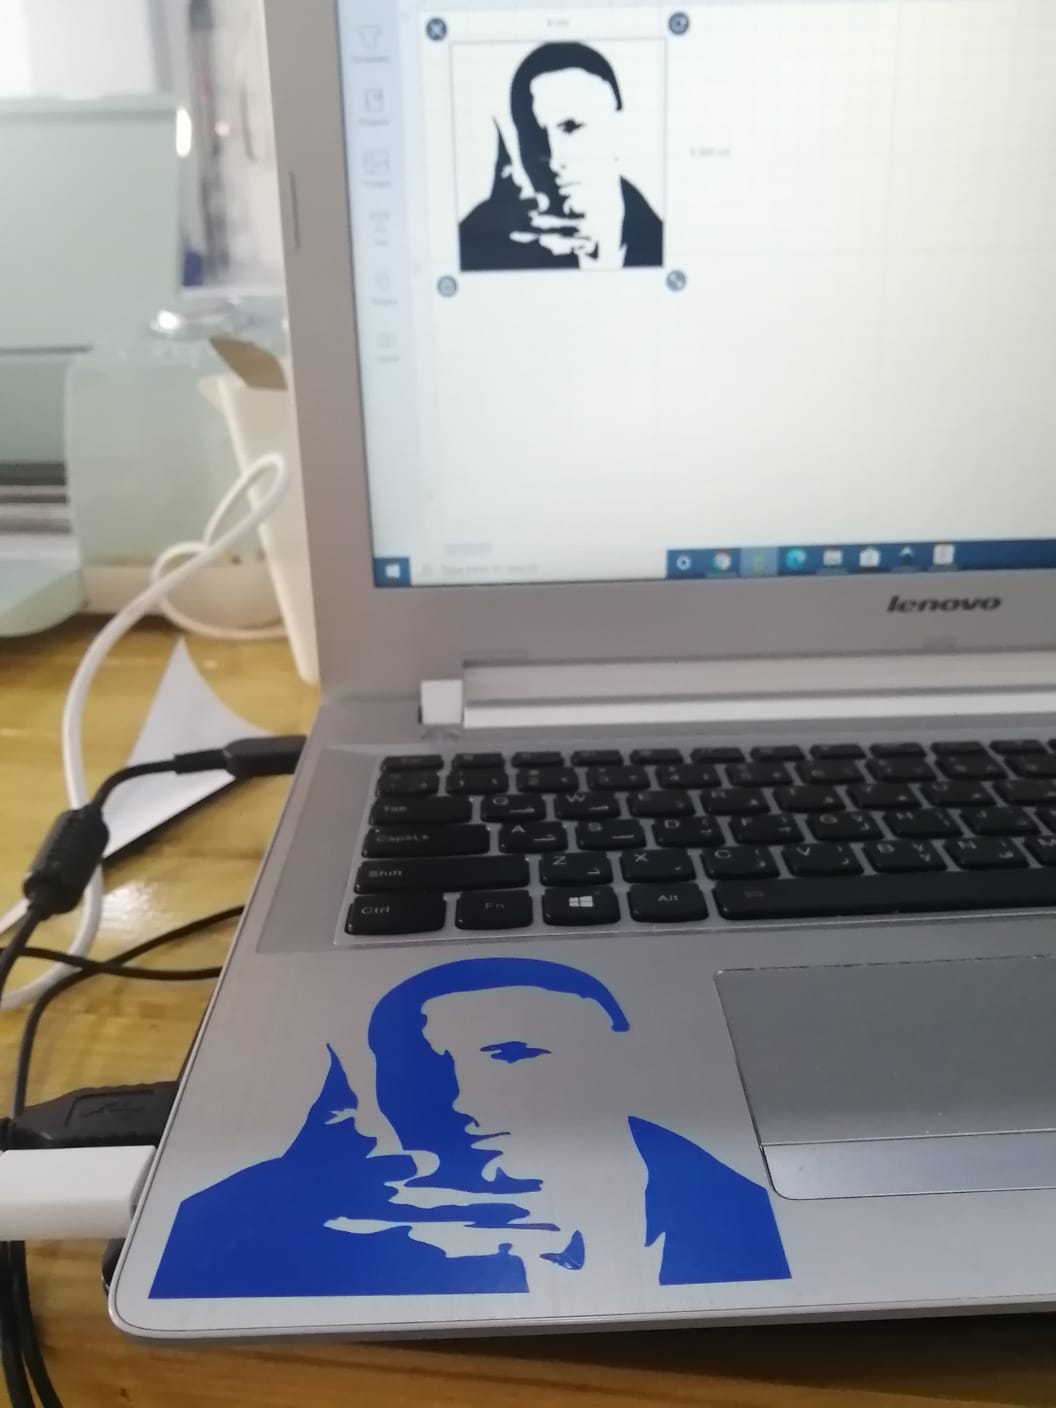
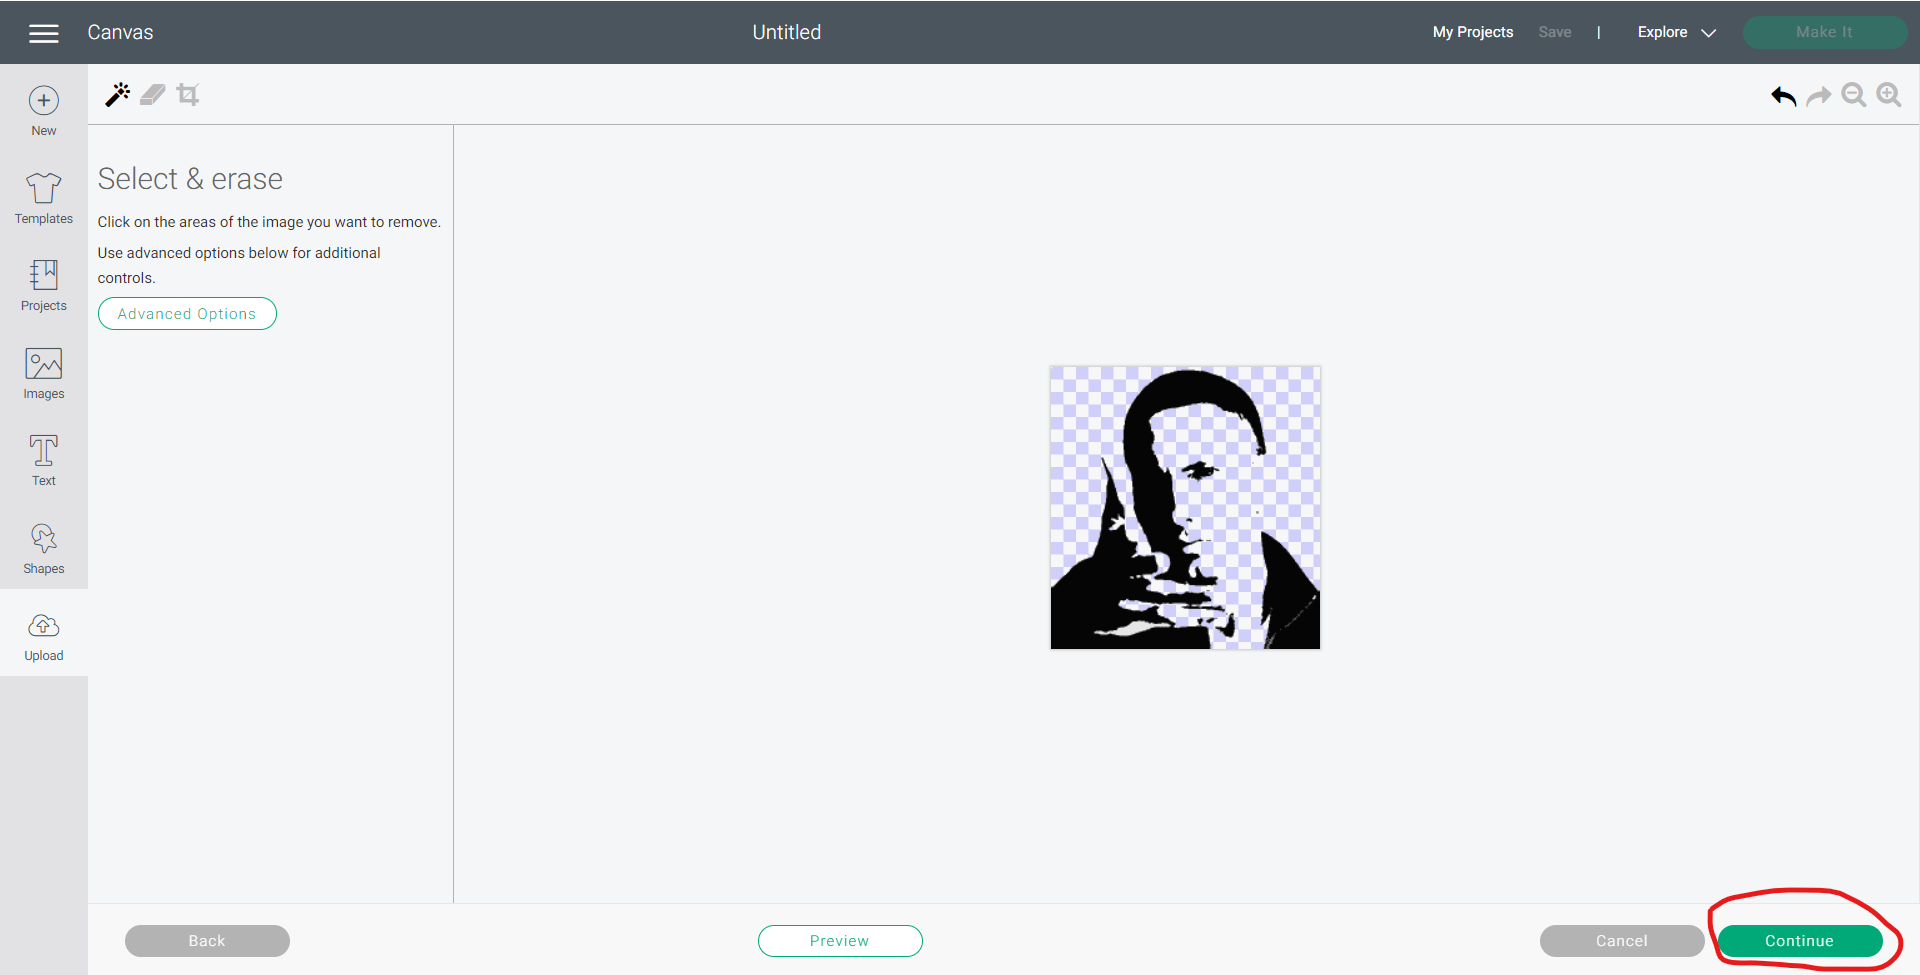
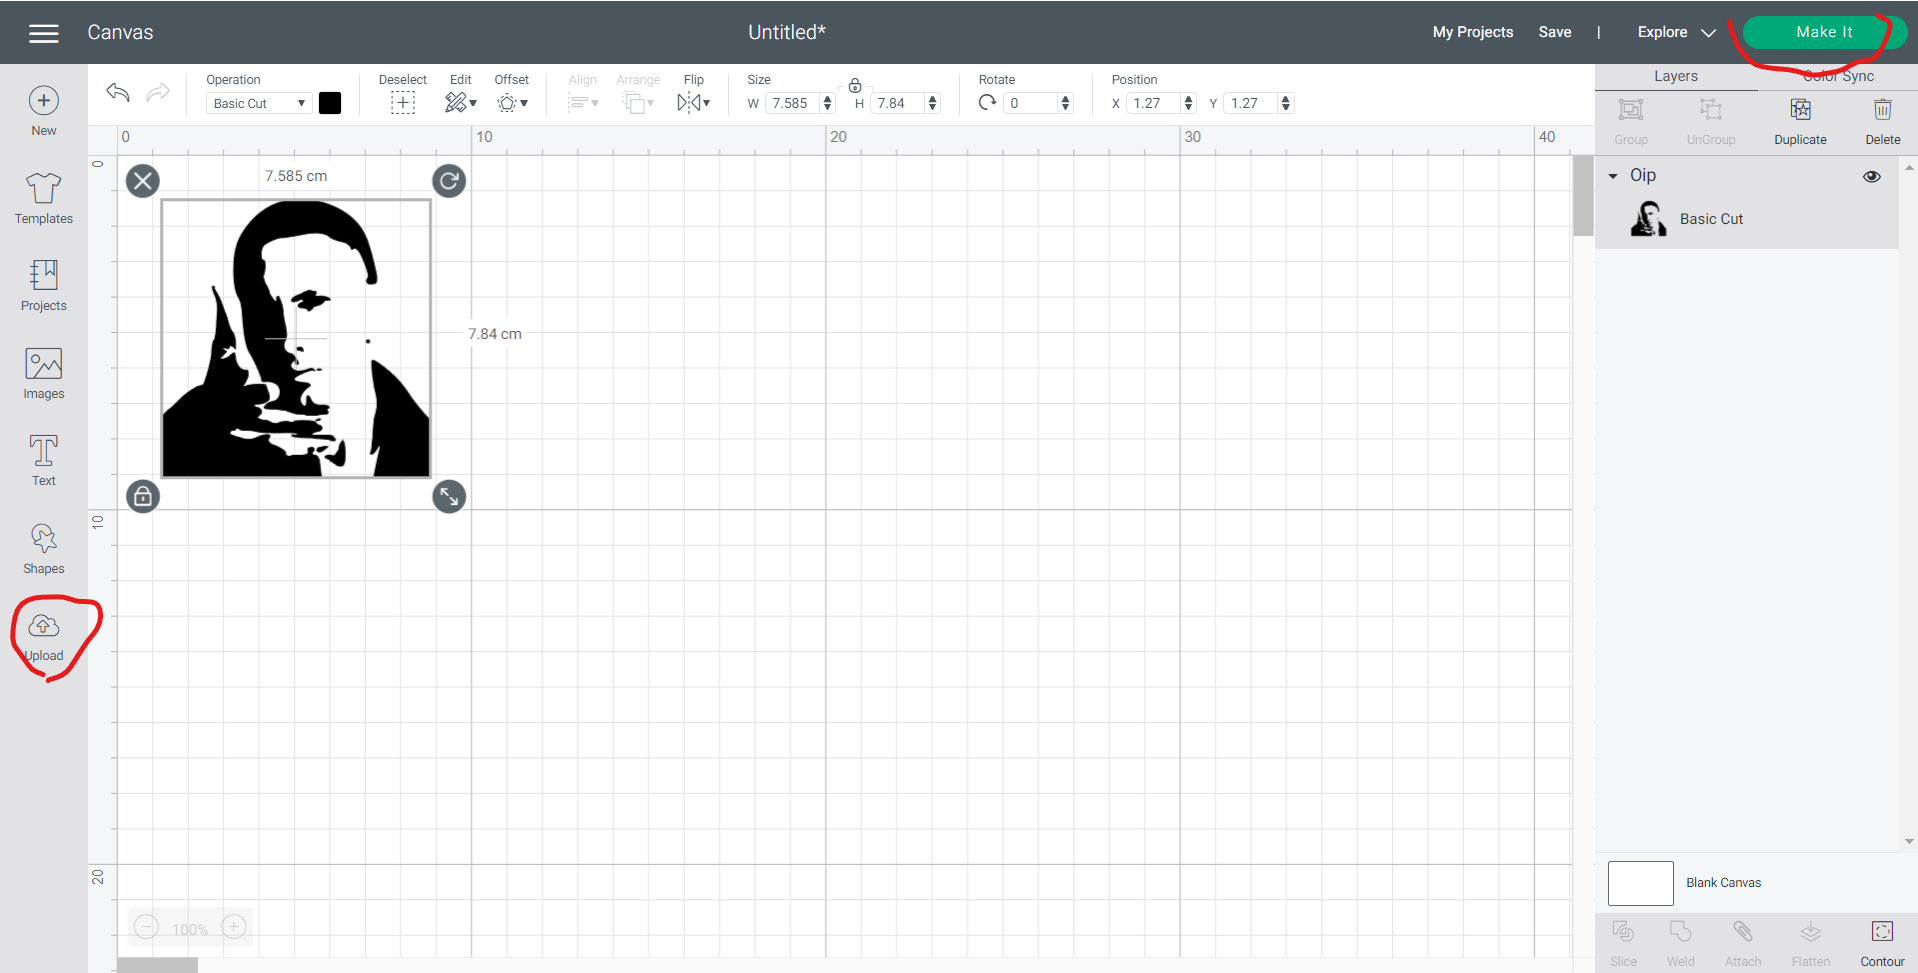
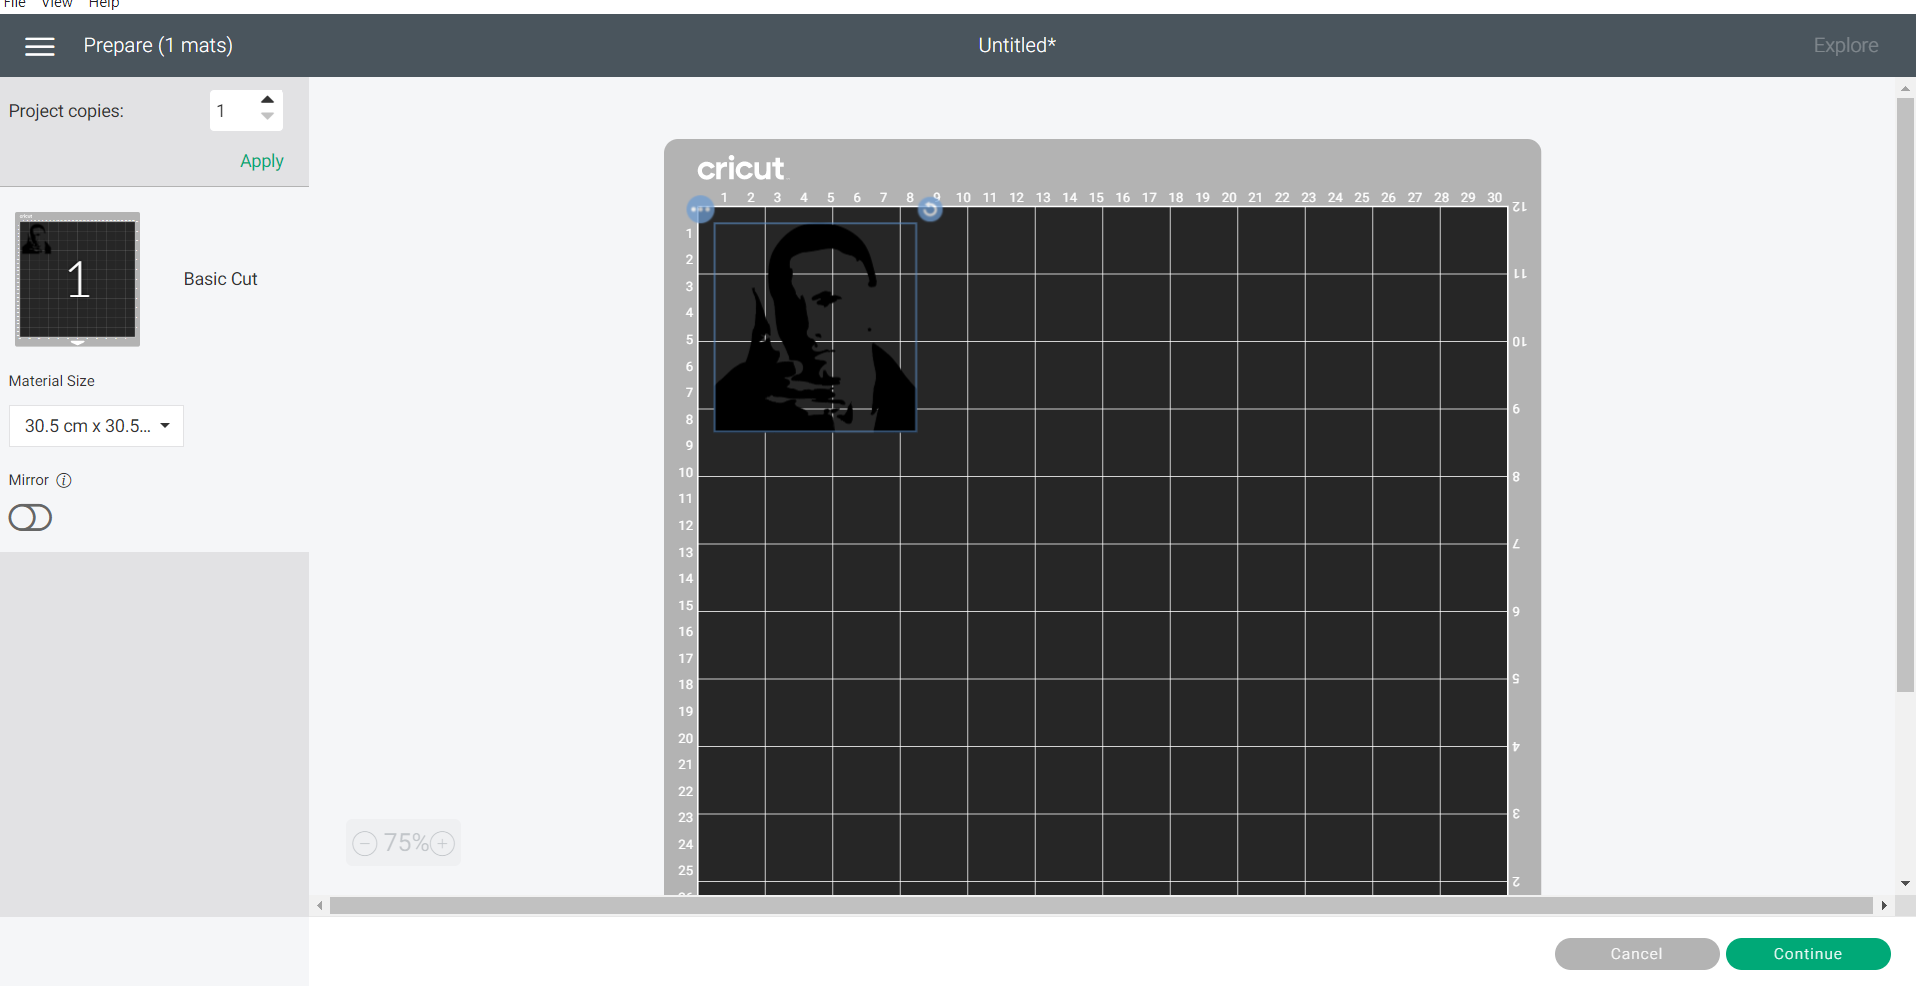
At first, I imported a picture to cricut design software using the upload option.
Then I used the select and erase option to remove the unwanted parts then press on continue.
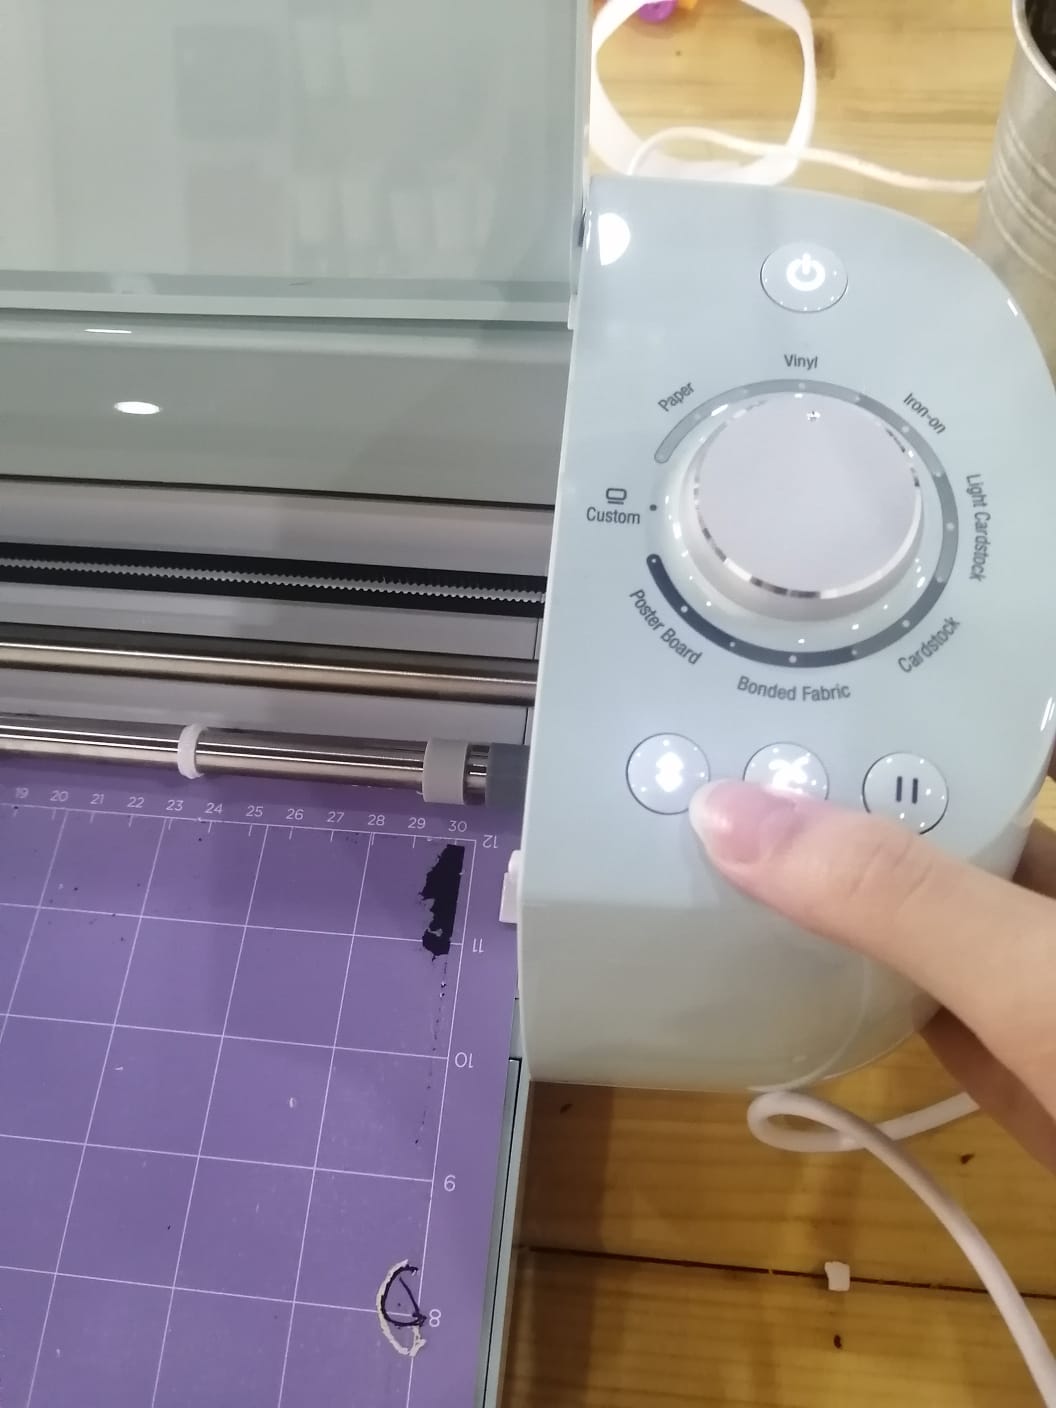
The machine we used is called CRICUT
These are the features of the machine..
Firstly goes a mat under the actual material
We used a usb cable to connect it to the computer

Here, the adhesive material was placed on top of the mat
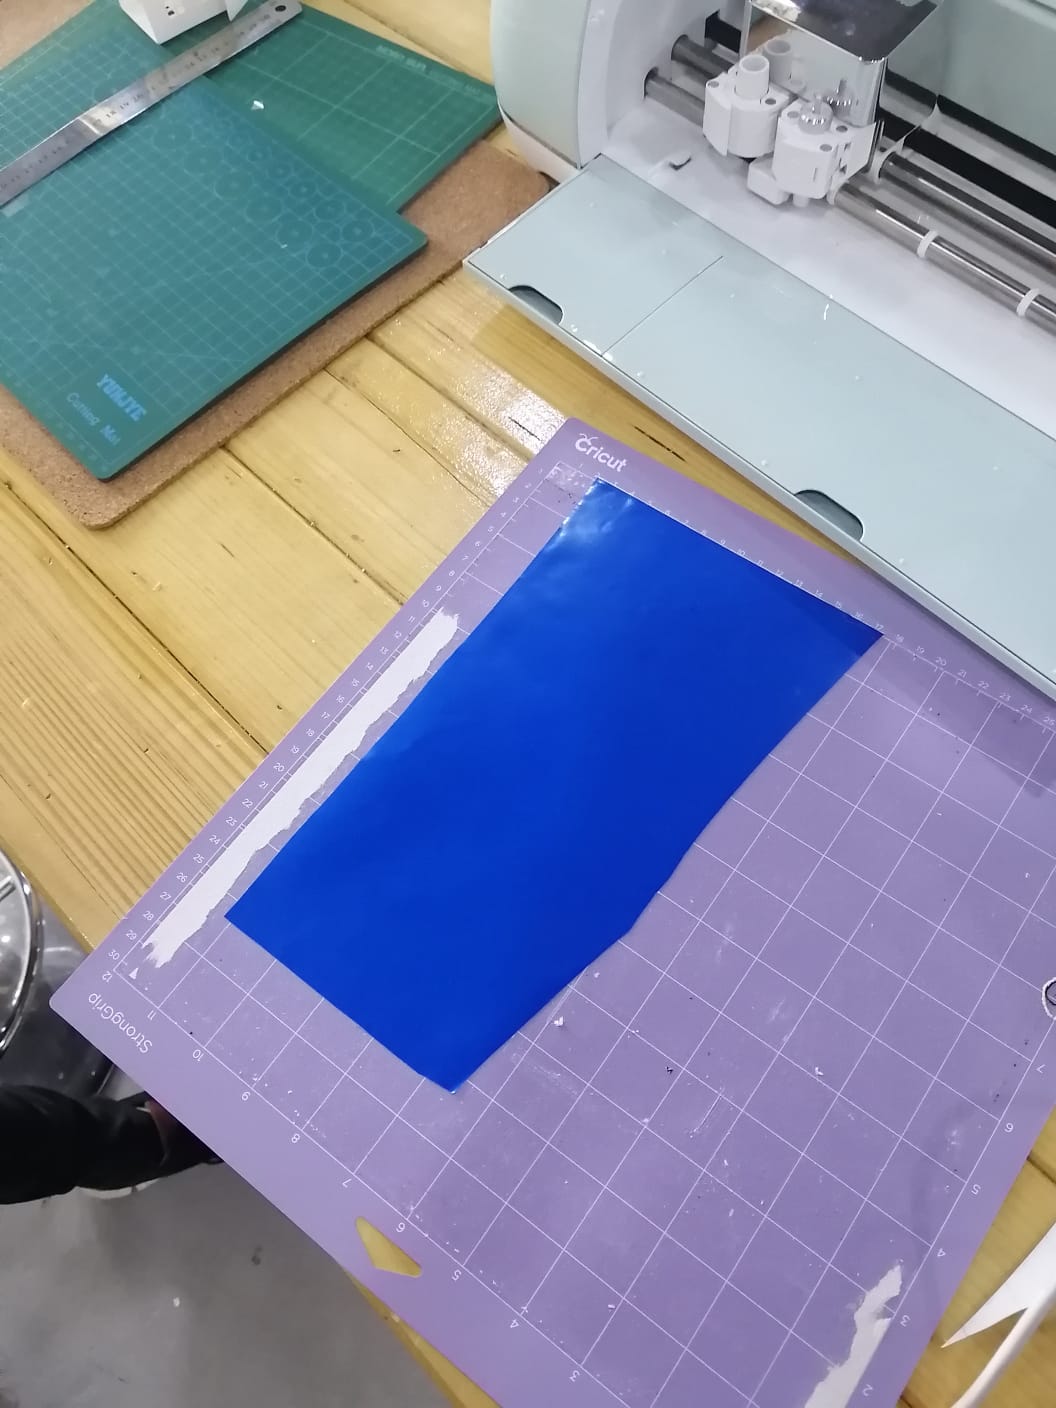
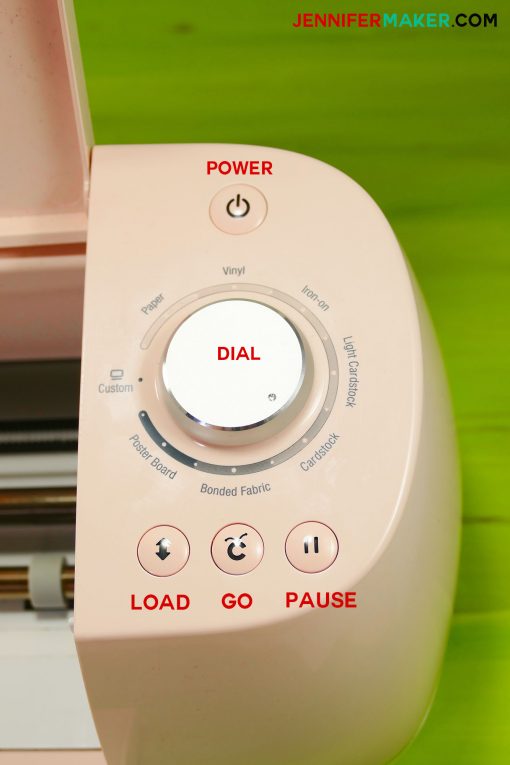
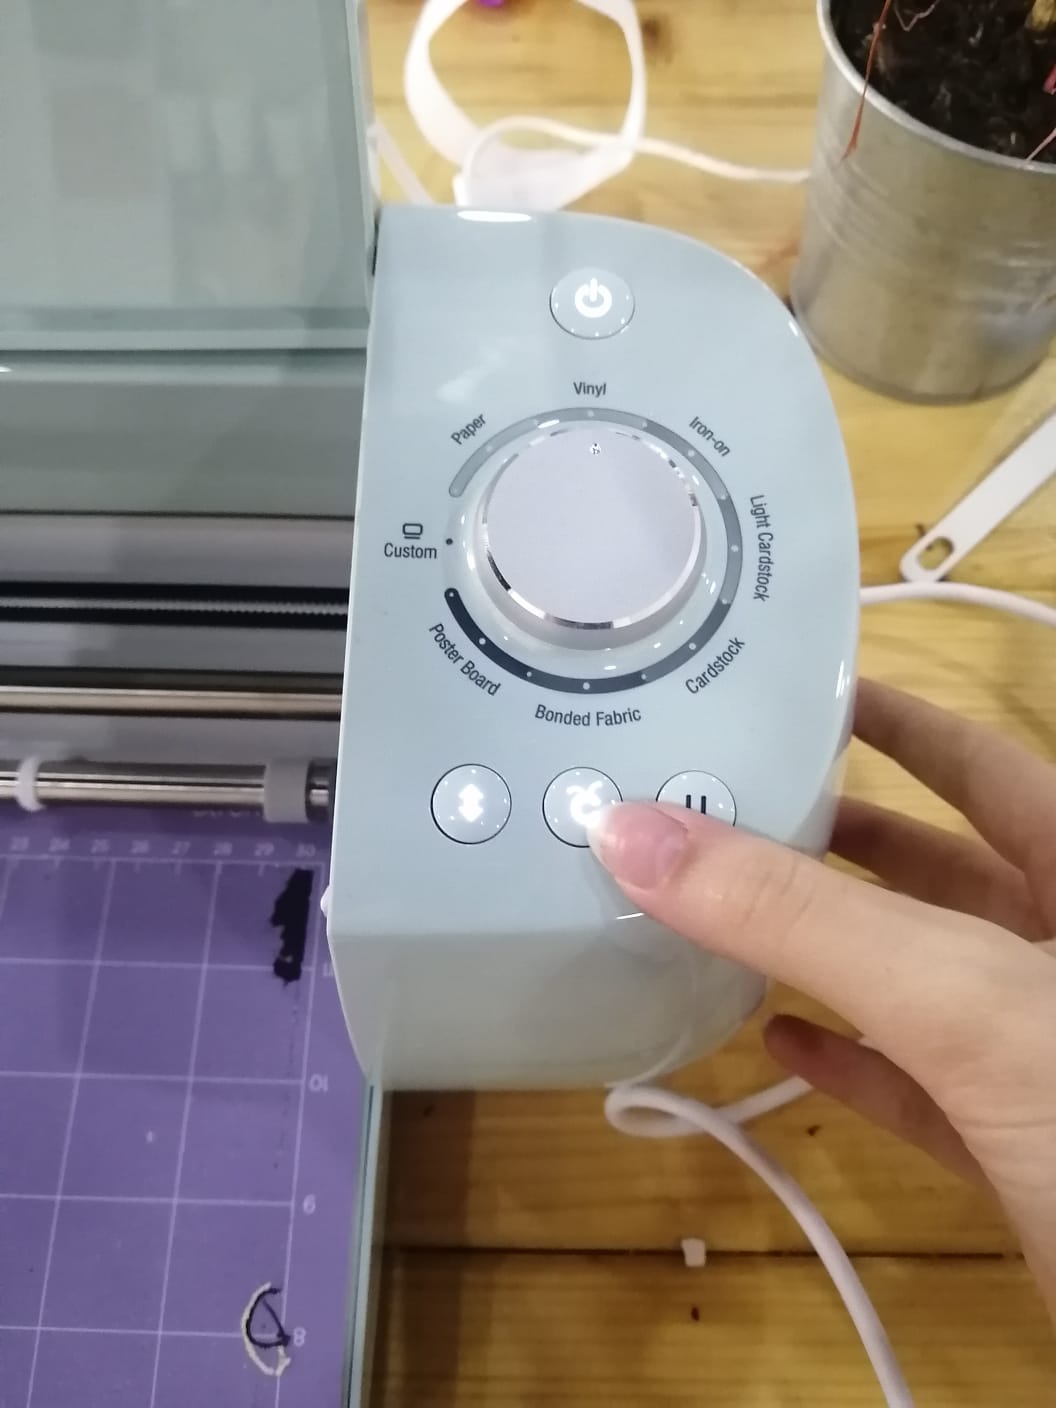
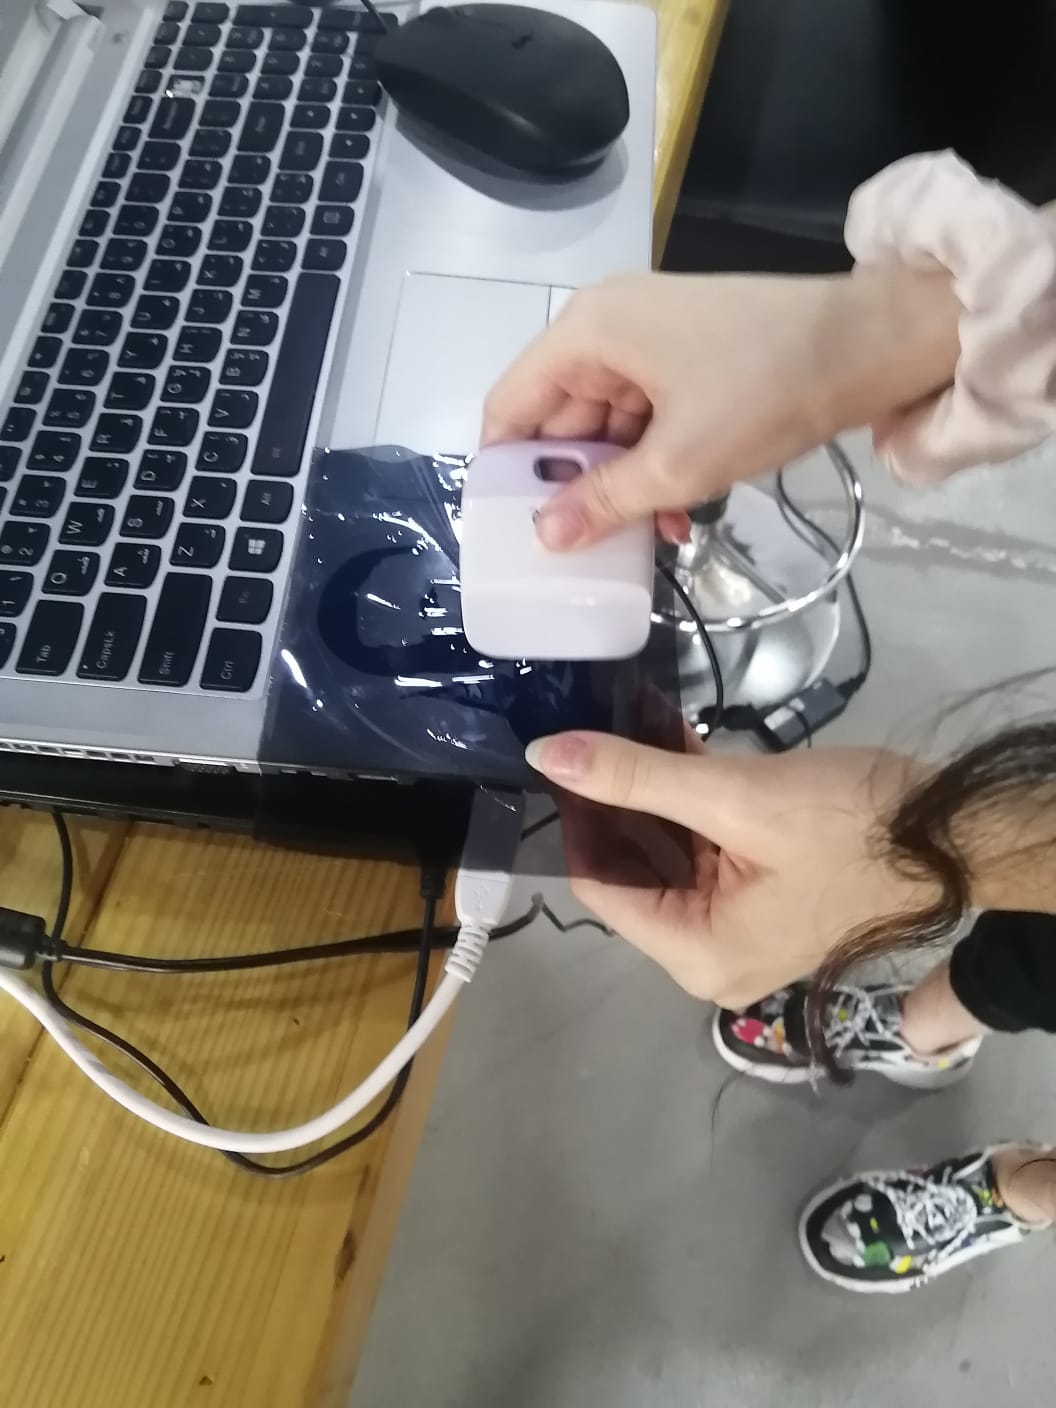
After turning on the machine and placing the mat inside, I used the load button to let it know its ready and the go button to start!
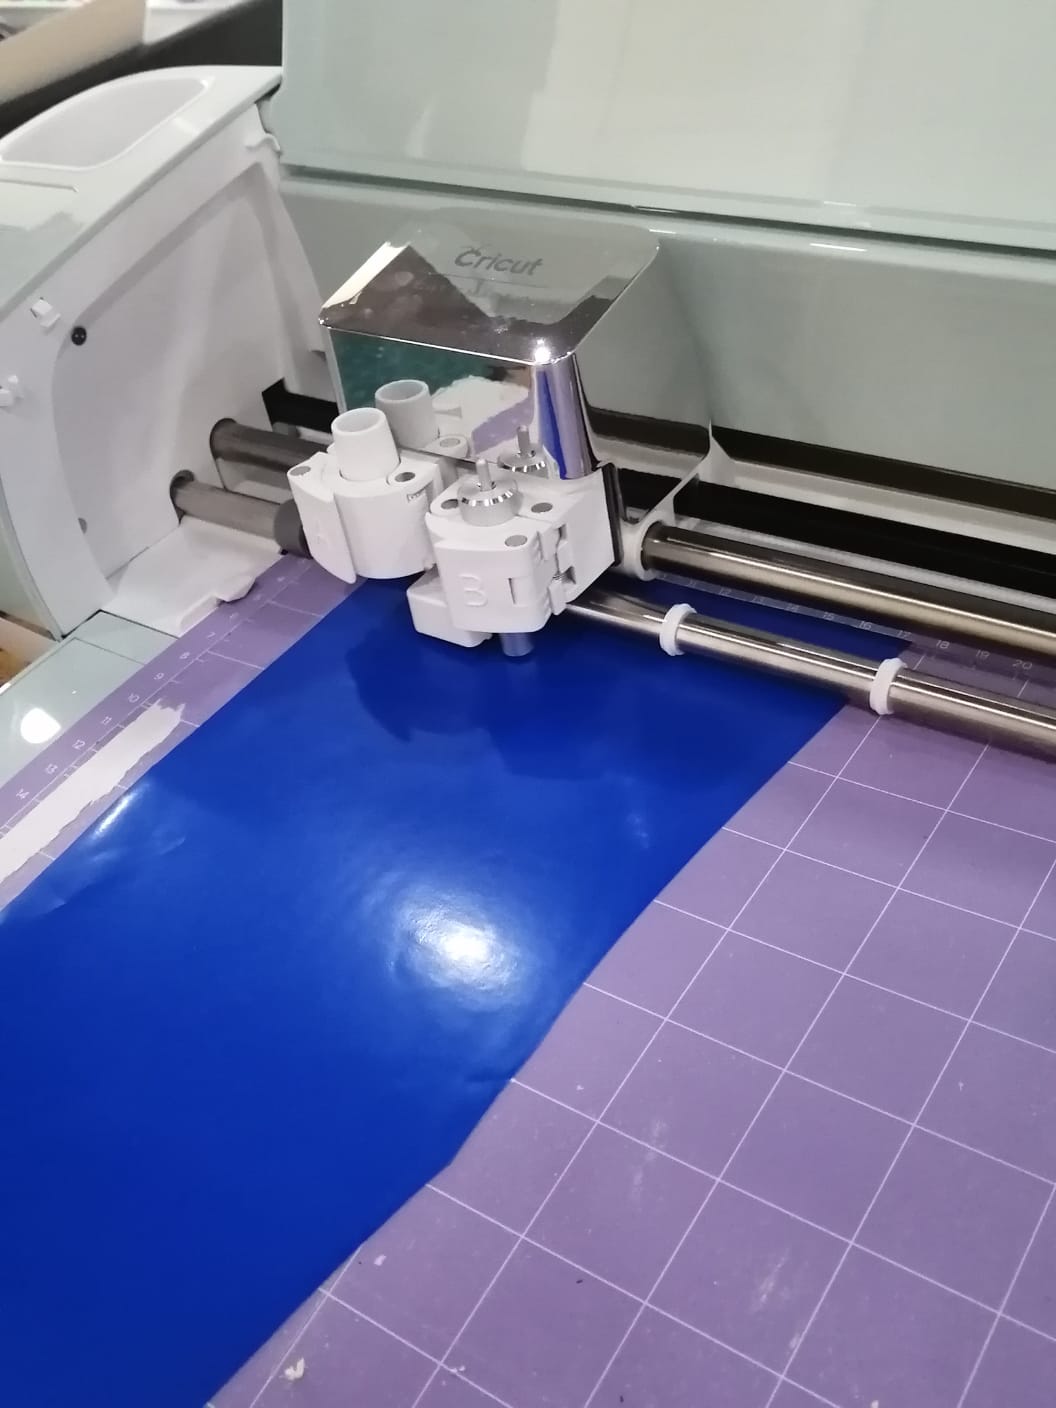
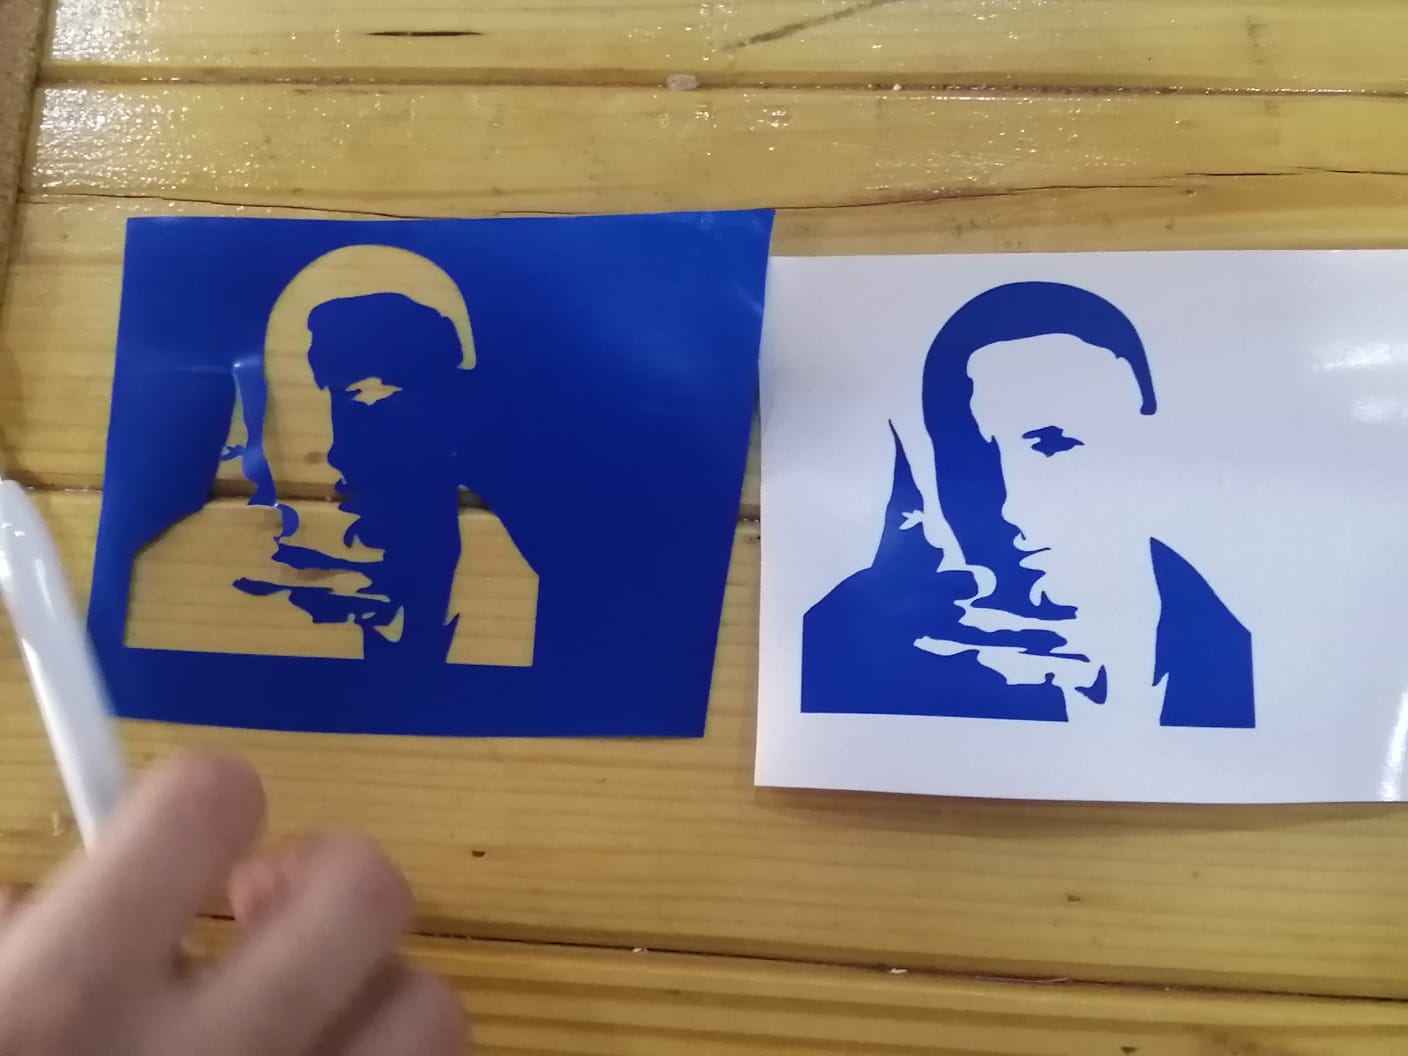
Here it started cutting....
Make sure to press the buttons again before removing the mat.
After carefully removing the adhesive from the mat ,I started removing the unwanted pieces.
 S
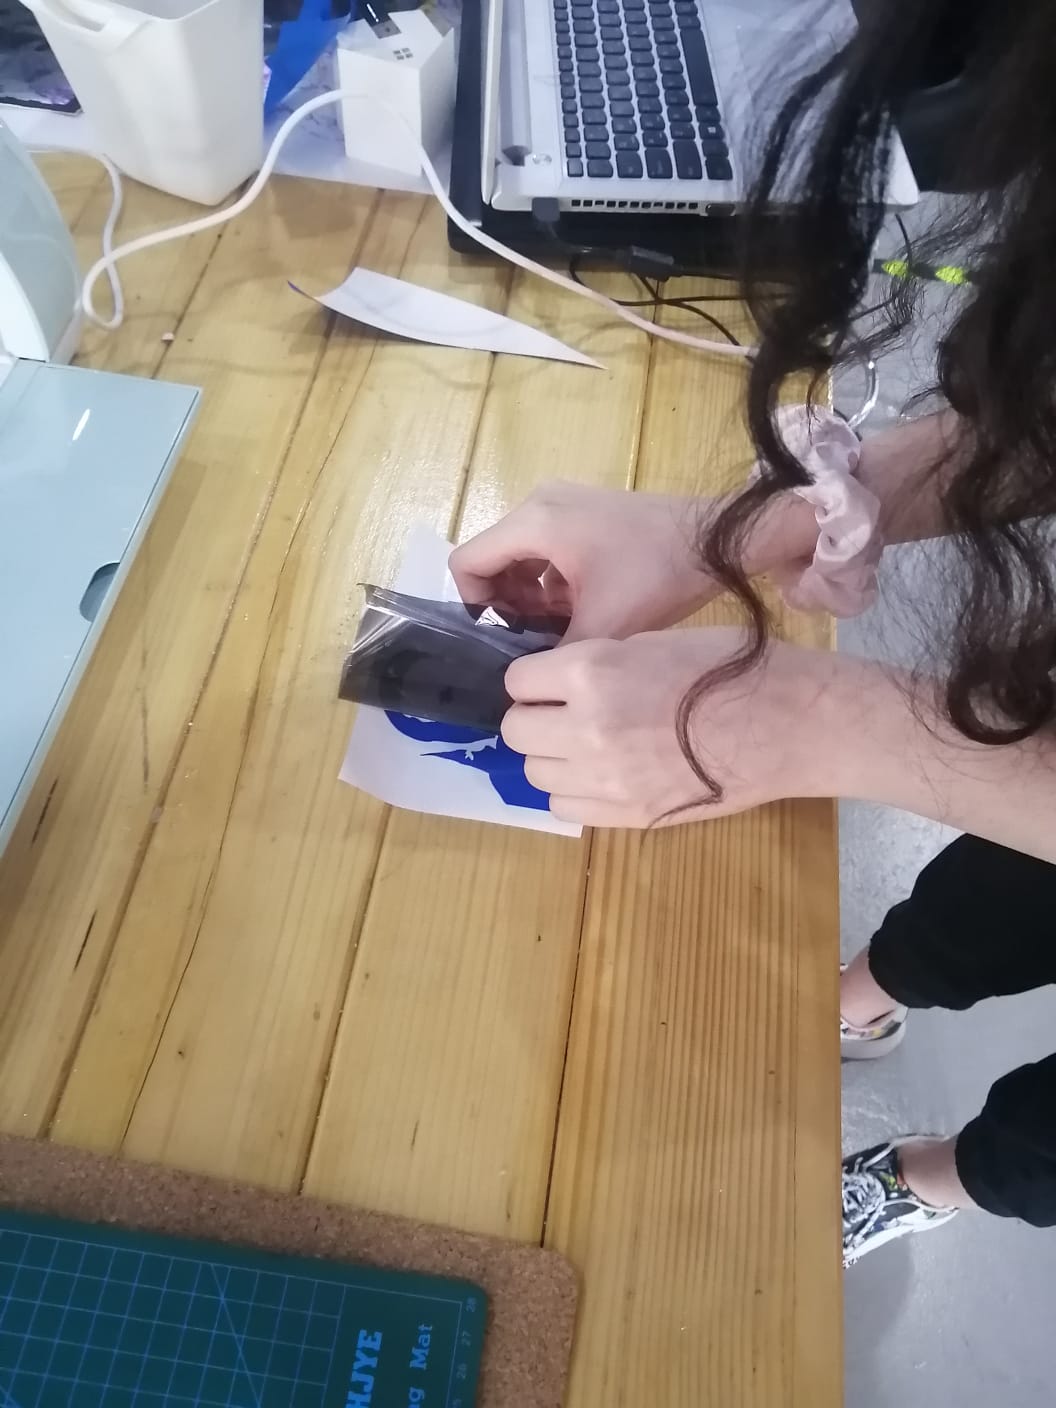
Now, we used a black ribbon like material to transfer the sticker properly.
S
Now, we used a black ribbon like material to transfer the sticker properly.
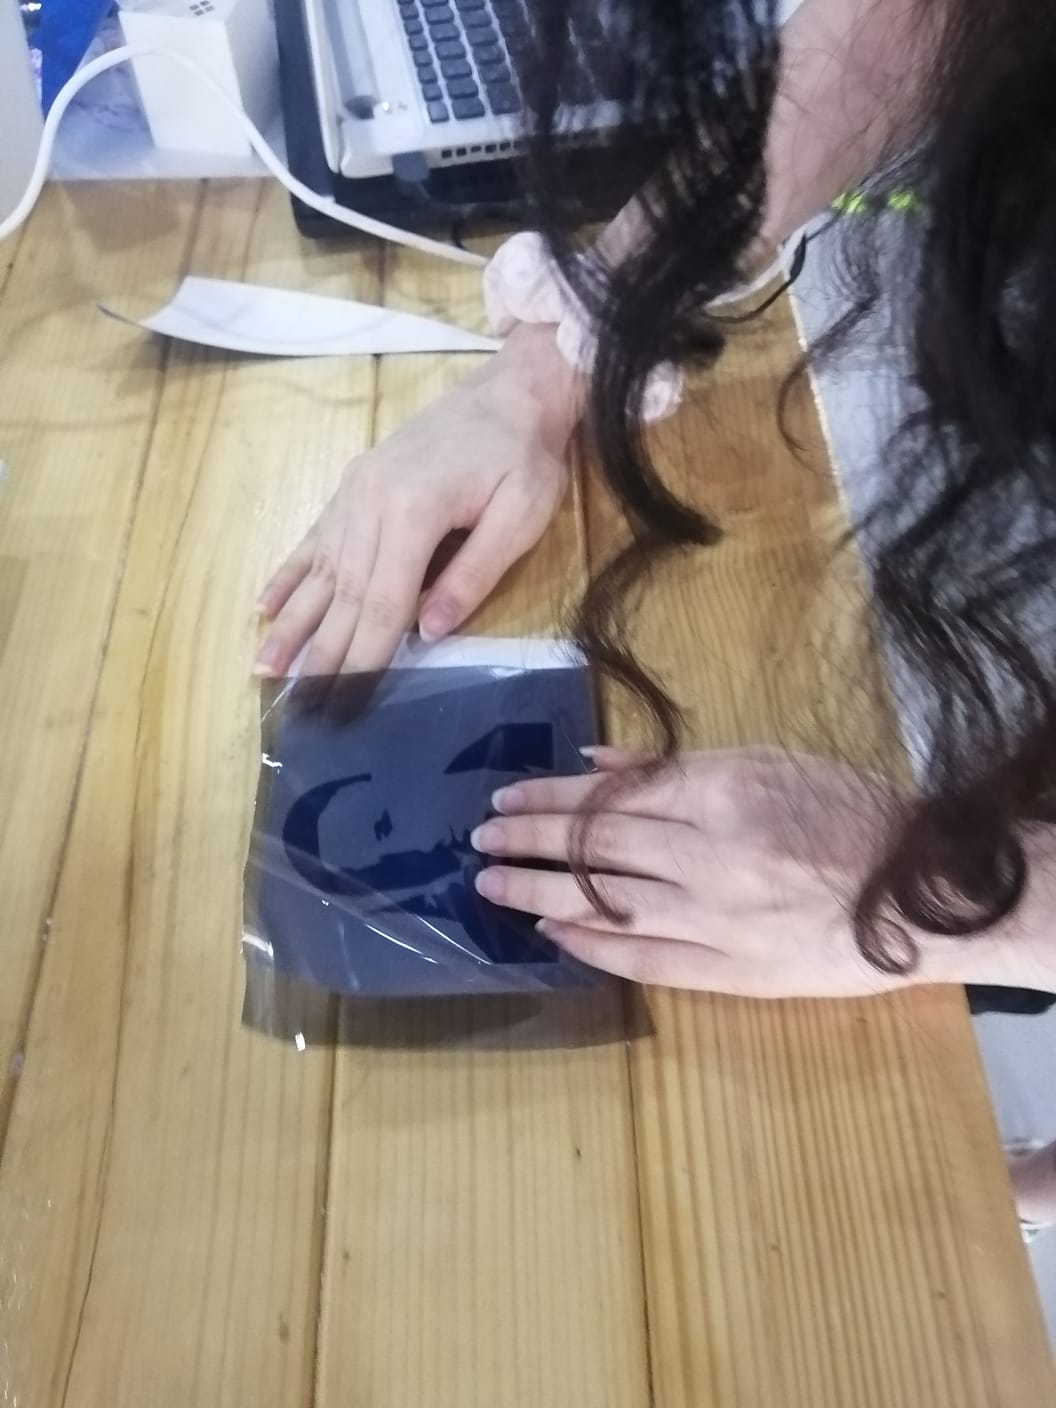
Here, I’m using the scraper to get it to stick smoothly
And viola !!