4. 3D scanning and printing
This weeks tasks
Design and 3D print an object (small, few cm3, limited by printer time) that could not be easily made subtractively 3D scan an object, try to prepare it for printing (and optionally print it)
============================================================================================================================================
3D PRINTING
3D printing or additive manufacturing is a process of making three dimensional solid objects from a digital file.
The creation of a 3D printed object is achieved using additive processes. In an additive process an object is created by laying down successive layers of material until the object is created. Each of these layers can be seen as a thinly sliced cross-section of the object.
3D printing is the opposite of subtractive manufacturing which is cutting out / hollowing out a piece of metal or plastic with for instance a milling machine.
3D printing enables you to produce complex shapes using less material than traditional manufacturing methods.
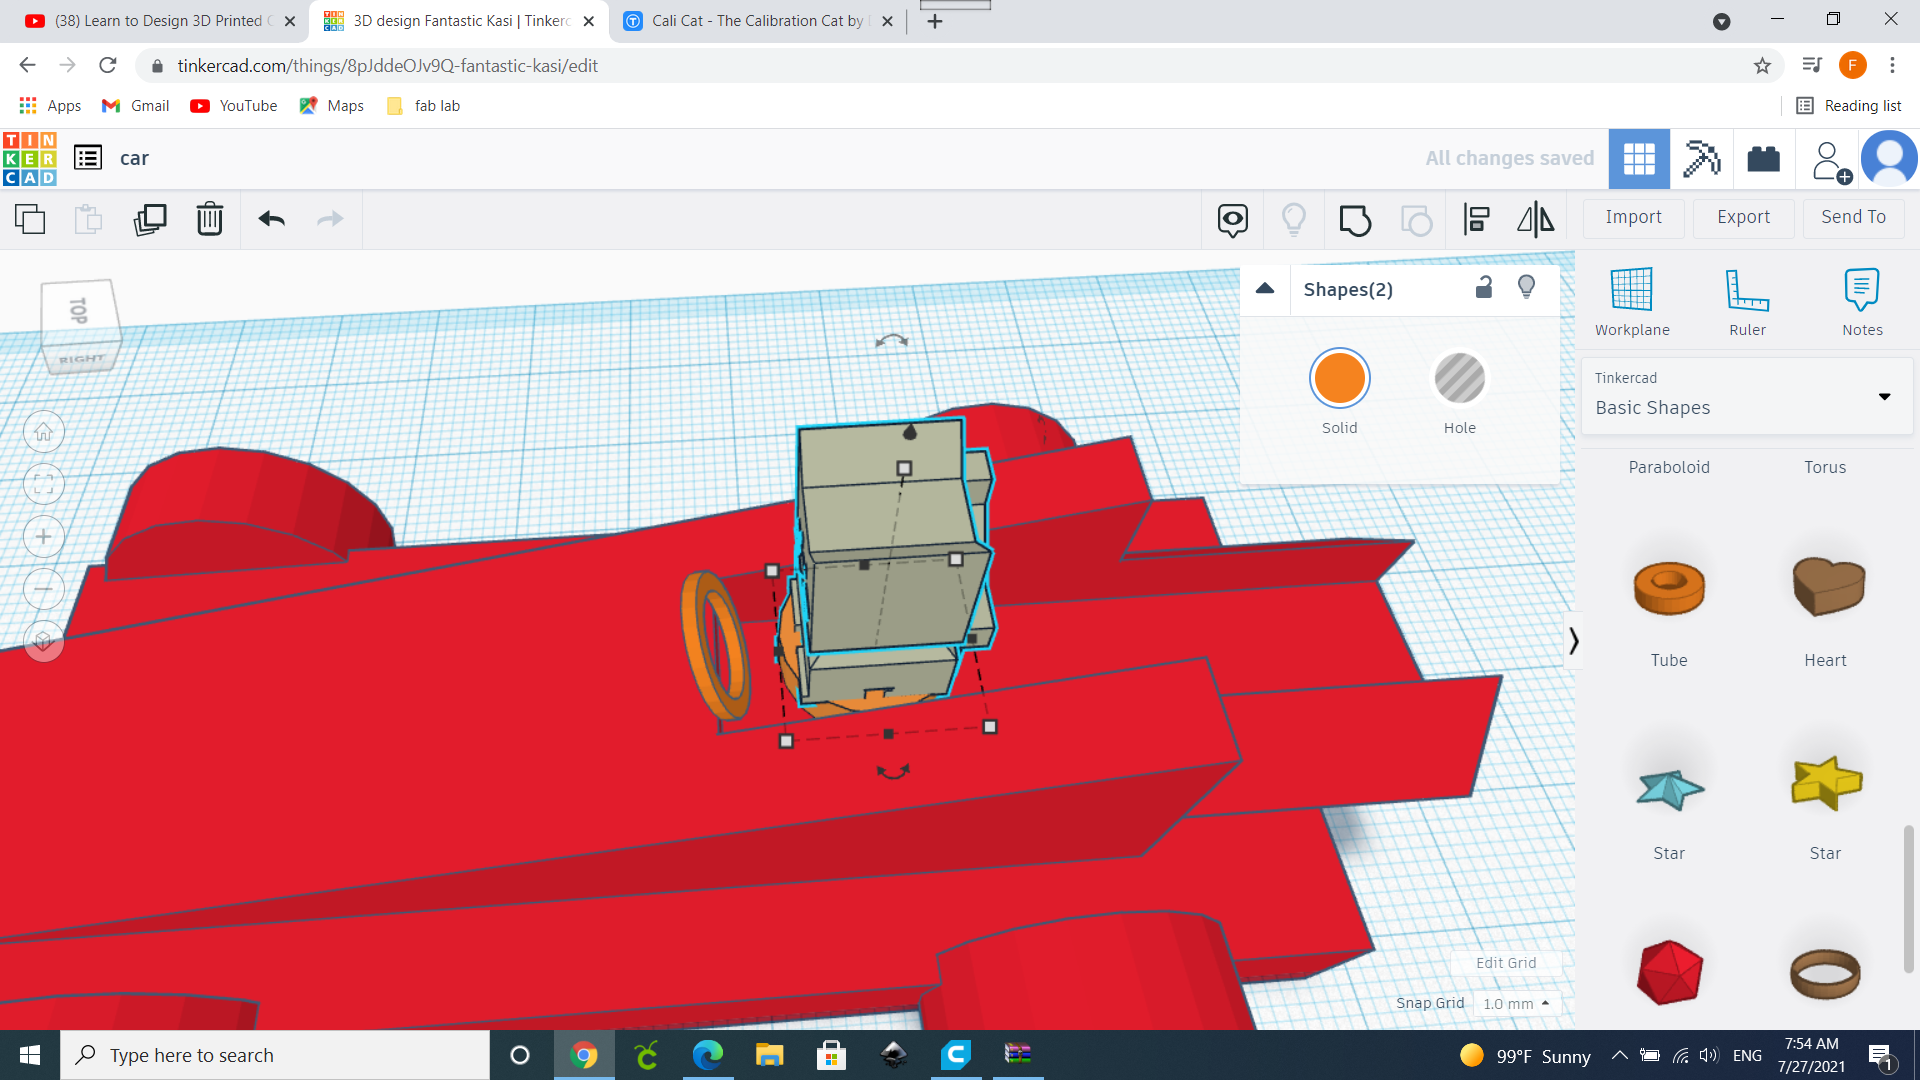
DESIGNING PROCESS
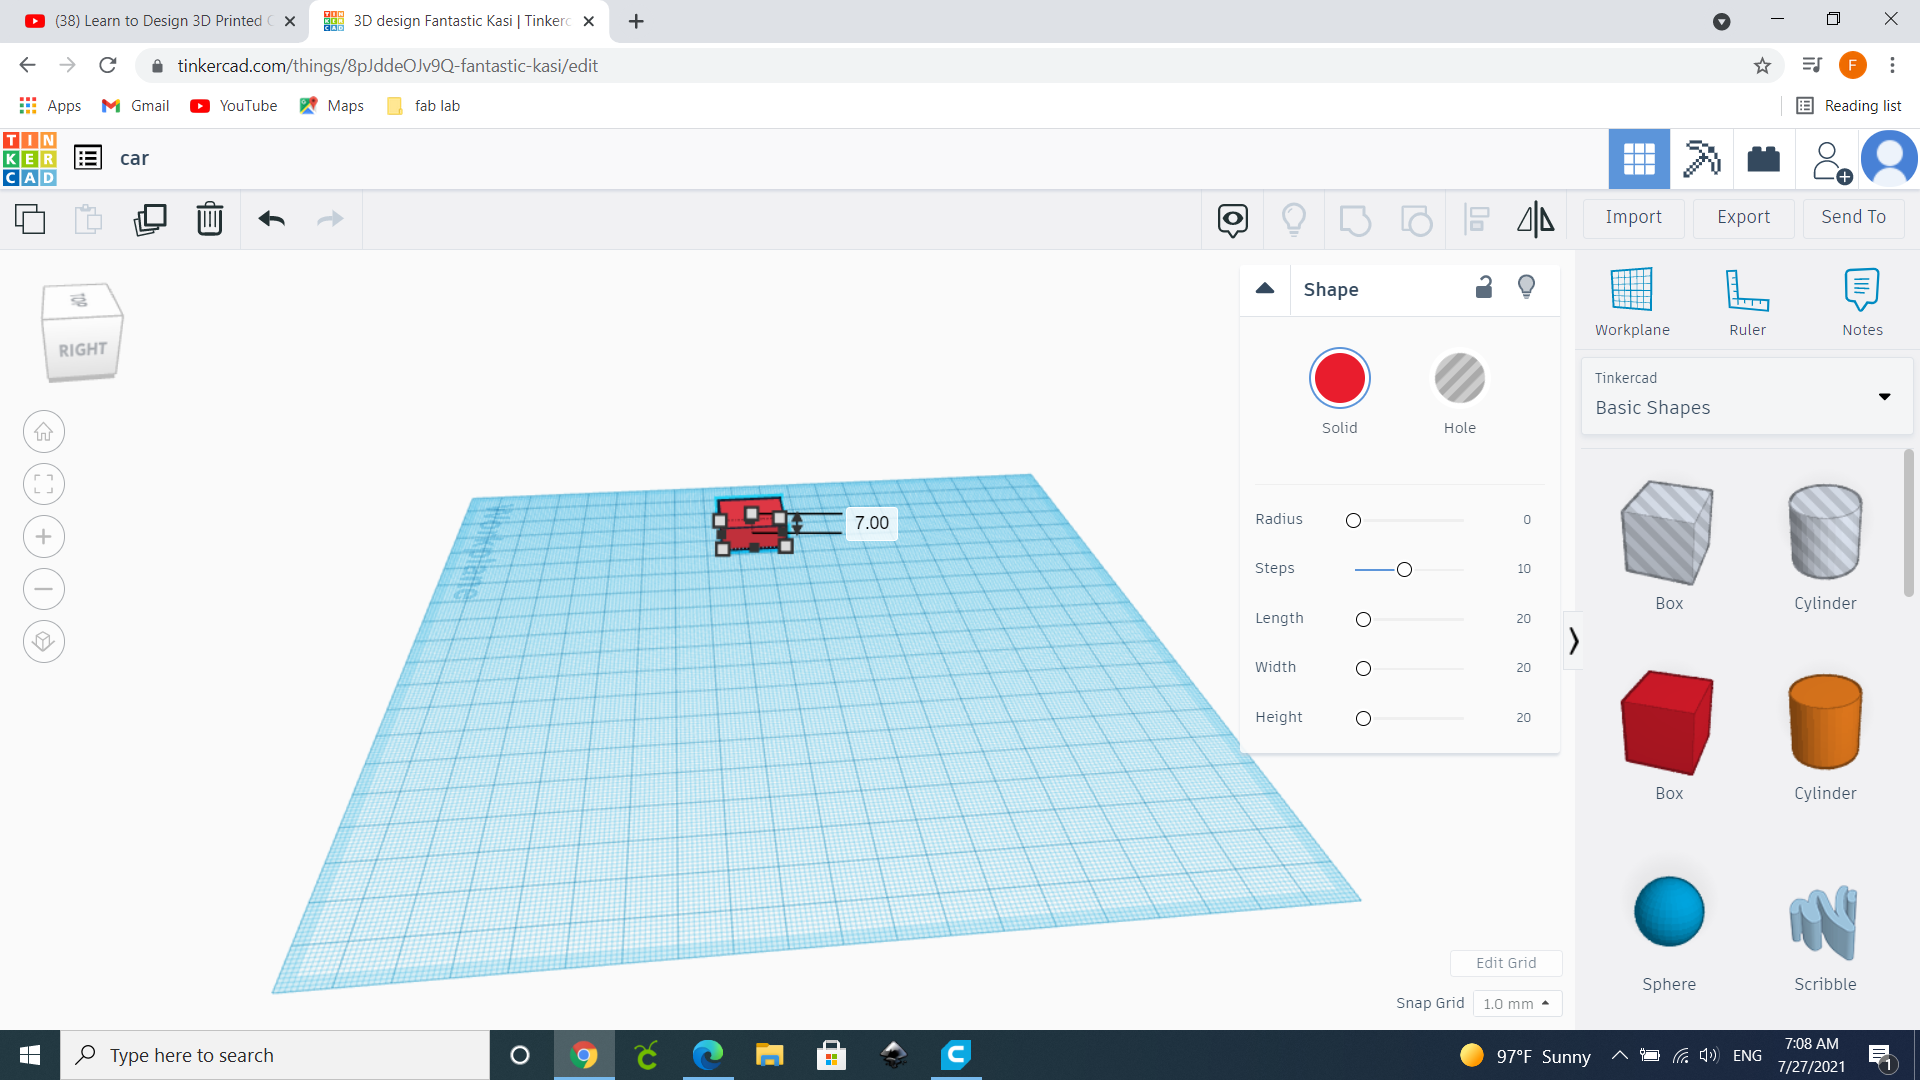
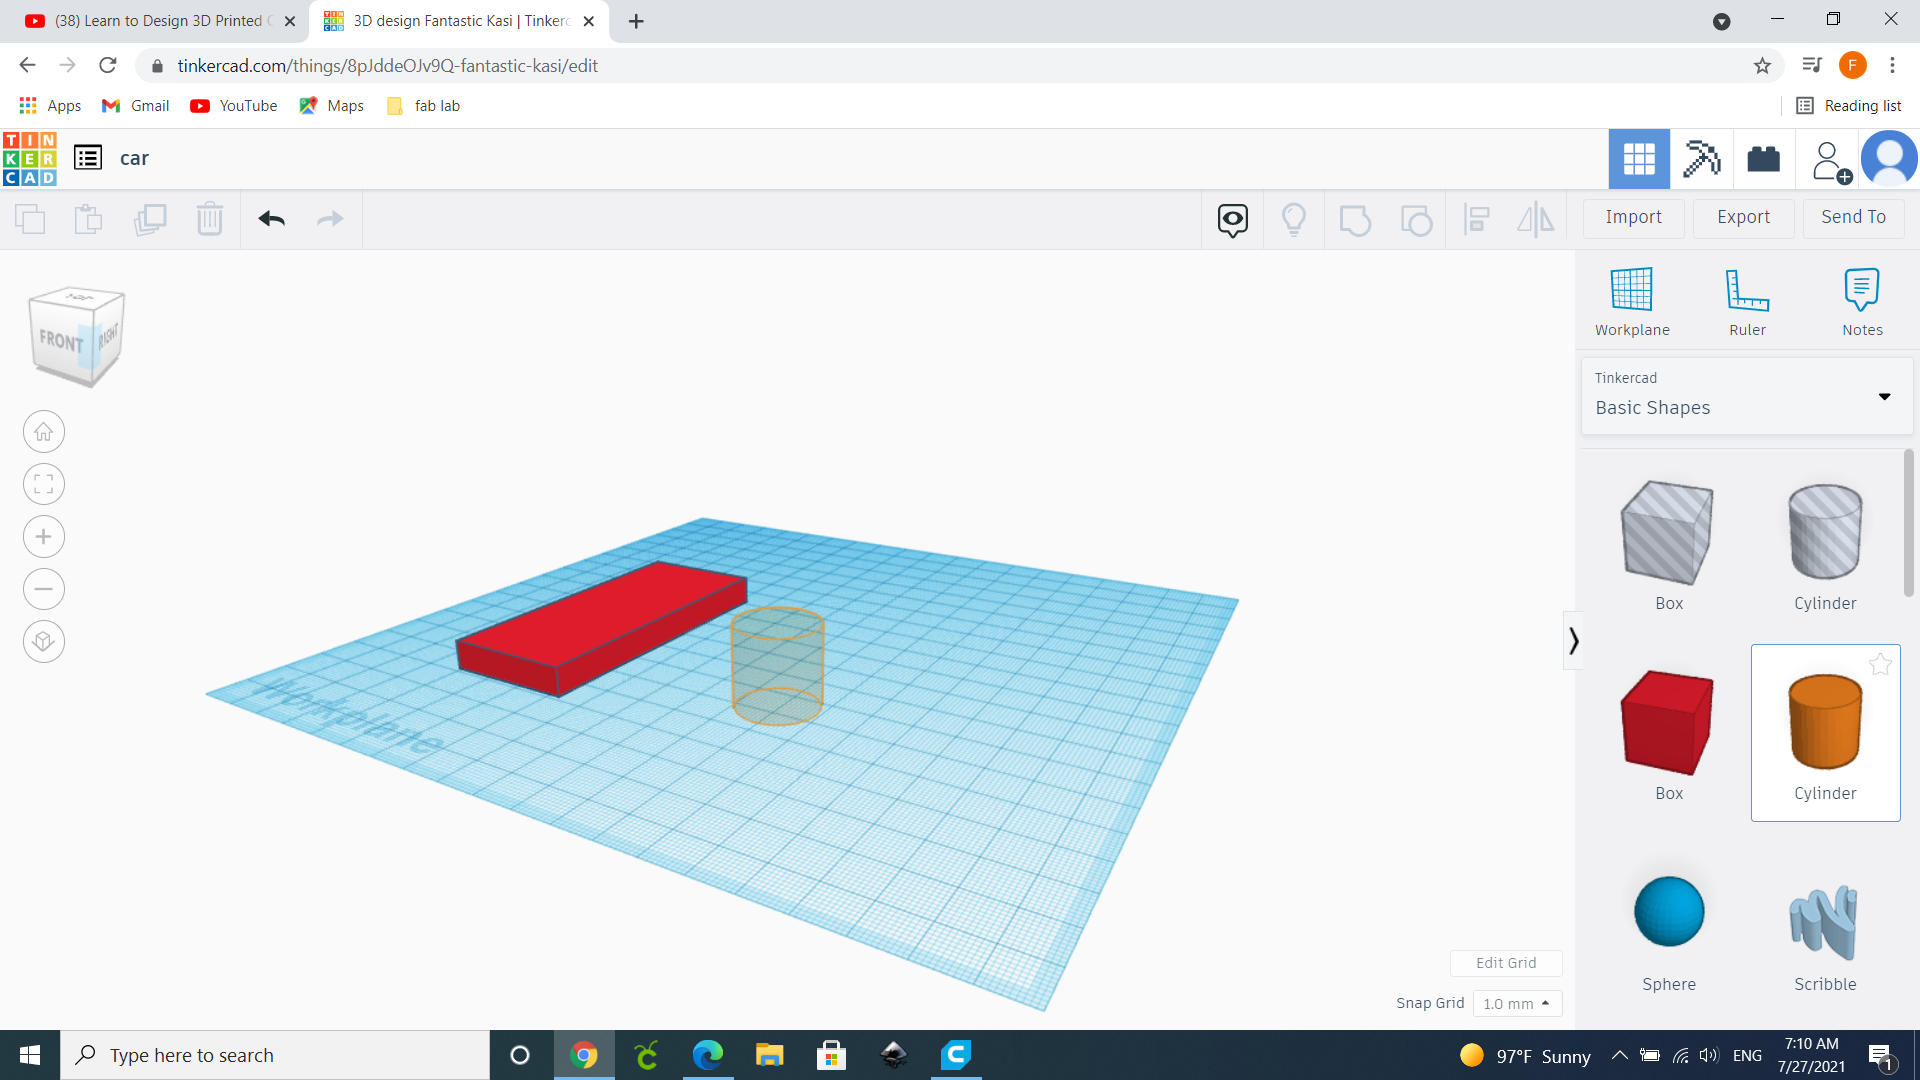
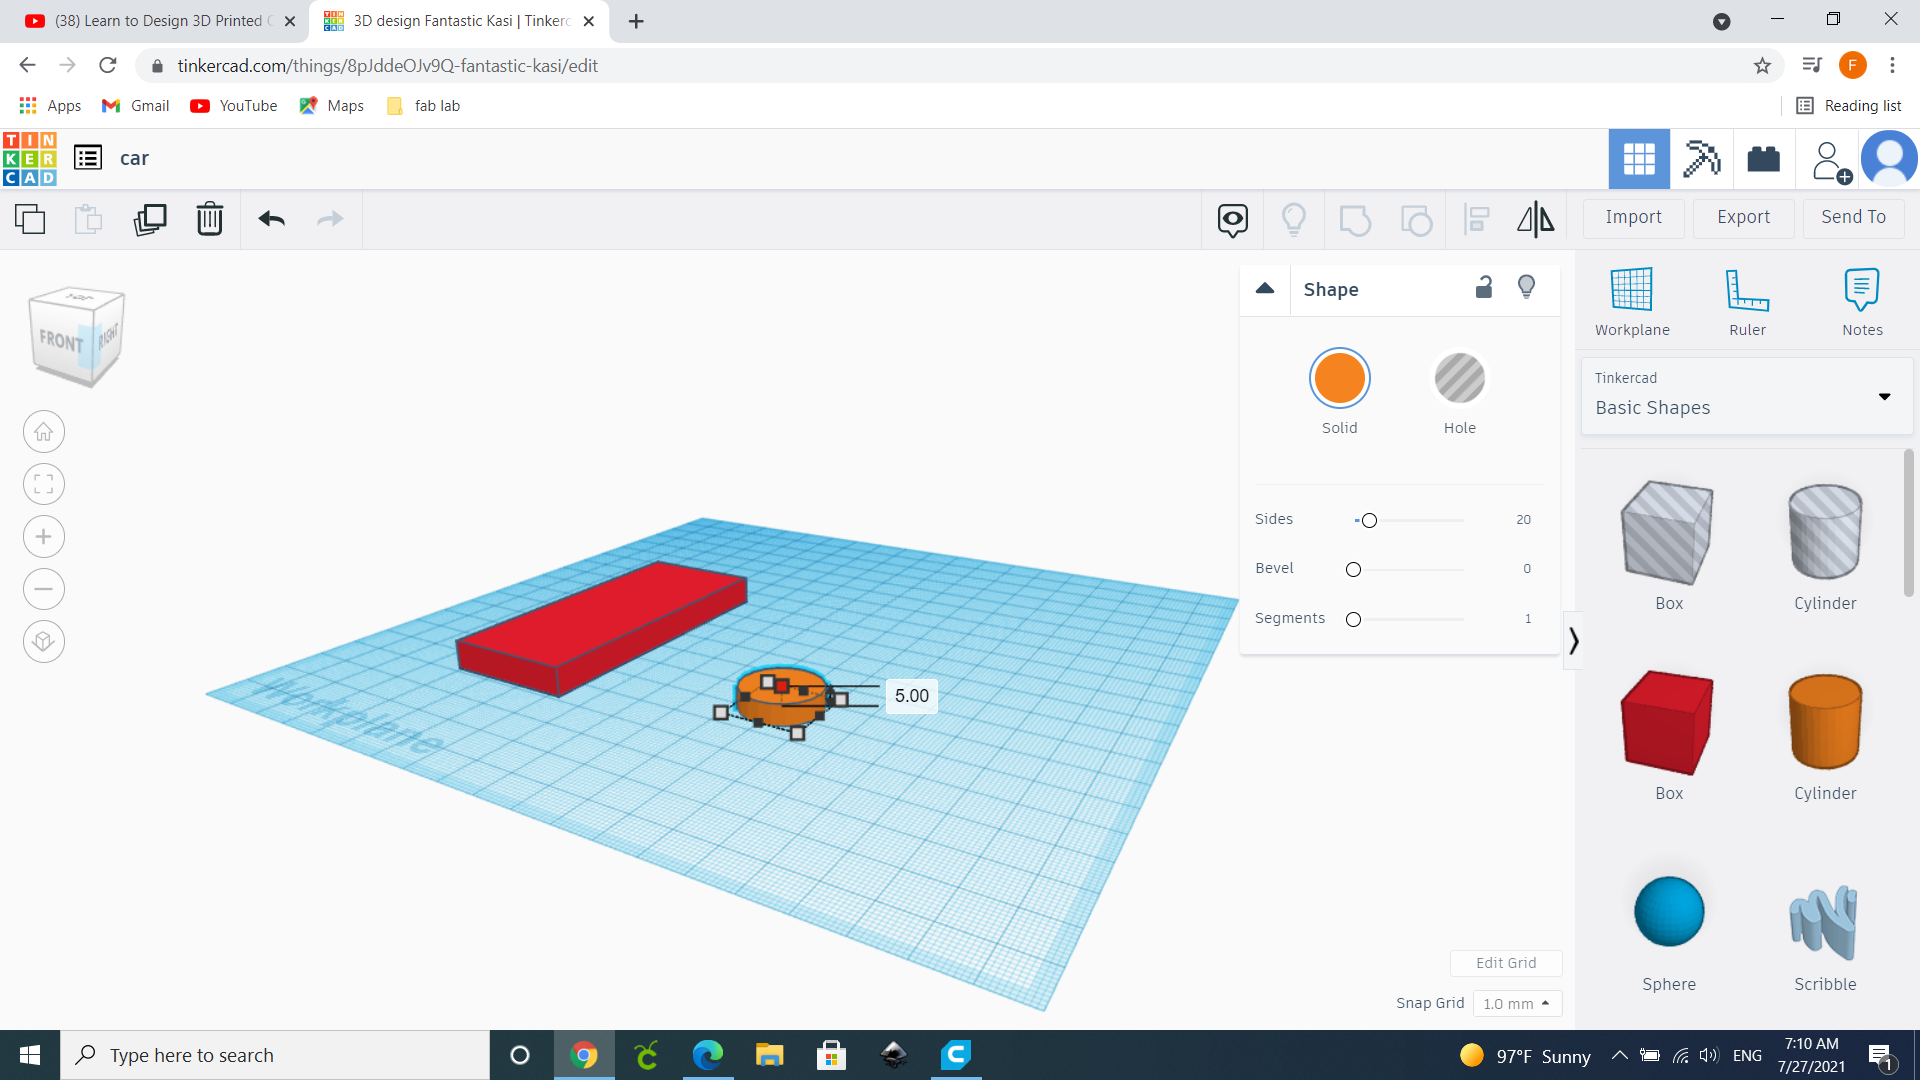
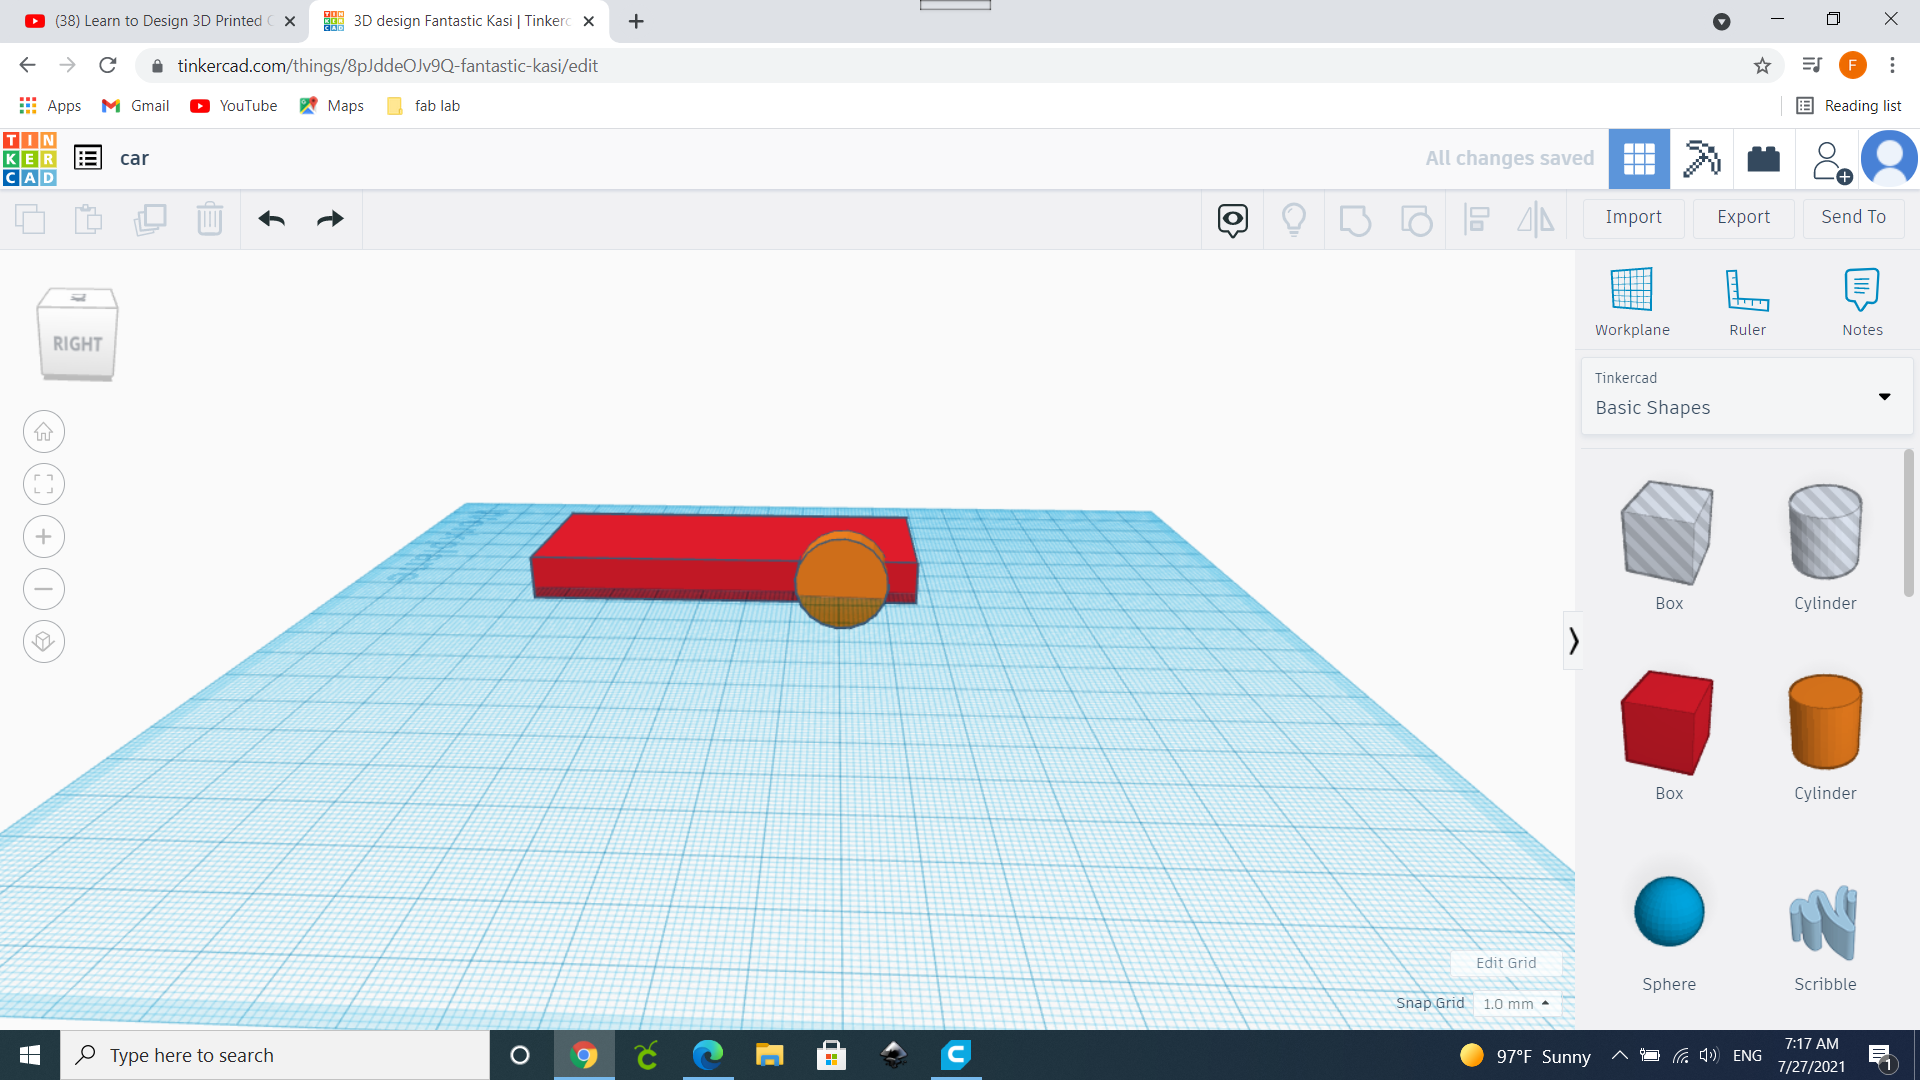
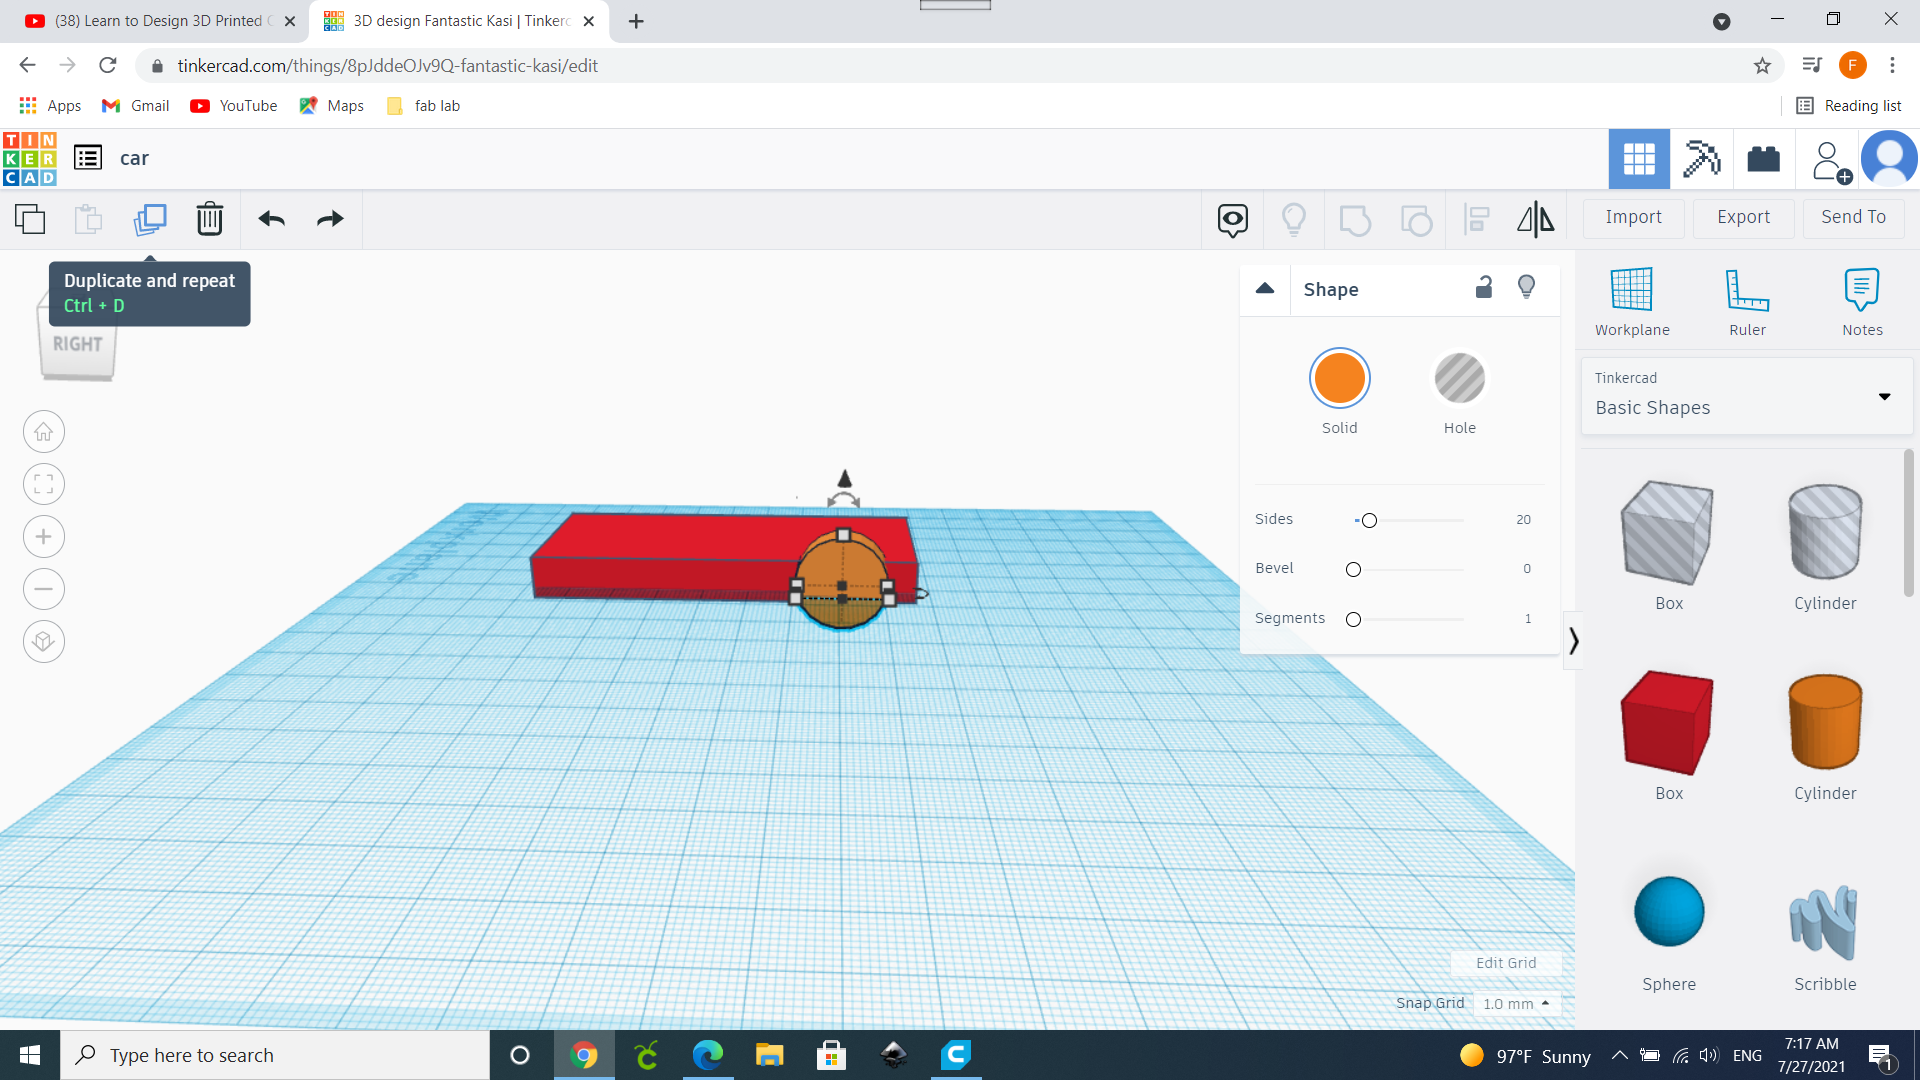
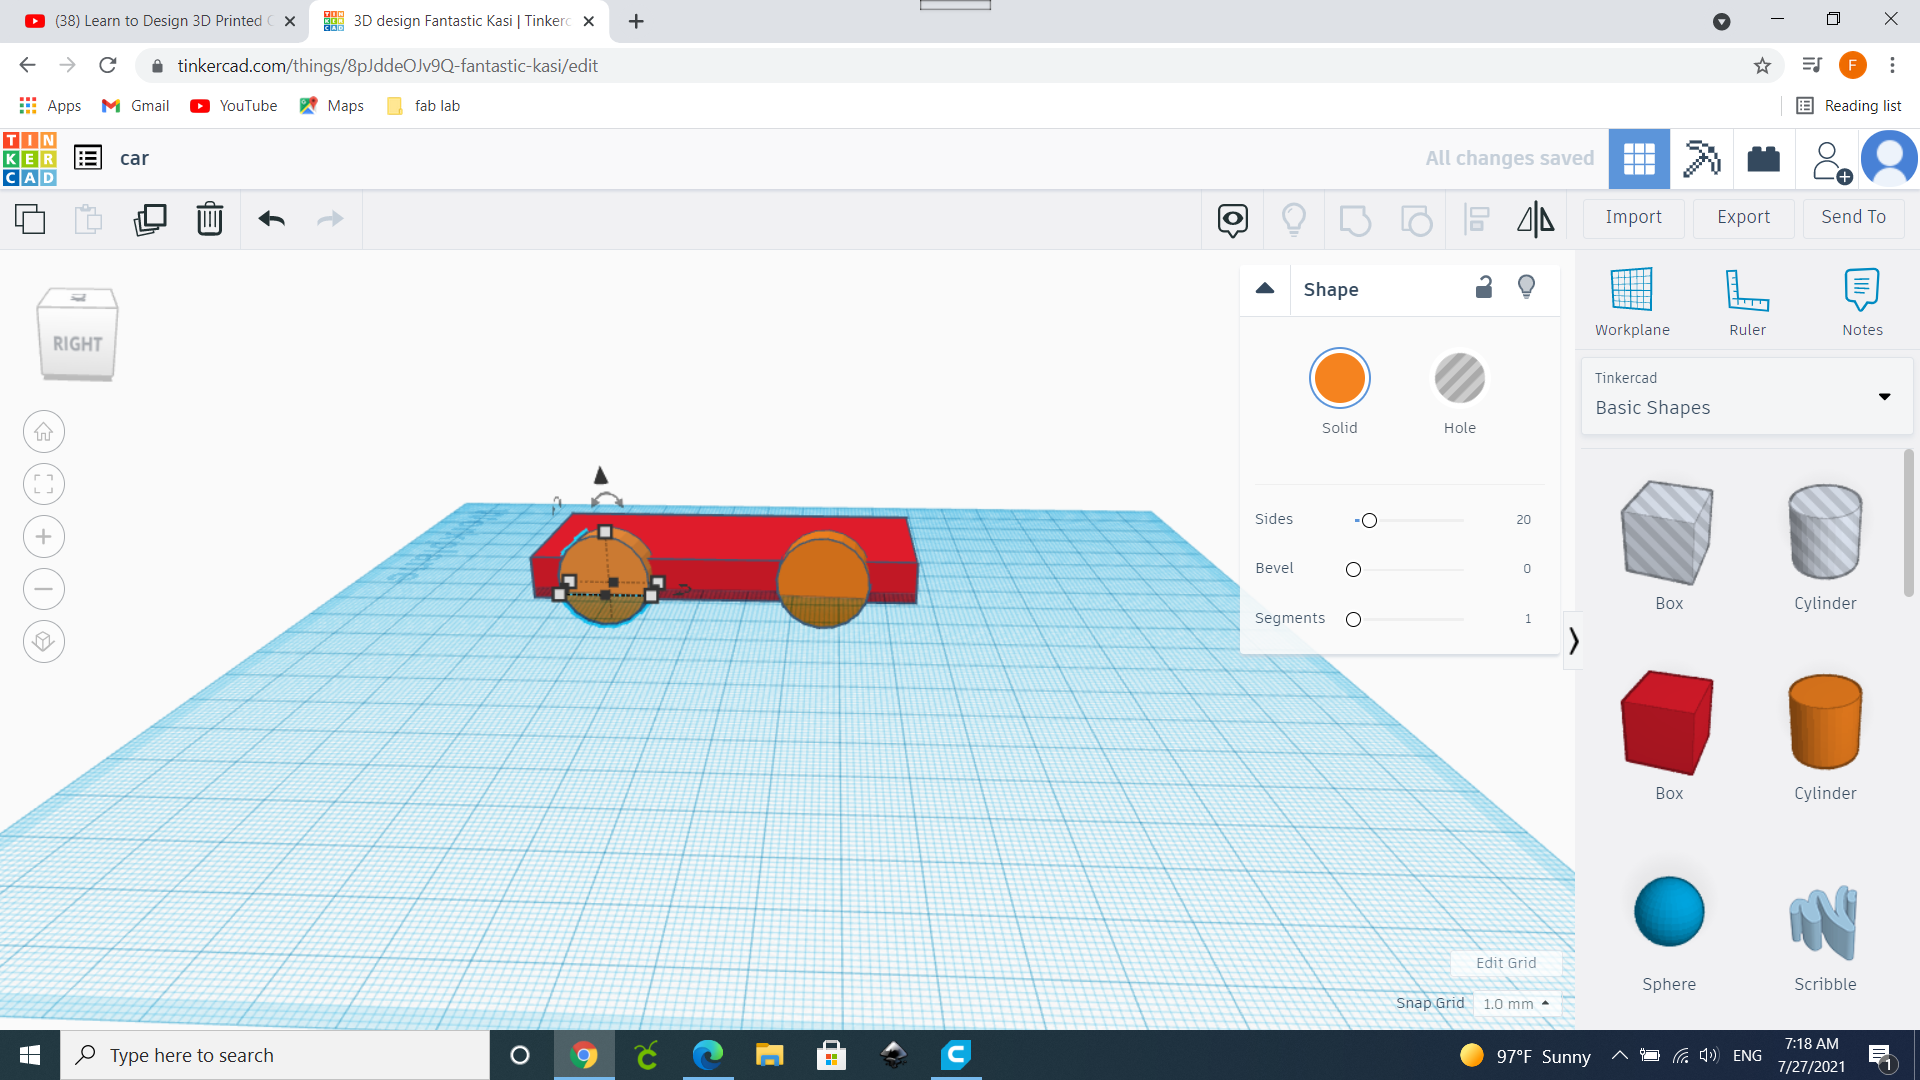
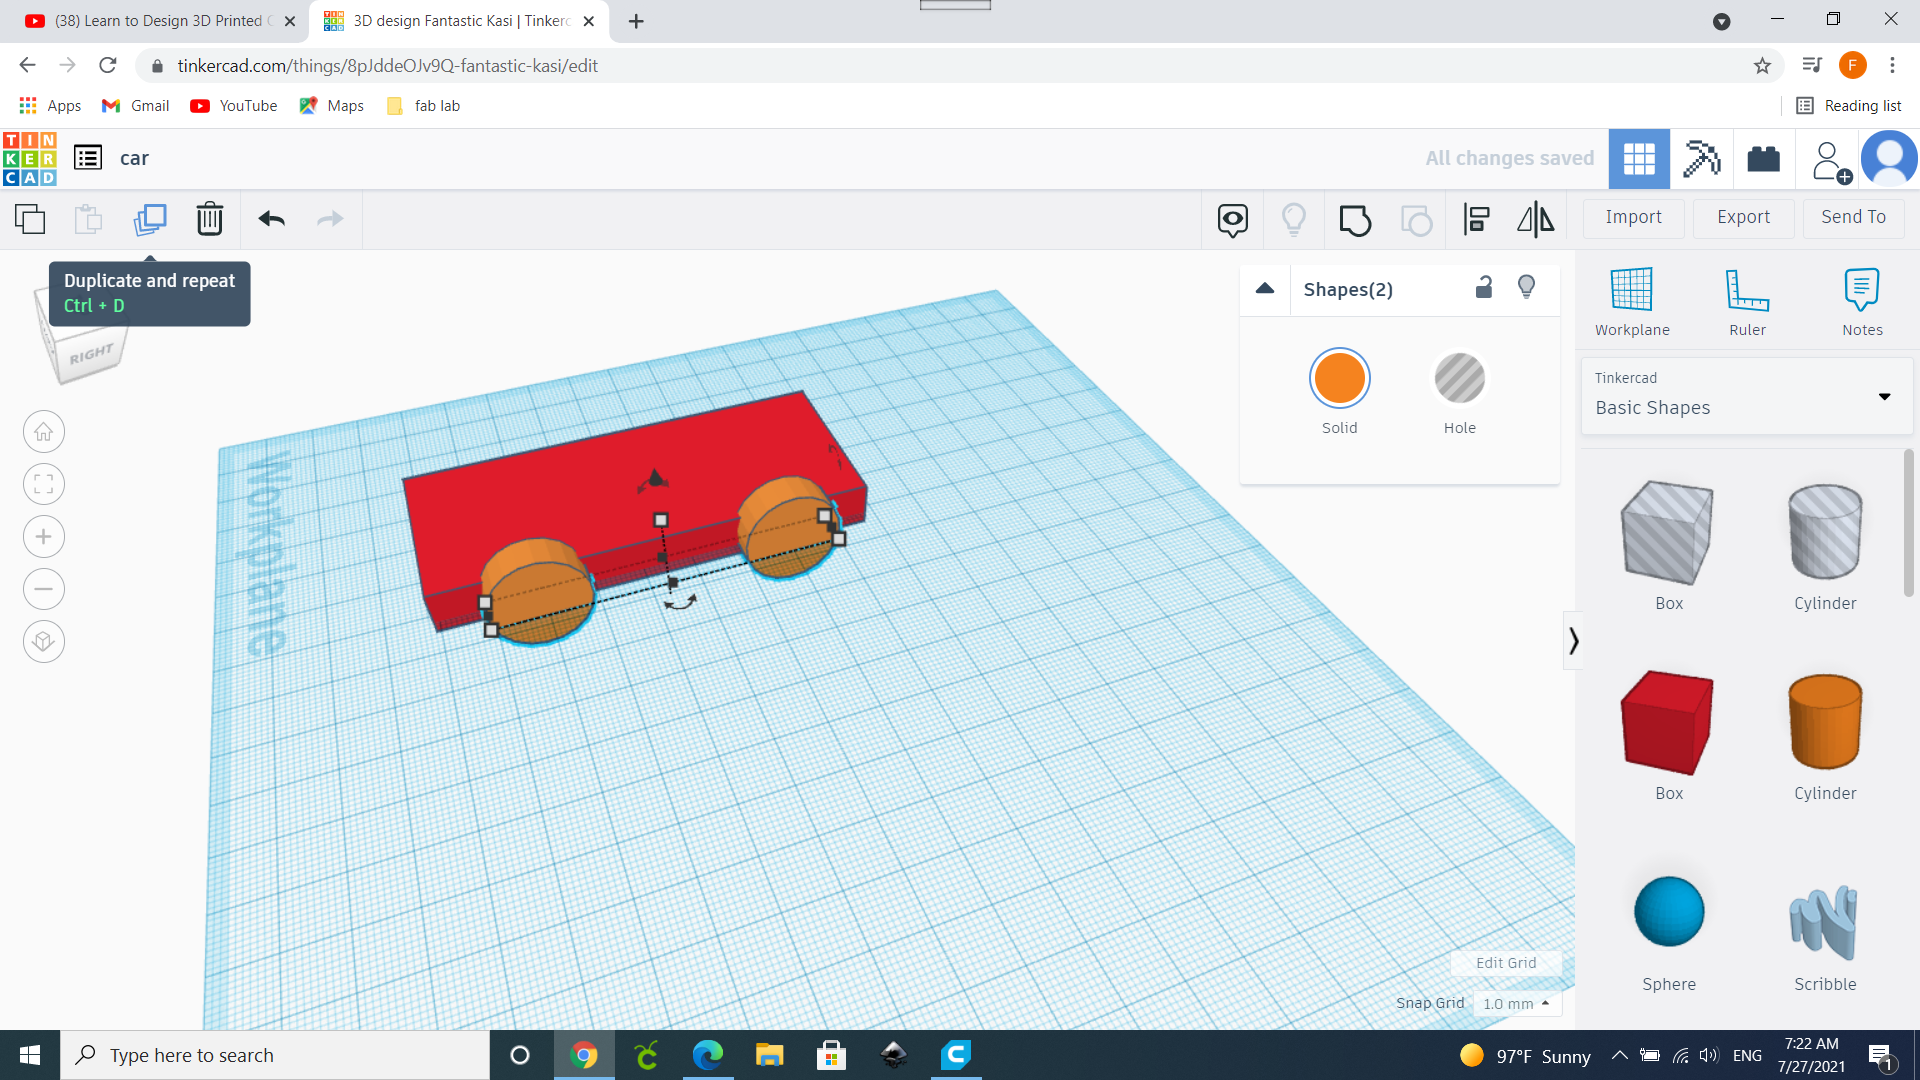
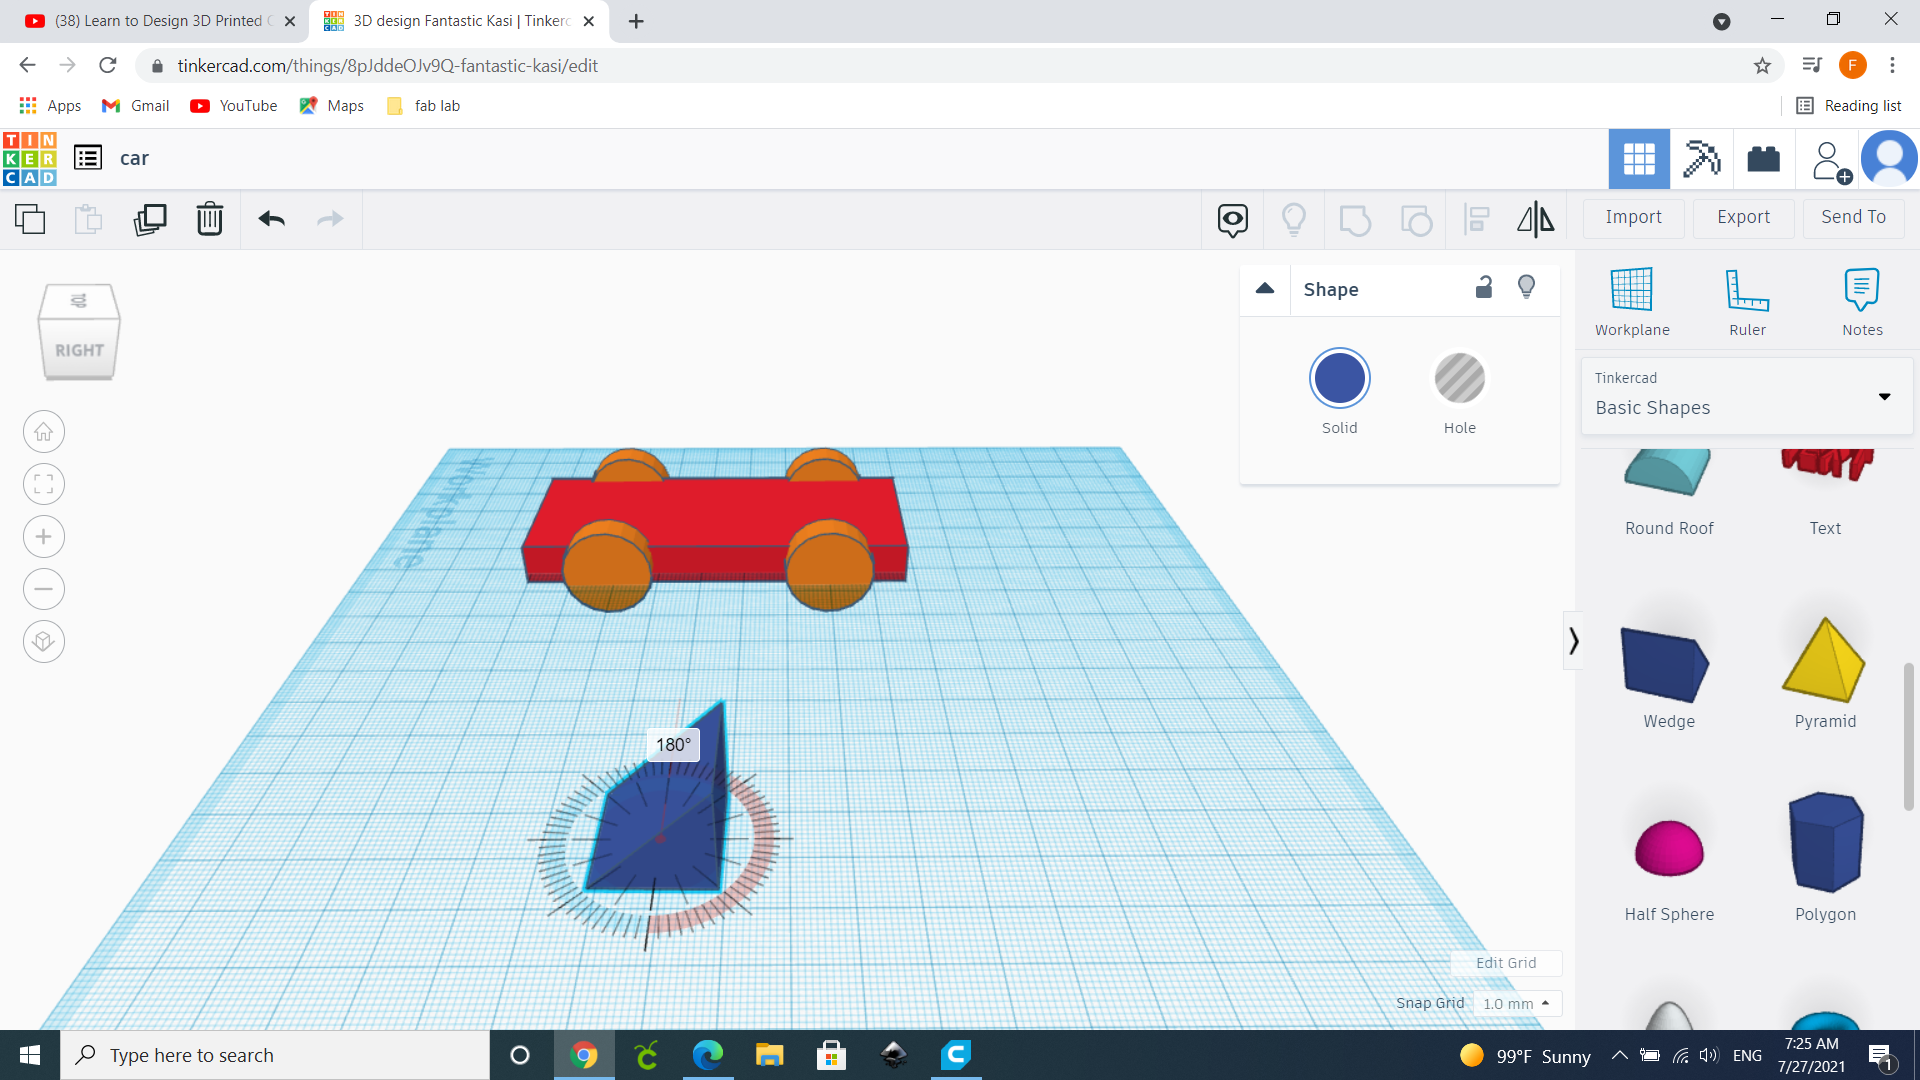
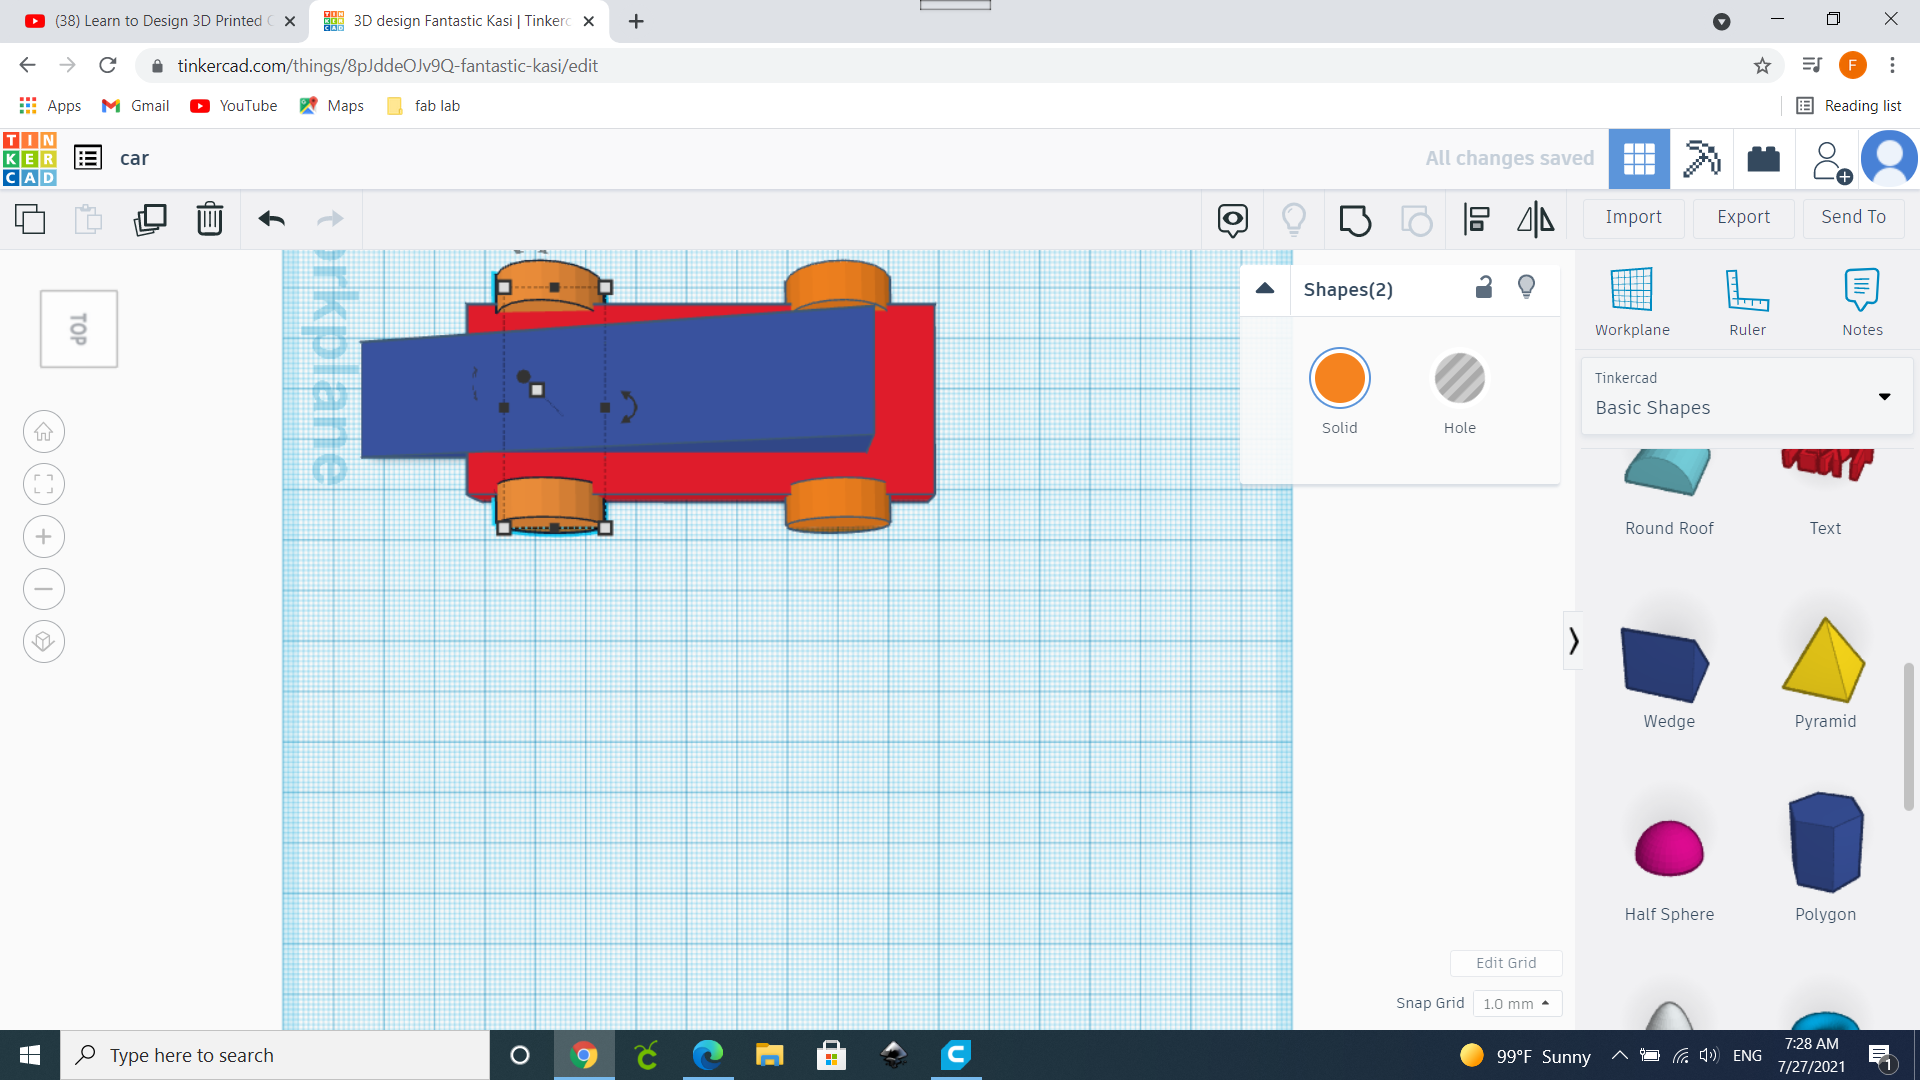
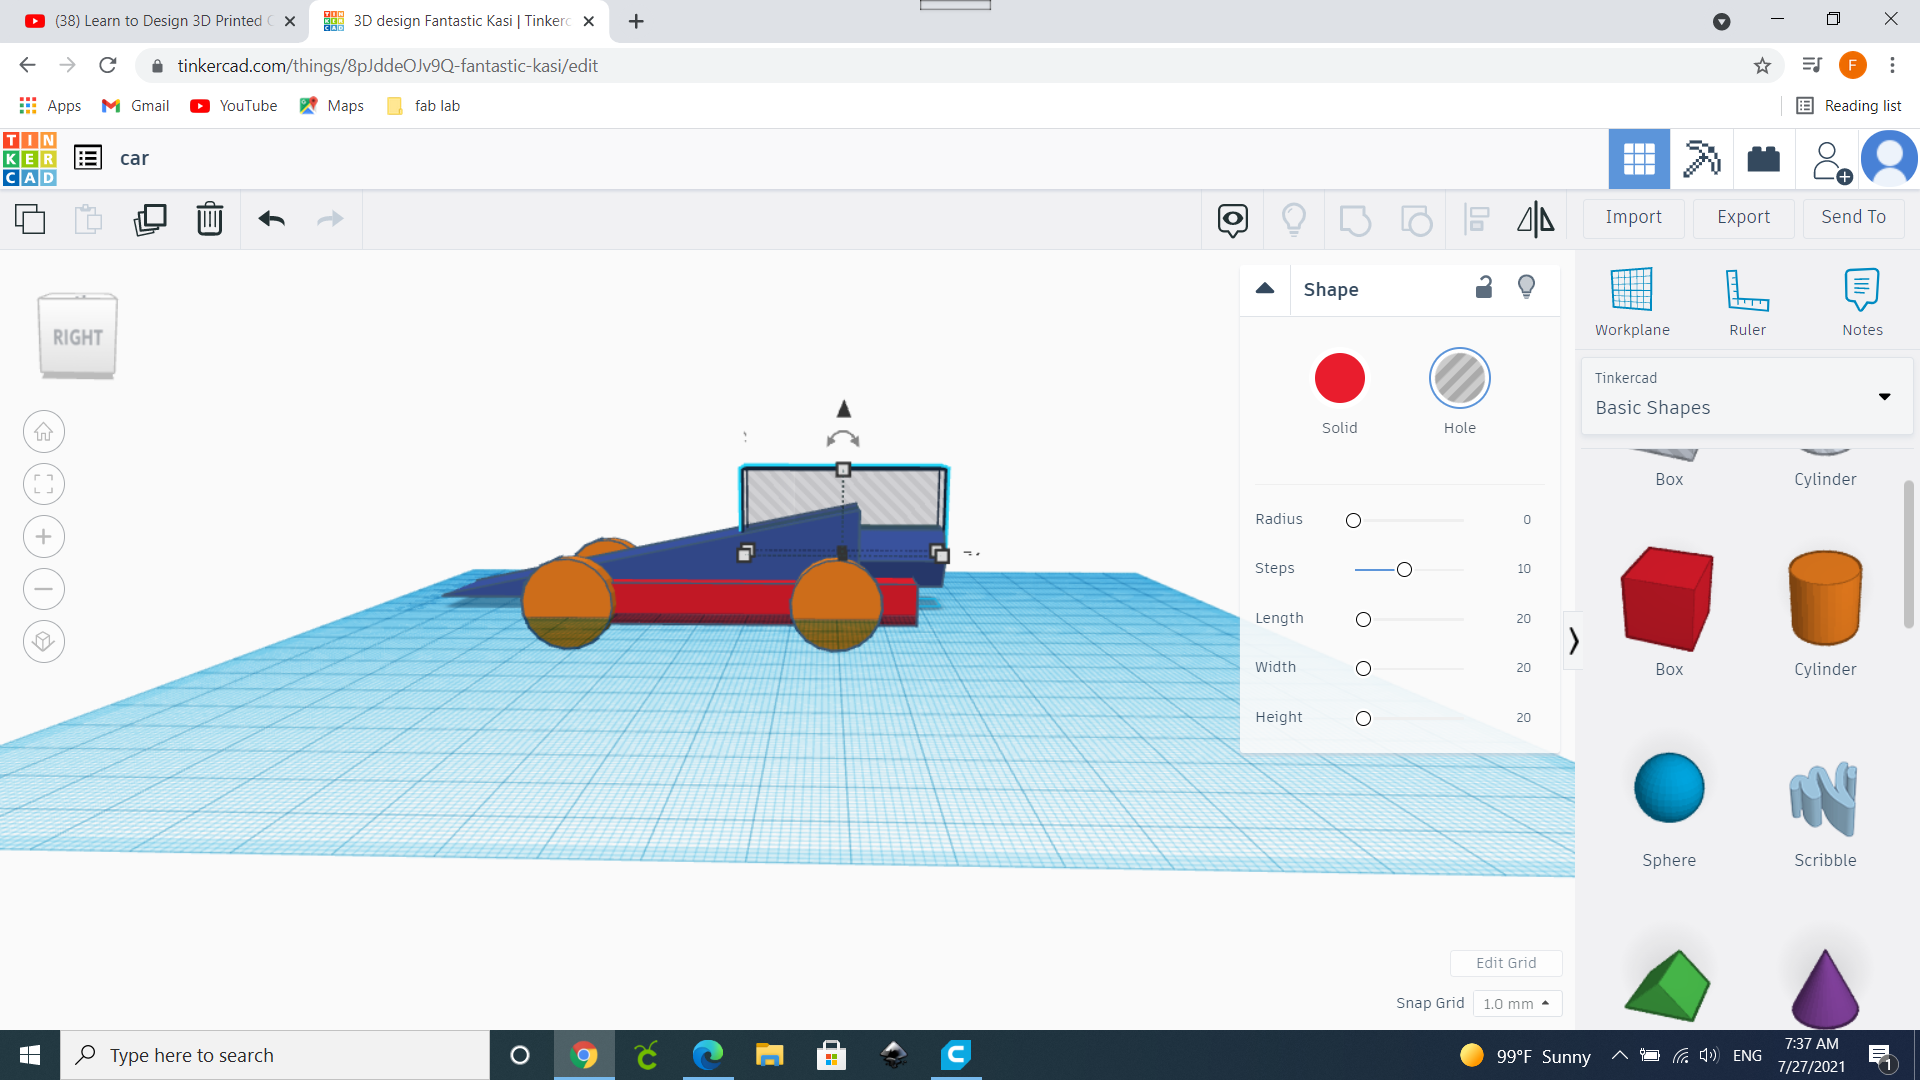
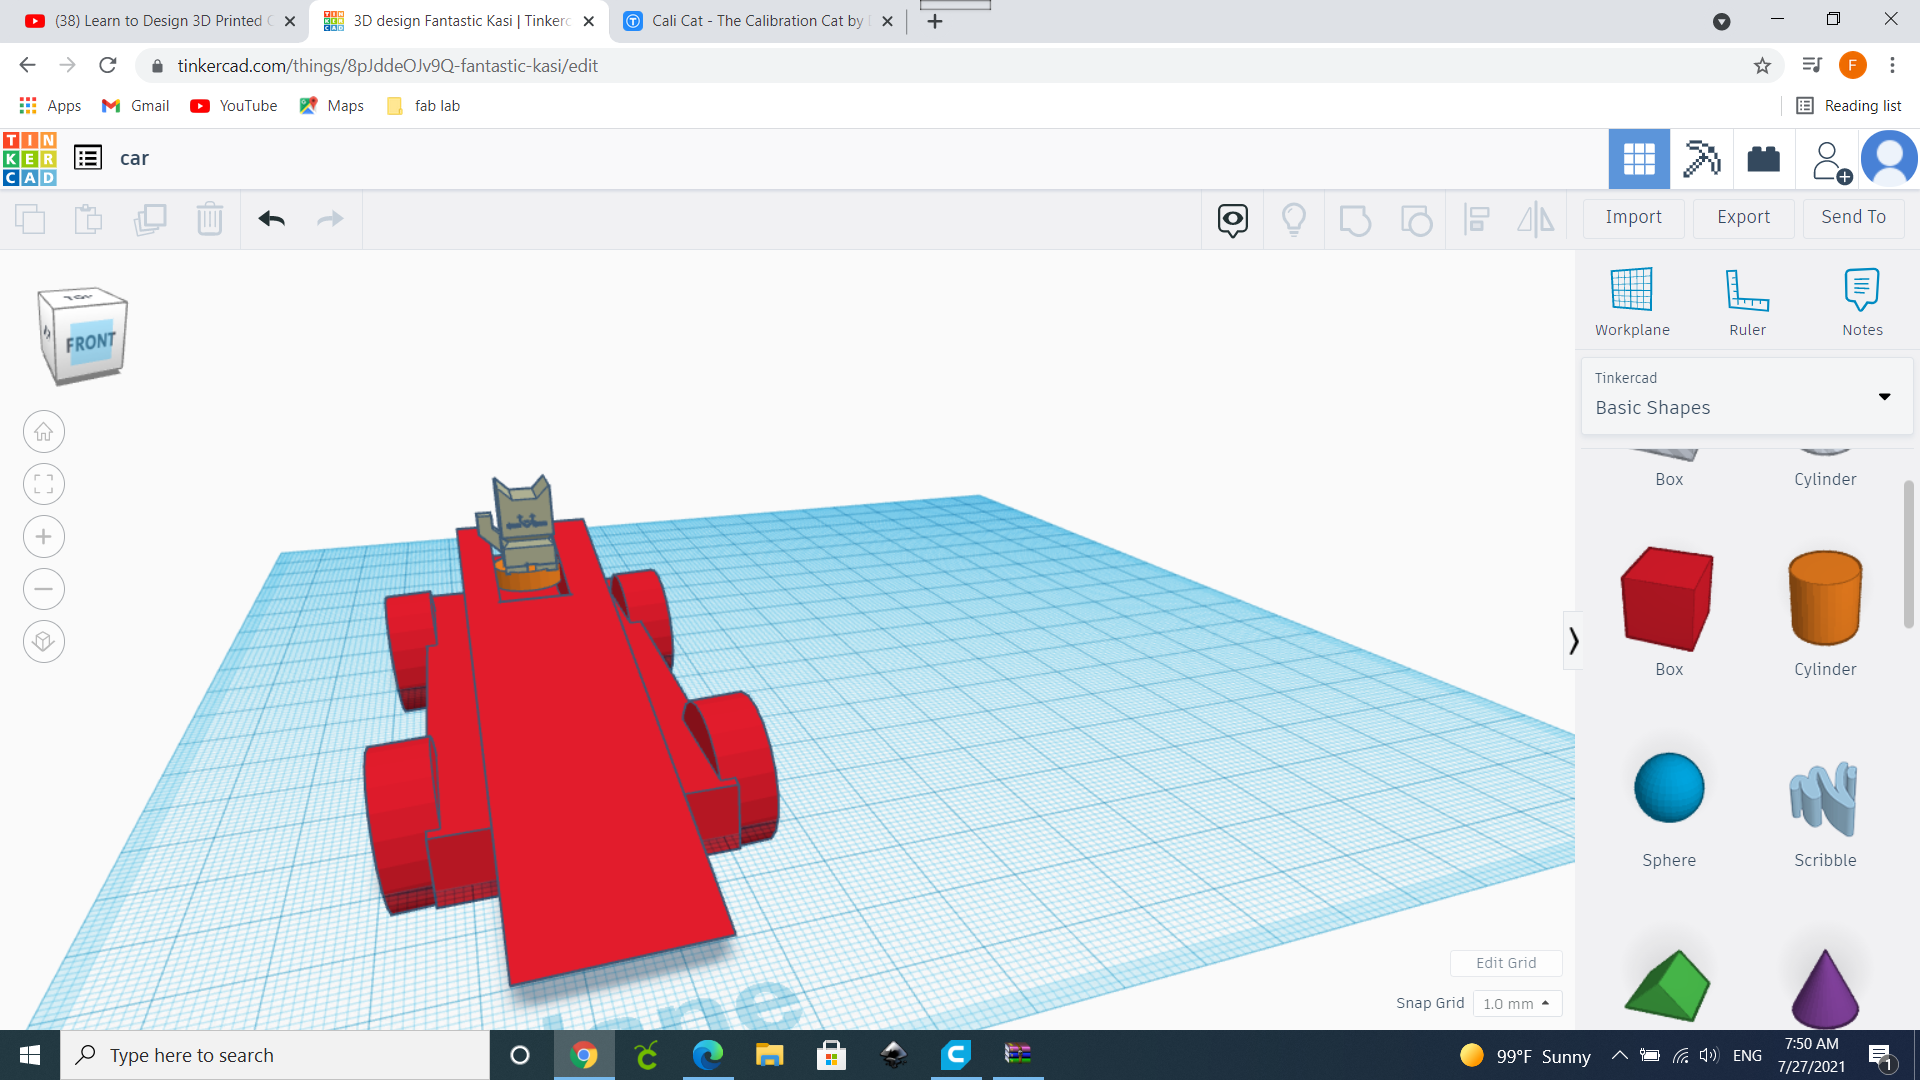
I used a CAD software called tinkercad which is an amazingly powerful easy-to-use tool for creating digital designs that are ready to be 3D printed into super-cool physical objects to create a simple yet unique design.
Here’s how it went ....
.png)
.png)

.png)
REFER TO THIS TUTORIAL FOR A BETTER UNDERSTANDING
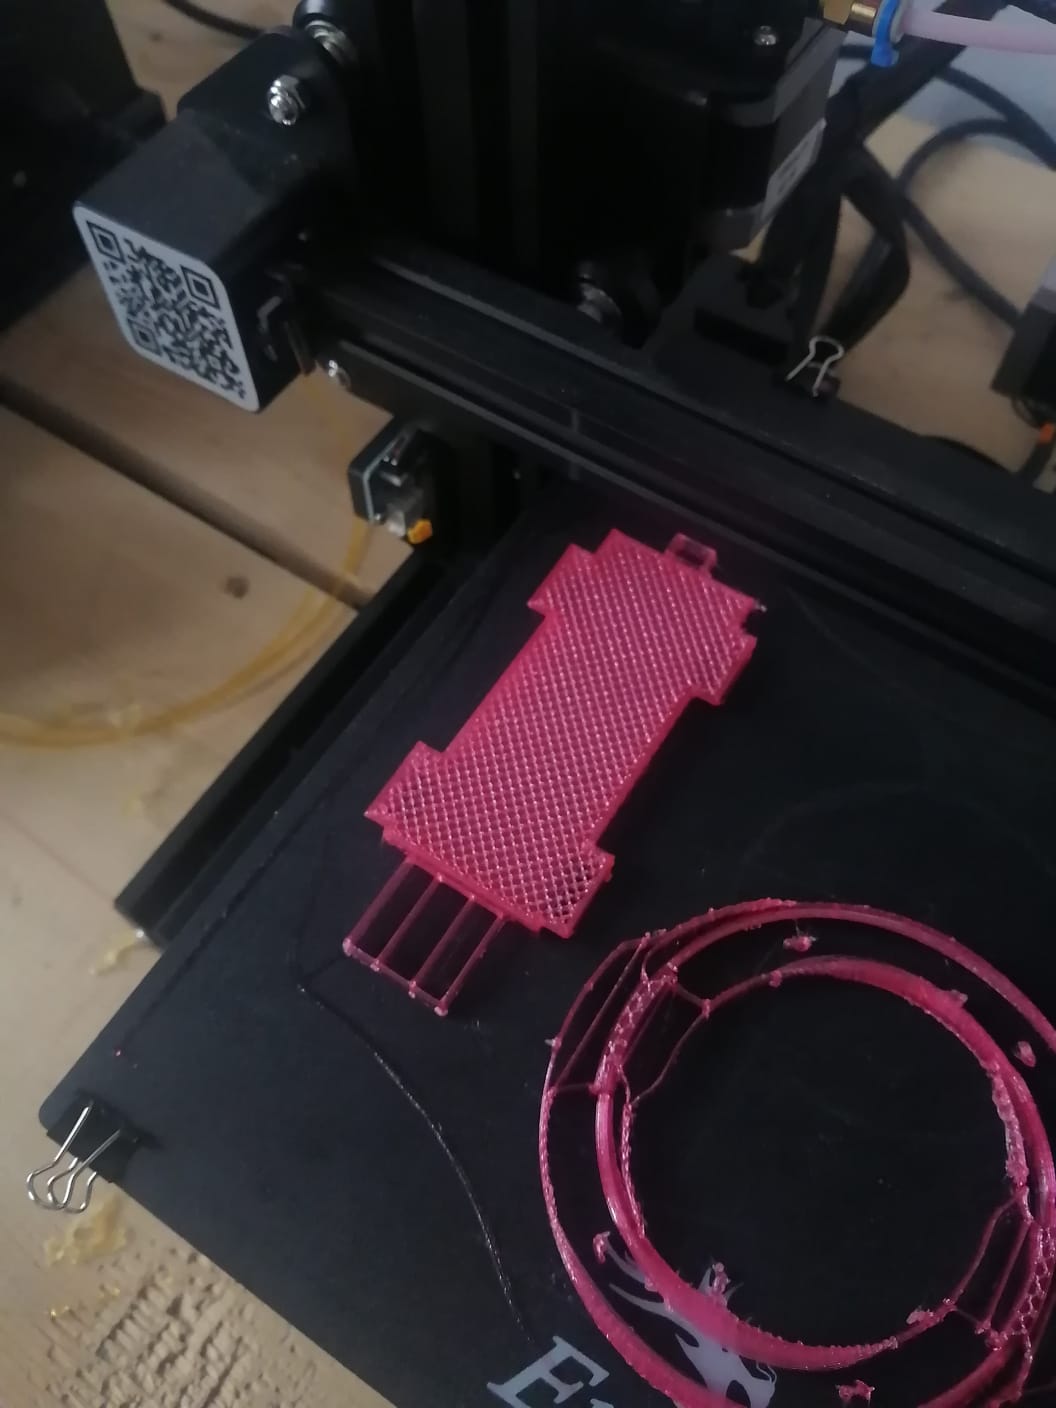
PREPPING
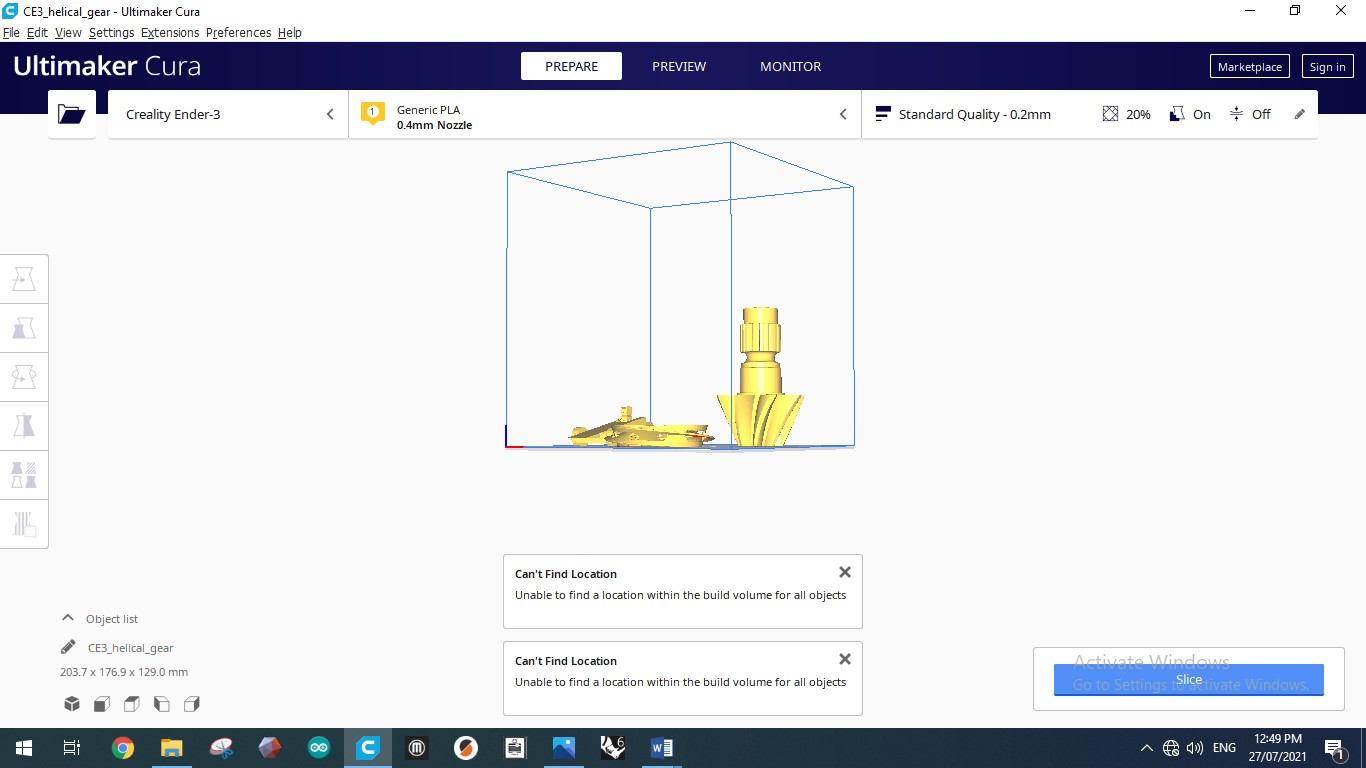

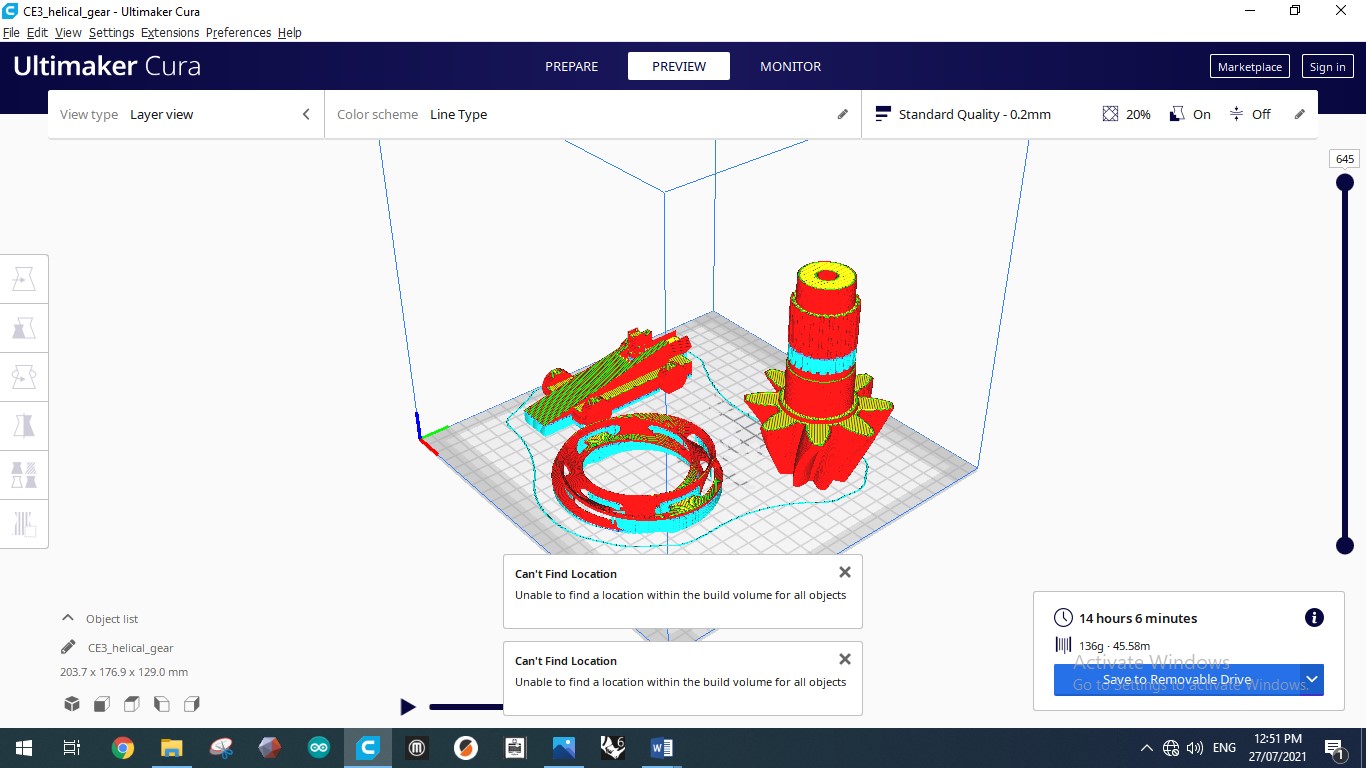

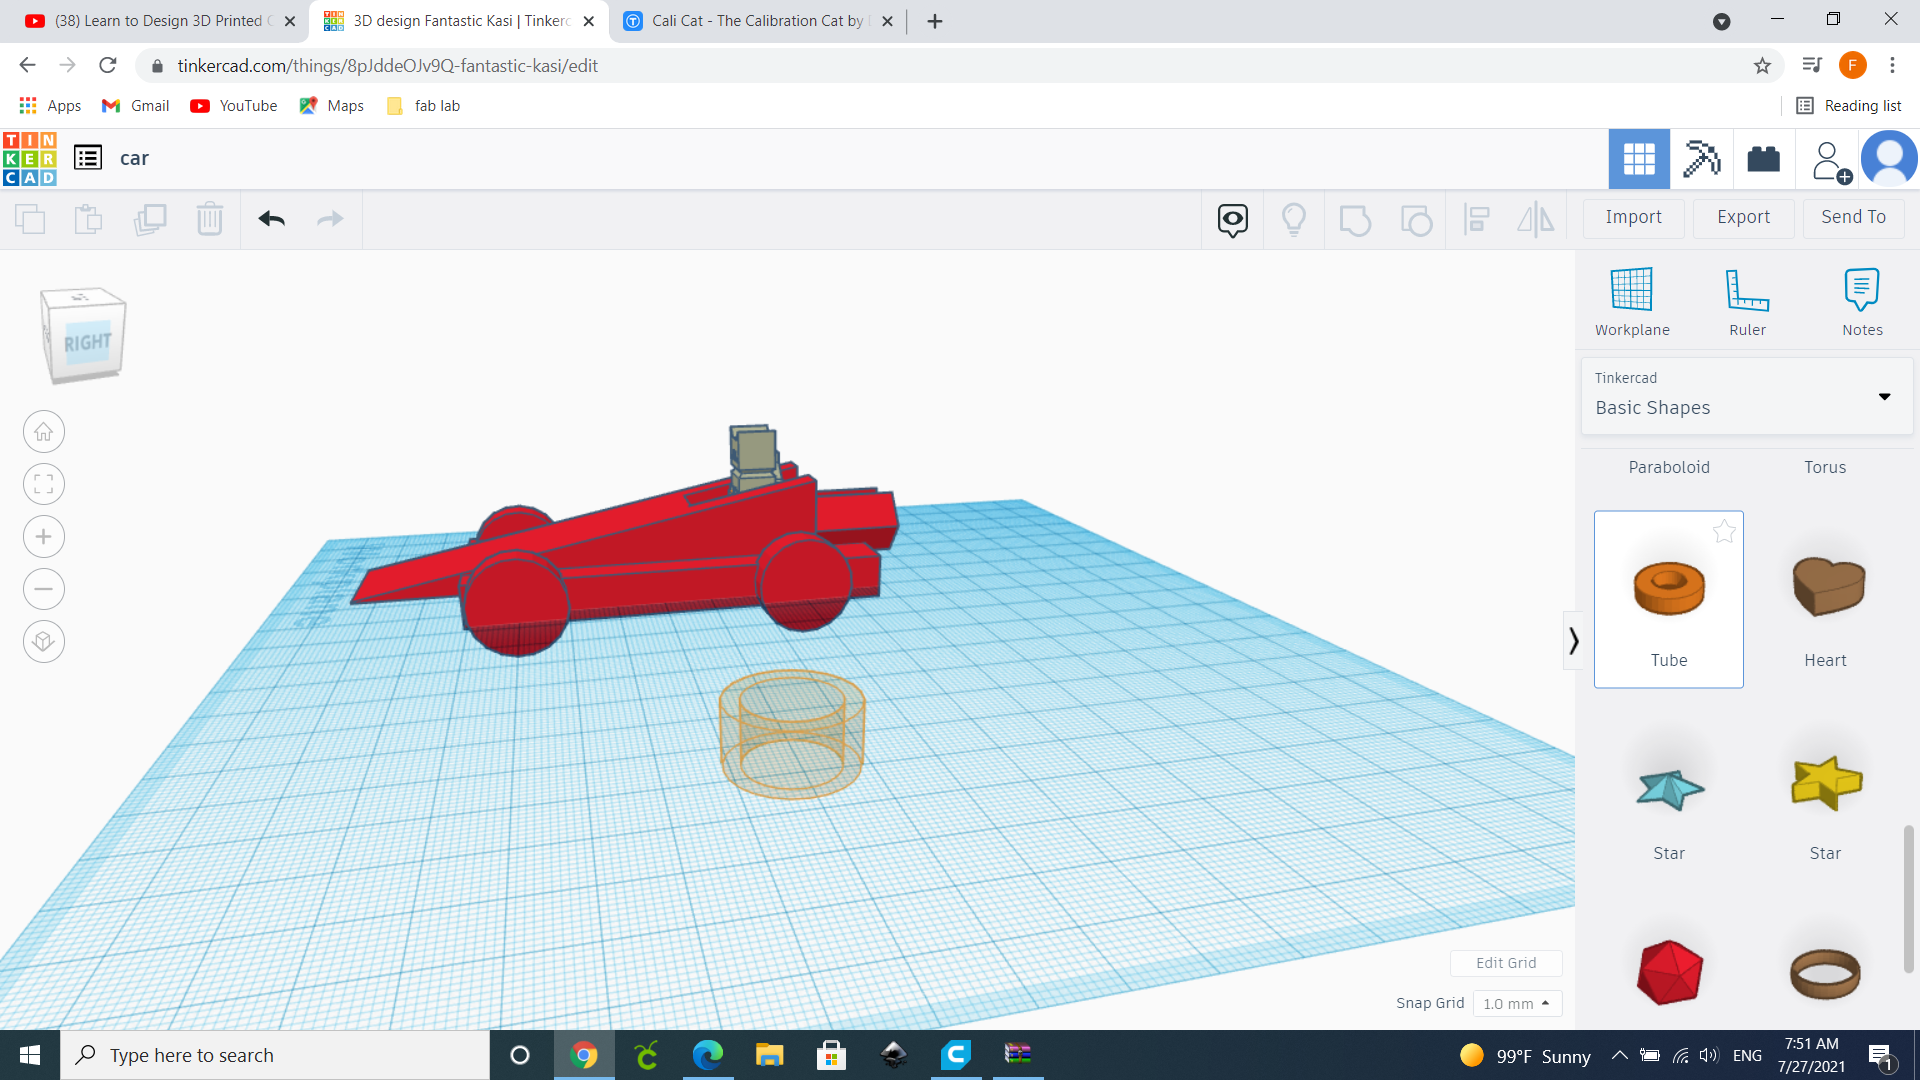
Final result
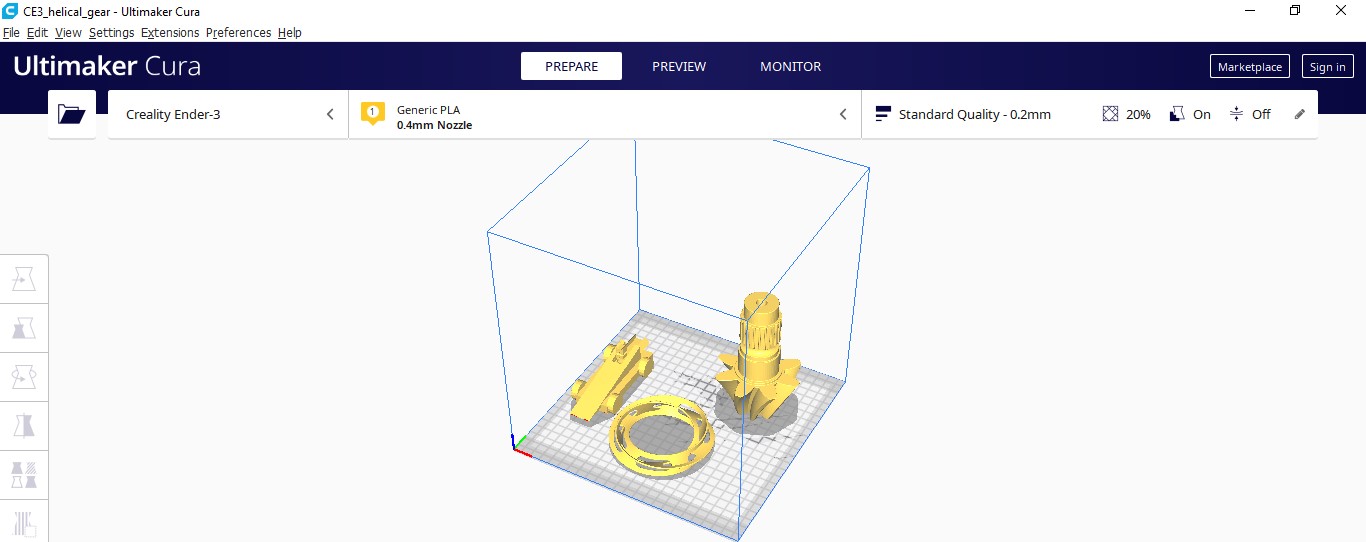
PRACTICAL
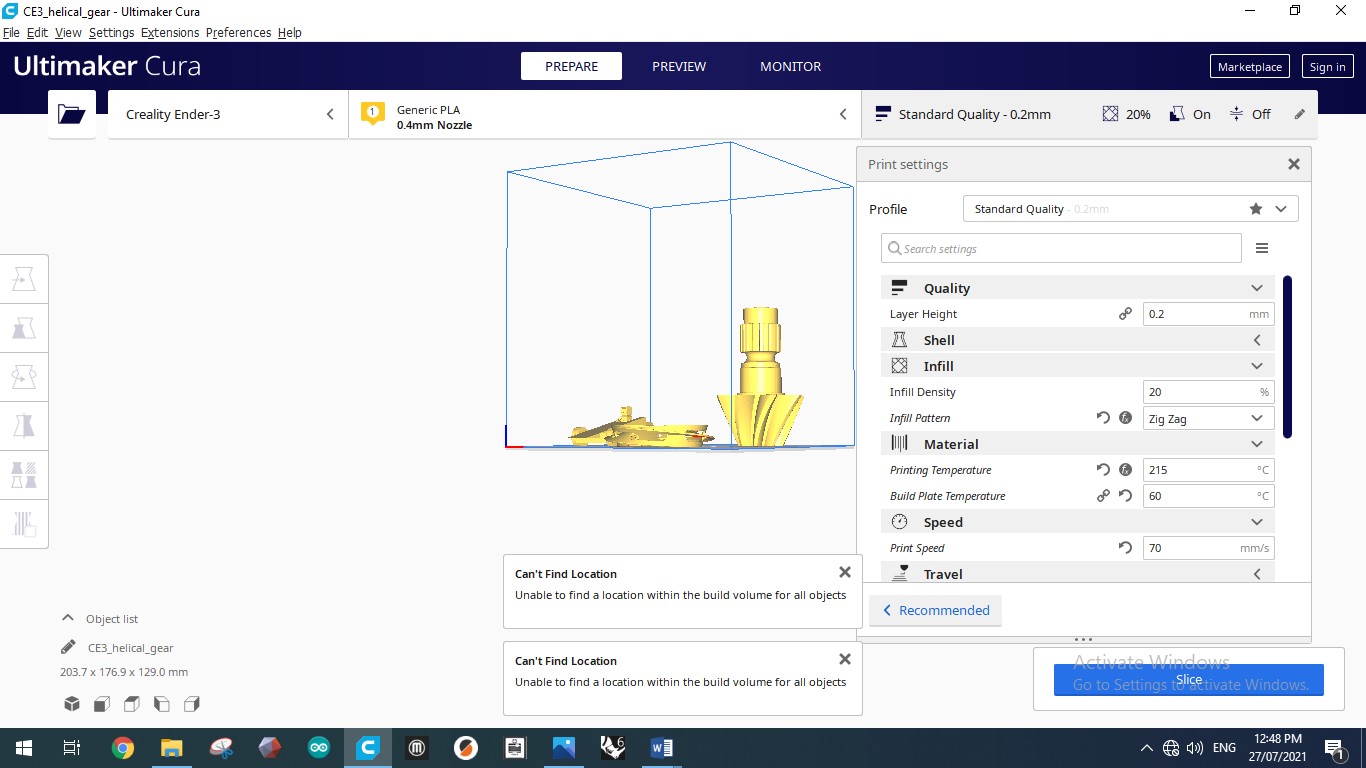
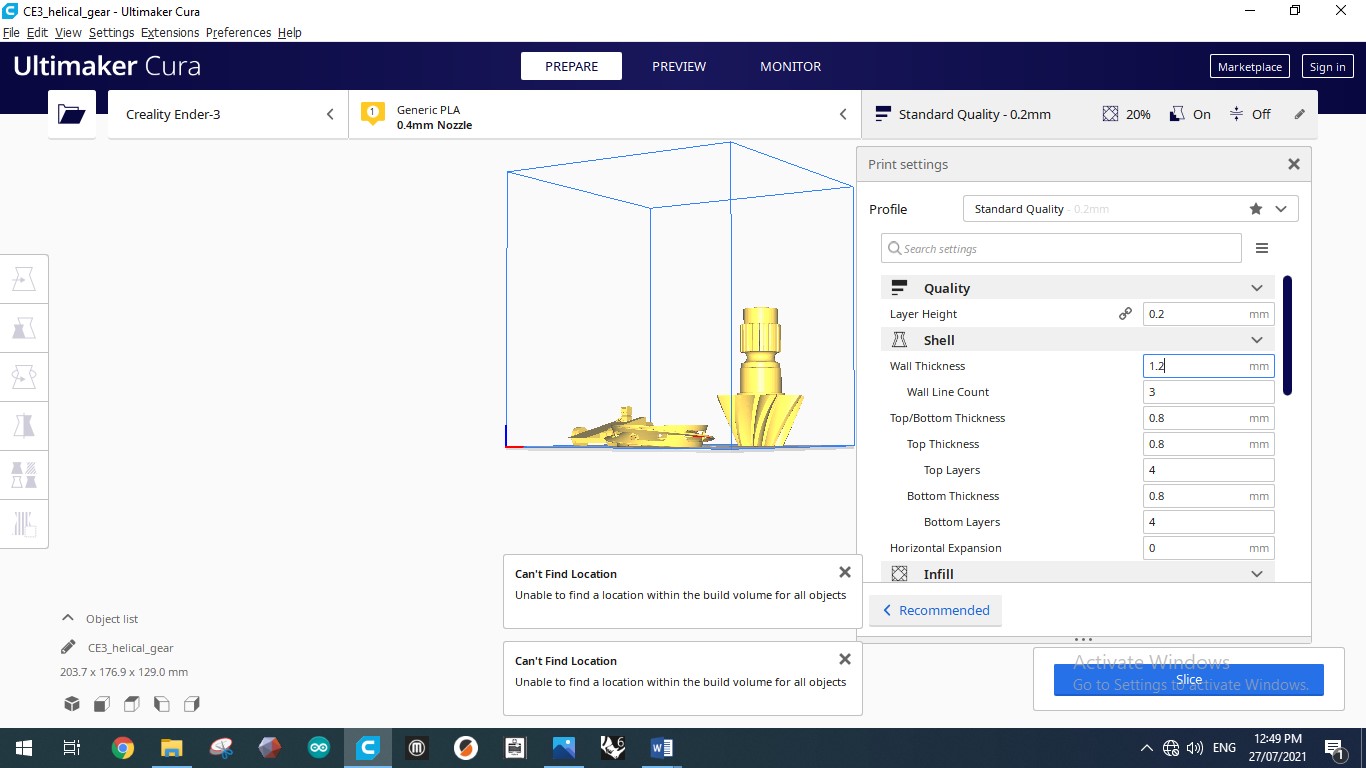
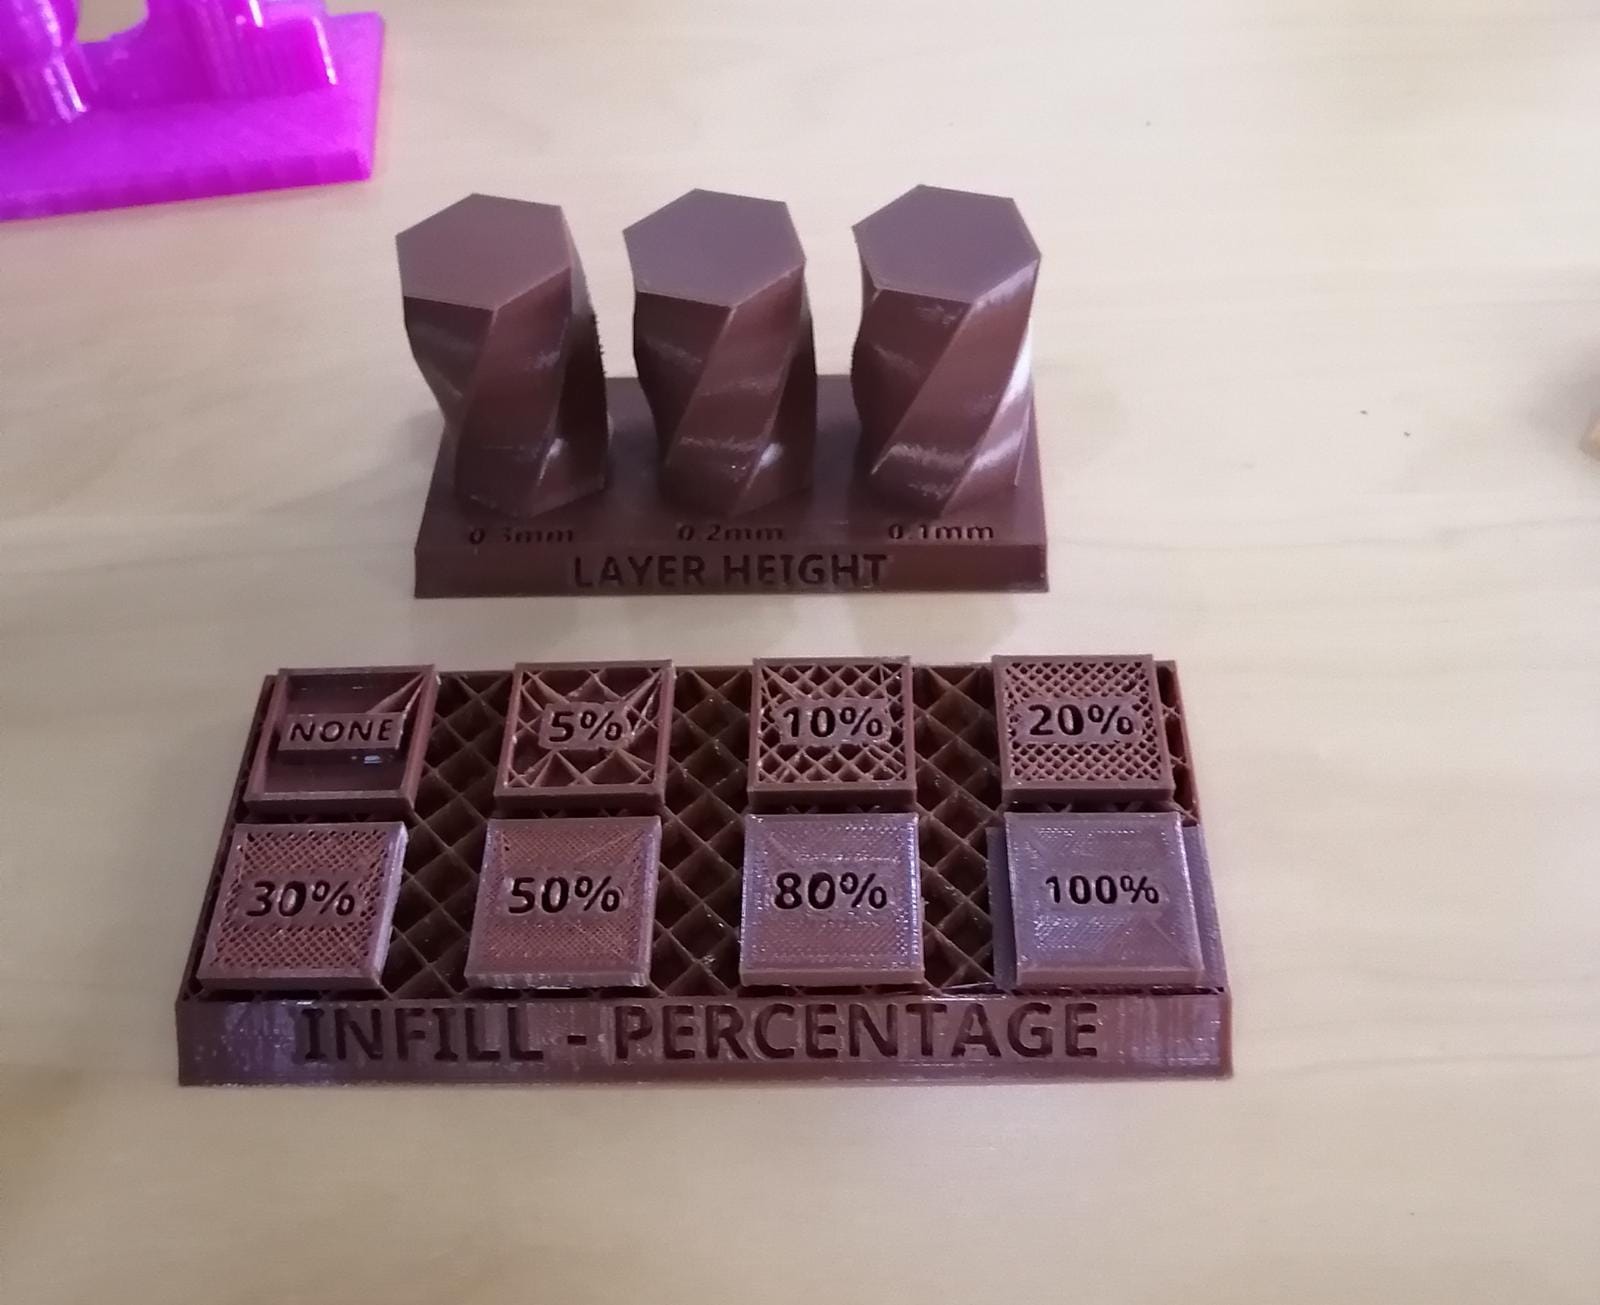
INFILL AND LAYER HEIGHT
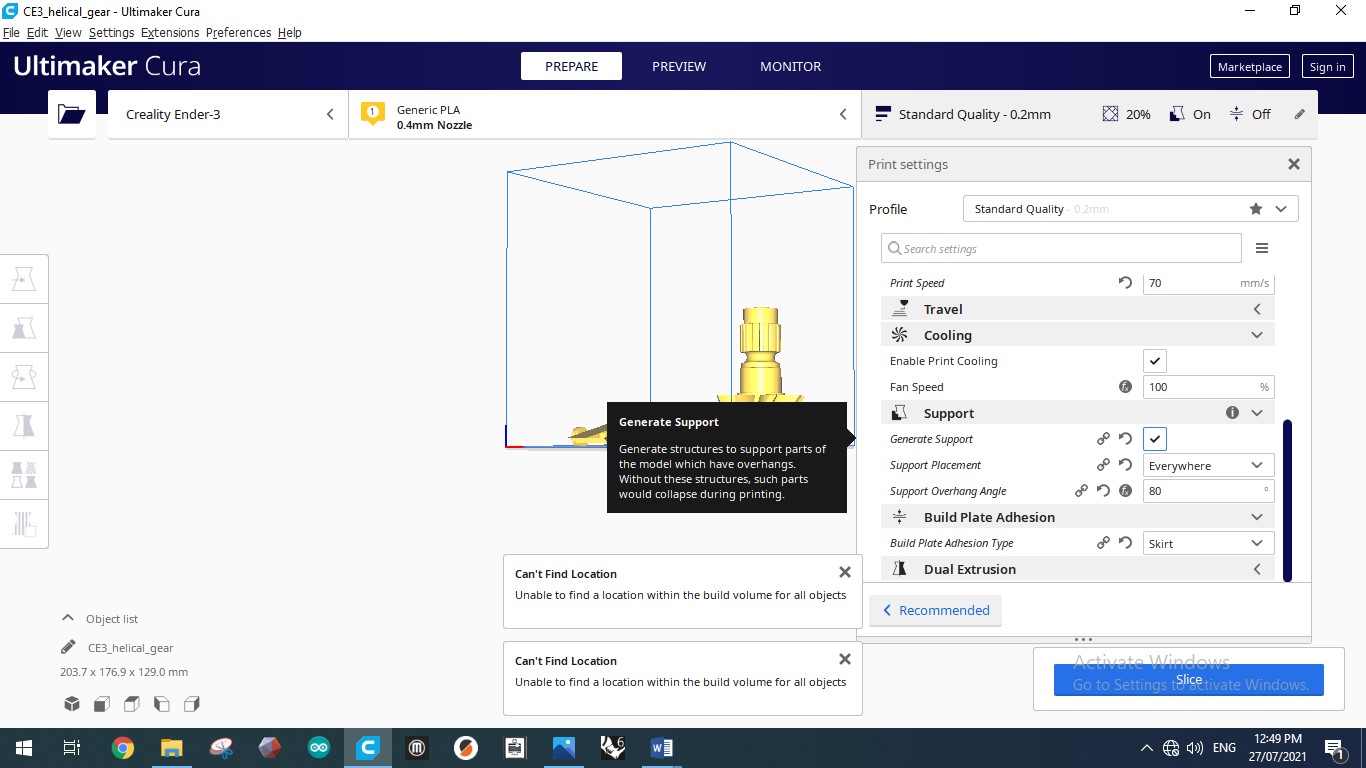
SUPPORTS
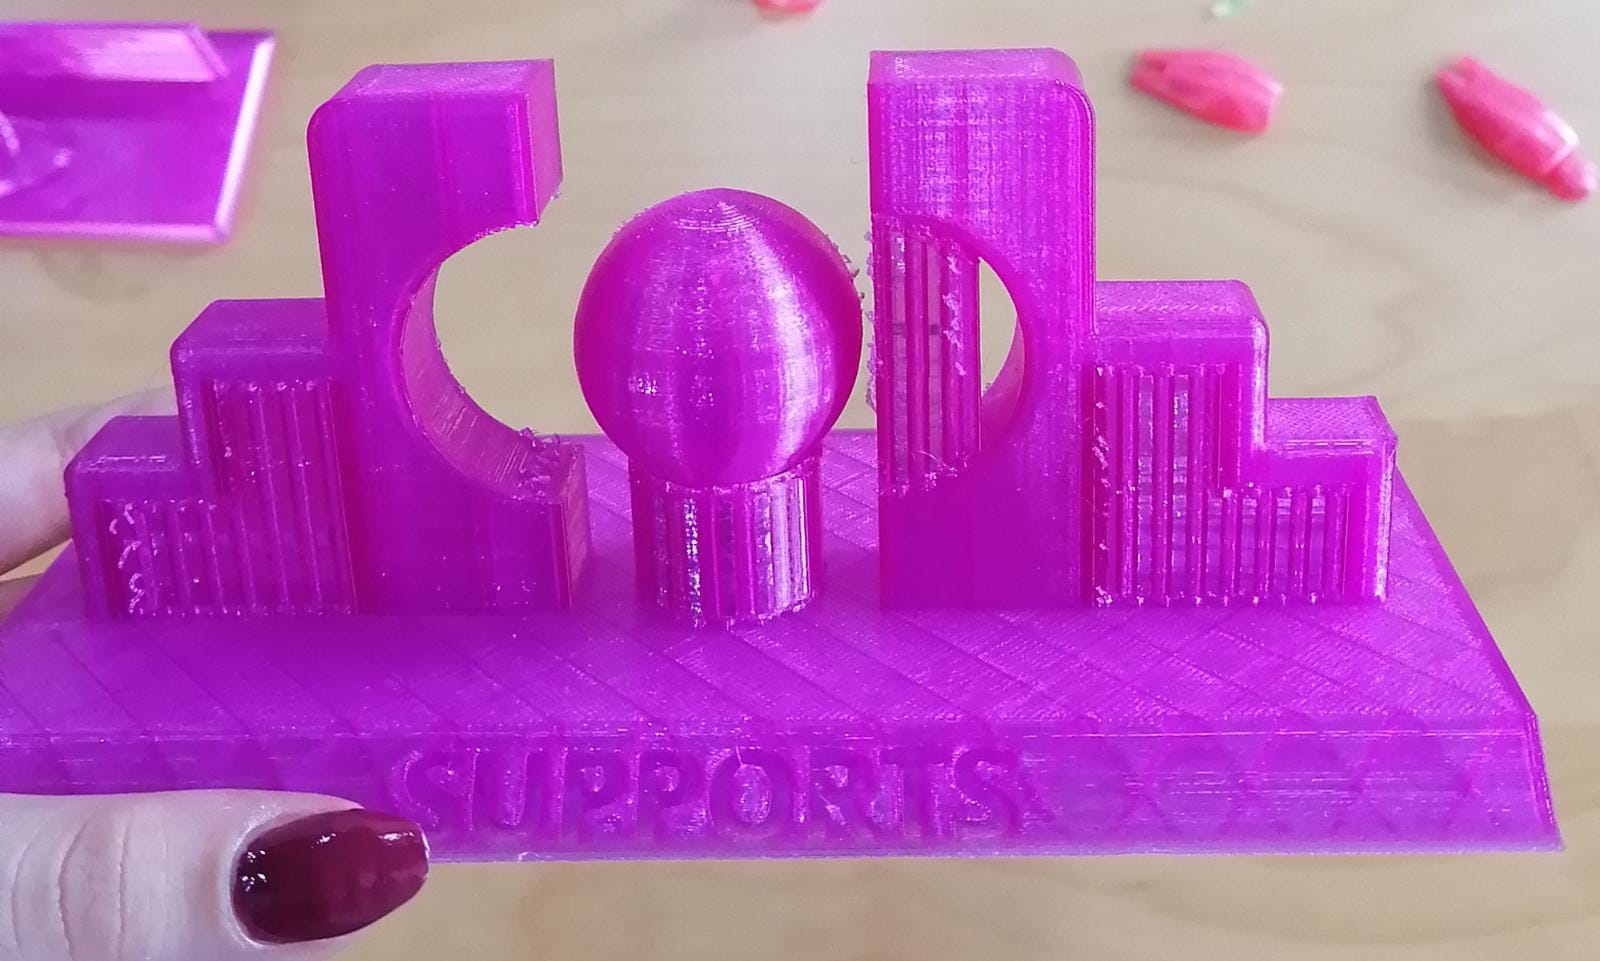
OVERHANGINGS

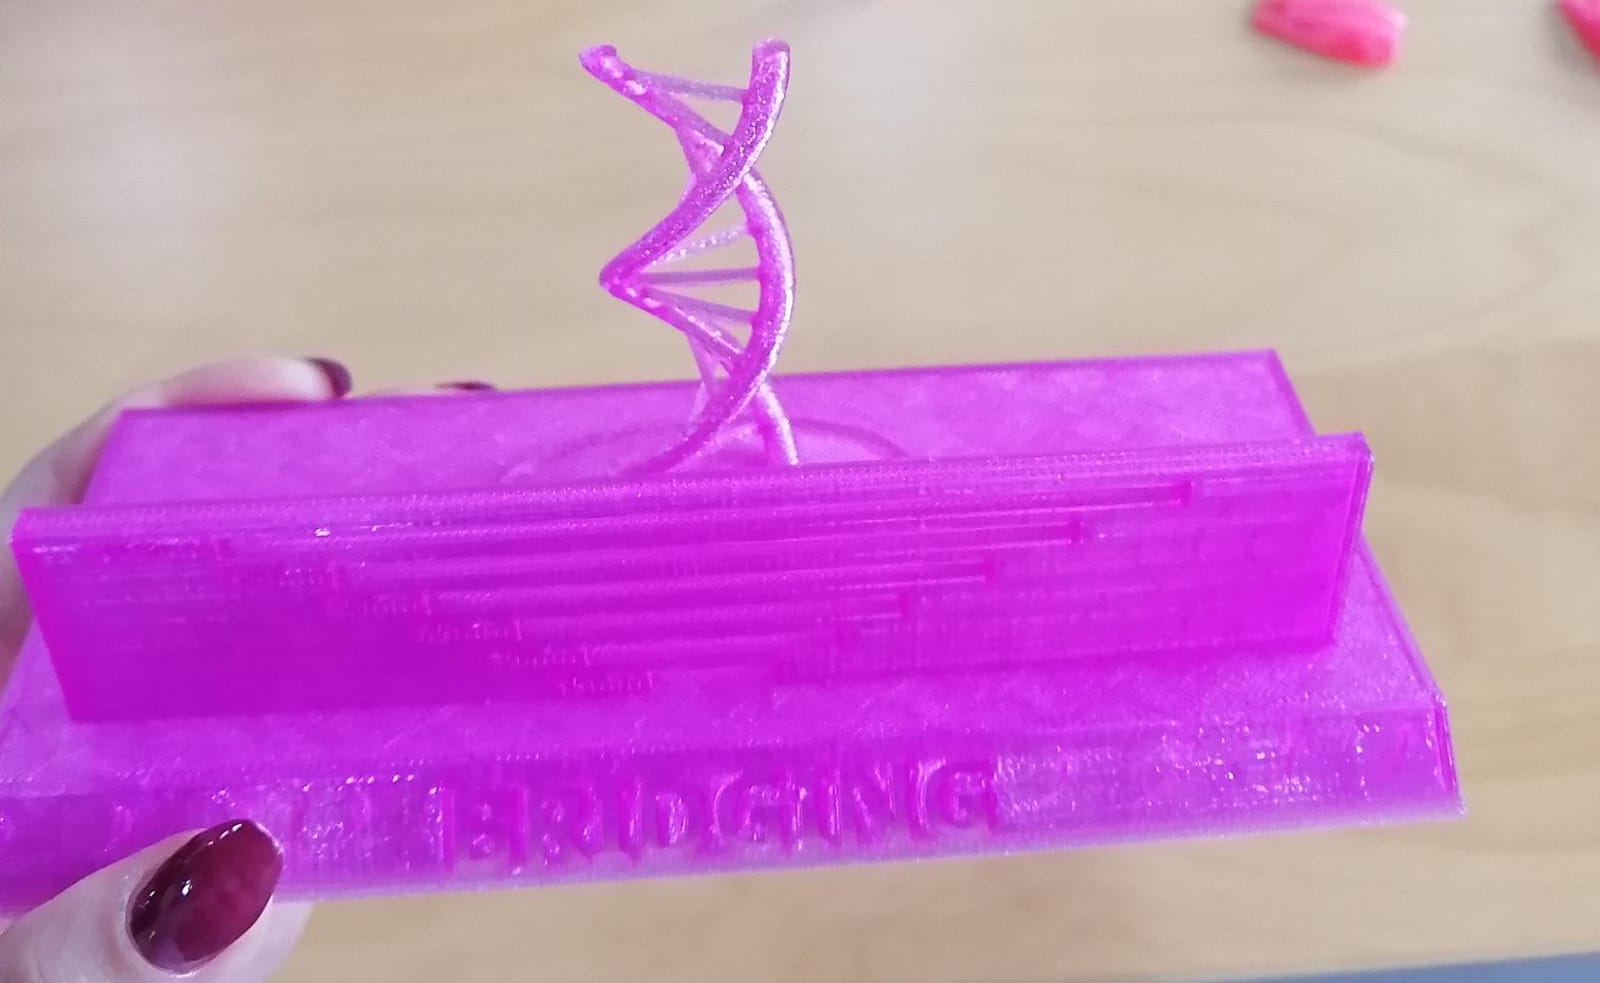
BRIDING
SHELL THICKNESS

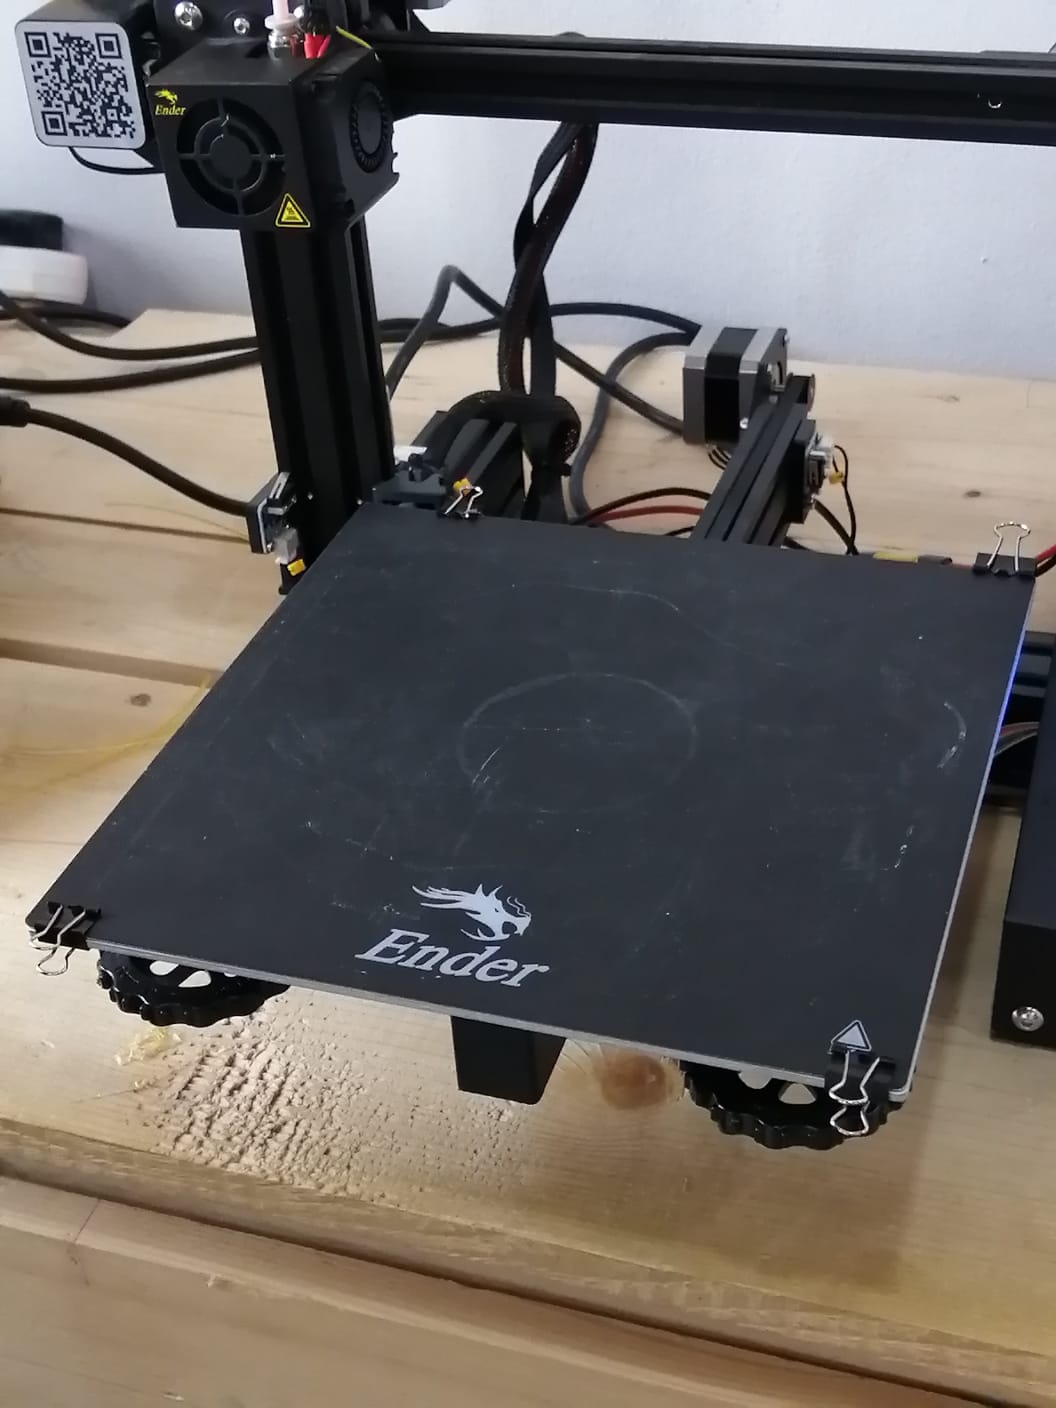
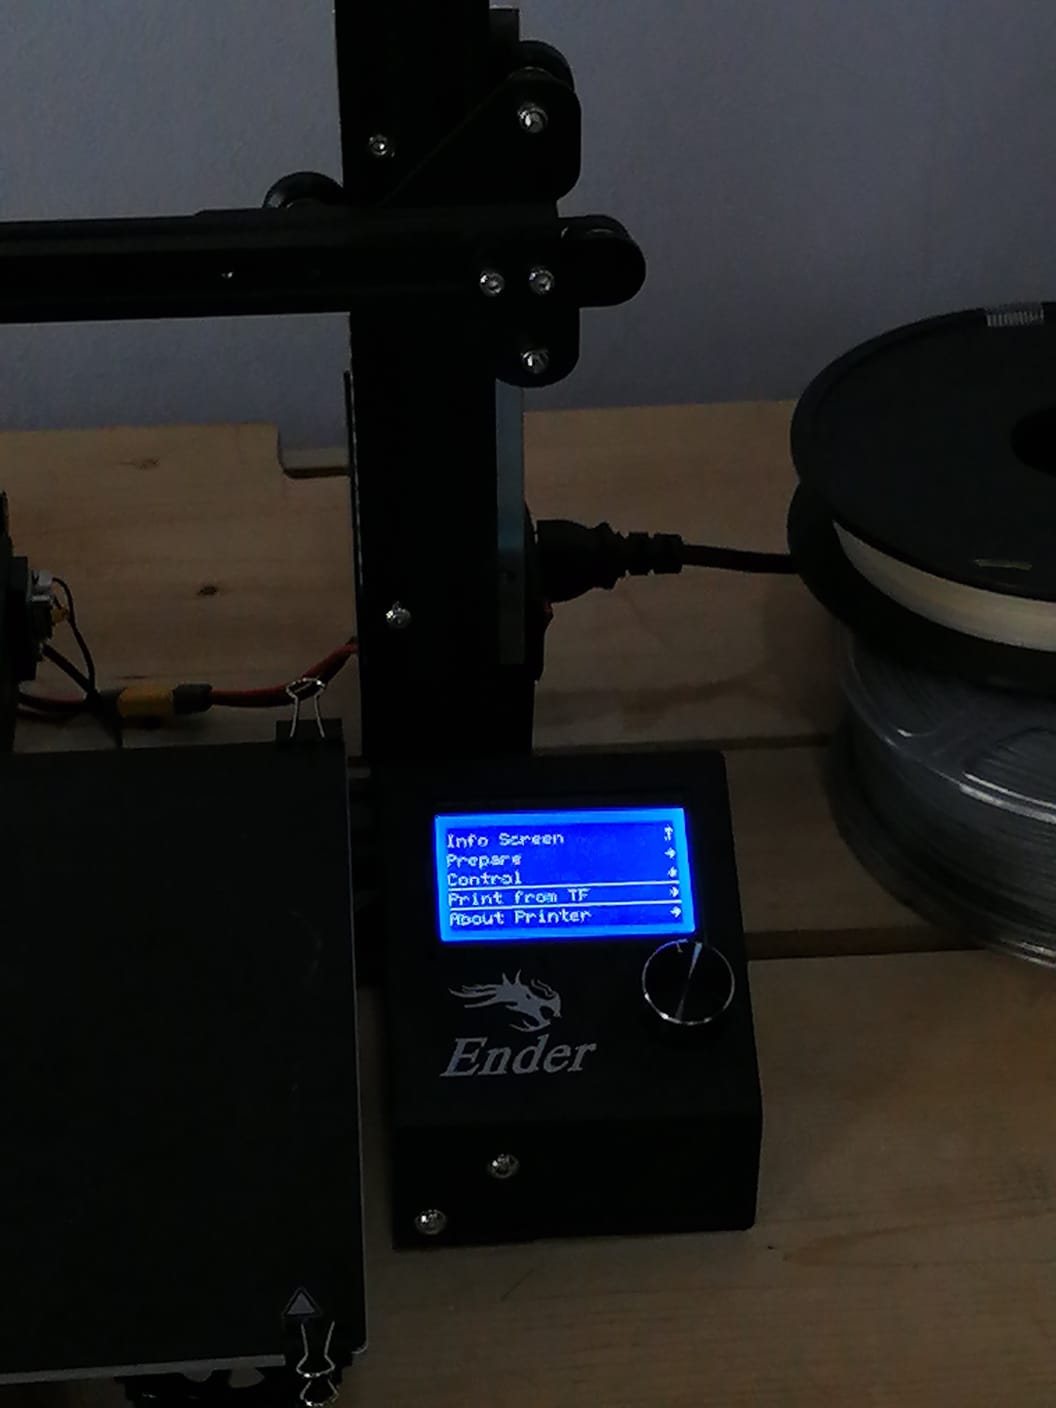
MACHINE SETUP

MACHINE BOARD
MACHINE SCREEN
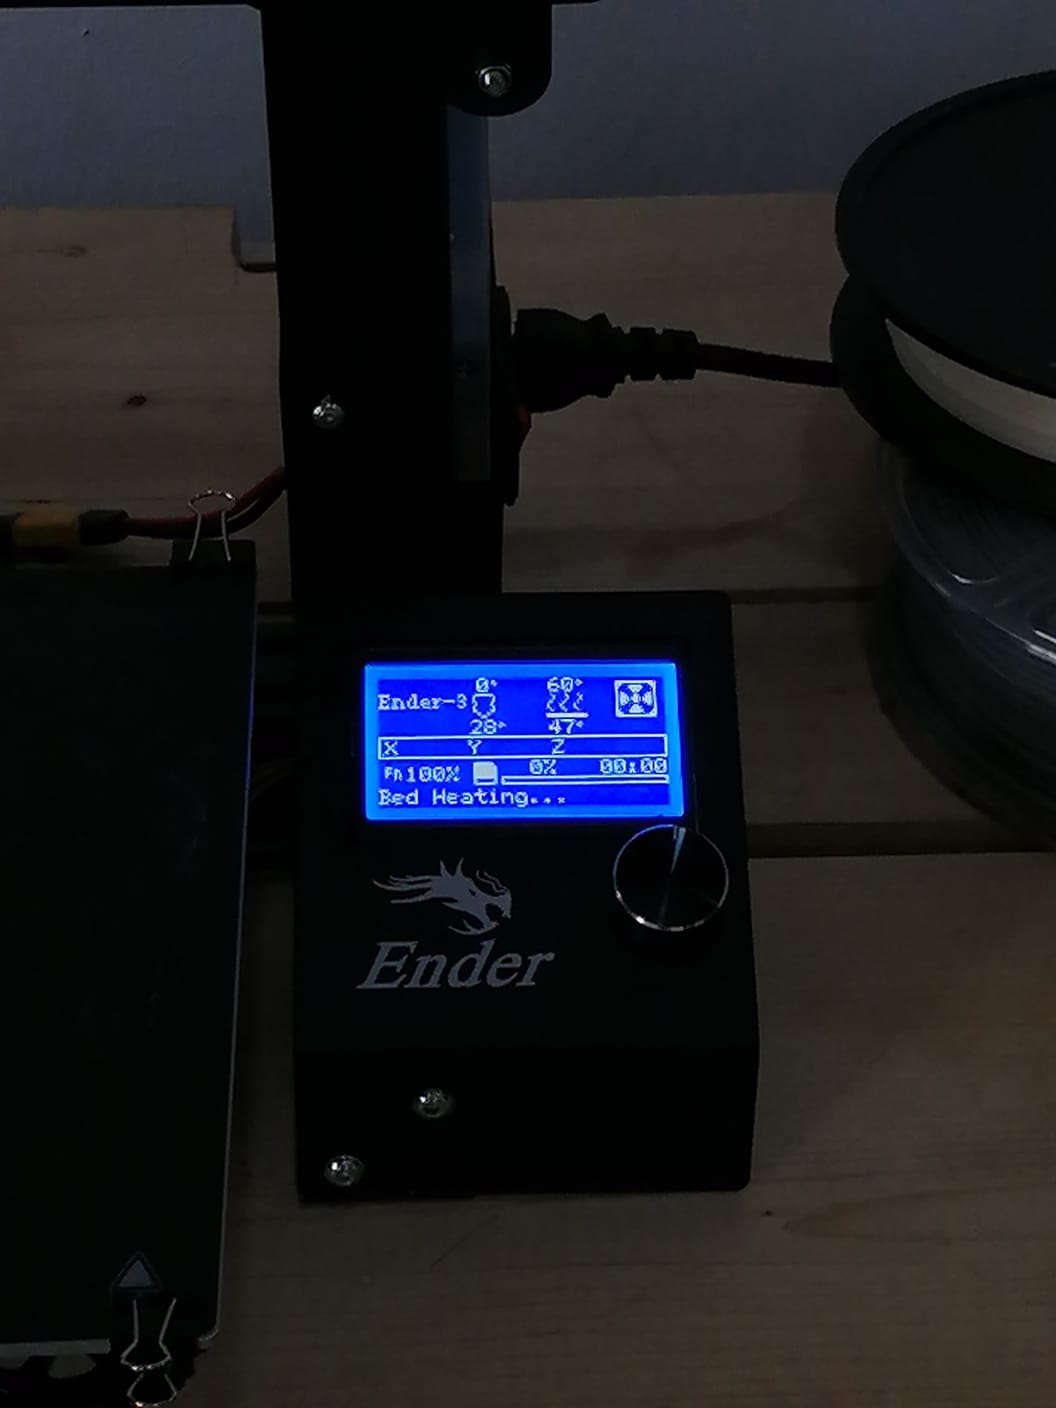
BED HEATING
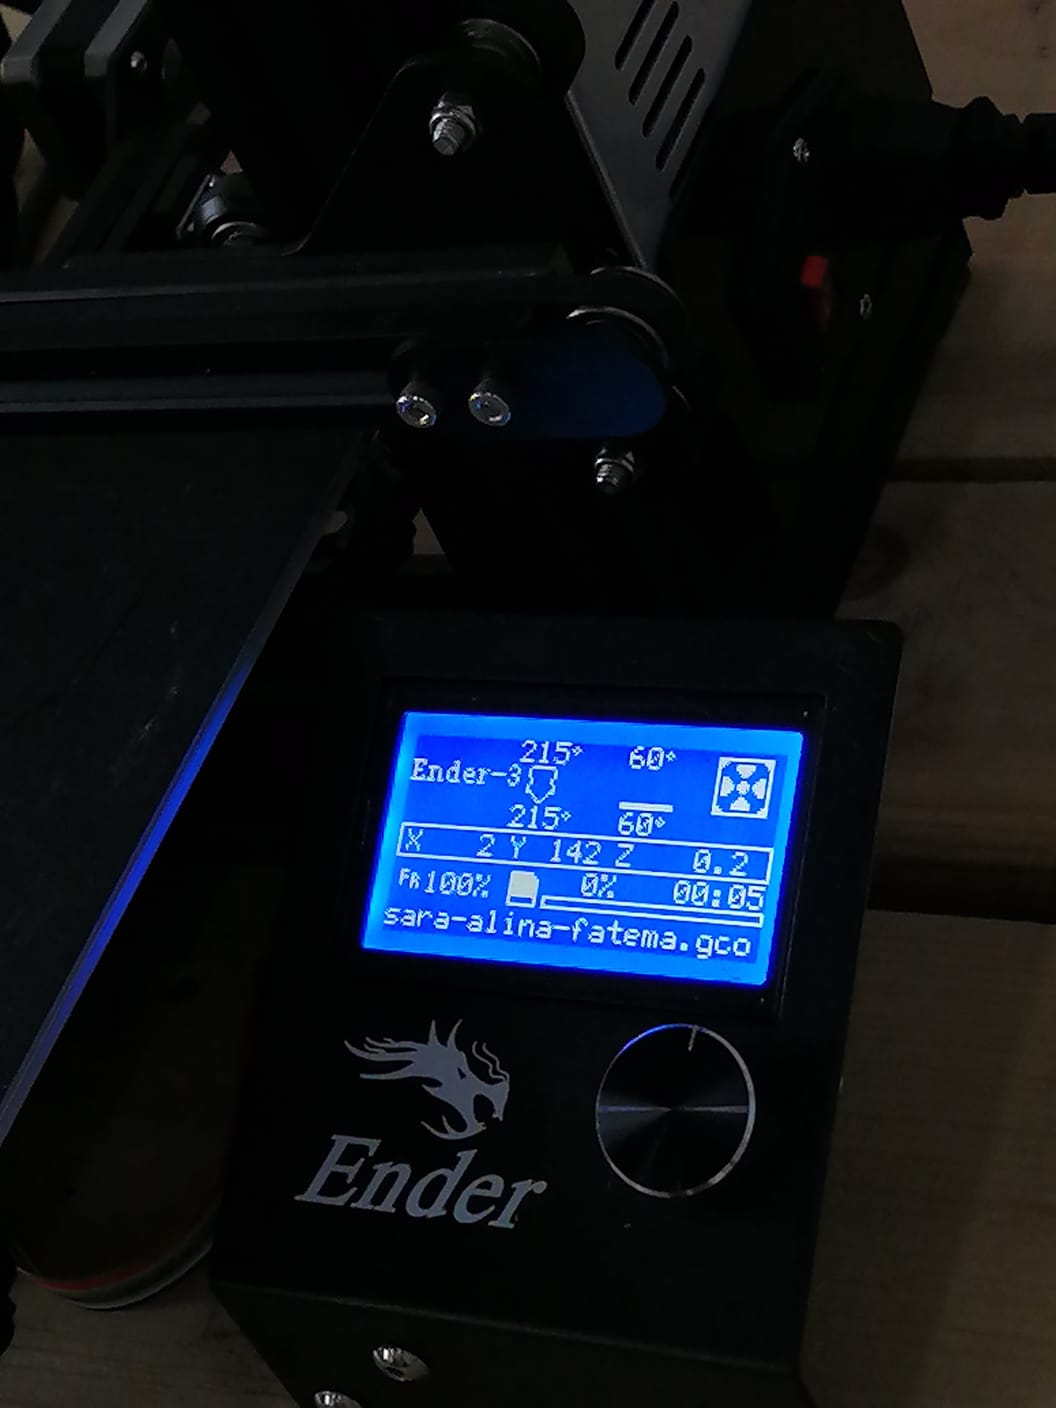
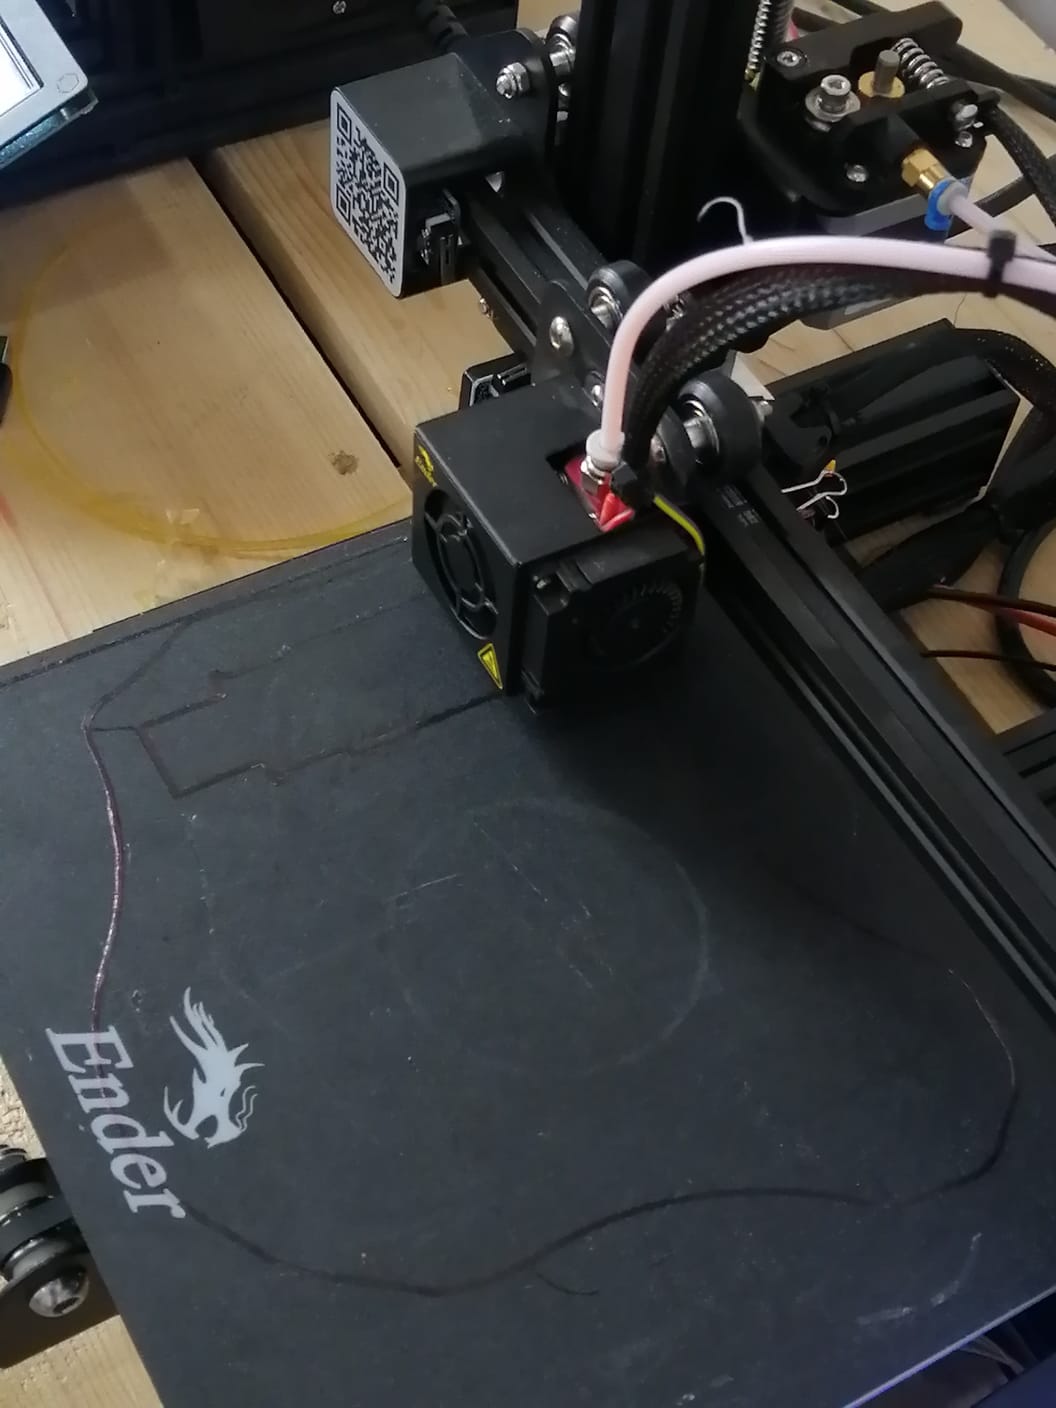
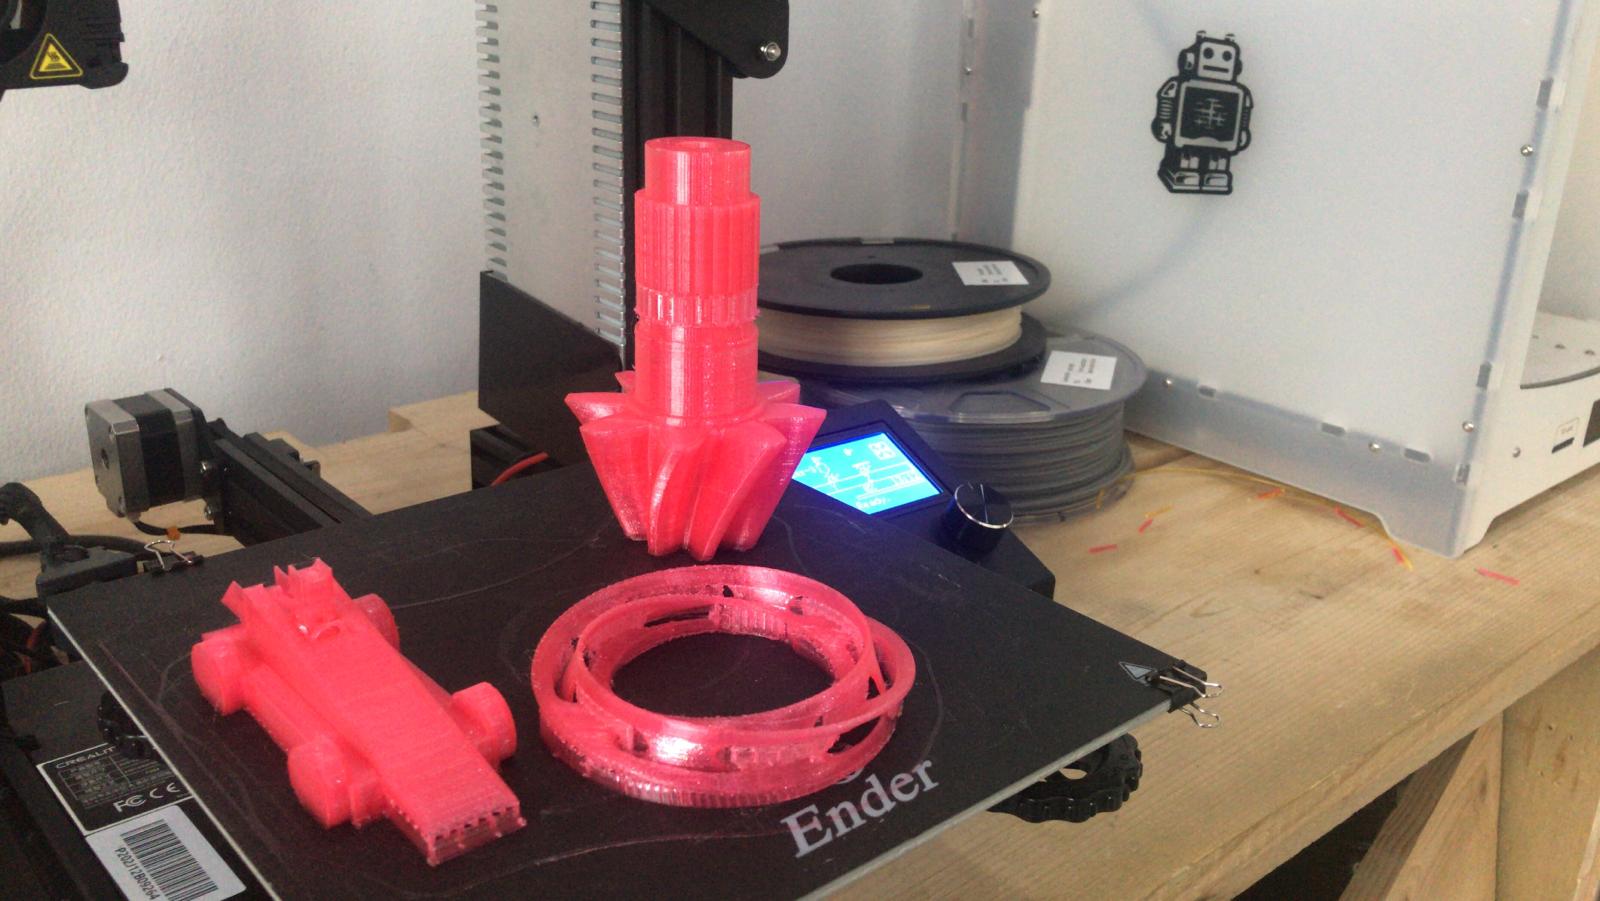
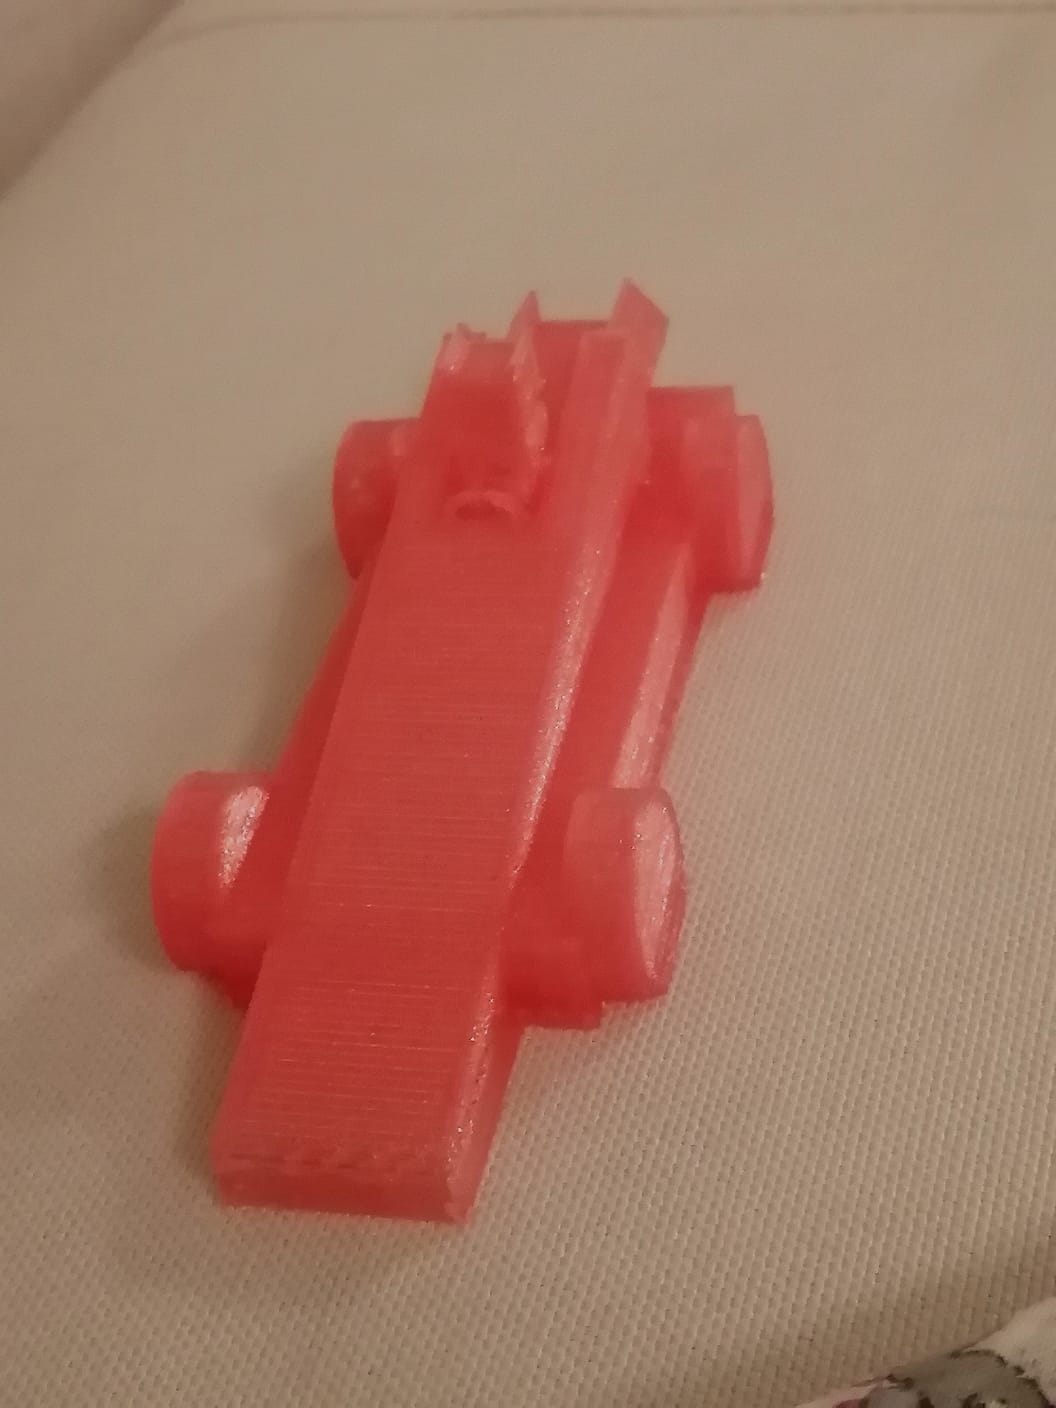
RESULT
3D scanning
3D scanning is a technology for creating high-precision 3D models of real-world objects. It works like this: a 3D scanner takes multiple snapshots of an object. The shots are then fused into a 3D model, an exact three-dimensional copy of the object, which you can rotate and view from different angles on your computer.
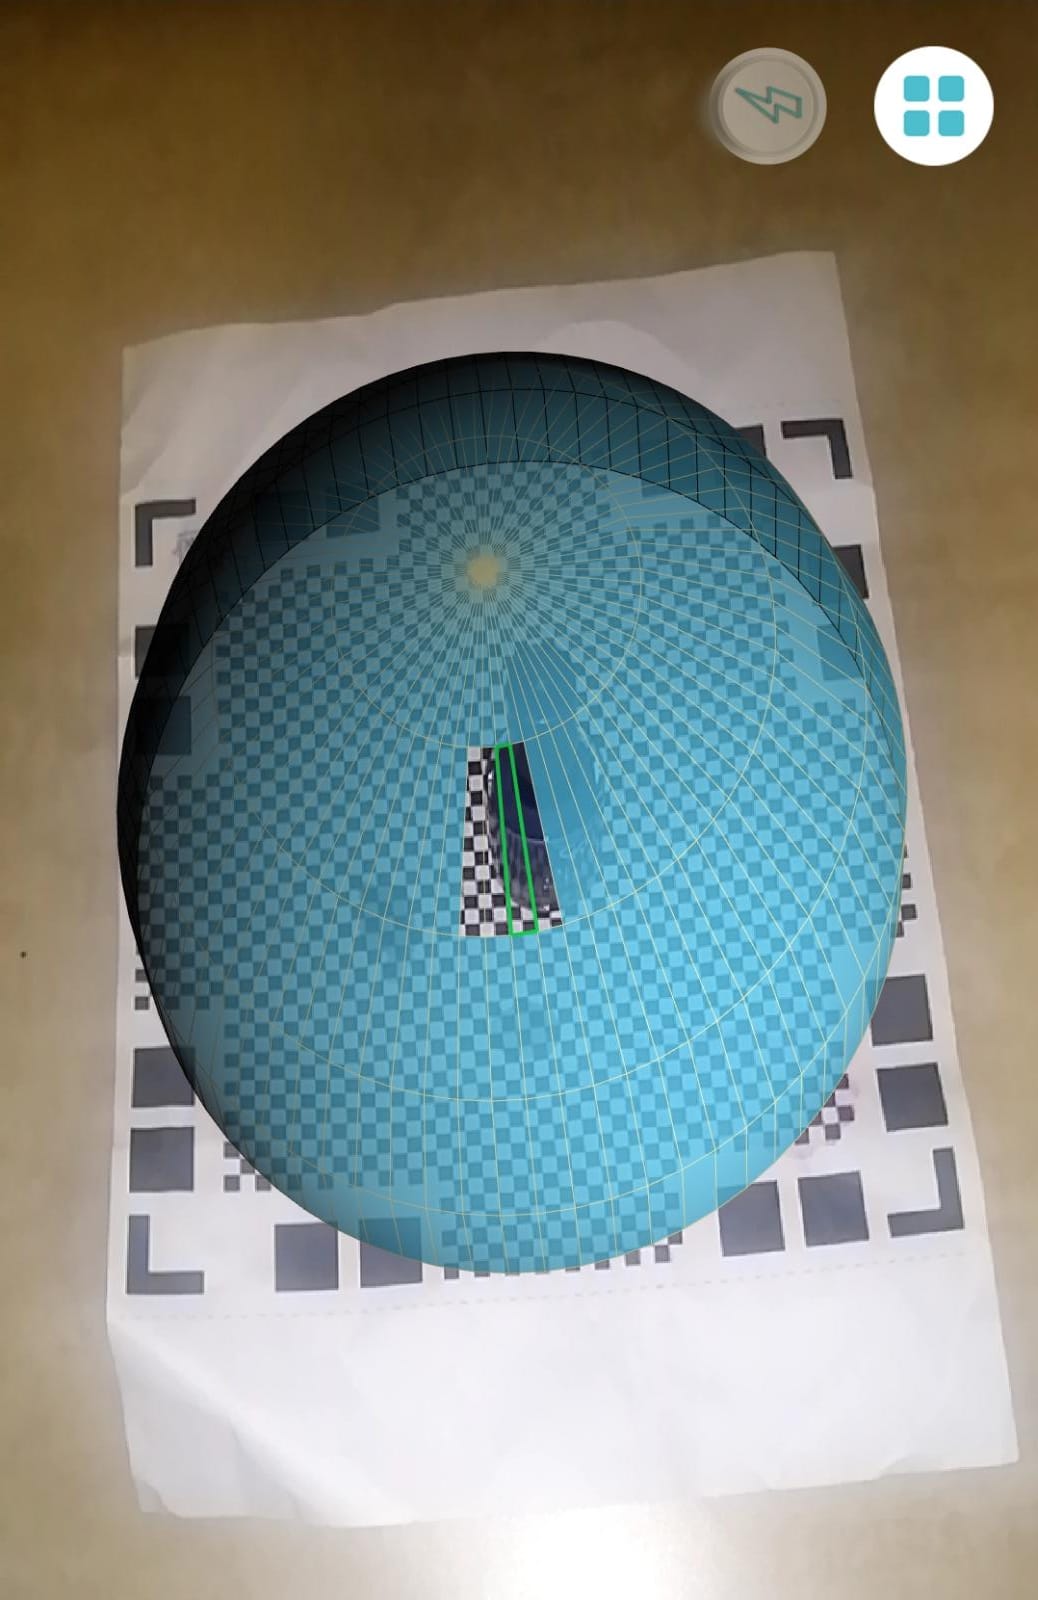
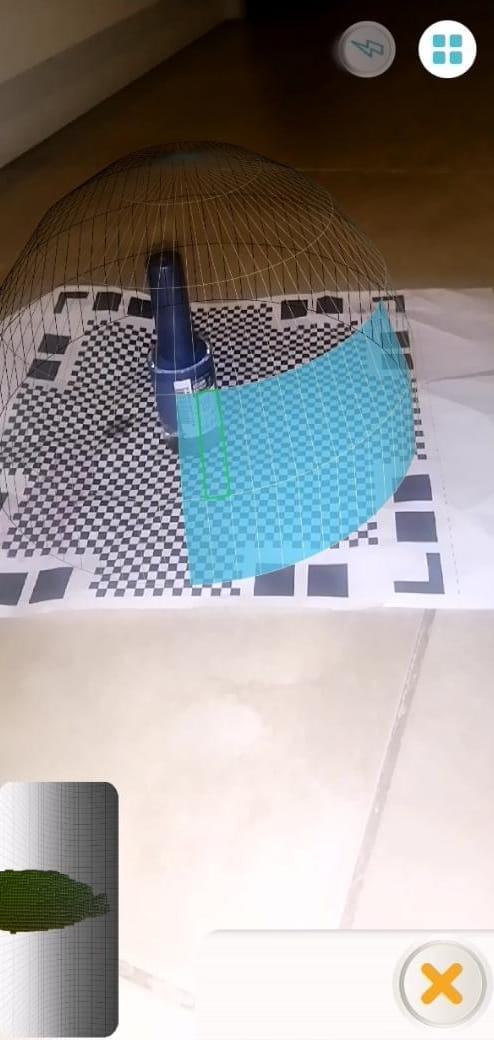
I used an application called Q-clone to scan a 3 dimensional object.
To download
The app provided a link in which you could print the scanning mat.
To download mat
Make sure the object is placed on the center of the mat and as we can see the blue boundary indicates that it is ready to scan.
Now to scan , you are supposed to move in a circular motion until you can no longer see the blue boundary.
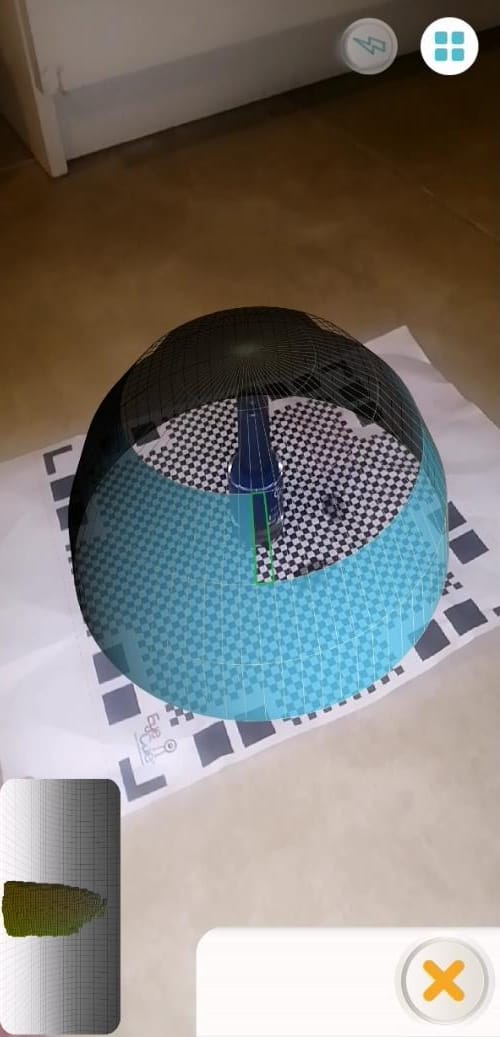
Lastly , import your design file in the preferable format.
Unfortunately, mine was a little derformed :’) but it did the job for a tryout !!