6. Moulding and casting
This weeks tasks
Design a 3D mould around the stock and tooling that you’ll be using, mill it (rough cut + (at least) three-axis finish cut), and use it to cast parts.
====================================================================================================================================================
WHAT IS 3D CASTING AND MOULDING?
It is the process of manufacturing by shaping liquid or pliable raw material using a rigid frame called a mold which is created using a milling machine.
MILLING MACHINE
Milling machine, device that rotates a circular tool that has a number of cutting edges symmetrically arranged about its axis; the workpiece is commonly held in a vise or similar device clamped to a table that can move in three perpendicular directions.
GROUP ASSIGNMENT
For the group assignment ,
DESIGNING PROCESS
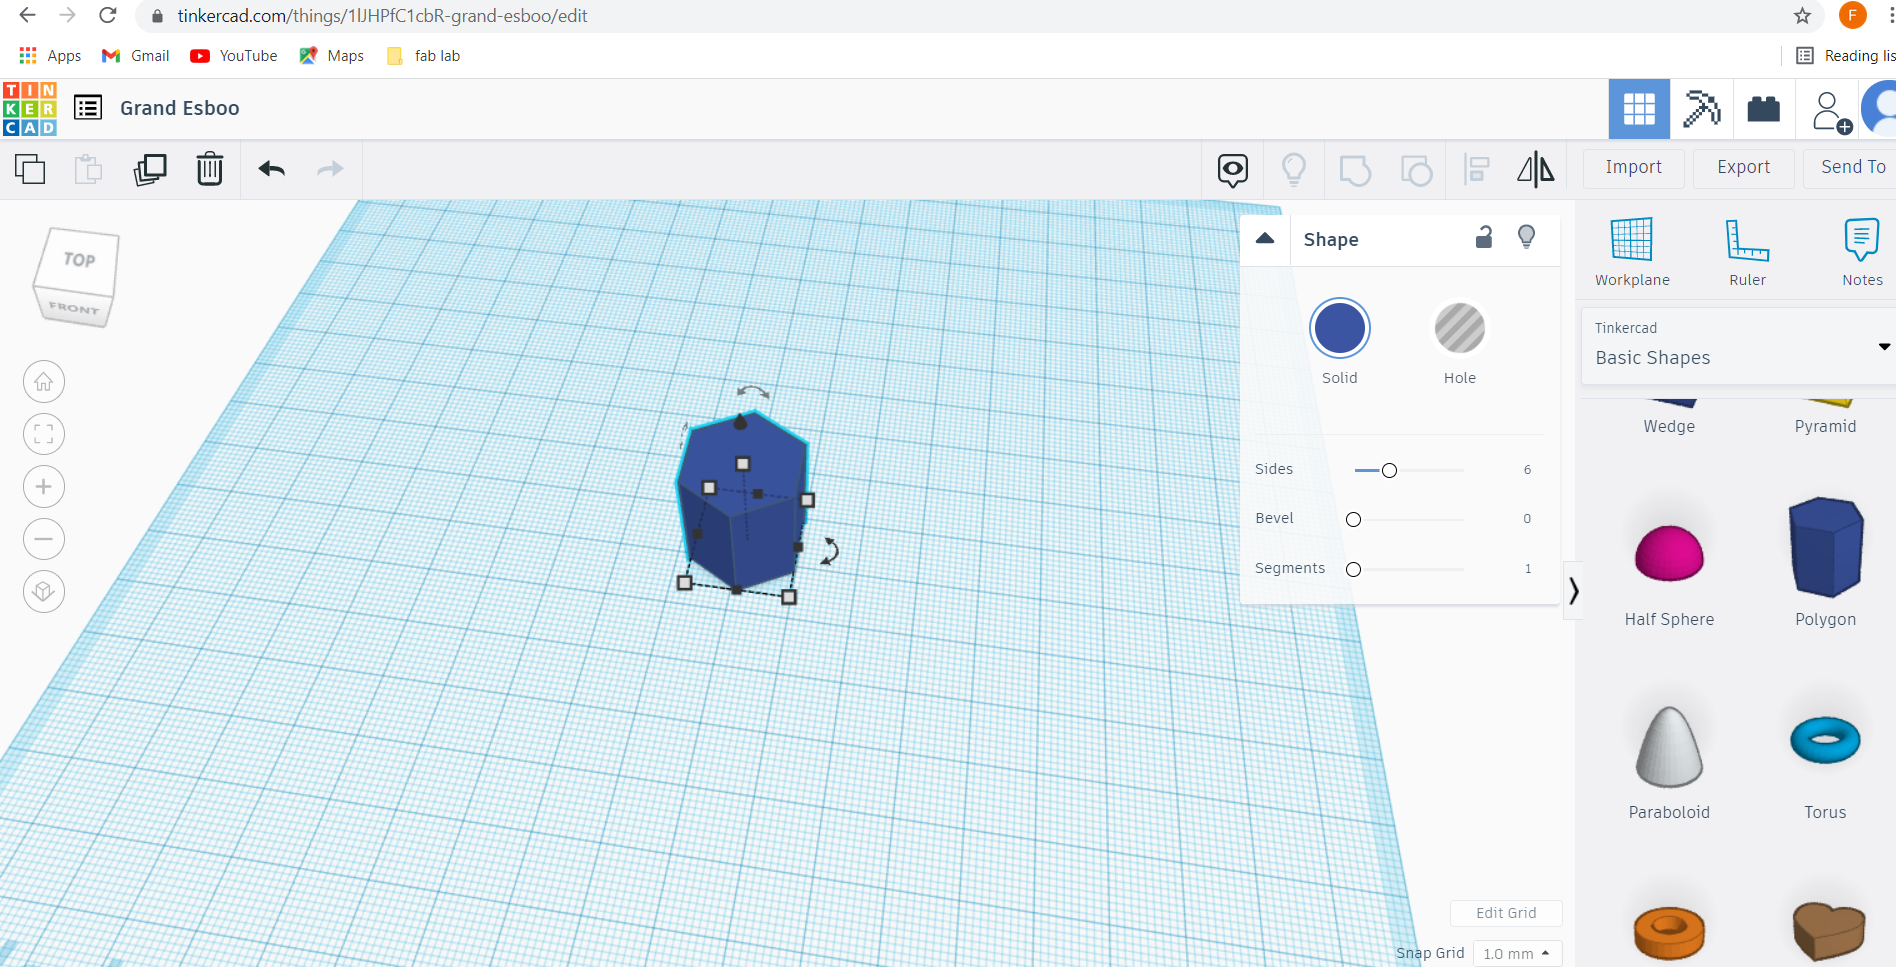
For my design, I went with aa simple keychain with added details. I used the CAD software Tinkercad to create the keychain.
I dragged a polygon shape and resized it.
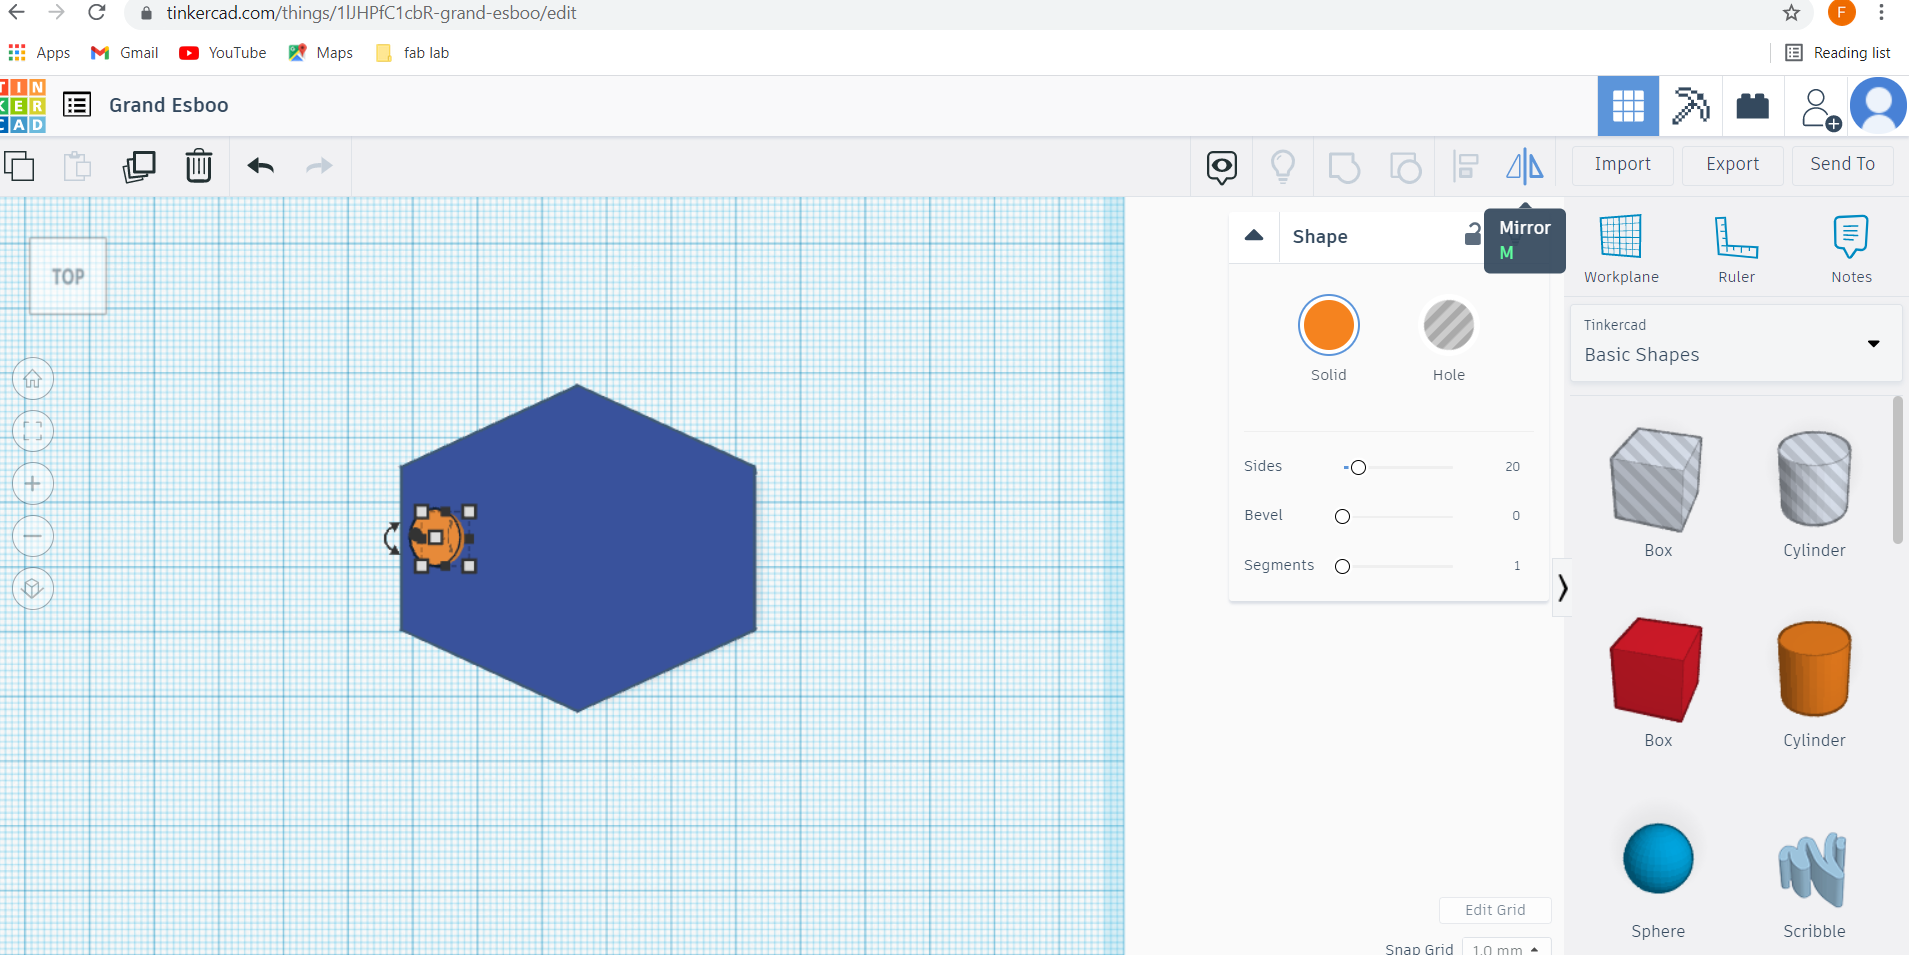
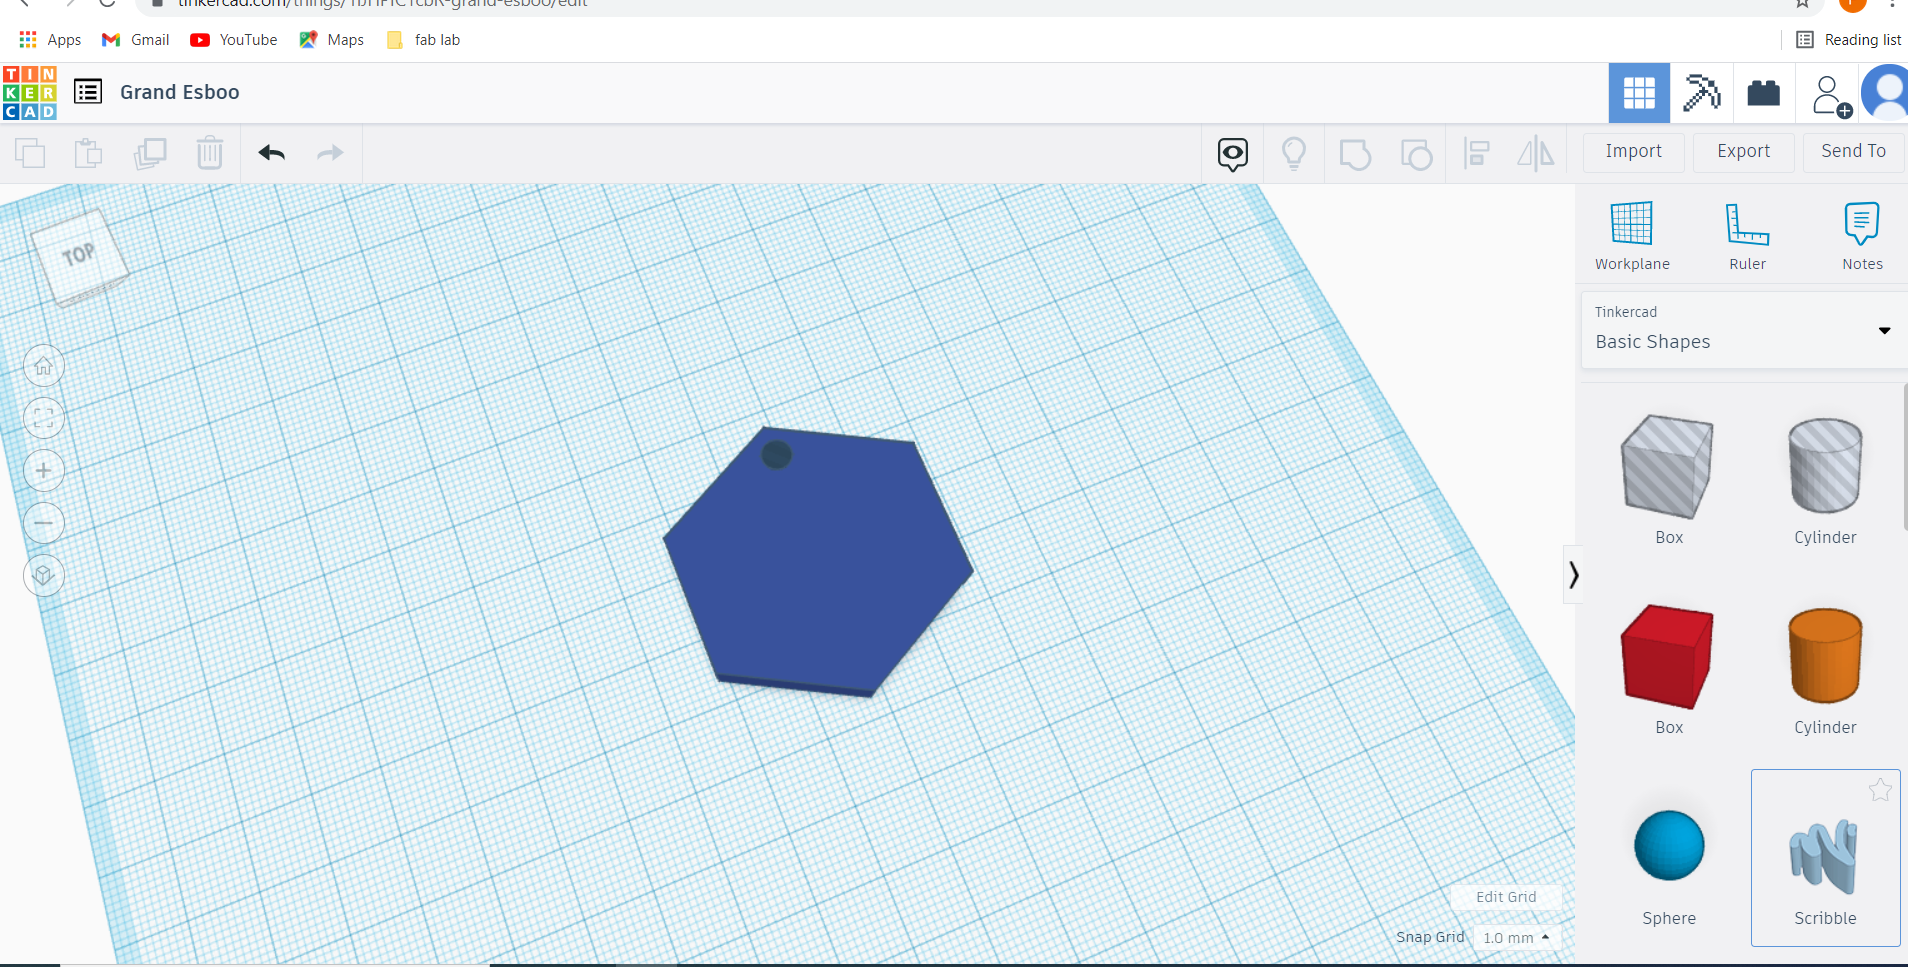
Next, I added a circle and clicked on the hole option to create a hole for the keychain.
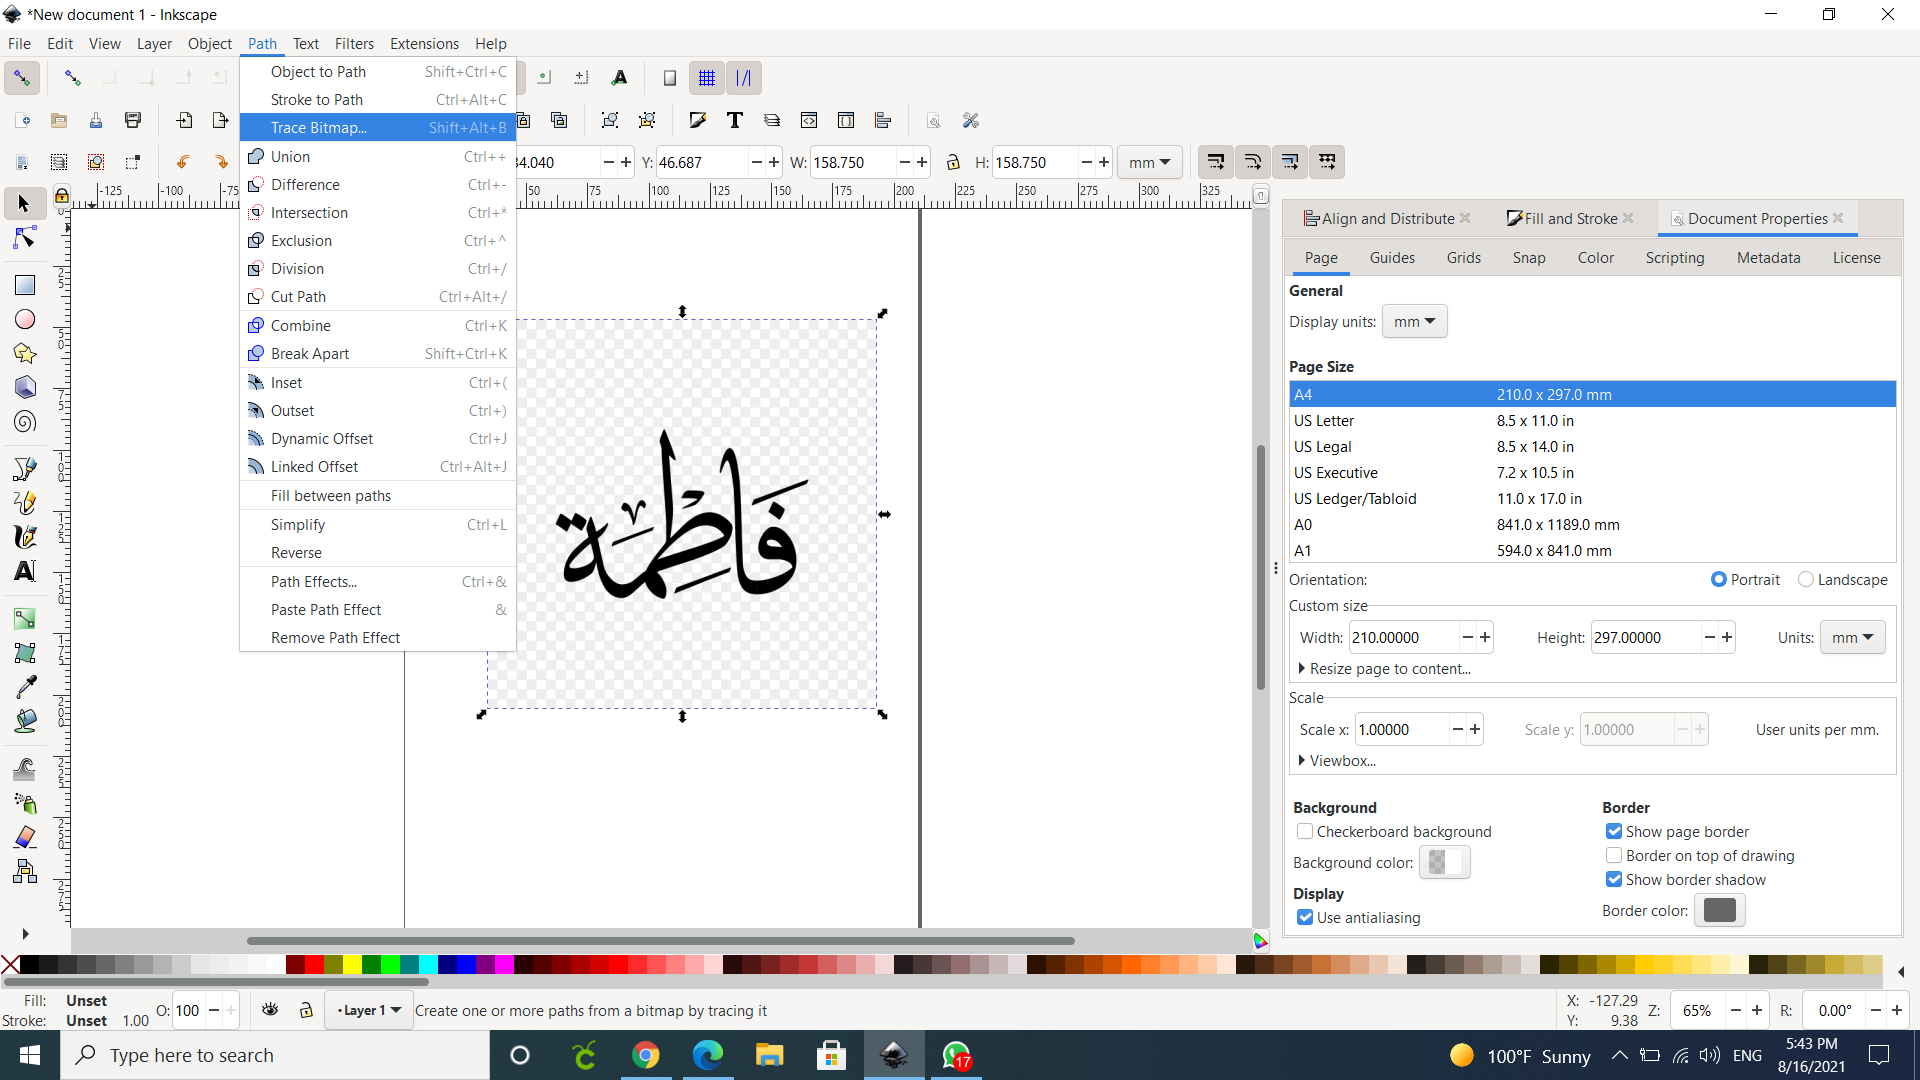
Then I wanted my name to be written in Arabic calligraphy and to do that I downloaded an image and imported it to inkscape
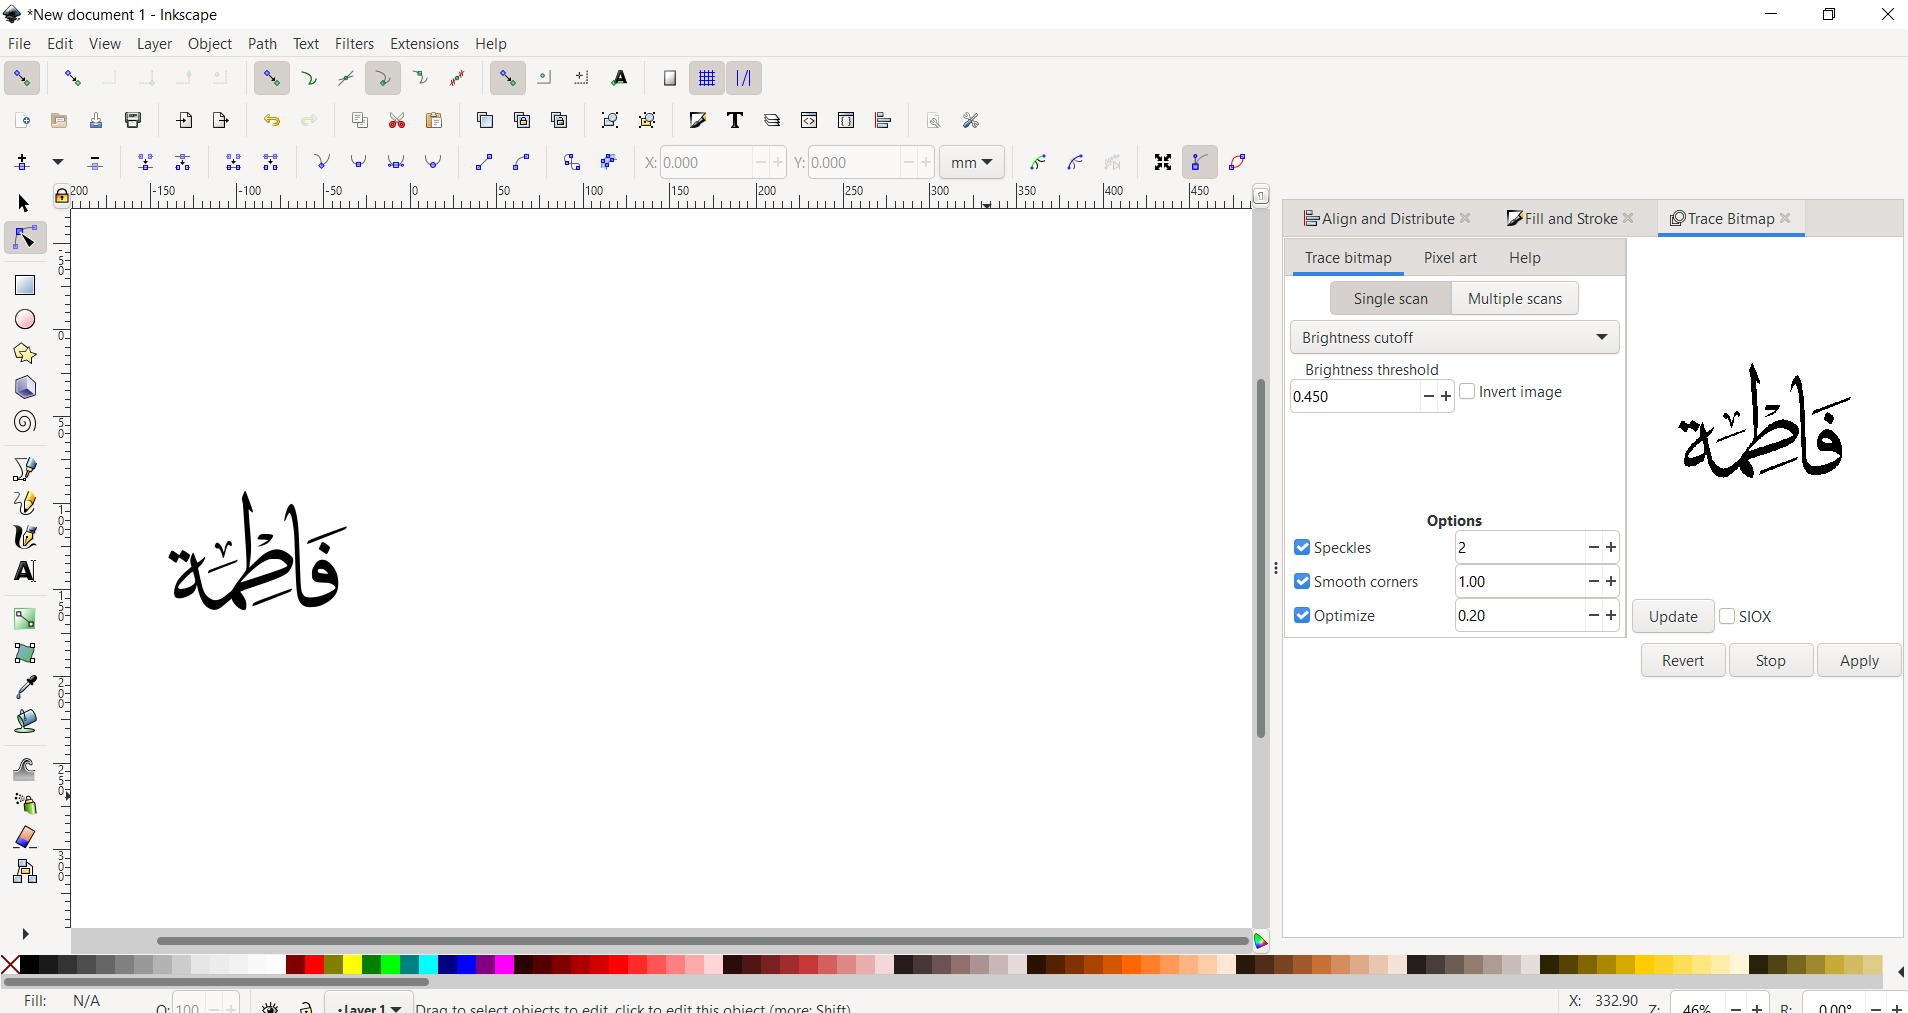
Next, I clicked on the option ‘trace bitmap’
Then I clicked on the letters and exported it as a dxf file
Here, I imported it into Tinkercad to add it to the keychain.
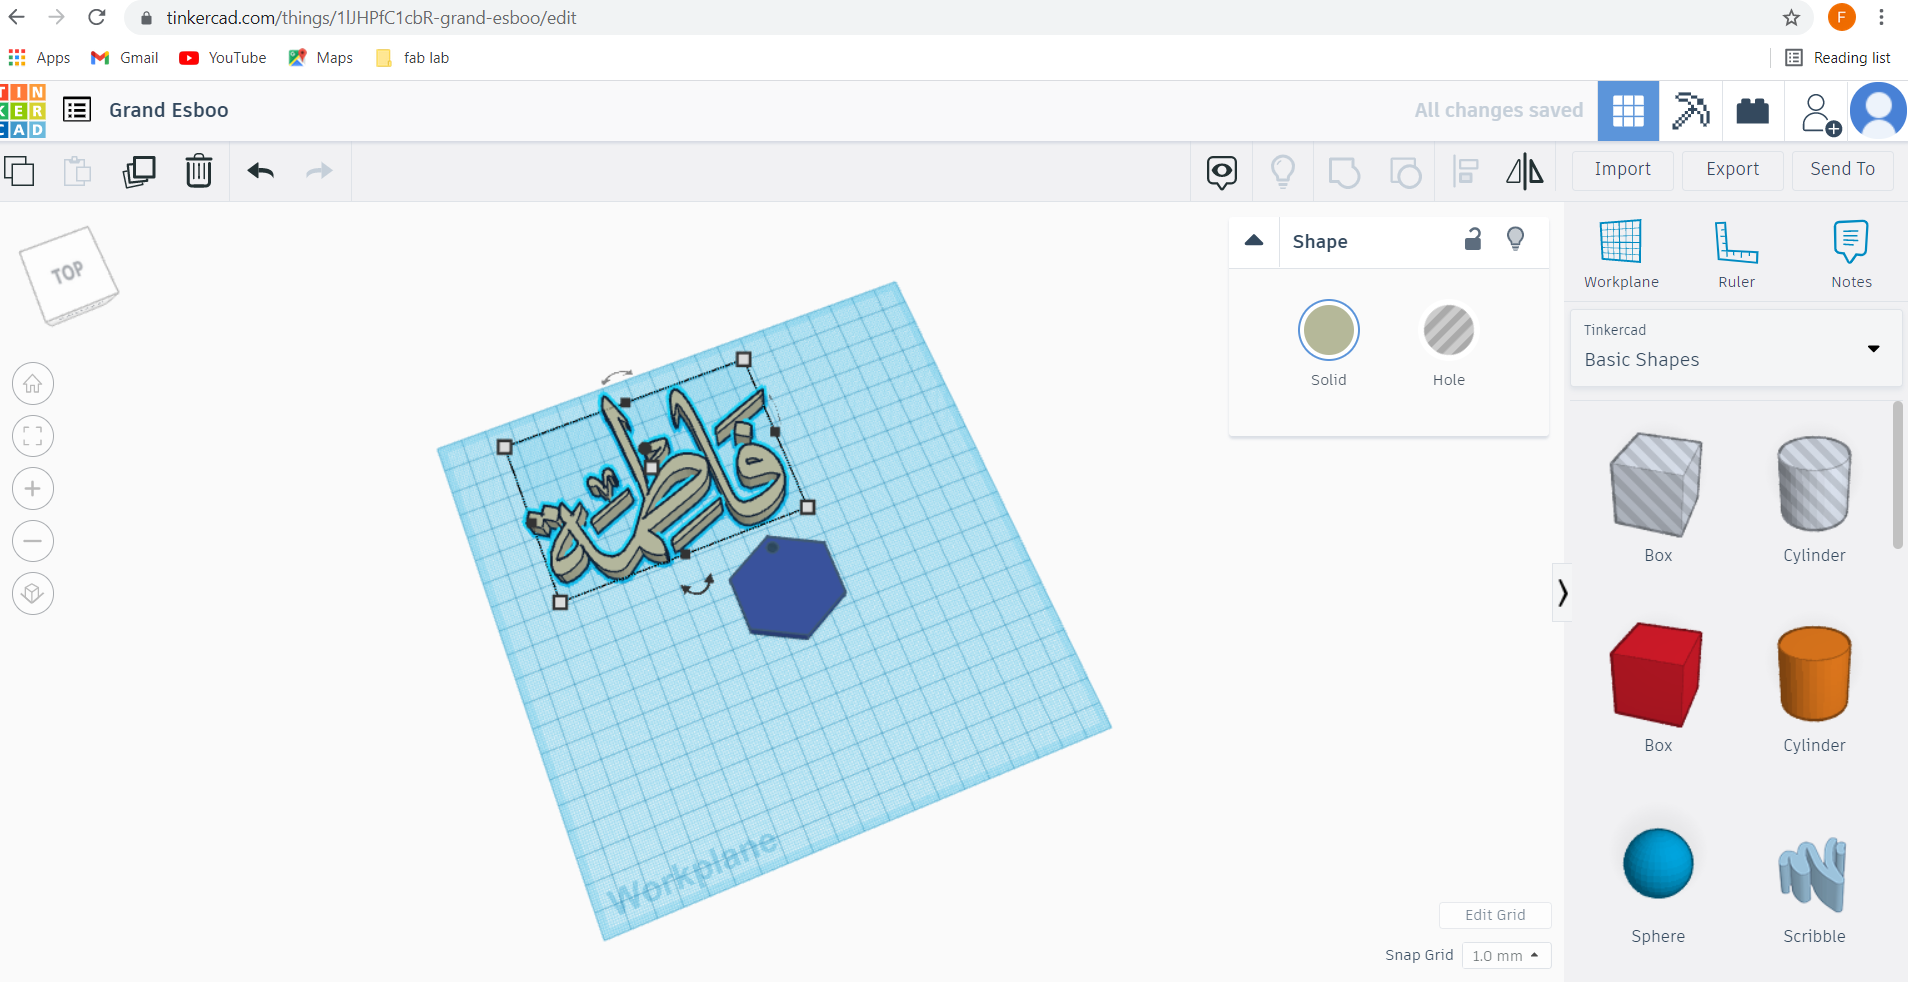
I resized it to fit the object and viola!
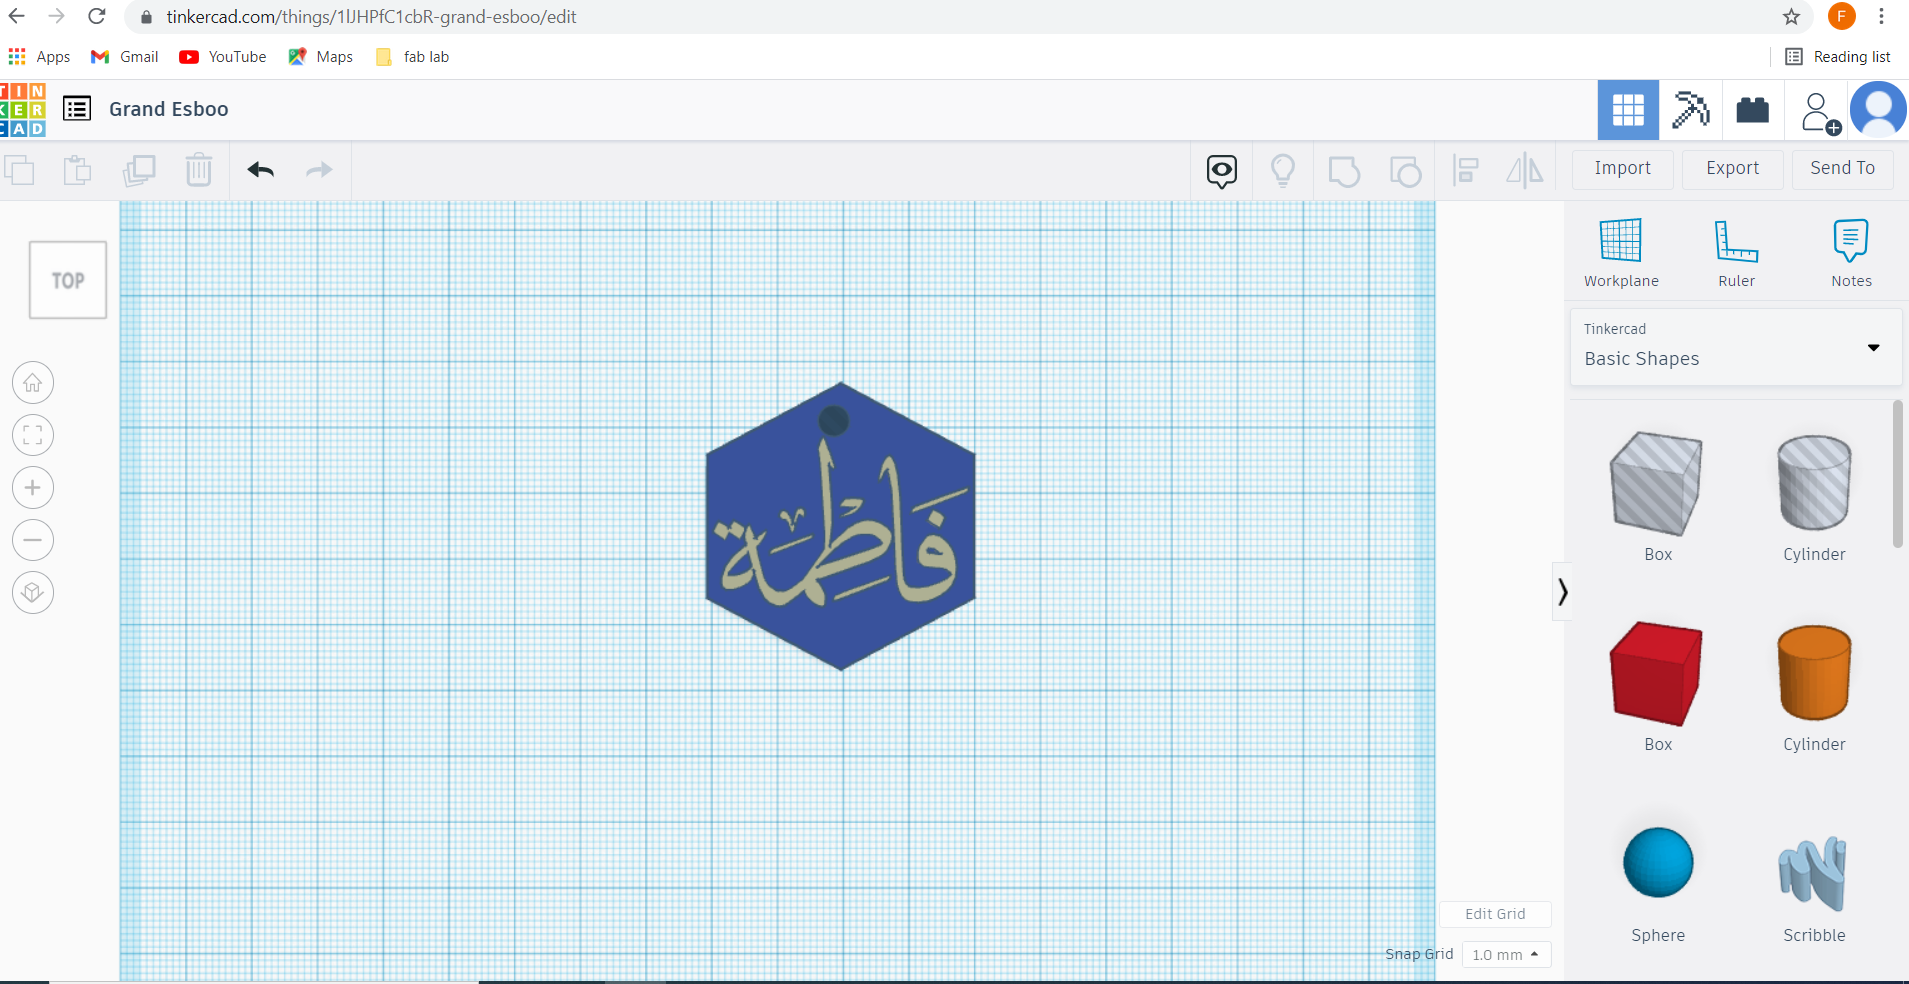
Lastly was to save the file as an stl format
==================================================================================================================================================
MATERIALS USED
The material used in the milling machine is called machinable wax which is an extremely hard wax with a high melt point that has been formulated to deliver exceptional machining properties with high resolution detail.
PRACTICAL
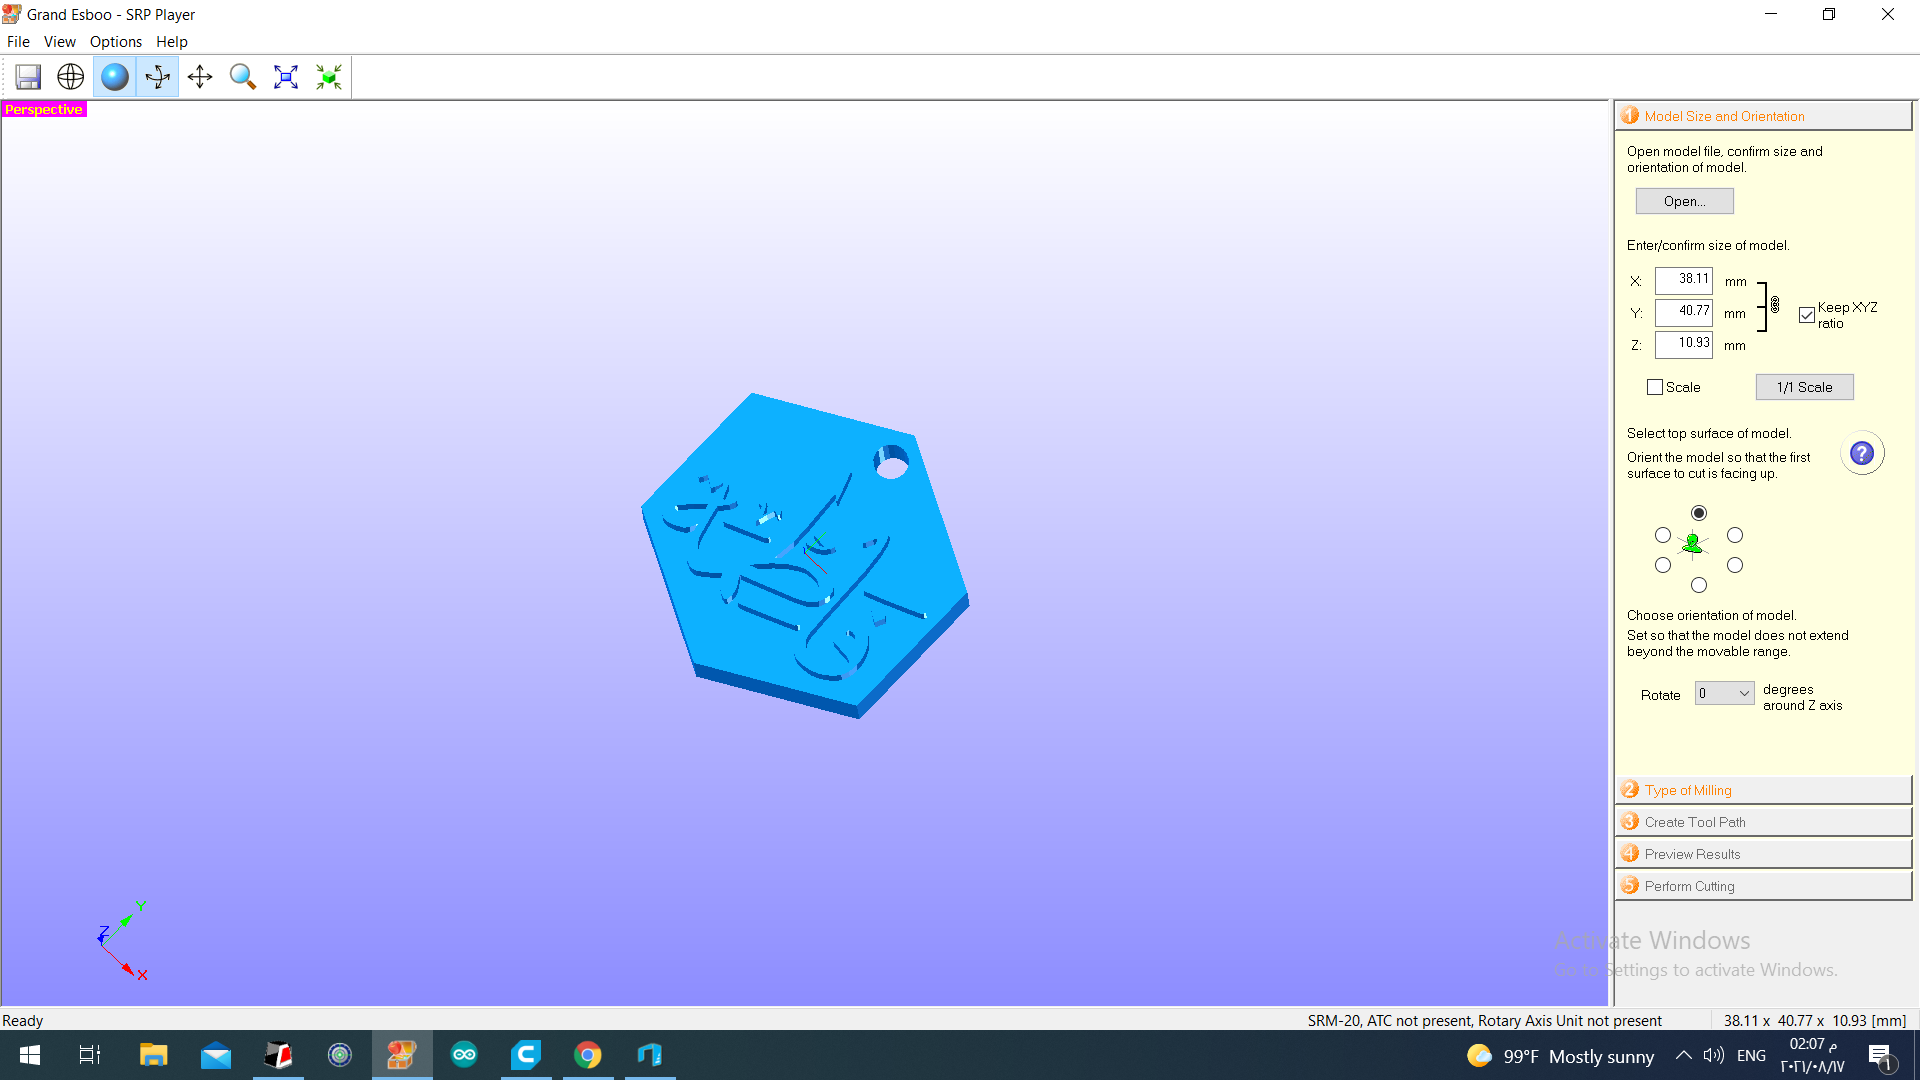
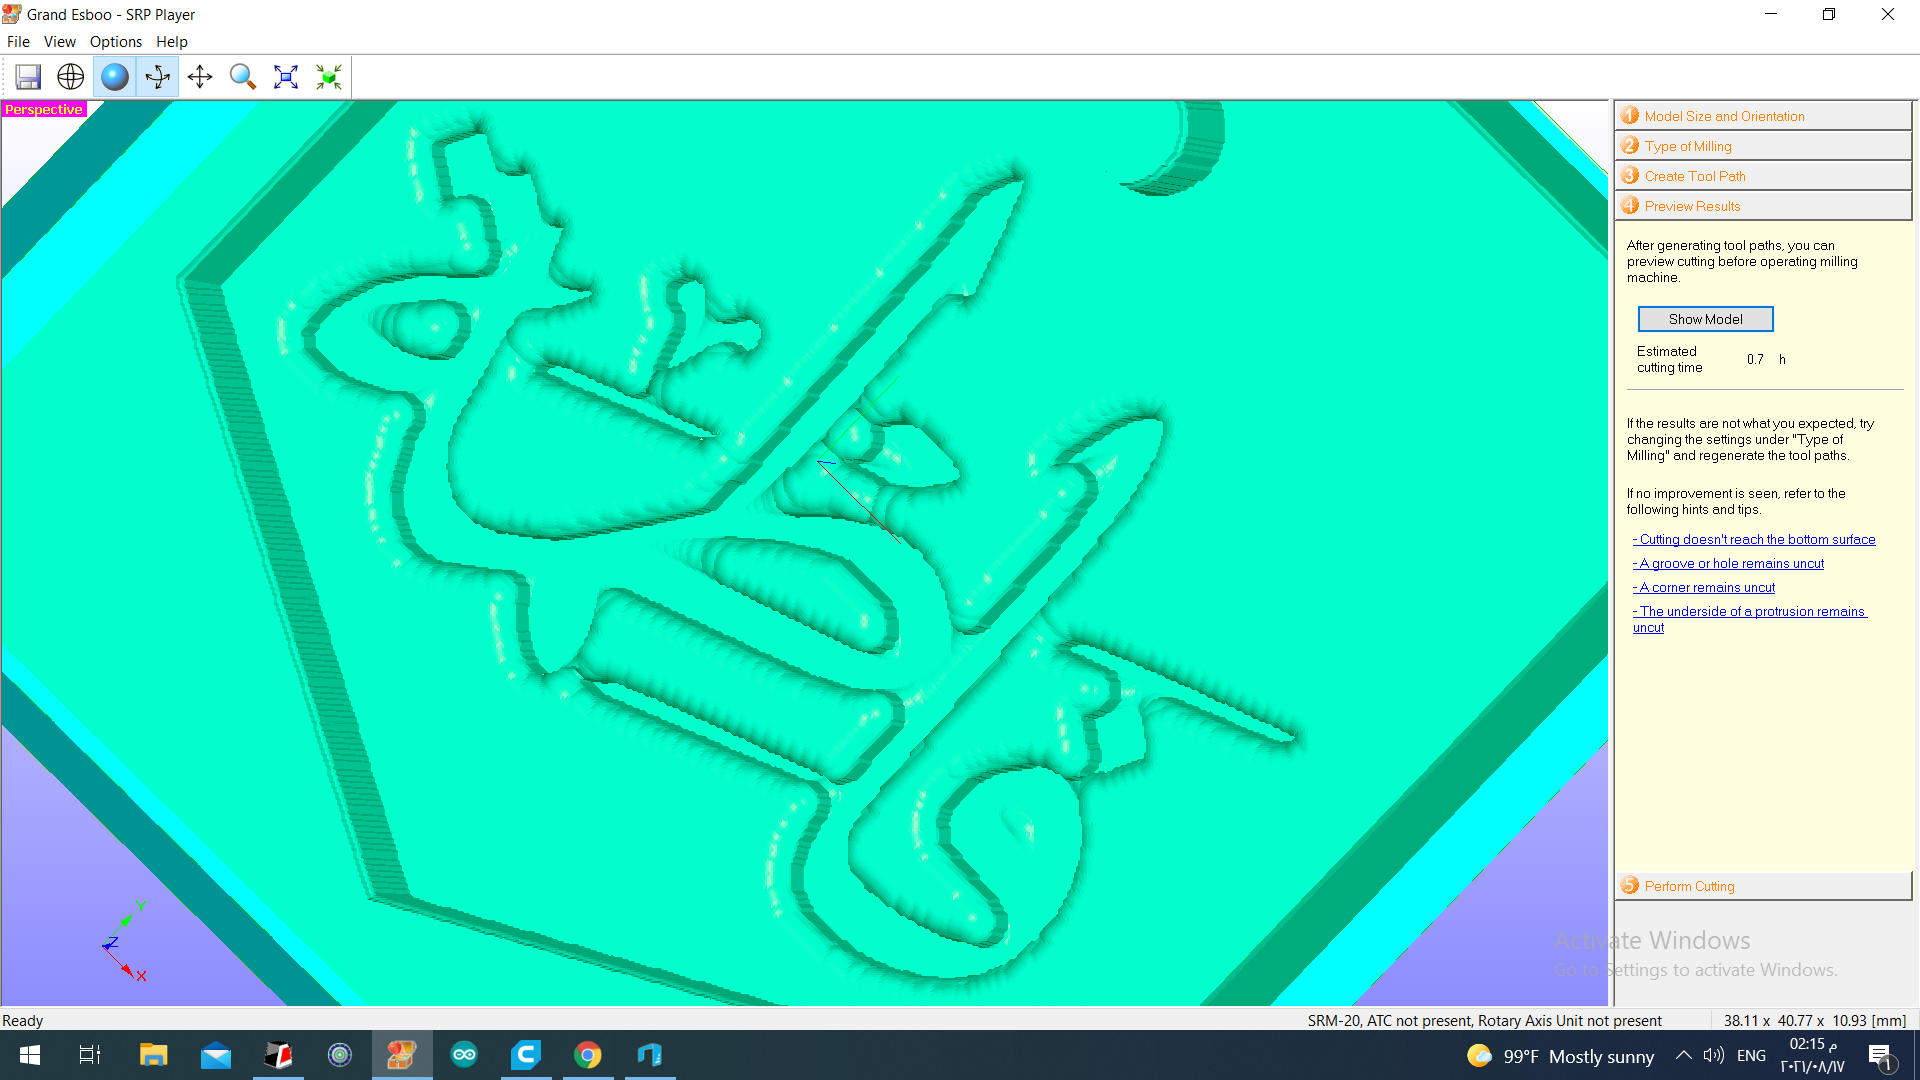
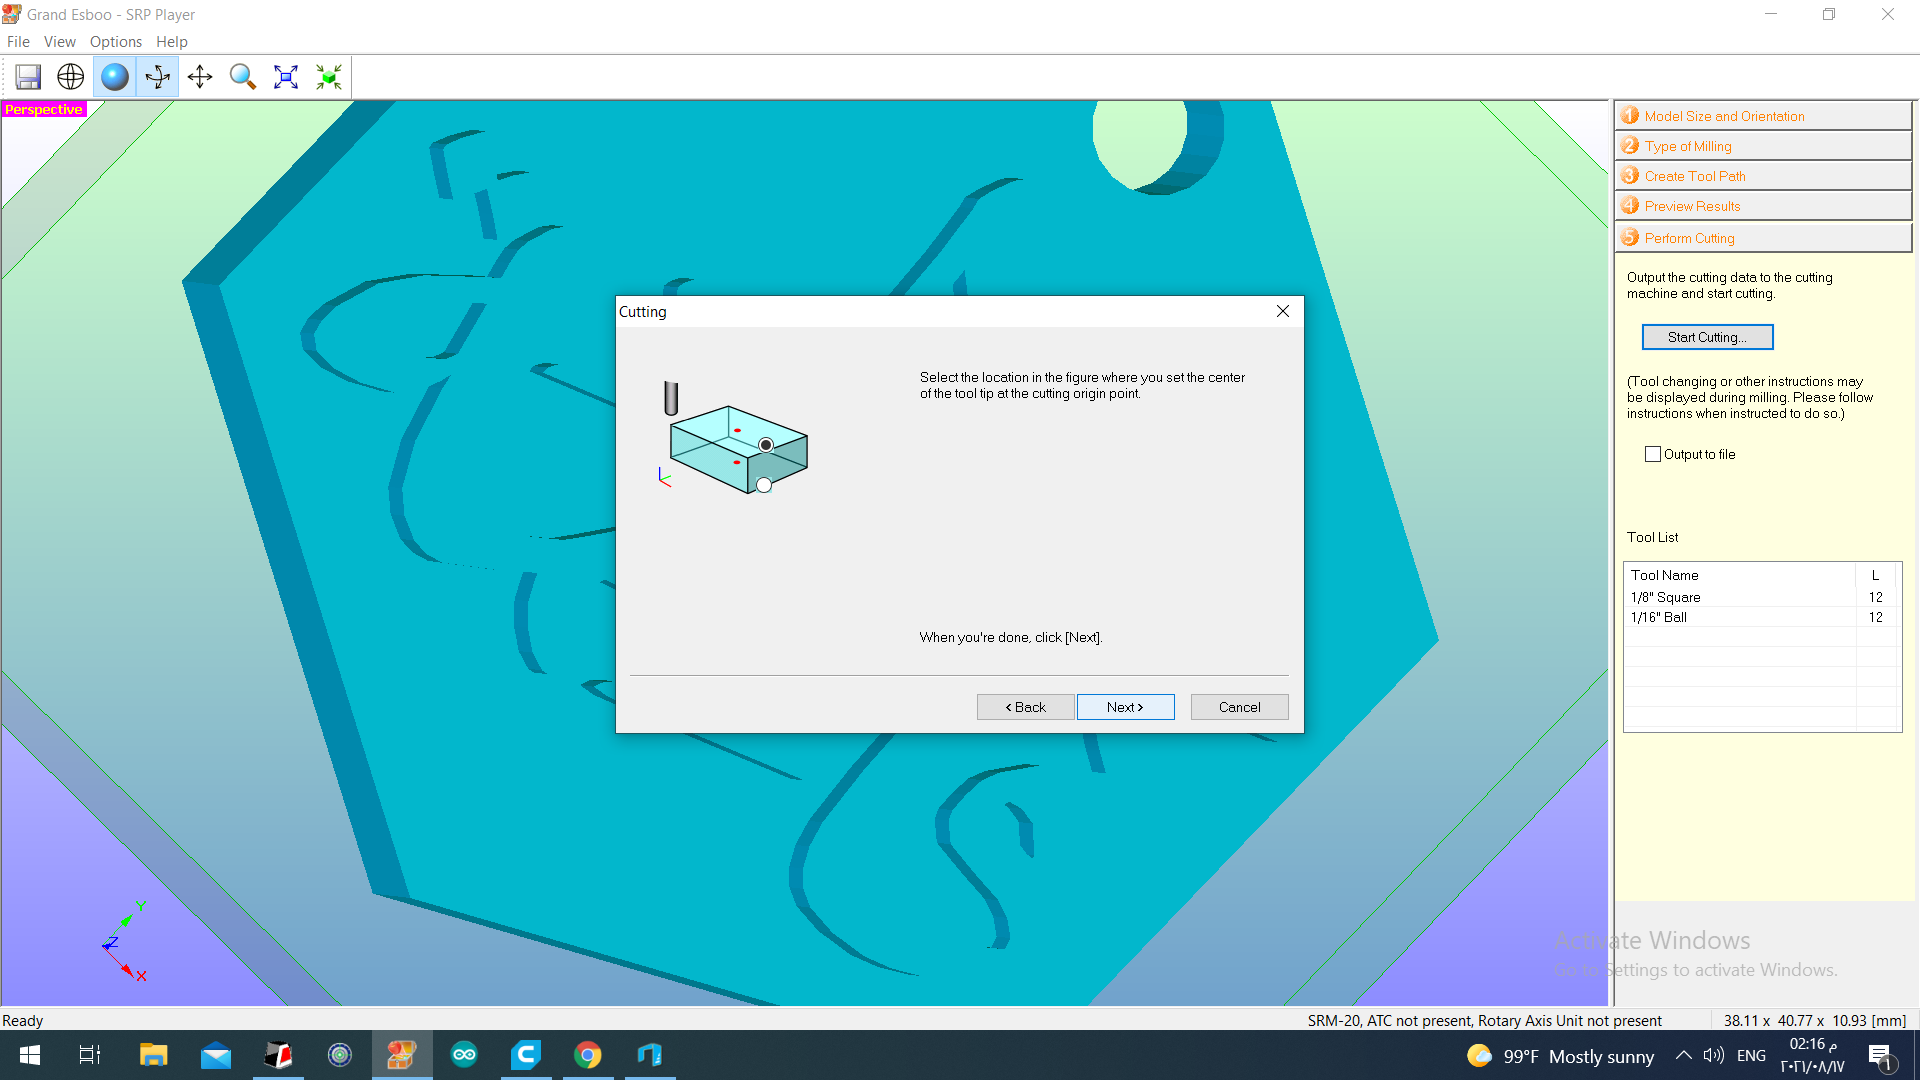
So at first , we opened the file into the software that is compitable with the machine
Here we determined the Size and Orientation
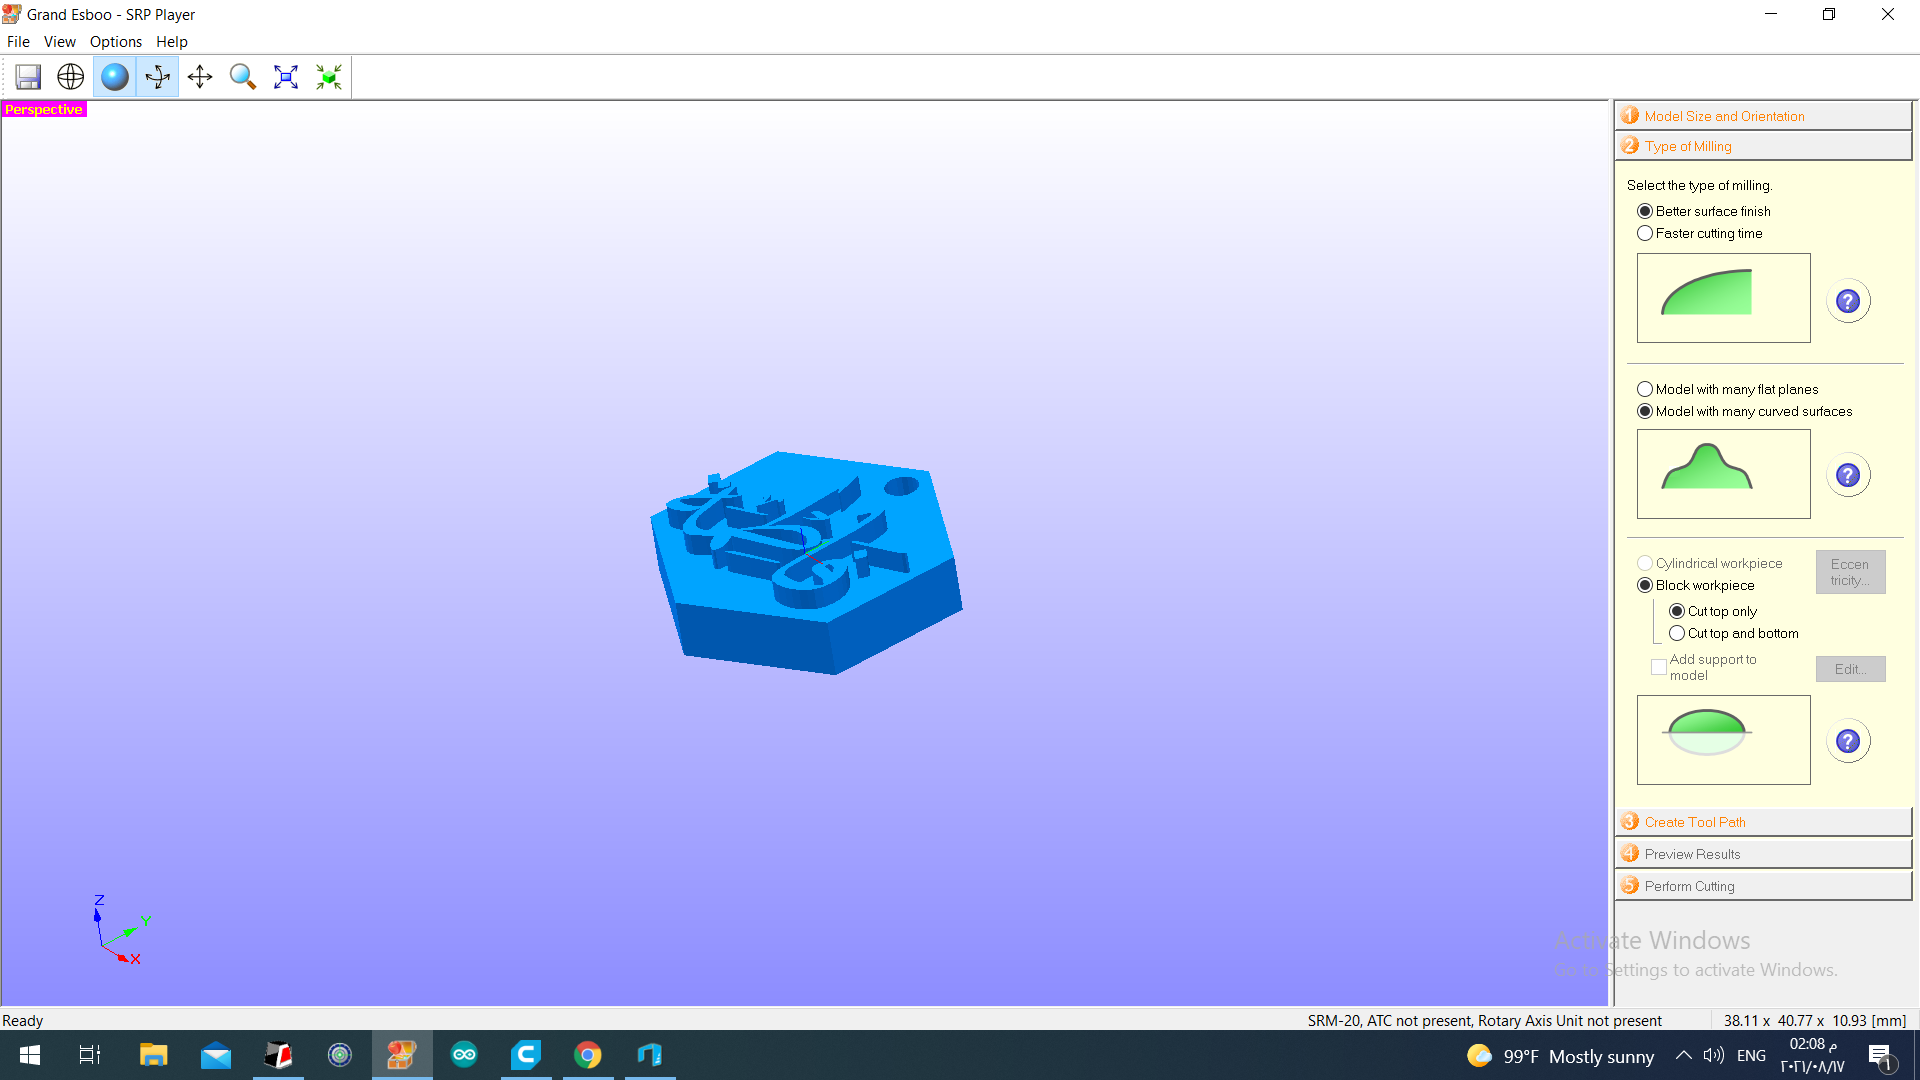
And the Type of milling
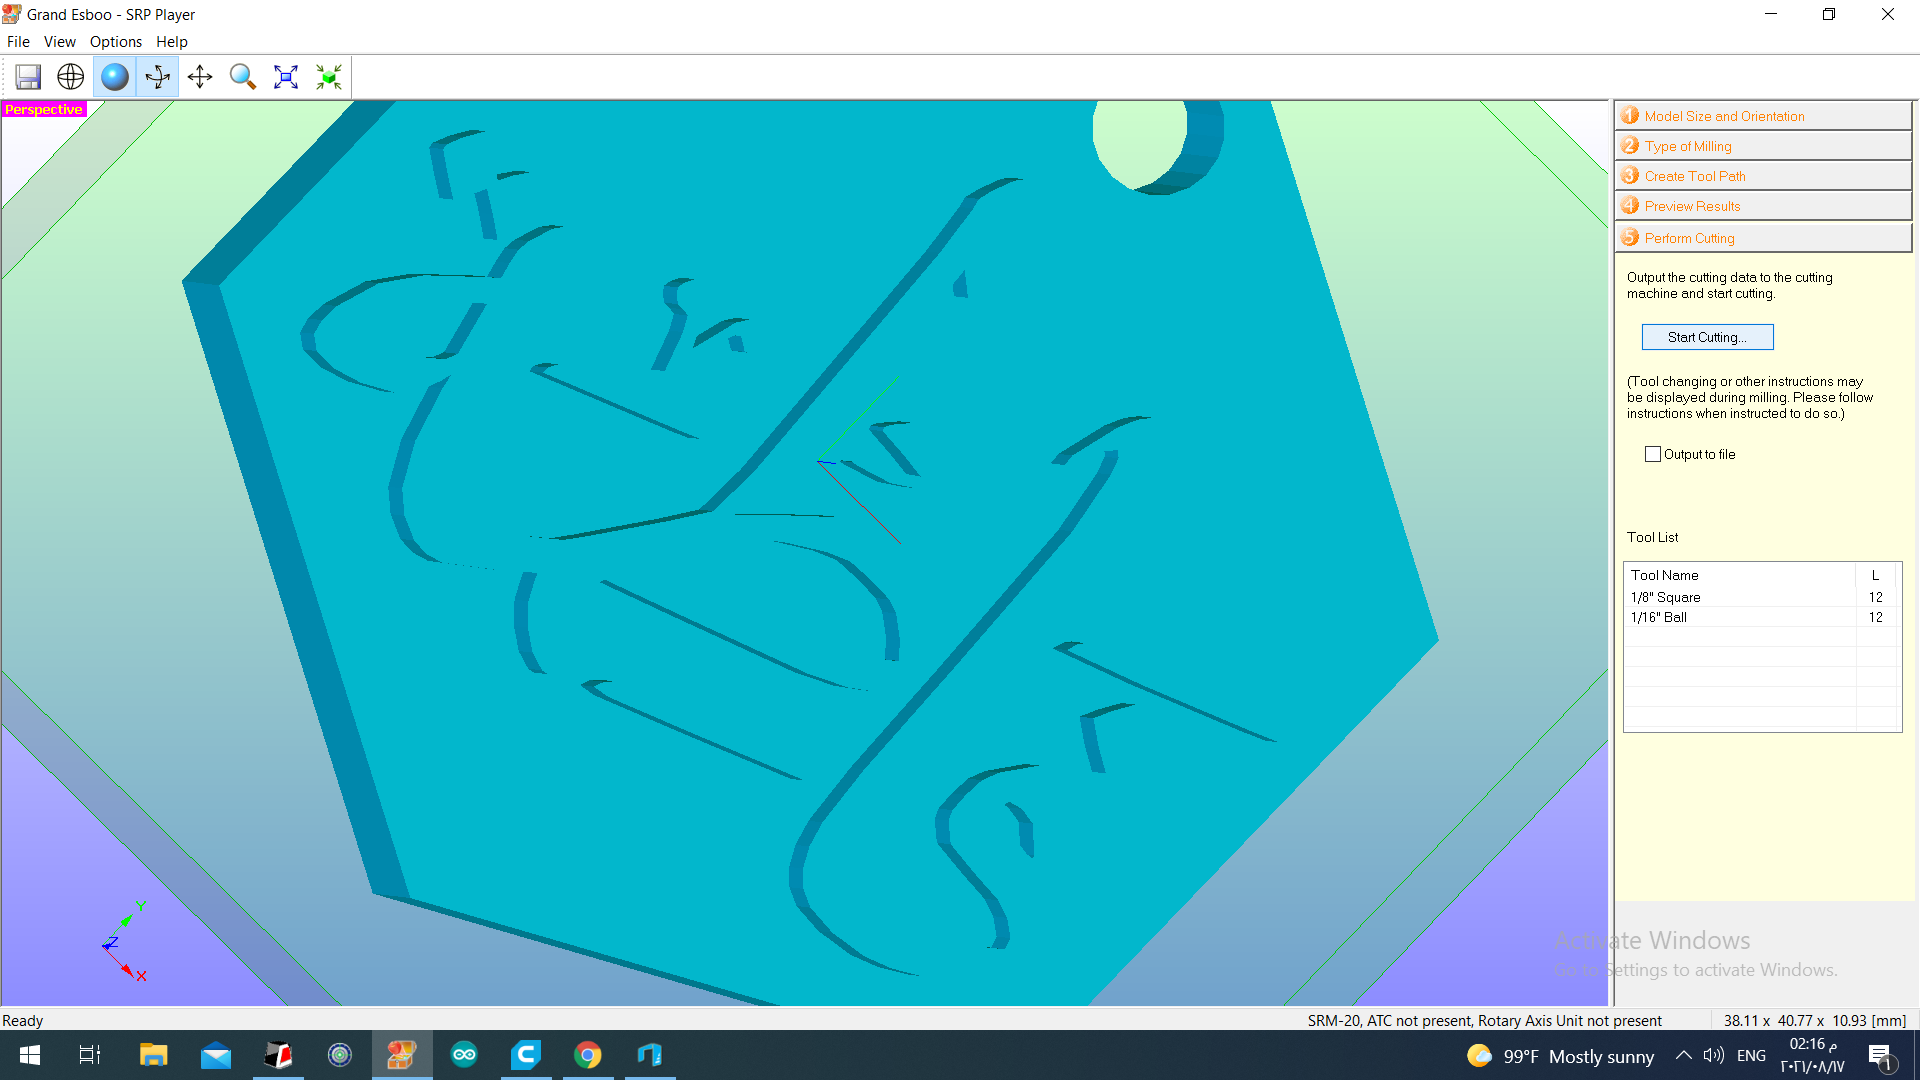
Now generating a toolpath for cutting , we used a 1/8 of an inch for cutting the shape and 1/16 of an inch for the details.

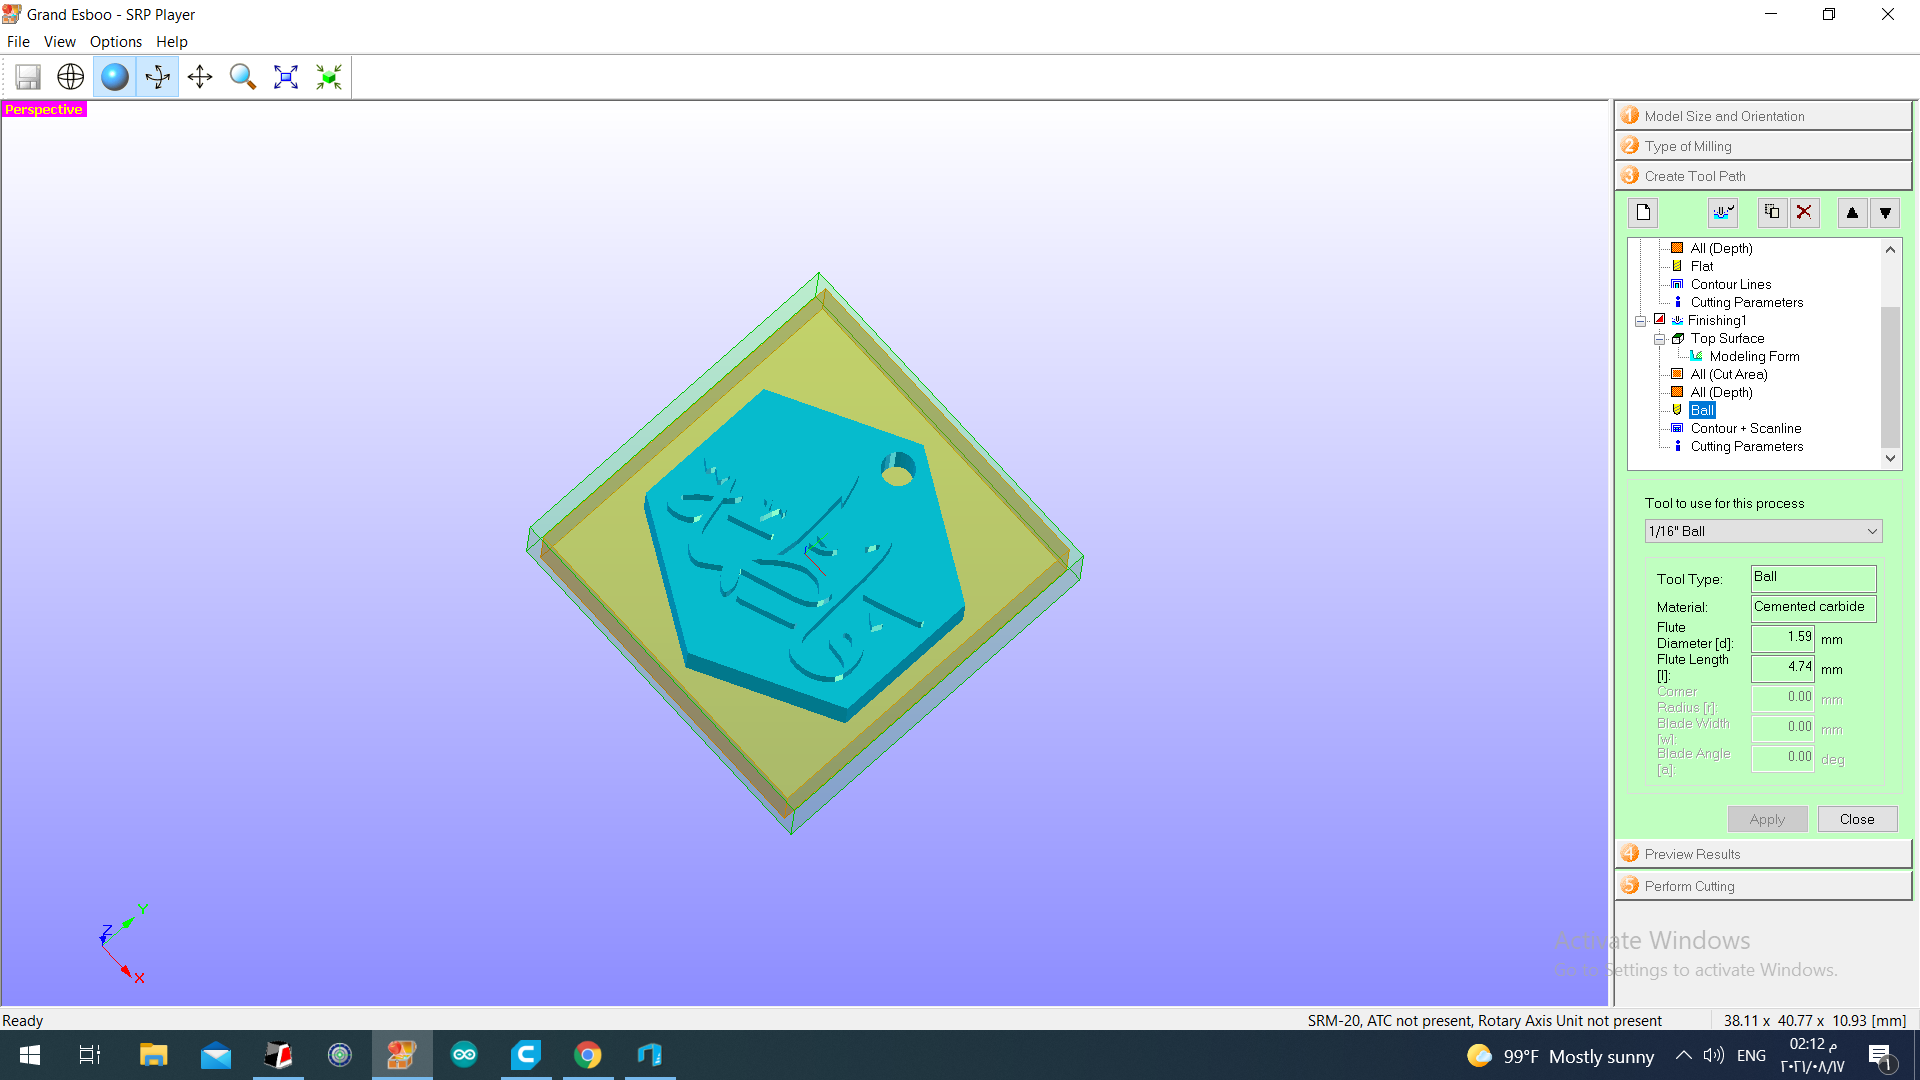
As we can see in the preview , the details are a little mixed up because of the machine’s limitation
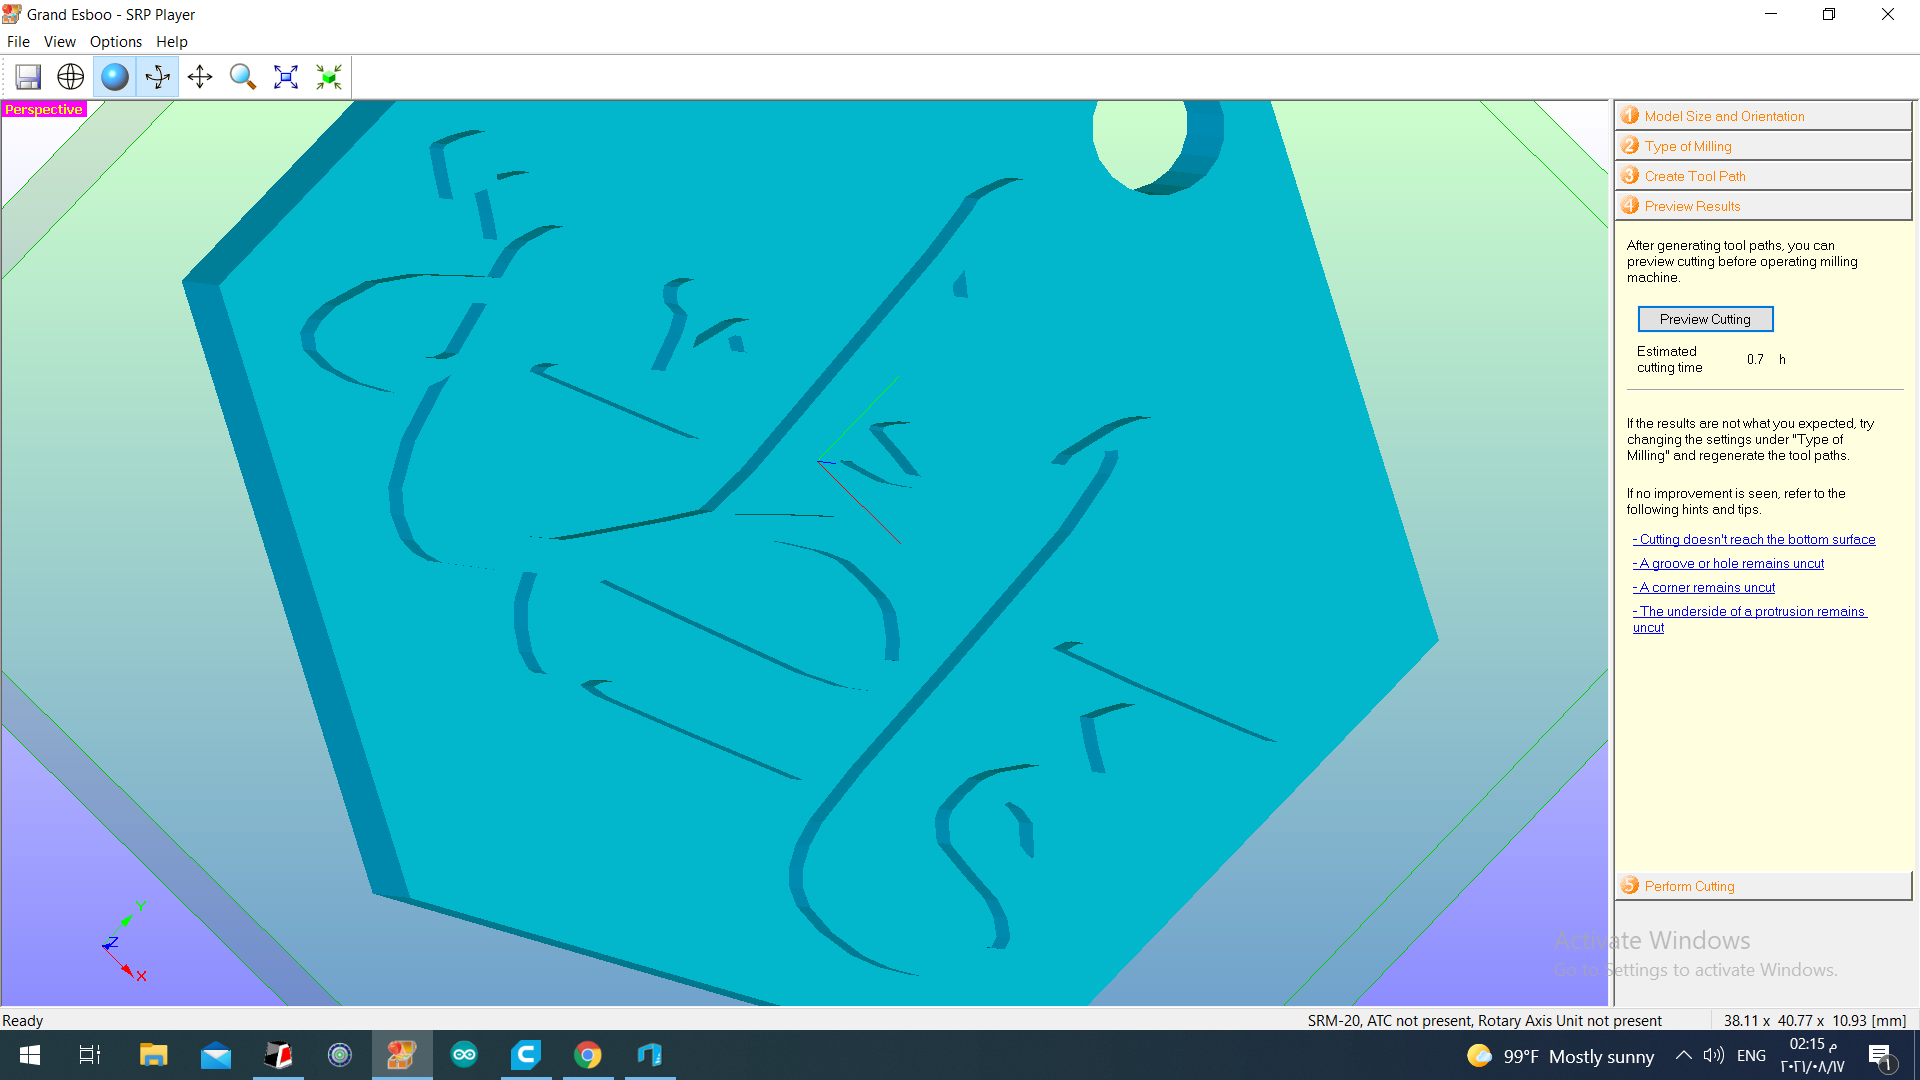
So now we are ready to cut.....
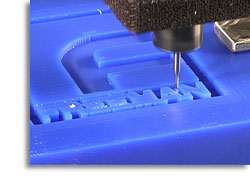
This is the type of machine that was used
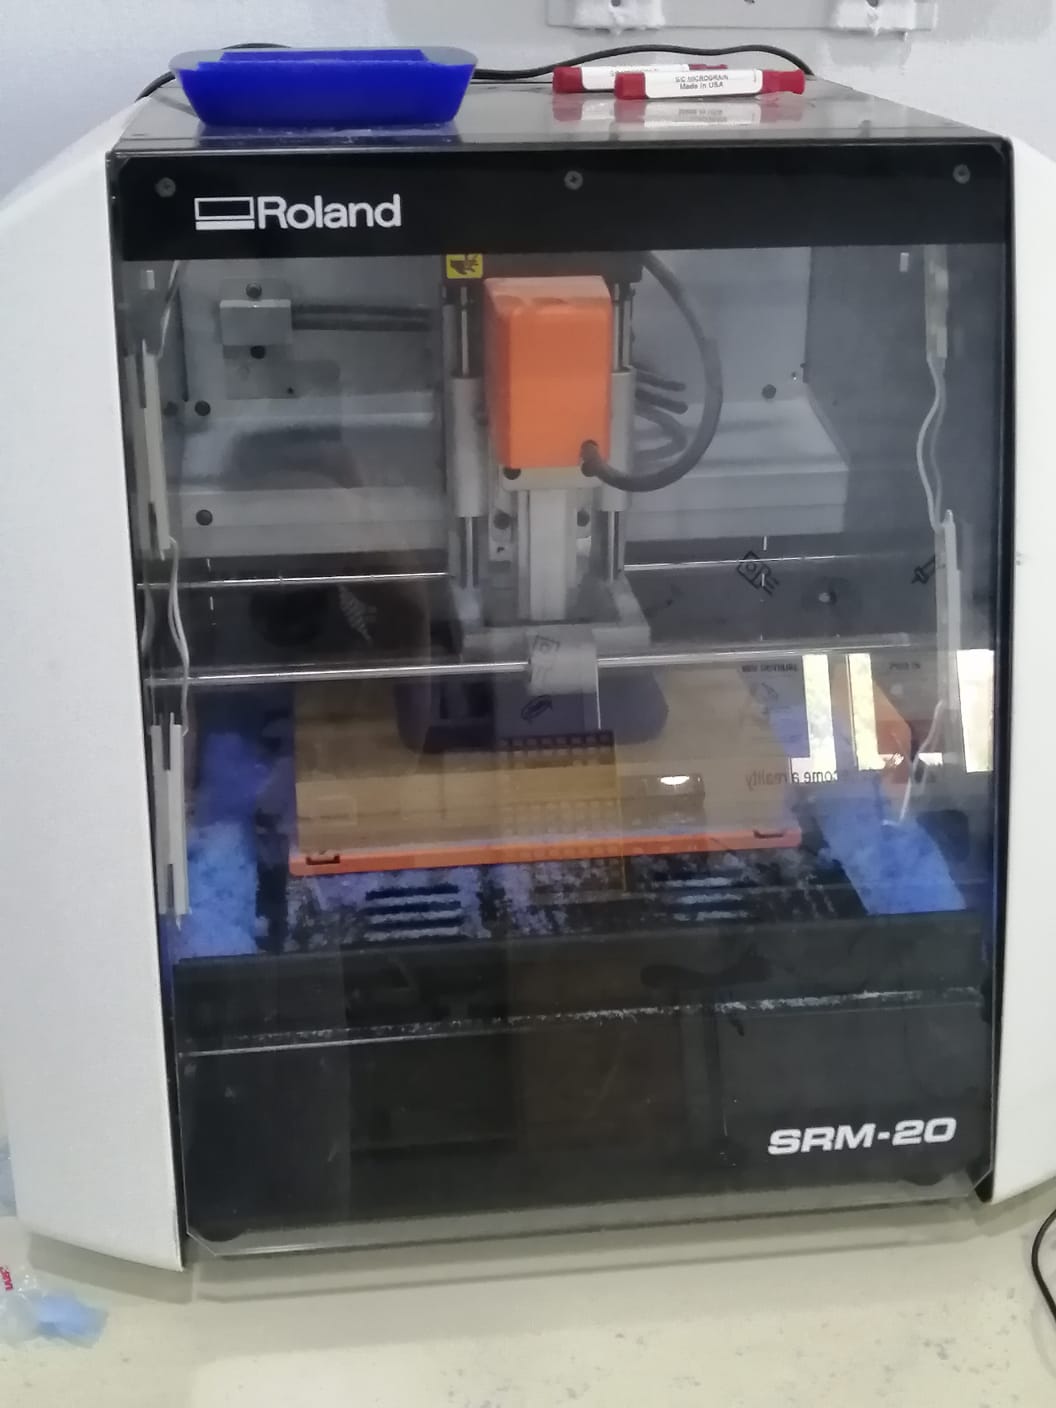
The machine started to cut and outline the wax
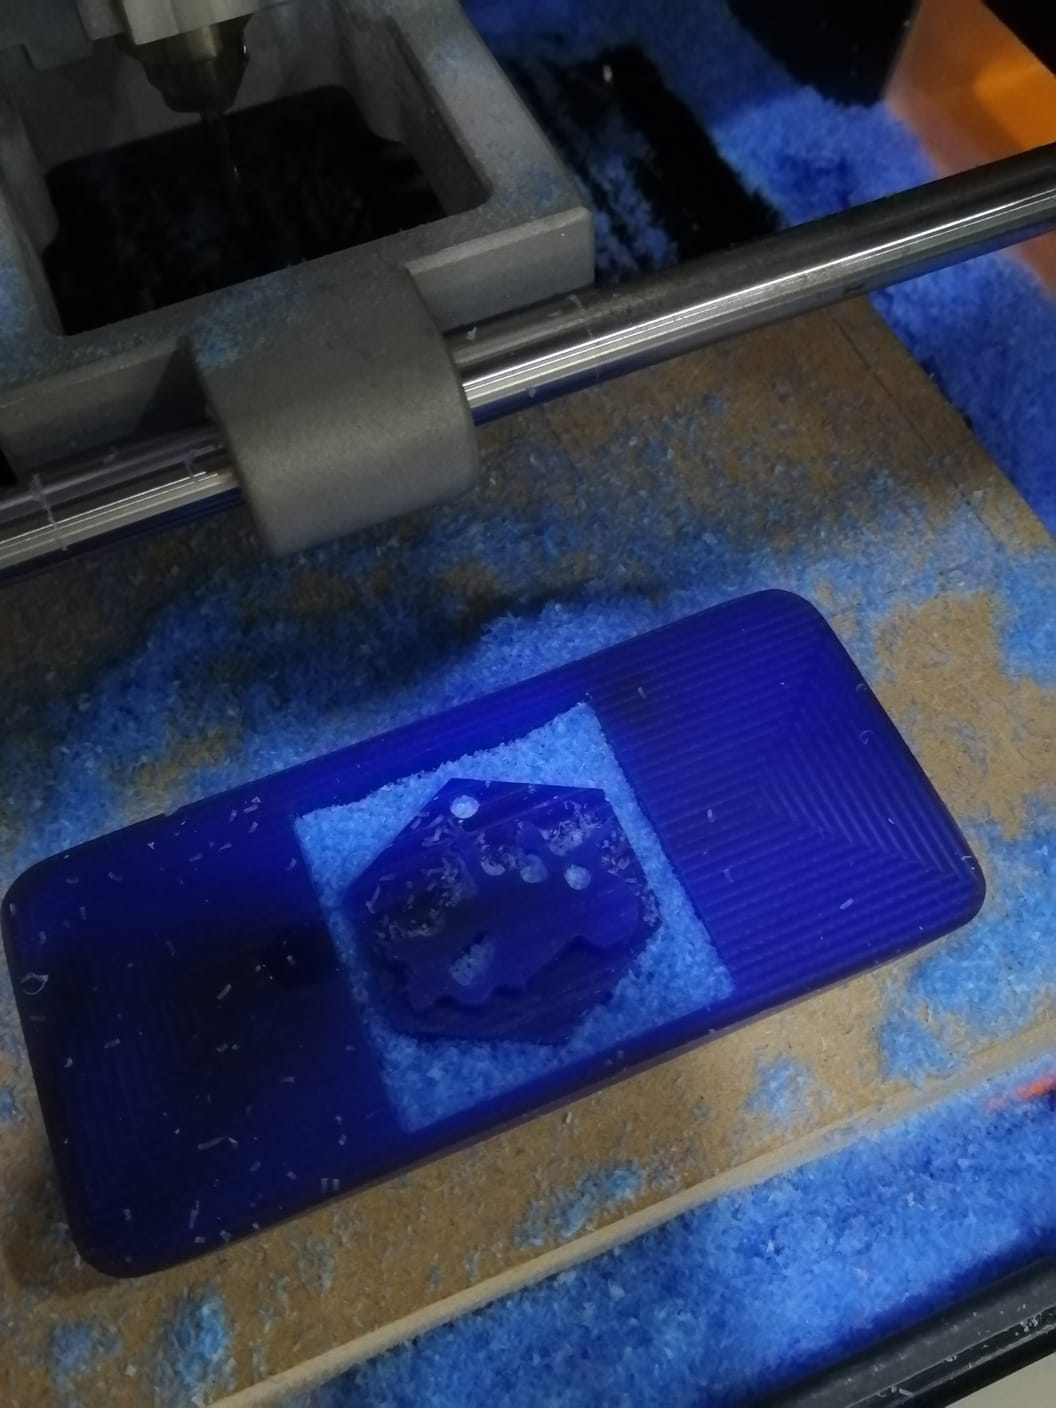
And then the details after we switched out the blade
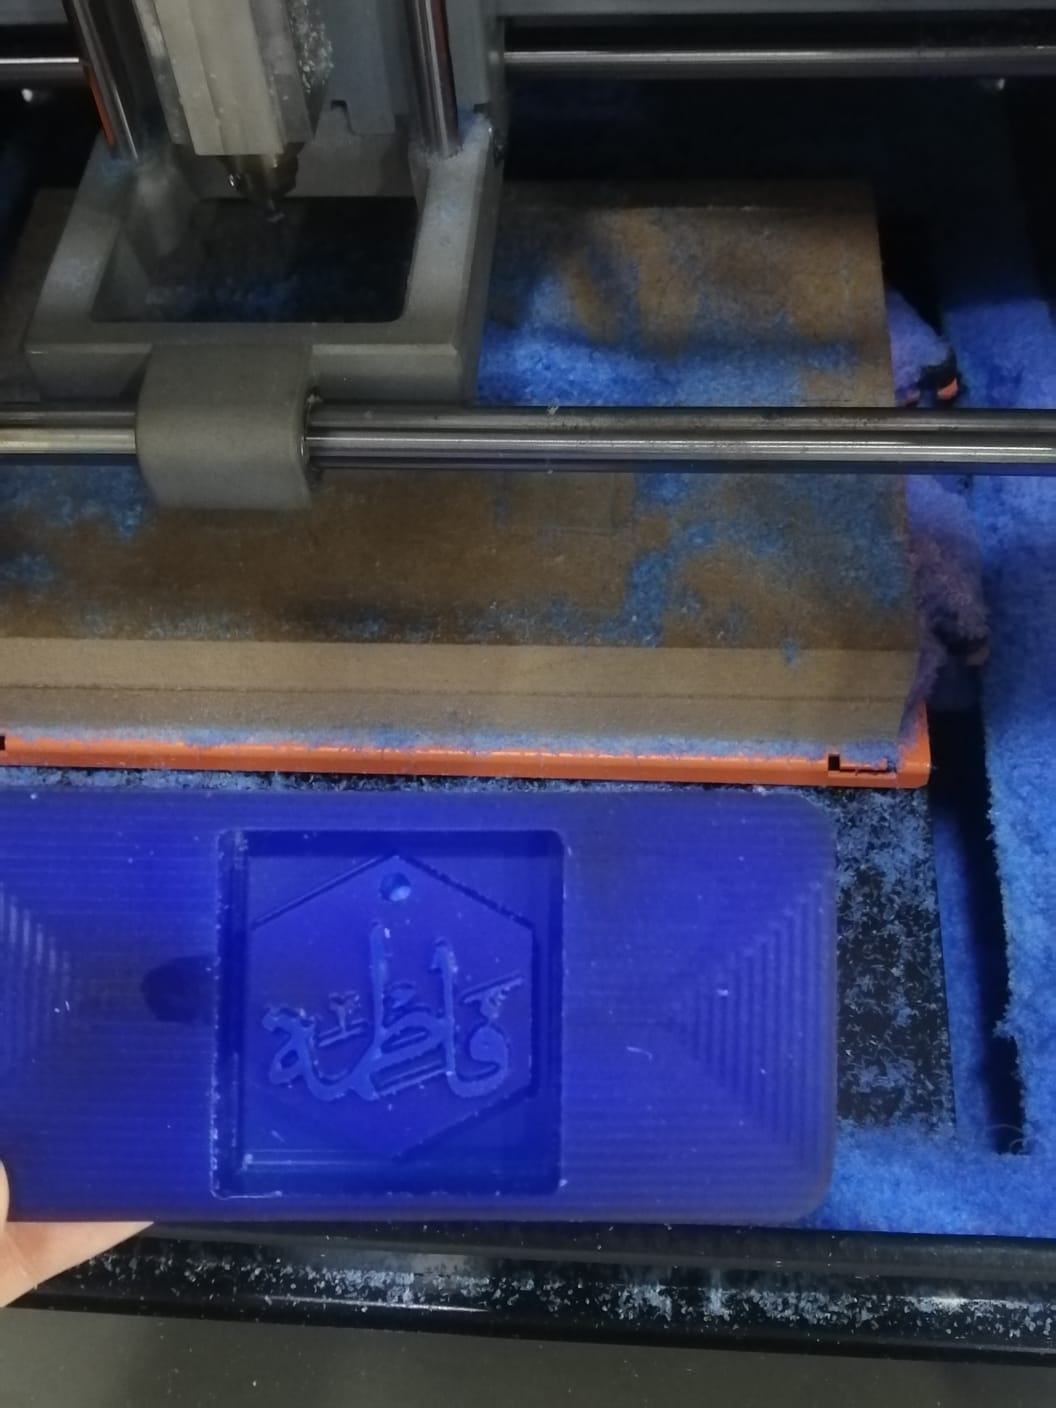
After cleaning up the ‘dust’, it was ready!
PREPARING THE SILICONE MOLD
I used the liquid silicone as it was better to get the smaller details
GENERAL DATASHEET
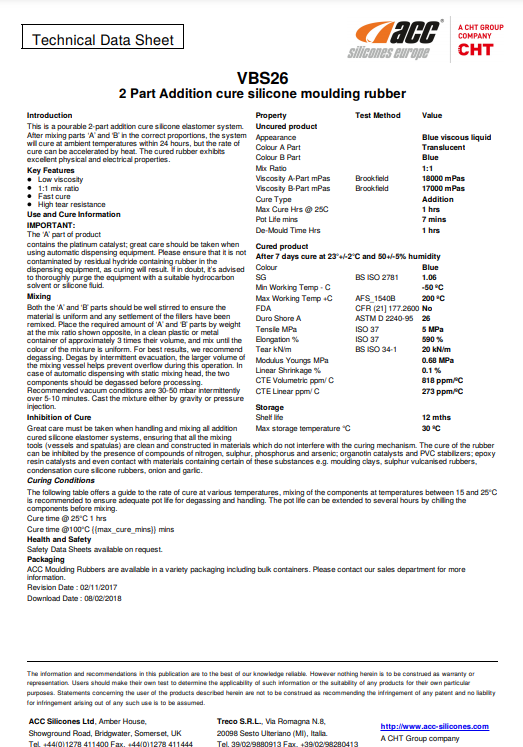
It consisted of two liquid materials of different colors
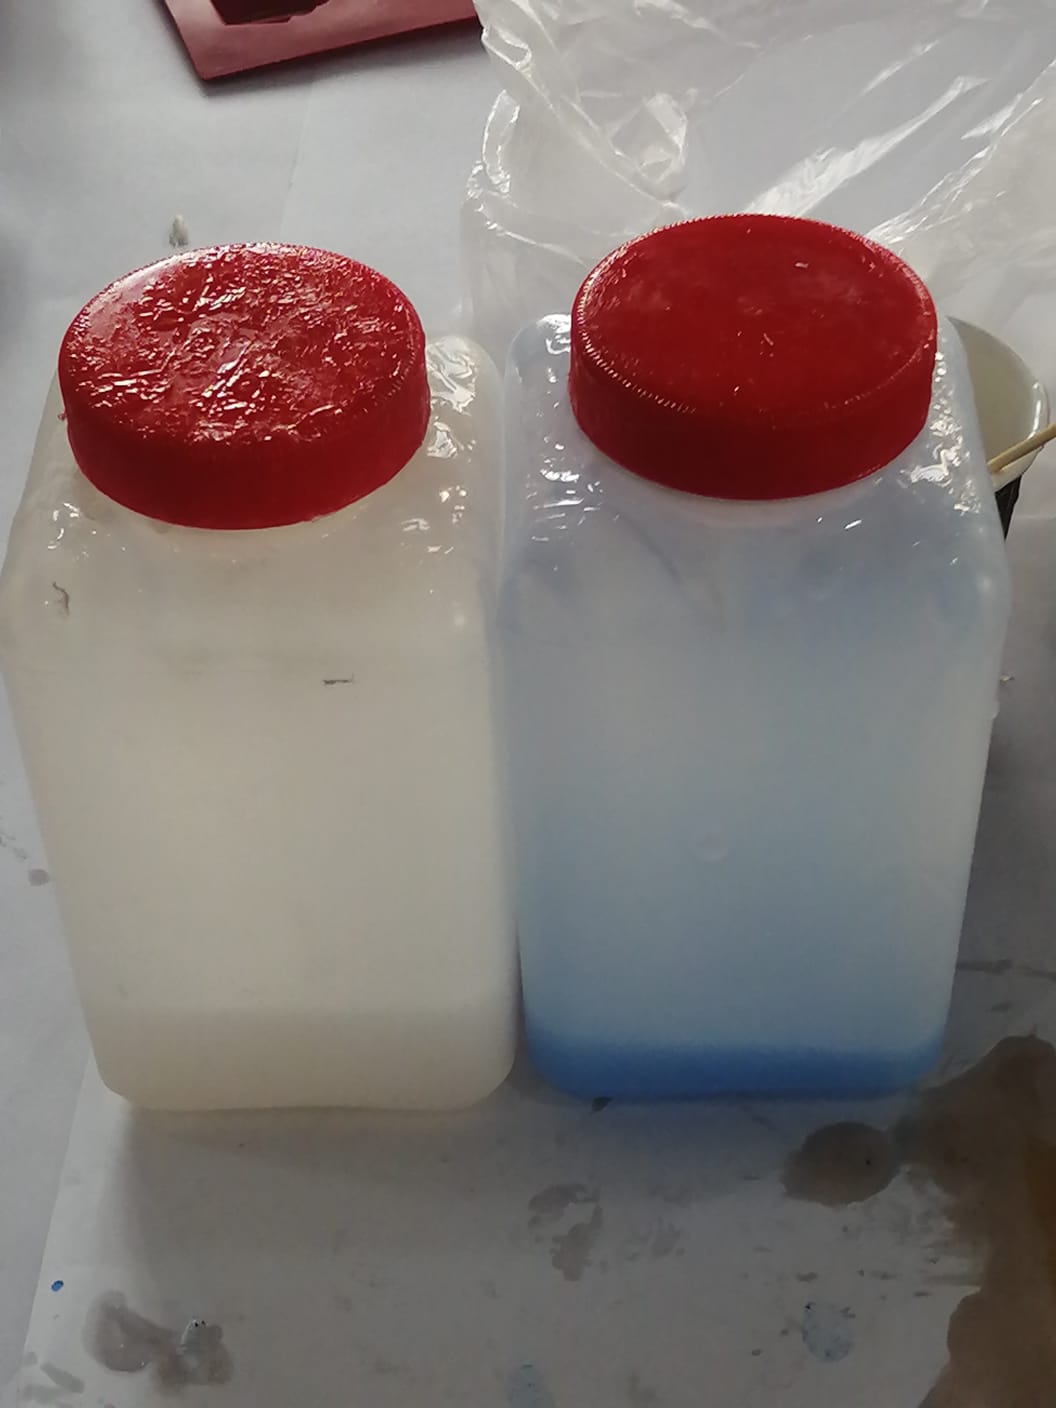
Next I mixed equal parts of both the liquids with the help of the measuring scale
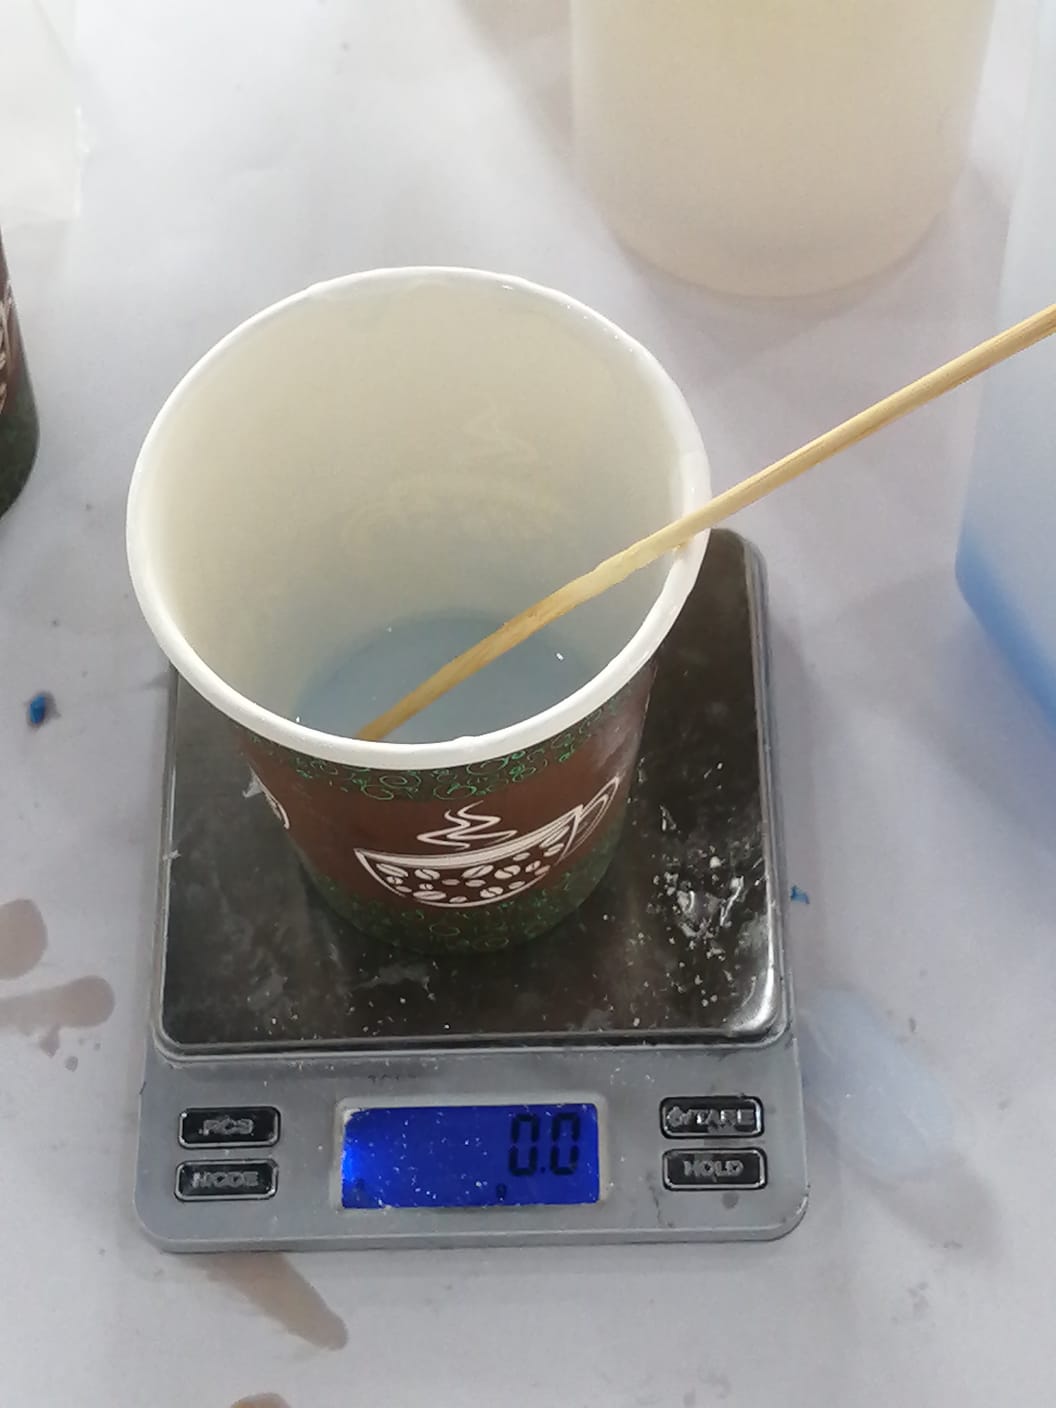
And carefully mix and pour the ready silicone liquid onto the wax to avoid any bubbles
Then wait for the silicone to harden.............
Here is the silicone mold after removing it from the wax

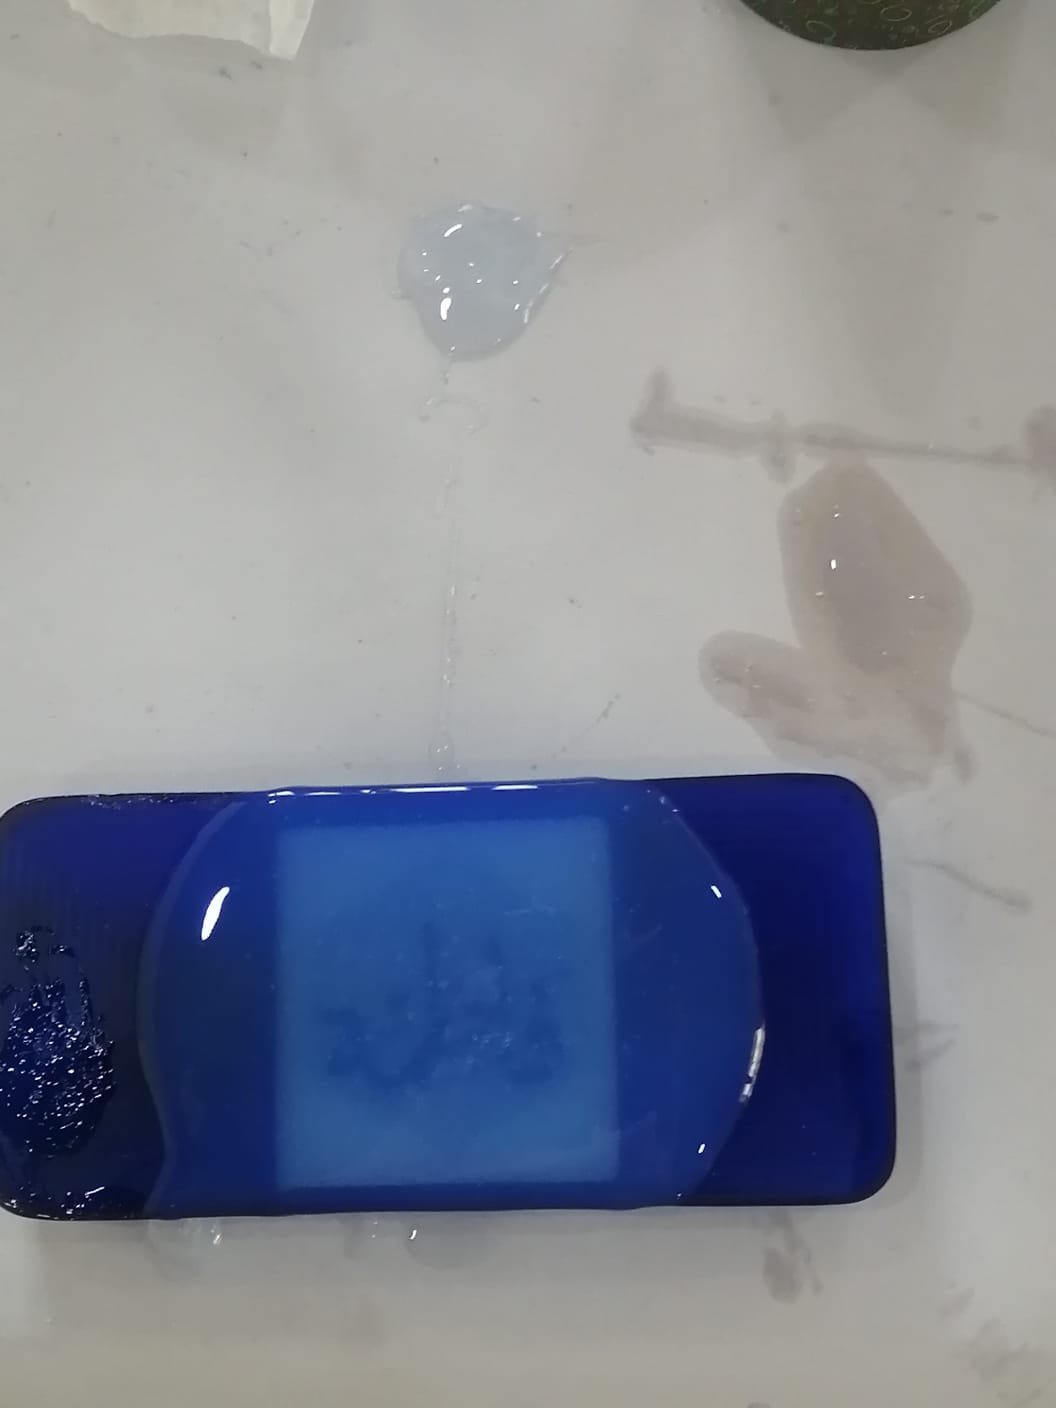
Now we are free to mold any material of choice , I used a bar of soap as my first choice as it had very less waiting time.
First I melted a bar of soap in the microwave for a minute in 15 second intervals
Then pour the melted soap into the mold make sure to pour it quickly since it hardens quickly
After that I quickly went through the soap with a stick to ensure it got all the sides
And the waiting time took about 10 minutes to fully solidify
Lastly , remove the final product carefully starting from the sides and moving your way all around it.
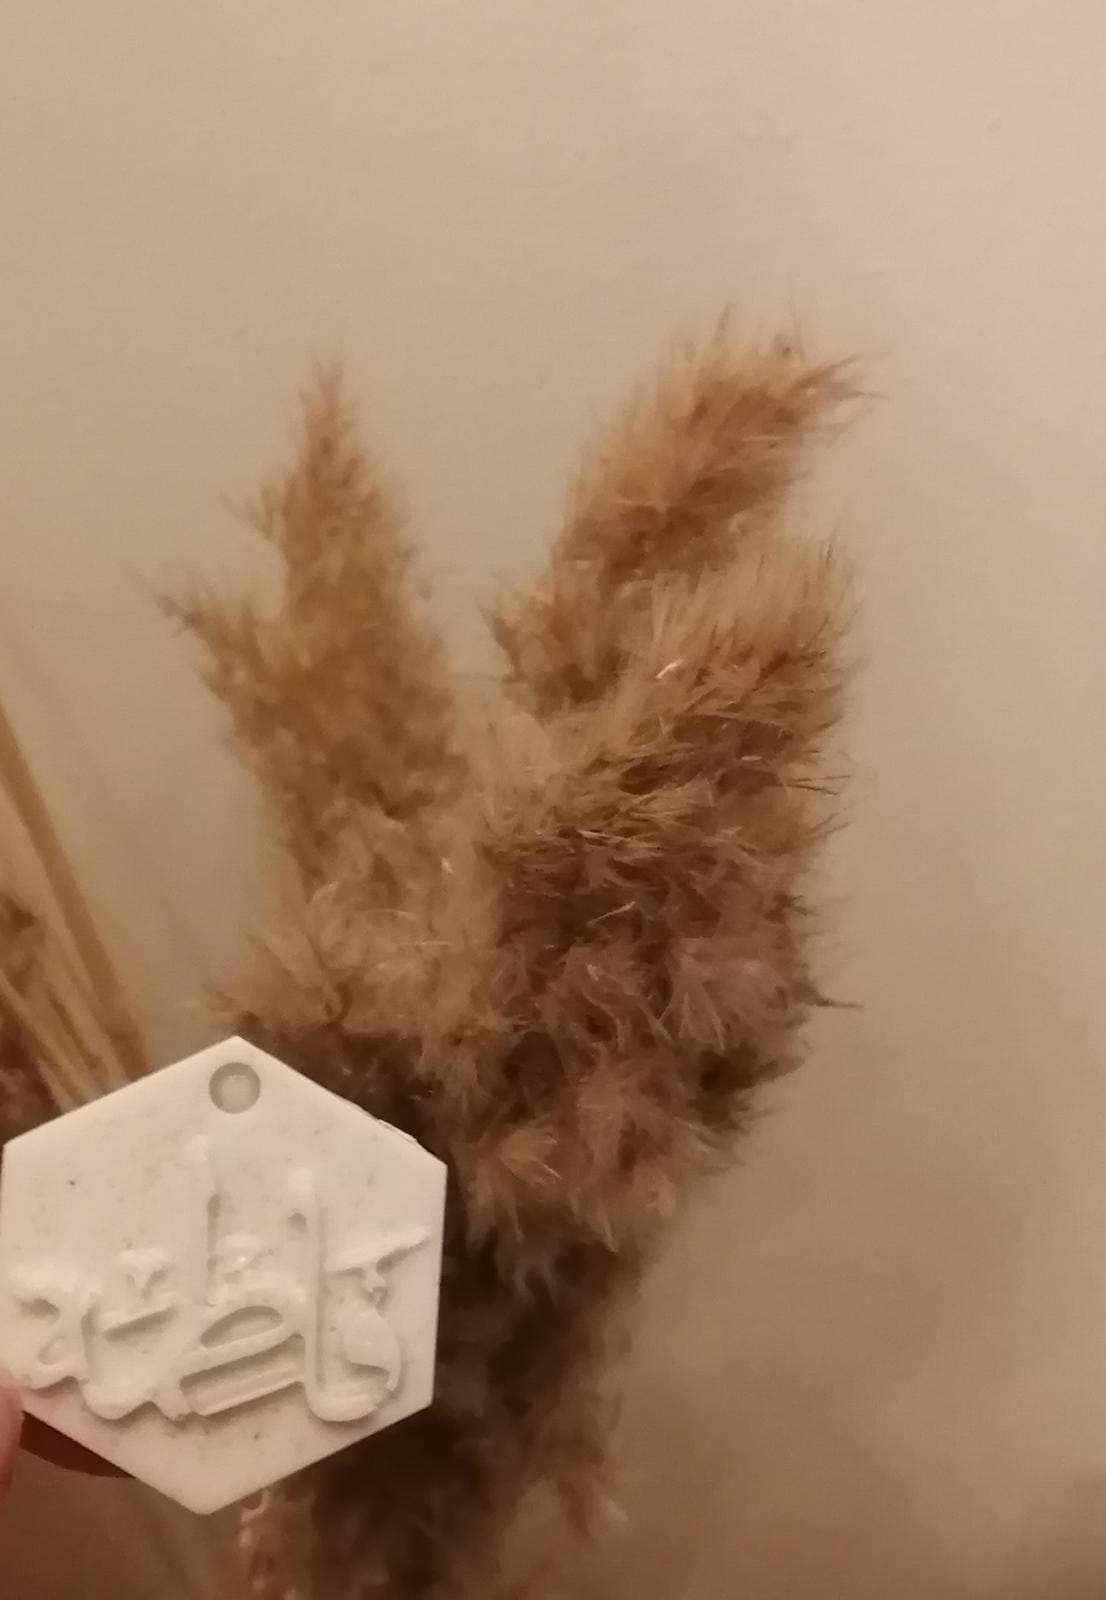
HERO SHOT