8. Moulding and casting
This week we learned how to mould and cast our own designs by using different materials such as silicone, soap, resin and gypsum.
General information
What is moulding?
Moulding or Mould making is the act of creating the cavity / form that carries a negative or reverse impression of an original model.
What is casting?
Casting is the act of pouring liquid material into the cavity of a mould. After a period of time, this liquid will cure via chemical reaction or cooling.
Research - Liquid Silicone (GROUP WORK)
The first thing we did was making a group research where each one of us chose one material to read about it and then we shared the information and got to know more about all materials.
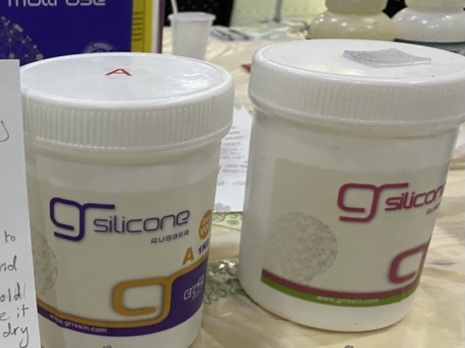
My material was (LIQUID SILICONE), it is a Liquid Silicone Rubber material is a two-part platinum-cured elastomer that can be injected into a mold cavity to manufacture a part. LSR is very versatile in the elastomer industry and is seen across a whole spectrum of parts from consumer products to medical devices and everything in between.
Safety
Silicone is considered chemically stable, experts say it’s safe to use and likely not toxic but injected liquid silicone may move throughout the body and can cause serious health consequences, including death. (To be on the safe side, wear gloves while using this material)
Process
1.Mix part A and B evenly according to proportion 1:1 and mix them. 2.Pour it in a vaccum to get rid of air bubbles 3.Pour the mixture into a mould and leave it to dry.
Cure time
3 to 12 hours
Work time
20 to 40 minutes
Check the links below to know more about the other materials:
Experminting materials (GROUP WORK)
Each one of us started to experiment his/her material and here is my process below:
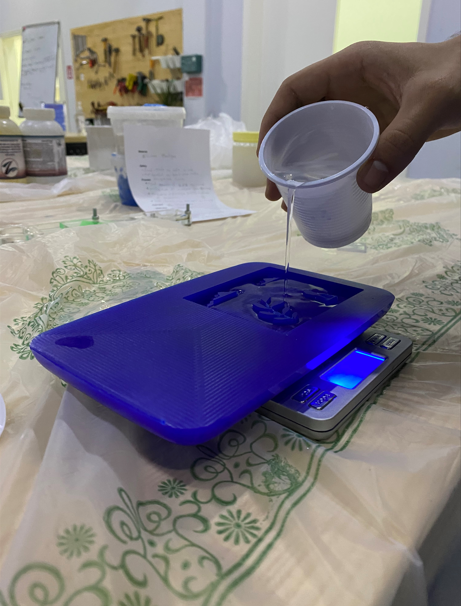
First, I poured water in the testing mould and measured its weight to know the amount of material that I need which was around 6 grams.
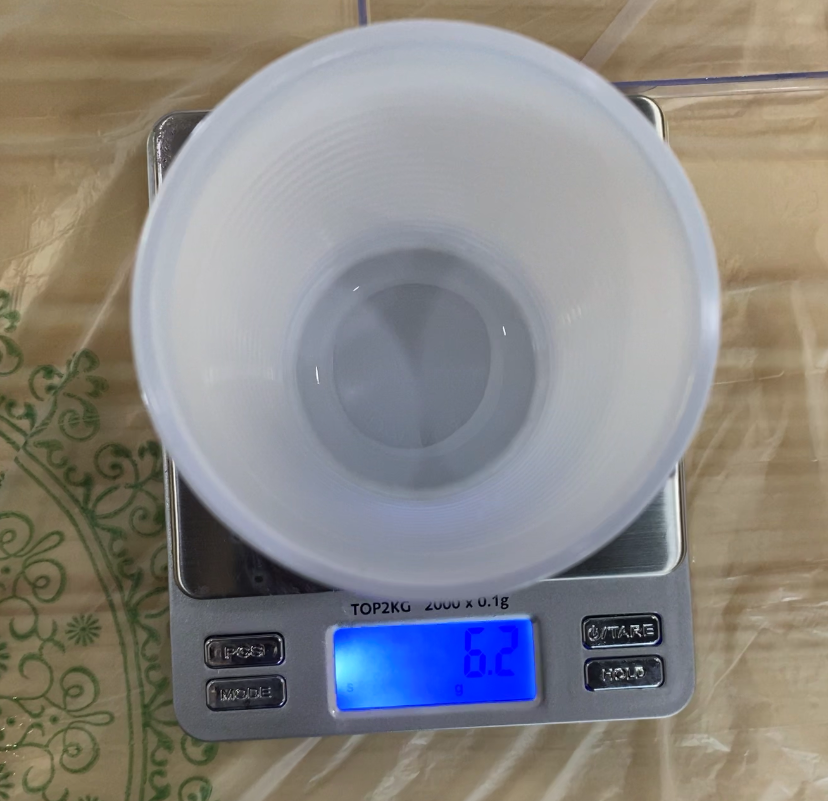
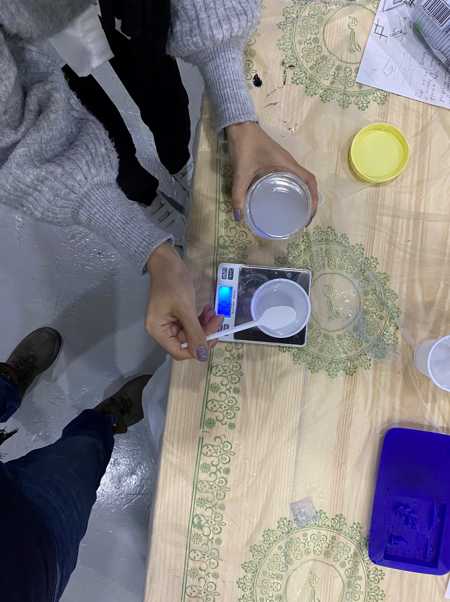
Then I prepared my mixture to the 1:1 ratio, 3 grams from box A and 3 grams from box B mixed together.

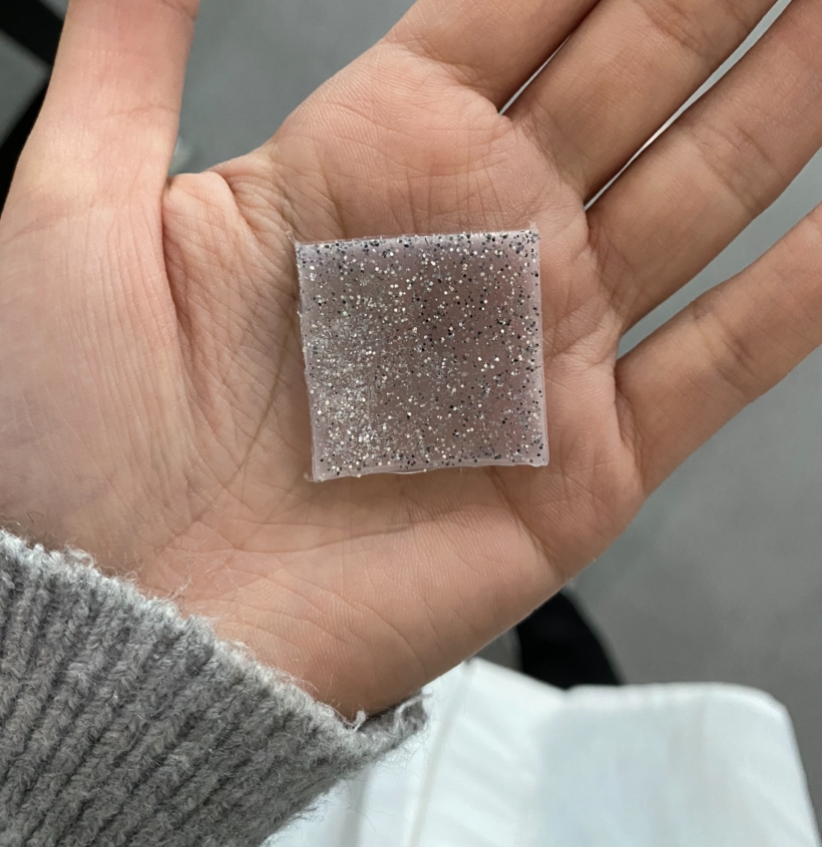
Added some glitter to give it an aesthetic touch, poured it into the testing mould and left it to dry.
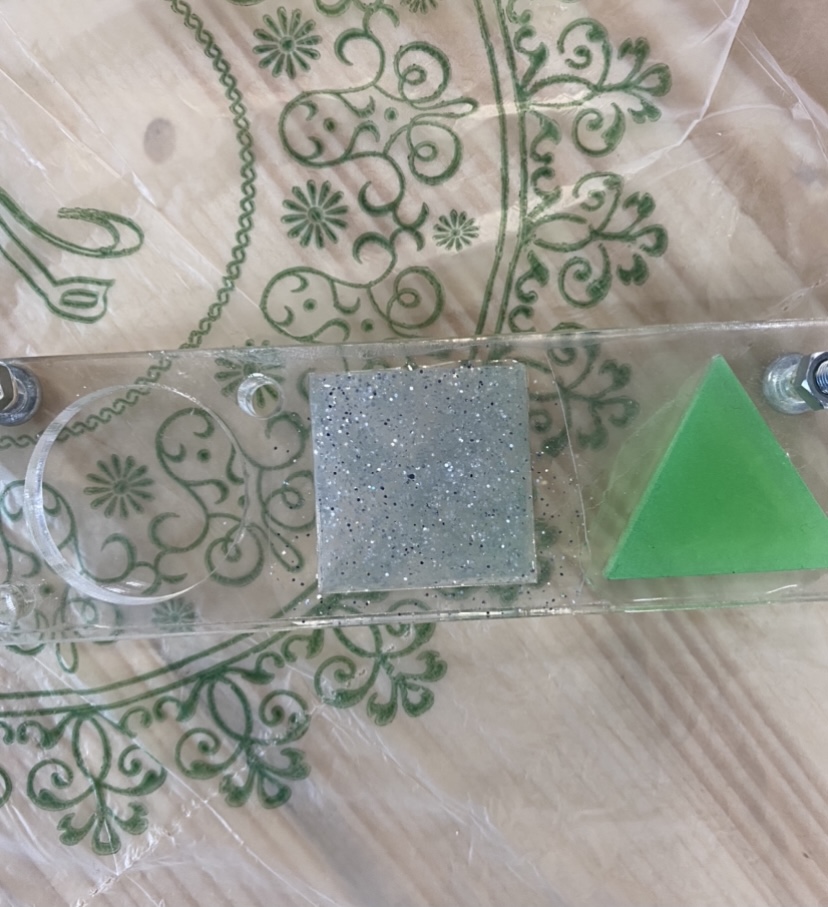
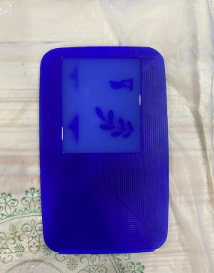
Andd here is the final result after 24 hours.
Costume design moulding and casting (INDIVIDUAL WORK)
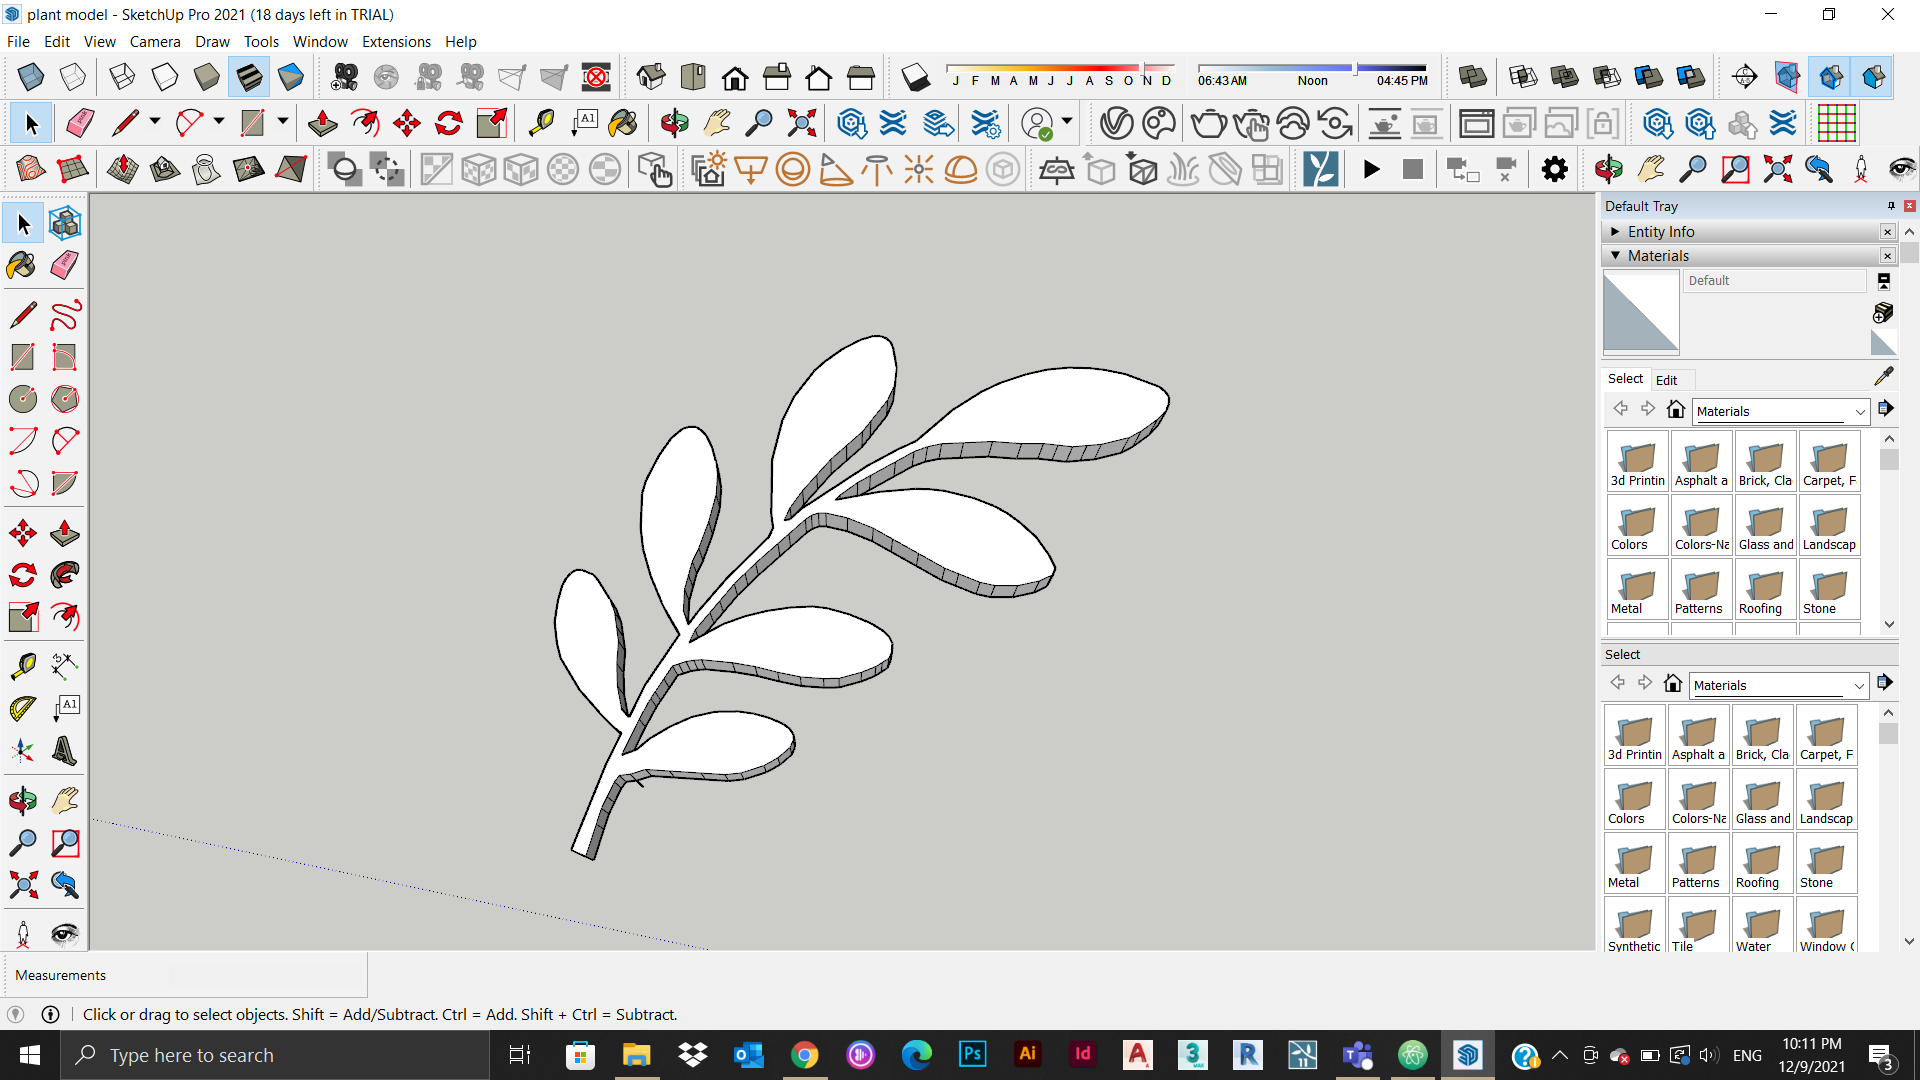
The first thing I did in this phase was modeling my design in Sketchup and exporting it into stl file Plant model link
Milling
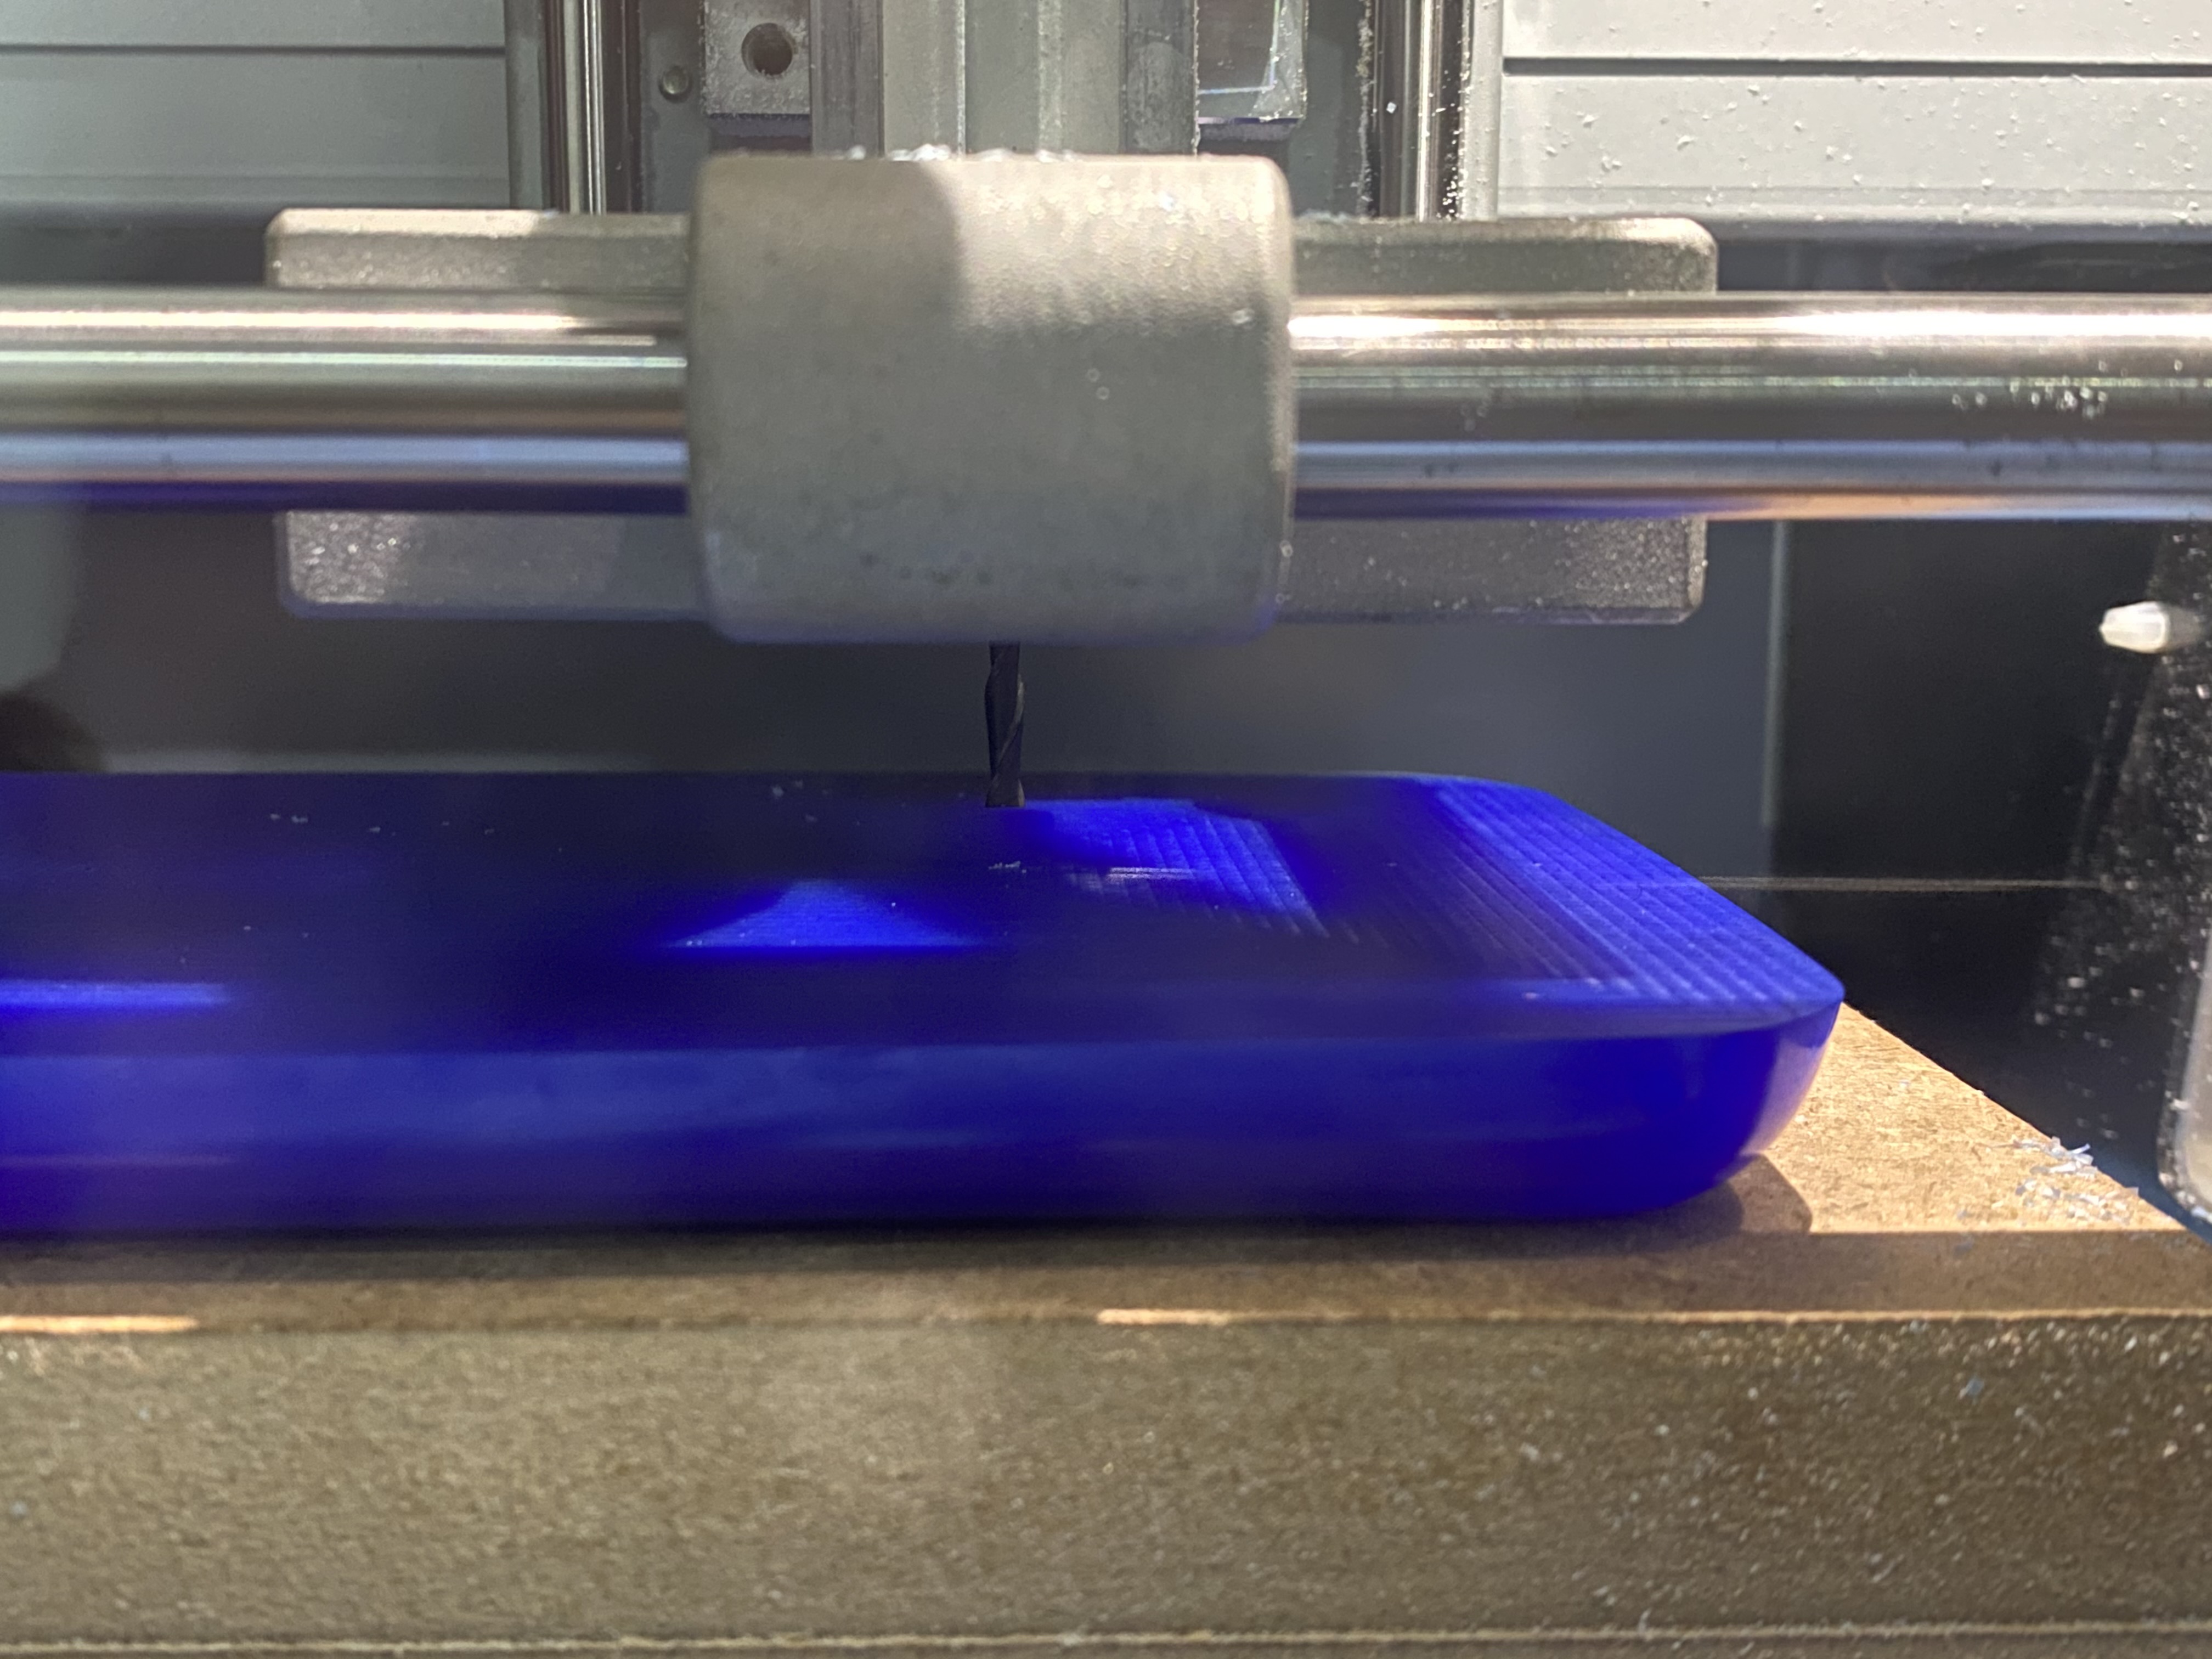
To create the mould of our design, we had to mill it in a ready to use mould made of wax and a proportion of plastic. First, we marked the origin point on it and made sure that it was aligned with the drill bit inside the milling machine.

Second, we uploaded our stl files and opened them in the software connected with the machine which is SPR player.
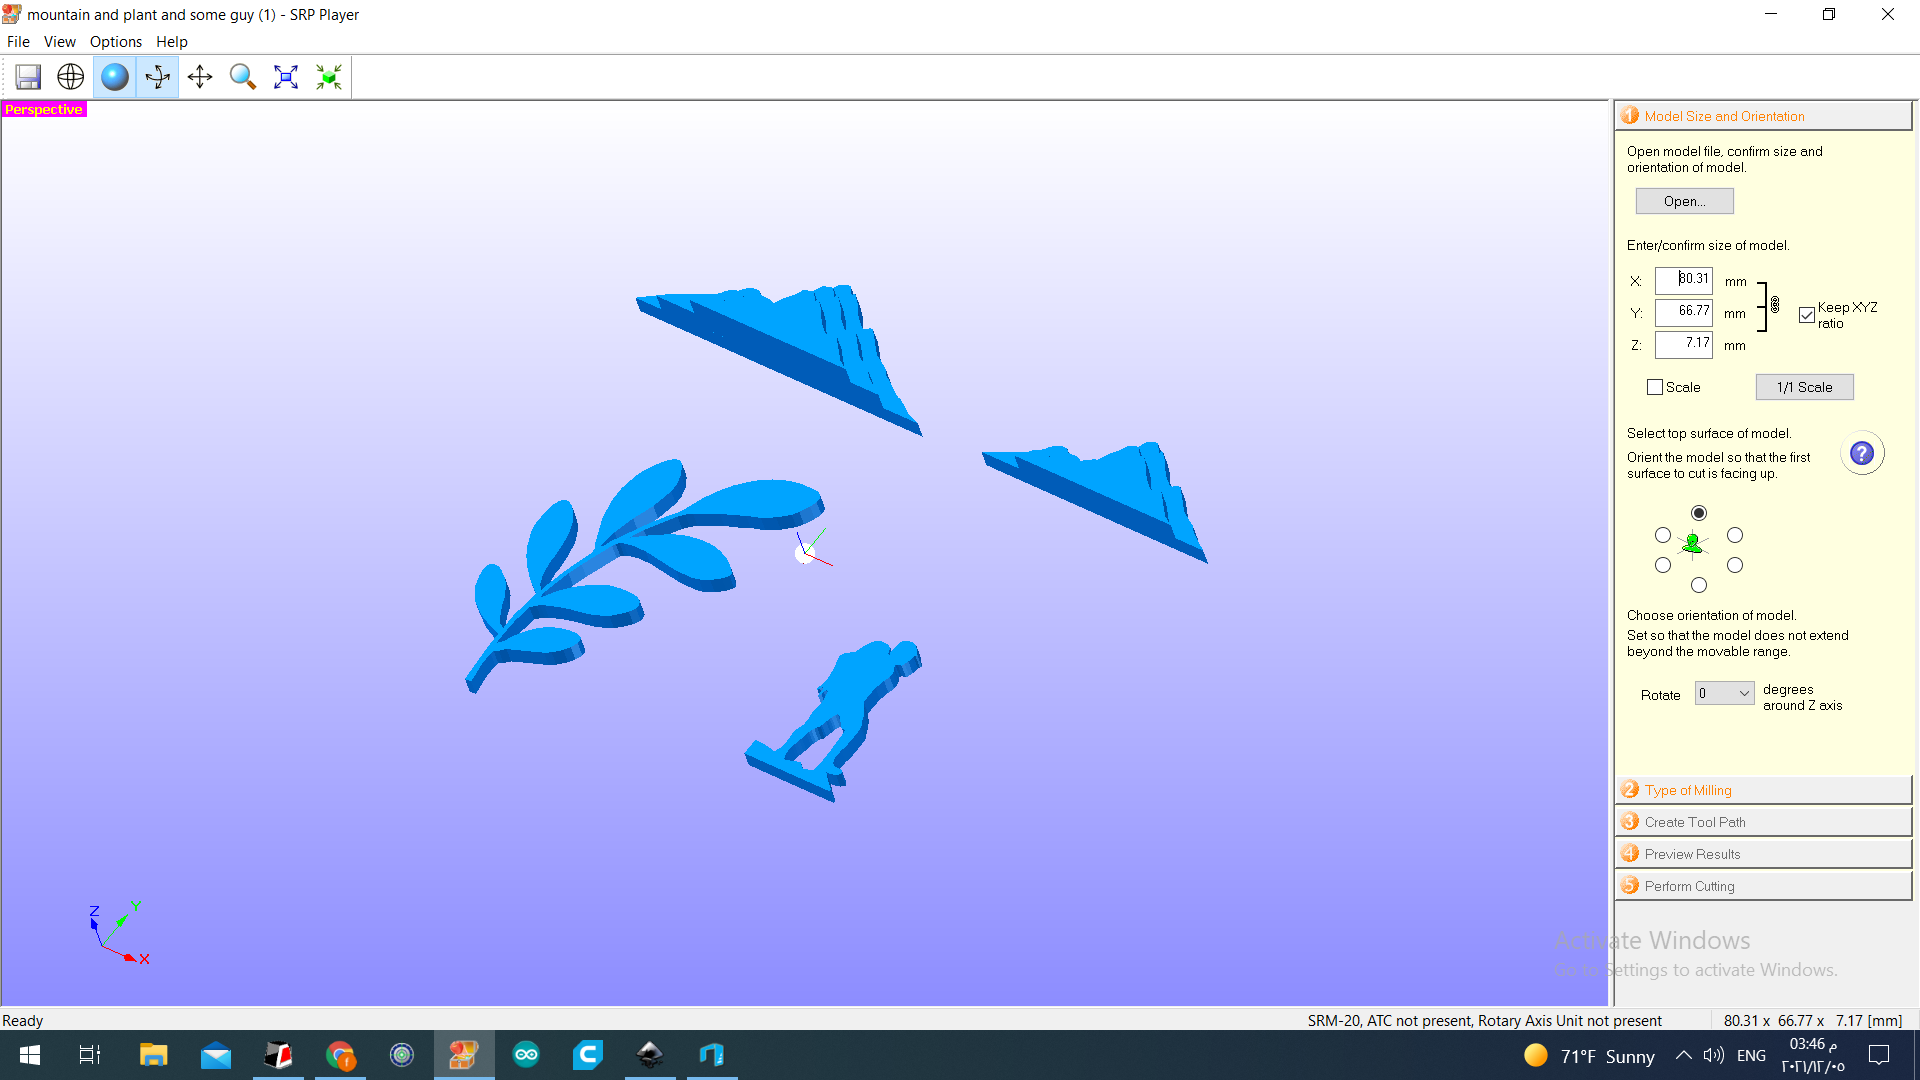
Then we moved to choose the type of millingv that wev need, we chose better surface finish instead of faster cutting time since our designs have a lot of small details.
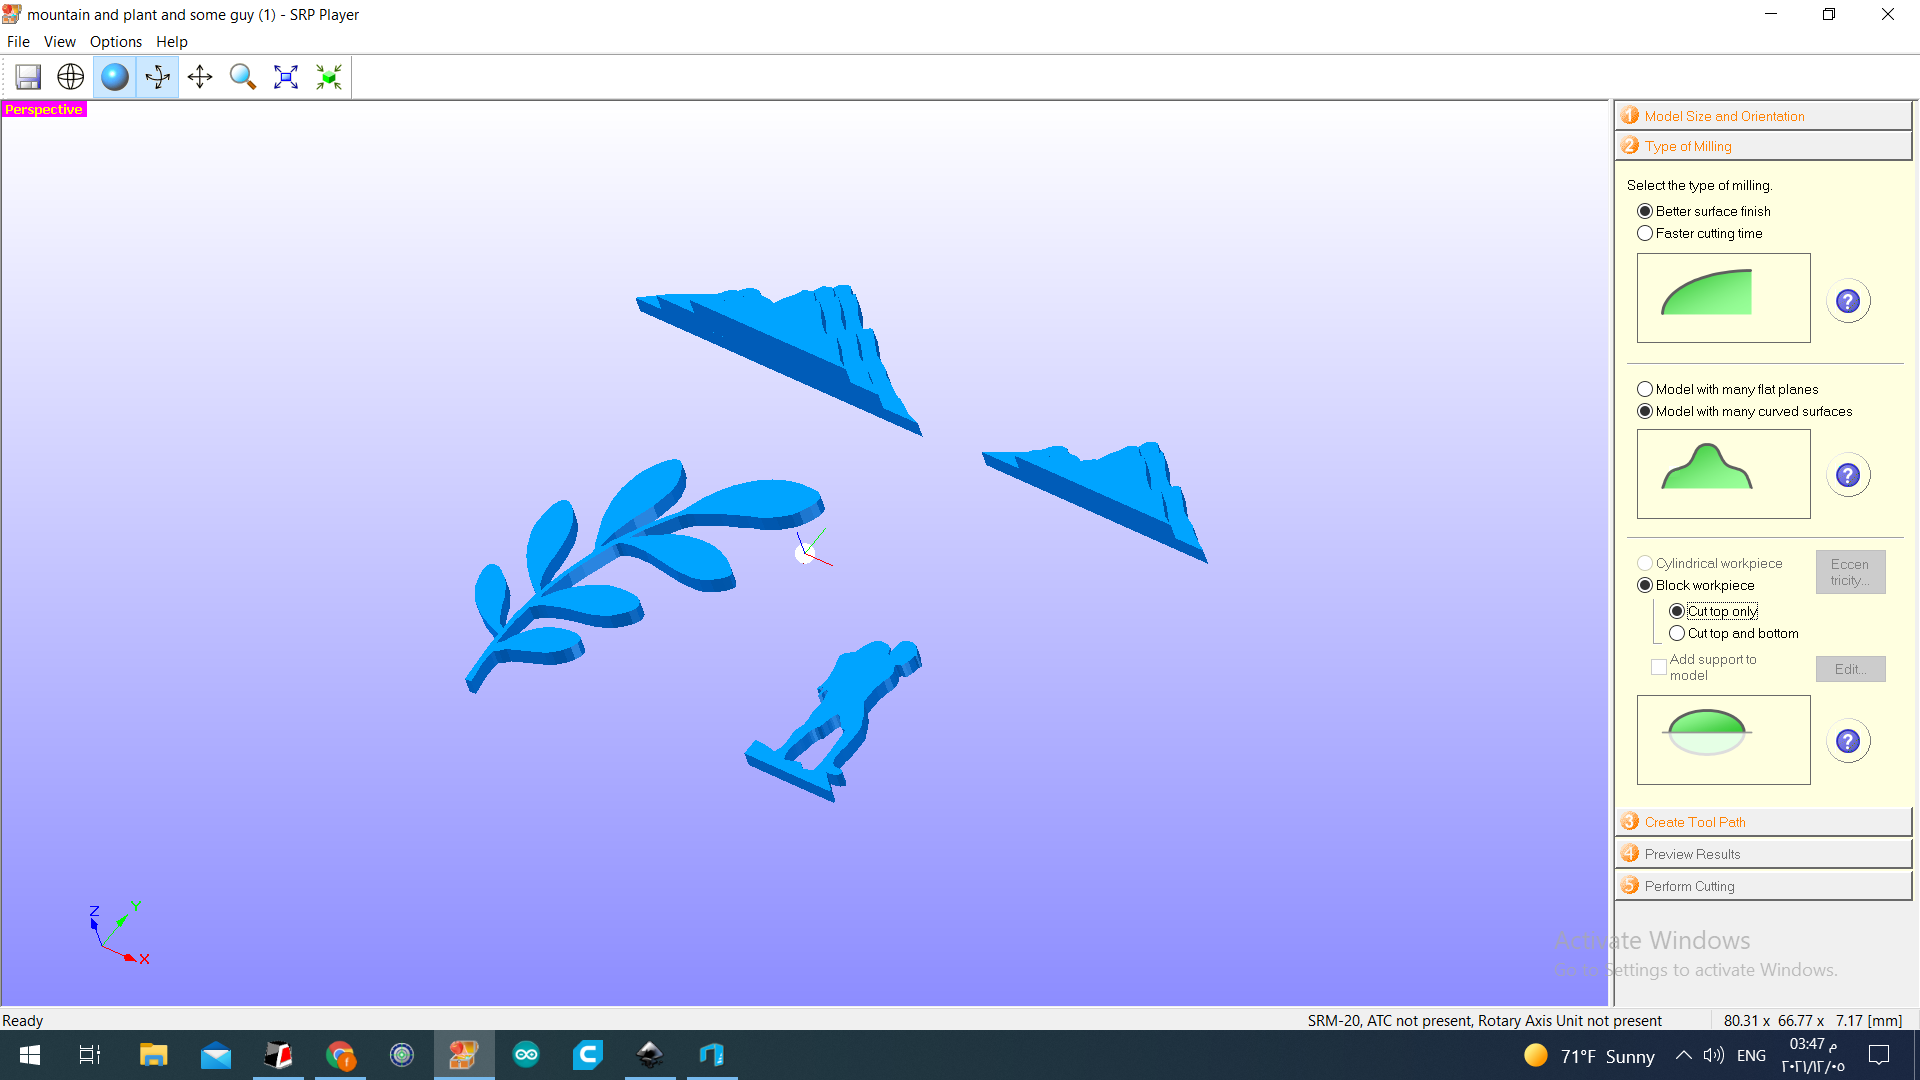
Then we had to choose the workplace material which is wax mould as i mentiond before
Gave an order to create a tool path, previewed the expected result and the cutting time.

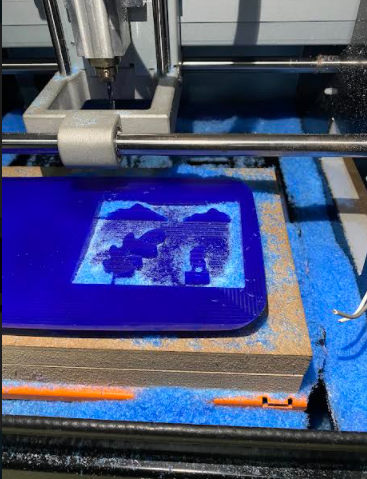
AANNND FINALLY WE STARTED THE CUTTING PROCESS

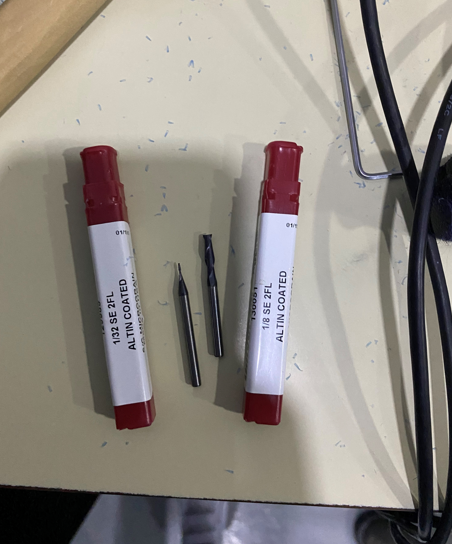
NOTE: We used 2 types of drill bits, 1/8” for roughing and 1/32” for finishing
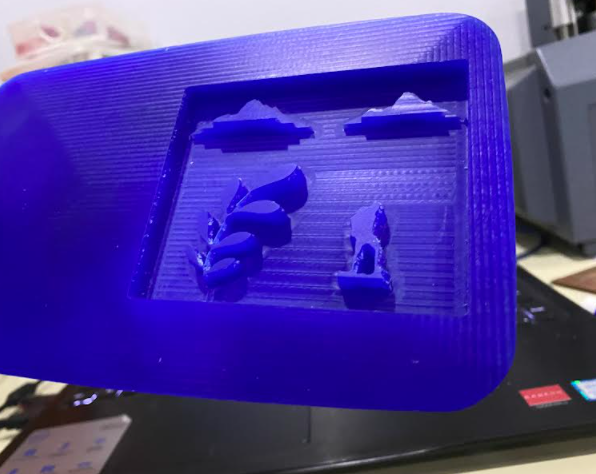
Now it is ready and we are prepared to move to moulding phase!!
Moulding phase
The first thing we did was pouring water into the positive wax mould to measure the amount of silicon we need to create the negative silicone mould
Second, we prepared our 1:1 silicon mixture and mixed it
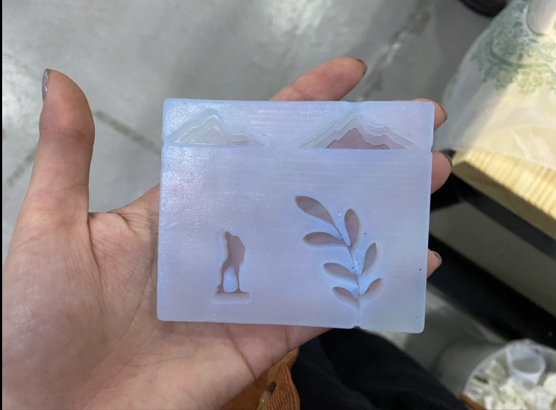
After that, we poured the mixture into the wax mould and left it to dry
After almost 24 hours, it was ready to be used
Casting phase
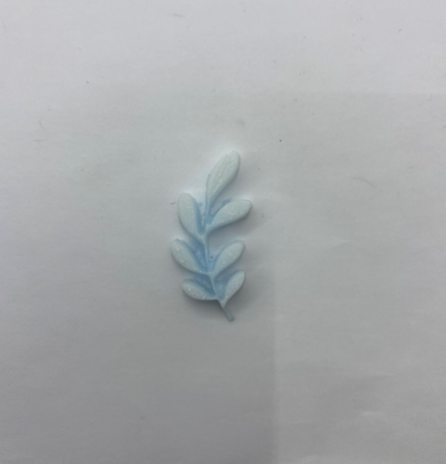
We prepared our resin epoxy mixture, mixed it for 3 minutes, added acrylic color to the mixture and poured it into the negative silicon mould
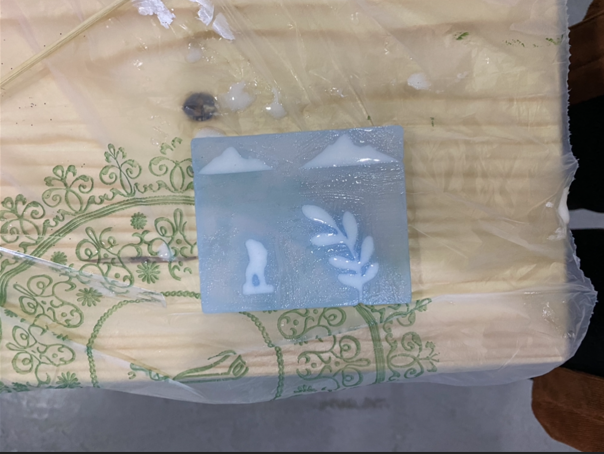
Tadaa!! here is the final result after another 24 hours
Problems
The negative silicon mould was little bit sticky and we think the reason behind that was not mixing the mixture very well before pouring it. Even though, we used it and it didn’t affect our final result at all.
Additional experiment
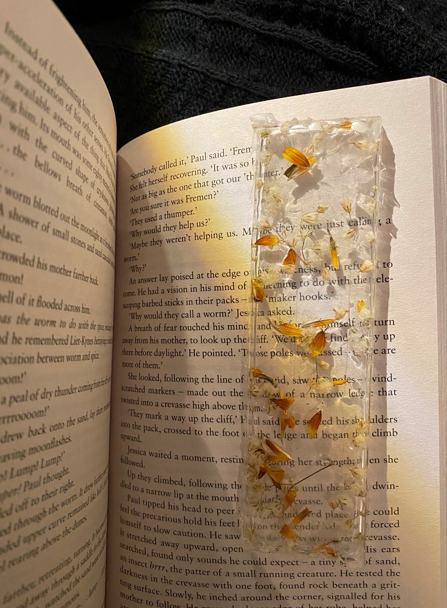
I wanted to create a resin bookmark with flower beatles because why not?
I created a box with cardboard and coverd it with a smooth sheet, put the beatles inside and poured the resin mixture above it.
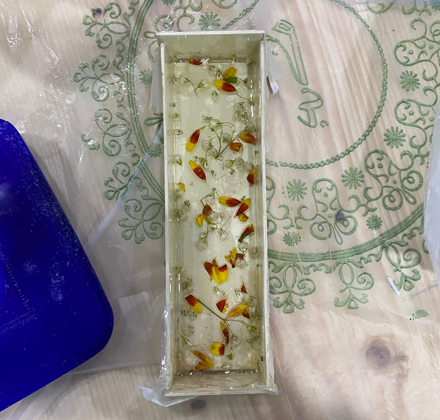
Result after 24 hours.