5. 3D printing and scanning
In this week, both 3D printing and 3D scanning concepts were introduced and whats the difference between both. the main aim and objective of this week is to learn more about 3D scanning and printing and how the process is for both, as well as, print a 3D object and Scan a 3D object.
1. Introduction
1.1 3D Scanning
3D laser scanning is a non-contact, non-destructive method that uses a line of laser light to digitally record the geometry of actual items. 3D laser scanners produce “point clouds” of data from an object’s surface. In other words, 3D laser scanning is a method of capturing the precise size and shape of a real object and transferring it to the computer as a digital 3-dimensional model.
To swiftly produce extremely precise point clouds, 3D laser scanners analyze small details and record free-form objects. 3D laser scanning is suitable for measuring and inspecting curved surfaces and complicated geometries that require large volumes of data for correct description and where using standard measurement methods like a touch probe would be impracticable.

1.2 3D Printing
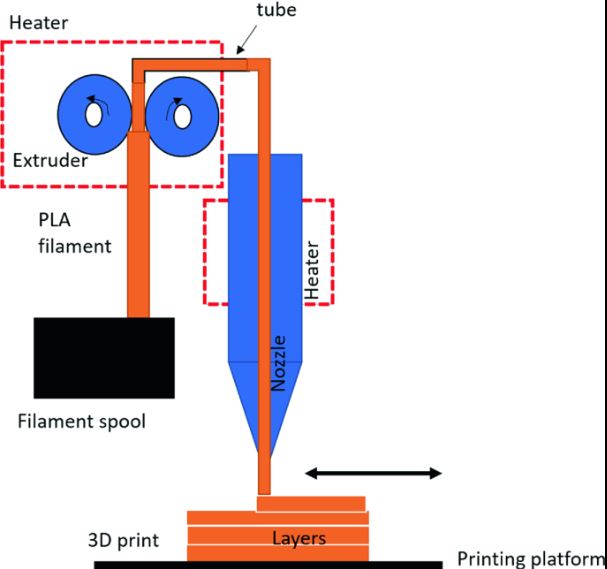
3D printers use CAD to build 3D items from various materials such as molten plastic or powders. 3D printers can range in size and shape from desk-top versions to enormous construction models used in the production of 3D-printed buildings. To construct the required product, 3D printers, which function similarly to standard 2D inkjet printers, utilize a layering approach. They operate from the bottom up, piling on layer after layer until the item is exactly as intended.
The filament passes through a extruder to heat the filament as it passes the tube and nozzle. however at the tip of the nozzle there is a coolant that works by ensuring the filament cools down to protect the layers from overheating and change in shape due to heating.
2. Group Assignment
During the group assignment we have been tasked to print a 3D object in 3 different 3D printer machines, however, the setting such as infill, speed, heat etc. should be the same for all 3 machines. the aim of this task is to determine which machine produces better quality 3D models, time frame it takes and other factors. You can find more about the group assignment and the final result by visit Basel’s website.
3. Individual Assignment
3.1 3D Printing
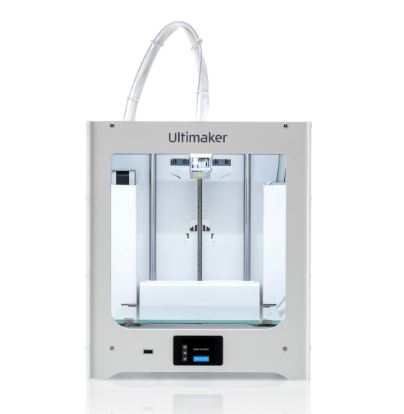
3D Printer (Ultimaker)
The 3D printing machine used is Ultimaker
-
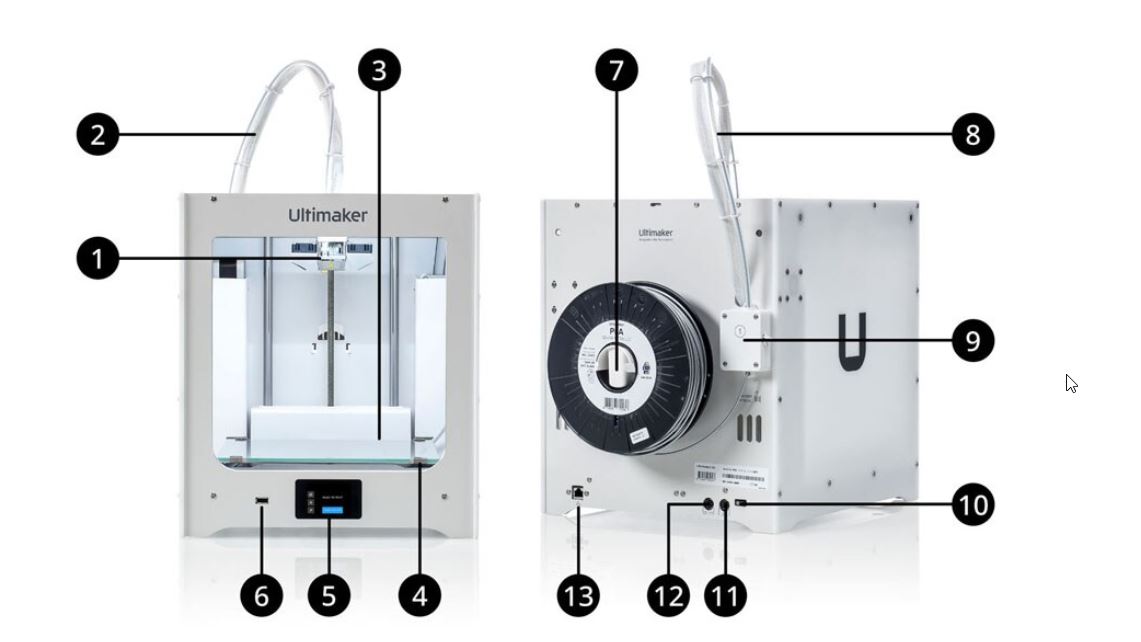
Print head The print head moves in the X and Y directions during printing and extrudes filament from the nozzle.
-
Print head cable The print head cable contains the wires for the heater, temperature sensor, and print head fans.
-
Build plate The Ultimaker 2+ Connect has a heated build platform with a glass build plate. The build plate (or ‘Z-stage’) moves down layer by layer during printing.
-
Build plate clamps The glass build plate is held in place with four clamps. The front two clamps can be opened to remove the glass plate.
-
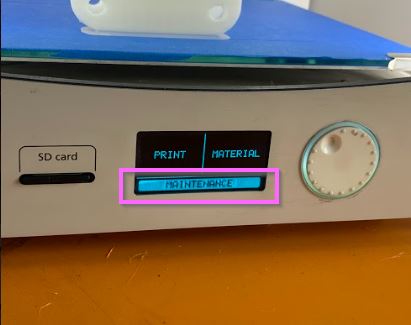
Display The intuitive touchscreen display can be used to navigate through menu options and displays information about your print.
-
USB port Insert a USB device for offline printing or to update the firmware.
-
Spool holder The material spool used for printing can be placed on the spool holder.
-
Bowden tube The Bowden tube guides the filament from the feeder to the print head.
-
Feeder The geared feeder reliably feeds material to the print head. The lever on the side can easily be opened for material loading and unloading.
-
On/Off button Use this button to power your Ultimaker 2+ Connect on or off.
-
OUT port This port can be used to connect the Ultimaker 2+ Connect Air Manager.
-
Power socket Connect the cable of the power adapter to this port. Ensure that the flat side of the power cable is facing down.
-
Ethernet port Connect your printer to the network by inserting an Ethernet cable into this port.
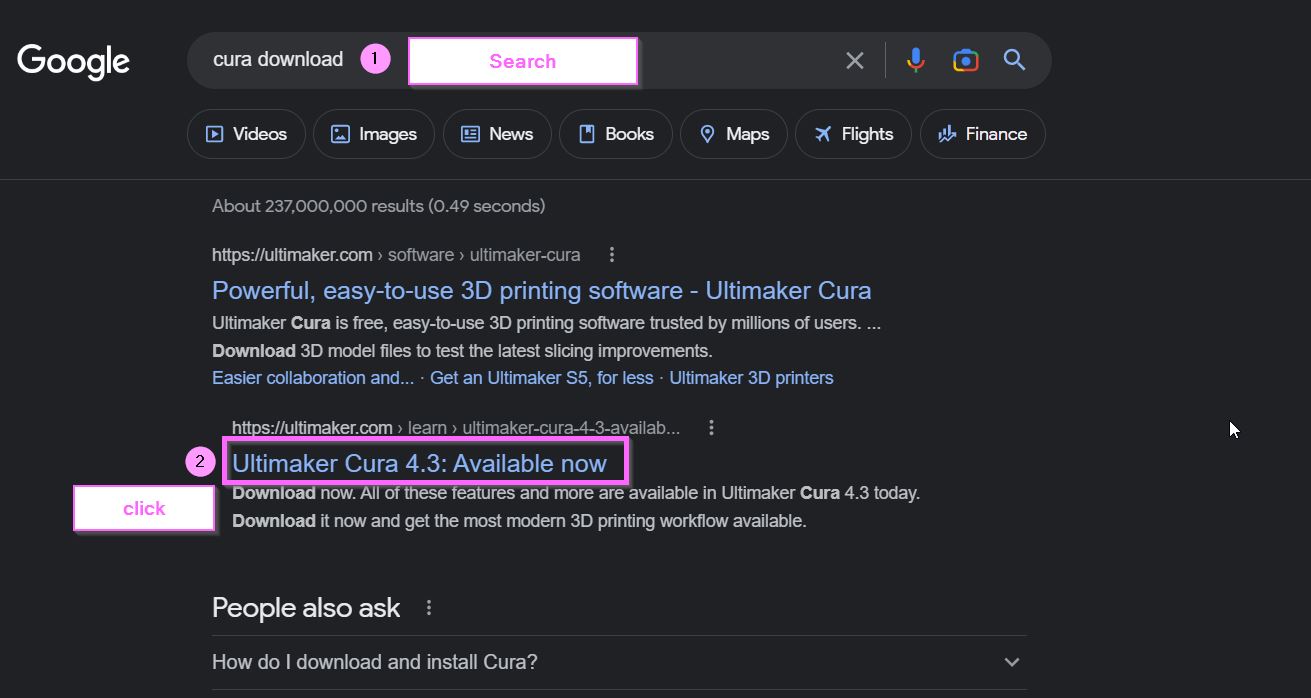
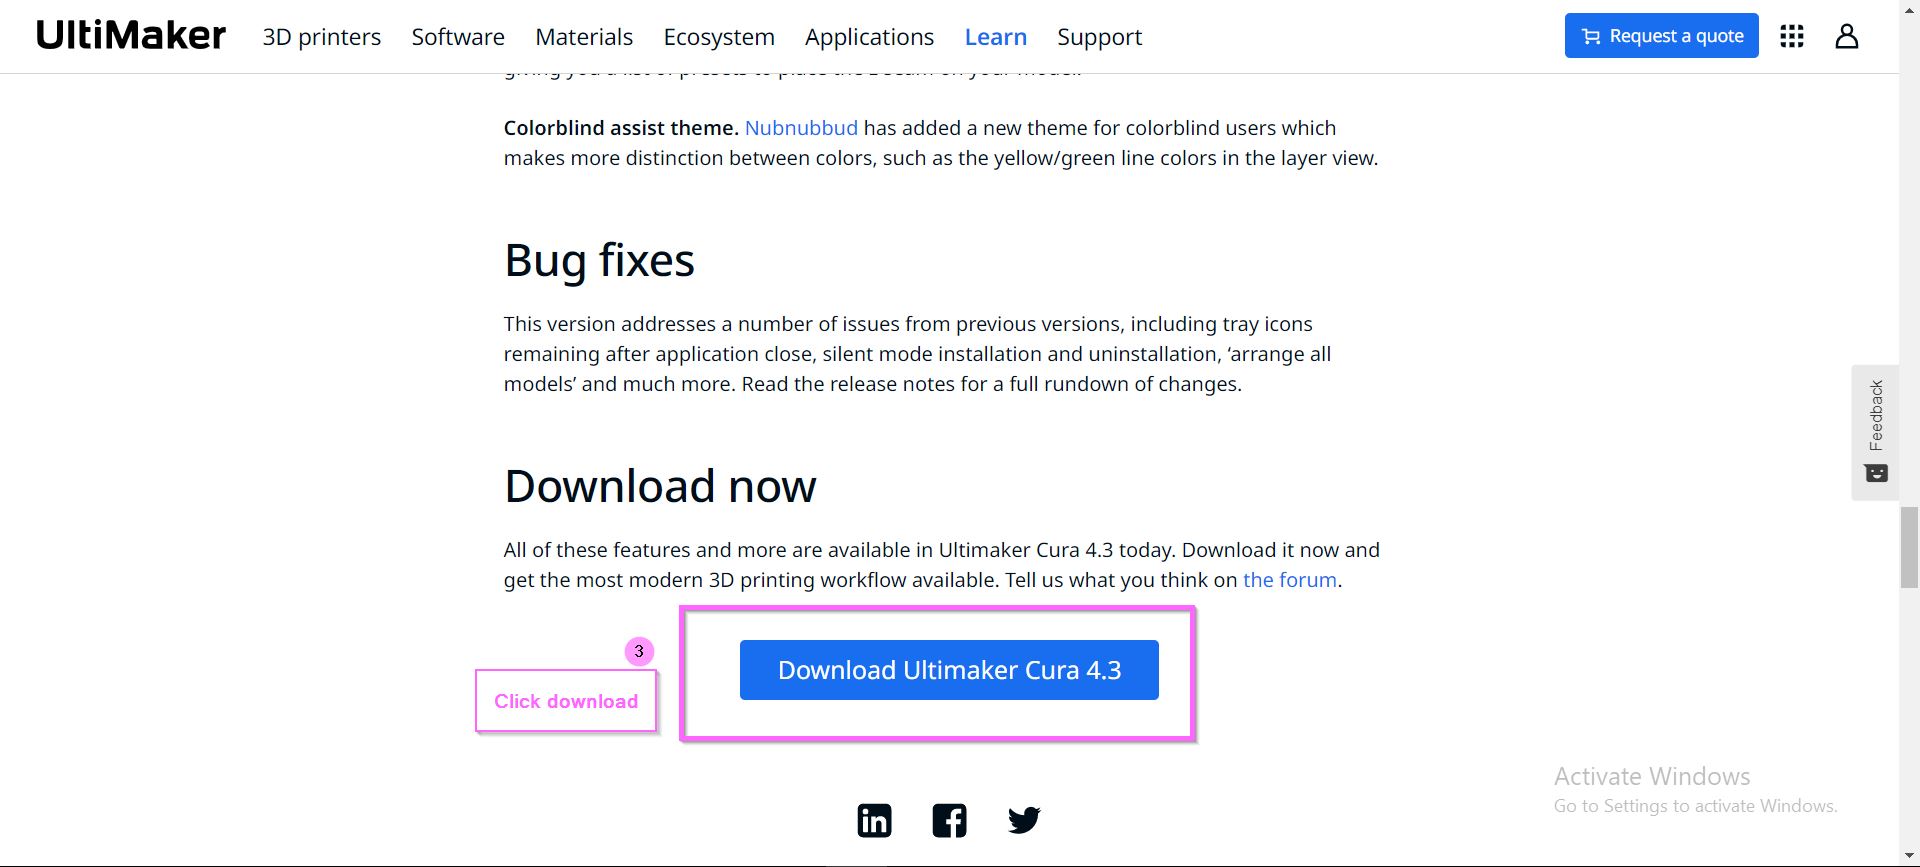
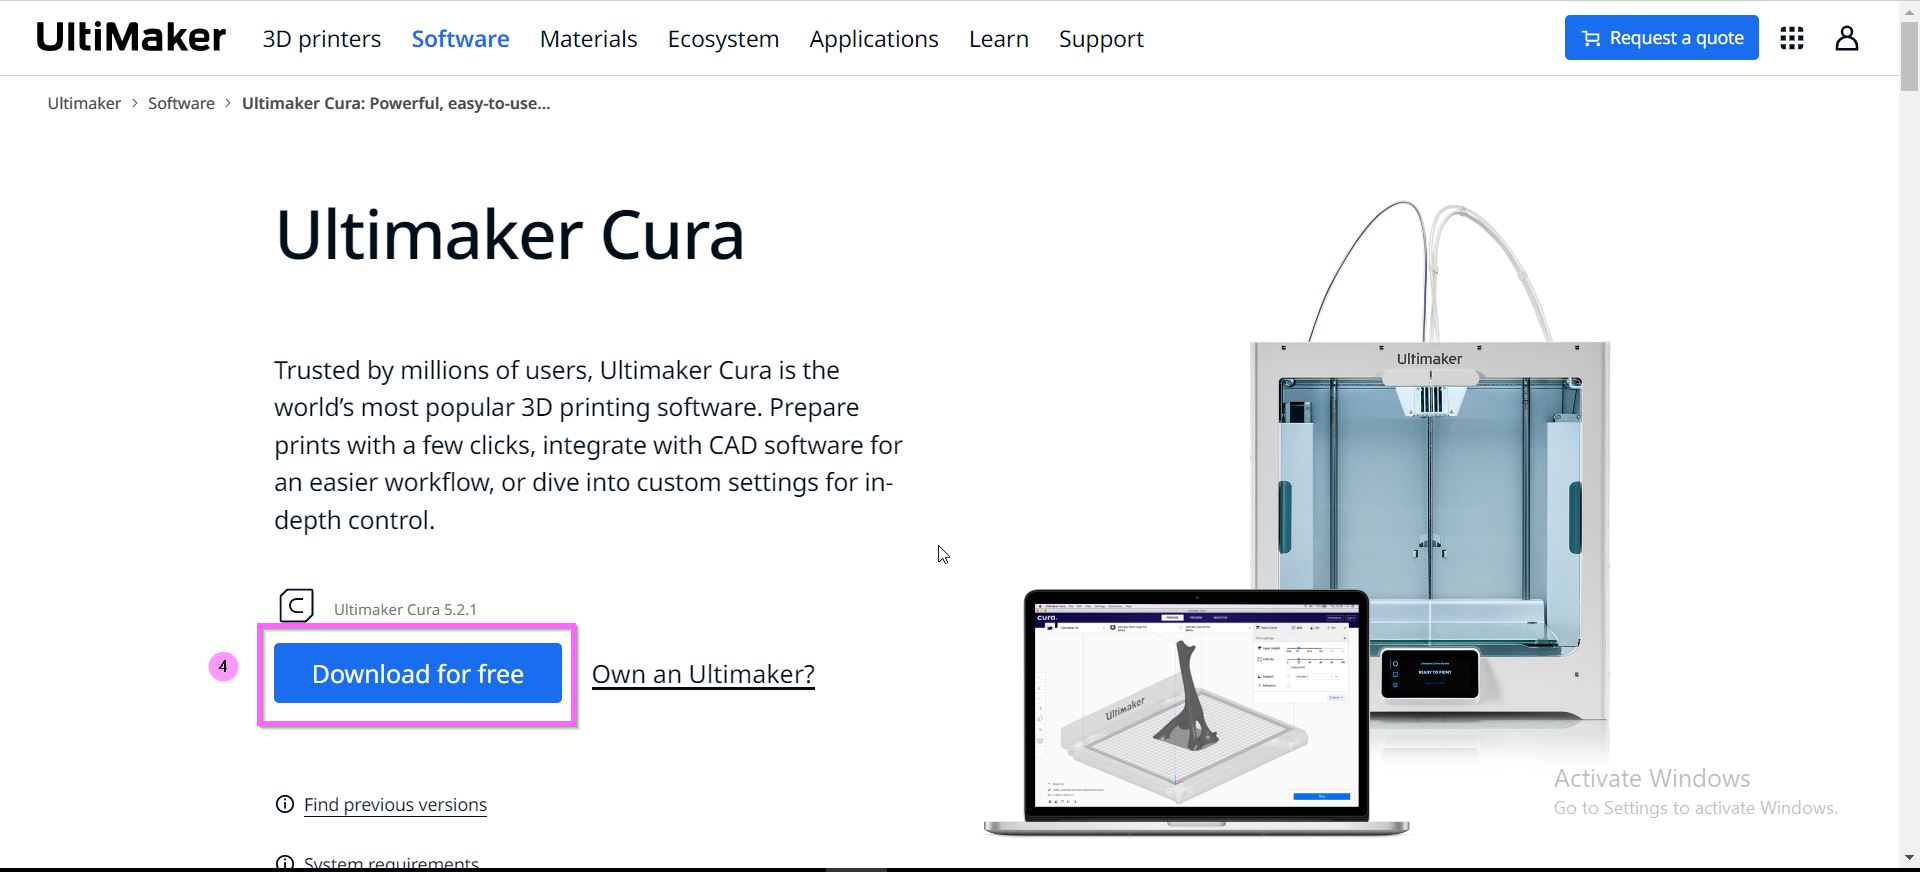
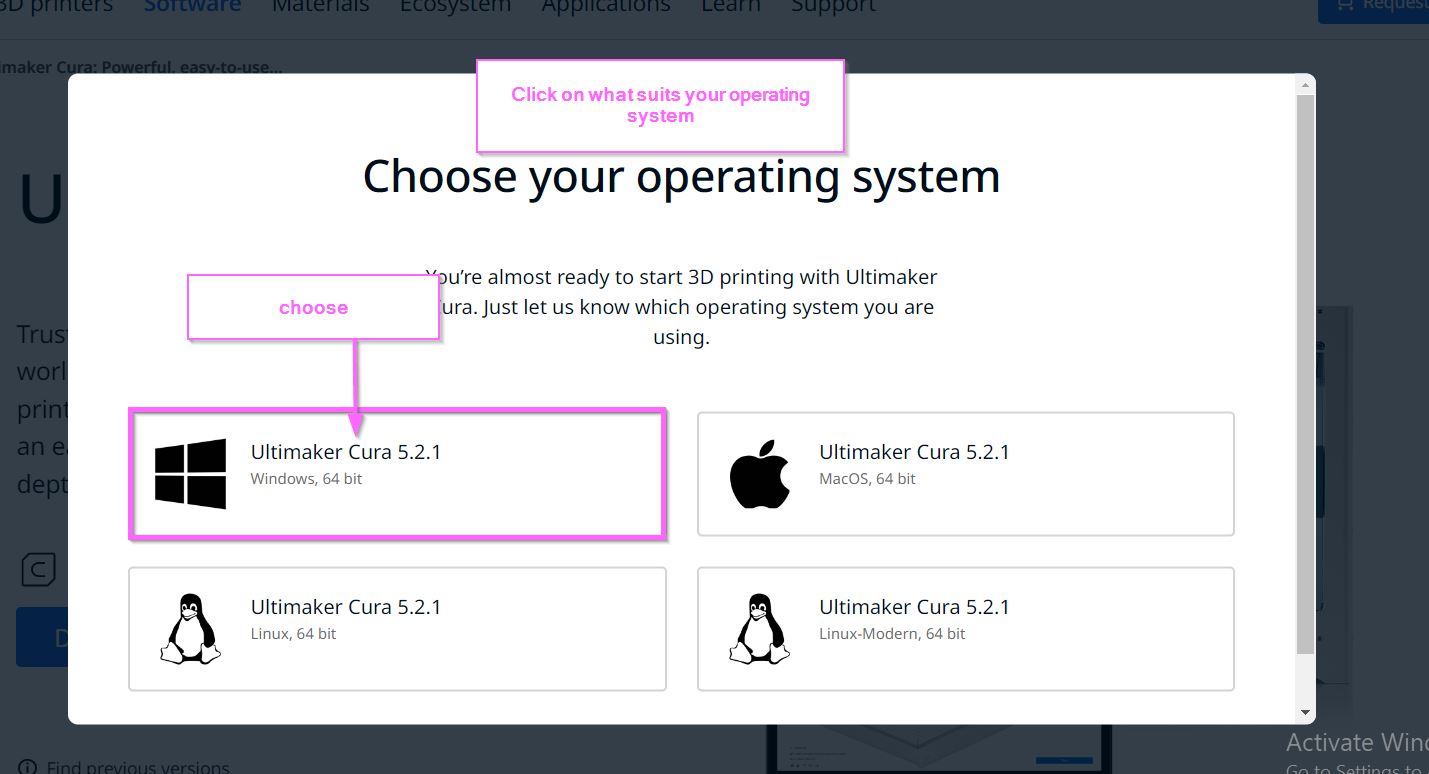
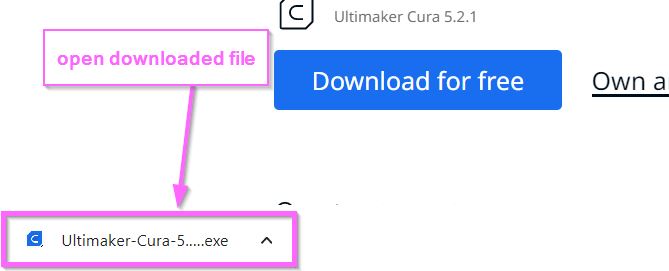
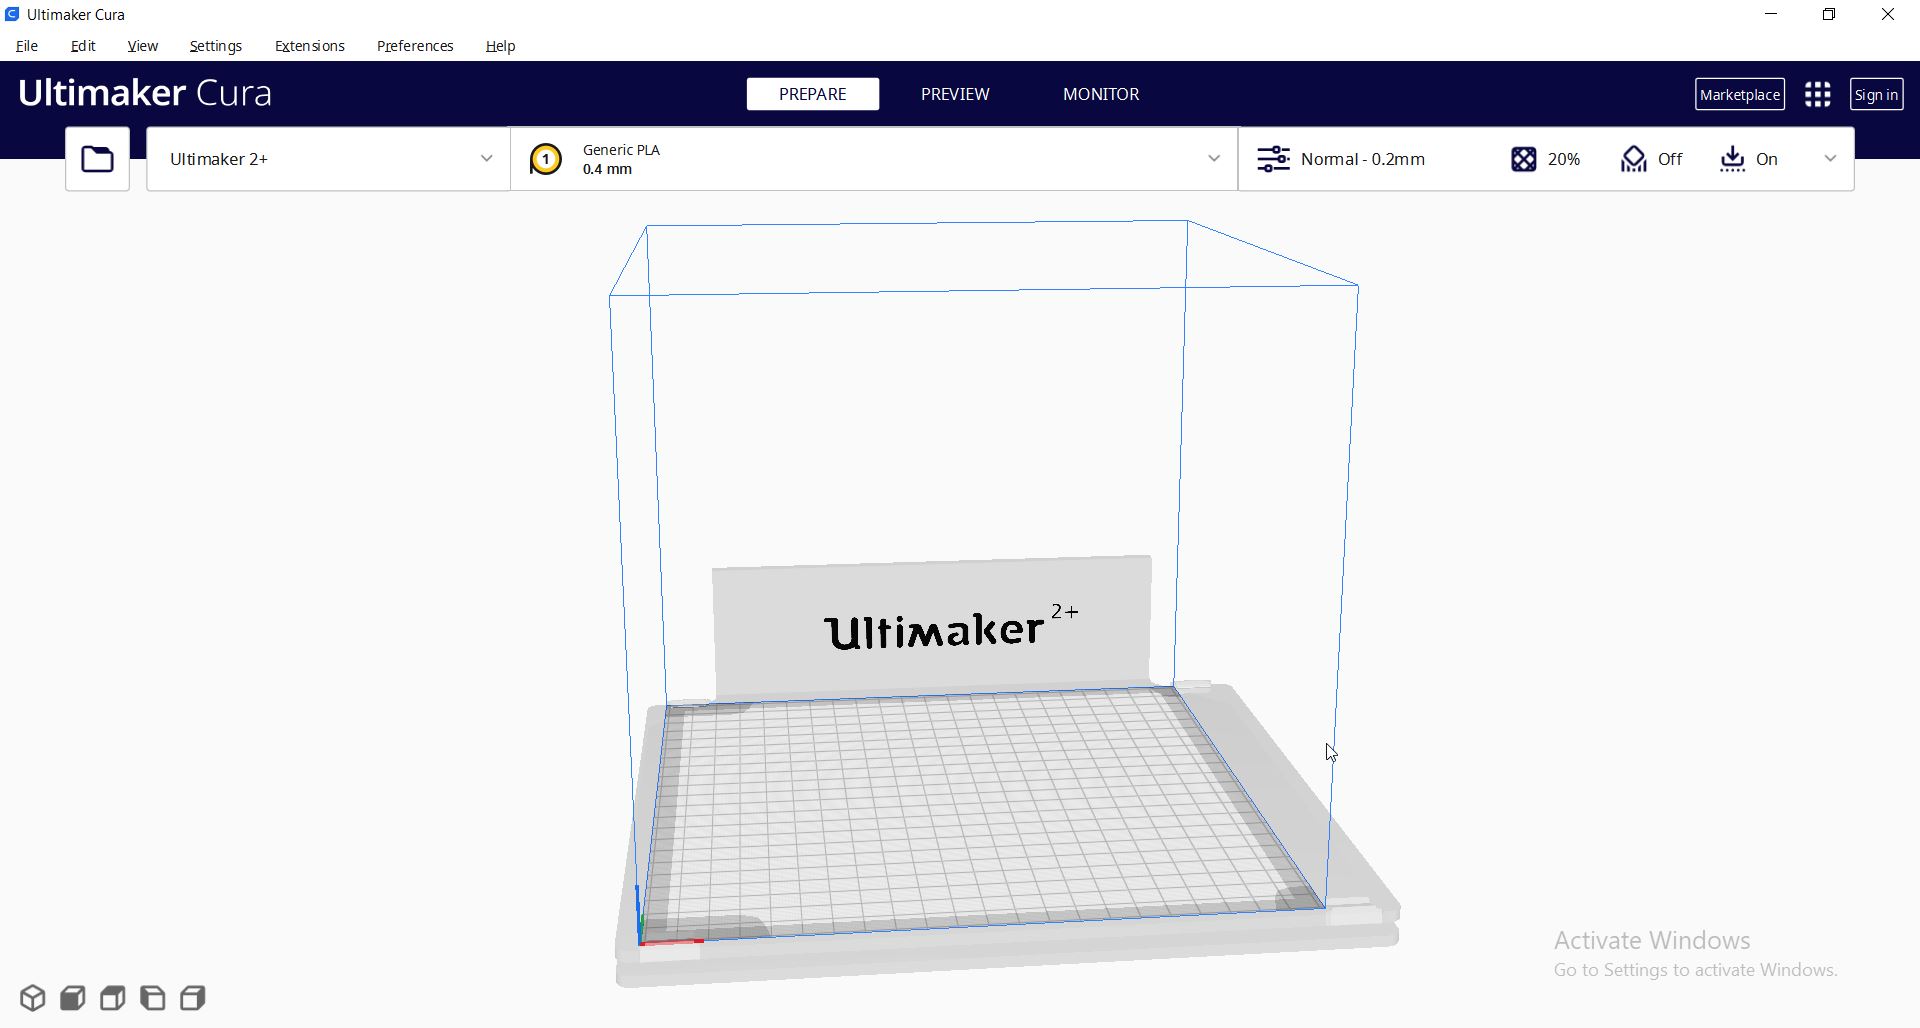
Download Cura
3D Printing Process
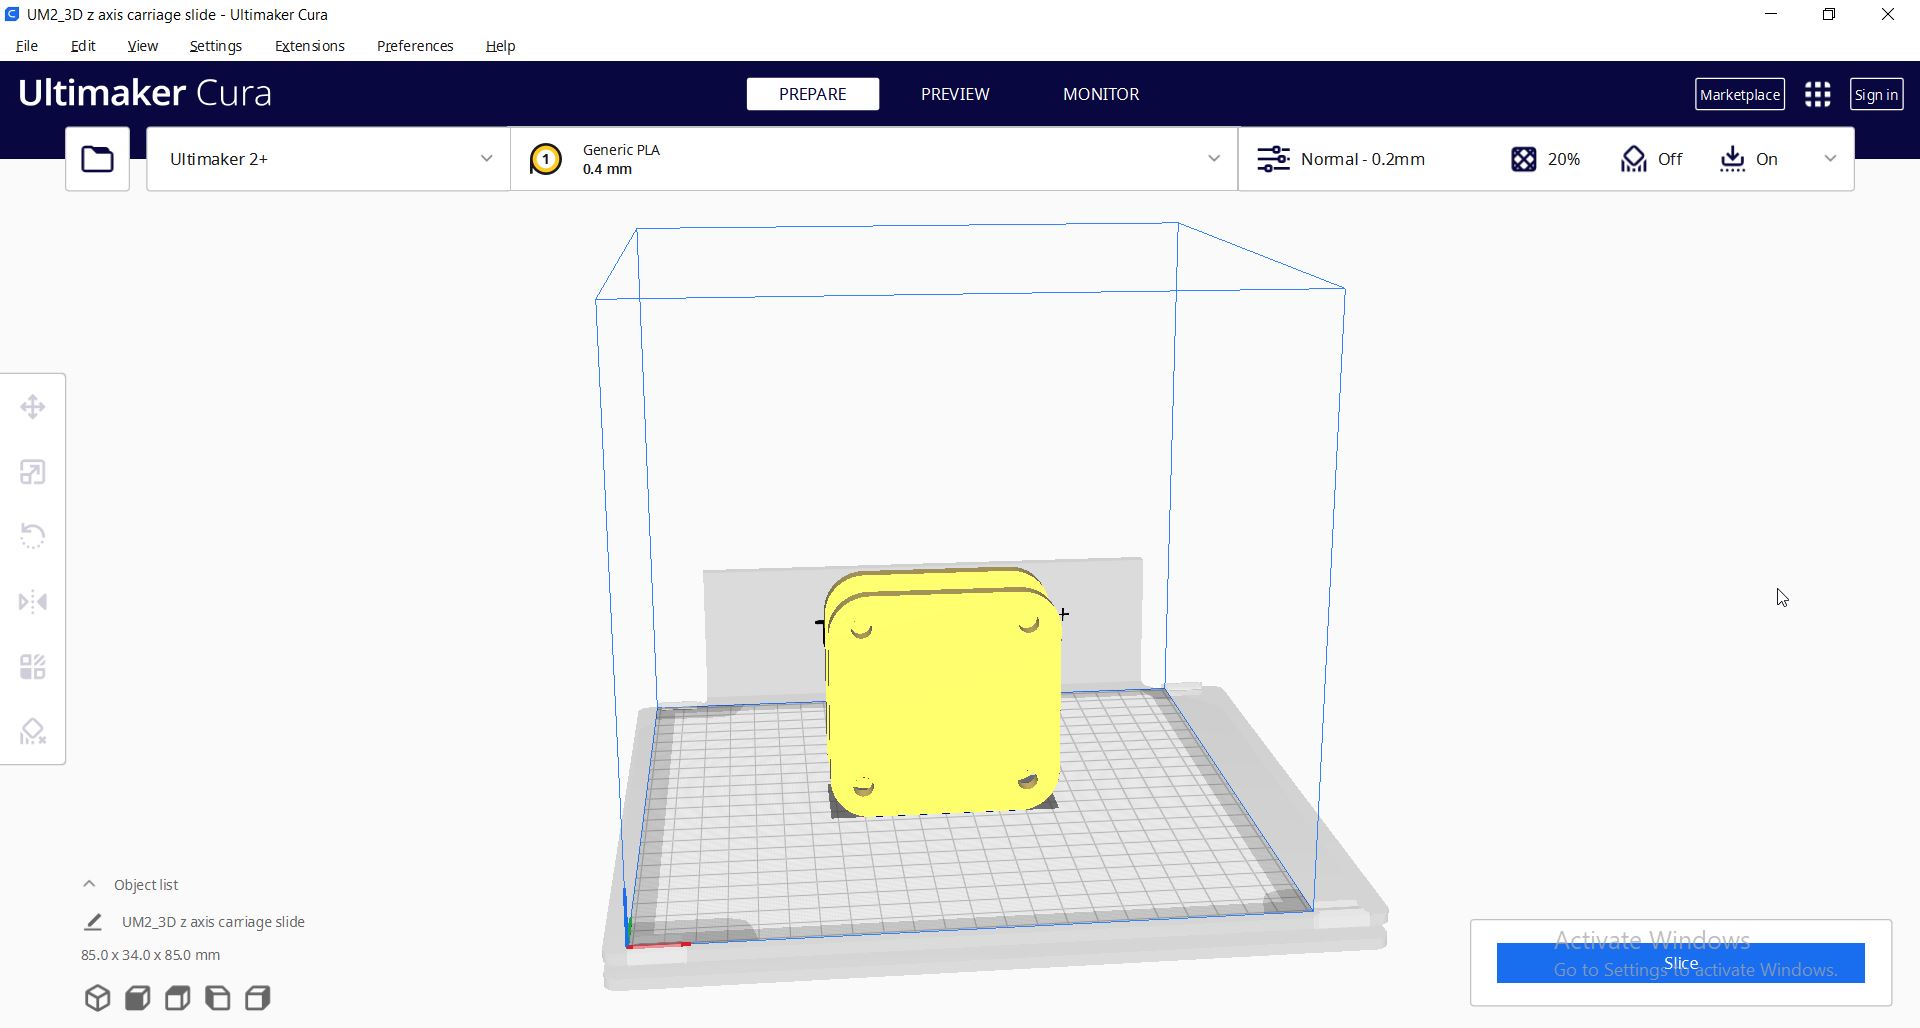
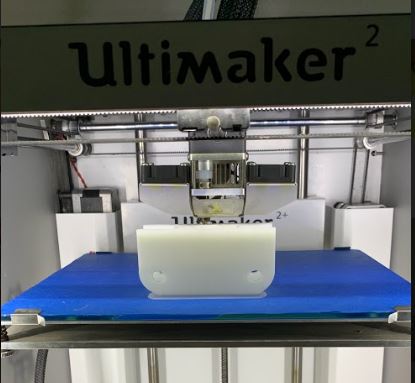
Front View The process of building the 3D module, over here it was half way done.
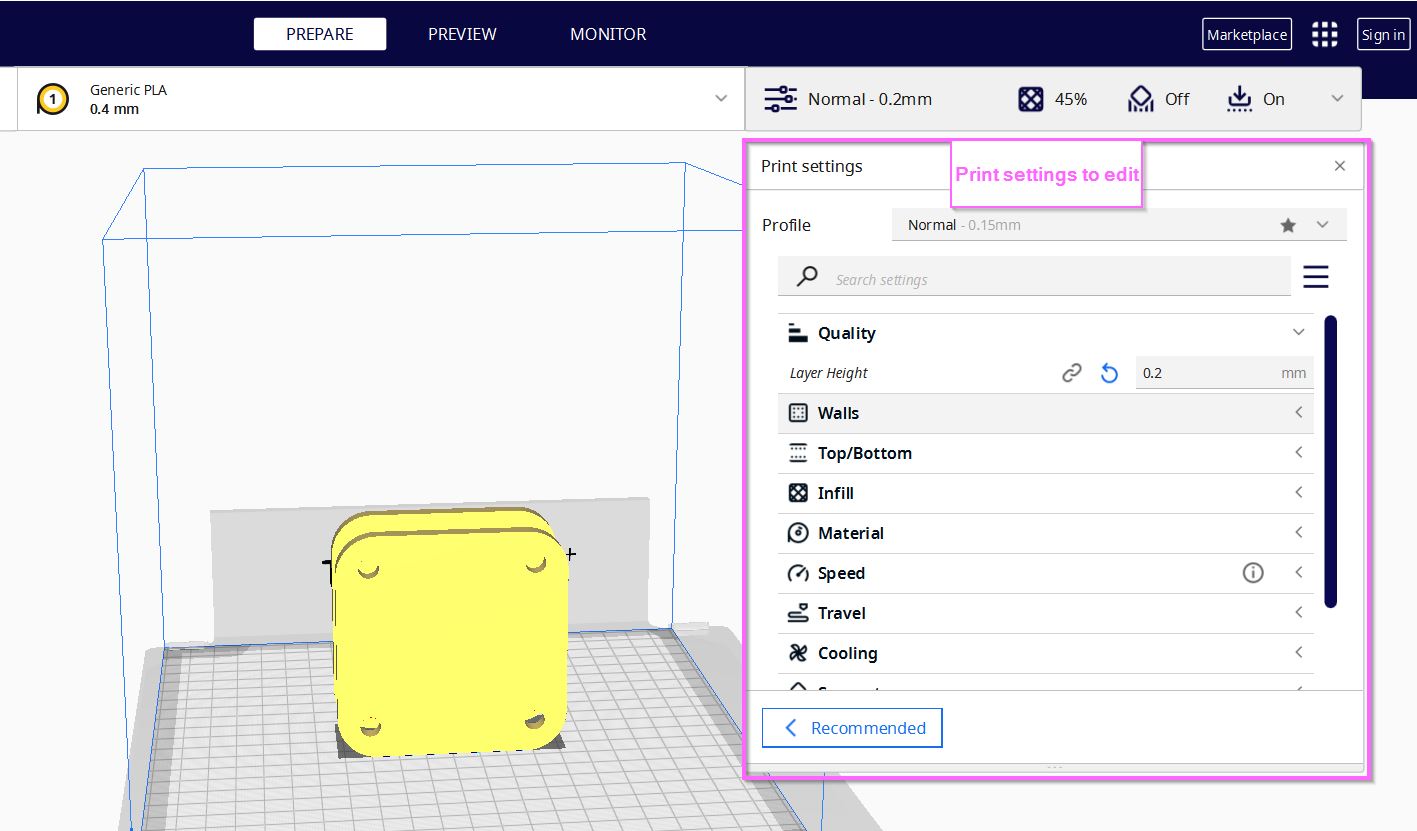
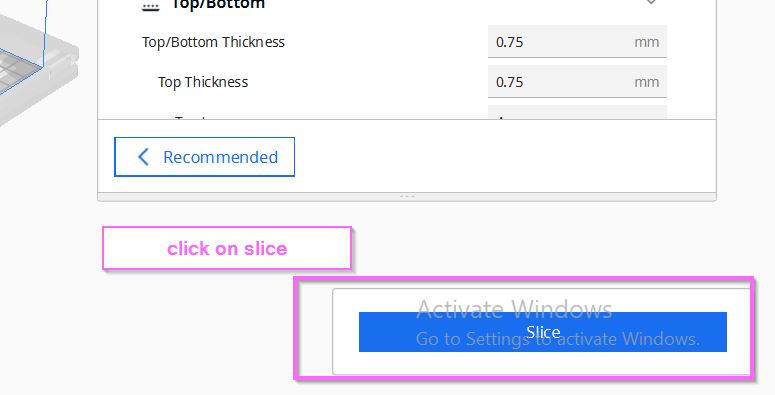
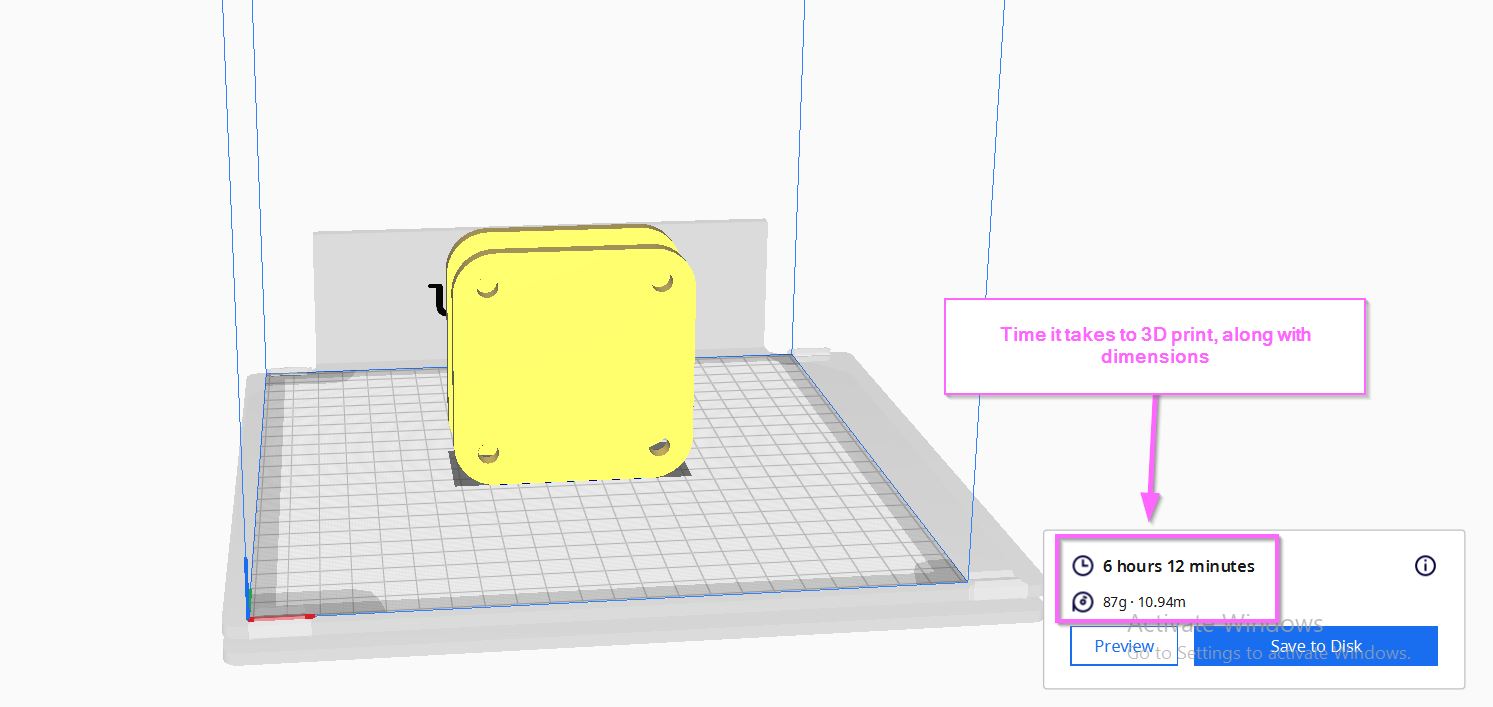
Top View half way through the process of printing, you can see the infillment which was set at 45%
Video of the 3D printer process.
The final Result of 3D printing

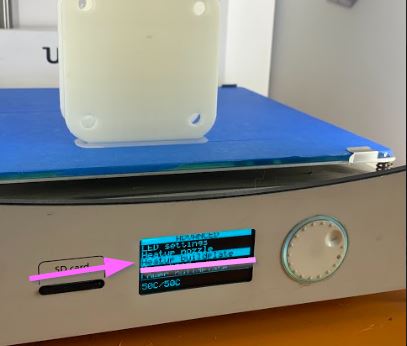
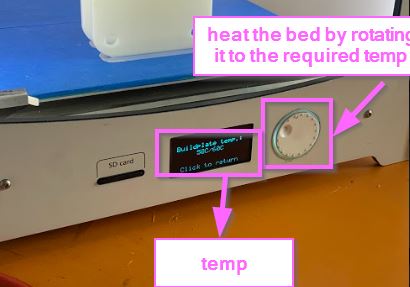
Heating Bed Process in order to be able to easily remove the 3D module without damaging or breaking it

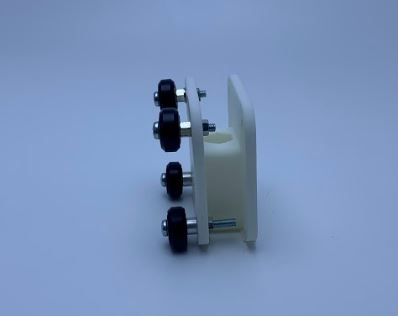
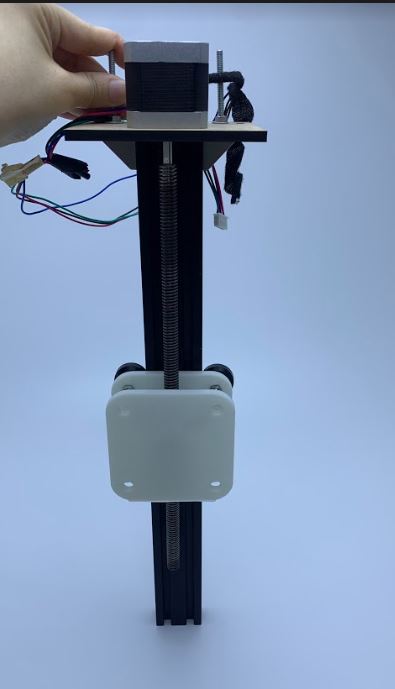
Side view Final Result after installing the wheels
Top View of the final result
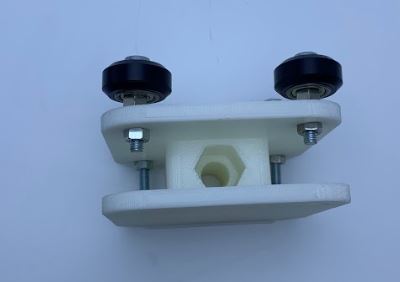
Final result being installed with the entire other components, the design was a success as it was the first prototype

The design tutorial using Fusion 360 includes all the steps of the design
3.2 3D Scanning
For the 3D scanning, i have managed to use 2 different scanning applications Trnio Plus 3D scanner (Mobile app) and Skanect (Pc app). The steps and results for both will be discussed furthermore.
3.2.1 Skanect
During the 3D scanning, the entire class toke turns scanning themselves using the Xbox one camera. I personally found that skanect was easier to operate and use as it consumed less time to scan.
Scanning through Skanect steps :
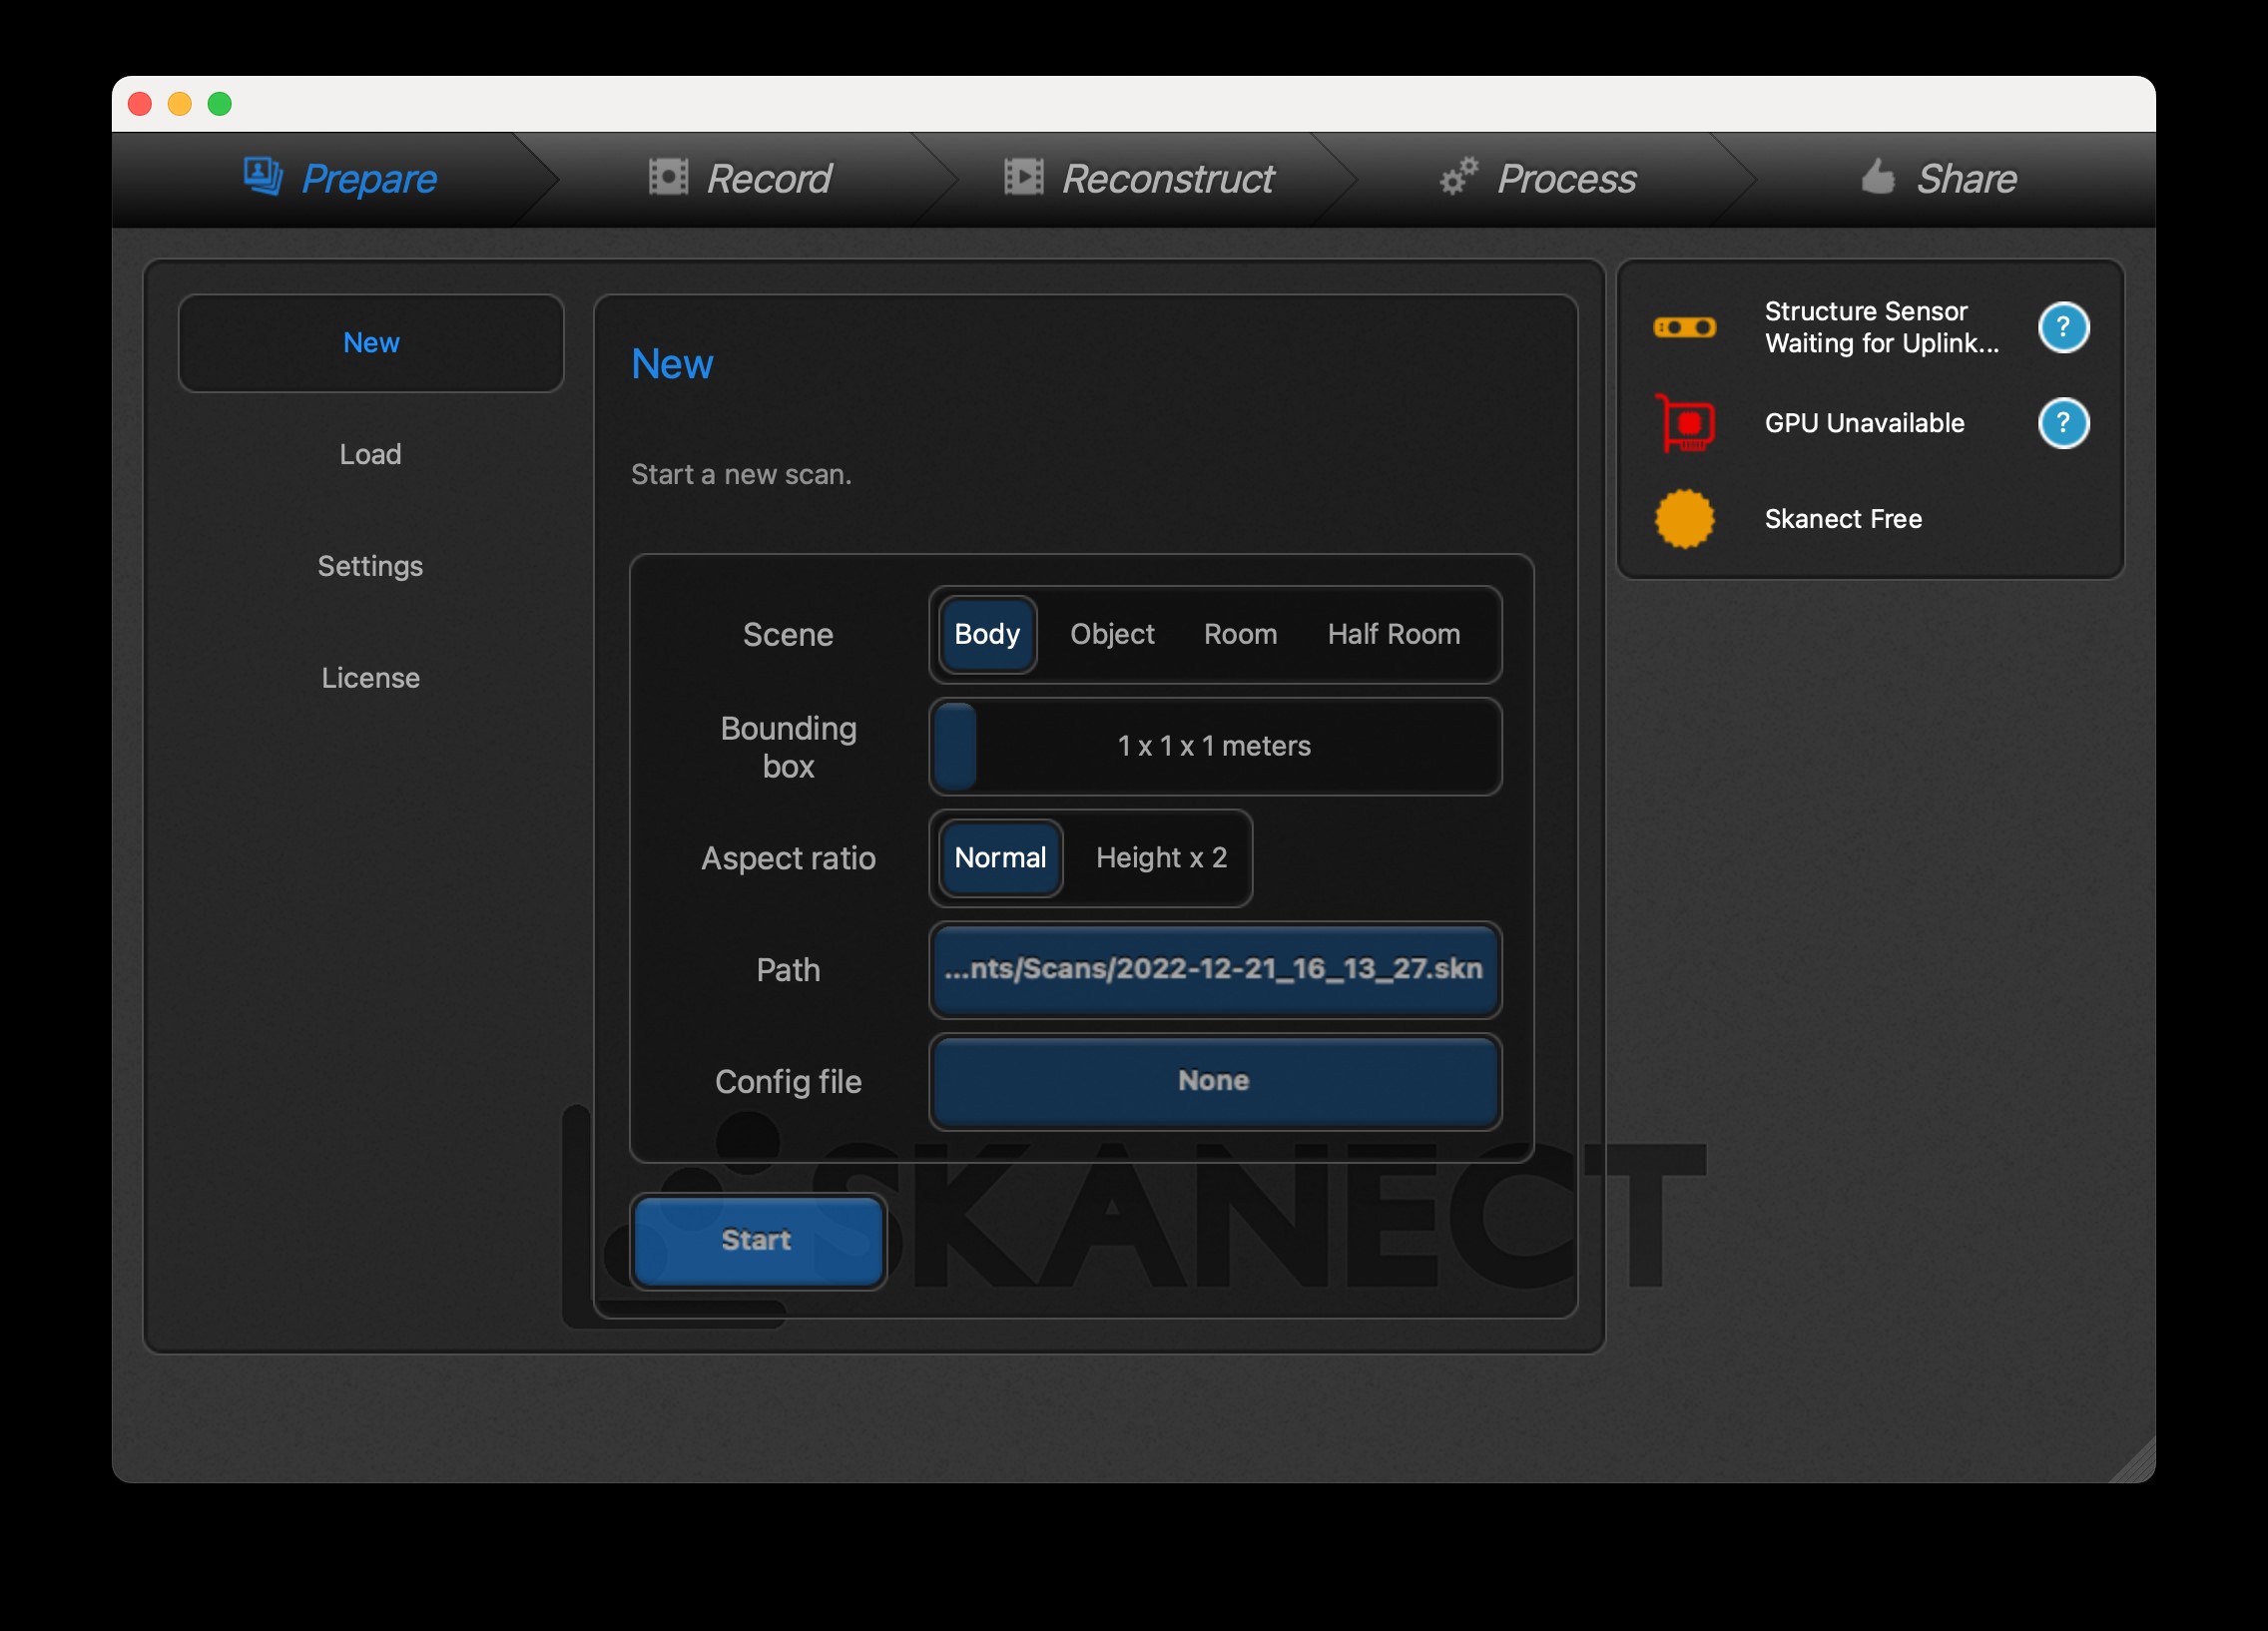
1. Downlaod Skanect2. Open a new folder in Skanect, Adjust the camera accordingly to where a green shadow highlights the person
3. Proceed to record the scanning by pressing the space at the start and end, while the person slowly and carefully rotates.
4. Once the recording is done, the scan of the person will show up after some time
5. Some holes in the scanning might form, therefore use Process > Geometry > Fill holes > closed Hull > then run
6. To view the scan with color, Process > color > Remove color
7. Click on share > export file in STL form
Creating the folder at the beginning to start the scanning
The scanning process

The after scanning process

Filling the holes that appear on the scanning

Saving the file as Stl

3.2.2 Trnio
Trnio plus 3D sacnning application, was easy to navigate through however, it consumed a lot of time scanning each object and any slight changes or movements in the object or camera angle could ruin the entire scan, resultin in repeating the scanning process from the beginning. nonetheless, the quality of the scanning was way better than that of skanect where it was able to detect and scan the tiniest details. the only issue is process of scanning is time consuming.
Scanning through Trnio steps :
1. Downlaod Trnio Plus 3D scanning from app store or google store2. once you open the app, sign in by creating an account
3. at the start of the app, click on the plus sign **+** at the top left side > Click AR Capture to start scanning
4. start scanning by moving around the object slowly and steadily while making sure the dots are forming around the object
5. once the entire object is fully scanned the app will direct you to the processing step where it will take few minutes to be complete
6. once processing is complete > save as stl file


To view the 3D scan of the car click on the link