3. 3D printing and scanning
3D printing or additive manufacturing is the construction of a three-dimensional object from a CAD model or a digital 3D model. It can be done in a variety of processes in which material is deposited, joined or solidified under computer control, with material being added together (such as plastics, liquids or powder grains being fused), typically layer by layer. read more
Group assignment
Cura (Software)

Ultimaker Cura works by slicing the user’s model file into layers and generating a printer-specific g-code. Once finished, the g-code can be sent to the printer for the manufacture of the physical object.
procedure
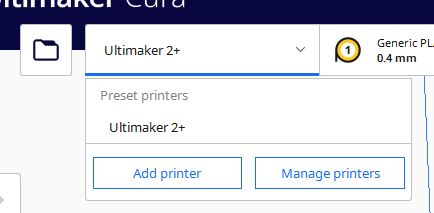
first after downloading cura software, so at the beginning I choose the printer type
after that I can put the 3D designs that I want to print and choose the printing setting
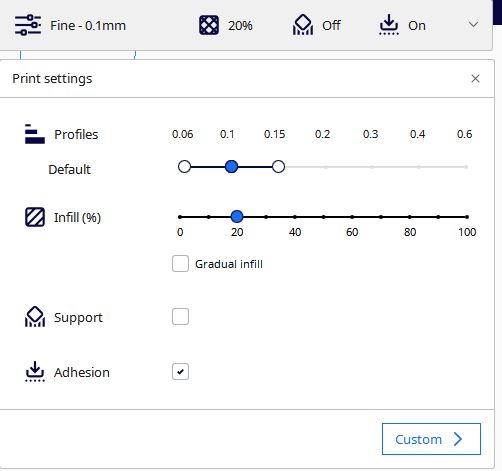
the layer height thickness the less height is chosen the more the 3d design will be finer and more precise. infill setting to decide how much material is filled inside the design that is to be printed. A good fill value is around 25% but if you want a stronger design you’re going to choose a higher percentage.
Designing
for the 3D printing design I used openscad to design a brick toy. - So I followed this tutorial to make my own brick toy - After that I export it as stl file. - Here is the Design
$fn=25;
//body
text1 = ["B","R","I","C"];
difference(){
    cube([31.8,15.80,9.60]);
translate([1.45,1.45])
    cube([28.9,12.9,8.60]);
}


translate([3.90,3.90])
for(j= [0:1]){
        for(i = [0:3]){
         translate([i*8,j*8,9.60]){
         cylinder(h=1.80,r=2.42);

        translate([0,0,1.8])
        linear_extrude(.4)
        text(text1[i], .8,halign="center",valign="center");

}}}
translate([7.90,7.90])
for(k = [0:2]){
translate([k*8,0])
    difference(){
        cylinder(h=8.6,r=3.25);
        cylinder(h=8.6,r=2.4);
    }
}
3D printing process
-
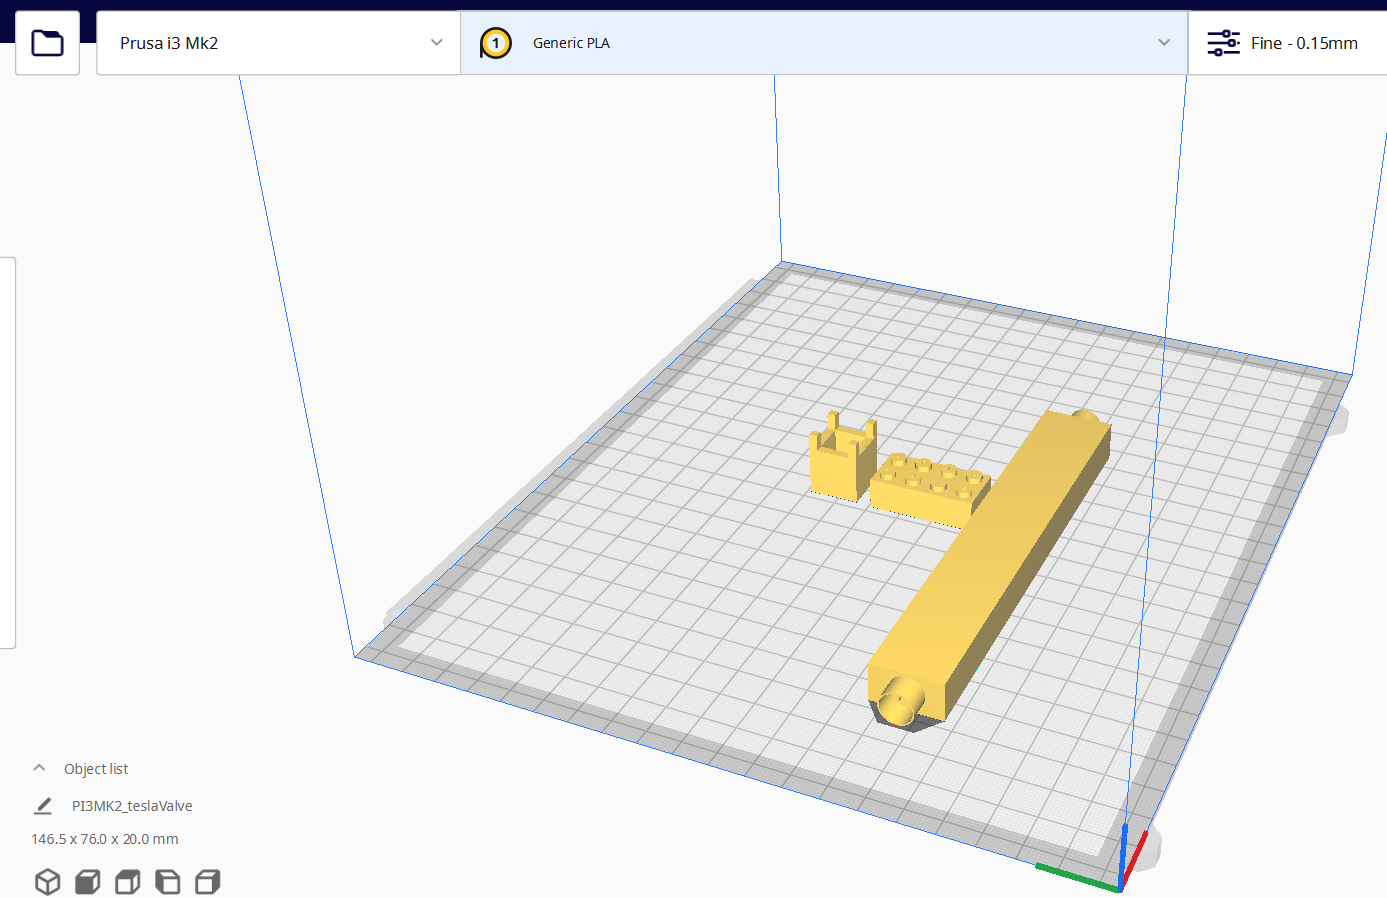
so we first uploaded all the designs we want to 3D print in the Cura software mine is the brick toy obviously.
-
secondly we decided the setting we will use in the 3D printer:
- layer height: 0.15mm (note we can go higher in prusa i3 mk2 printer)
- Infill percentage : 25%
- Generic PLA
- now time for slice the designs
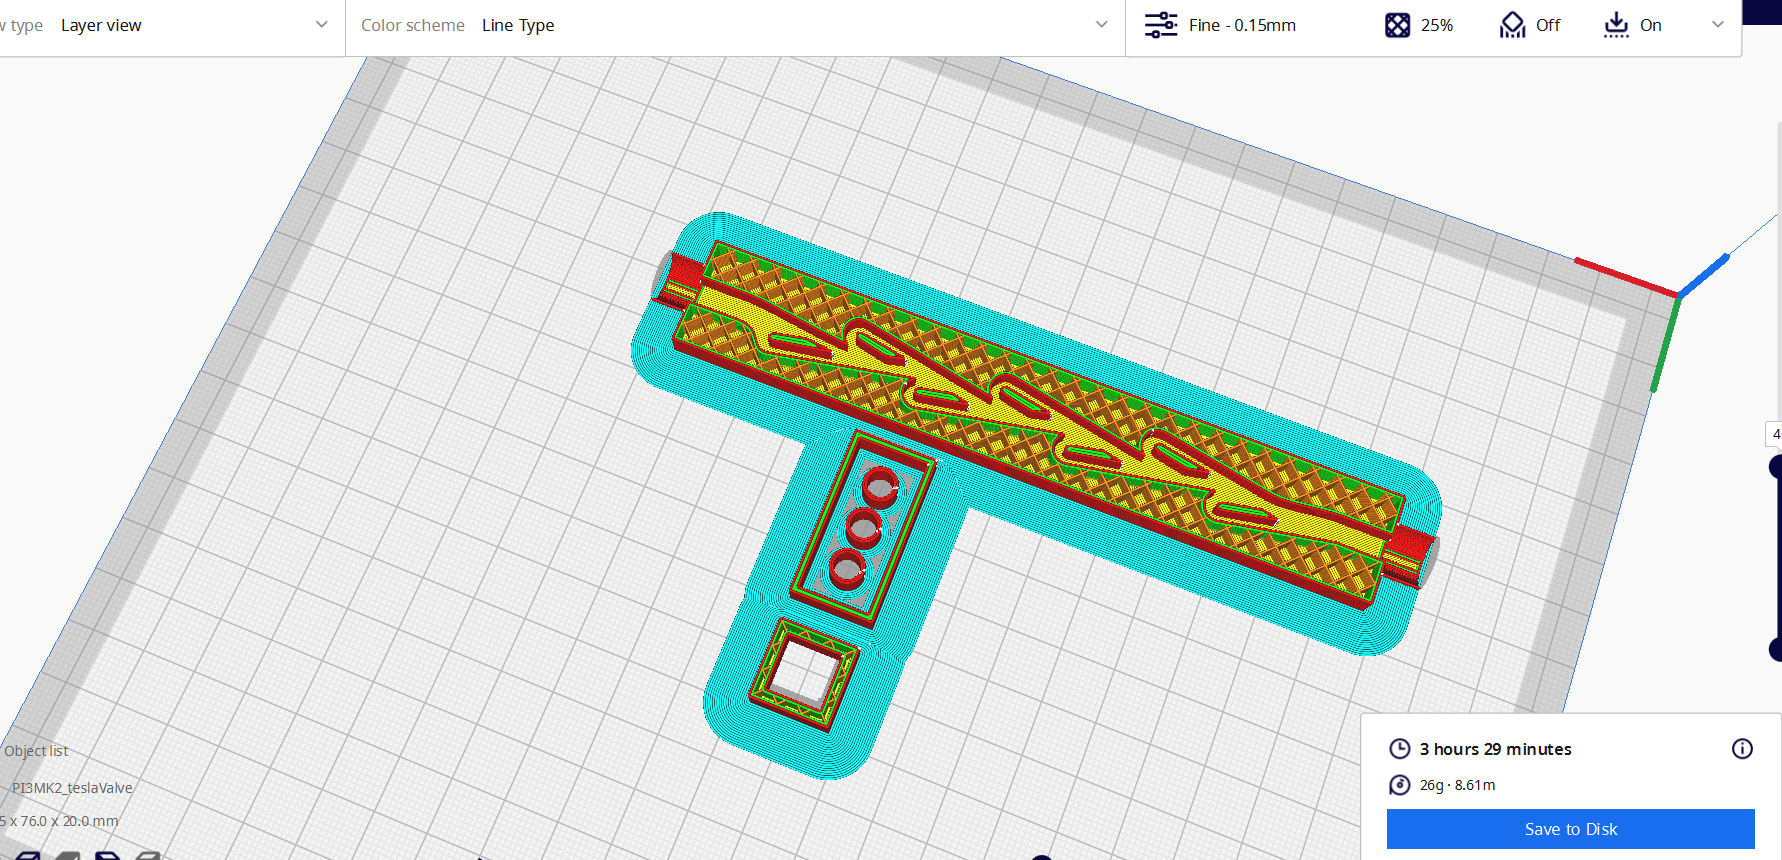 after slicing we can know that our designs will take 3.5 hour to finish printing.
 - now we saved to disk and uploaded to the printer.
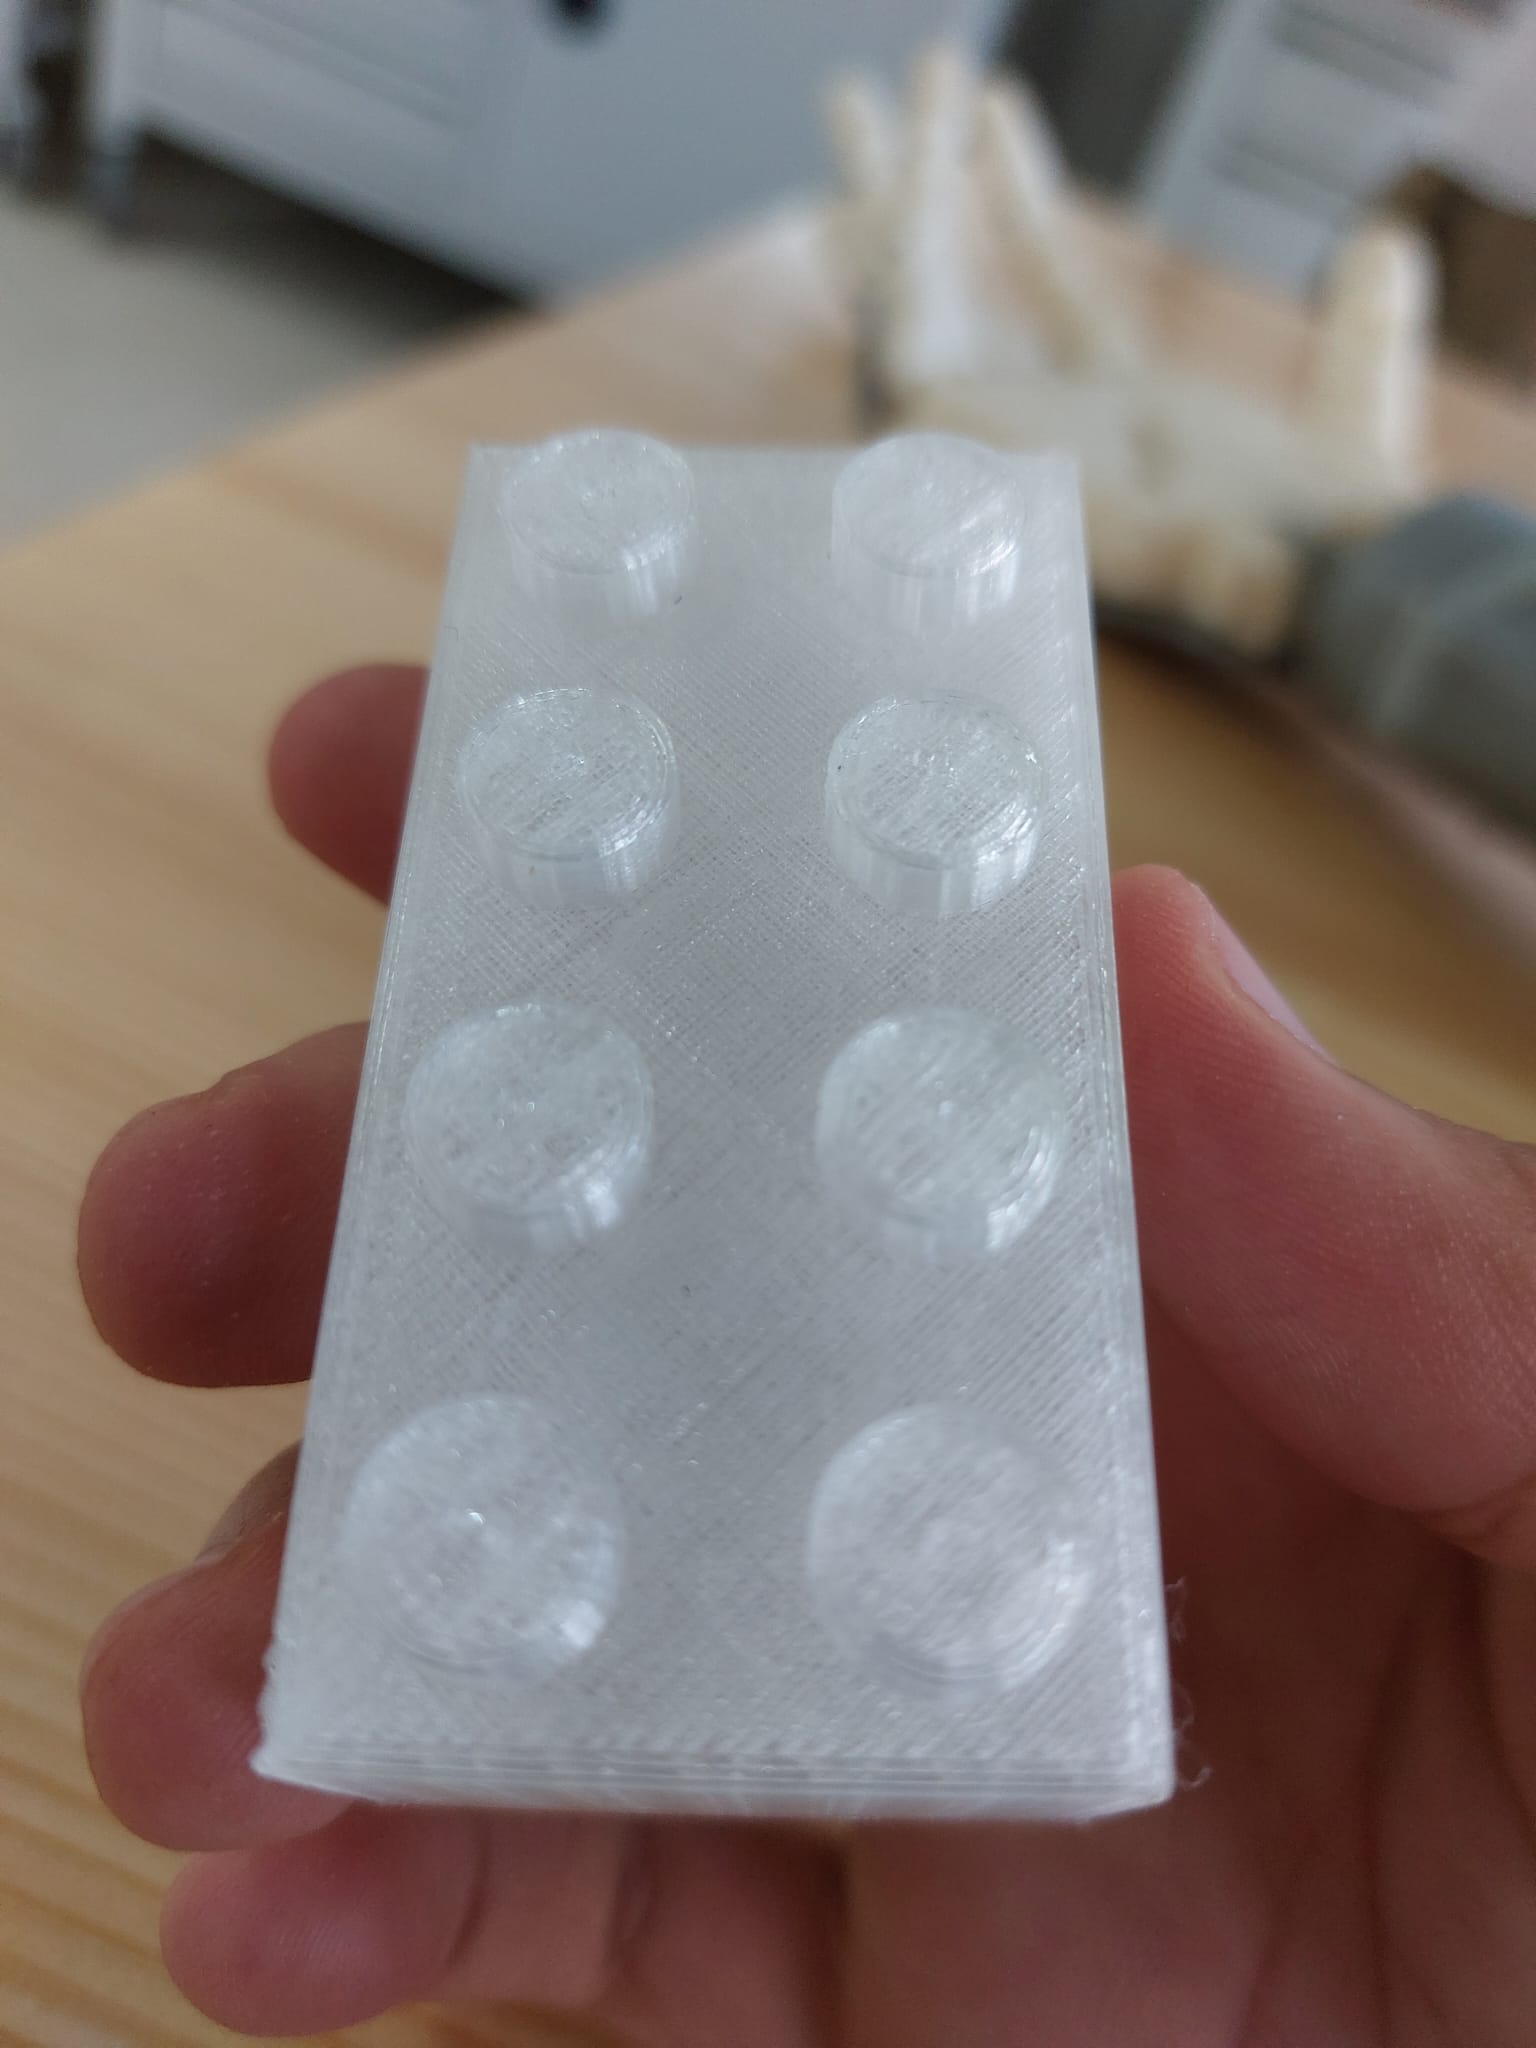 and this the final result.
overall the result is good just the letters in the brick toy wasn’t clear but I could fix that by changing the design a little bit to be bigger or maybe other printer machine will do better for printing this tiny letters.
and this the final result.
overall the result is good just the letters in the brick toy wasn’t clear but I could fix that by changing the design a little bit to be bigger or maybe other printer machine will do better for printing this tiny letters.
3D Scanning
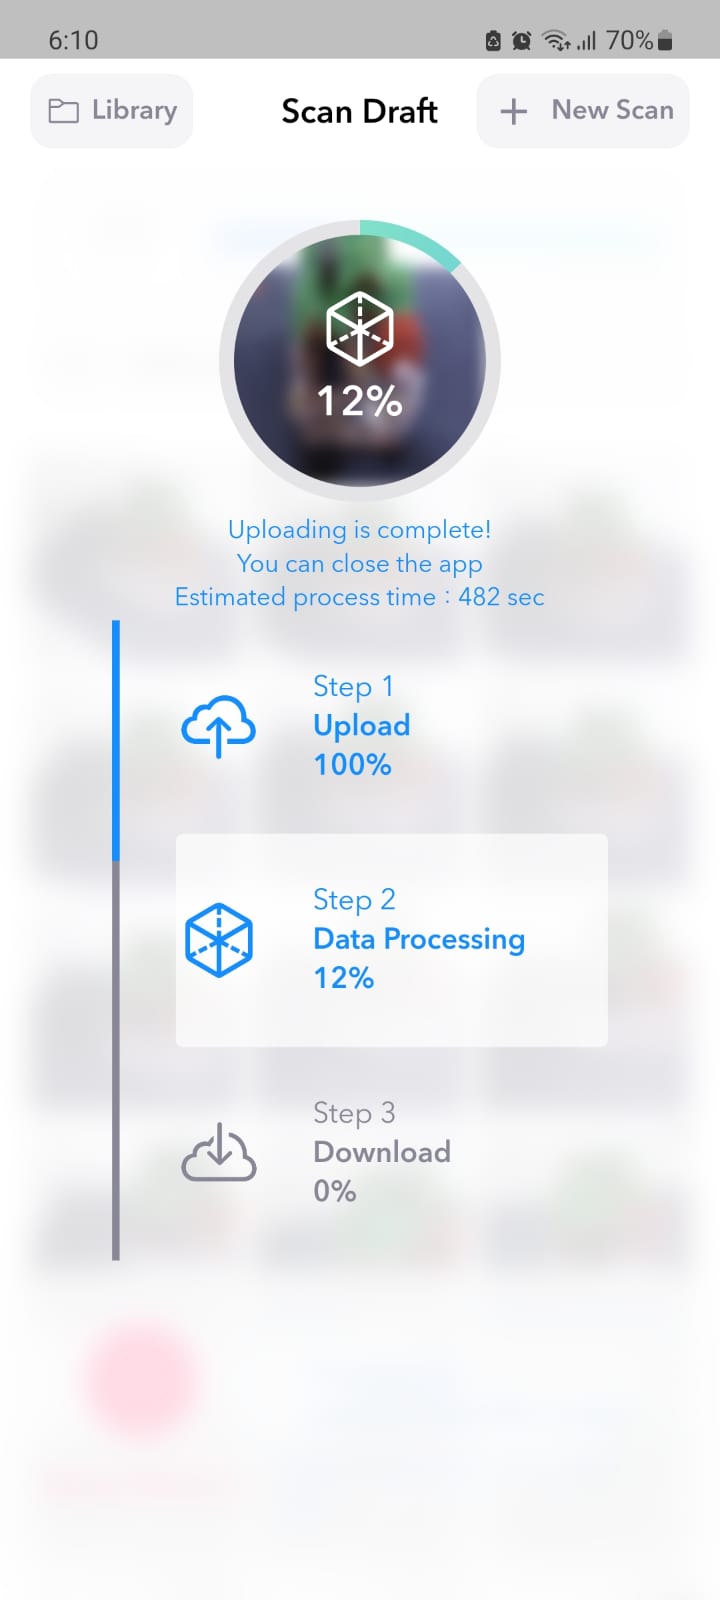
3D Scanning it’s a way to bring real object to digital world as 3D model. I used an app in my phone called Widar.
- first step after downloading I need to choose the speed I want to scan the object with (middle speed for me).
- secondly , I go around the object 360 degree with the same scanning speed.
- after that I uploaded the scanning photo and the app started to processes it into 3D model.
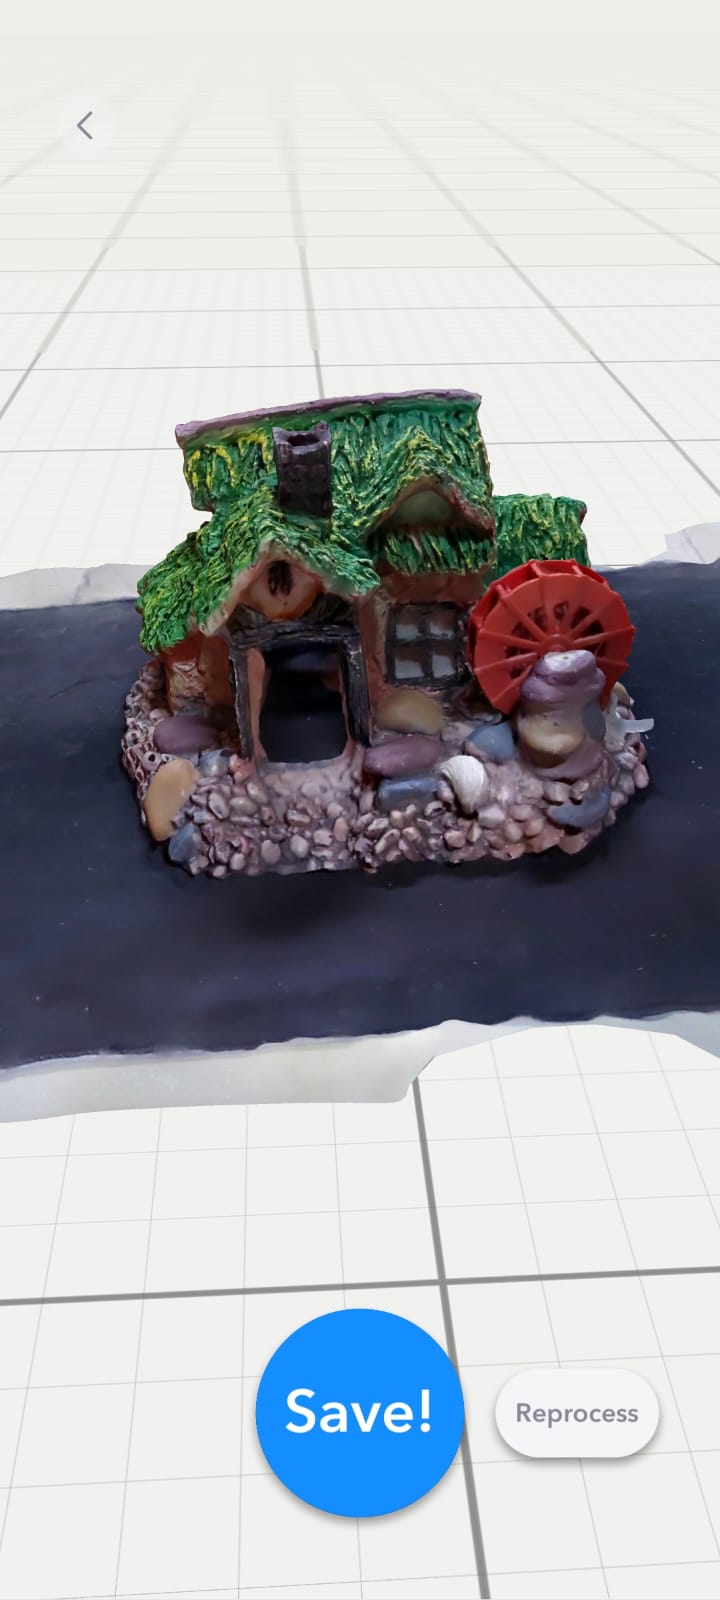
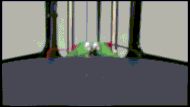
And this is the final results:
It was great result the only problem with it the mousepad under the fish house scanned also and I didn’t find an option within the app to remove it.