6. Moulding and casting
This week I worked in Moulding and casting 2.5d design.
Group assignment
in the group assignment we researched about four materials in this link
Design 3D
So first I decided to make an eagle badge, so I searched for a good design for an eagle and I found this one 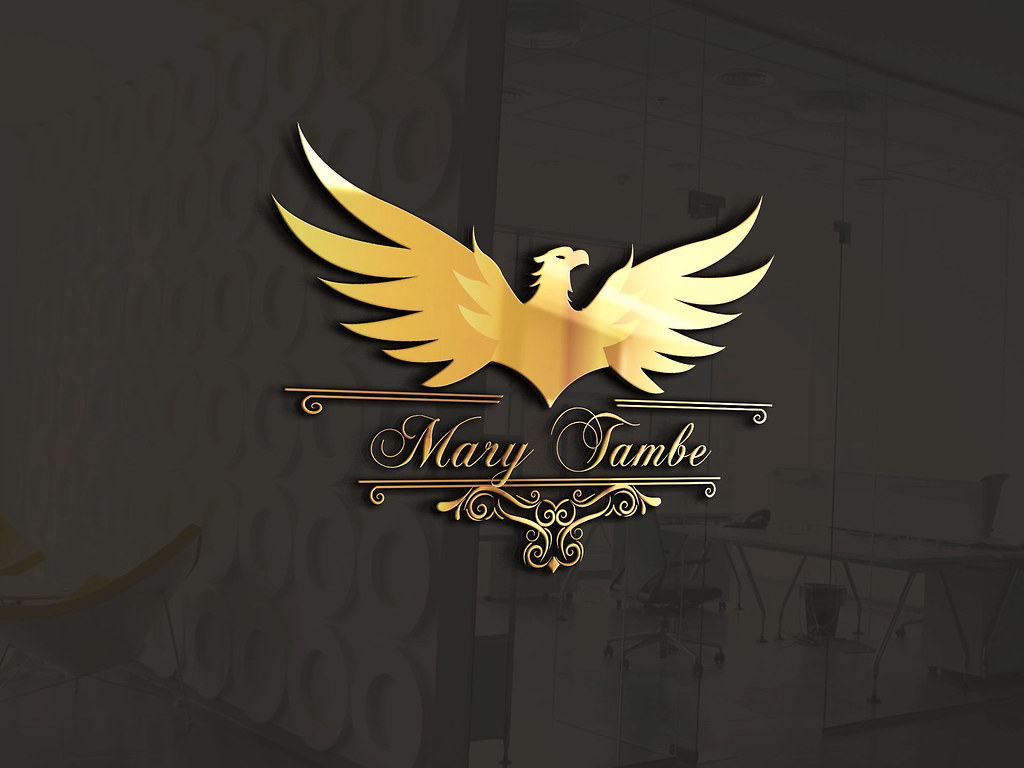
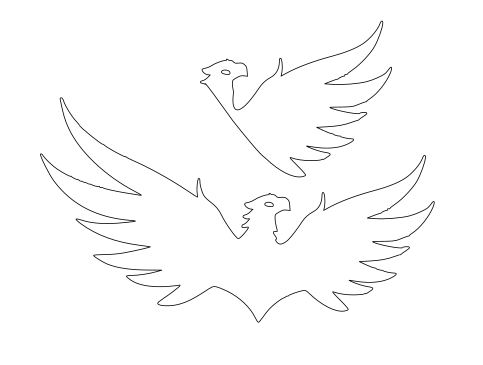
- Now I started to make this design useable in molding and casting and make it 2D so I used to software for that inkscape and tinkercad.
- In inkscape I removed first the background and removed the text under the eagle.
- After that I divided the eagle Into to part so we can in tinkercad extrude each part differently
 .
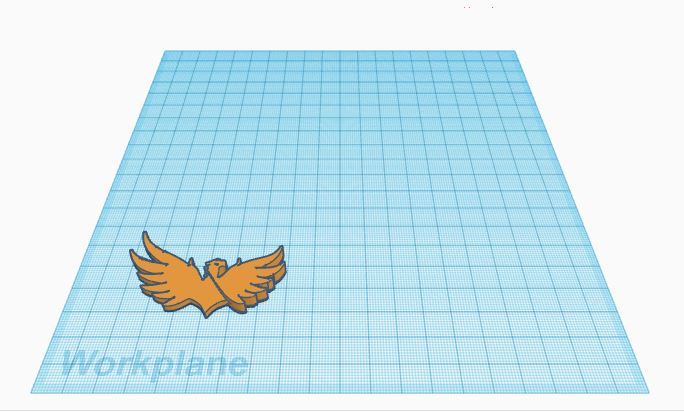
. - Now I export the design to tinkercad and extrude one part 6mm and the other one 3mm
 Here you can download the Eagle design
molding and casting process
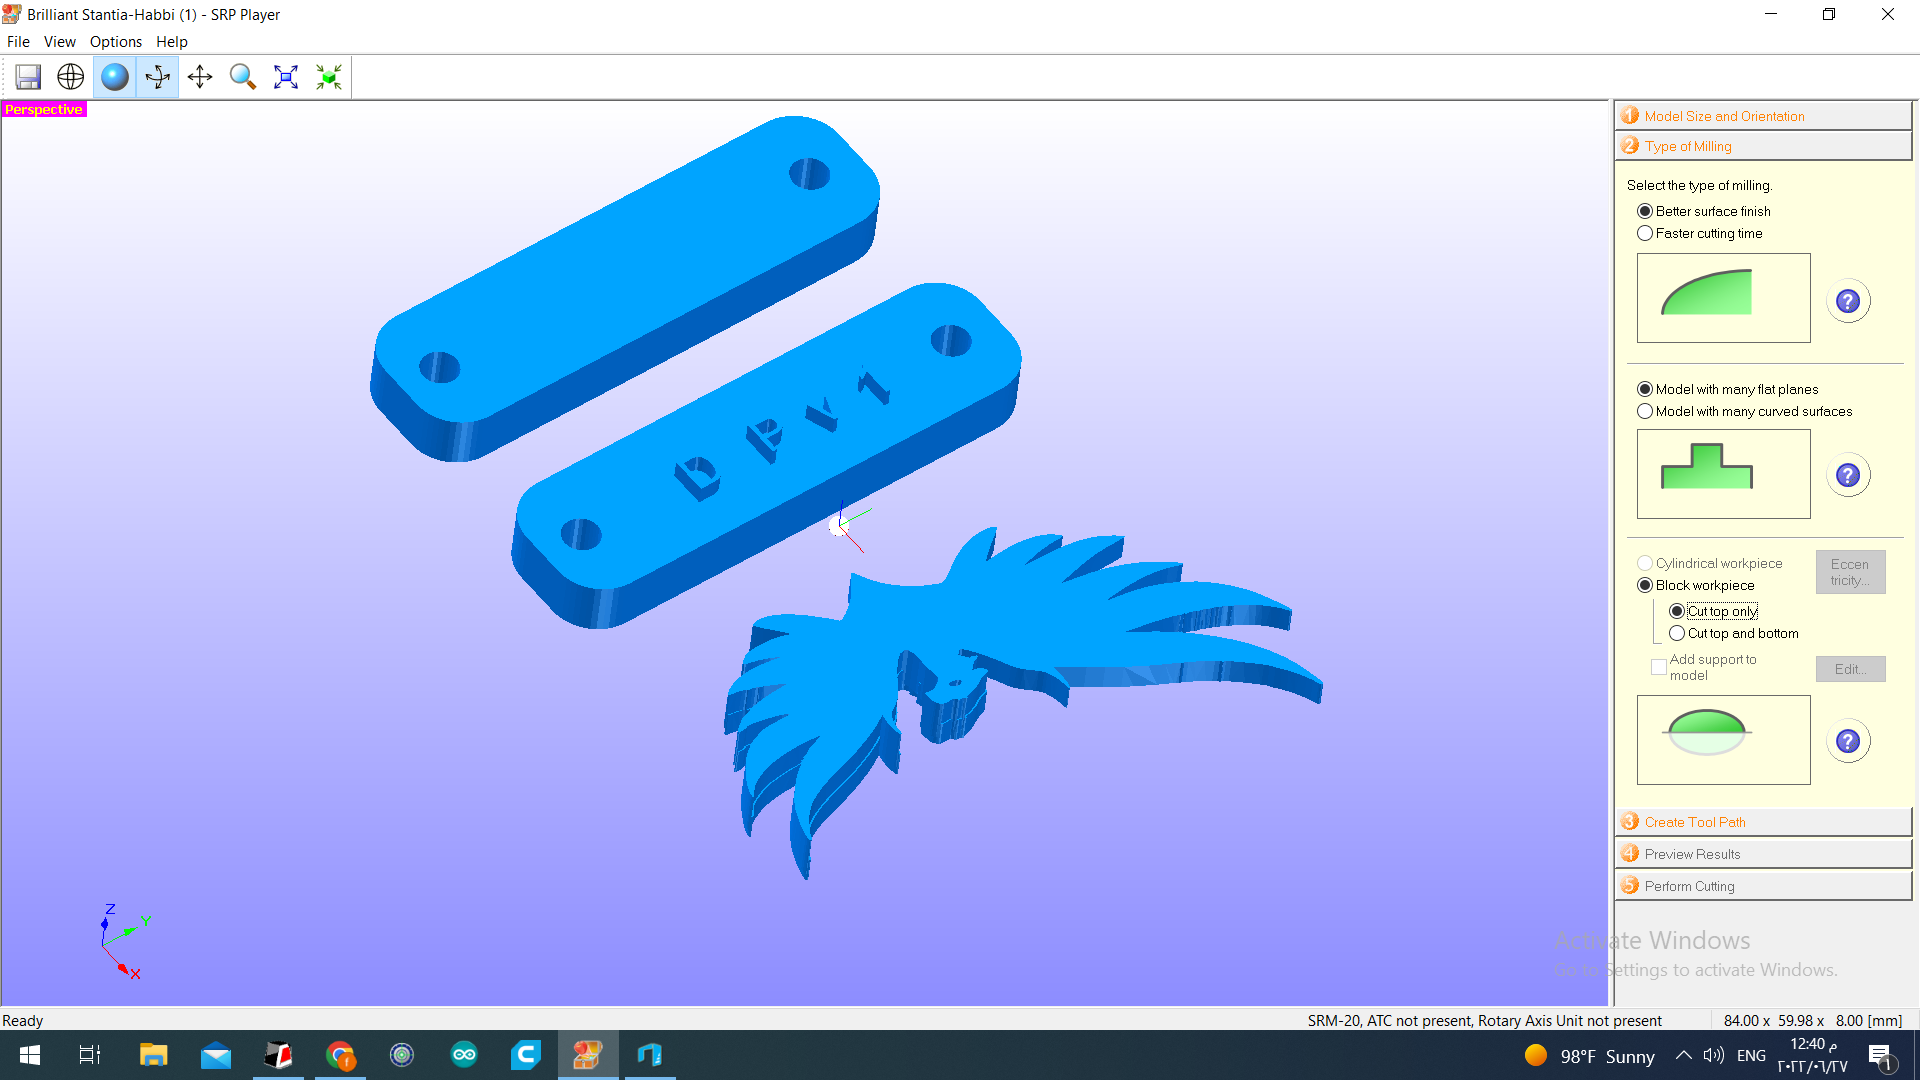
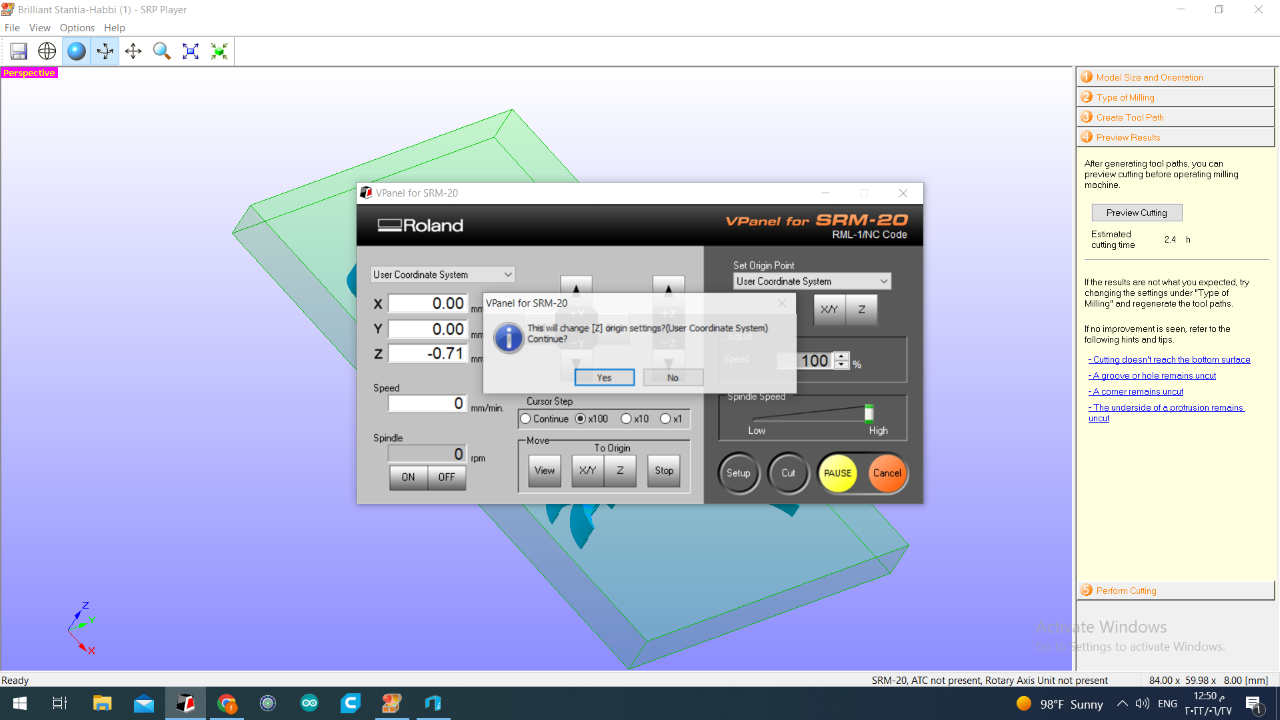
In molding we used a software called srp player
- First I uploded the design to the software.
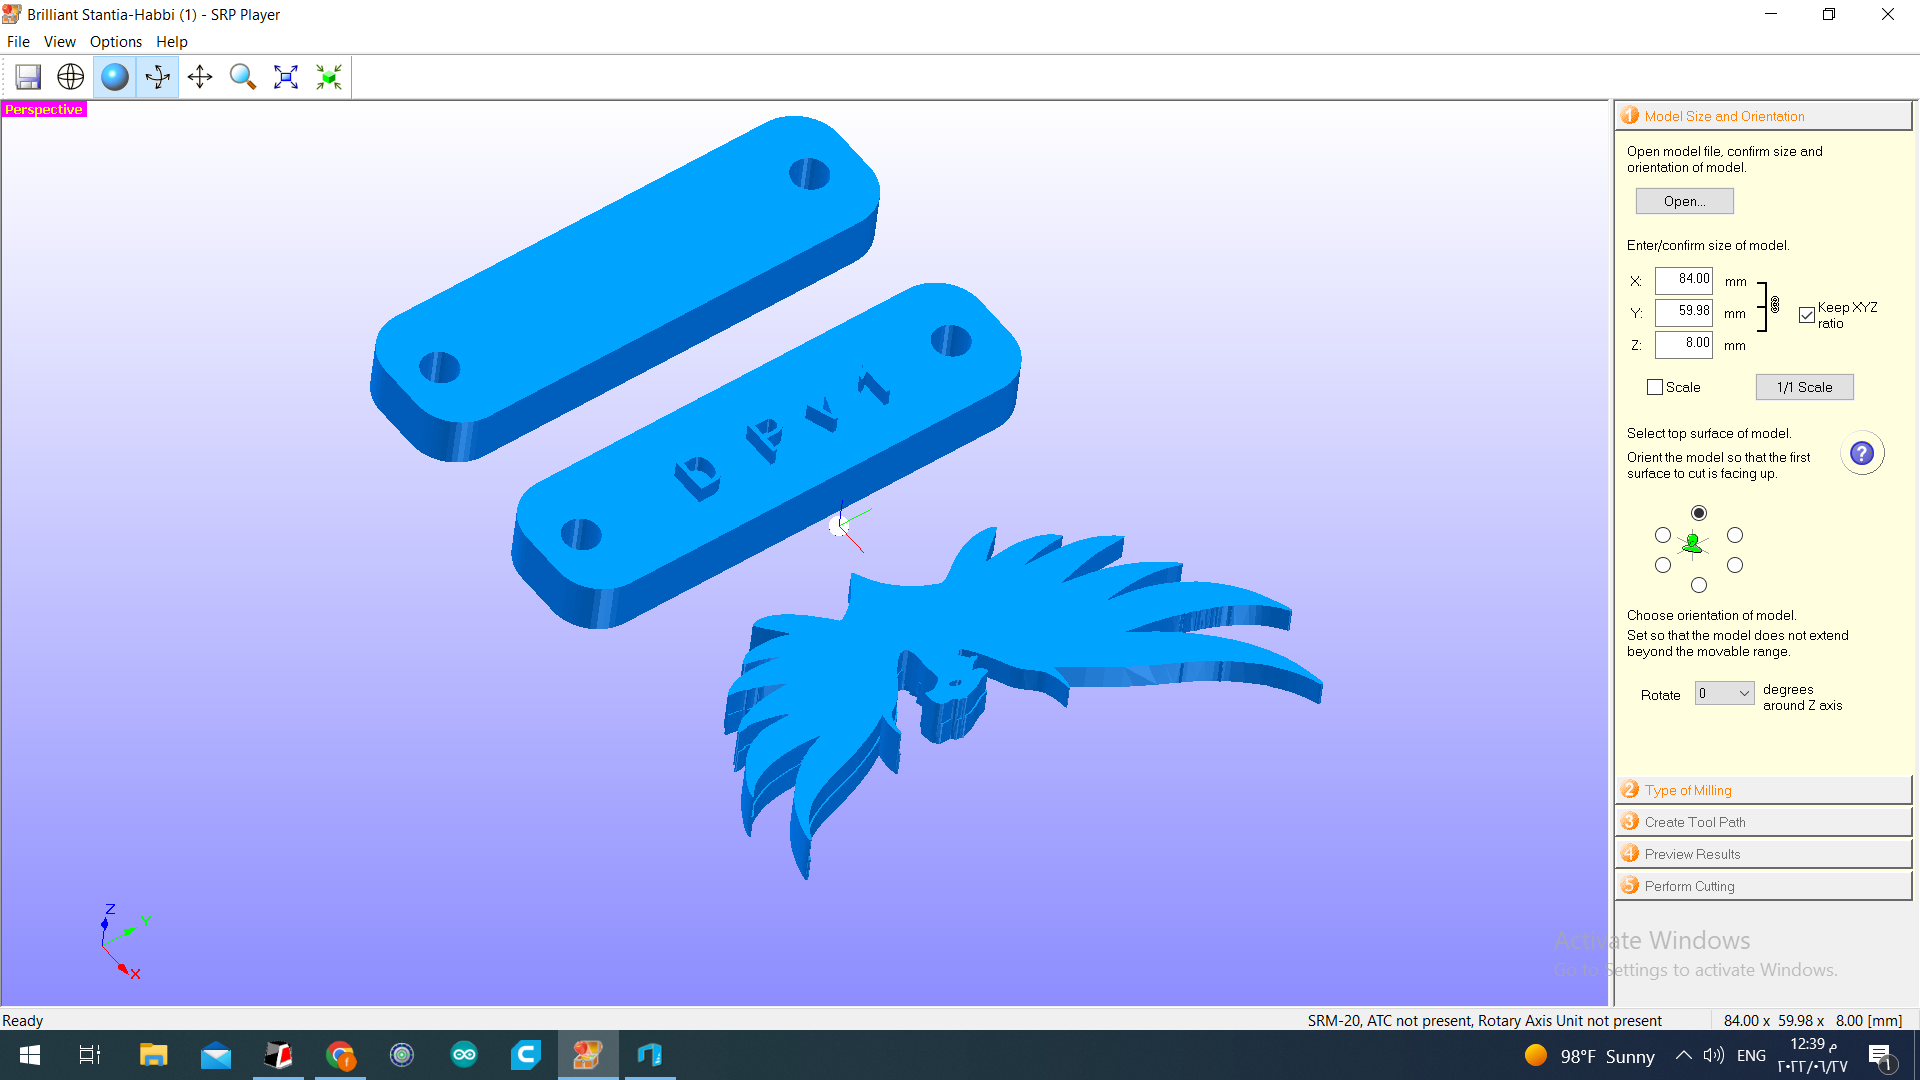
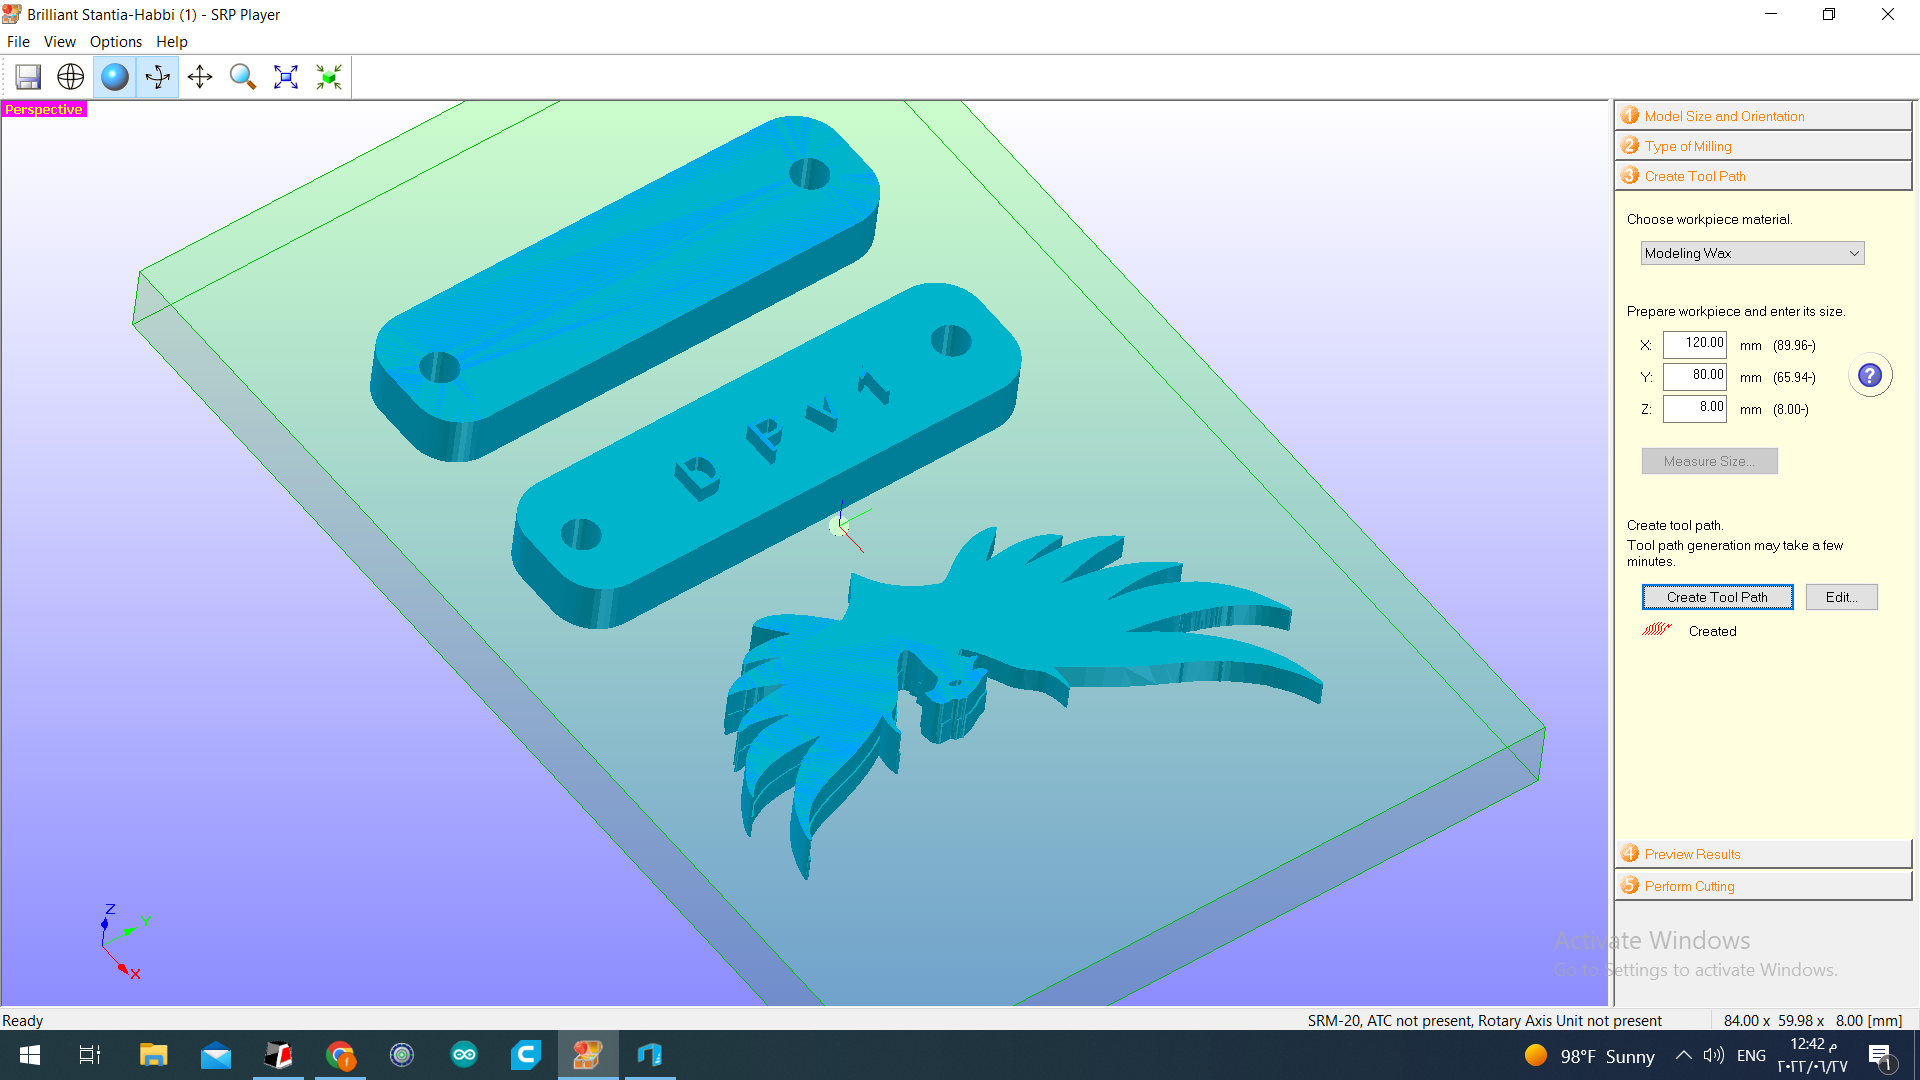
- Second is the type of milling I used.
- Third is creating the tool path.
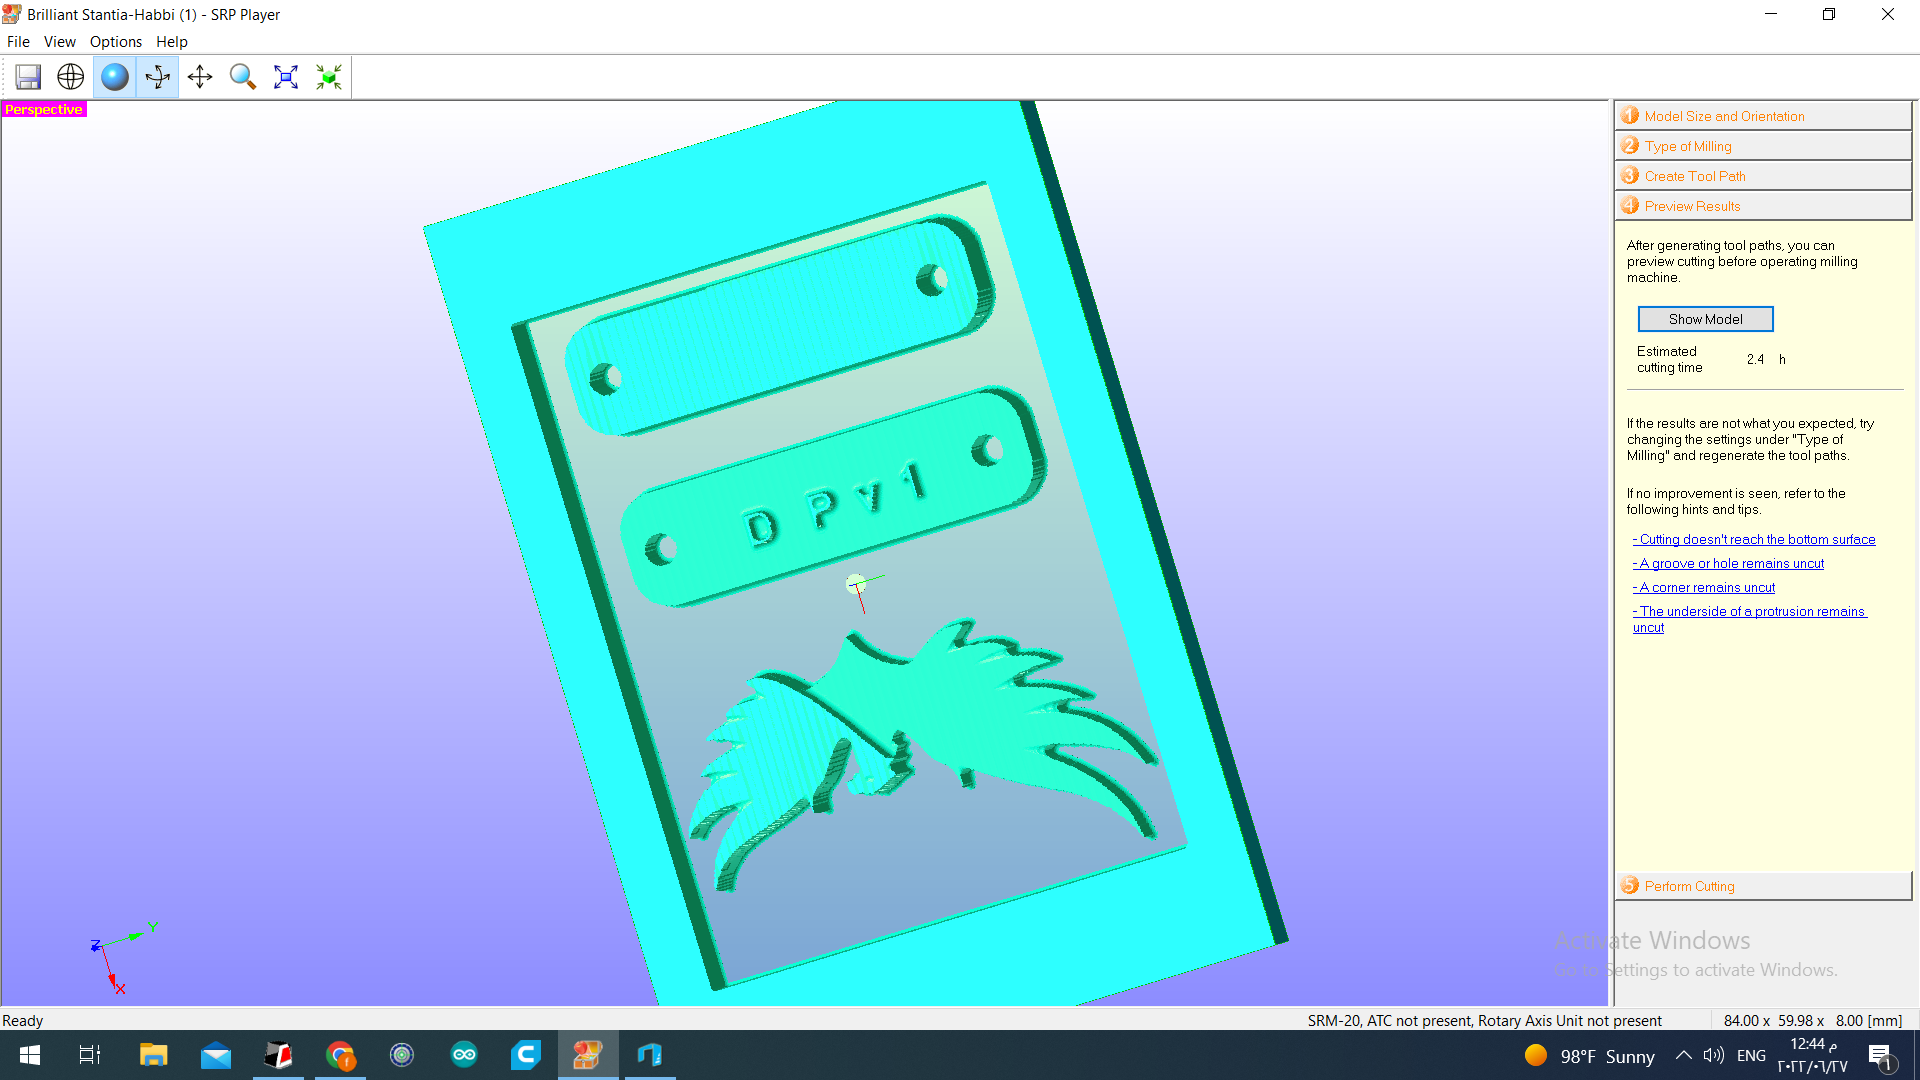
- Fourth step is preview the results and the time it will take to finish (depend on the bit size our 1/16 inch ).
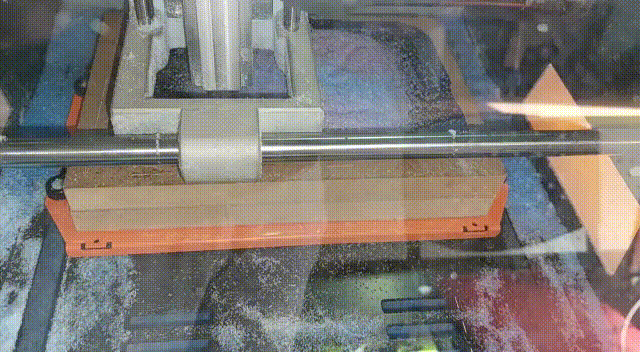
- Now start cutting the design.
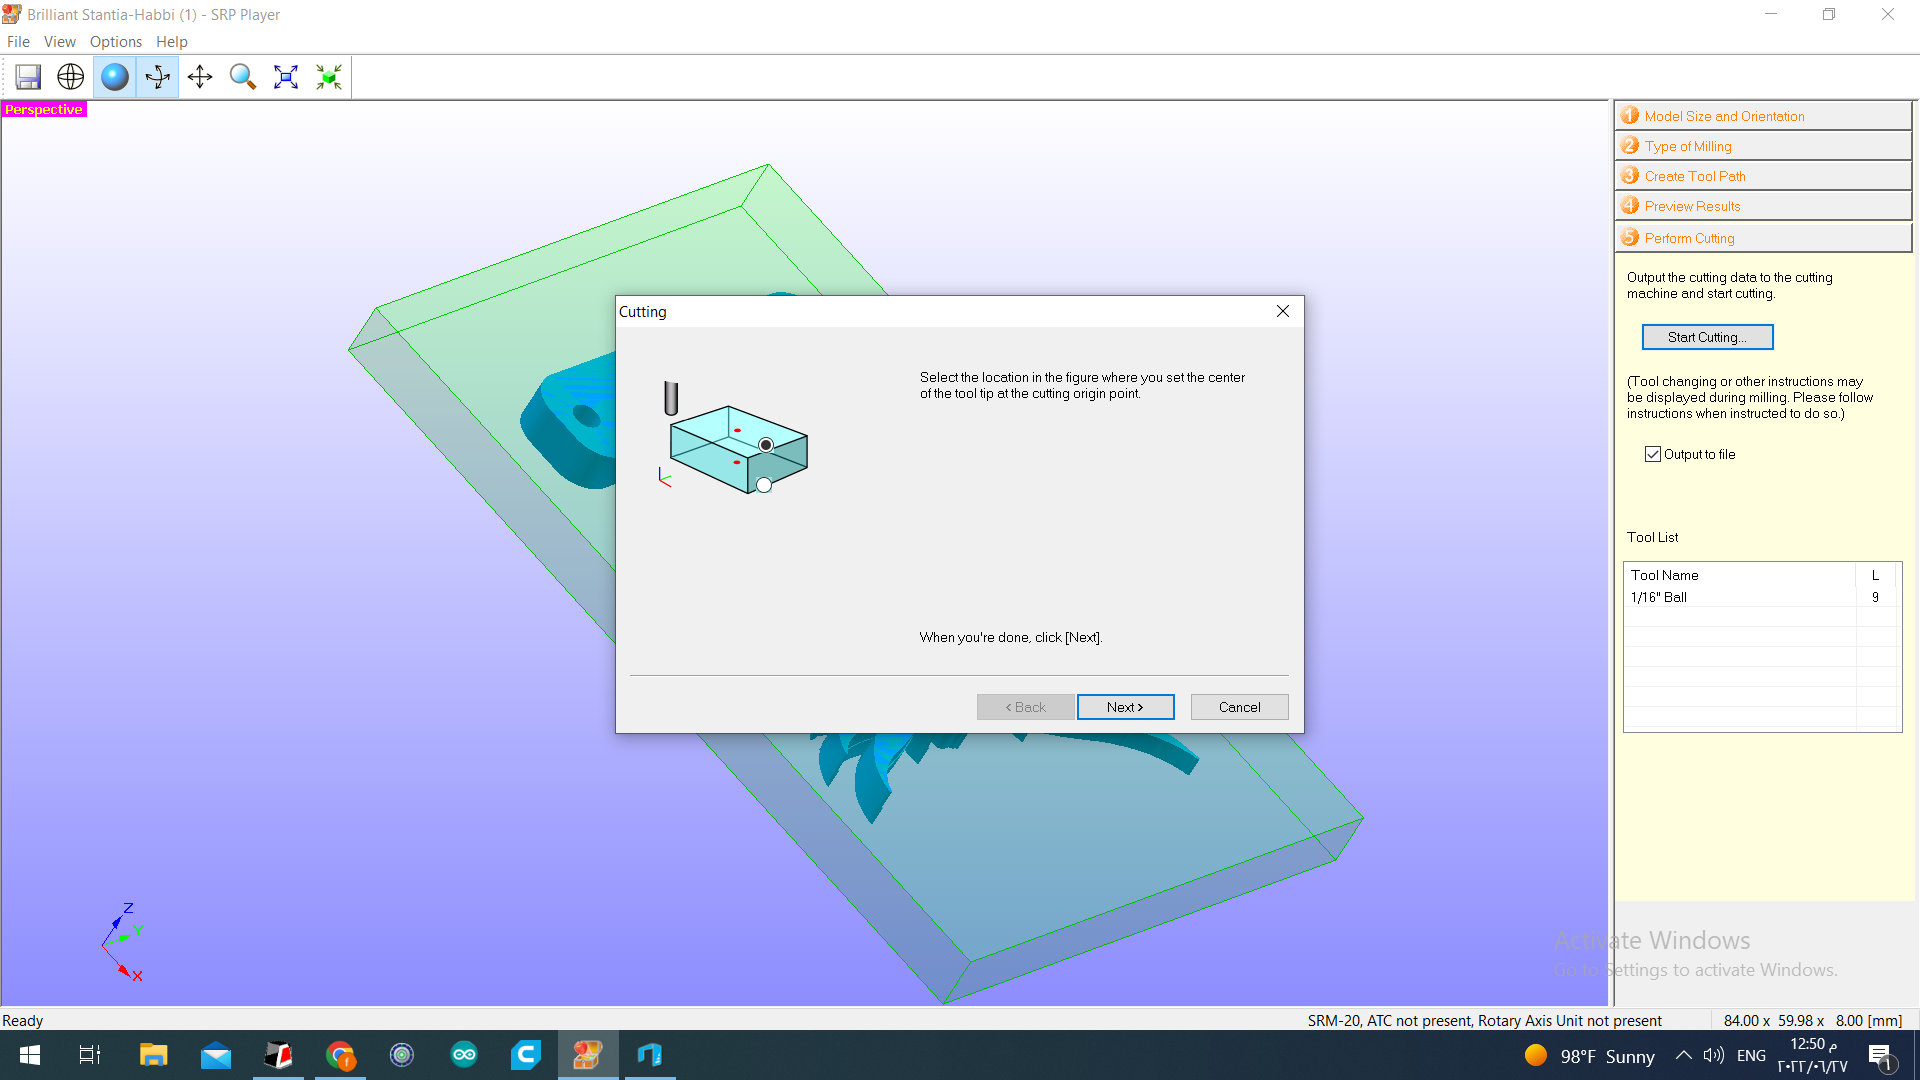
- Choosing the right z for the bit.
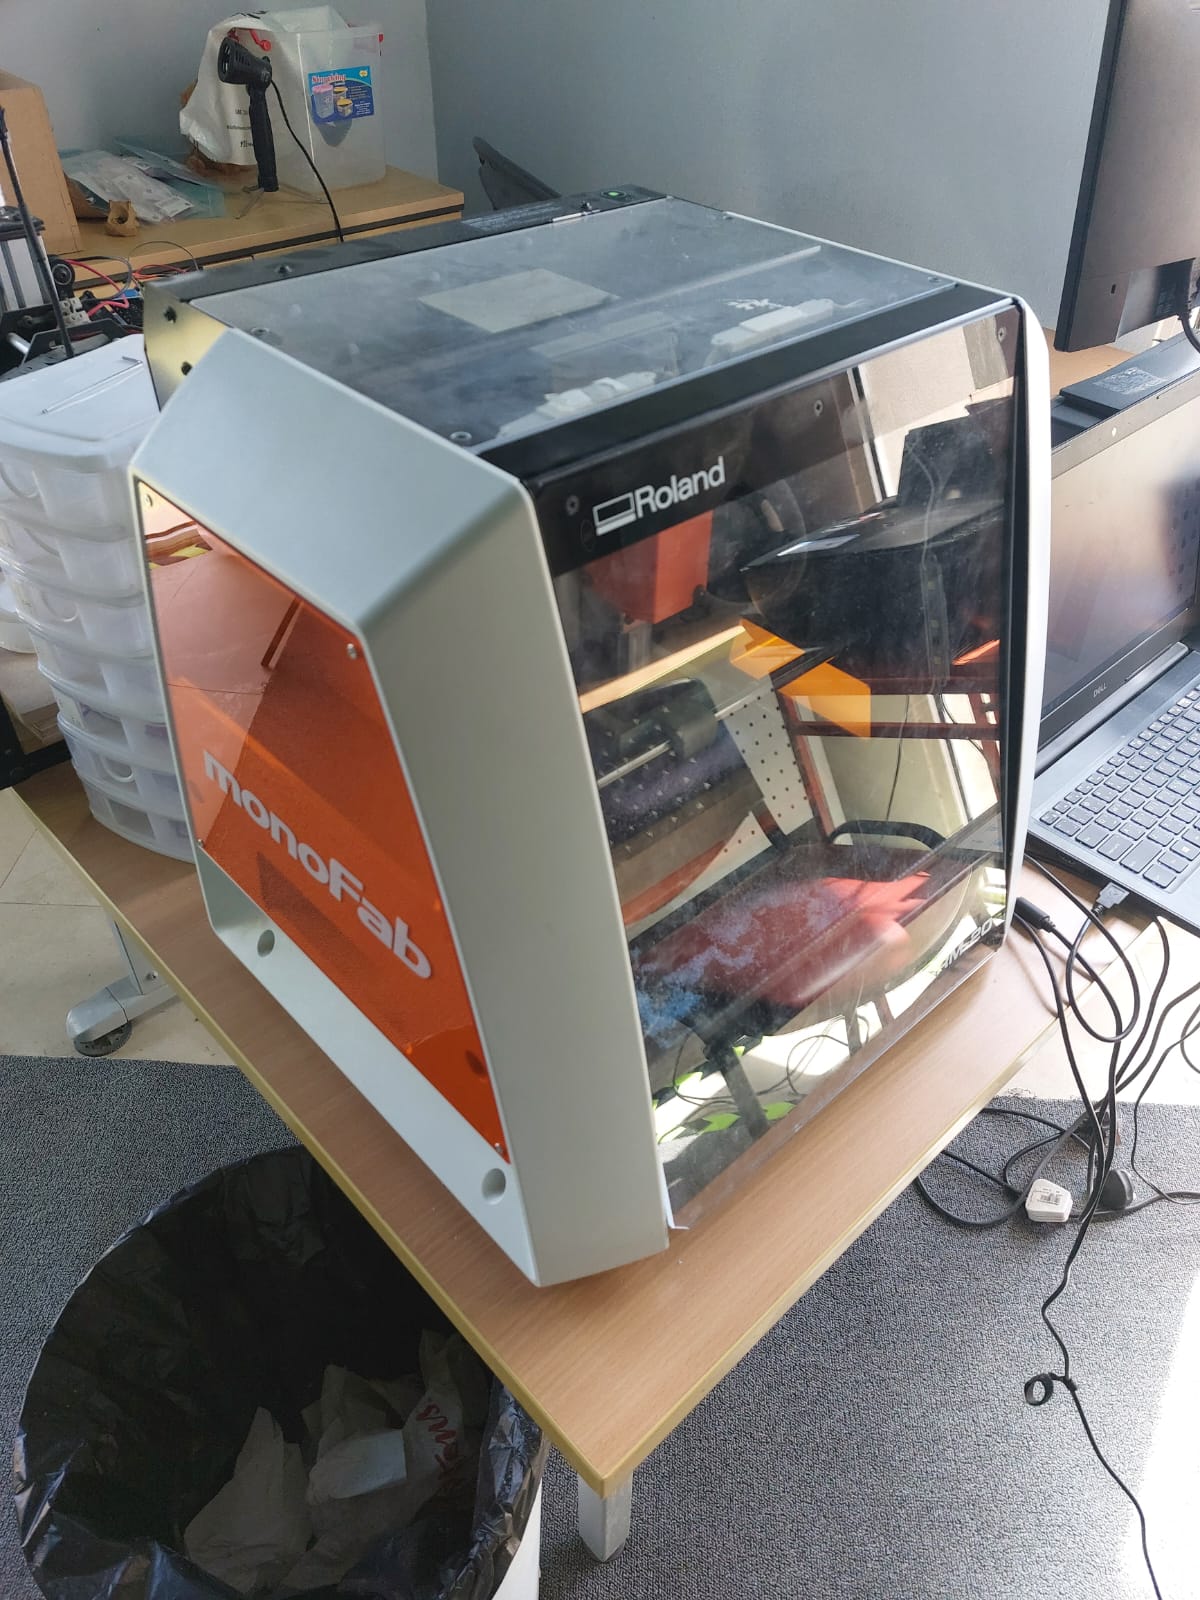
- The machine we will used is roland monofab srm-20 .
- Here while adjusting the Z height of the bit.

- And now are ready to go.
now after the cut is finished now it’s time for molding the eagle.
Safety and manual
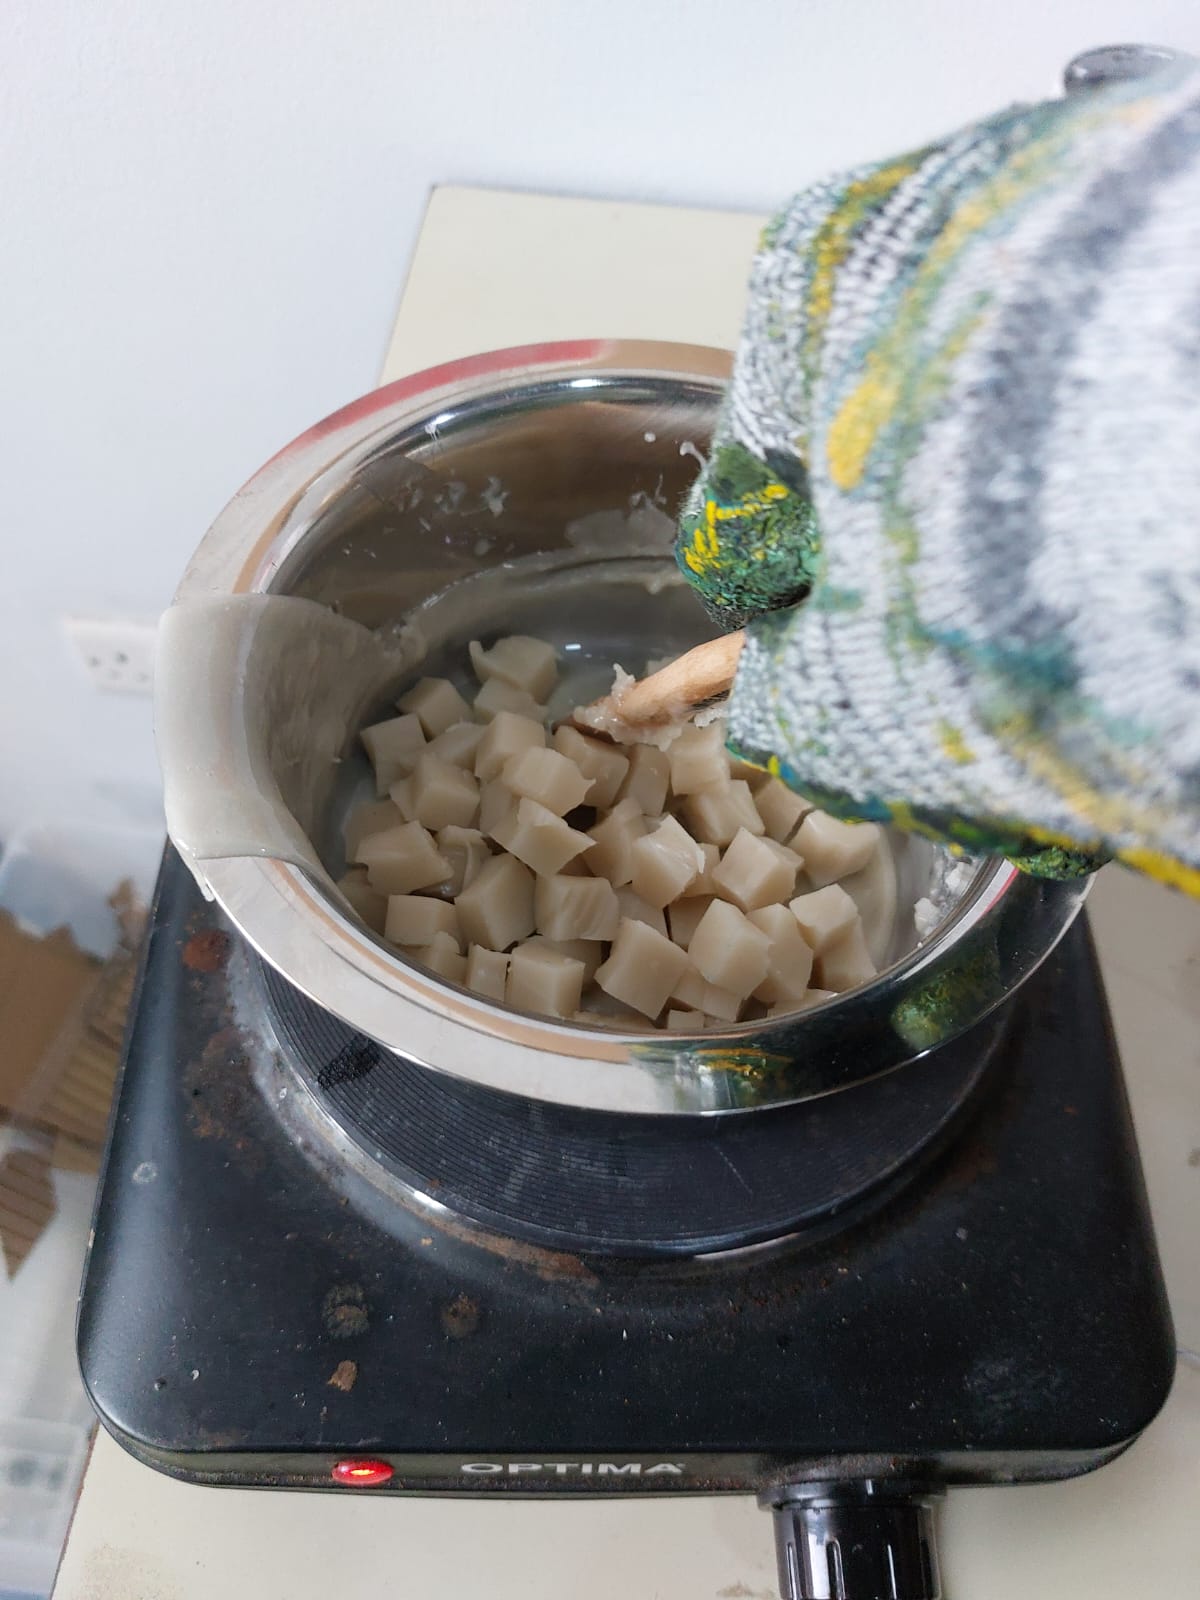
- I used a silicon cube and cut it into small one. 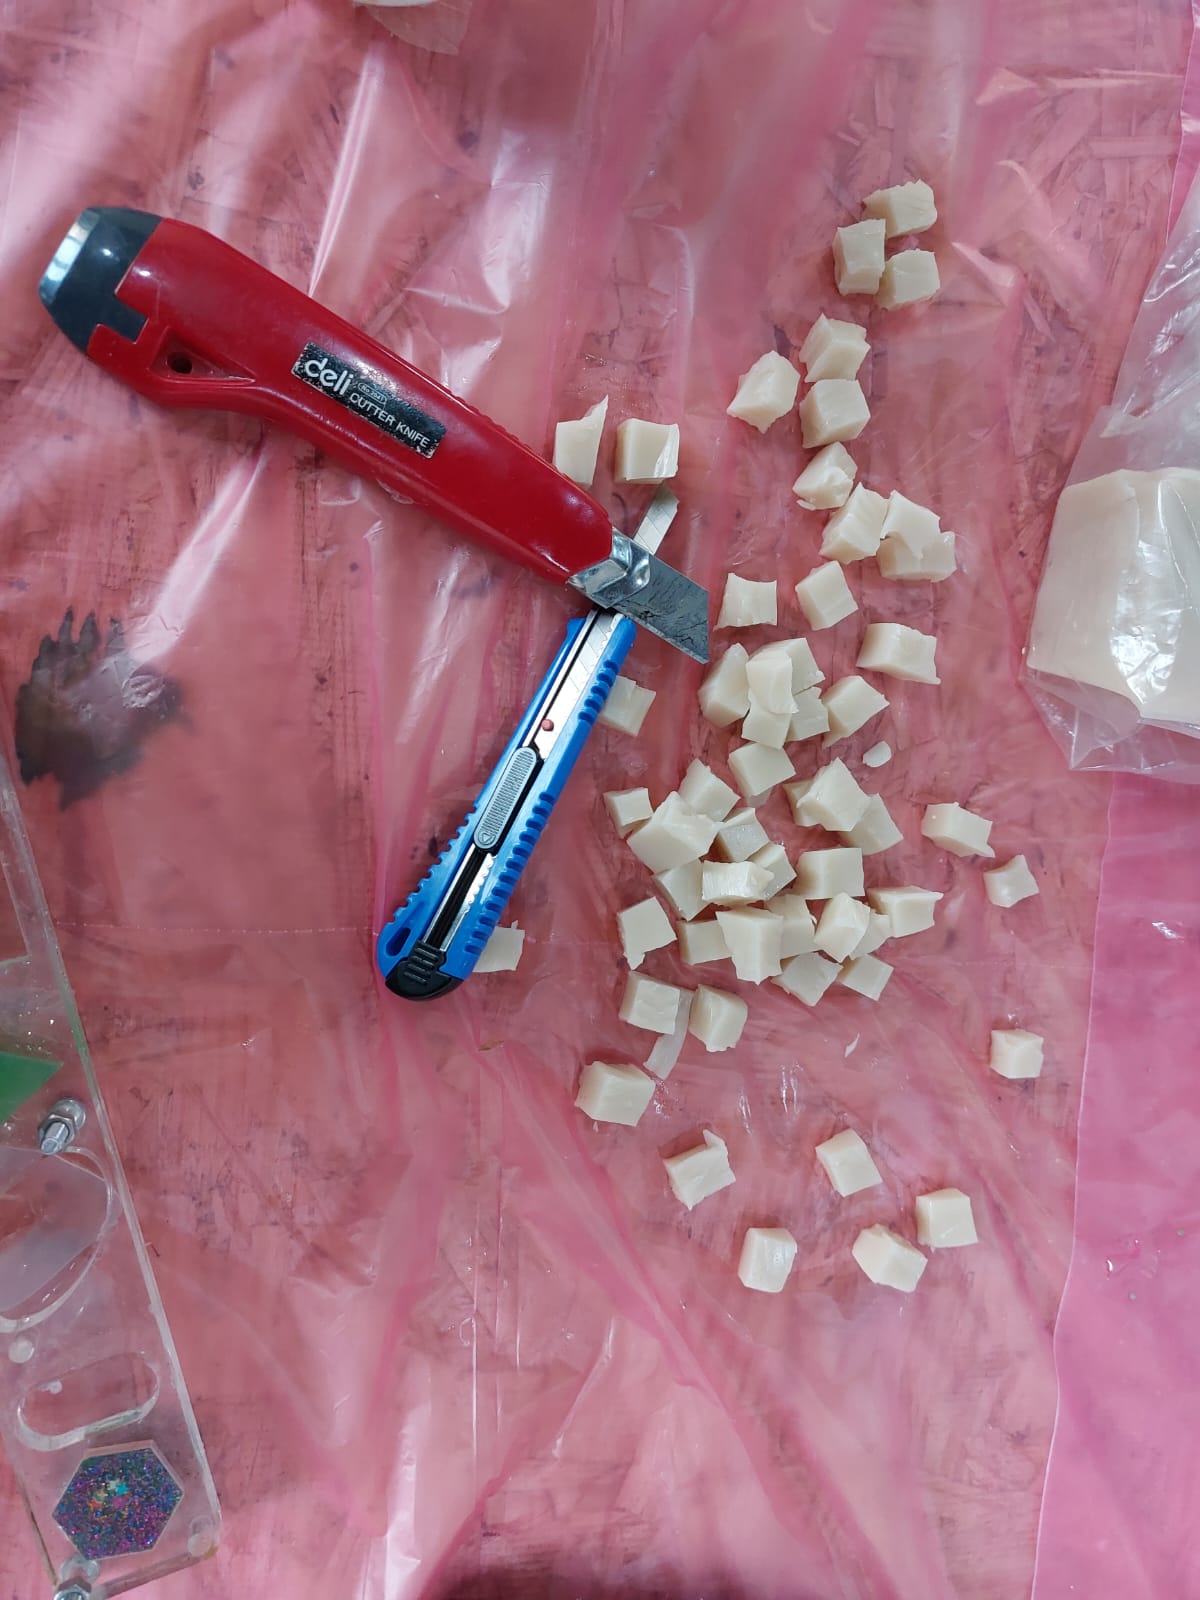 - Now I melt them here in 220 degree
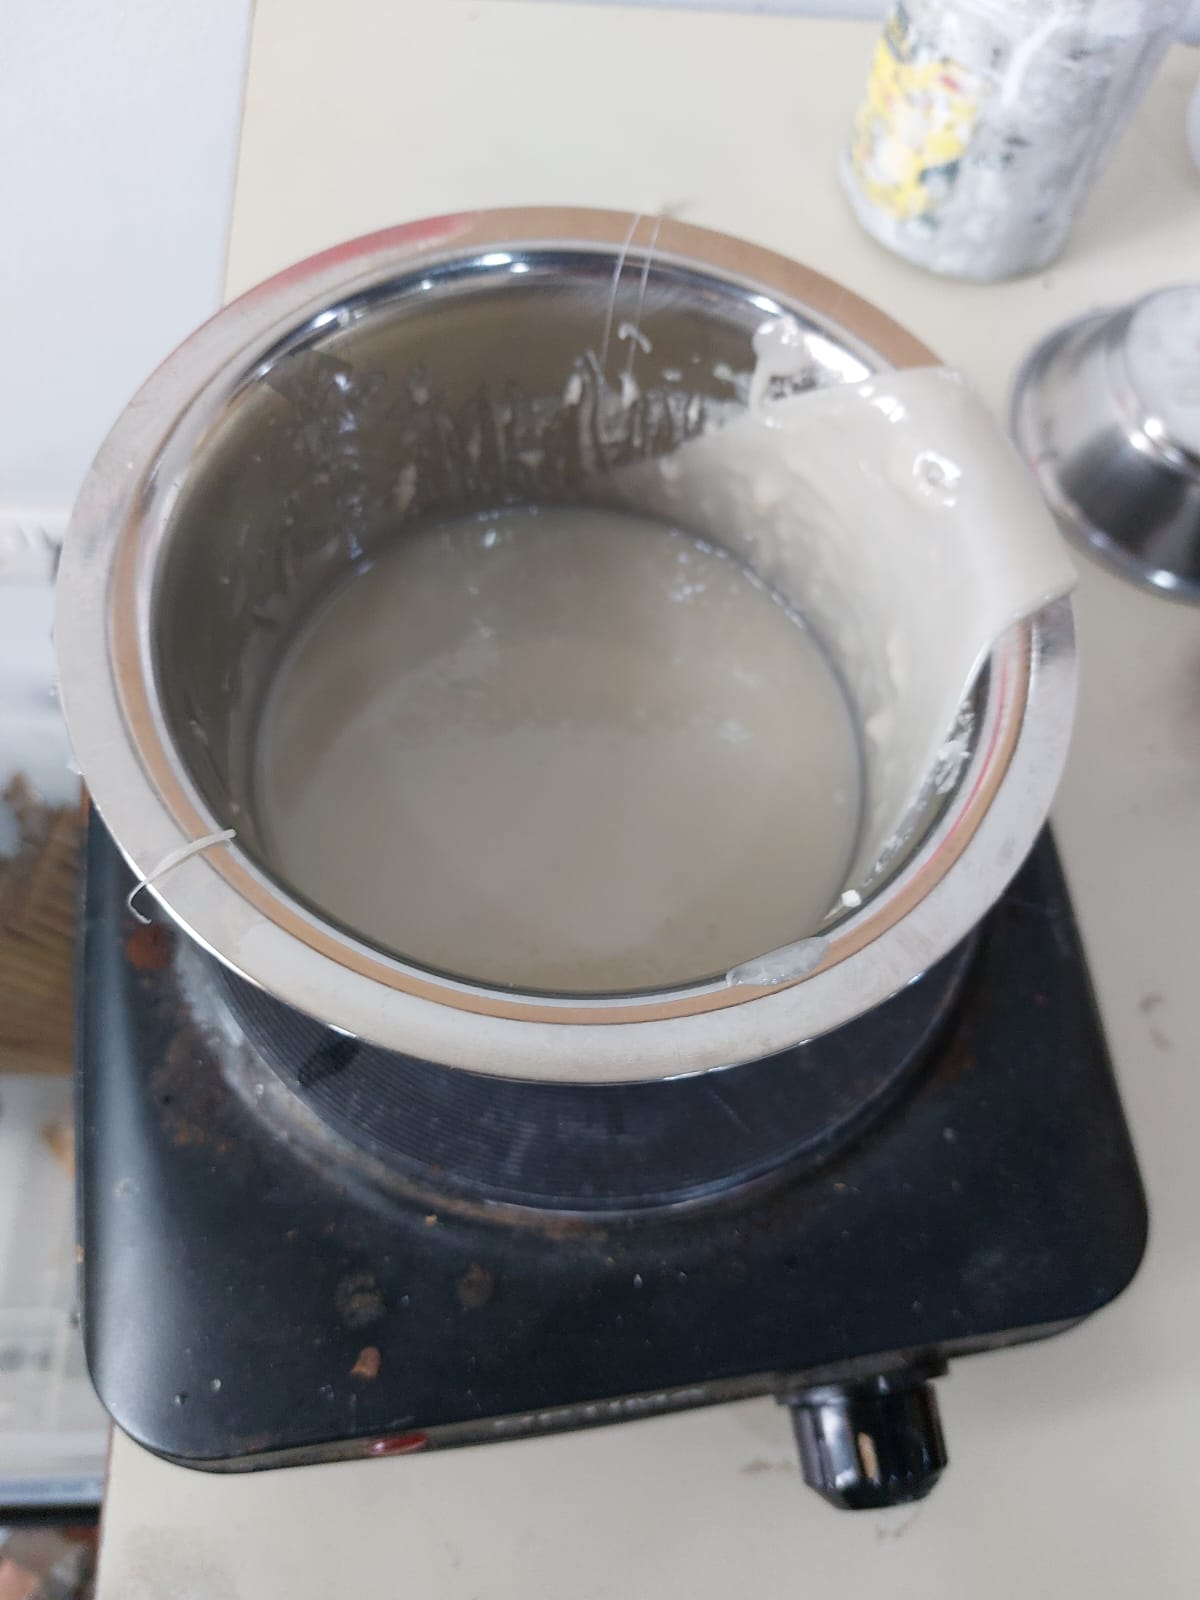
 - after that I pour it in the eagle to make a mold of it
 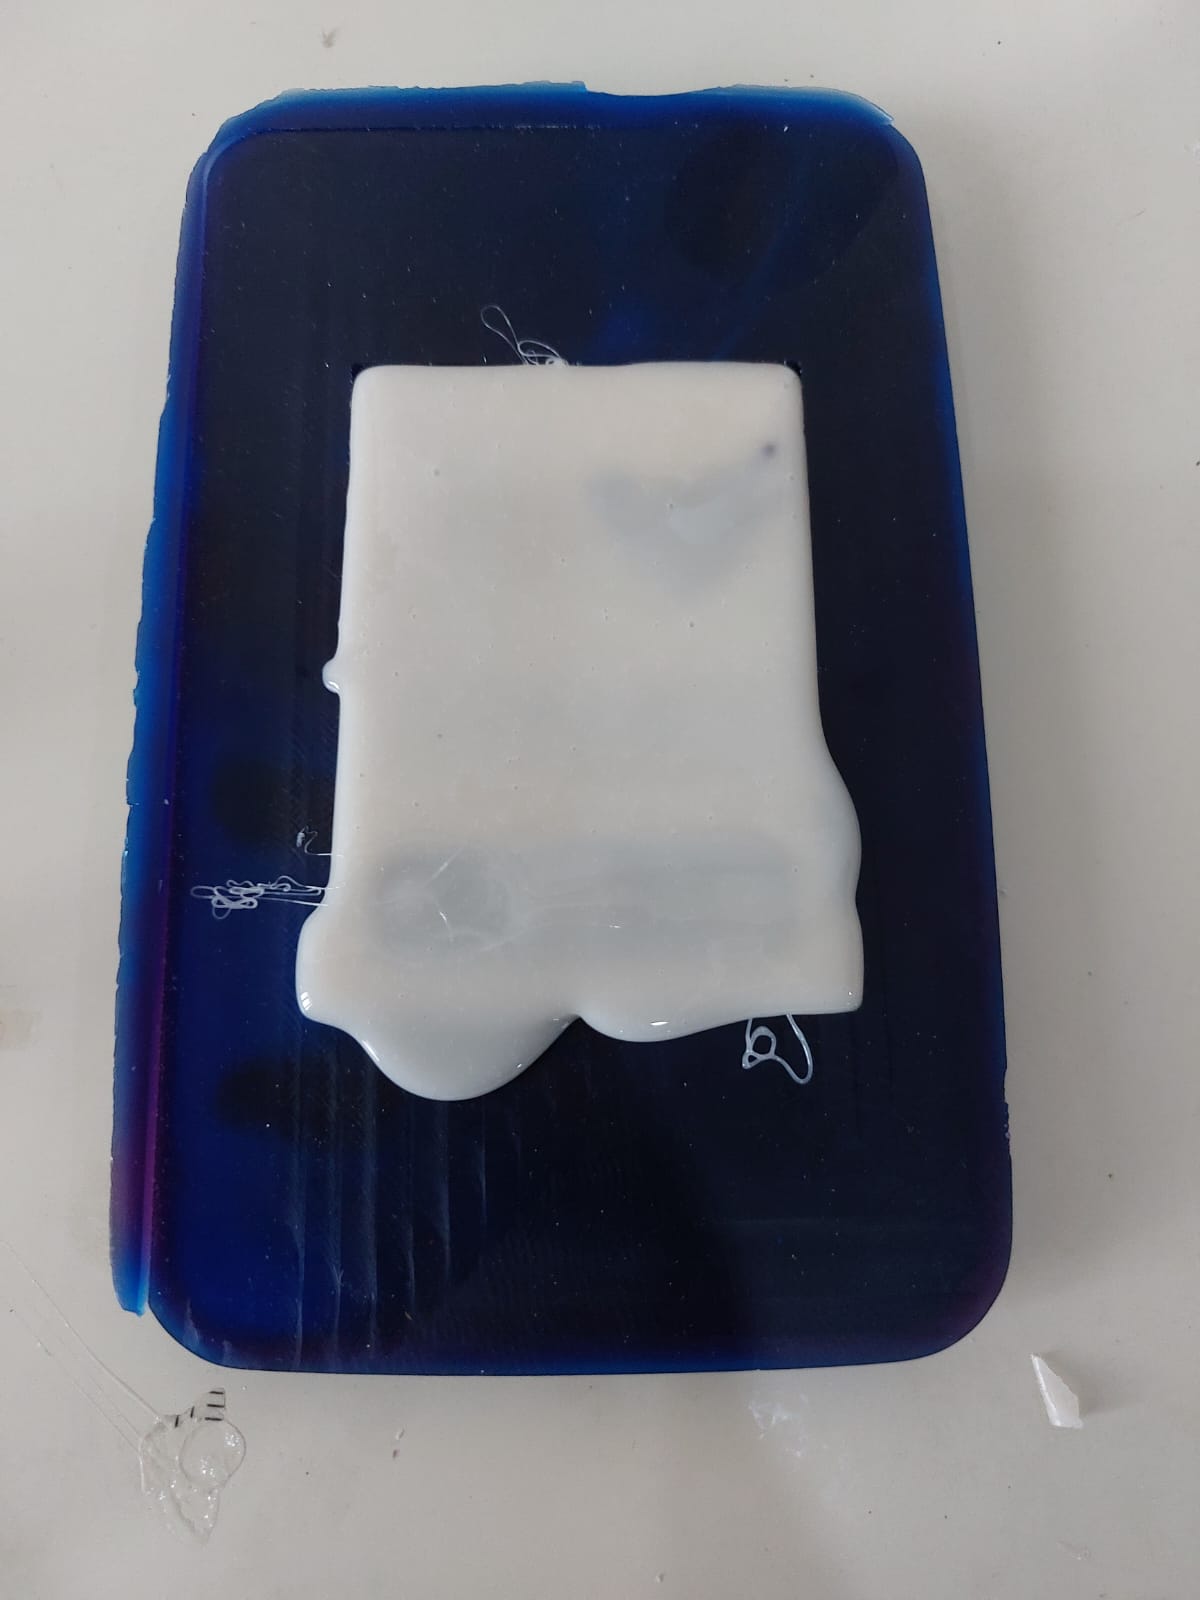 - and last step after the silicon hardened and ready to use I poured the resin inside it to make the last shape the eagle
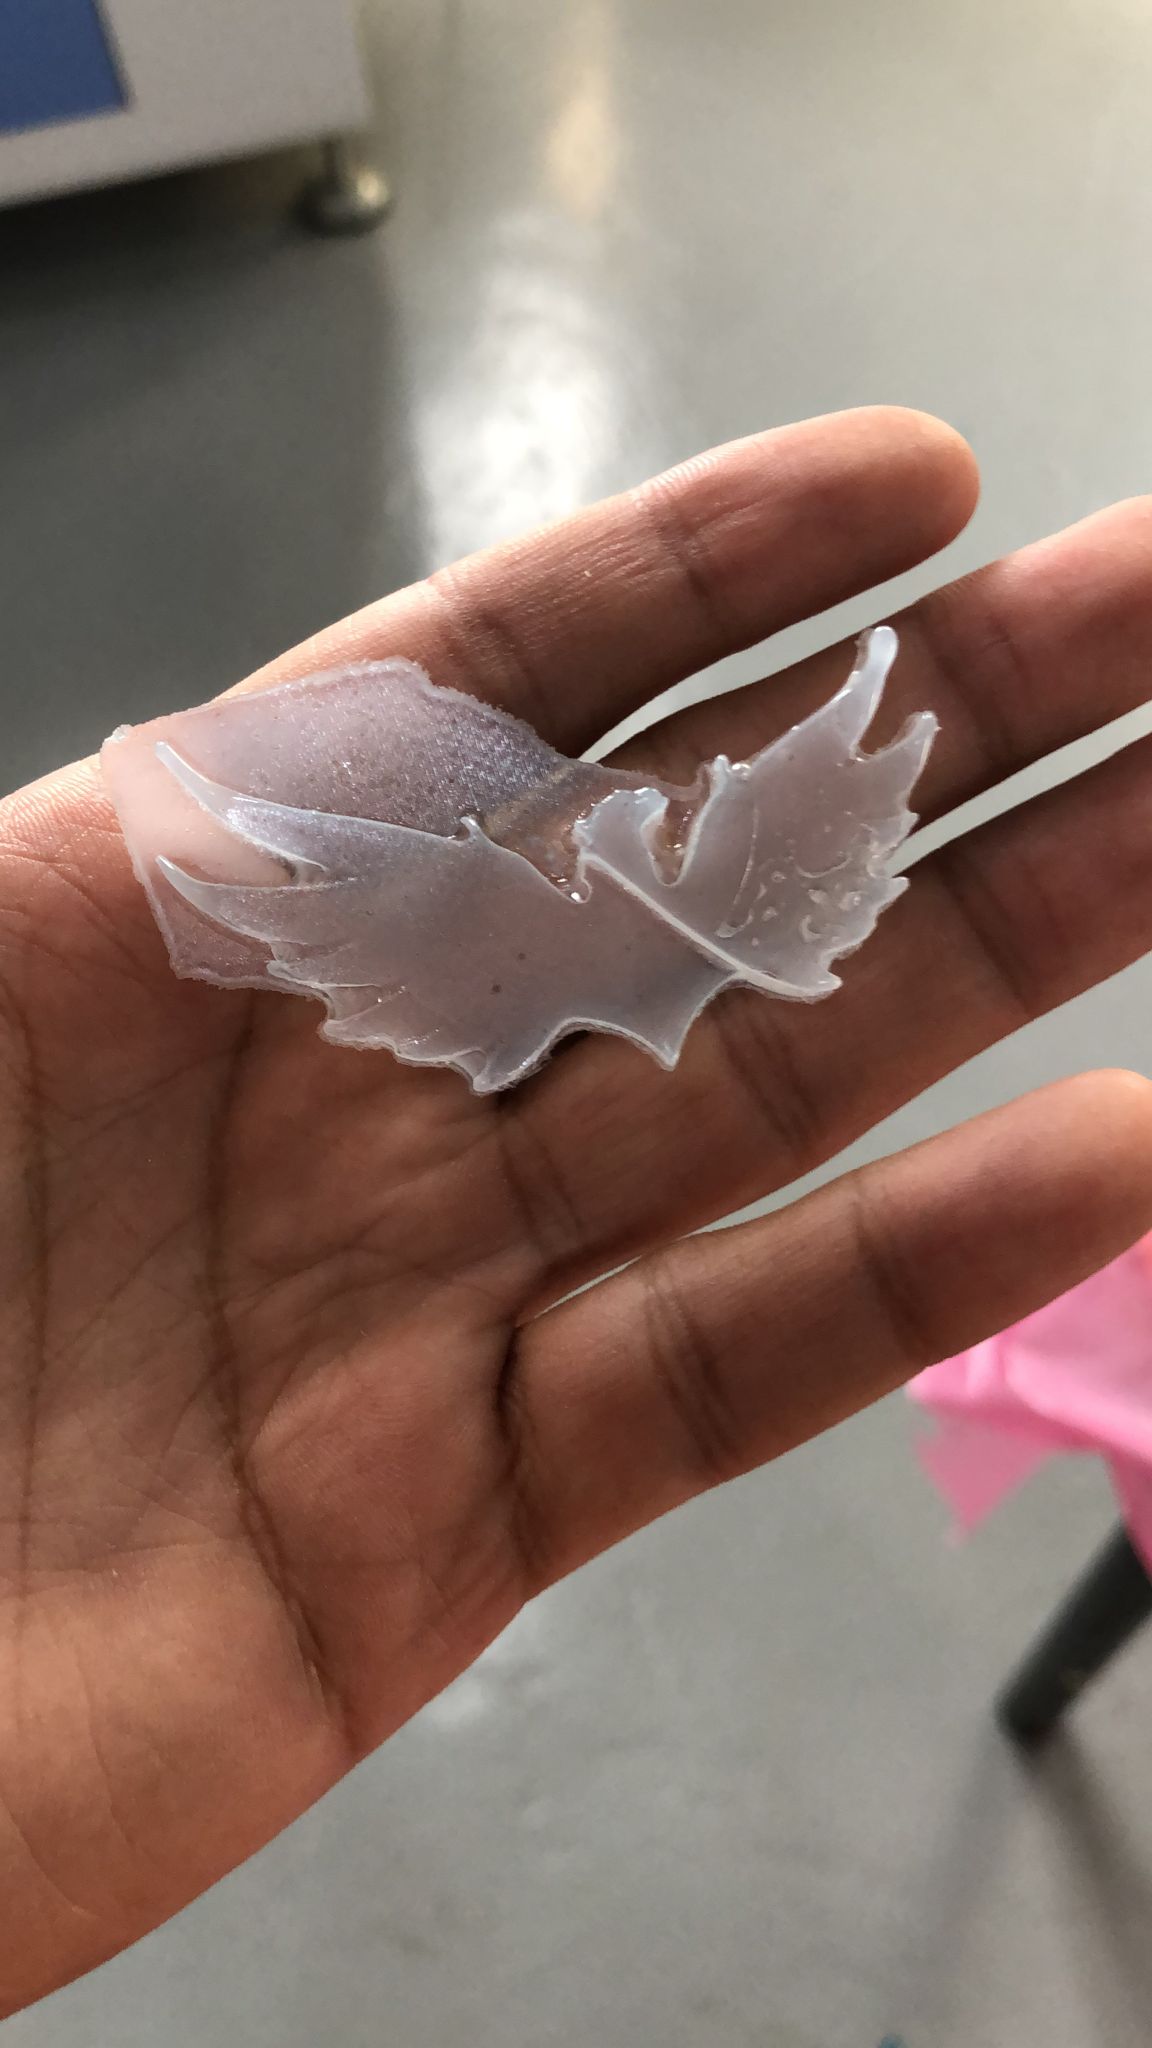
- and this is the final result a beautiful eagle
Last update:
August 16, 2022