8. Large format CNC (computer controlled Machining)
This week I worked on Large format CNC (computer controlled Machining)
Group assignment
for this week Ammar document about it here
Individual assignment
Vcarve
VCarve Pro provides a powerful but intuitive software solution for creating and cutting parts on a CNC Router. VCarve Pro gives you the power to produce complex 2D patterns with profile, pocket, drill and inlay toolpaths, plus gives you the ability to create designs with v-carving textures as well as import and machine unlimited Vectric 3D clipart or single model files. The ‘Pro’ edition gives you unlimited job and toolpath size, true shape nesting & job set-up sheets, ideally suited to a production environment.source
Designing
Before I start talk about let’s talk about the designing I will talk about the Balance board game.
Balance boards, is typically made of wood and has a flat top and a dome-shaped, unstable bottom in the center of the board. This allows the board to move in different directions. which include rocker boards and wobble boards, are a fitness tool you can stand on while performing exercises. Rocker boards can be rectangular or have a curved U-shape, which allows you to move from side to side or front to back. Wobble boards allow you to tilt the board in a circle or go “around the world”.
My design is inspired by this pinterest and this is a balance board of rocker type.
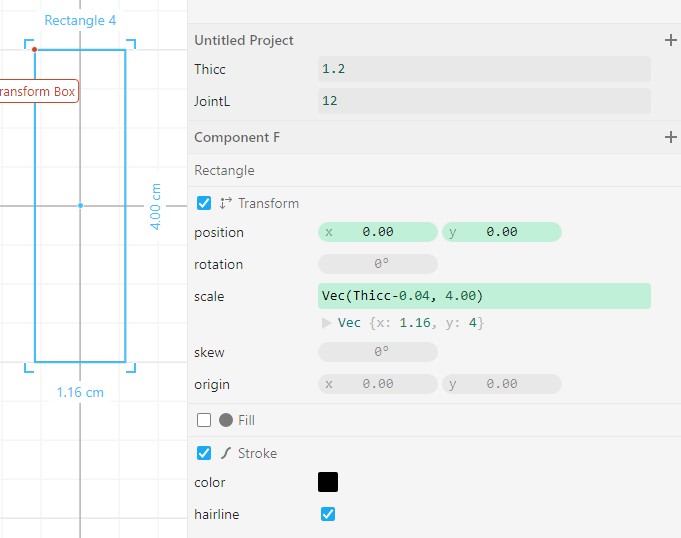
Now I will start designing using Cuttle xyz software.
-
Firstly, I put a simple circle with 60cm width and 50cm length.
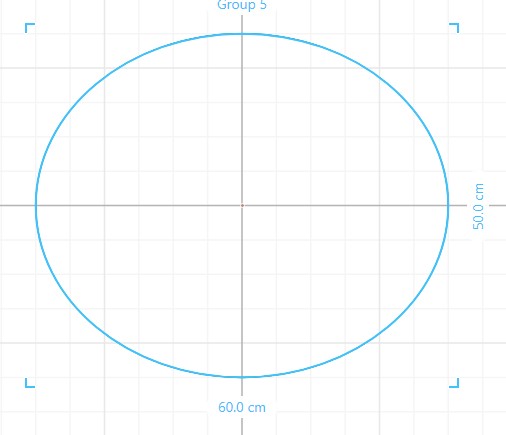
-
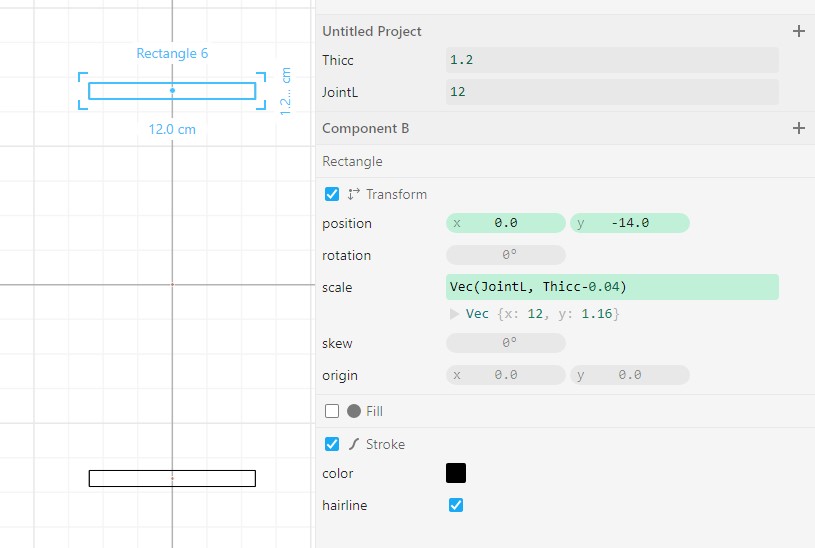
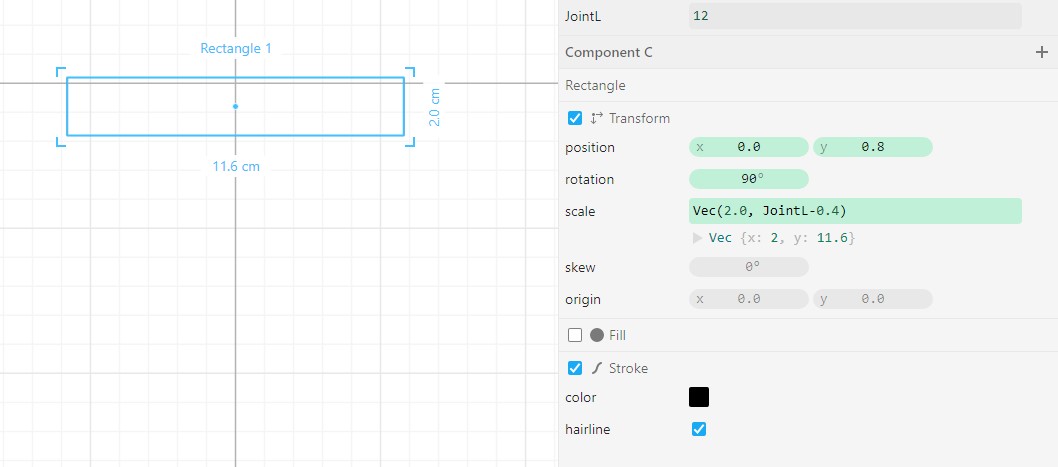
Secondly, I made 2 joints on the board and they have 2 parameters Joint length and material thickness. Also, I put 28cm space between them.
-
thirdly, Now I started making the joints for the board that will hold the curved U shape with the board.
-
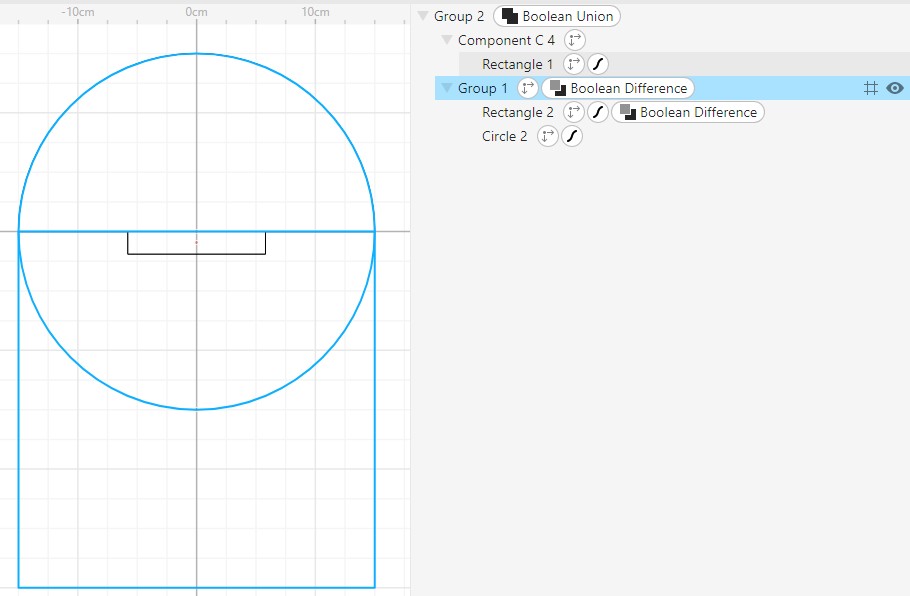
fourthly, To make carved U shaped I put a circle first 30cm width and length and I cut it using rectangle as seen below. After that I add the rectangle that I made here is 2cm long not 1.2cm as the wood thickness because I will put 2 board on each other one with just engraved with 8mm depth.
- fifthly, Here I added a joint for wood that will make the board more stable.
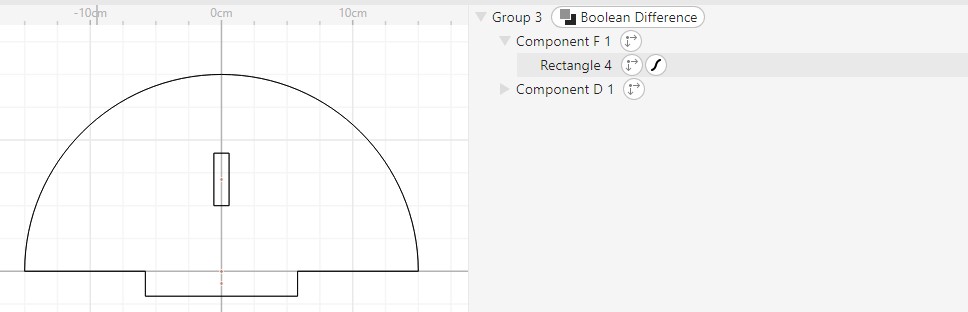
- sixthly, Now I made the stable wood with the joint as seen below.
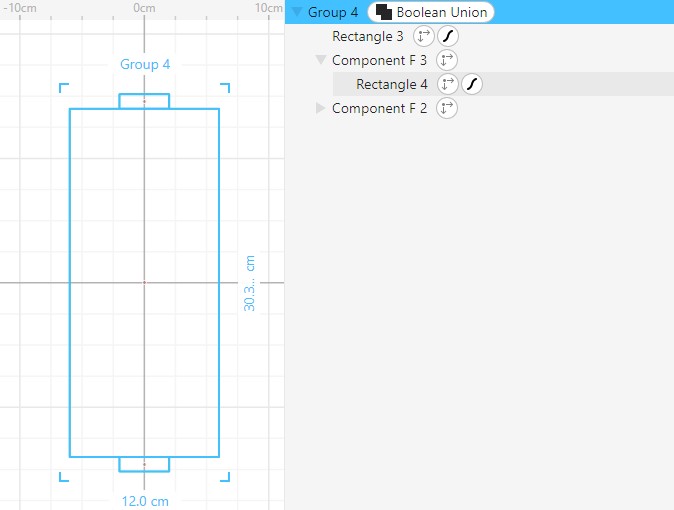
- this is the rectangle joint used above
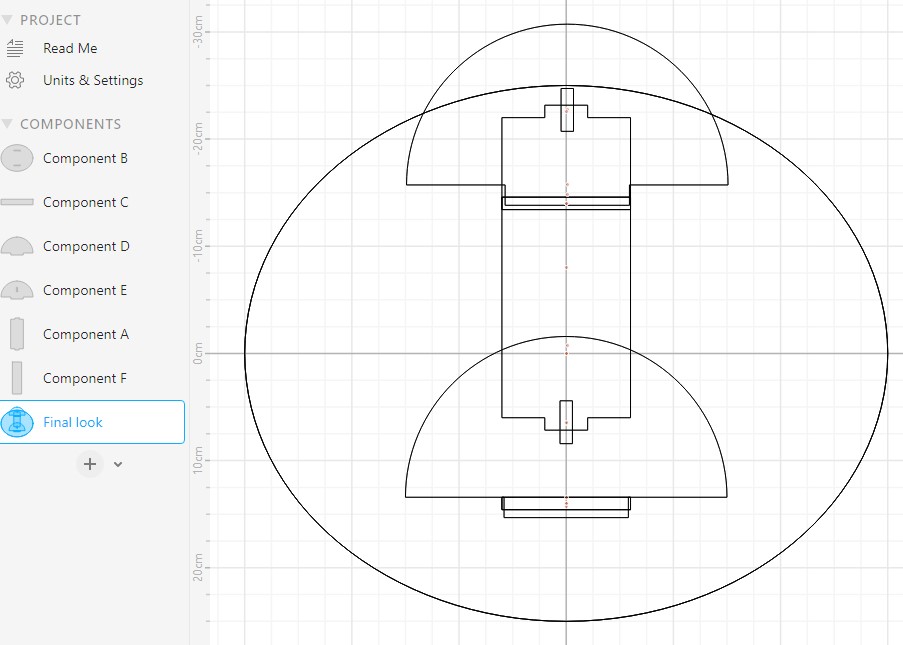
- And this is the final look for the design.
 Here you can download the BBG design
Cutting
In the cutting process we used a CNC machine to cut 12mm plywood.
- So first step I imported the design to the Vcarve software  - Second one create fillets for the joint
 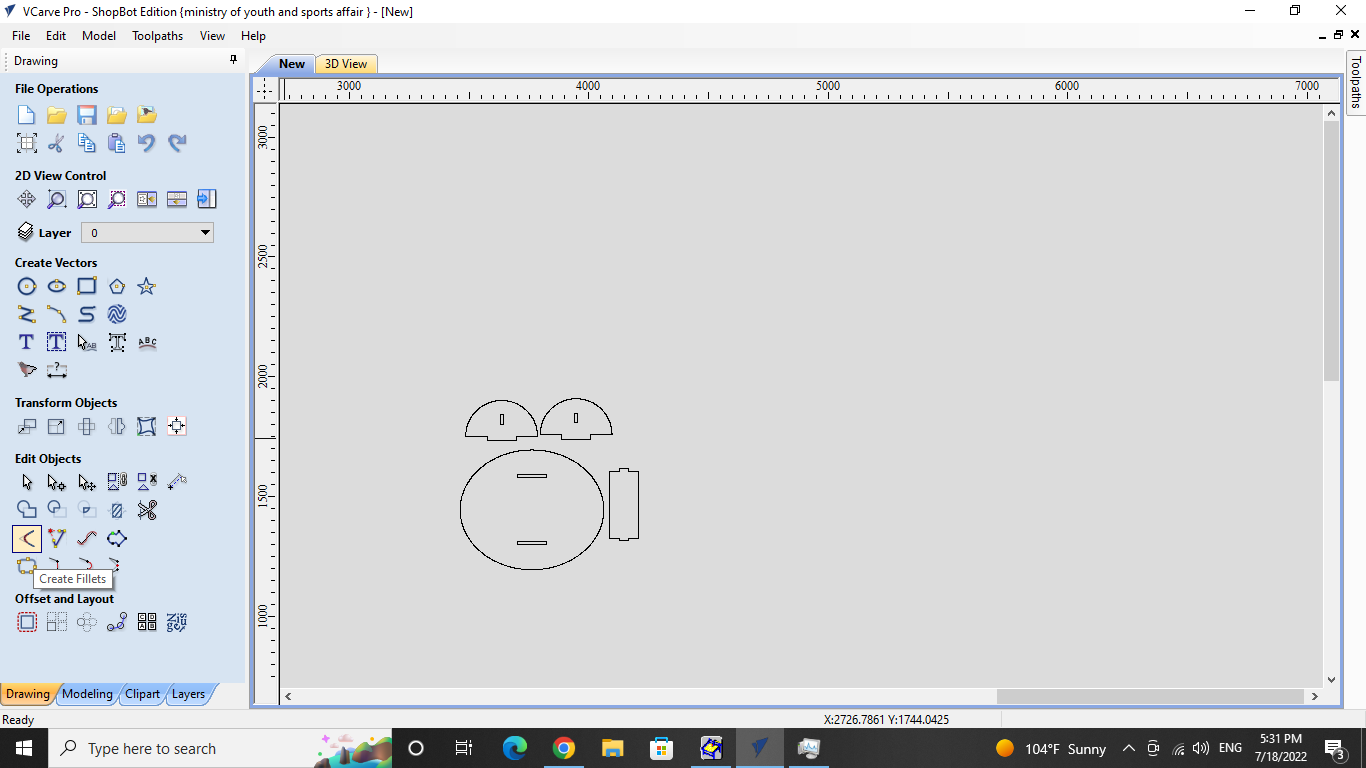 - I used the Dog-Bone fillet type
 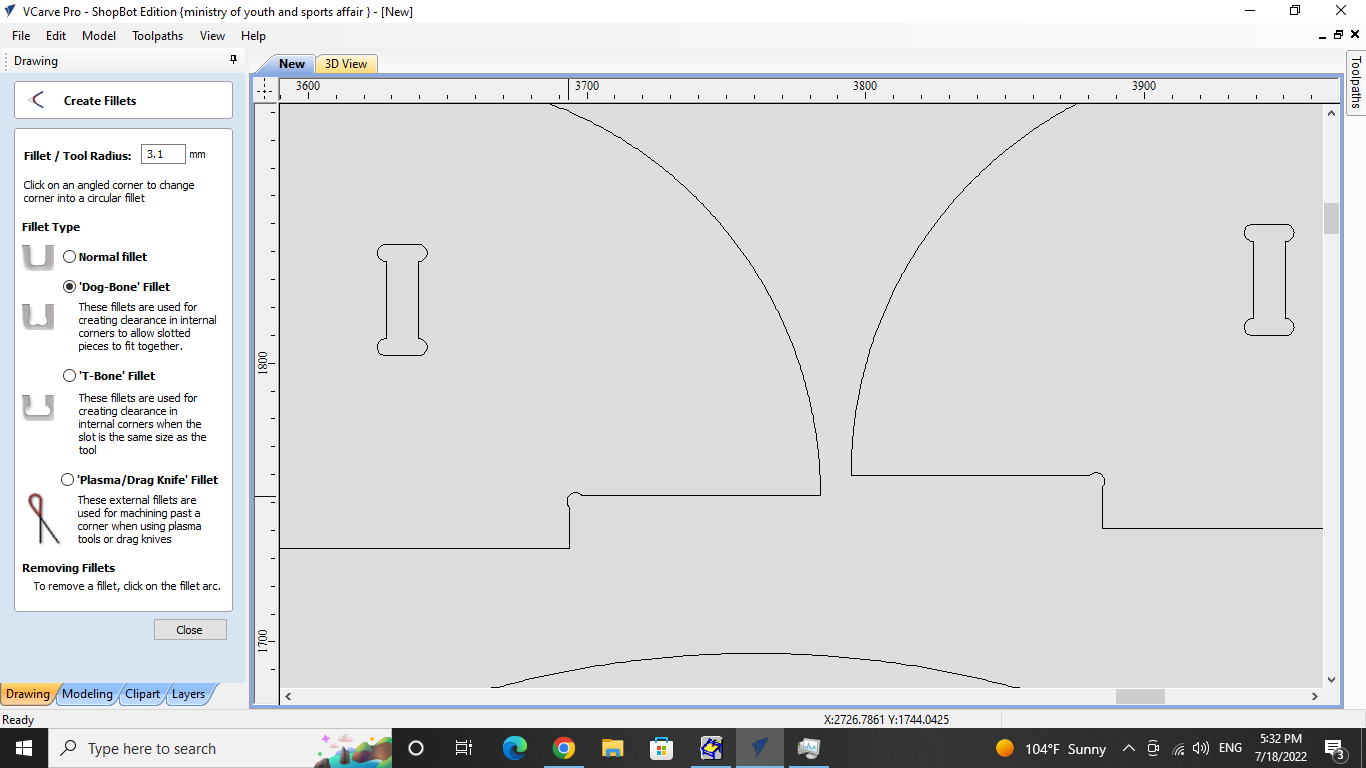 - Third step I edit the tool using the value we got from the group assignment
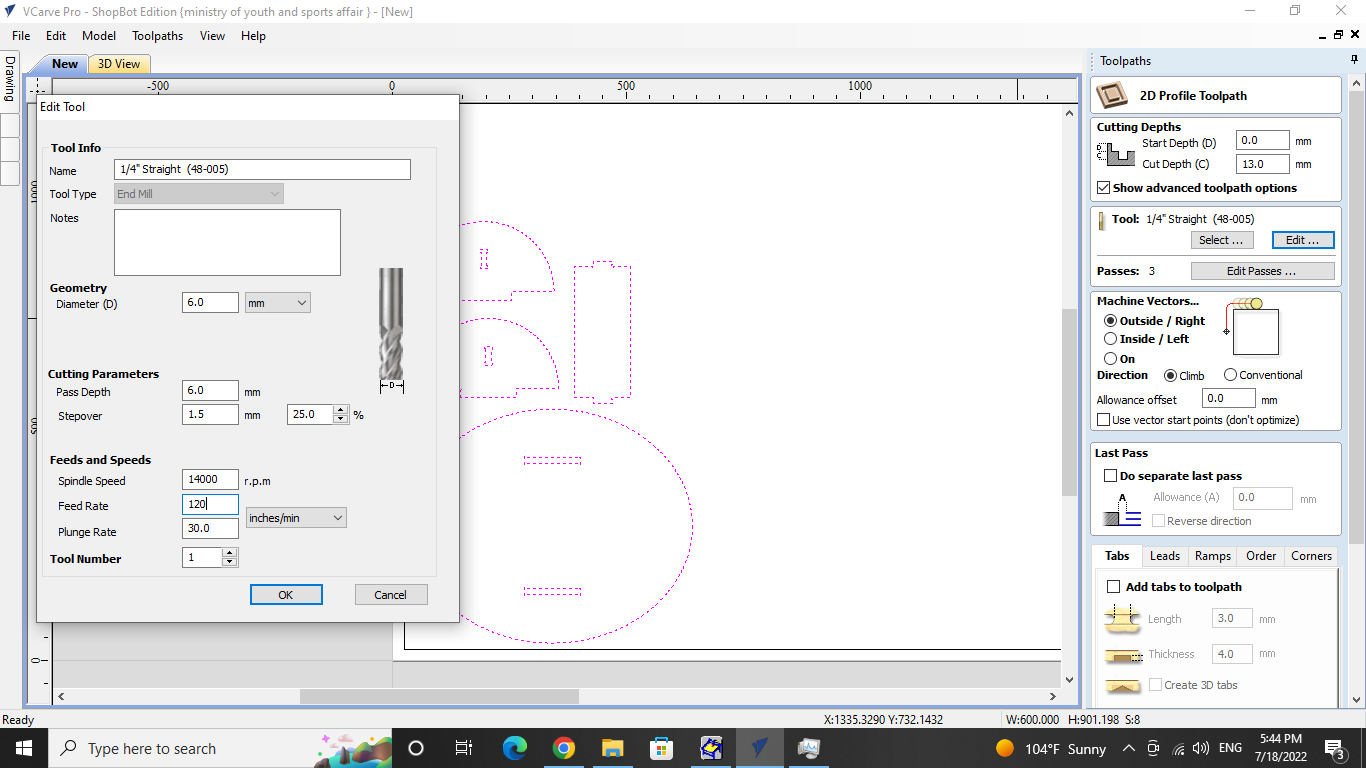 - Fourth step, I specified the path depth 6.5mm for 2 passes so the total depth is 13mm so will cut 1mm on the sacrifice sheet.
 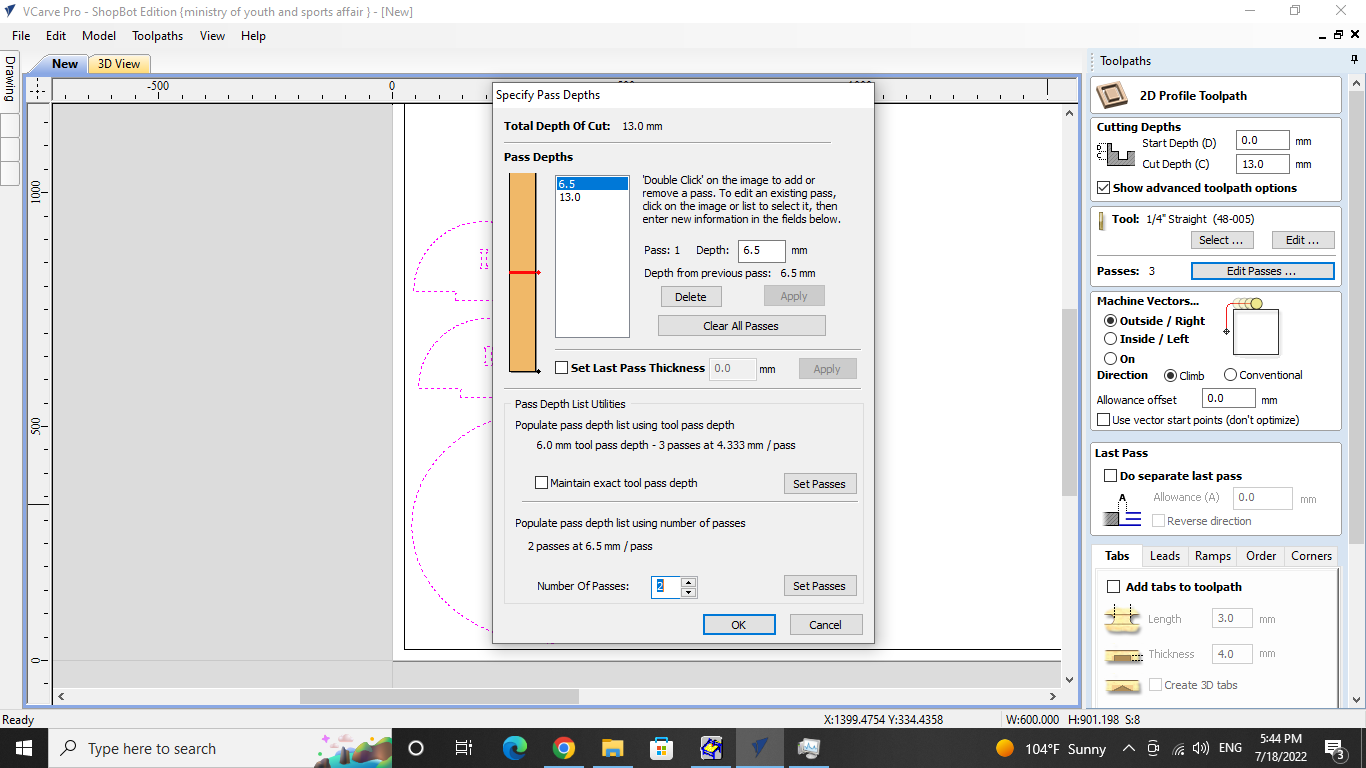 - Fifth step, I checked how the cut will be and if everything ok using the simulation available in the Vcarve.
 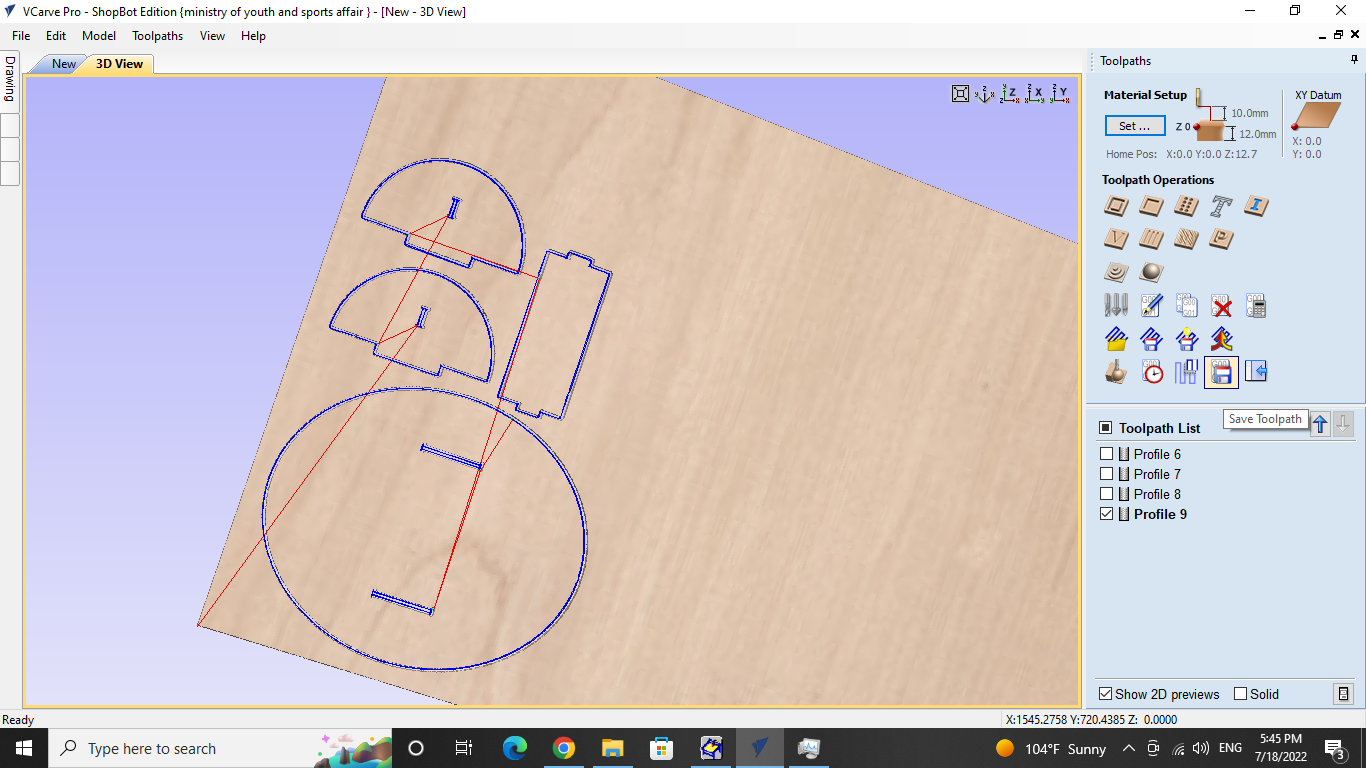 - Here is a warning about if you don’t have sacrifice sheet.
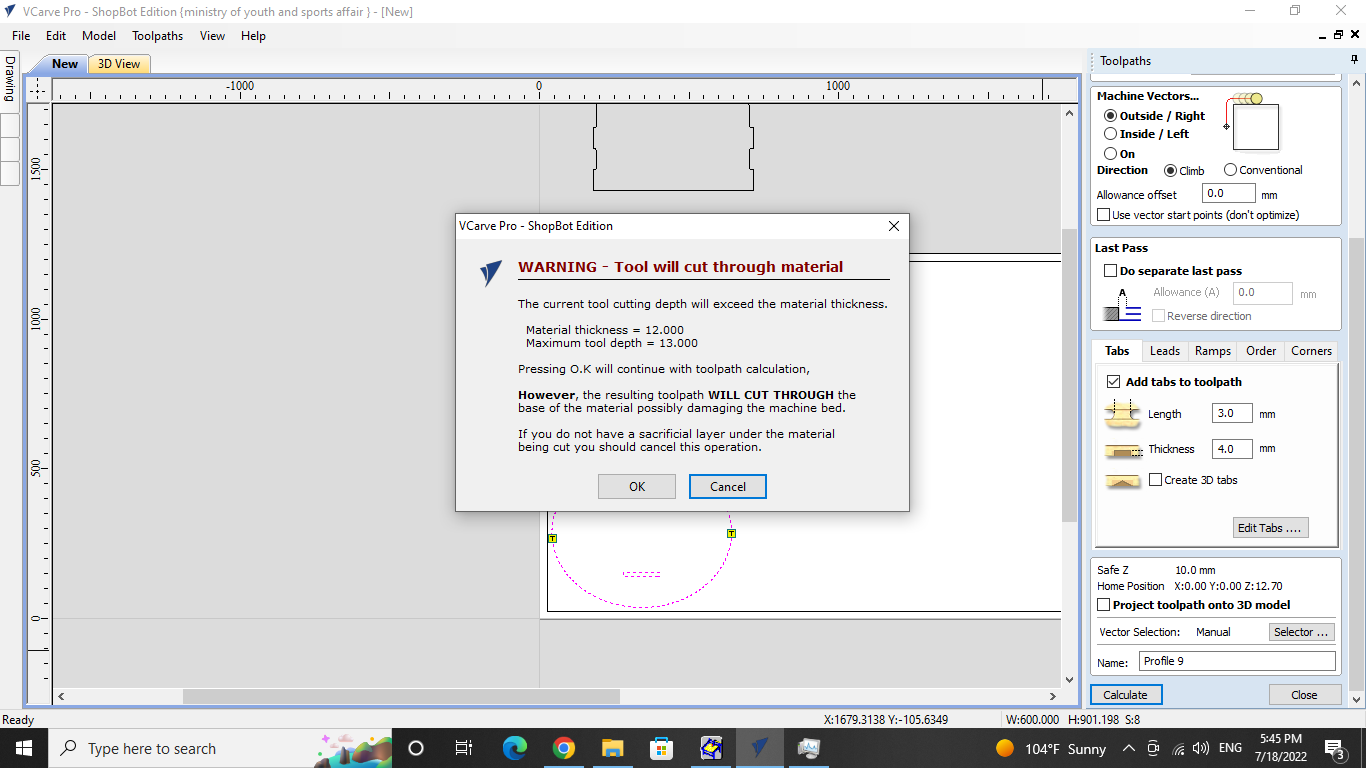 - Sixth step, I started setting the z for the bit.And started cutting after wearing the safety equipment.
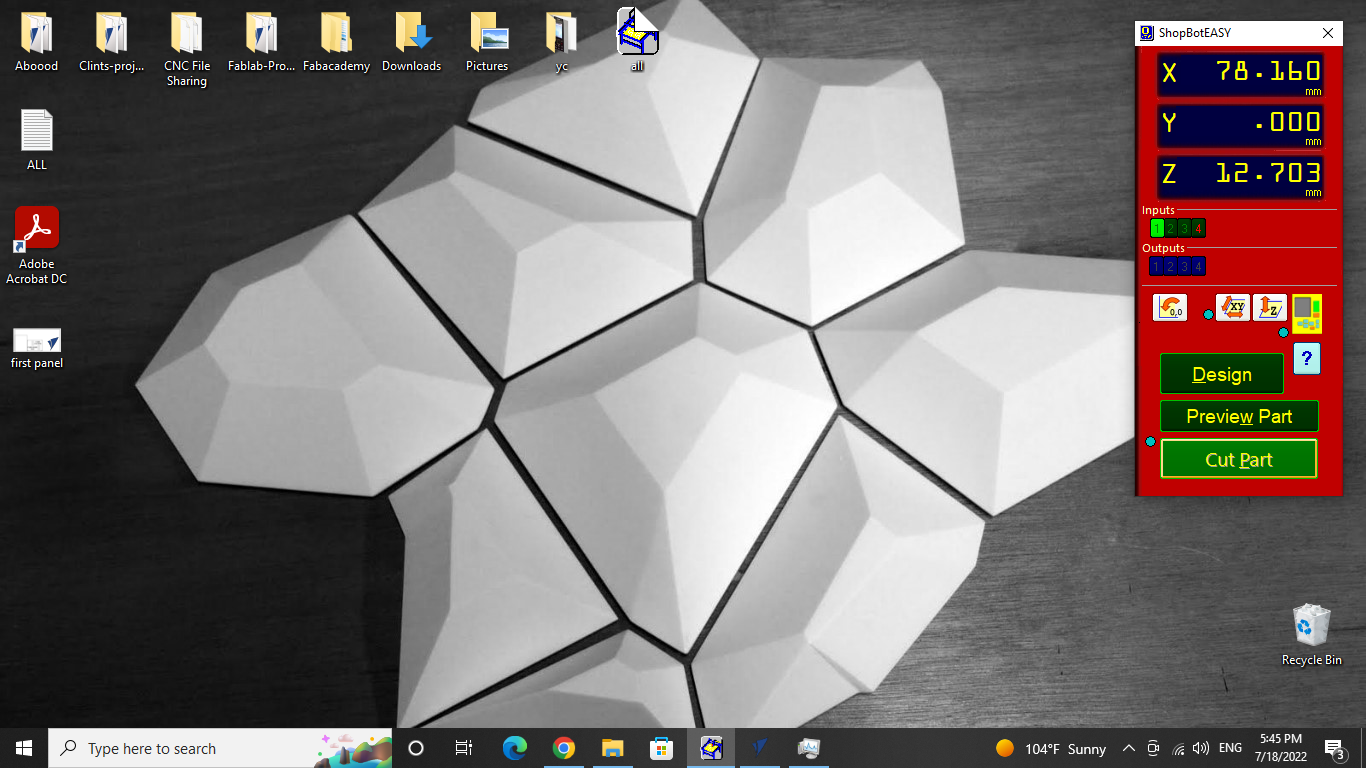
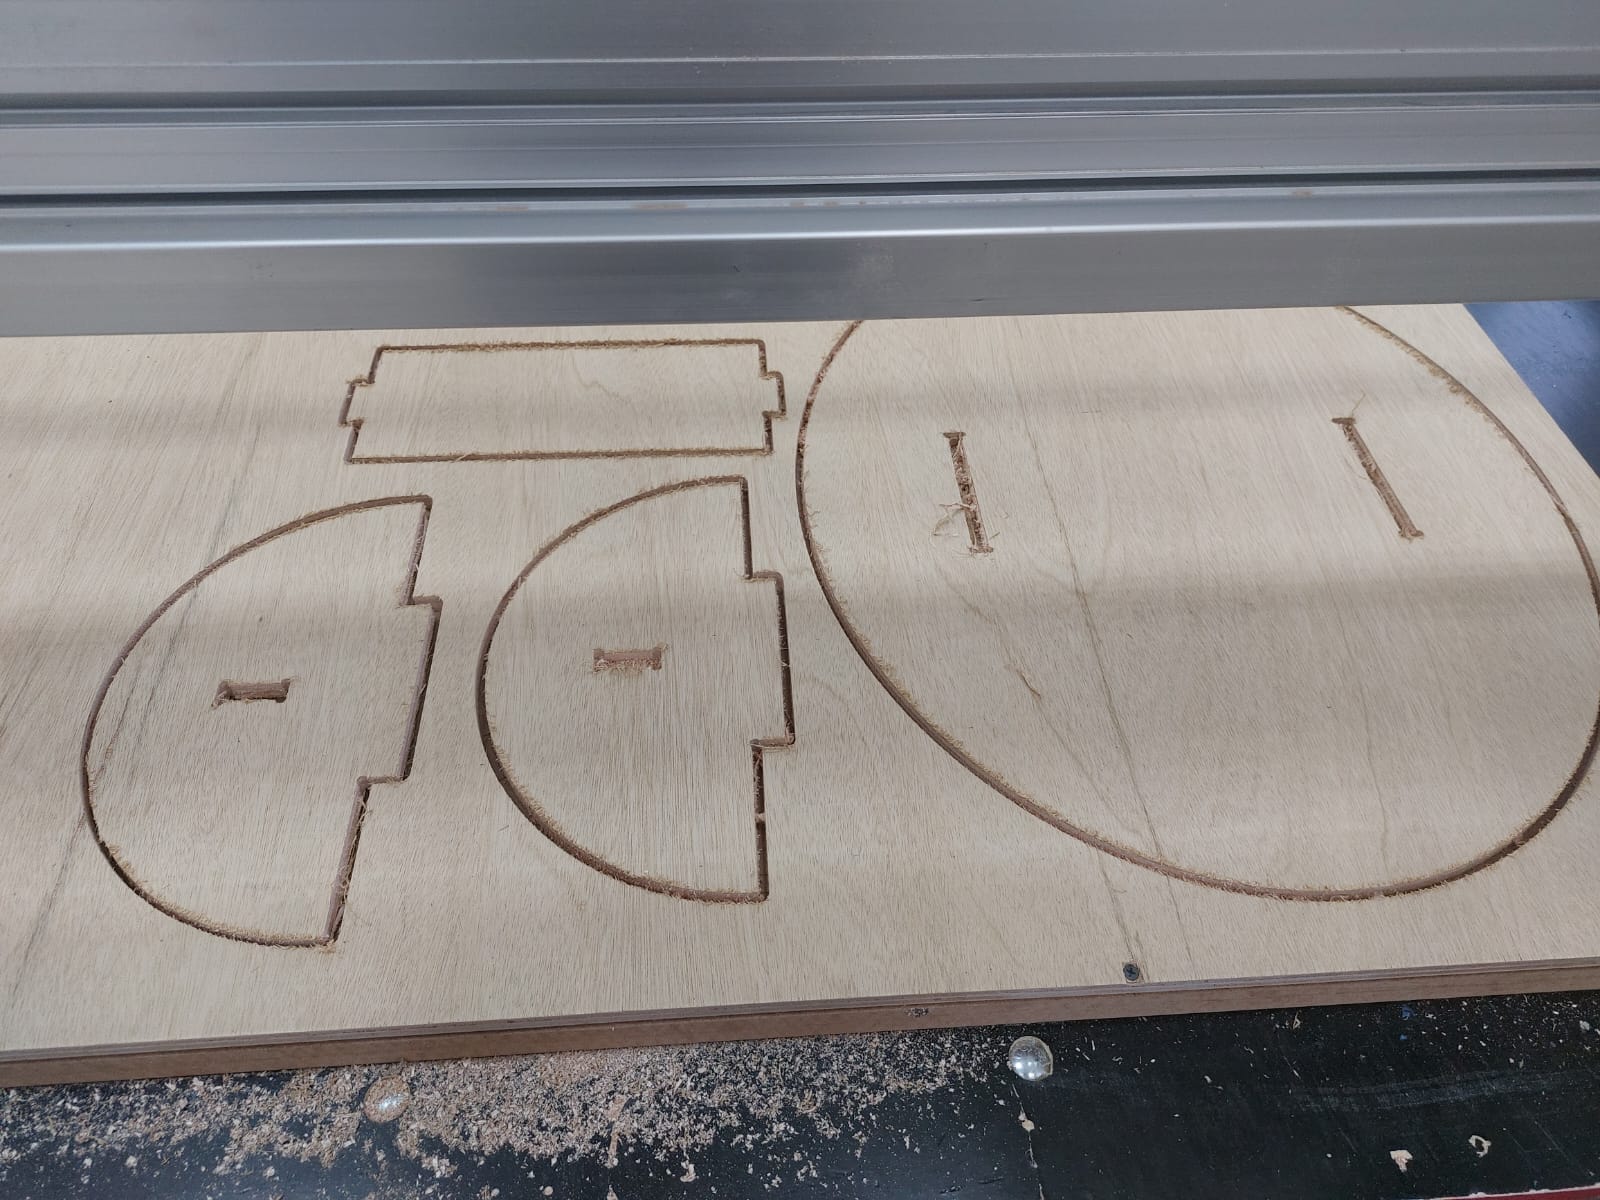
- And this is the result.
Sanding and final touch
sanding process was a little tough job because some joints needed more sanding to fit in also I made the rectangle joint in wrong size firstly so I cut it again. 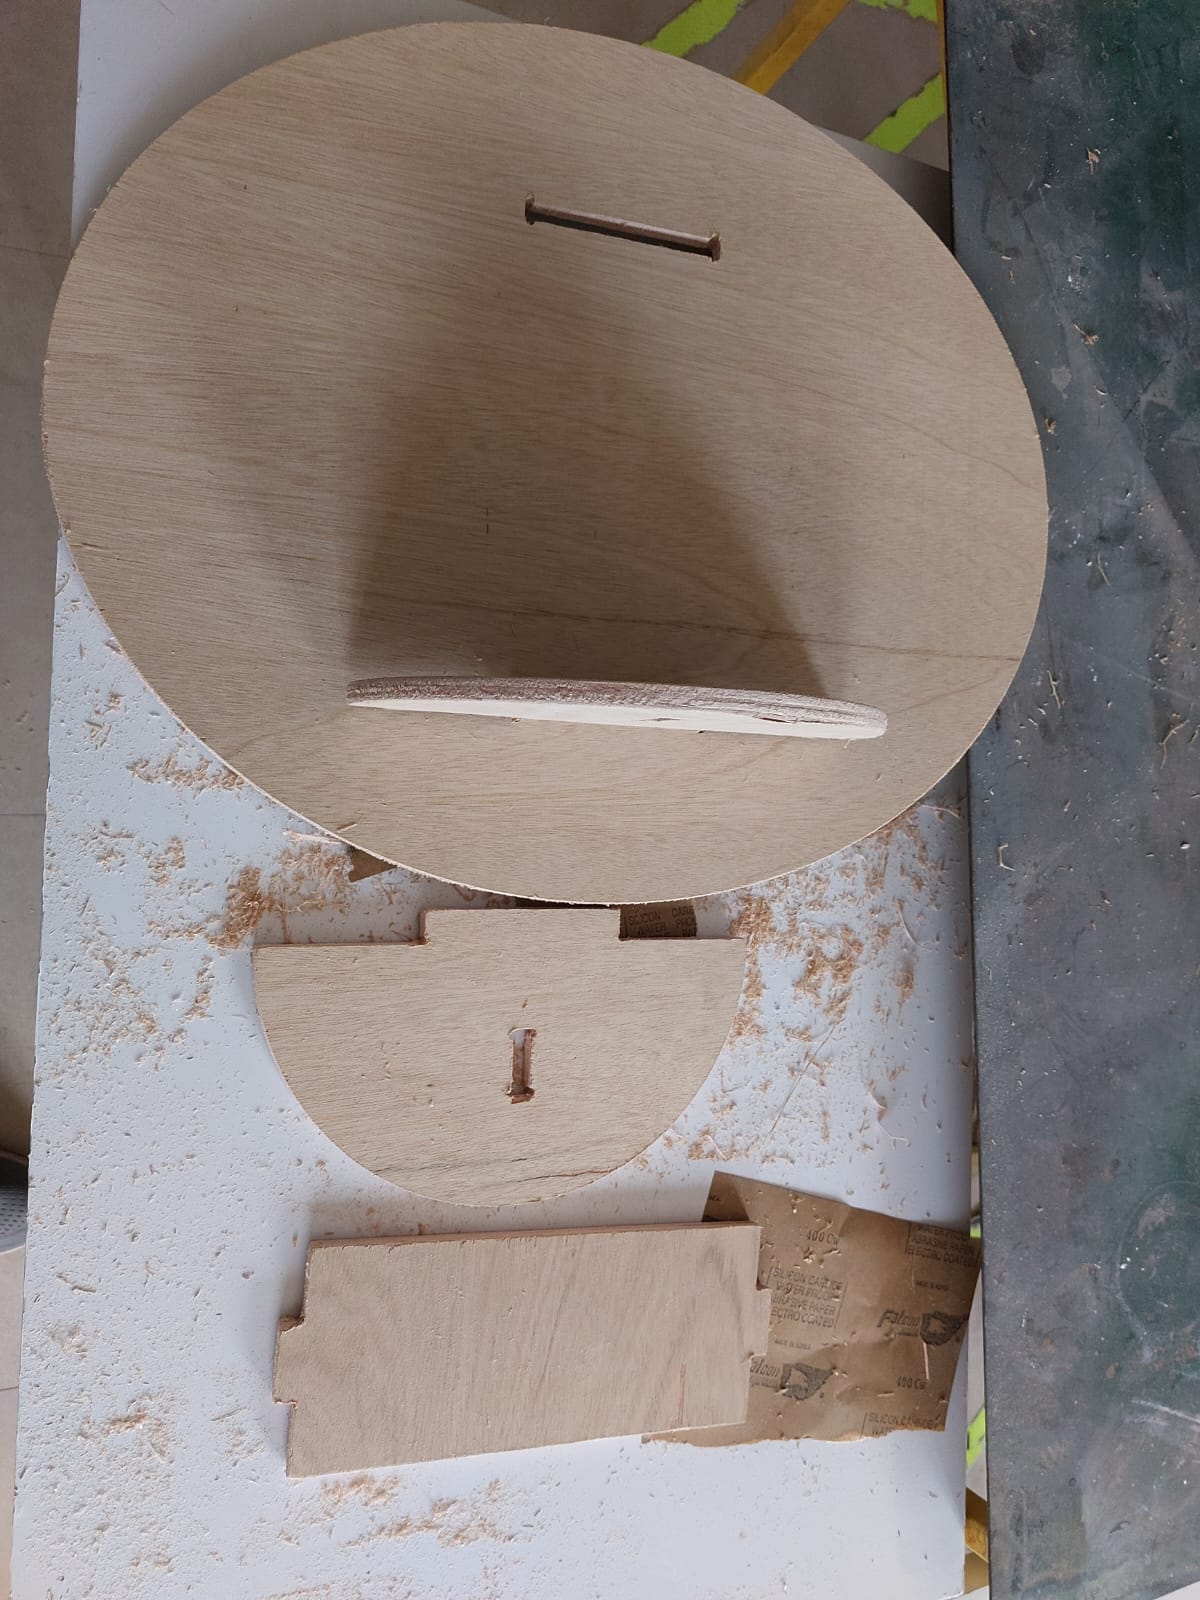 After the sanding and checking everything is okay I cut another board to put on the first one and I used this board for engraving on the laser cutter.
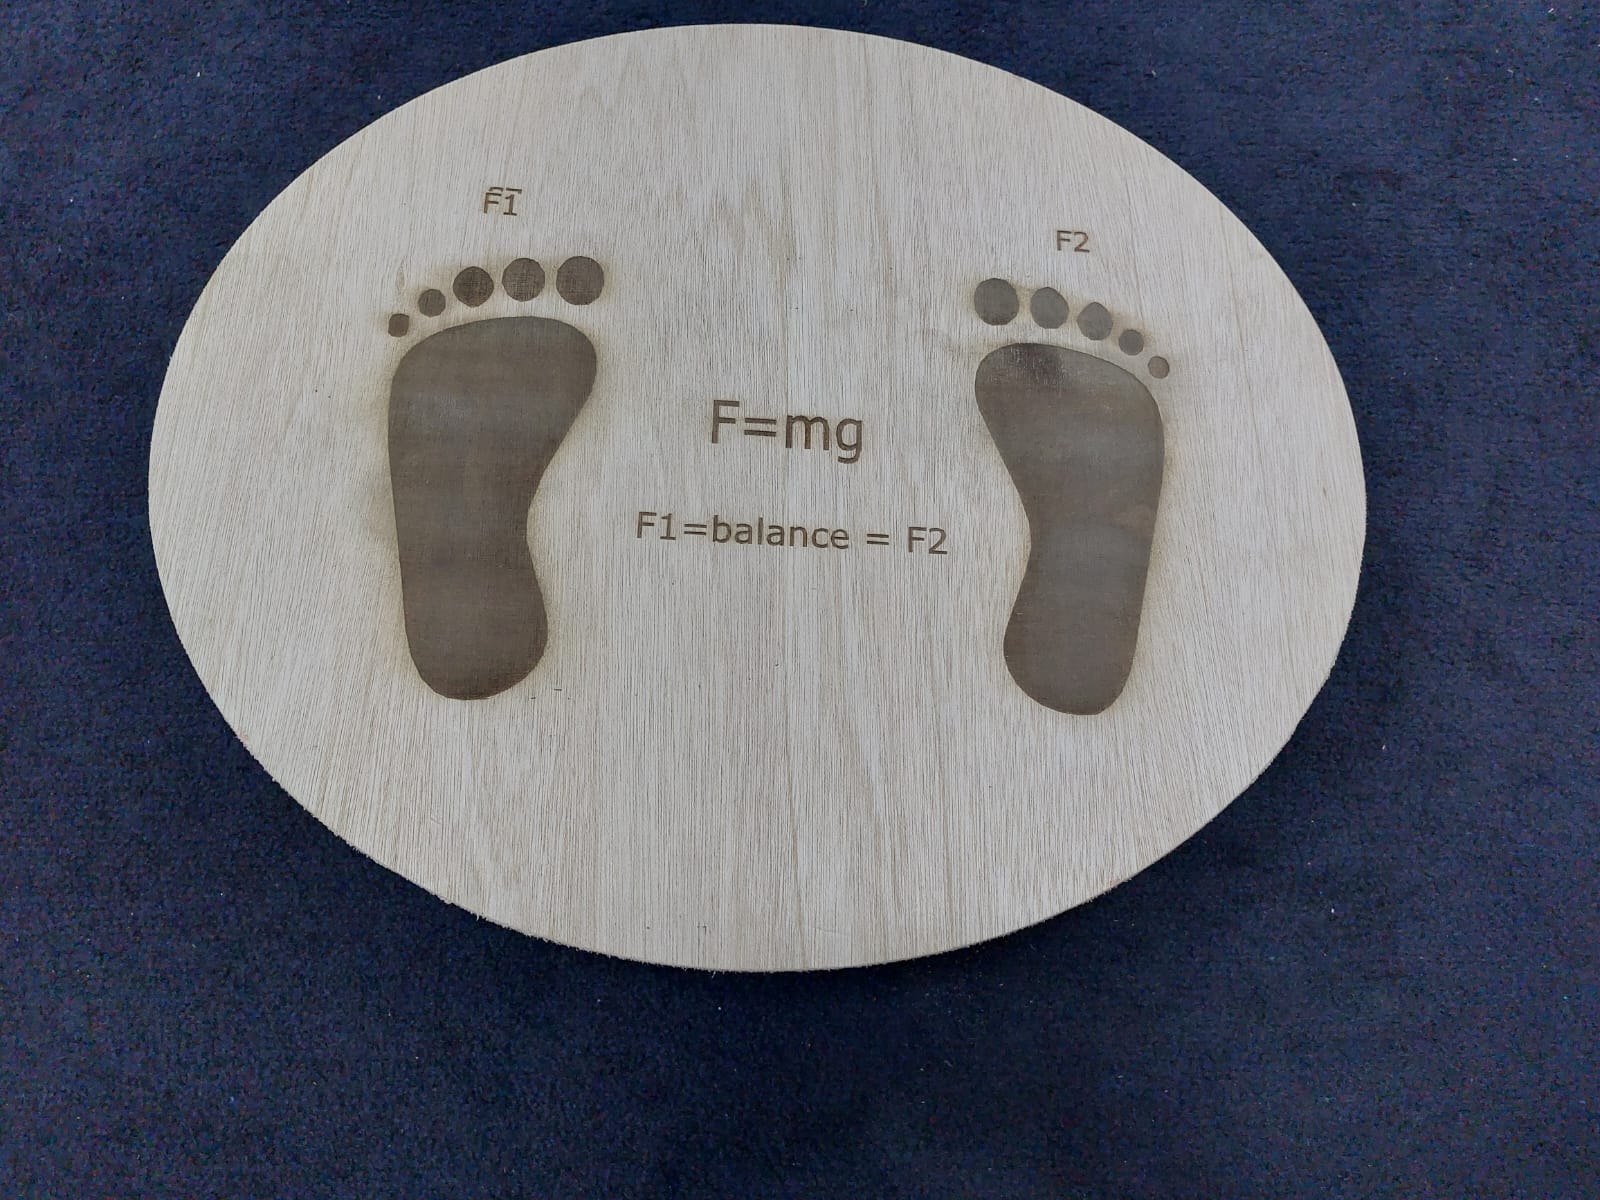
I made this simple design on inkscape  click here to download it
- Now laser engraving
click here to download it
- Now laser engraving 
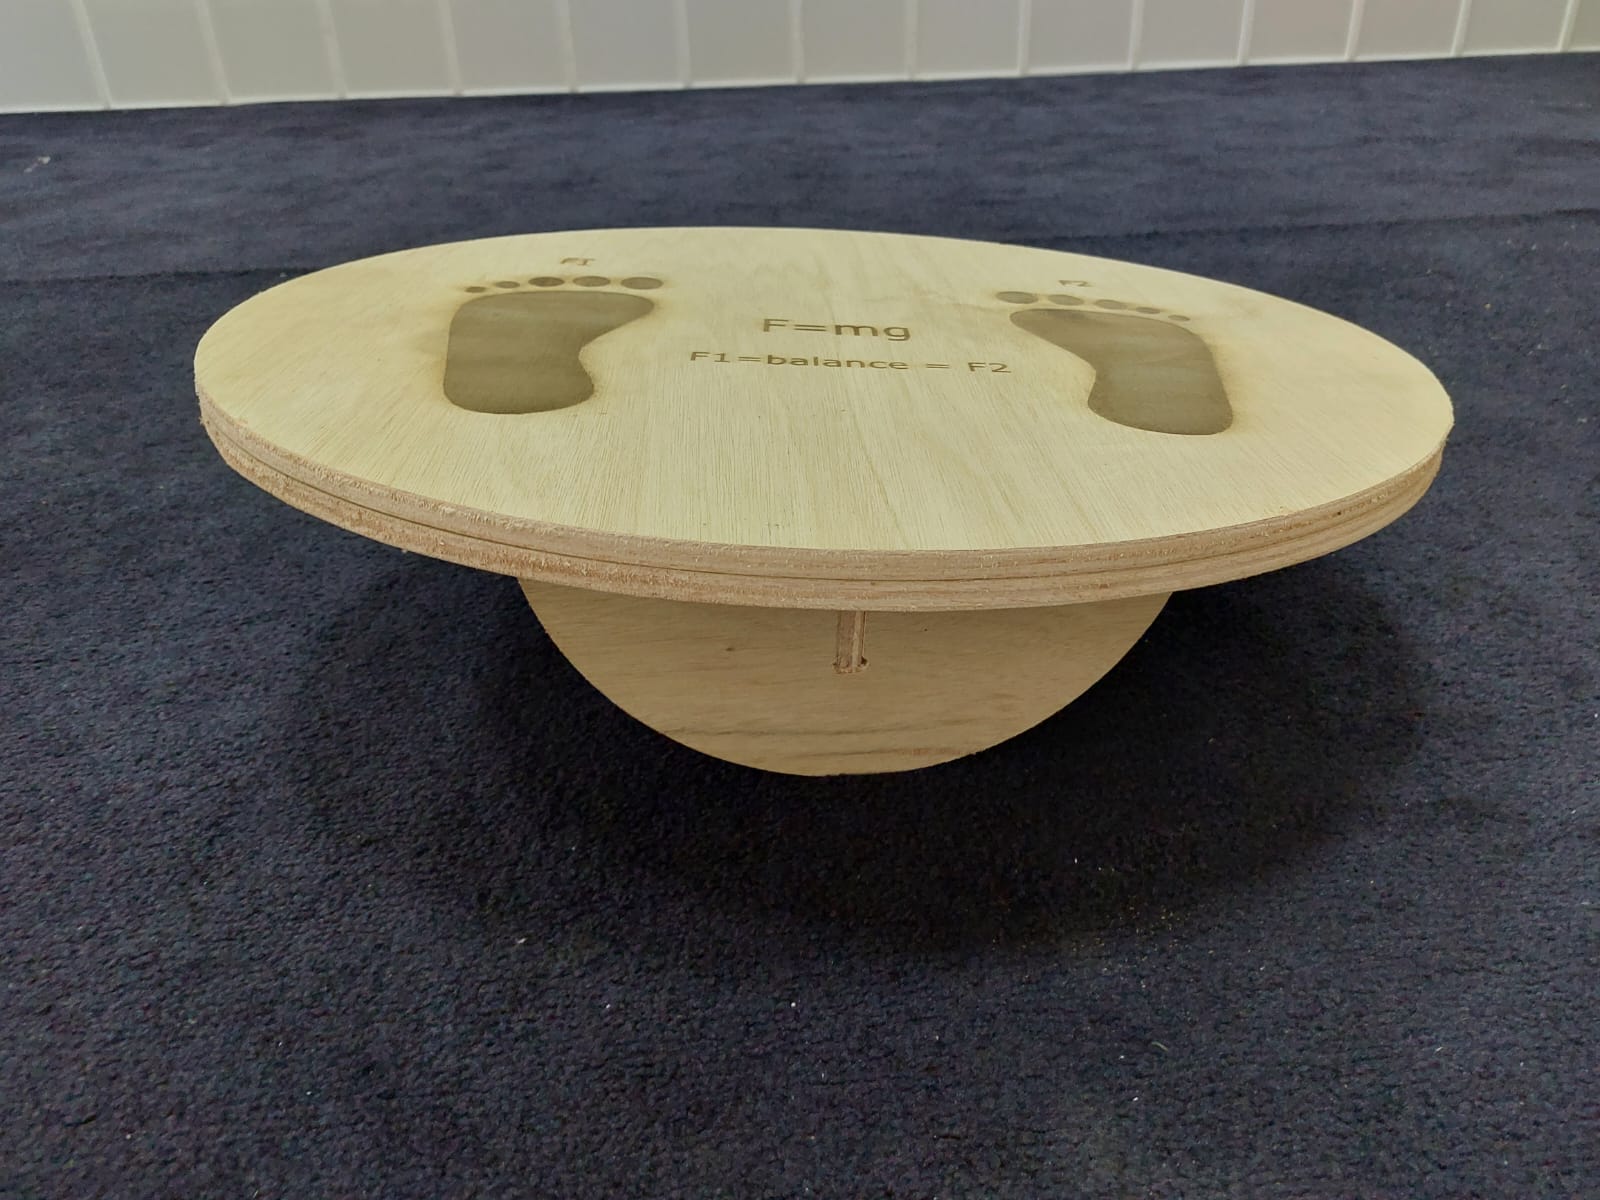
- and put in everything together. this is the final result.