4. Computer controlled cutting
Group assignment
Individual assignment
Construction Kit Designing
For the construction kit I used cuttle to design it. - I started with a simple circle and a rectangle component for jointing
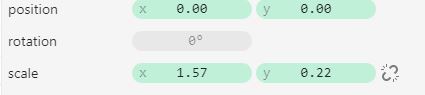
- after that I changed the rectangle size to be good fitting using the scaling component where here the x is for changing the depth and the y is for material thickness that we got from the fitting test 0.22cm.
-
where the y parameter here change the joint width depend if the material thickness (for our cardboard 0.22cm ) and x parameter determined the joint depth.
-
at the end I put the rectangle component inside the circle and did rotational repeat on it and Boolean difference for both of them.
 this parameter for change the number of joints in the design.
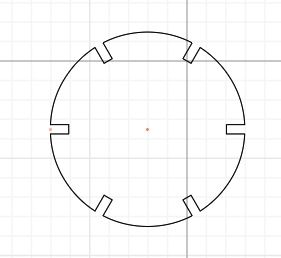
- so with these three parameter in the design I can say that my design is parametric design.
laser cutting
Here I started by testing my design in RDWorks software
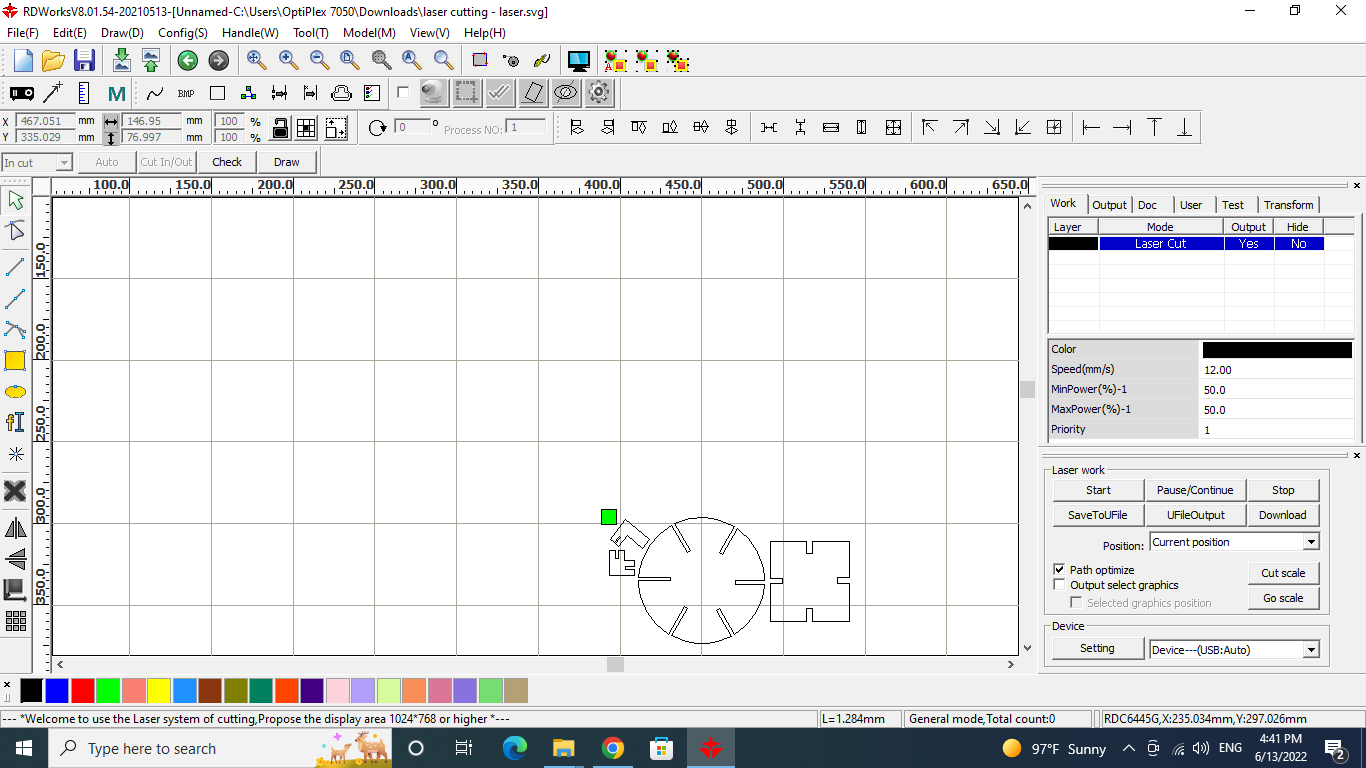 So after arranging the design in the software I changed the power and the speed as we got from the group assignment also we used the cut processing mode.
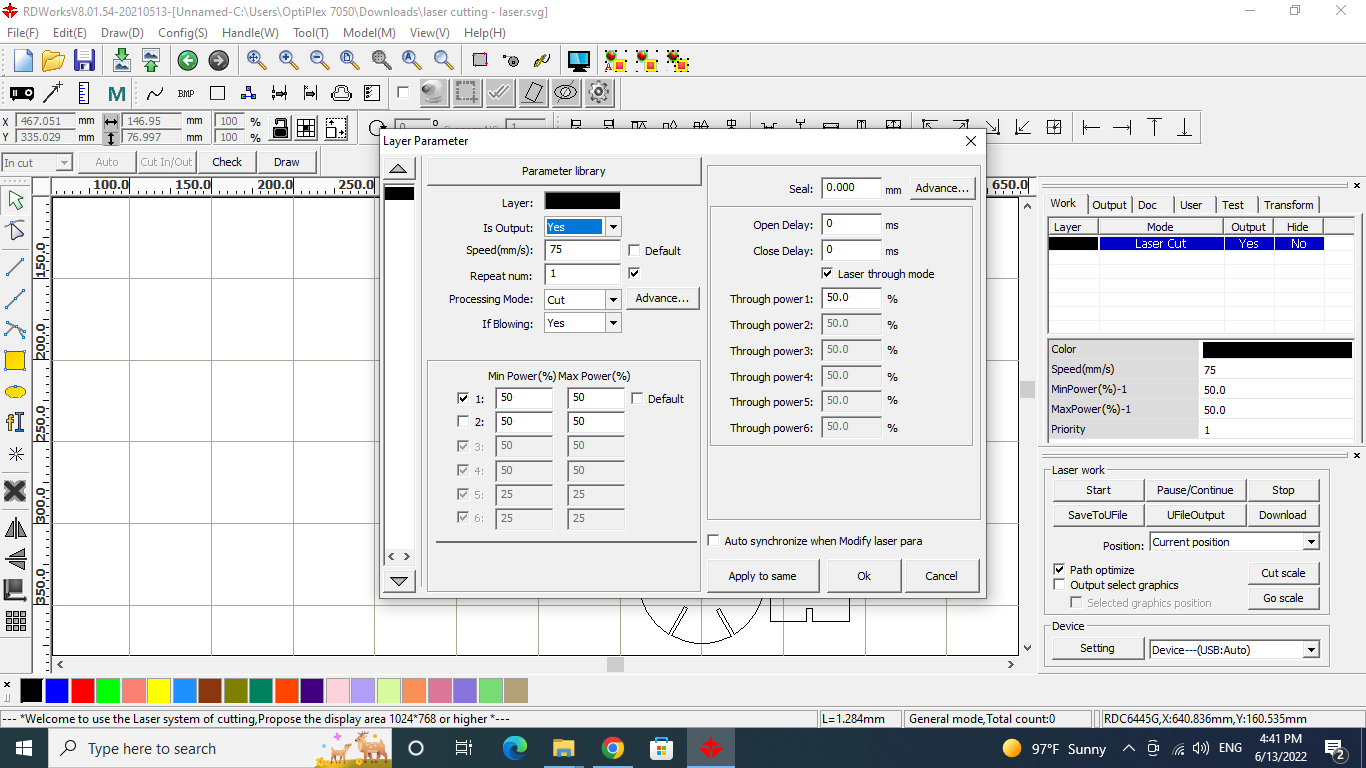 after setting everything up and download the file in the laser machine, I put the cardboard in the laser machine, adjusted the focal point and frame the laser cutter in the right position, now finally starting cutting the by click start.
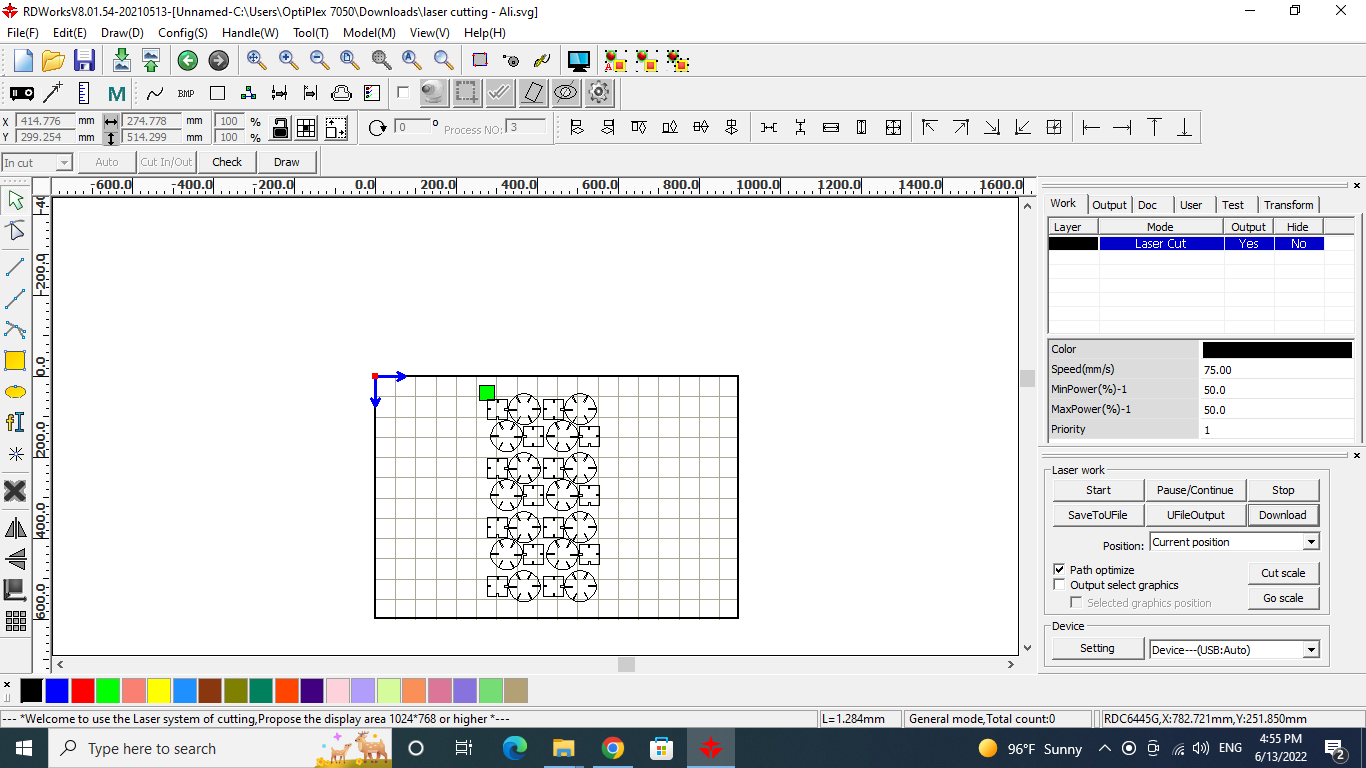 The test results was great so here I started to cutting more of it and did the same process again.
final results
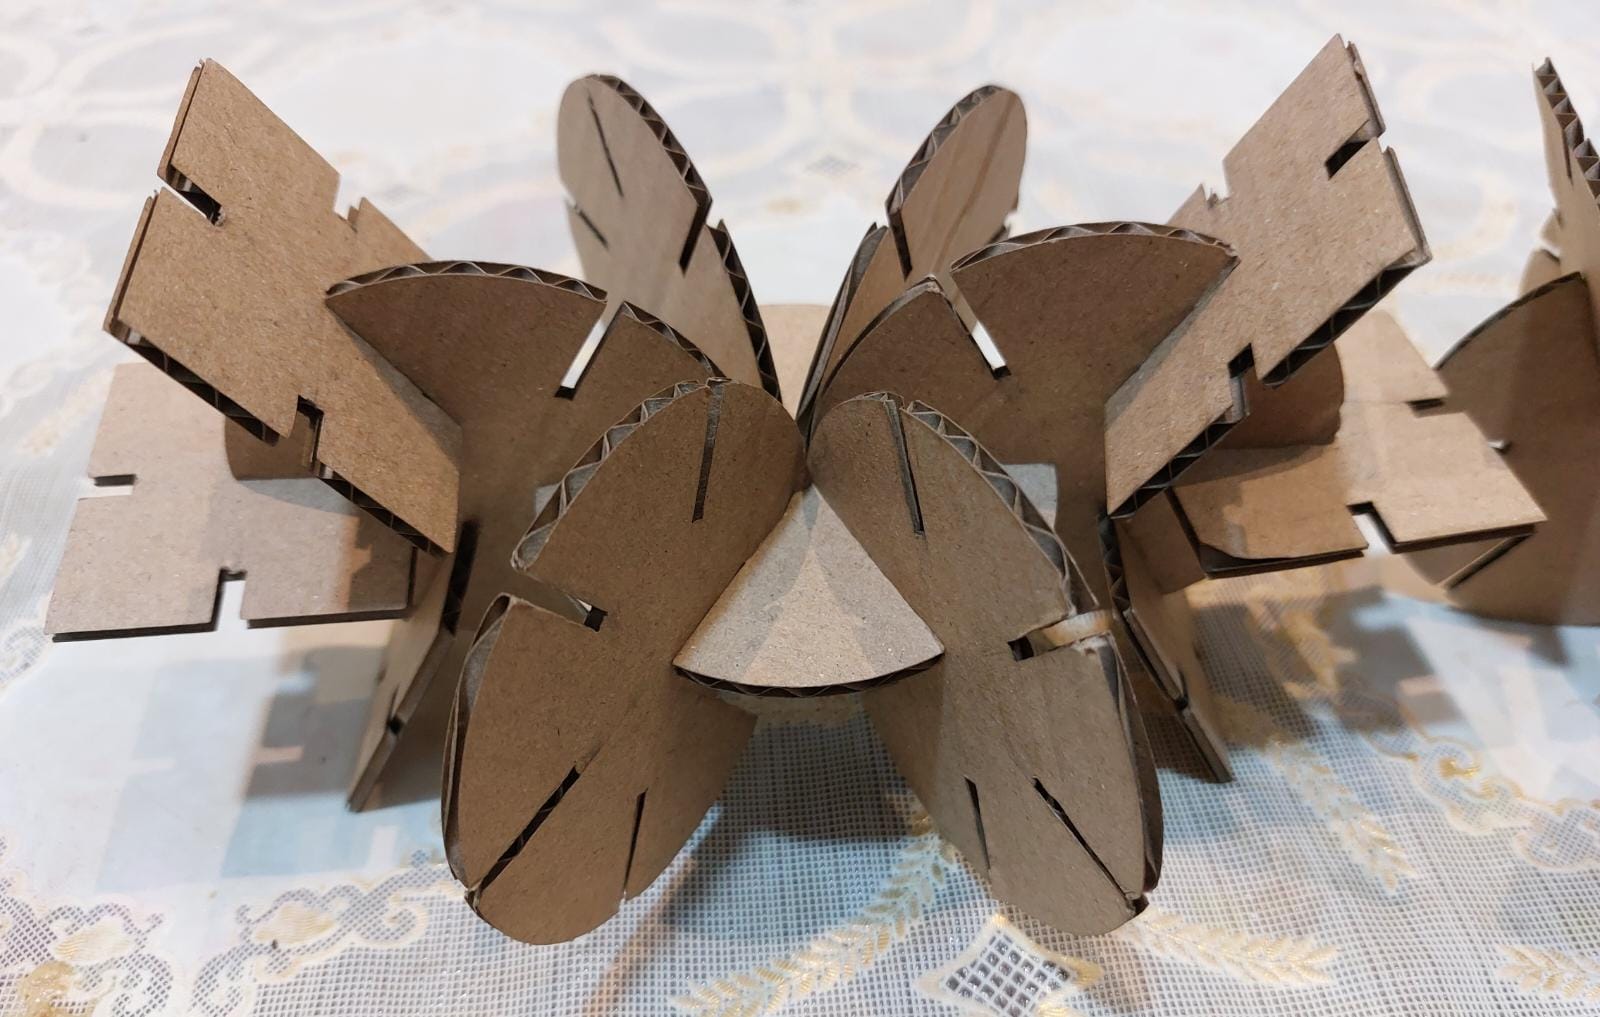 - Overall the parametric press-fit construction kit is done and designed well.
- I could improve the design by putting some curves in the joint edge for easily joint together.
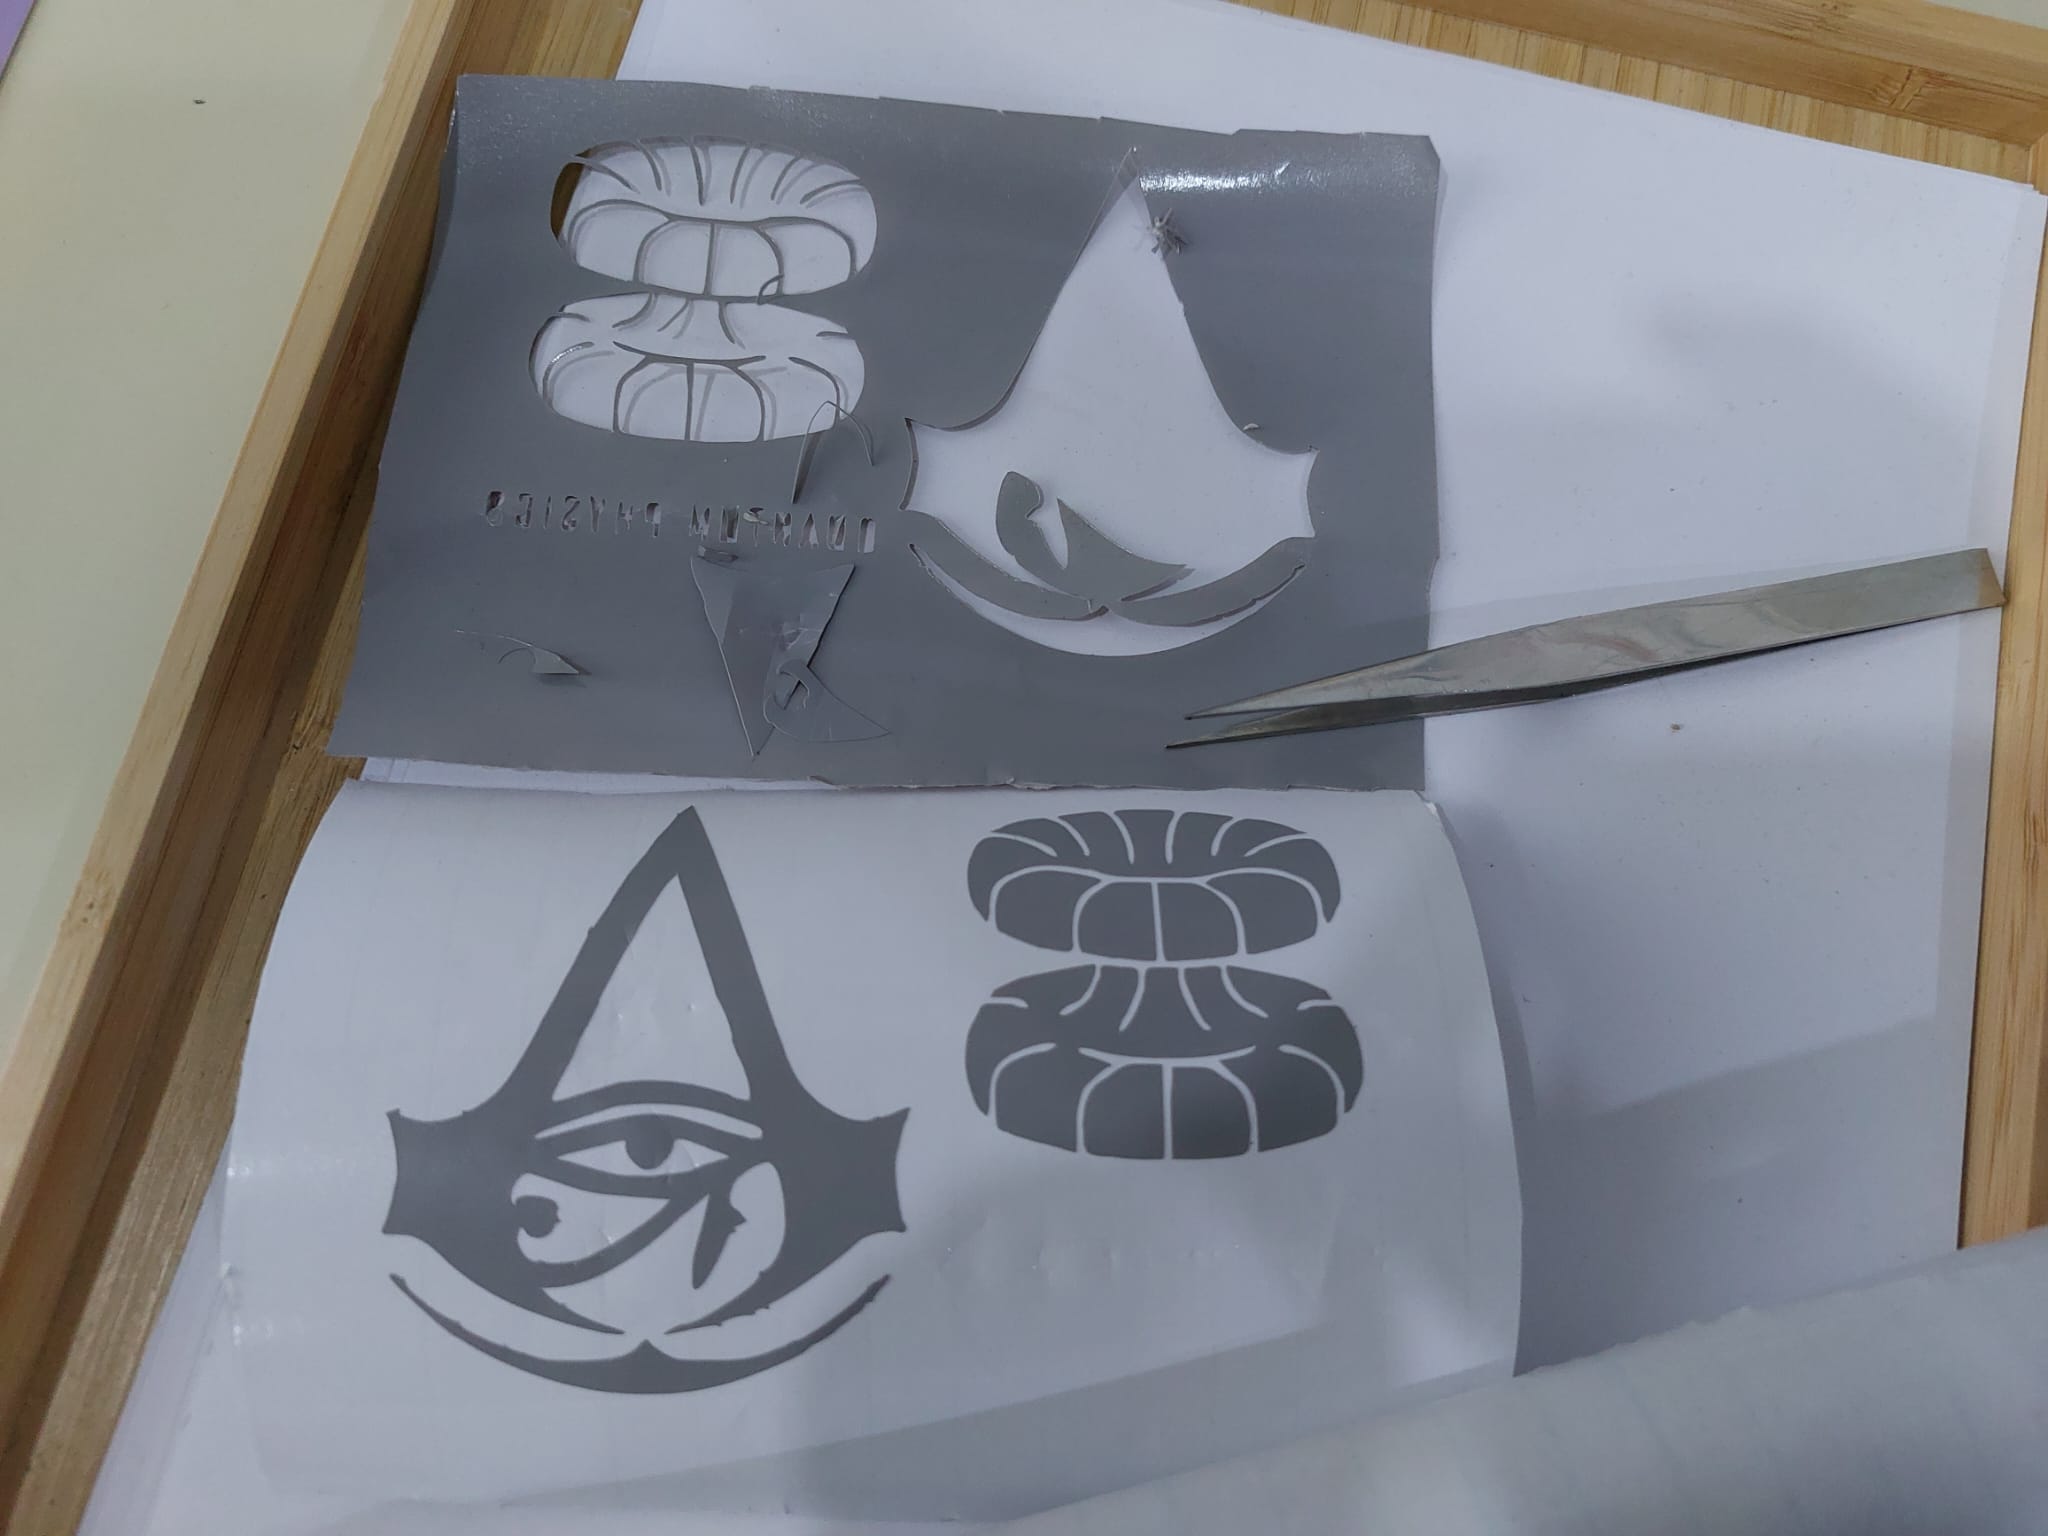
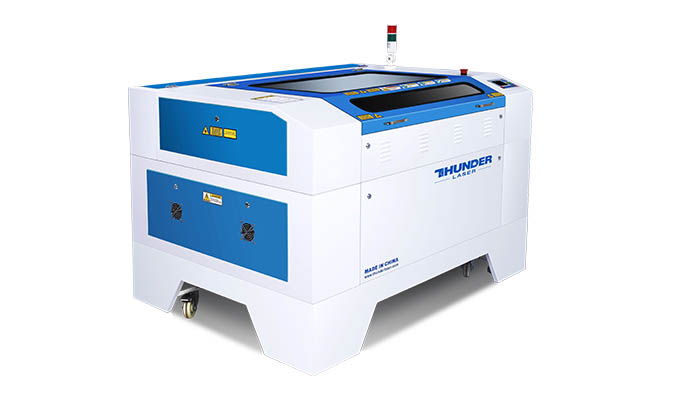
Vinyl Cutter
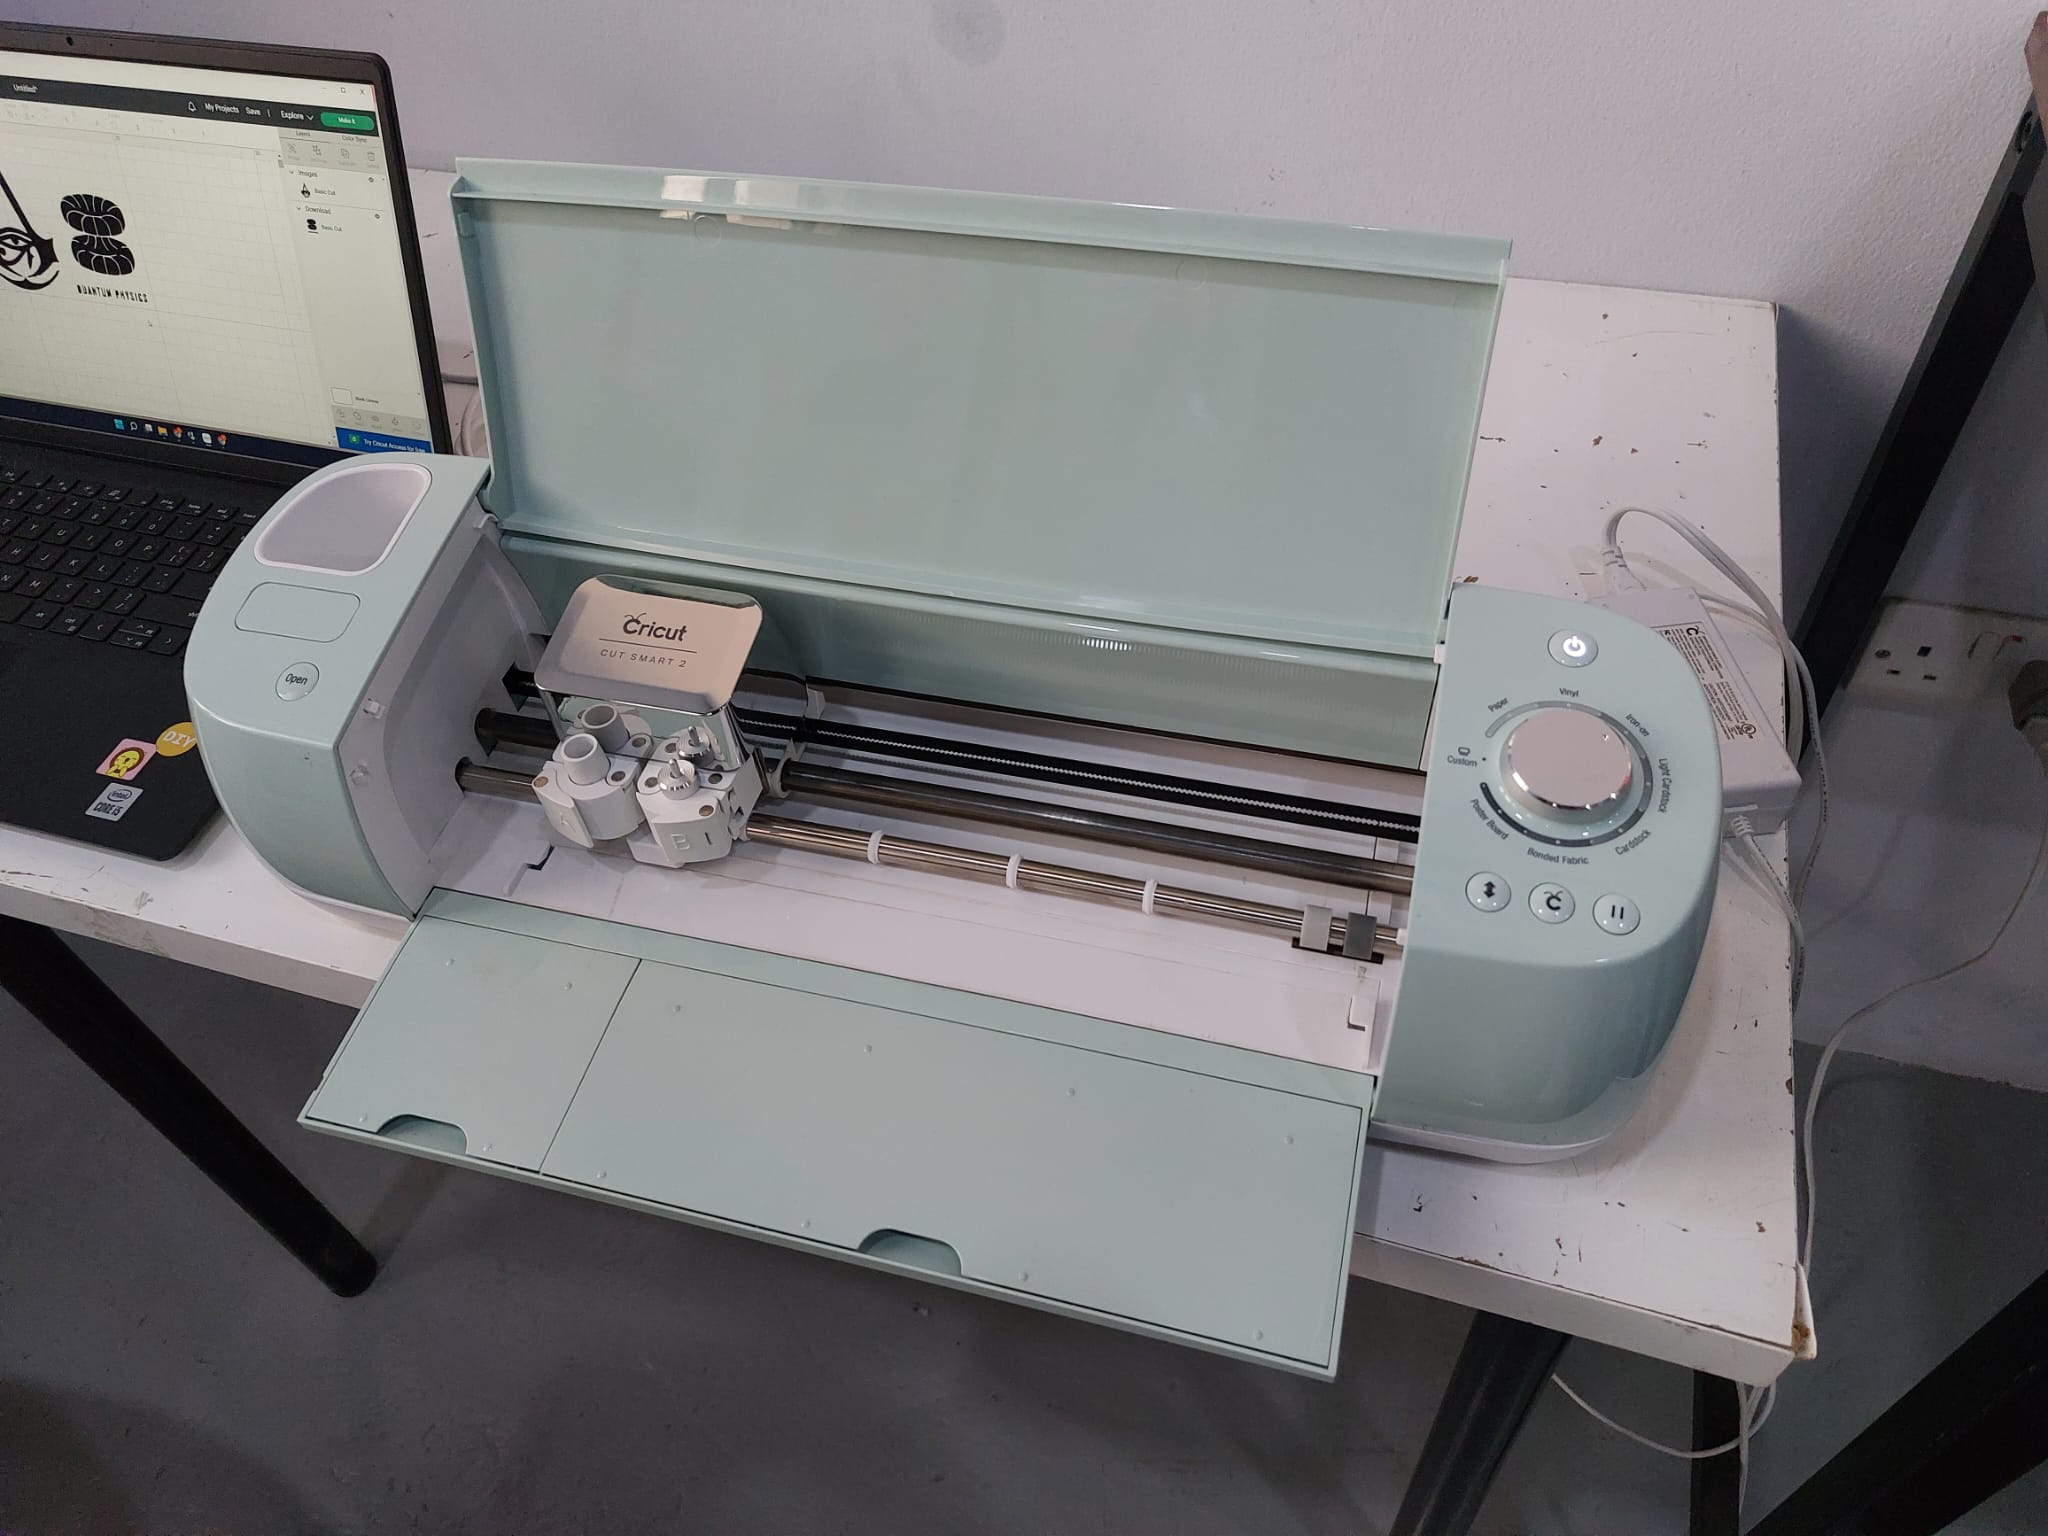 I used here Cricut Cut Smart 2 machine
- first I chosen the design that I will print by searching for silhouette art :
I used here Cricut Cut Smart 2 machine
- first I chosen the design that I will print by searching for silhouette art :
Design2
- Now I put them inside the Cricut software by clicking upload image 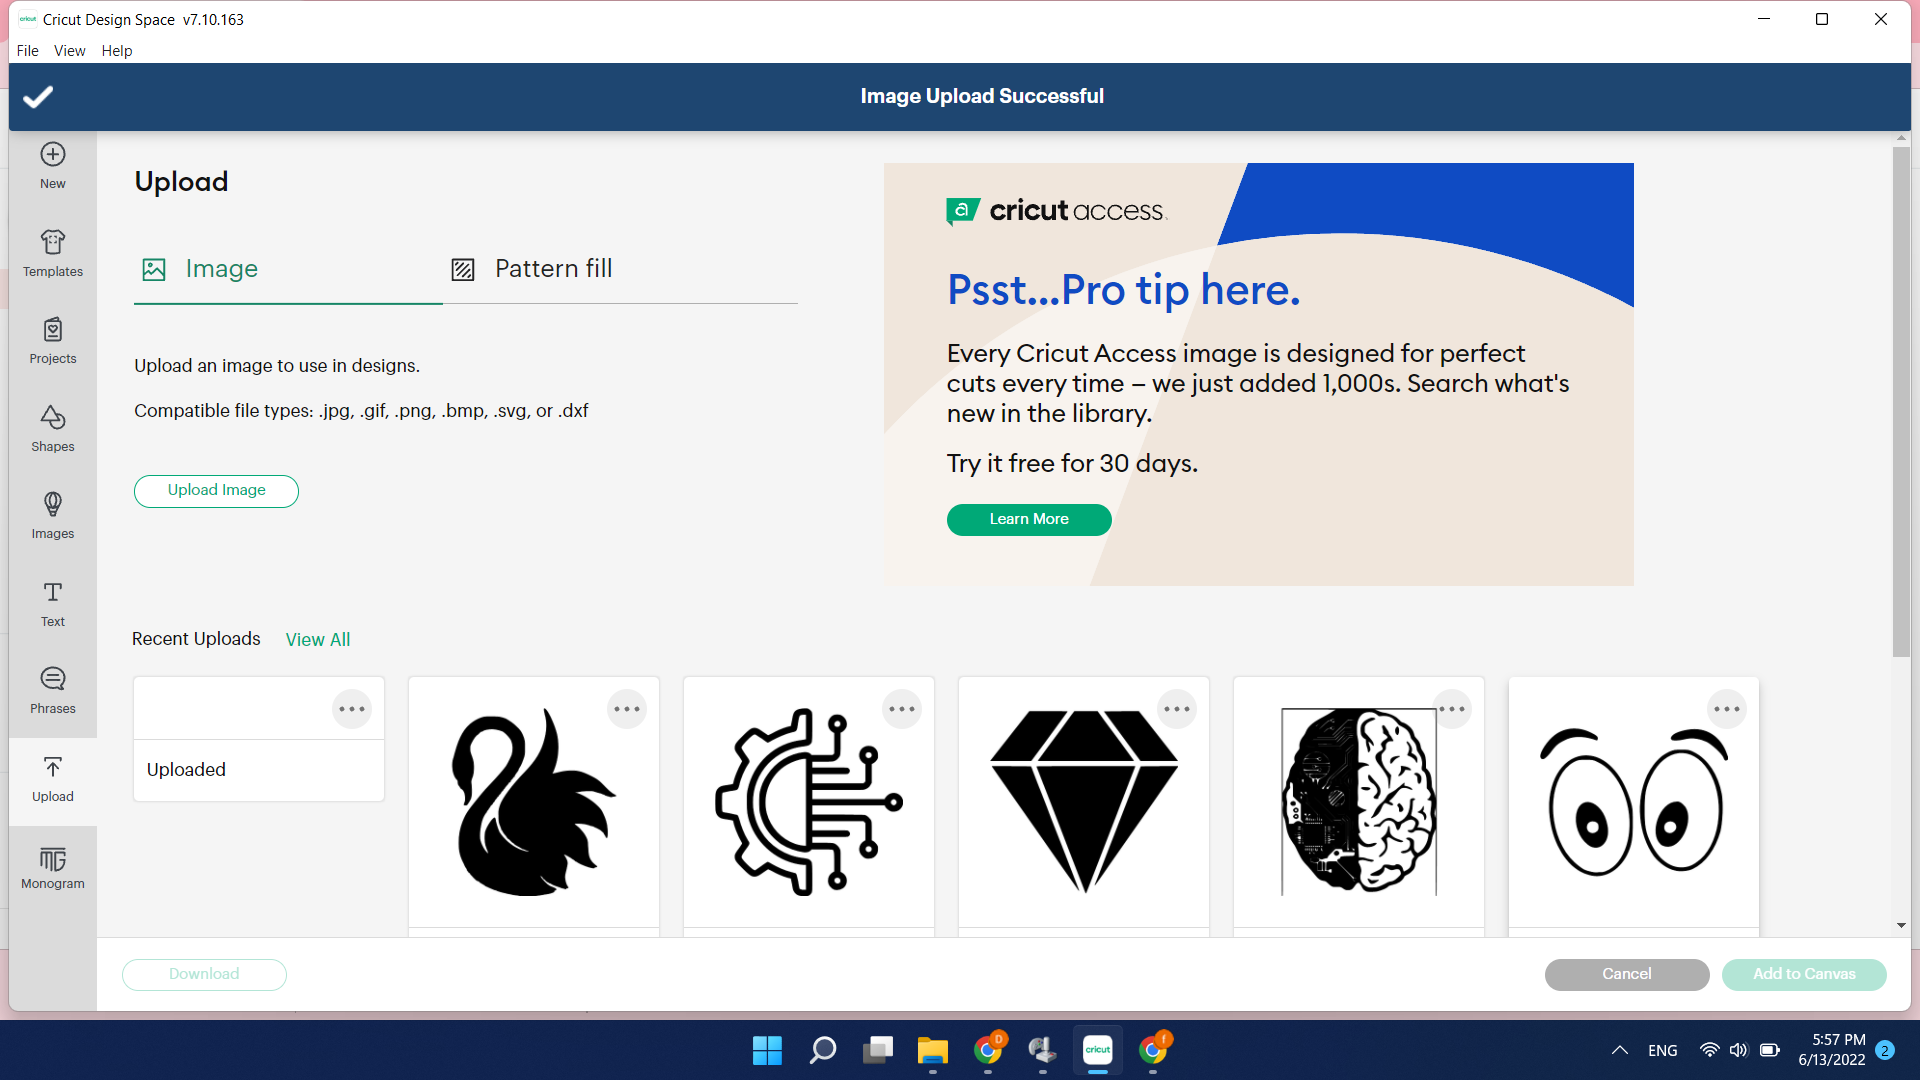 - choosing the image that I will vinyl cut
 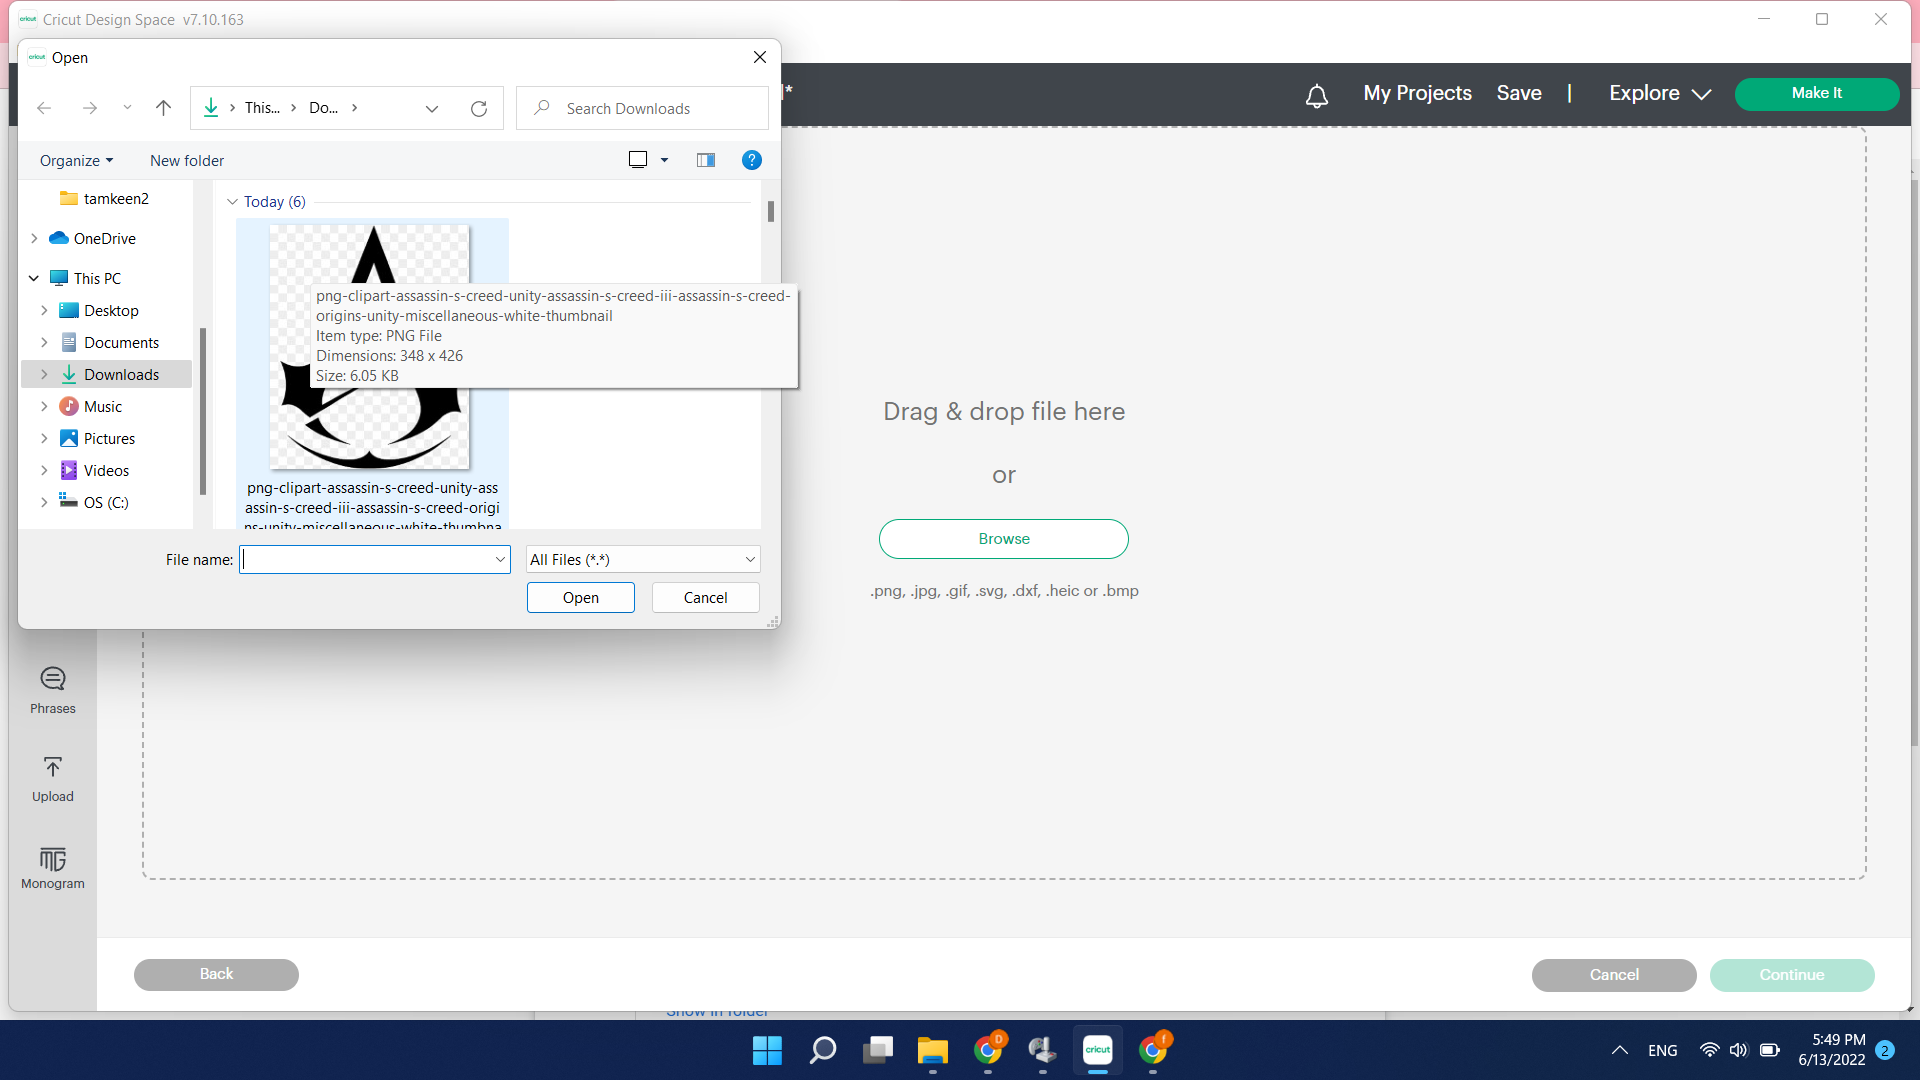 - now selecting the best match for the complexity of the image
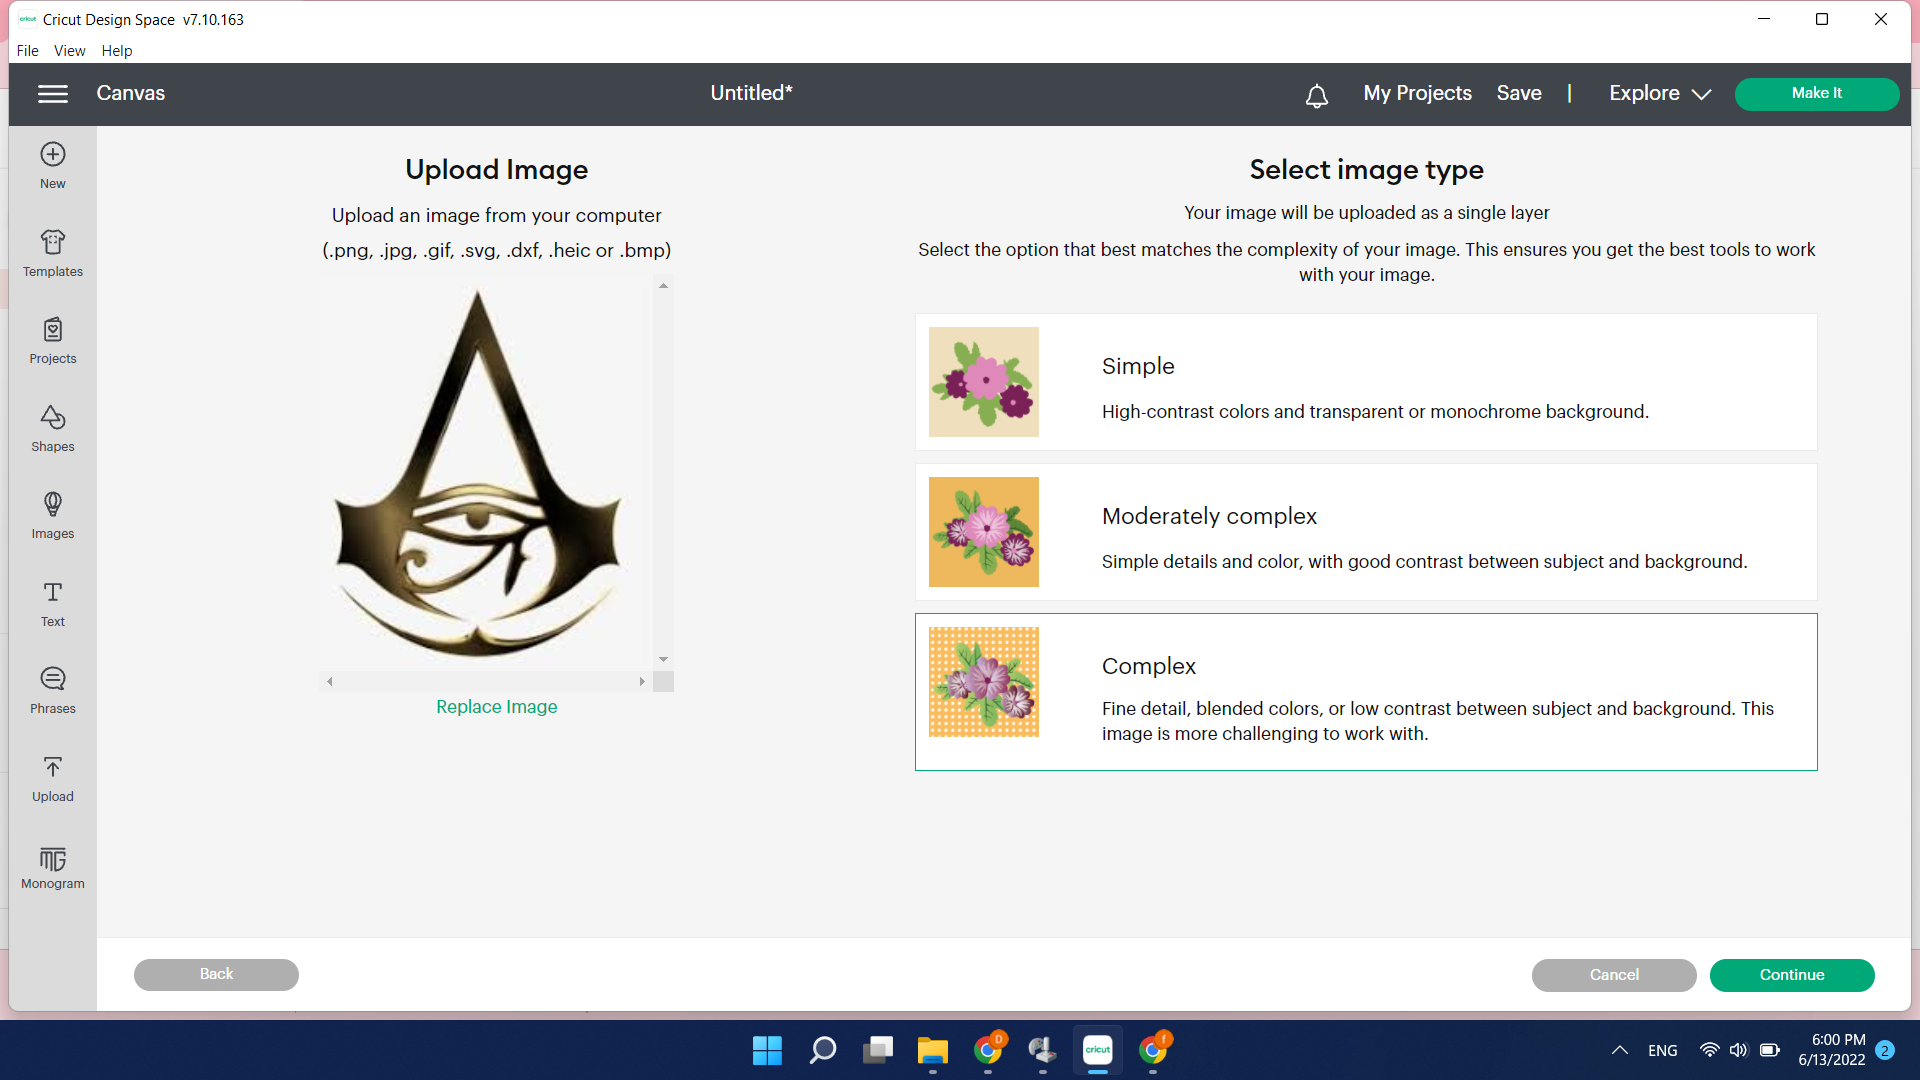 - now choose the space that you don’t want to cut in the design such as the background
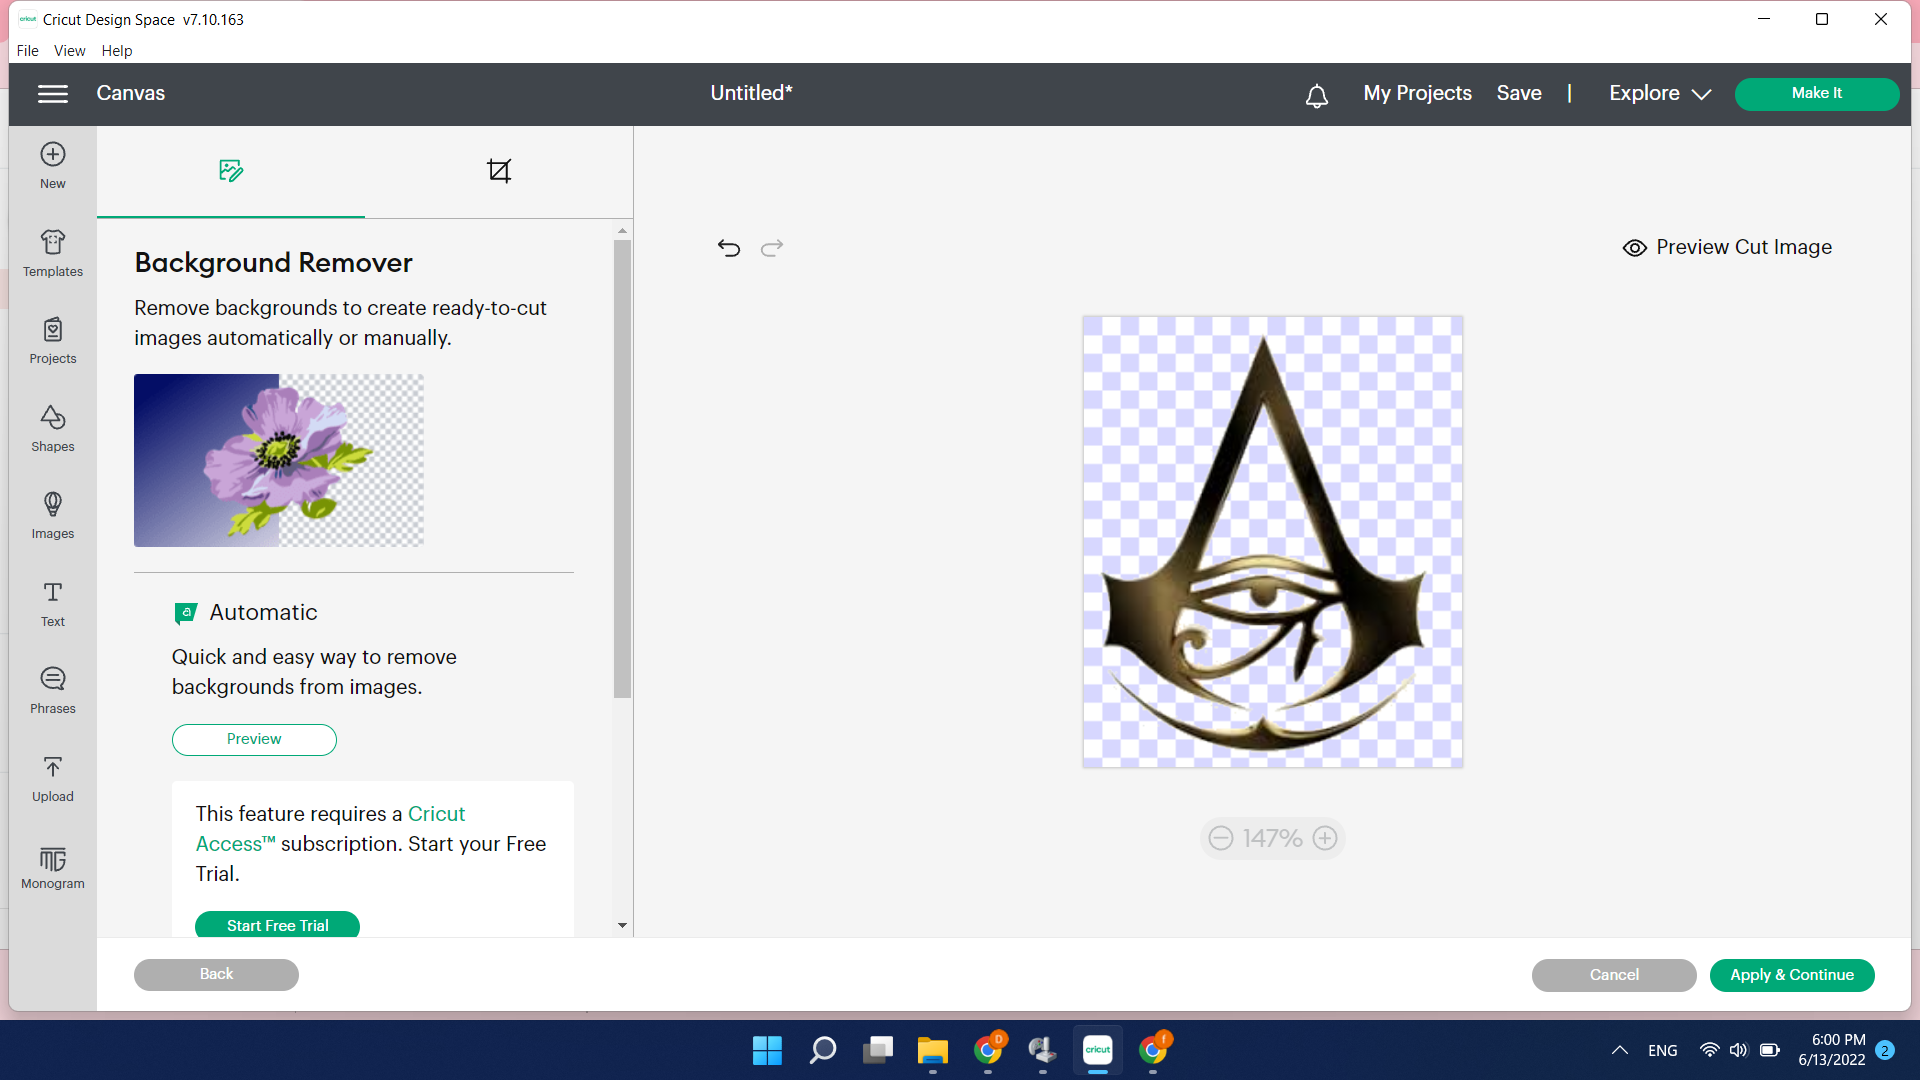 - after that I uploaded the second design with it by doing the same procedure.
 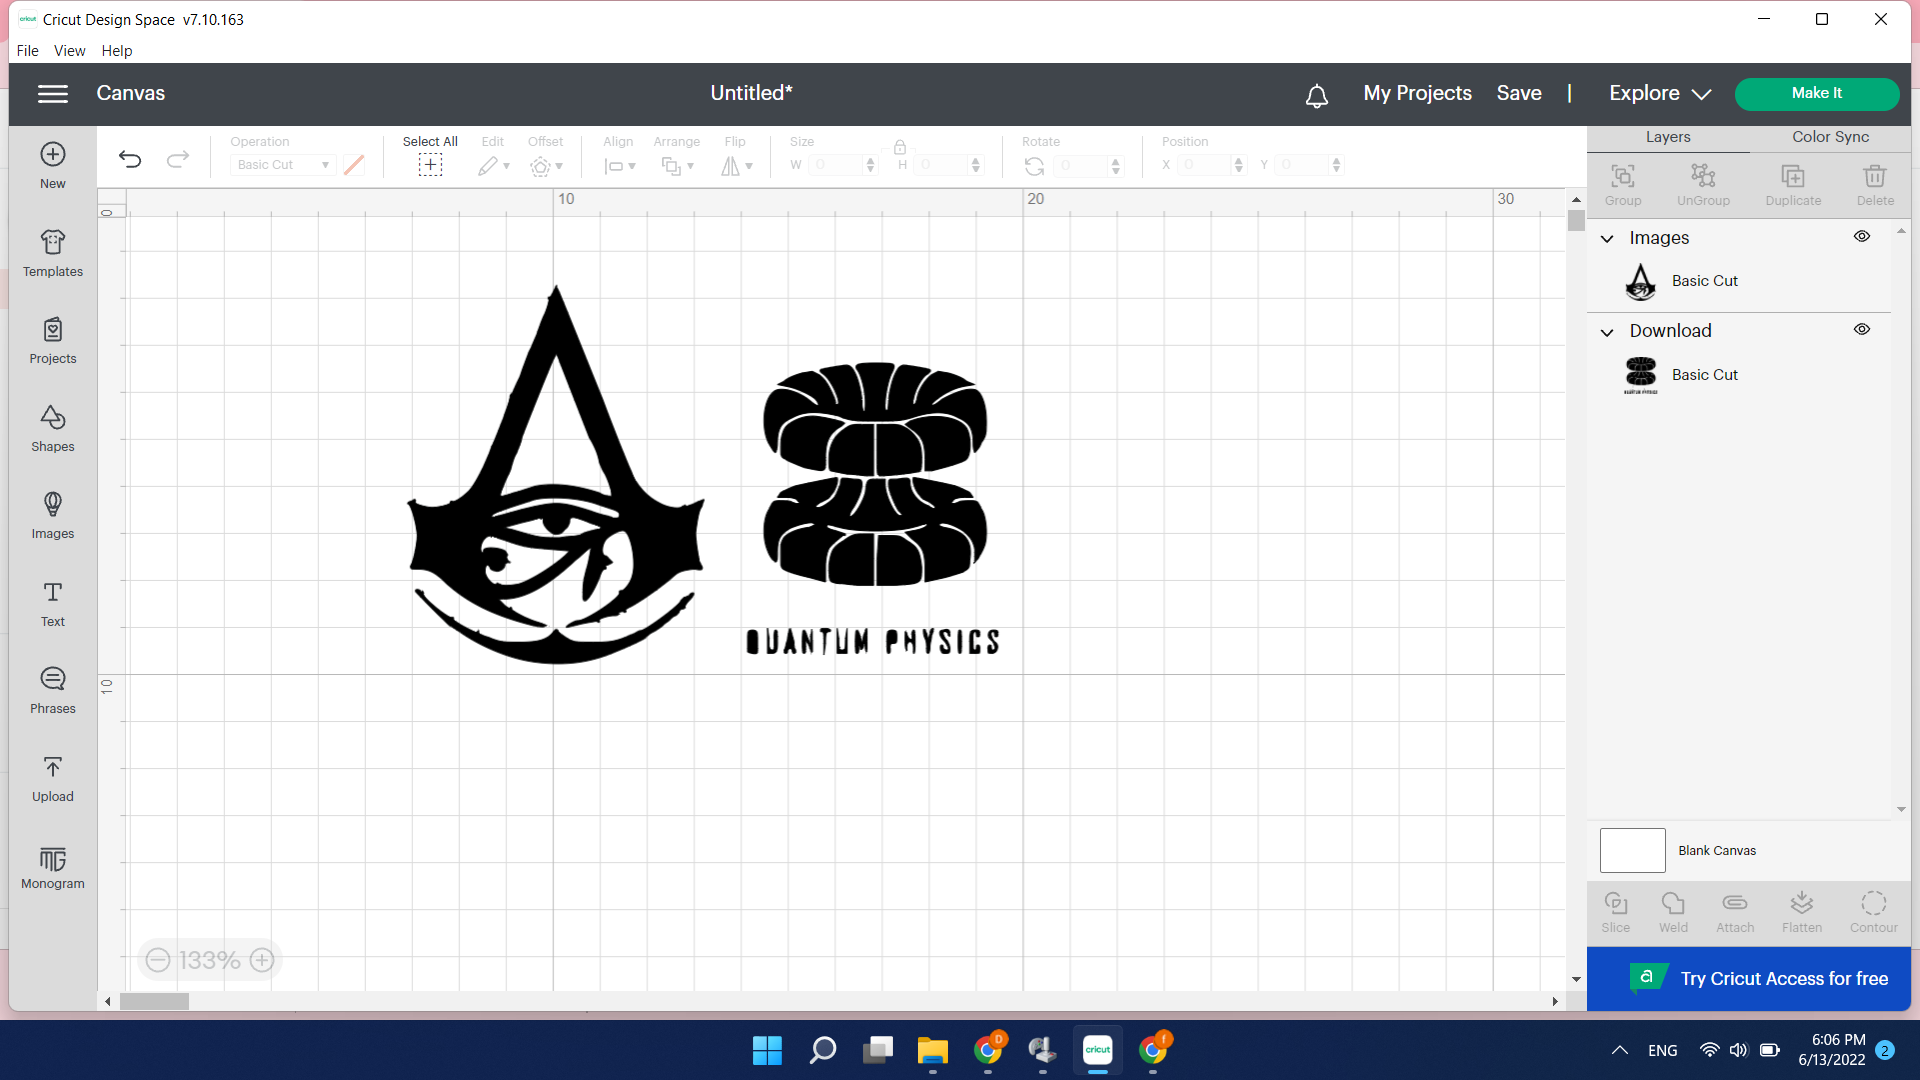 - now we can start cutting after I put the vinyl in the machine I clicked Make it.
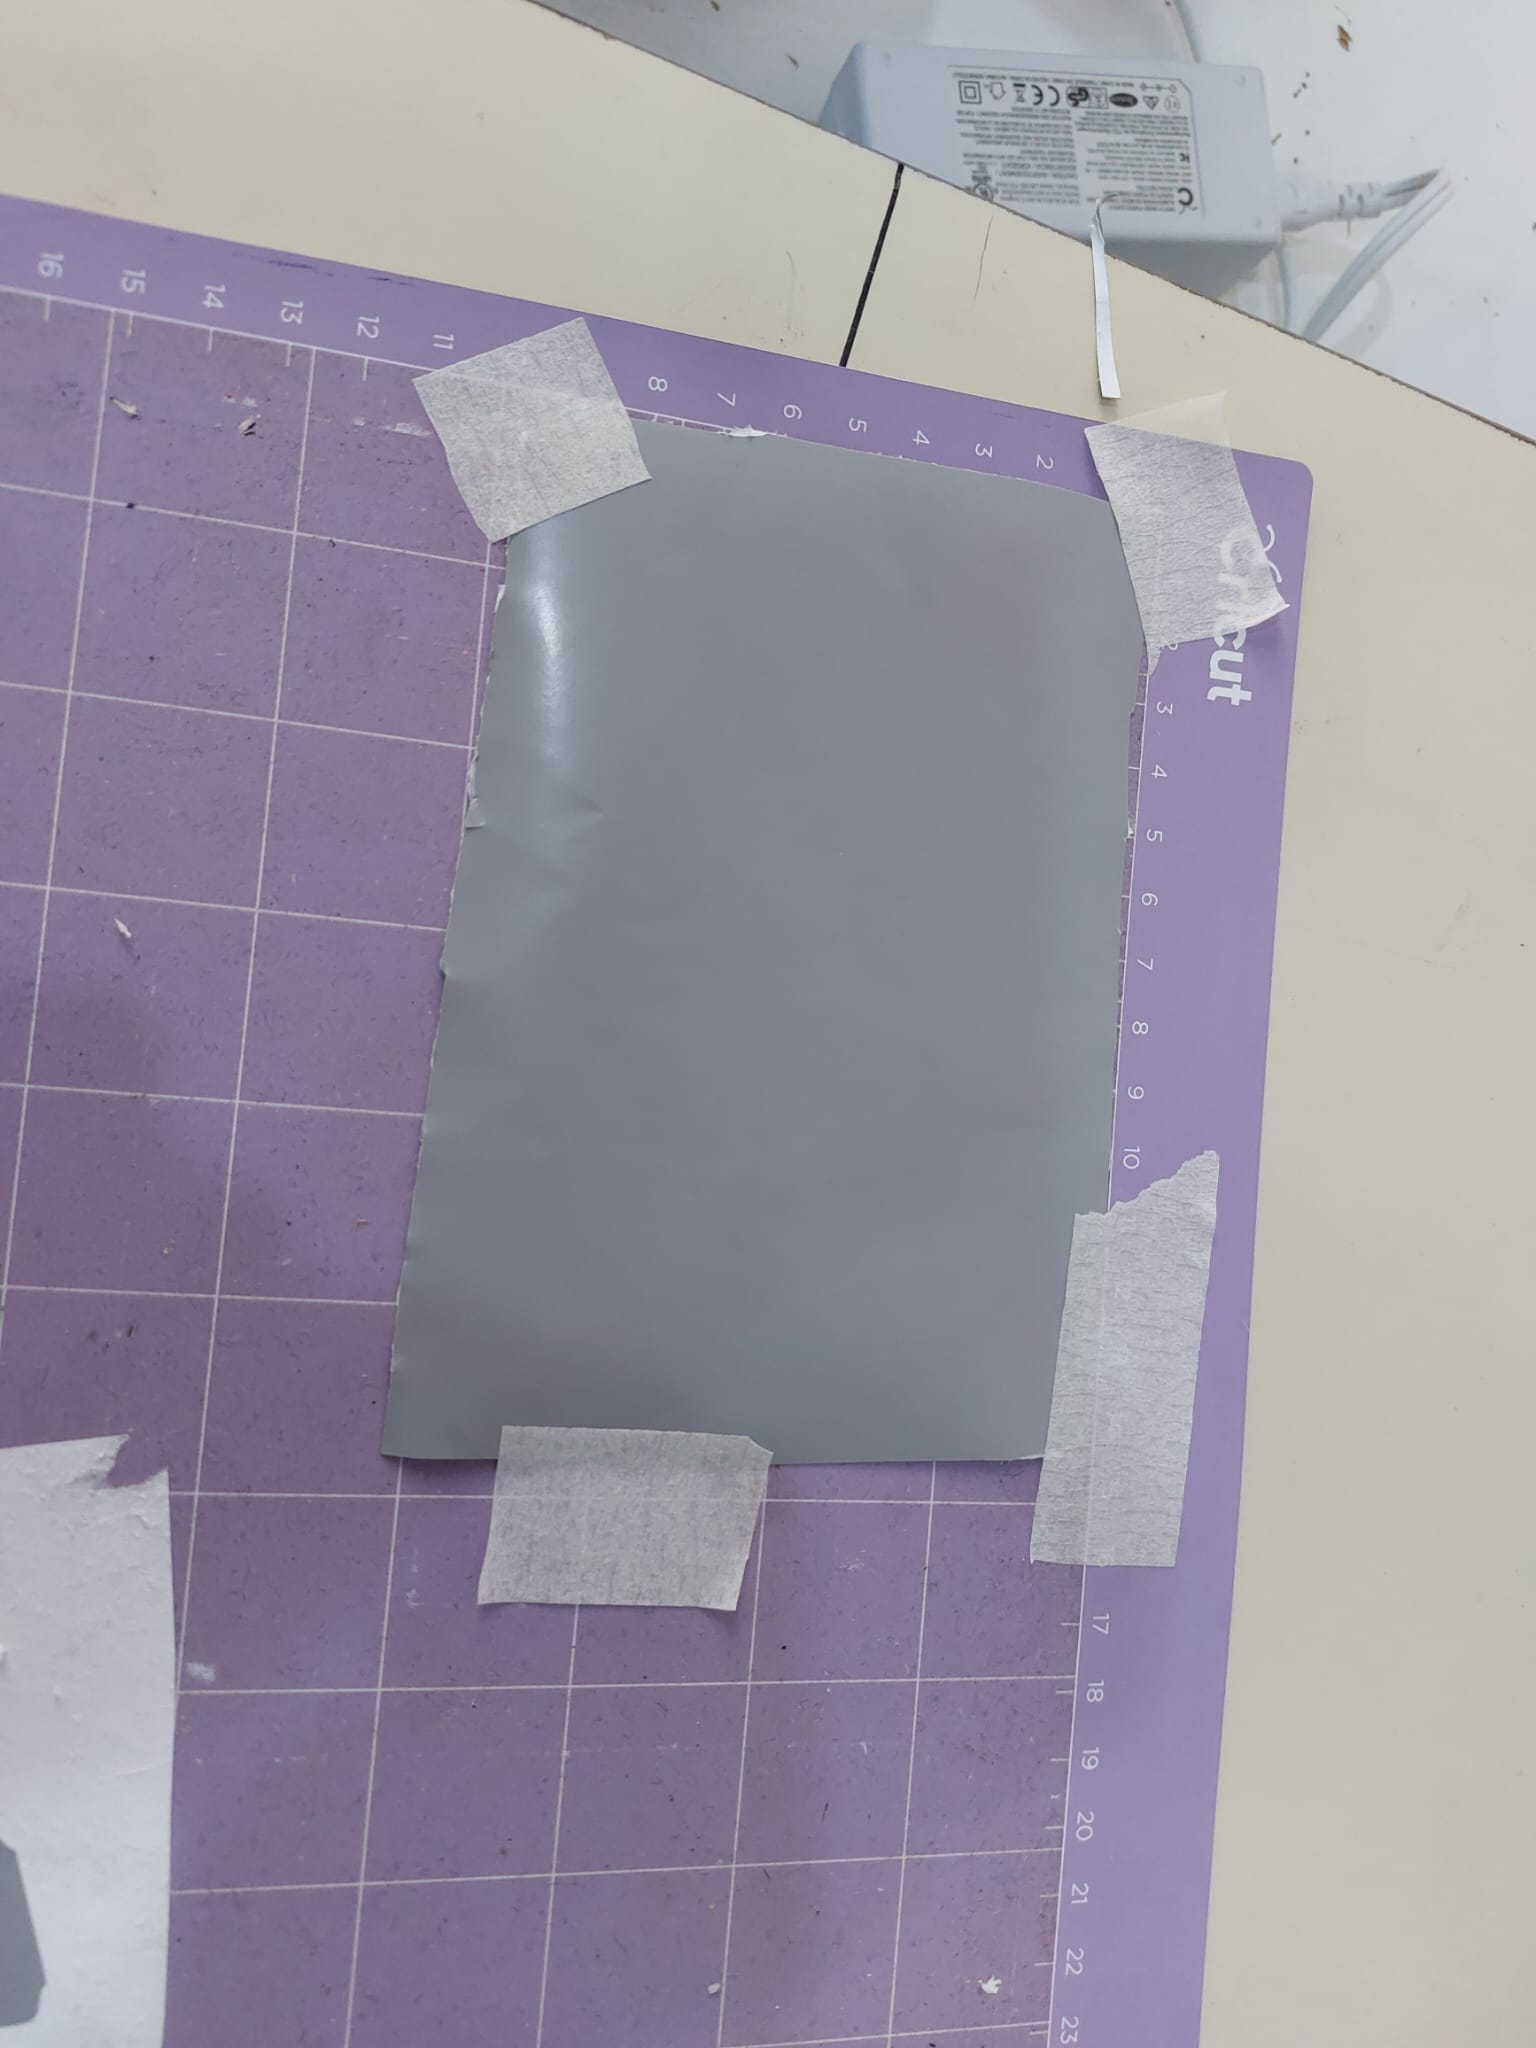
- we load the materials in the mat.
- now we can start cutting after I put the vinyl in the machine I clicked Make it.
- we load the materials in the mat. 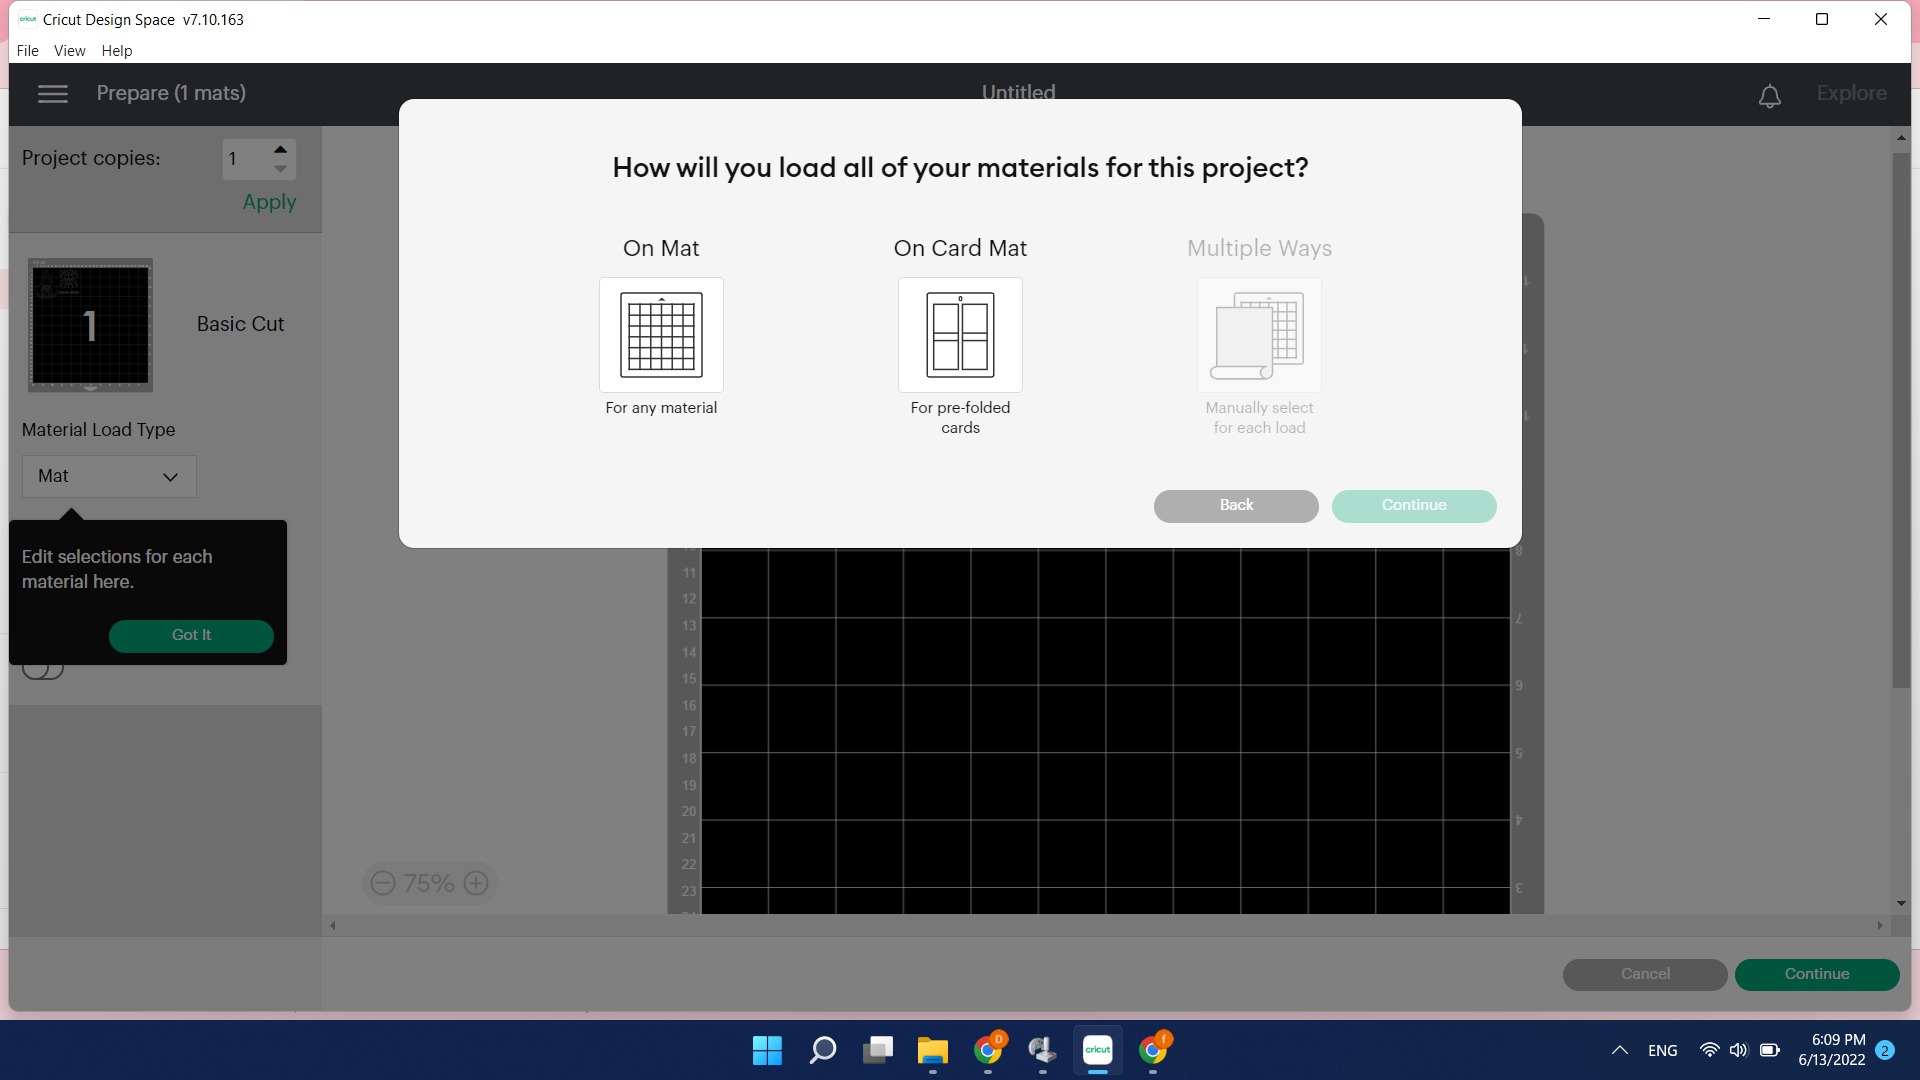 - prepare the place for cutting in the vinyl and check the size of it, is it enough or not.
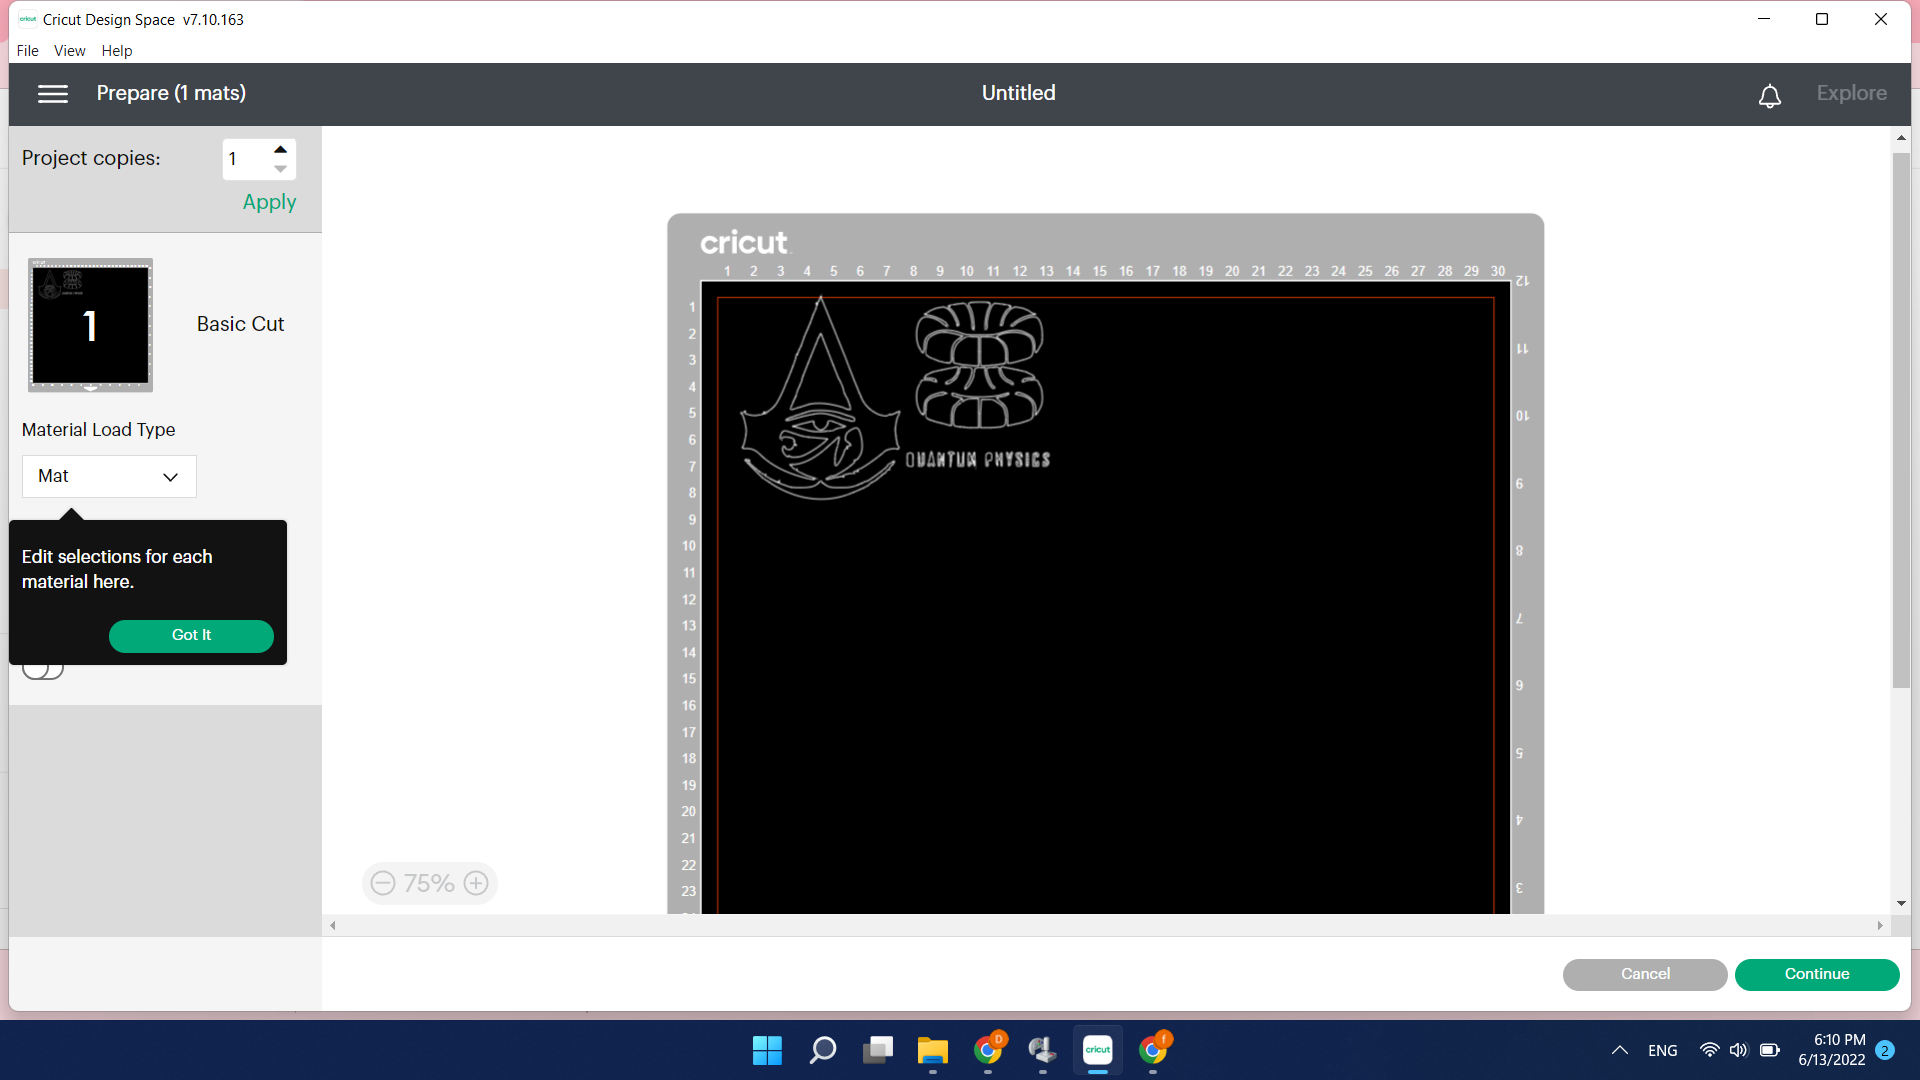

 - now we are ready to start cutting in the machine.
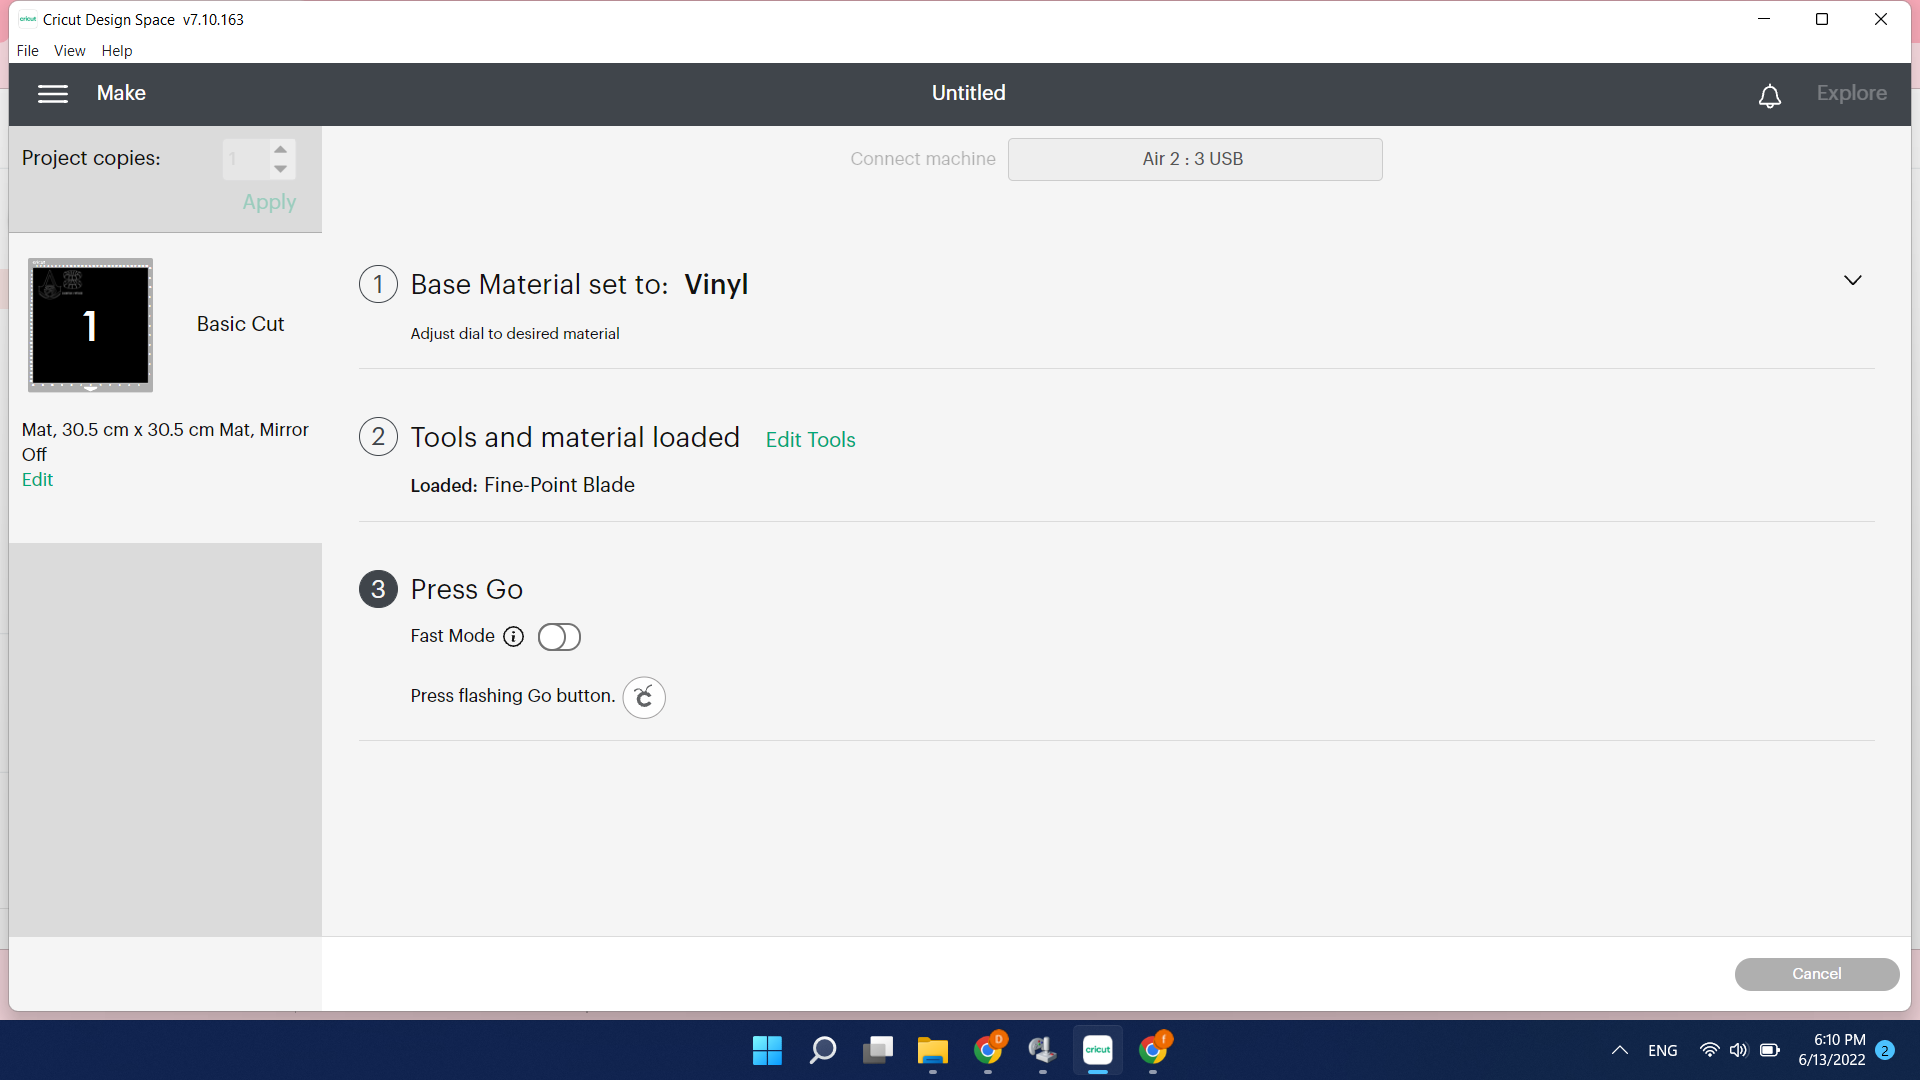
- and this is the final results