3. 3D printing and scanning
This week I designed a 3D model, the printed it using Prusa Mk3s 3D printer.
Group Assignment
since there are many types of 3D printers, we first started by testing the limitations of each one of them, the one my group worked with is Prusa MK3s printer, we printed with PLA filament.
to test the limitation of the printer we downloaded a 3D model from the internet with a verity of angles, shapes and texts.
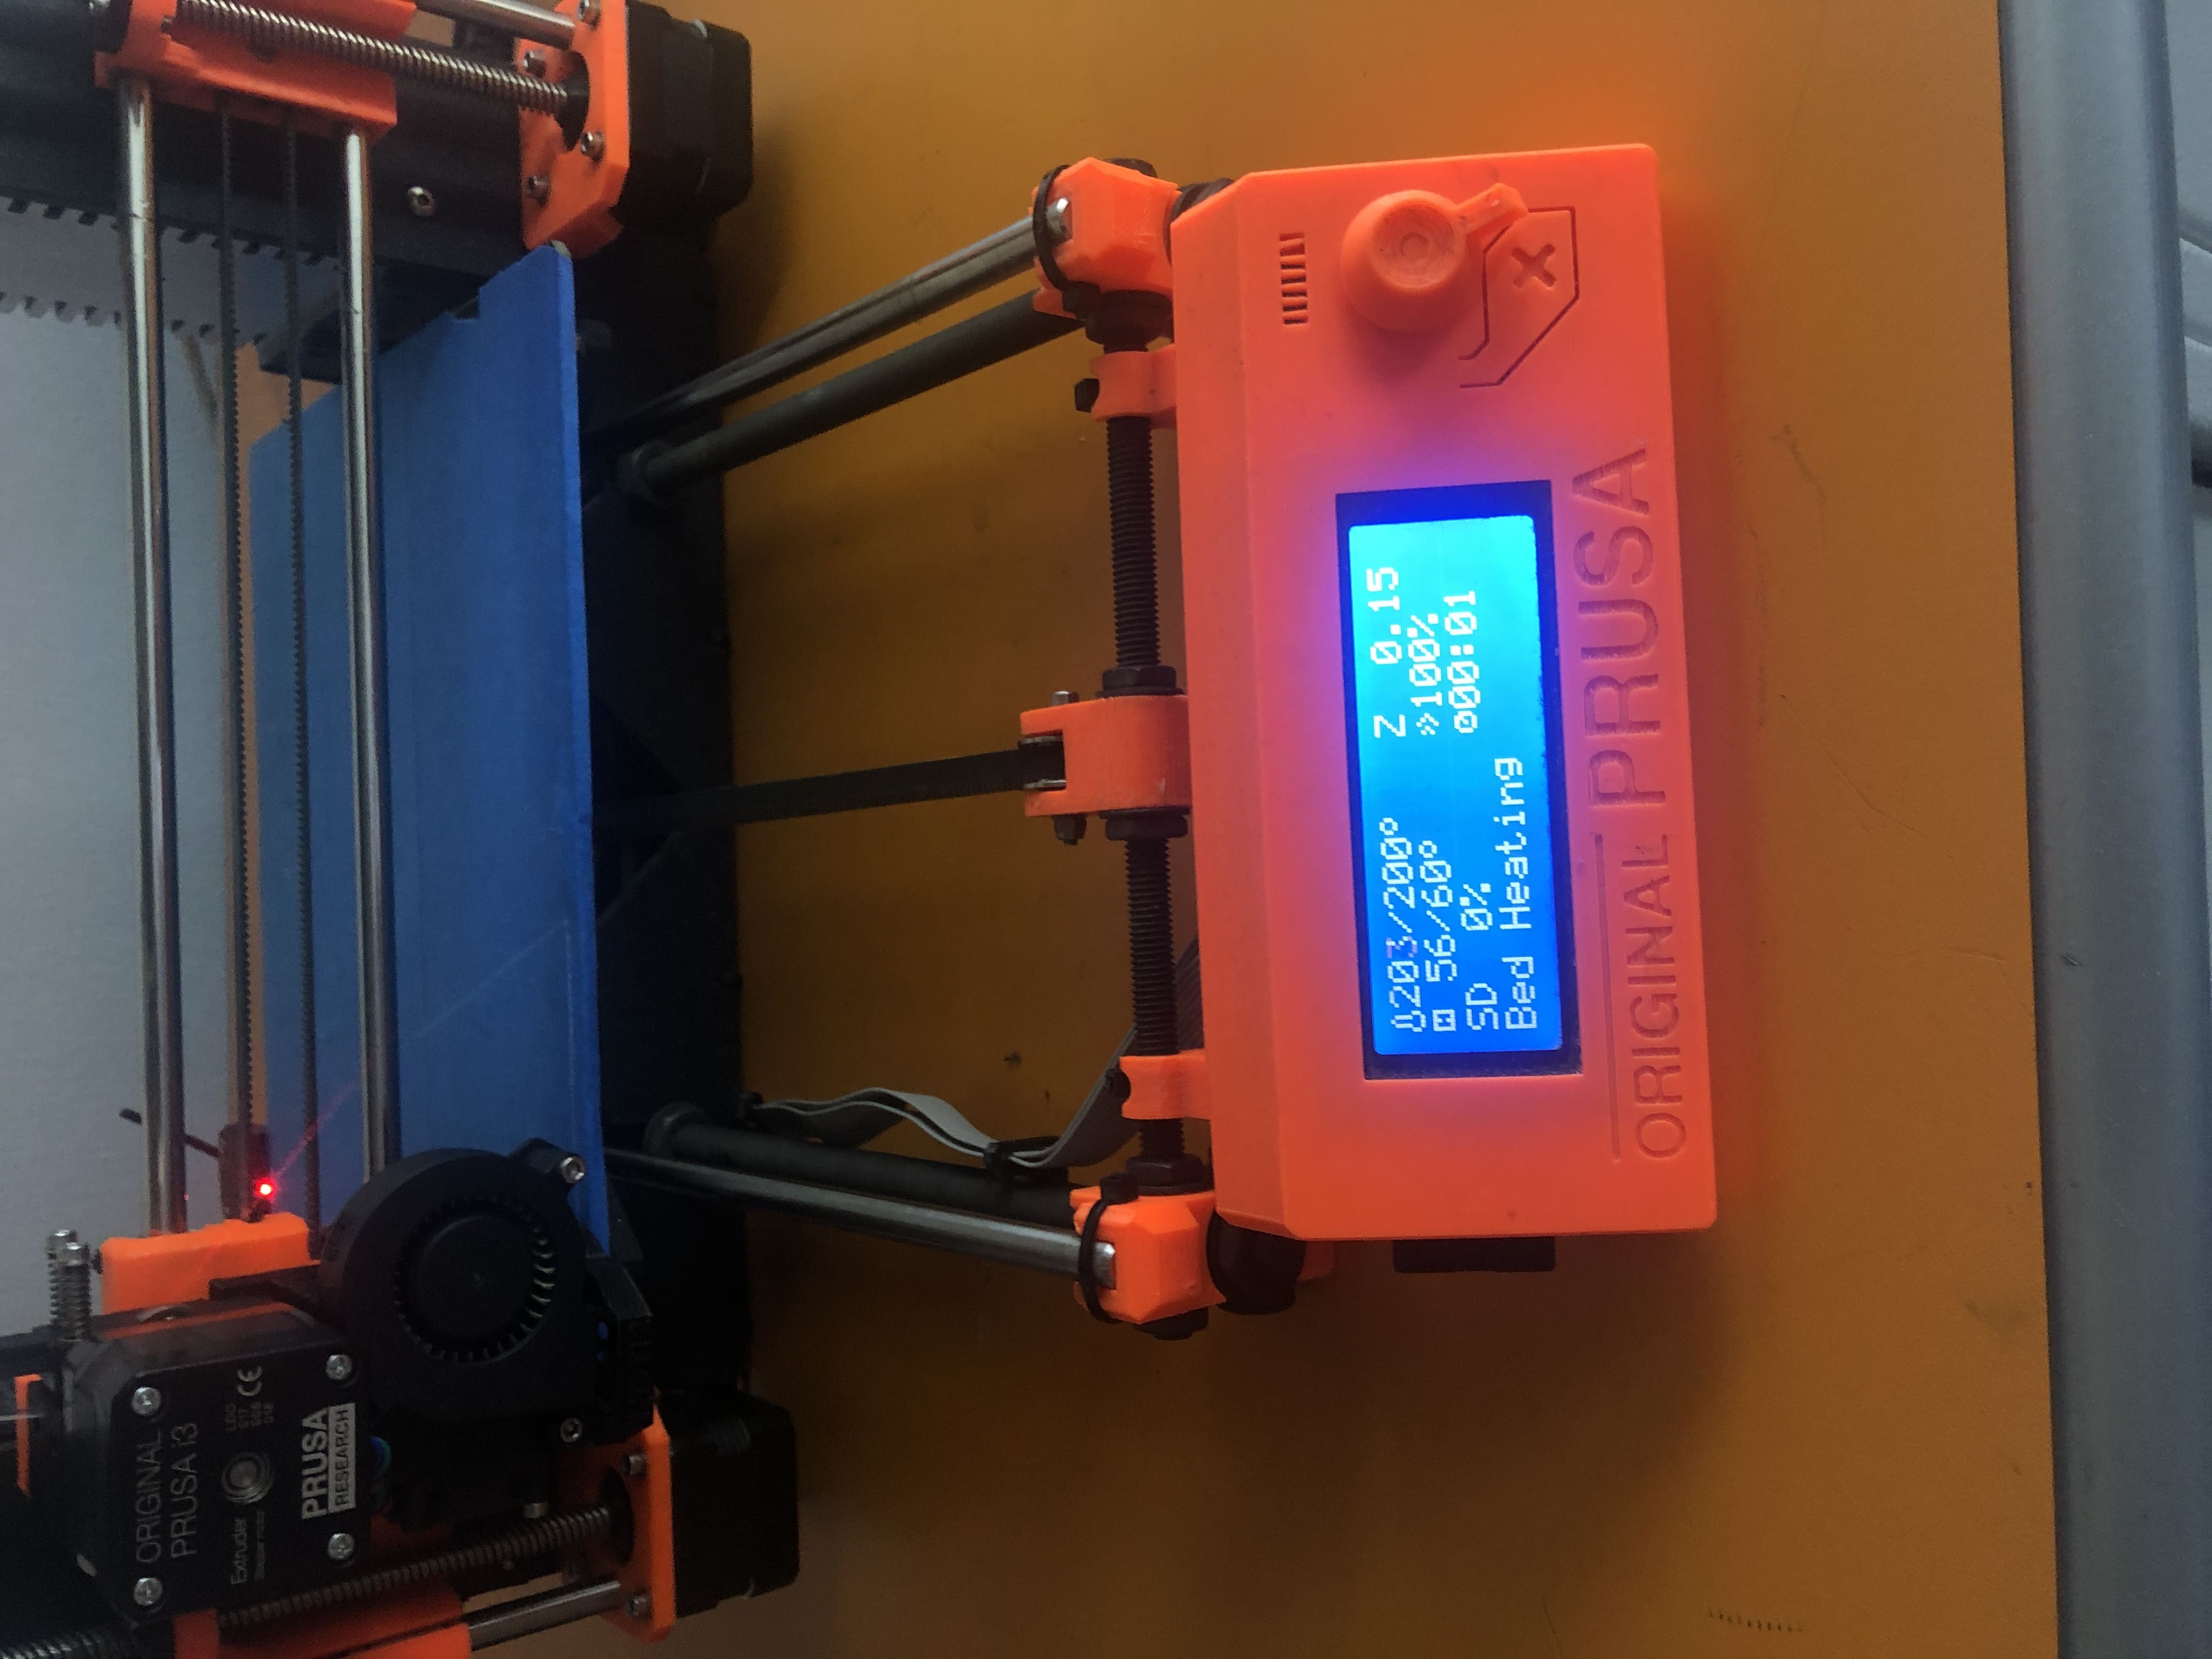
prusa Mk3s
after we downloaded the 3d model from the internet we uploaded it to a “Ultimaker Cura” a software to slice the model and prepare it for printing.
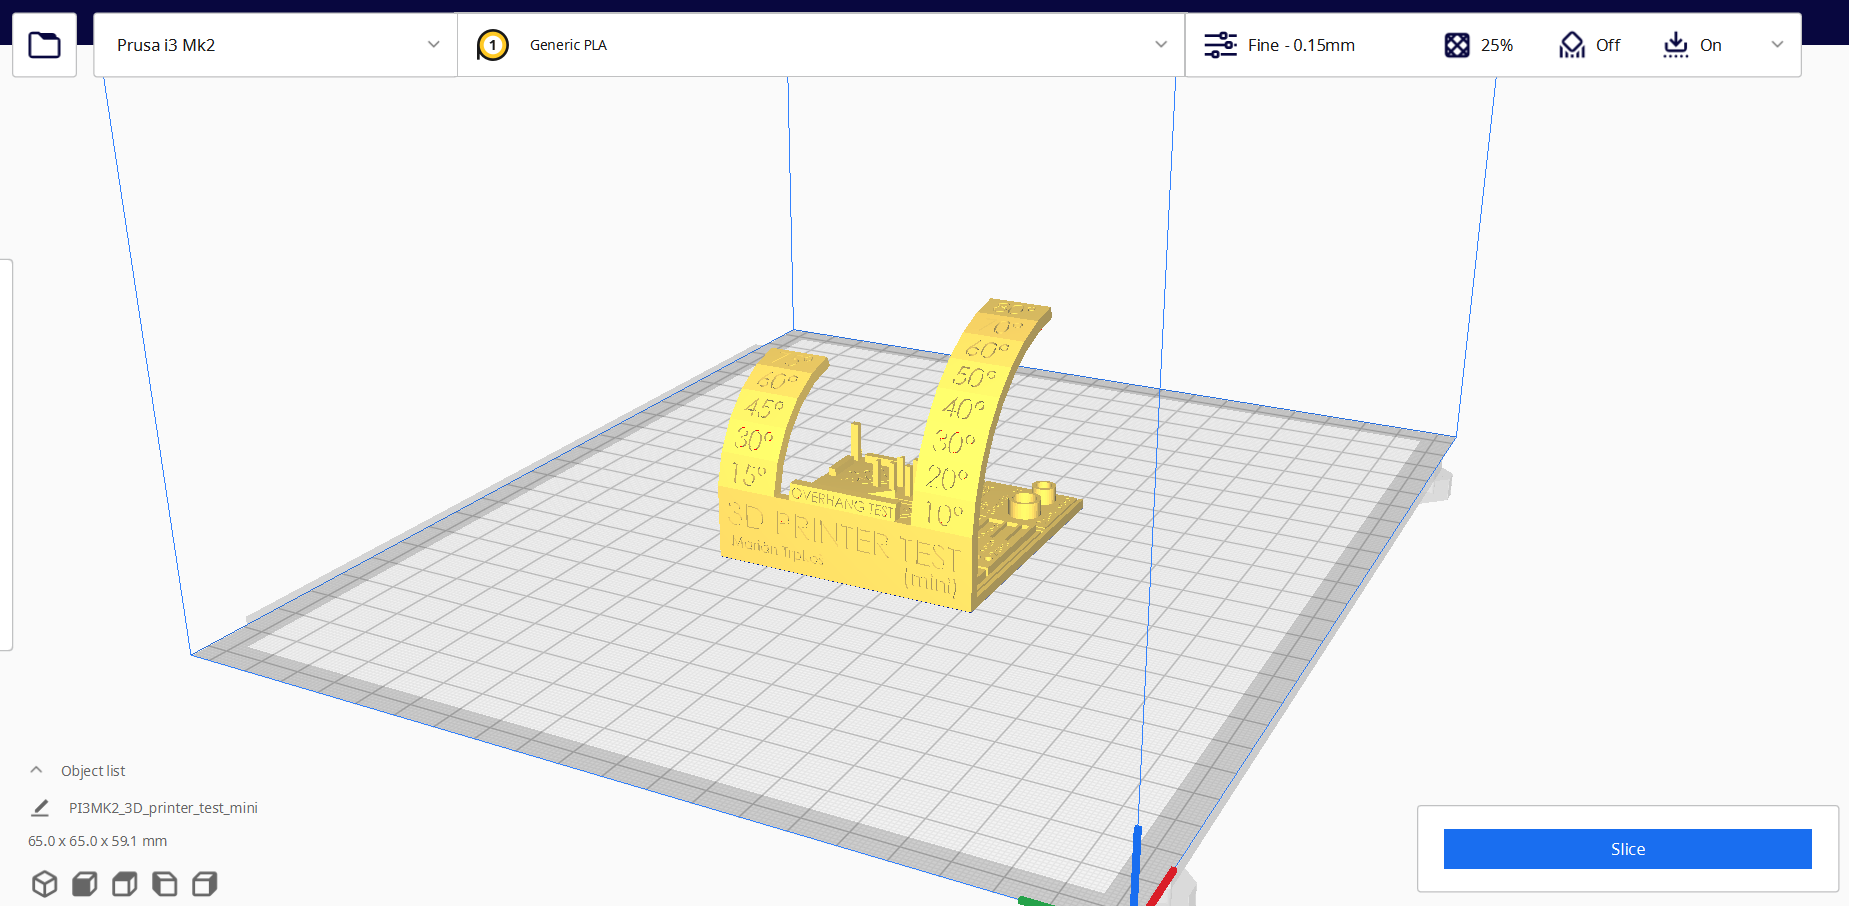
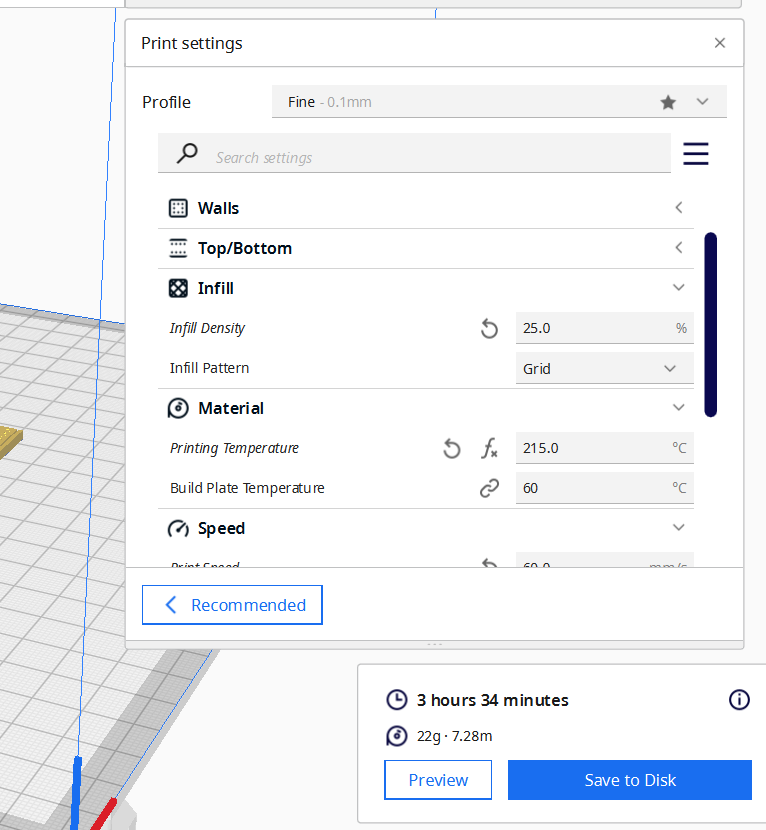
we chose the printer type then hit slice, then select our options, infill, filament type, fan speed etc..
after that we set the printer preheat it and choose our file to print.
the printer we used “Prusa MK3” printed:
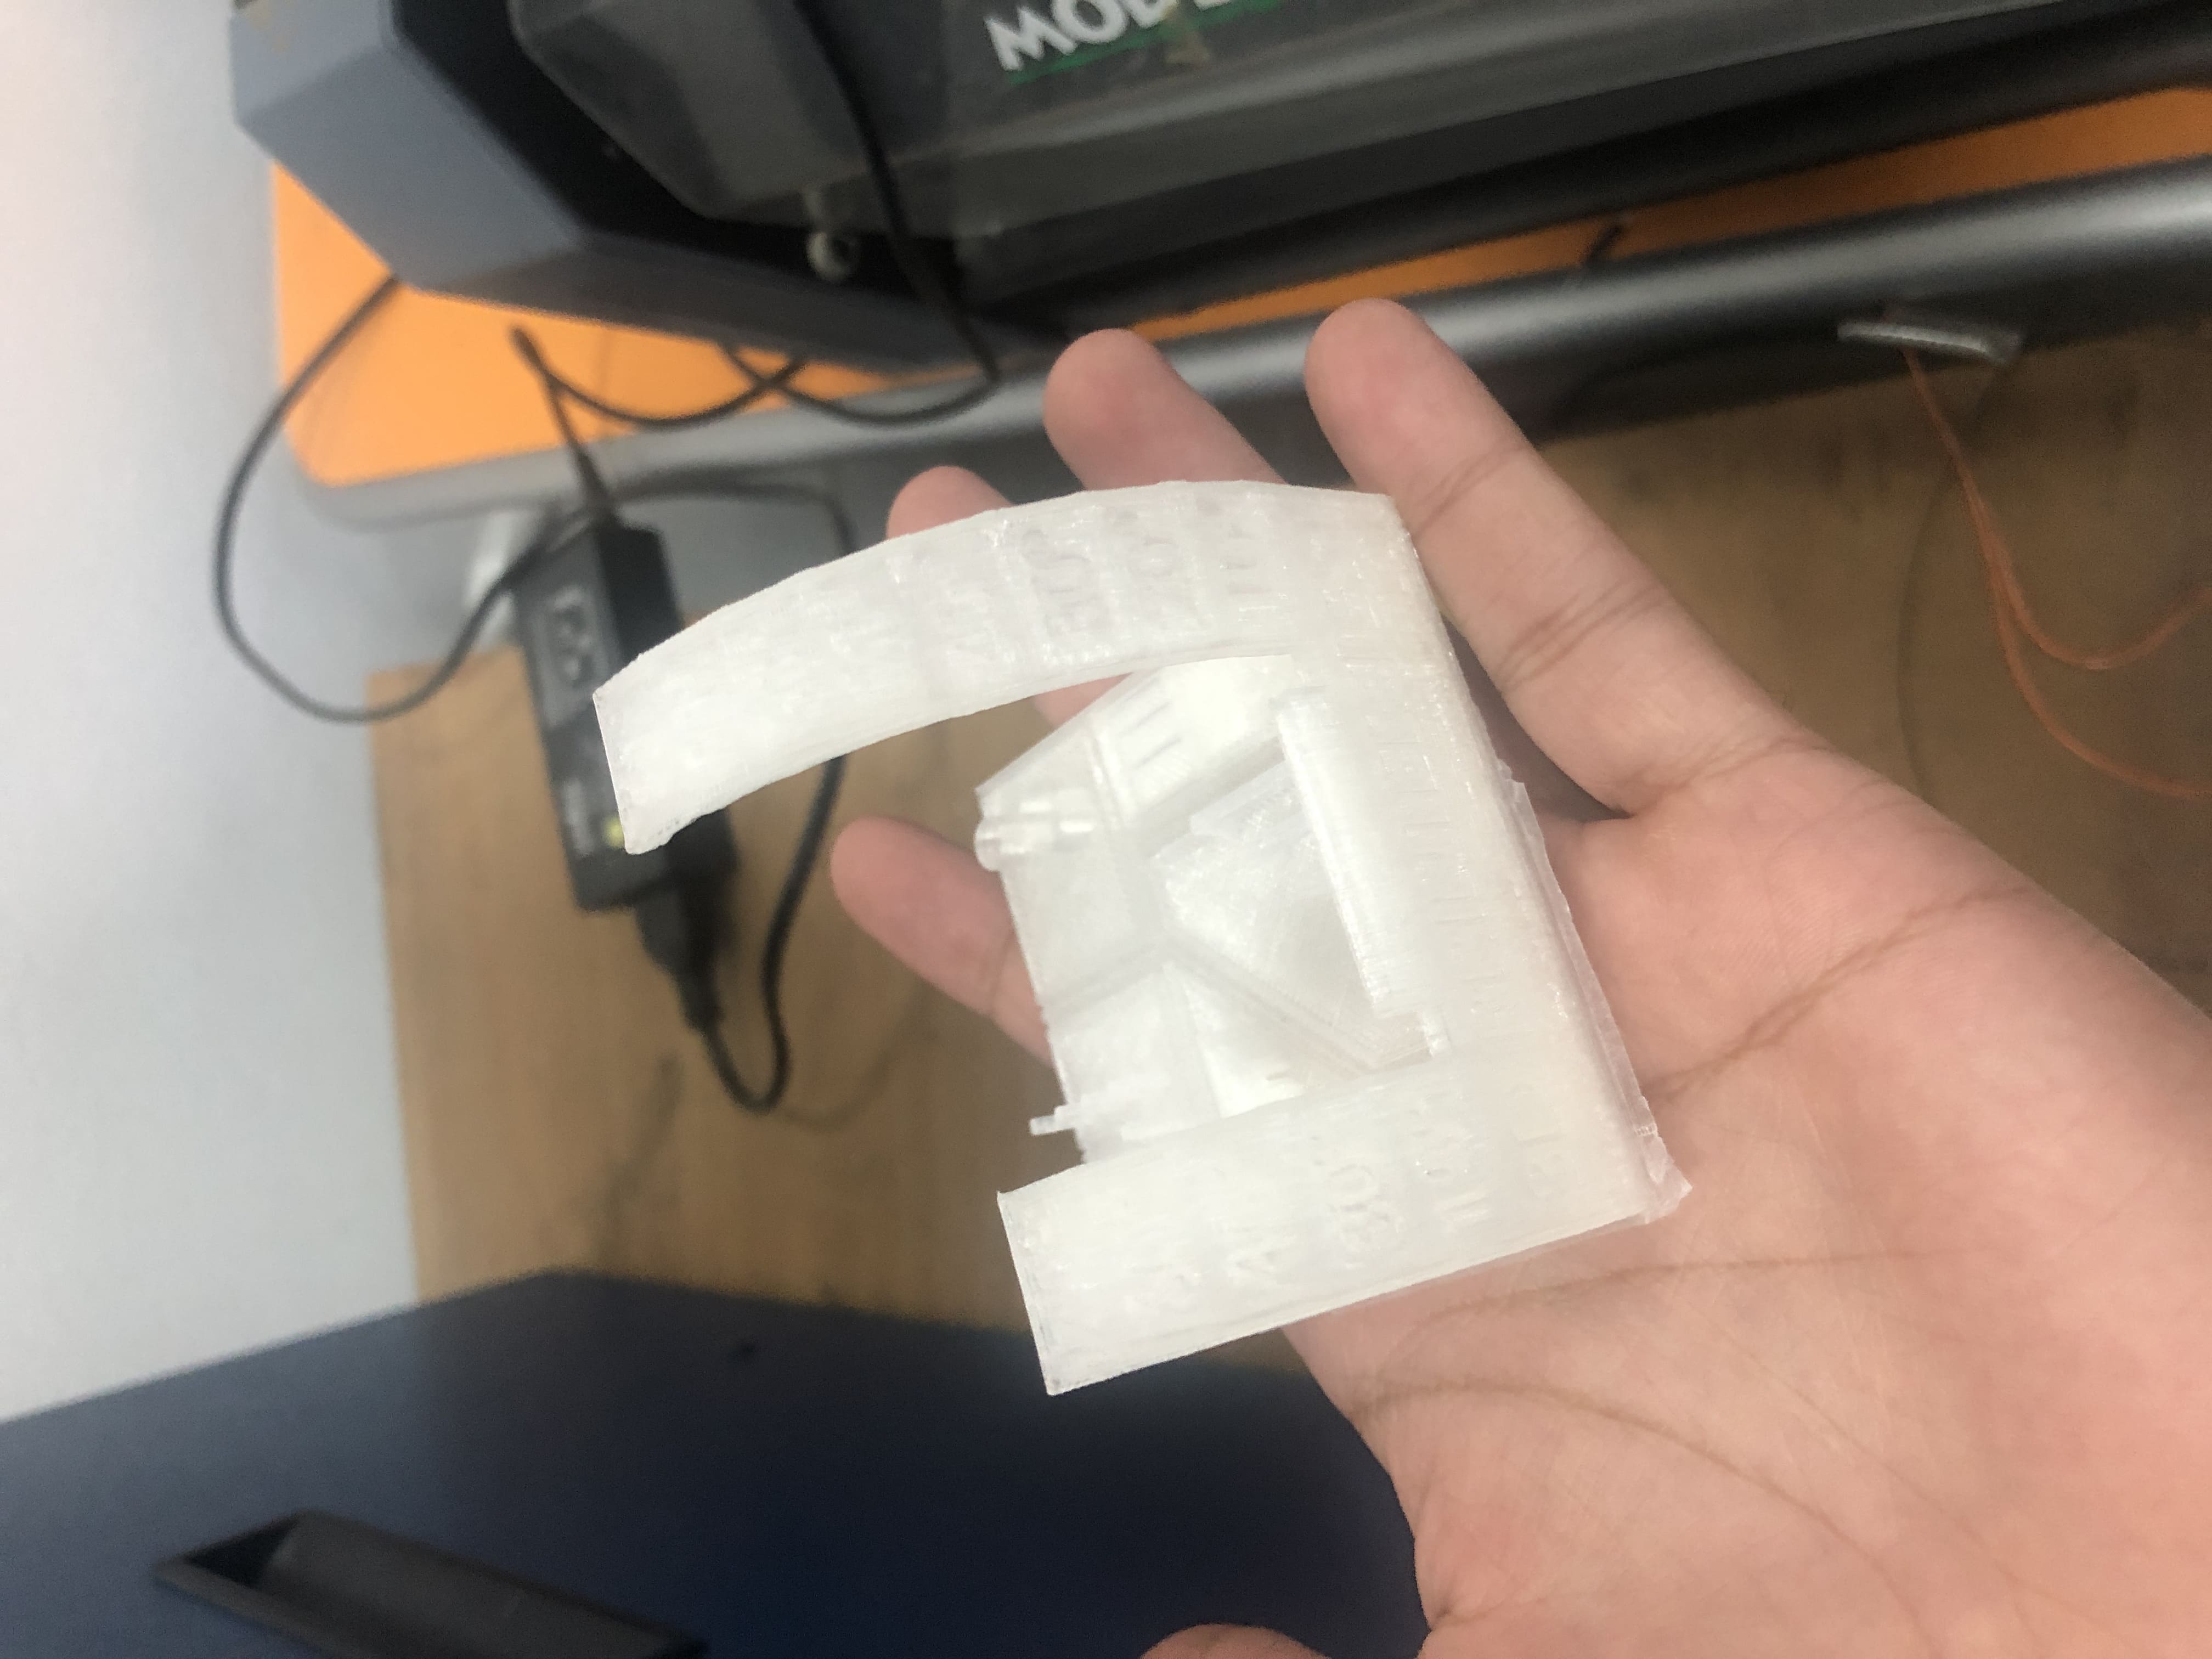
the printed part, had good quality it was a bit too flexible, and the text on the part wasn’t of the best quality, but the part was good in general.
For the rest here is the other students website
Individual Assignment
After we had our small experience with the 3D printer, we started to print our own design.
For my design I chose something simple but interesting, I chose to 3D print what’s called a tesla.
In short a tesla valve is a one way valve with no moving parts, it restricts the flow in one way and give almost no resistant when the flow is coming from the other side, how ever it cant fully block the flow.
For more information about TeslaValve.
So to start I designed the tube without the needed inside geometry.
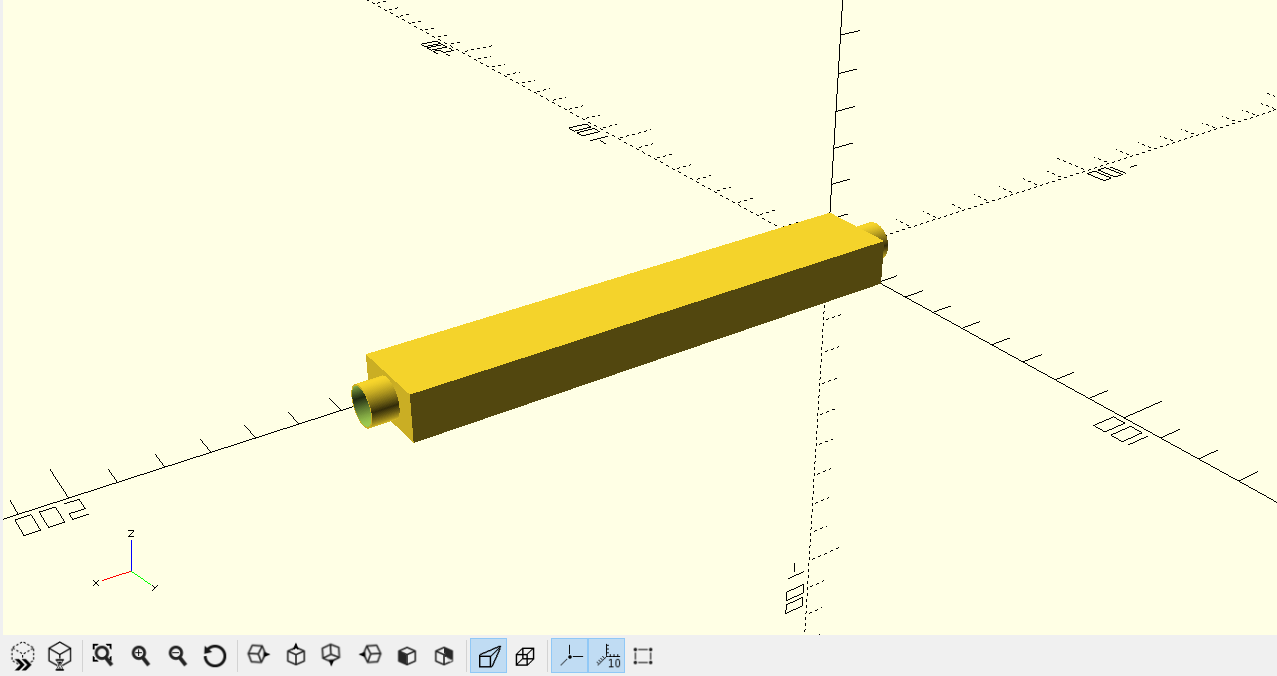
then I started to add the inside geometry that allow the restriction of the flow.
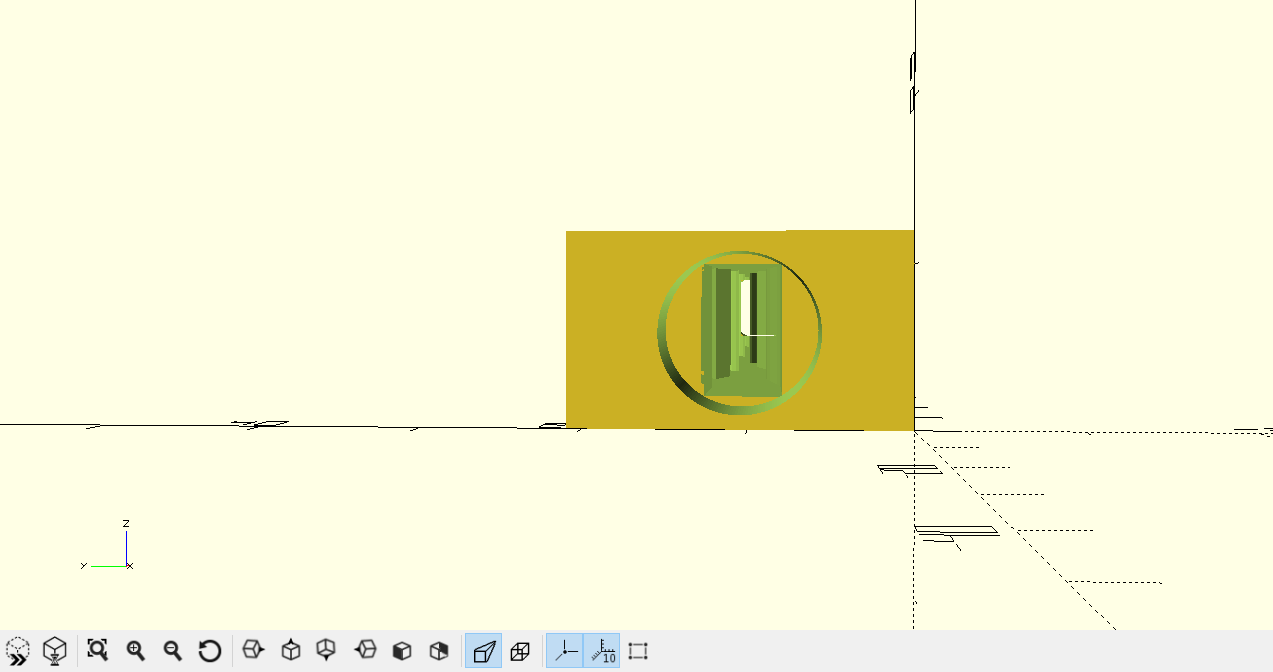
the side that restricts the flow looked like
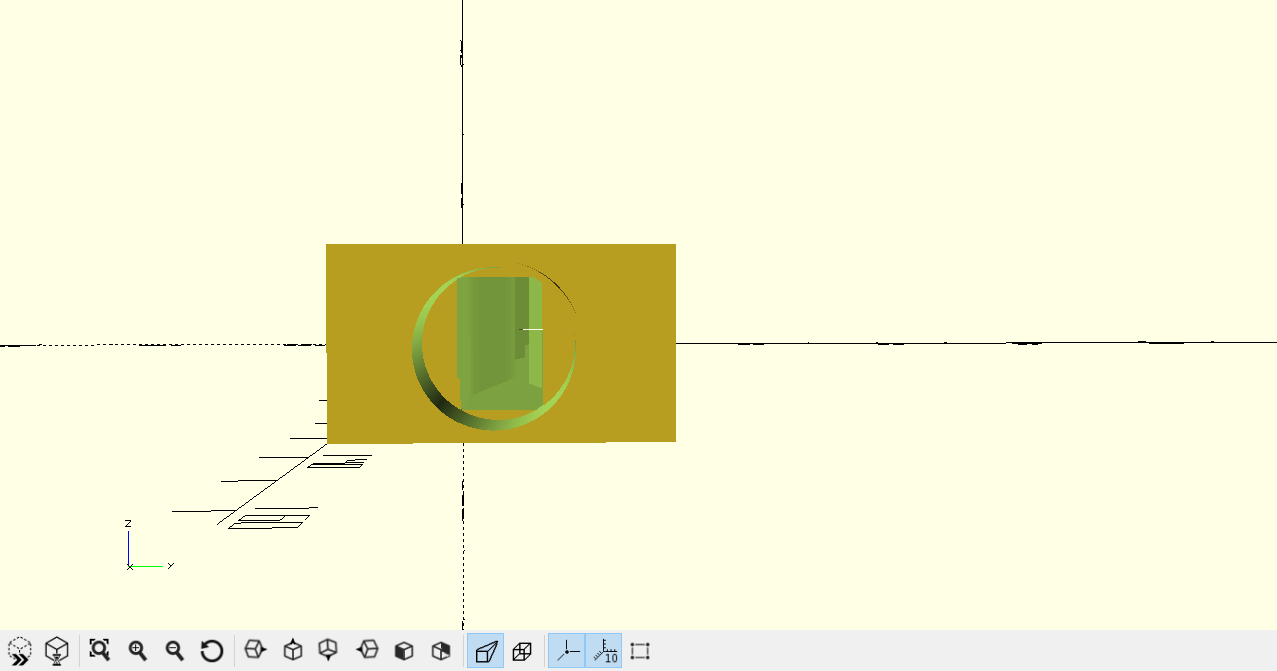
the side that allows the flow looks like
here is the OpenScad code
scale([0.7,0.7,1])valve();

module valve() {
    difference() {
        cube([190,30,12]);
        translate([-55,188+15,2])linear_extrude(8)
        import("valveShape.dxf");
    }
}
translate([0,10.3,6]){
rotate([0,-90,0]){
difference(){
cylinder(7,5,5,$fn=200);
    translate([0,0,-0.5]){
cylinder(21,4.6,4.6,$fn=200);
    }
    }
}}
translate([139.5,10.3,6]){
rotate([0,-90,0]){
difference(){
cylinder(7,5,5,$fn=200);
    translate([0,0,-0.5]){
cylinder(21,4.6,4.6,$fn=200);
    }
    }
}}
In order for the code to work, you would need to downlead valveShape
after finishing the design I exported the file as STL the upload it to Cura Ultimaker besides the other students projects to print all designs at once.
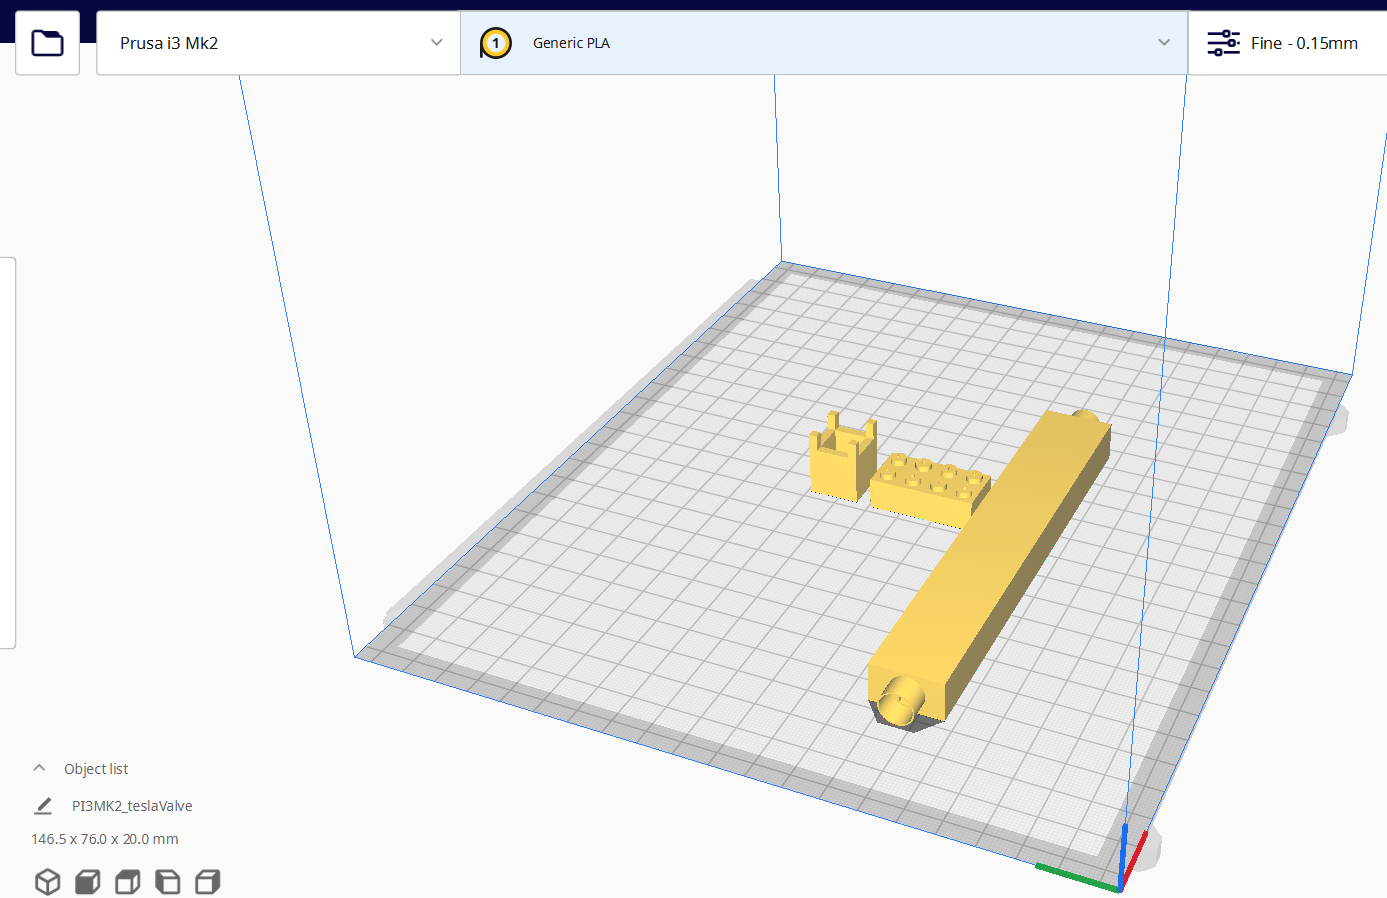
after slicing you can obviously see the pattern in the tesla valve.
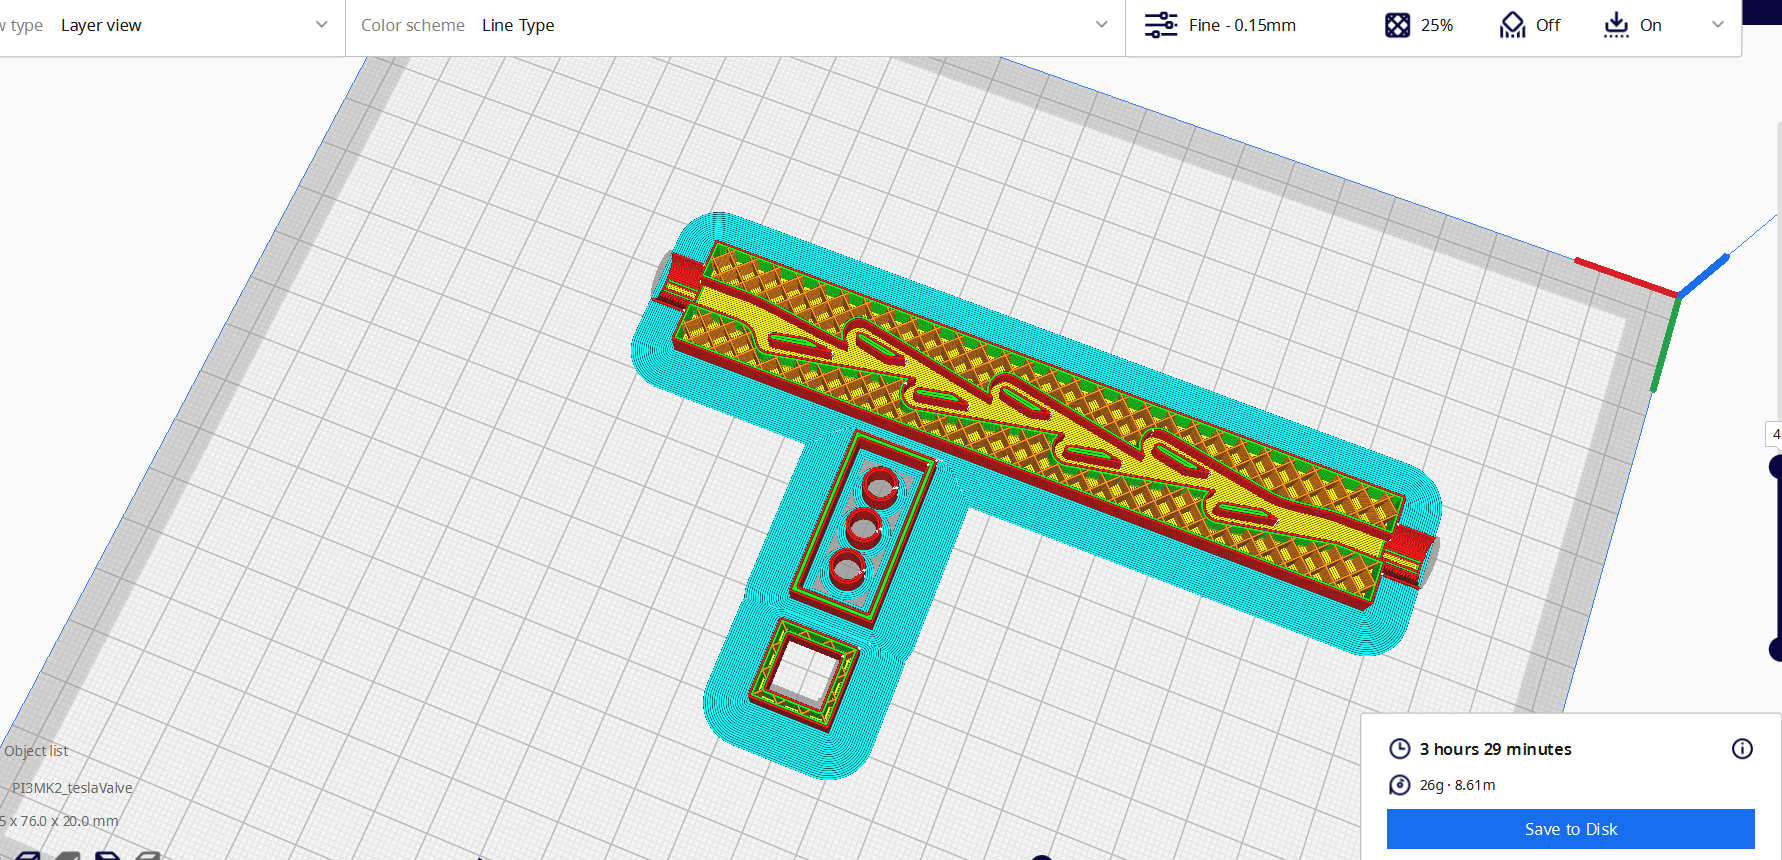
for the settings I used, 25% infill, 60 C bed temperature, and 210 c printing temperature.
here is a video while printing the model.
Then we saved it to a disk and uploaded it to the 3D printer, and we ended up with.
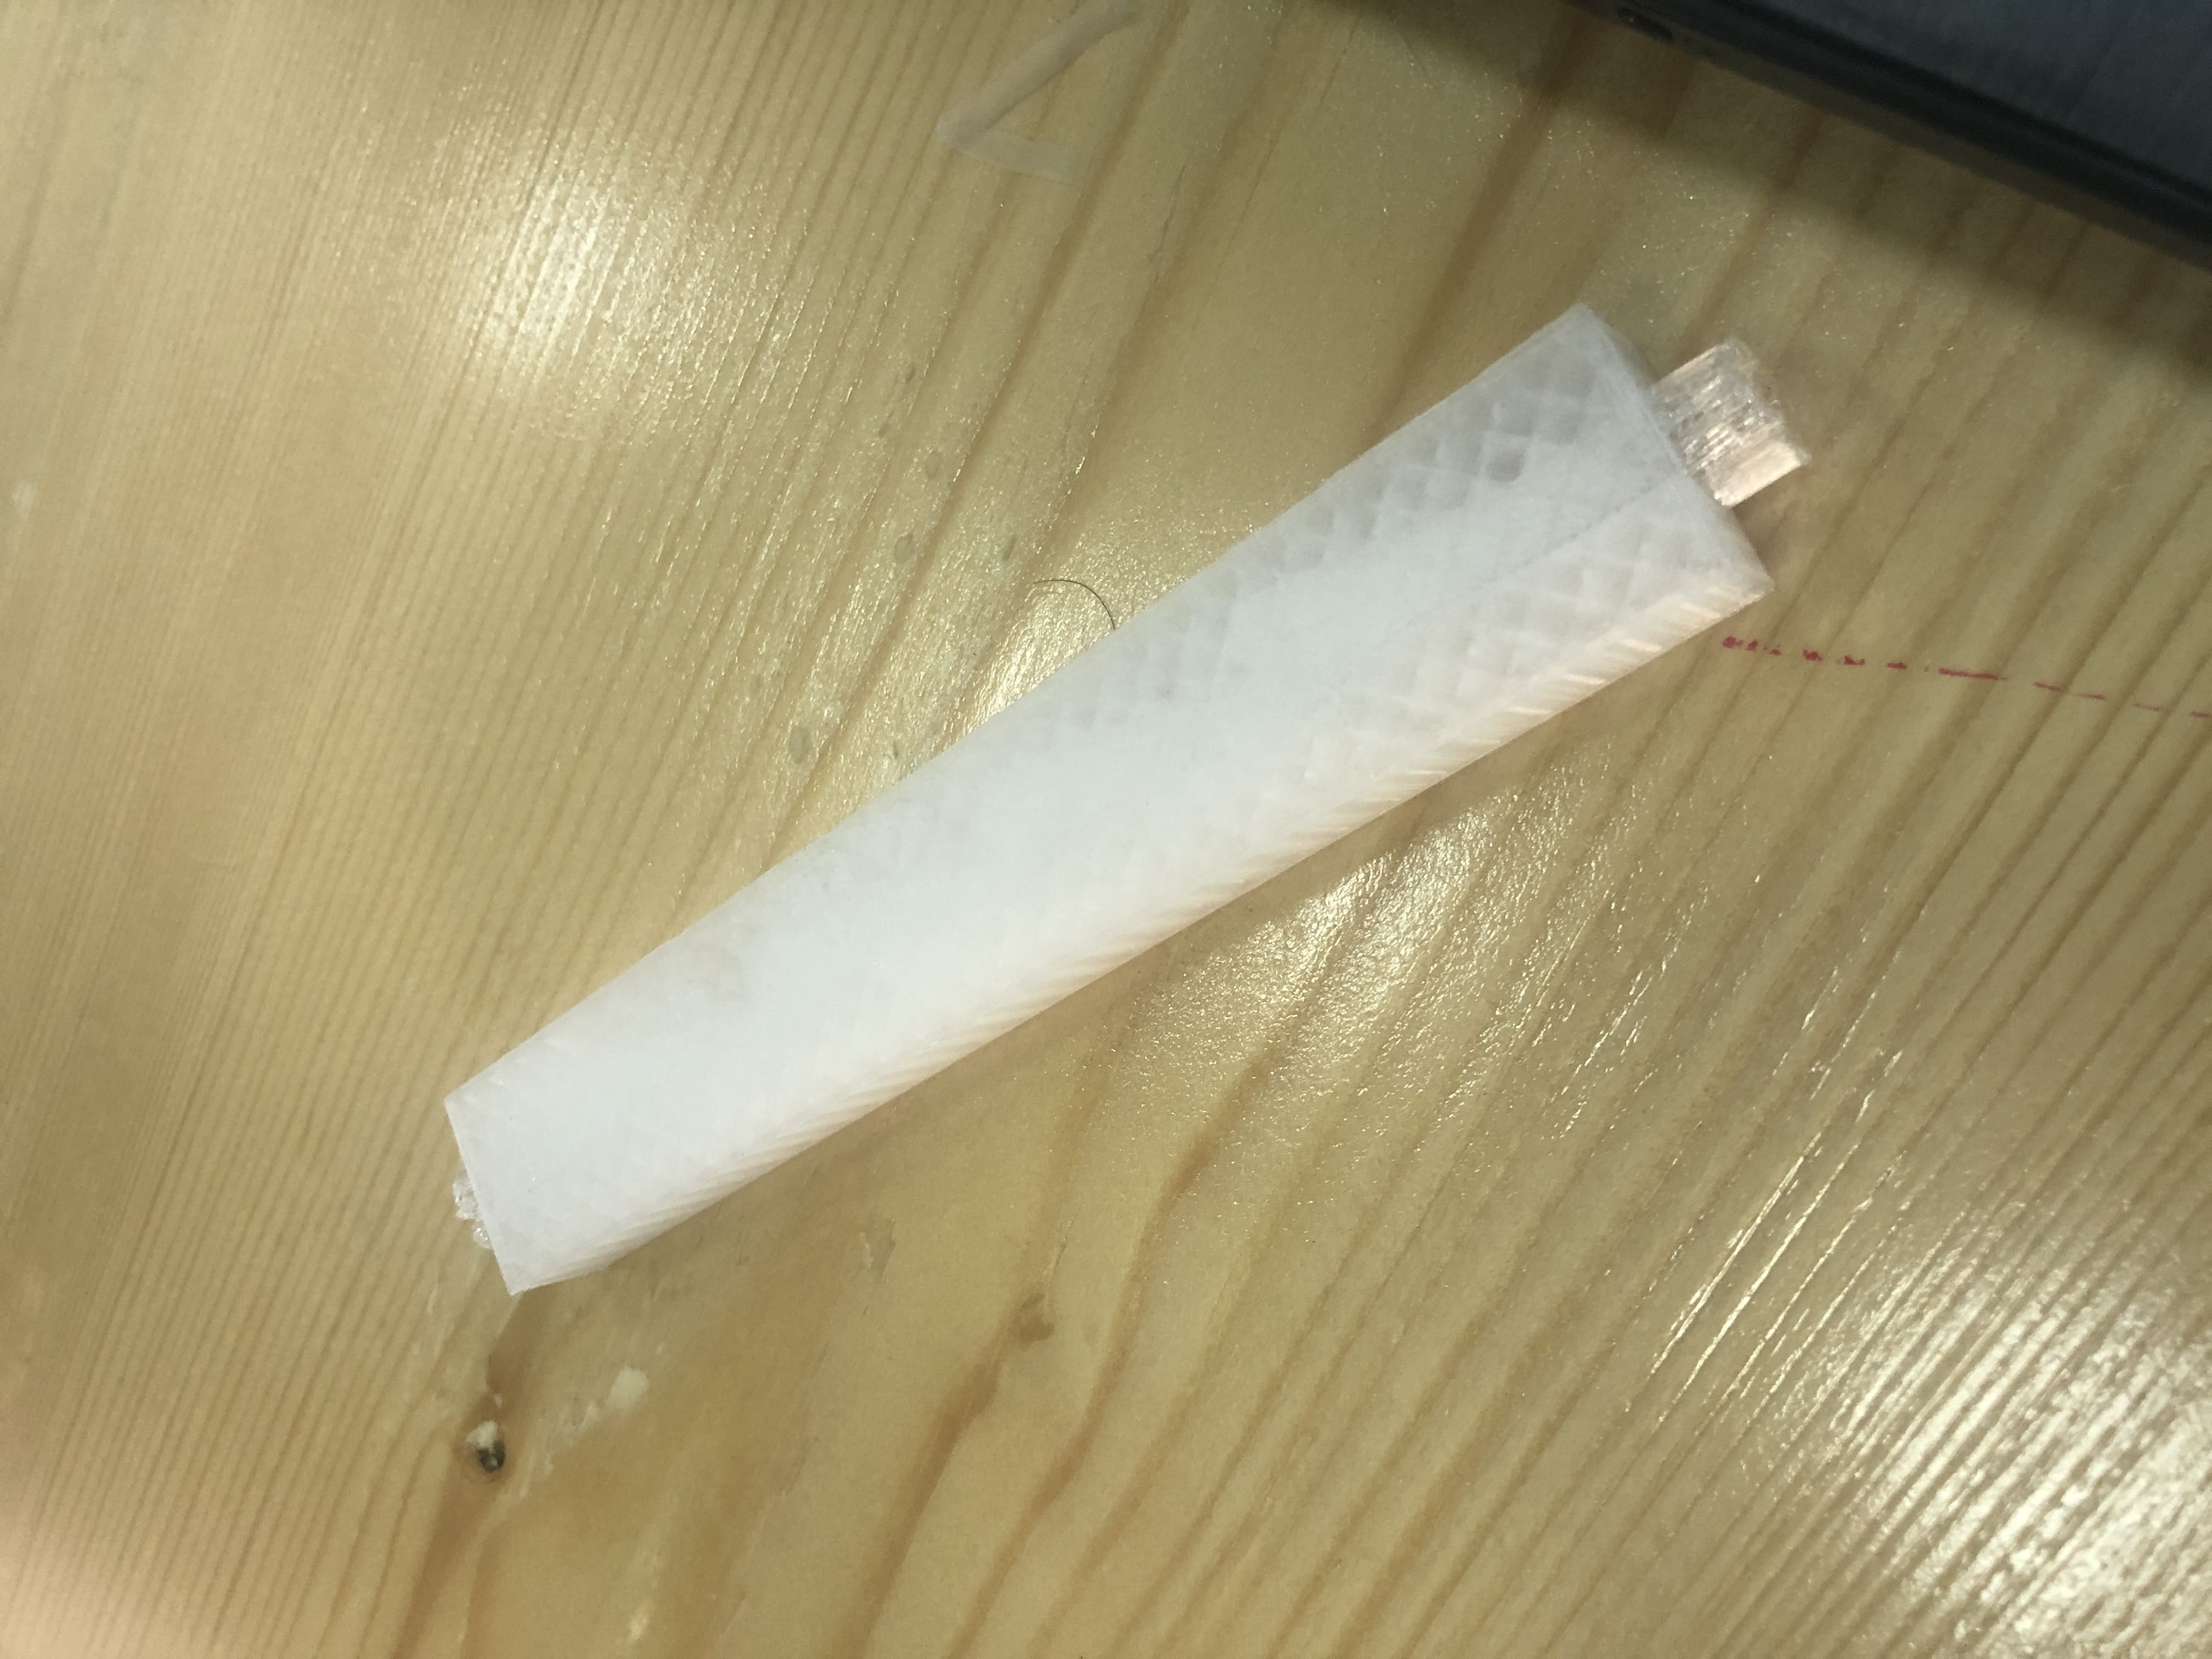
admittedly the valve didn’t work as good as I expected but With some adjustments its could reach there.
Problems & How To Improve
- the entry point in the pattern curves inside the model are not in the way of the flow enough.
- I noticed some of the water leaked (not a major leak) to the inside of the model, so I suggest greater infill percentage.
- both cylindrical ends did not print well and need supports.
3D Scanning
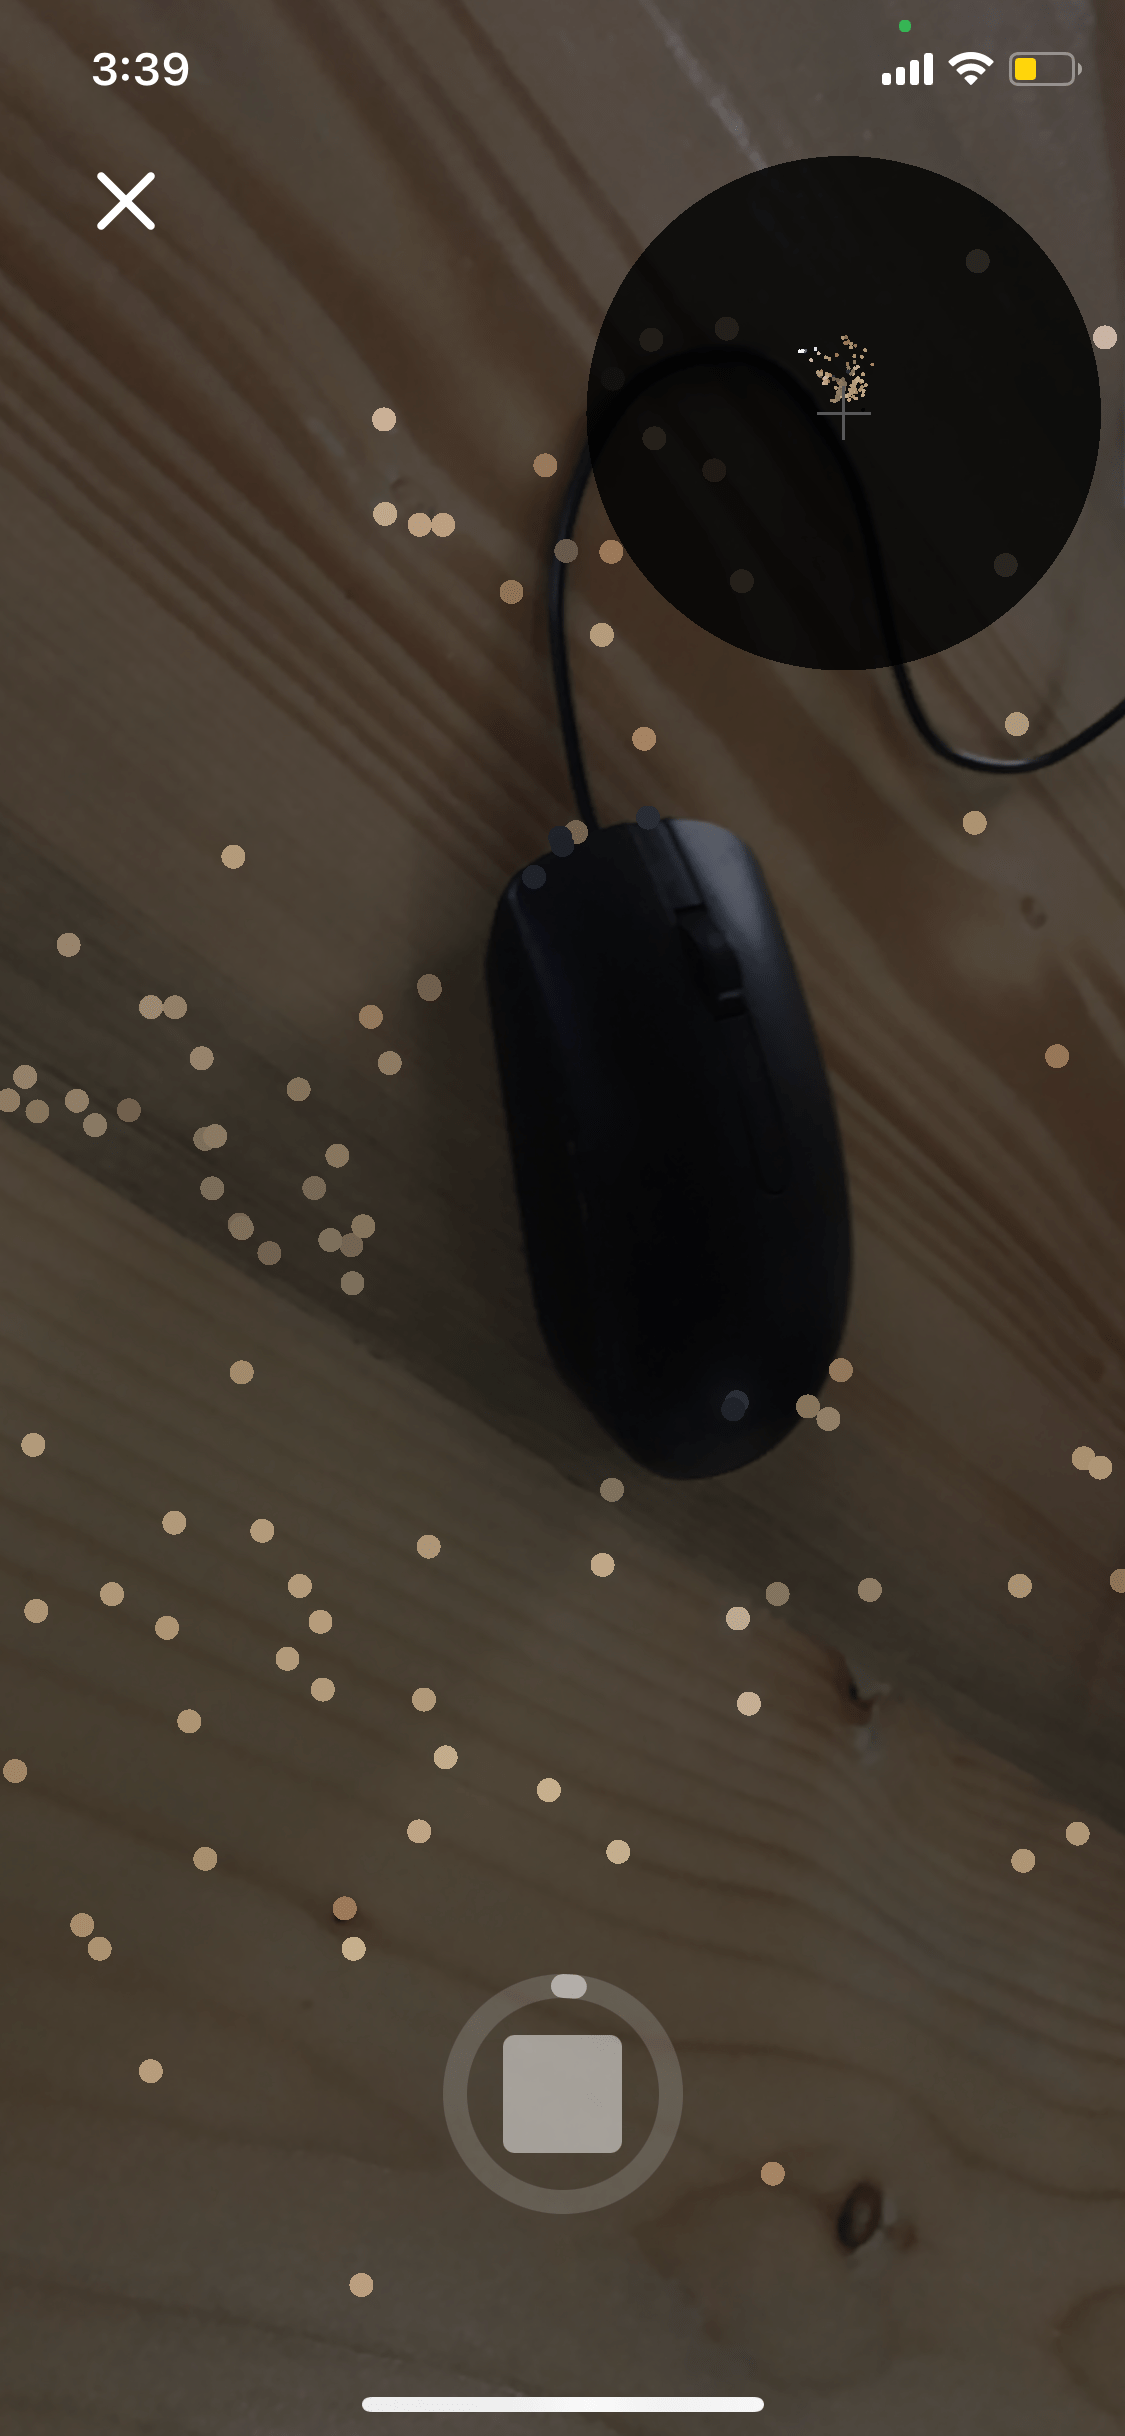
For 3D scanning I used a program called Trnio Plus.
I started by scanning anything in front of me
and after a long while I got
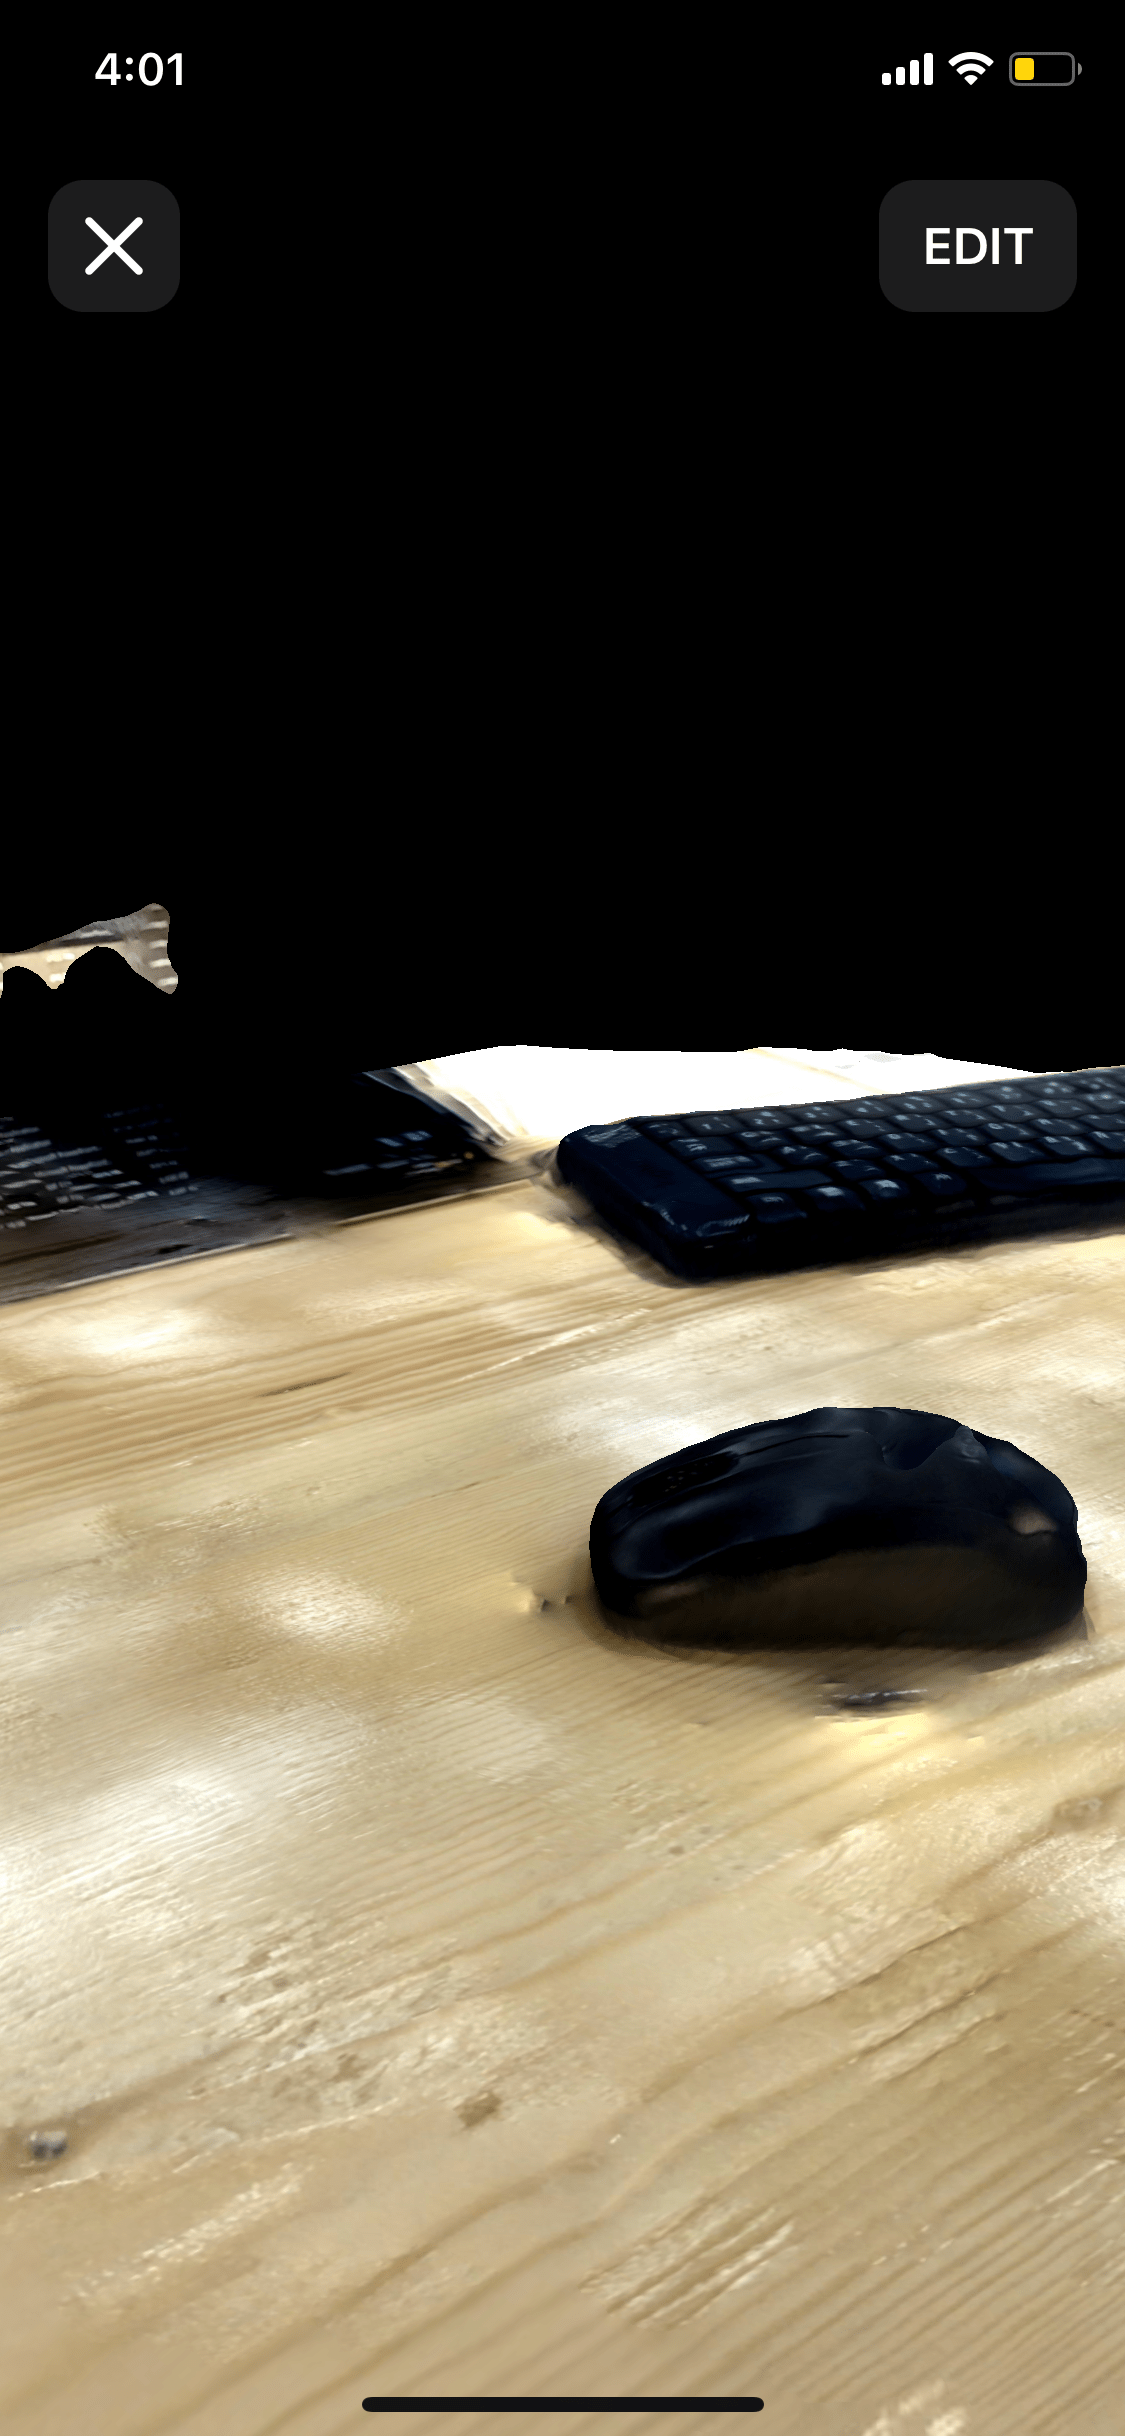
I did not like the results, but if you use something more capable than the phone I think scanning would be a very powerful tool.