5. Embedded programming
This week I worked on defining my final project idea and started to getting used to the documentation process.
Group Assignment
In the first day of this week we done our group assignment, every group had a type of microcontroller and do a research about it. - Group Assignment Link
Individual Assignment
This week the individual assignment is to learn how to code the microcontroller that is given to us. the microcontroller given to us has a LED_BUILTIN, we can control this led blink by coding the microcontroller. The first step is to set the microcontroller, and this is done by downloading Arduino IDE, then downloading the microcontroller libraries.
Morse code: “Morse code is a method used in telecommunication to encode text characters as standardized sequences of two different signal durations, called dots and dashes, or dits and dahs. Morse code is named after Samuel Morse, one of the inventors of the telegraph.” - wikipedia
I tried to use morse code to blink the word light in the microcontroller.
- I used Tinker cad website
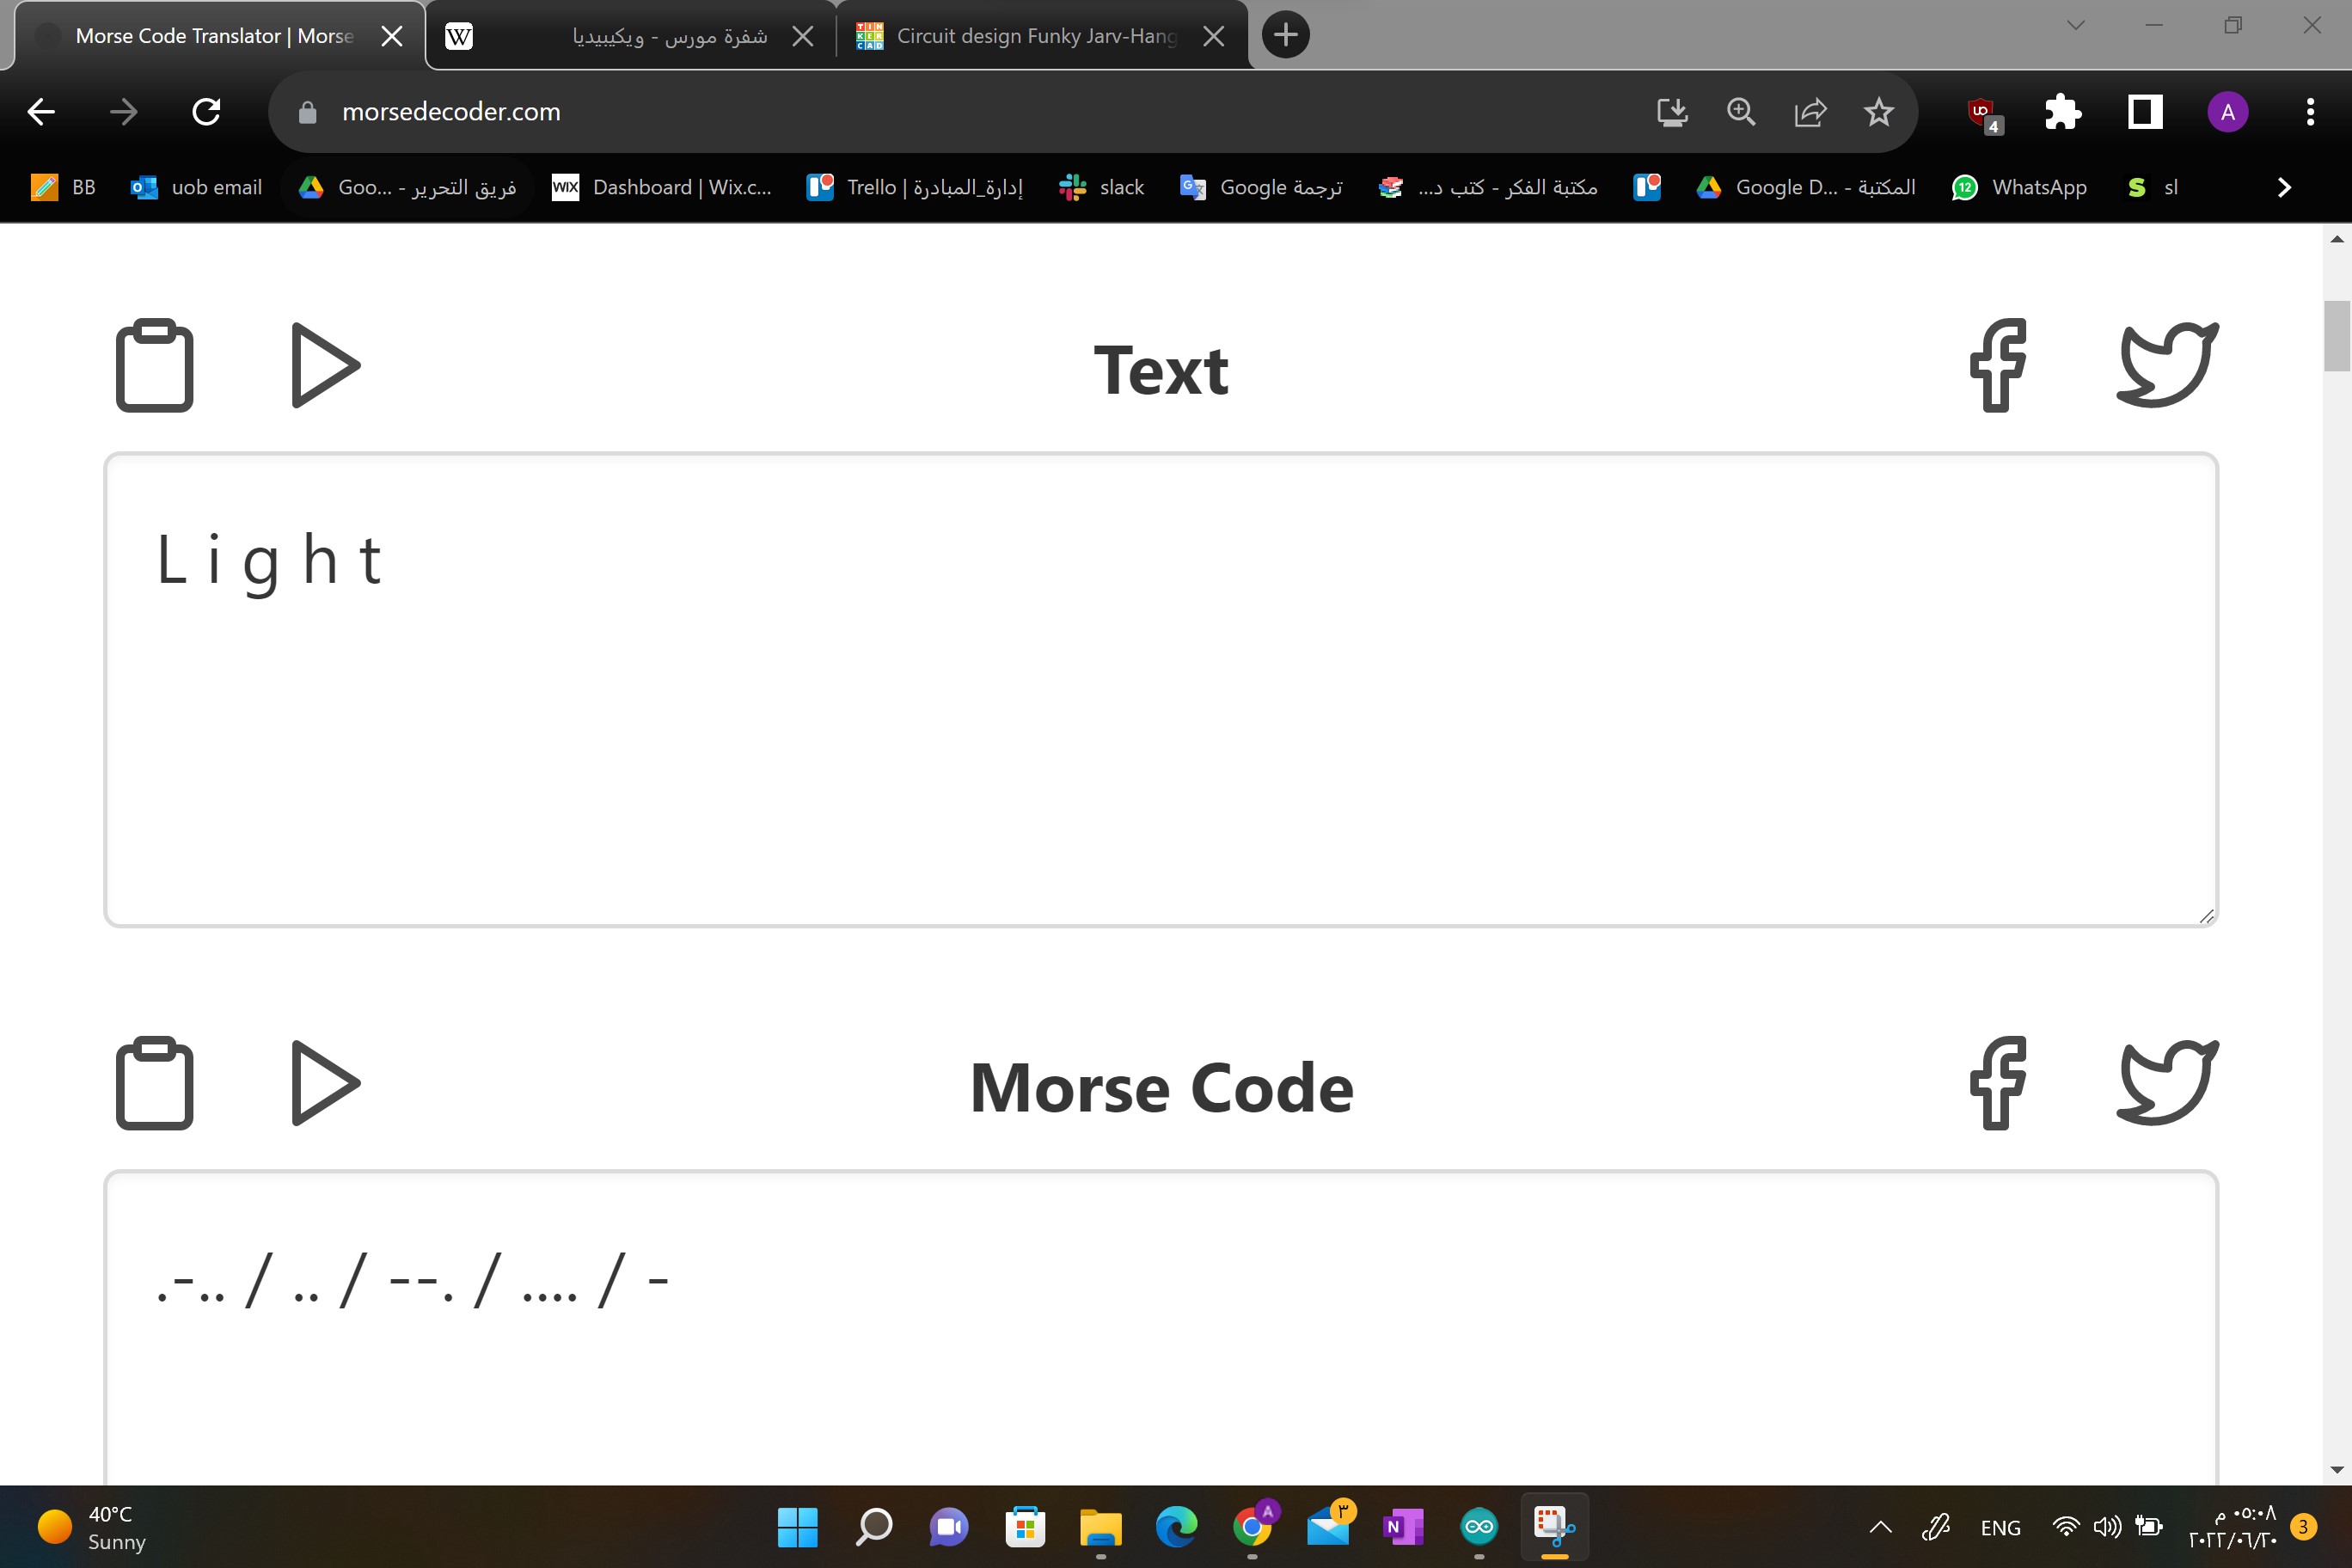 first I translated the word light into morse
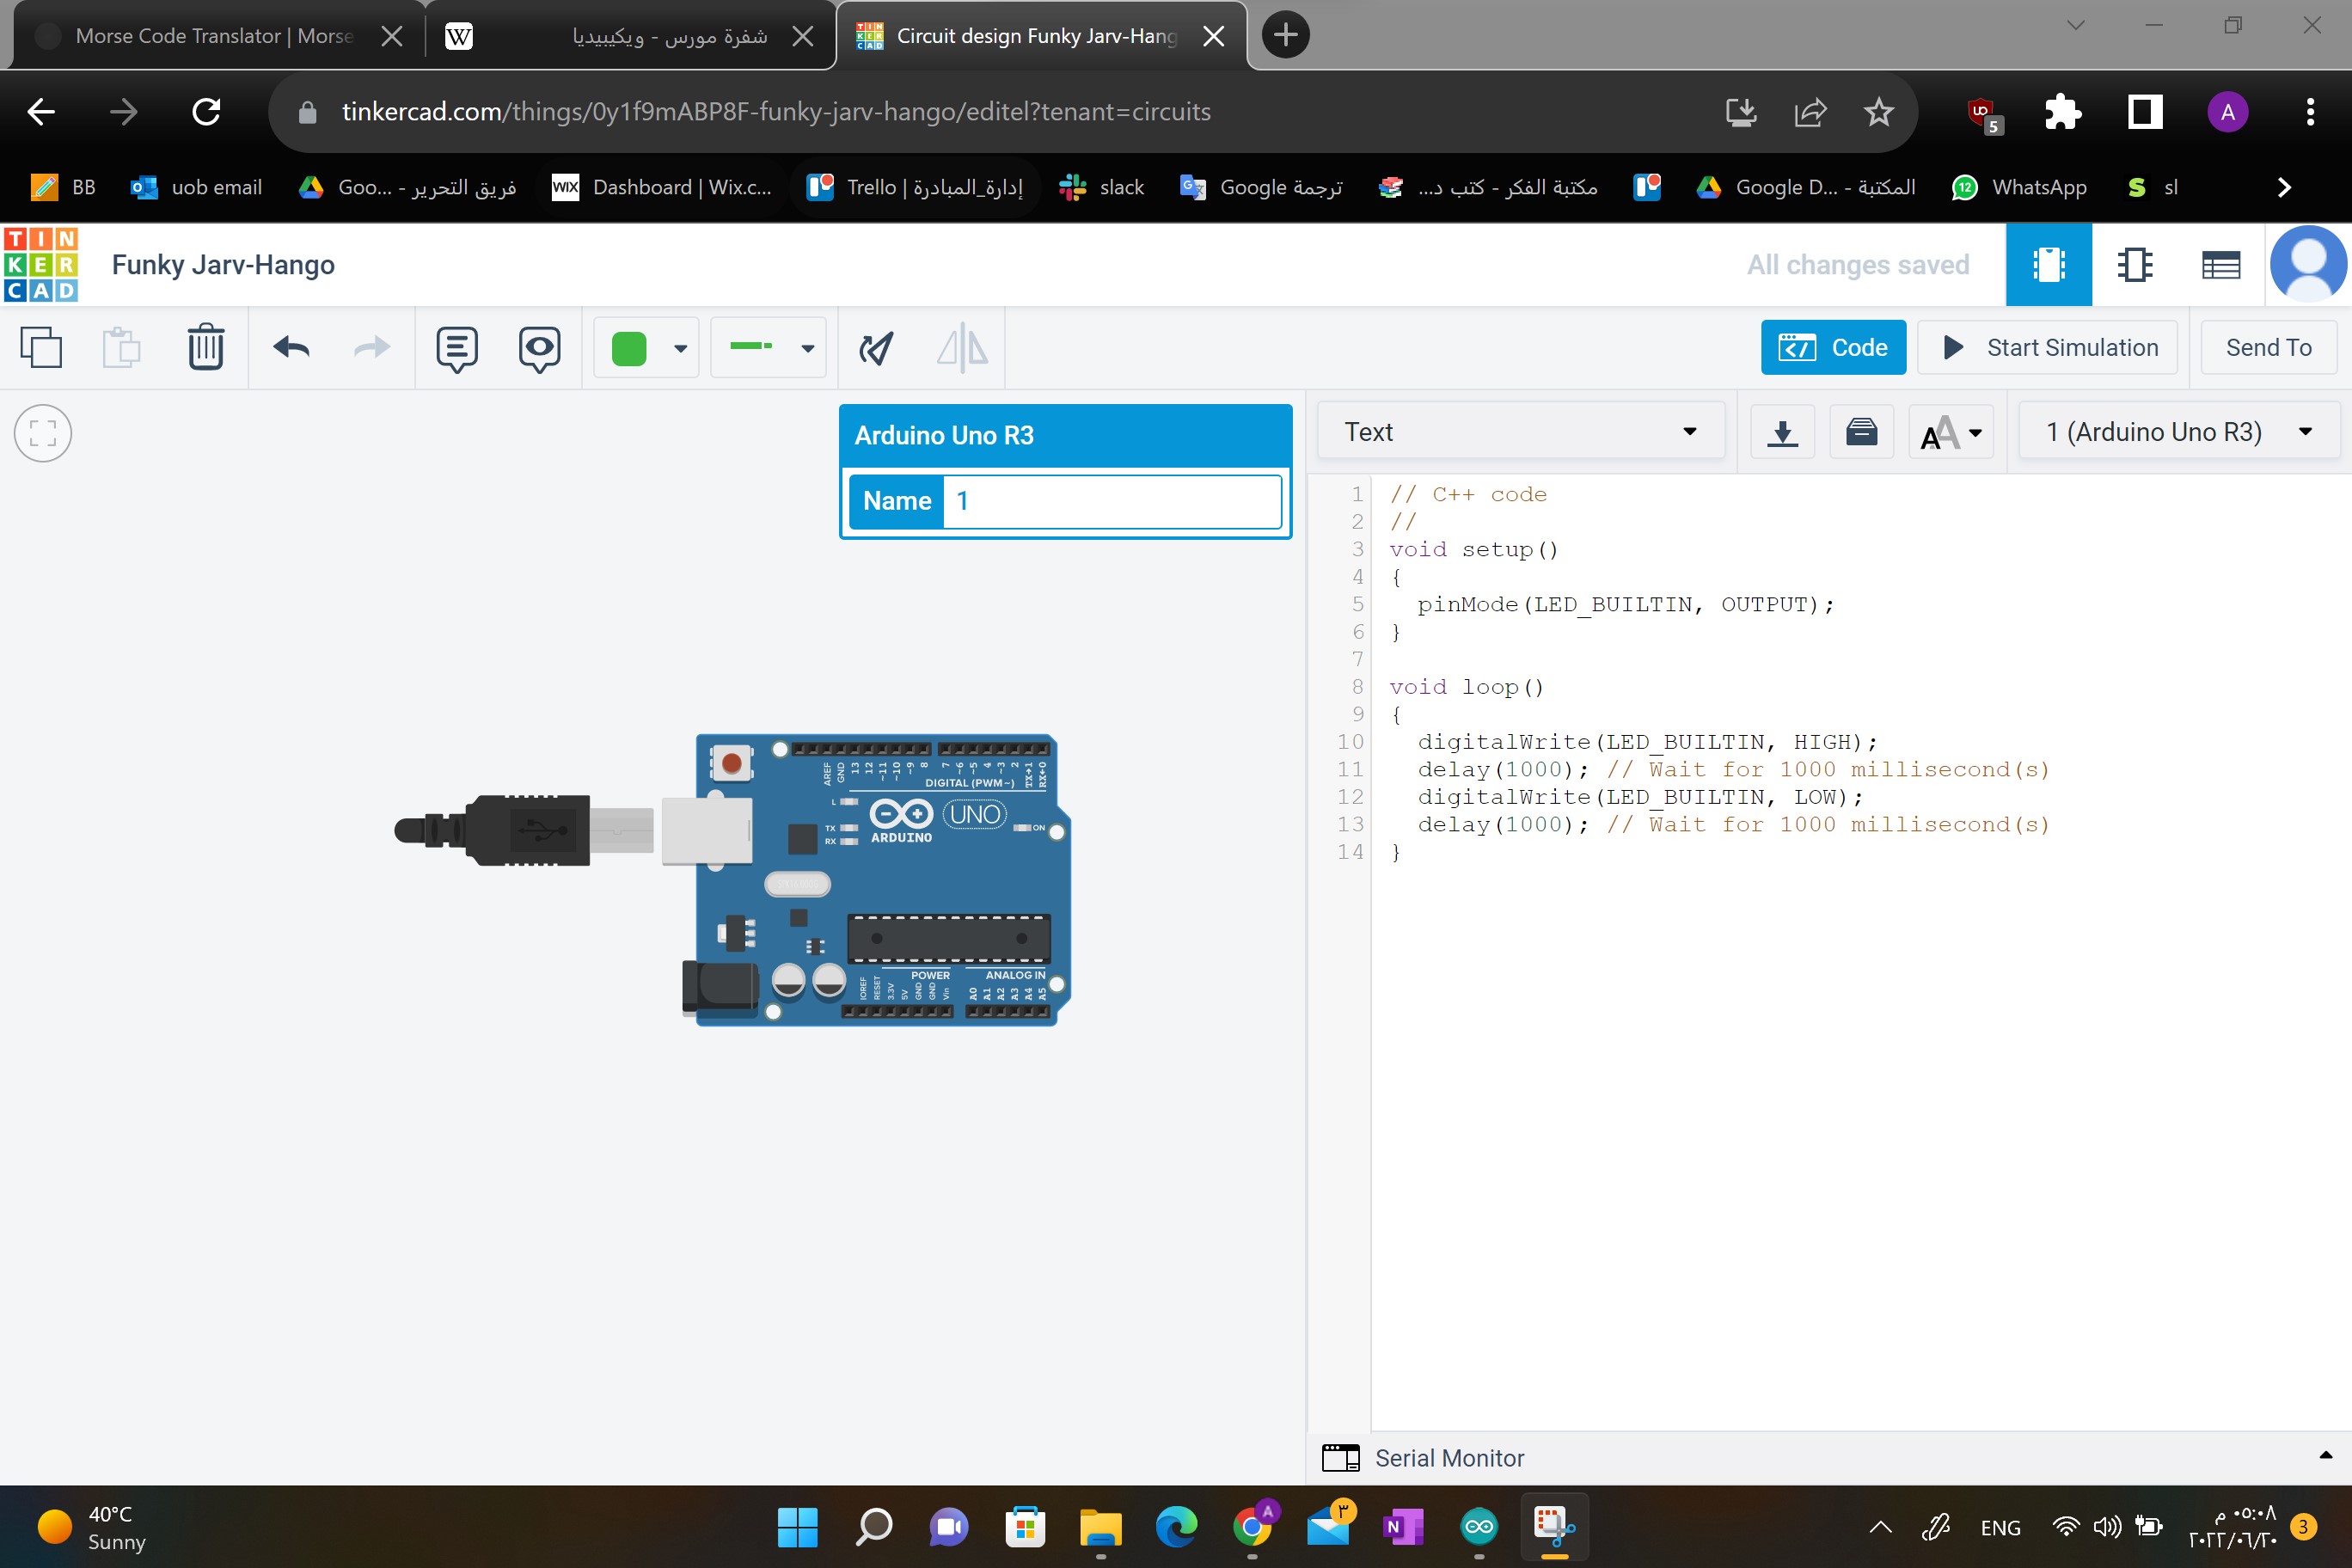
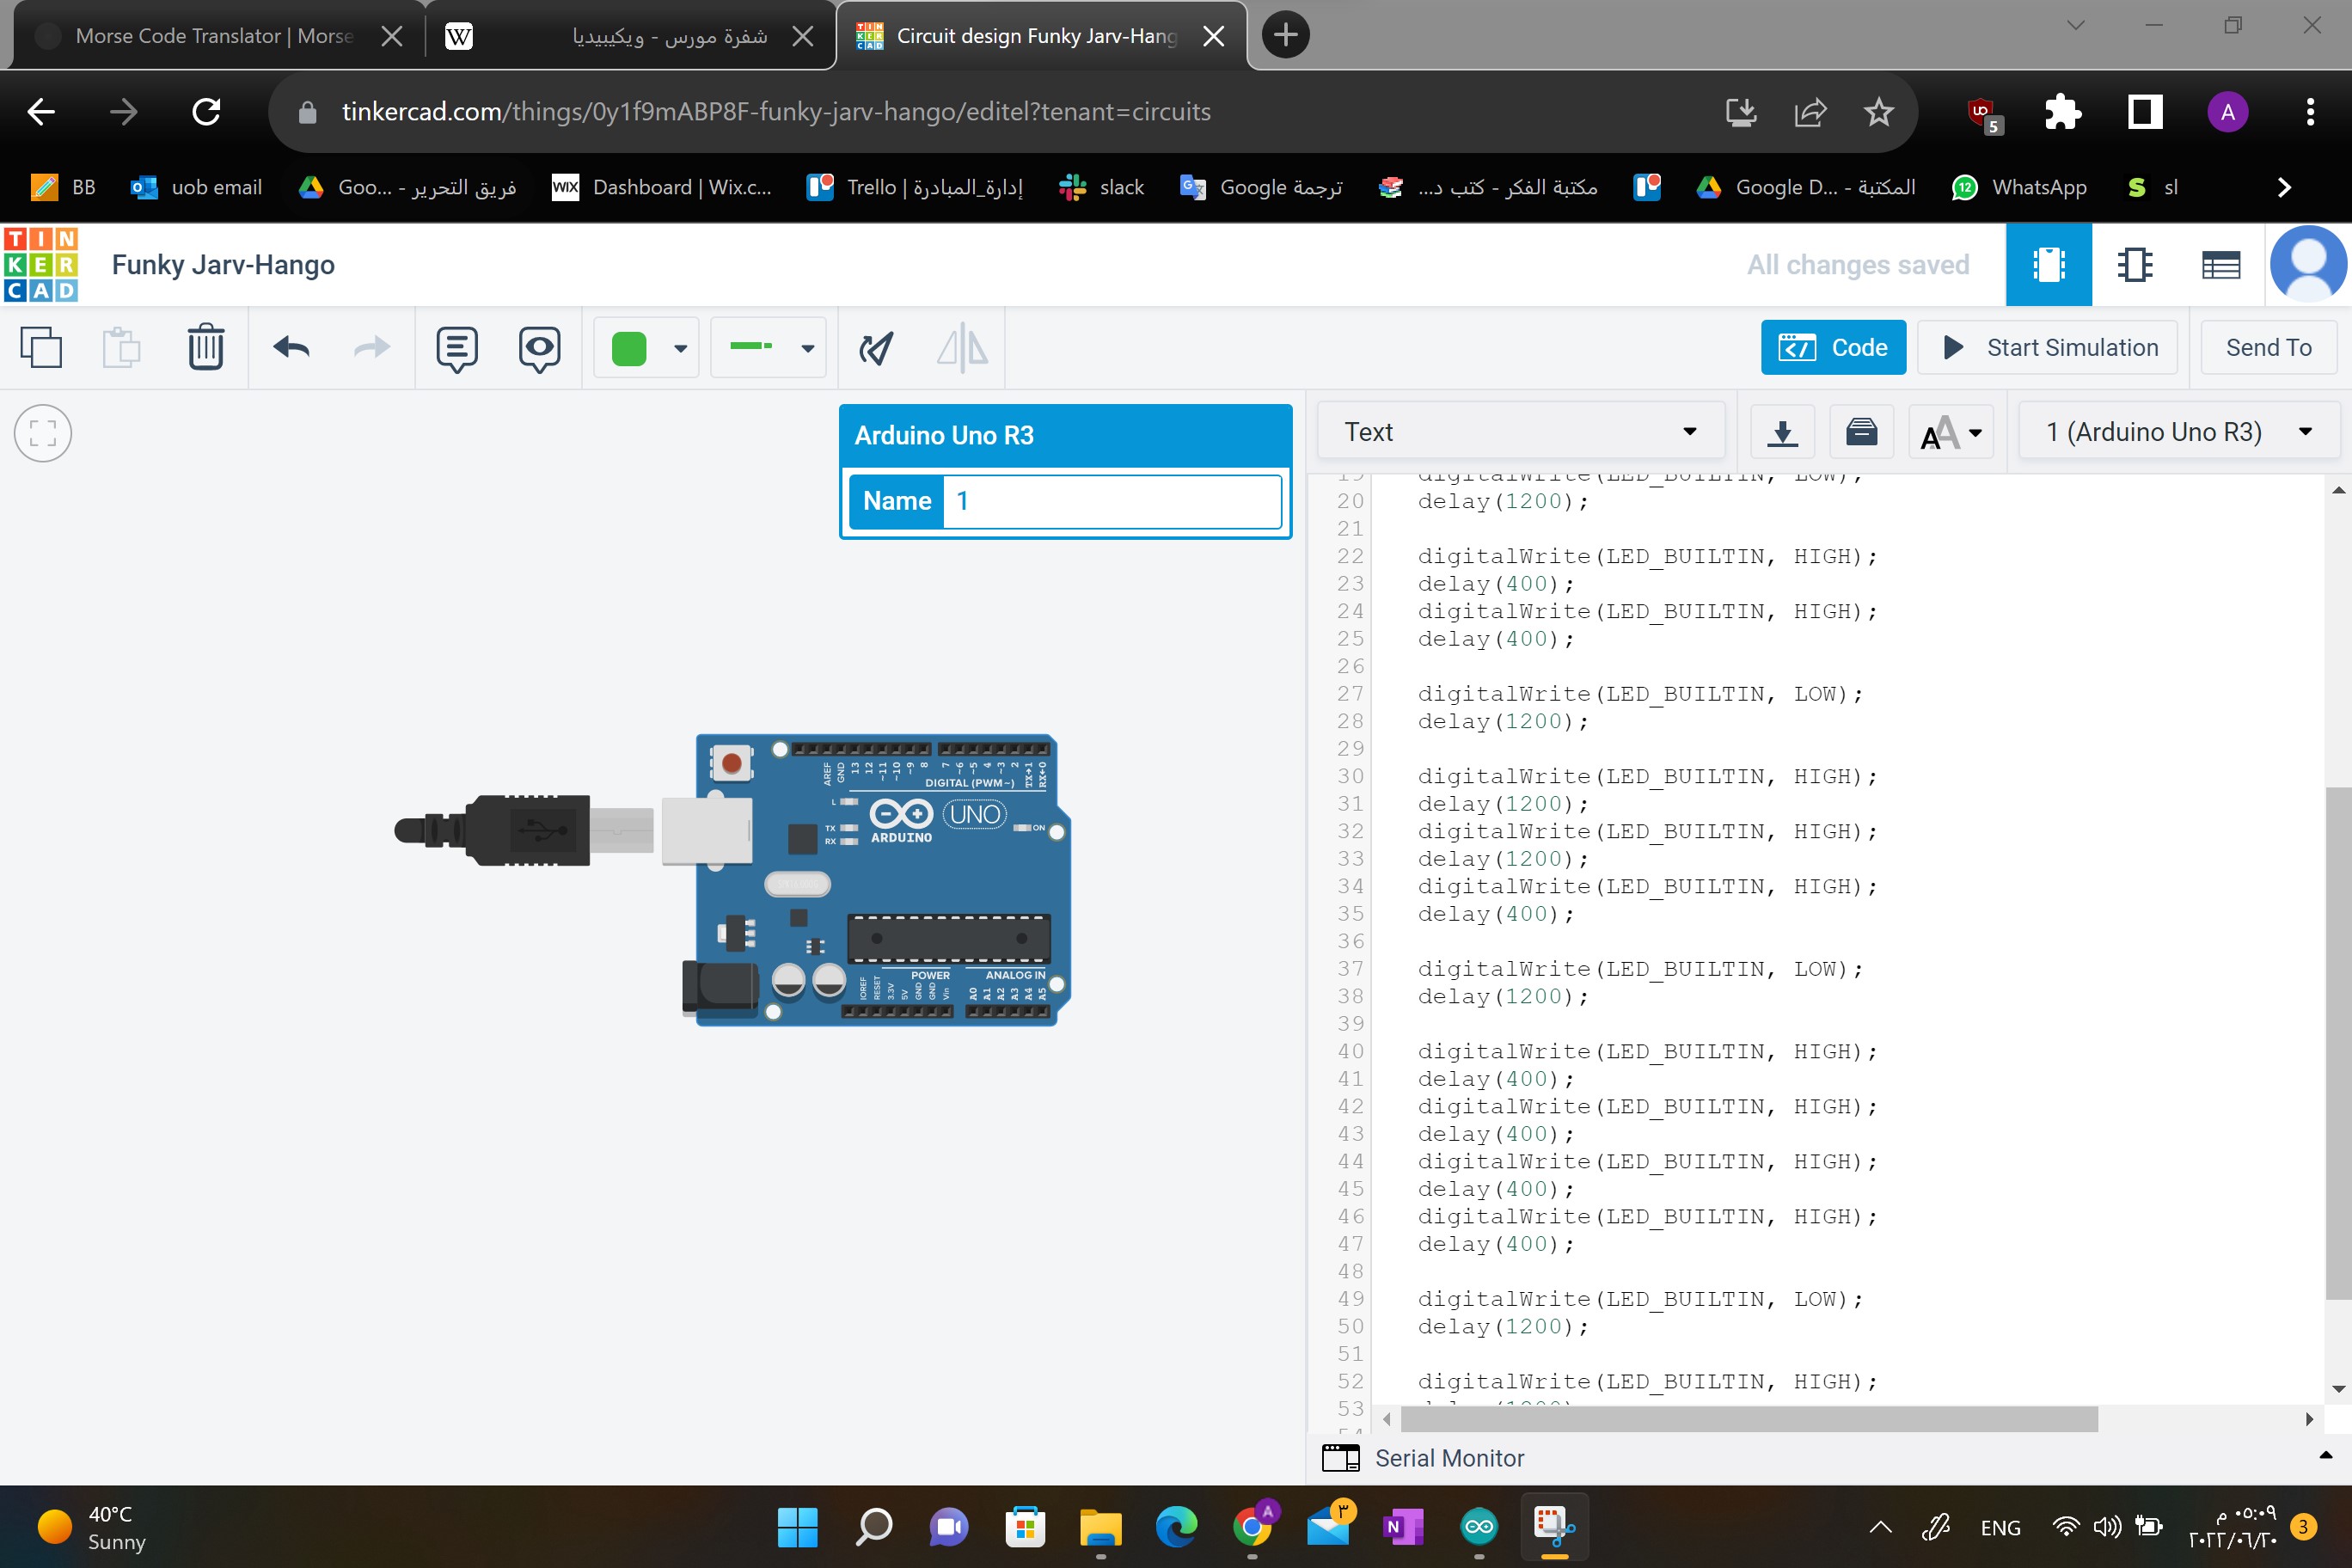 as seen in the pictures the microcontroller is ready to blink the word “Light”.
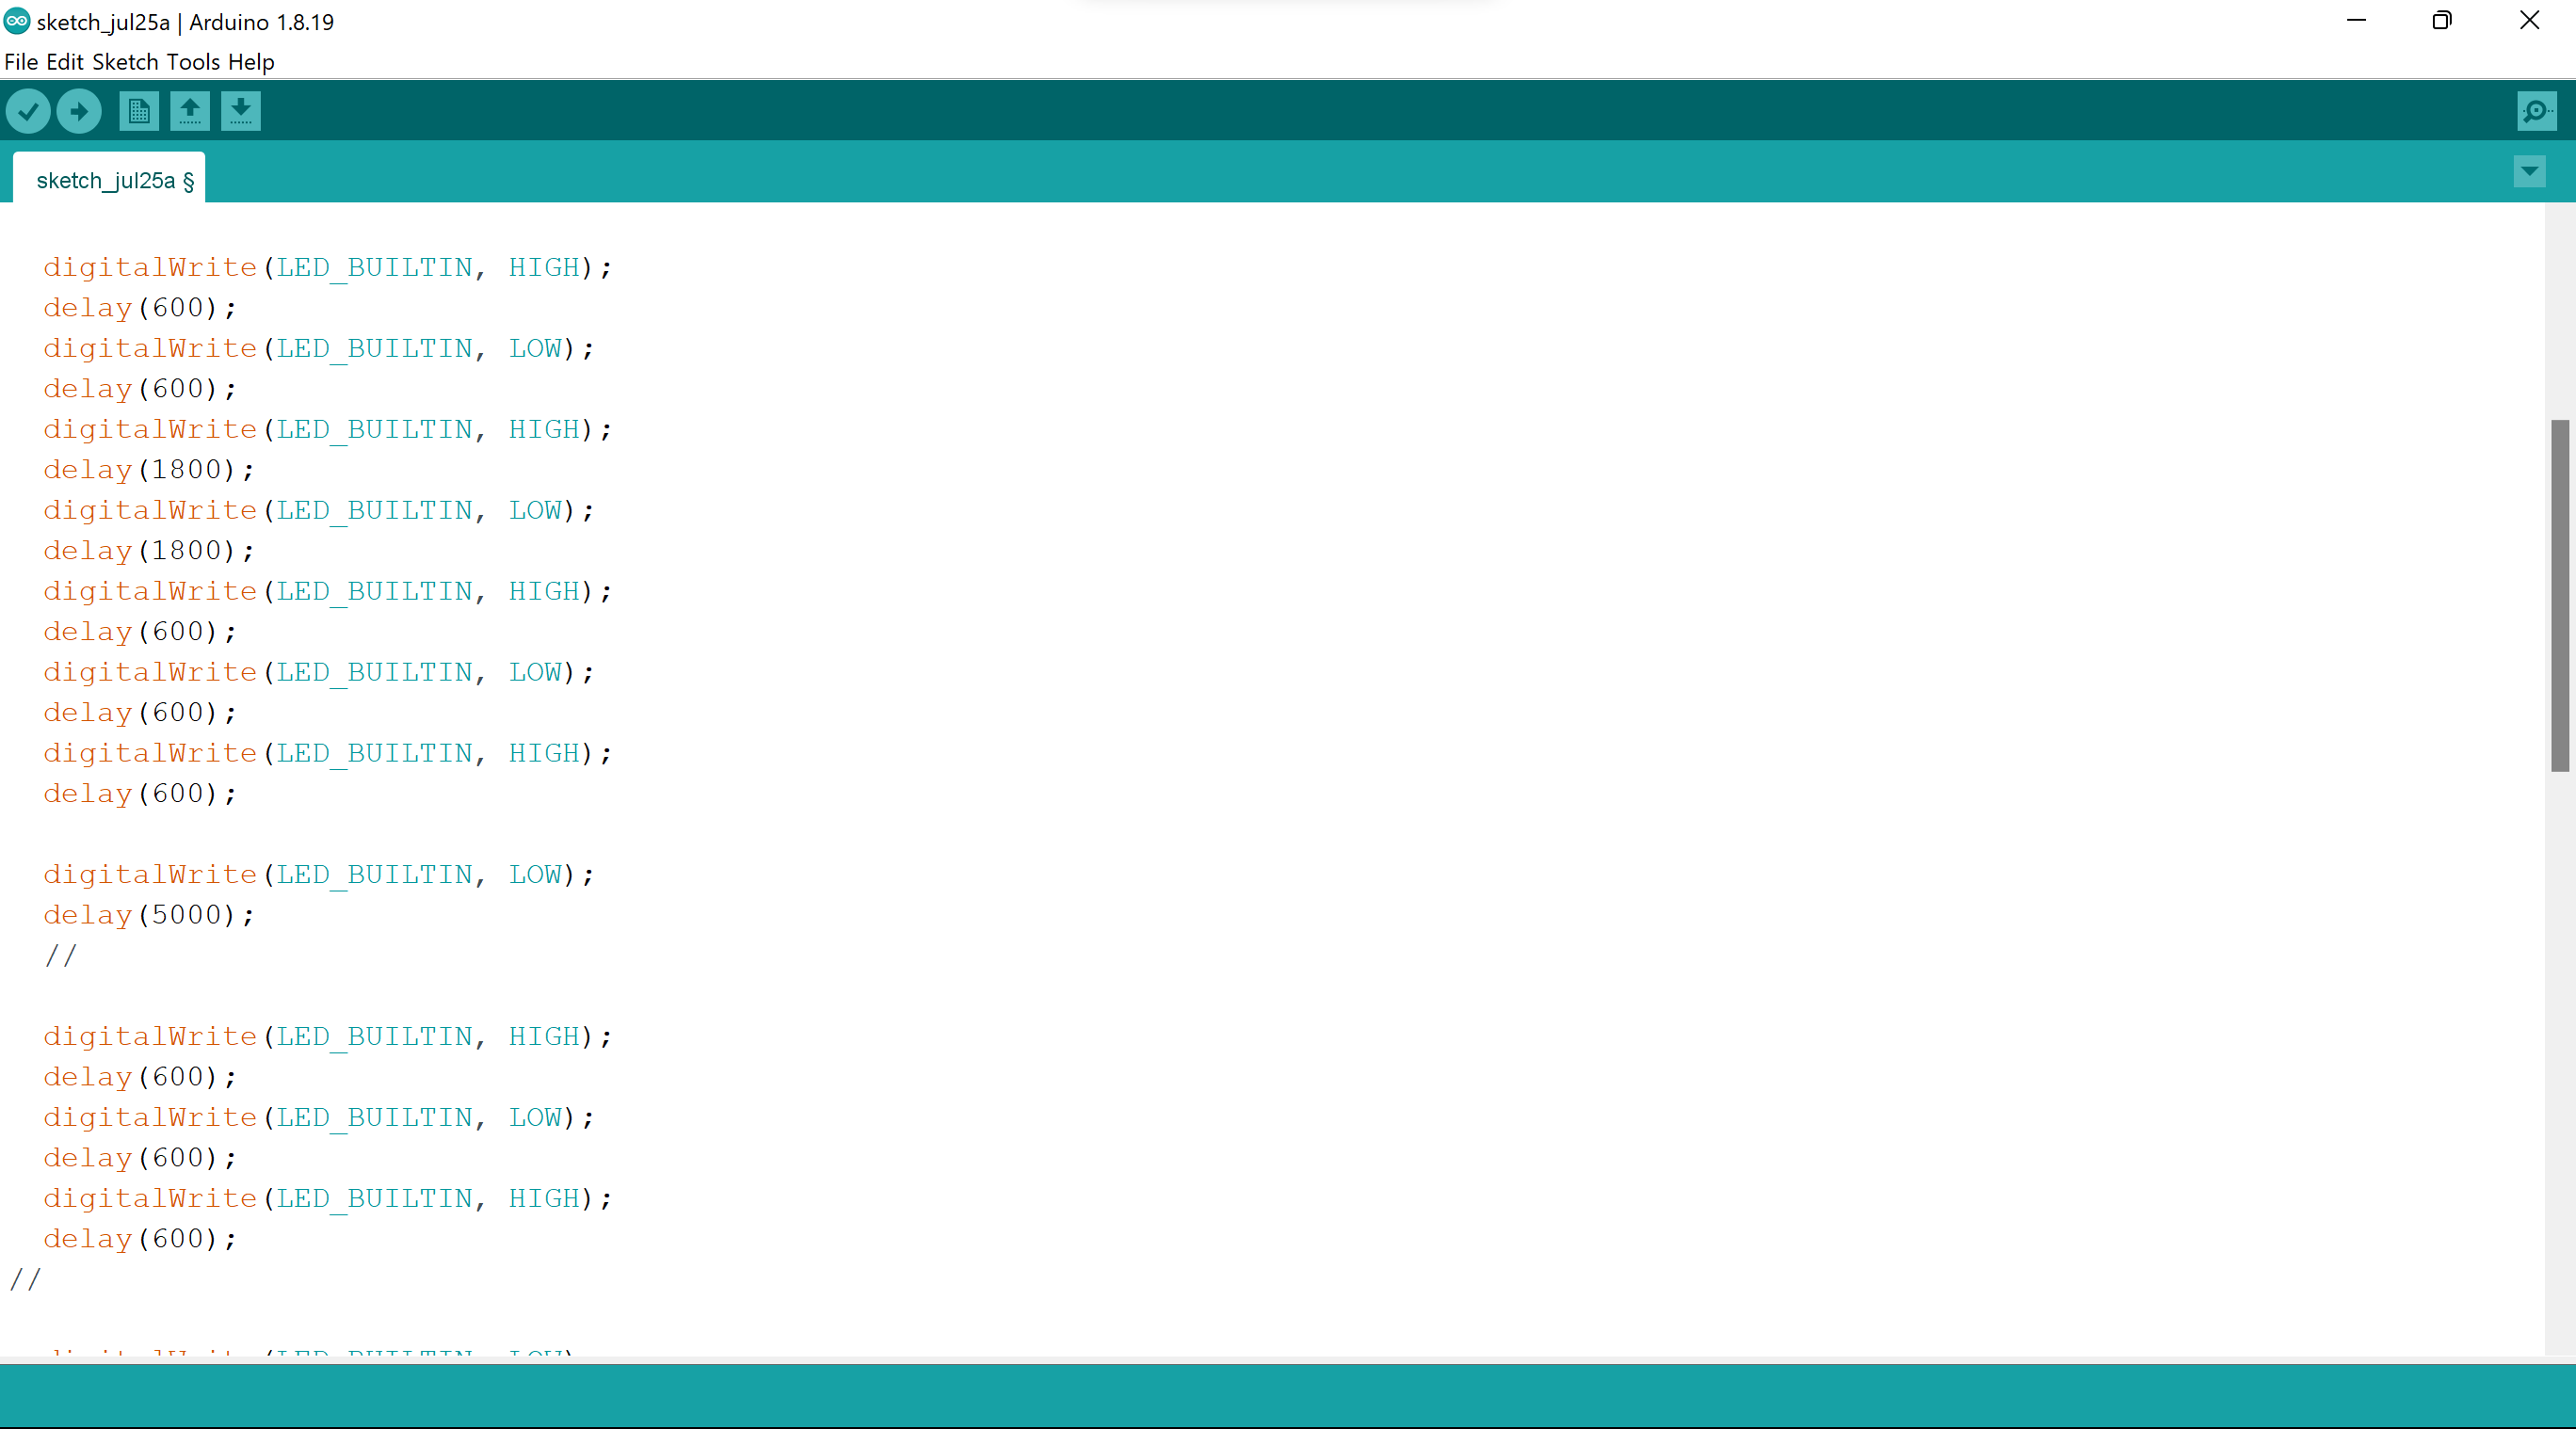
the code I created:
// C++ code
//
int fablab;
void setup()
{
  pinMode(LED_BUILTIN, OUTPUT);
}

void loop()
{
  fablab=random(400);
  digitalWrite(LED_BUILTIN, HIGH);
  delay(fablab);
  digitalWrite(LED_BUILTIN, LOW);
  delay(fablab);

  digitalWrite(LED_BUILTIN, HIGH);
  delay(600);
  digitalWrite(LED_BUILTIN, LOW);
  delay(600);
  digitalWrite(LED_BUILTIN, HIGH);
  delay(1800);
  digitalWrite(LED_BUILTIN, LOW);
  delay(1800);
  digitalWrite(LED_BUILTIN, HIGH);
  delay(600);
  digitalWrite(LED_BUILTIN, LOW);
  delay(600);
  digitalWrite(LED_BUILTIN, HIGH);
  delay(600);

  digitalWrite(LED_BUILTIN, LOW);
  delay(5000);
  //

  digitalWrite(LED_BUILTIN, HIGH);
  delay(600);
  digitalWrite(LED_BUILTIN, LOW);
  delay(600);
  digitalWrite(LED_BUILTIN, HIGH);
  delay(600);
//

  digitalWrite(LED_BUILTIN, LOW);
  delay(5000);

  digitalWrite(LED_BUILTIN, HIGH);
  delay(1800);
  digitalWrite(LED_BUILTIN, LOW);
  delay(1800);
  digitalWrite(LED_BUILTIN, HIGH);
  delay(1800);
  digitalWrite(LED_BUILTIN, LOW);
  delay(1800);
  digitalWrite(LED_BUILTIN, HIGH);
  delay(600);

  digitalWrite(LED_BUILTIN, LOW);
  delay(5000);
//

  digitalWrite(LED_BUILTIN, HIGH);
  delay(600);
    digitalWrite(LED_BUILTIN, LOW);
  delay(600);
  digitalWrite(LED_BUILTIN, HIGH);
  delay(600);
    digitalWrite(LED_BUILTIN, LOW);
  delay(600);
  digitalWrite(LED_BUILTIN, HIGH);
  delay(600);
    digitalWrite(LED_BUILTIN, LOW);
  delay(600);
  digitalWrite(LED_BUILTIN, HIGH);
  delay(600);

  digitalWrite(LED_BUILTIN, LOW);
  delay(5000);
//

  digitalWrite(LED_BUILTIN, HIGH);
  delay(1800);

  digitalWrite(LED_BUILTIN, LOW);
  delay(20000);


}
Final results:
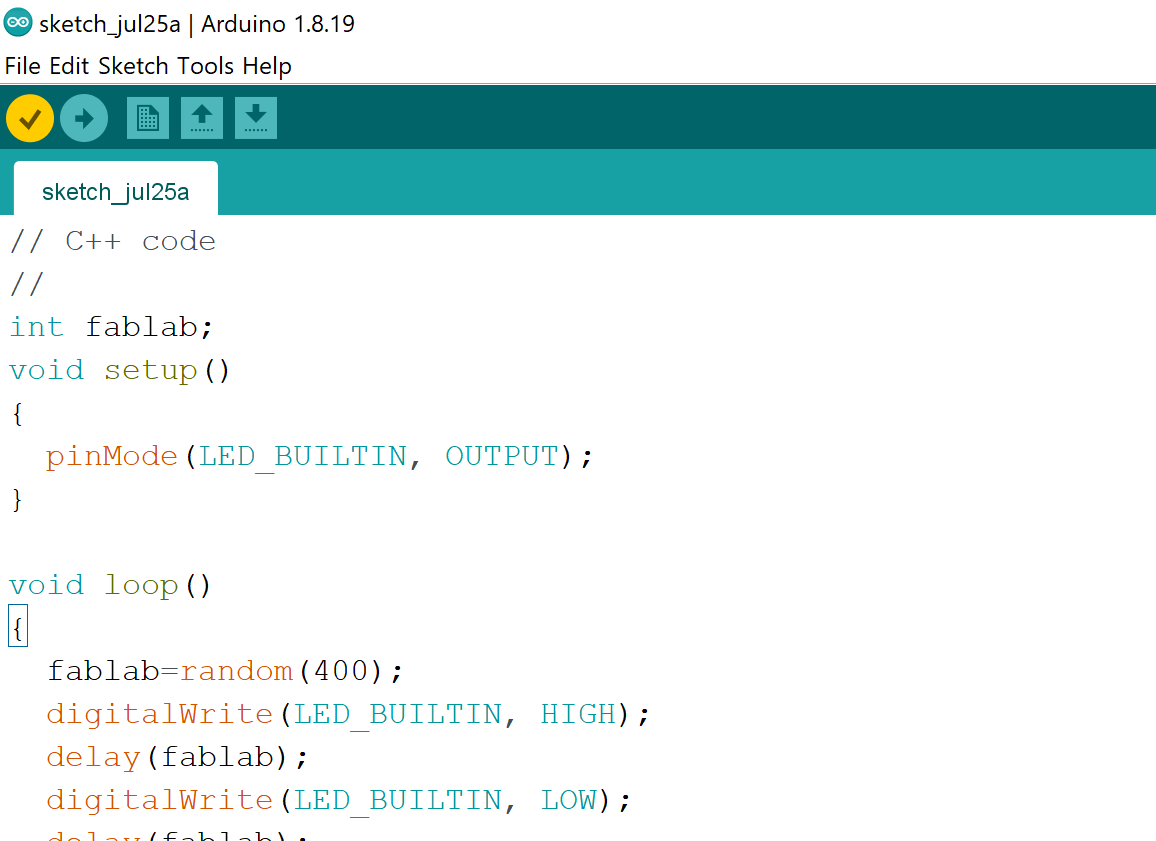
doing the same thing in Arduino ide:
After writing the code click compile:
After compiling click upload:
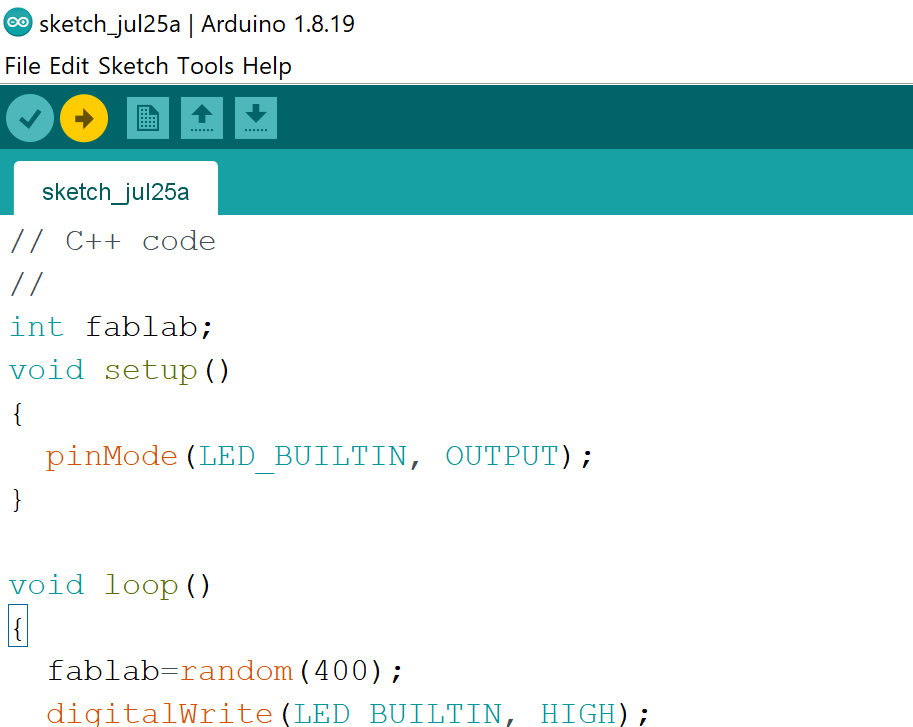
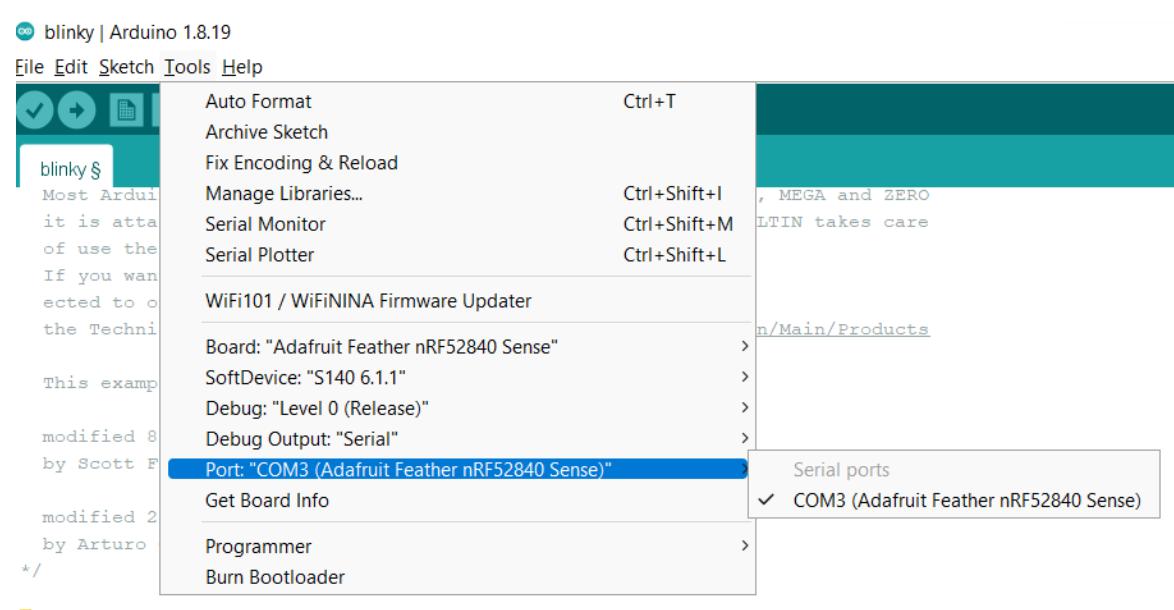
make sure that the board is connected
Results: