Final Project (Cryptic Calender)
materials used:
MDF sheet 17”x17”
arduino nano
lcd screen 16x2
stepper motor and stepper driver
acrylic sheet
button
Design:
The design was my teammate Abdulla responsiblity, click here to go to his page
Electronics:
In this project there is three electronic devices:
-
1: lcd screen (output)
-
2: stepper motor (output)
-
3: button (input)
I already documented the code and schematics of the stepper motor and the button, you can go to the page by clicking here
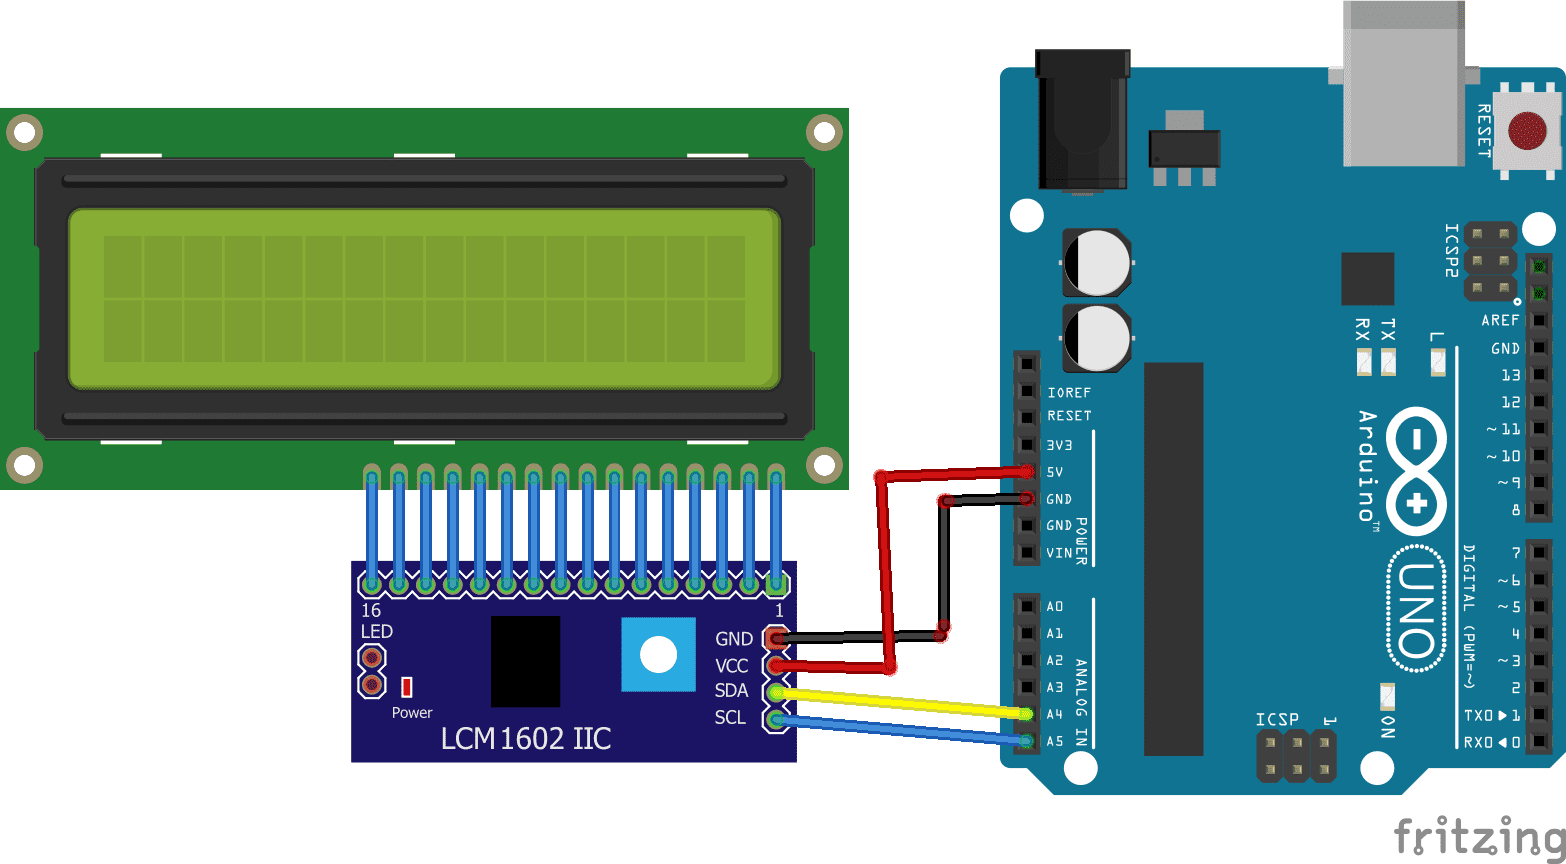
lcd screen connections schematics:
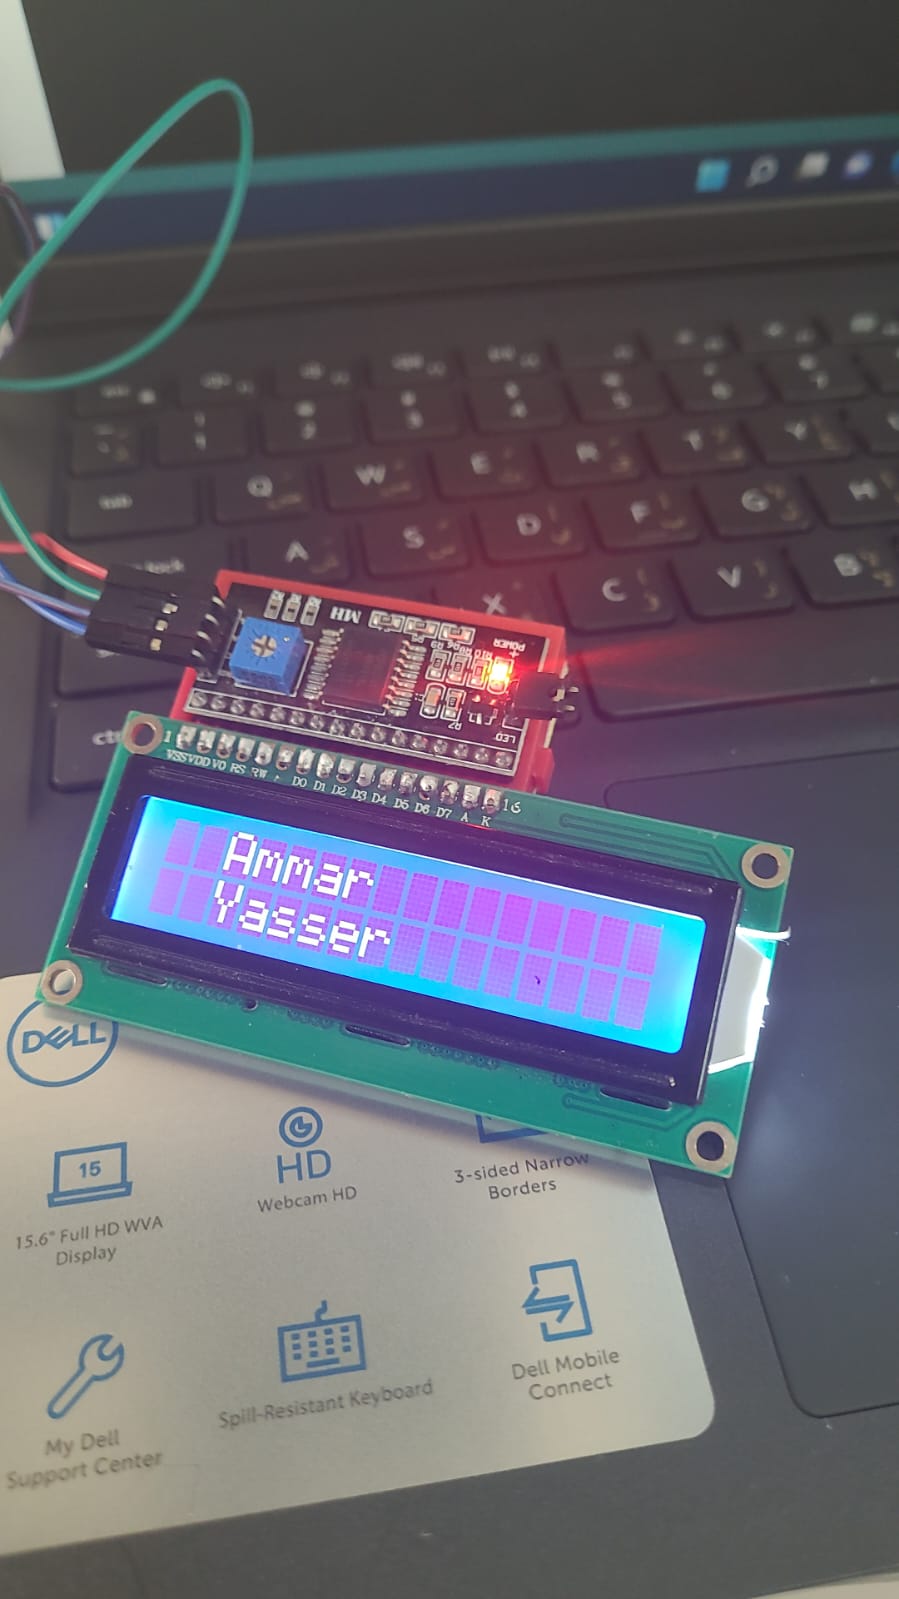
lcd screen code:
#include <LiquidCrystal_I2C.h>
LiquidCrystal_I2C lcd(0x27, 20, 4);
void setup()
{
lcd.init();
}
void loop()
{
lcd.backlight();
lcd.setCursor(0, 0);
lcd.print("Hi, this is our");
lcd.setCursor(0,1);
lcd.print("Cryptic calender");
}
testing the screen:
Assembly
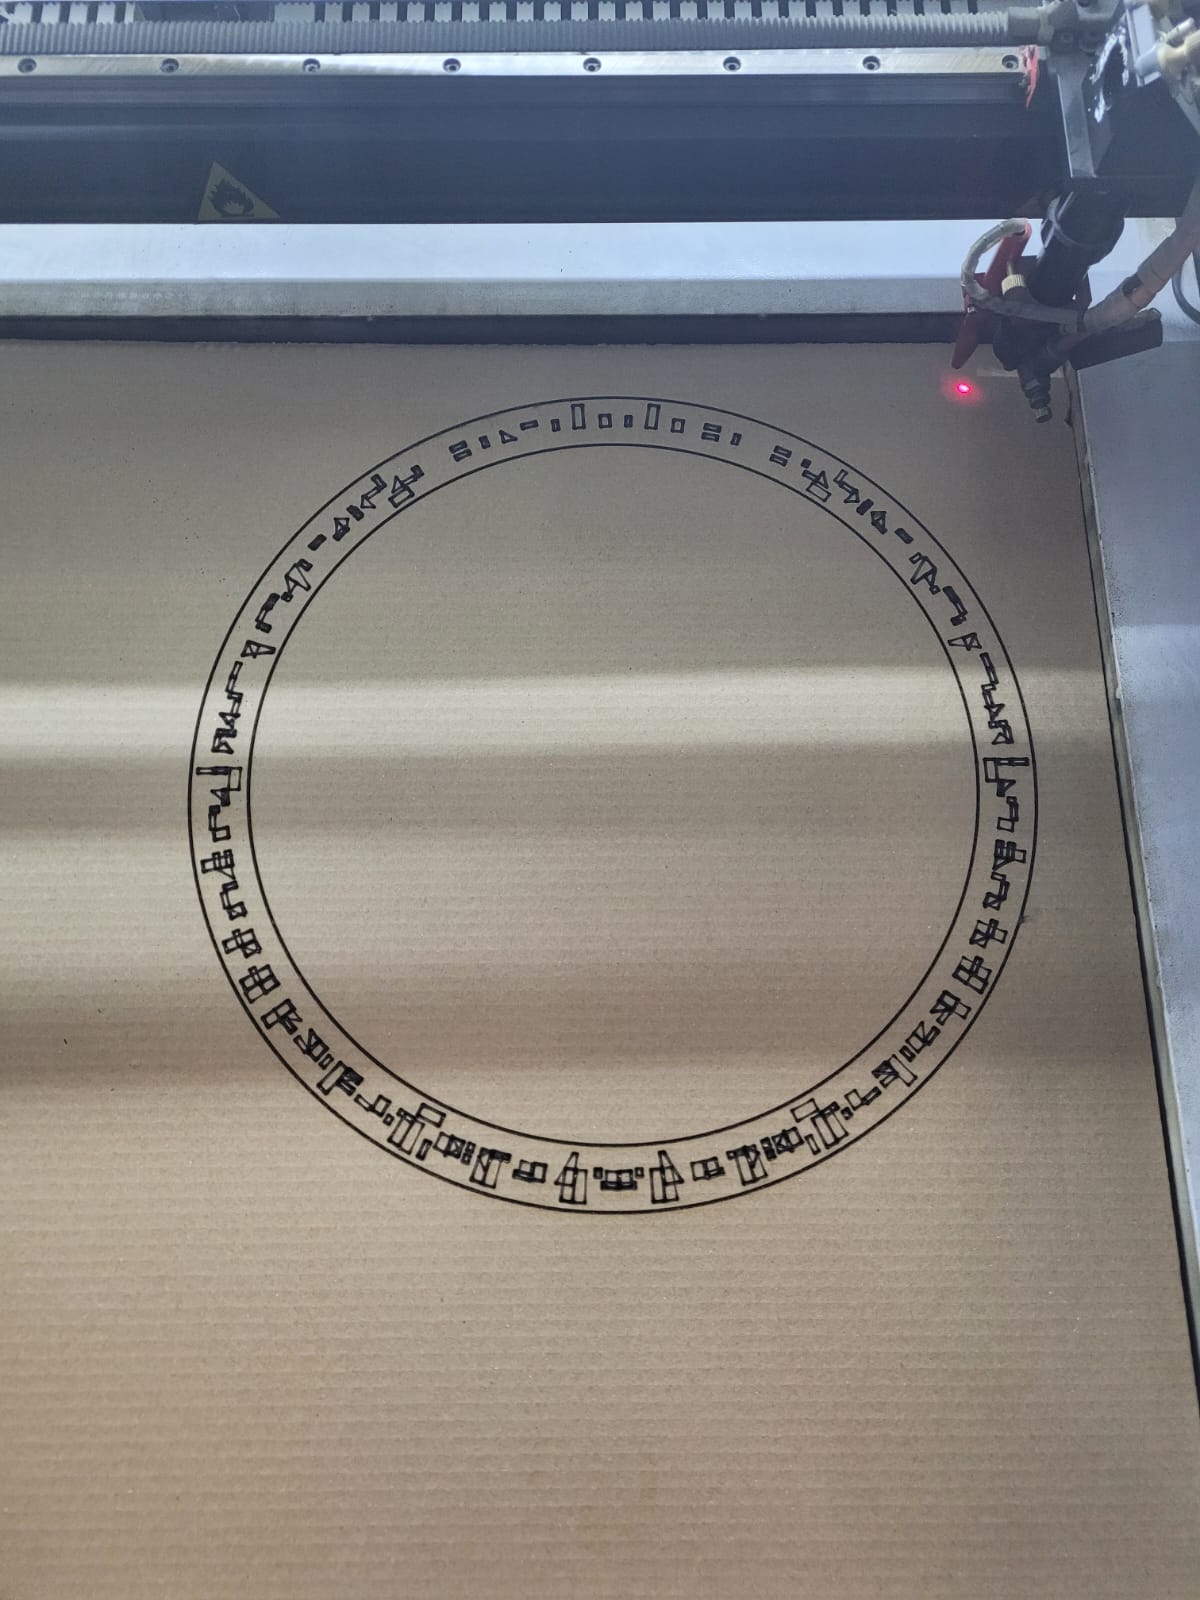
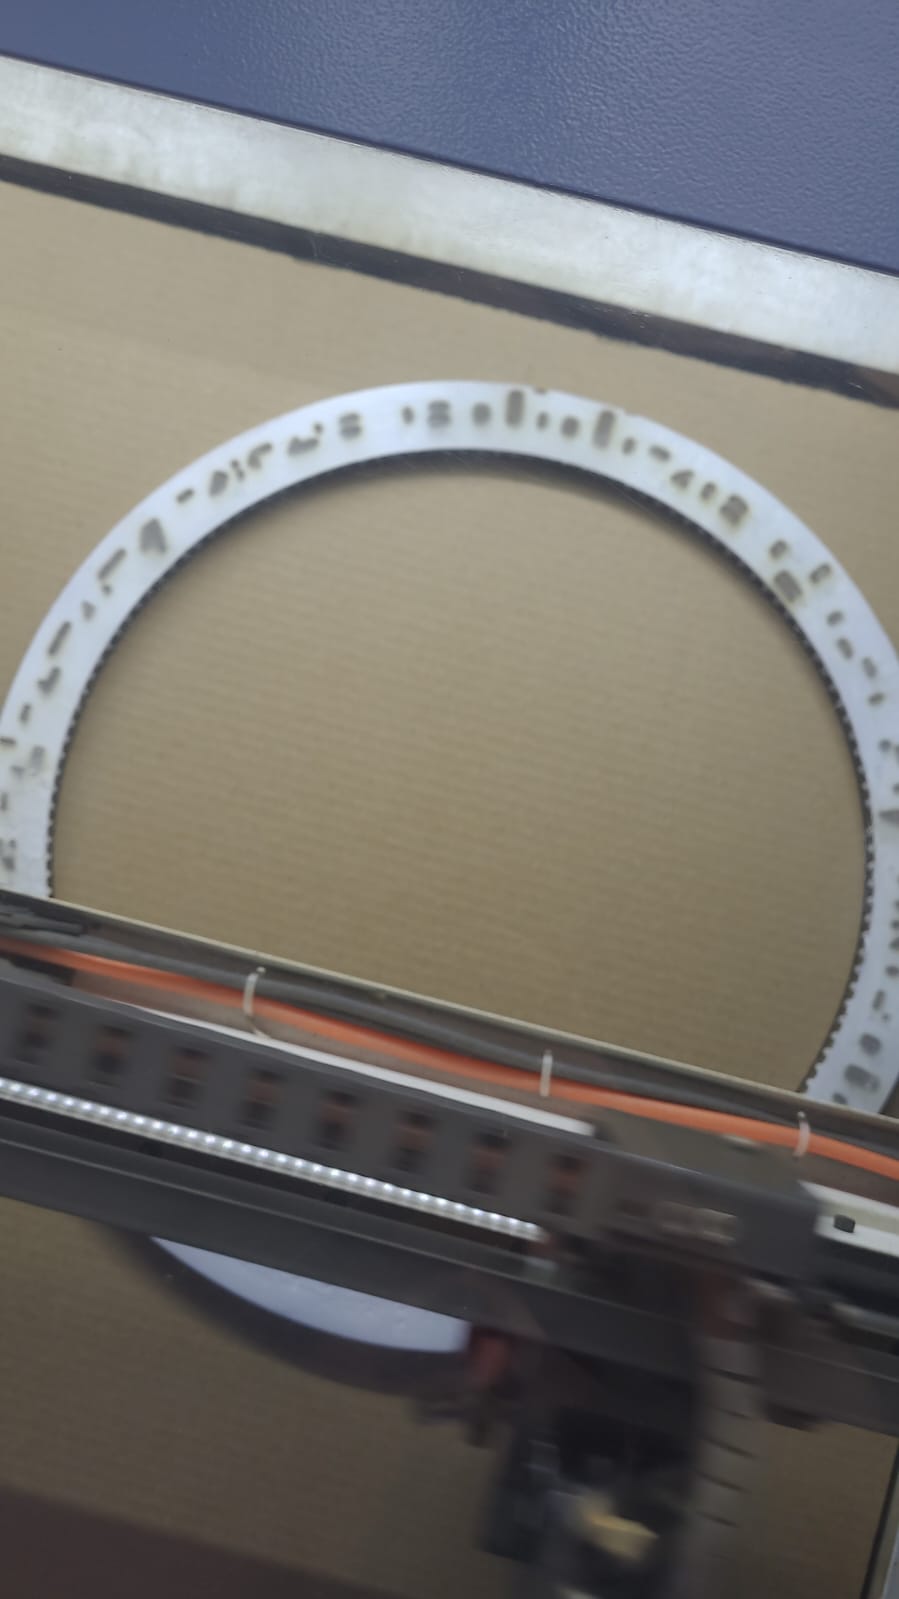
The first stpe I had to do is tp print the cryptic numbers on the ring.. I used the laser machine.
-
1: upload the design to the machine.
-
2: place a cardboard.
-
3: start engraving the numbers on the cardboard.
-
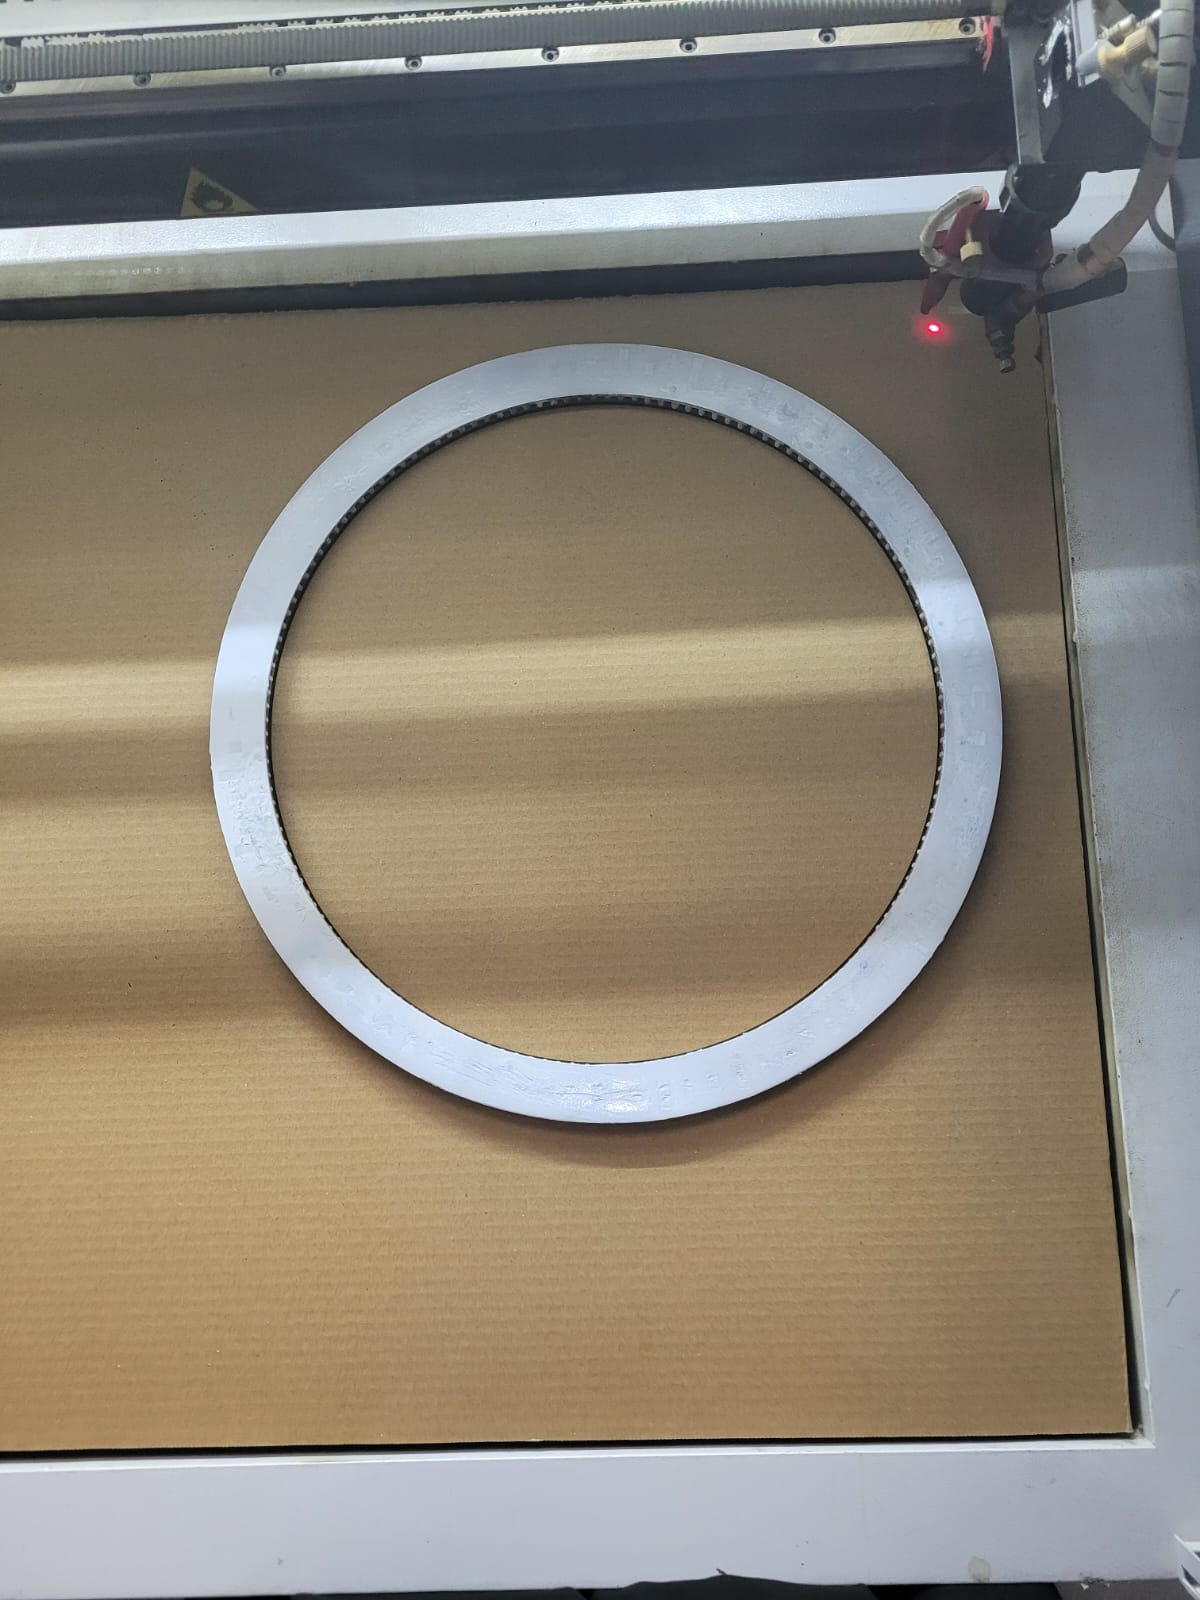
4: place the ring on the cardboard on the position of the printed numbers.
-
5: print the numbers on the ring.
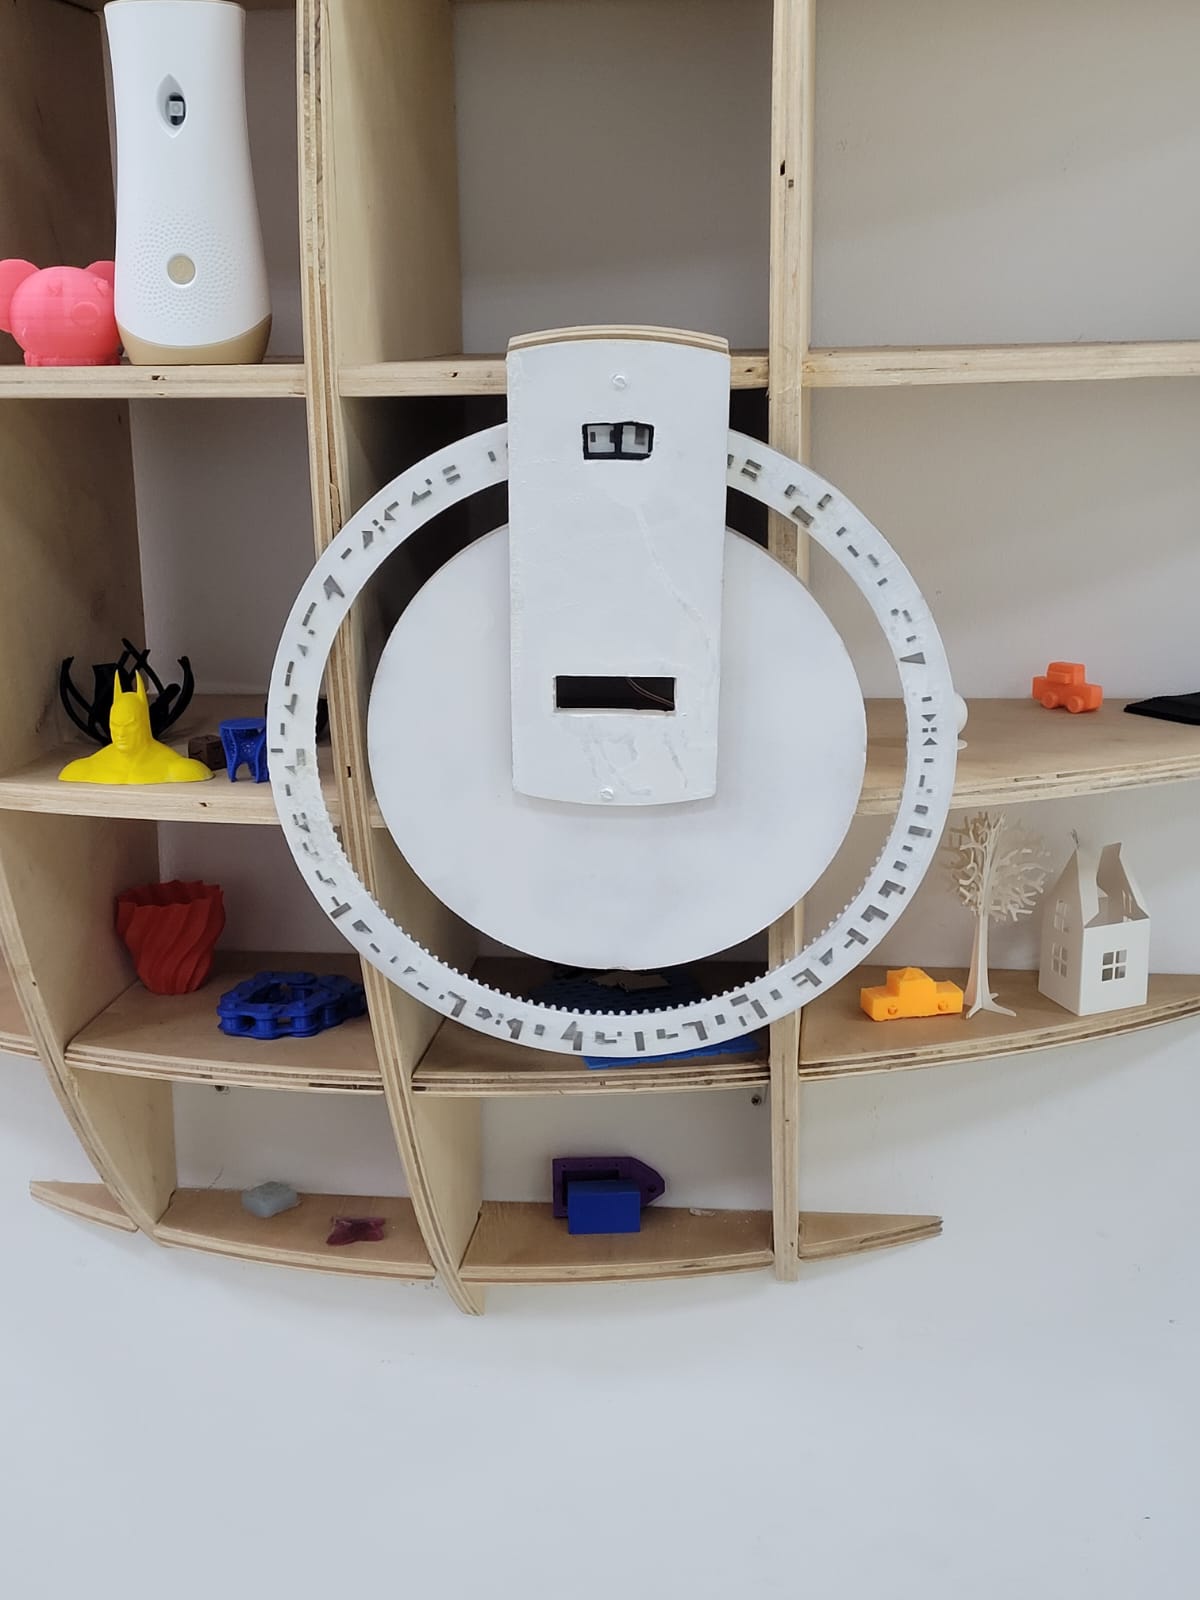
After printing the numbers its time to assemble!
After assembling:
It is time to put the electronic parts.
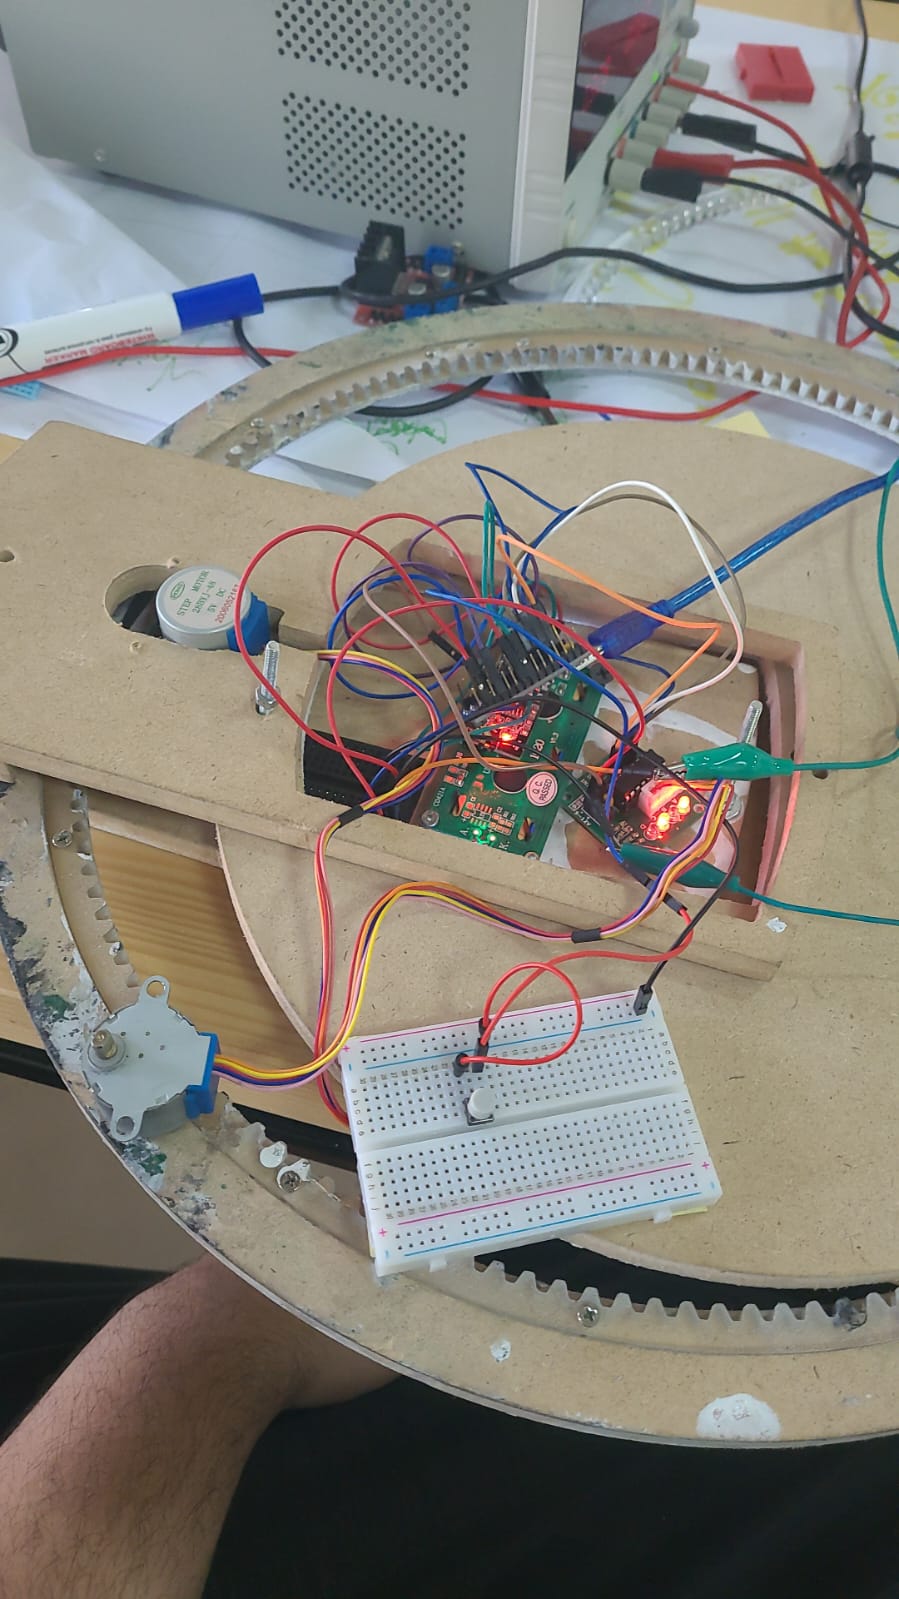
After organizing the Electronics:
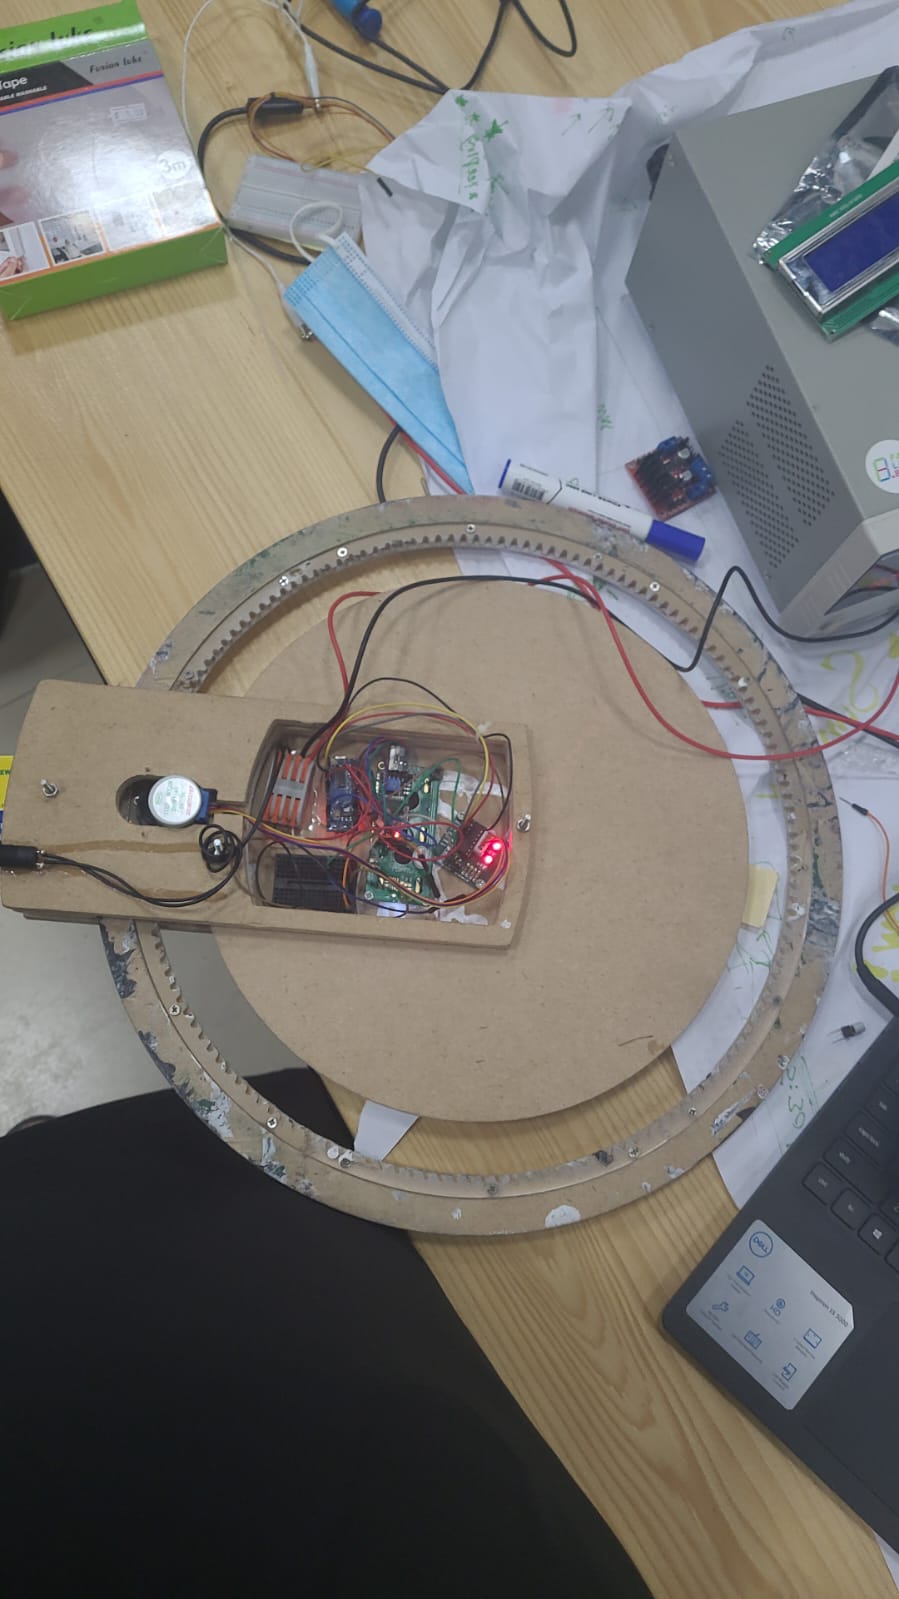
Now everything is ready!