5. Embedded programming
This week I worked on programing a microcontroller.
Group assignment
In the group assignment we the features and capabilities of different microcontrollers. Take a look at our work here.
Individual assignment
I will be using the board Adafruit feather bluefruit sense nrf52840, hre is the data sheet of the board, and check the Group assignment for more information about the board
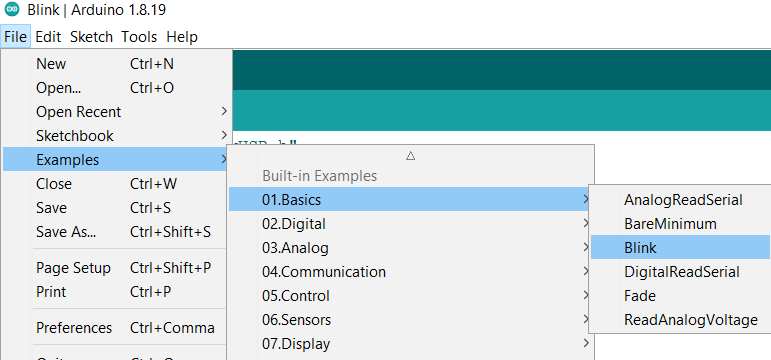
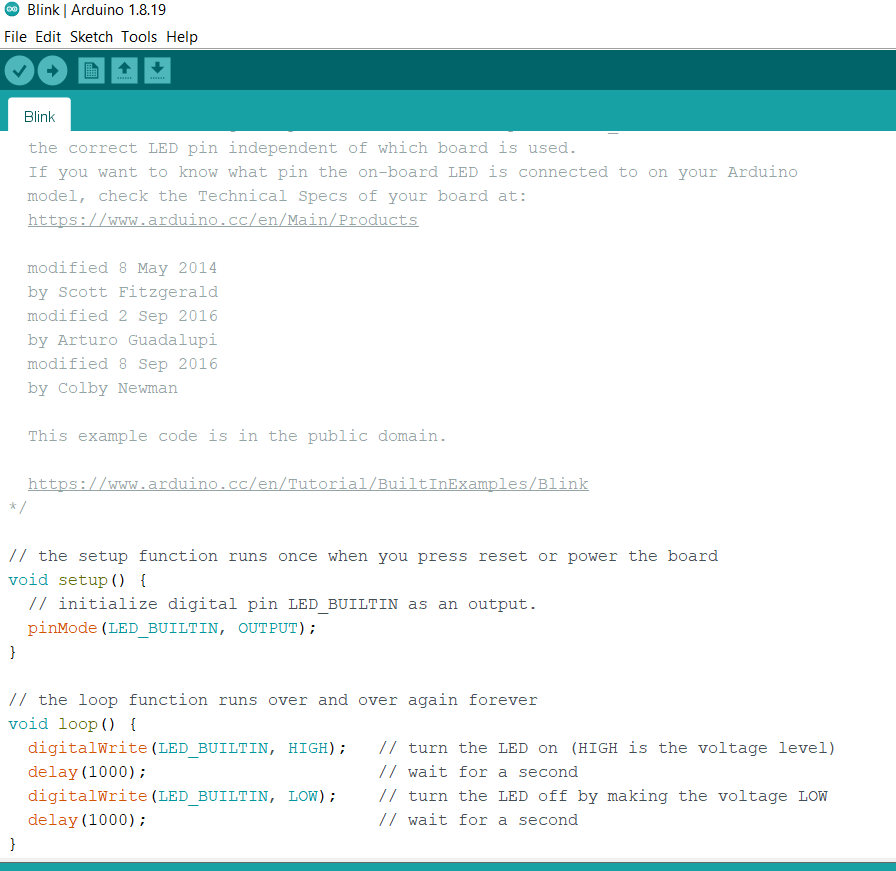
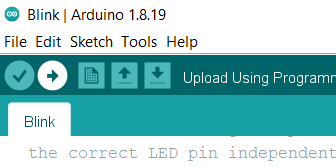
First we used a simple example code, the blink example.
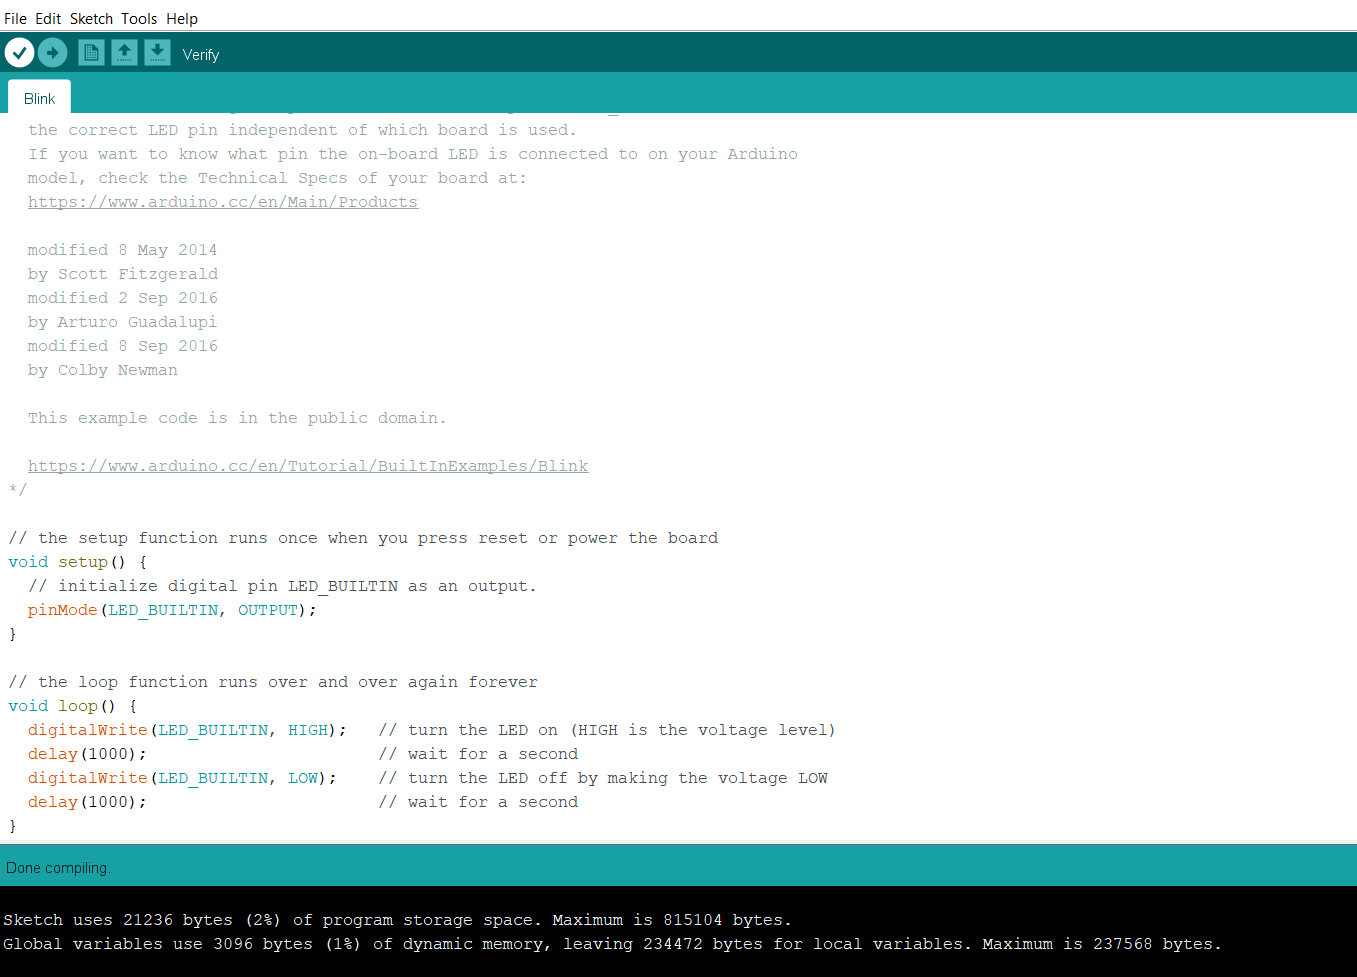
compile to confirm the program has no mistakes
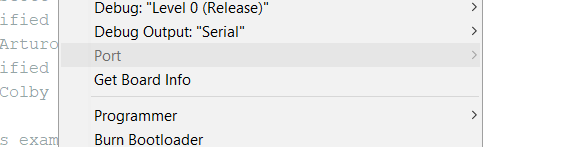
choose port
upload to microcontroller
Tasks
we had three different tasks to do for this assignment.
1- make the microcontroller led blinks at random intervals of time (the program should generate these random intervals).
2- using the built in led, program the microcontroller to make a mores code of at least one word.
3- Make an interactive program, whare yoou select the blinking time intervals while the program is running.
for the coding of these tasks I used Arduino IO software with C++ language.
First Task
- Random blinking intervals
to start I set the led pin to be an output pin, and then defined two variables one for LOW signal and one for High signal. to give these two variables a random value I used the function random() in Arduino, then assigned them to be the delay value between the high signal and low signal. here is a demonstration of the code working, and the random values chosen by the random() function printed on the serial monitor.
here is the code
#include "Adafruit_TinyUSB.h"
int randH, randL;
void setup() {
  pinMode(LED_BUILTIN,OUTPUT);
  Serial.begin(9600);
  }

void loop() {
  randH=random(500);
  randL=random(500);
  Serial.println(randH);
  Serial.println(randL);
  Serial.println("\t");
  //delay(2000);
   digitalWrite(LED_BUILTIN, HIGH);
  delay(randH);
  digitalWrite(LED_BUILTIN, LOW);
  delay(randL);
}
Second Task
- Morse code
Morse code is a way of communication that uses patterns to represent individual letters, putting these patterns together produces a word.
I used
- 1 time unit for short high signals
- 3 time units for each long high signals
- one time unit between each signal
- 3 time units between each letter
- 7 time units between each word
1 time unit= 250 ms
set the led pin as output pin, and then adjust the delays to fit the word chosen.
here is the code
void setup() {
  pinMode(LED_BUILTIN, OUTPUT);
  pinMode(8, OUTPUT);
  digitalWrite(8, LOW);

}

void loop() {

  //F
  //.
  digitalWrite(LED_BUILTIN, HIGH);
  delay(250);
  digitalWrite(LED_BUILTIN, LOW);
  delay(250);
  //.
  digitalWrite(LED_BUILTIN, HIGH);
  delay(250);
  digitalWrite(LED_BUILTIN, LOW);
  delay(250);
  //-
  digitalWrite(LED_BUILTIN, HIGH);
  delay(750);
  digitalWrite(LED_BUILTIN, LOW);
  delay(250);
  //.
  digitalWrite(LED_BUILTIN, HIGH);
  delay(250);
  digitalWrite(LED_BUILTIN, LOW);
  delay(750);

  //A
  //.
   digitalWrite(LED_BUILTIN, HIGH);
  delay(250);
  digitalWrite(LED_BUILTIN, LOW);
  delay(250);
  //-
   digitalWrite(LED_BUILTIN, HIGH);
  delay(750);
  digitalWrite(LED_BUILTIN, LOW);
  delay(750);

  //B
  //-
   digitalWrite(LED_BUILTIN, HIGH);
  delay(750);
  digitalWrite(LED_BUILTIN, LOW);
  delay(250);
  //.
   digitalWrite(LED_BUILTIN, HIGH);
  delay(250);
  digitalWrite(LED_BUILTIN, LOW);
  delay(250);
  //.
   digitalWrite(LED_BUILTIN, HIGH);
  delay(250);
  digitalWrite(LED_BUILTIN, LOW);
  delay(250);
  //.
   digitalWrite(LED_BUILTIN, HIGH);
  delay(250);
  digitalWrite(LED_BUILTIN, LOW);
  delay(1750);

  //L
  //.
   digitalWrite(LED_BUILTIN, HIGH);
  delay(250);
  digitalWrite(LED_BUILTIN, LOW);
  delay(250);
  //-
  digitalWrite(LED_BUILTIN, HIGH);
  delay(750);
  digitalWrite(LED_BUILTIN, LOW);
  delay(250);
  //.
   digitalWrite(LED_BUILTIN, HIGH);
  delay(250);
  digitalWrite(LED_BUILTIN, LOW);
  delay(250);
  //.
   digitalWrite(LED_BUILTIN, HIGH);
  delay(250);
  digitalWrite(LED_BUILTIN, LOW);
  delay(750);

  //A
  //.
   digitalWrite(LED_BUILTIN, HIGH);
  delay(250);
  digitalWrite(LED_BUILTIN, LOW);
  delay(250);
  //-
   digitalWrite(LED_BUILTIN, HIGH);
  delay(750);
  digitalWrite(LED_BUILTIN, LOW);
  delay(750);

  //B
  //-
   digitalWrite(LED_BUILTIN, HIGH);
  delay(750);
  digitalWrite(LED_BUILTIN, LOW);
  delay(250);
  //.
   digitalWrite(LED_BUILTIN, HIGH);
  delay(250);
  digitalWrite(LED_BUILTIN, LOW);
  delay(250);
  //.
   digitalWrite(LED_BUILTIN, HIGH);
  delay(250);
  digitalWrite(LED_BUILTIN, LOW);
  delay(250);
  //.
   digitalWrite(LED_BUILTIN, HIGH);
  delay(250);
  digitalWrite(LED_BUILTIN, LOW);
  delay(1750);


}
the word is fabLab by the way
Third Task
- interactive program
for this task we have to understand how the language works.
to start with we have whats called a serial buffer that stores all the inputs from the user, the inputs stay stored until there is a command in the programe to read the inputs, and when the inputs are read they get removed from the serial buffer,.
one way to read is to use serial.read, but this commad is not optimal for our use be cause it only reads the first bit in the serial buffer and when it comes to numbers reading only the first bit isnt or only problem because serial.read turns number in to ascii code, so in order to use serial read we need to write a loop that utilize numbers sequence in ascii code, but fortunately we can skip all this miss by using the command Serial.parseInt which allows us to read the whole number and read it correctly (not as ascii code).
second thing we need to initiate communication between the computer and the microcontroller, for that we can use Serial.begin() command and in the brackets we but the baud rate value, its common to use 9600 as baud rate and it means that you can transfer 9600 bits per second through the port.
Also dont forget to include the libraries needed for me I needed “Adafruit_TinyUSB.h” but ever microcontroller (different company) require different libraries.
utilizing what I said above I wrote a code that does this
here is the code
#include "Adafruit_TinyUSB.h"
int Hsignal=0, Lsignal=0, blinks=0,i, trash;

void setup() {
  pinMode(LED_BUILTIN, OUTPUT);
  Serial.begin(9600);
  Serial.setTimeout(50);
  while(!Serial){;}
  delay(500);

  // on period
  Serial.println("input how long you want the led to be on in milliseconds");
  while (Serial.available() == 0) {}
  Hsignal = Serial.parseInt();
  Serial.print("High signal=");
  Serial.println(Hsignal);


  // off period
  Serial.println("input how long you want the led to be off in milliseconds");
  while ((Serial.available() ==1)) {}
  Lsignal = Serial.parseInt();
  Serial.print("Low signal=");
  Serial.println(Lsignal);

  // Blinks
  Serial.println("input start indication blink number");
  delay(100);
  while ((Serial.available() ==1)) {}
  blinks = Serial.parseInt();
  Serial.print("blinks=");
  Serial.println(blinks);


// start indication
for (i=0;i<blinks;i++){
  digitalWrite(LED_BUILTIN, HIGH);
  delay(200);
  digitalWrite(LED_BUILTIN, LOW);
  delay(200);
}

delay(100);

}

void loop() {
  Serial.println("type anything to input different values");
  while(Serial.available()==1){
  digitalWrite(LED_BUILTIN, HIGH);
  delay(Hsignal);
  digitalWrite(LED_BUILTIN, LOW);
  delay(Lsignal);}


  // clear serial buffer
  while(Serial.available() > 0) {
    trash = Serial.read();
  }


  setup();

}
TinkerCad
You also can use tinkerCads blockds to program ur board.
first open TinkerCad website, navigate to circuits and create a new circuit, you will have an empty page
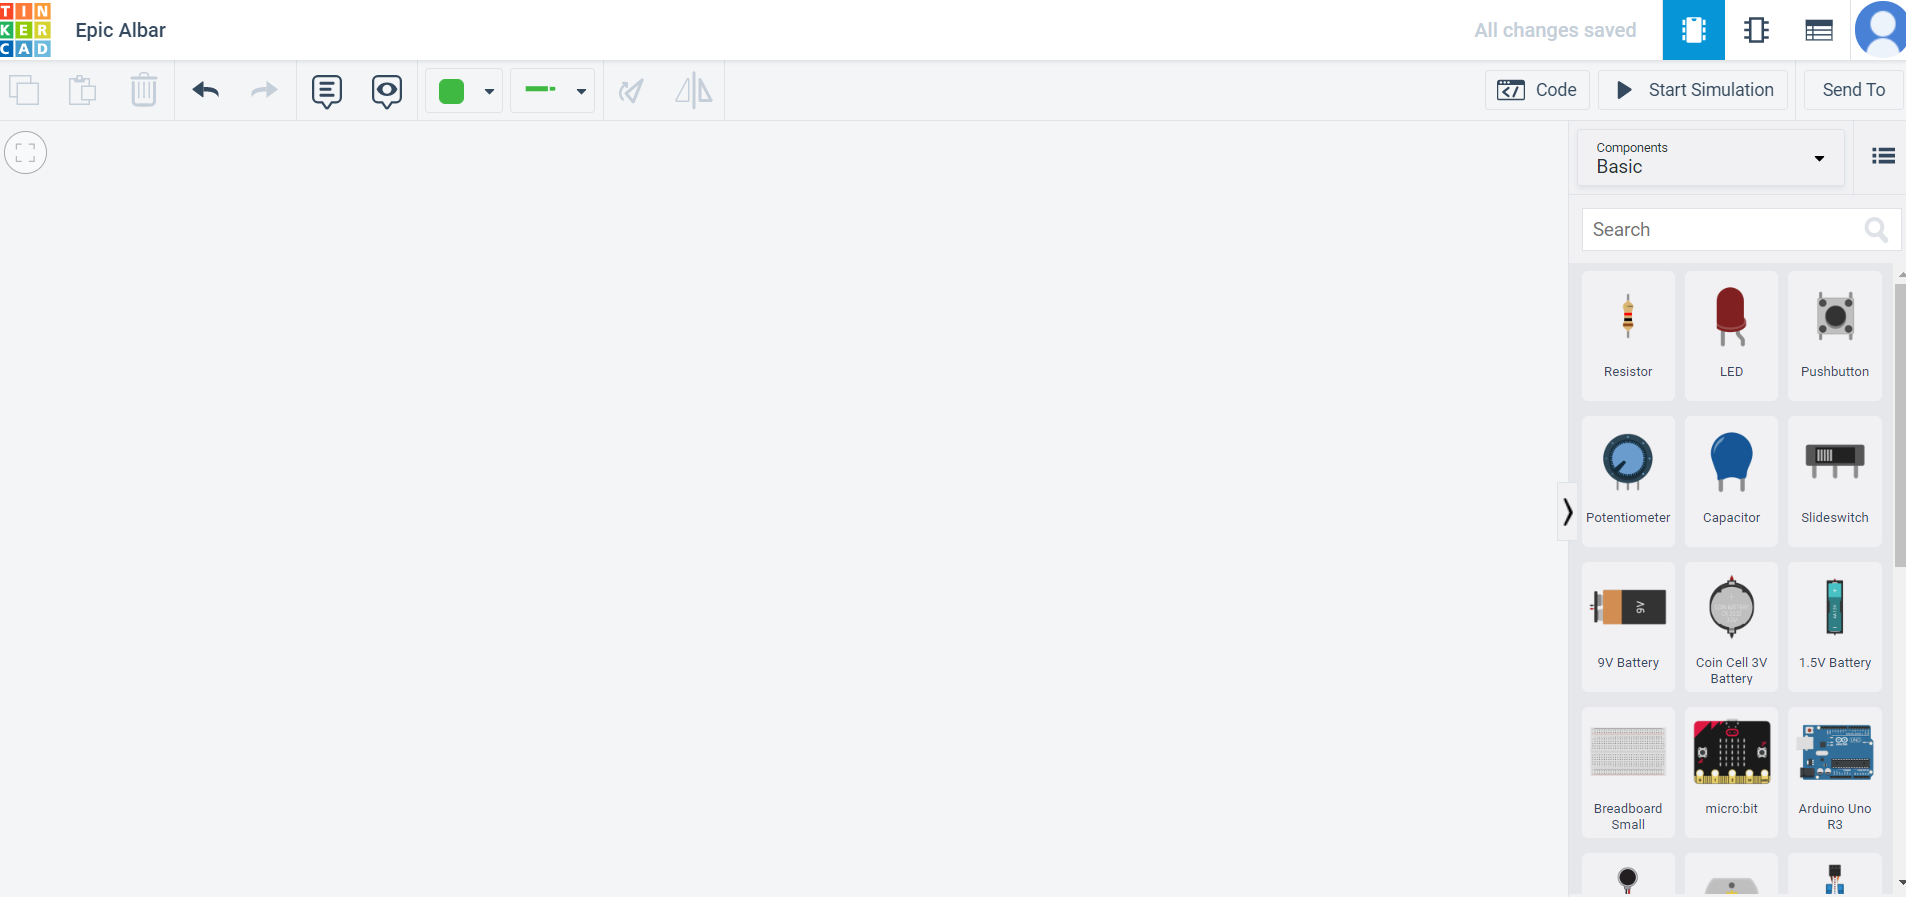
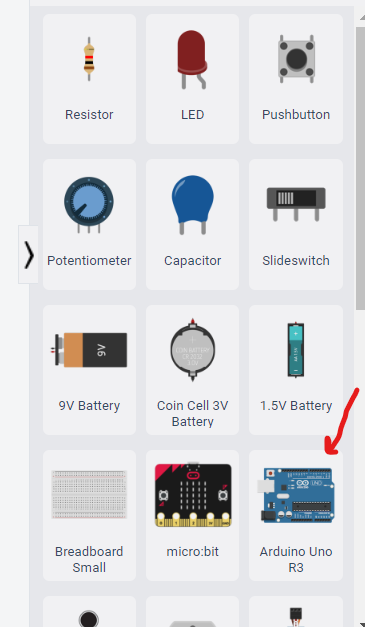
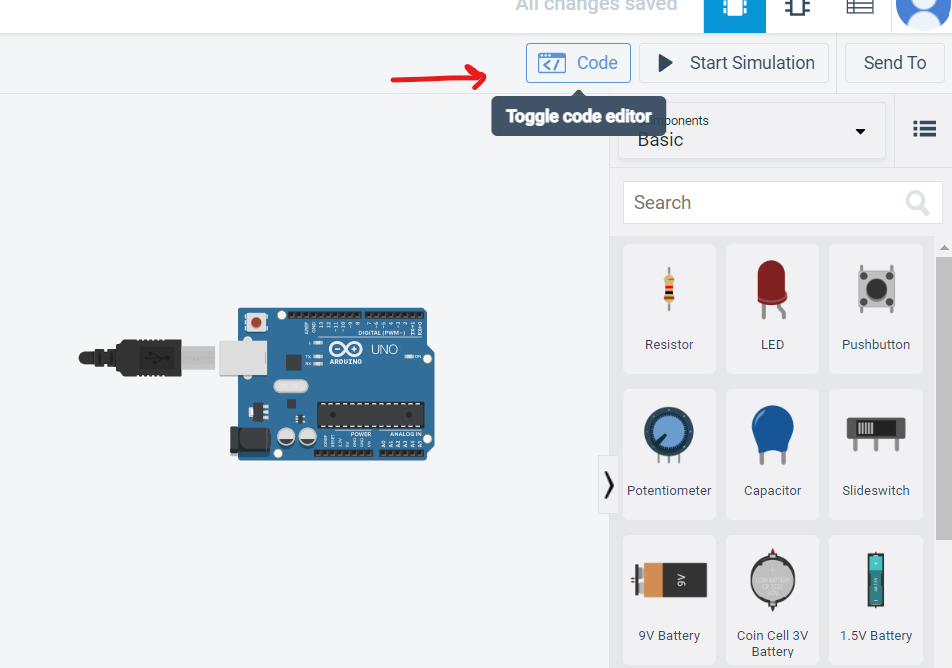
From the components on the side add a microcontrolle by dragging it
to code the microcontroller press on code
you can change programming method here
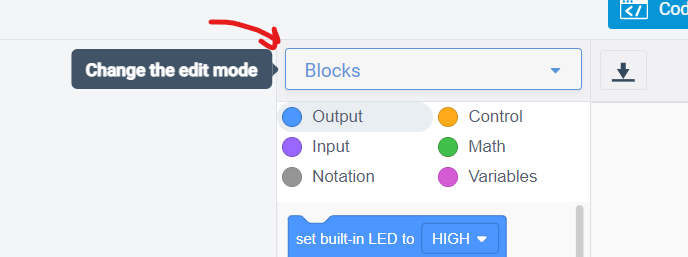

we will be using blocks to program
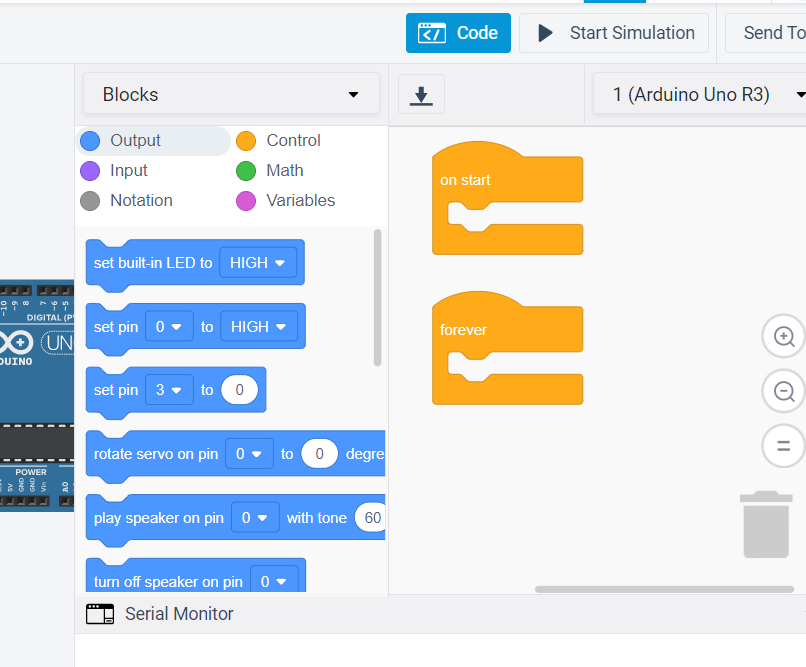
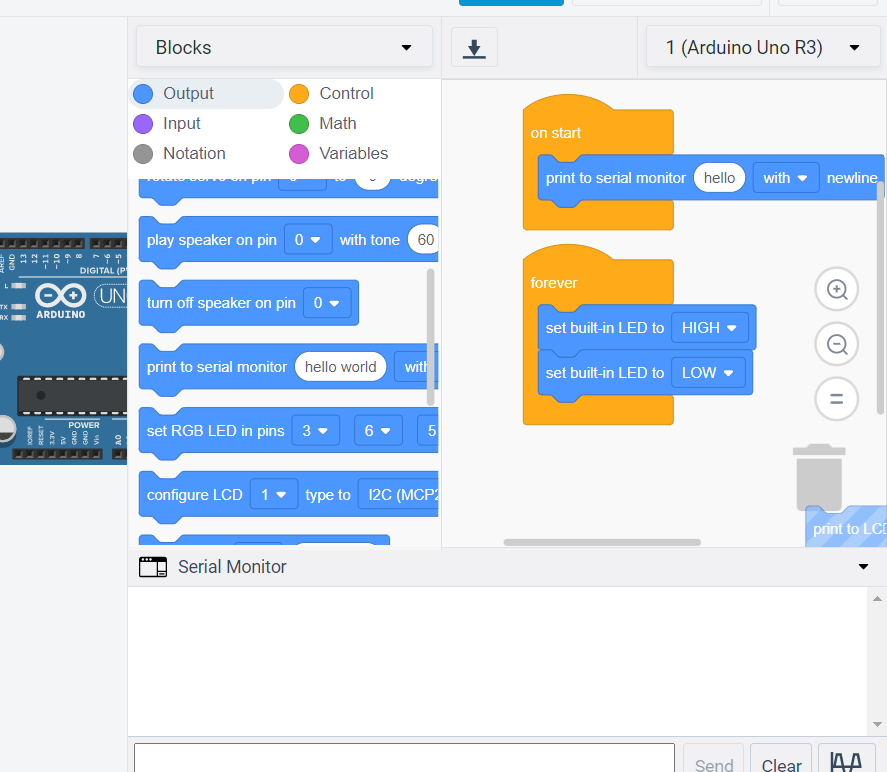
from output section, drag print to serial monitor and two set built in led blocks and change sittings according to your needs
from the control section
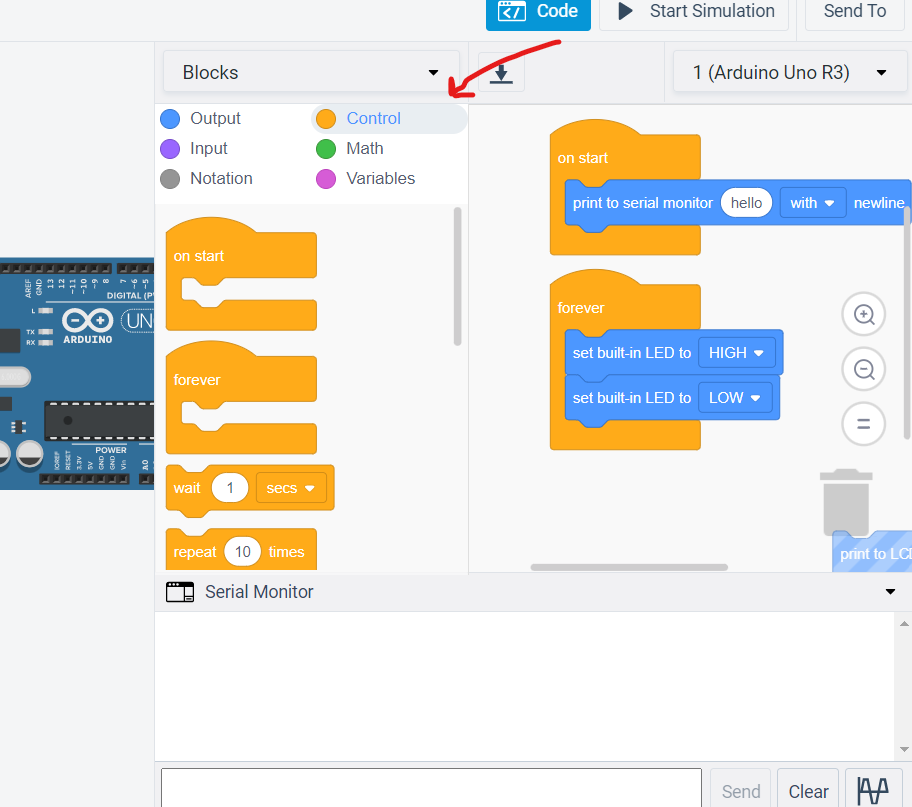
drag two wait blocks
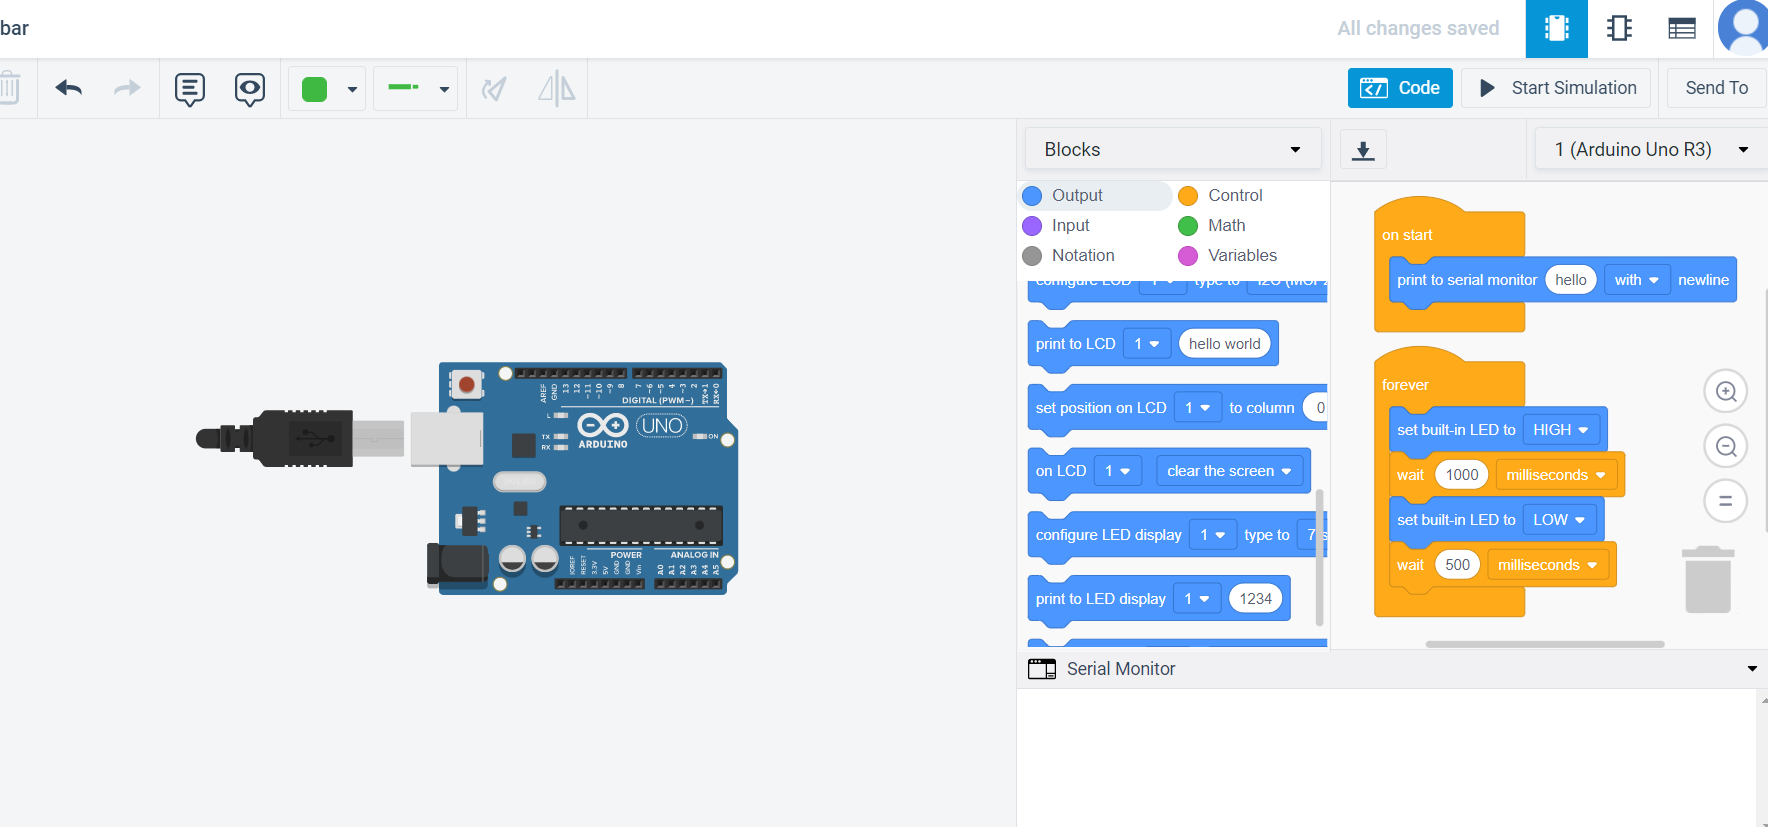
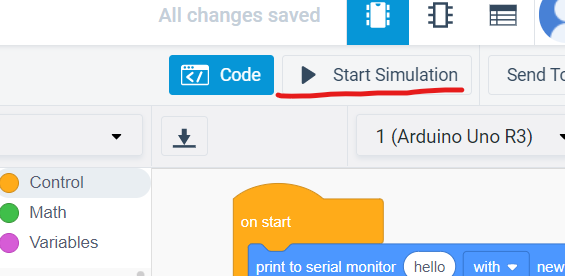
now start the simulation
Then you can download the program
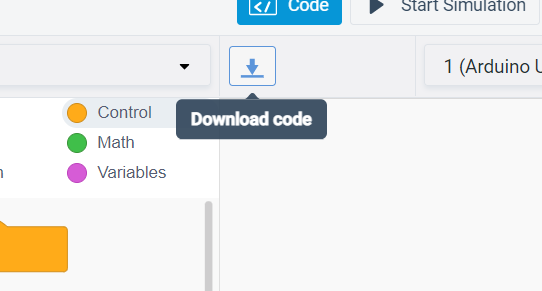
and it will automatically create a file in Arduino software with your program to upload to your board
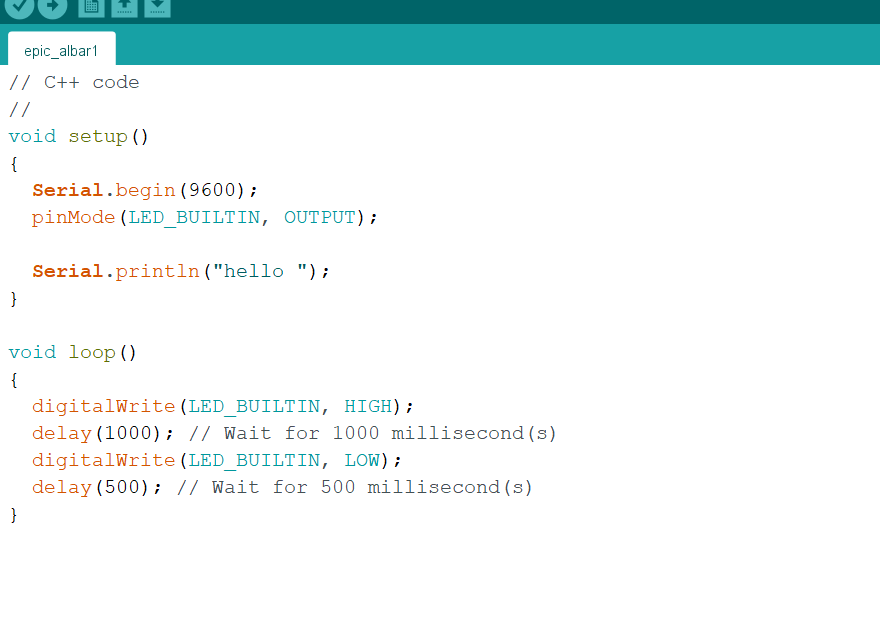
here is the code after downloading
// C++ code
//
void setup()
{
  Serial.begin(9600);
  pinMode(LED_BUILTIN, OUTPUT);

  Serial.println("hello ");
}

void loop()
{
  digitalWrite(LED_BUILTIN, HIGH);
  delay(1000); // Wait for 1000 millisecond(s)
  digitalWrite(LED_BUILTIN, LOW);
  delay(500); // Wait for 500 millisecond(s)
}