8. Large format CNC (computer controlled Machining)
This week I worked on designing and cutting wood using the CNC machine.
Group Assignment
For the group assignment we tested the machine to ditermine the best parameters for cutting our material and as test sample to get some experiance before cutting our main piece.
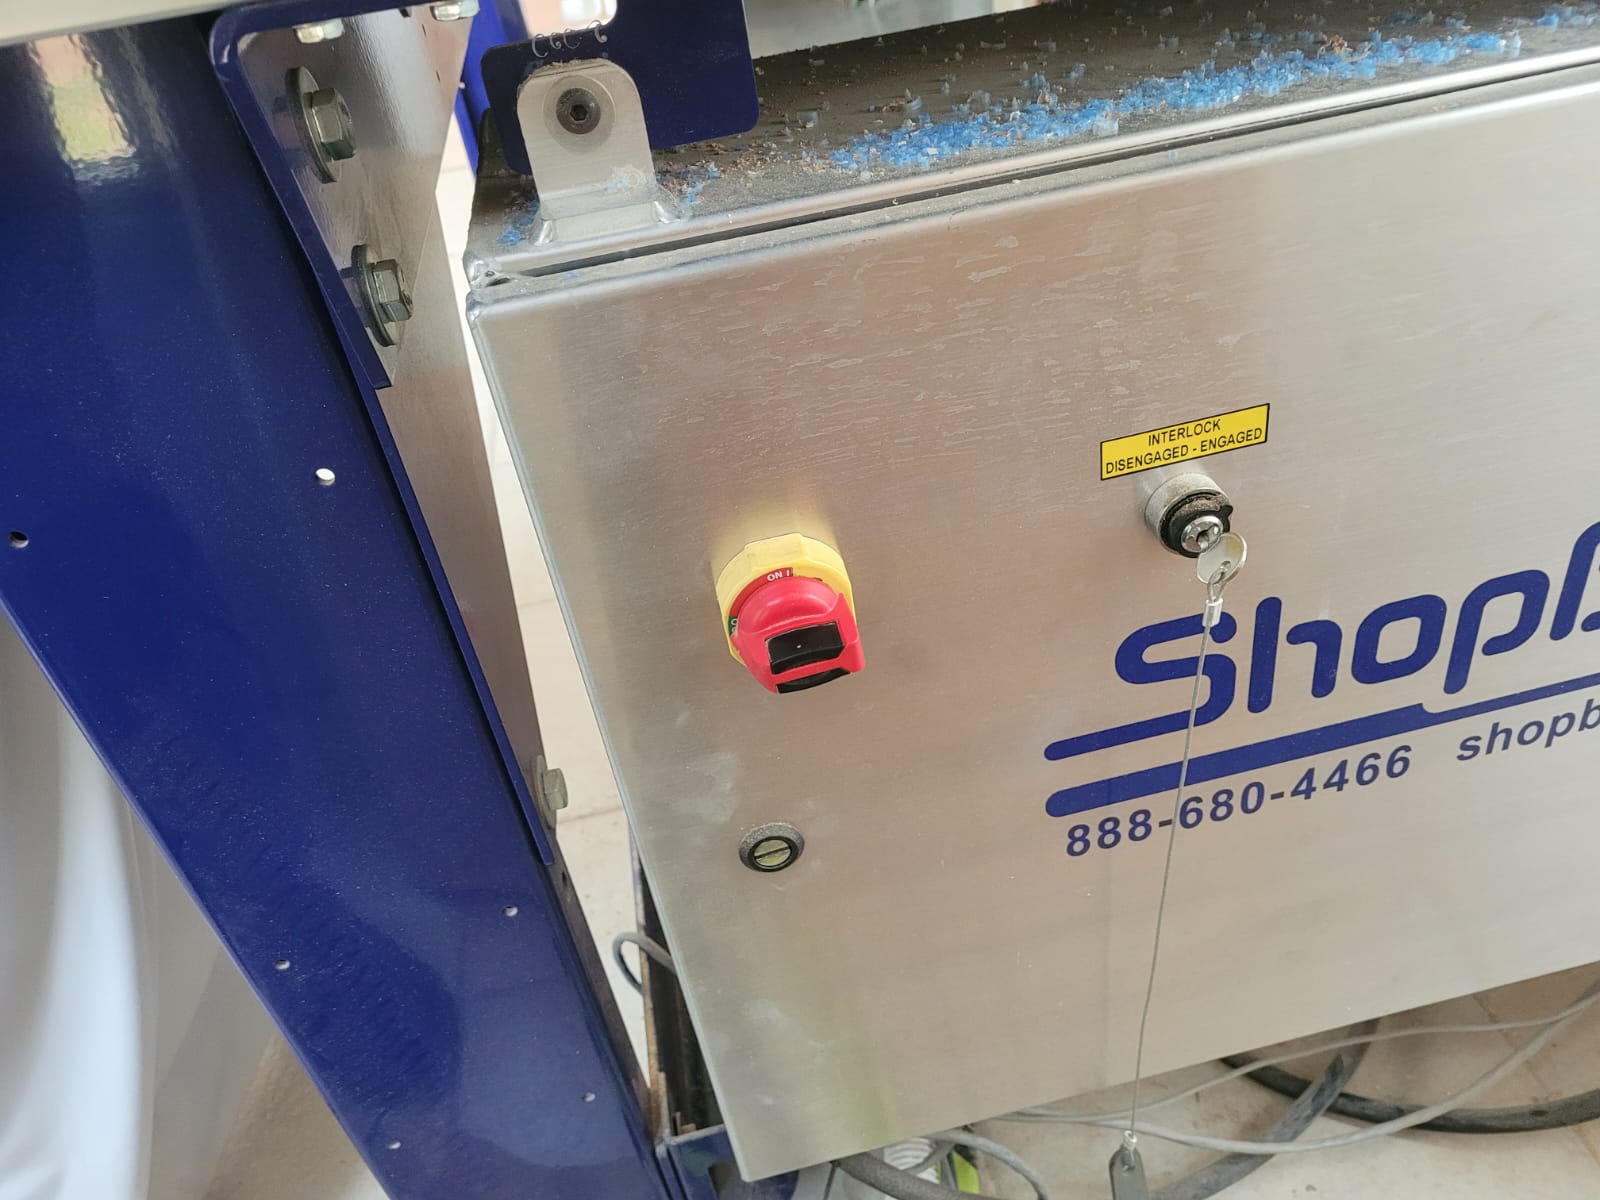
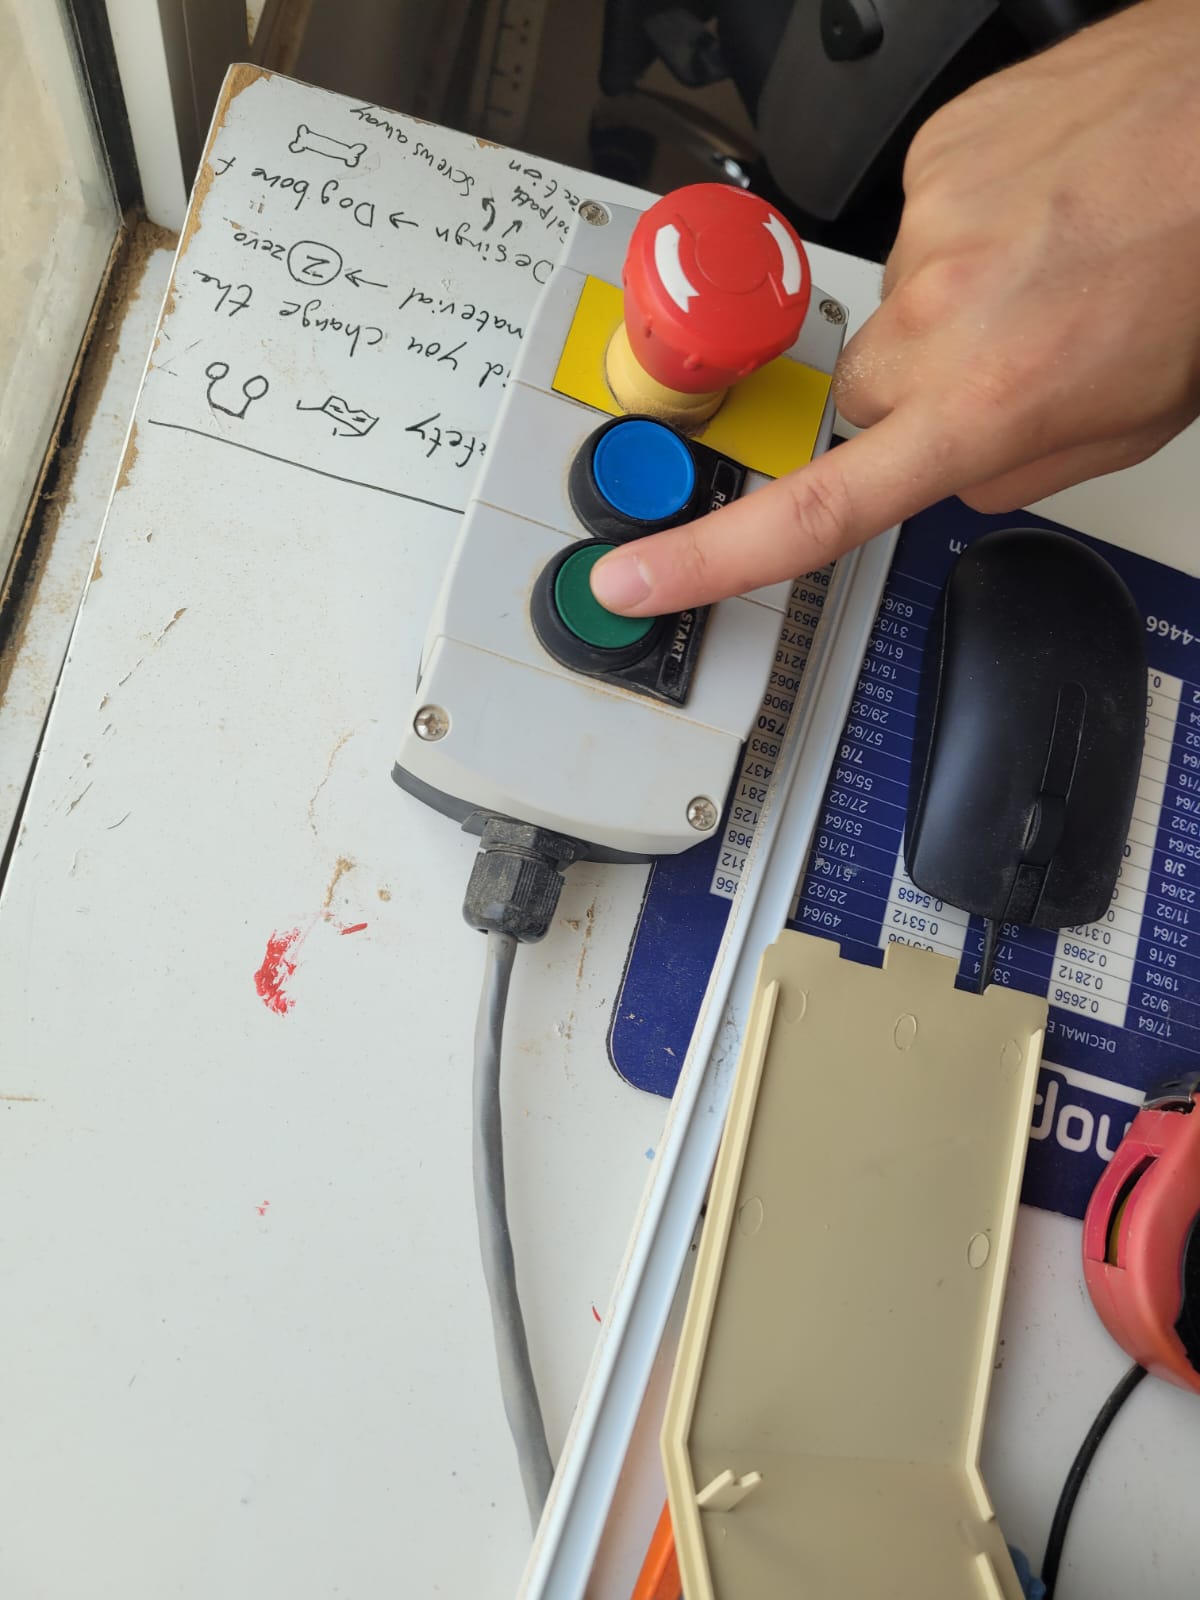
first we turned on the CNC machine.
then we used a software called Vcarve and uploded our test design.
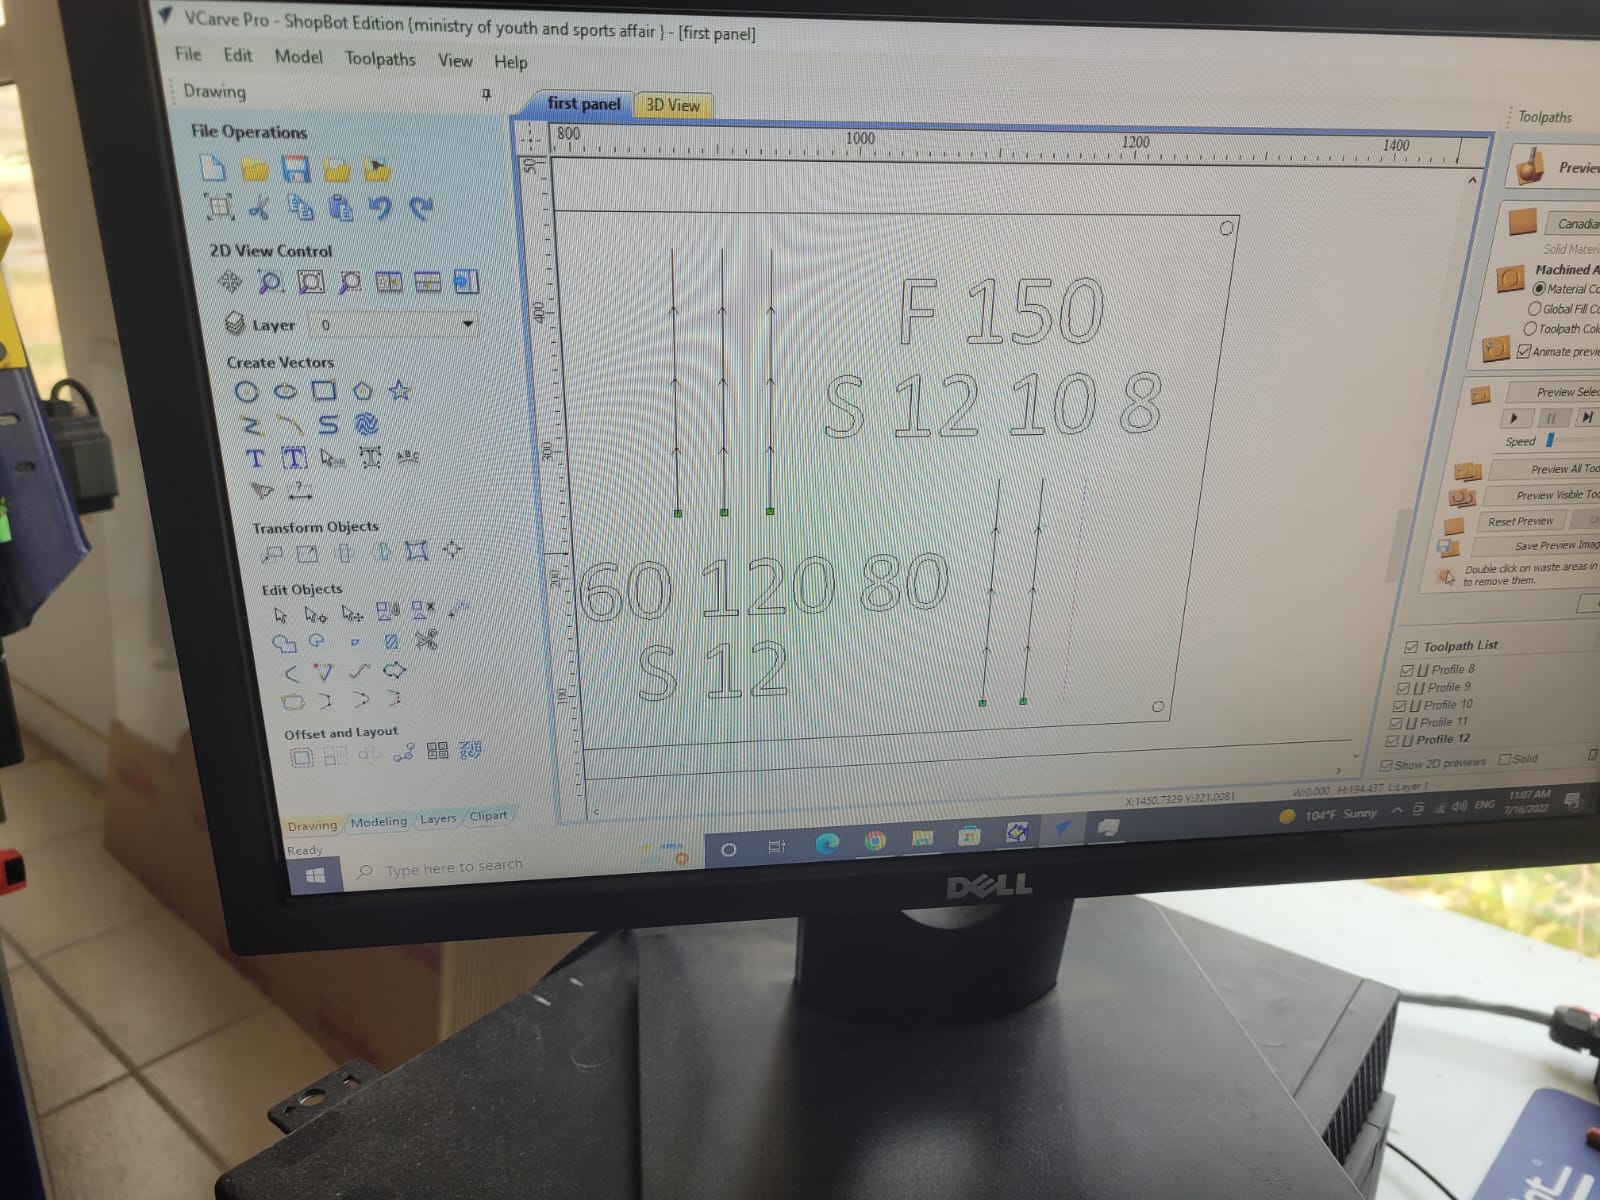
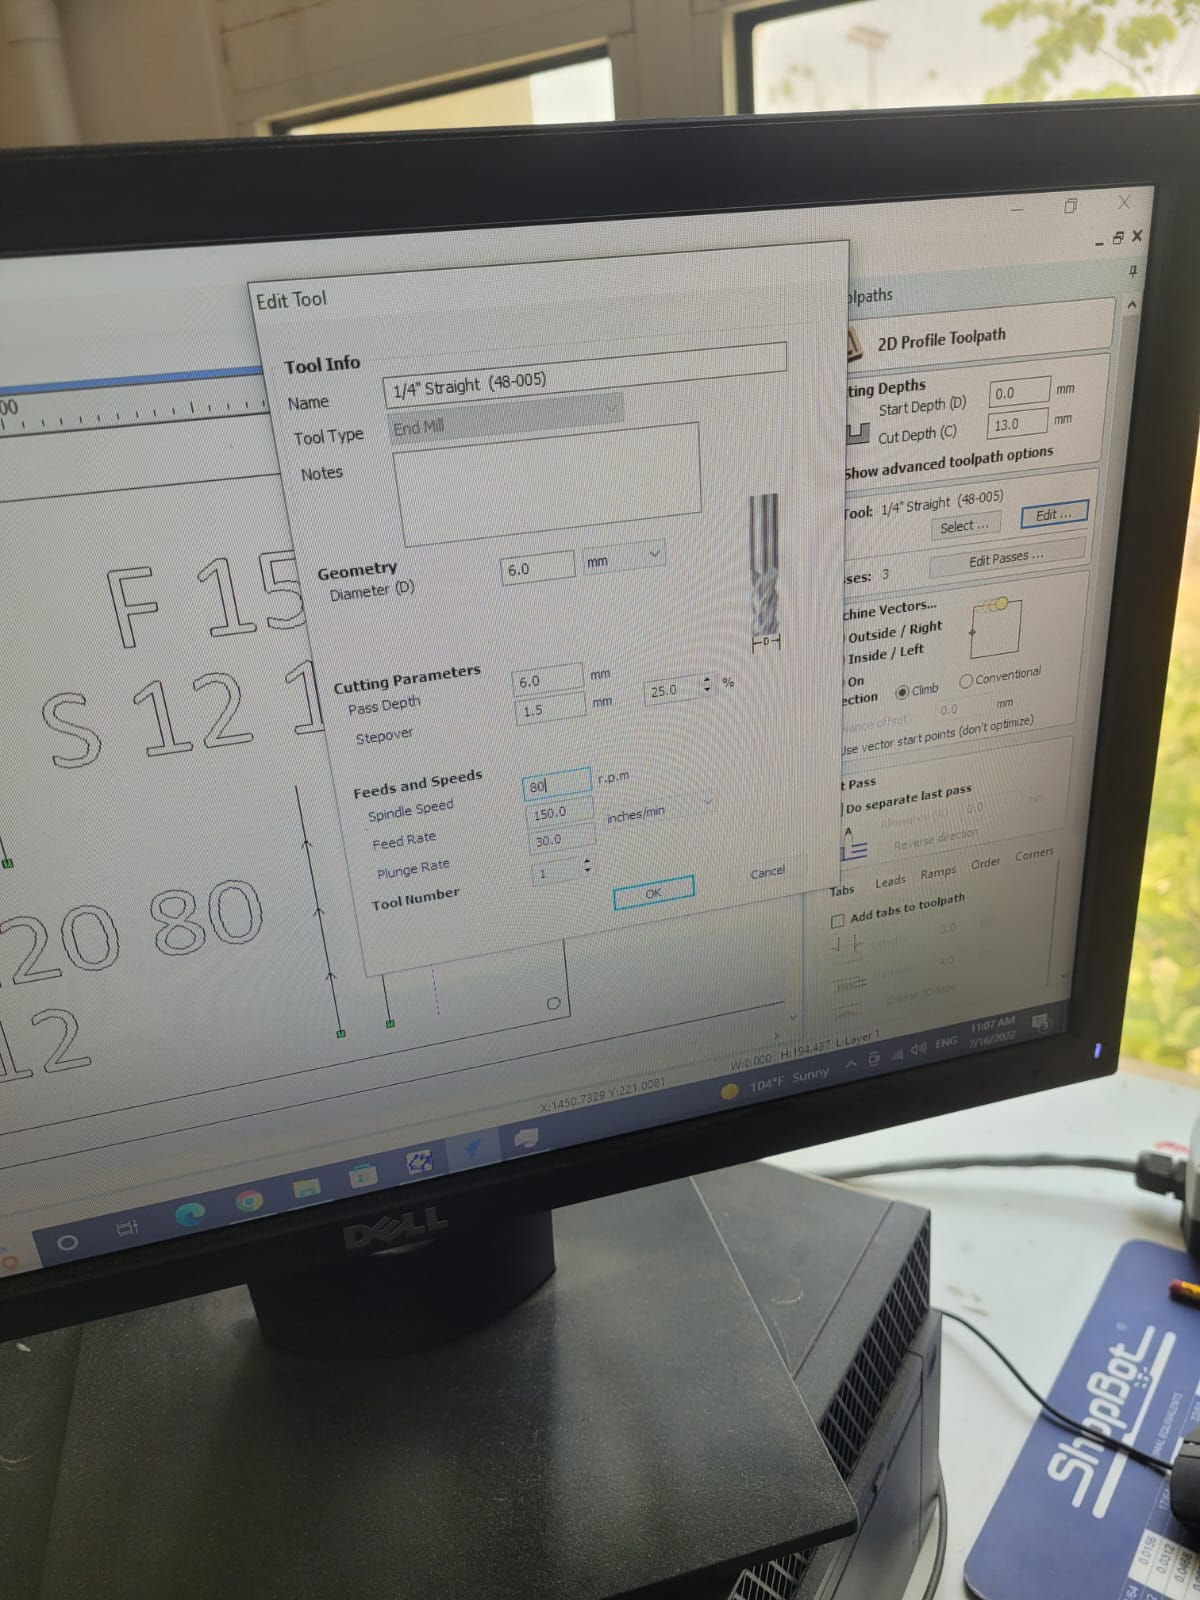
to test, we set for each cut different parameters, to know the best spendle speed and feed rate.
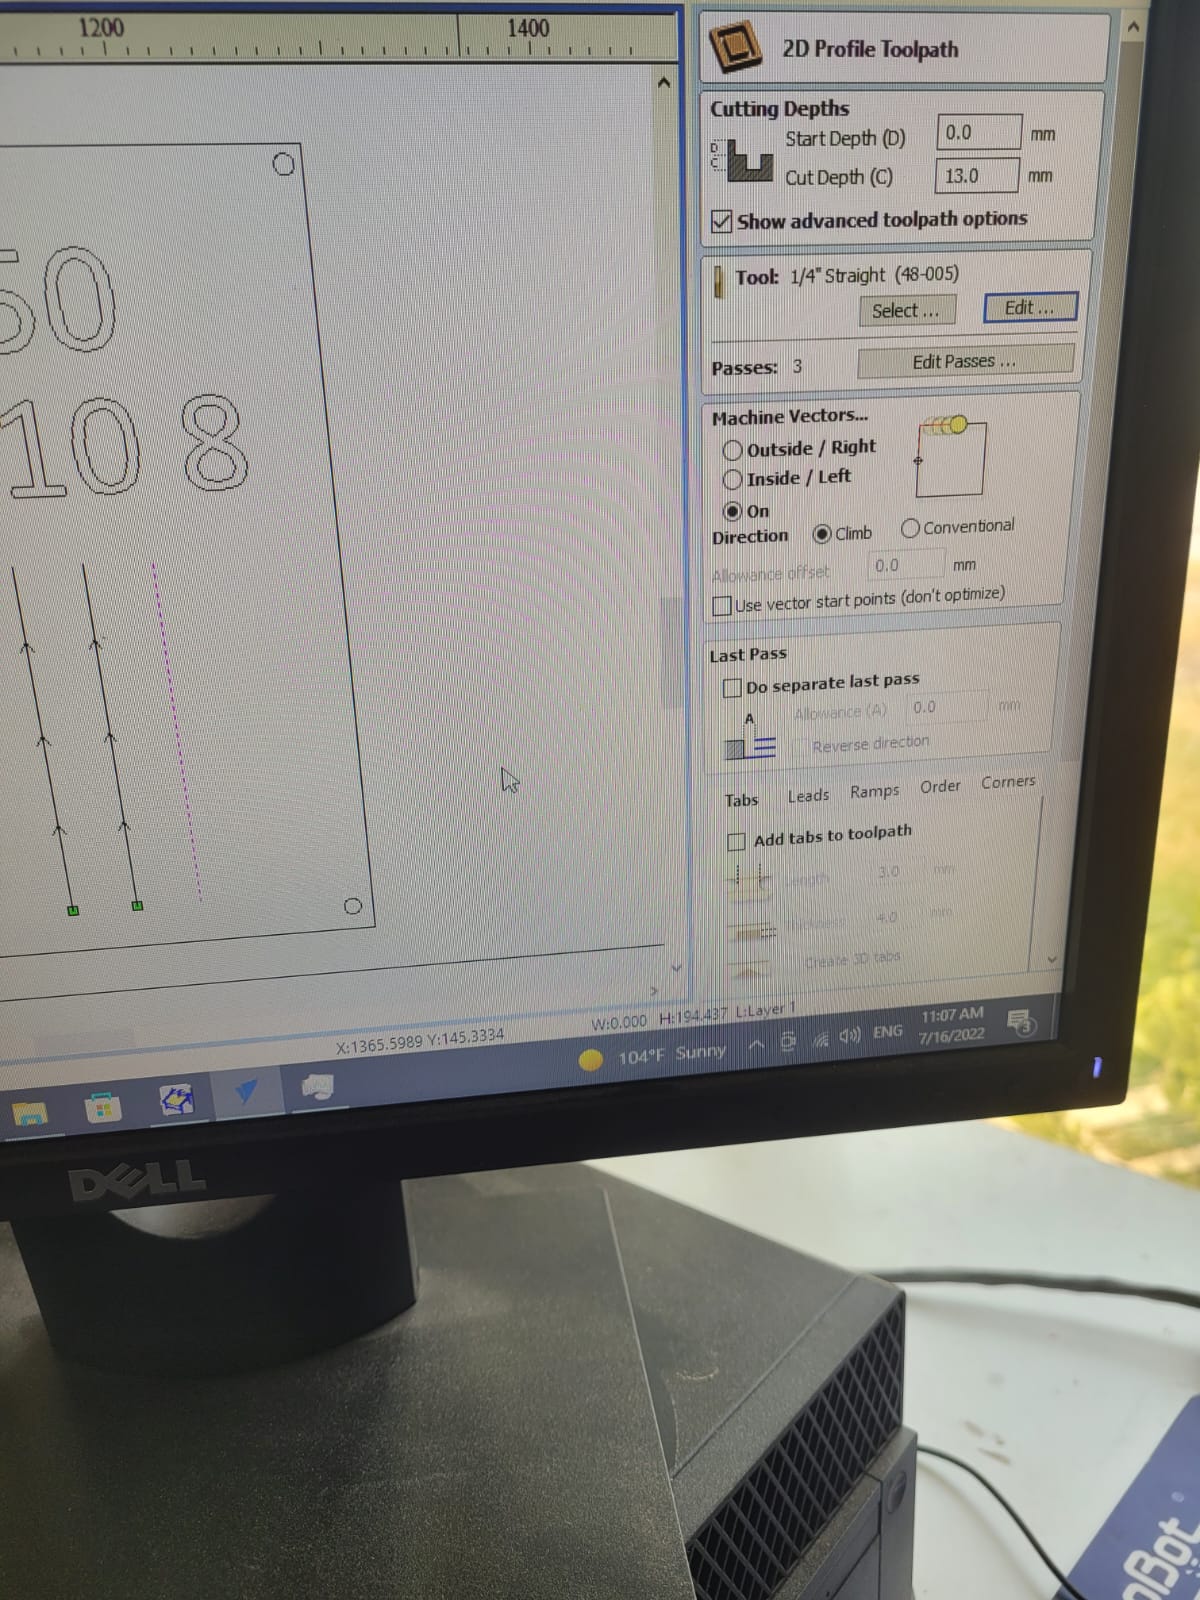
and to make sure to cut all the way through cut 13mm, 1mm more than the thickness of the matterial by adding a sacrifice sheet.
before we start cutting we pin down the sheet so it doent move during the cutting.
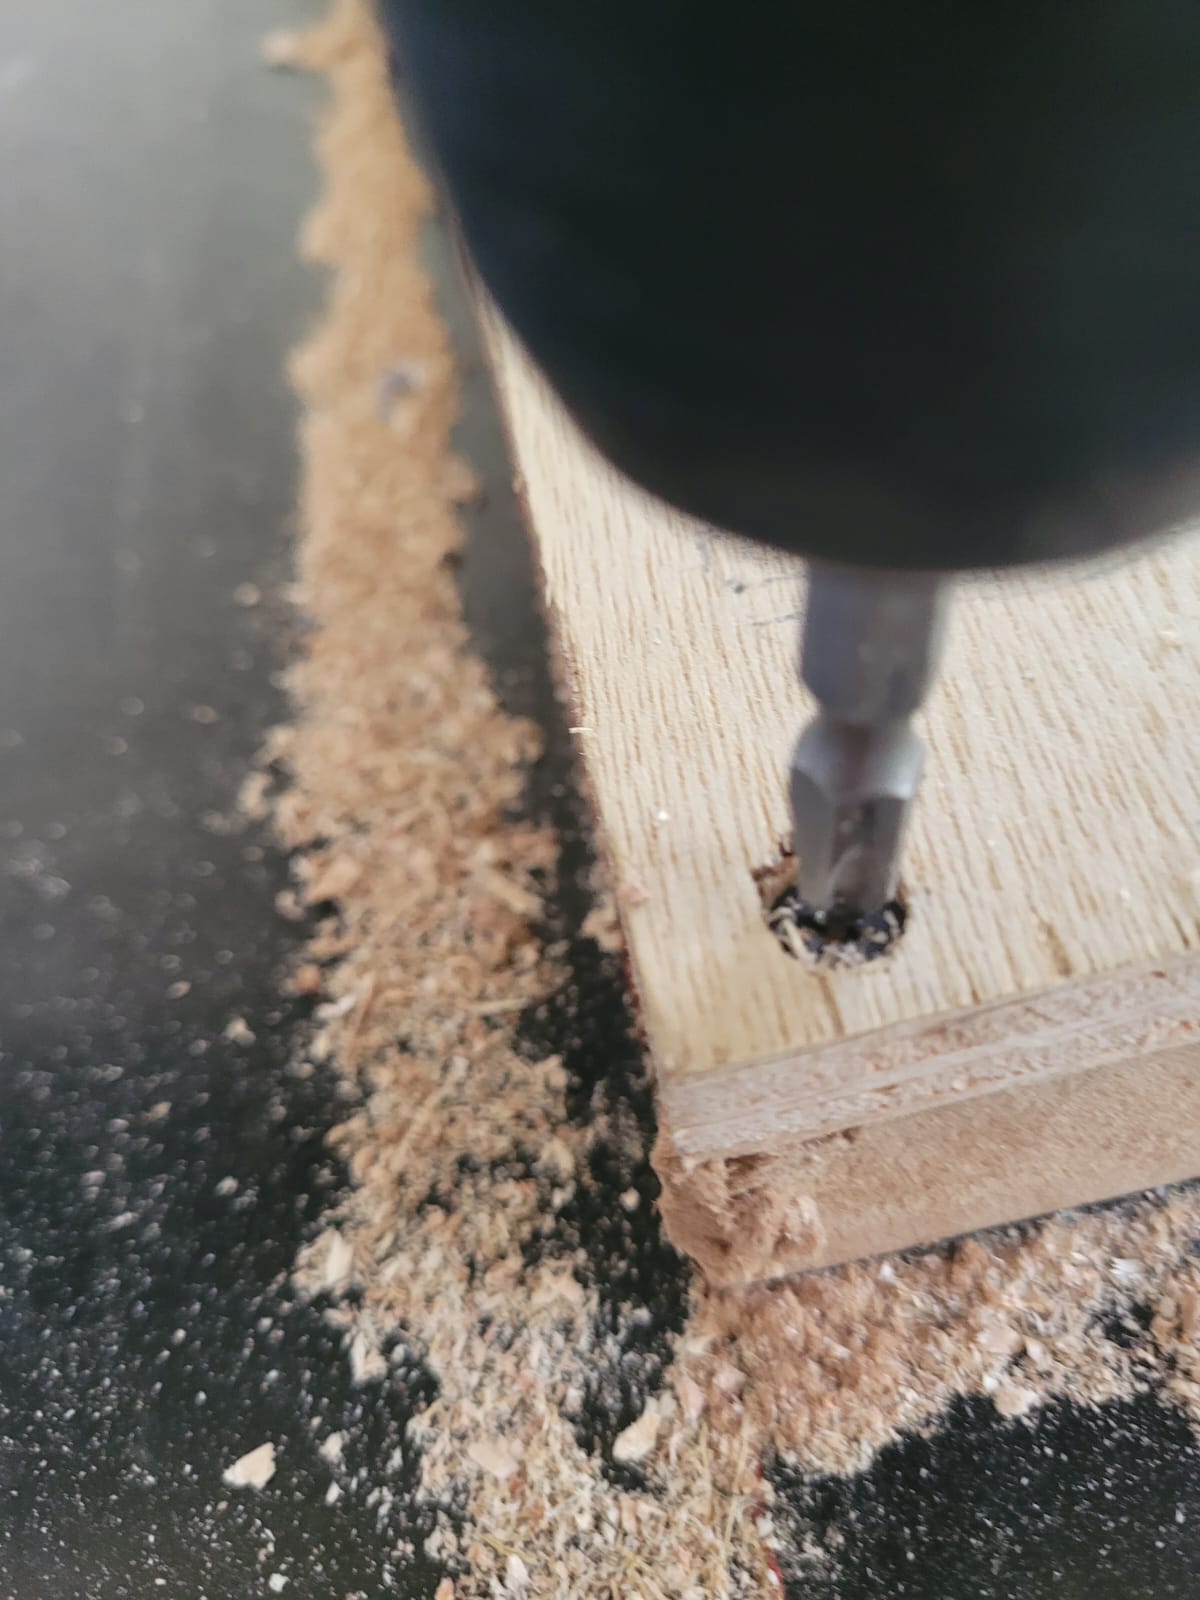
the we calibrate the z-axis (hight)
then we stat cutting
we found out the best parameters to be.
| spindle speed | Feed rate |
|---|---|
| 12000 | 80 |
Individual Assignment
For my work, I decided to make a moon shaped shelf and used fusion 360 for desining.
design
I will go briefly on how I designed the shelf.
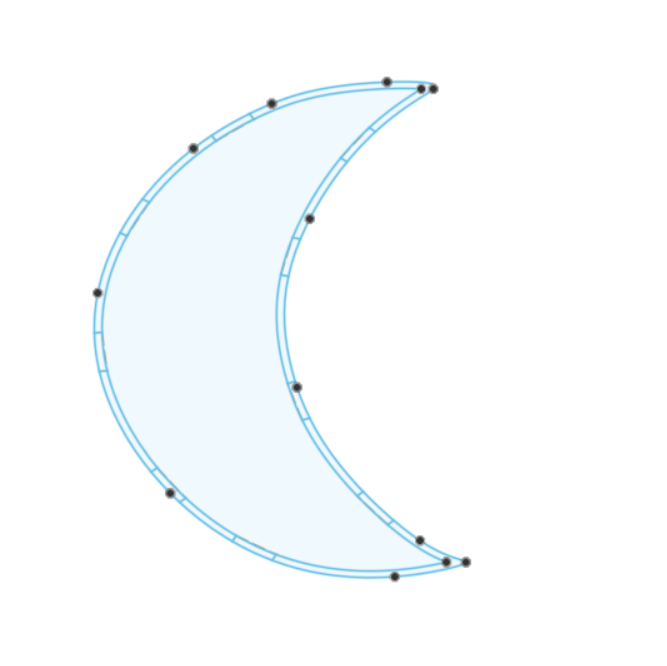
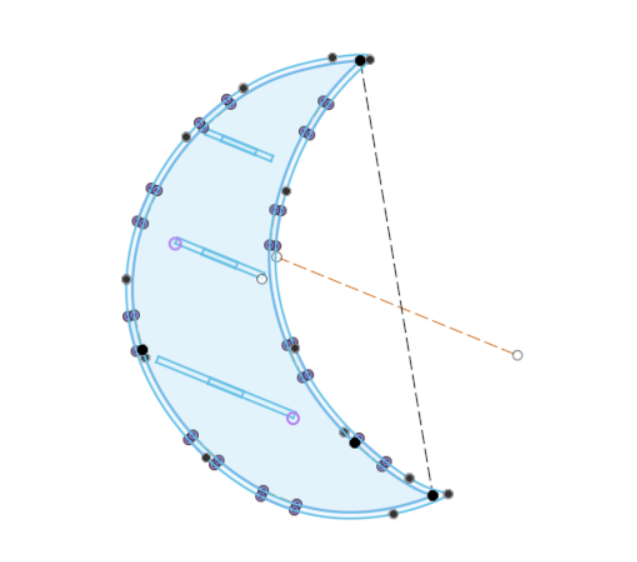
I first started with drawing the moon shape with the line tool the took an offset to create the edge, with the same tool I drew the joints on the sides.
then using the square tool, I drew the shelfs
again using the square tool, I drew the joints for the shelfs
then I extruded every thing to the wanted Hight
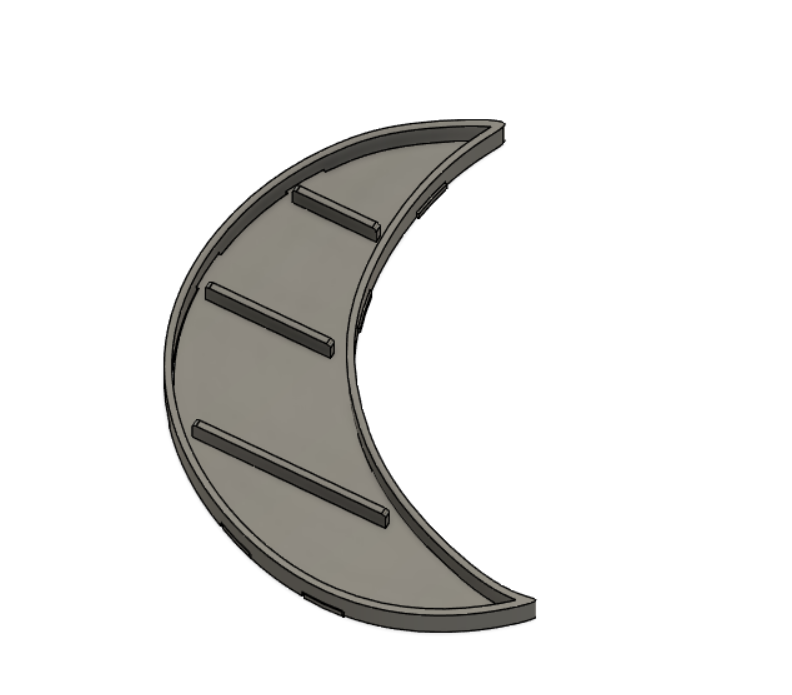
I separated the parts so I can add the tolerances needed for the joints to fit using offset face tool
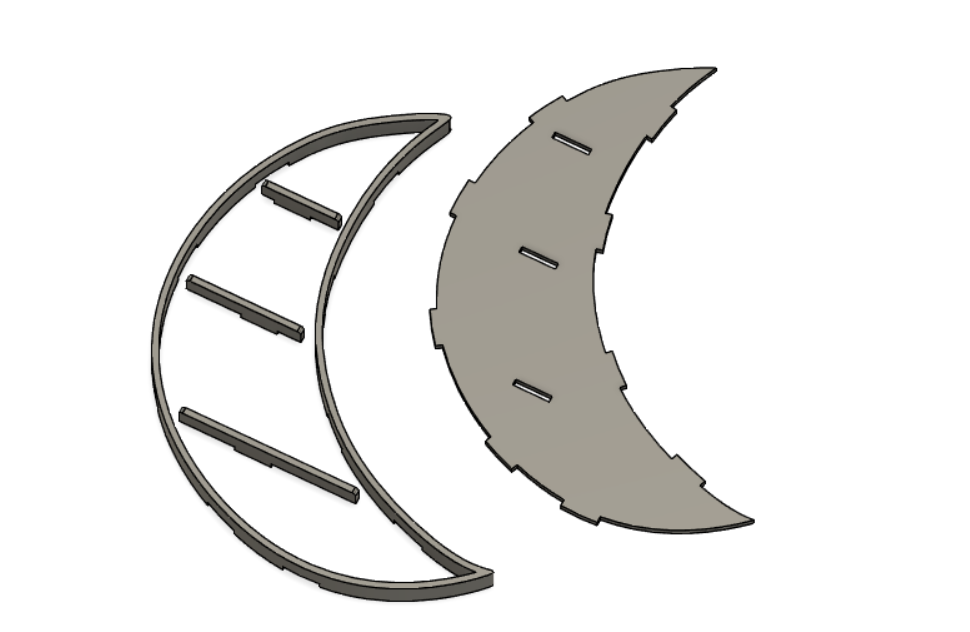
here is the design files in f3d and stl.
Vcarve
for cutting the design, I used a software called vcarve to upload the design to the cnc machine.
first I opened the vcarve software and chose the sheet size
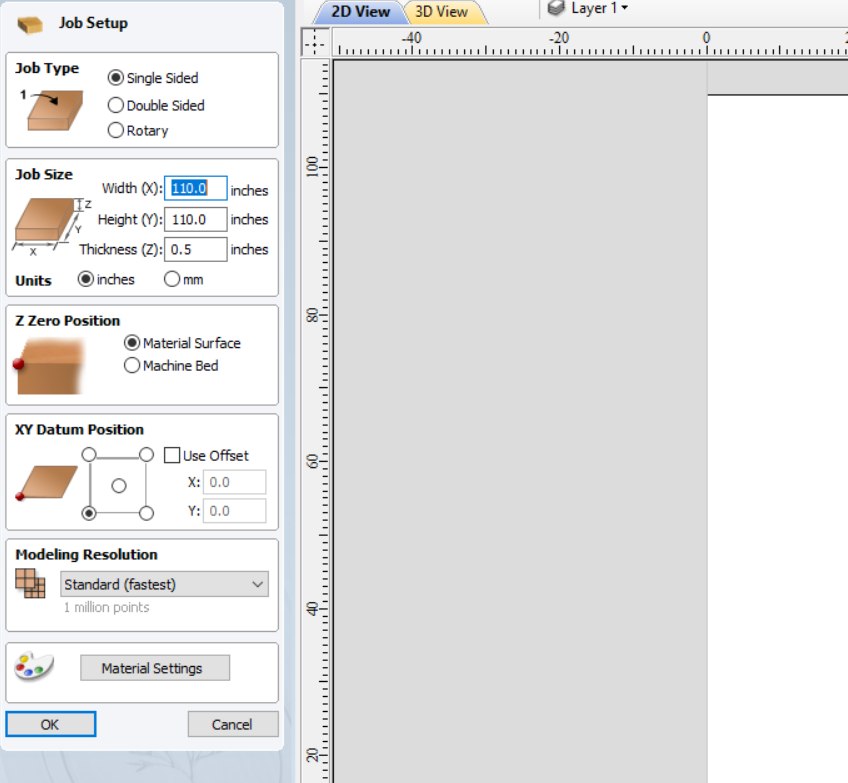
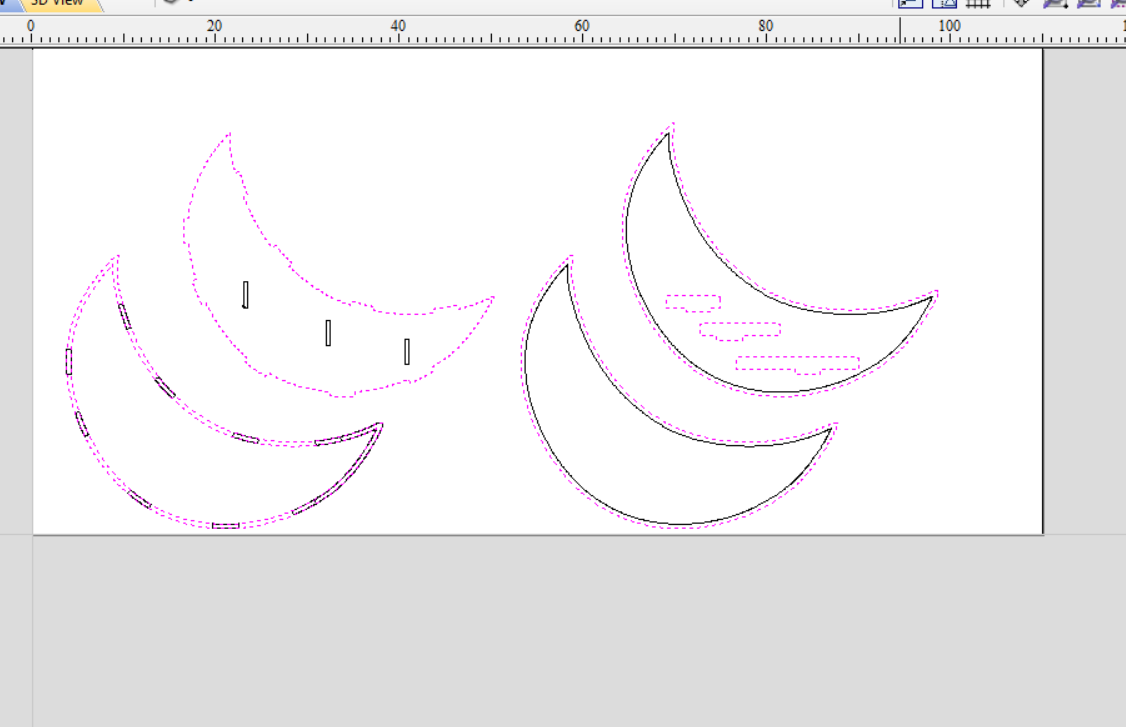
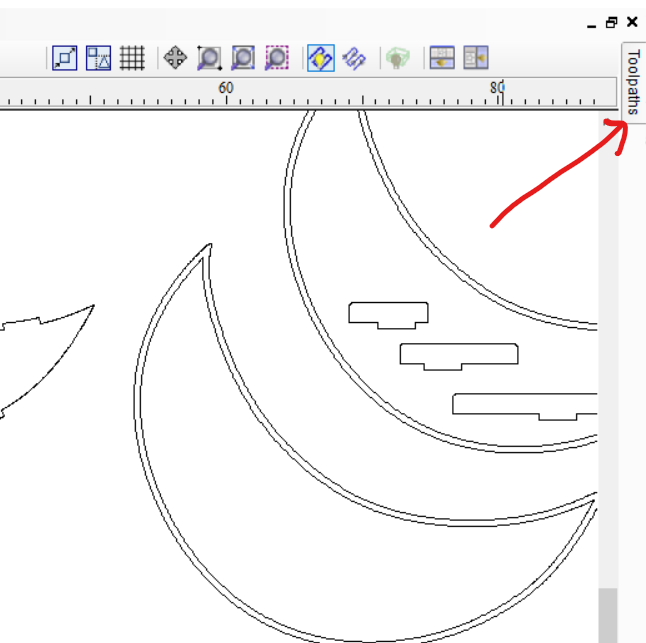
then I uploaded my design
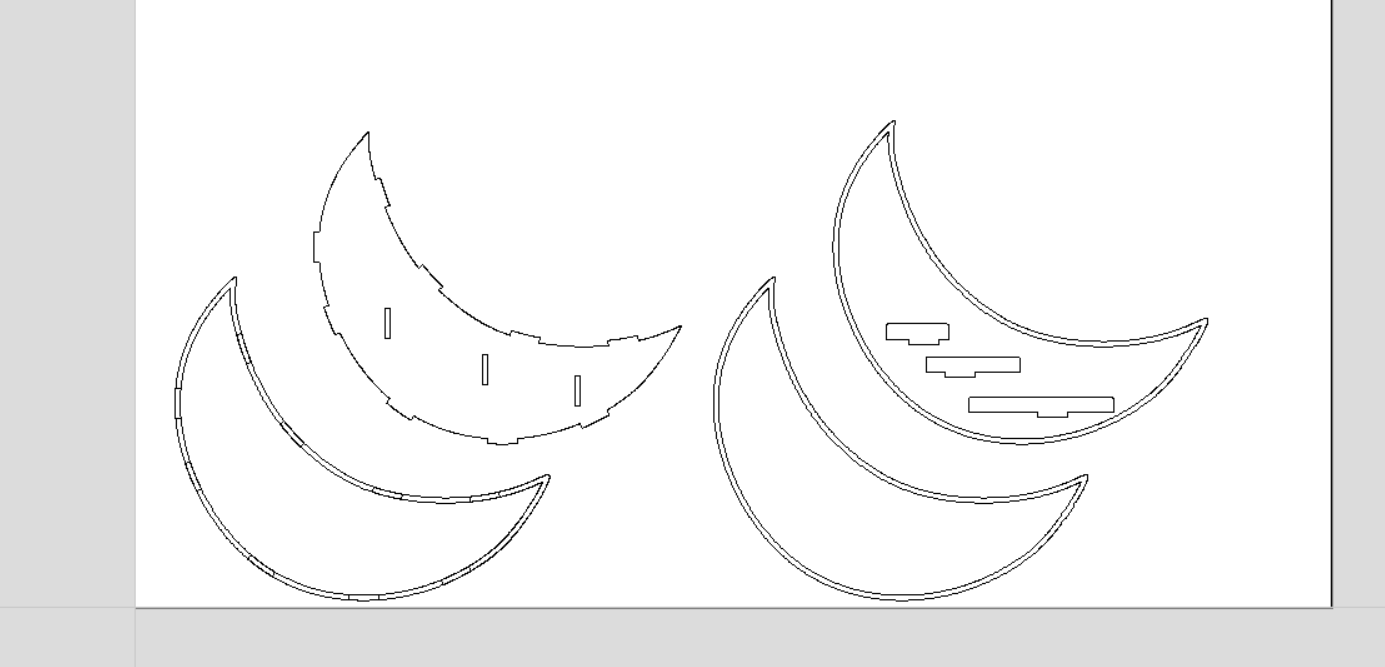
I cut the frame three times so I can stack them on each other because I cant cut it in one piece.
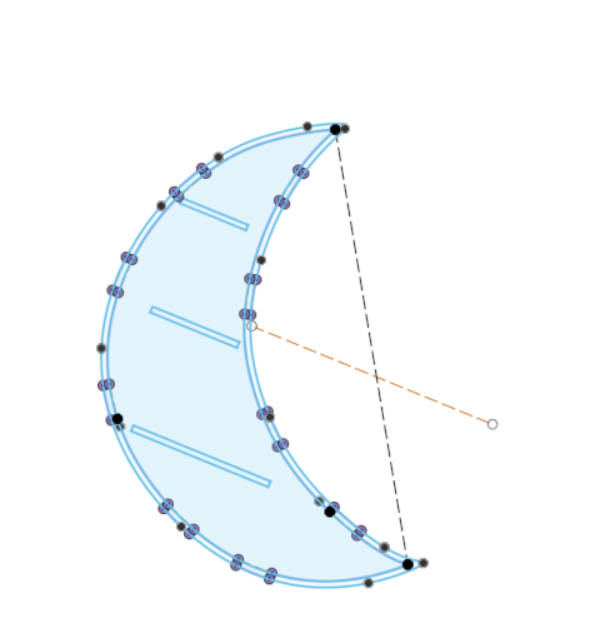
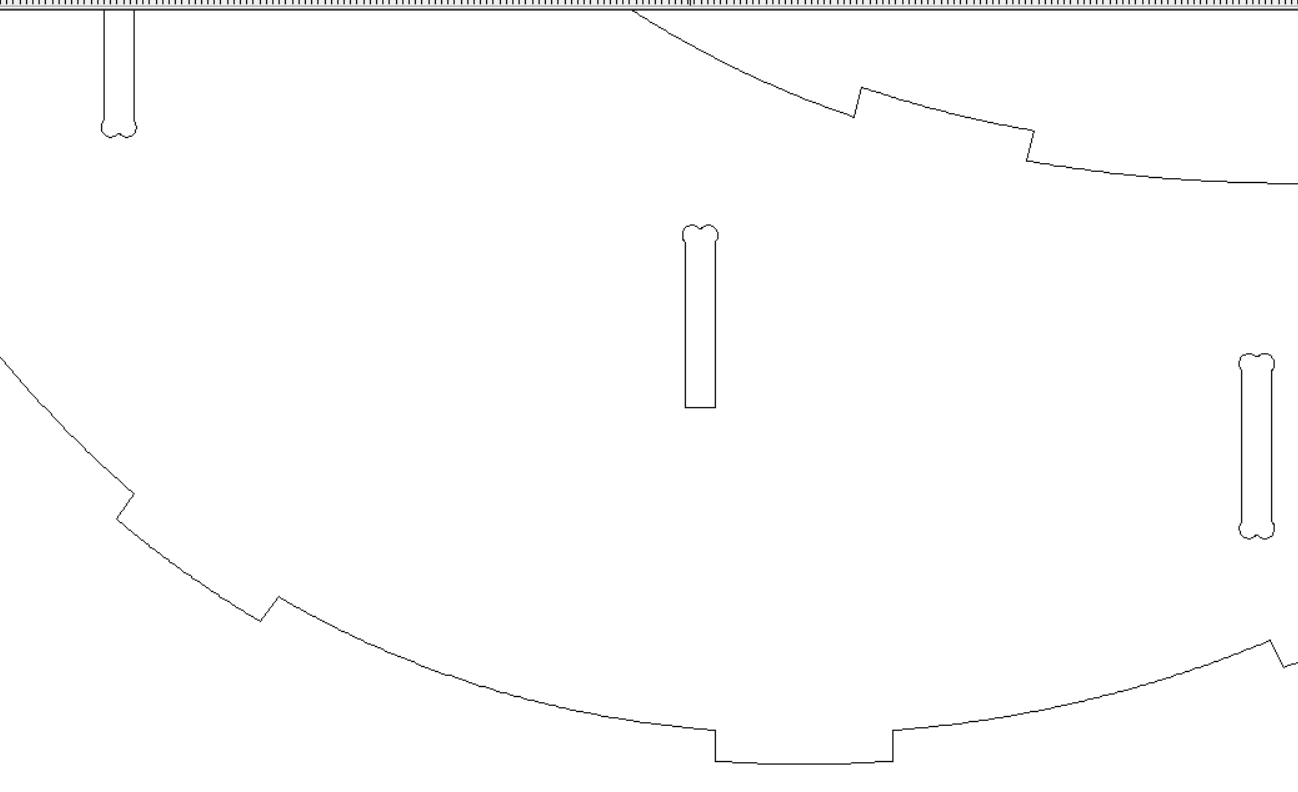
then for the joints (pockets) I added dog bone fillet
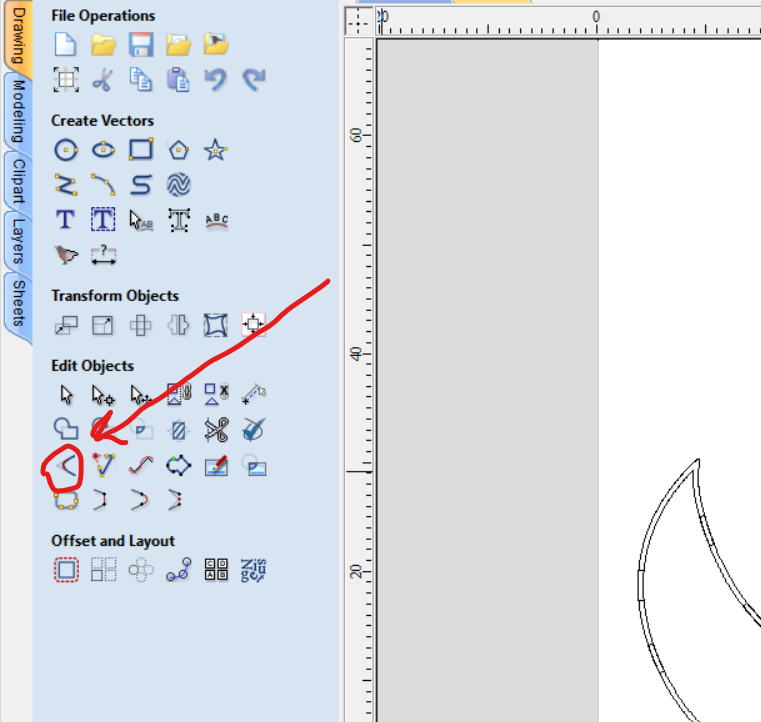
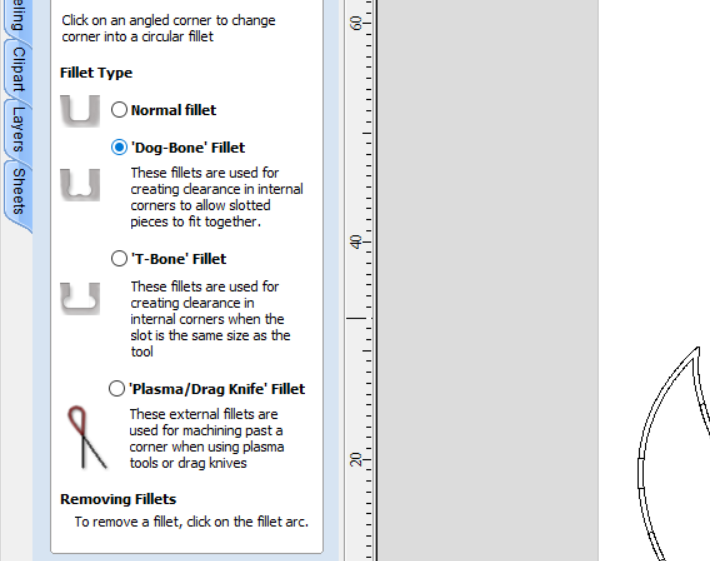
click on the corners
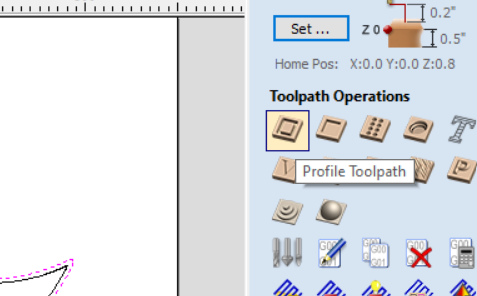
then to chose the tool path I selected the lines to cut
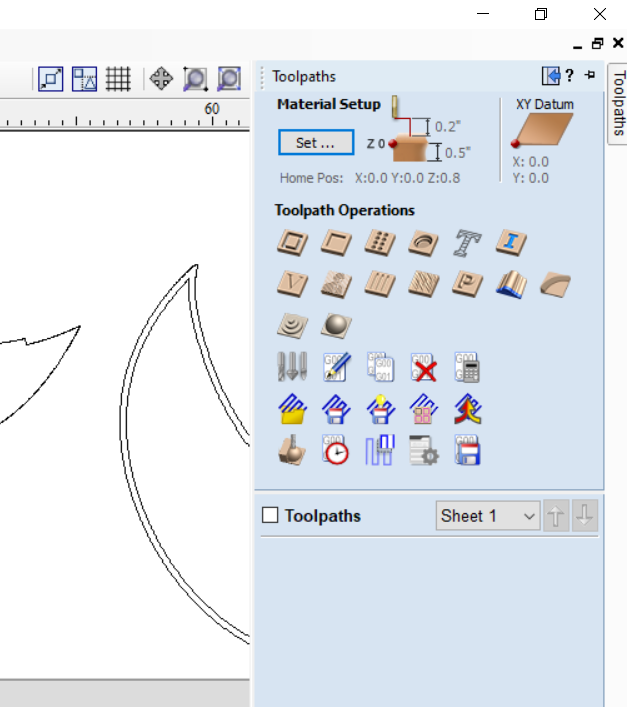
click on tool
choose the tool path wanted
for this part I needed outline path
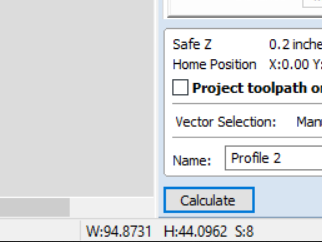
then set the parameters how deep the cut is and cutting from the outside or in side and add tabs
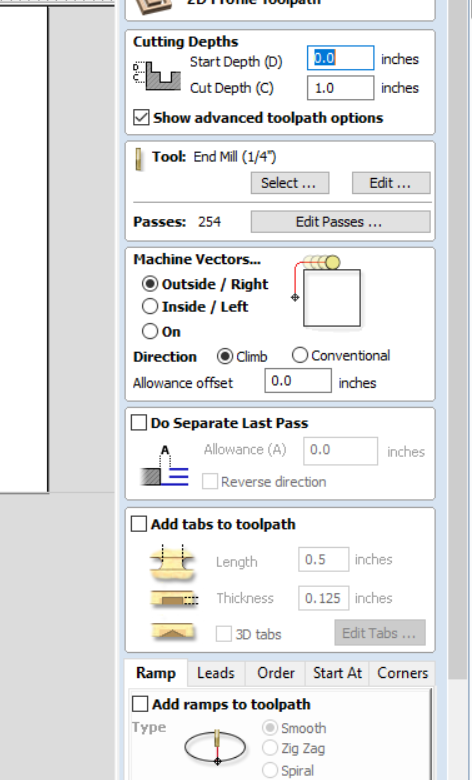
then u can click calculate to see a simulation on how the CNC will cut
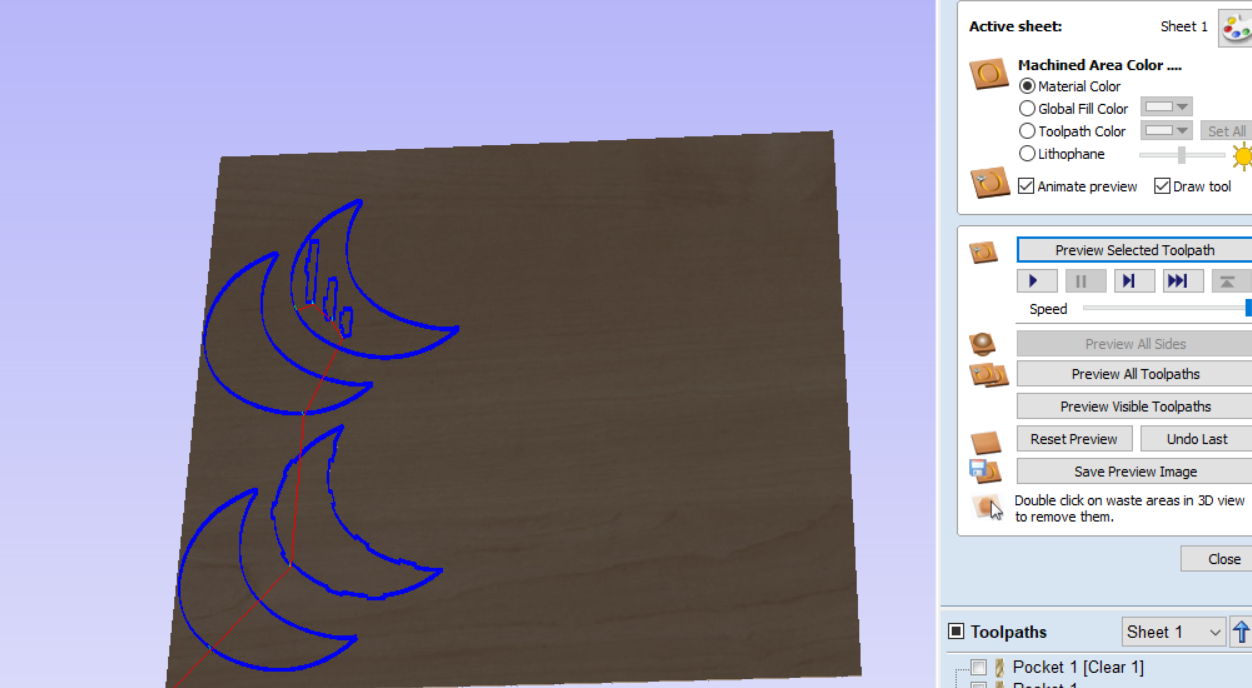

for the joints I needed the pocket tool path
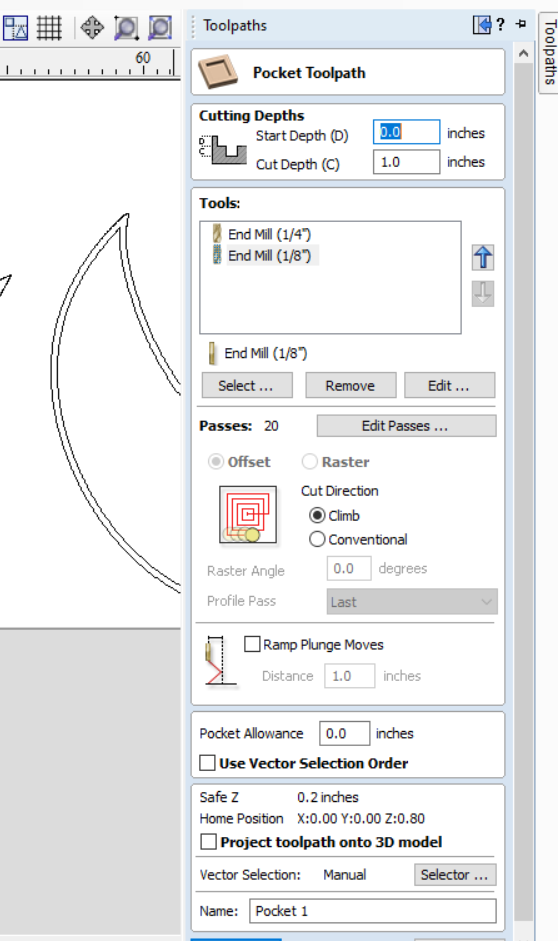
for the pockets of the shelfs I cut all the way through, but for the frame pockets I had to keep some material to hold it together.
then the I started cutting.
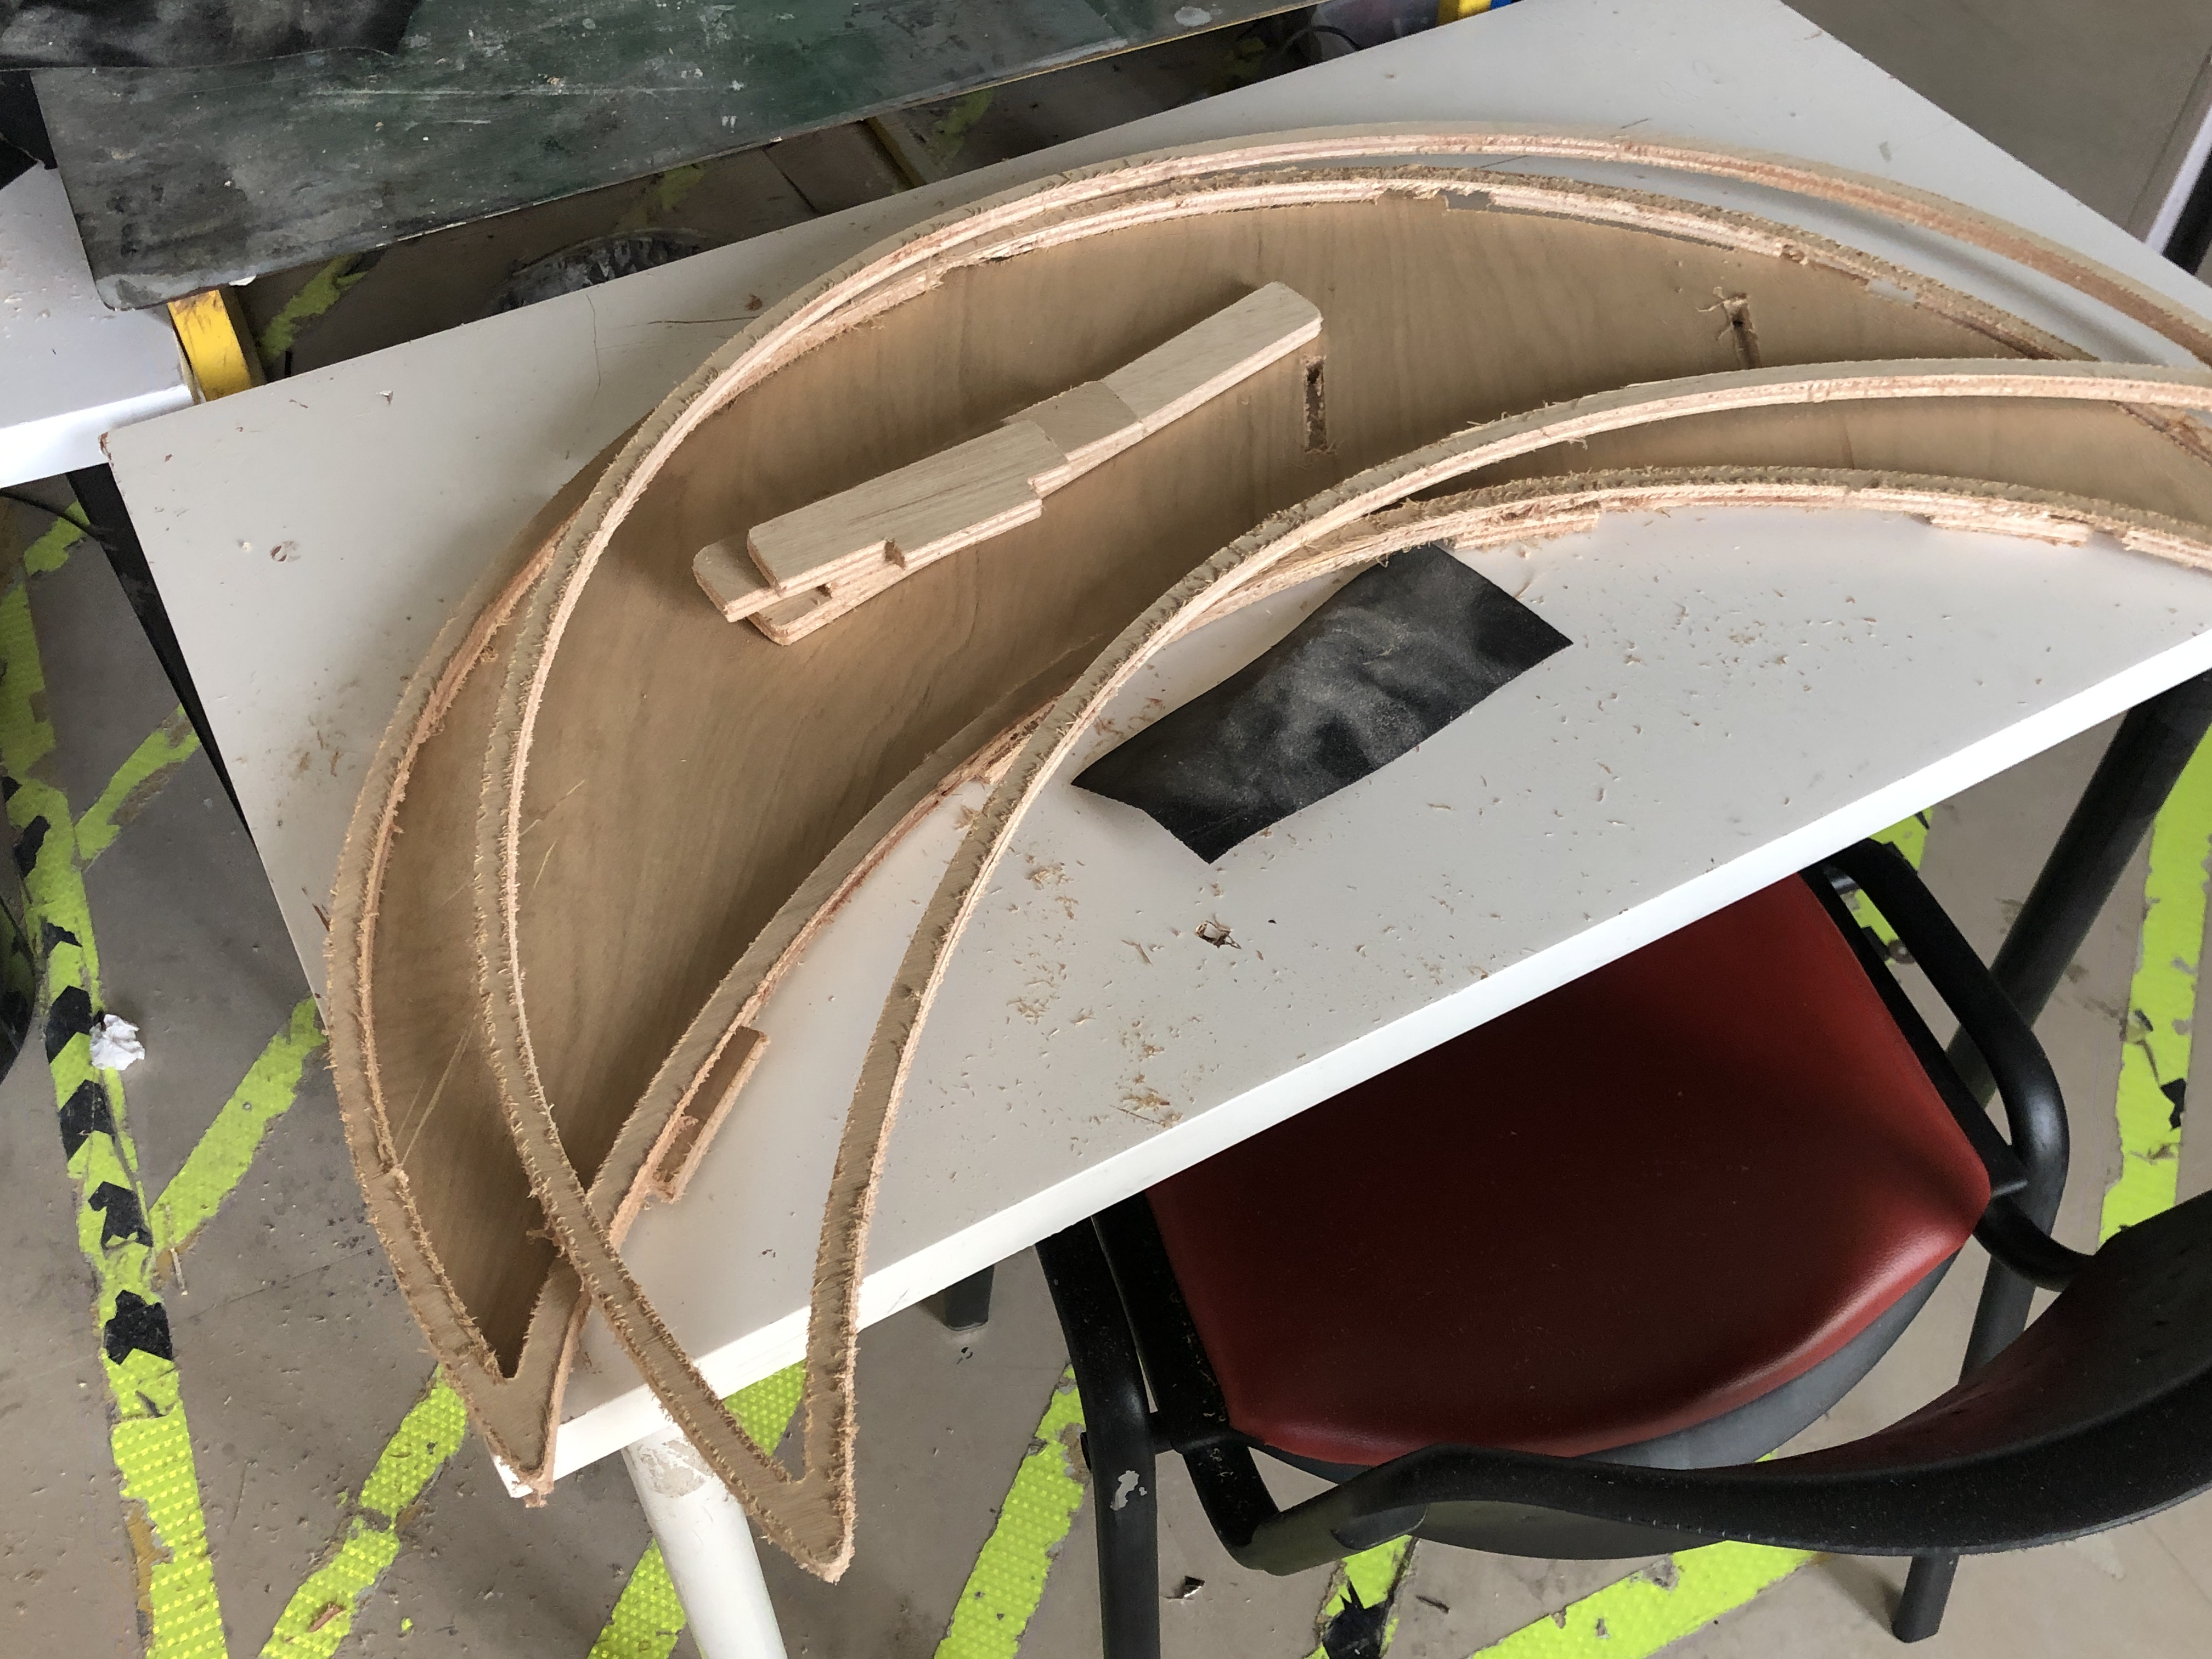
these are the pieces I got after cutting
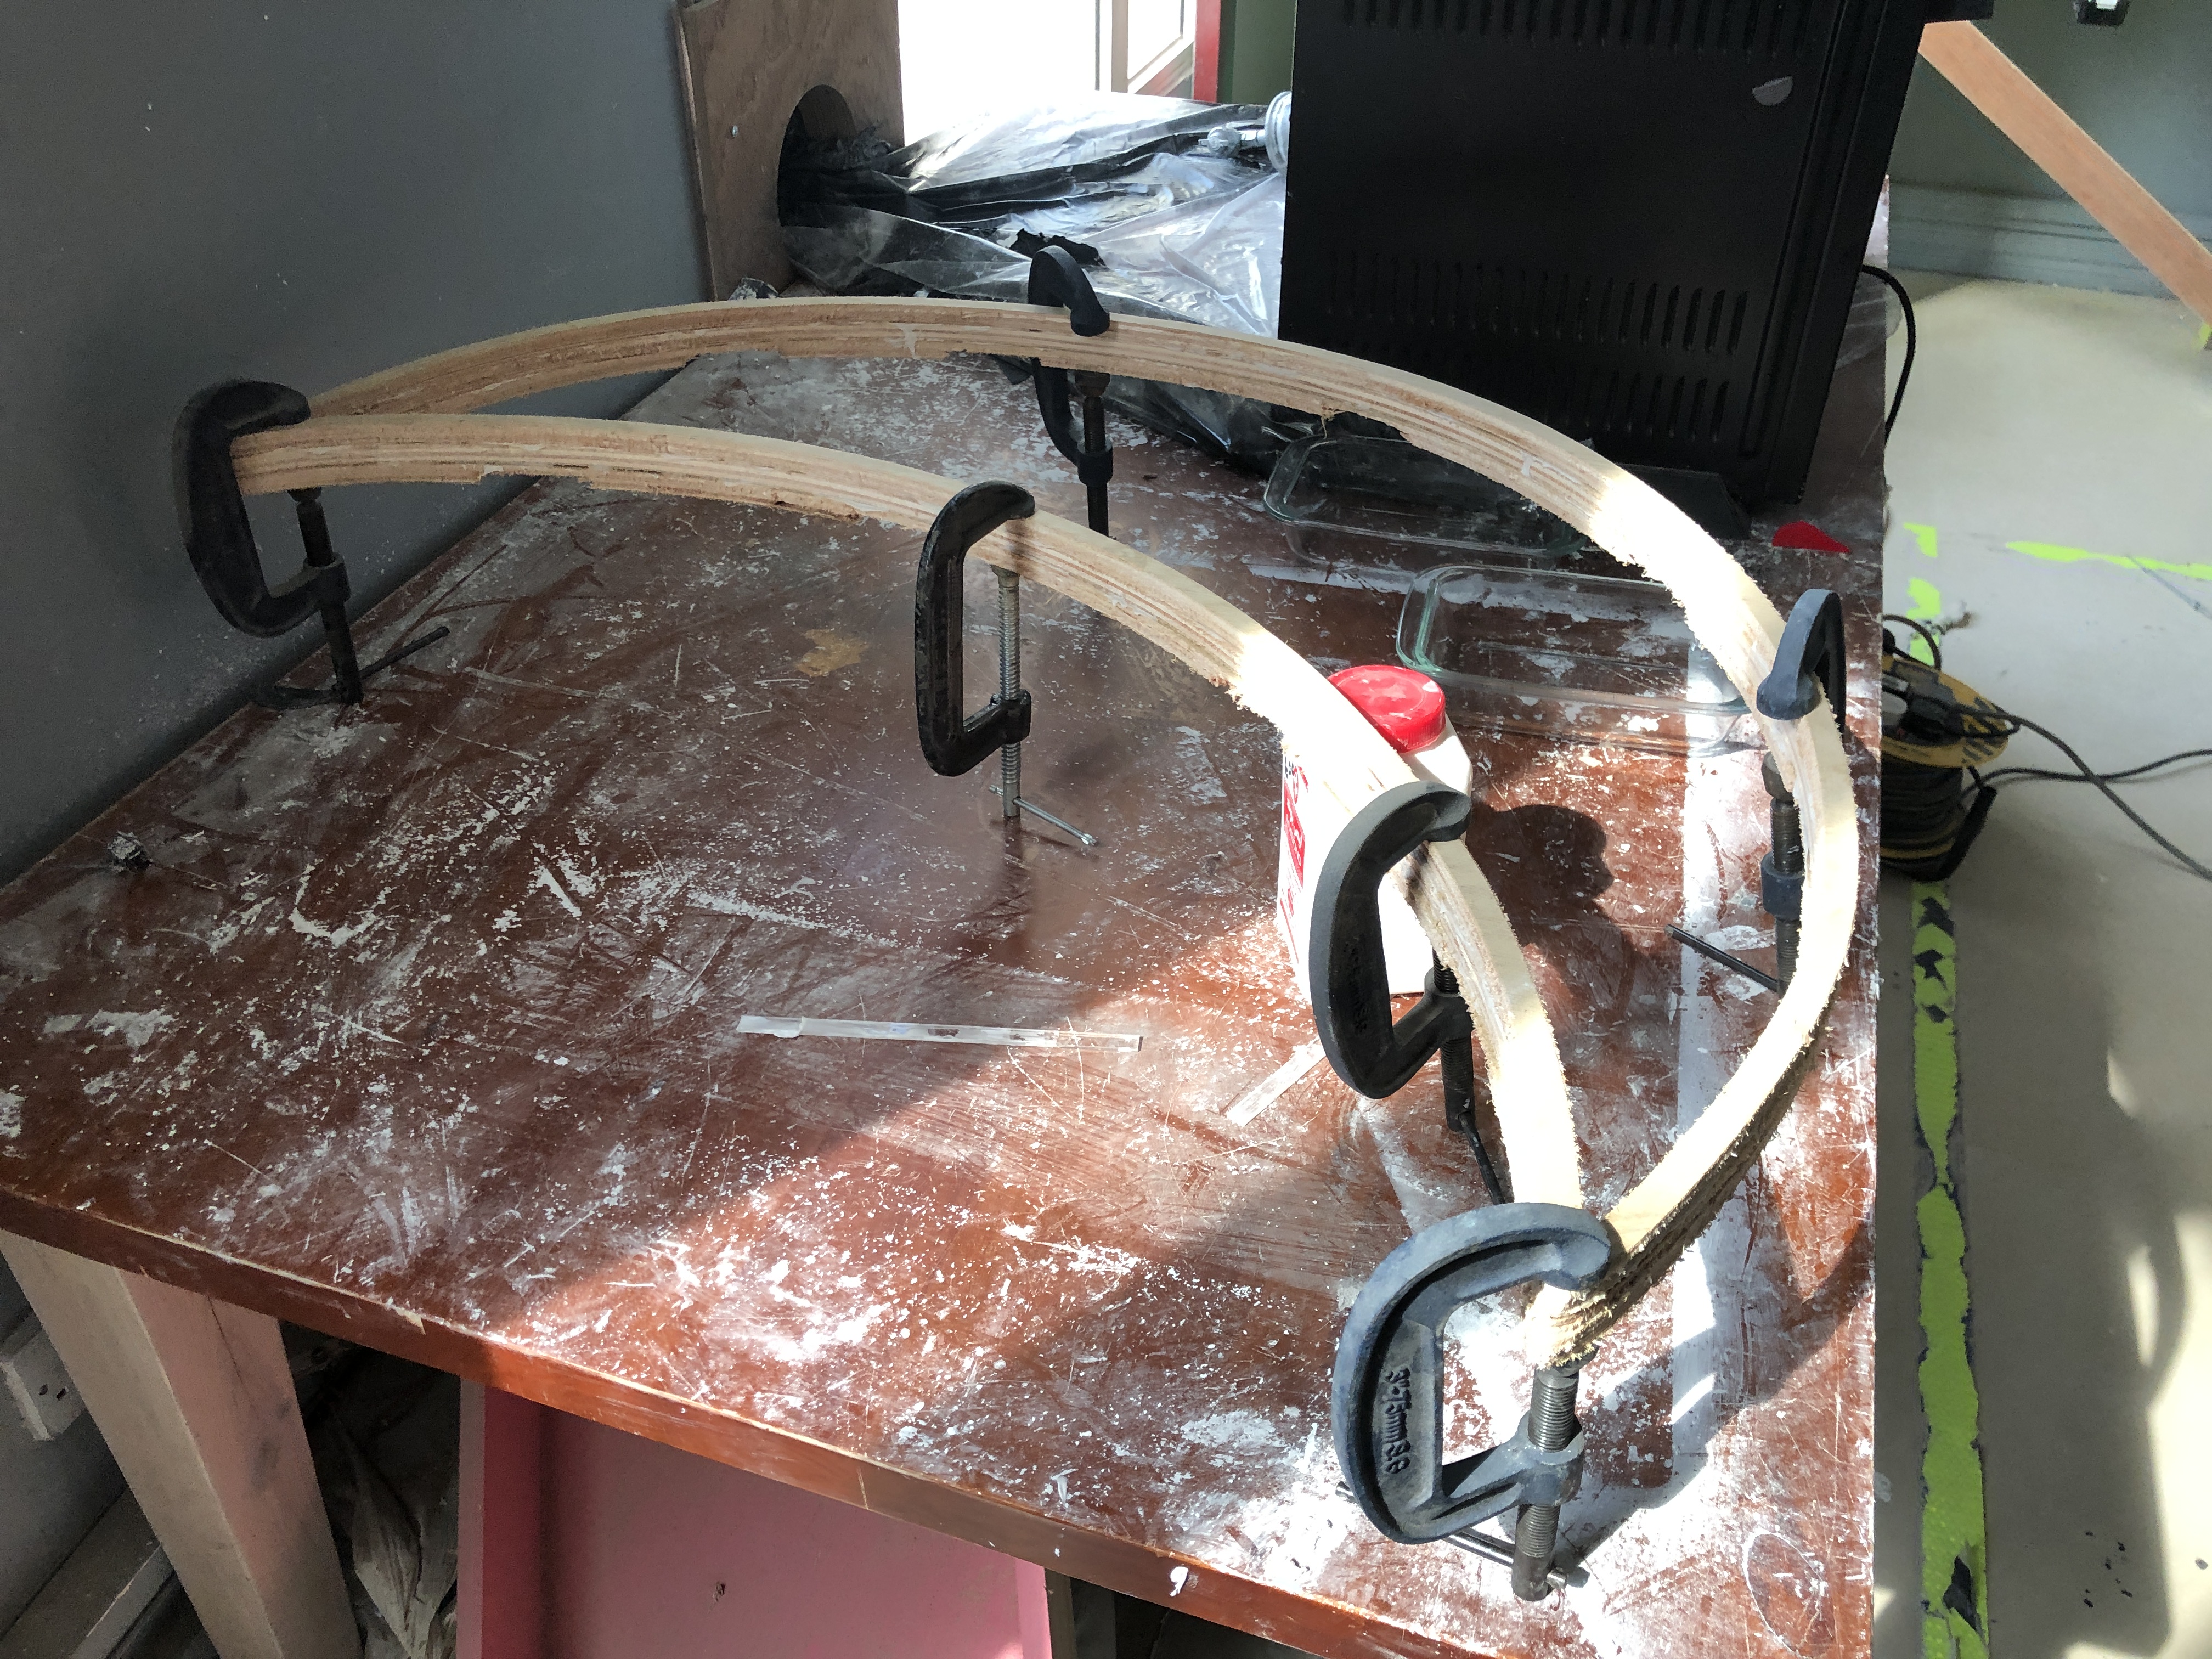
then because I couldn’t cut the frame in one piece I hade to glue it together
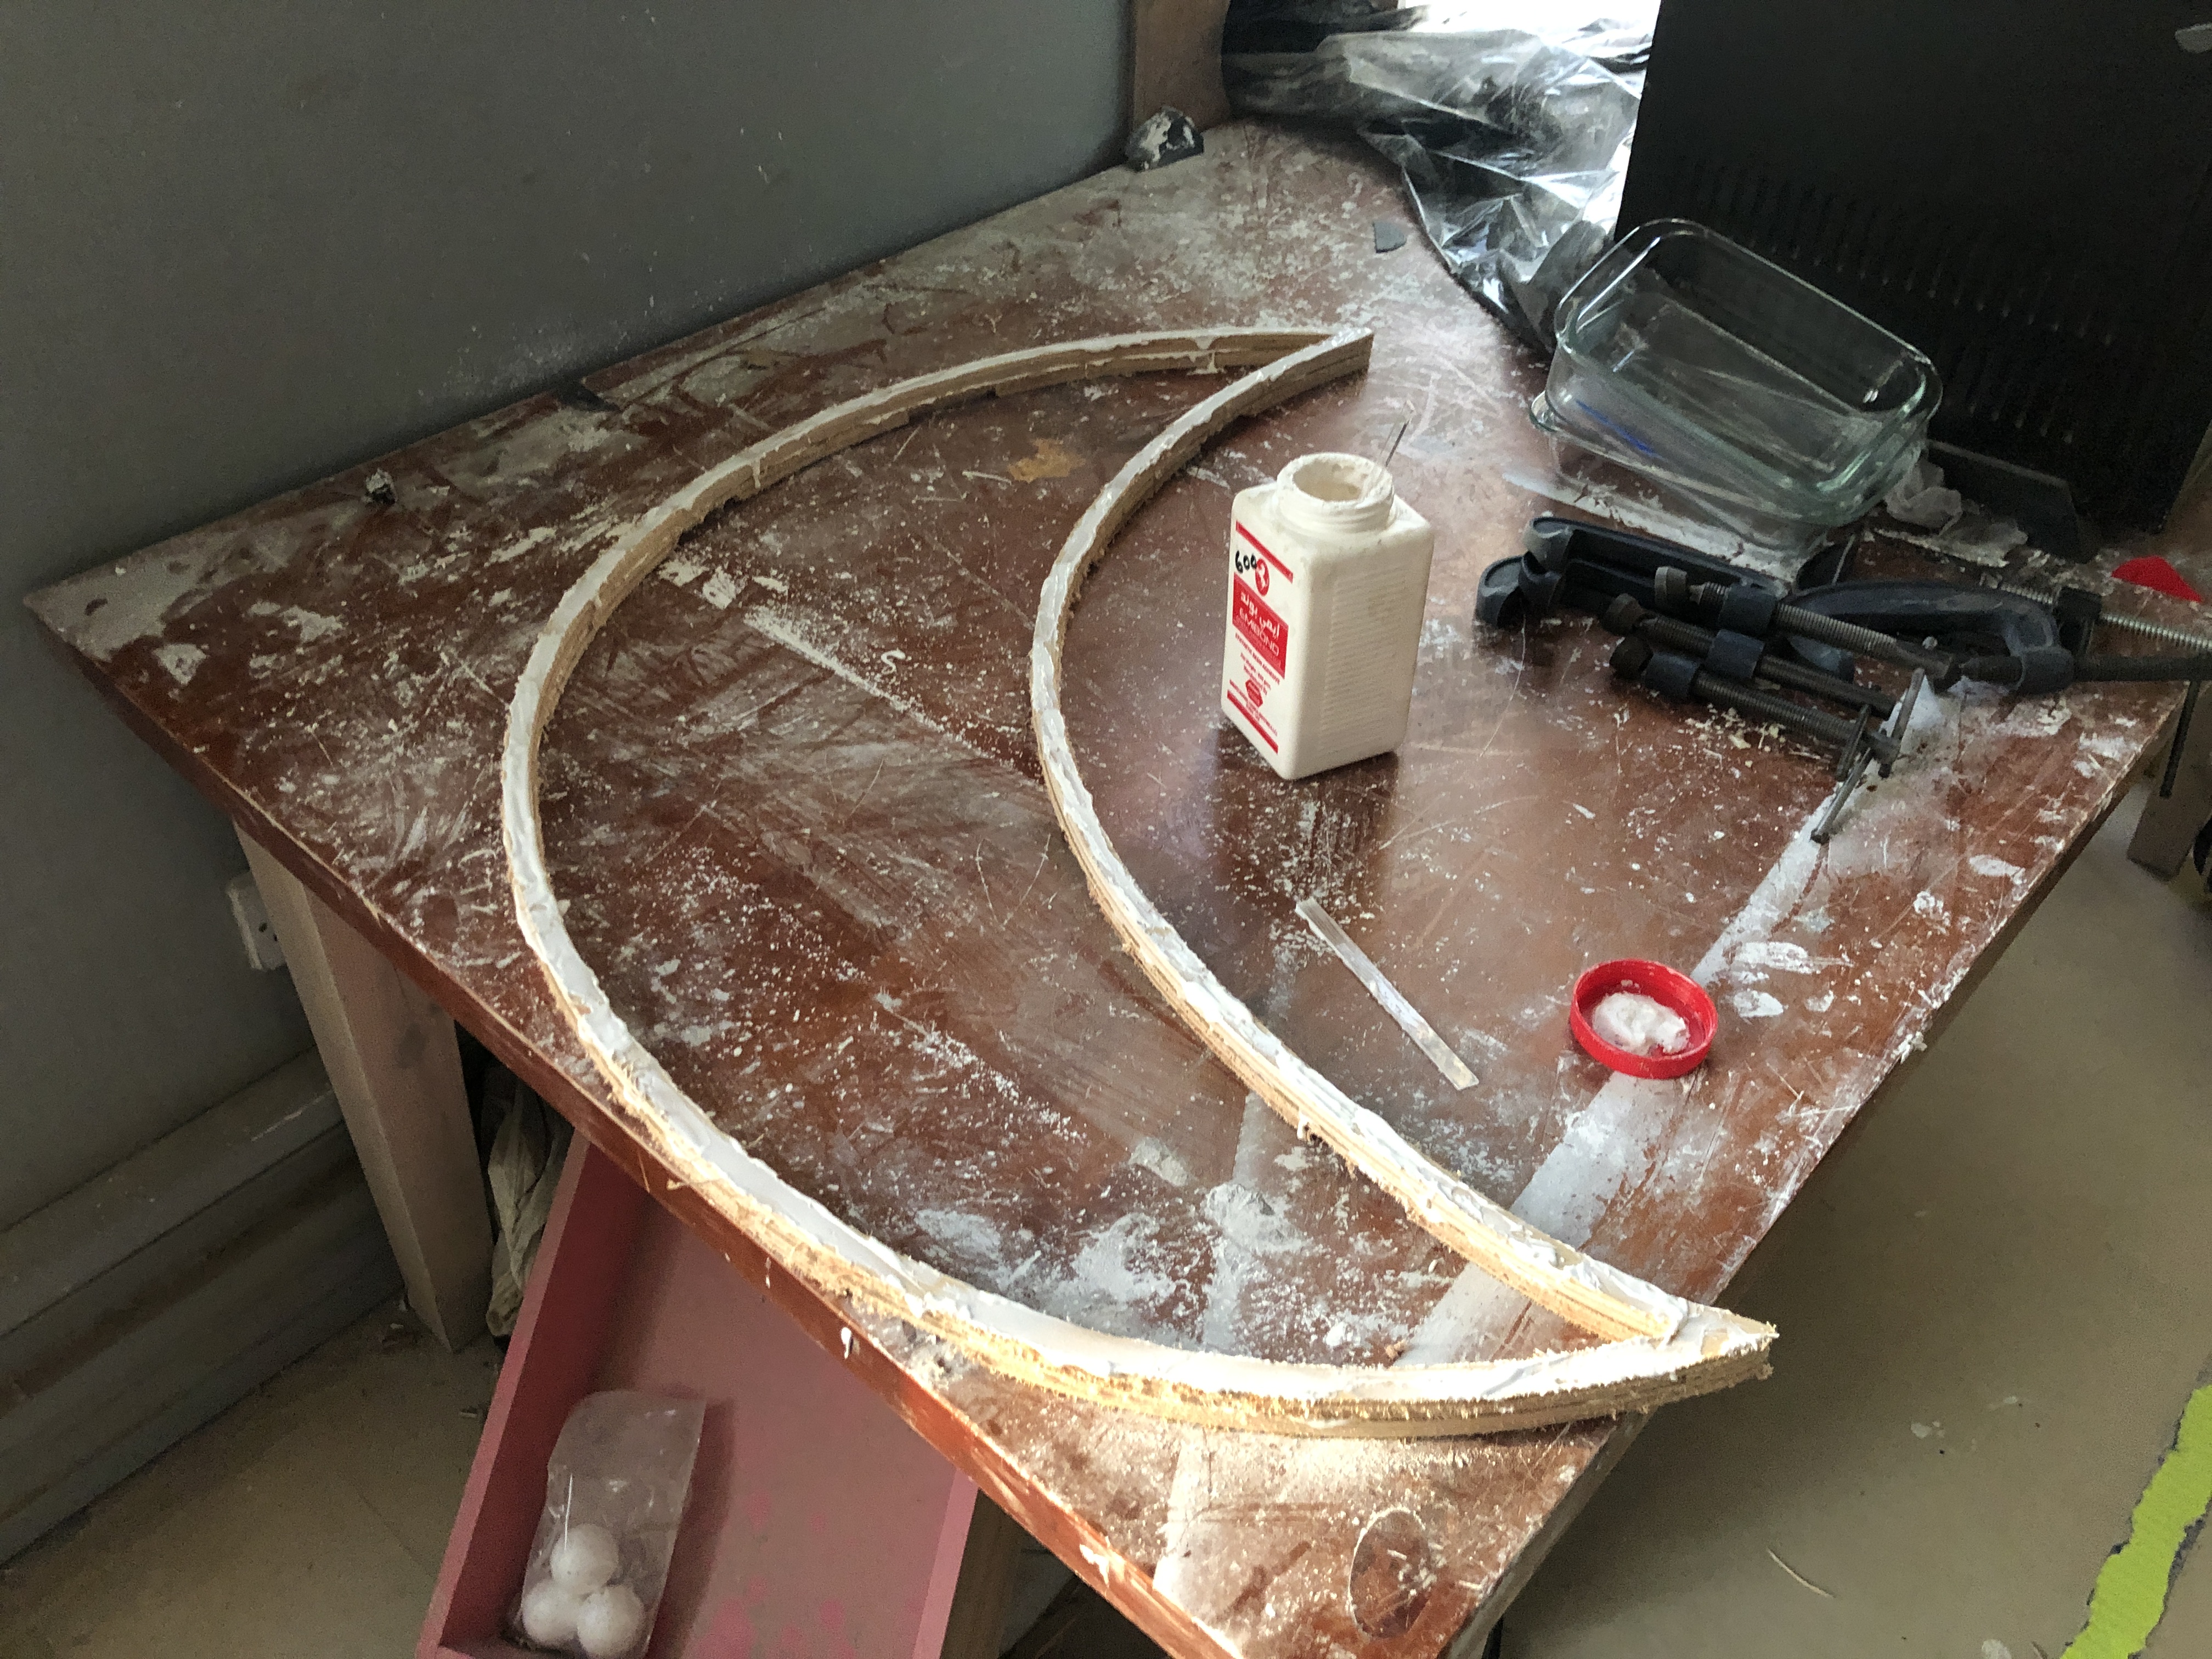
and clamped it in place so its held together until the glue drys.
the next day the glue dried and I assembled and sanded it, and it turned out to look good.
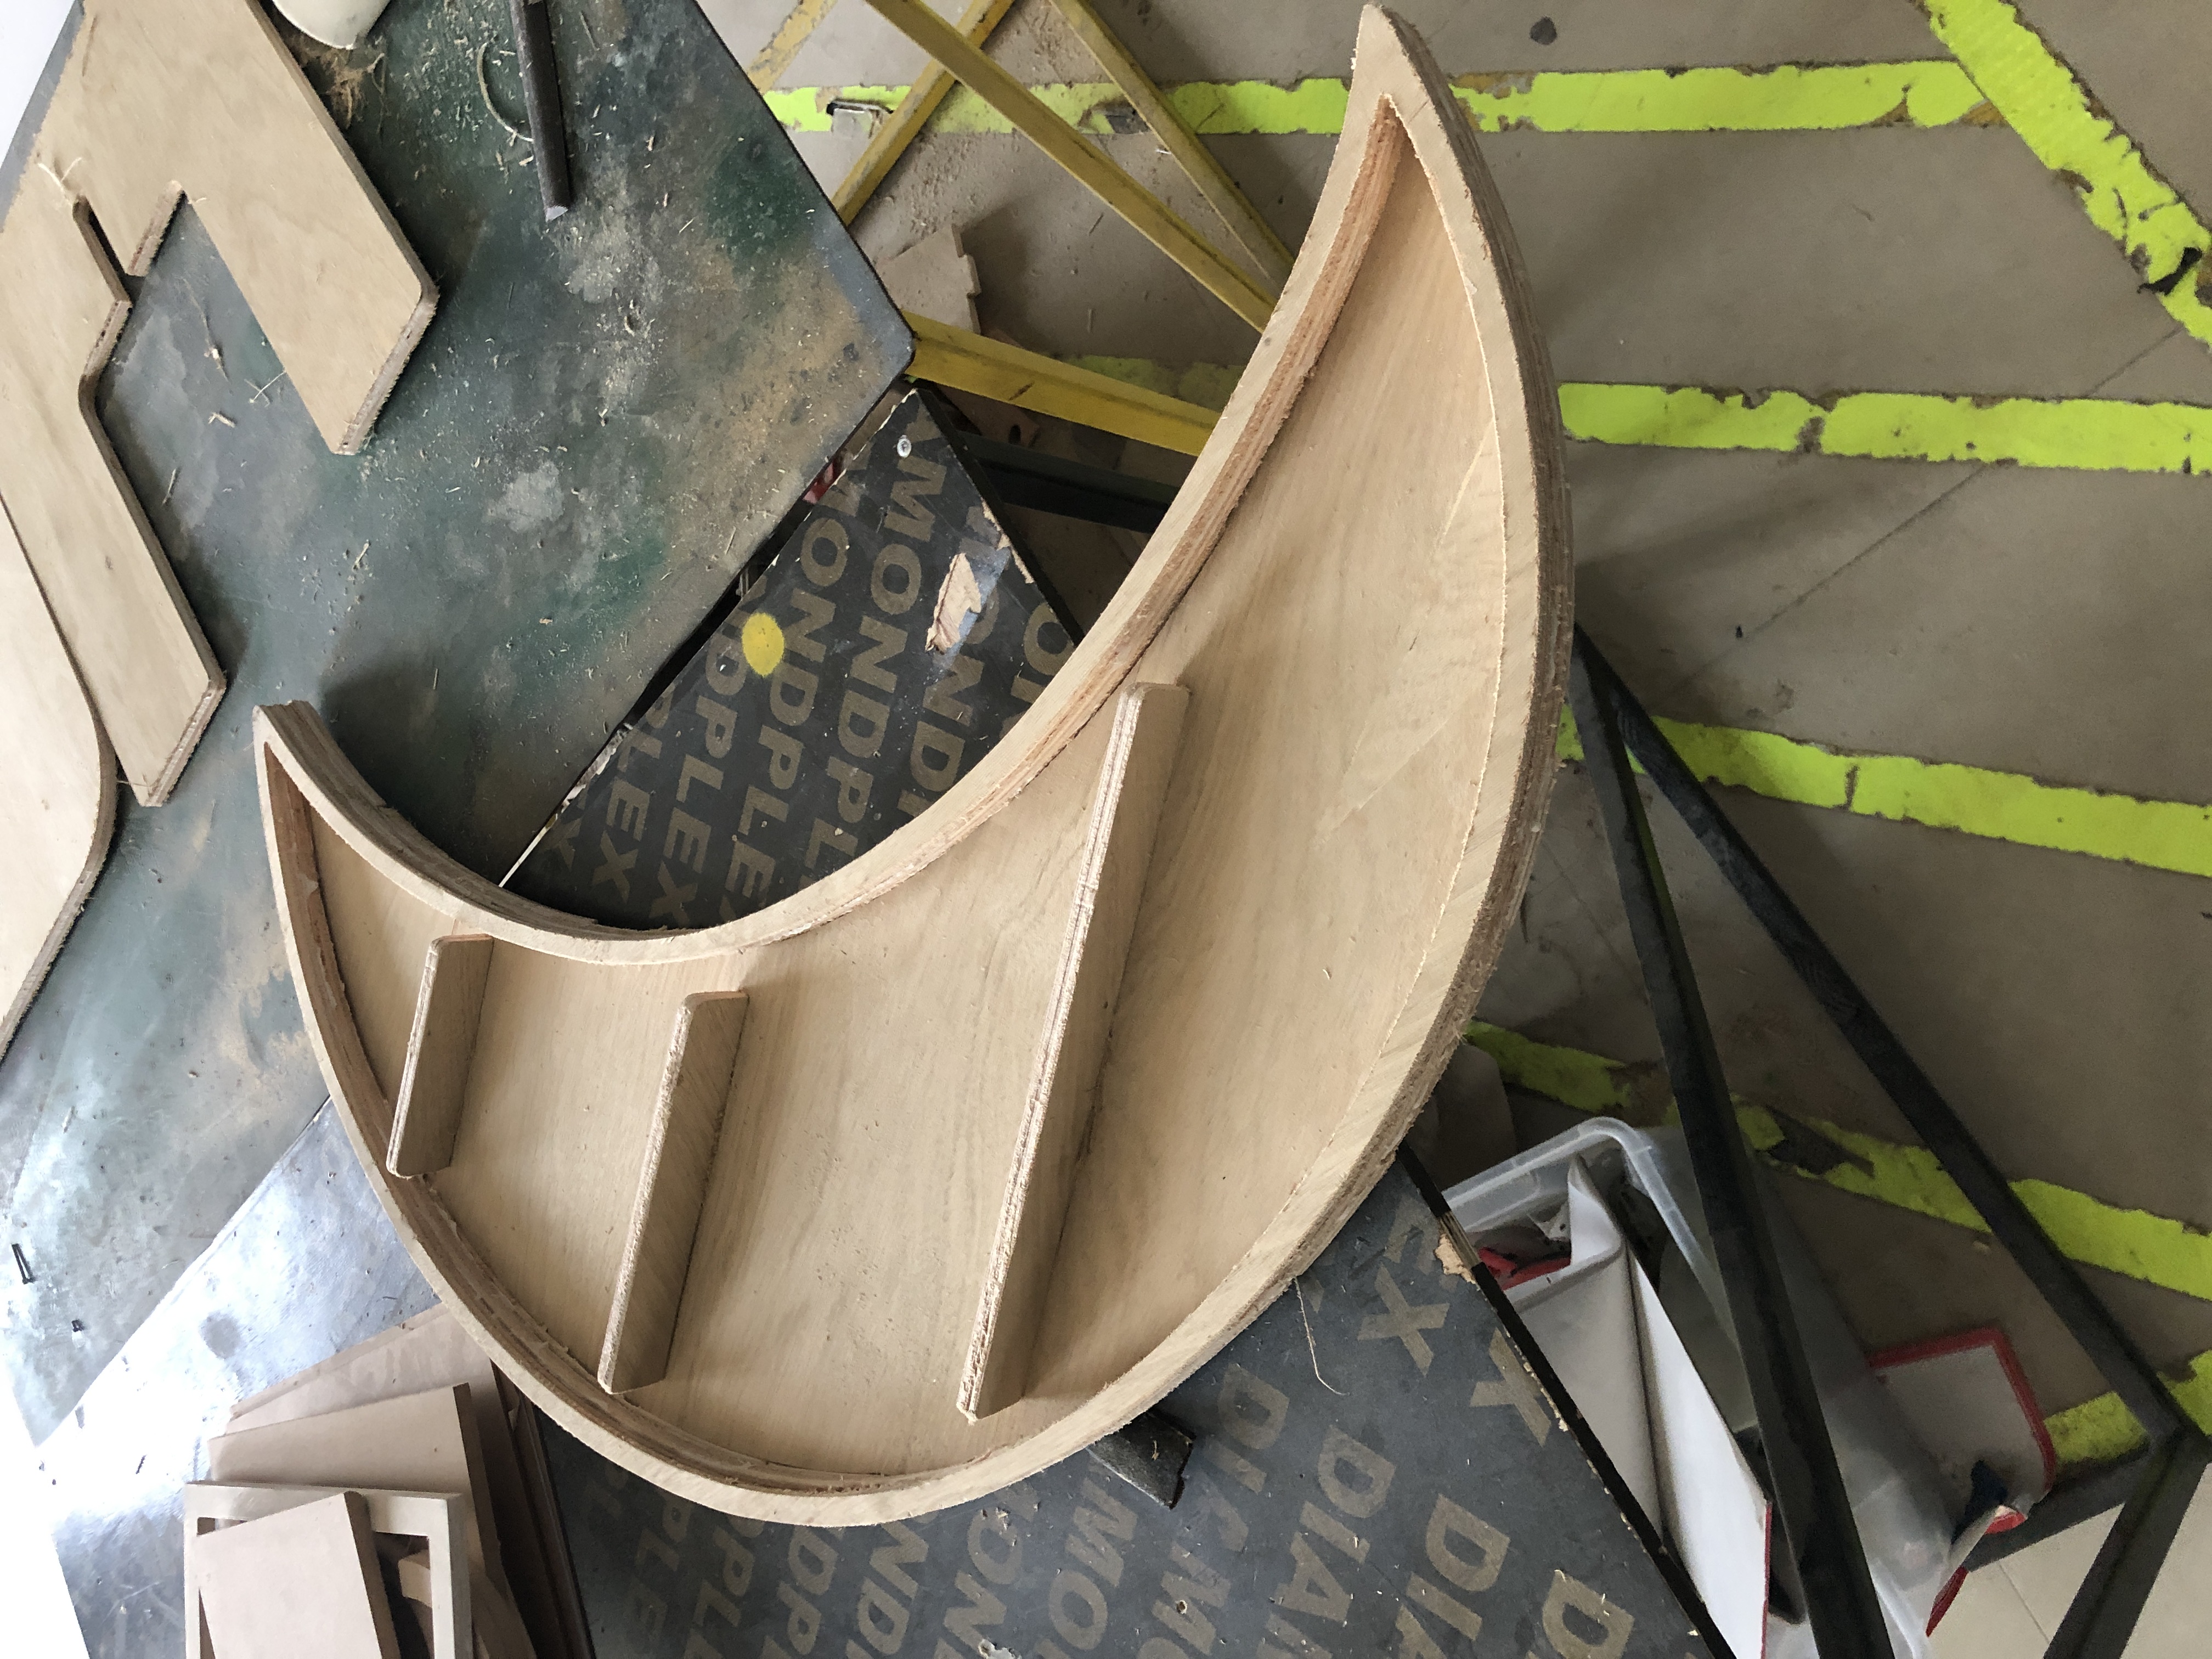
the design had a lot of problems, because the frame thin before gluing it was flexible, so I glued it slightly wrong and that caused the fitment to be too tight, it hardly came together, another thing is that gluing the frame did nit make it hard enough, but over all the designed worked.