Final Project
Since the beginning of joining Fab academy, I knew that I wanted to create an art piece and I knew that I want to create something that has lighting in it, so I will take you through this journey and what my Final project is.
Inspiration
since I’m interested in art one time I pass through this Japanese philosophy of fixing or filling the broken objects with gold, so for example, If you have a broken plate, instead of throwing it away another thing that you can do is stick the broken pieces together and emphasize the broken gapes to gold, by doing so the final product will be unique by its own and it allows us, people, to see the value and beauty of these cracks.
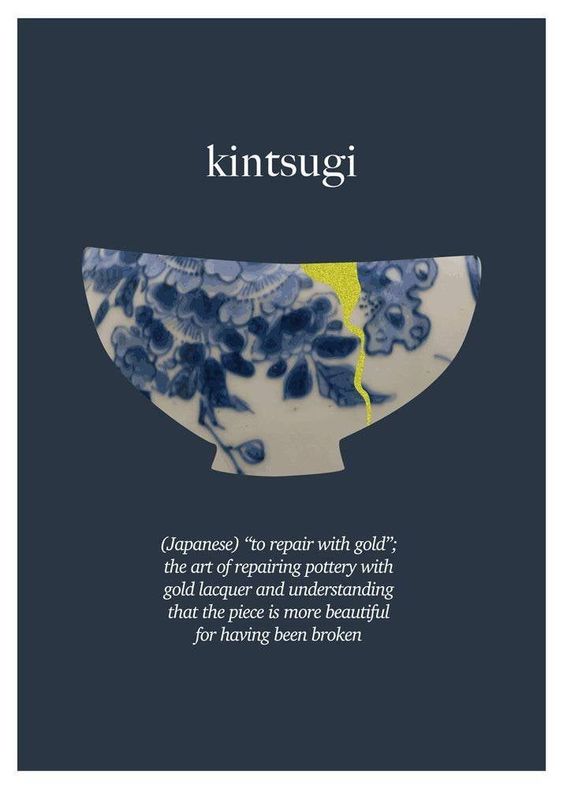
It is a very interesting concept I will leave a like below to read more about it if you are interested.
click here to read more about Kinstugi concept
First attempt
Second attempt
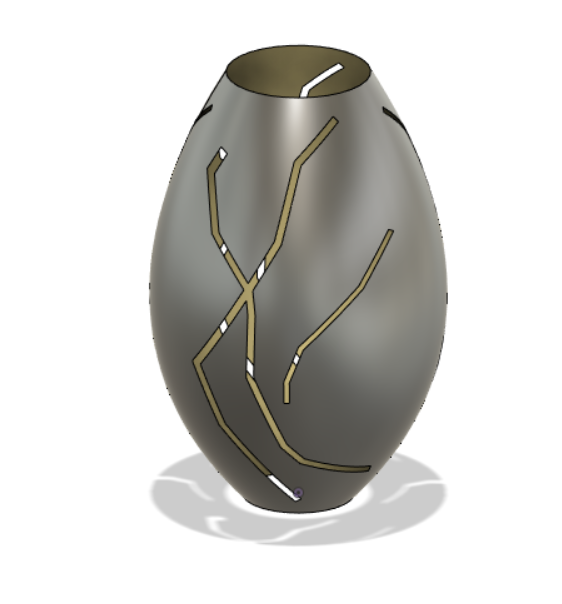
since the First atempt didnt go as we planed I re-drew a vase using fusion 360 with the sraches to 3D print it , I watched alot of youtube vidoes to help me use fusion and the one attached belwo was the most helpful.
I started by creating the actual shape of the vase.
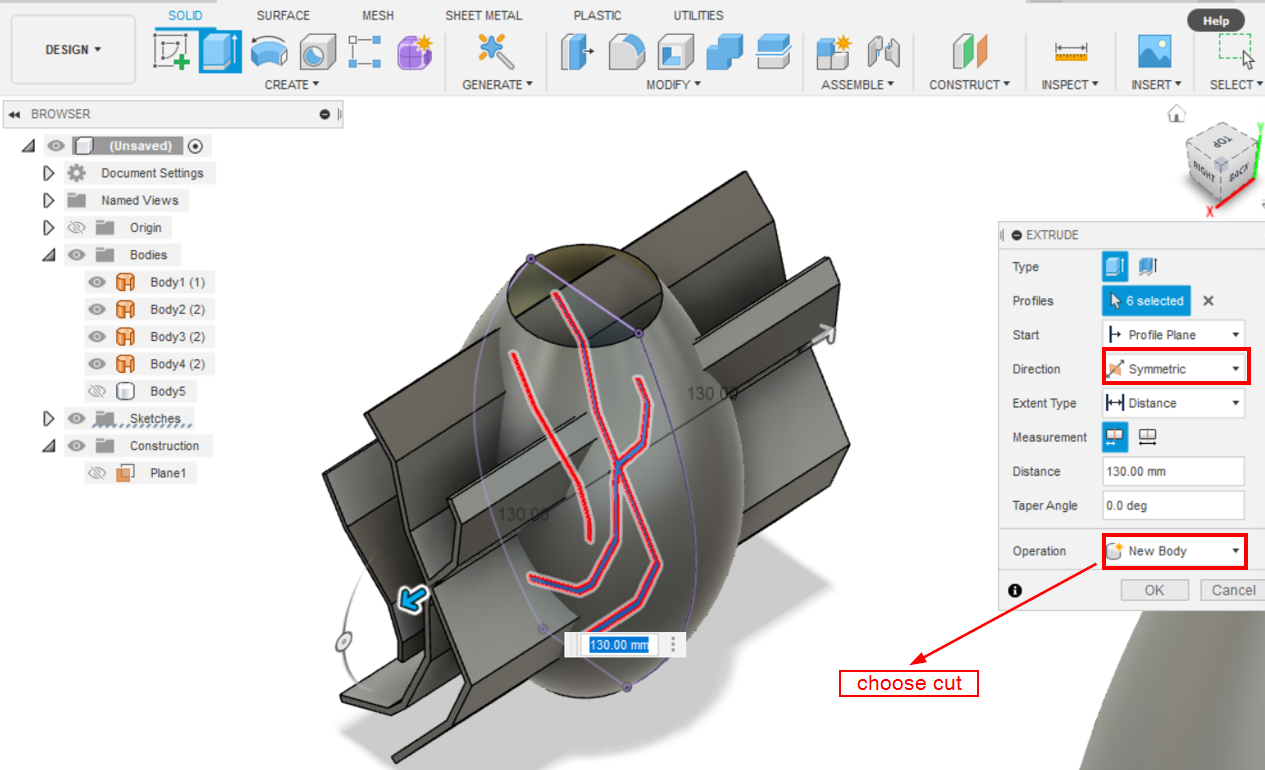
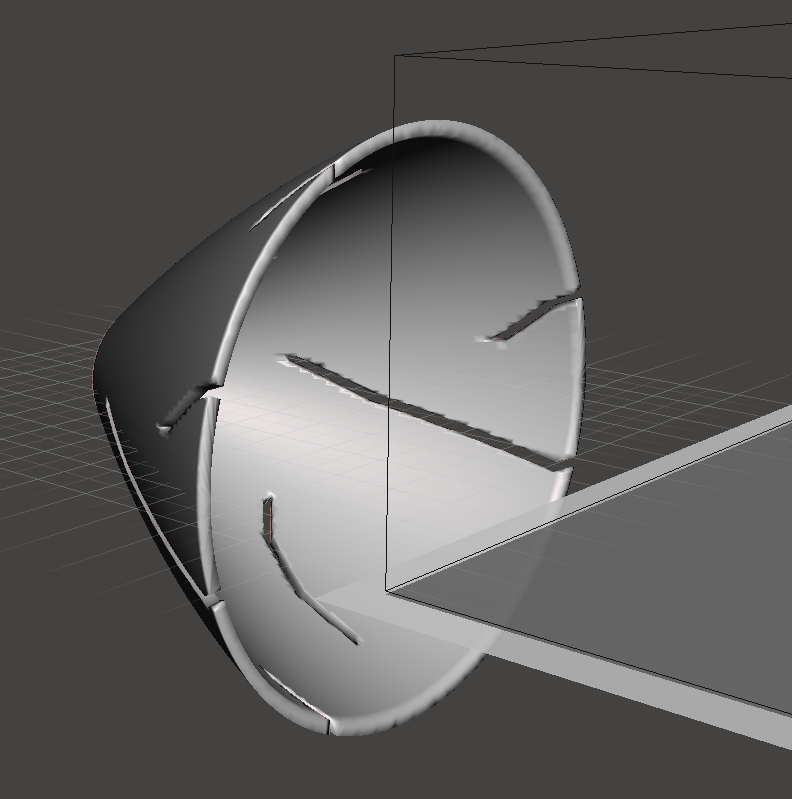
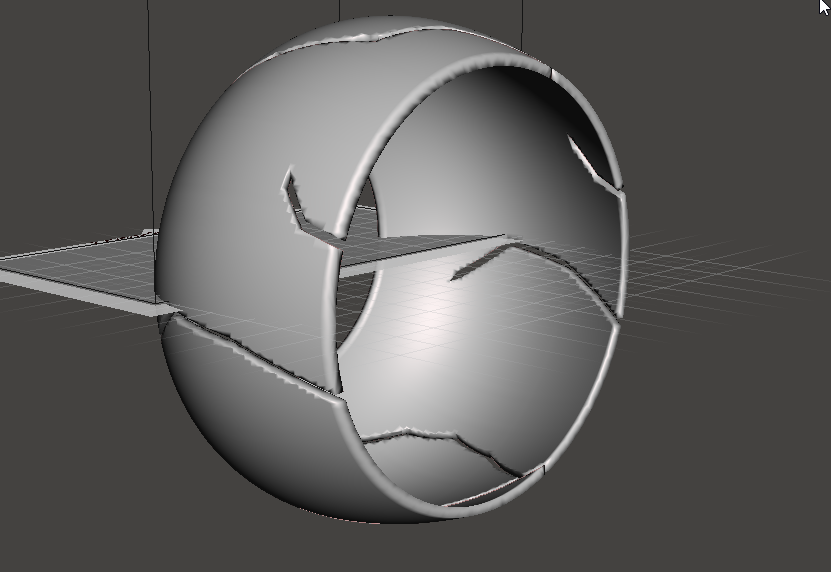
choose create sketcht then choose line and create , contro; spline and draw the shape of the vase as an elevatin for only half of it and then revolve it to create the shape of the vase

then it is time to crete the cracks , goo to the skectch , elevation view draw the cracks that you want and then extrude and make them pass the vase and then choose cut , to cut the shape of that you just drew from the main object.
This is how the final result looks like.
We wanted the size of the vase to be realistic, around 30*40 cm, but the problem that we faced is that the 3D printing machine’s max printing size is 20 by 20 by 20. so we decided to slice our vase into two parts and then stick the two parts together.
But we found out that it will take more than 24 hours to print only one part and there was a risk that it might not print successfully because of the cracks, so we gave up on this option too.
Third attempt
Since we couldn’t do 3D printing and the using acrylic and the mold wasn’t successful either, we decided to for a different approach, which is making the polygonal vase (not smooth), and we will use paper which is the most suitable because we will be able to fold it to create the shape that we want.
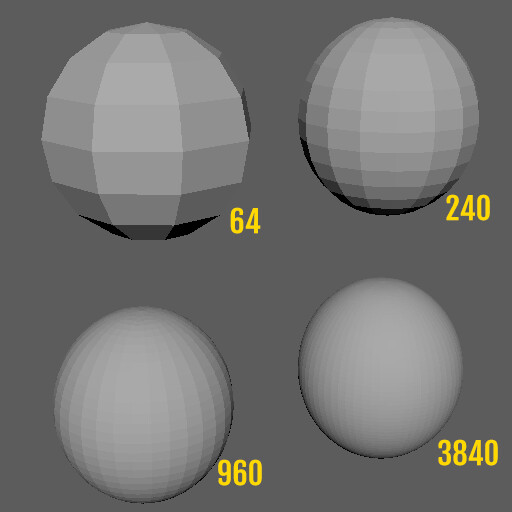
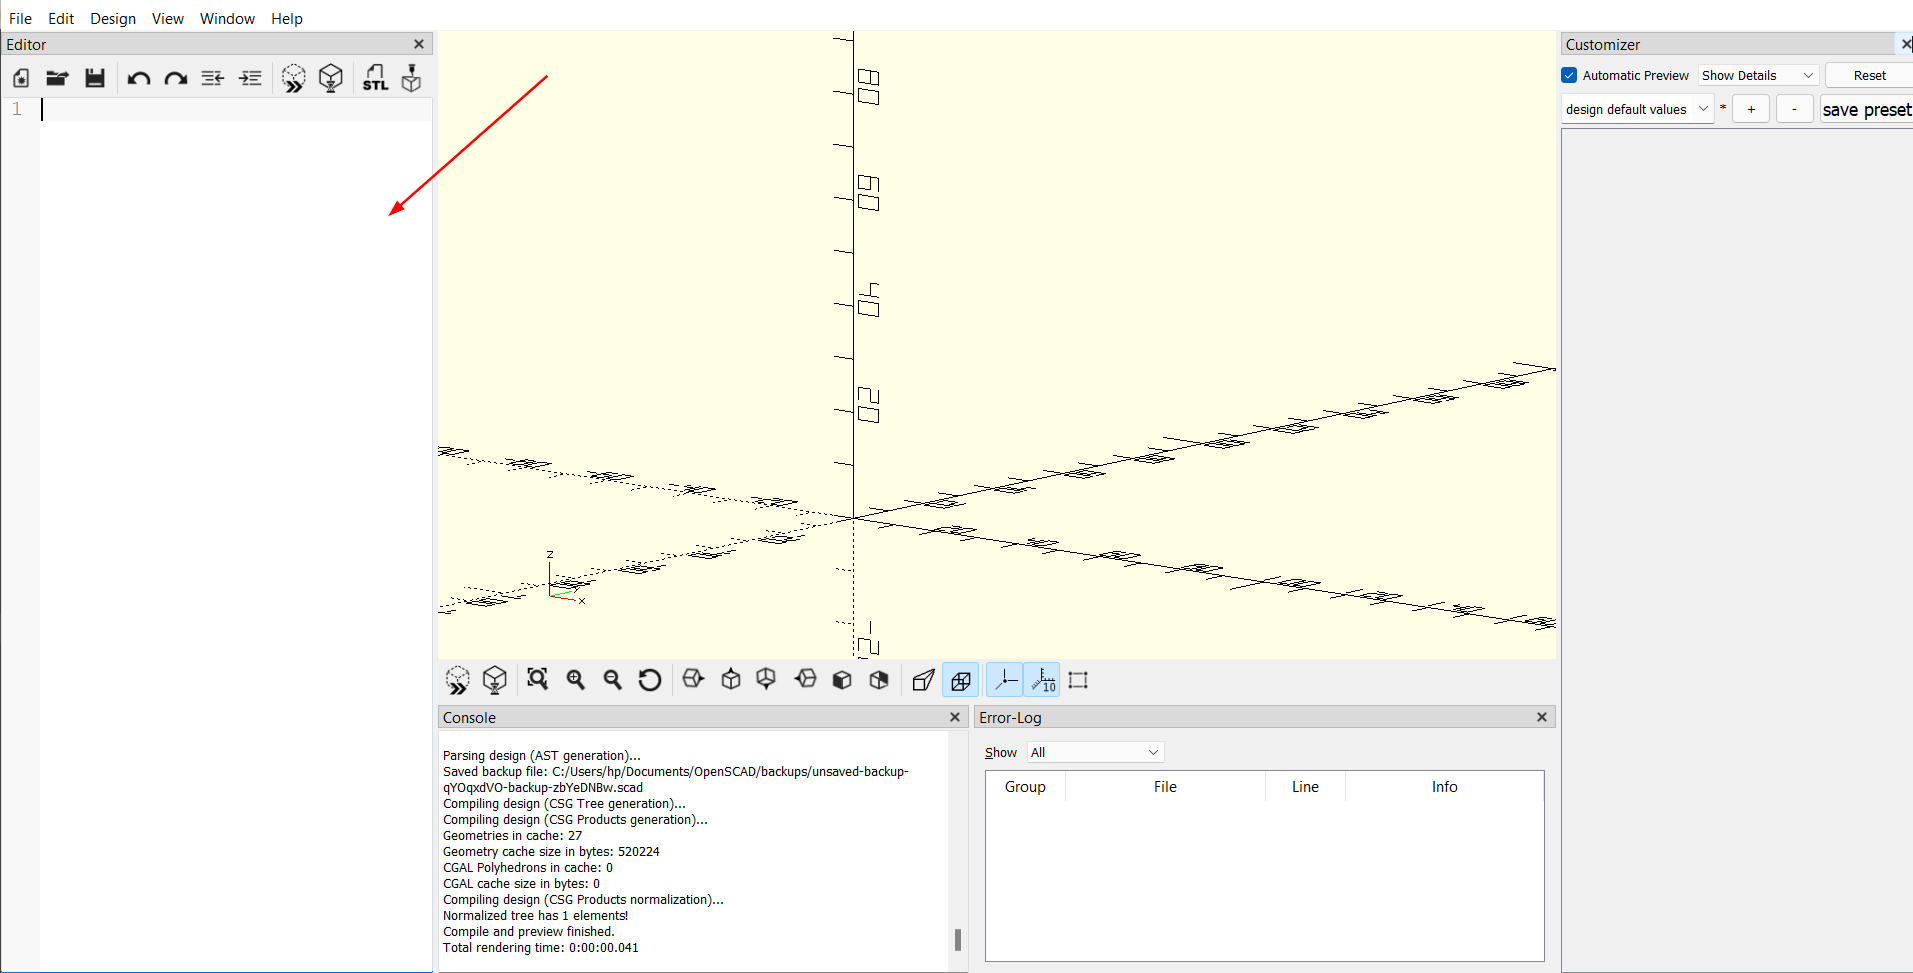
To create a polygonal vase, I started by downloading SCAD software. This is the main page and I found it has an interesting concept, so you write a code and give the software information and then according to this information it will create the shape for you. for example, you you want to create a cylinder so you write cylinder and you writhe the hight and the radius and so on.
This is the Shape that we created, similar to the one that we wanted to create before.
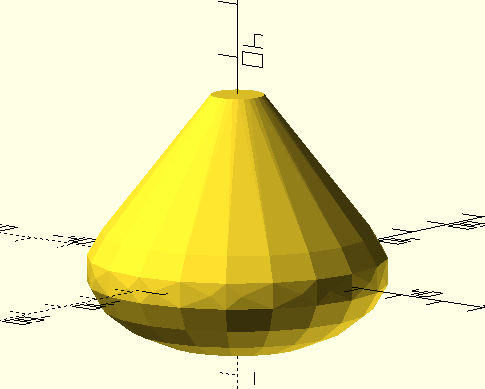
The code that we wrote is attached below.
c_h=30;//[1:1:100]
sphere_h = 20;//[1:1:100]
c_r1 = 40;//[1:1:100]

hull(){
resize(newsize=[2*c_r1,2*c_r1,sphere_h])
sphere($fn=20,20);
cylinder(c_h,c_r1,5);
}
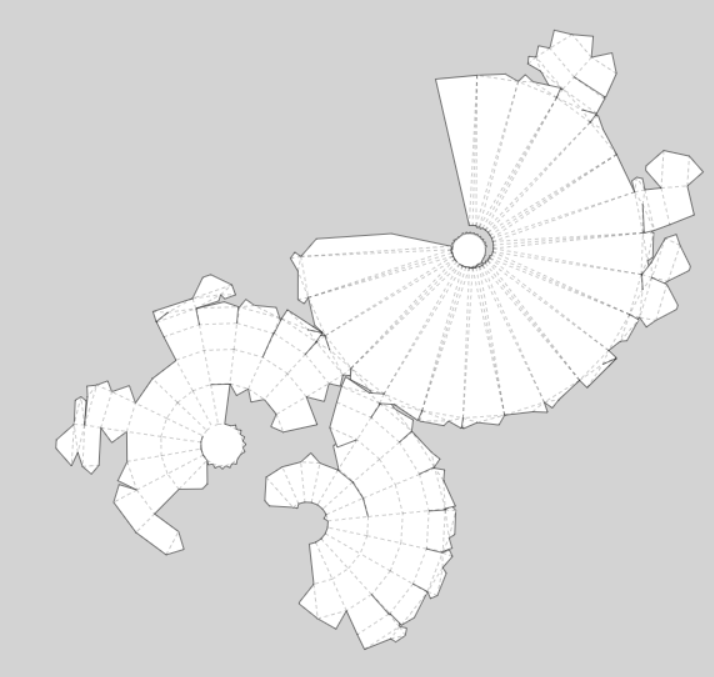
papercraft maker website (https://papercraft-maker.com/)
The pieces tuned out really weird and they were difficult to stick together.
Final attempt
Because the last shape was difficult to stick the pieces together so we tried to simplify the vase even more, and this is the shape that we came up with.
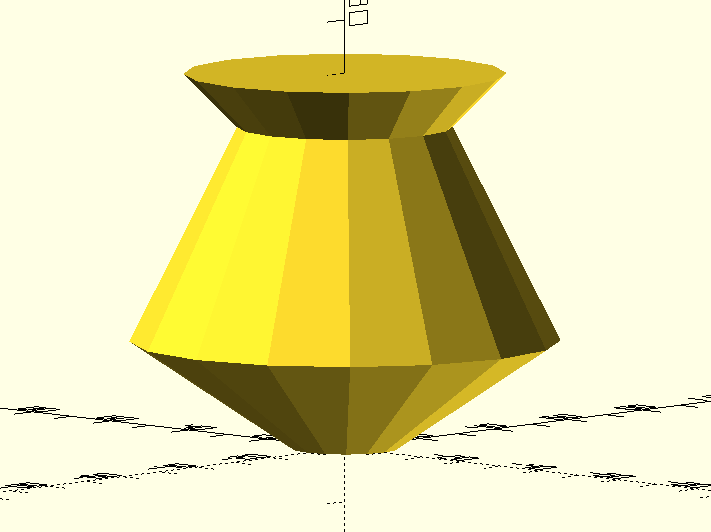
The code is available below if you want to use it.
c_h1=20;//[1:1:100]
c_h2=40;//[1:1:100]
c_h3=10;//[1:1:100]

c_r1 = 10;//[1:1:100]
c_r2 = 40;//[1:1:100]
c_r3 = 20;//[1:1:100]
c_r4 = 30;//[1:1:100]
d= 16;//[4:1:32]
//resize(newsize=[2*c_r1,2*c_r1,sphere_h])
//sphere($fn=16,20);

cylinder($fn=d,c_h1,c_r1,c_r2);

translate([0,0,c_h1])
cylinder($fn=d,c_h2,c_r2,c_r3);

translate([0,0,c_h1+c_h2])
cylinder($fn=d,c_h3,c_r3,c_r4);
And now it was time to see what it will look like in the papercraft maker.
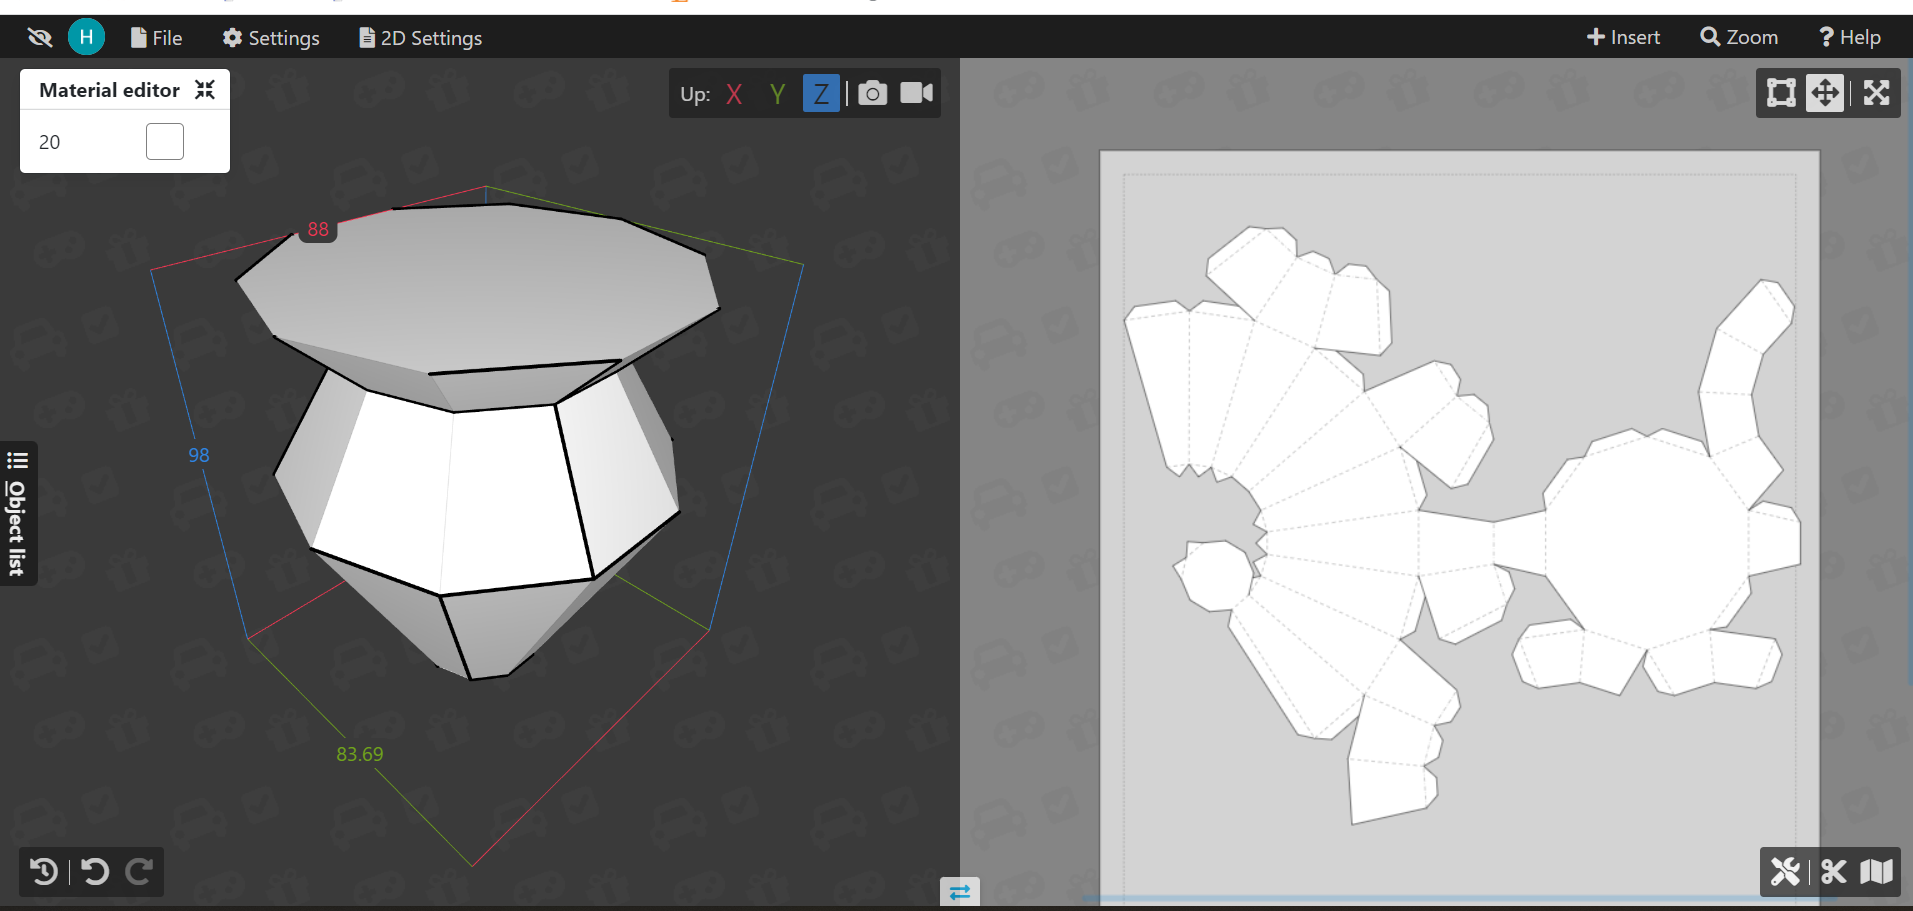
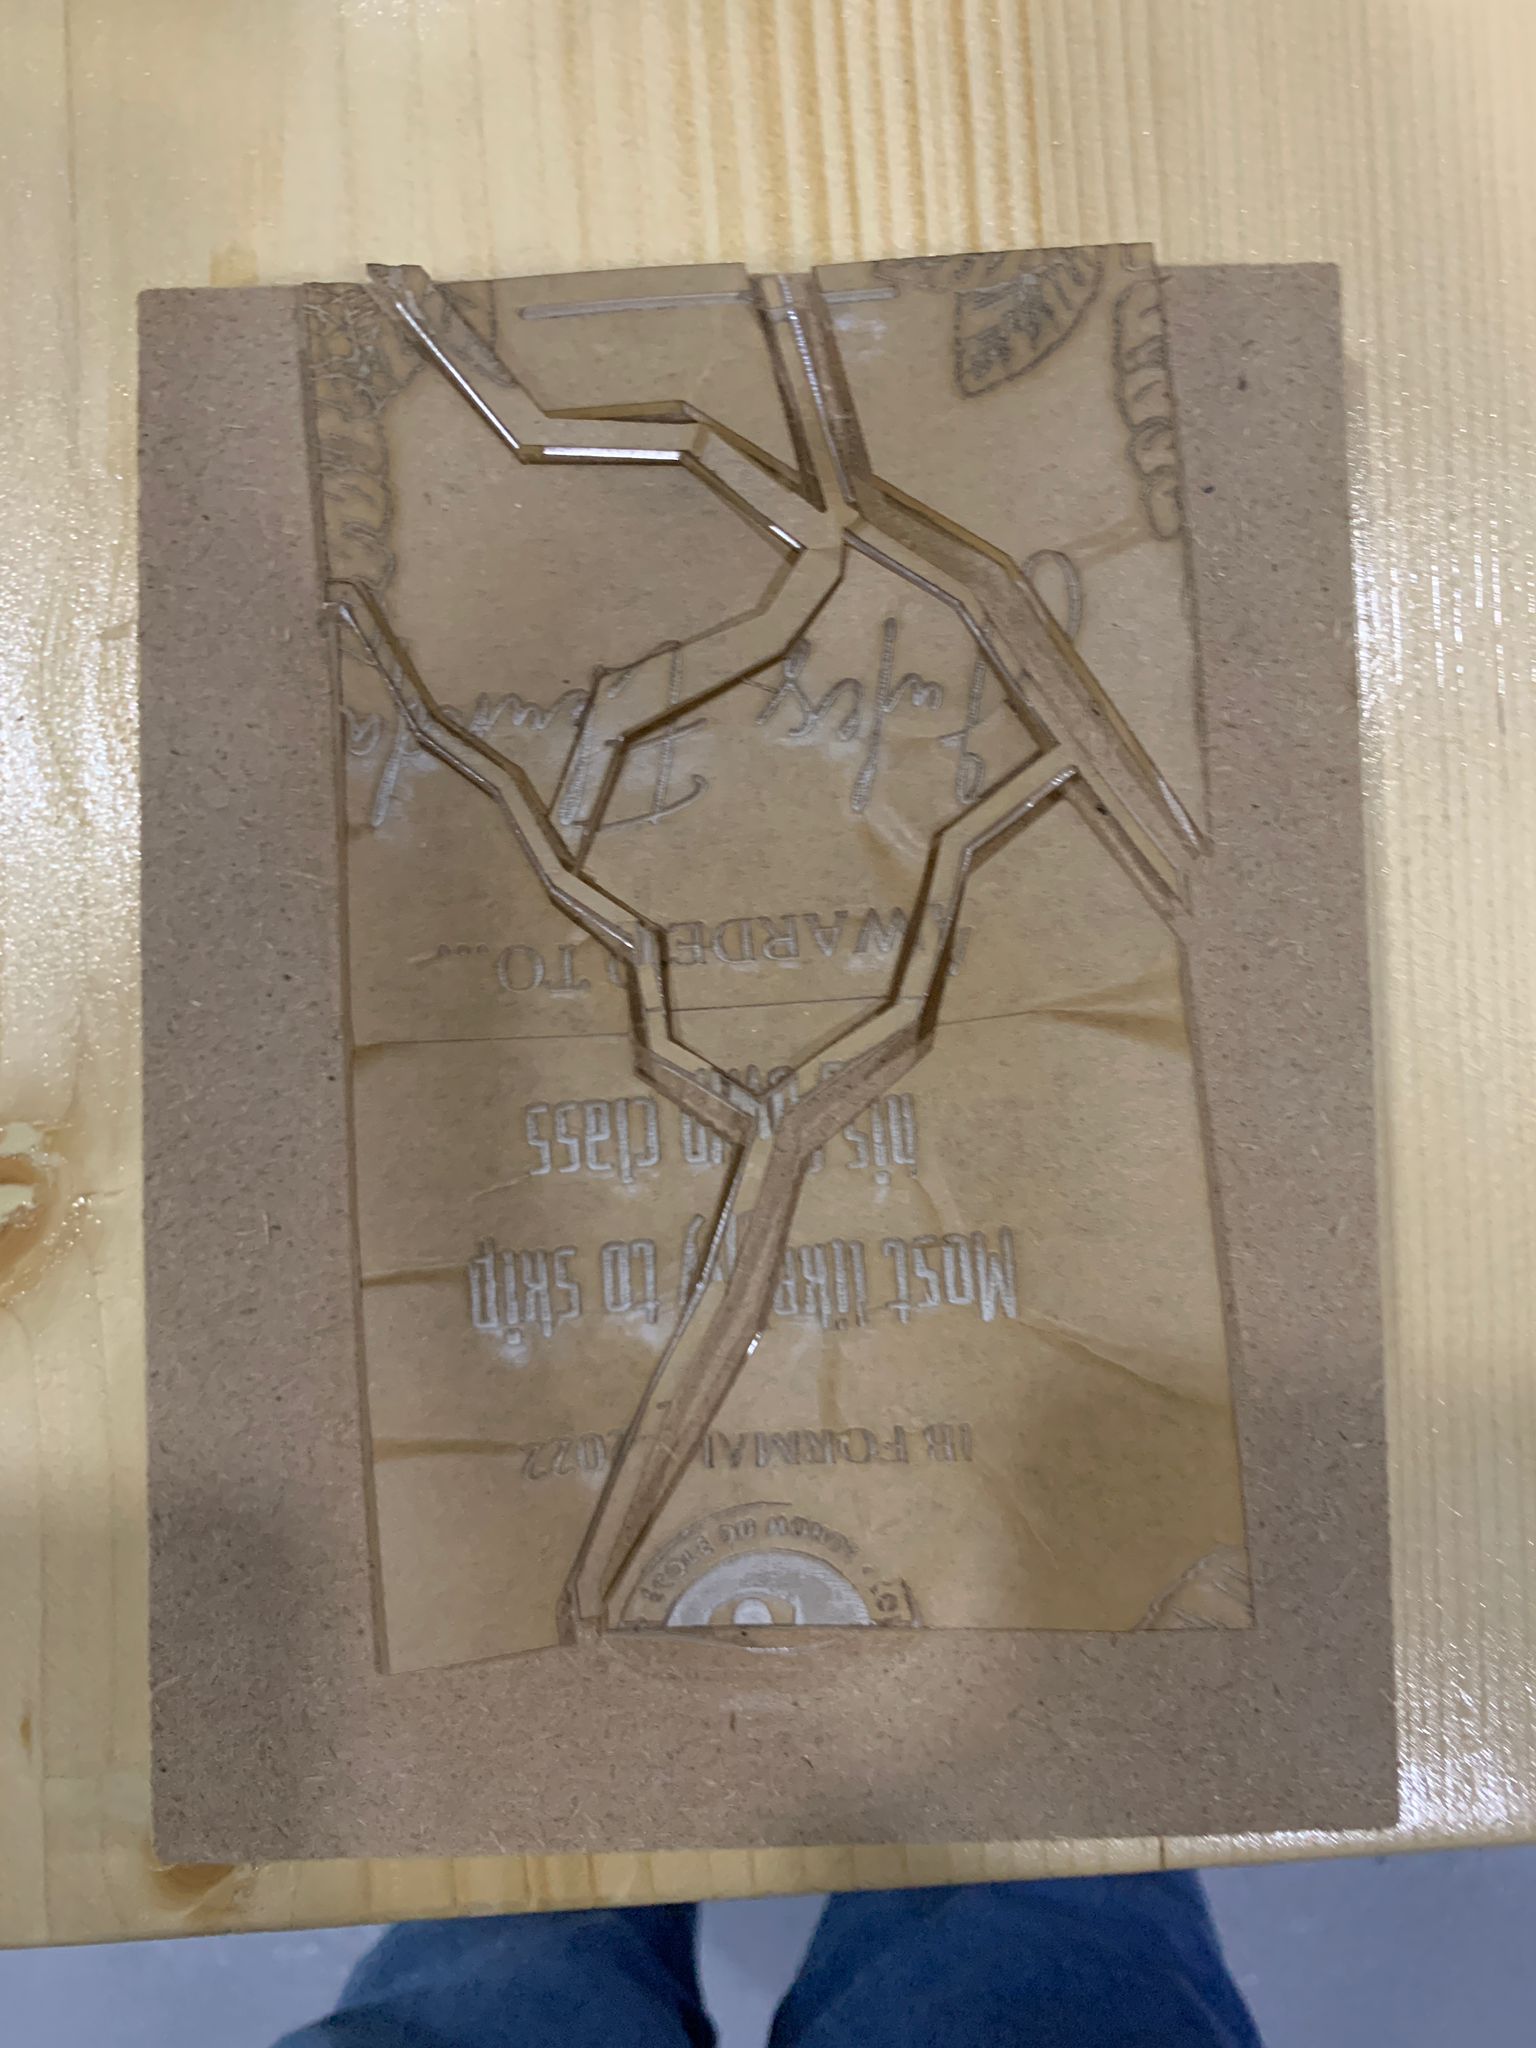
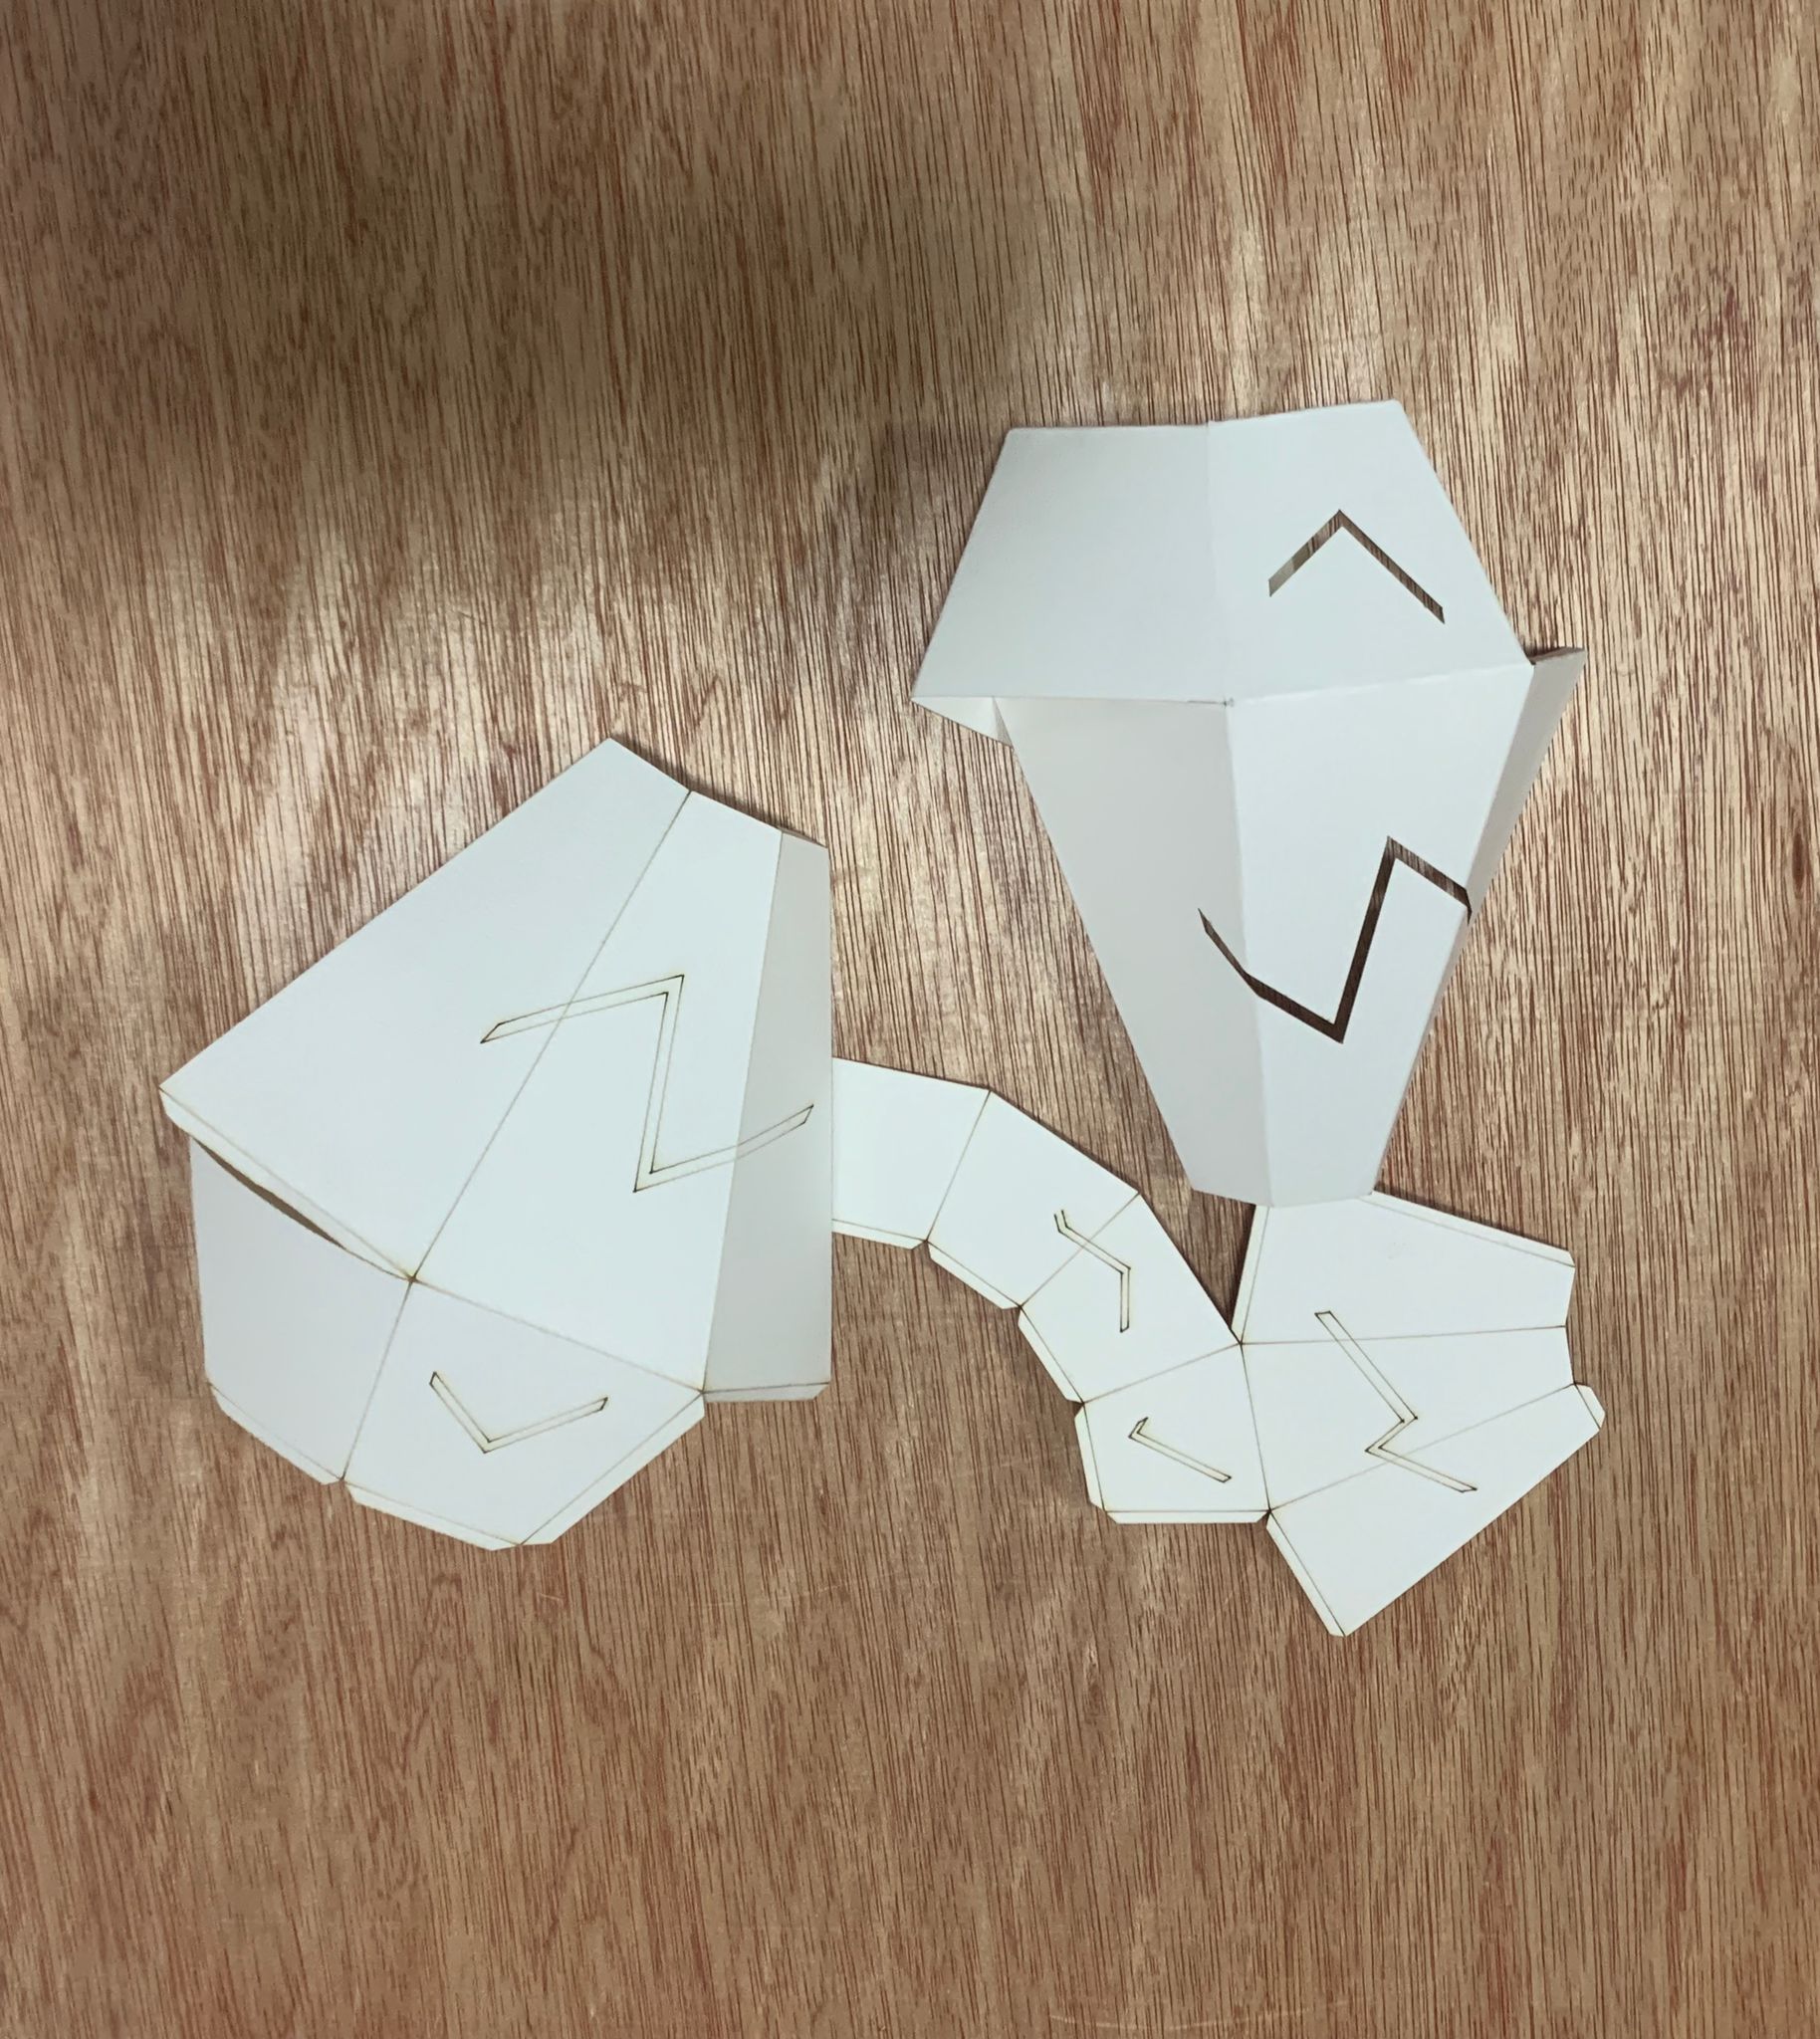
This is how the prices were sectioned which was perfect, now we can move and cut it using the laser cutting machine.
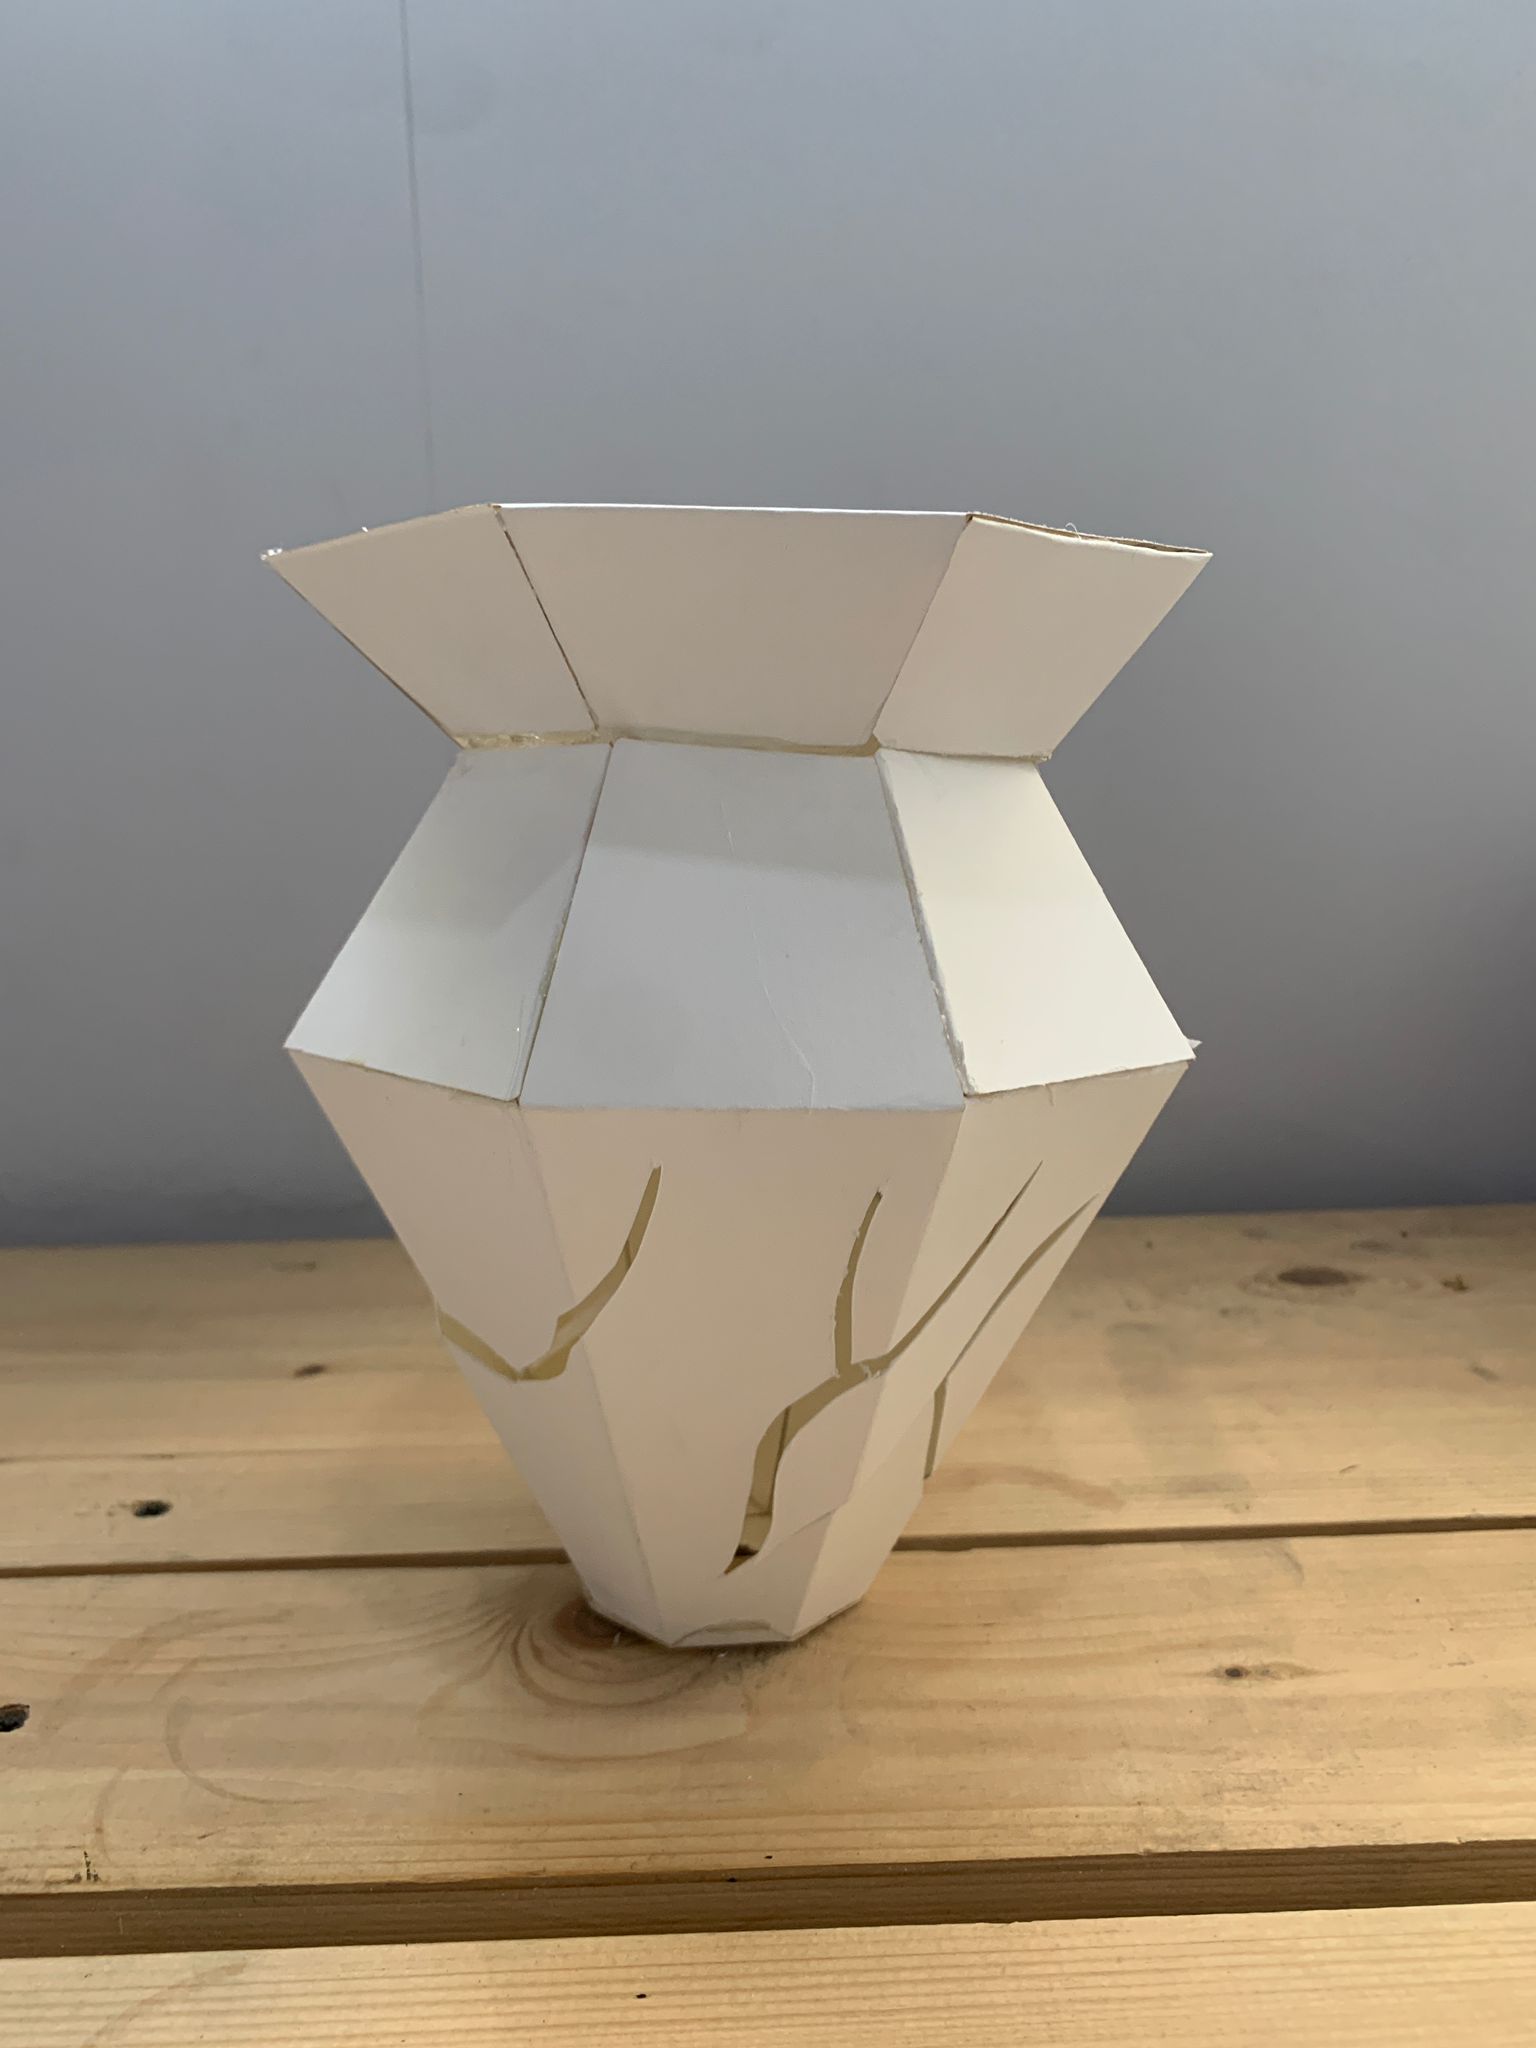
And this how the vase looks like after I stick them all togather.
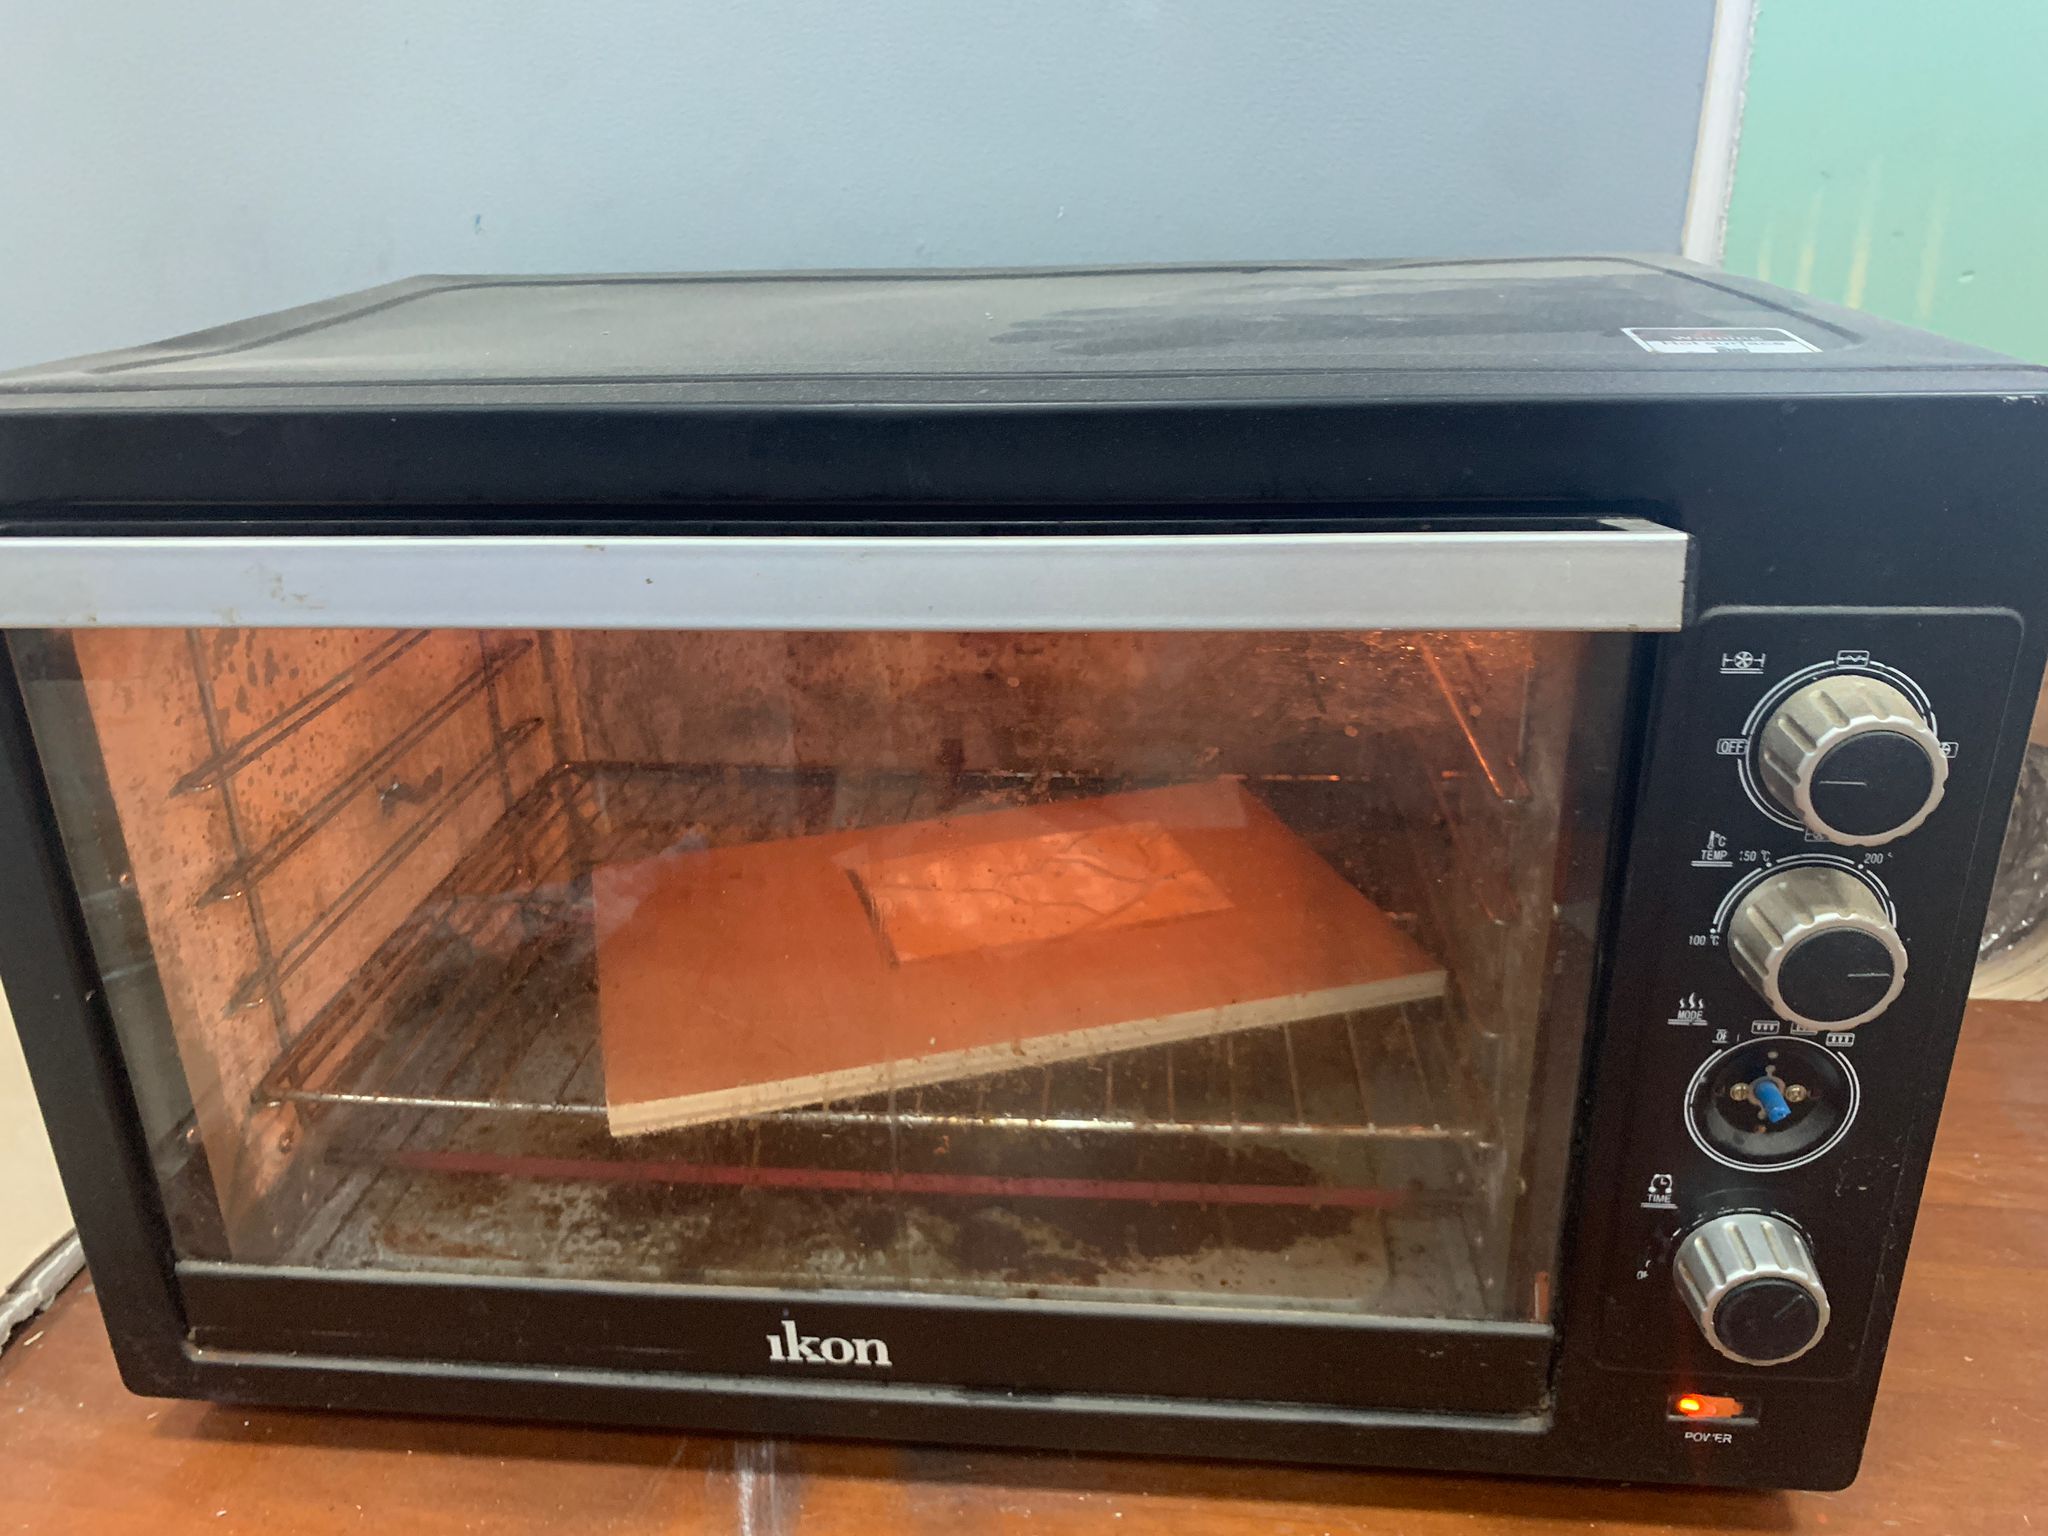
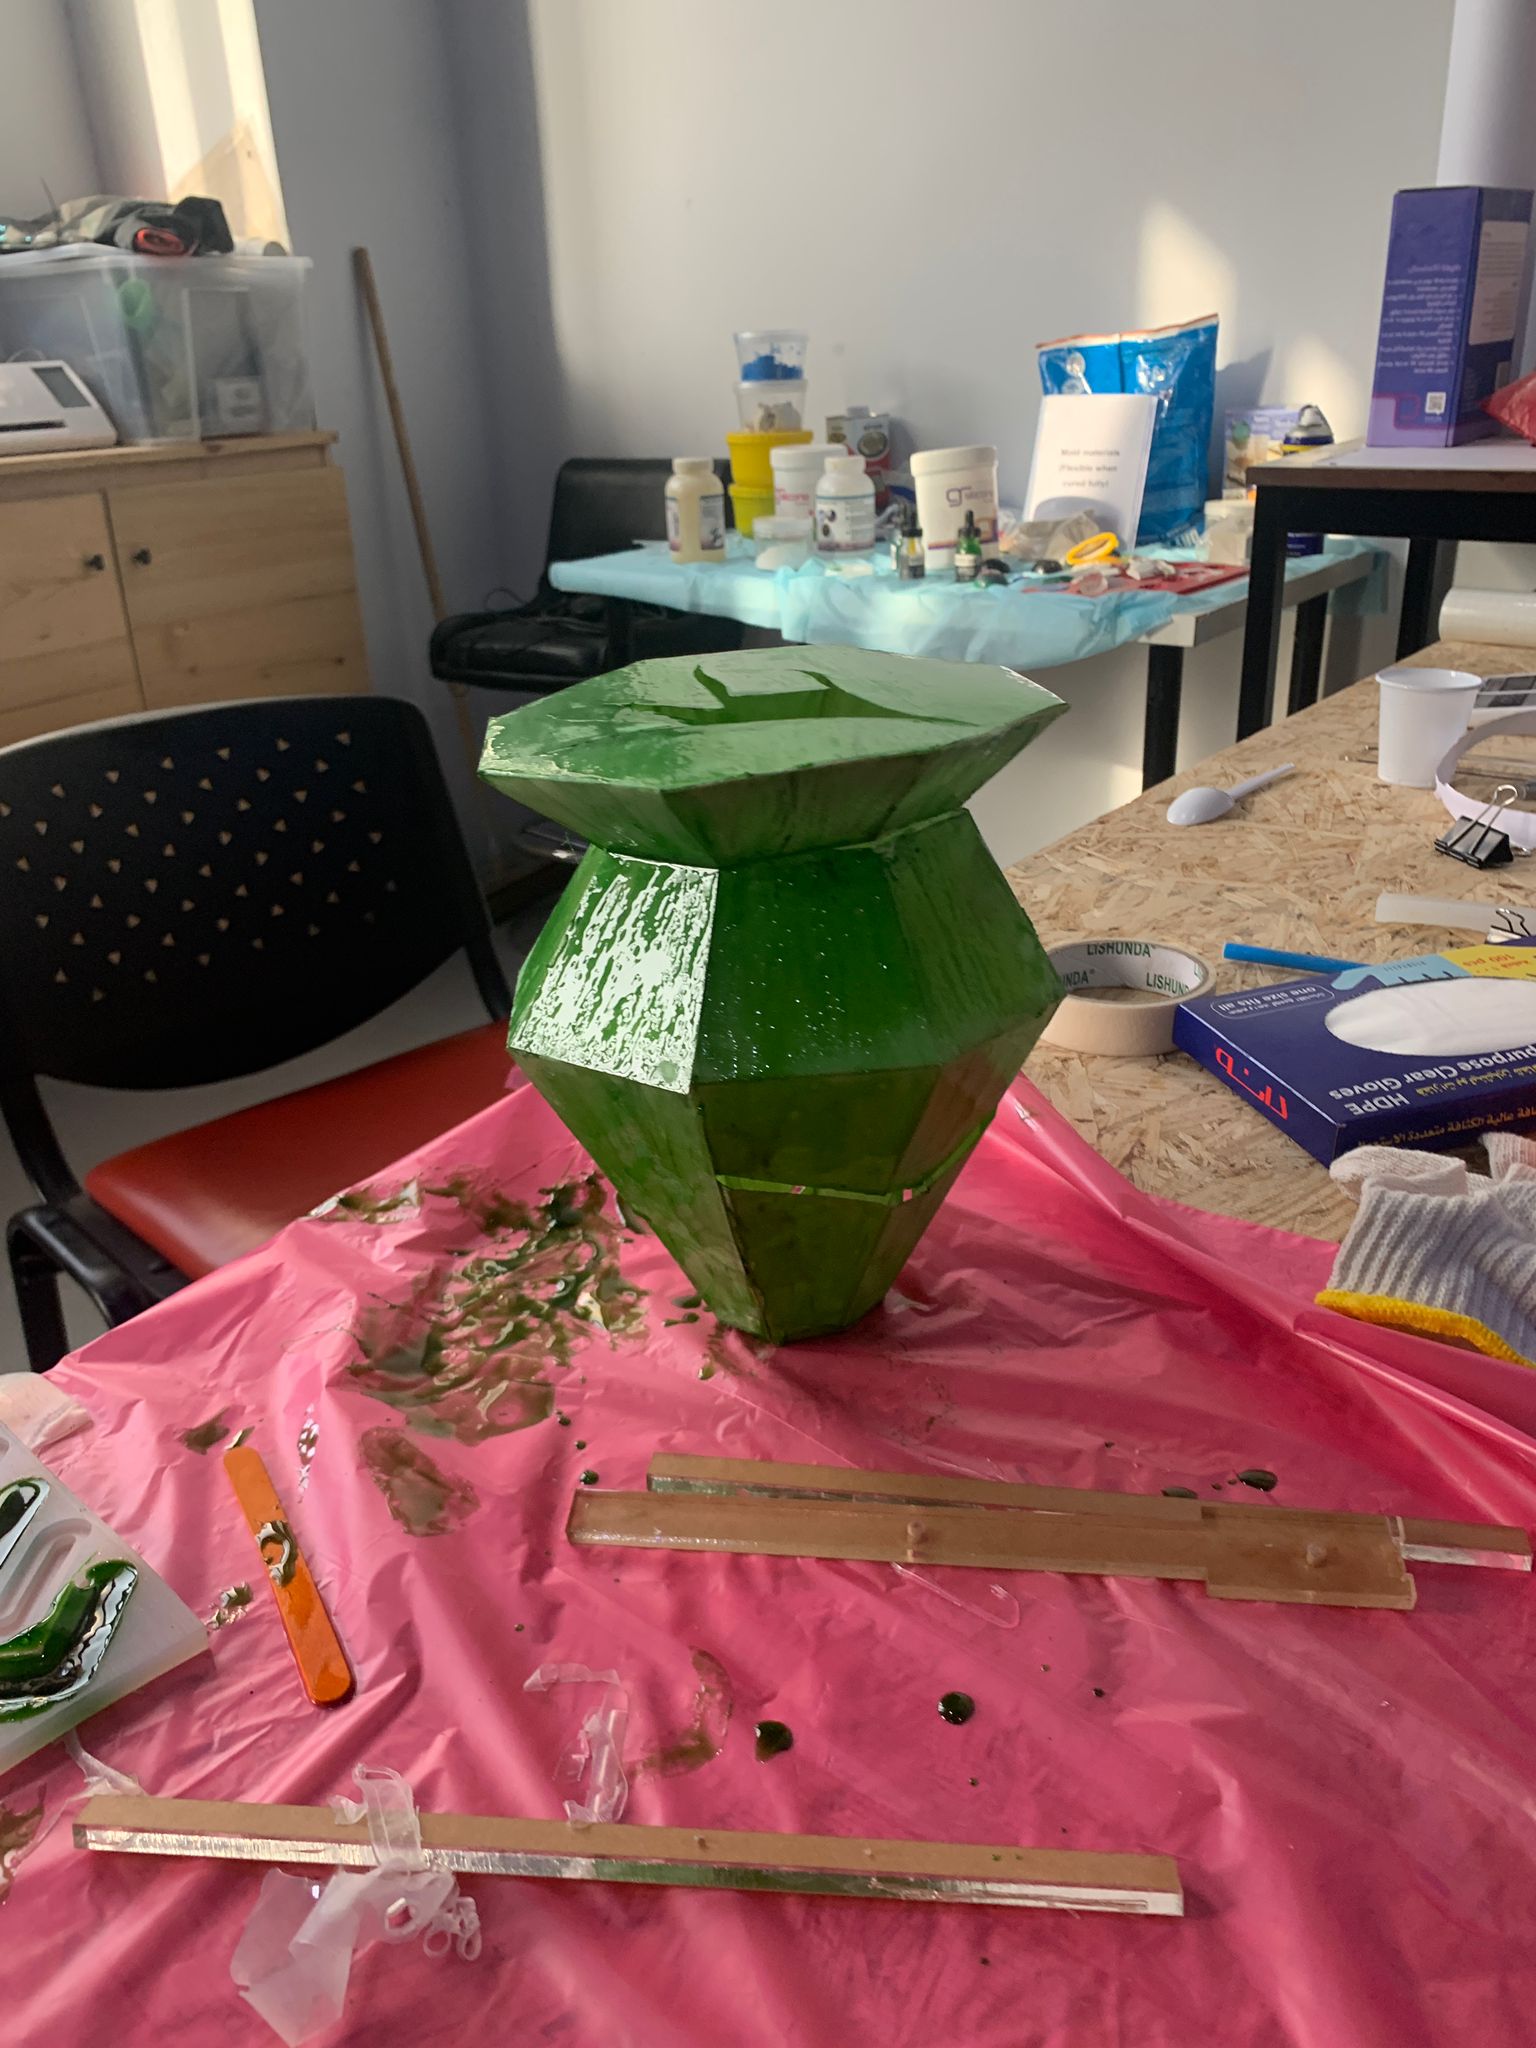
We wanted the vase to be a bit more hard and to have the look of glass and to do so we thought of coating it with resin, so I mix the resin and the hardener according to the construction available on the box and I added some color to it and I coat it and this How it looked like.
Base
After we were done with the main object it was to create the base that we will put the vase on. and since our vase consists of a lot of projected parts (explained in the image below), we decided that the base will follow the same concept, so we will have our cantilever base that will give the impression that the vase is floating and it is the main object and people don’t get distracted by a huge box.
the base has two parts, the box itself which has the electronics inserted inside it, and the top part which is a square with a hollow in the middle that the LED lights will pass from it.
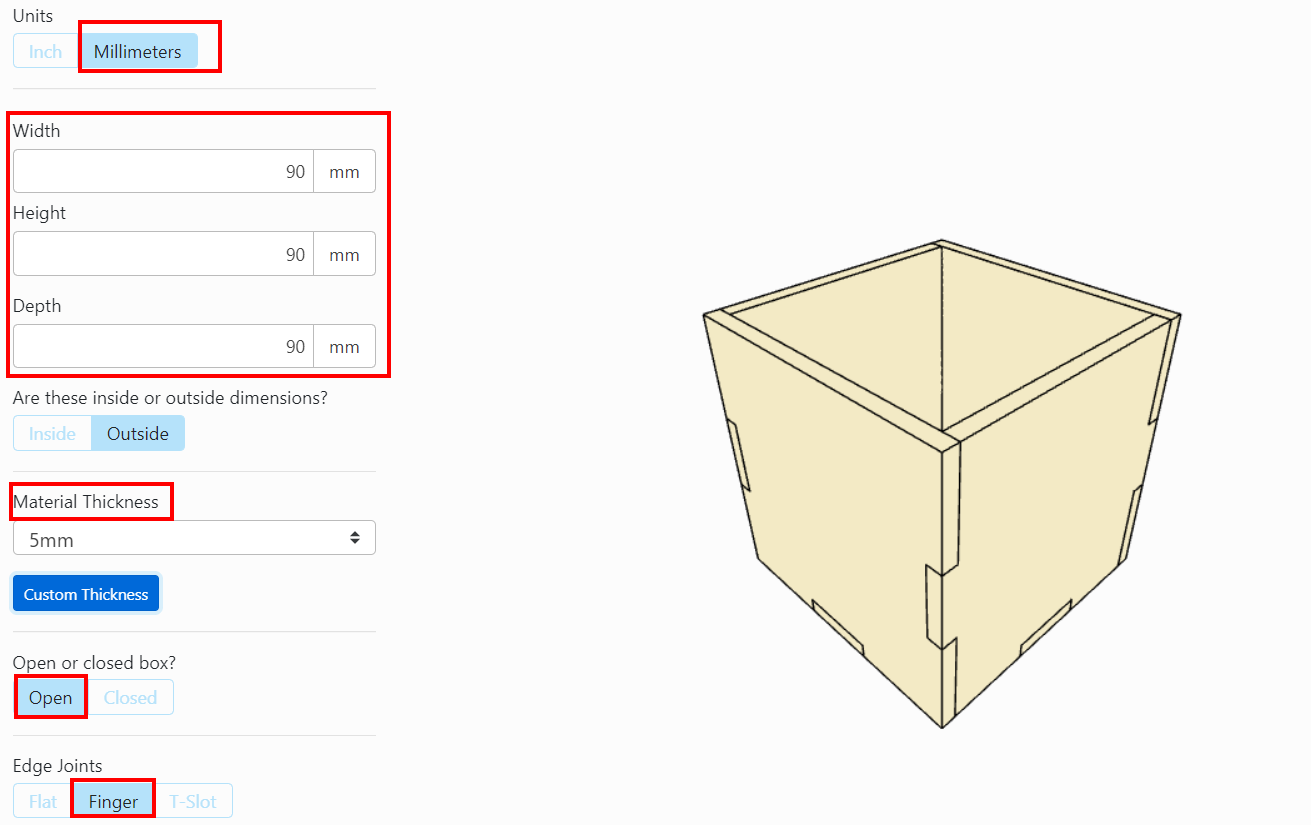
for the first part, I used makercase website which was very helpful and time-saving.
It really simple you just write the dimensions the things of the material you have, if you want it to be fully closed or open and the joints type that you want and I chose finger joints.
and then we laser cut it and join the pieces together and stick the top part to it with glue.

programing
Mohammed was responsiple for the programing part Mohammed’s website