5. 3D printing and scanning
This week I learned about 3D printing and scanning and I did a test for my final project.
3D scaning
3D scanning is a process of analyzing an object from the real world, to collect all the data in order to recreate its shape and appearance, digitally. Thanks to this process, the object can become a 3D model, which could help you as a base for the 3D project you are about to develop, but it can also be useful to reconstruct, analyze, or simulate ideas.
We downloaded Qlone App to scan objects around us.
This video show the prosses of scanning.
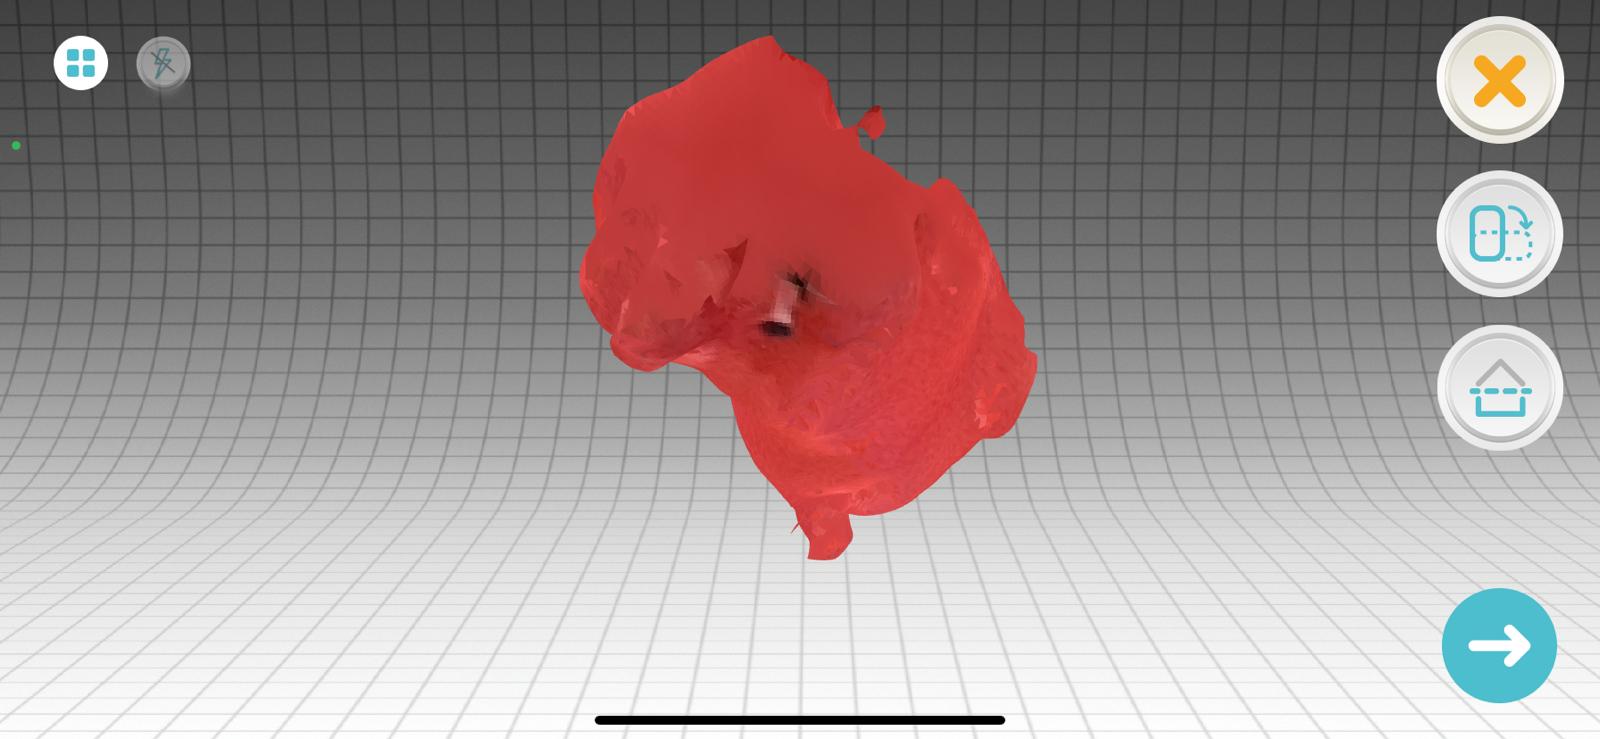
This was the end result which is so weird and doesn’t look like the object that I scanned.

so I decided to place the object of a chair and move around it, this will make sure that the object and the sheet don’t more and will allow me to get a better result .
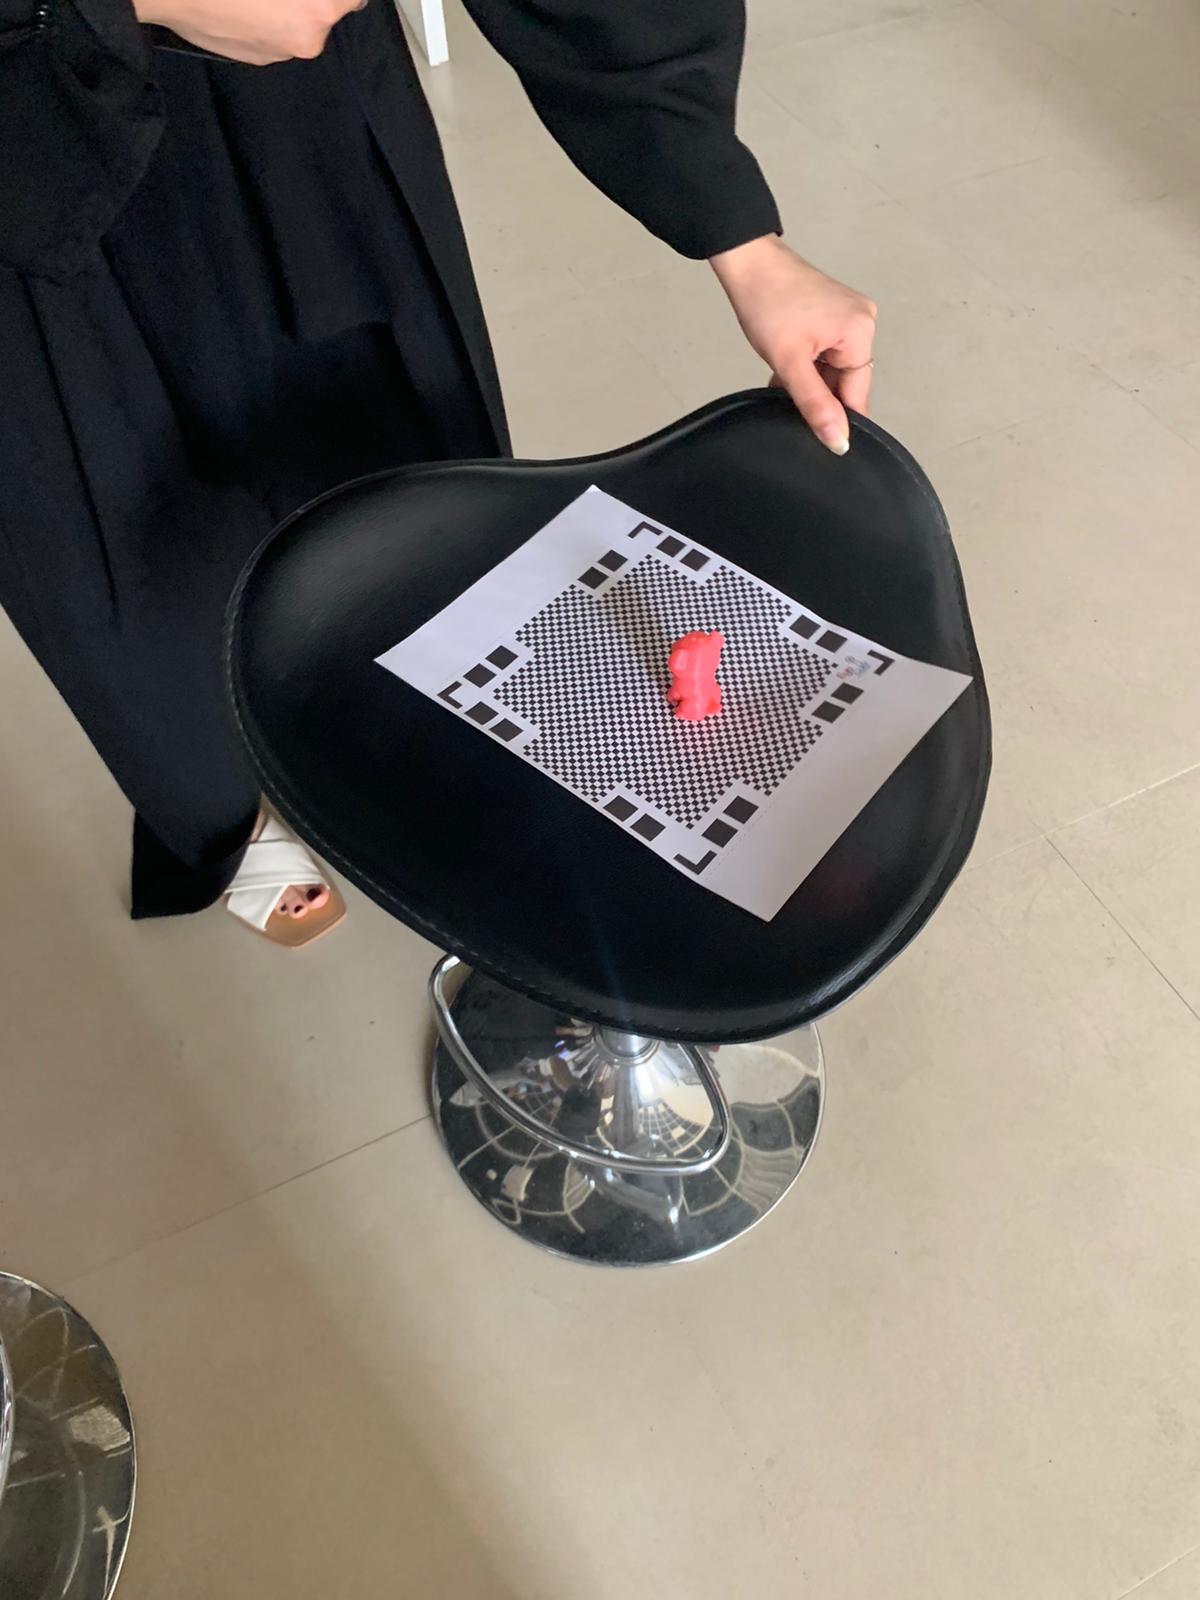
and this was the result that I got which looks better :)

Kinect
we also learned about the Kinect machine. basically, it can scan any object, and then we can bring the scanned object. and we did try to scan our classmate Zainab.
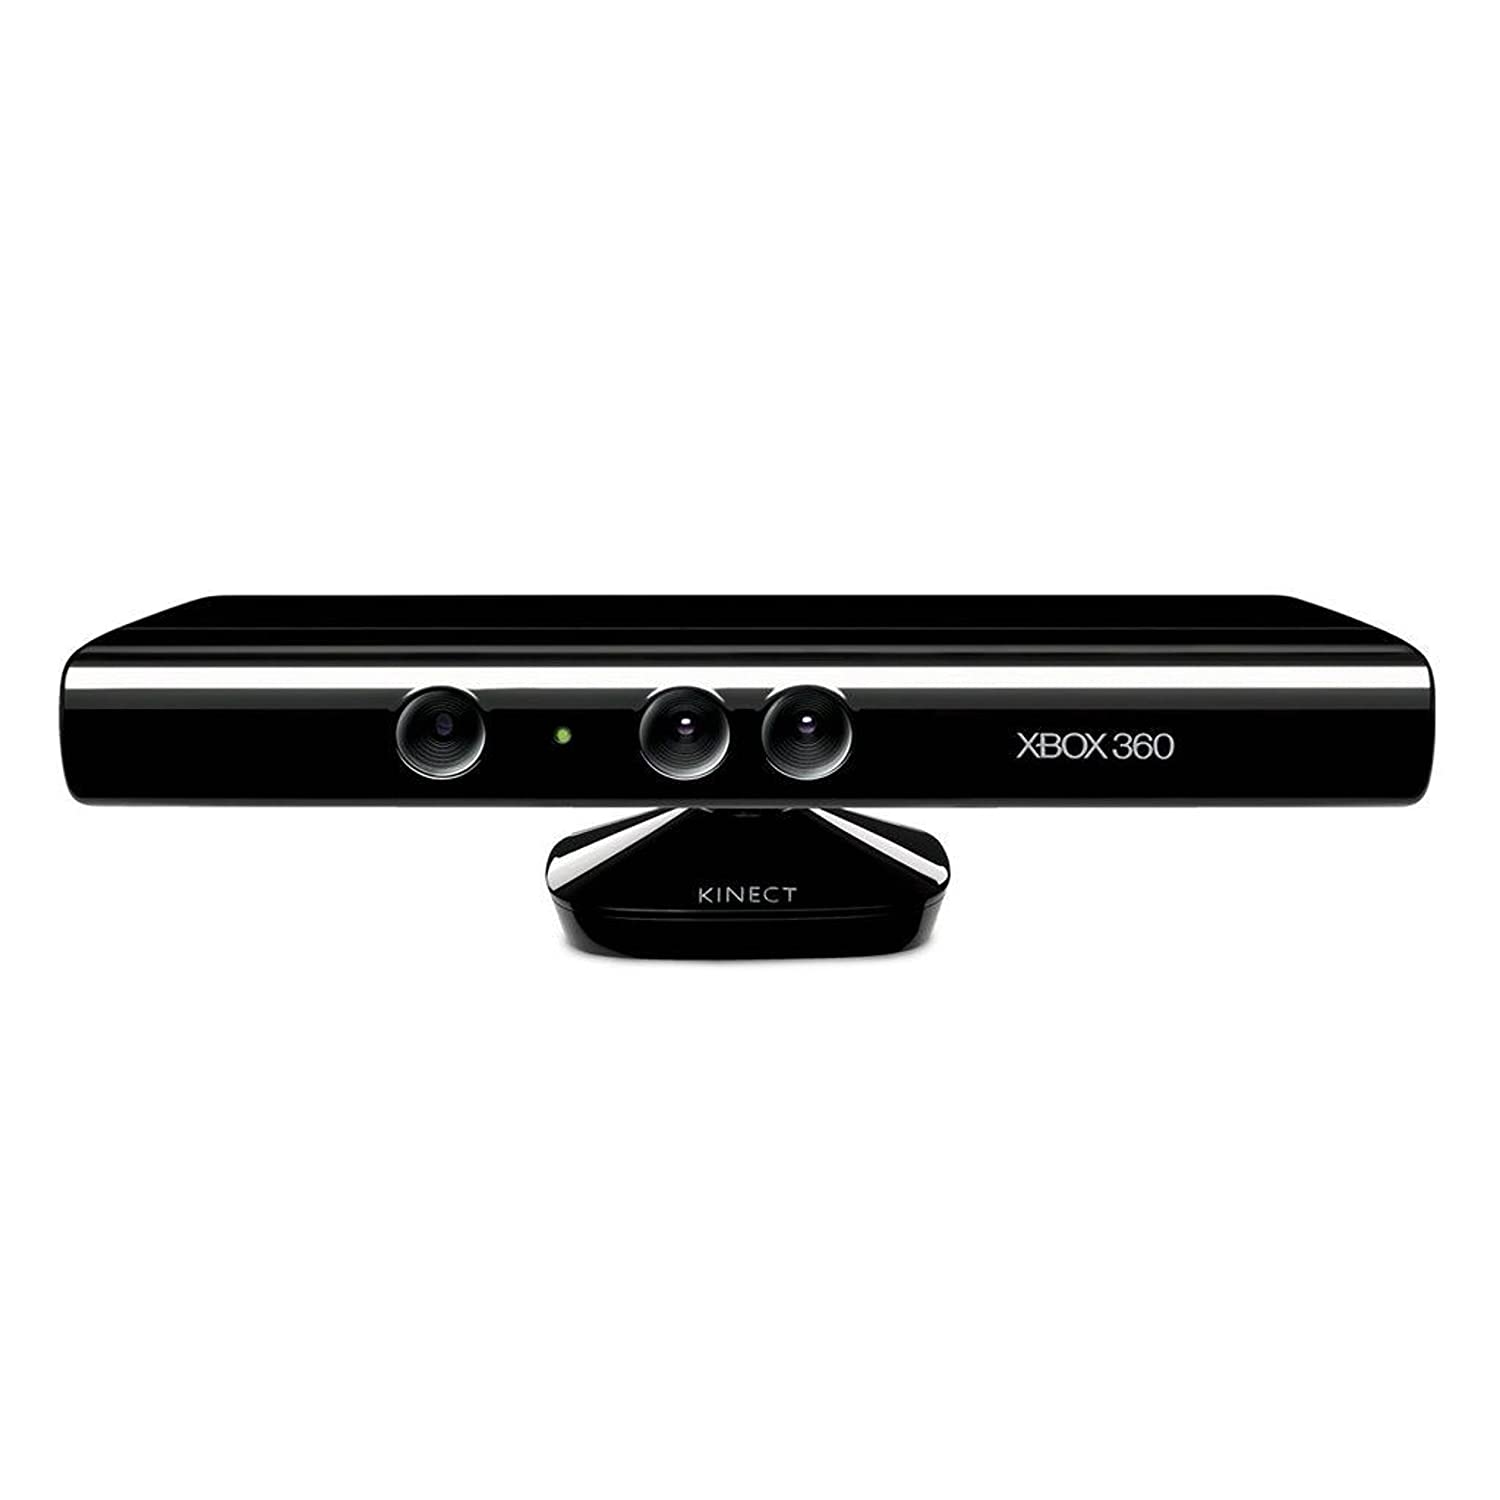
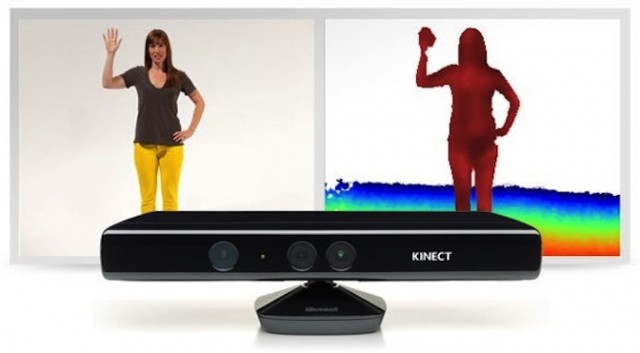
click here to read more about Kinect
3D printing
Group assignment
We start by learning about the 3D printing machine and we were divided into groups to do our first 3D printing of the week, Ayah did the documentation, you can check her website below.
Just a summary about the group assignment, we learned how we can use the Cura software, how to add support id the design needs and it shows how long the printing will take.
Group assignment result
Individual assignment
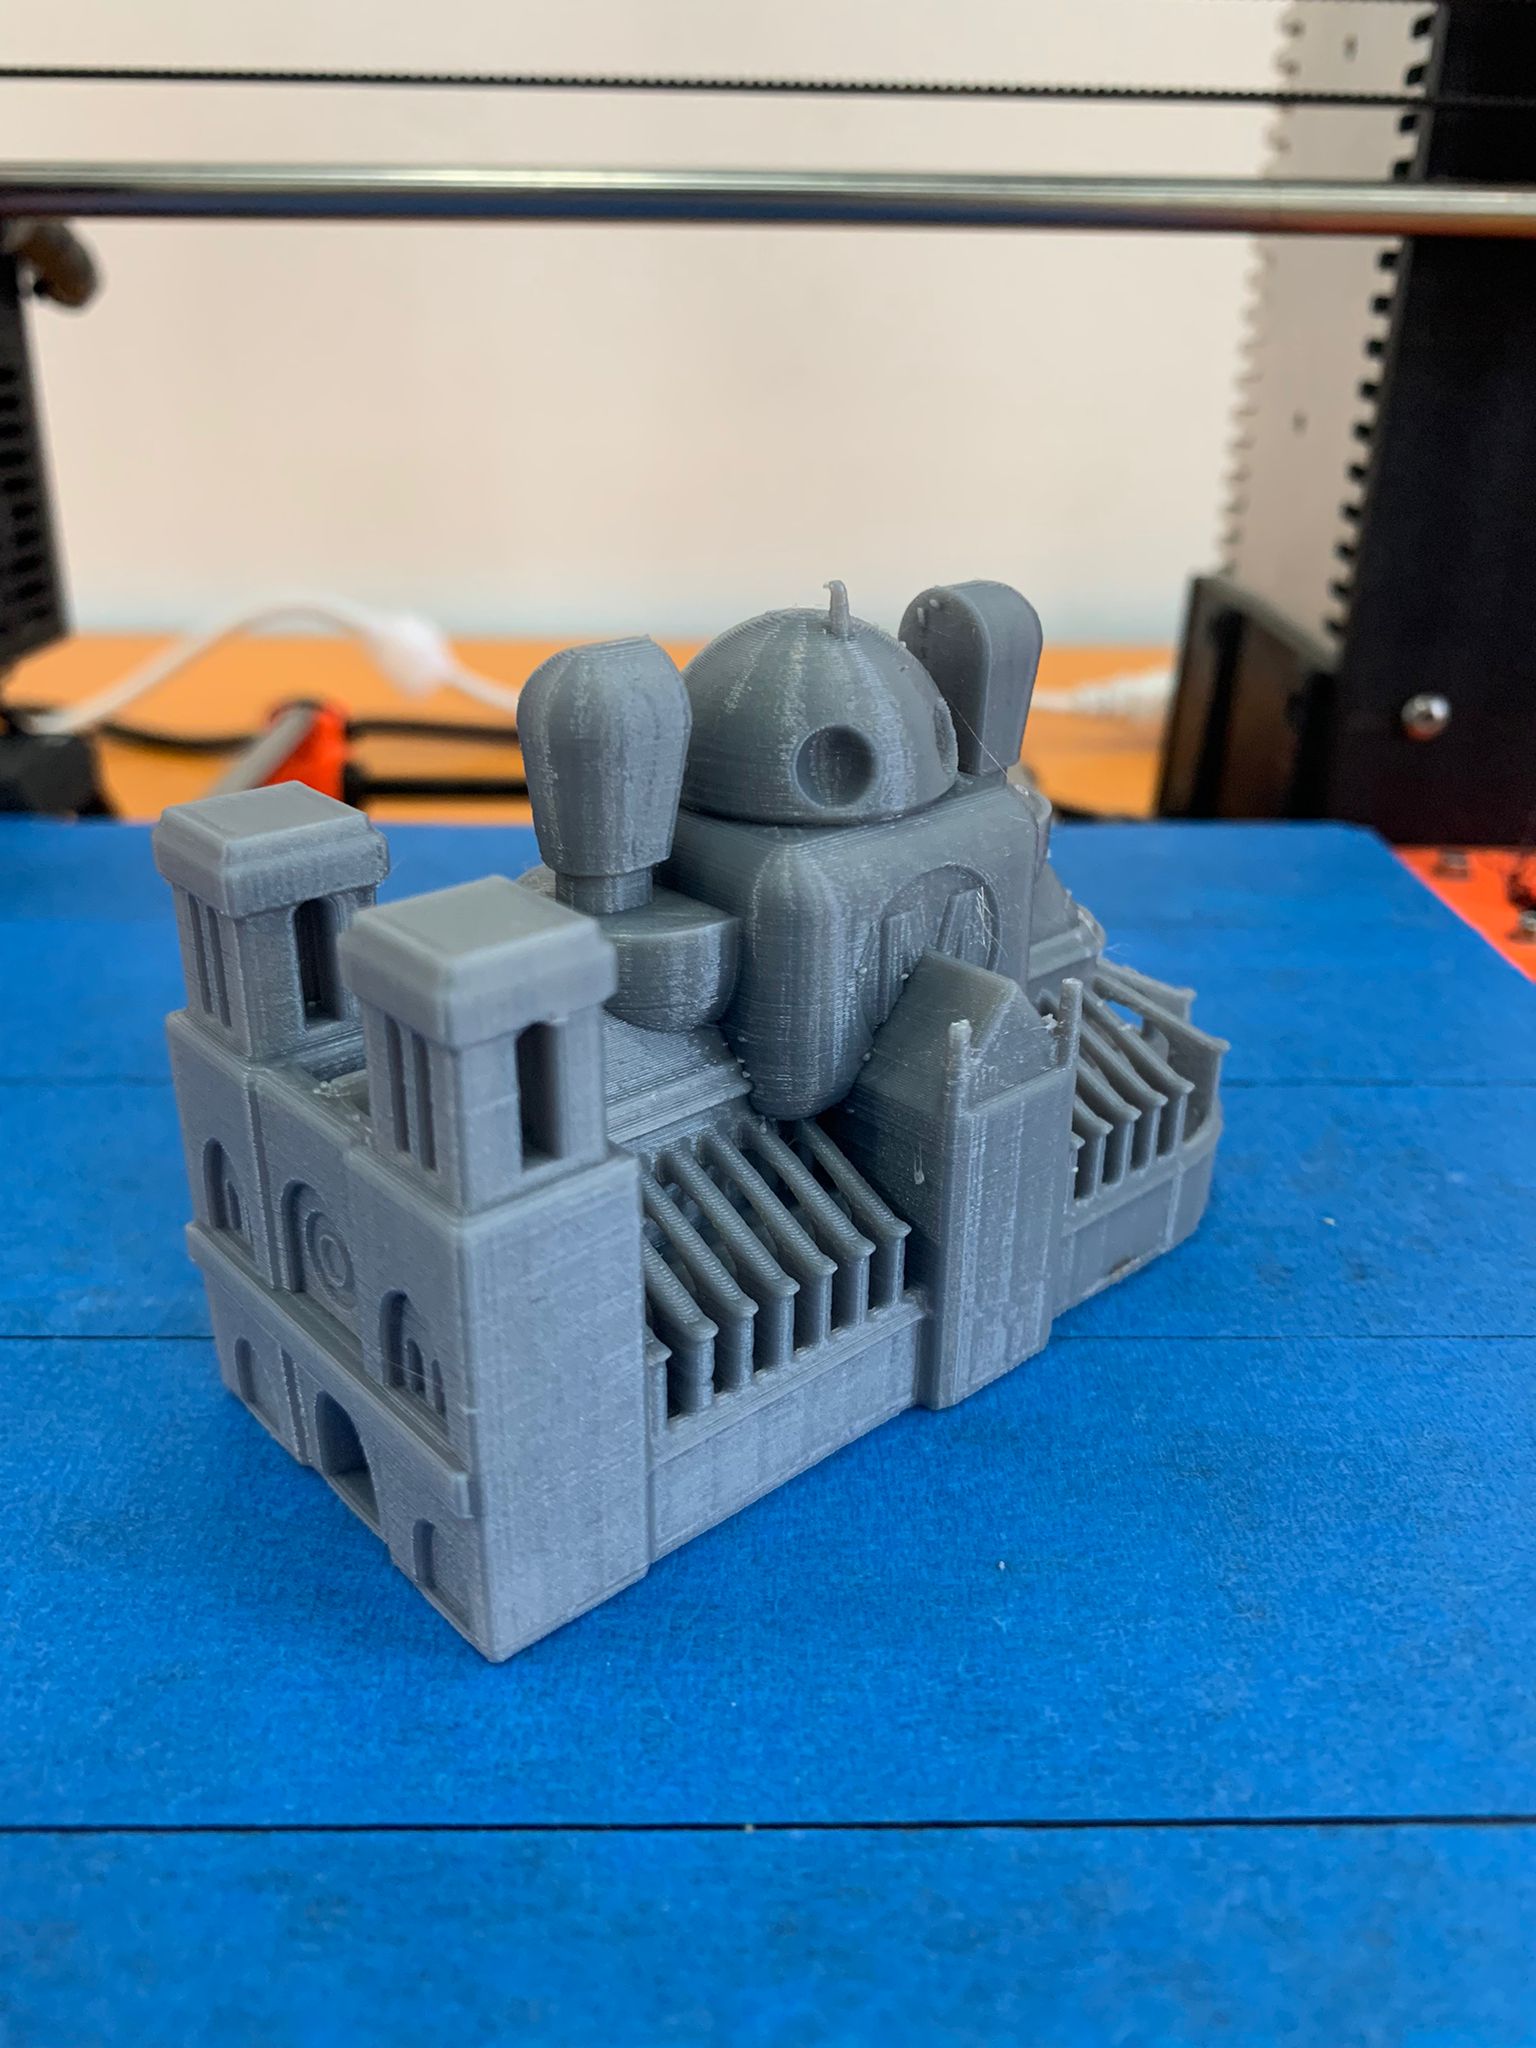
Since I have a clear idea now about what I want my final project to be I decided to benefit from this week’s assignment to have a test and see how my final project may look like and test the idea.
So I want to print an object that has cracks on it. I start making my first design using sketchUp. you can check out the steps below.
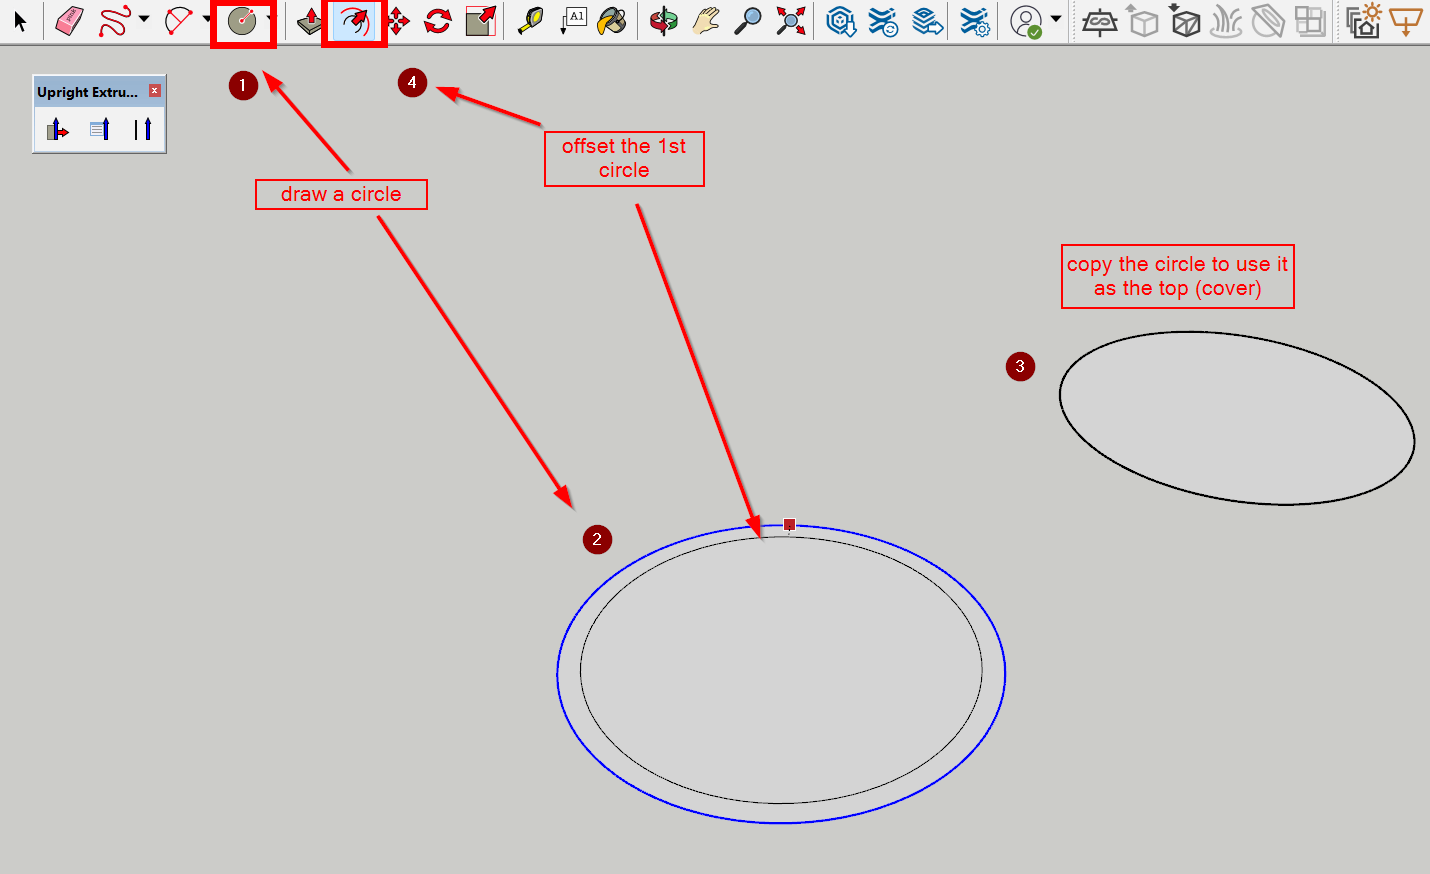
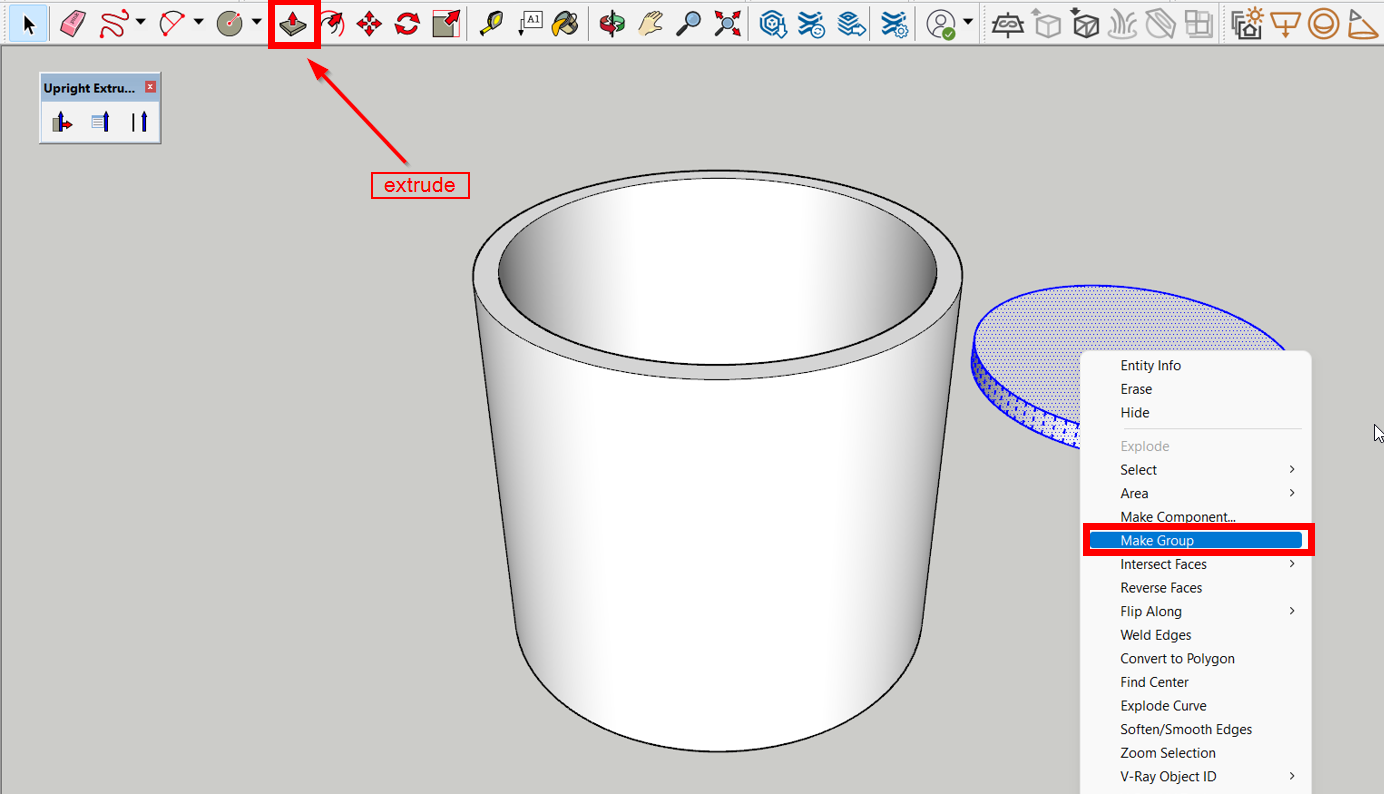
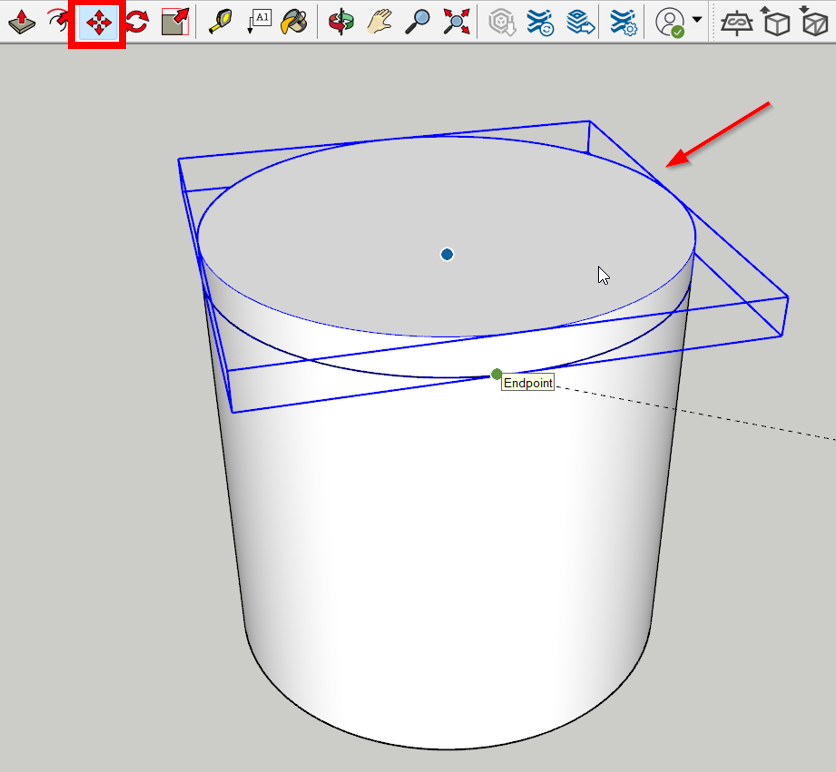
use the circle as a top for the cylinder.
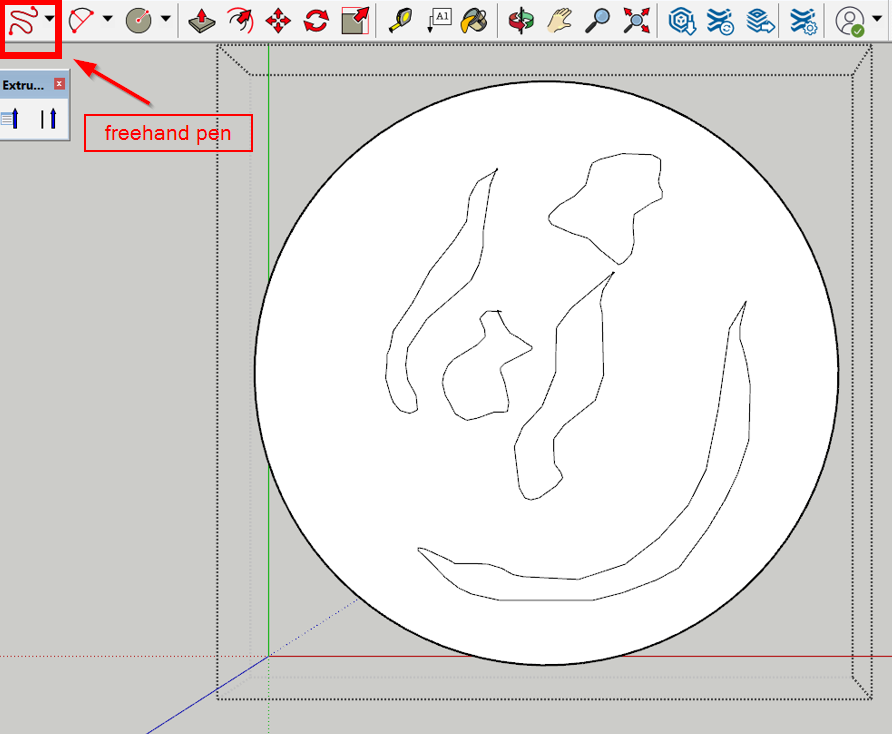
And create cracks on it using the freedom pen.
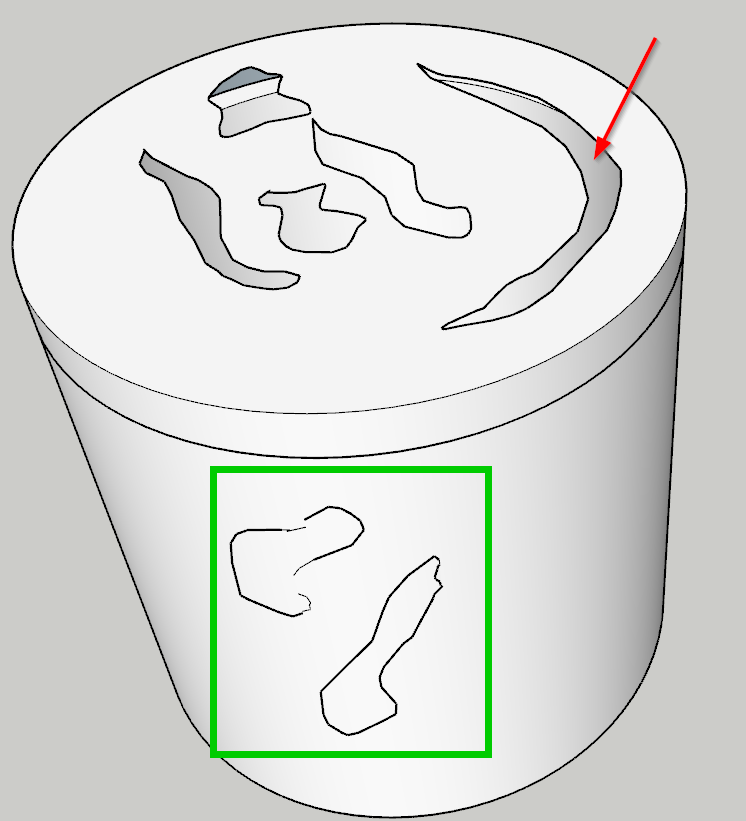
I face some difficulties in creating cracks in the curvy part of the cylinder ( which is highlighted in green)
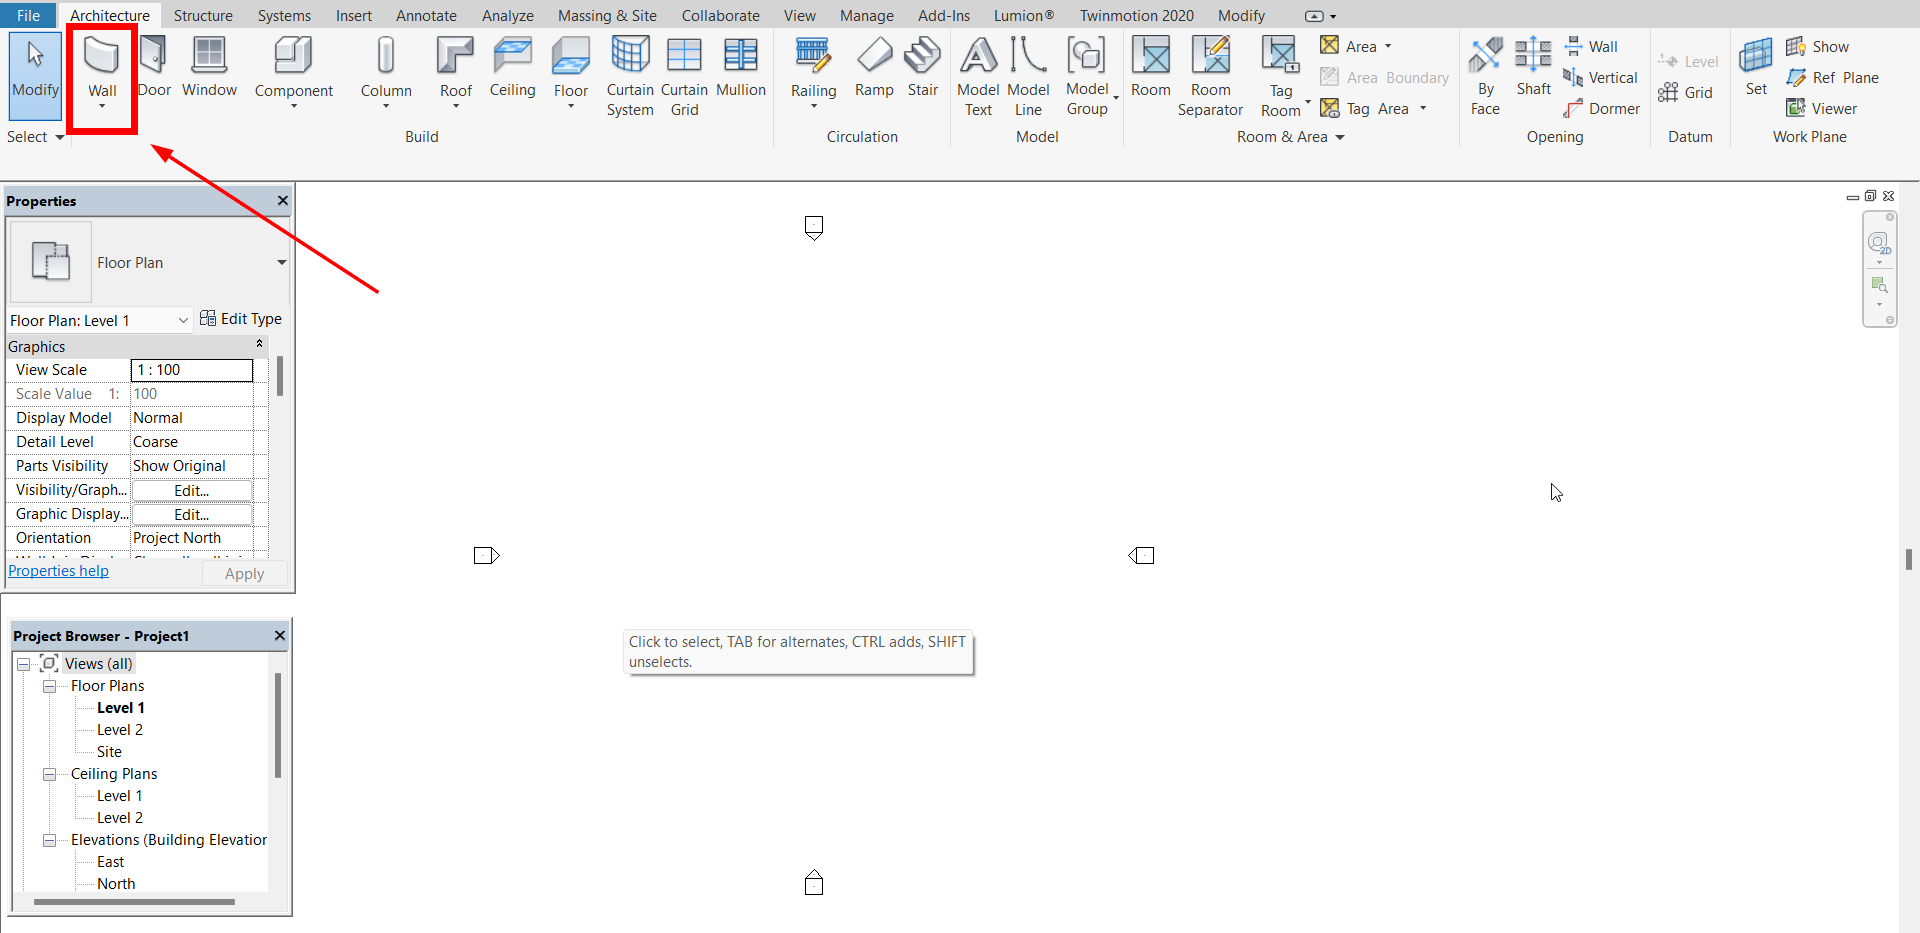
I wasn’t able to complete the first design successfully so I decided to move to Revit which is software that we use for planning and modeling in the architecture feiled.
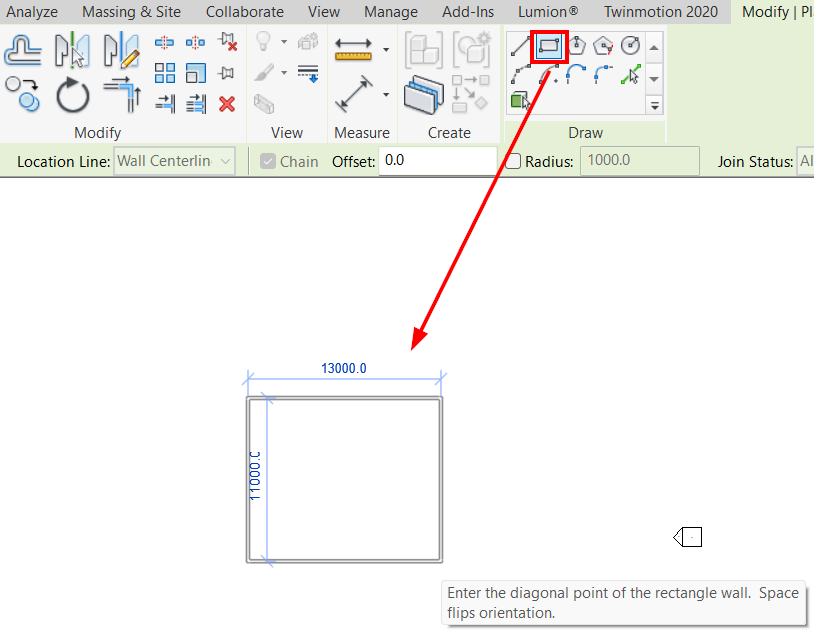
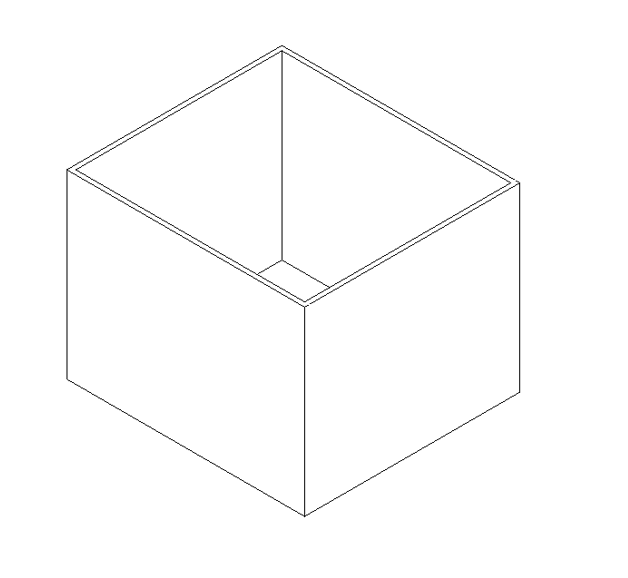
So to create the main object I used wall
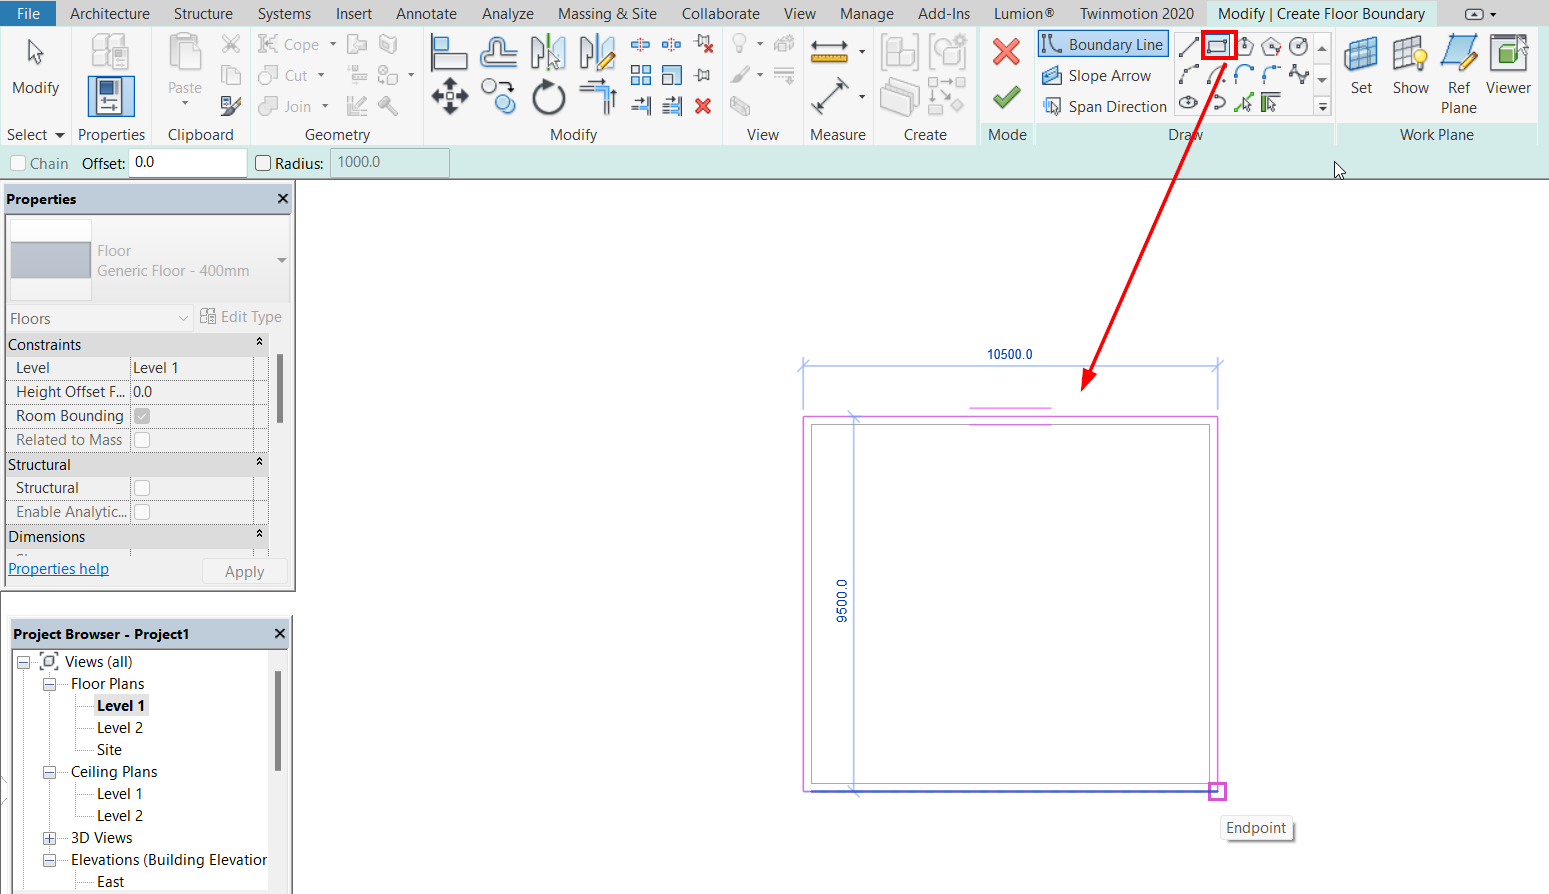
And place a floor on top of it.
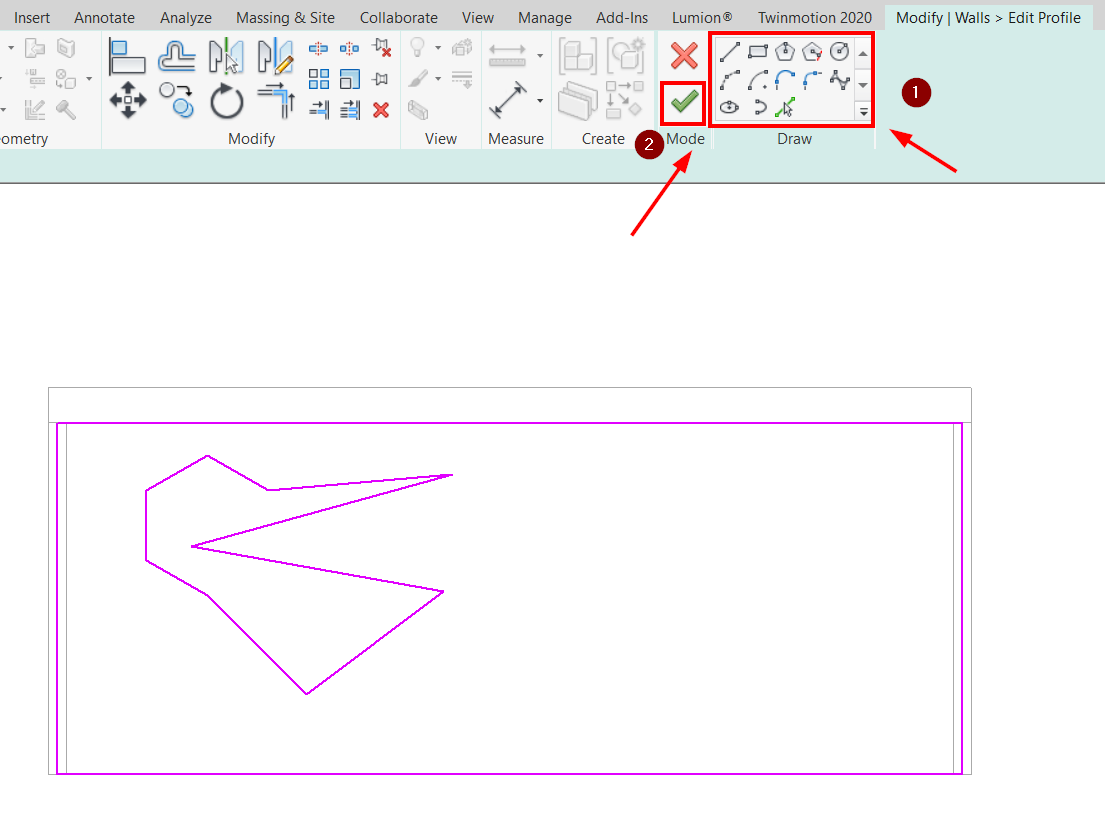
Now it is time to create the cracks

This is how final object looks like.

I did a quick render for the object.
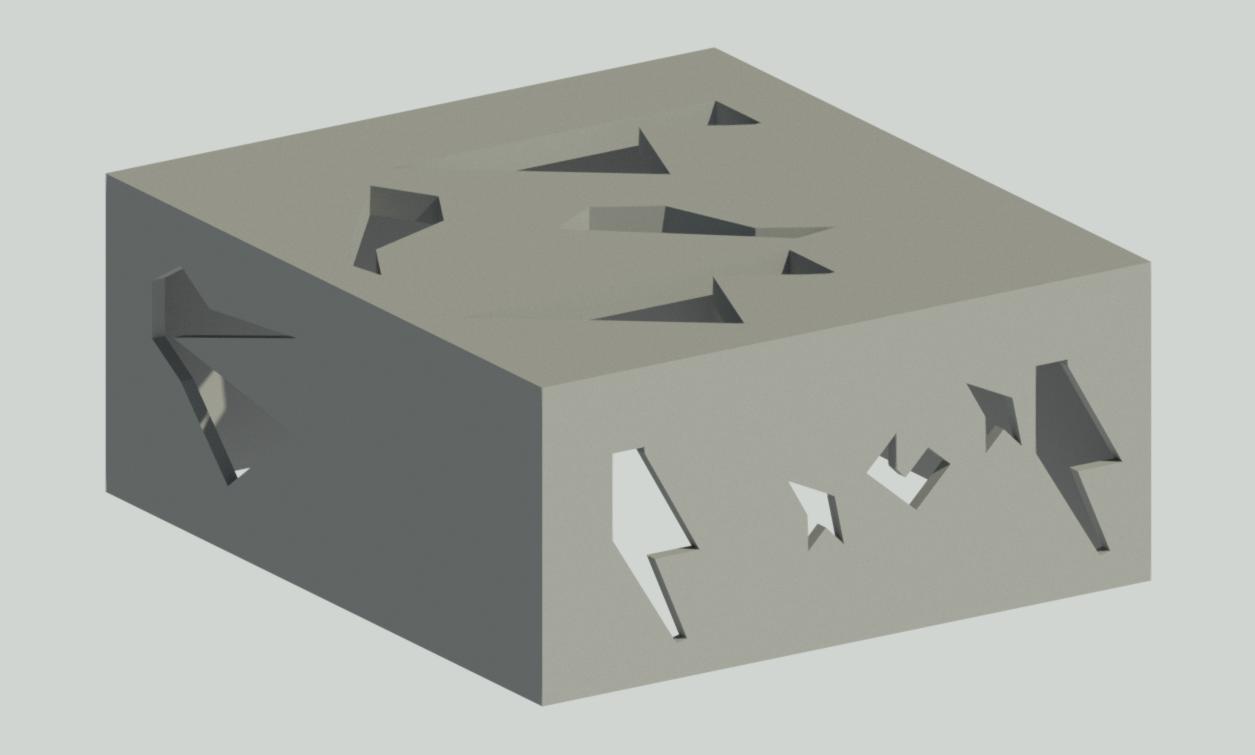
I decided to use the 3D printing machine for this object because it gives the look of a real furniture part, it will not have joints like if I used the laser cutting machine.
Result


The design file is attached below. click here
This video shows the process of 3D printing.