8. Moulding and casting
This week I worked on defining my final project idea and started to get used to the documentation process.
Research
we started by searching for different materials that can be used for casting.
[Cement](http://fablabbh.fabcloud.io/asterisk/2022/students/fatima.helal/assignments/week08/()
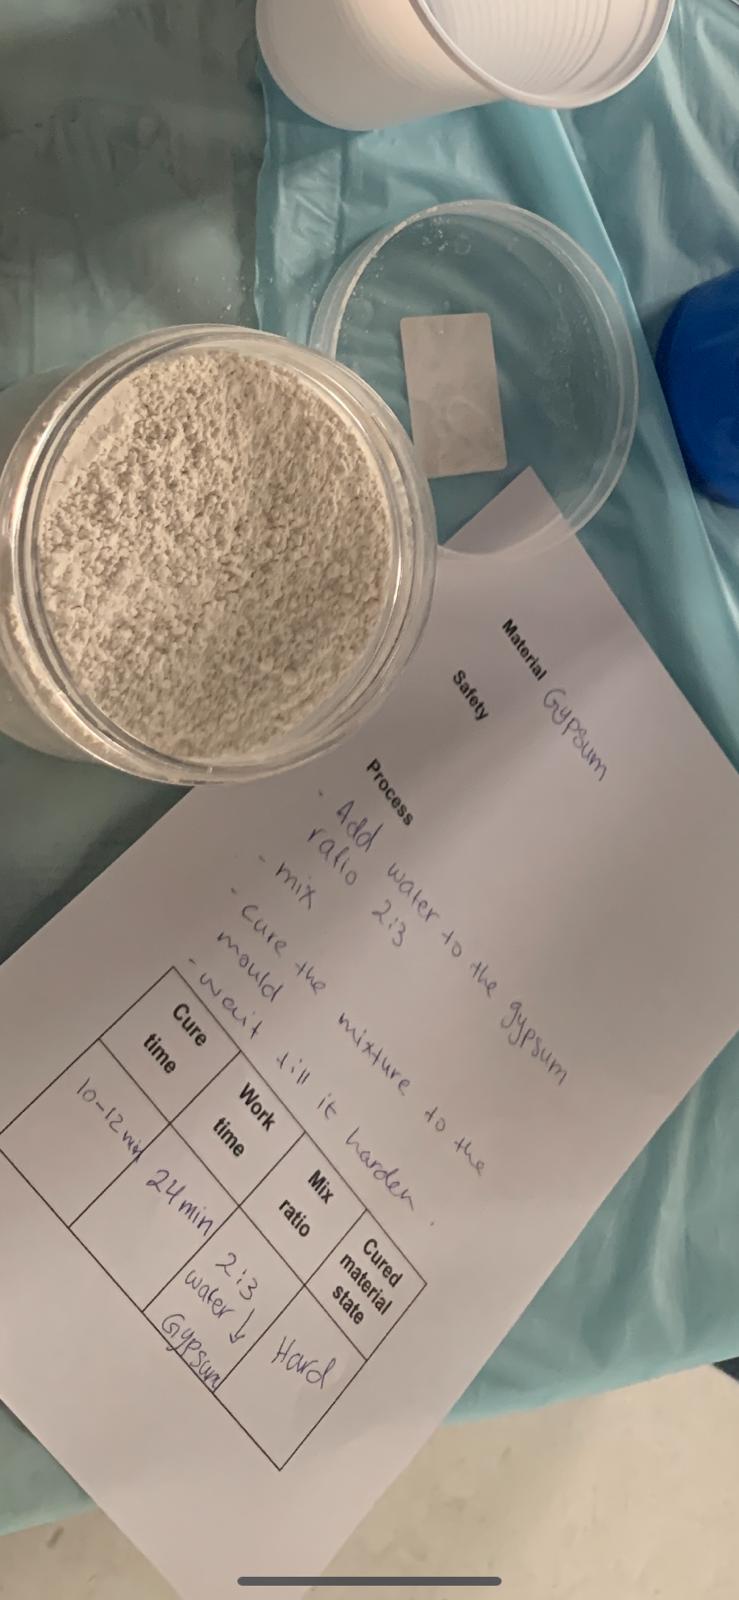
Gypsum
I choosed Gypsum.
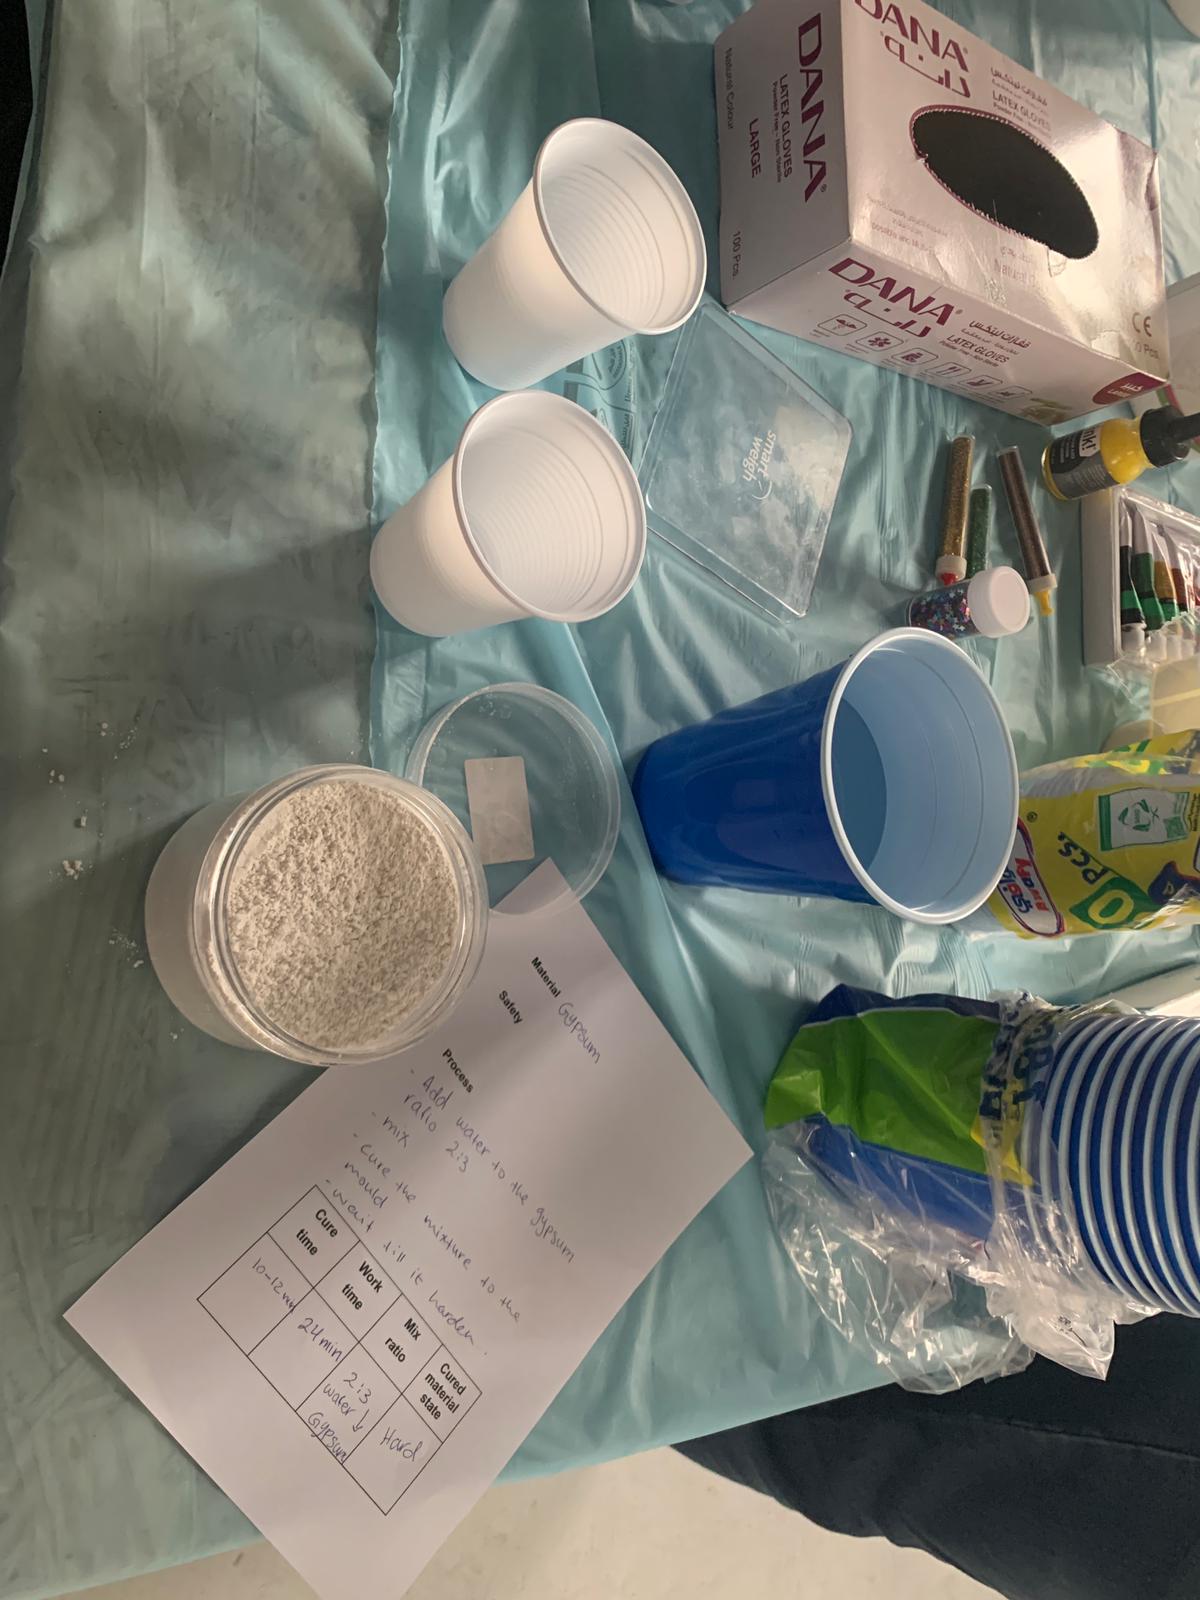
I started searching about the gypsum and about the ratio to mix it with water.
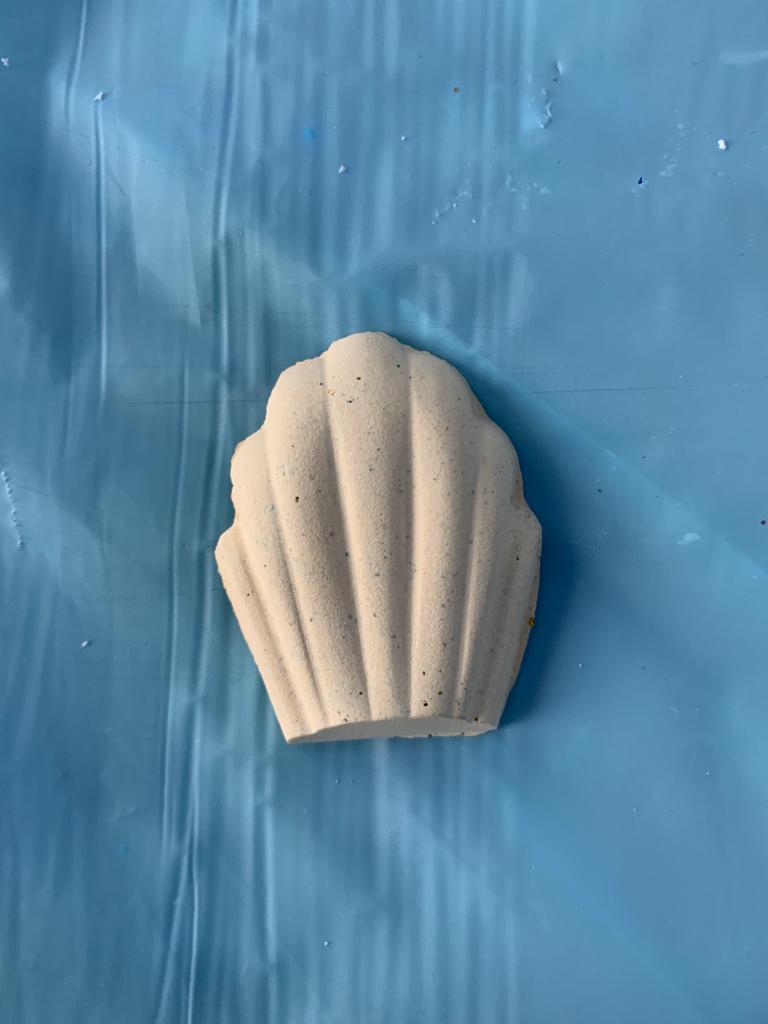
I place the mixture in the mold.
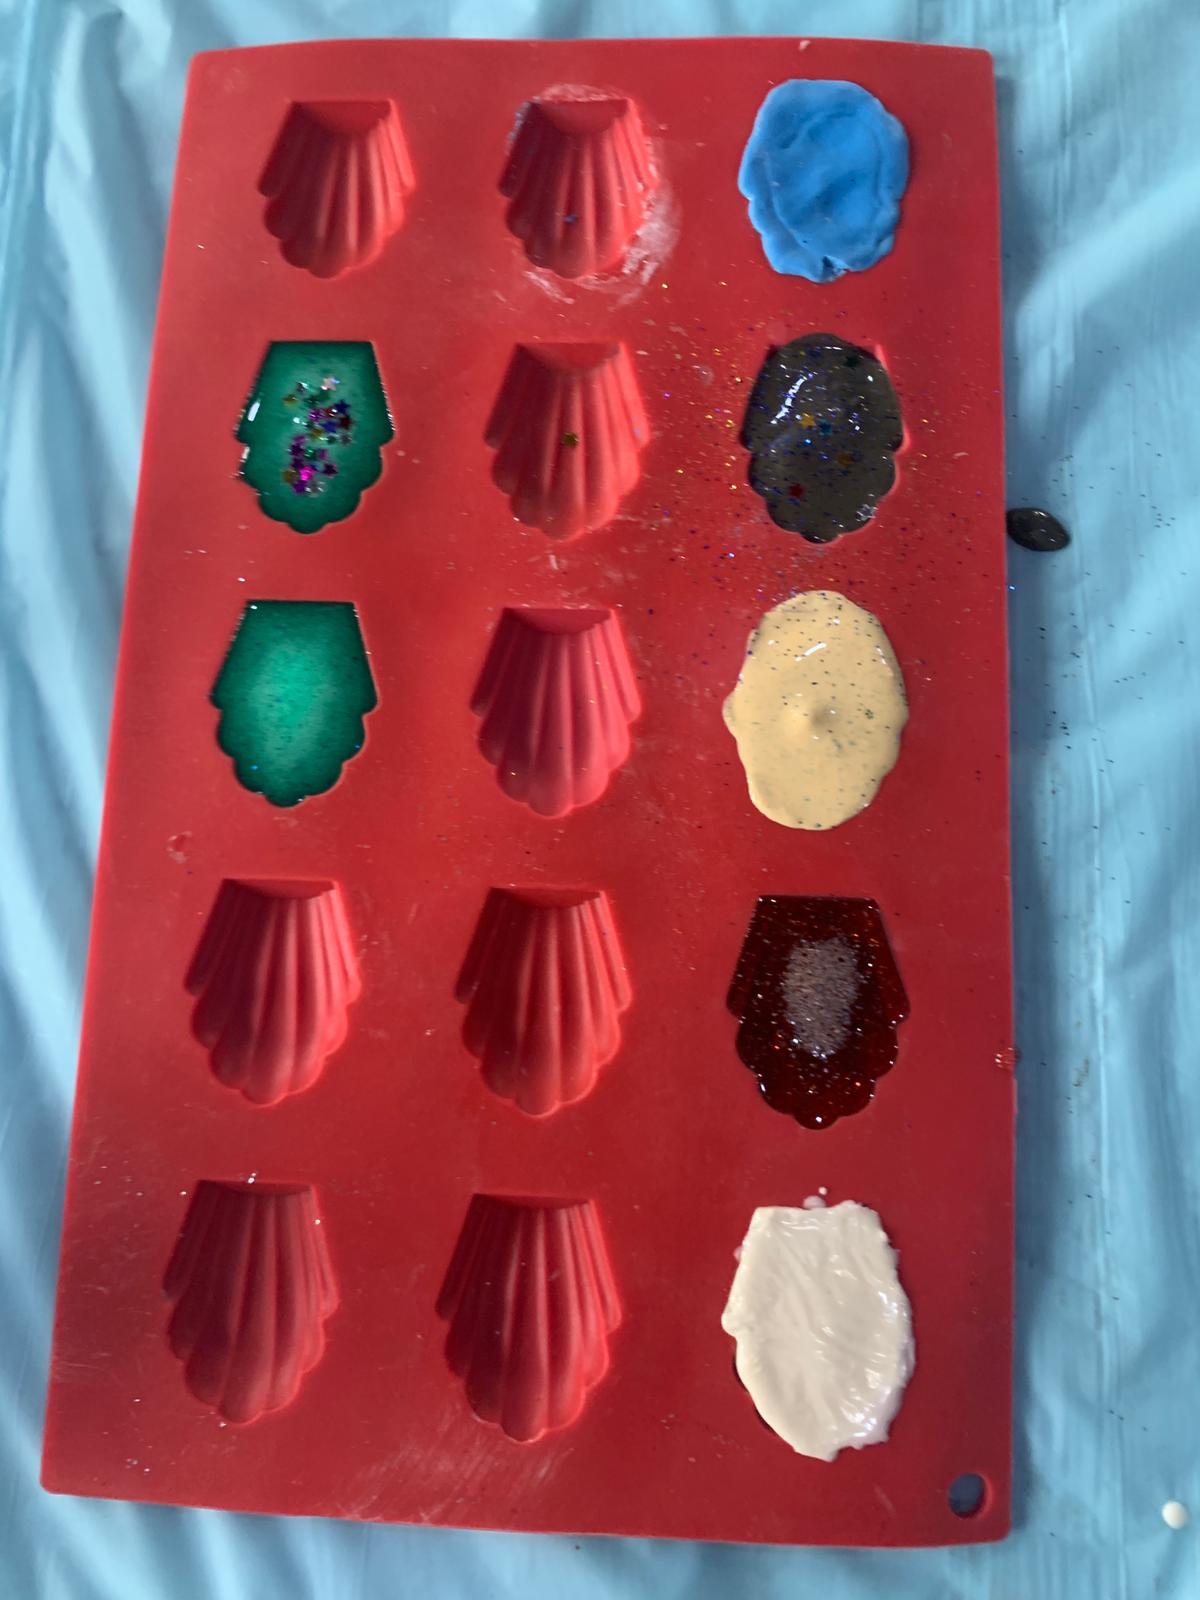
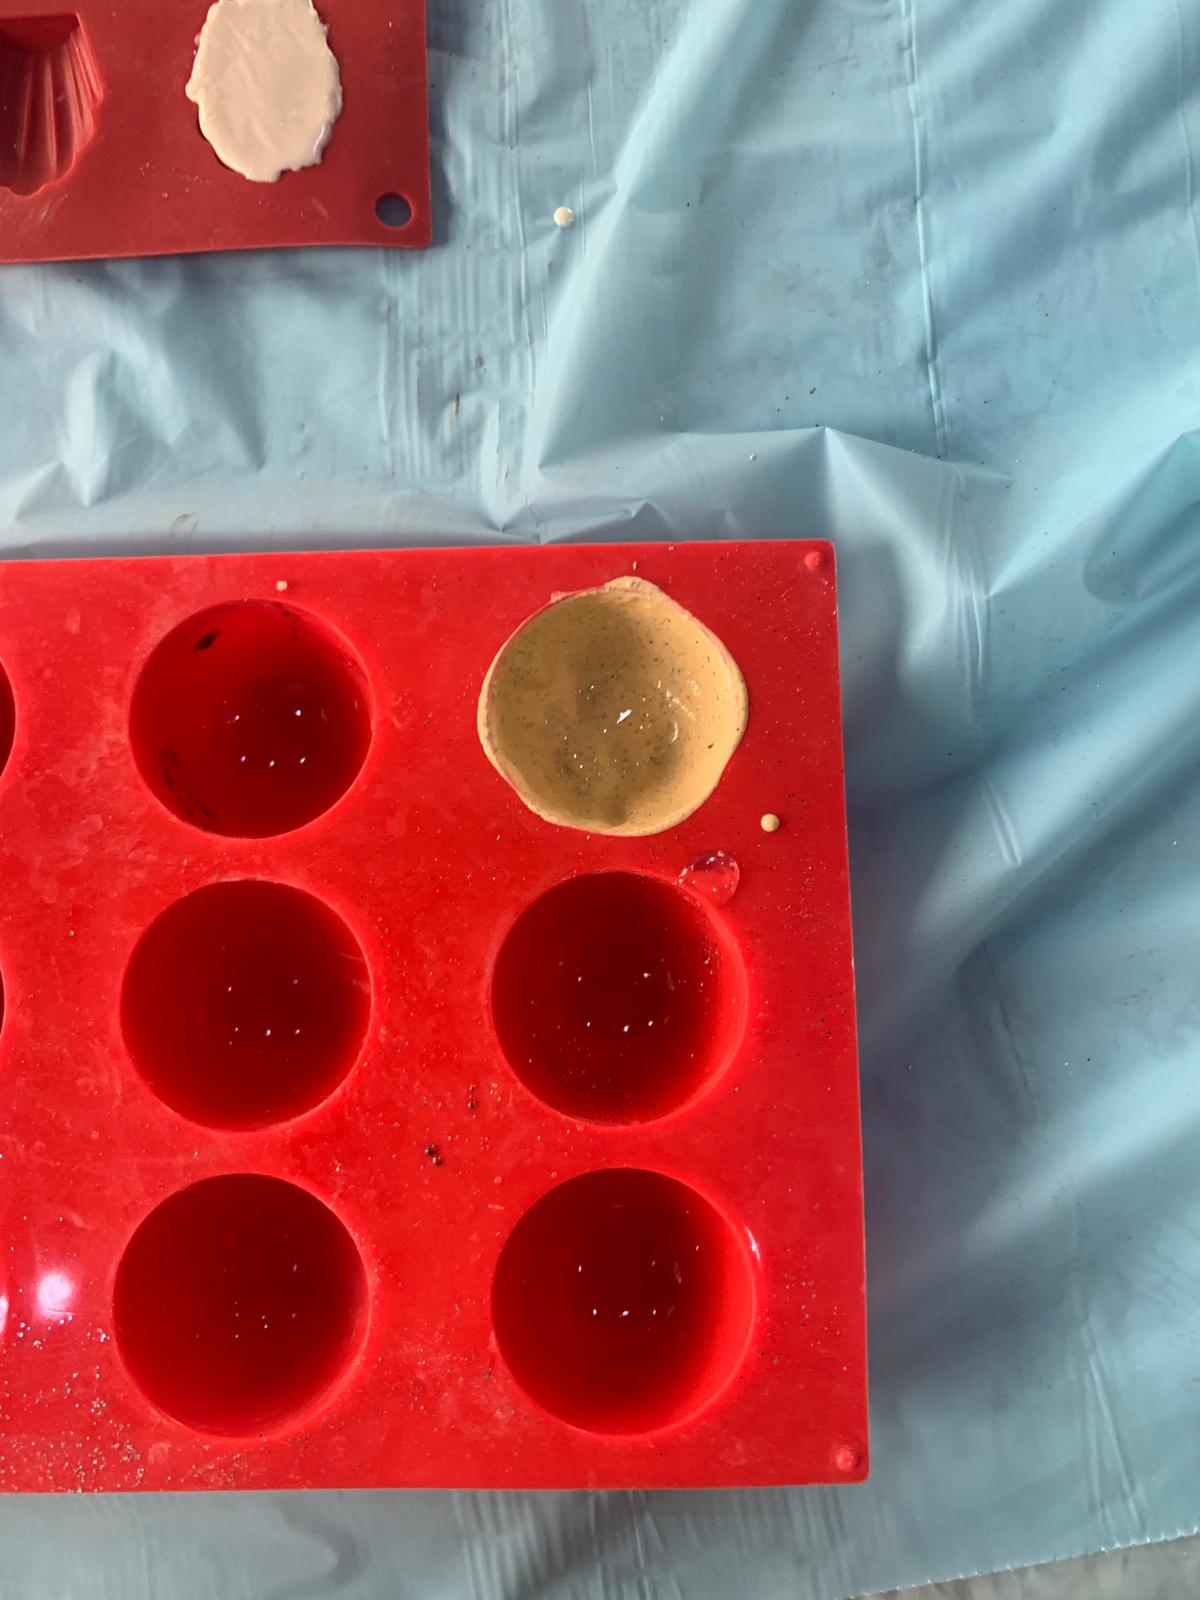
and this is what it looks like after it dries.

proplem
At first, I designed a vase but we weren’t able to use it because the top part of the design is wider than the parts below it and the machine cant create this design another problem is that the height of the design is high and we need to create something with less hight.
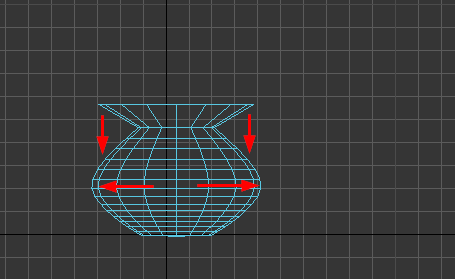
The vase Design is attached below.

New Design
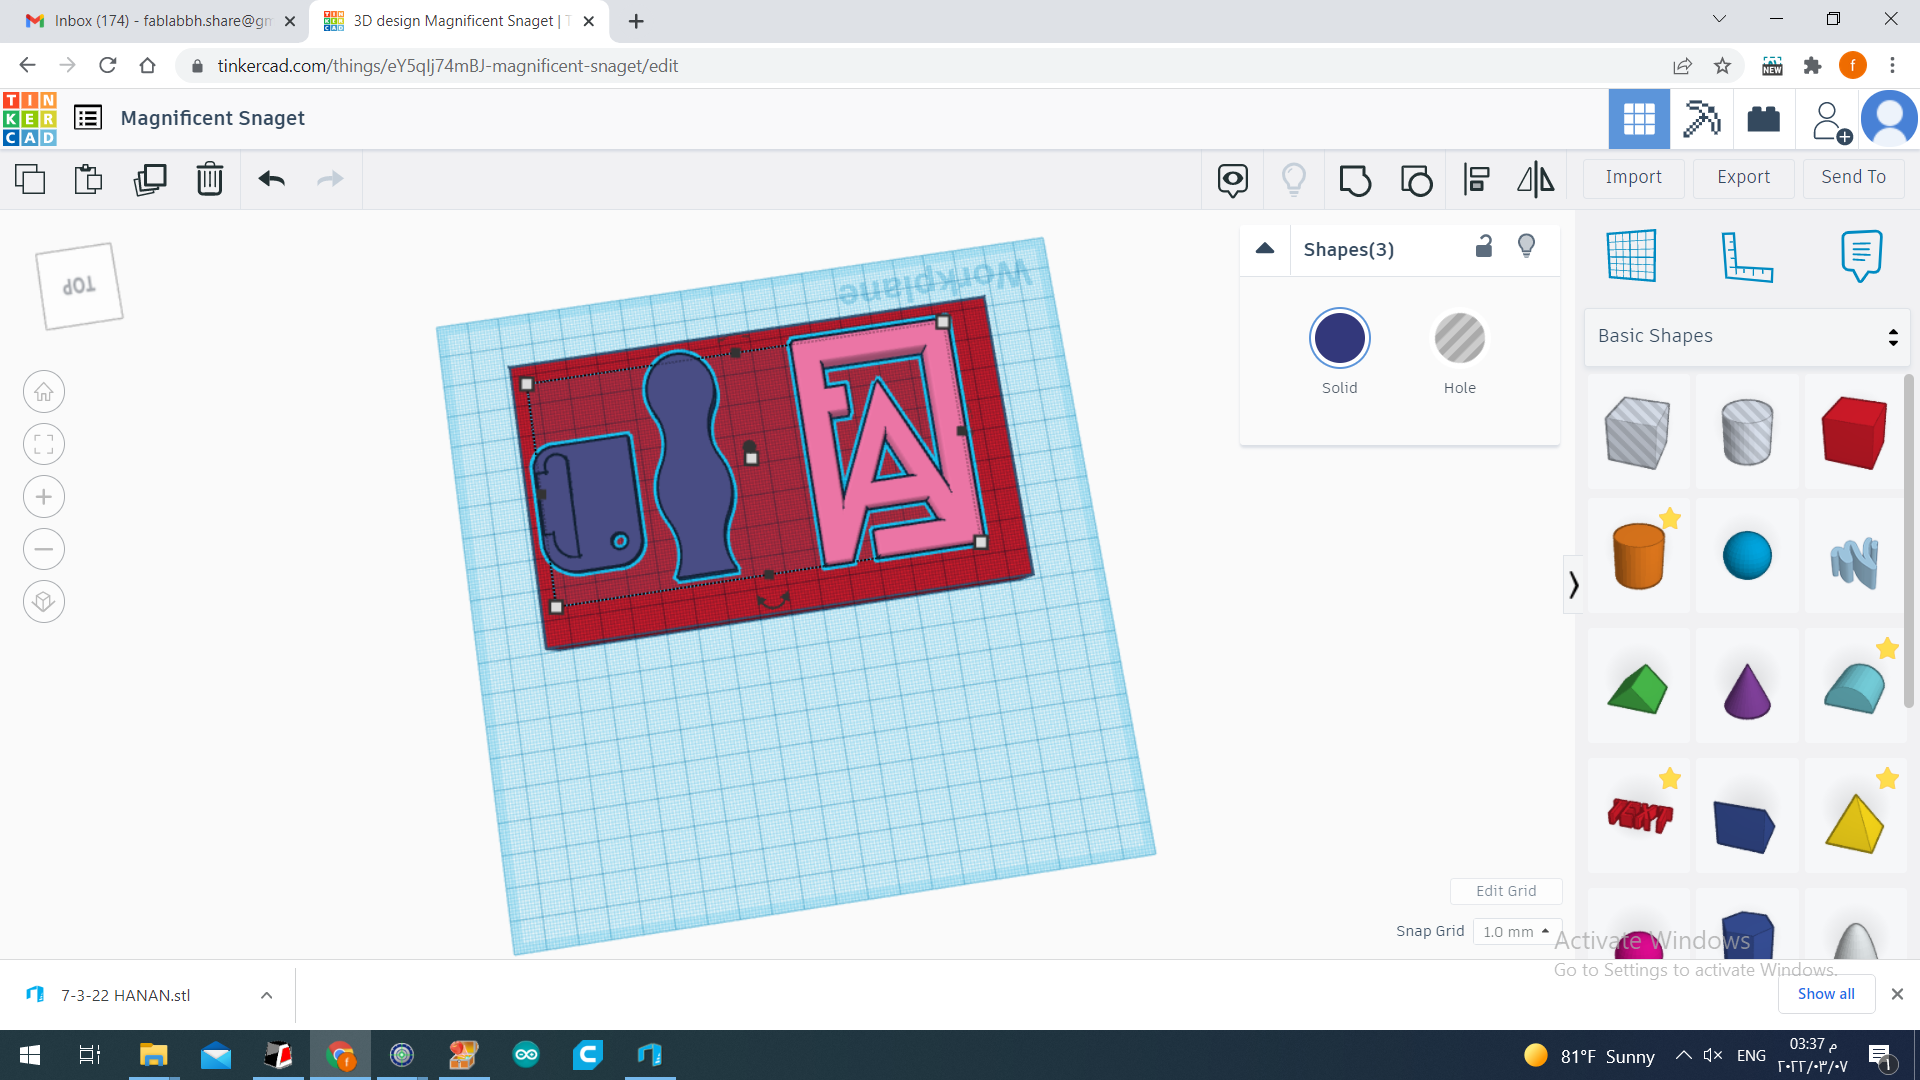
Since we’re not able to use the vase design so I had to do another design and I decided to do a chain I used Revit software which is a very easy one.
After I’m done with the design we went to use the computer that is attached to the machine , we used Roland-SRM-20 machine.
Milling Process
We used Roland-SRM-20 machine for the the Milling Process.
we imported the design on Tinkercad and we drew a squre that have the same dimentions as the board and ajuset the chain size to fit on the boared.
<<<<<<< HEAD
After I’m done with the design we went to use the computer that is attached to the machine , we used Roland-SRM-20 machine.
Milling Process
======= Then we shift to the machine’s software, so basically, there are steps (In each step you need to give information to the machine).
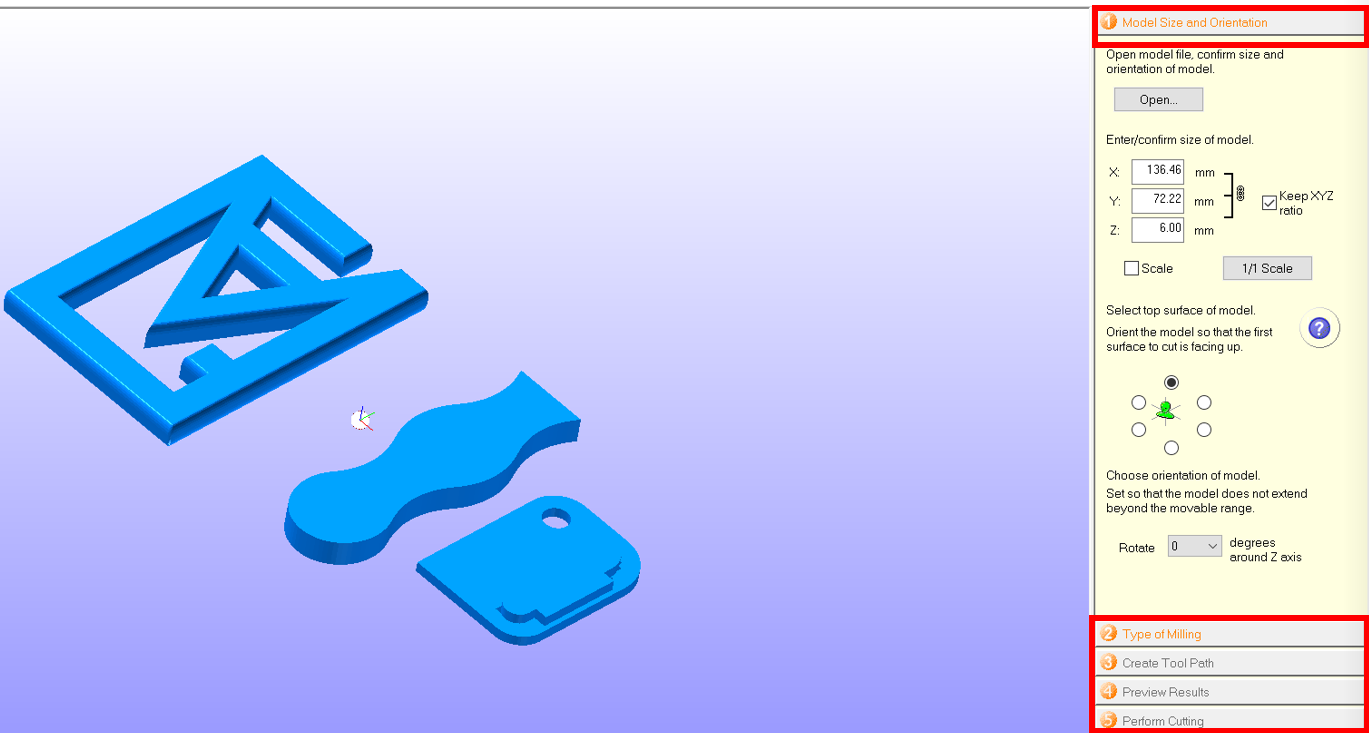
The steps are as follow:
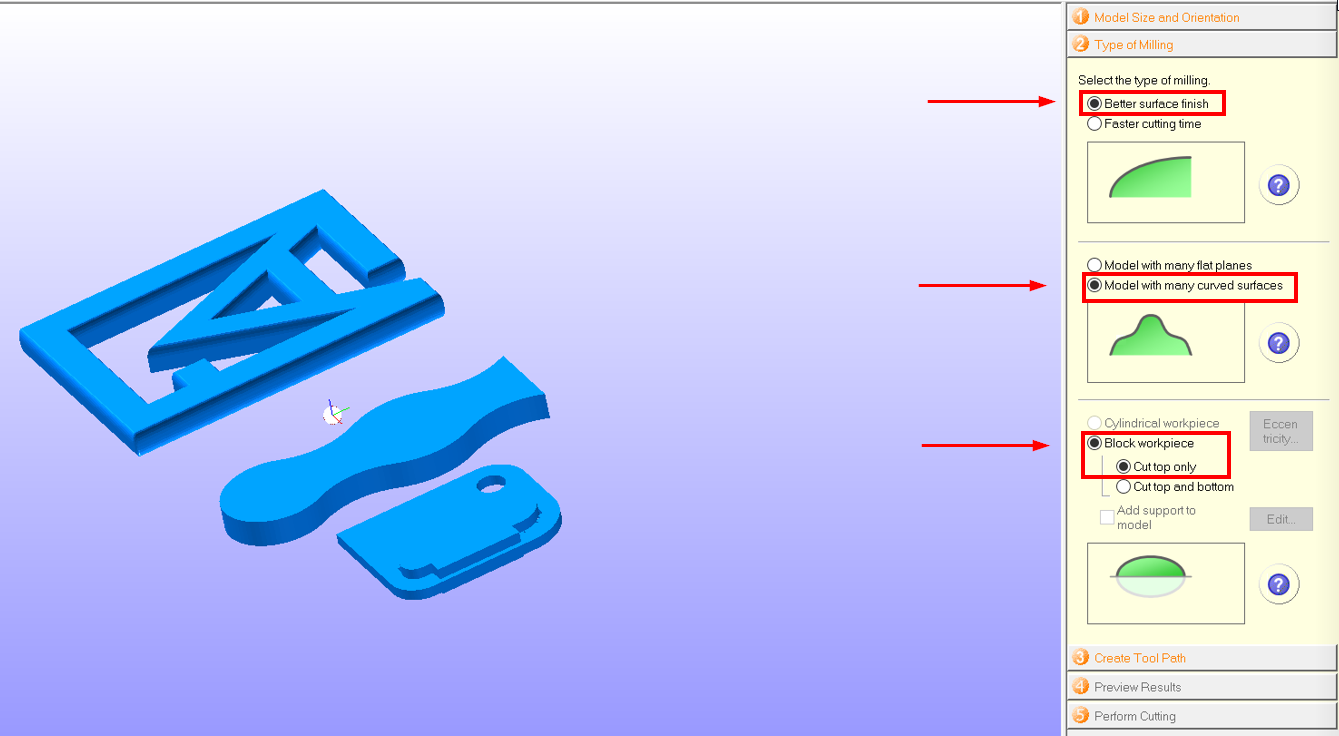
1- First step is to set the dimentions.
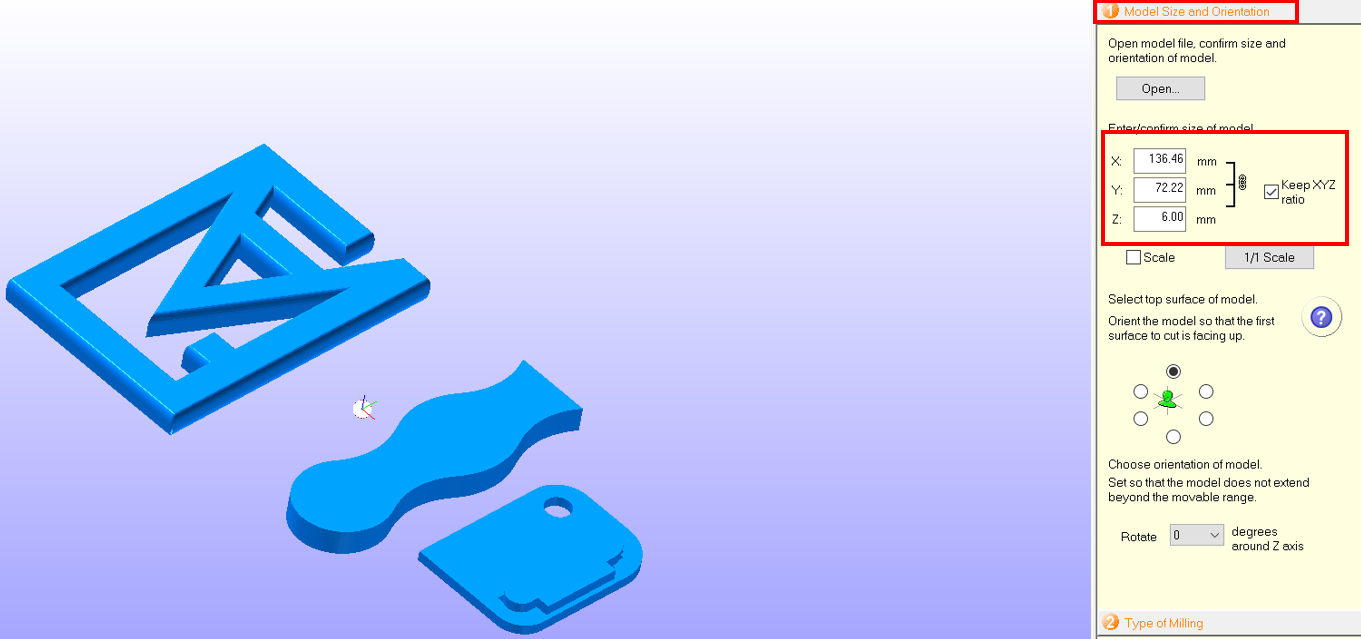
2-choose the miilig type and we choosed these sitings because we have cures on our objects.
3-Creating a toolpath
4-Is to see a preview.
5-
bec8f0619e4f77f24220dd394526a382e9b0be60
Then we shift to the machine’s software, so basically, there are steps (In each step you need to give information to the machine).
The steps are as follow:
1- First step is to set the dimentions.
2-choose the miilig type and we choosed these sitings because we have cures on our objects.
3-Creating a toolpath
4-Is to see a preview.
5-
We used Roland-SRM-20 machine for the the Milling Process.
we imported the design on Tinkercad and we drew a squre that have the same dimentions as the board and ajuset the chain size to fit on the boared.
Then we shift to the machine’s software, so basically, there are steps (In each step you need to give information to the machine).
The steps are as follow:
1- First step is to set the dimentions.
2-choose the miilig type and we choosed these sitings because we have cures on our objects.
3-Creating a toolpath
4-Is to see a preview.

<<<<<<< HEAD
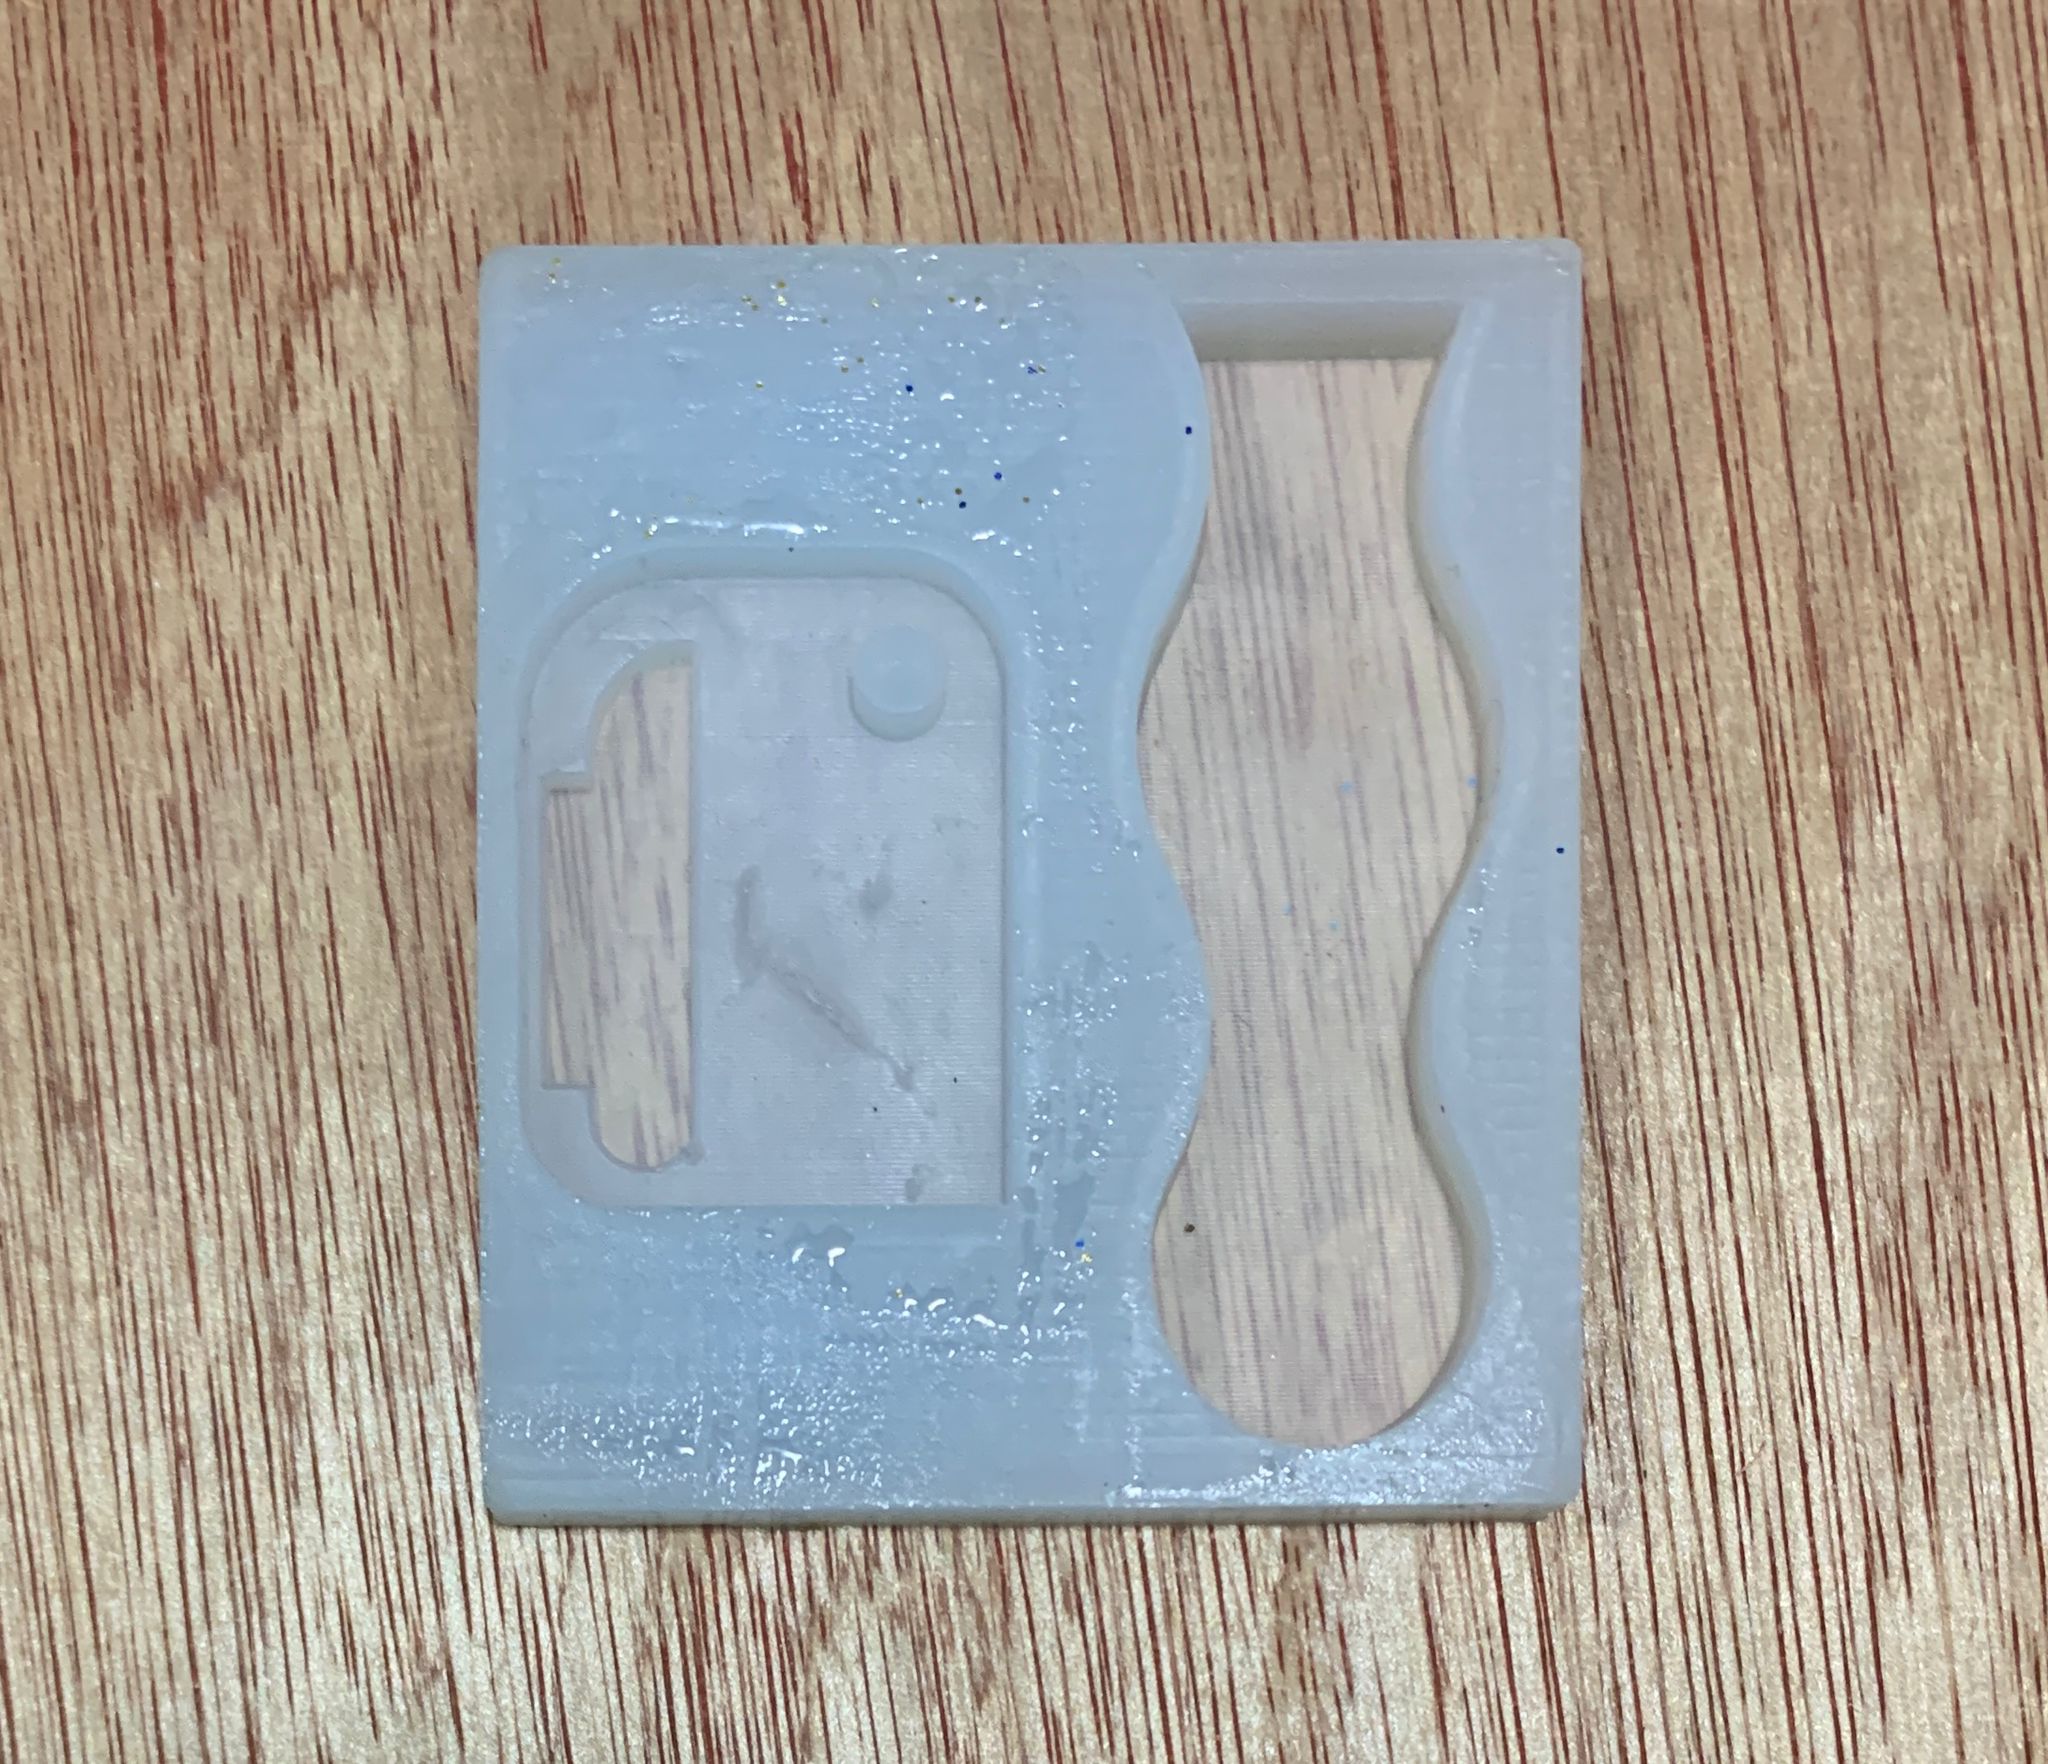
Molding Process
Molding is the Prosse of creating a mold which is a hollow that can be used in the casting stage.
Molding Process
Molding is the Prosses of creating a mold which is a hollow that can be used in the casting stage.
bec8f0619e4f77f24220dd394526a382e9b0be60
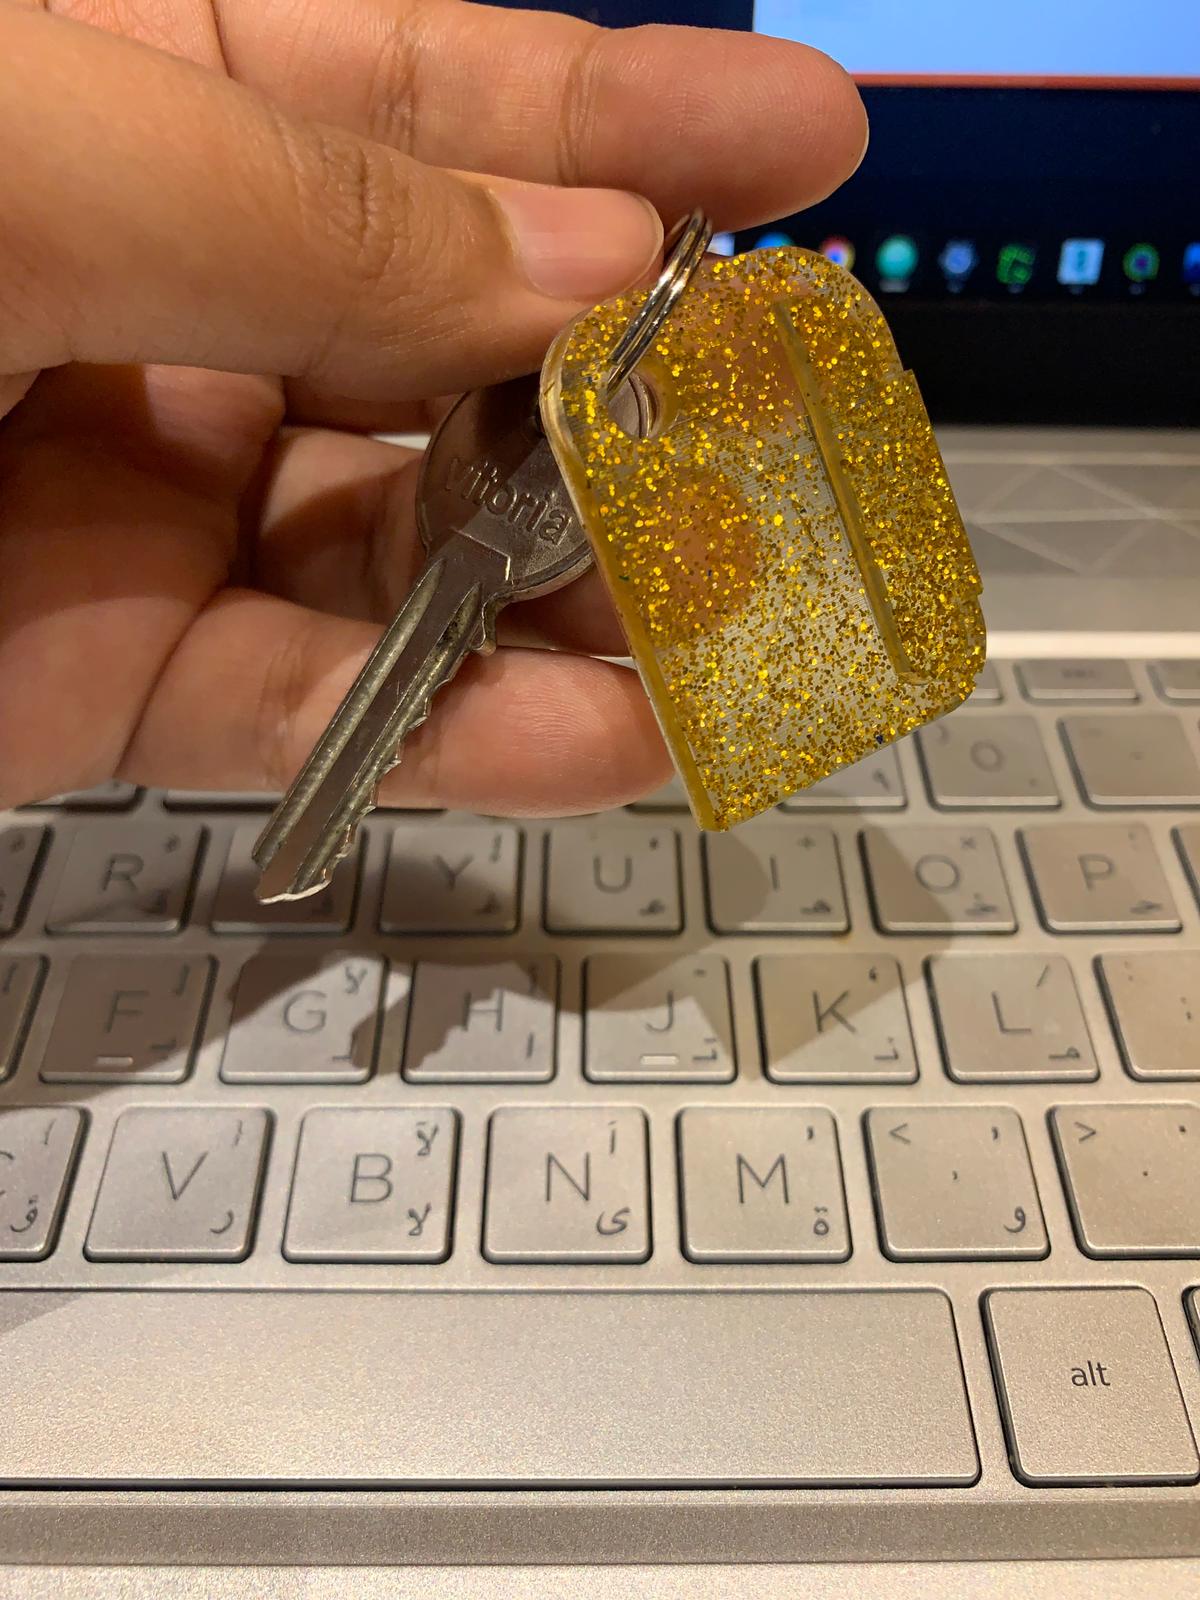
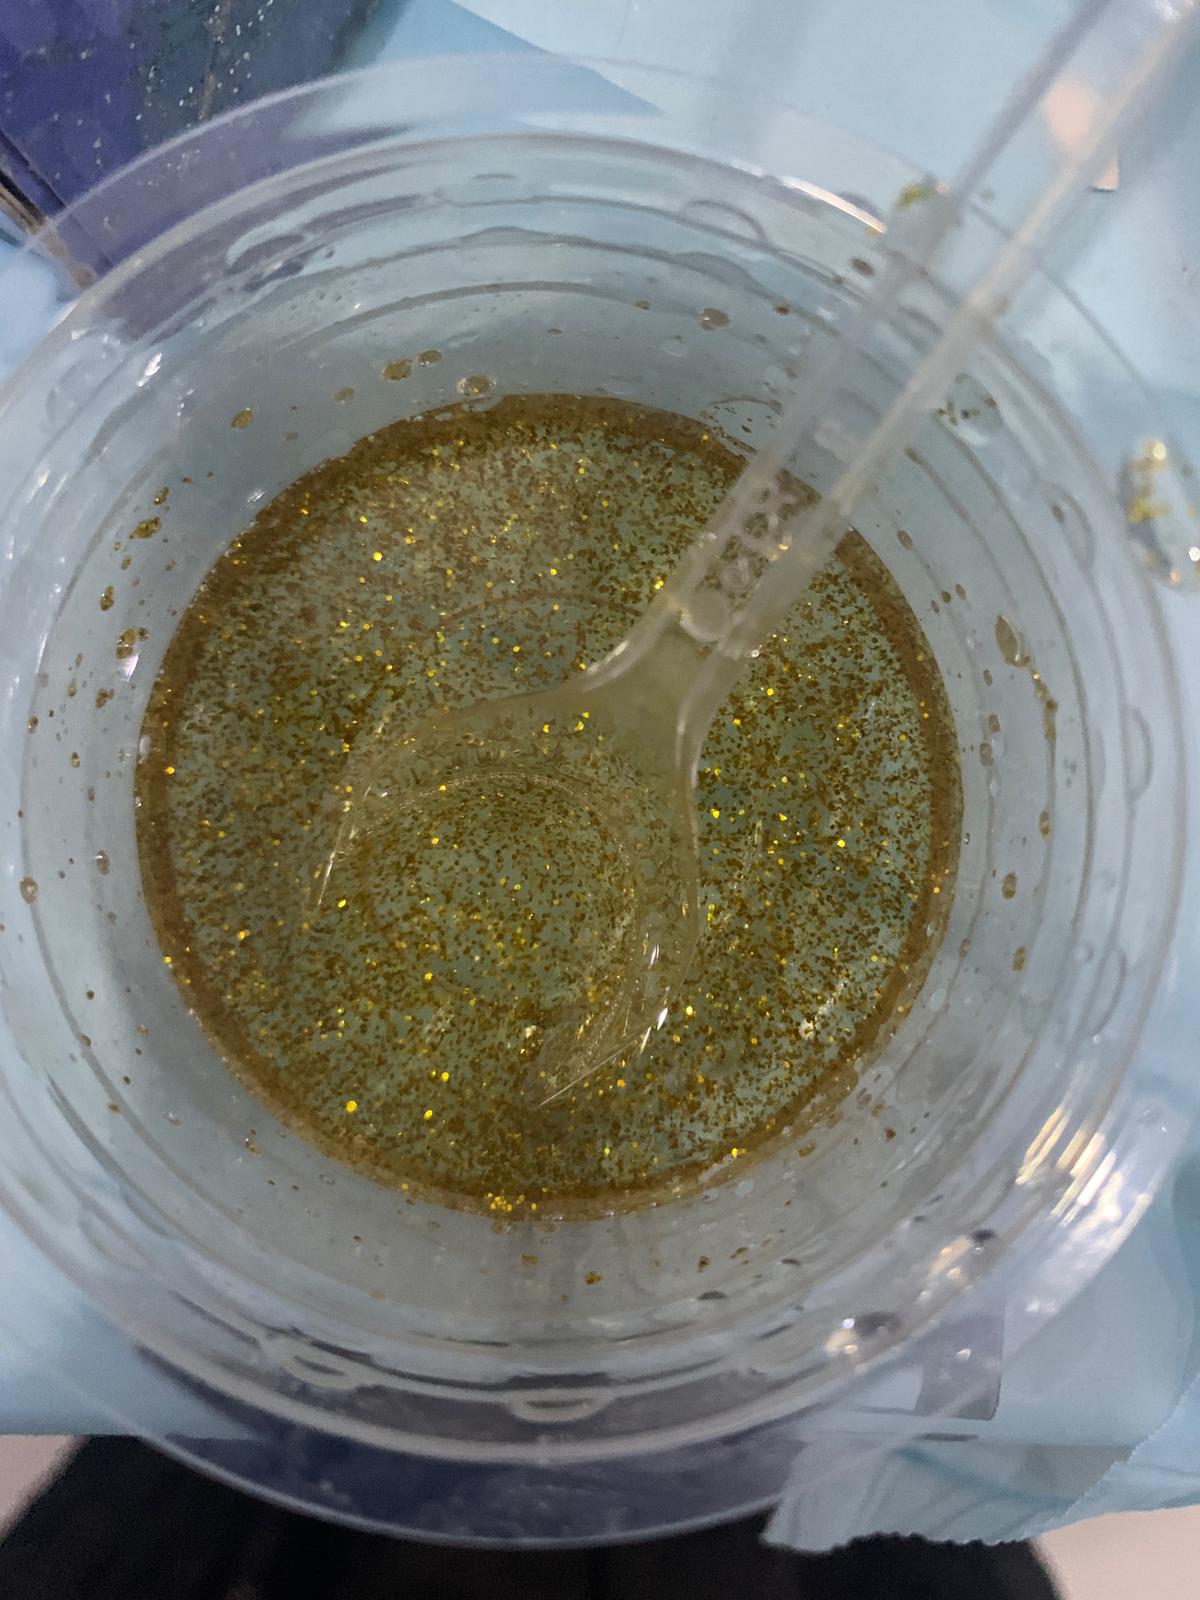
Casting Process
I material that I chose I Resin which would be the most suitable for the chain.

The resin has two parts, the hardener, and the resin, I mixed the two materials according to the ratio provided on the box and I added glitter to the Mixture.
<<<<<<< HEAD
Molding Process
=======
bec8f0619e4f77f24220dd394526a382e9b0be60 I pour the resin into the mold and waited for 12 hours for it to dry.
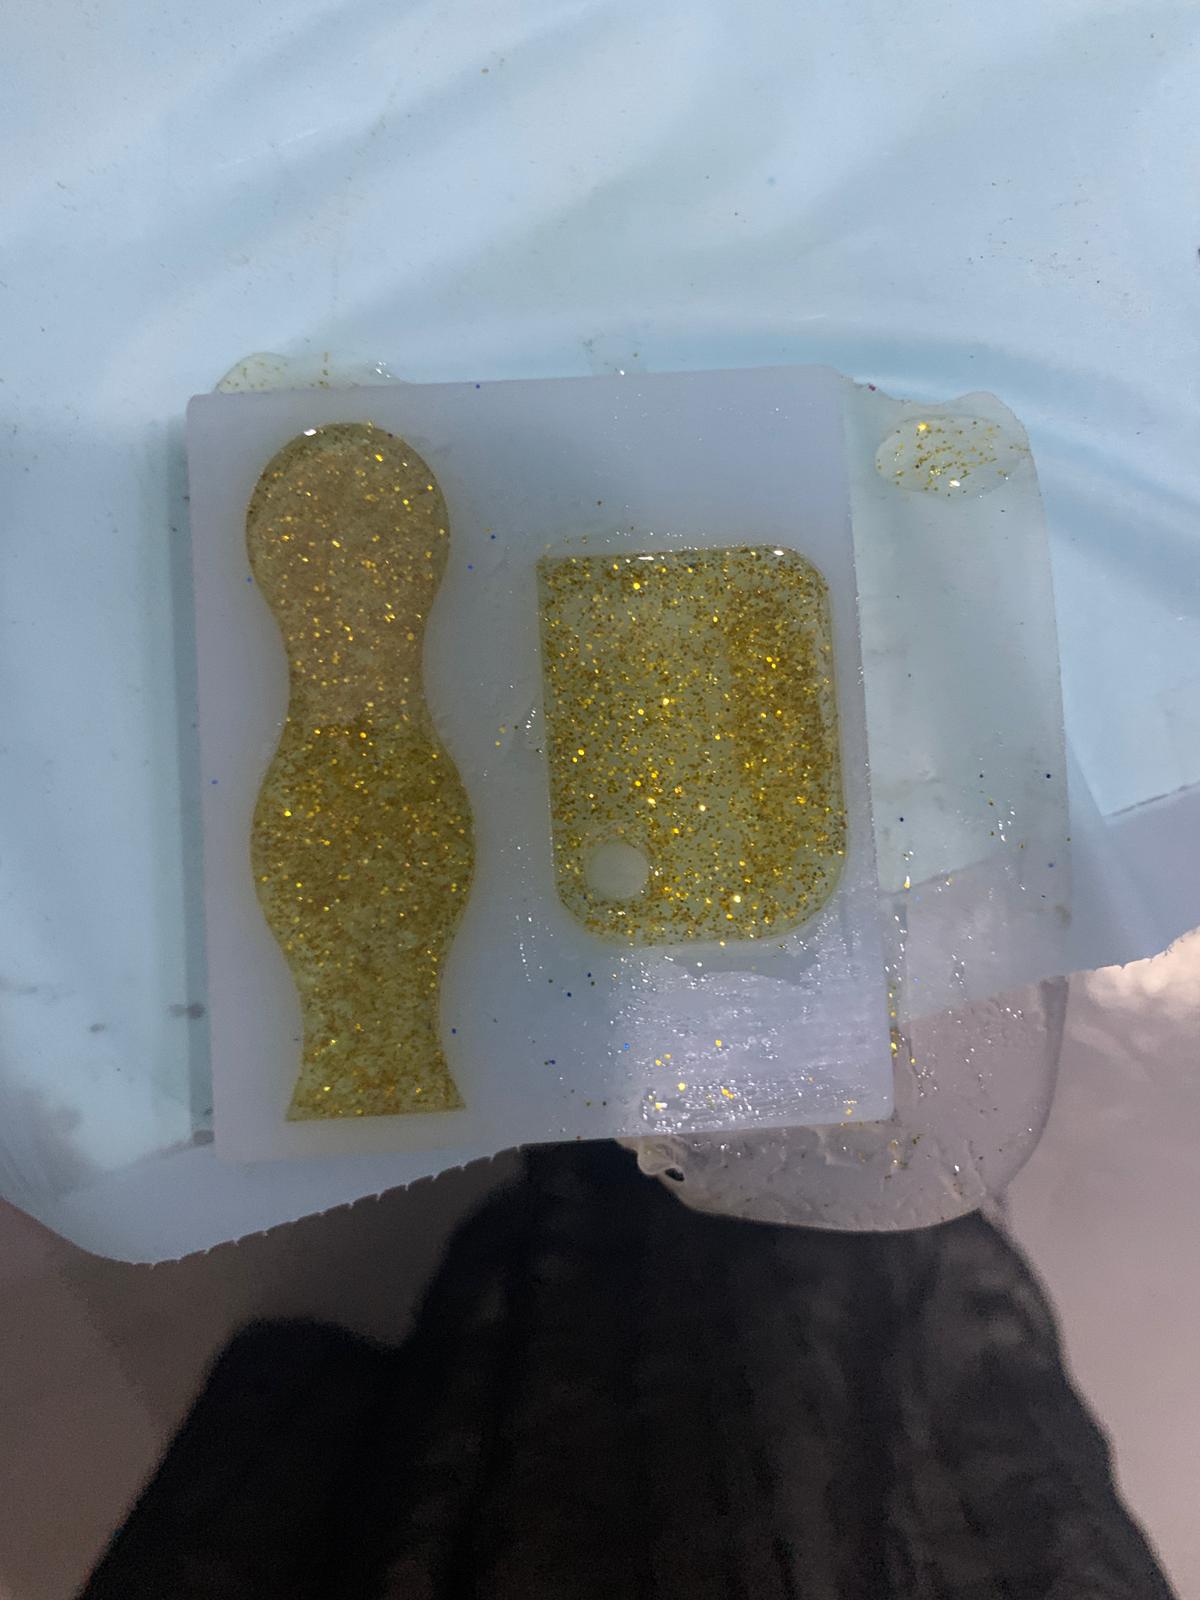
Final result