3. Computer controlled cutting
This week we learned about Computer controlled cutting and we used two machines and had three tasks to complete. I will walk you through all the tasks.
Task 1
The first task we worked on as a group was to learn more about the laser cutting machine what it is and how it works so I linked Haider’s website you can click on the link to learn more about the laser cutting machine.
Task 2
we were asked to do the press-fit using the laser cutting machine, at first I start by designing in fusion 360 to do parametric design.
After I drew the shape that I want, now it is time to do the parametric, click on Modify then change parameters
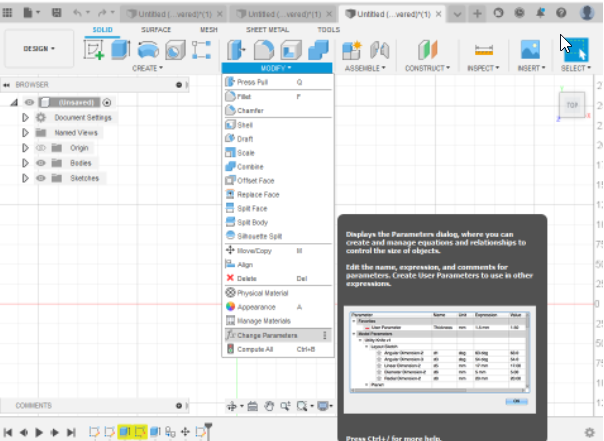
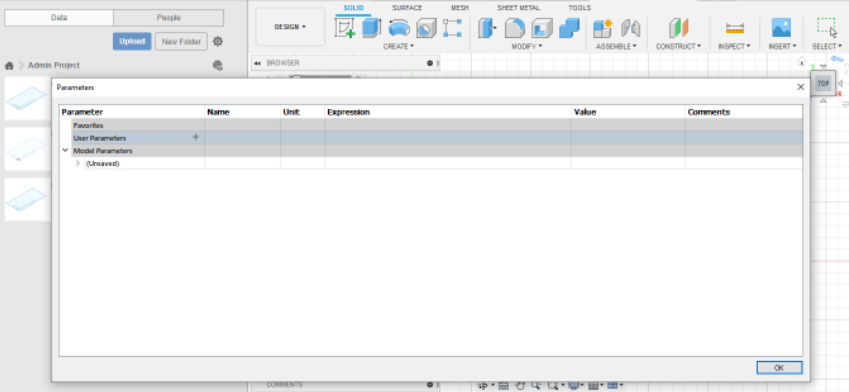
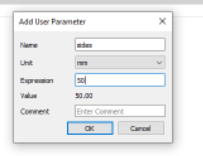
Now I write the number that I want and I can change it anytime.
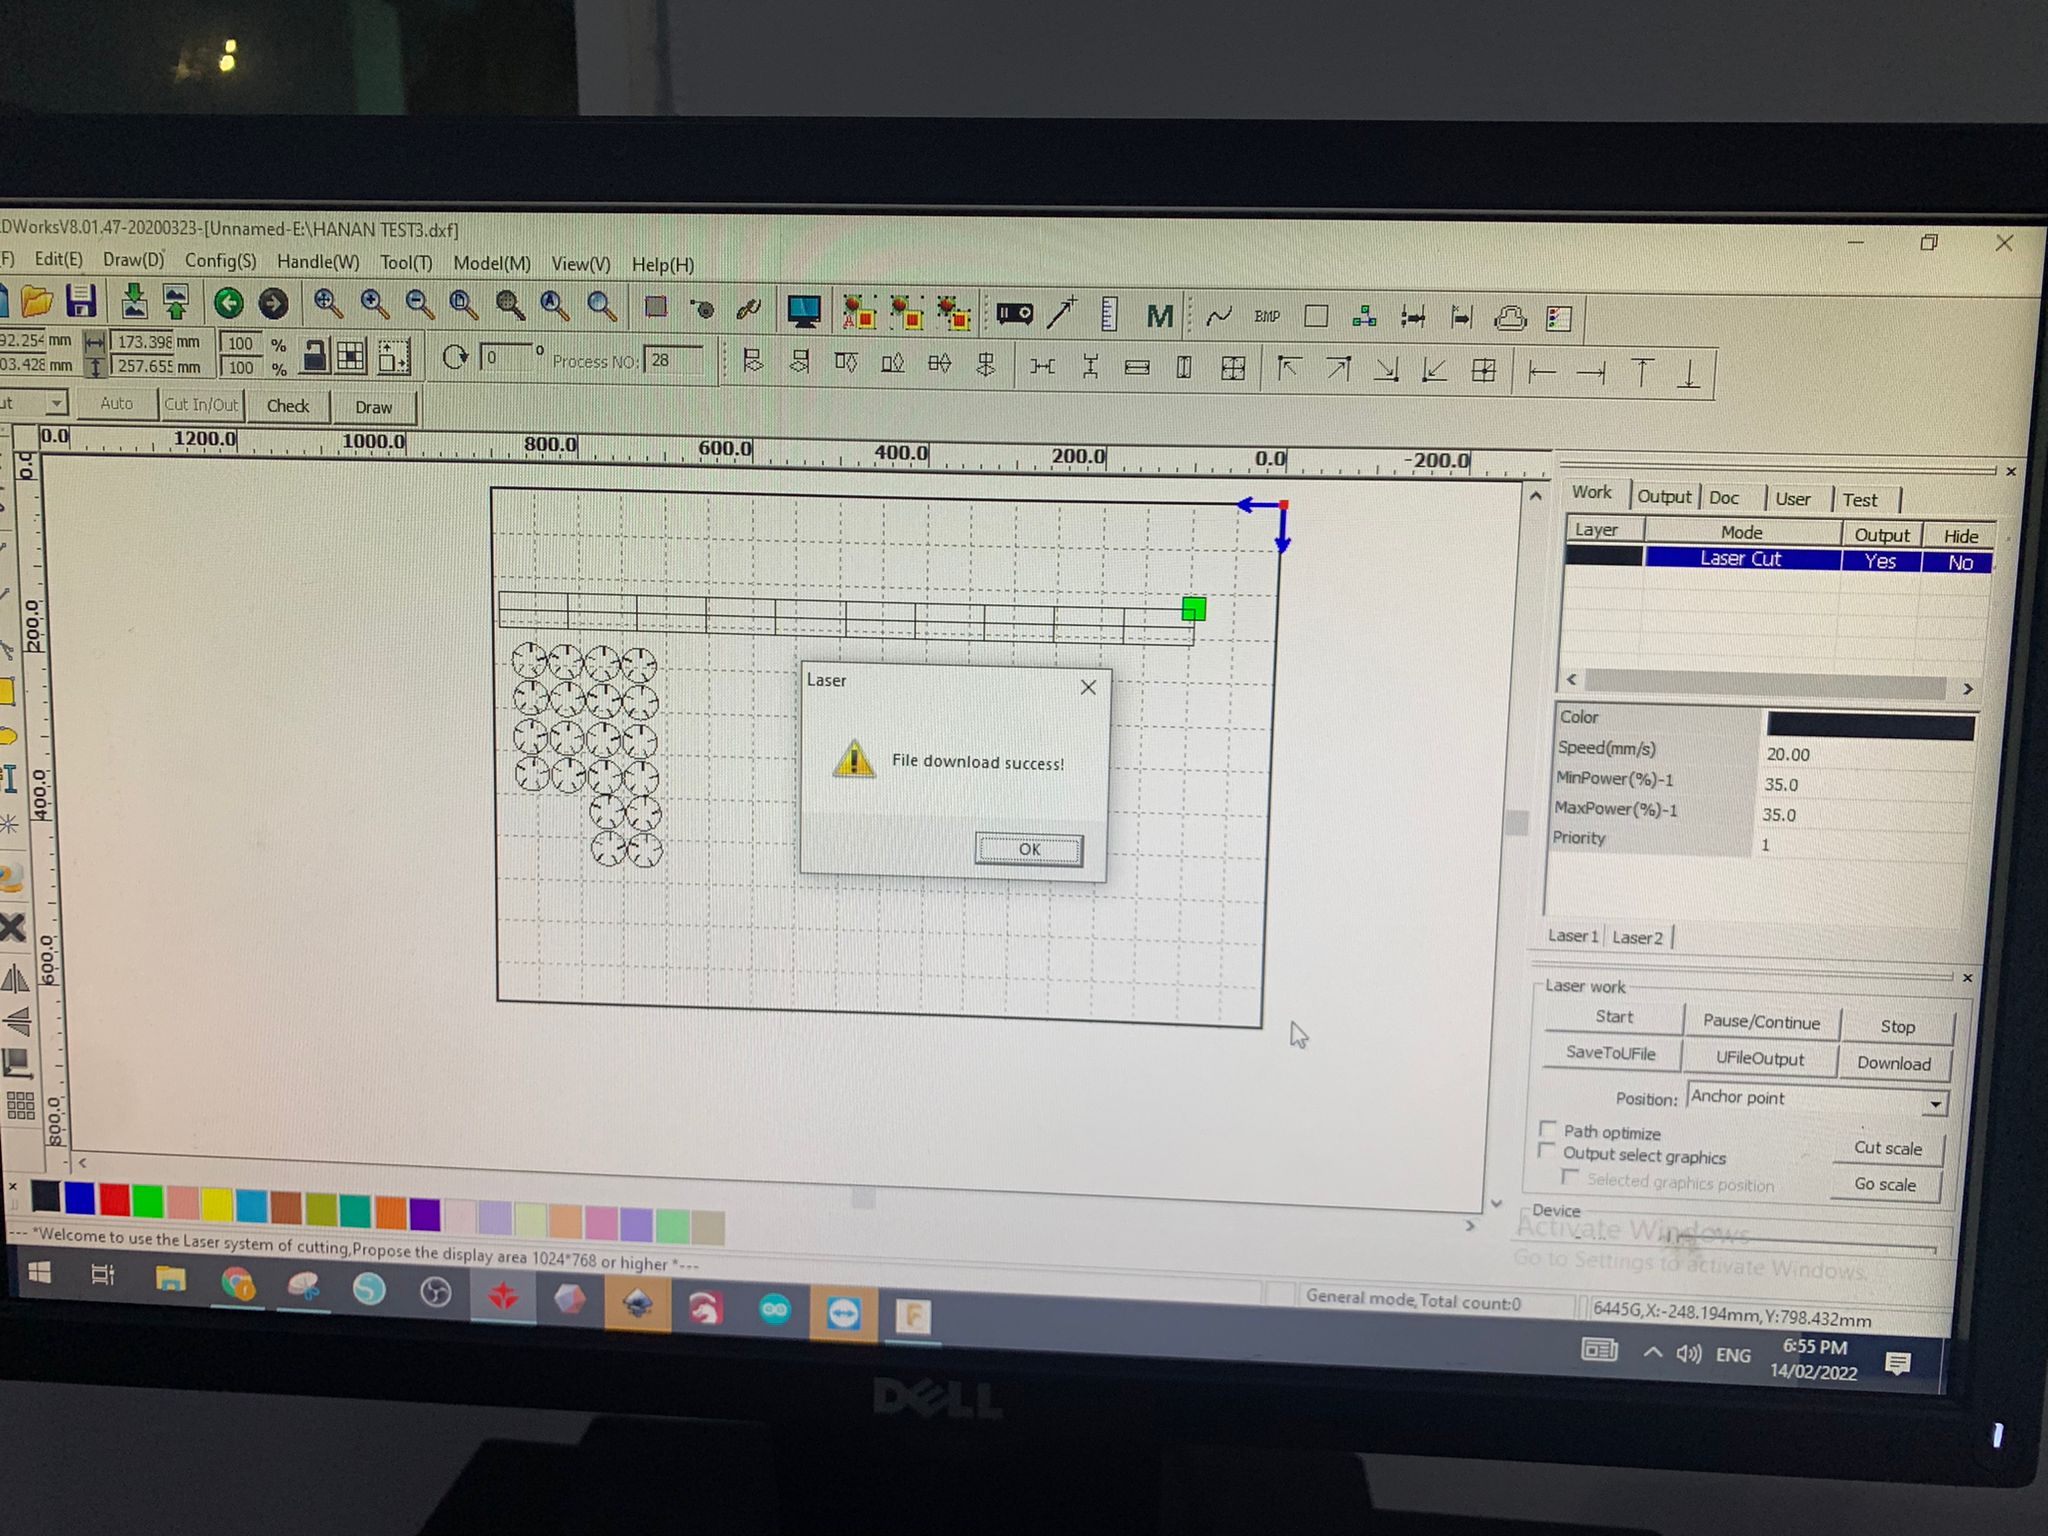
Then it was time to cut using the laser cutting machine. these were the settings that I used for cutting cardboard.
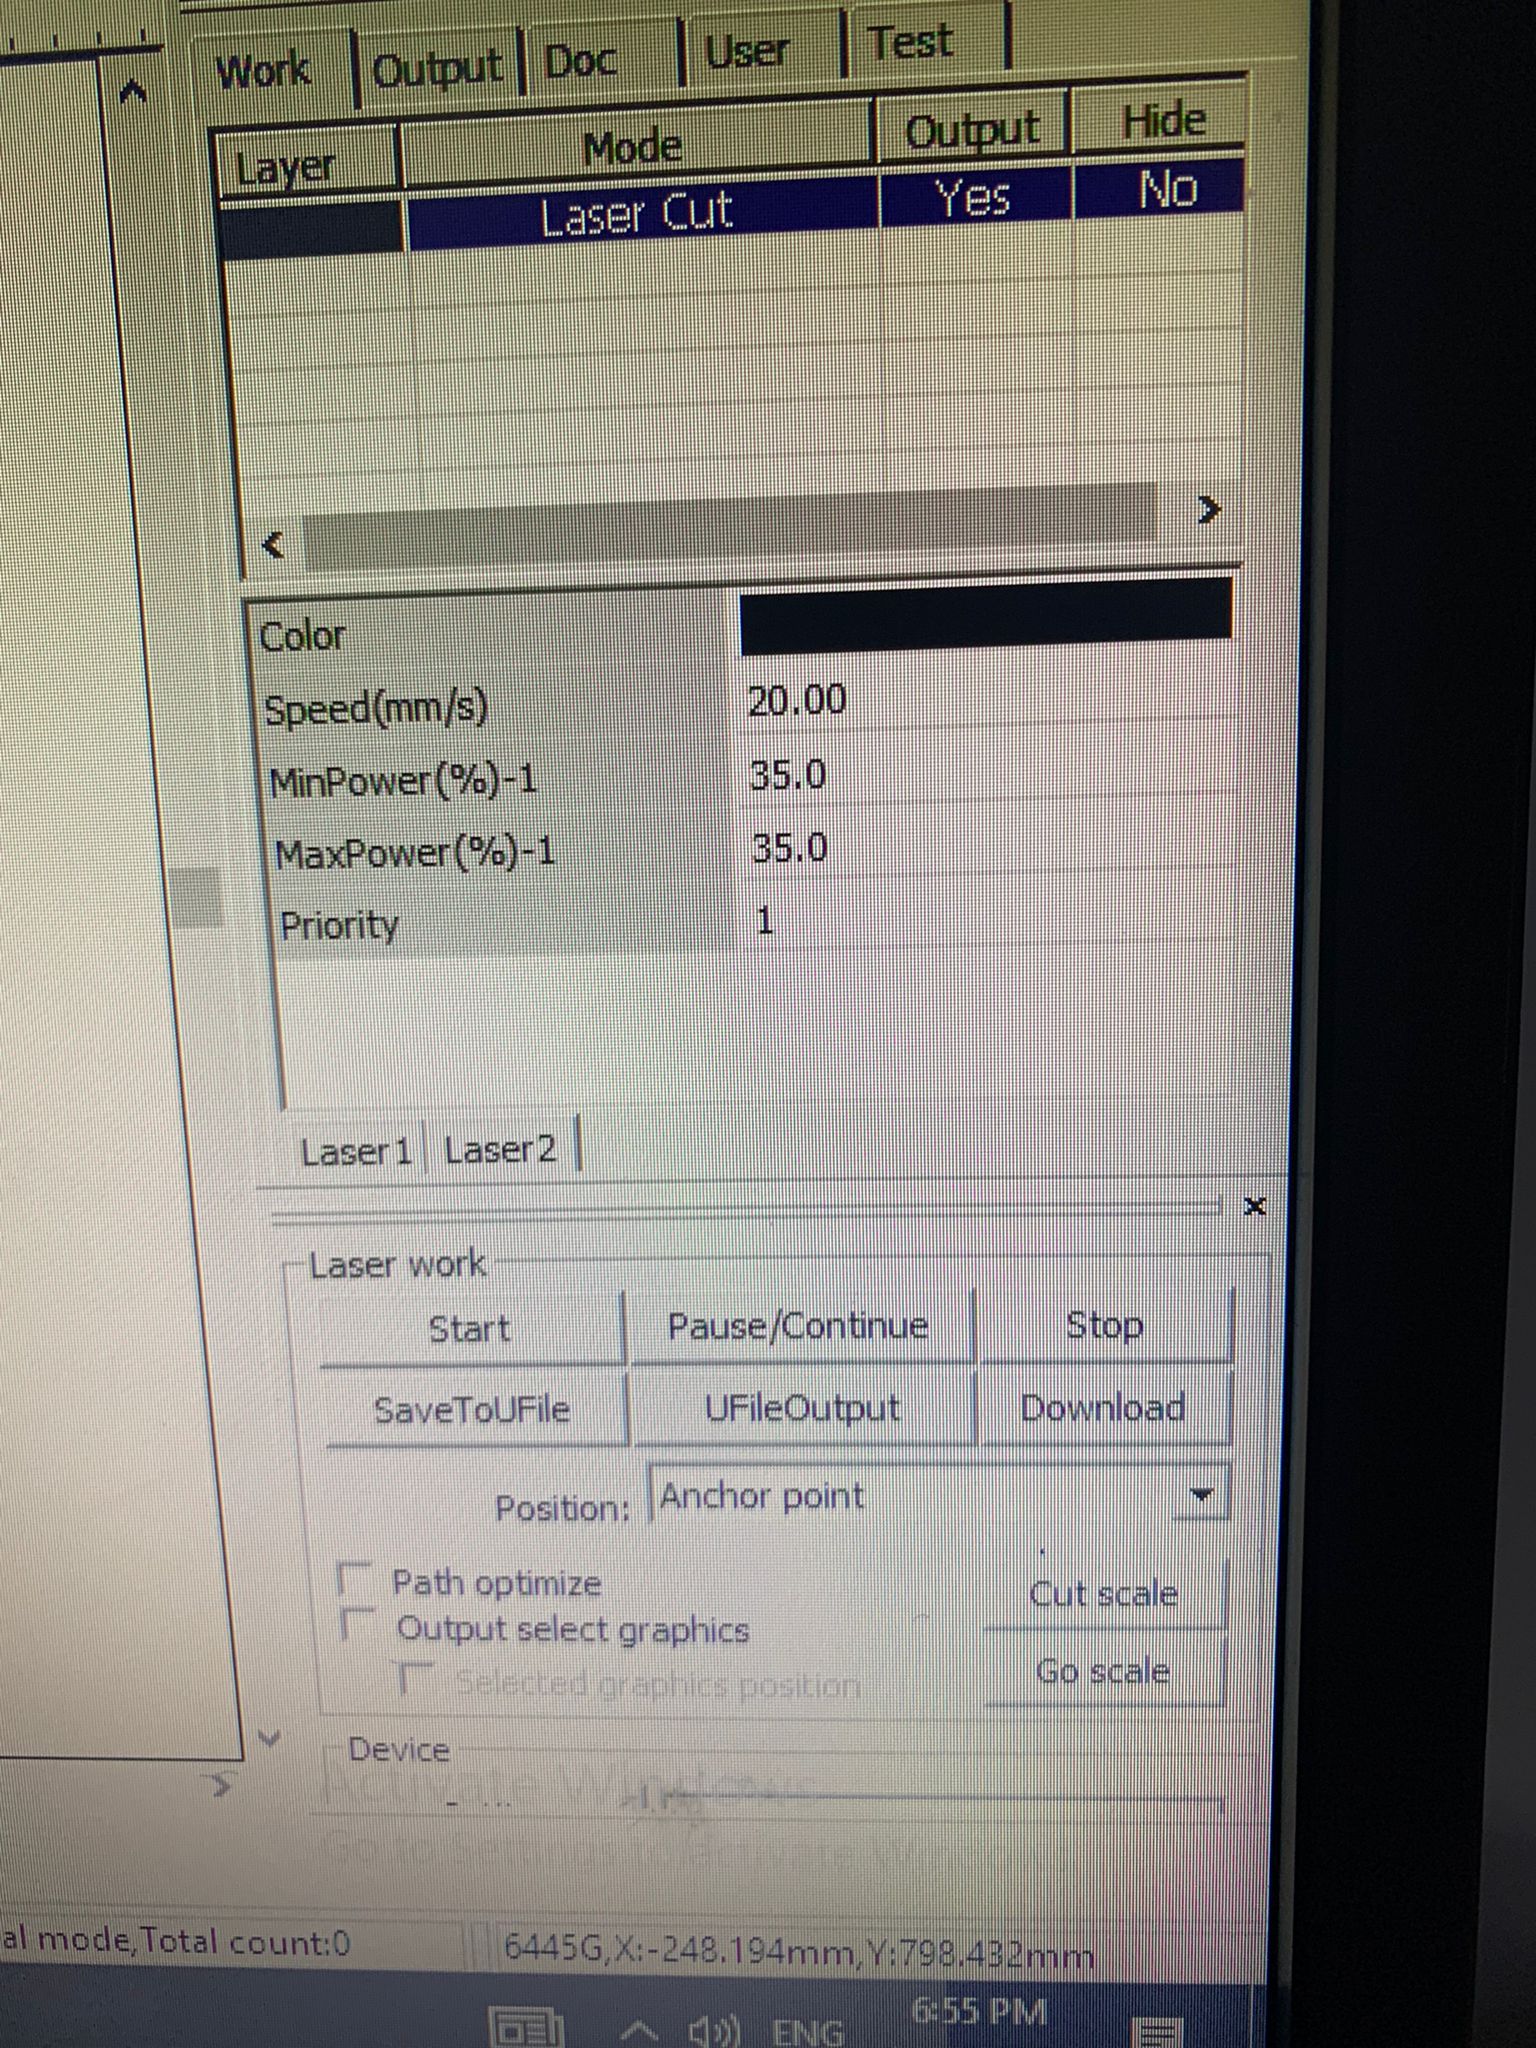
I click on download to move the design to the machine.
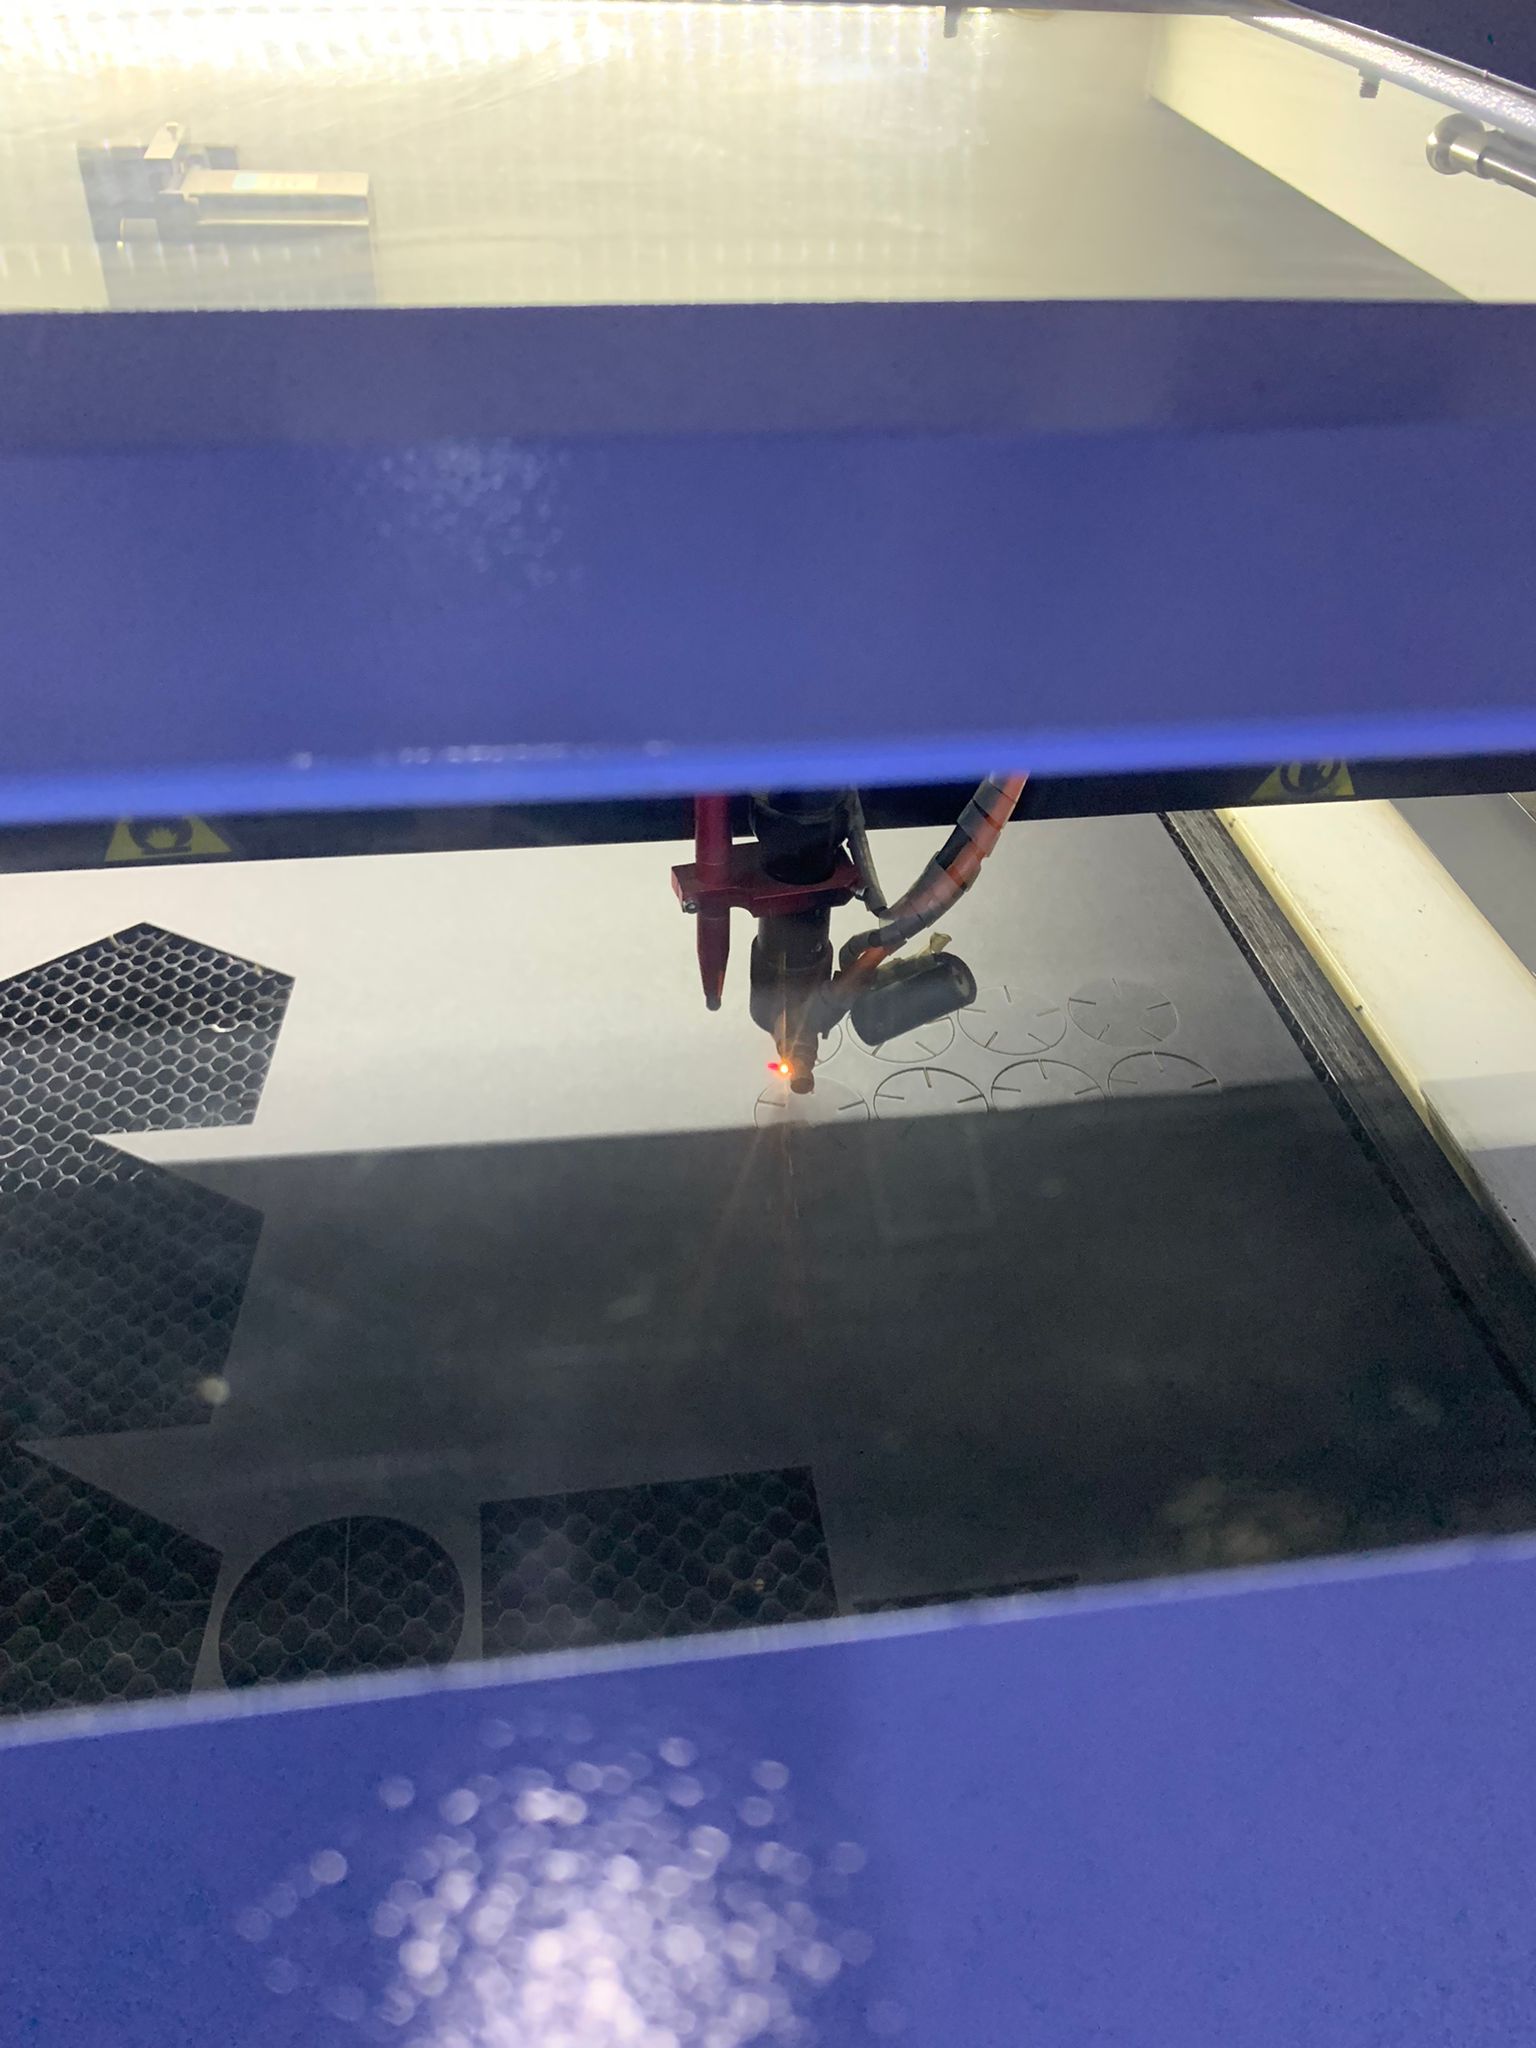
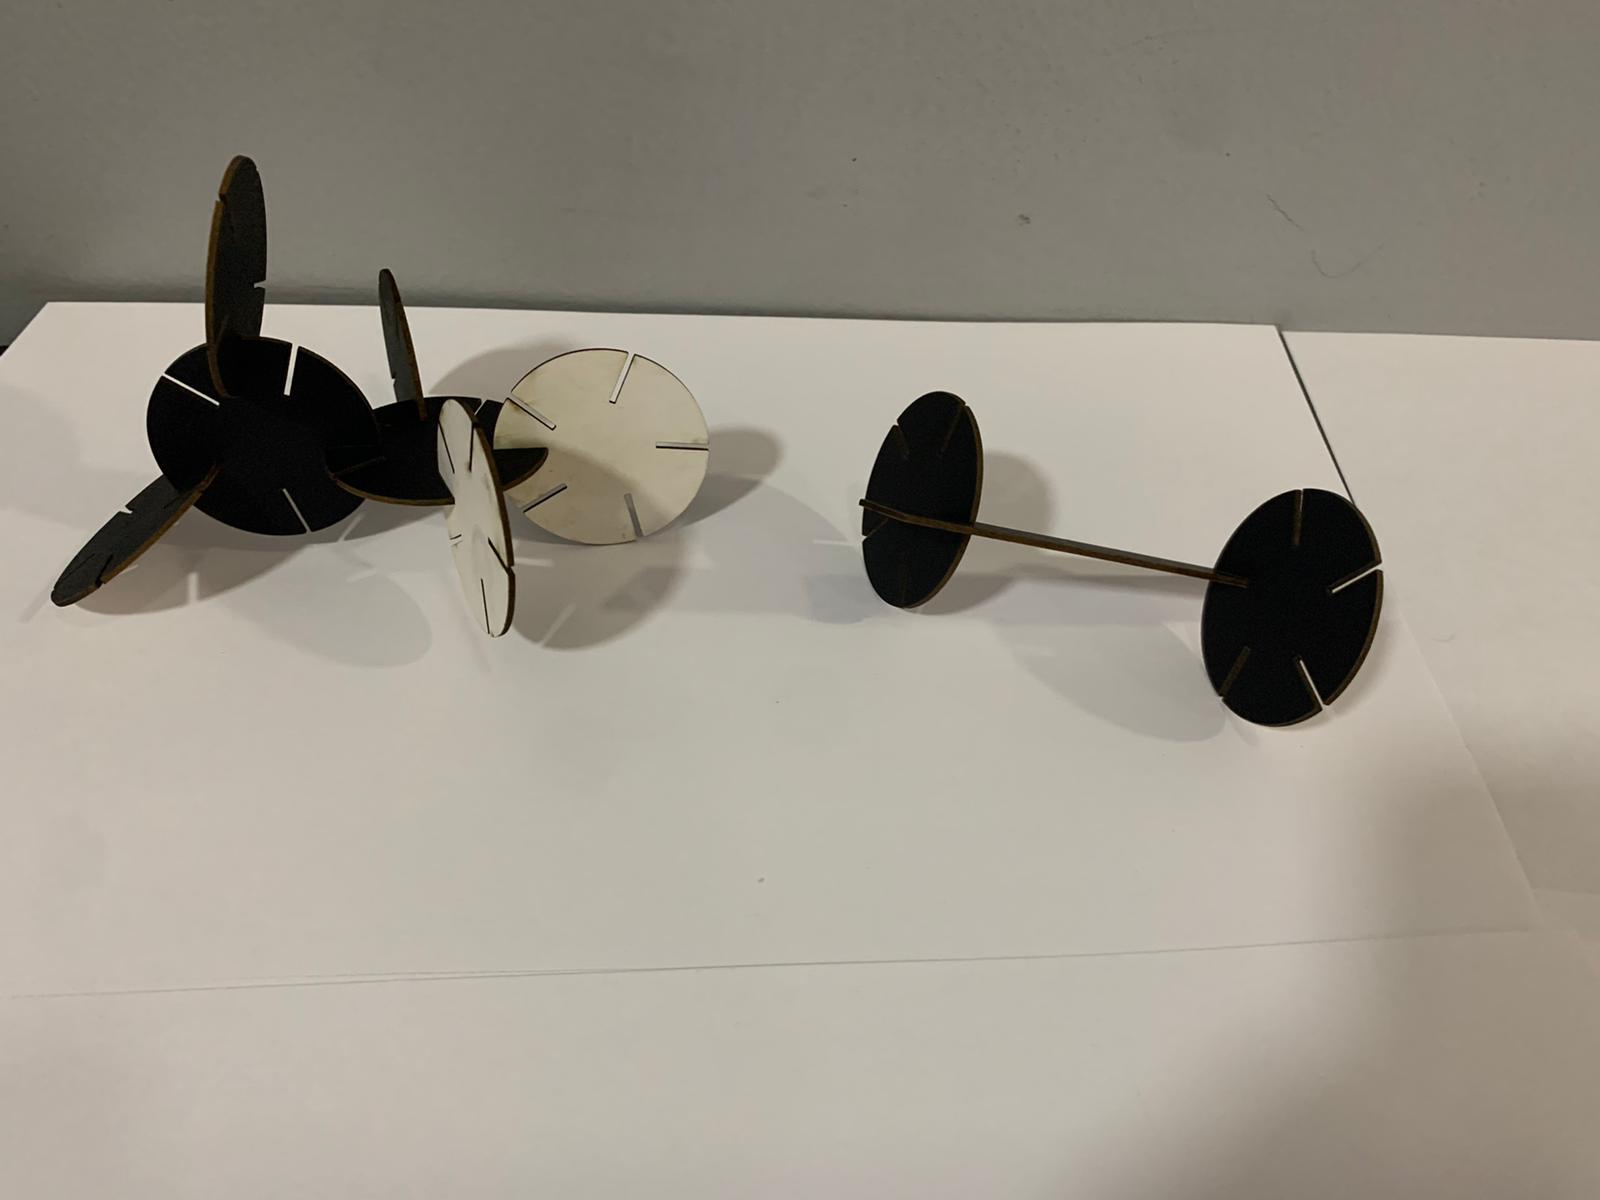
I did several tests to see what is the best fit for the pieces.
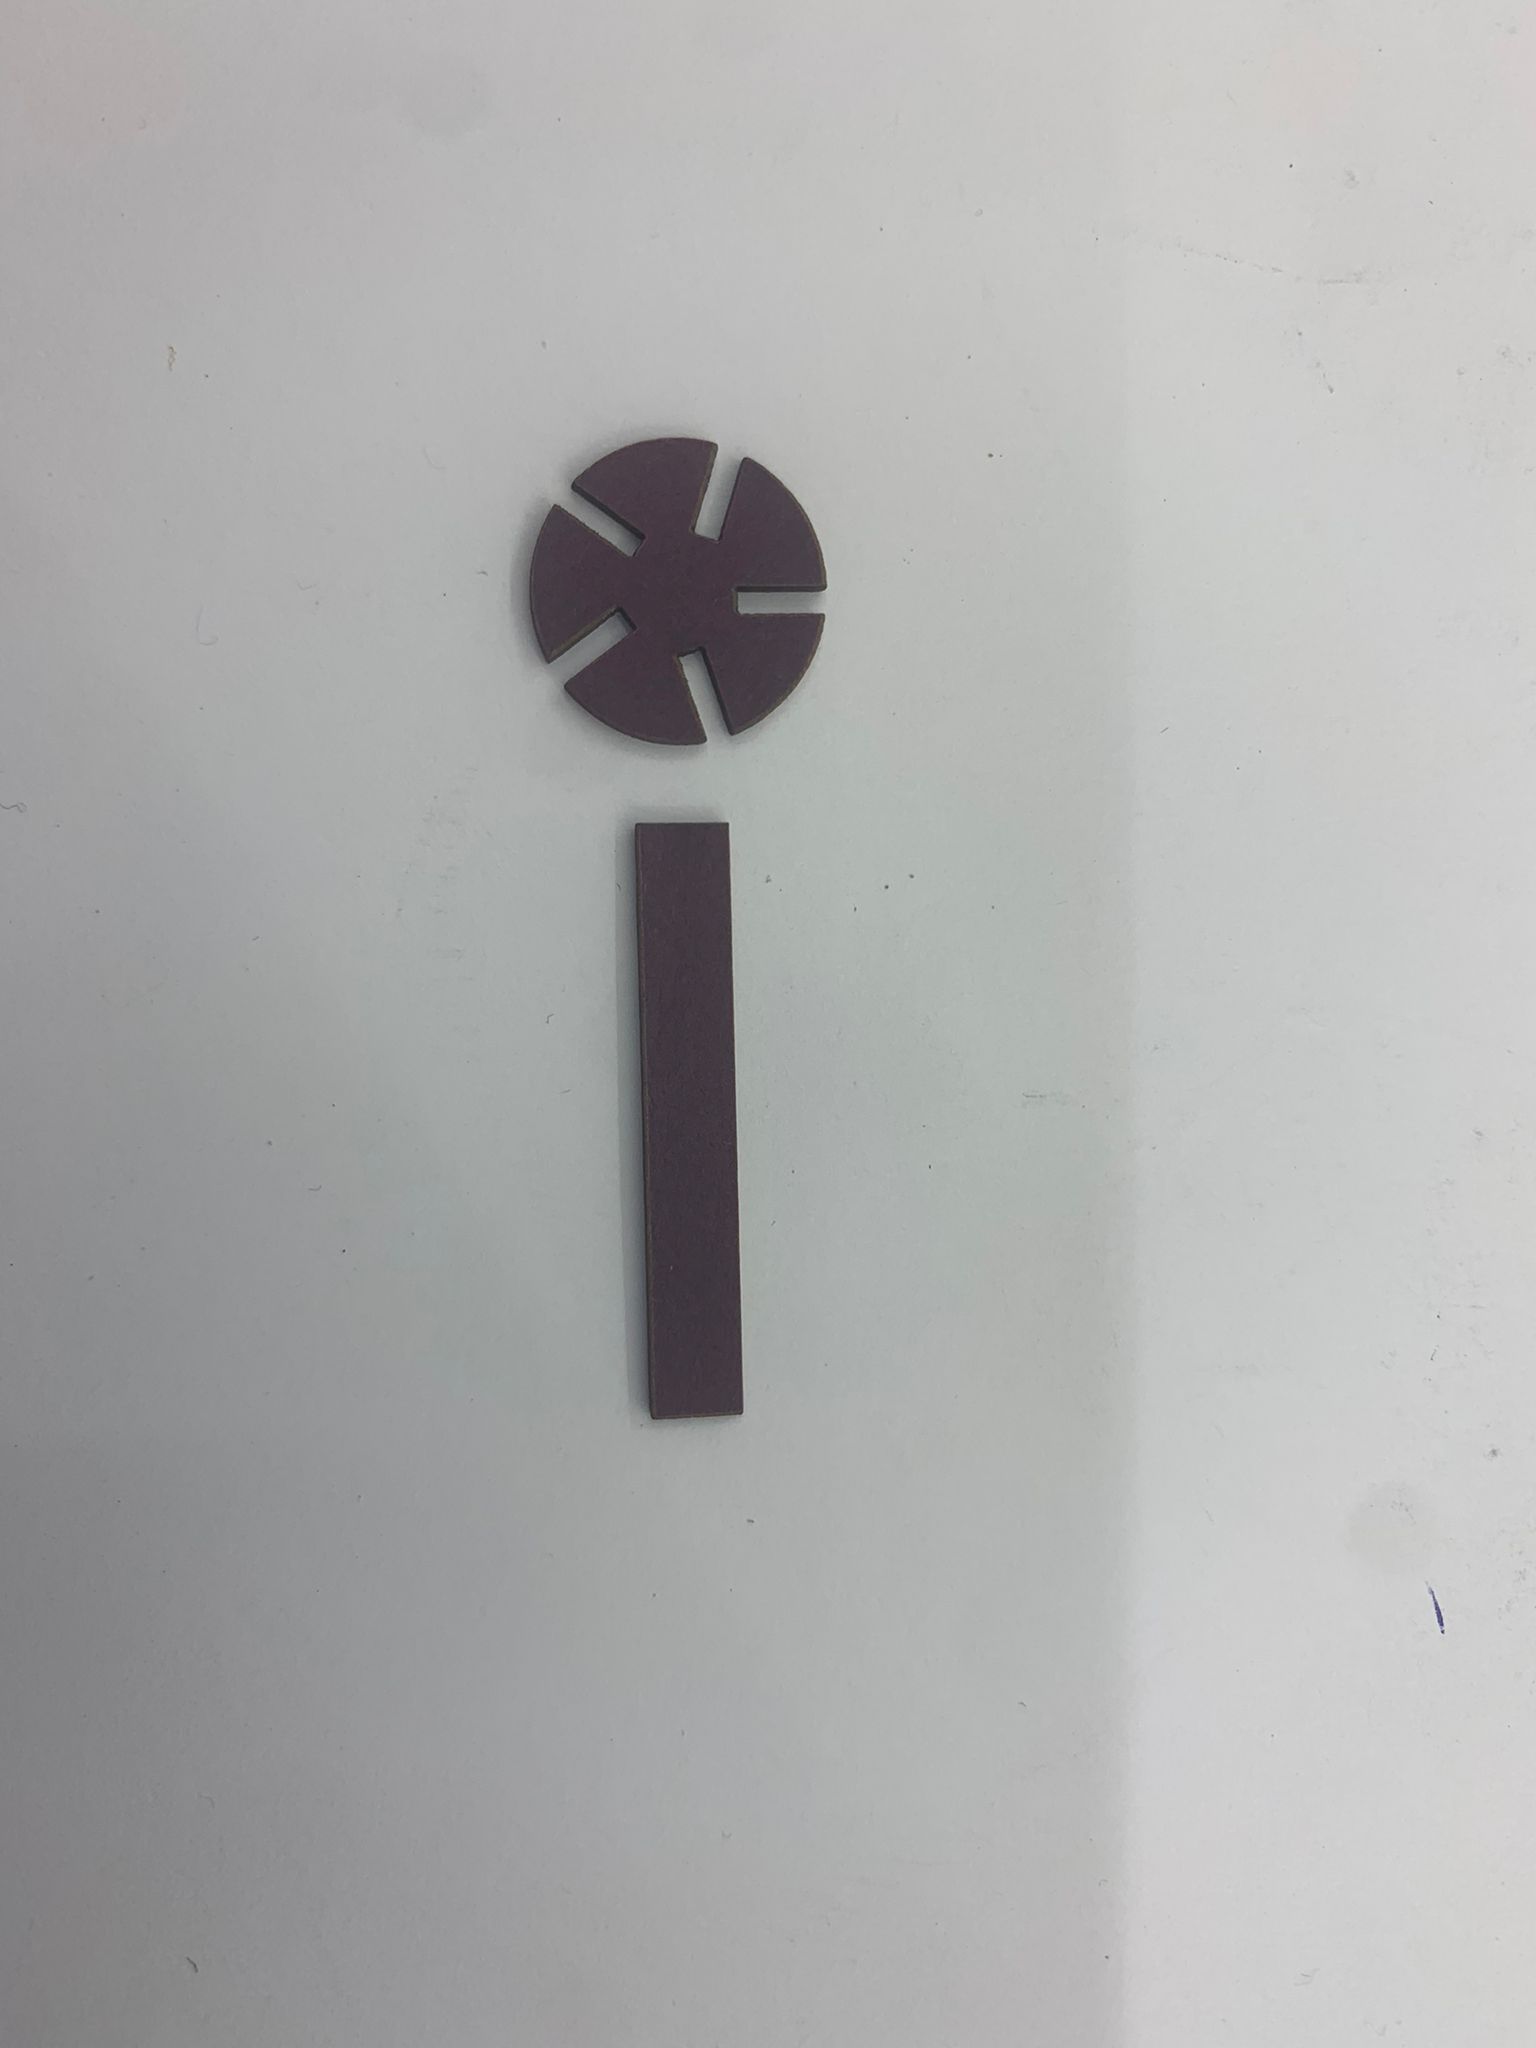
I was planning to do a dome structure, but I wasn’t satisfied by the end result, I think that I’ve should’ve made the circle smaller or something…
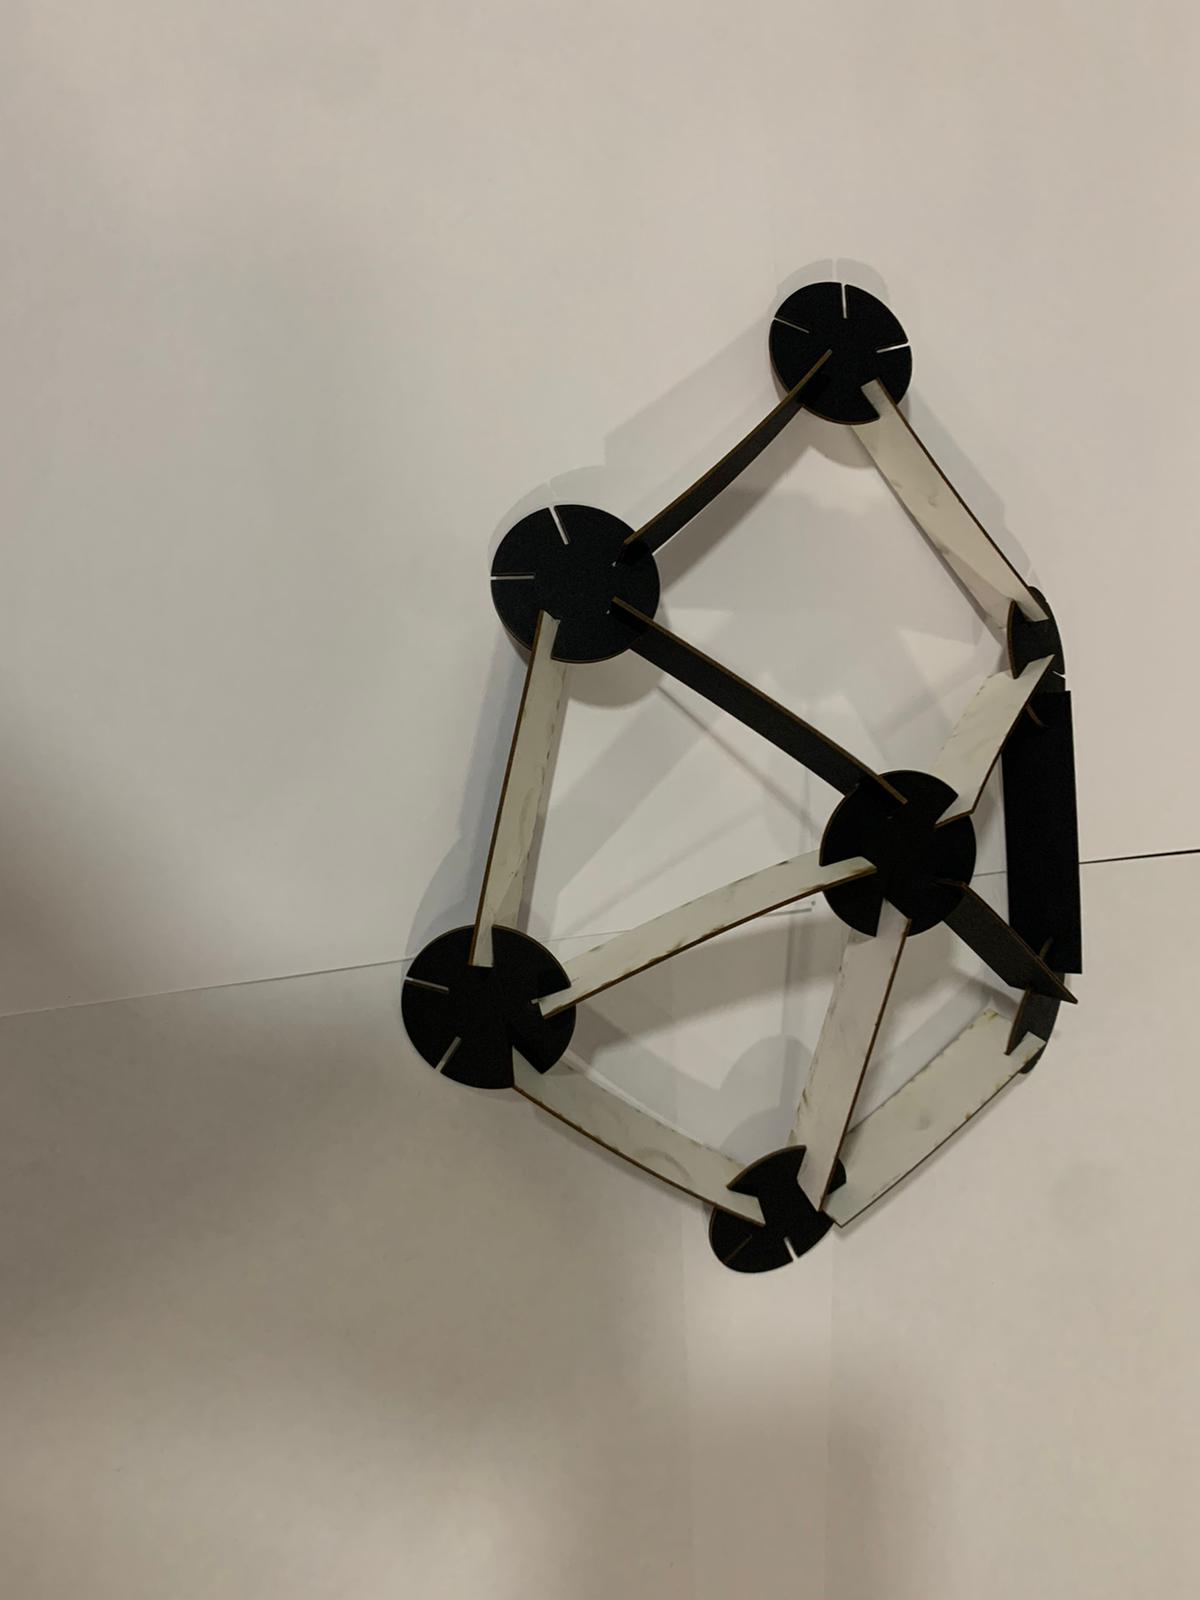
so then I just end up fitting the rest of the pieces in a random way
The design file is attached below click here
Task 3
The third task for this week is using the vinyl cutter.
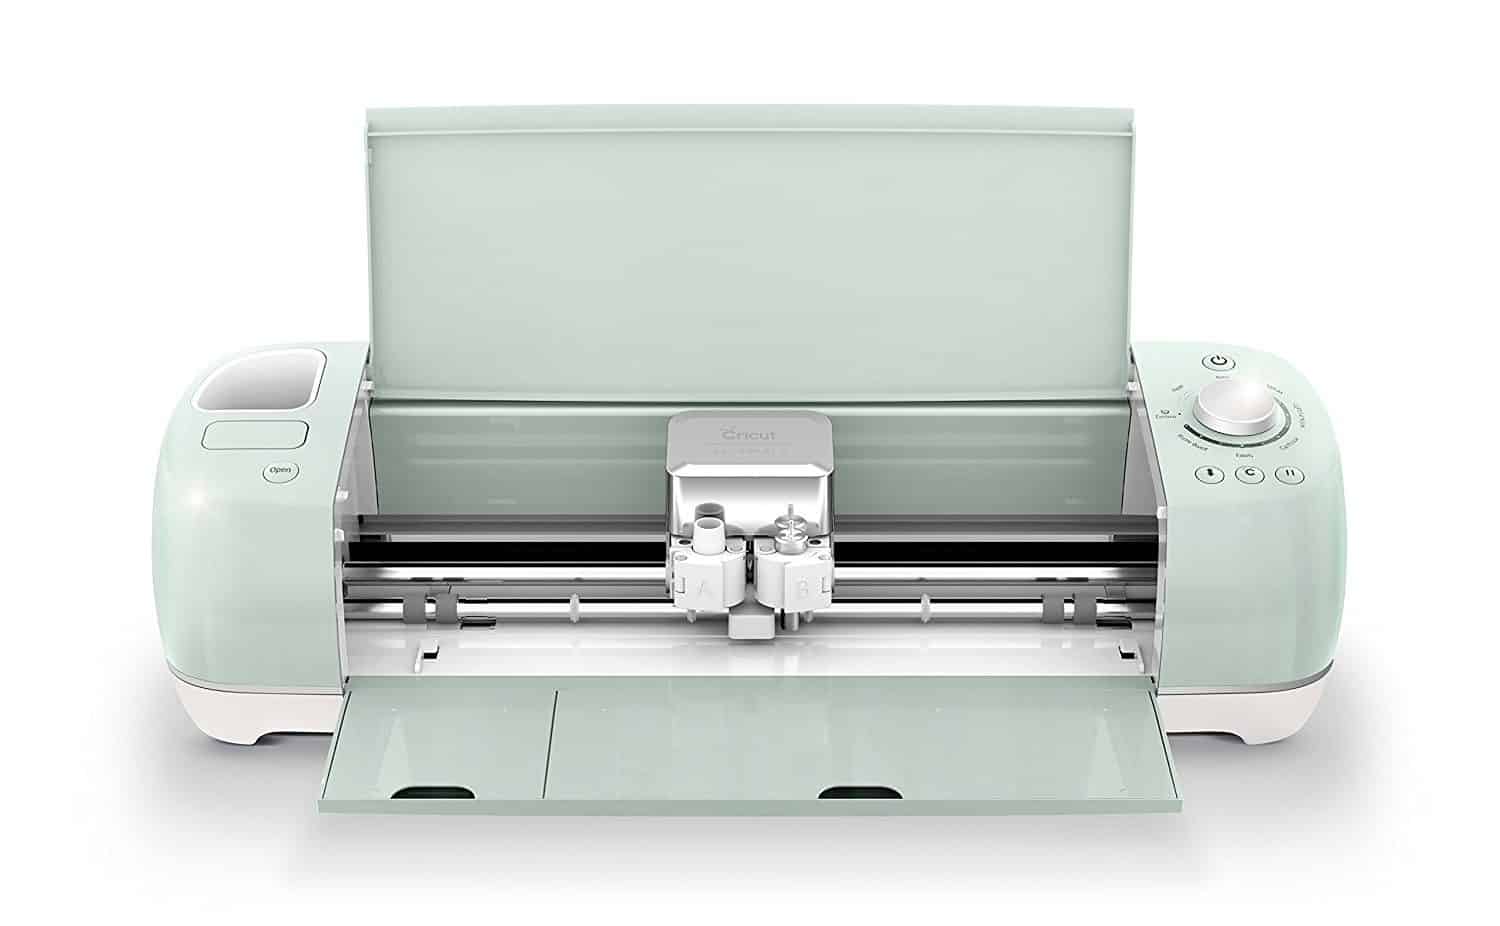
vinyl cutter
A vinyl cutter is an entry level machine for making signs. Computer designed vector files with patterns and letters are directly cut on the roll of vinyl which is mounted and fed into the vinyl cutter through USB or a cable. Vinyl cutters are mainly used to make signs.
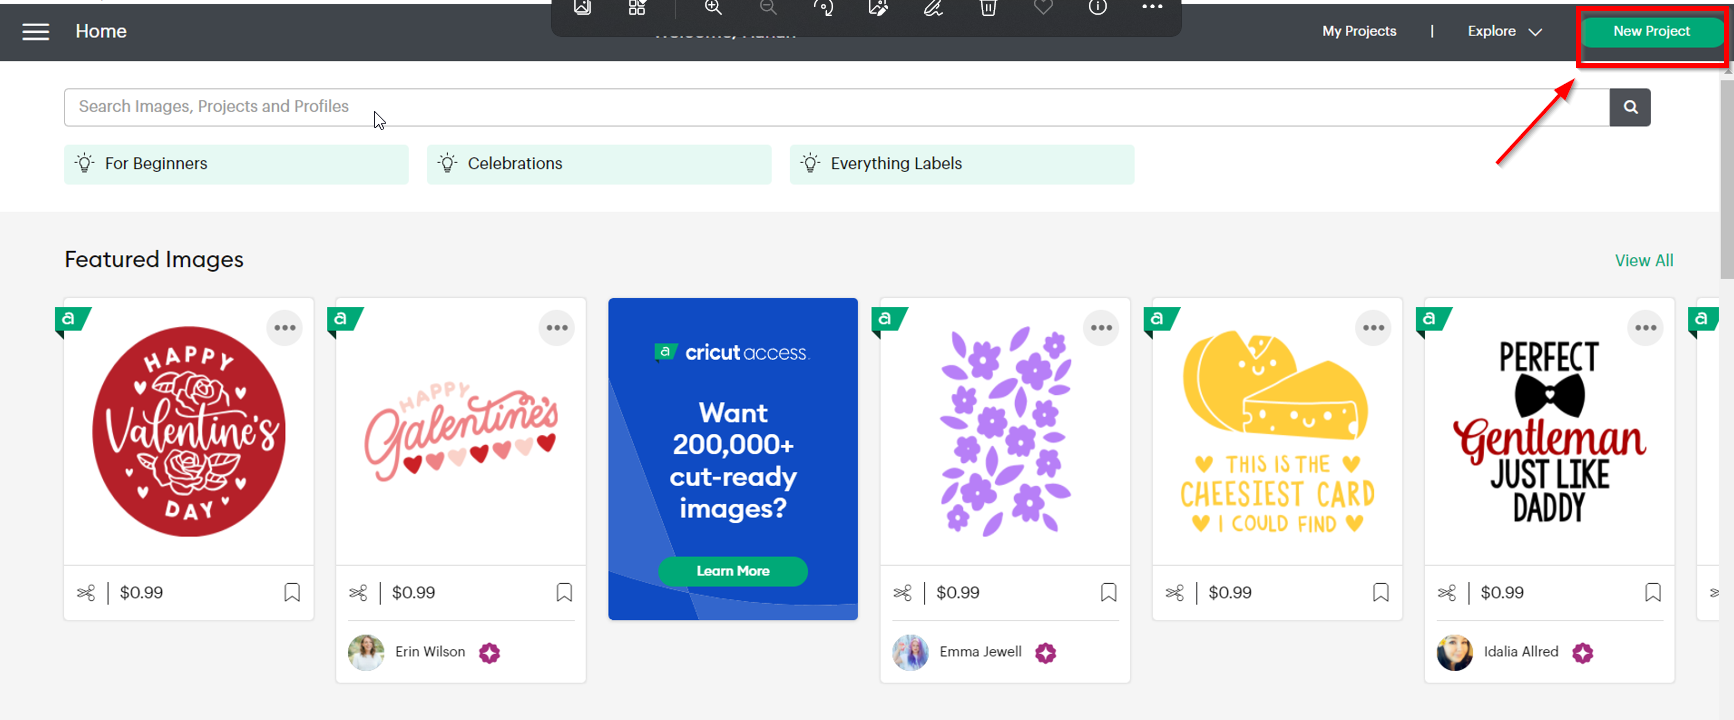
I started by downloding the Cricut software

This is what the home page looks like and you click on (new project) to start doing your own design or import an image.
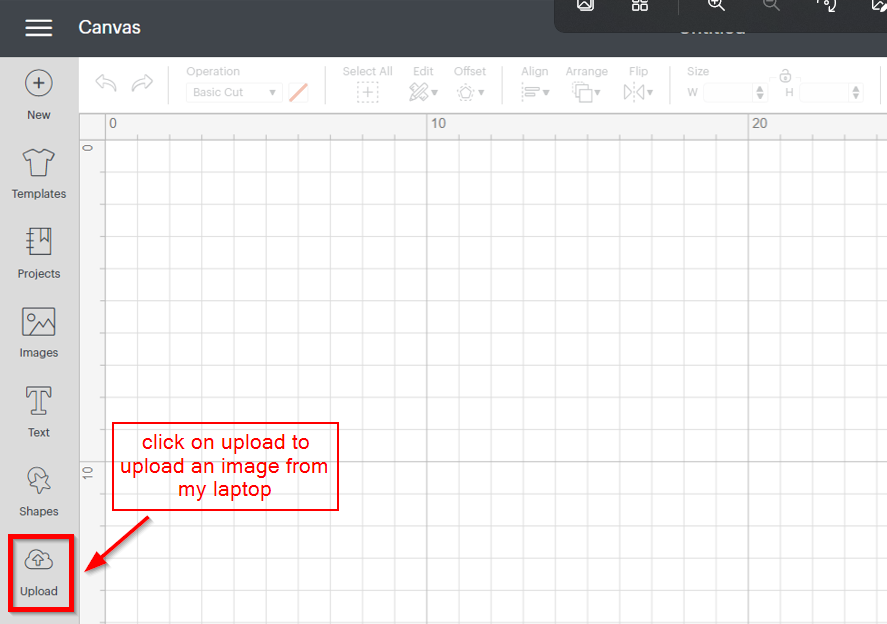
I decided to upload an image so I clicked on upload.
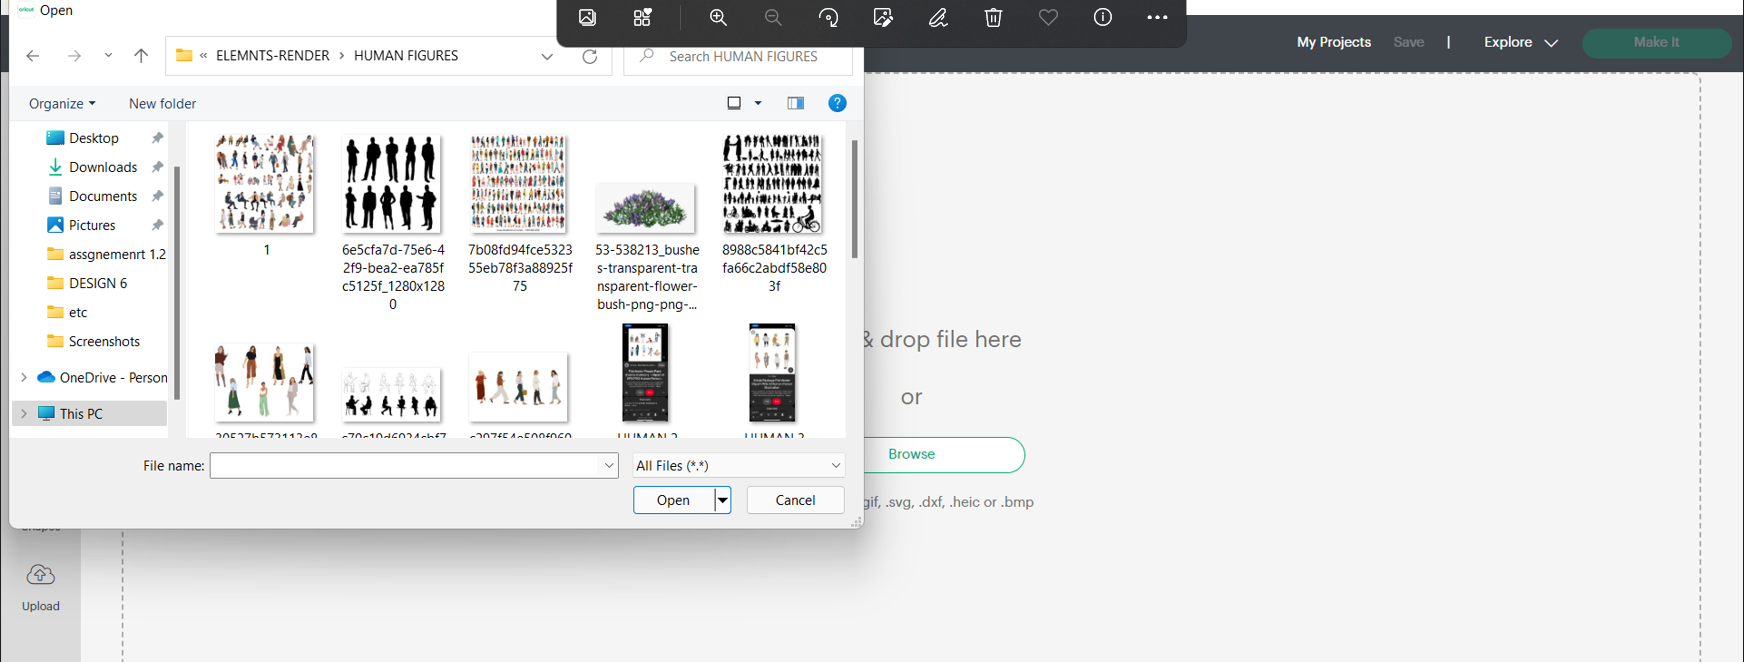
and I chose the image that I wanted.
And know you can choose the image type and I clicked on (complex) which will allow me to remove the background from the image.

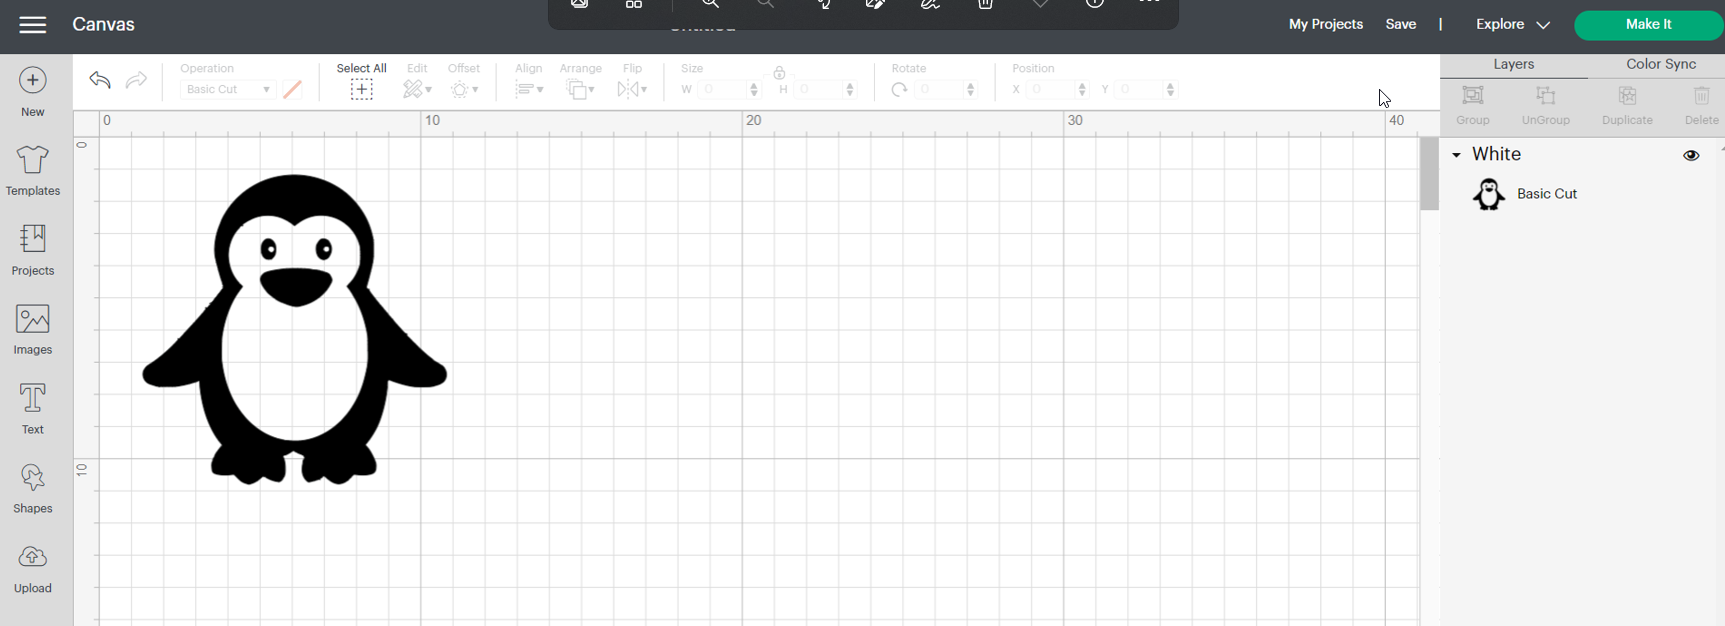
This is how the image looks like after I removed to background.
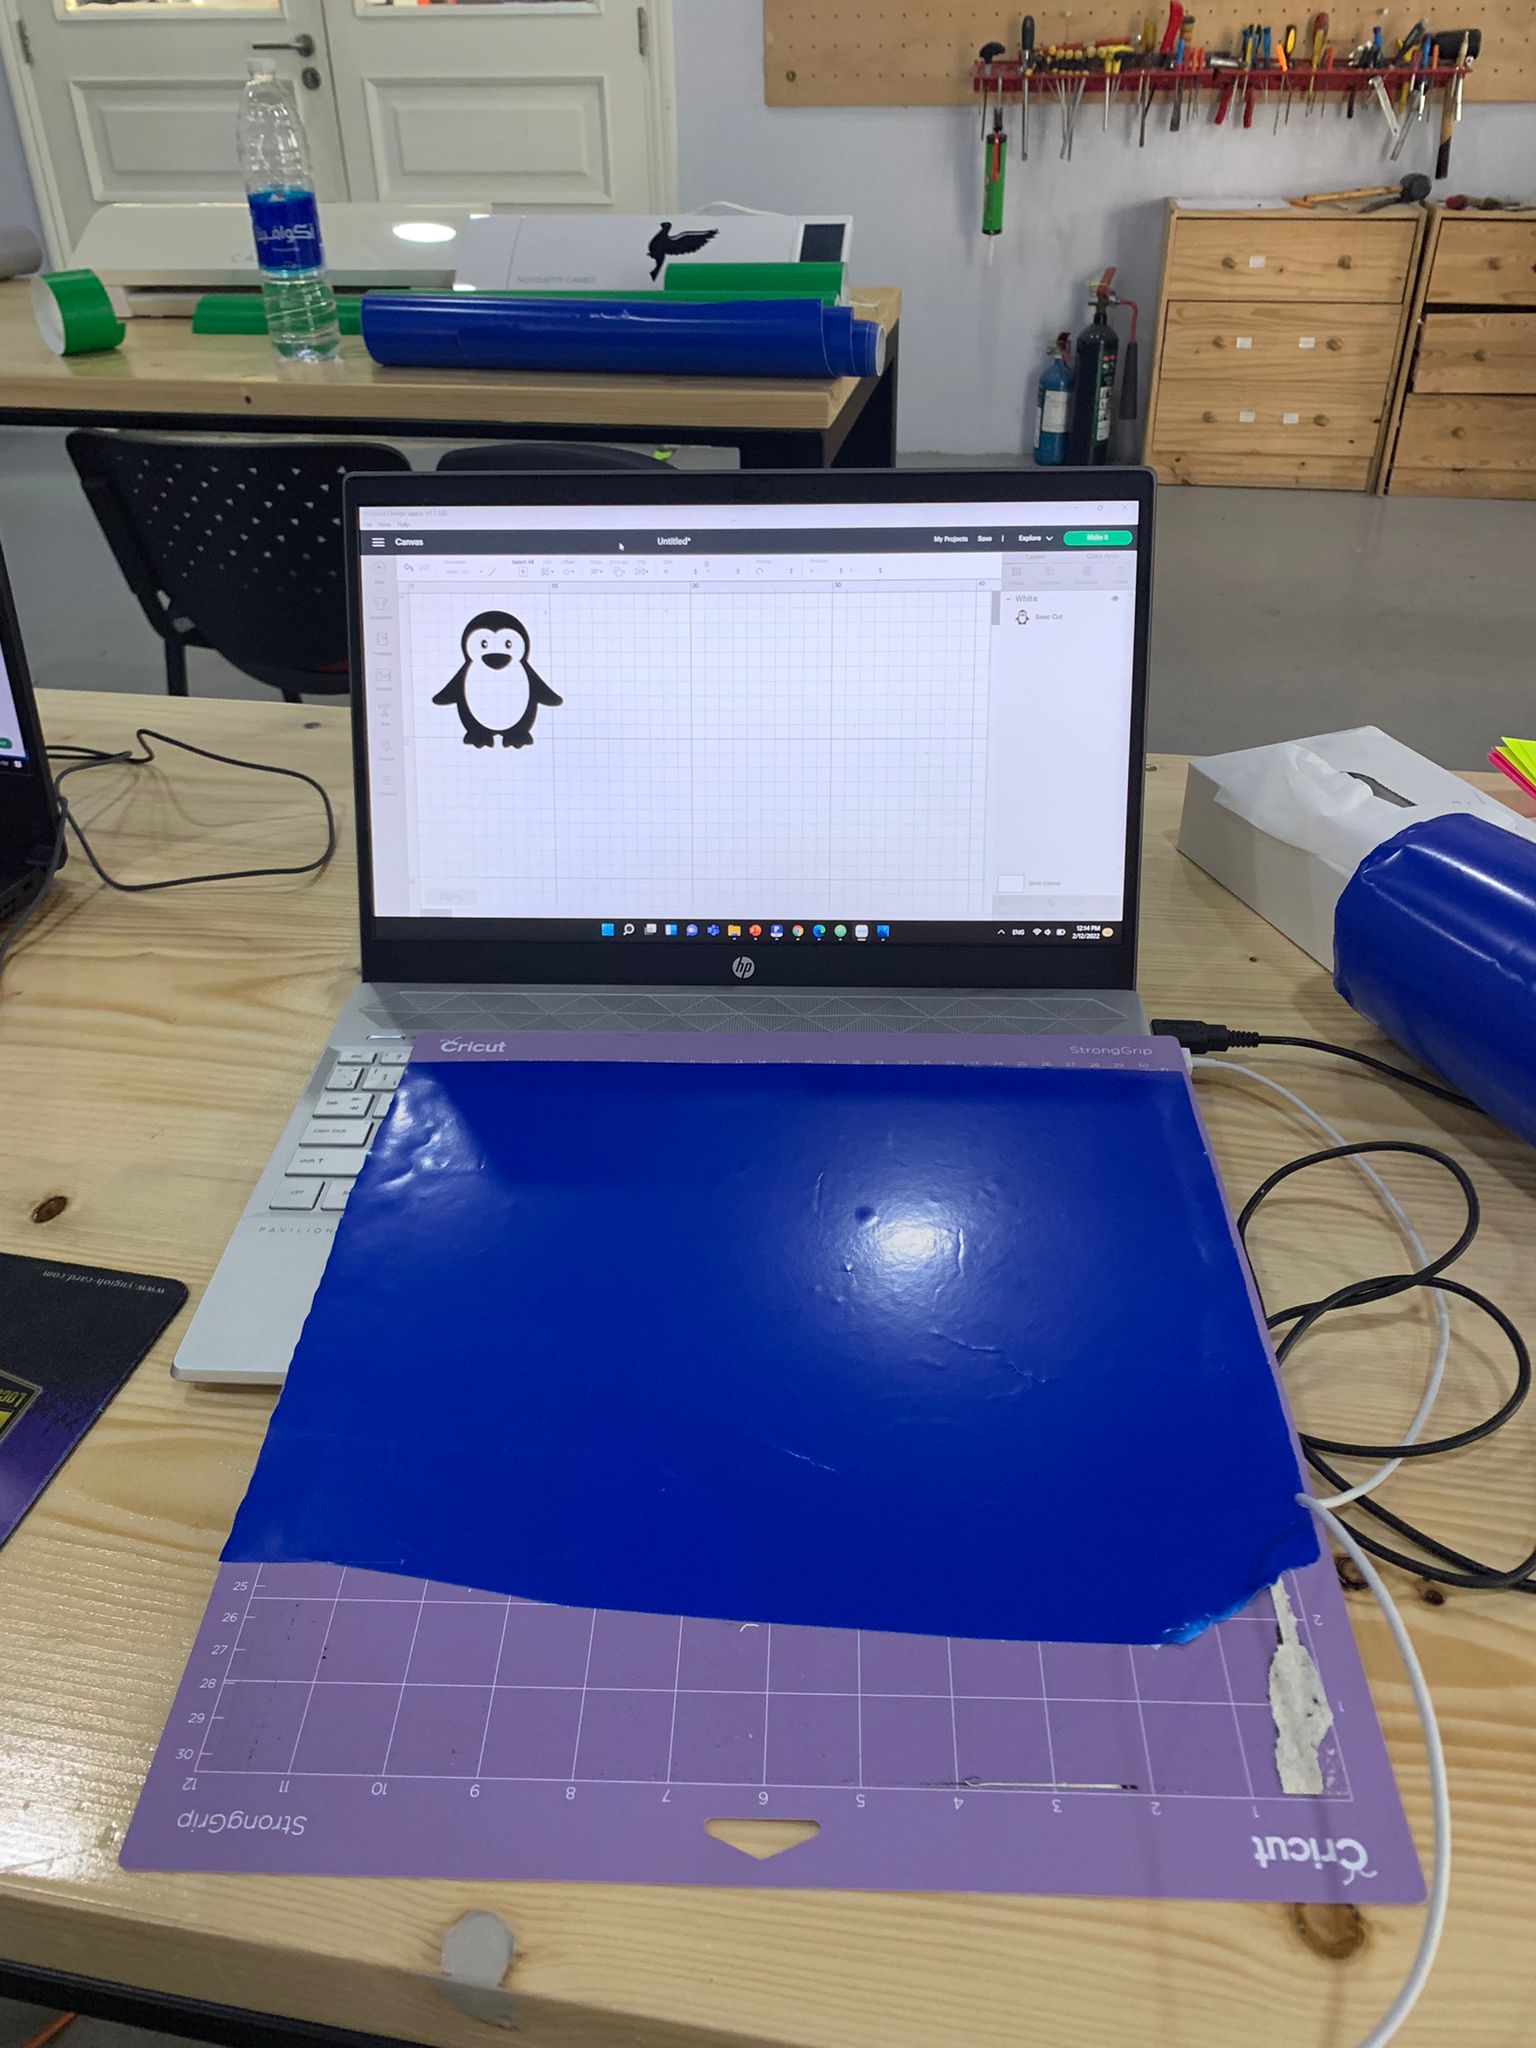
and now it was time to prepare the mat, I choose the blue sheet and stick it on the mat.
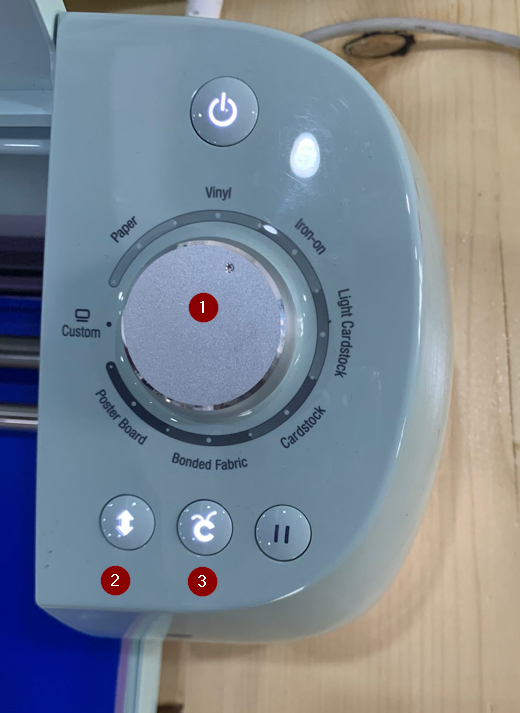
these are buttons that are in the machine.
1- is used to select the material used.
2- is to insert the mate.
3- is to start the cutting.
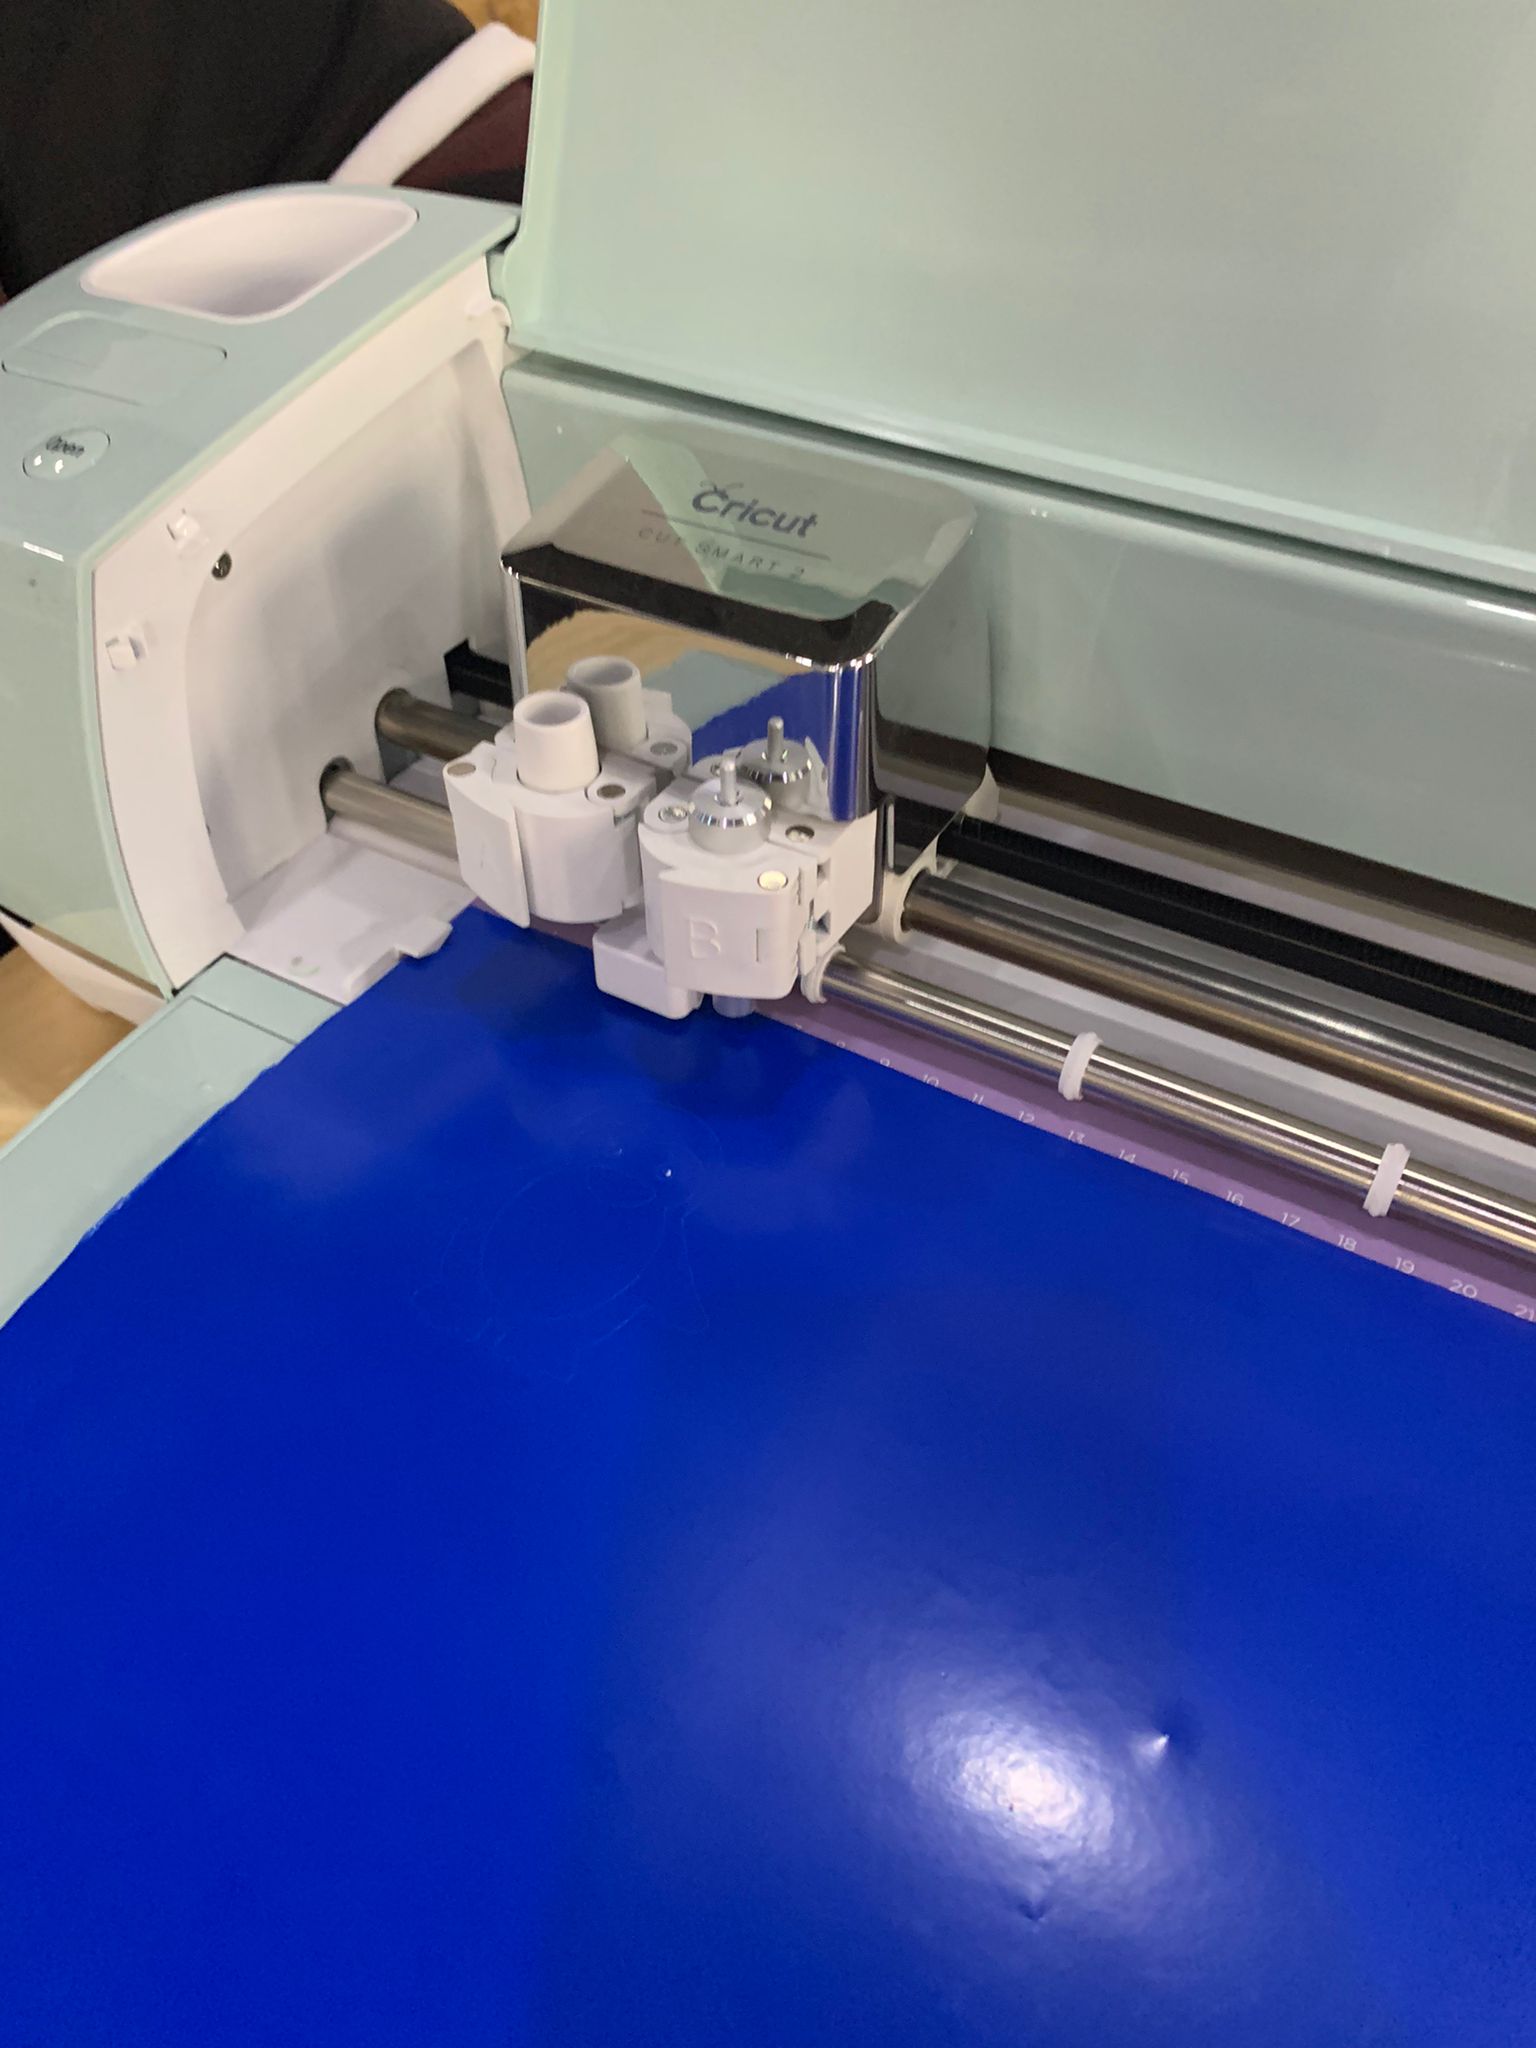
I placed the mat on the machine after I connect my laptop to it to start the cutting prosses.
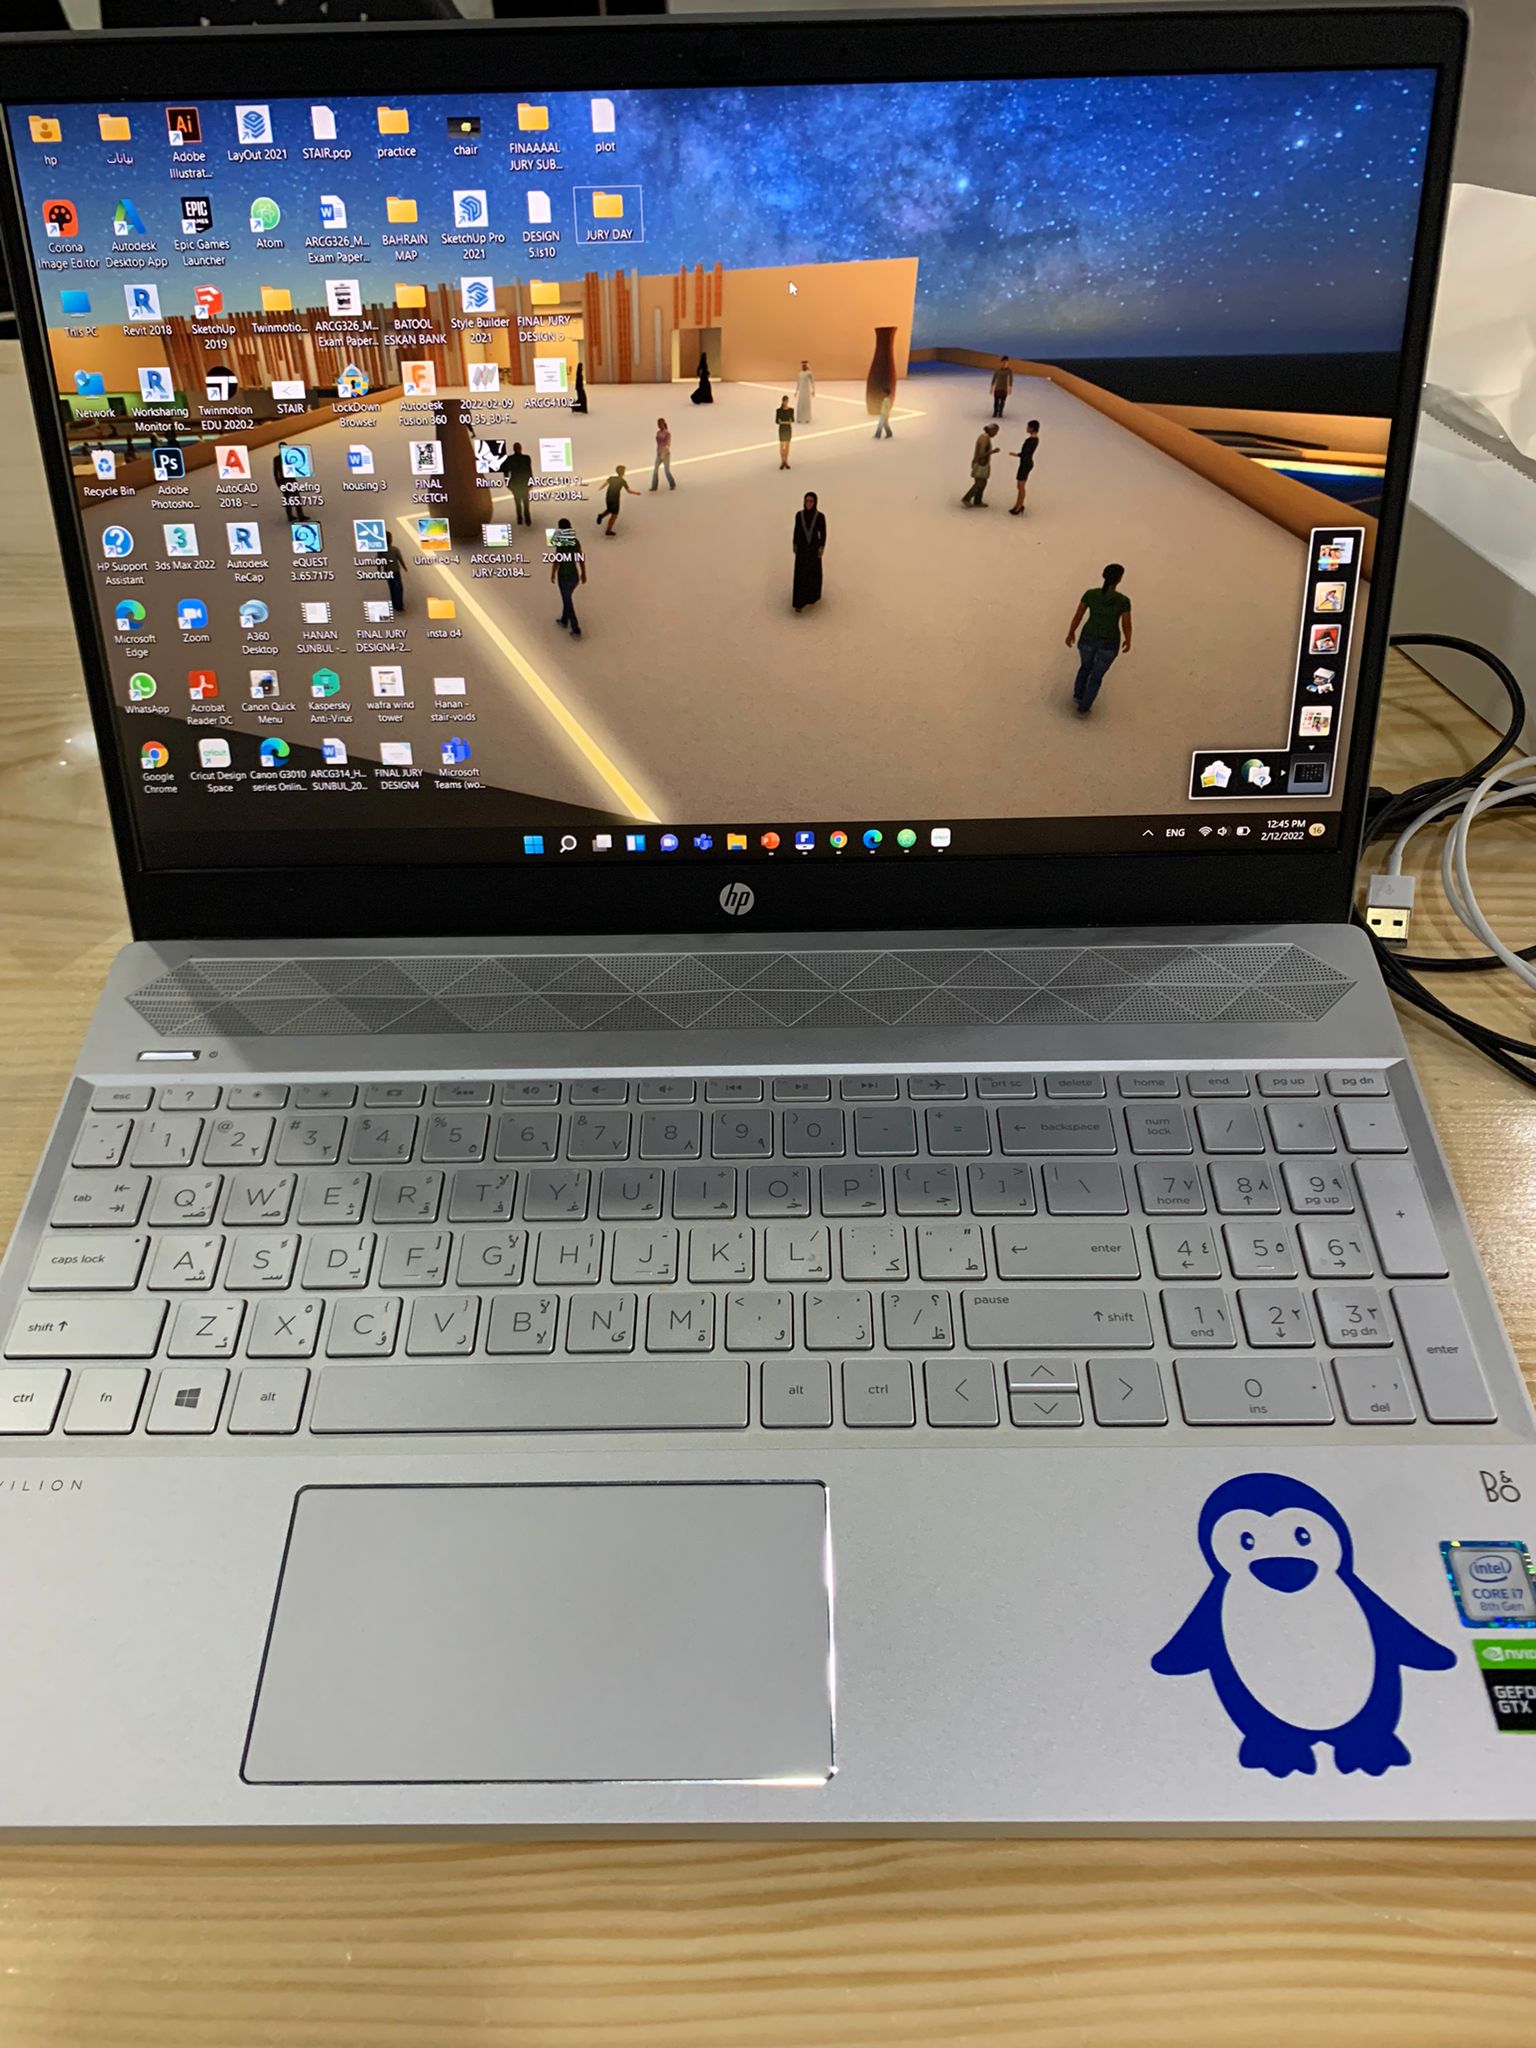
And now I have a cute penguin on my laptop!!!