Project Management
This week I worked on getting used to the documentation process through GitLab, markdown and atom
Introduction to Gitlab
We started by creating account in Fablab and getting access to GitLab and running the pipeline to start make changes on our site
GitLab created by Linus Torvalds. It is a cloud server that will enables you to run your site and edit it using markdown language. It creates multiple versions so that in case error happens you can return to that specific error to change it also if more than one person works on it by creating the best version merging all to suitable updated changes
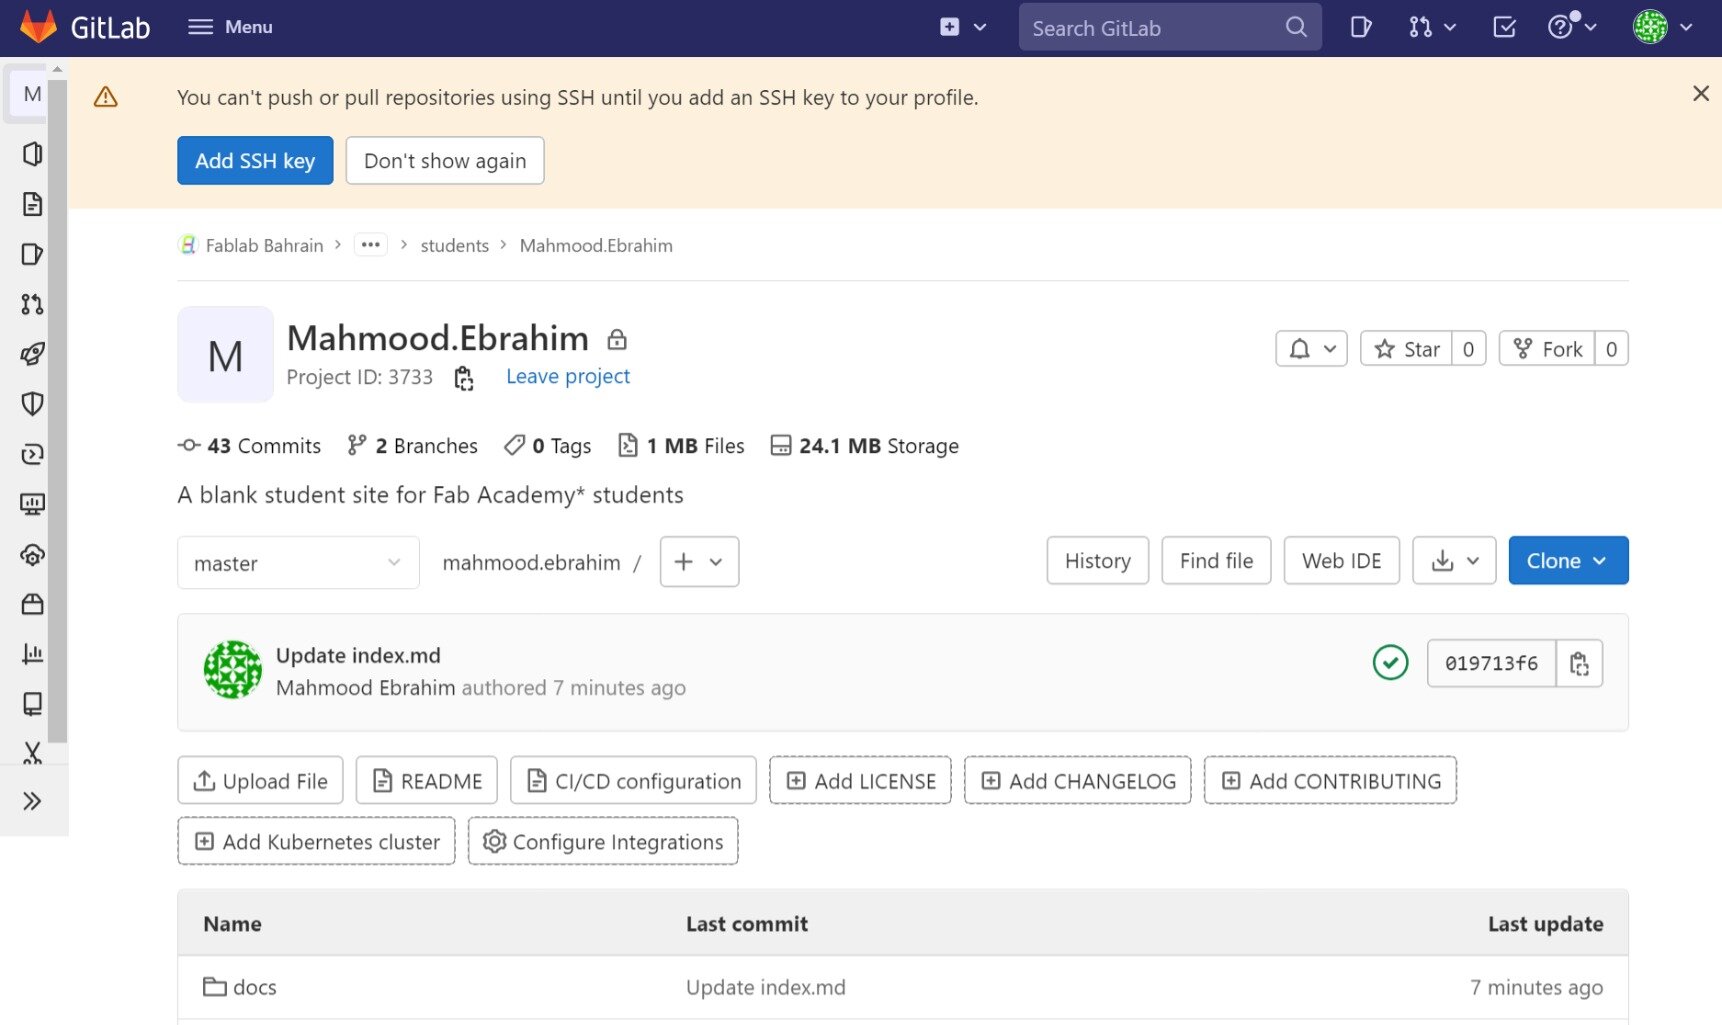
inside git lab there is files through repository where you can directly make changes to your site
Markdown
All sites works on markups like HTML which is language that computer understands, but it is bit complicated for human. So markdown is simpler way to control the site.
As we said previously markdown is the core language so you need to be familiar with the codes to run it. they are very simple + you can use markdown cheat sheet if you are stuck in any point :)
- Markdownguide
- Markdown
Code Example
here is example of most frequently used codes like headings, images and links
# About me

Greetings! I am Mahmood Ebrahim. I am a Mechanical Engineer. Graduated from UOB & based in Bahrain working on some projects as you will see here, plus studying stuff.
- [markdownguide](https://www.markdownguide.org/cheat-sheet)

Cloning
To have copy of your files in your laptop you need to clone it cloning mainly done by Gitbash & accessed by Atom as following :
Gitbash
To control your site directly from your laptop you need to link it through git bash initially - Follow this link to download
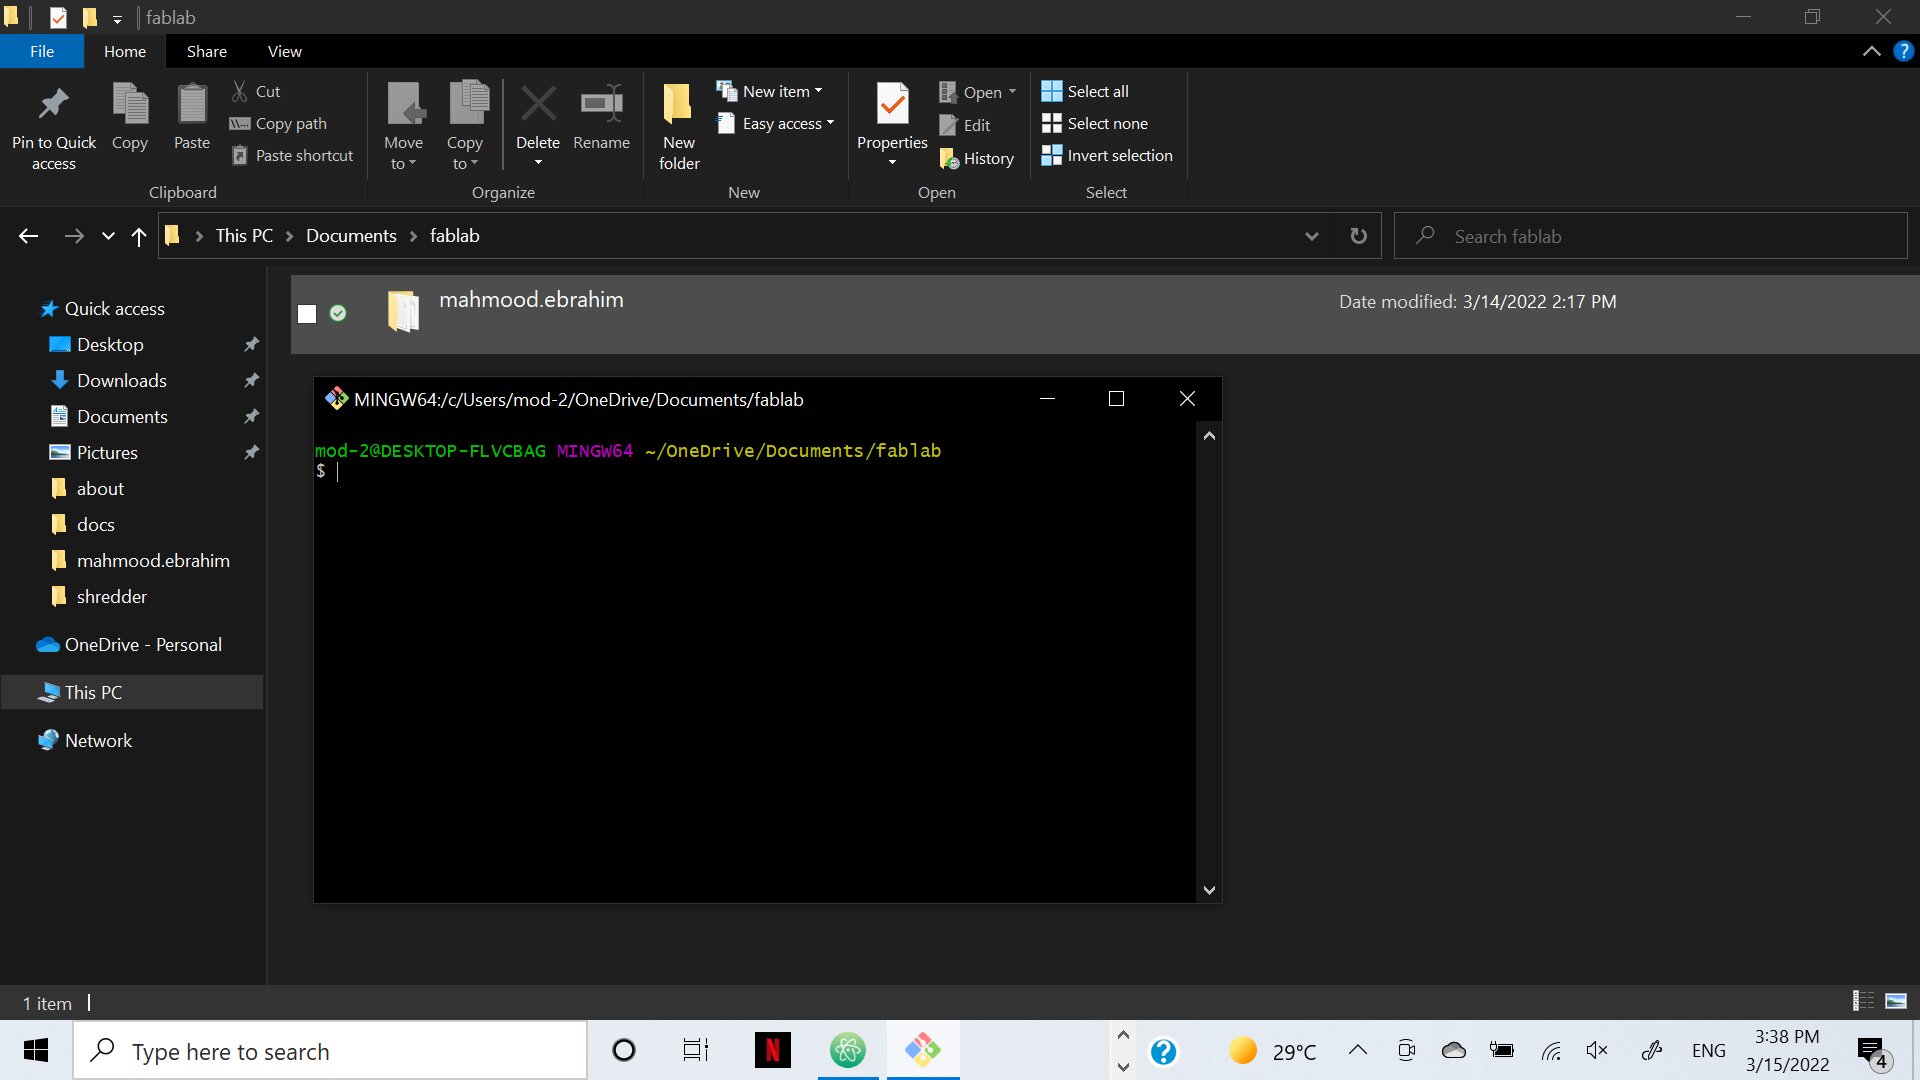
You need to download it & run it on your pc, then create file inside it to link it through Fablab account. after successively connected here is the output in the below image
Atom
Next step is to download atom from the following link
- Download Atom
Atom is a tool to access files in your laptop directly and make changes.
After downloading it run it and connect it to the file you created for git bash to get the following results

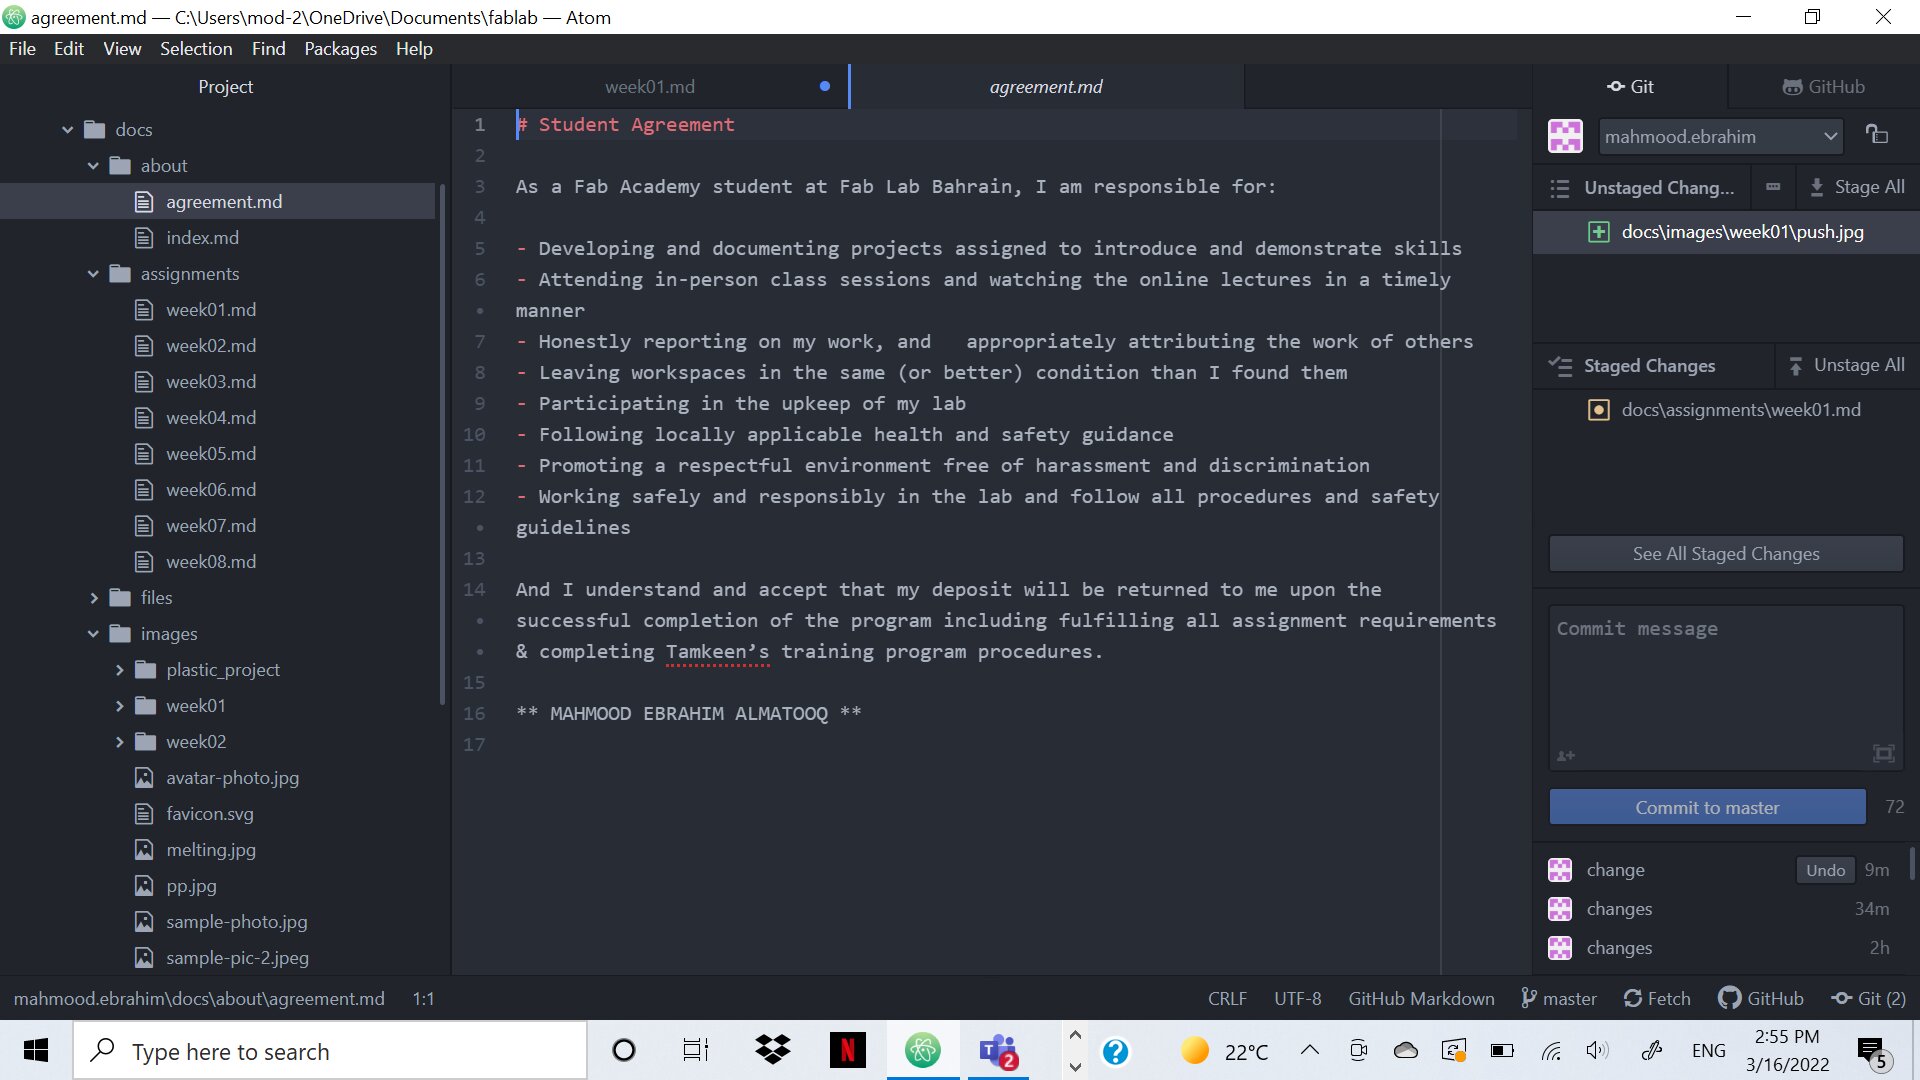
Now you can easily play with your site from atom after finishing follow these steps
-save
- git/ stage all changes
- comment & commit
- push the changes & fetch if required
How to upload picture on your site
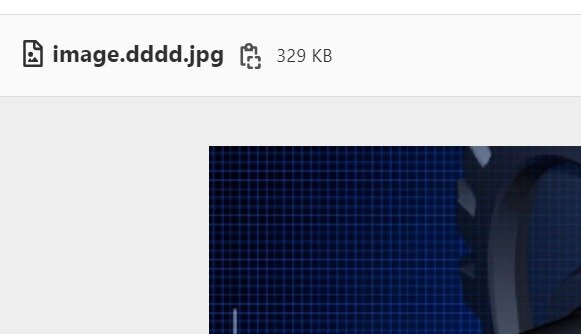
1- First you need to choose photo. This photo must be of small size & JPG format if not you can compress it and convert it through the following link.
- Click Here
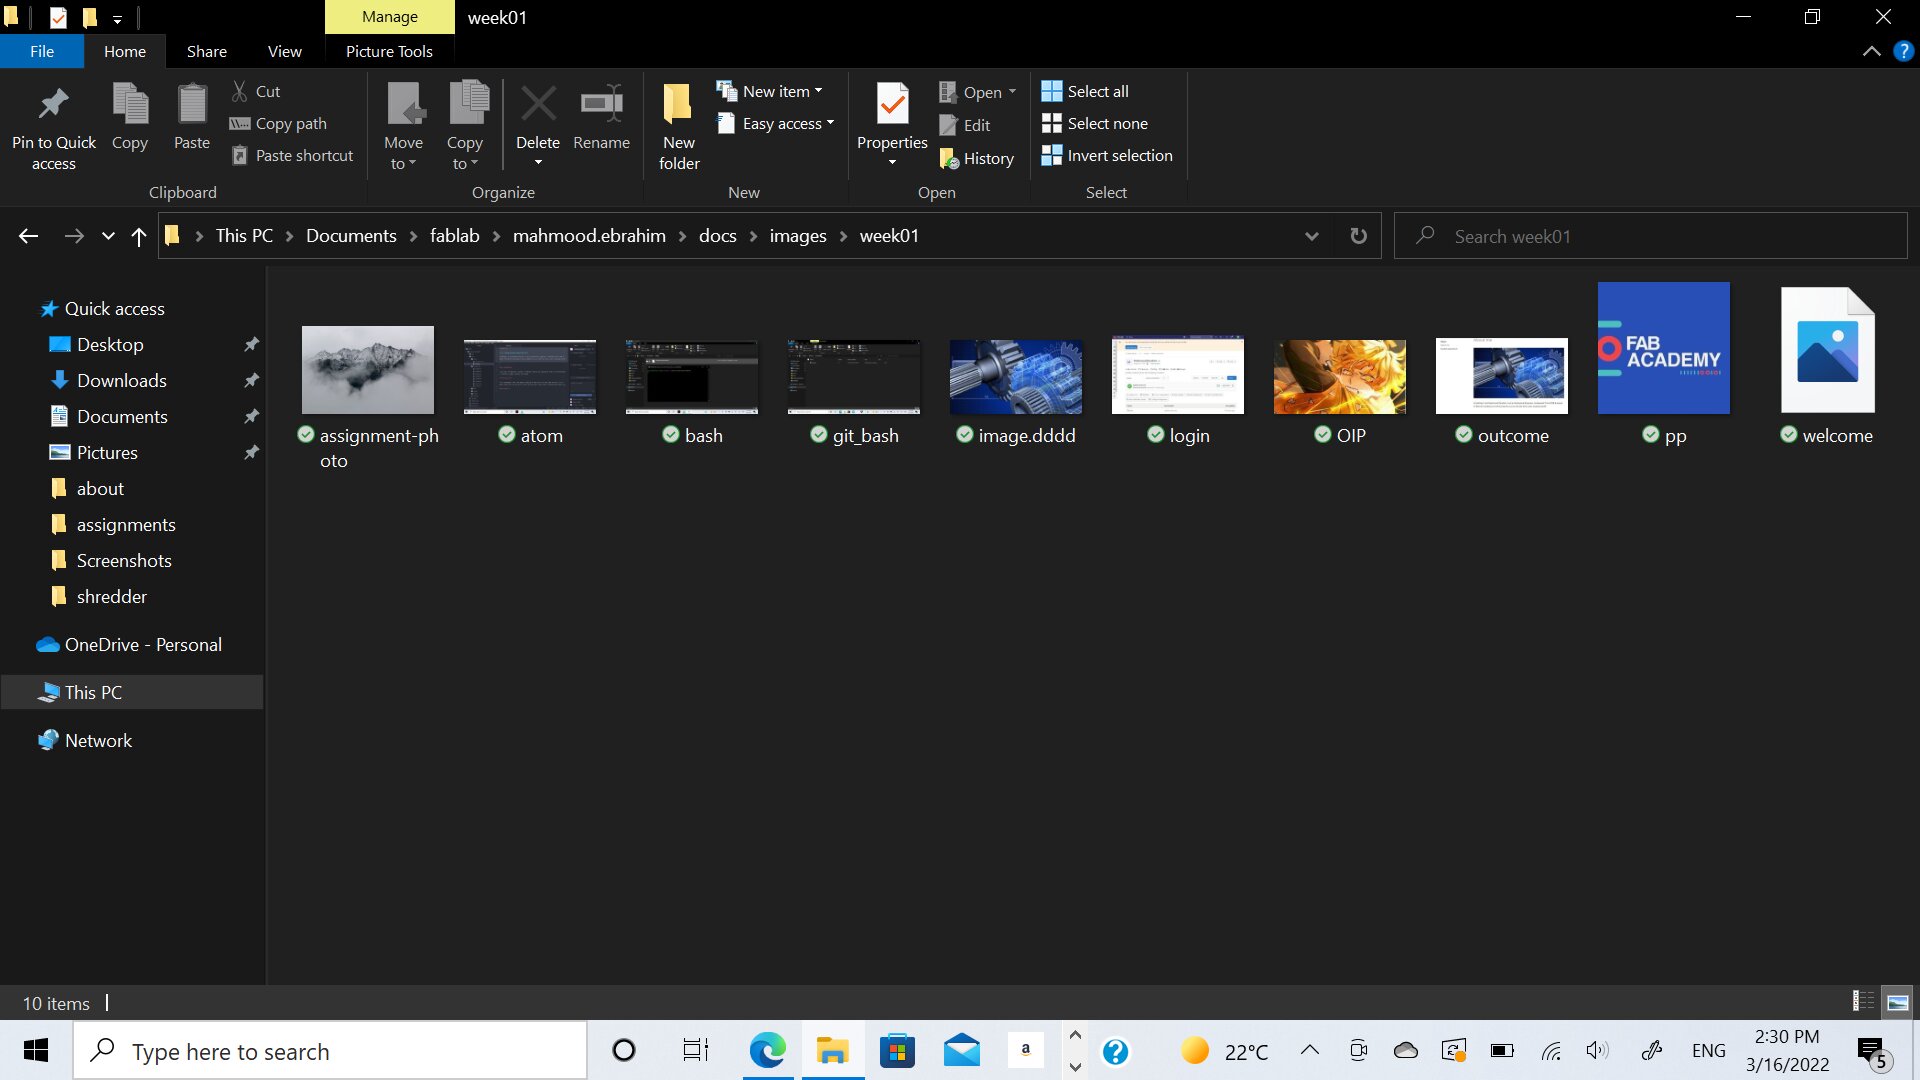
2- You need to upload the photo either through GitLab or directly from file you created through bash
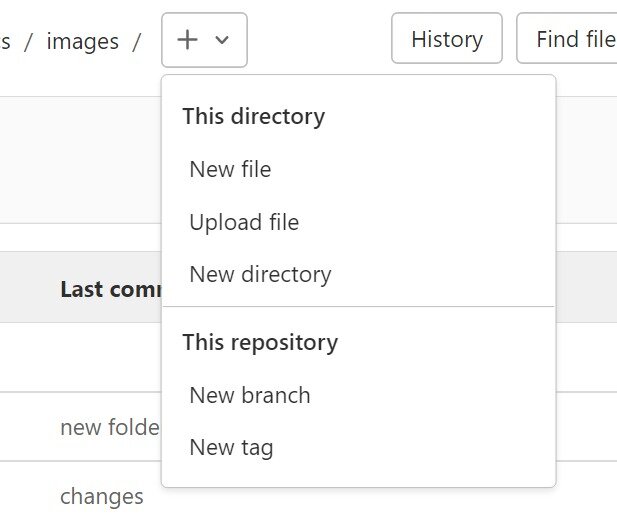
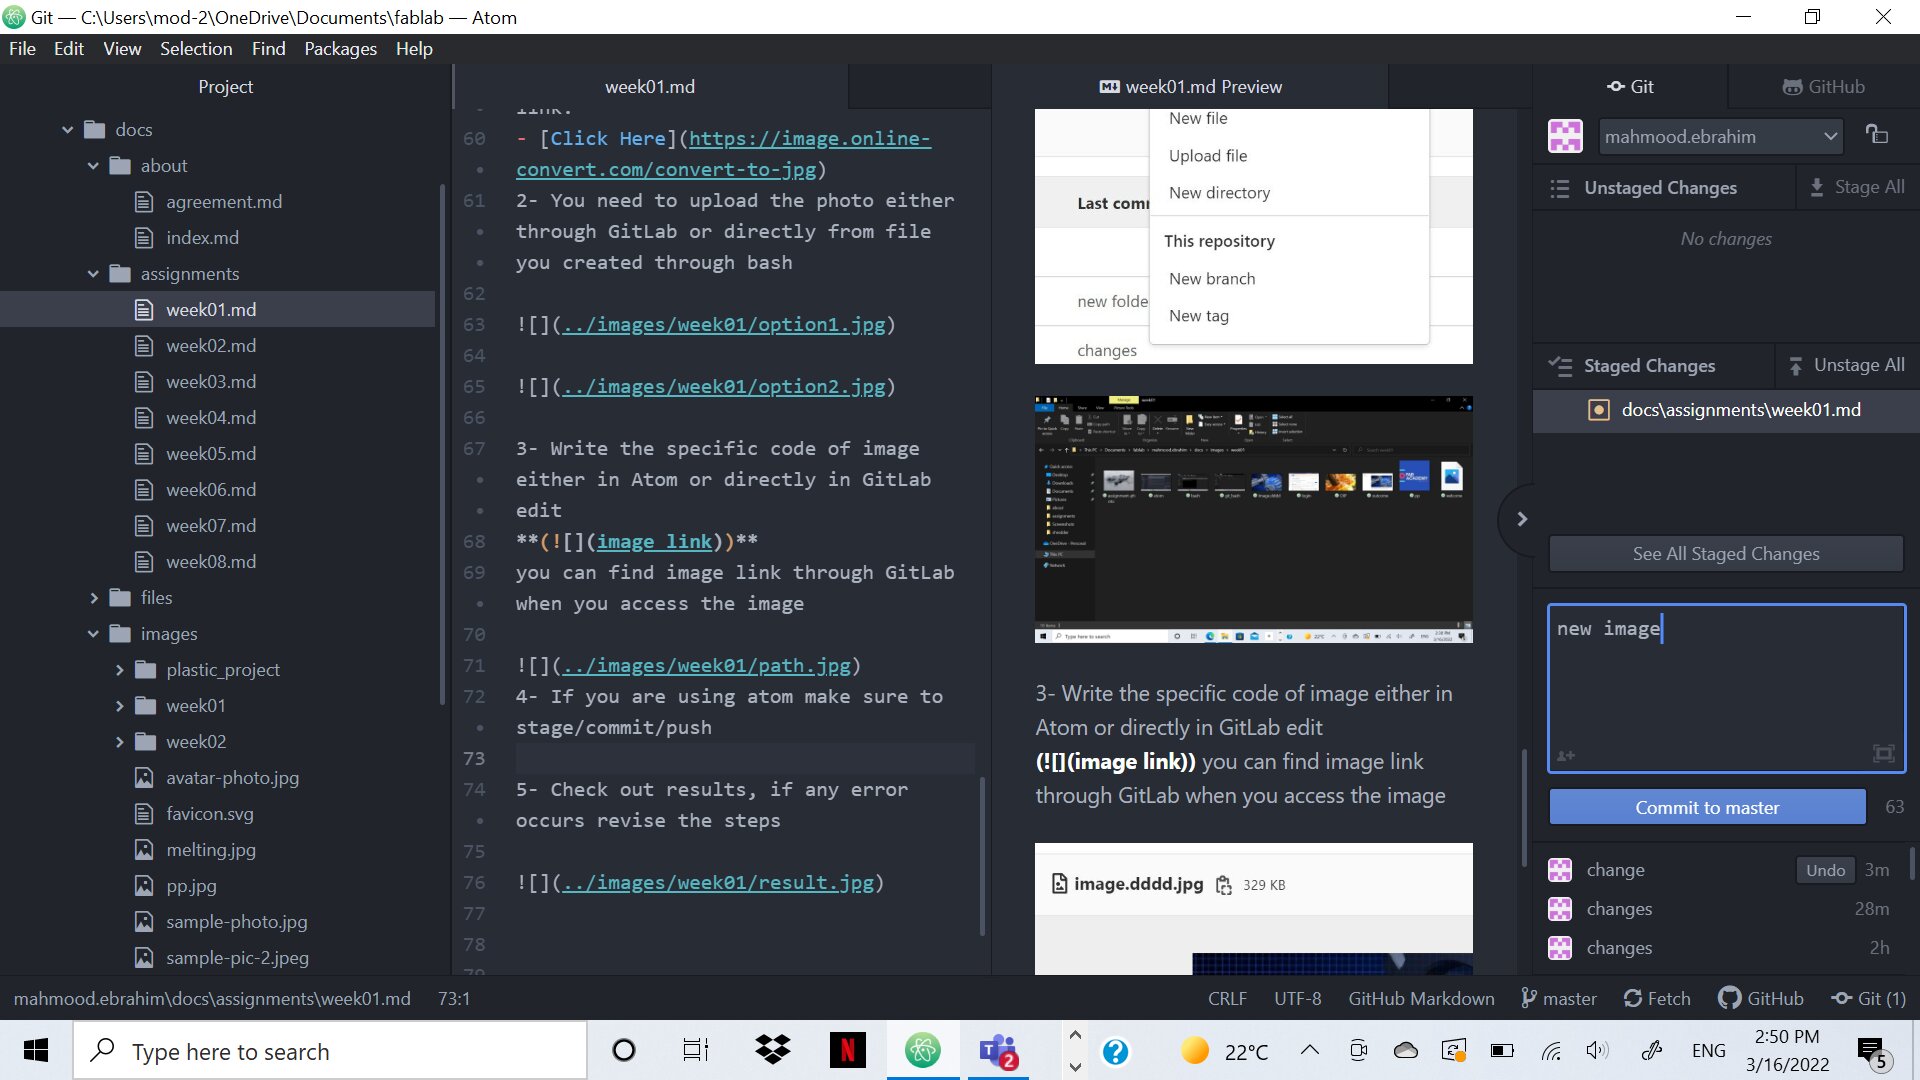
3- Write the specific code of image either in Atom or directly in GitLab edit as shown in code section previously
you can find image link through GitLab when you access the image
4- If you are using atom make sure to stage/commit/push
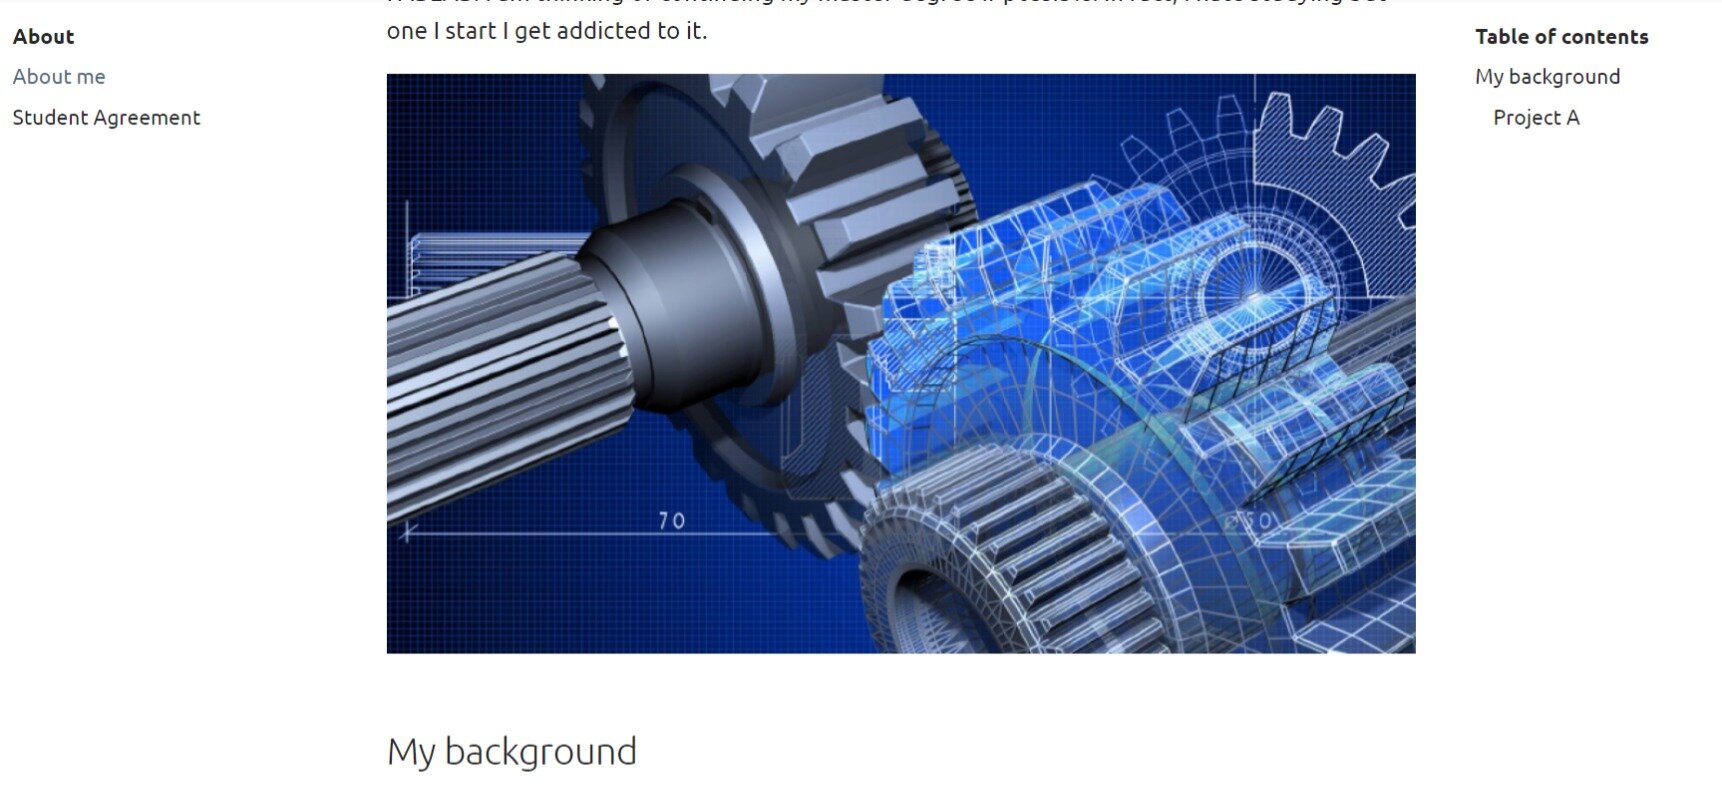
5- Check out results, if any error occurs revise the steps
Student Agreement
You will find it in about as agreement.md read it put your name where it is required and save/stage/commit/push