3D Printing & Scanning
This week I worked on 3D printing & scanning. This include some tools to scan as well as designing something to be printed via 3D printers that not easily can be done using subtractive methods.
Scanning
Qlone
The first tool we used to scan objects it can be easily installed from your mobile using app store or google play
This needs special paper to scan with the object and the size must be within the paper limits. To scan any thing it uses cage like sphere with particular rectangles to convert the real object into scanned one. First I put the object I want to scan on the special paper and on rotating chair for it to be easily scanned
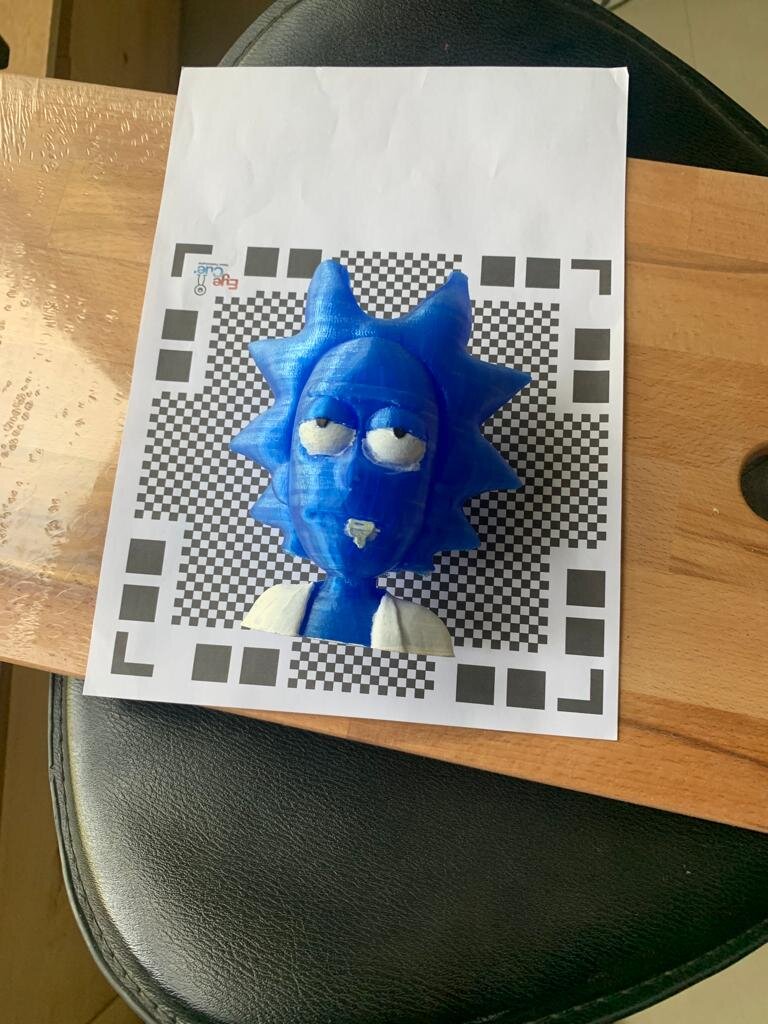
Then through the app I clicked on the red button to start scanning. it needs to scan all the rectangles for it to be done
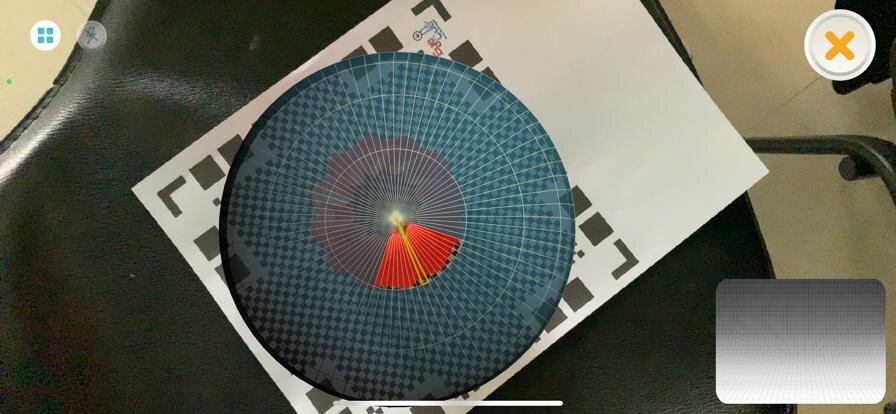
After fully finishing the scan you can convert it to multiple things and share it including STL format for the 3D printers
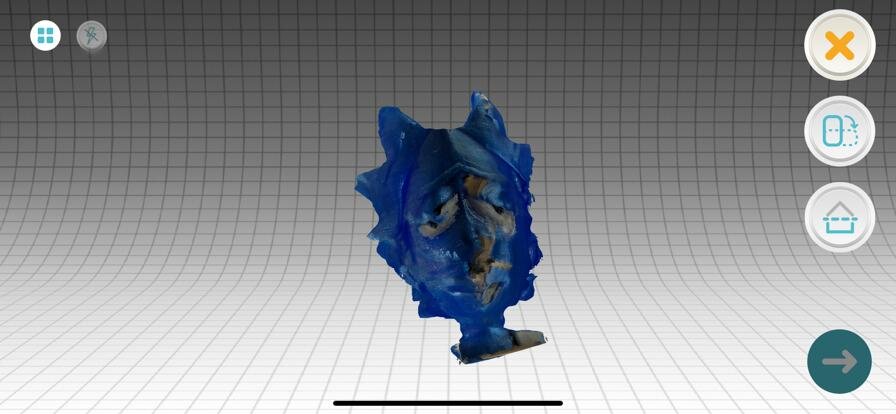
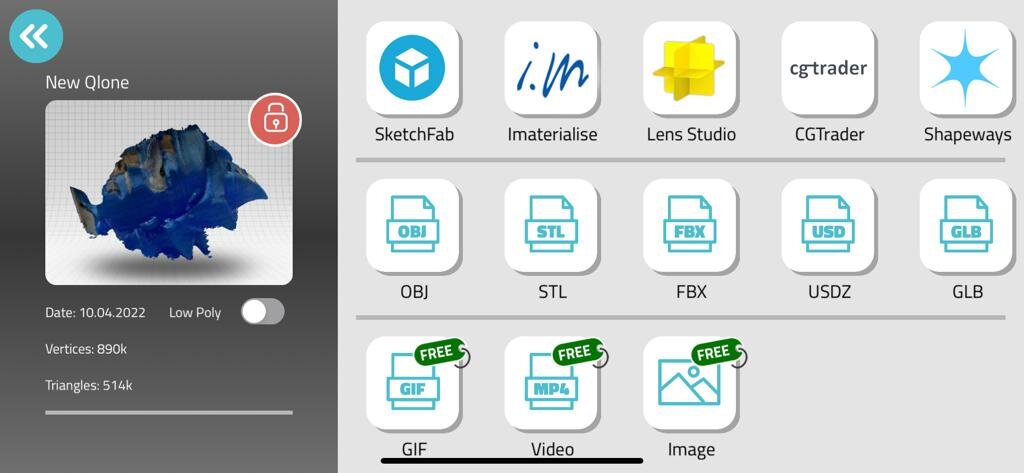
You can scan it multiple times for better results and surface finish

This tool is very useful but it needs concentration and time while scanning which sometimes might feel hard or exhausting.
3D Printing
It is considered as baseline technology under additive manufacturing and beside SL & Powder bed fusion
What makes this process special that it builds layer by layer of material accurately using resin and can do any shape if it is well supported to the ground. One thing to mention that SL has better accuracy but uses light activated resin which limits the application
Background Info
Printer limitations:
-
Size of bed and heating it
-
Nozzle size – the smaller, the better, which results in better quality.
-
Layer height – more layers, better quality but time consuming.
-
Printing temperature – different temperature should be set for each material.
-
Shell, Filling type, Orientation & Filament types
-
Finishing – sanding, resin coating, acetone bath, painting.
First layer:
The first layer should be printed properly to print the entire model in a good condition. To properly stick the first layer onto the bed you can use Hair spray, Glue stick or Painter tape
How to clean the bed:
Water, Alcohol & Acetone
Warping
Issues in 3D printer to avoid it you can Raft, Brim or Skirt
| Advantages | Disadvantages |
|---|---|
| Complex shapes | Slow |
| Easy to custom | Limited |
| Less material waste | Copy right issues |
| More chances for creativity | surface finish |
Group Task
Here we learned more about the machines & tried to print something using one of them
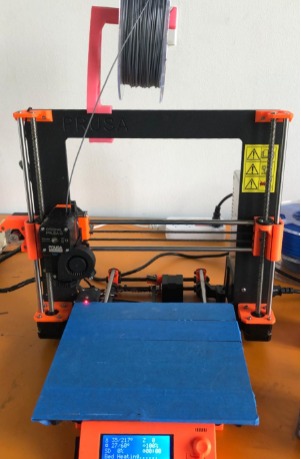
PRUSA: Is printer that is produced through another 3D printers. It is very convenient to change the setting at any time. it will produce denser material and better surface finishing
ULTIMAKER: This machine has more options to do with and can make decisions to give you better product also temperature of the bed can reach higher numbers

Ultimaker Cura
Software that needs to be uploaded to edit the setting of any printer from your PC and save it in a SD to be transferred to the machine to download the software use the following link - CURA
Printed Part We chose the following design to print it for the first time
we found the design from the following site Thingverse where you can find many designs
We uploaded the design to Cura edit the size, quality, intake, speed and support if needed after that we saved the file to SD and used Prusa for our first trial
Issue We faced problem during this first trial that fan speed is too high so after first layer when fan was working it was preventing the material to be heated and melted. So we adjusted the speed manually again and reprinted
- More details about Group task will be founded in Zahra’s Site
Individual Task
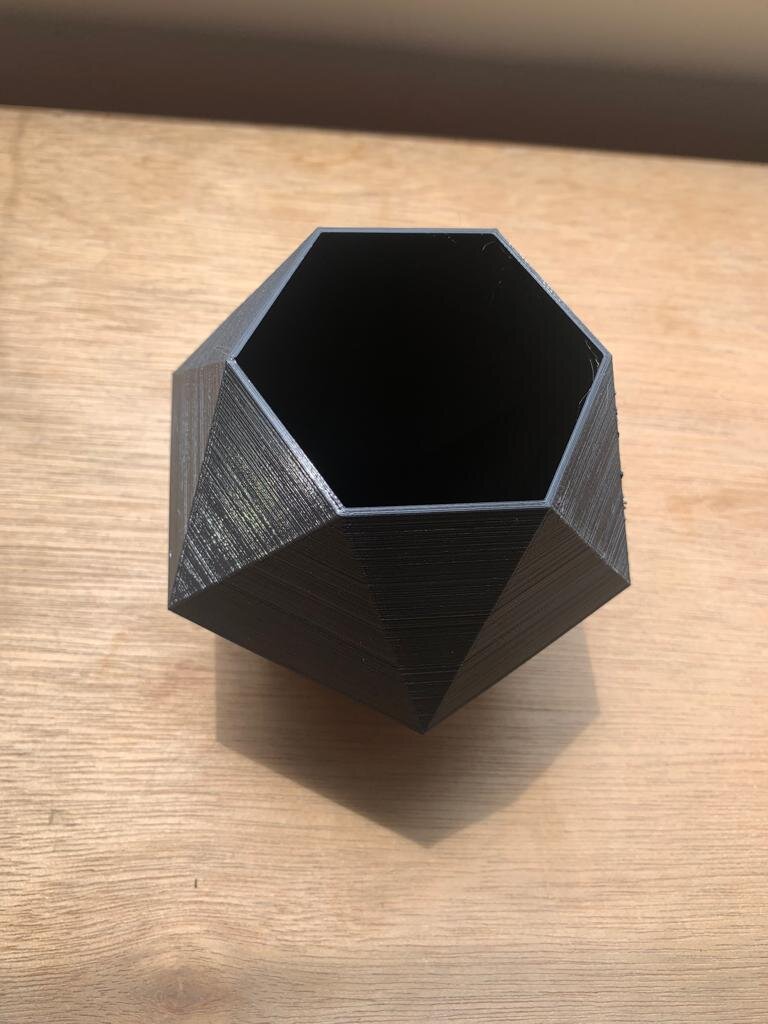
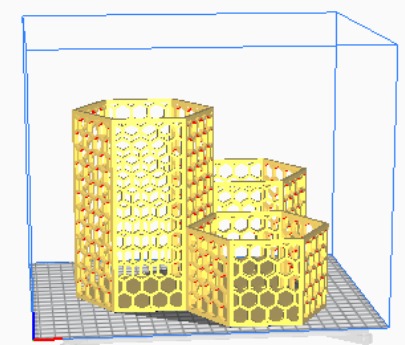
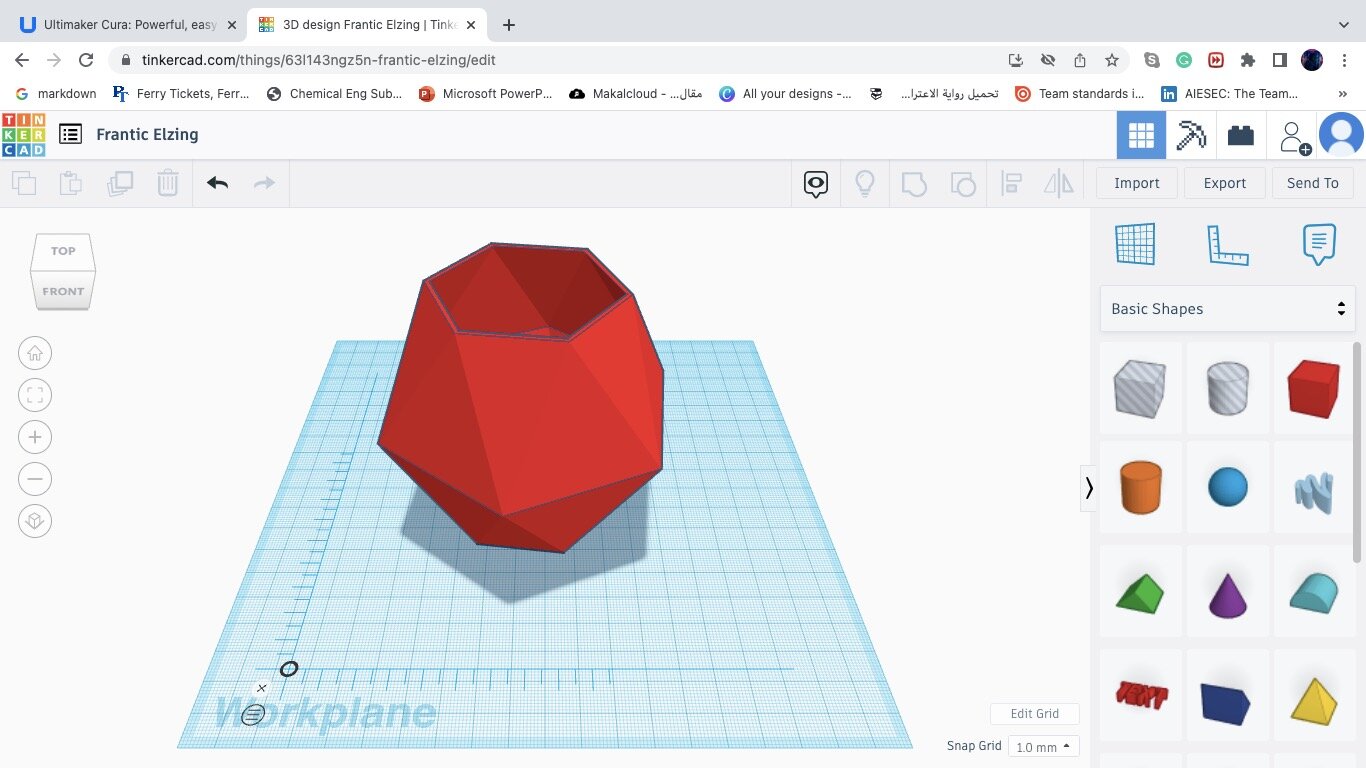
For my own design I used Tinker CAD as my designing software I wanted holder for my room to hold different things on my desk to ensure my design is cant be made by subtractive methods I made it hexagonal with some volumes
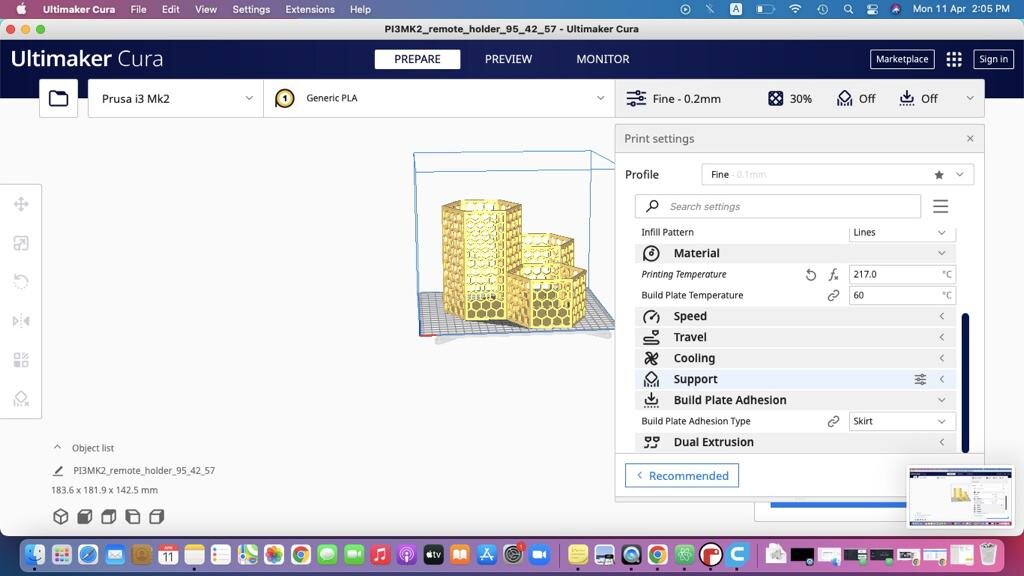
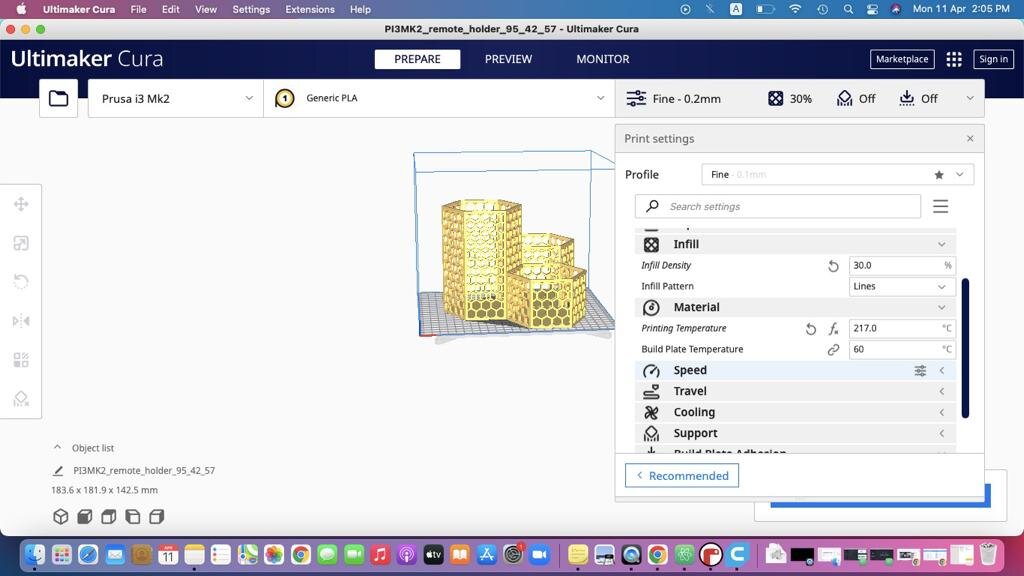
After designing is finish I used Ultimaker as my printer to print I edit the settings and size as following after importing the file
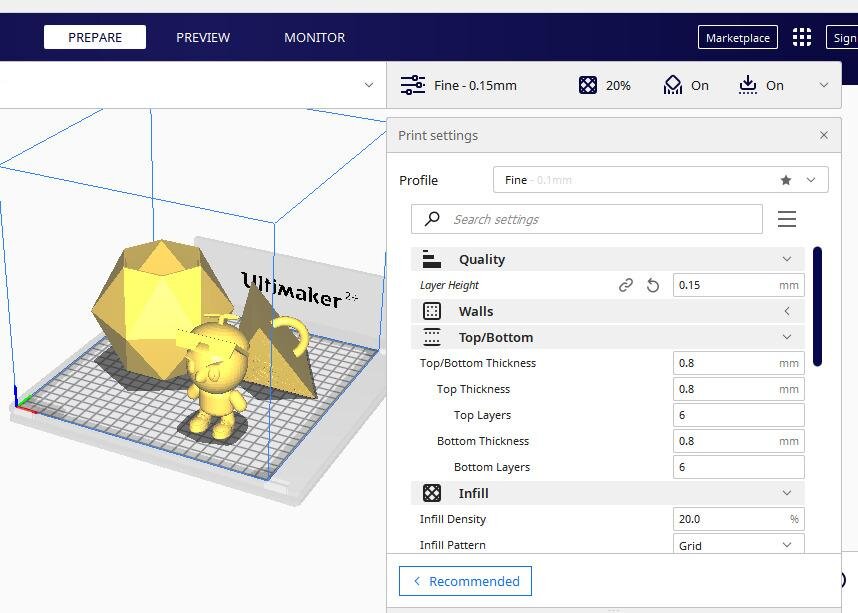
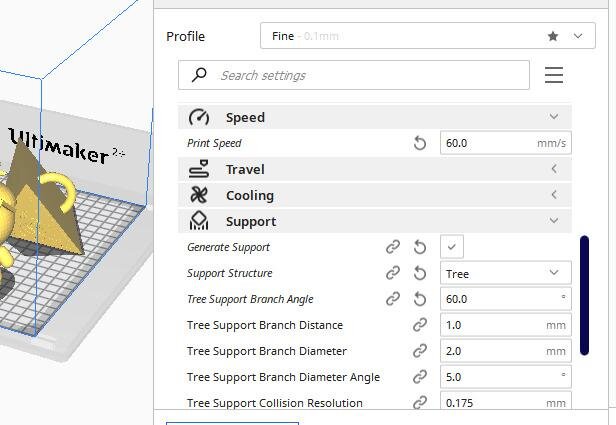
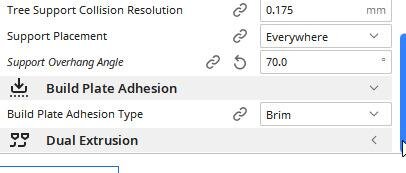
Here I checked if support is needed & how the part will be printed
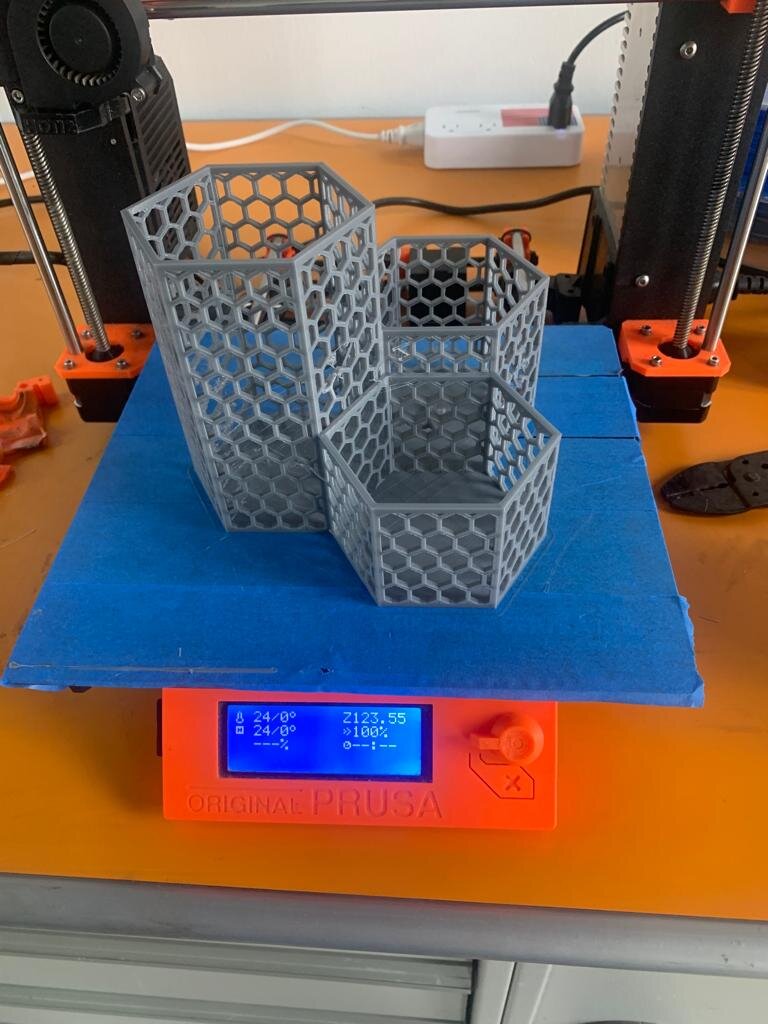
Then I used the SD card to take the design to printer and start printing
Ultimaker Printing Video Click Here
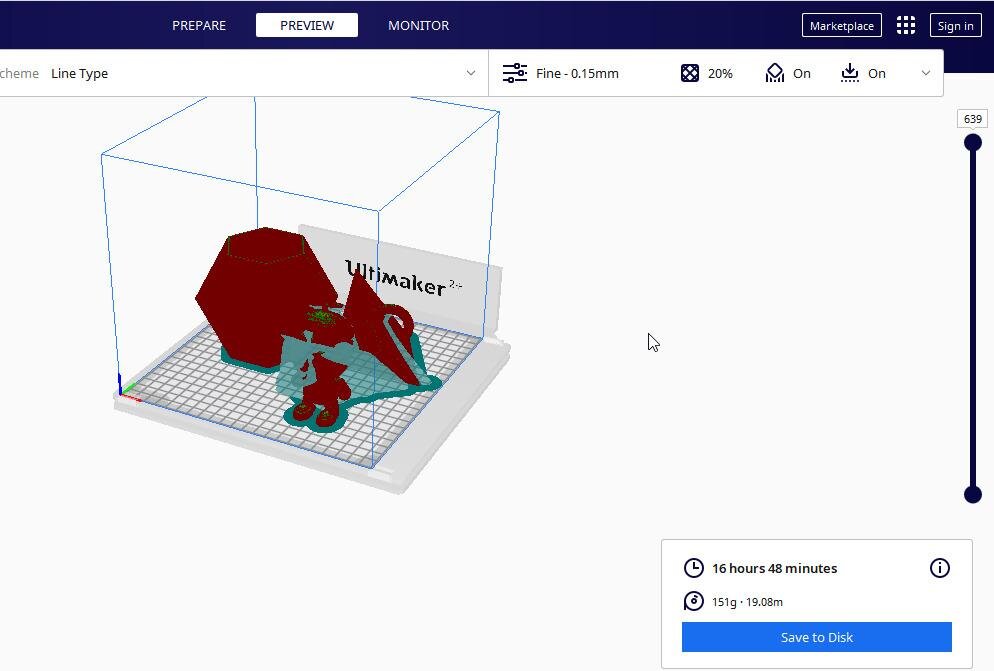
Lastly here is the results
Hero Shot