Large format CNC (Computer Controlled Machining)
This week started with having knowledge about CNC parameters and how to work with it. Also, I designed my own file to make it out of Plywood by CNC
Machine
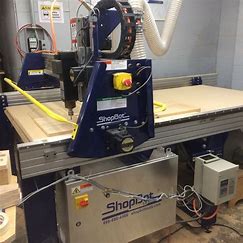
Shopbot
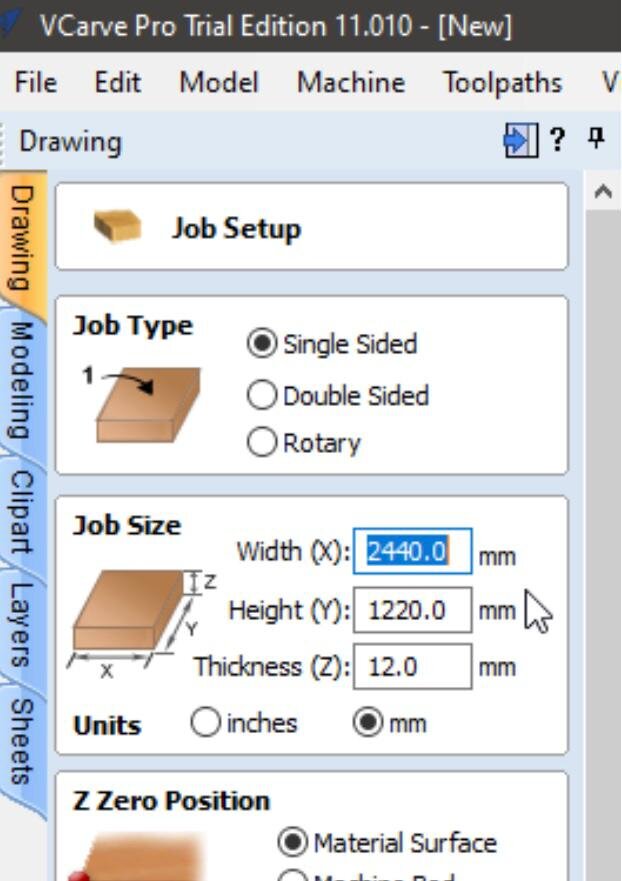
Machine uses different drill bits to cuts profiles. This cutting is controlled by computer. The bed size of the machine- 2440x1220mm
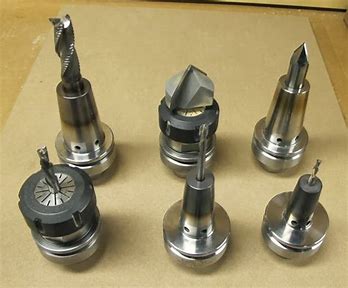
Drill Bits
There are many different bits used mostly depending on the material and with different flutes the most common which we will use during this week
-
End mill for finishing
-
Straight ball
to fix the bit we use collet
Properties
The main properties that should be controlled during the process
-
Feed rate : Speed of cutting direction
-
RPM : Speed of the bits rotation
Other Considerations
- Tabs : a way to hold the part that is being cut to make sure it is in the place and will not get away
-
Sacrifice Sheet : Under the main sheet to go deeper than the desired cut to ensure it is completely done without damaging the main bed
-
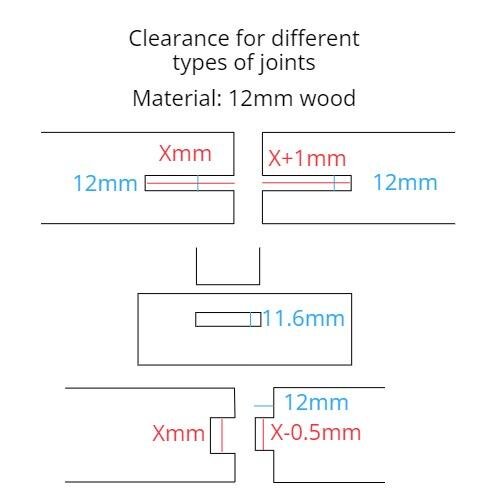
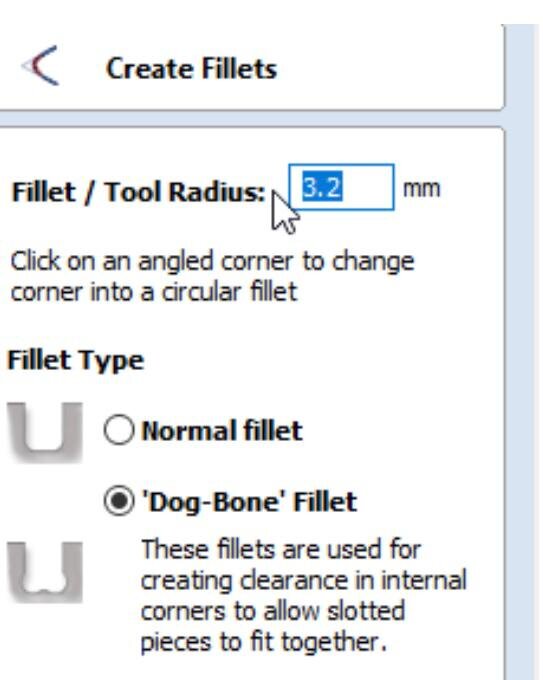
Joints : It is the way to join parts that you cut there are many joints types you can apply. One issue regarding the joints that the cutting tool is not straight so the part will not fit. In order to solve this problem you can make additional slot within the joint
-
Dog bone
-
T-bone
In group task we experiment different joints that we might use in our design we also choose the best fit and followed the following rules in designing
Safety
-
Keep distance between you & machine
-
Check your clothes & accessories and wear safety googles
-
Make sure you know where to emergency stop the machines
-
Add tabs & sacrifice sheet
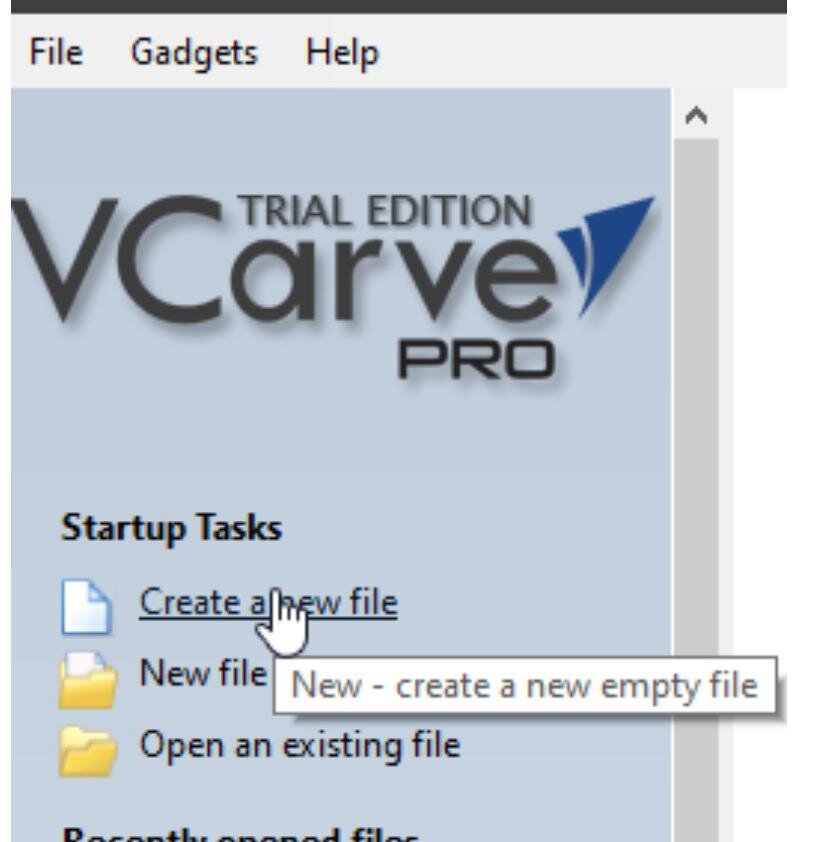
Vcarve
Software used to import your design & edit in order to check the scales & vectors on your parts you can download it from the following link
The program is between deign & machine to understand what to do. you can simulate your work also, finally if everything is alright you can export the file as gxf for Shopbot to recognize it.
Group Task
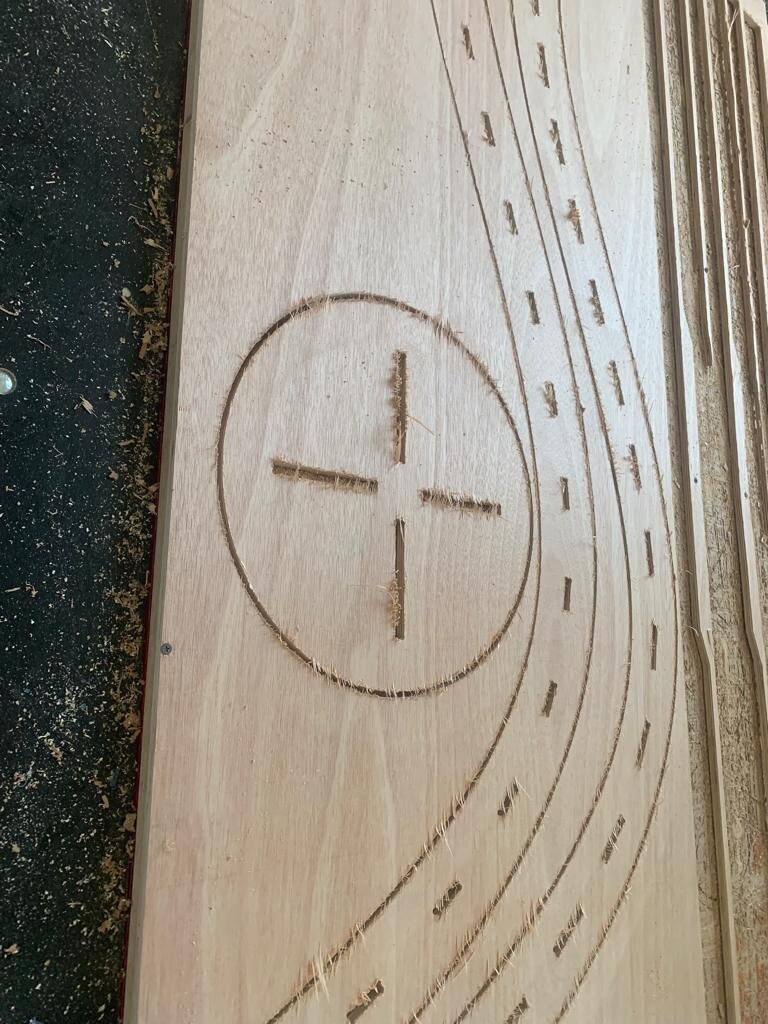
Here we went through our first experiment using CNC to test runout, alignment, speed & toolpath of machine. This all where to cut mold parts after uploading the file to v-carve and making certain edits we make sure of the alignment and tool position x y z. we put the spindle on speed 1400rpm and make sure that we have all our safety elements. Finally we simulate the cut and started the operation. We did not use profile cut nor dog-bone but we just take look on it if we will use it in our further cutting operations.
- You can refer to my group mates for further details & steps
Individual Task
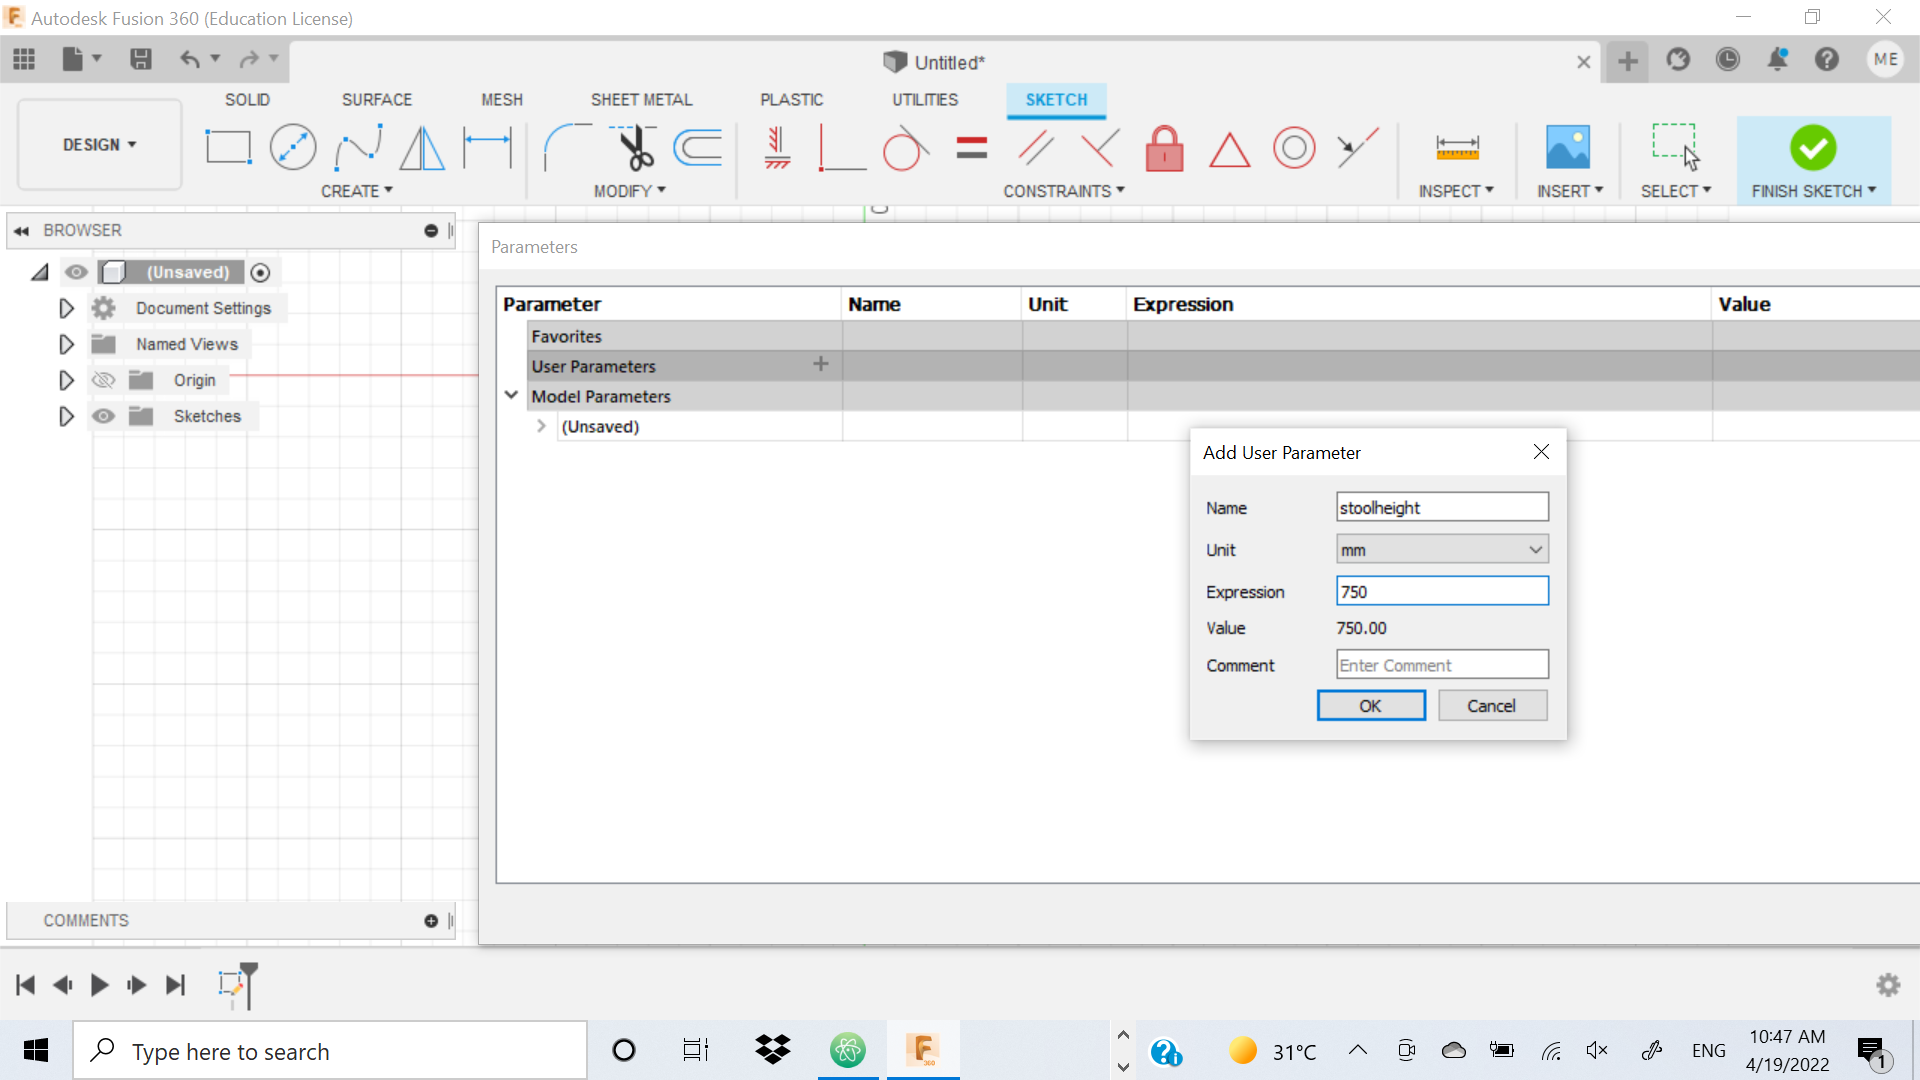
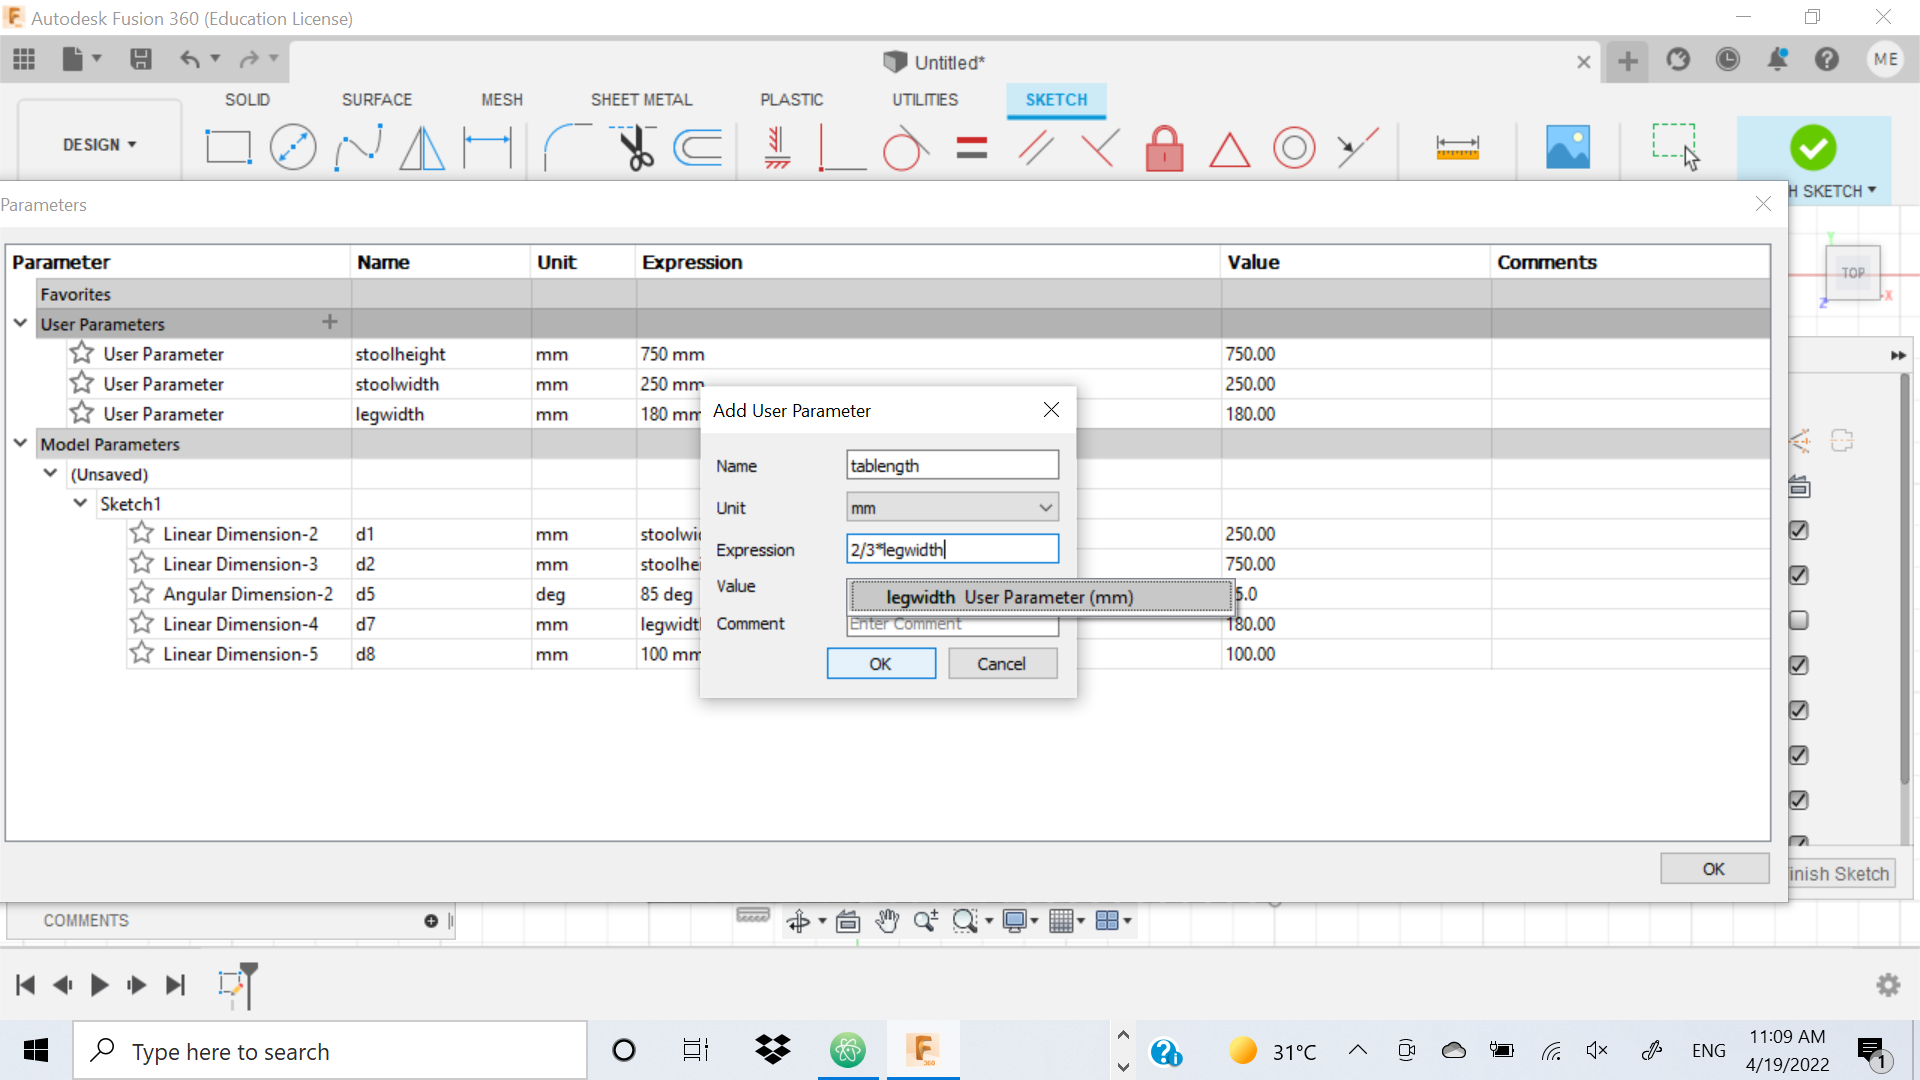
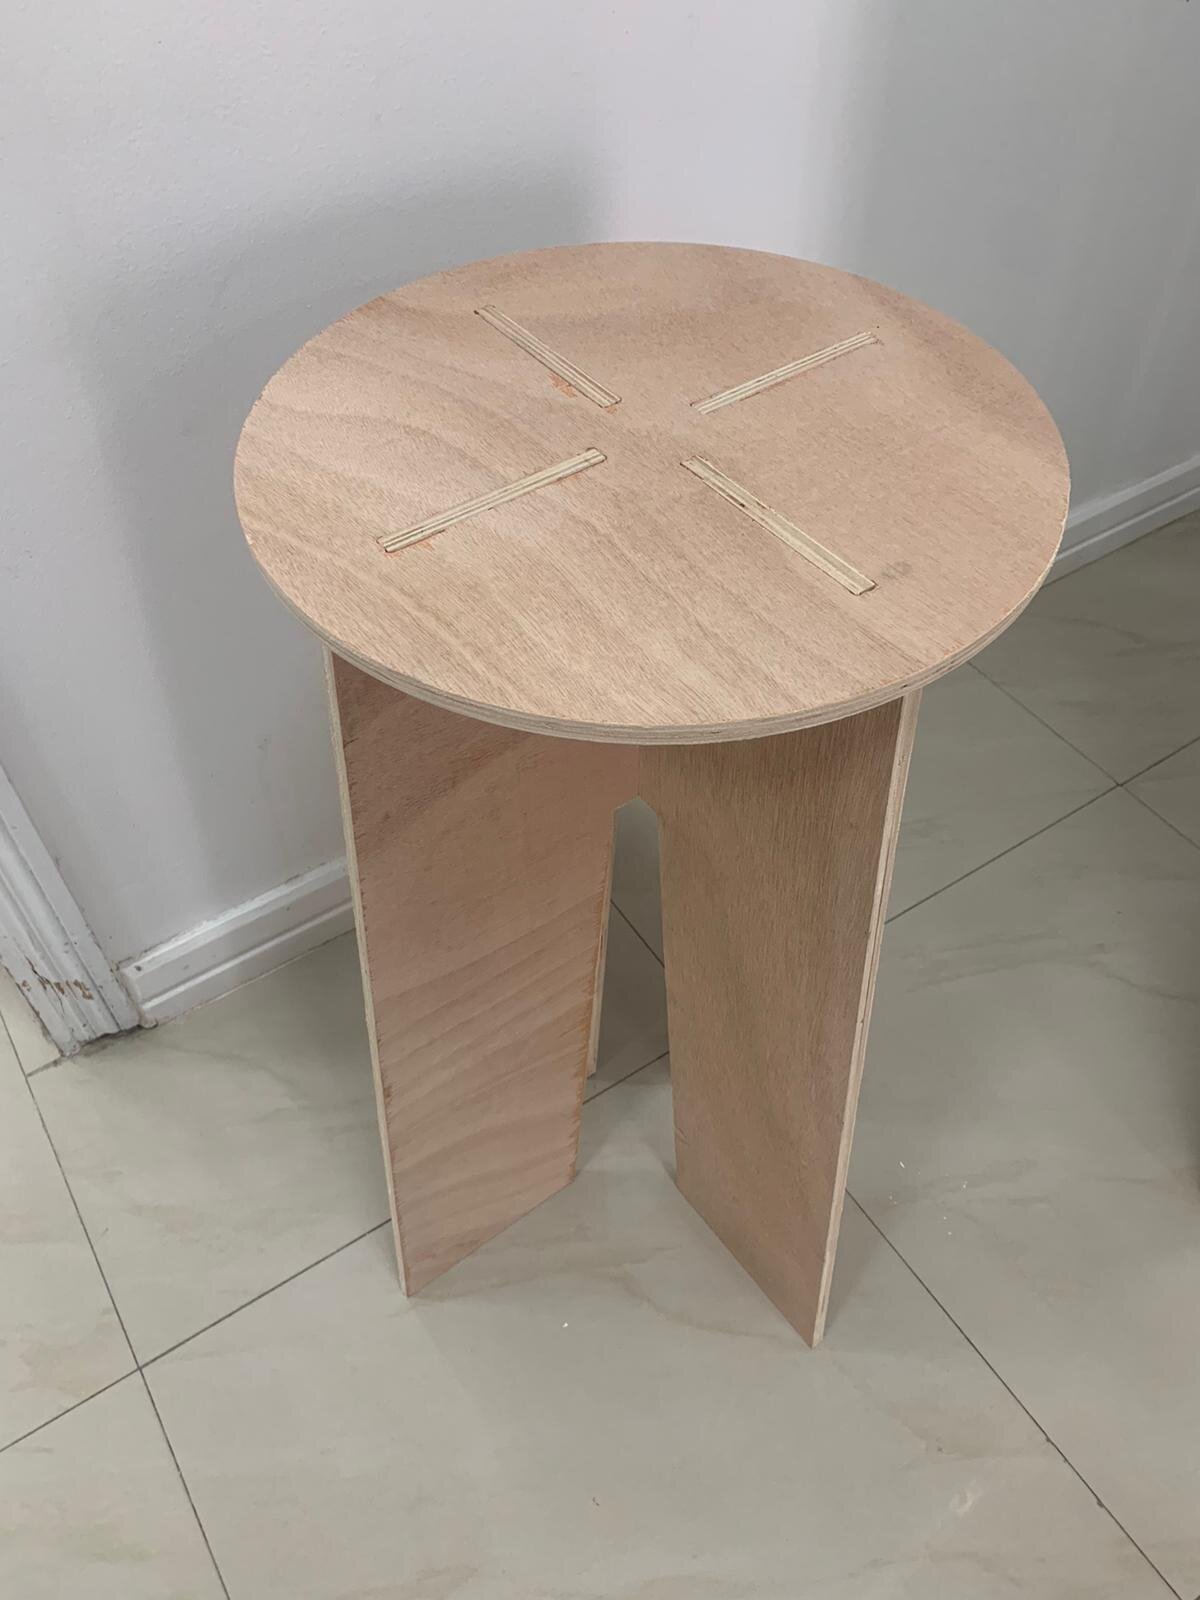
Here I designed my own design that I want to cut using CNC. I used Fusion360 as my CAD. Initially I thought of many designs but I finalized it with simple stool
- I started by preparing my parametric design table. Each critical dimension was added there
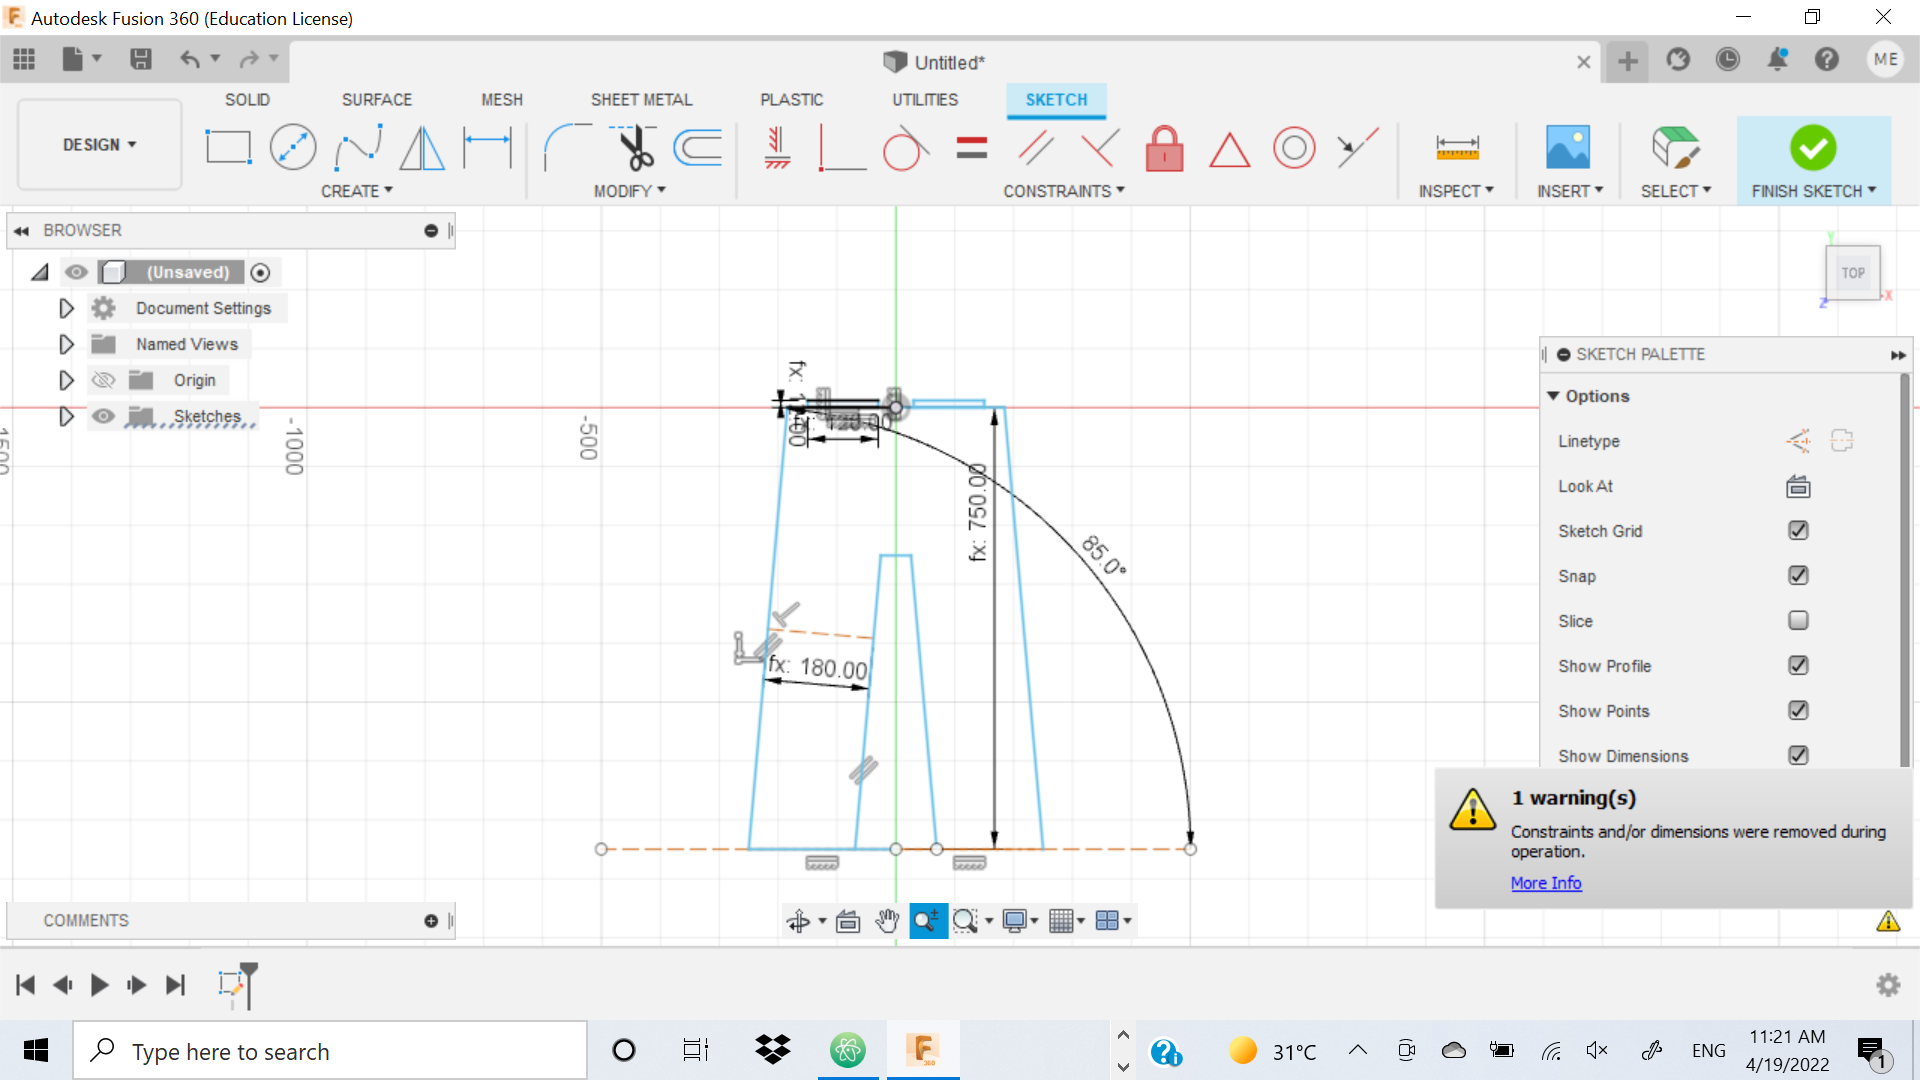
- Then I sketched the leg of the stool and extrude it to 12mm the size of plywood we will use
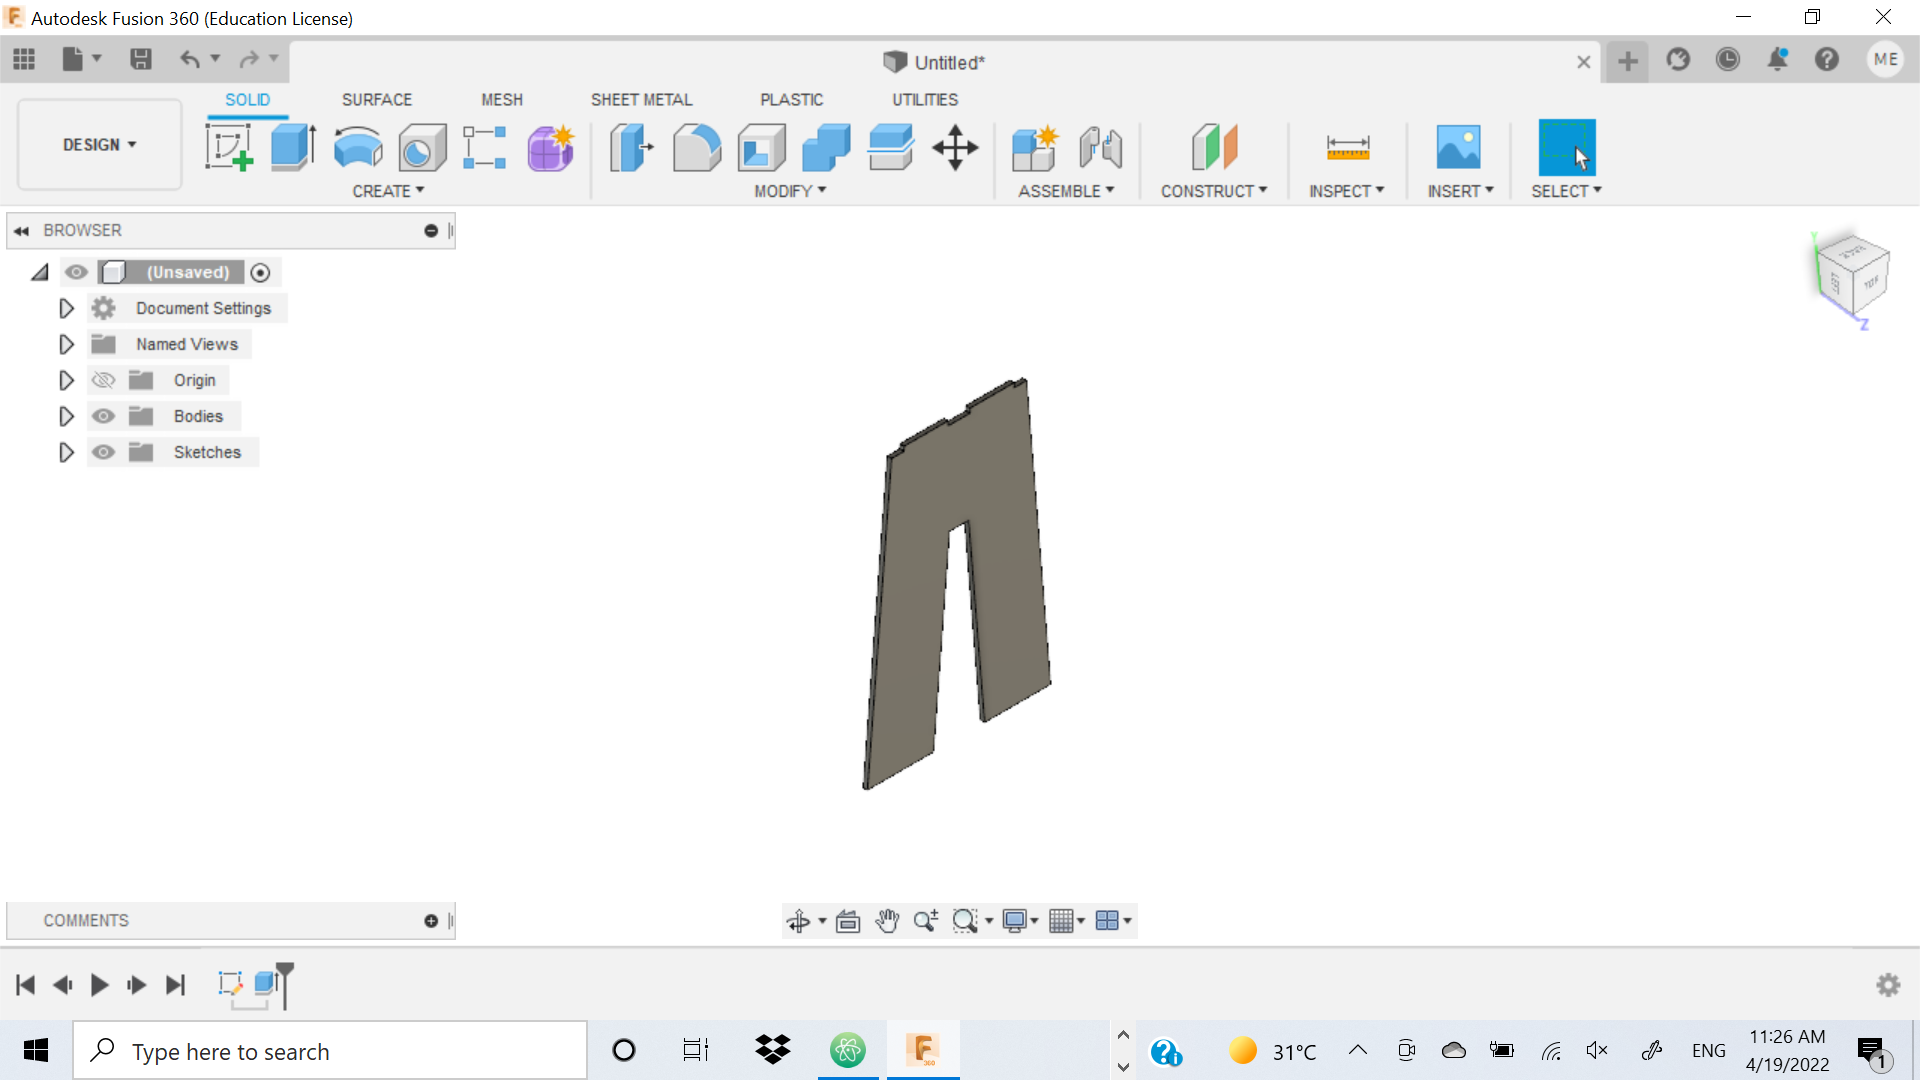
- The same way to design the seat and extrude it with specific joints 11.6mm initially
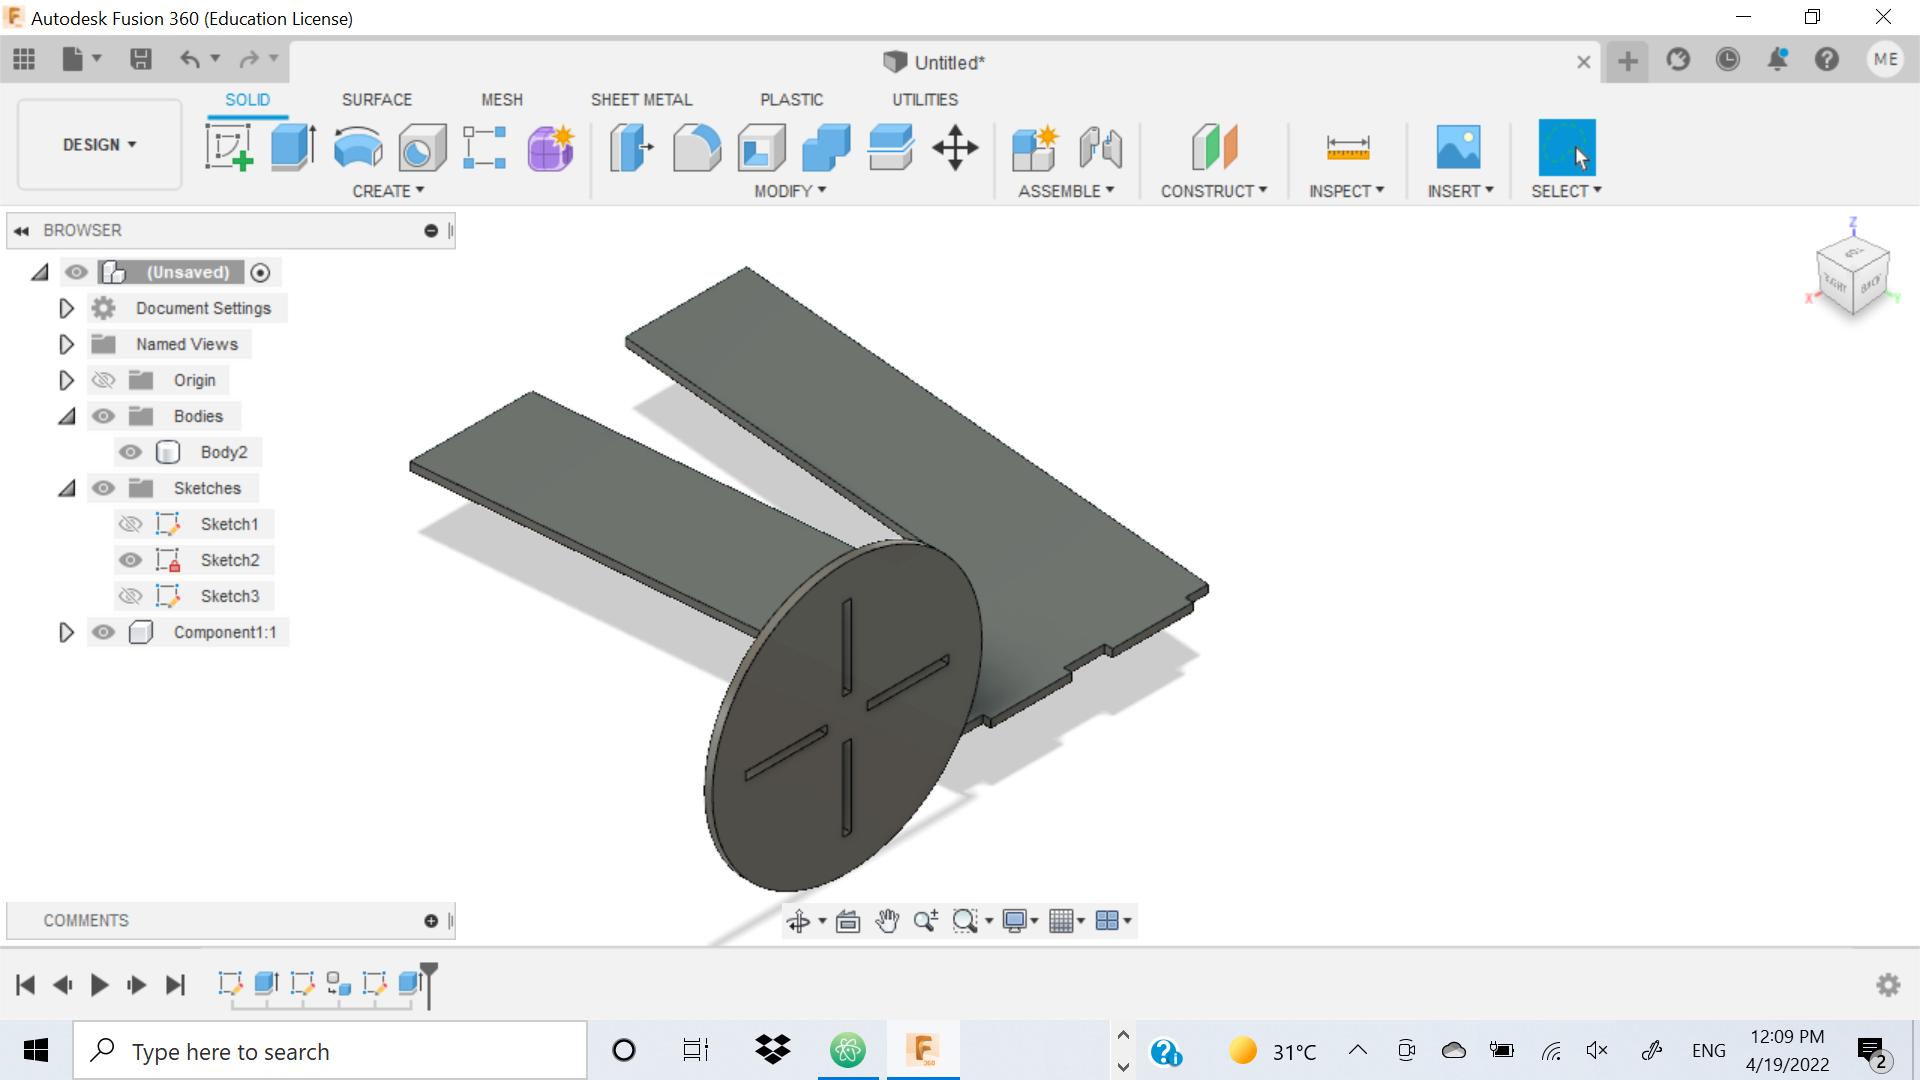
After that I copied the leg and made the joints between the two leg to get this final result.
Download Files
Cutting Operation
I imported the dxf file to V-carve
start editing to simulate the process after all is done. I edit the sheet size & and added dog bone to all the Joints
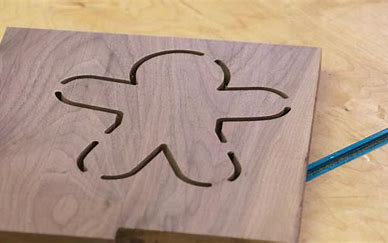
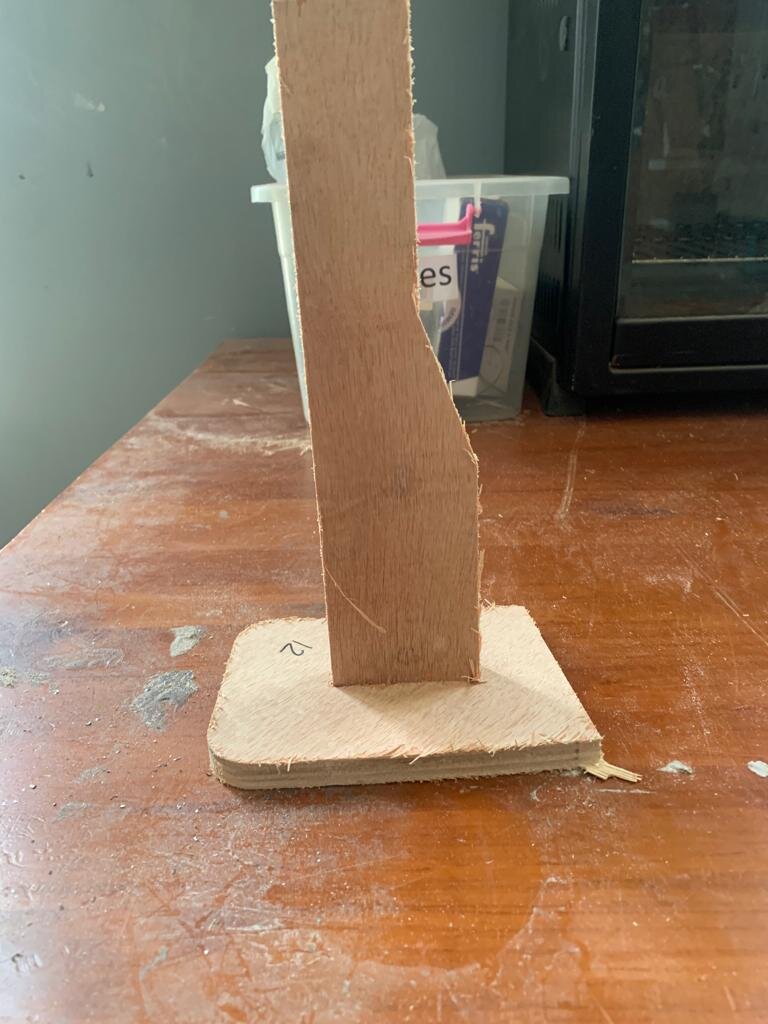
I just printed sample to test the joints before cutting the whole part while checking I found out that the joint between the two legs is perfect while the seat joint are too small to get in so I increased the joint size up to 12mm
Started the operation
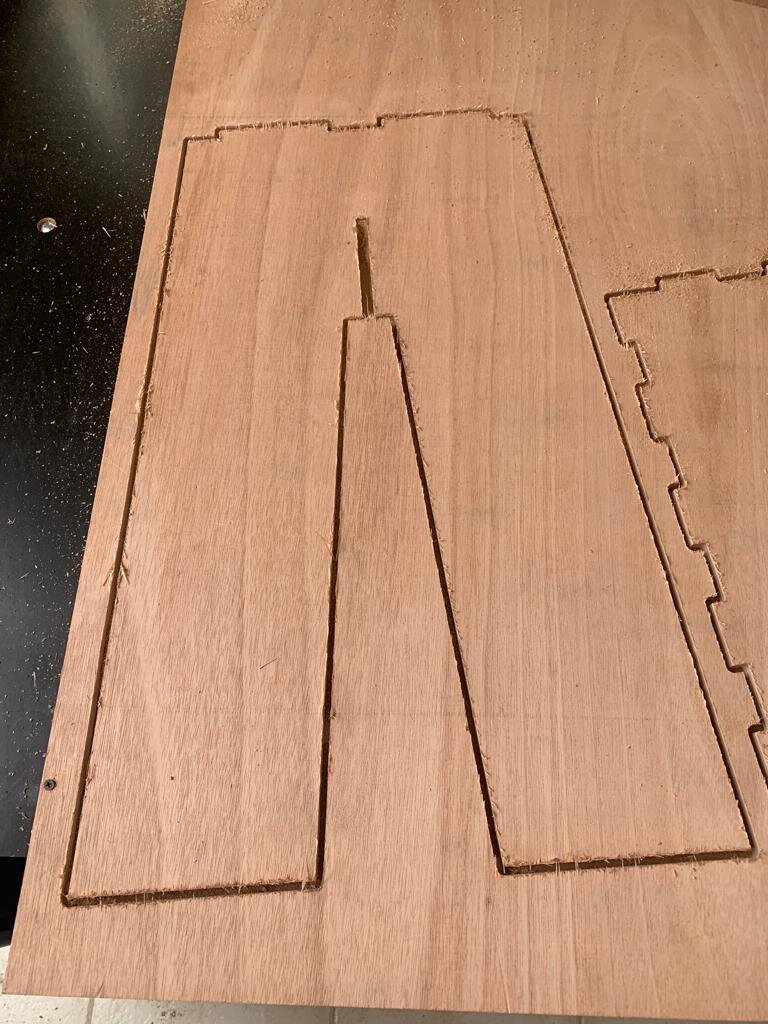
Then I improved the surface finish & fixed the parts together to have the following final design
Problems Encountered
-
Joints size I changed it after testing them
-
Need to hammer the joint in order to fix it
-
Surface finish is bad I needed to use sandpaper to improve it
-
Technical issues in the design it was changed in v-carve
Hero Shot