Computer controlled cutting 
This week I worked on Laser cutting and vinyl Cutting through which I learned many things that I will discuss in this page.
HERO SHOT
Laser Cutting
Press Fit
We learned the idea behind press fitting where we have t slots with same dimension that can be assembled together which with we can design parametric objects like multiple squares with certain press fit to fit with each other and then use it in any design. To choose the best fit we need to choose the slot size first and then vary that dimension to see which best fits
Group Task
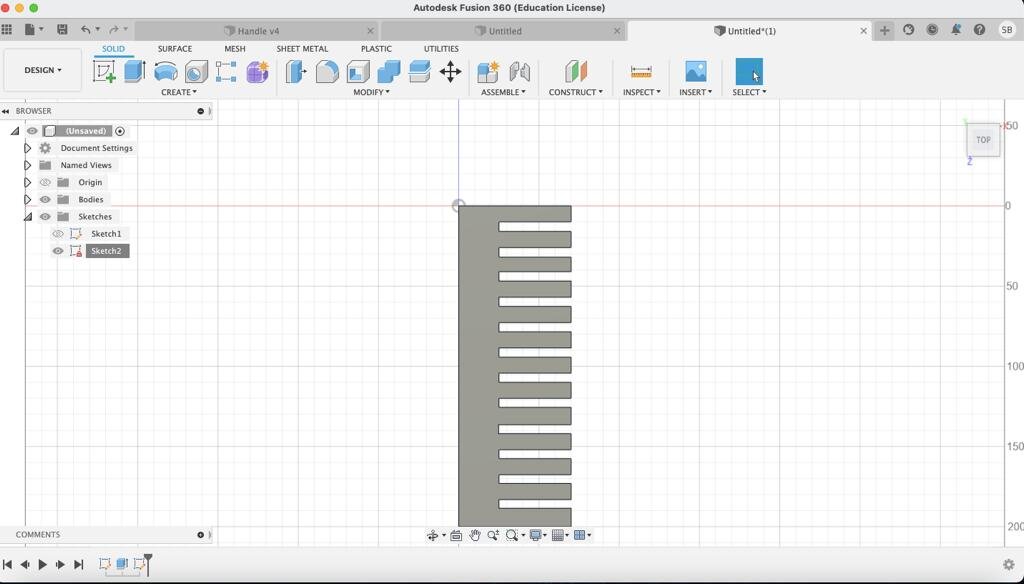
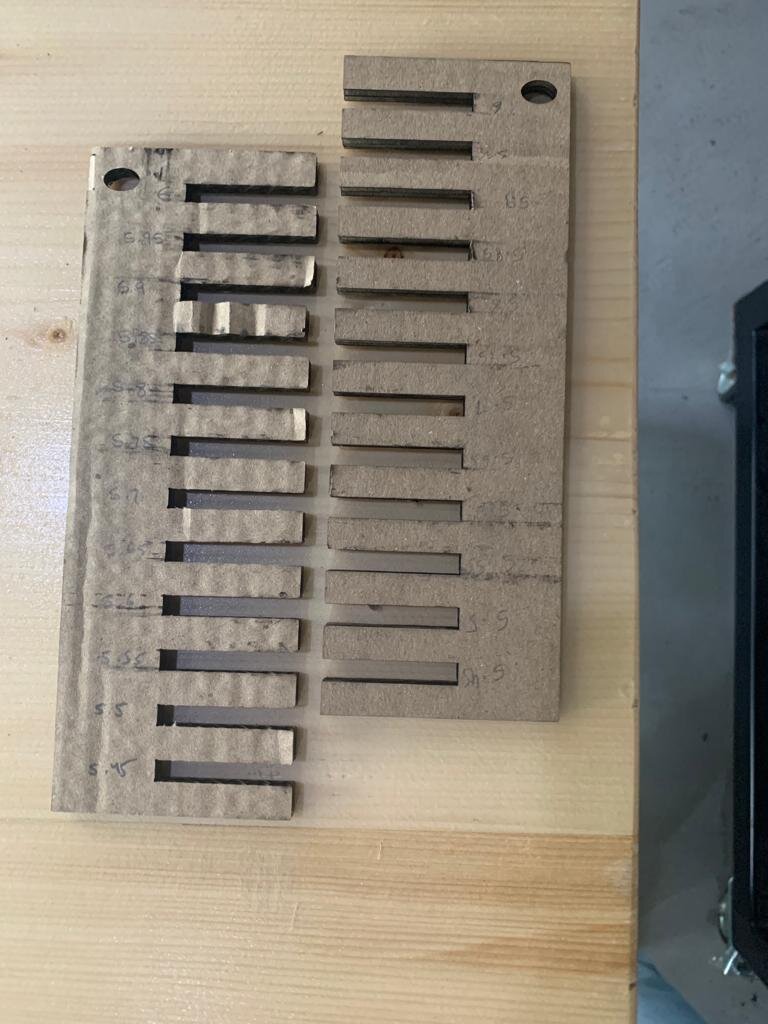
Here we applied the idea of best fit to get the best fit out of 6mm we started by doing fusion design of ruler to guide us with varying dimension of 6mm like 5.95 & 5.9.
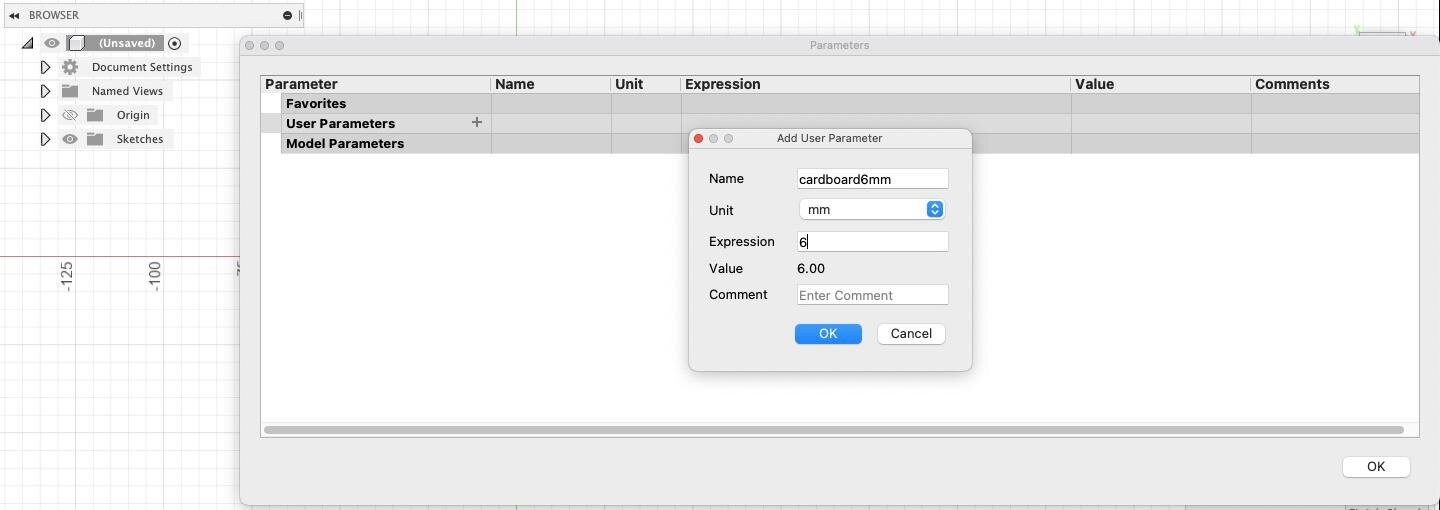
To build a parametric press fit that we can use further in fusion click on modify- parametric then name it and give it a dimension
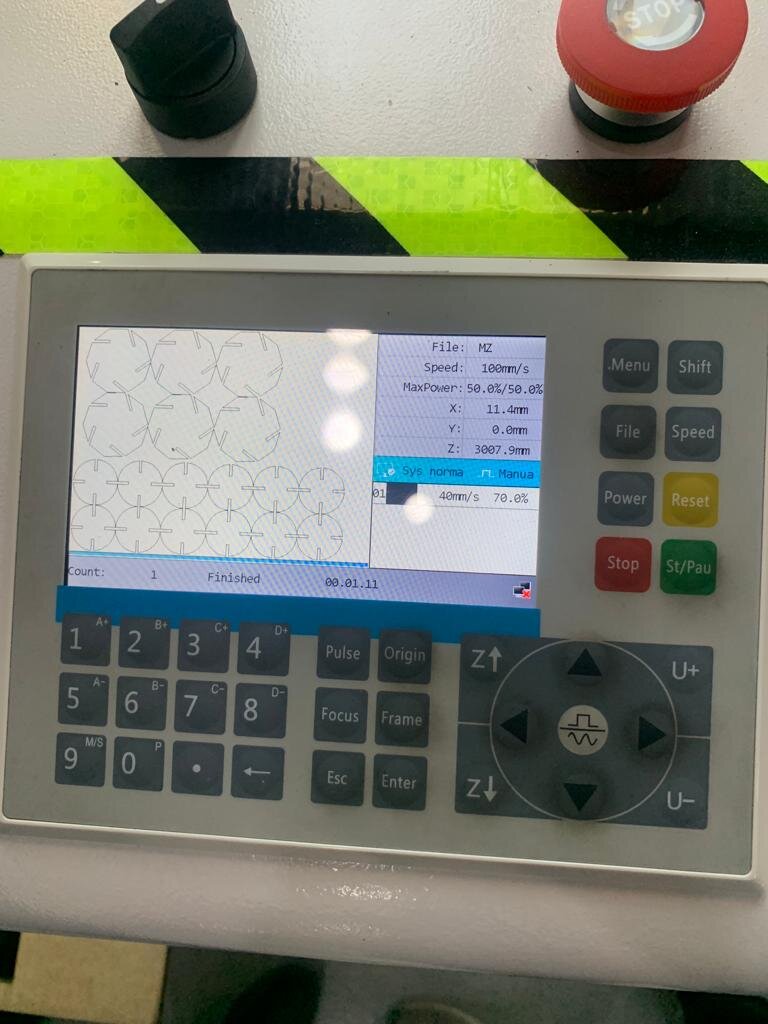
After that we sent dxf file to the laser cutting machine computer through fablabbh.share@gmail.com to do the design on cardboard. First we opened the file and adjust it.
Next we searched for the best inputs of laser speed and power after many trails this is the best result:
power-70 / speed-40
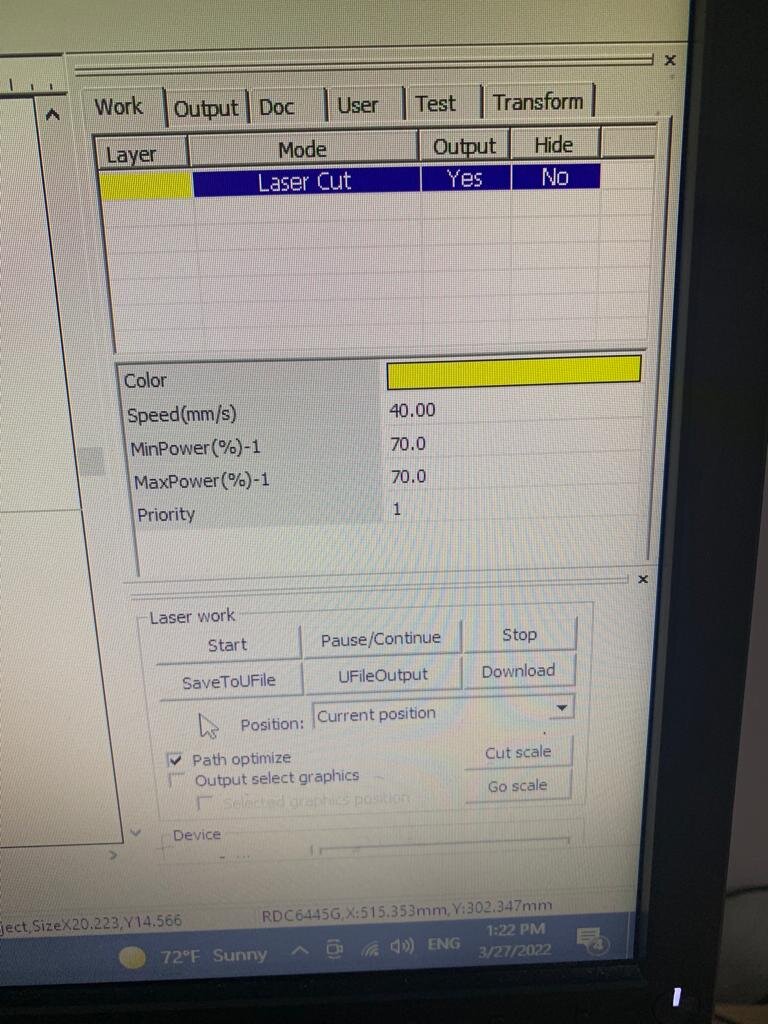
We adjusted the z-axis to the cardboard
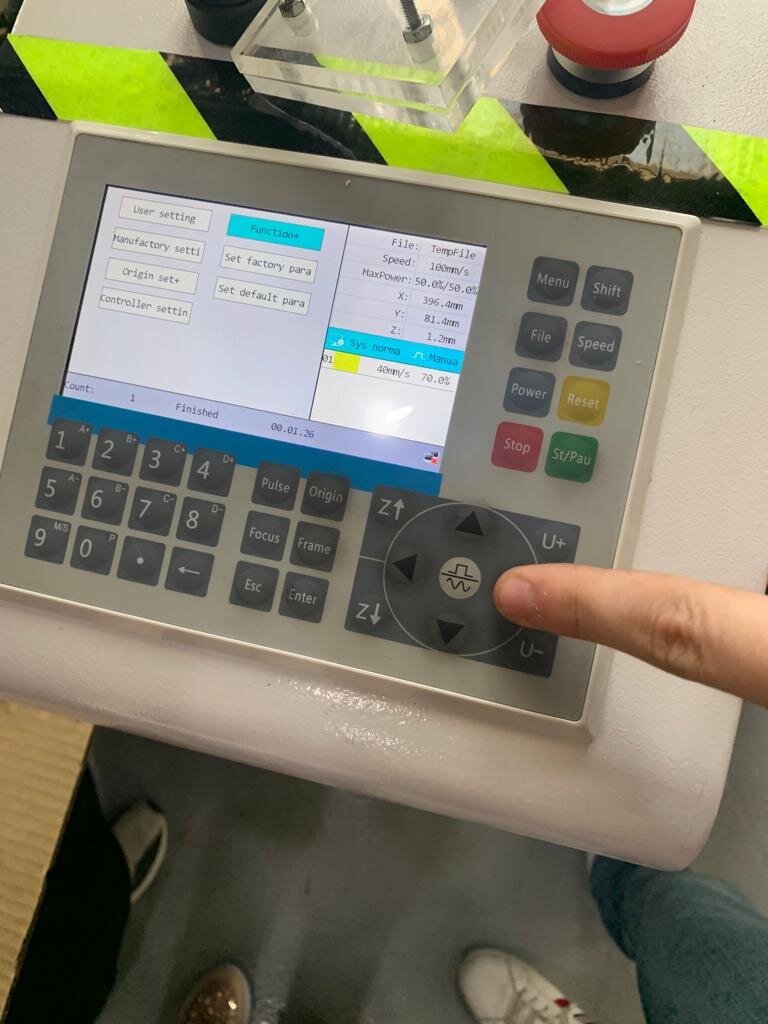
We selected the file that we sent to the machine through the laptop
Finally we started the operation
Results with best fit to be 5.8mm
Individual Task
In this section we will use the best fit which is saved in parametric press-fit construction kit I got from group task to make a design including it
My idea initially was to make decagon with five slots using fusion 360 as my CAD
After that I sent the dxf file to laser cutting computer through the email
fablabbh.share@gmail.com
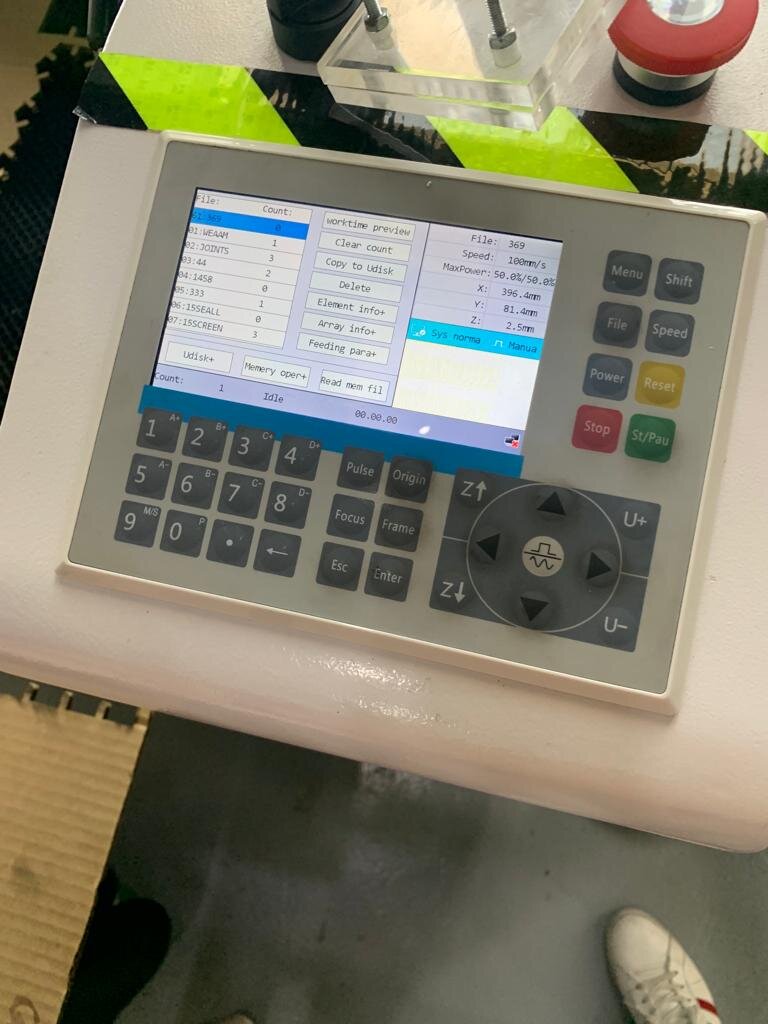
Following the steps we organized the our file with certain array. mine was 2x3 as I wanted six pieces. Next we checked the power and speed mine was 65 in terms of power and 45 in speed with only one turn. By finishing all the setup you are ready to transfer the file directly into the machine and make sure how it will look like as well as how mush it will take space to know if your material enough or not
I inserted the cardboard material into the machine and oriented the laser gun with x, y, z axis and then started cutting
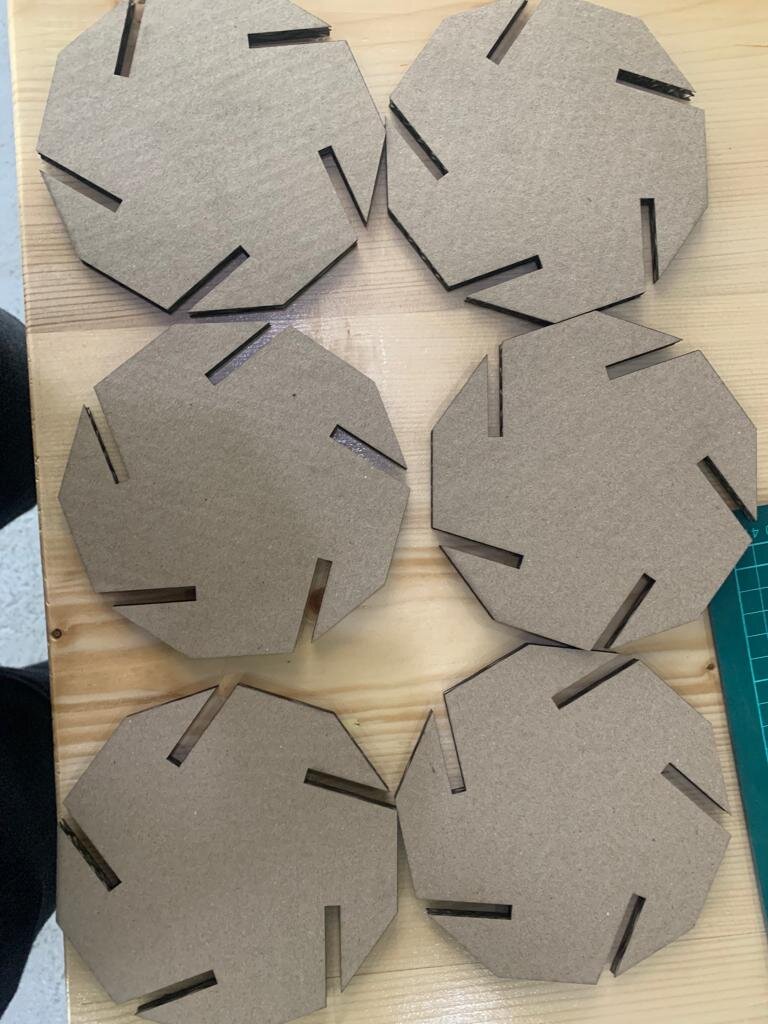
First result of machine output we can see how accurate the cutting is
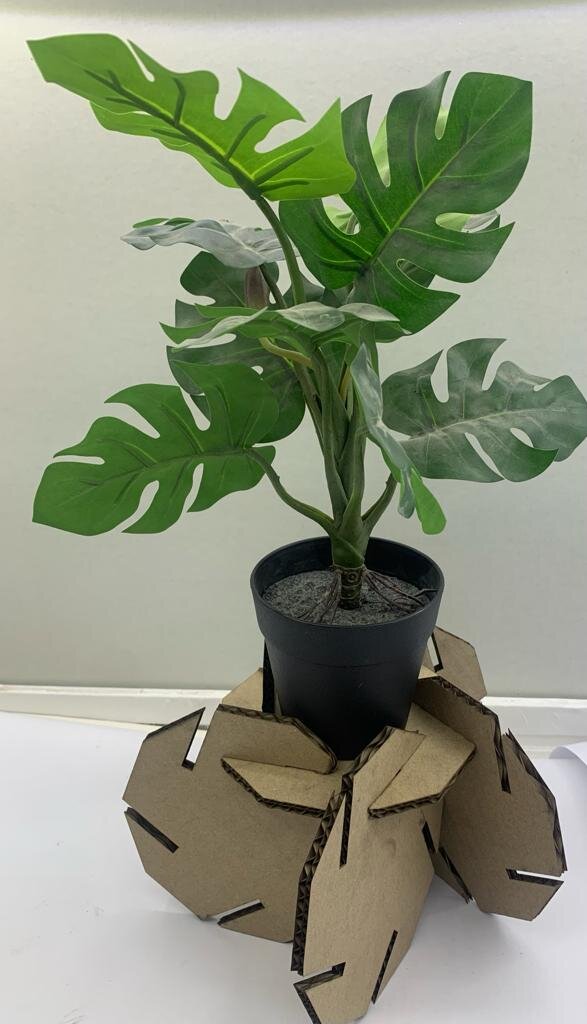
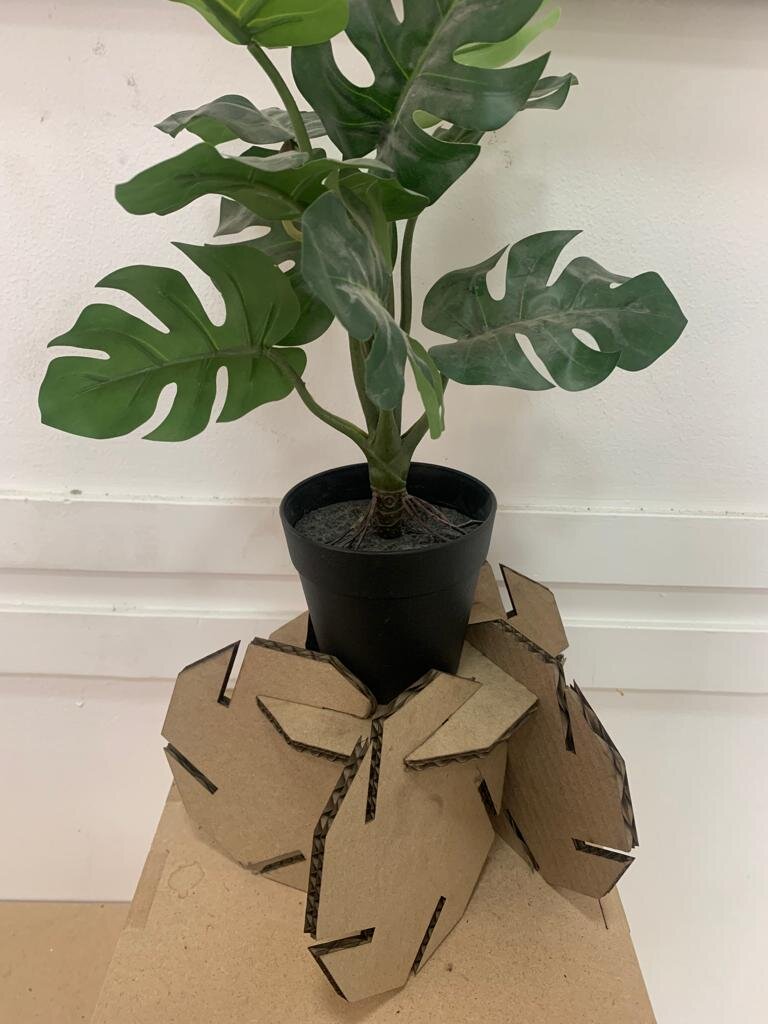
Then I fixed them together to make my shape which is the final results that I wanted to be unusual stand that can handle small antiques
Vinyl Cutting
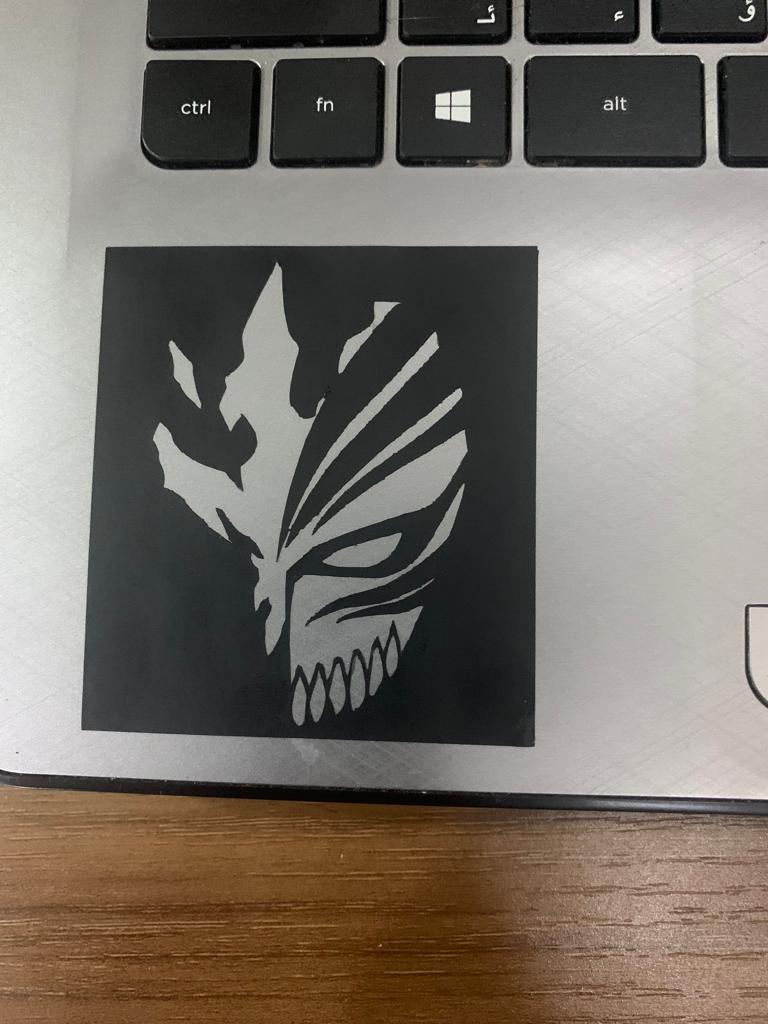
In this section I done my first vinyl cutting for pic
To start with the machine we are using called “Cricut” it cuts more than just vinyl like paper, iron, cardstock and many others. To use this printer you will need to download the software that comes with it from the following link
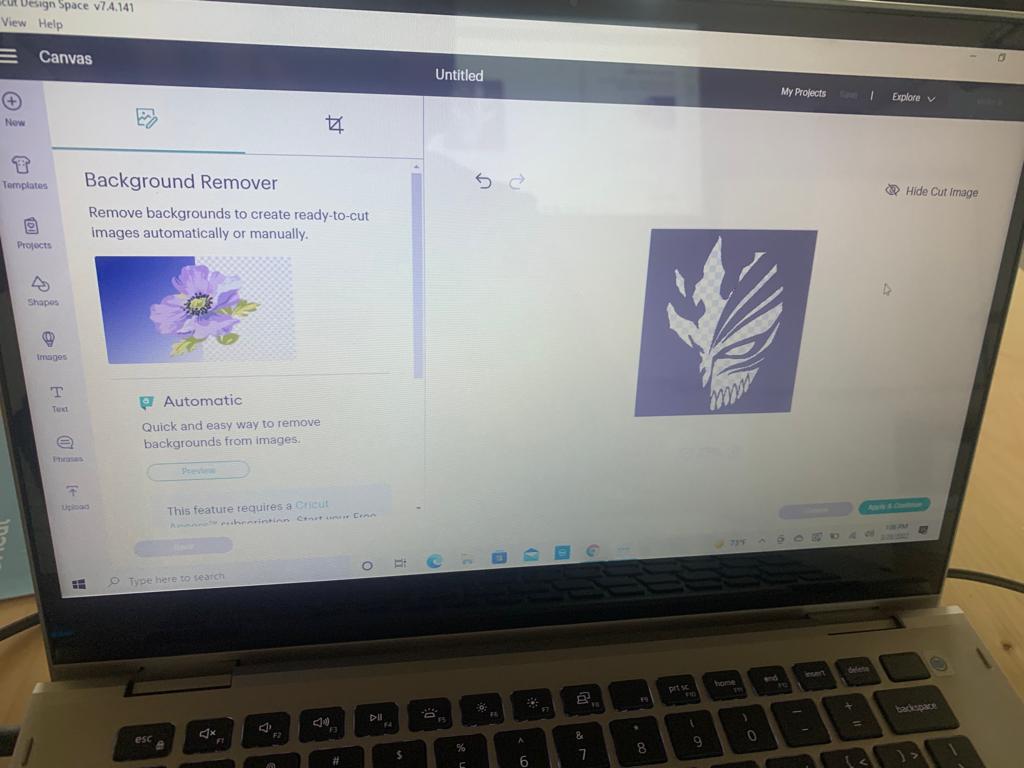
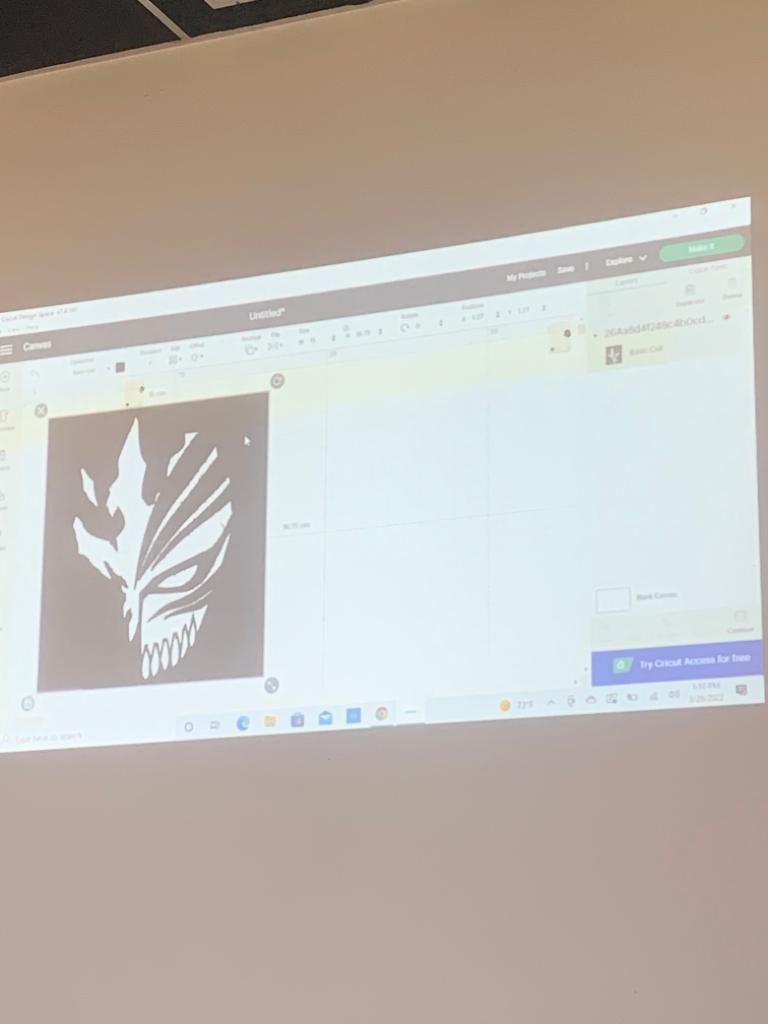
Just Sign up and download the software. You can use picture from google or you can design one. for me I chose from google the following pic

I upload it to the software and selected the last option of how to deal with it and then started removing the white parts of the photo. You can do it in two ways either delete the white part and you will get the black or vice versa
When design finalized adjust the size of your design and position to where it will be printed
Then prepare the vinyl choose from the colors and cut little bit more than the size you want fix the vinyl portion on the light grip (there are 3 different grips but we chose the light one cuz we are dealing with vinyl). Attach the laptop to the printer and insert the light grip in the machine
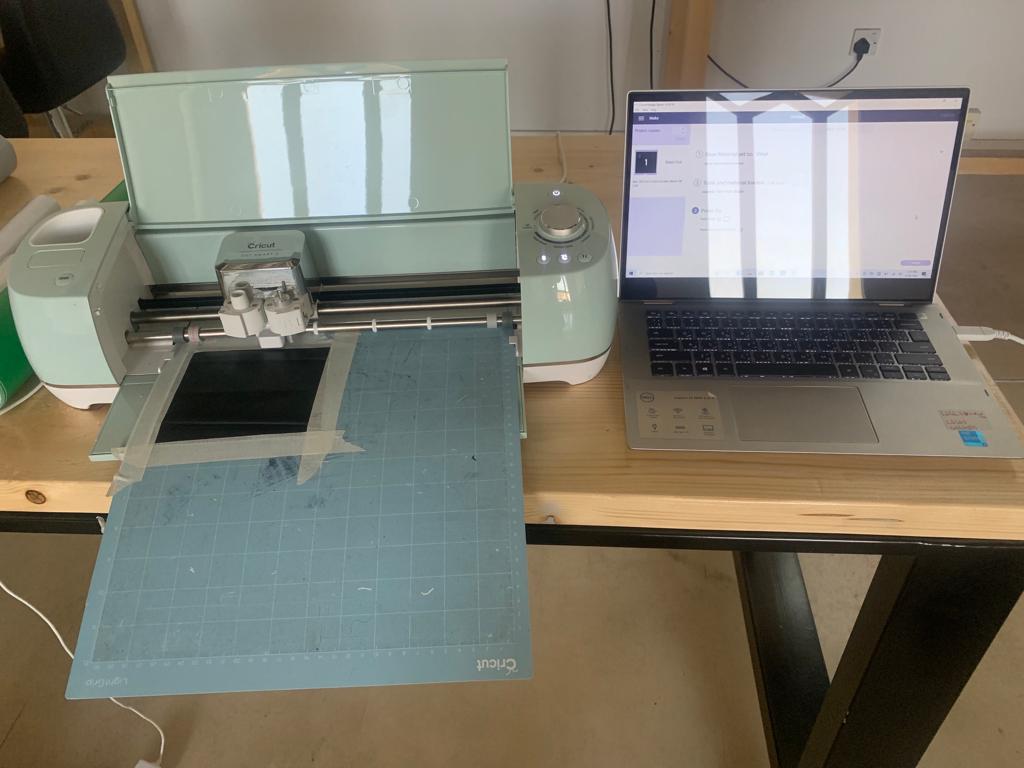
Make sure everything is right before cutting and then start the cut
Here is the results of my cutting