2. Large CNC Machine
Computer Aided design
This week I worked on different type of 2D software like Inkscape, Cuttle and FreeCAD and 3D software like SOLIDWORKS and Fusion 360.
First session
I worked almost on two programs Cuttle and Fusion 360. For me these two are the better programs that I used, you can injoy on Cuttle by doing many amazing 2D sketch.
Cuttle (2D)
You can draw 2D skitch by following these steps:
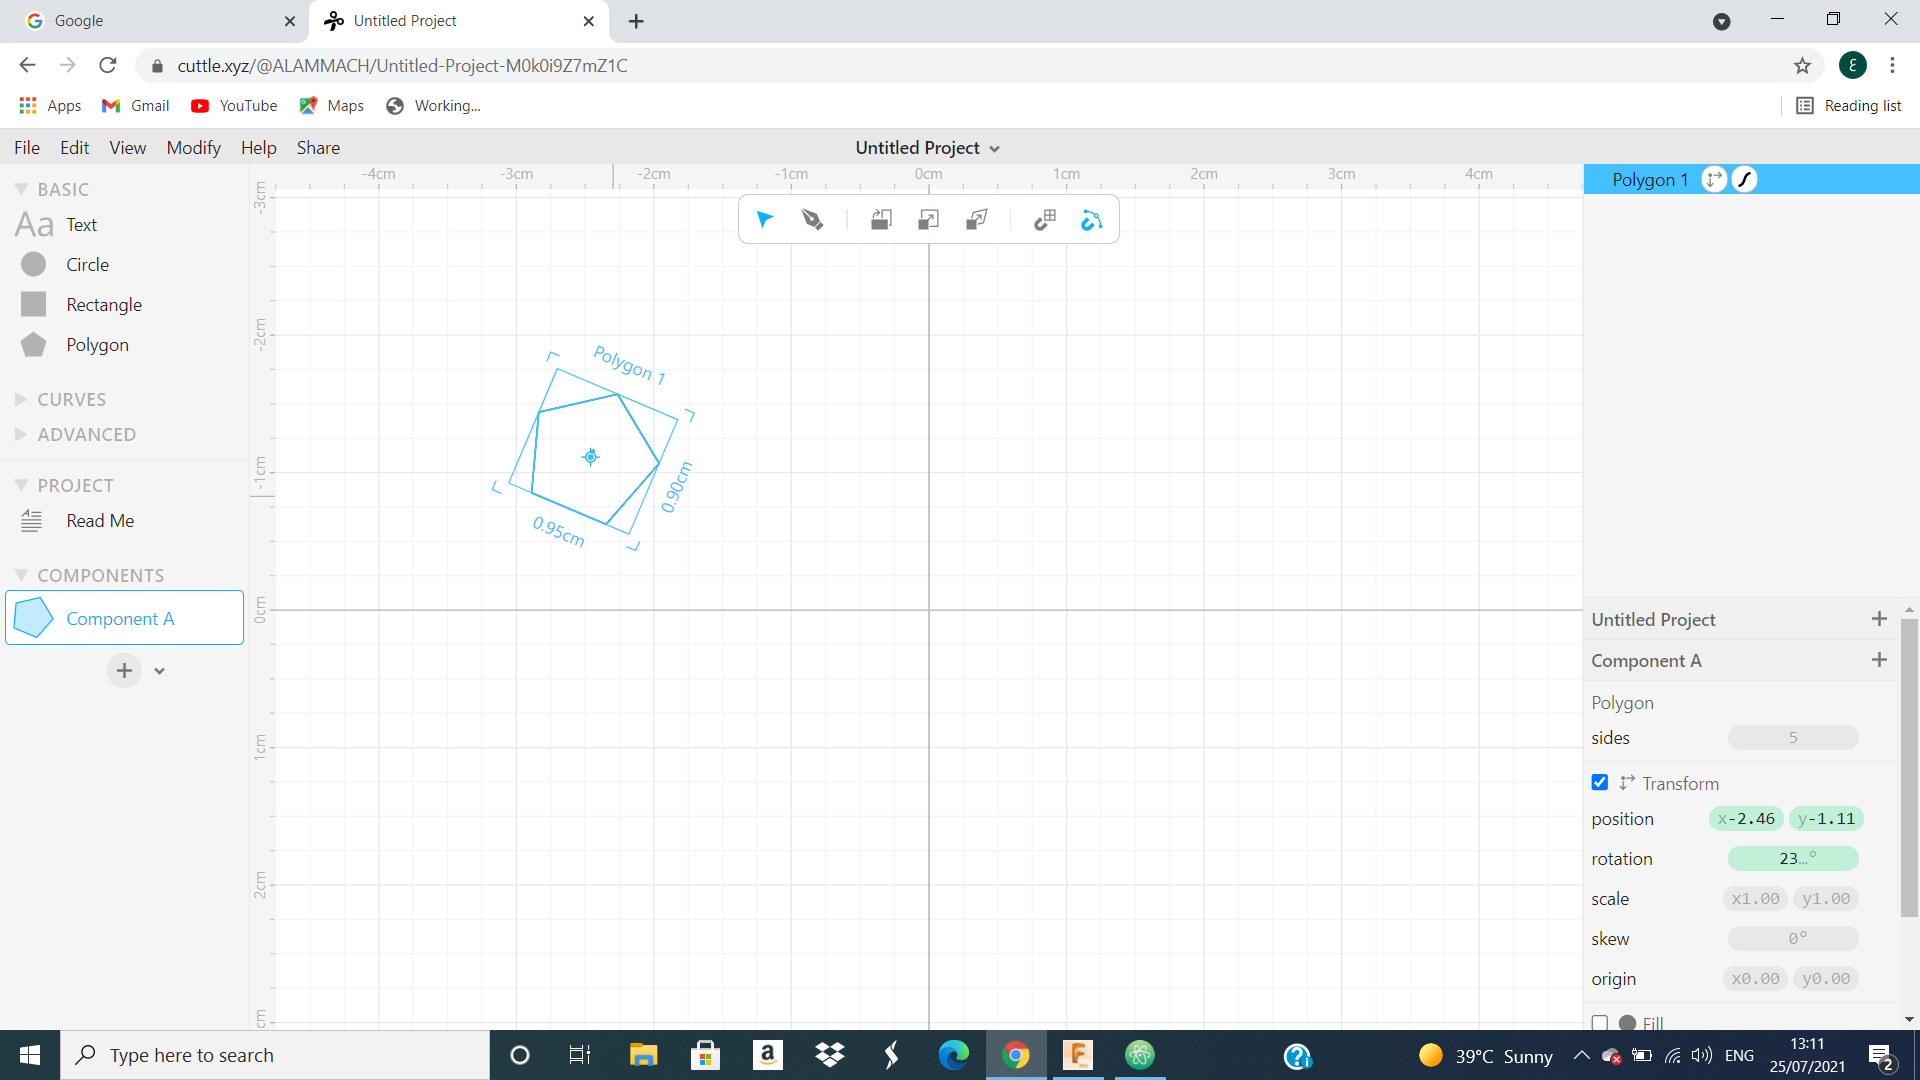
first, I click or put a polygon.
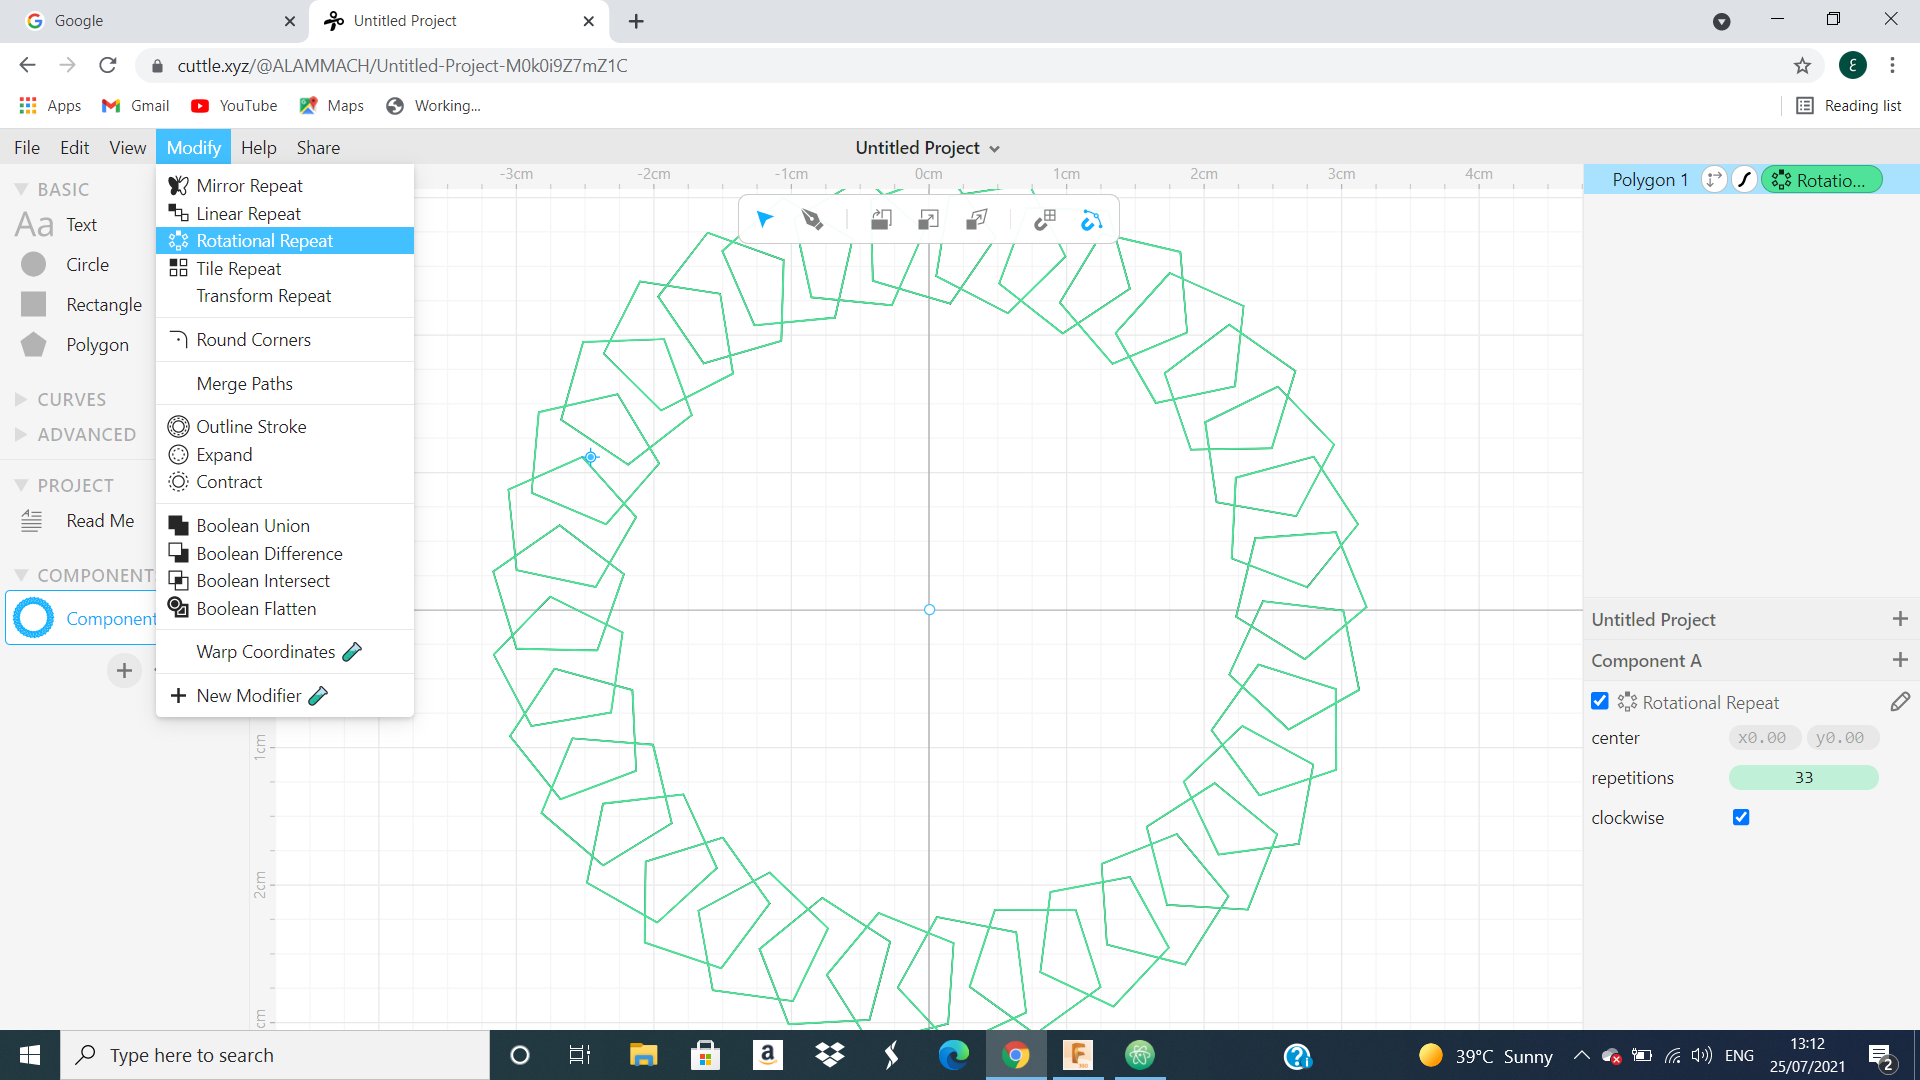
 After that, I go to modify and click on the Rotational Repeat and make the repetition 33 times.
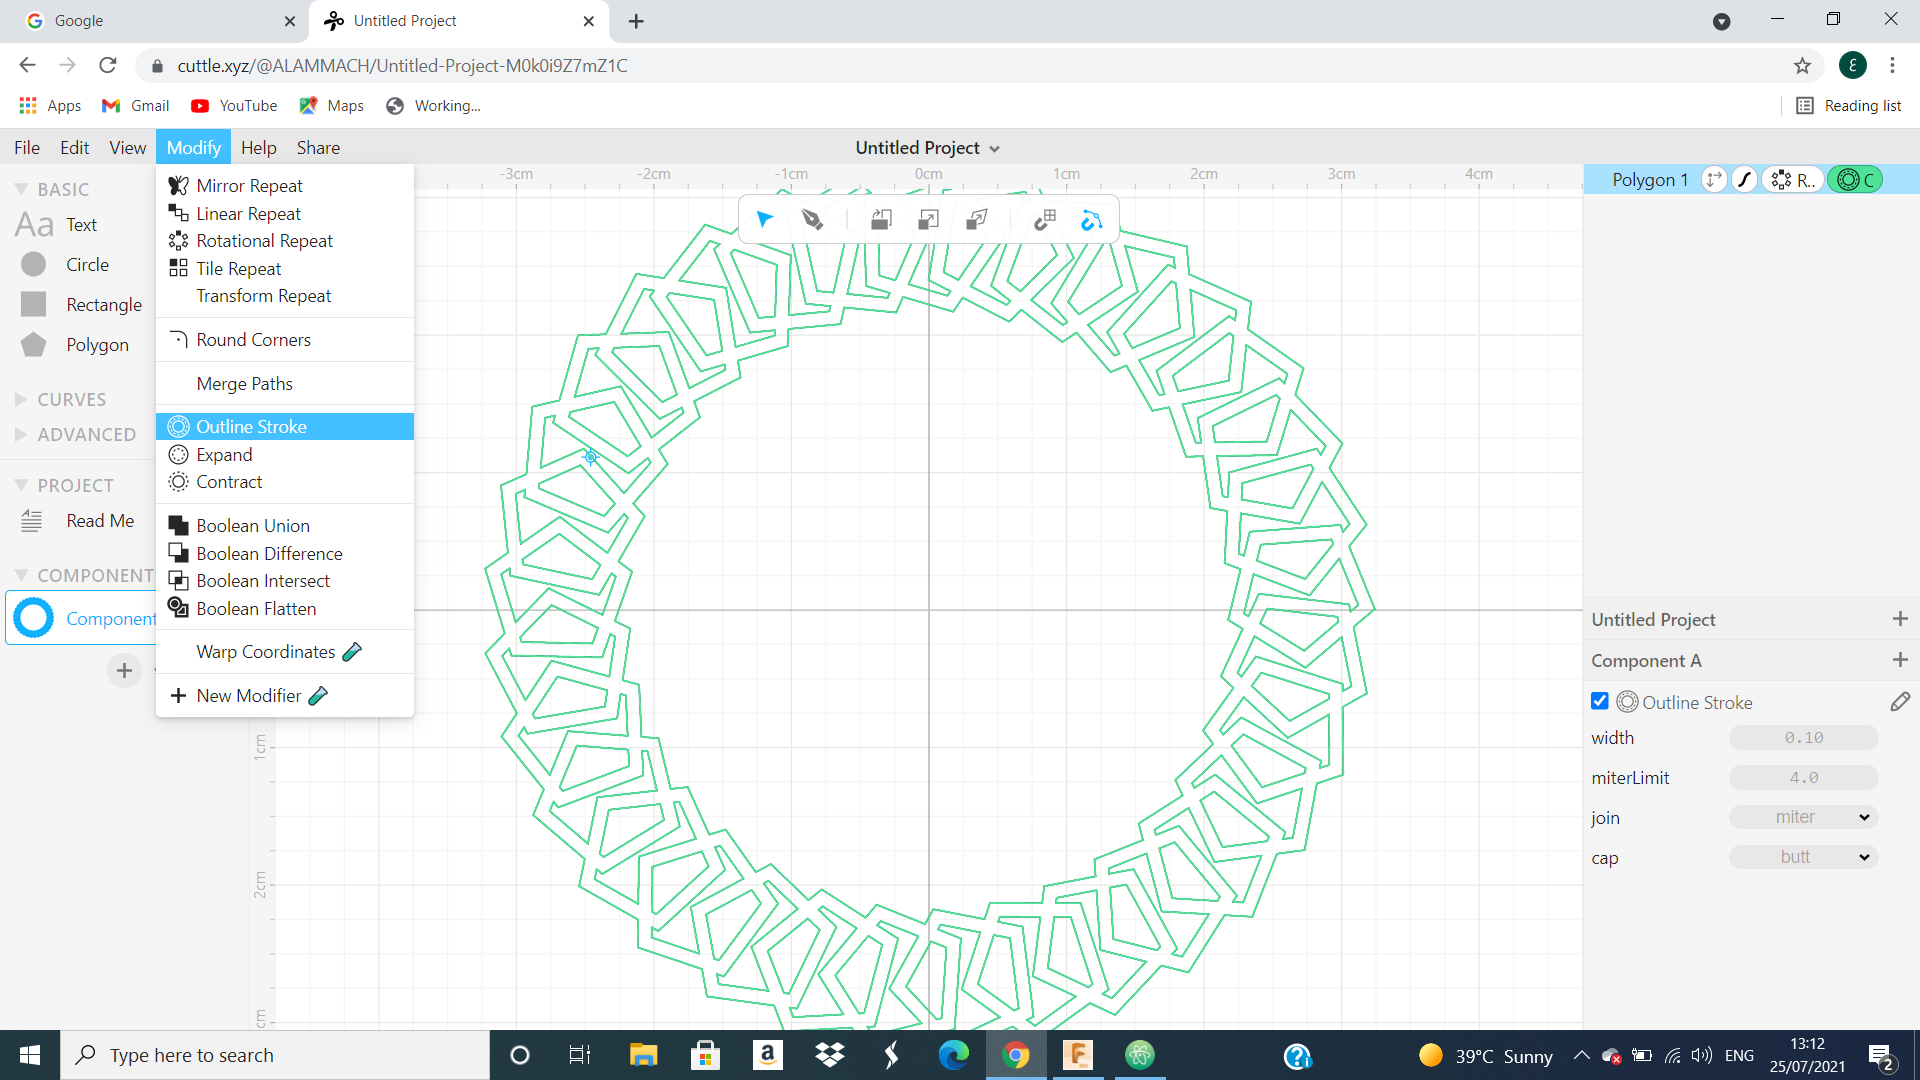
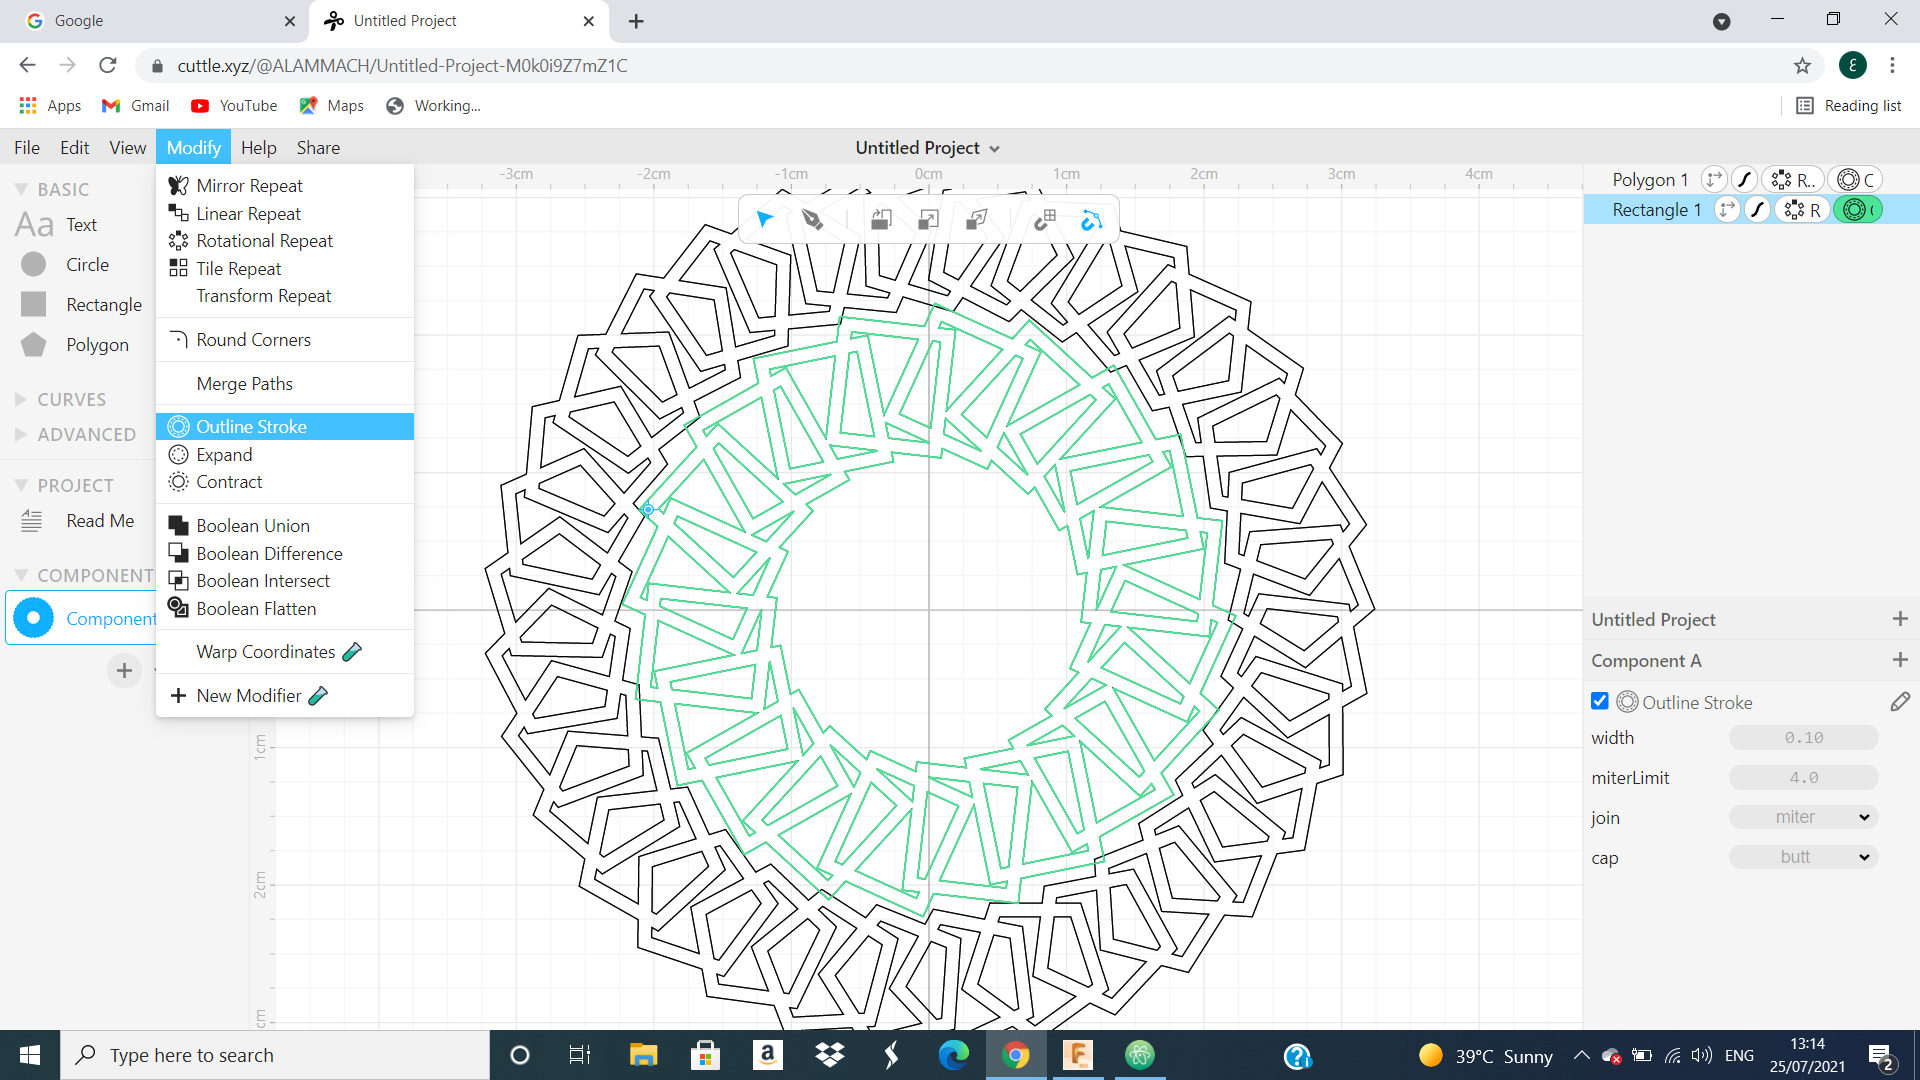
 Next, I go to modify and click on outline stroke and got this skitch.
 Than, I put a rectangle and do the same steps for polygon and got this skitch.
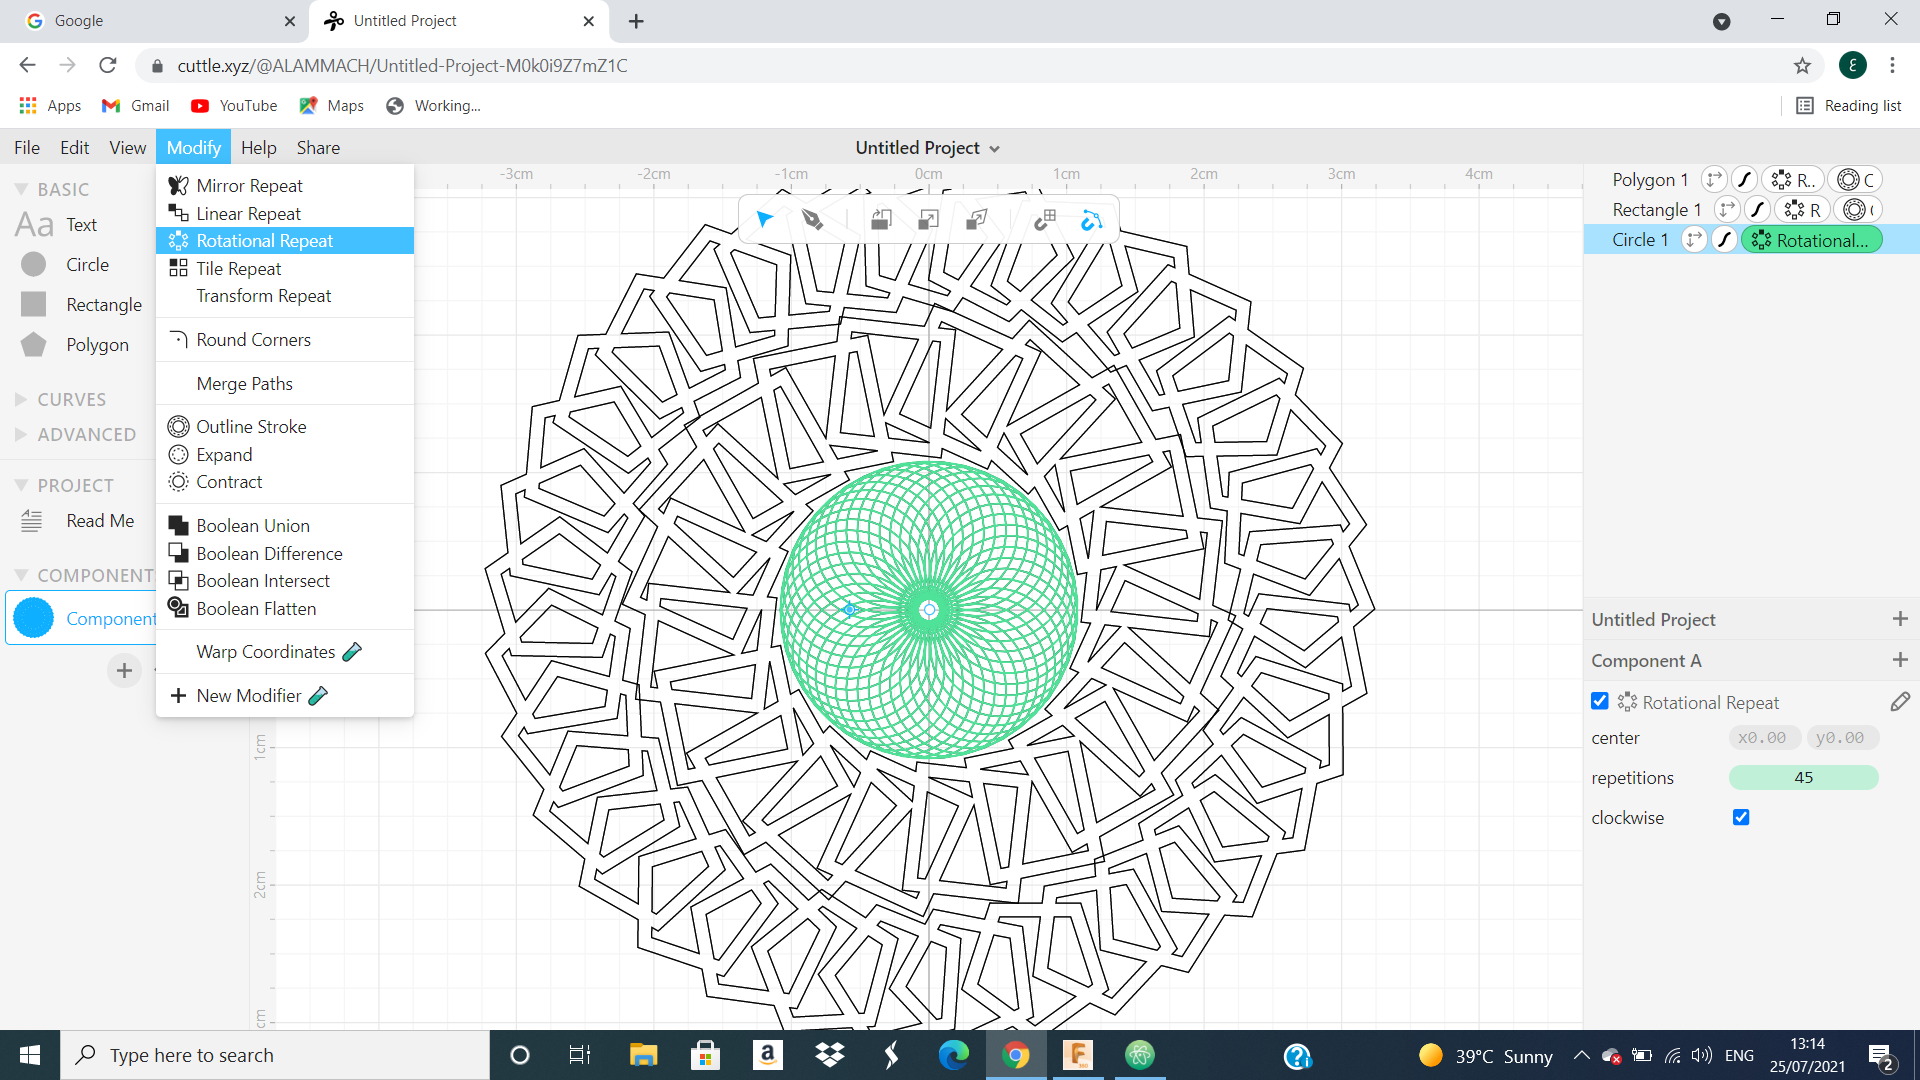
 Next, I put a circle and do the same steps for polygon but we make the repetition higher equal 45 and I got this skitch.
 After that, I go to fill choice and click on it to change the colour of our outline stroke
 Finally, I do the same thing for the circle and rectangle and at the end I got this skitch.
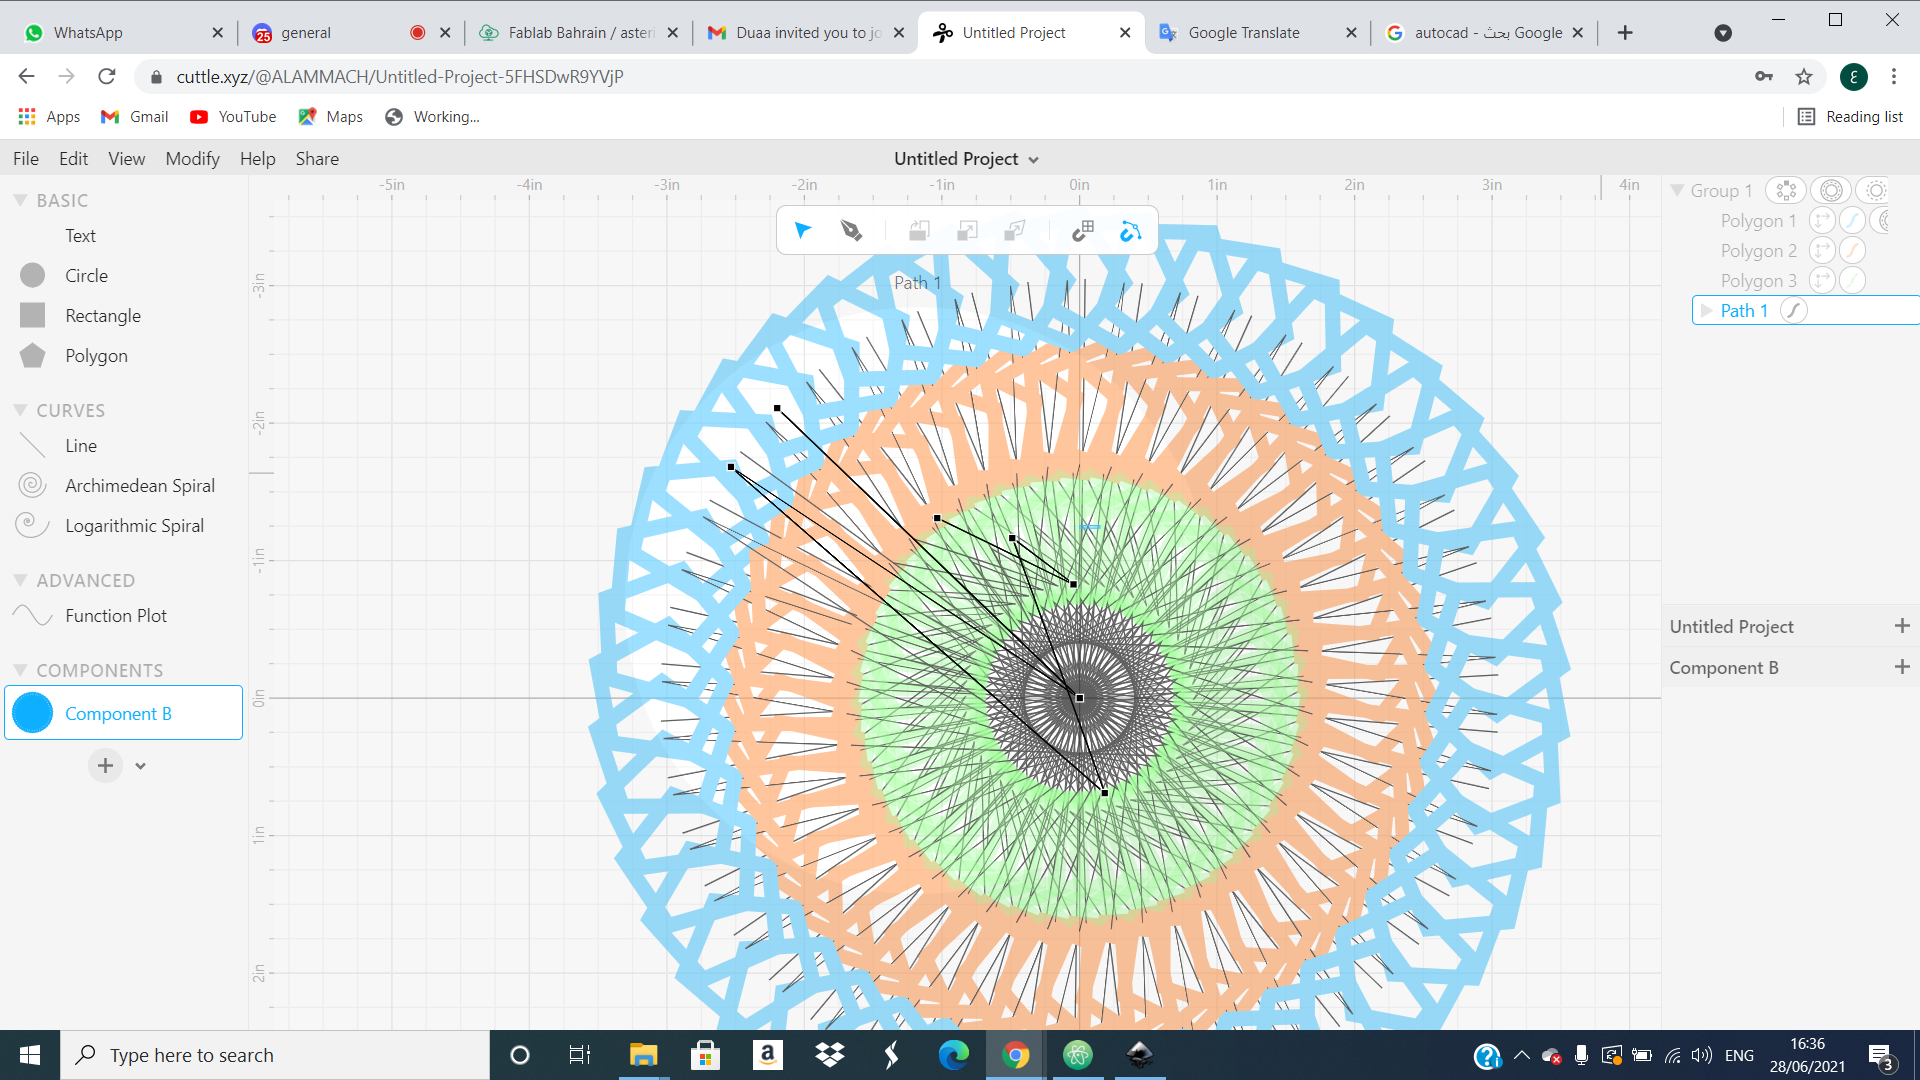
 And this is another skitch I do it using Cuttle by following almost the same steps
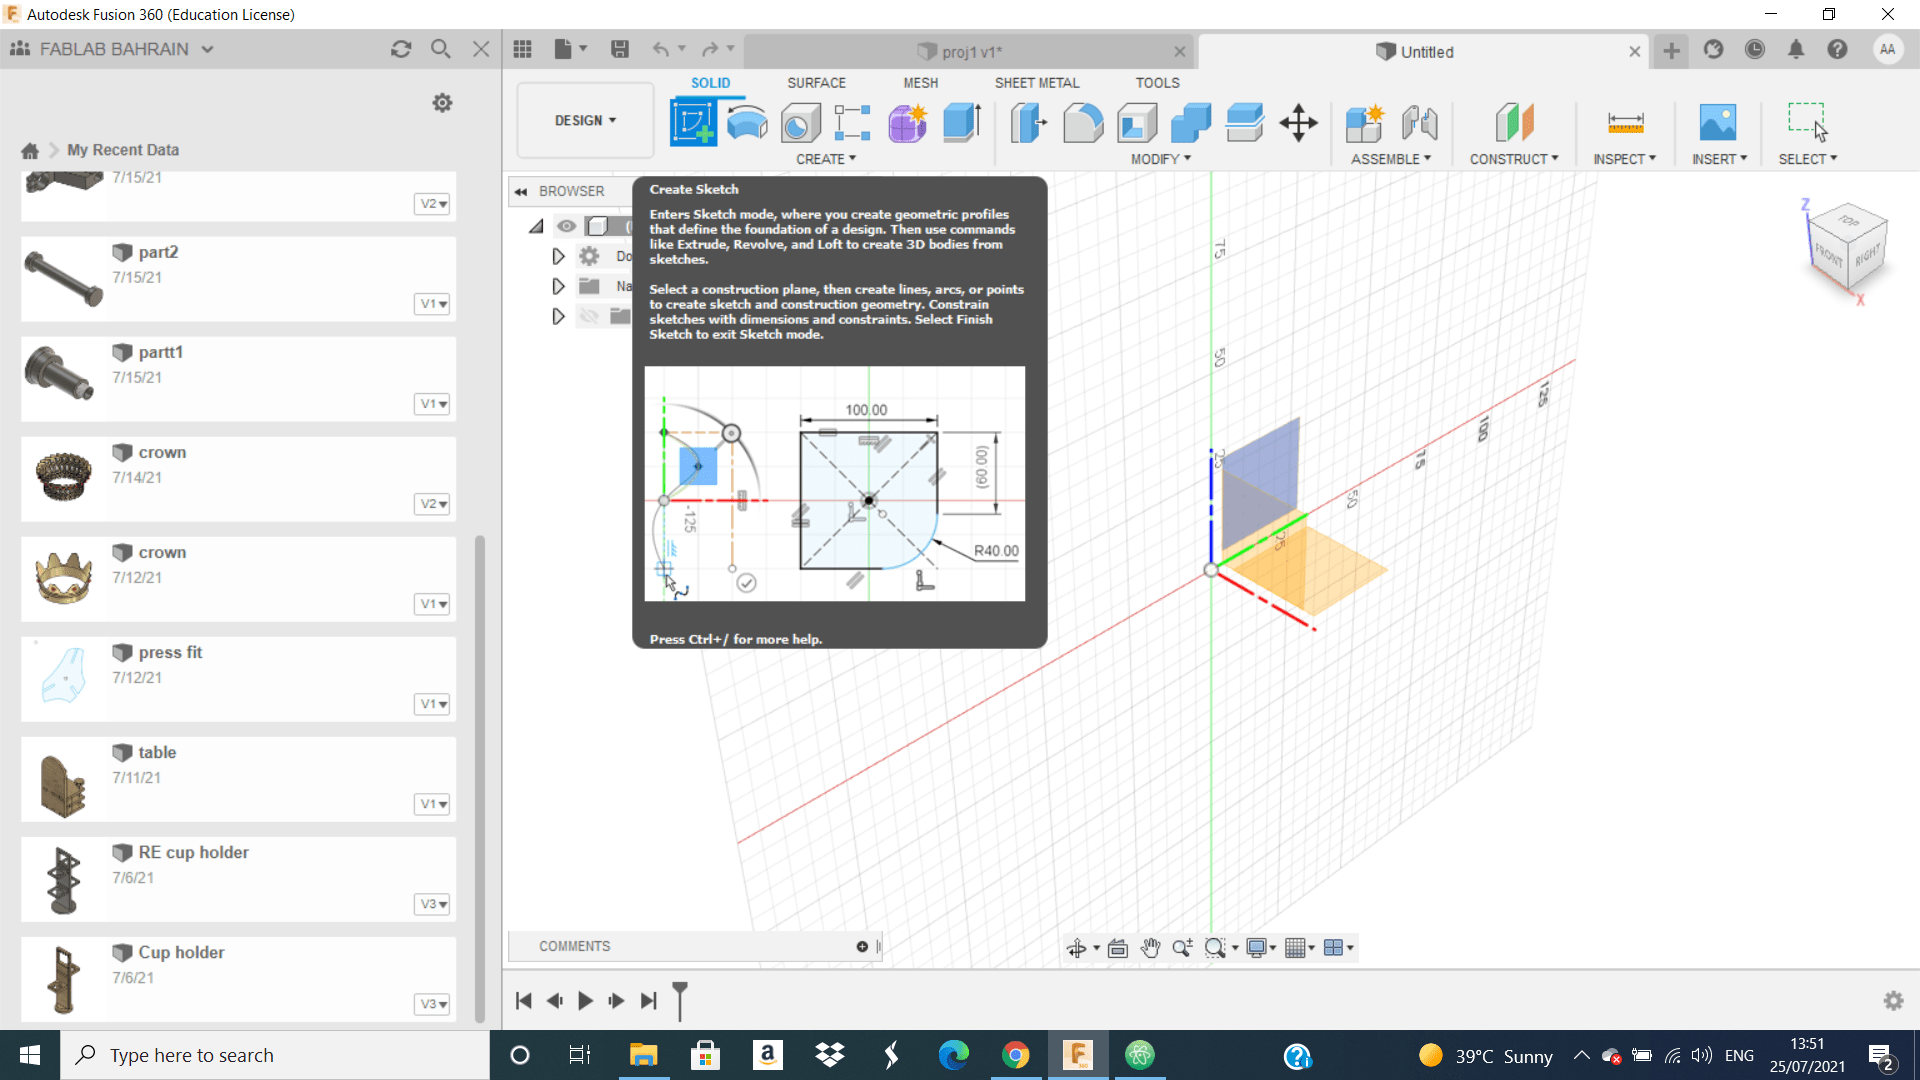
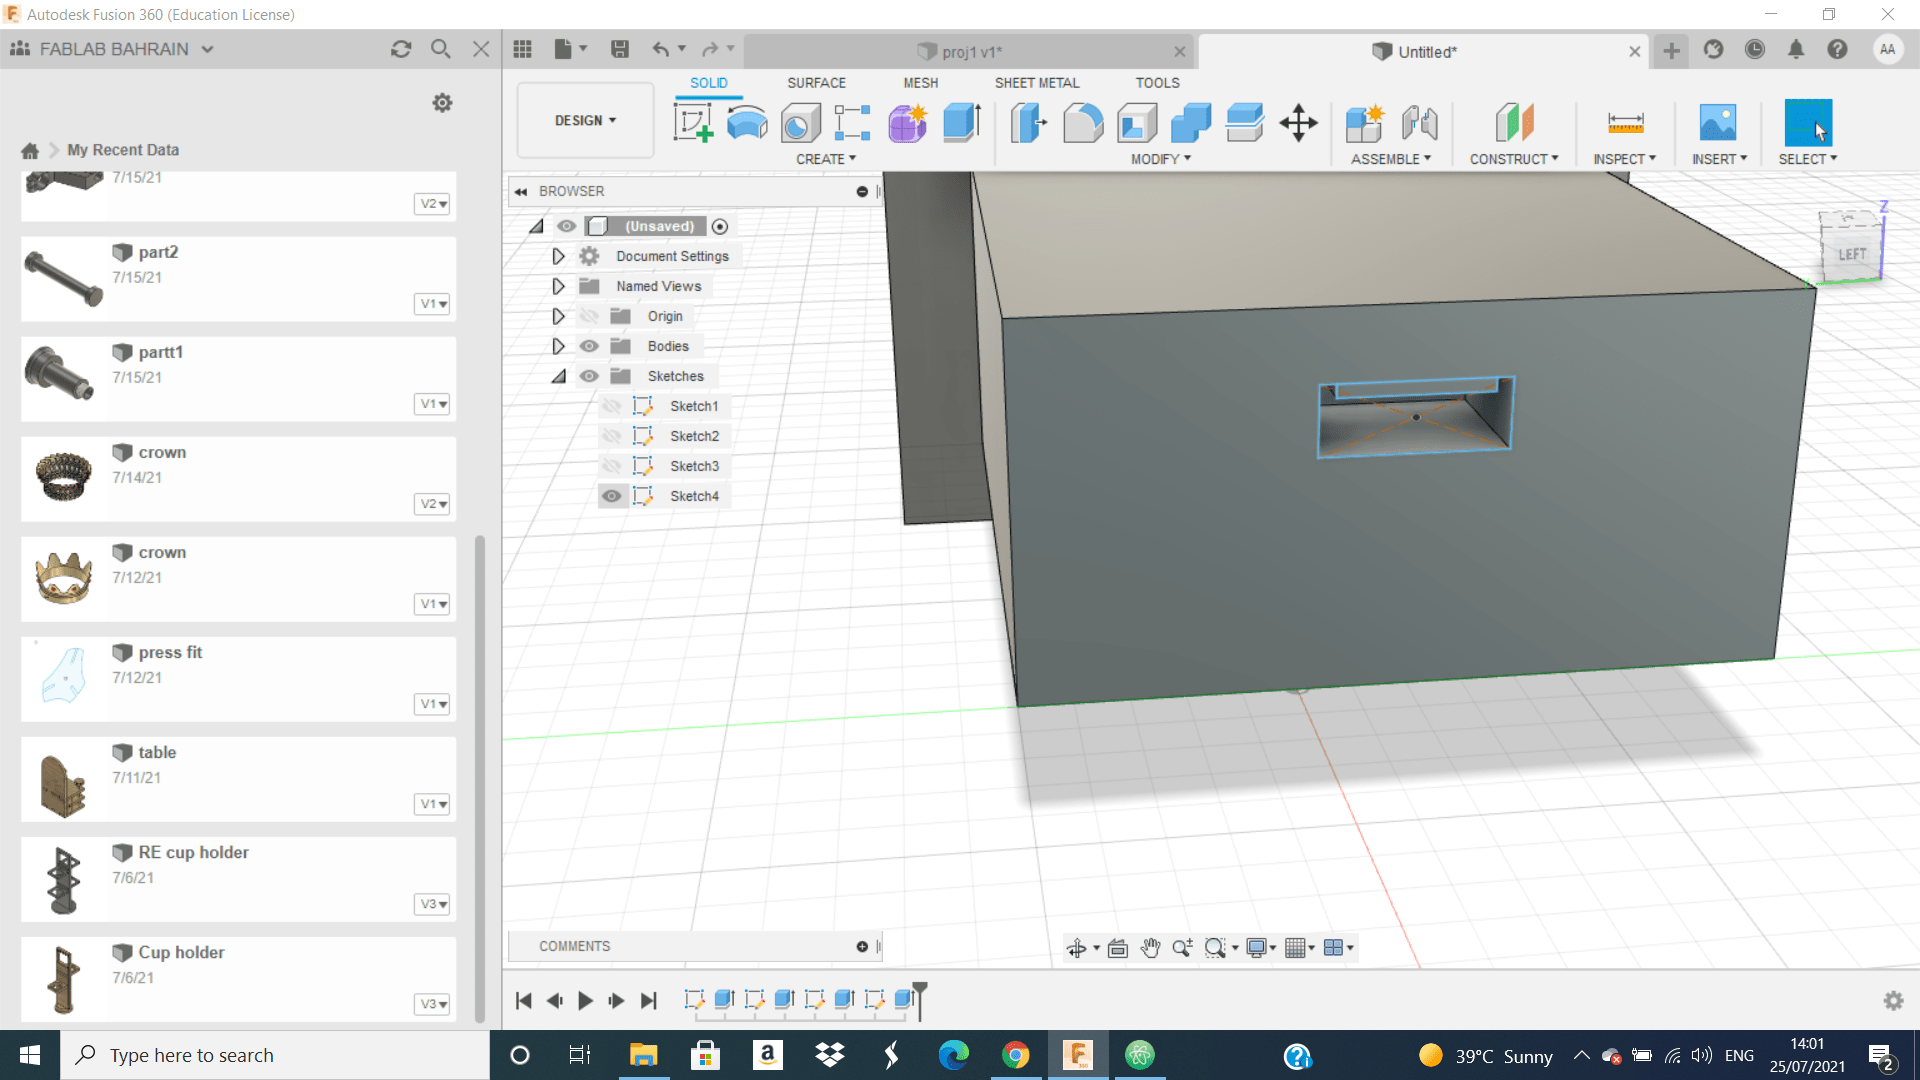
Fusion 360
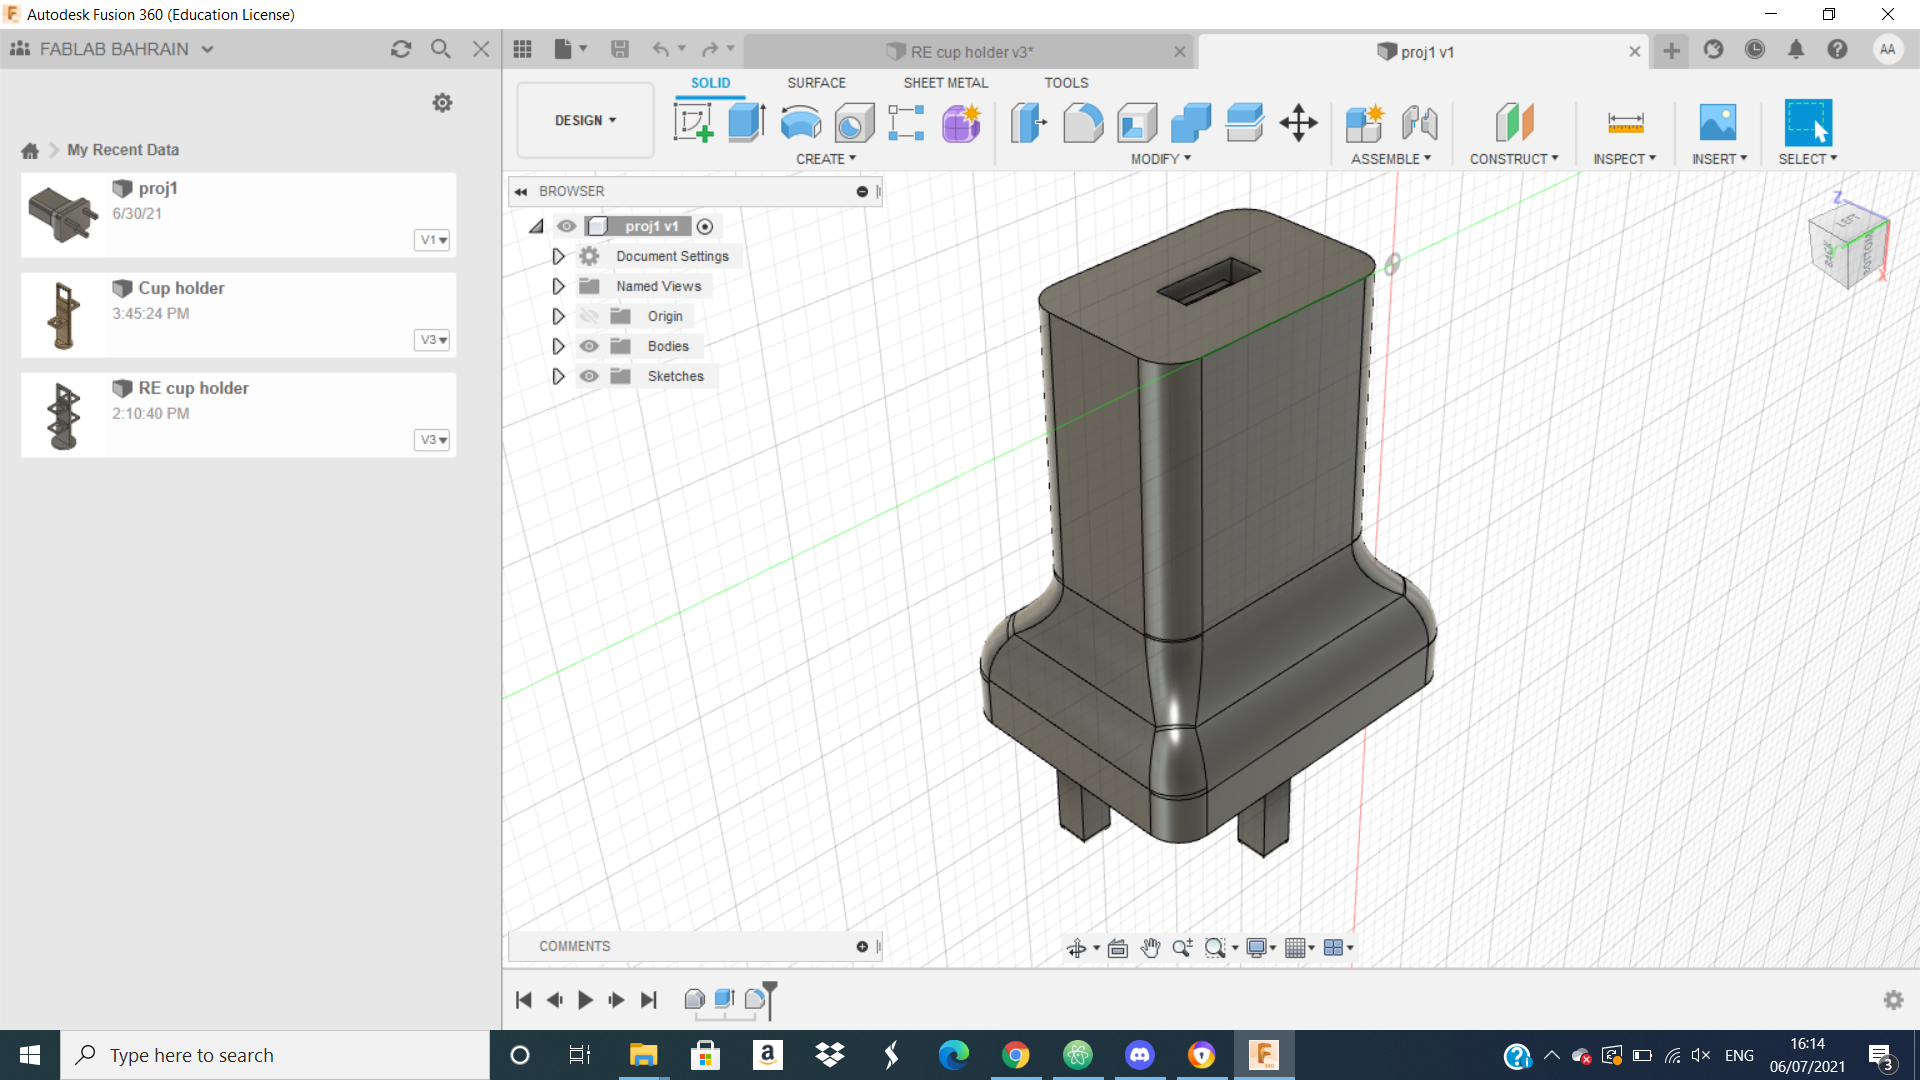
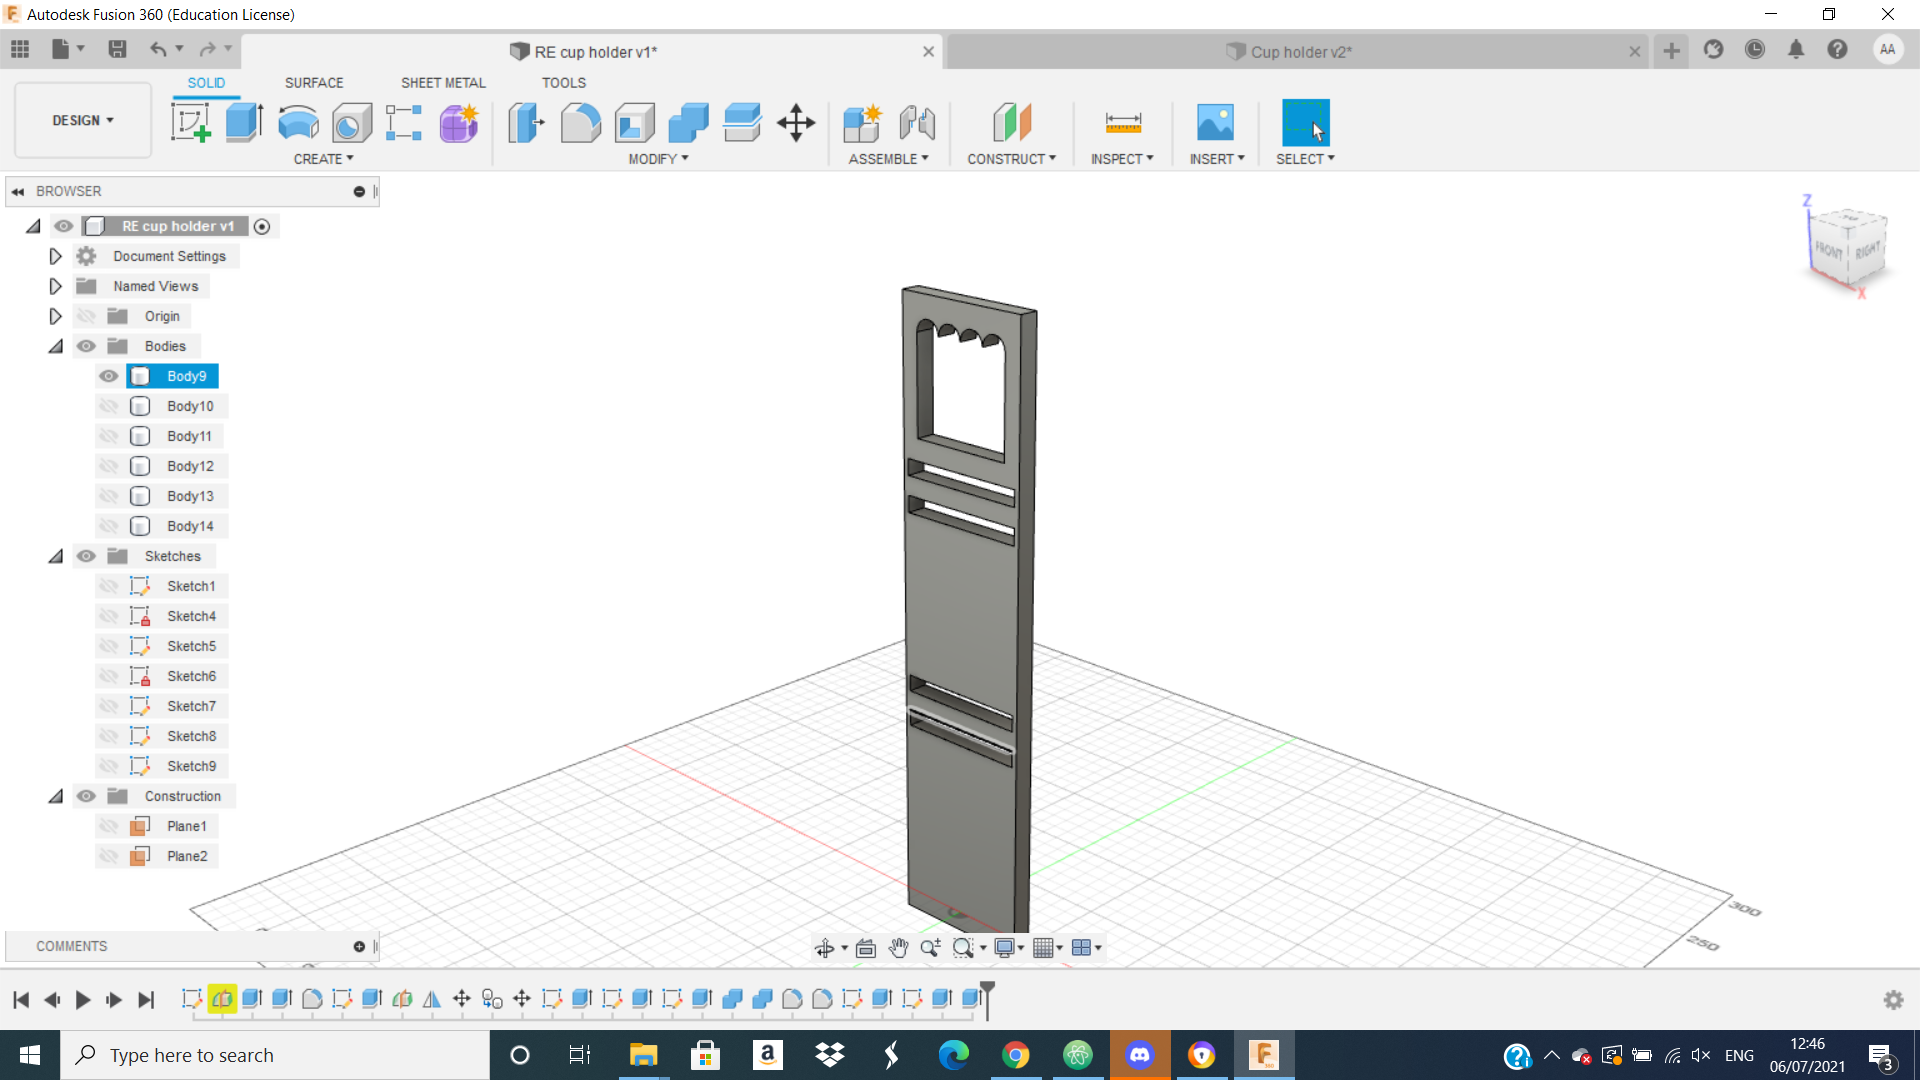
Than, Fusion 360 is a program for 3D sketch and we almost worked on it to design some part or simple part like
 and I do this part by following these steps:
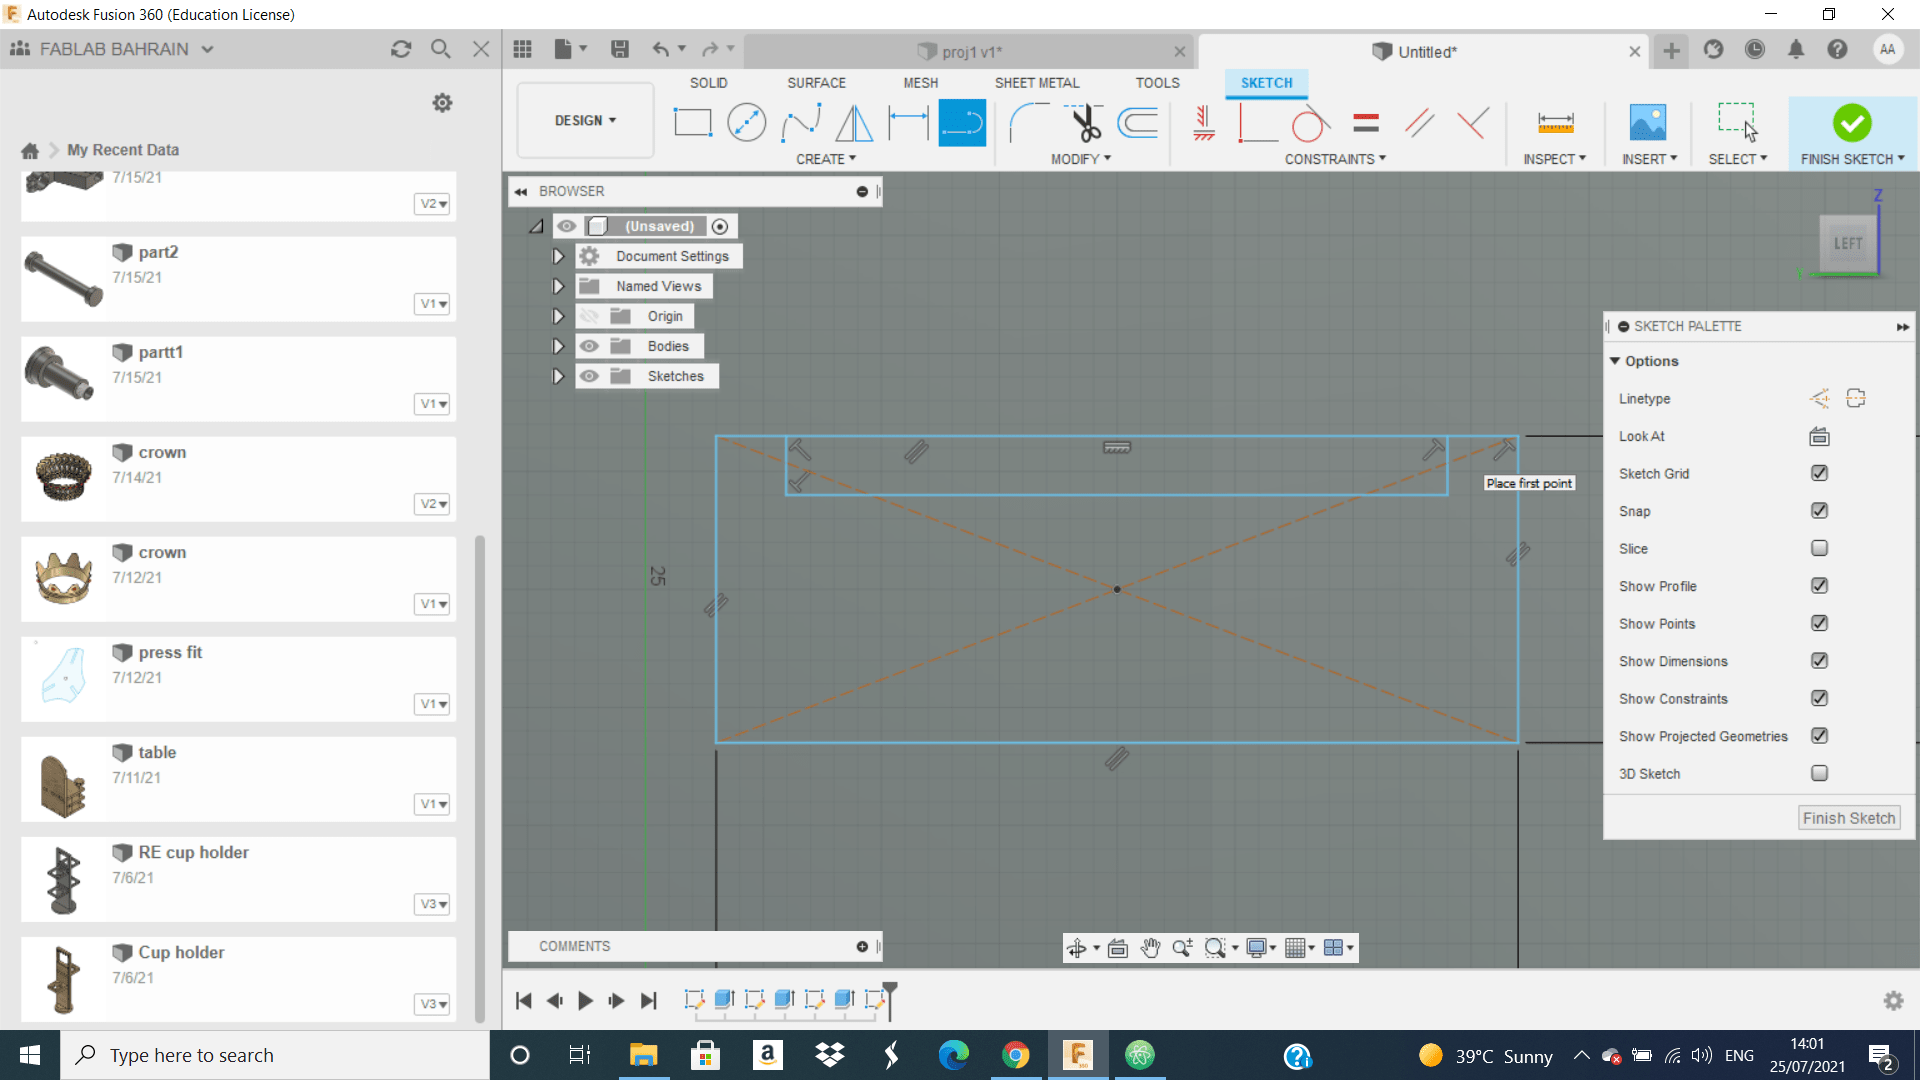
First, I click on create skitch
and I do this part by following these steps:
First, I click on create skitch
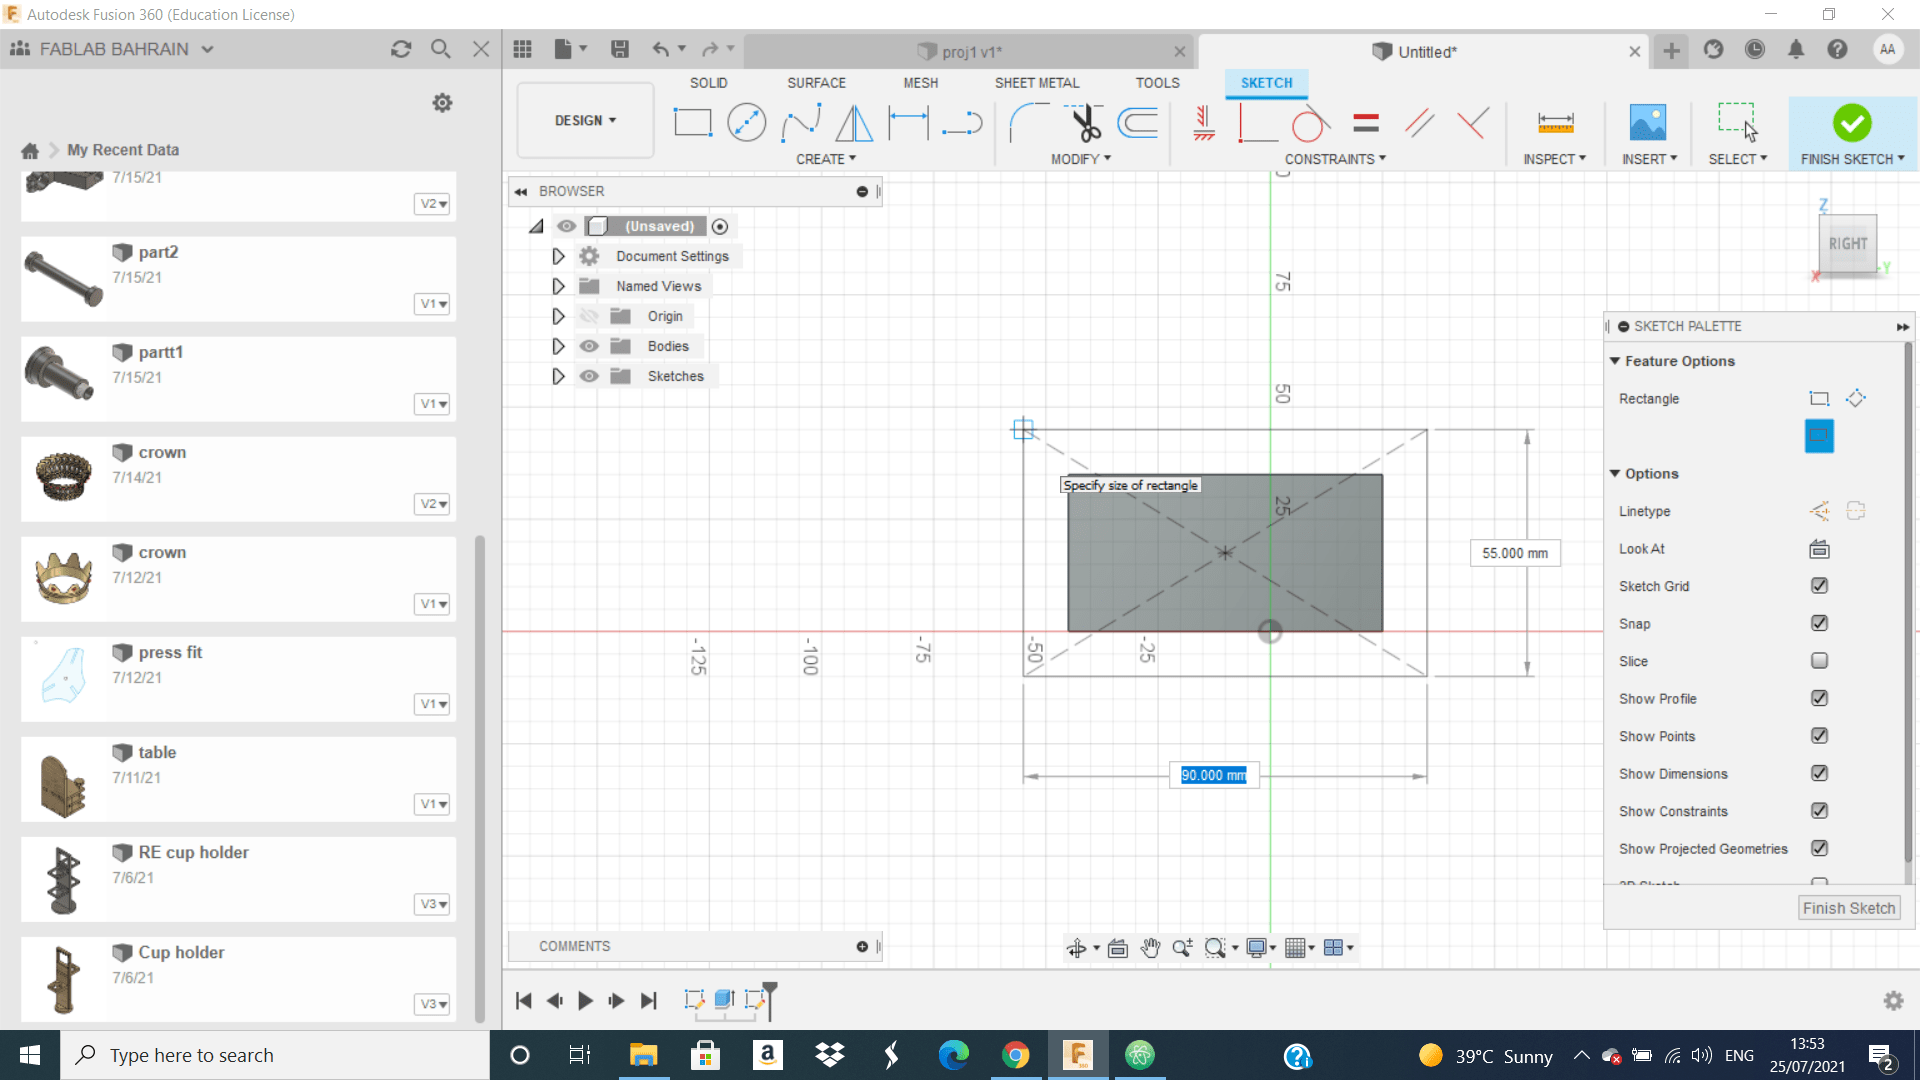
 and skitch a rectangle.
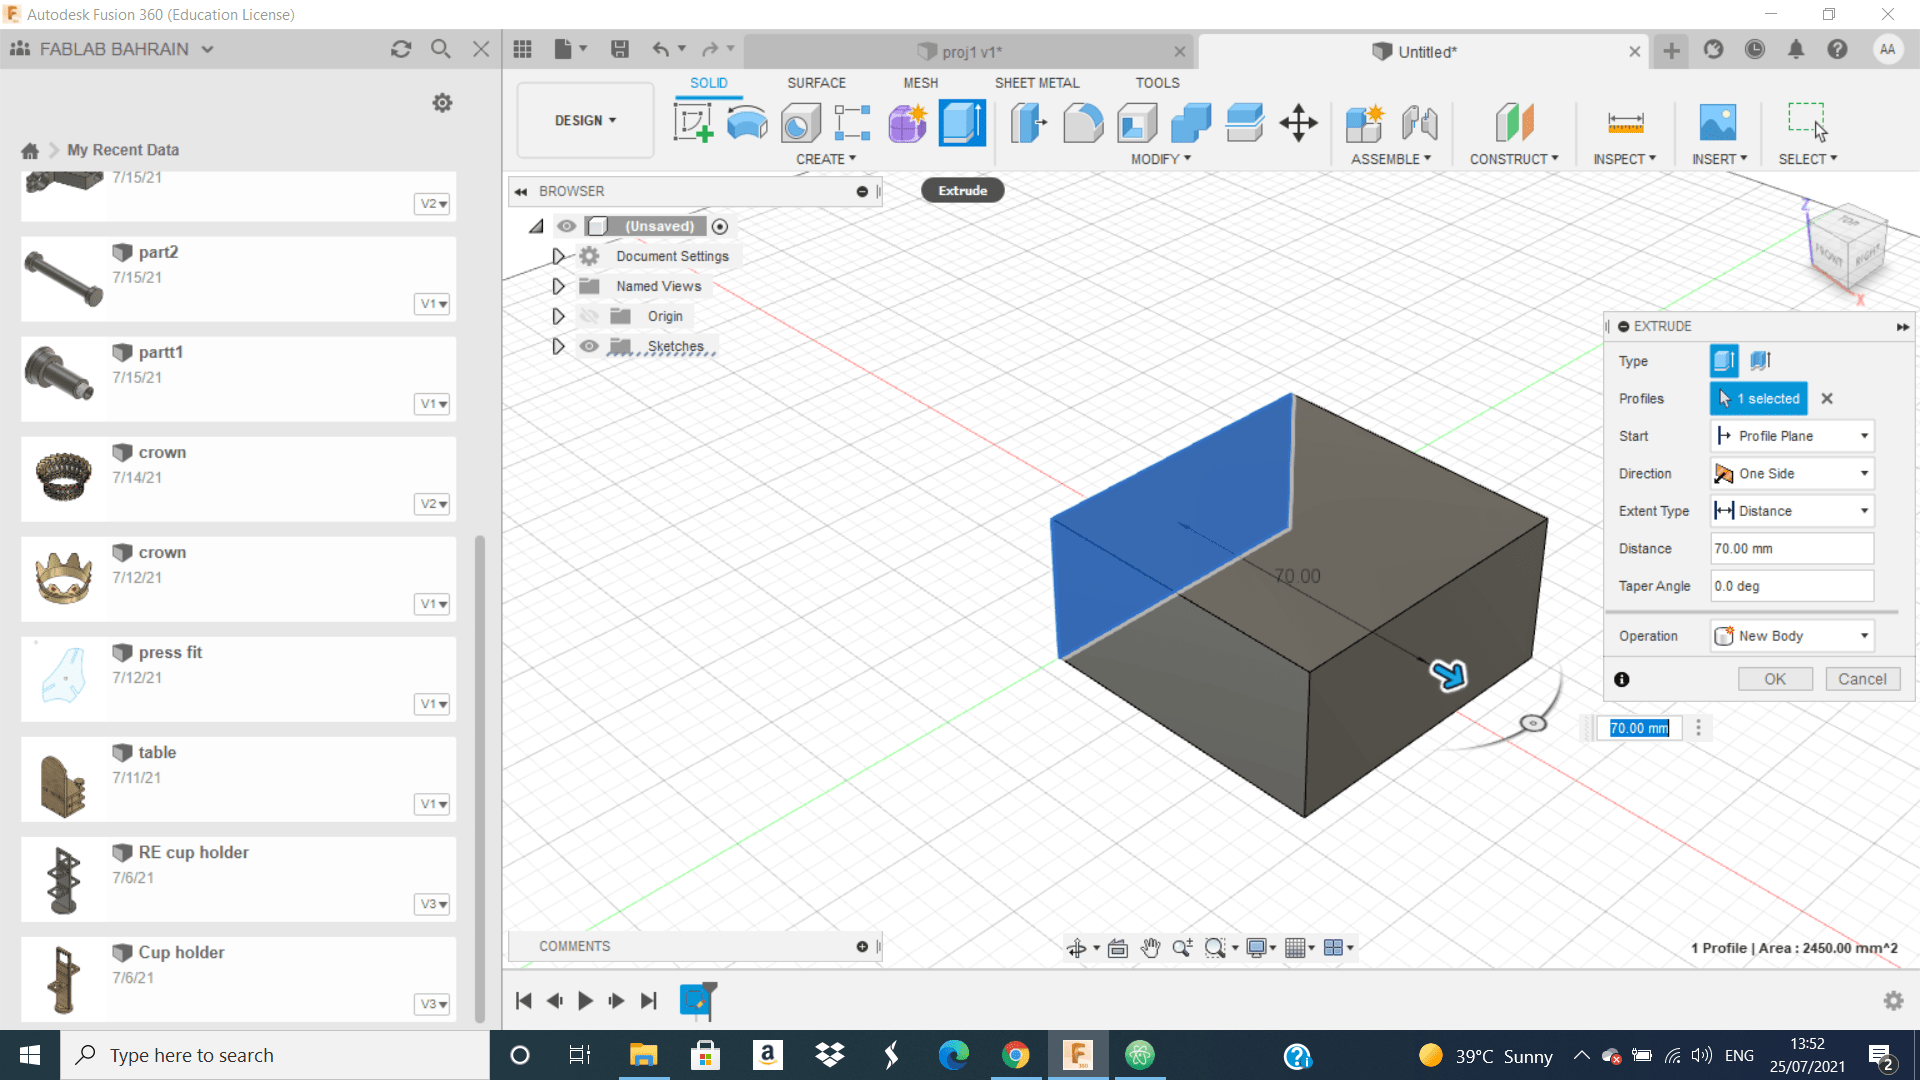
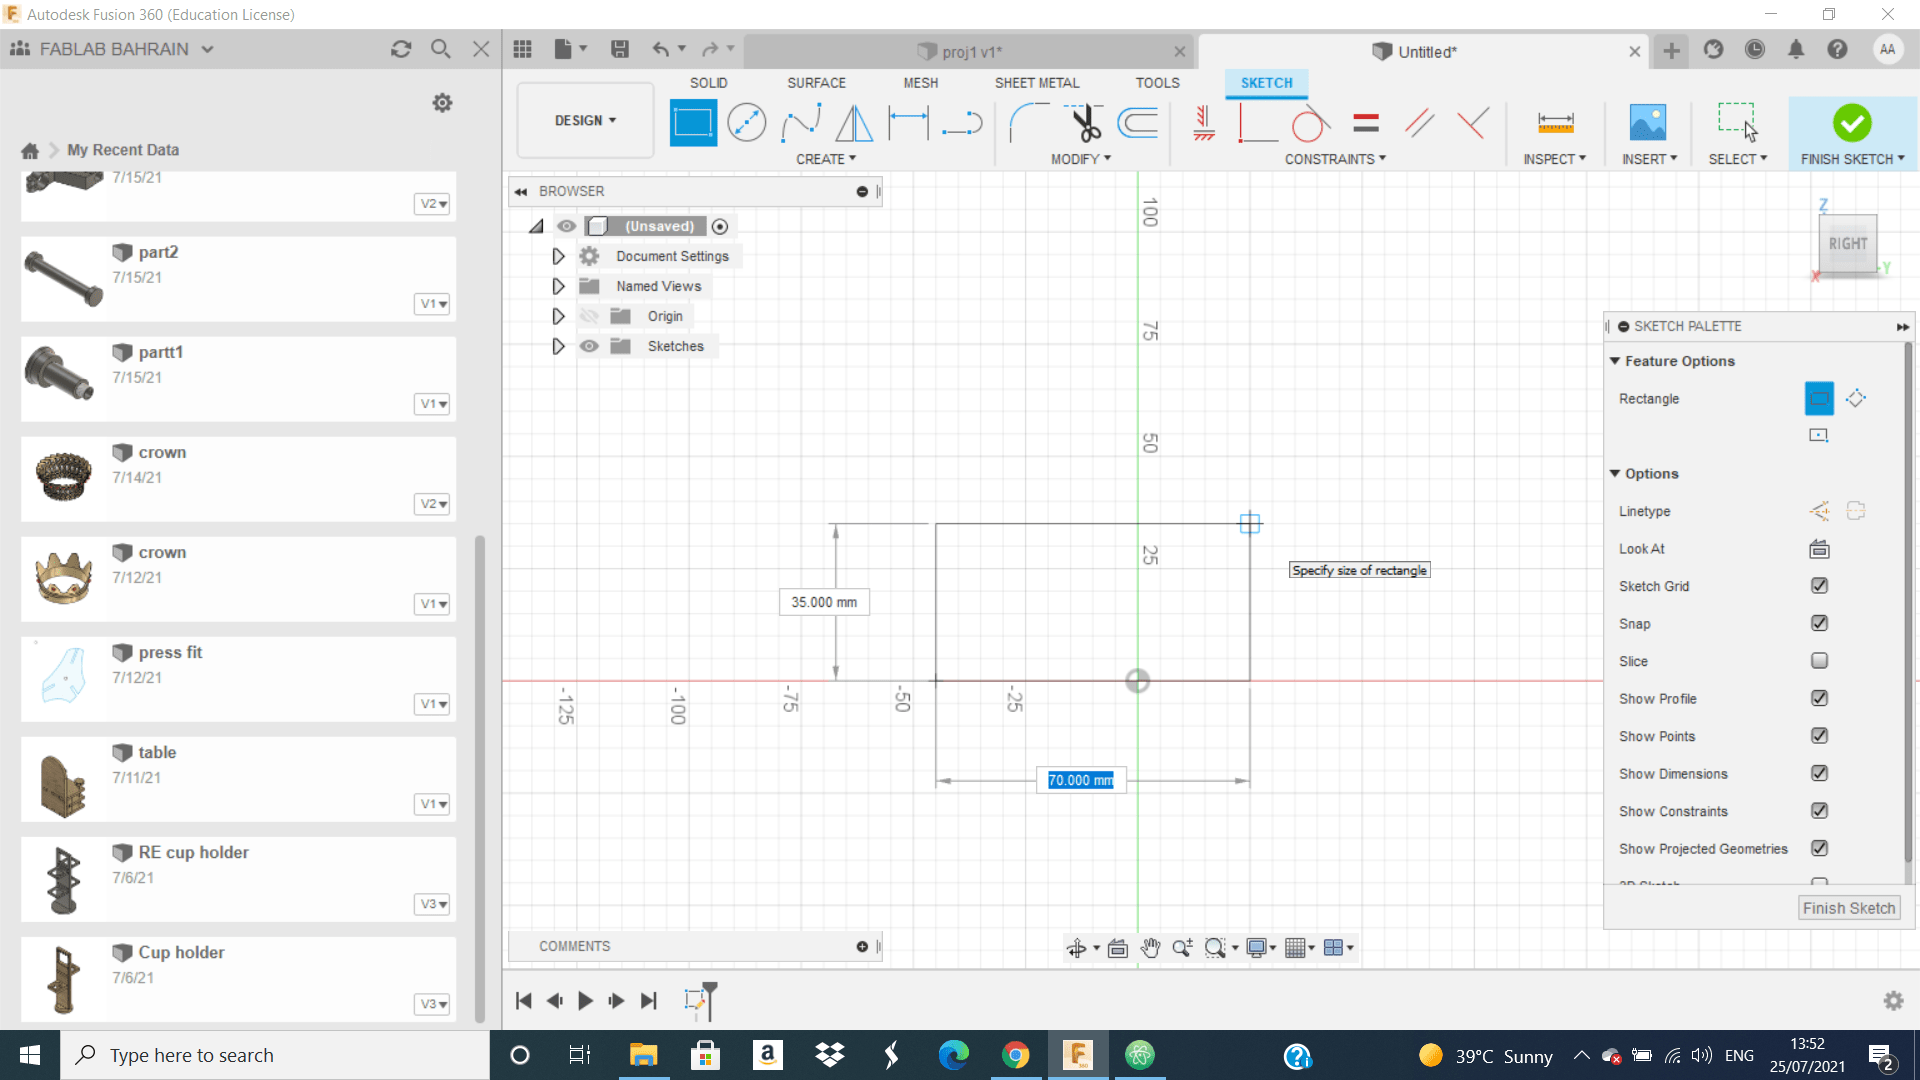 Second, I do extrude to the rectangle.
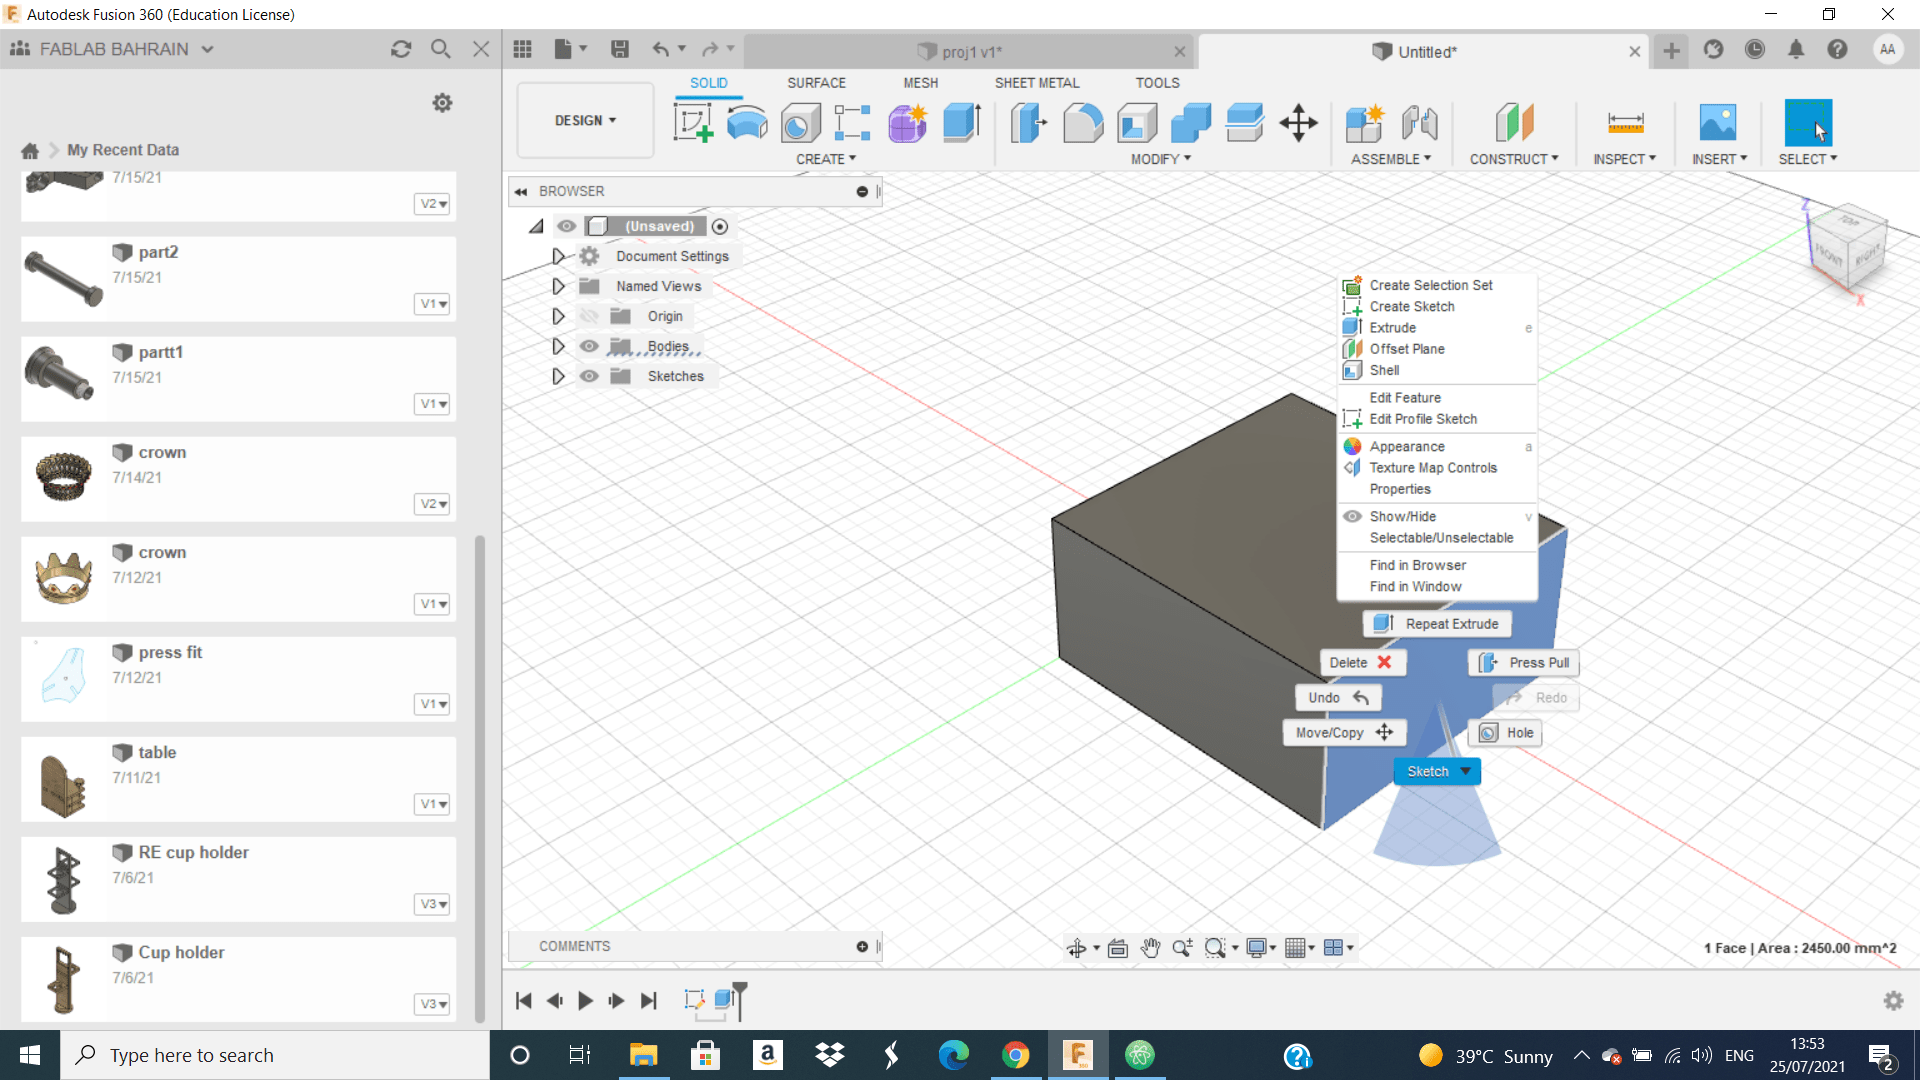
 Third, I start draw on the shape
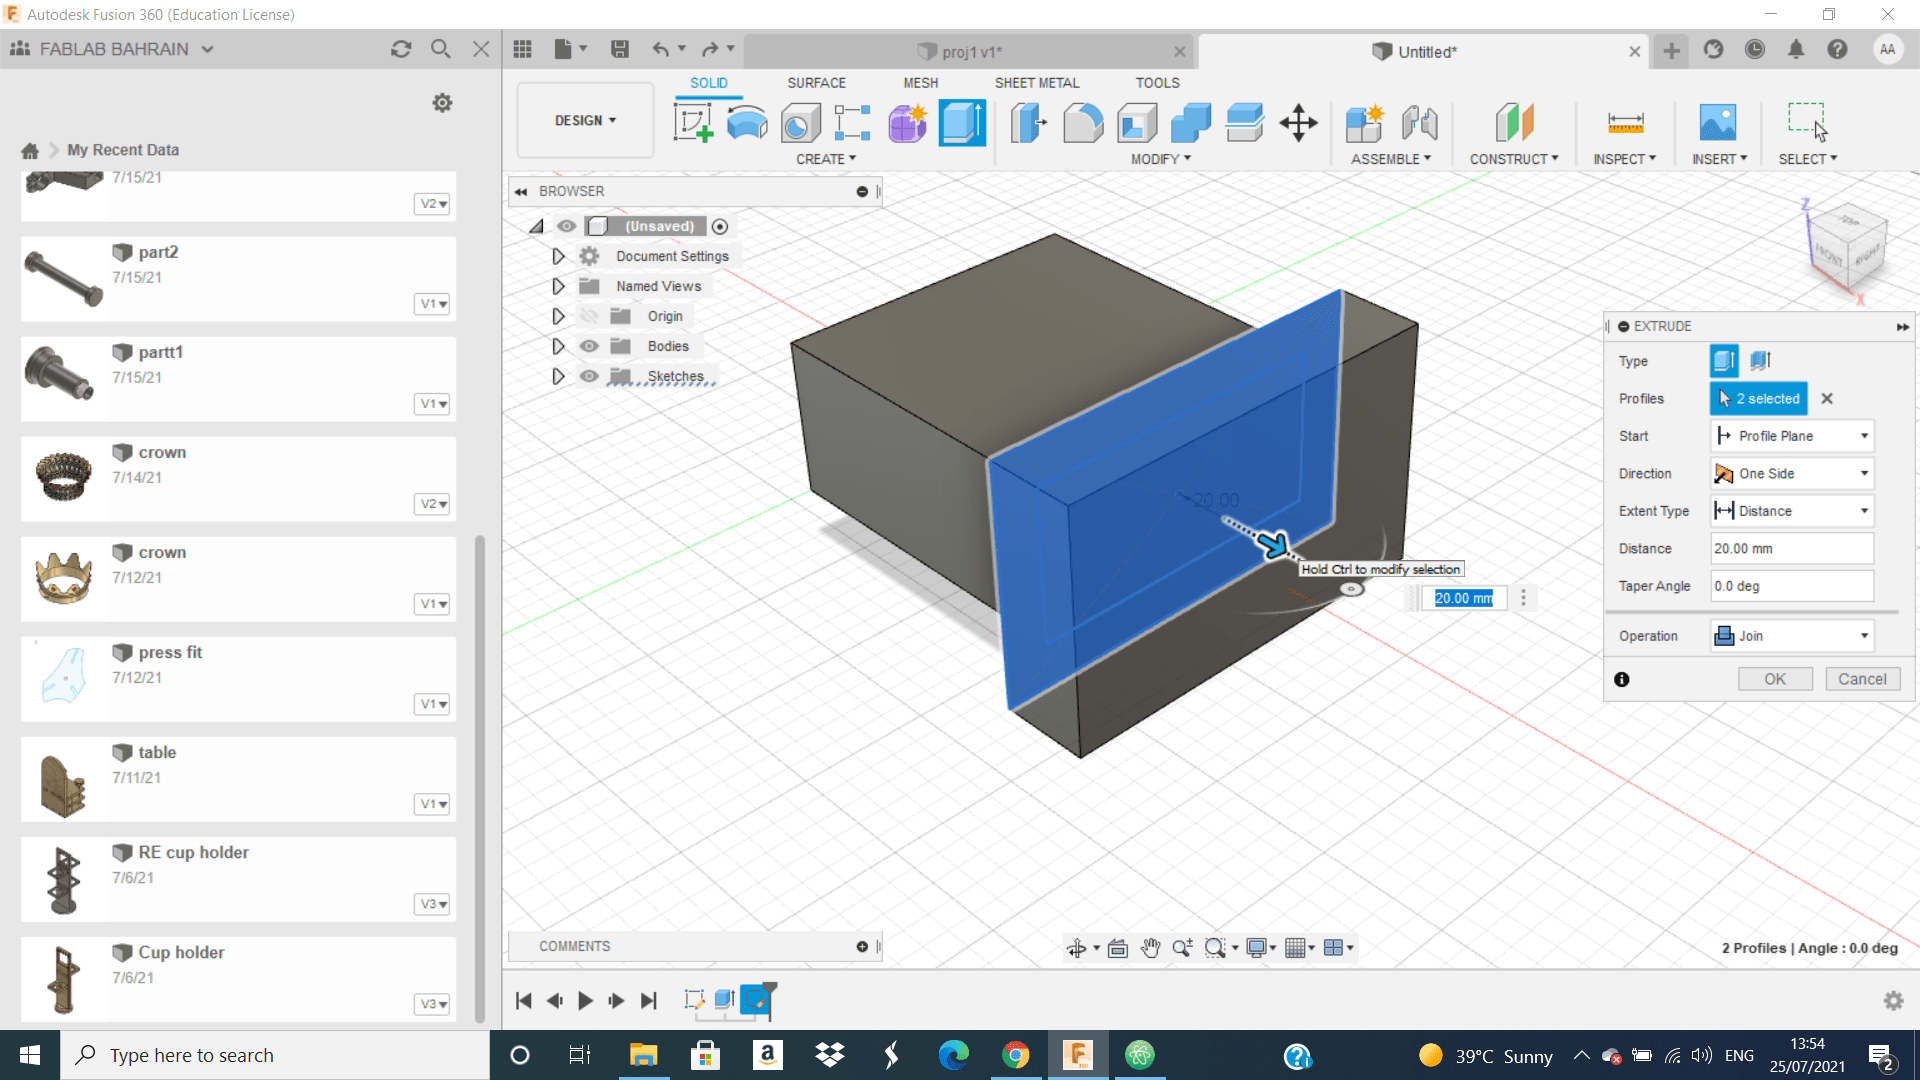
 and skitch another rectangle
 than I do extrude to the bigger rectangle
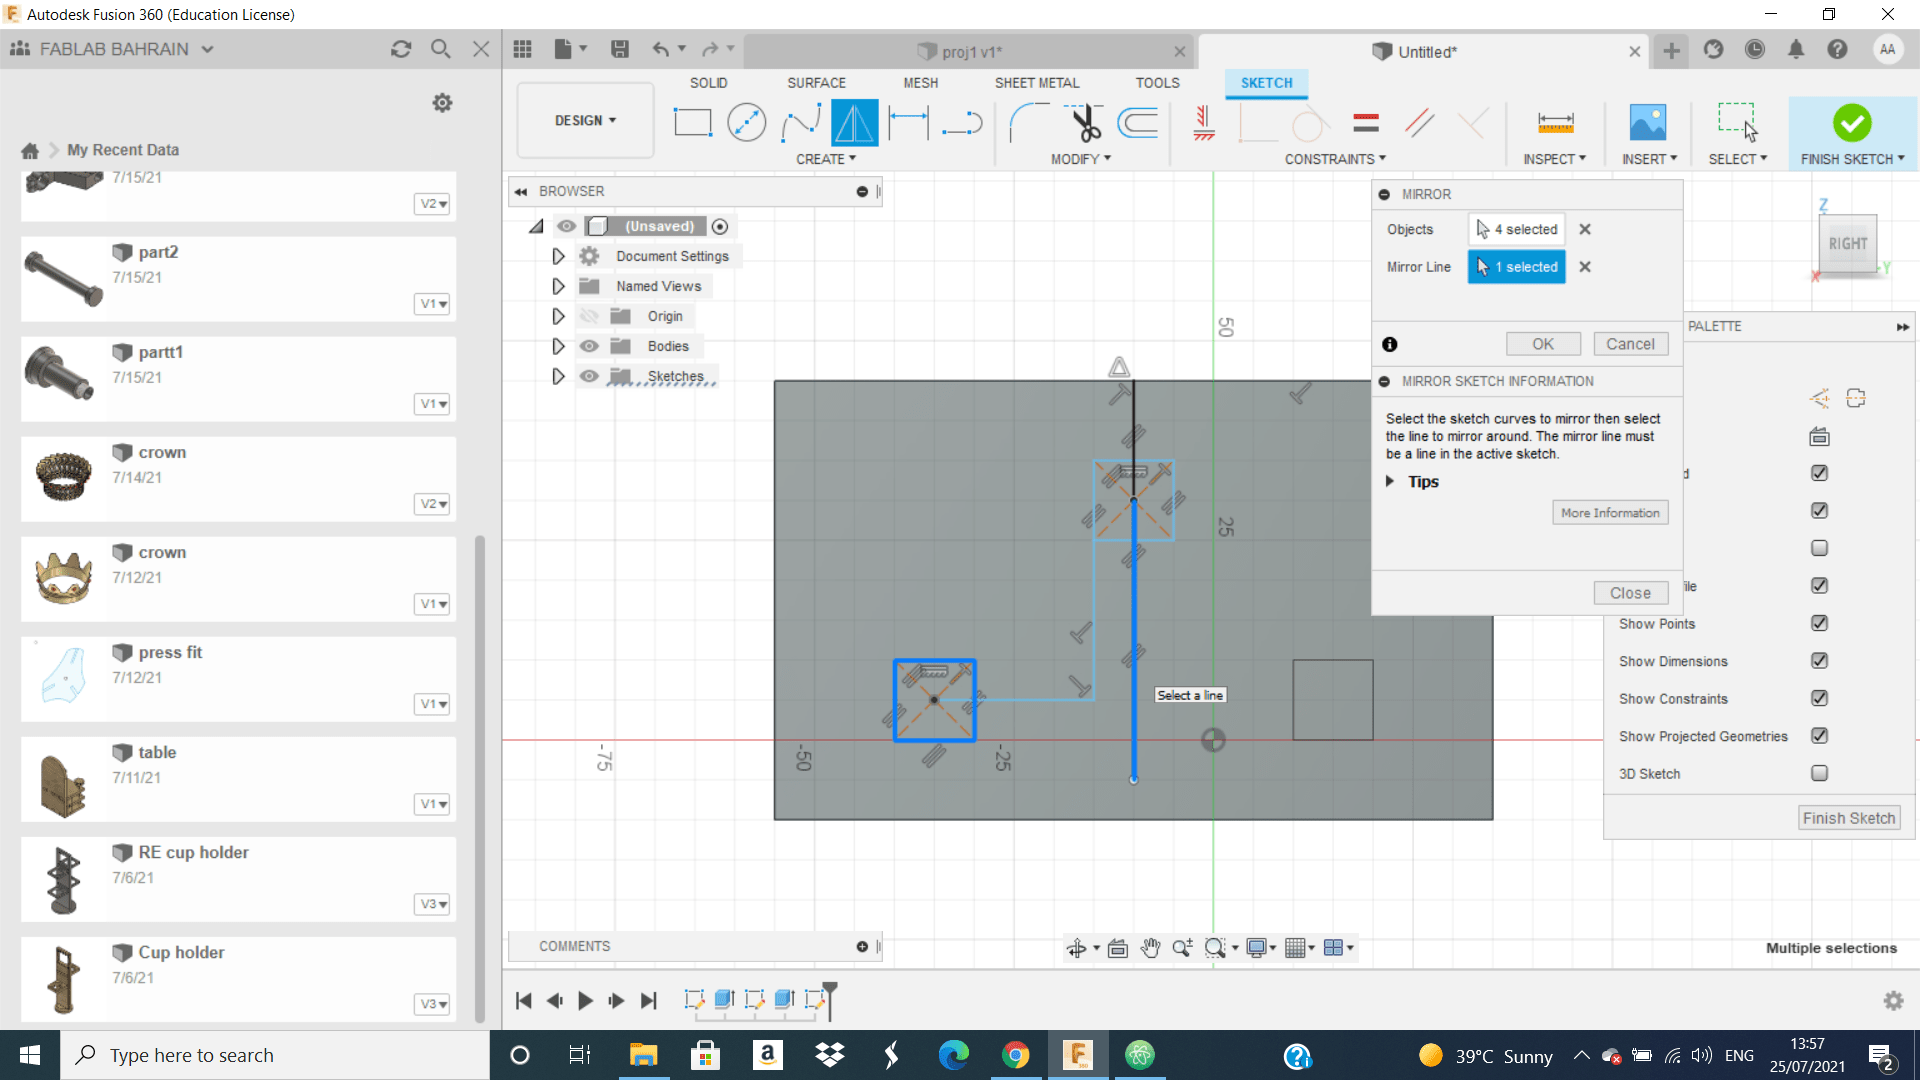
 Forth , I start draw on the shape or big rectangle a small rectangle from it I draw another one and I do mirror for this shape and do extrude for them.
 Fifth, I go to the other side and do this
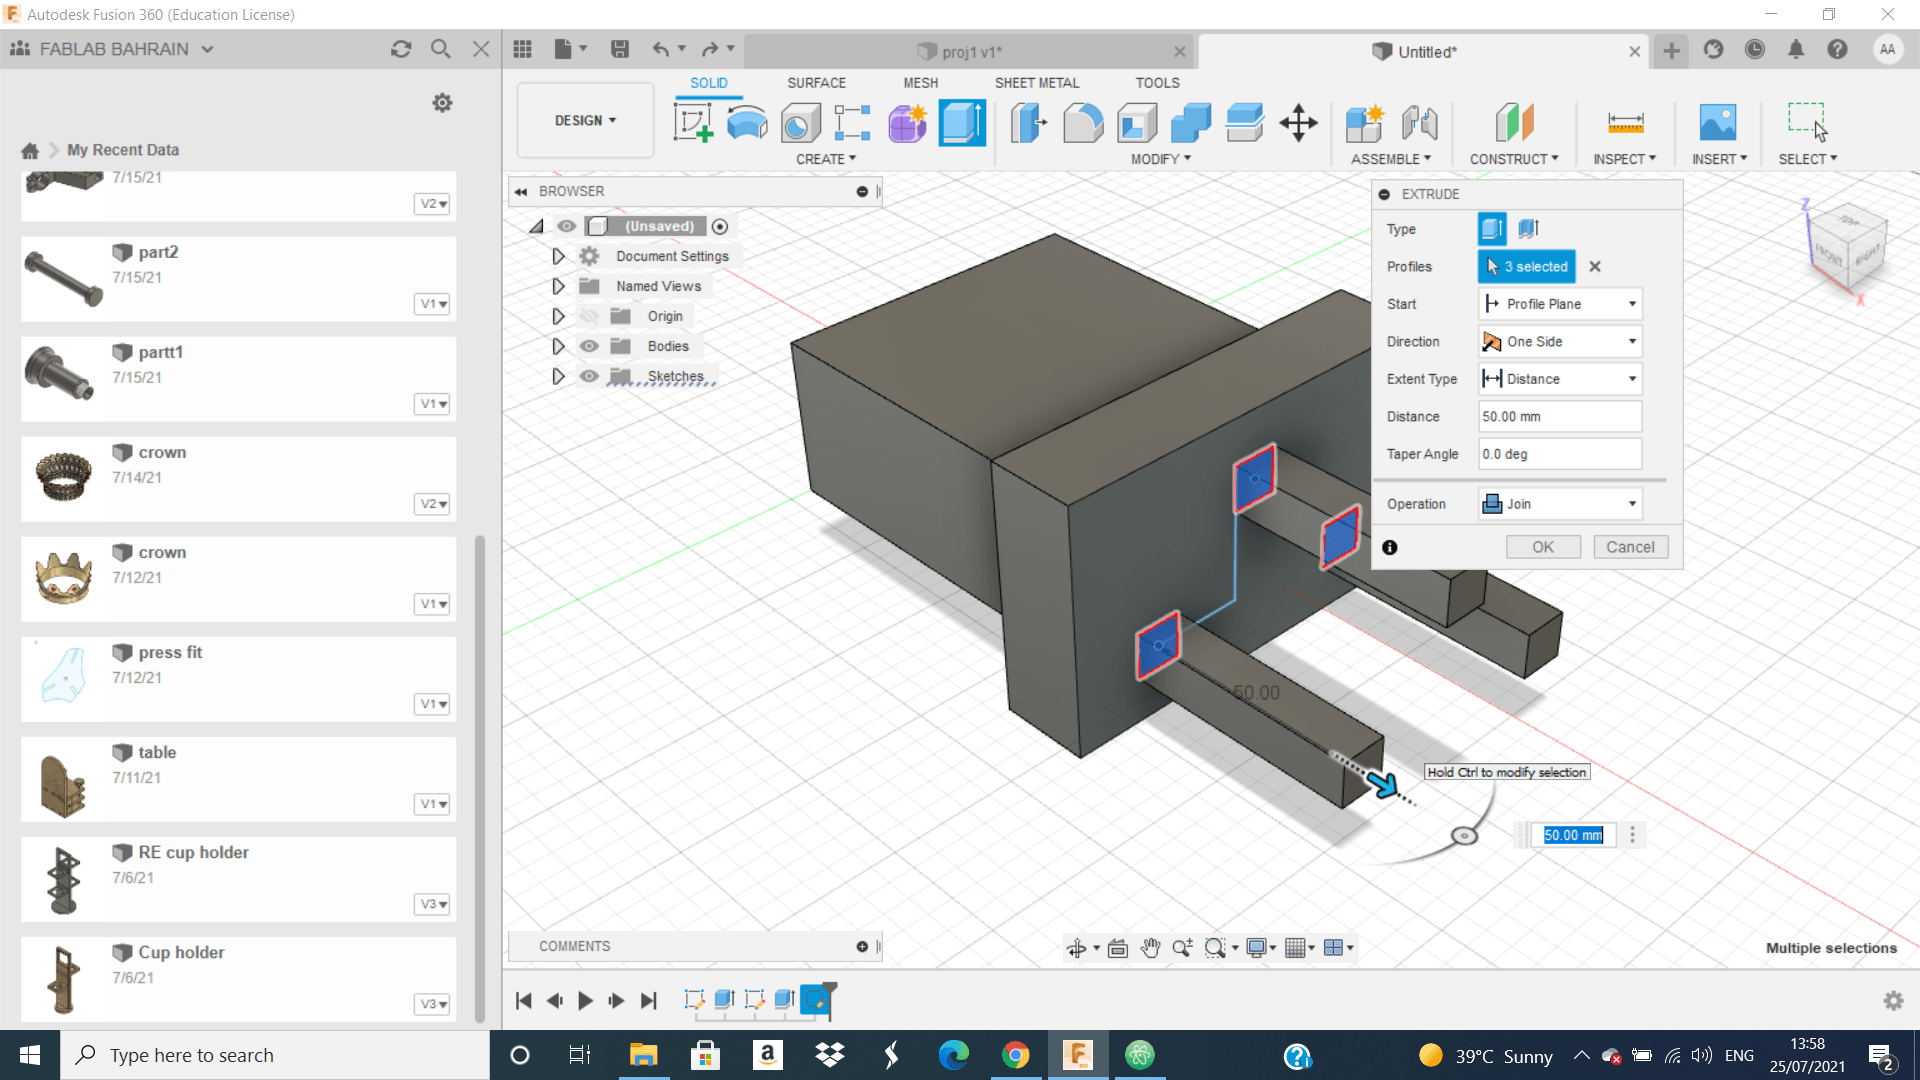
 by skitch this two rectangles and do extrude cut for them.
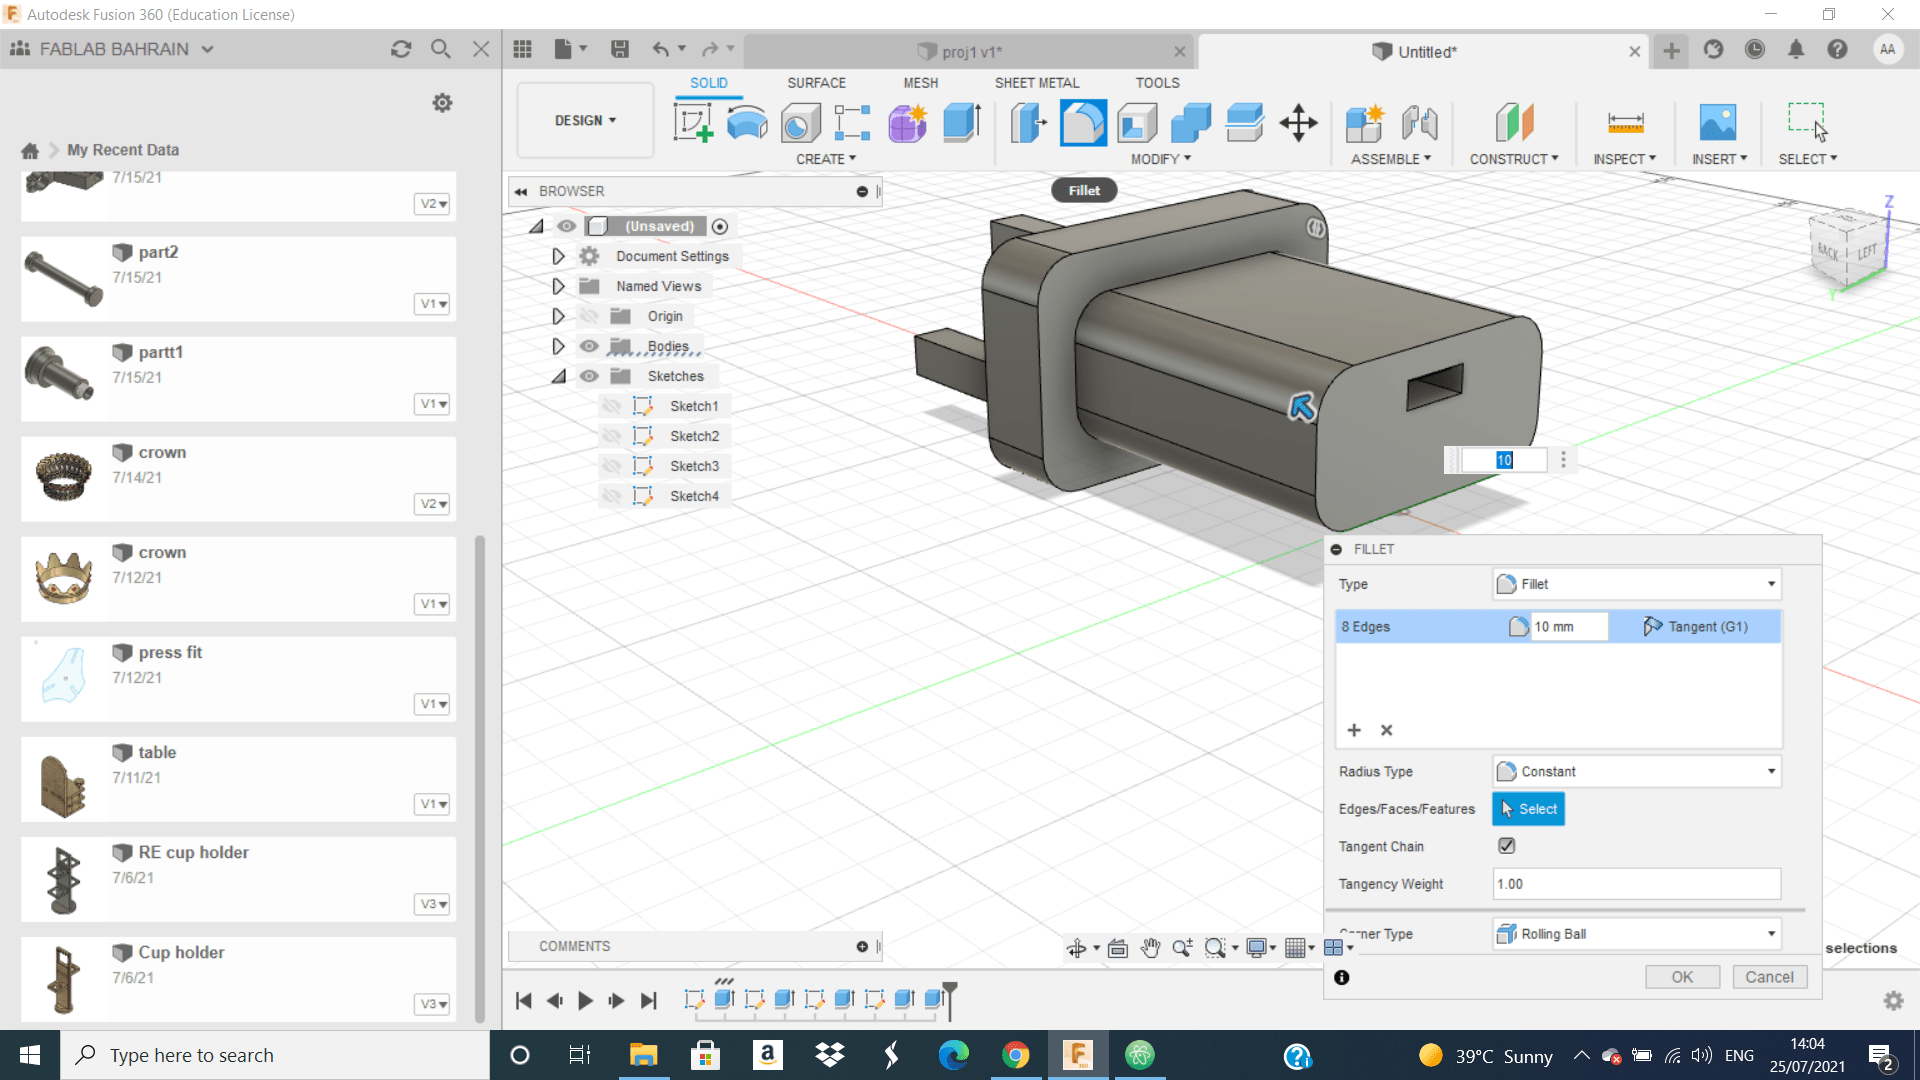
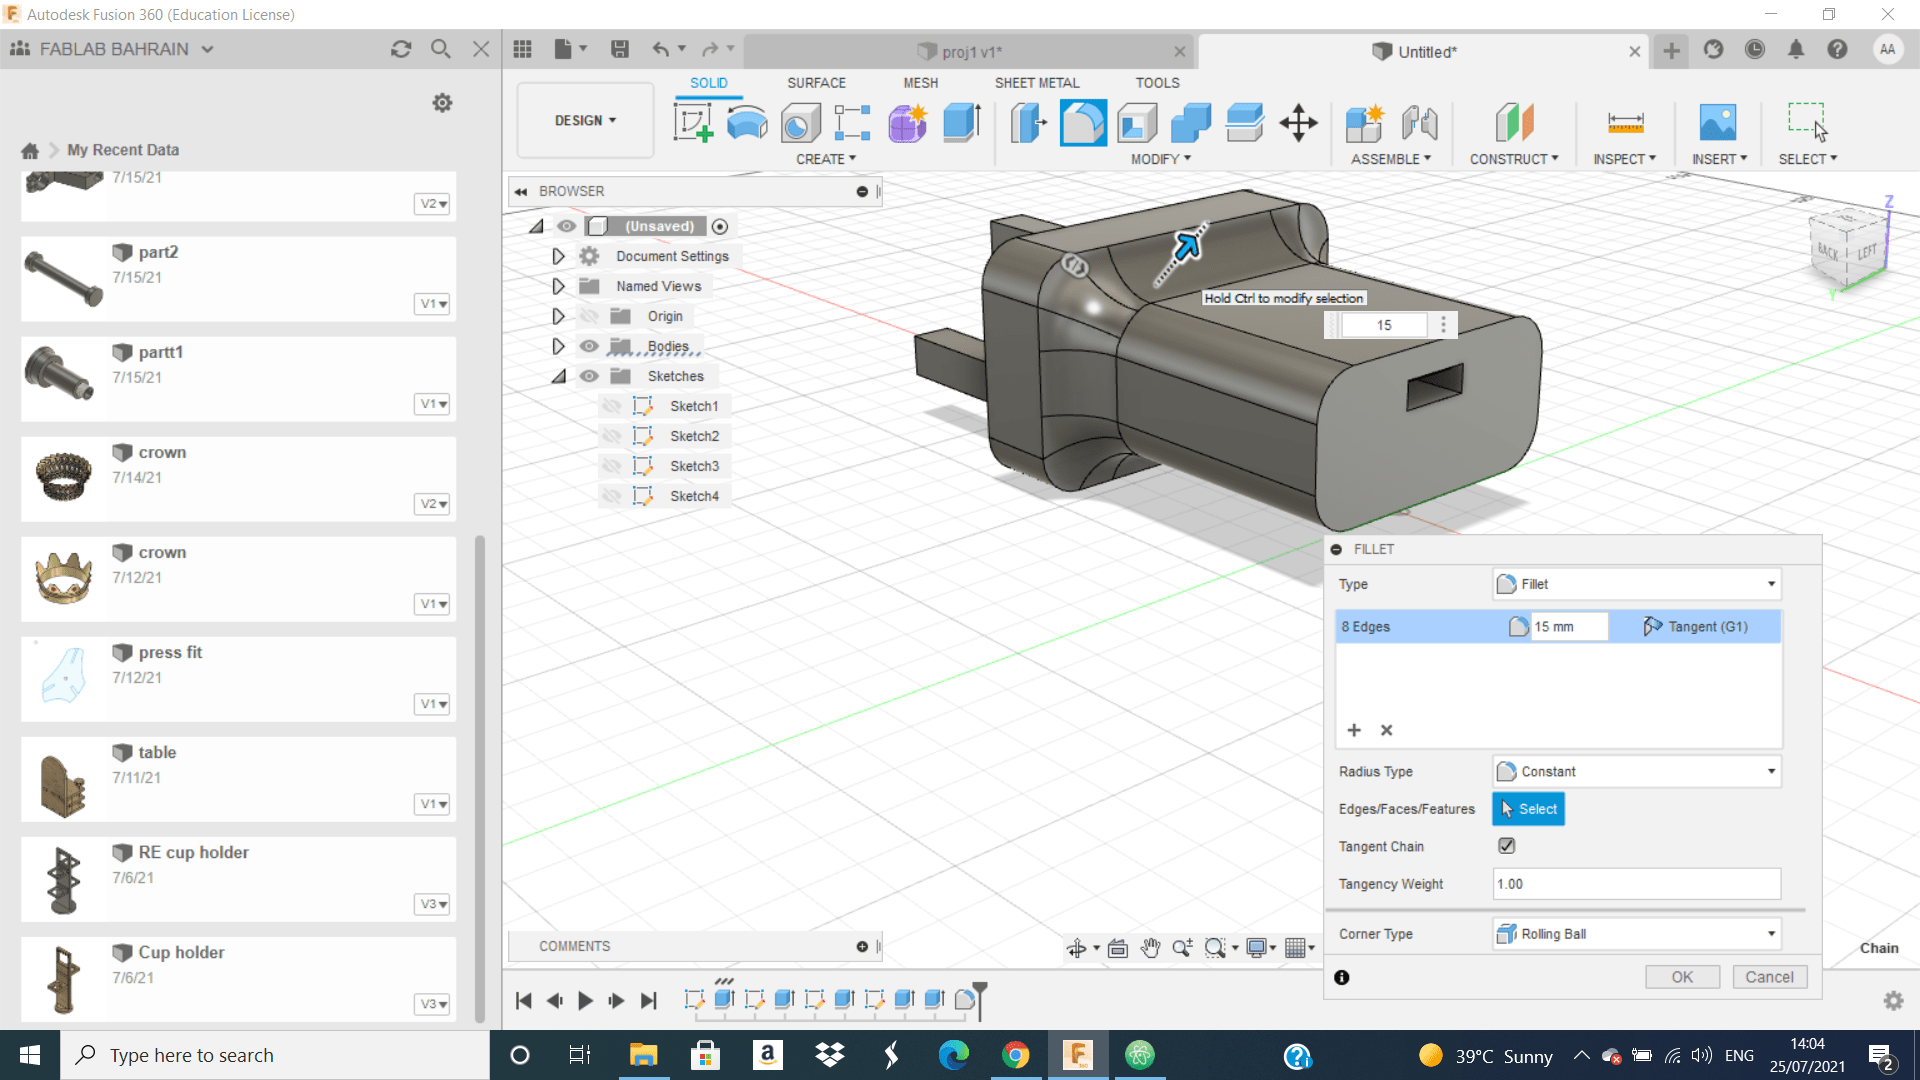
 Finally, I start do fillet to the shape on same sides

Second Session:
1-How to Use VCave Program
The instructor teach us how to get design or project from Fusion 360 and by VCave program to CNC we can got it or do it in reality, so he teach us how to use VCave program.
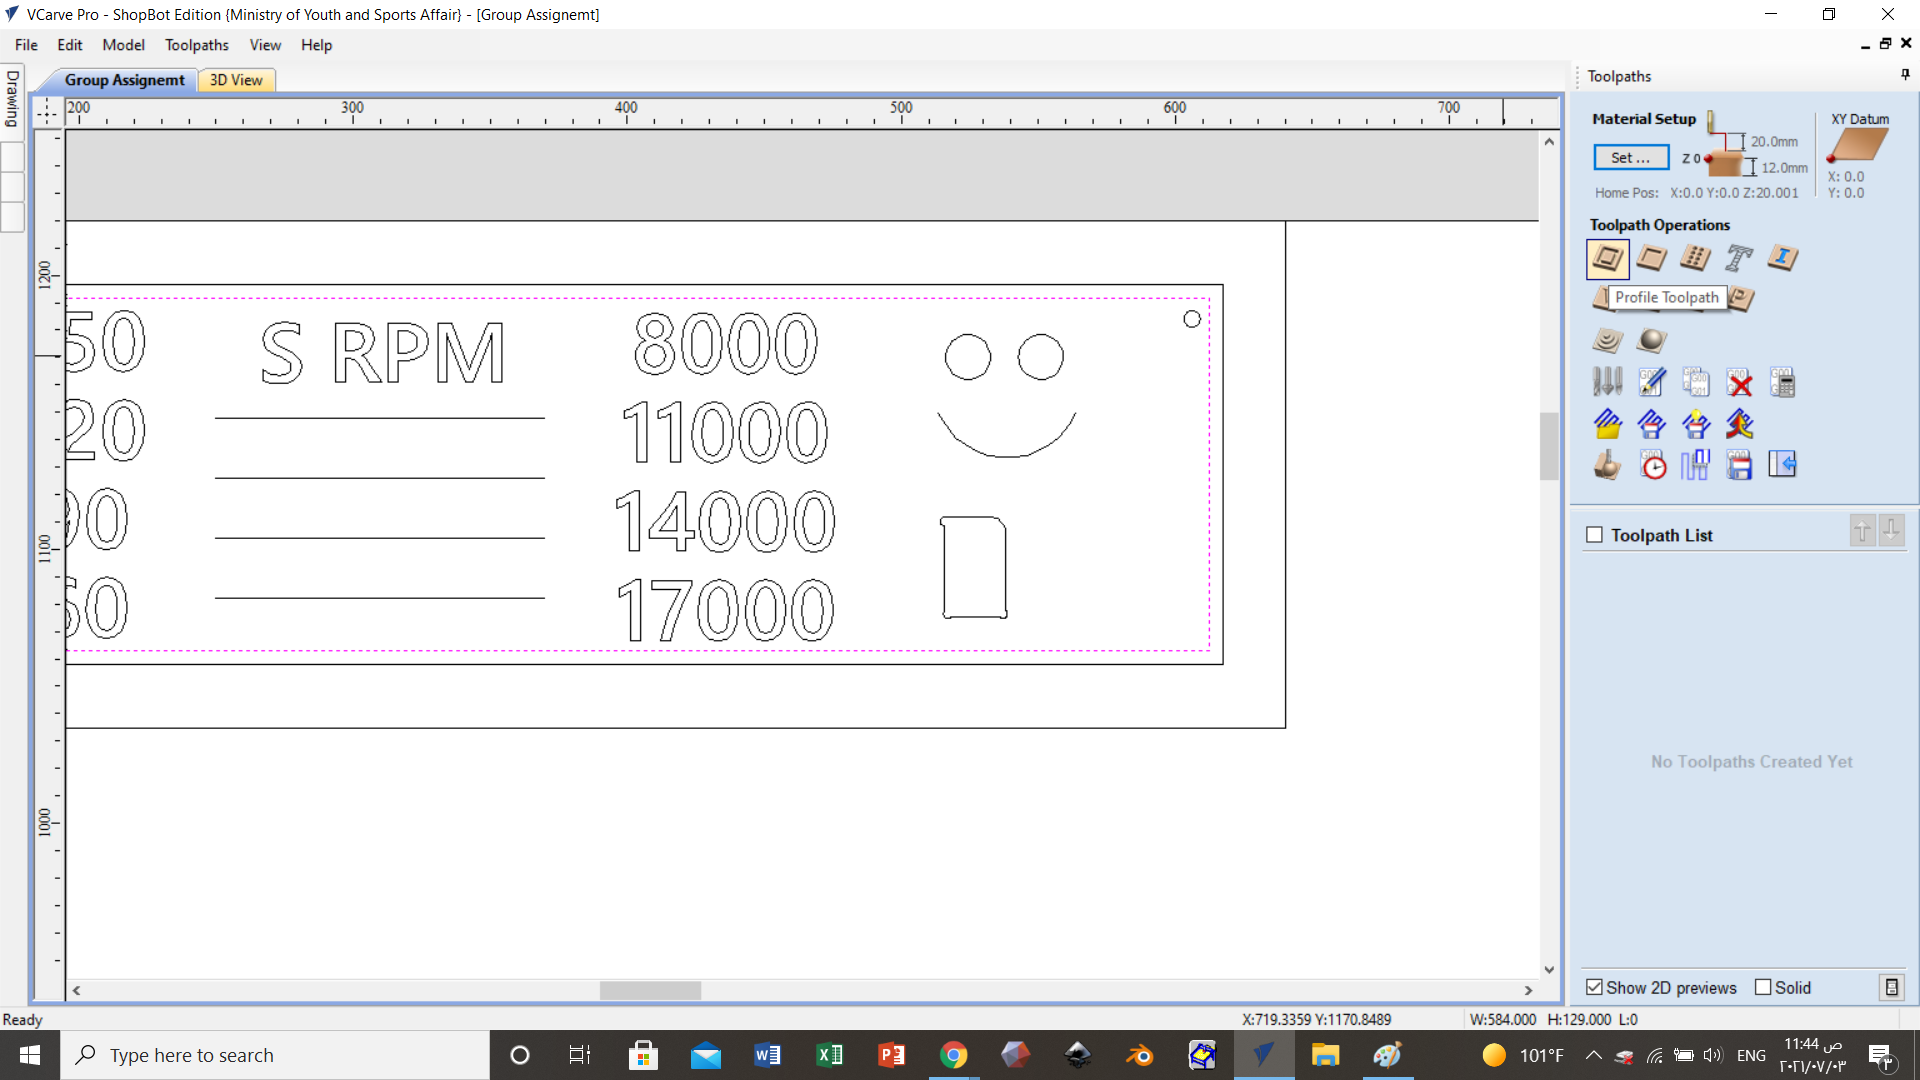 that is a design on VCave program that we will put the desired parameter to cut it using CNC.
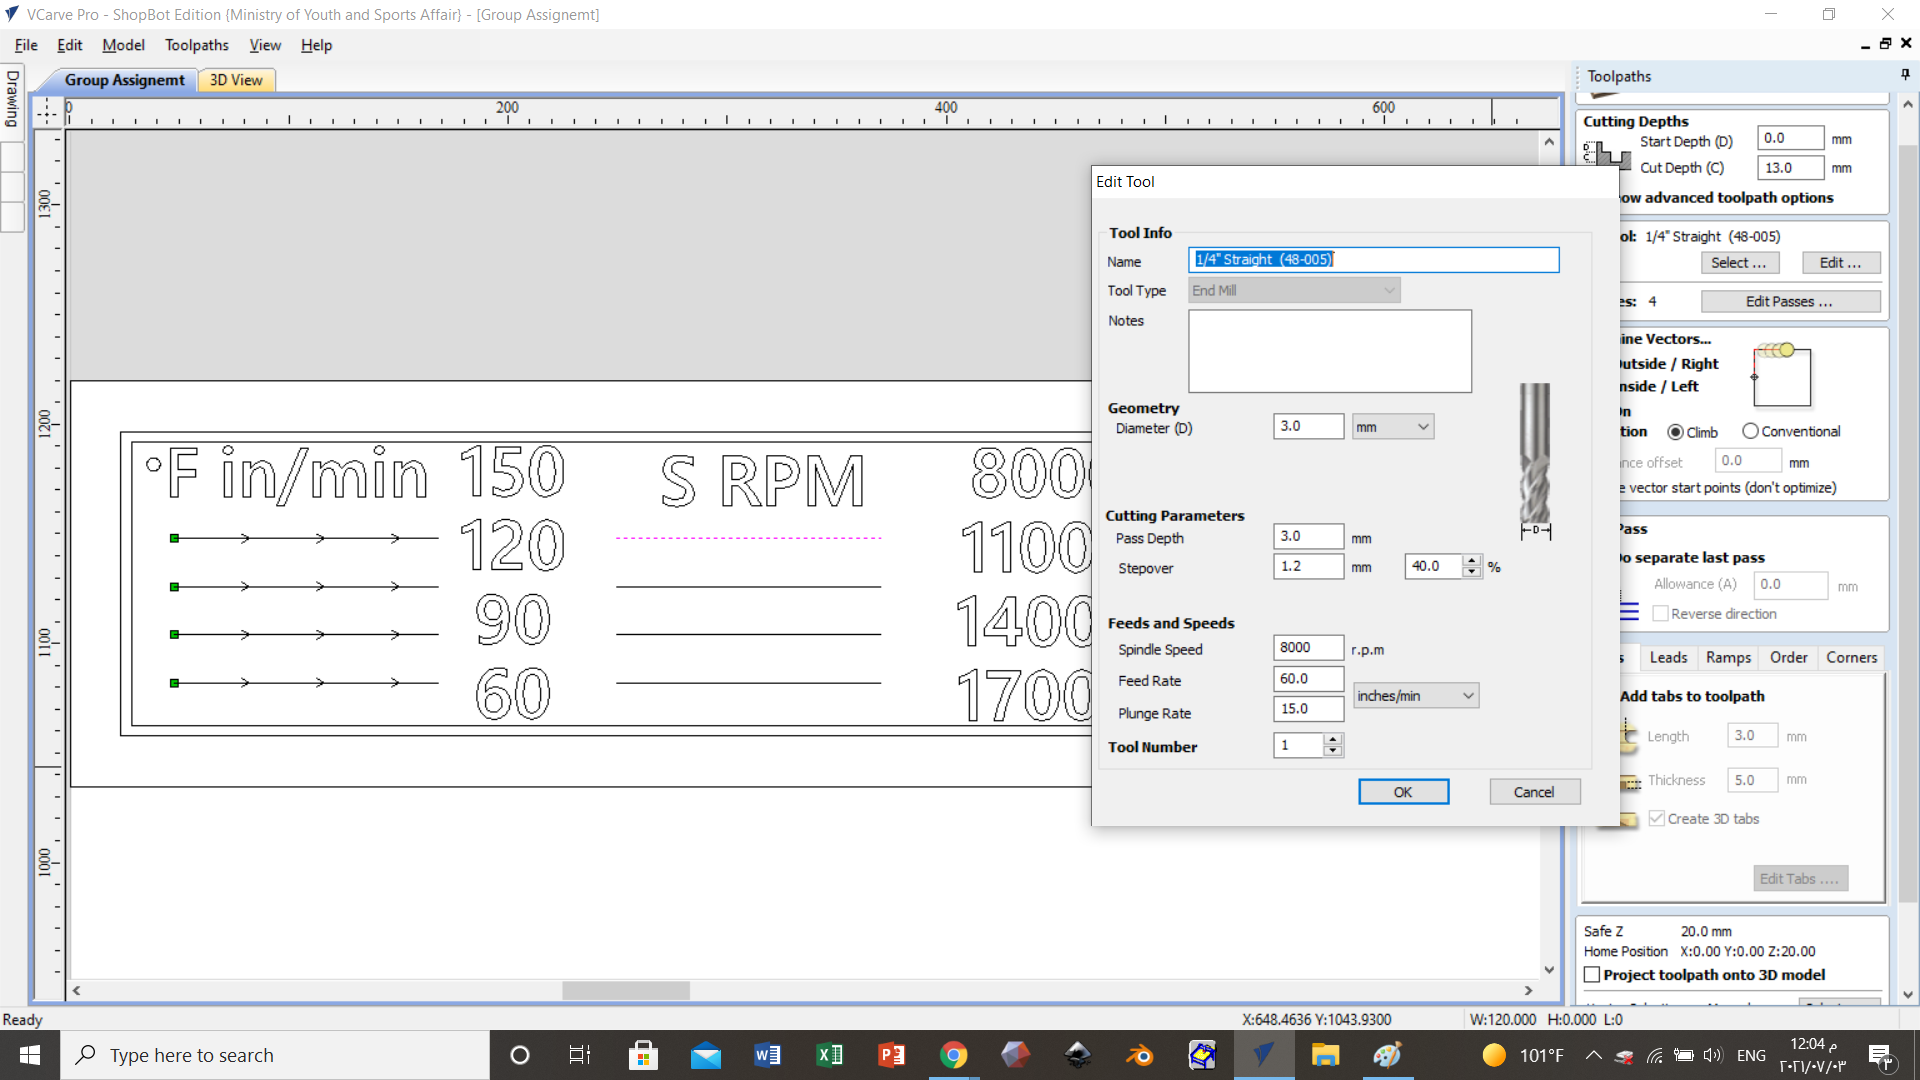
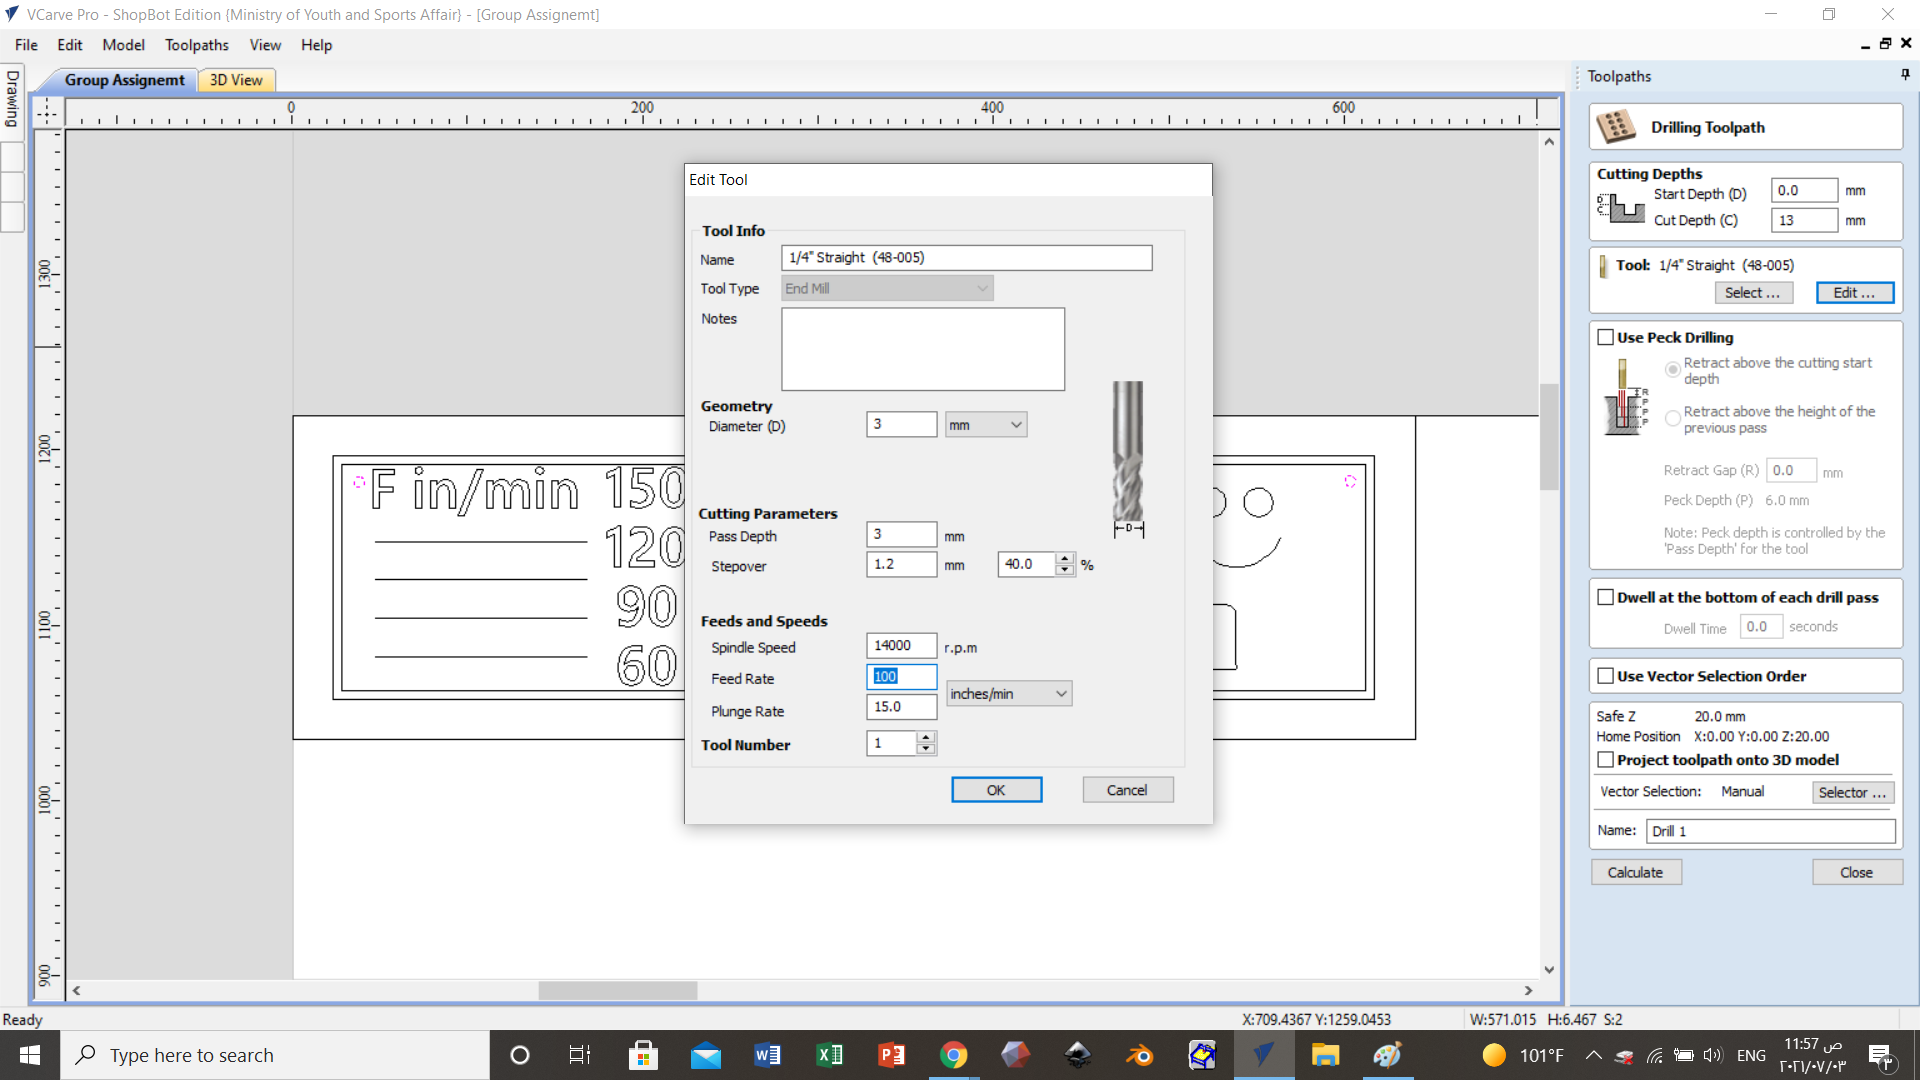 from this picture we can see the geometry or the parameter that we should put it or change it for the drill.
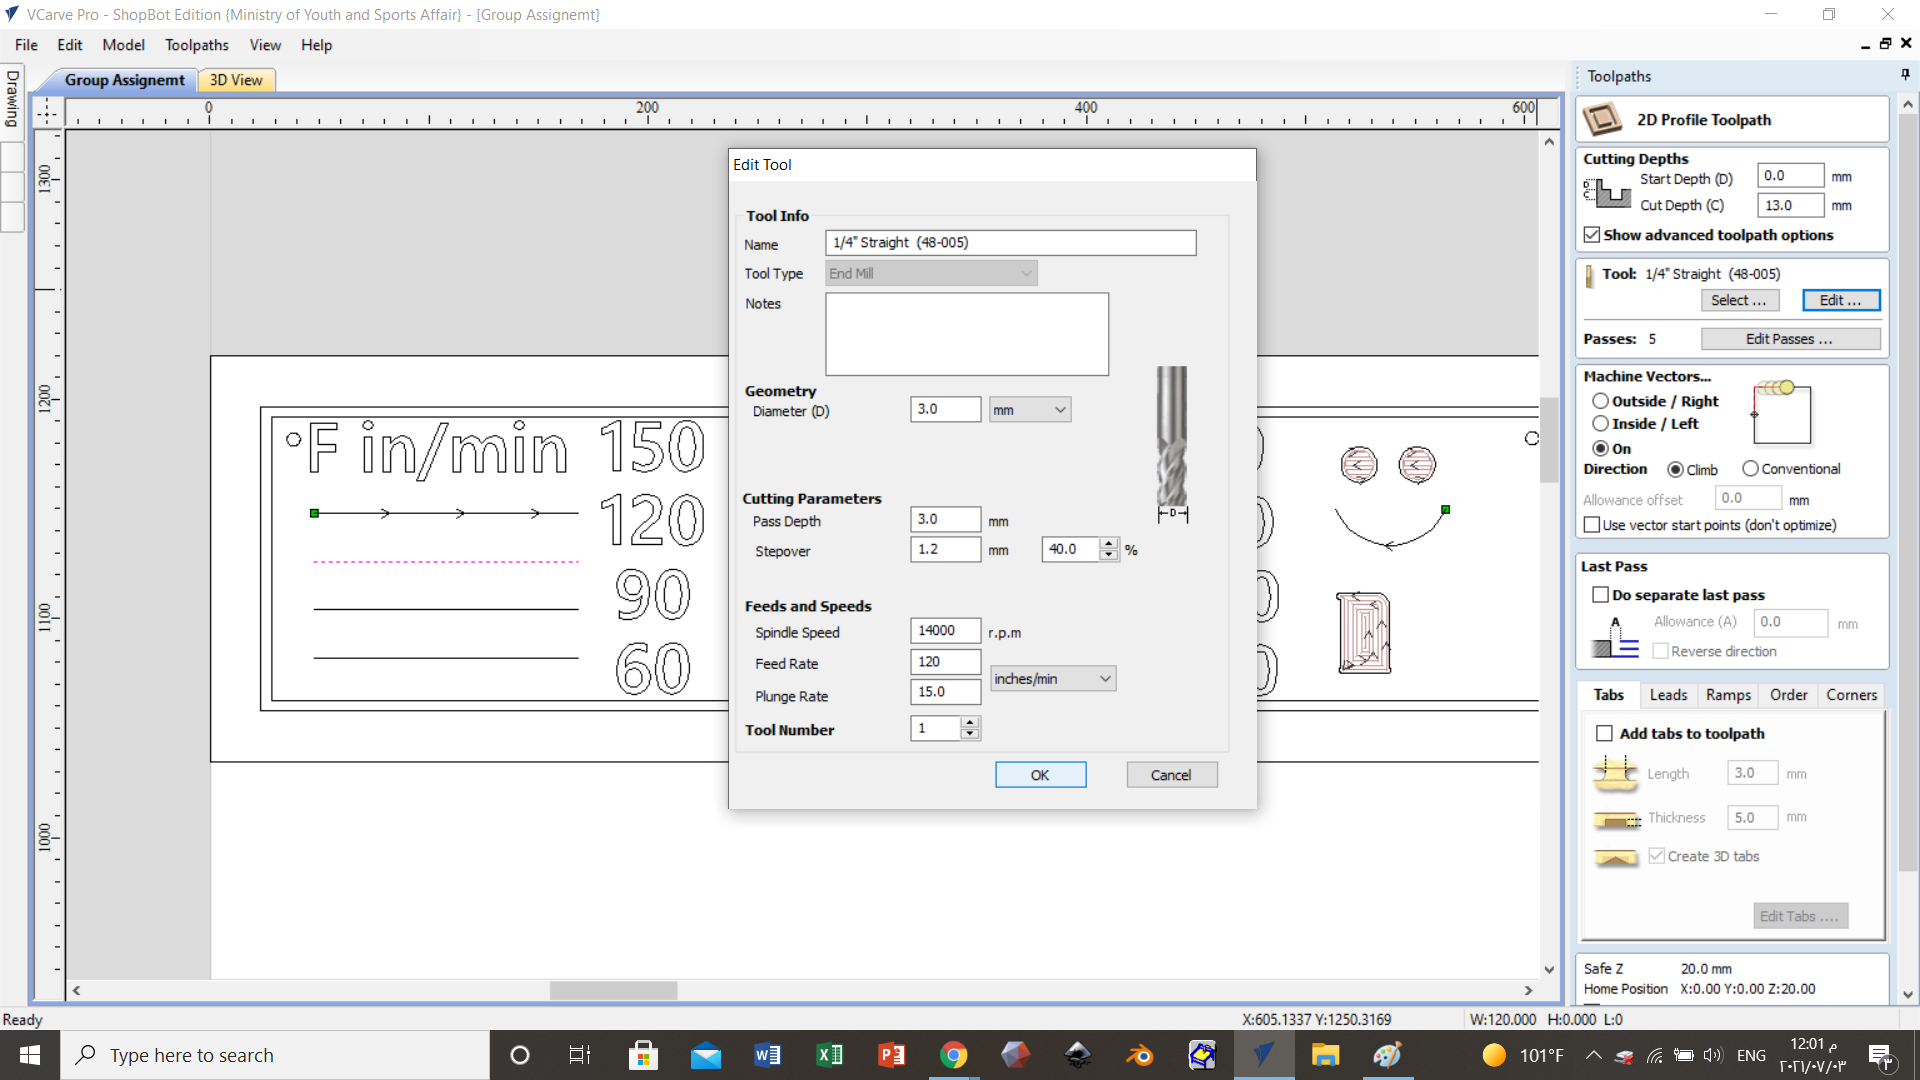
 and on the side of the above picture we can see pocket toolpath and the depth of it.
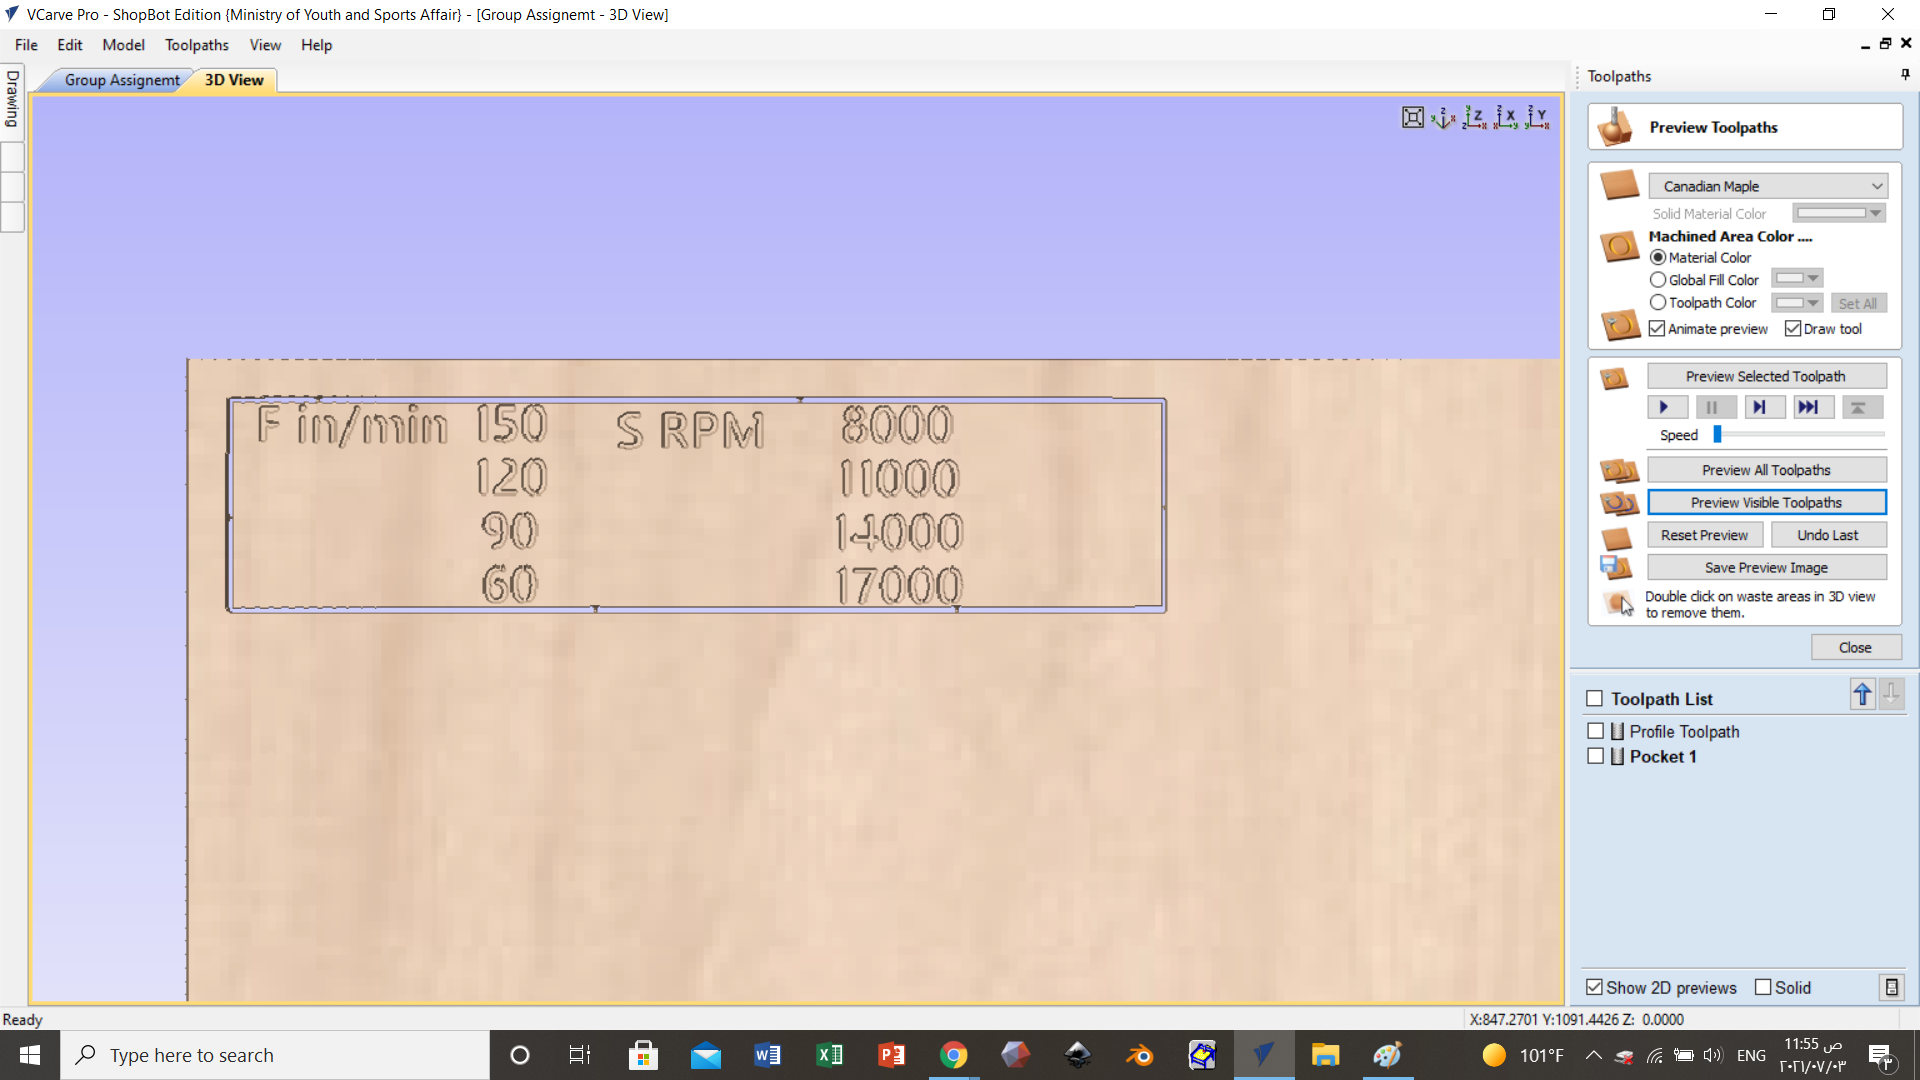 this picture show you or to us how the cut will be or end after using CNC from it you can see if there will be problems or not in your design. And we can see some part did not completed and this happened due the size of the drill is larger than the path so the machine will skip it.

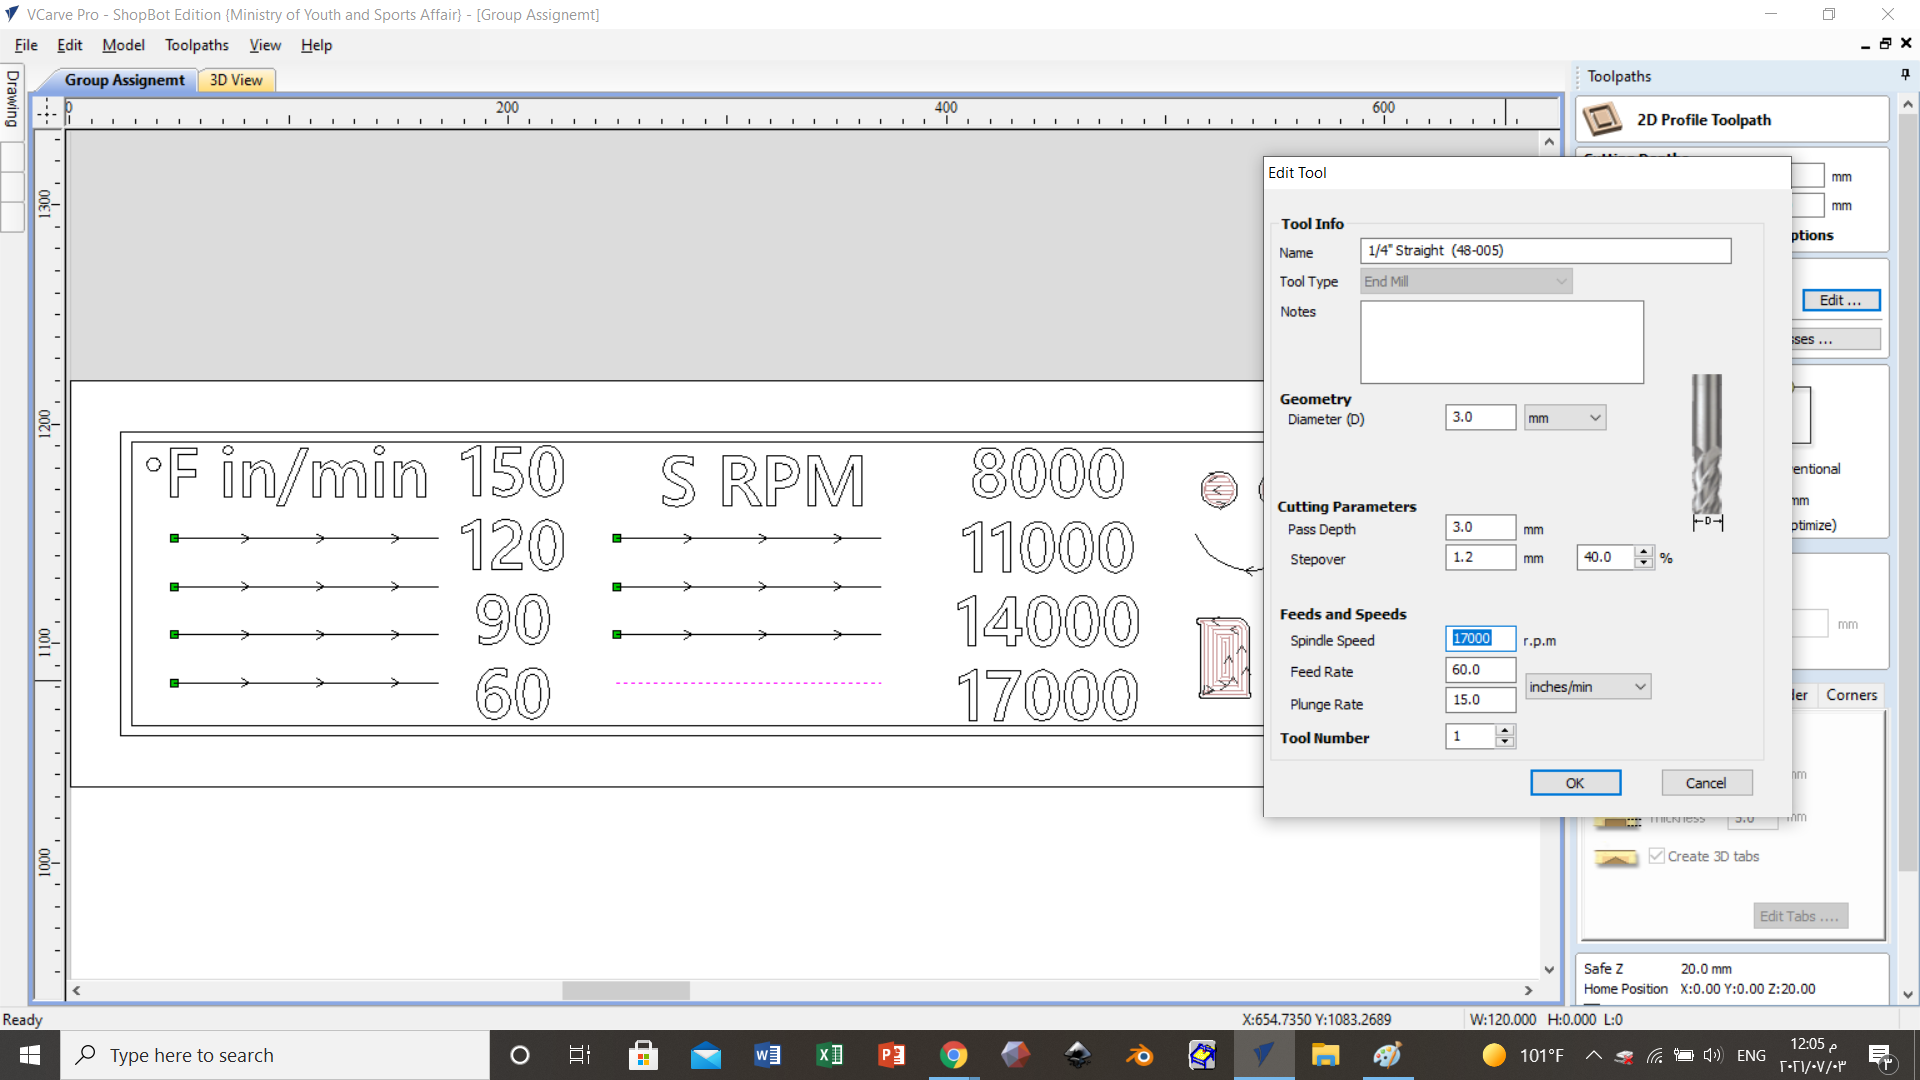 and from these or above pictures we can see that we change the feed rate or RPM to do some test and see what will happen due this changes.
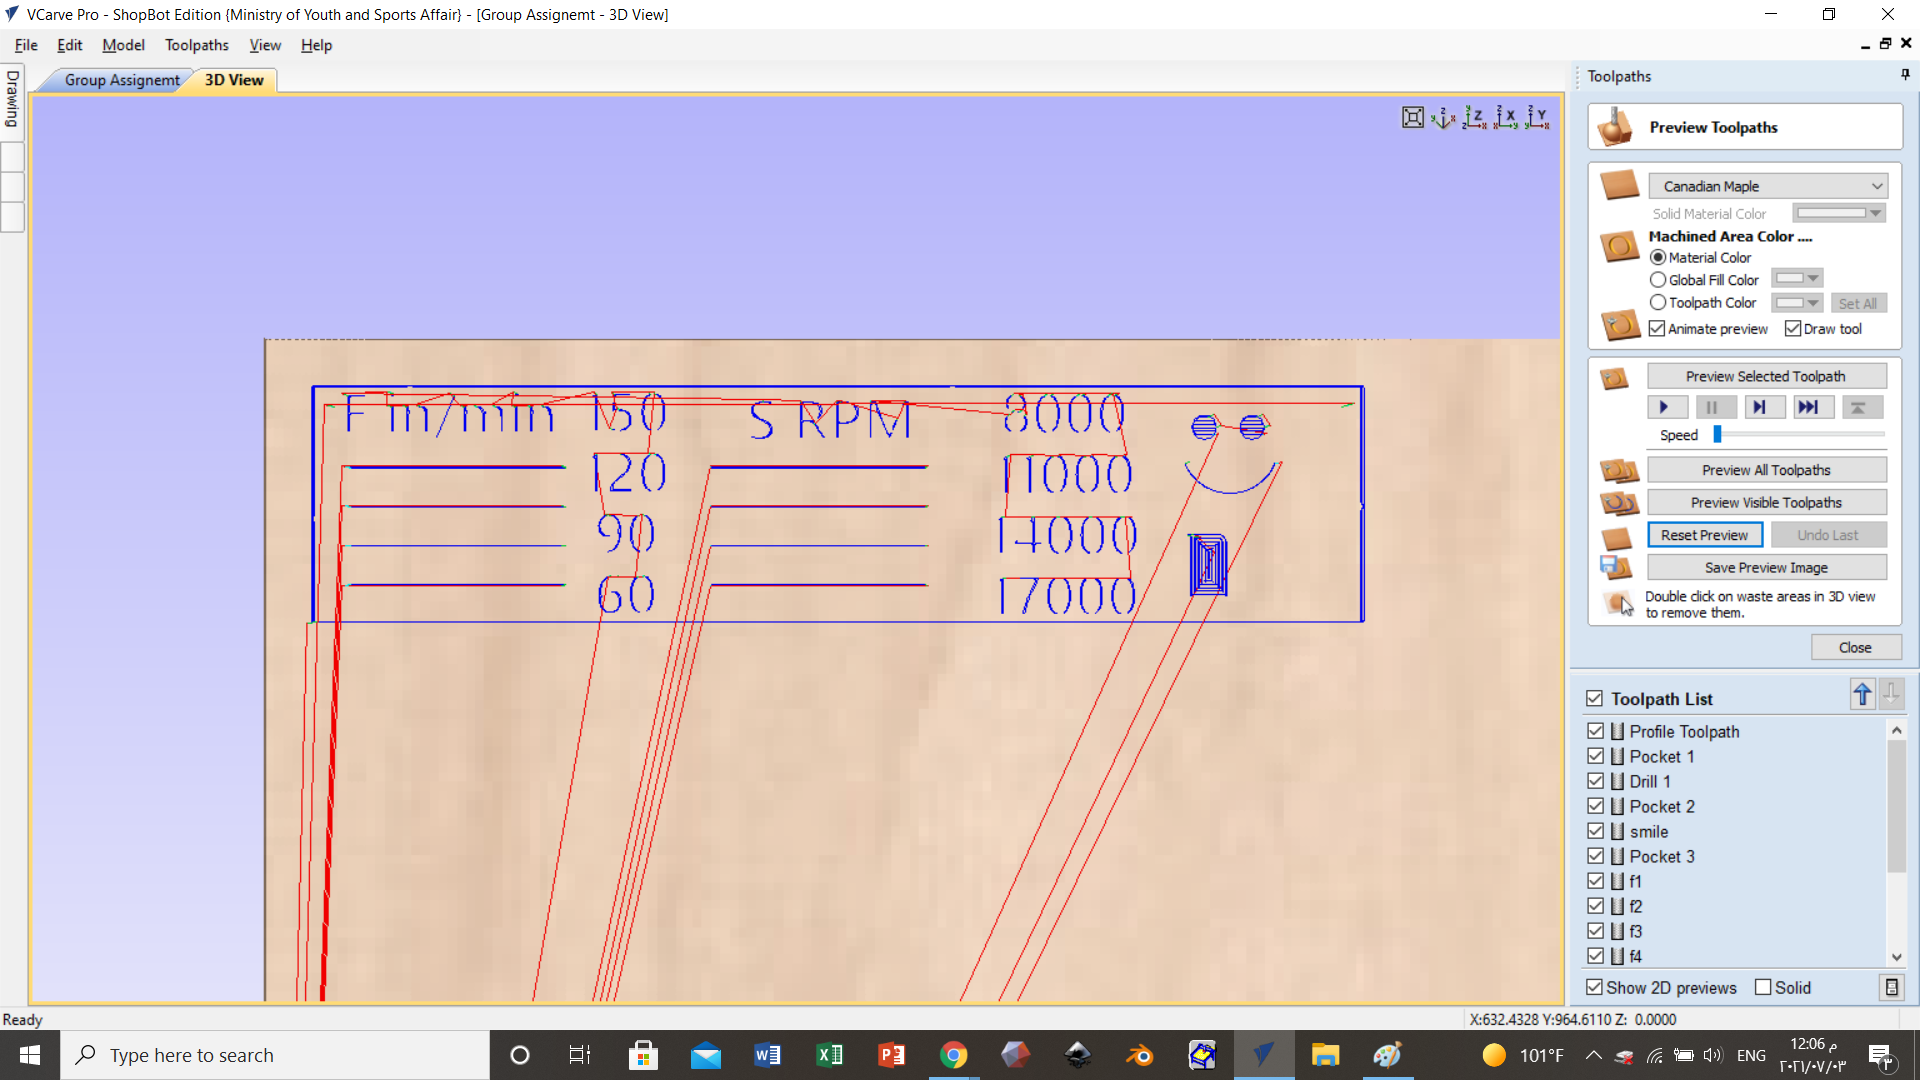 and this is the path that the CNC machine will take it to cut the plate to get the design.
2-The Effect of RPM And Feed Rate
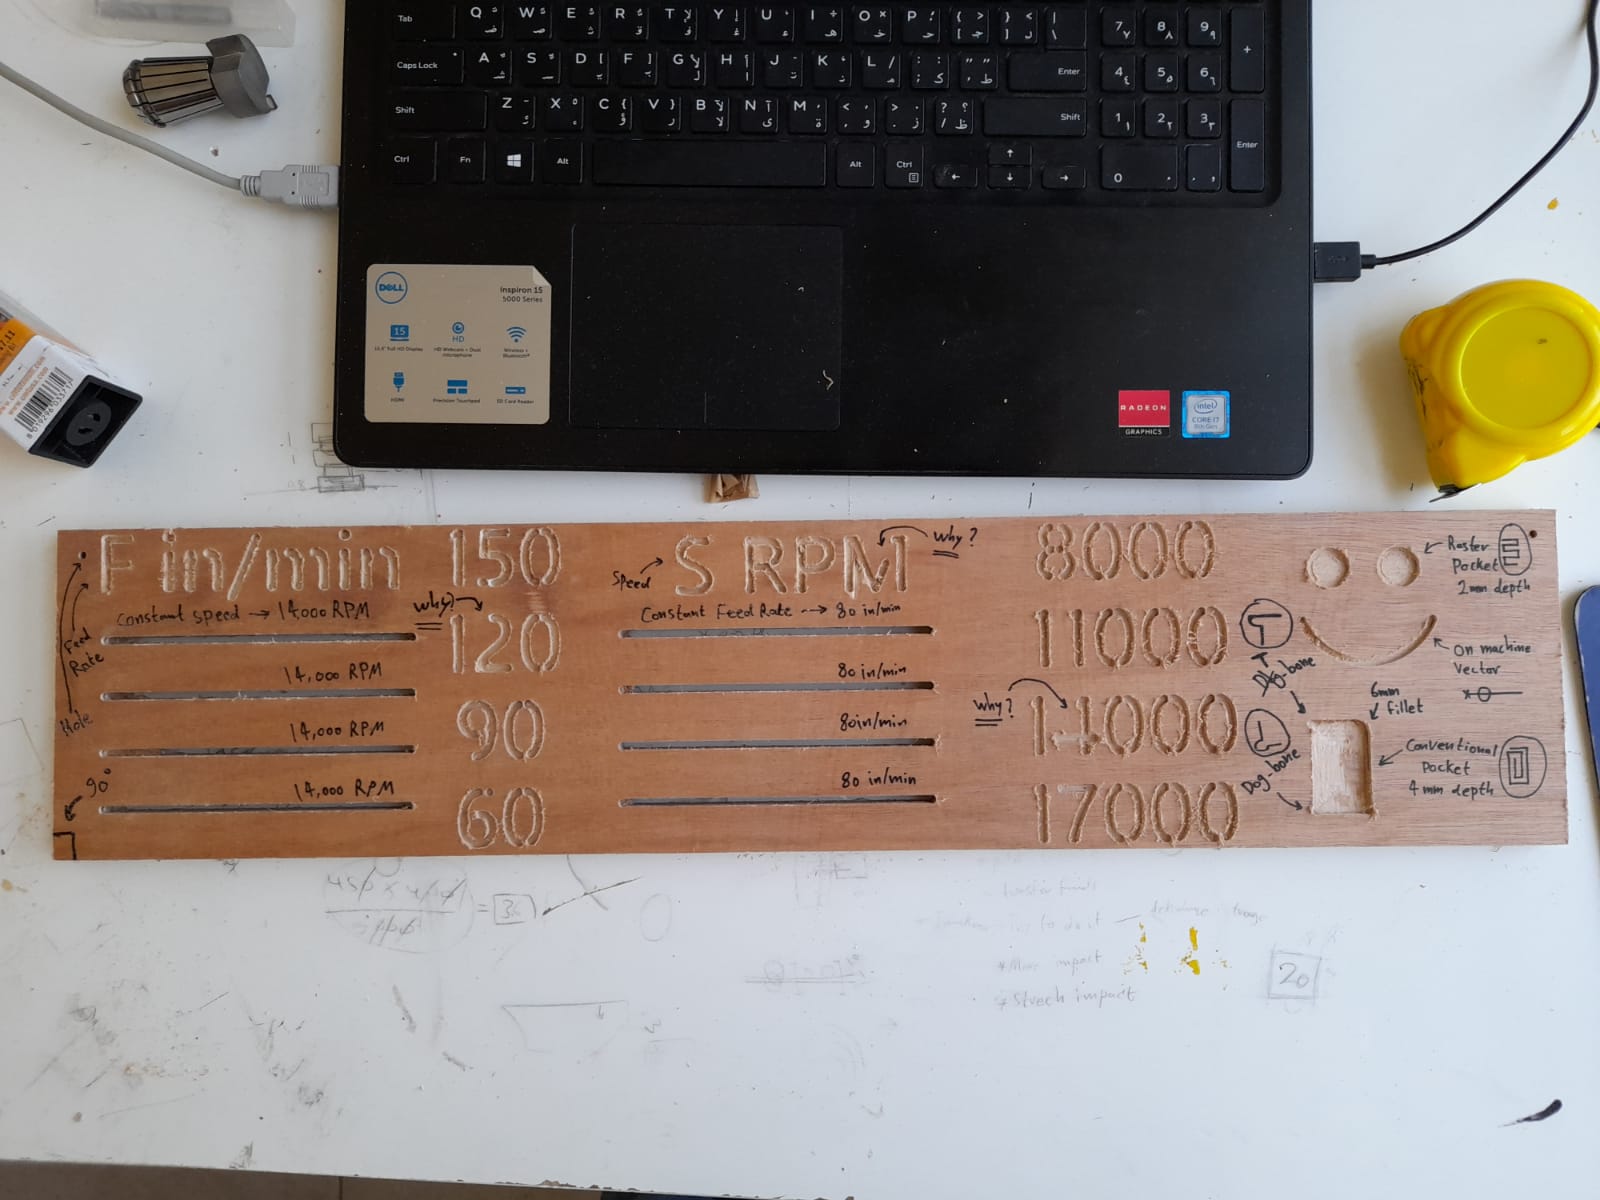
and by seeing a picture for a plate that our instructor ABDULLAH do some experiment to show us what happened and what is the common problems that will face us in the CNC machine. First, he use a constant RPM equal 14000 and feed rate changes from 150 to 80 by 4 times and we got a big chips and by decrease the rate the chips size decrease and got more clear cut. Than, he use a constant feed rate and changes the RPM from 8000 to 14000 by 4 times and we got a big chips and by increase RPM we see that the size of chips decrease and got more clear cut. At the end we can say when we decrease feed rate and increase RPM the cut will be more clear but this has a percentage that should not be exceeded, because CNC machine designed to get some push or force in the opposite direction of its movement and if we increase RPM and decrease feed rate this force will decrease.
3-Joints
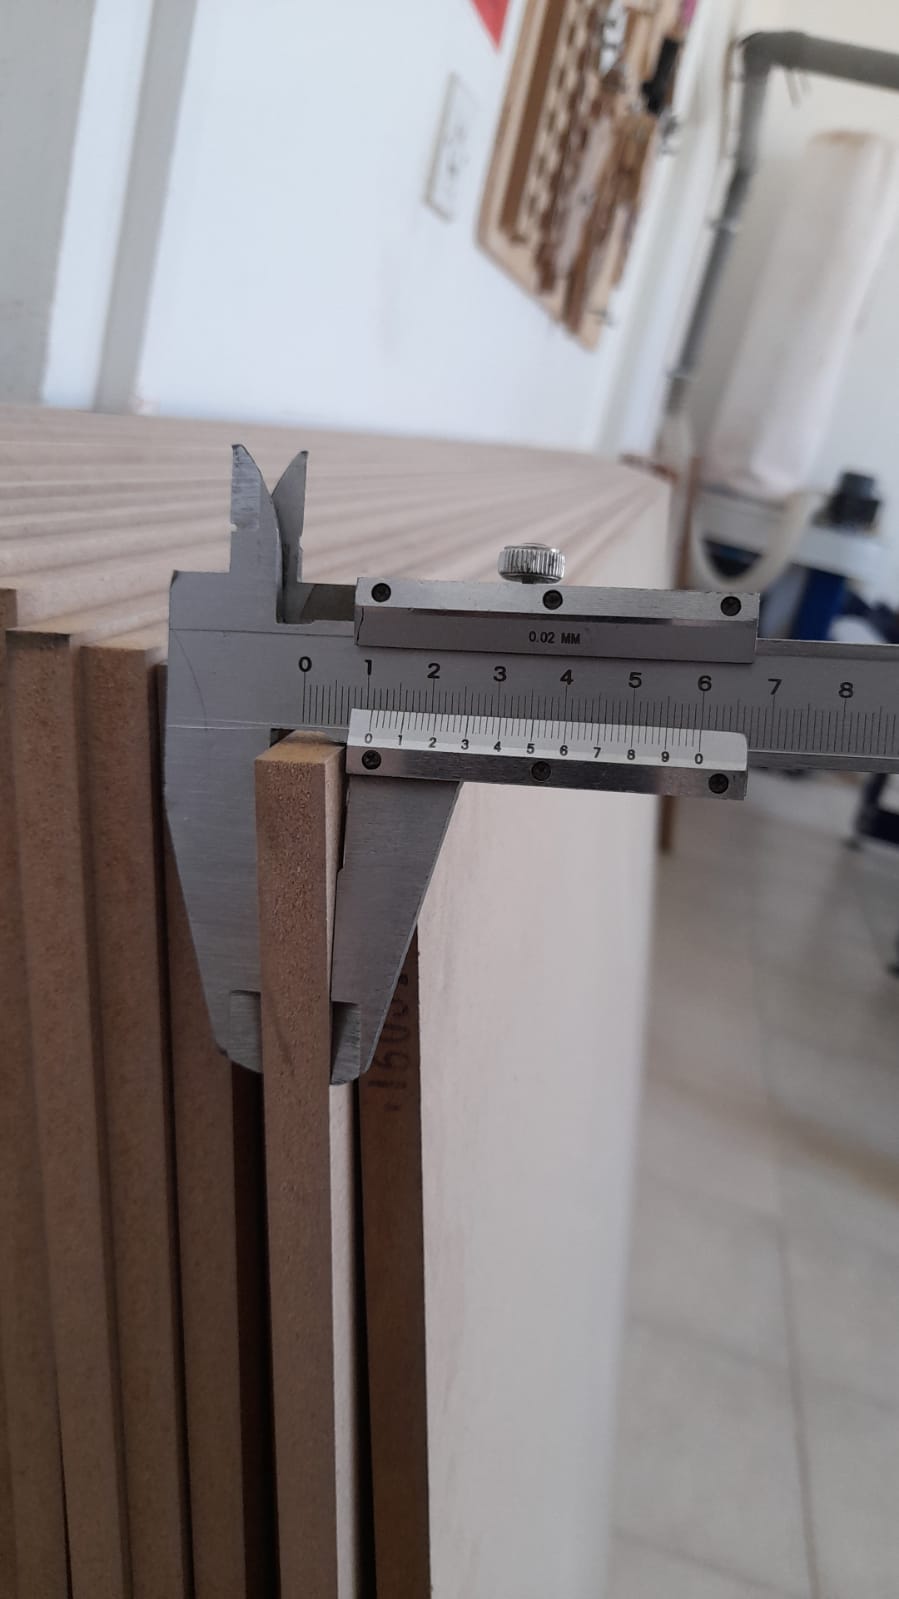 We can see from this picture the size or width of the plate that is equal 11mm.
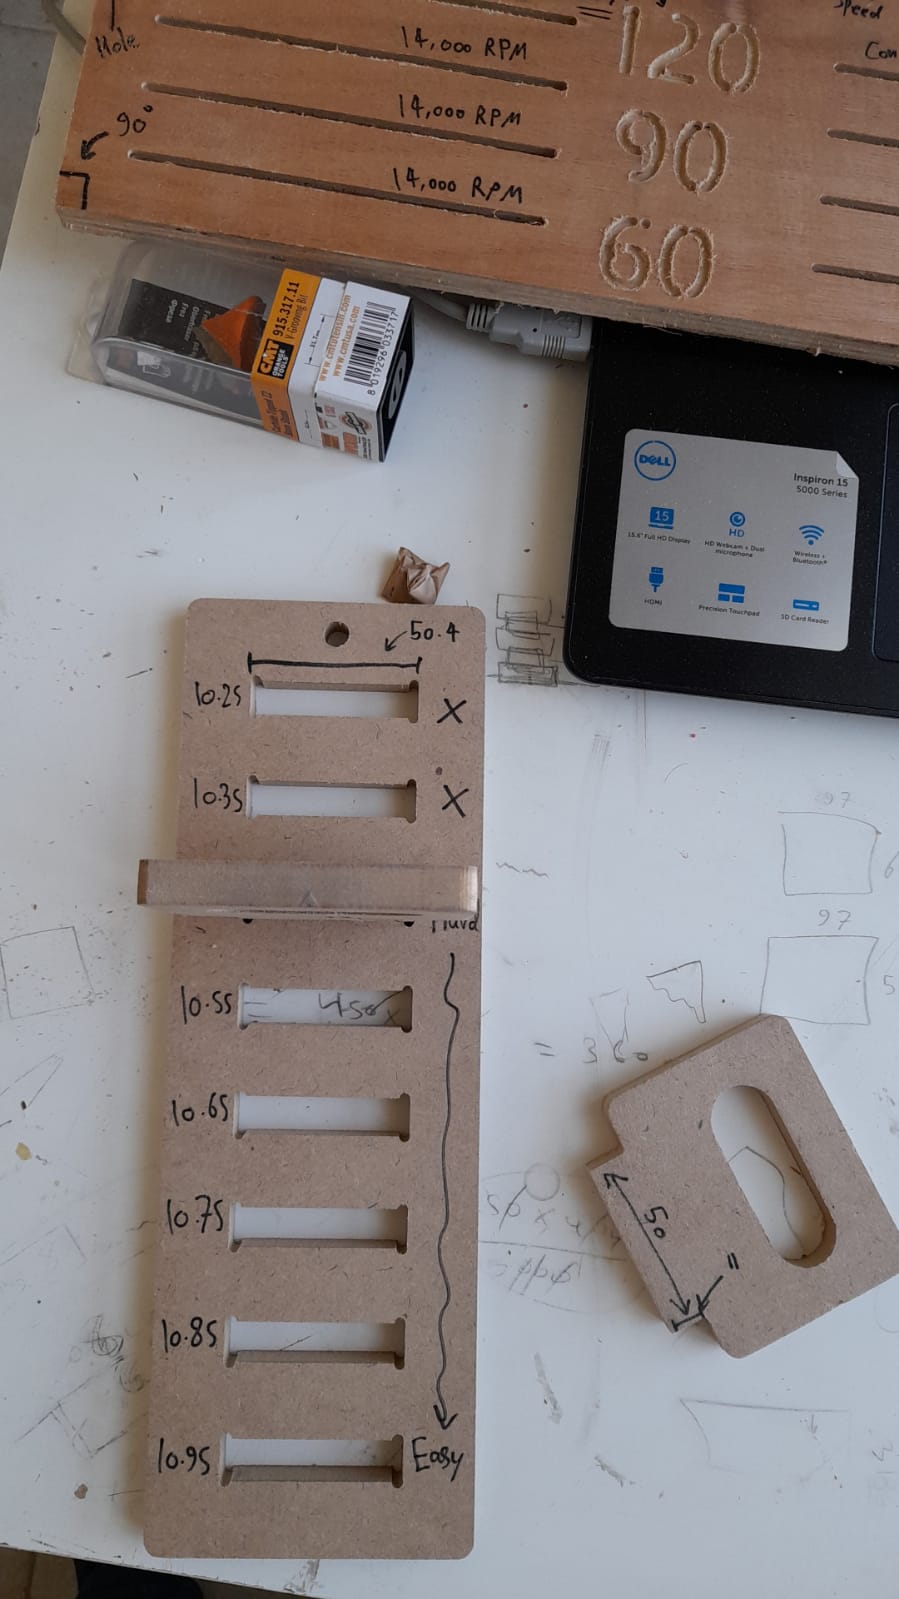
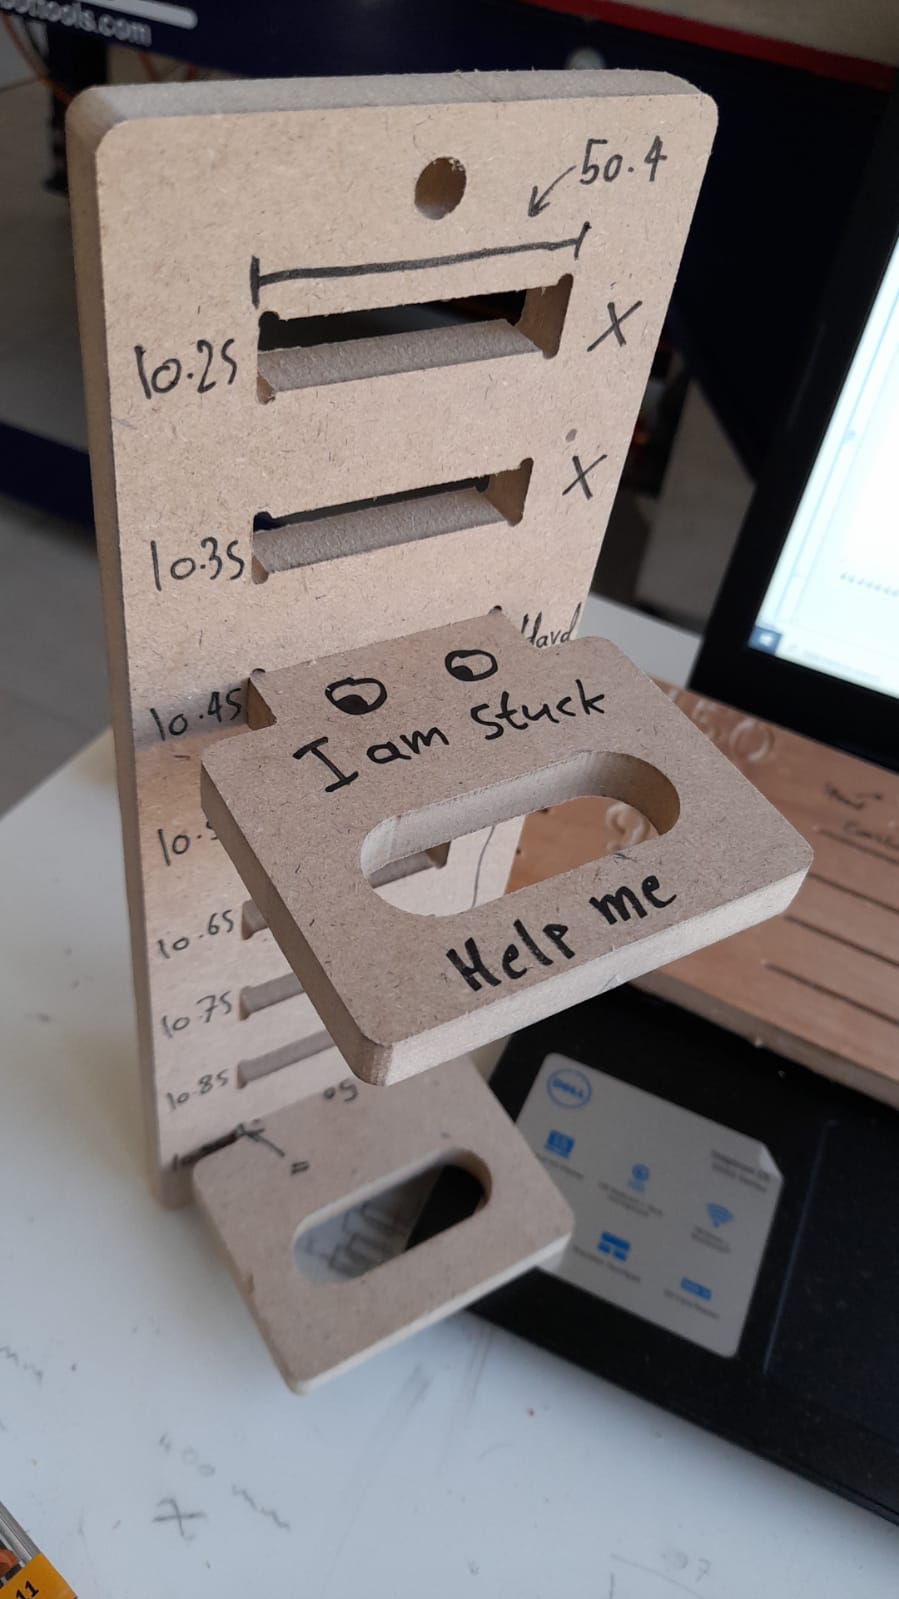 from above picture we can see the joint and the tolerance, from it we can see that we go up that the gap size decreases the joints will fit strong.
Third session:
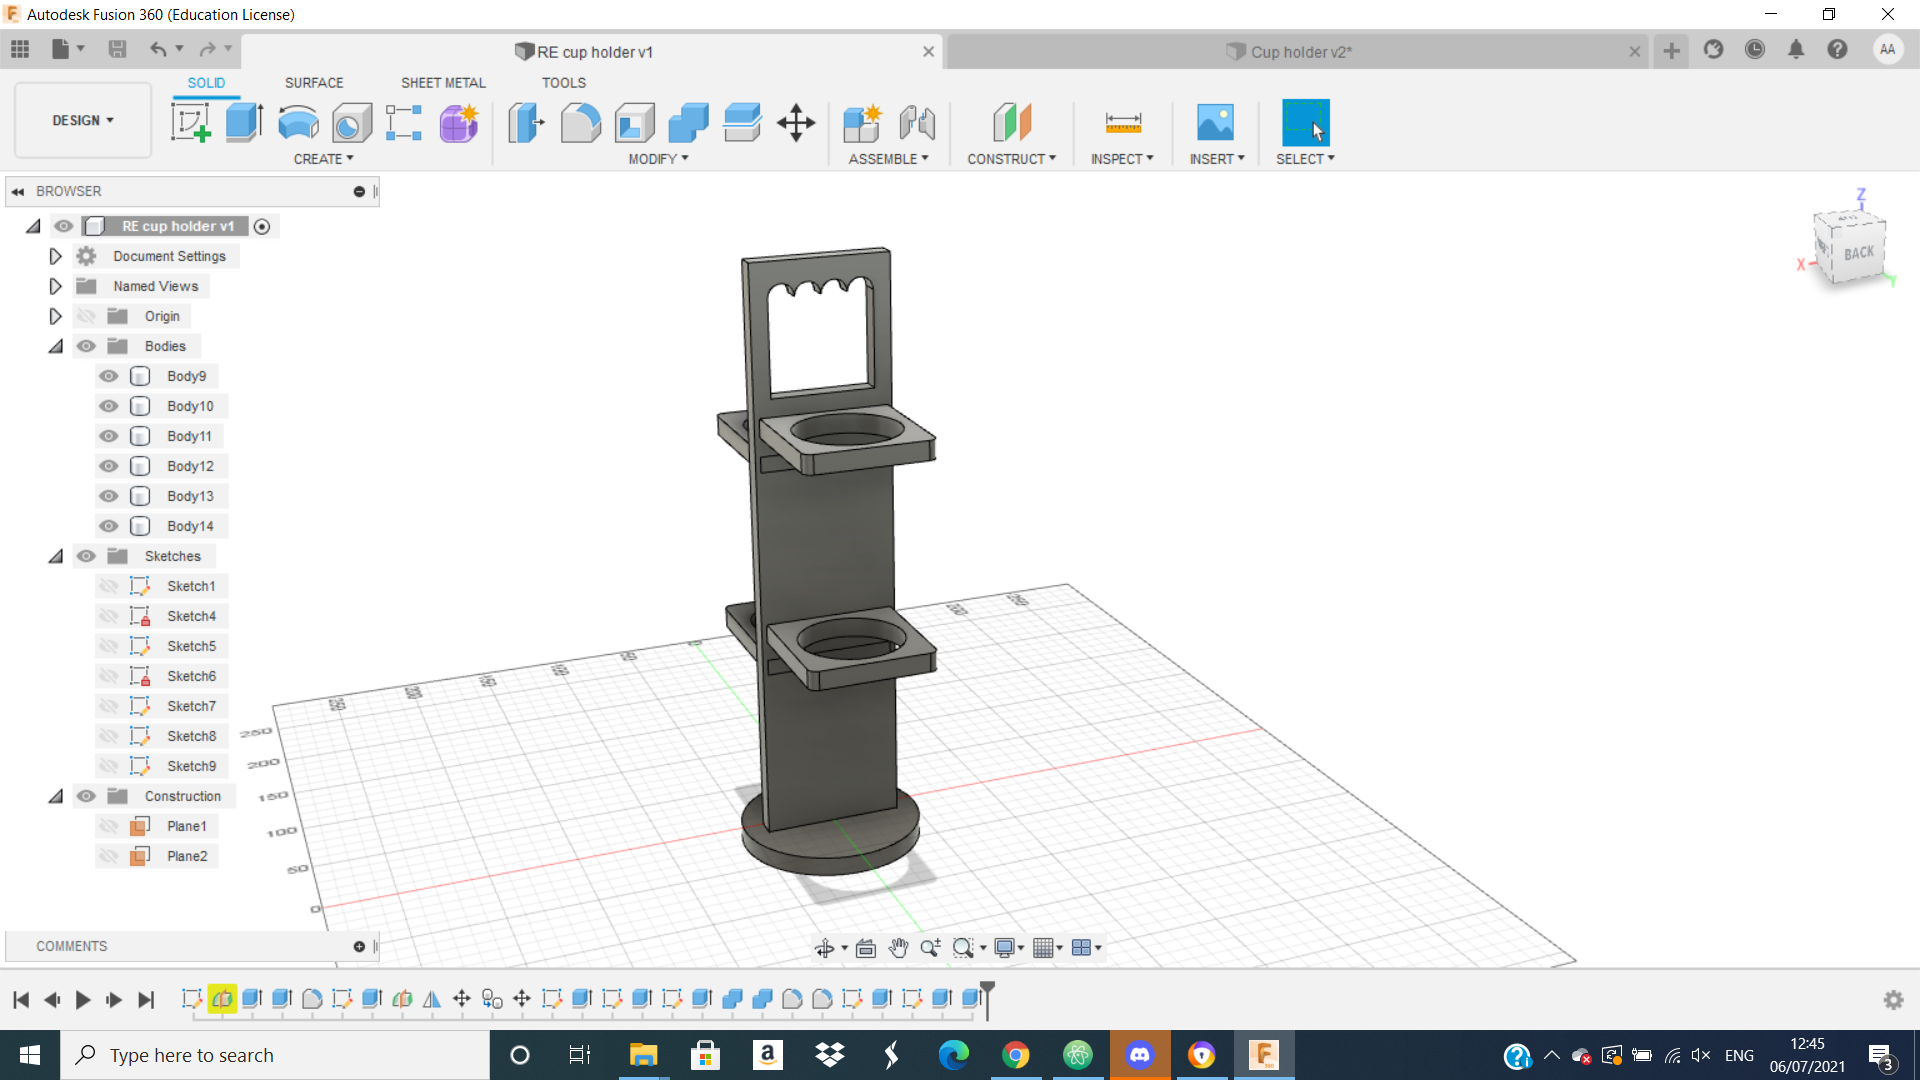
1-Do My Design
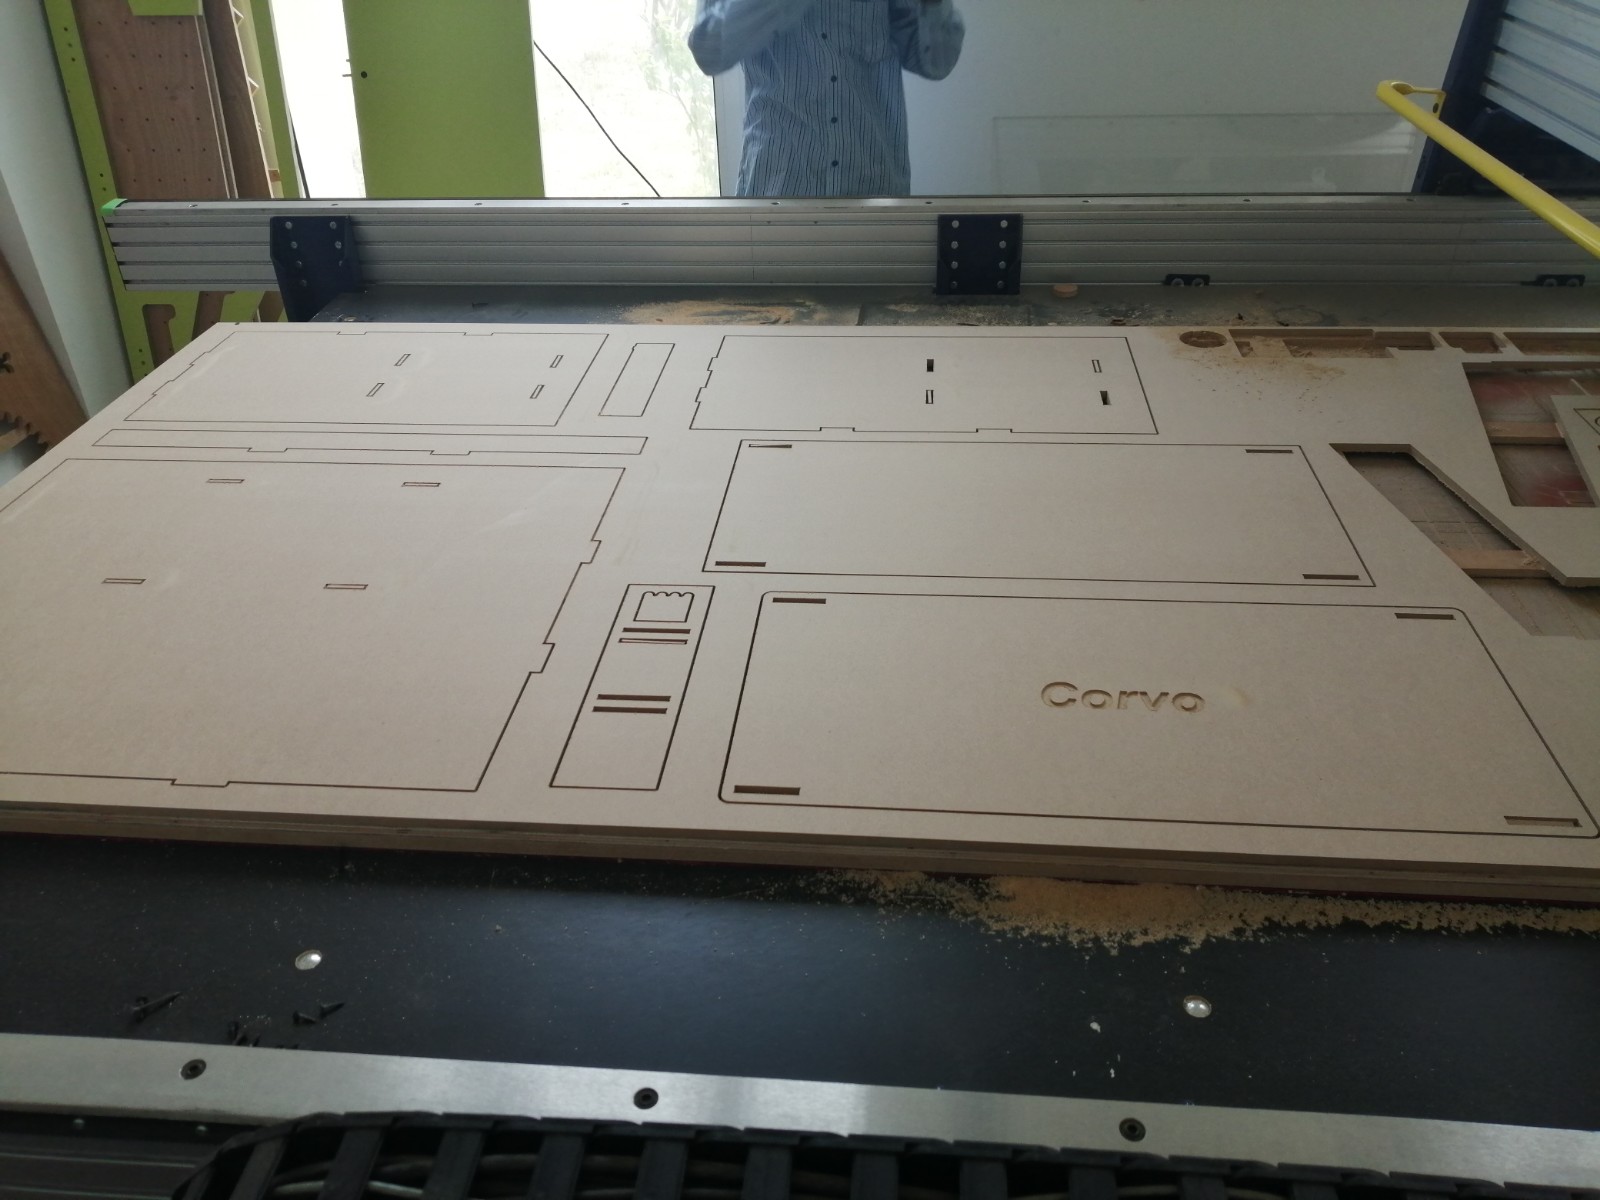
in this session we try to make a project using Fusion 360 than make it in reality by CNC machine
after that we try to make this design using CNC. First we put it in VCave program and we put the appropriate parameter for our design by following the steps that instructor ABDULLAH followed in previous session and we took about it with picture above you can see it. And from this picture we can see how finally our design look like in VCave program.
2-safety
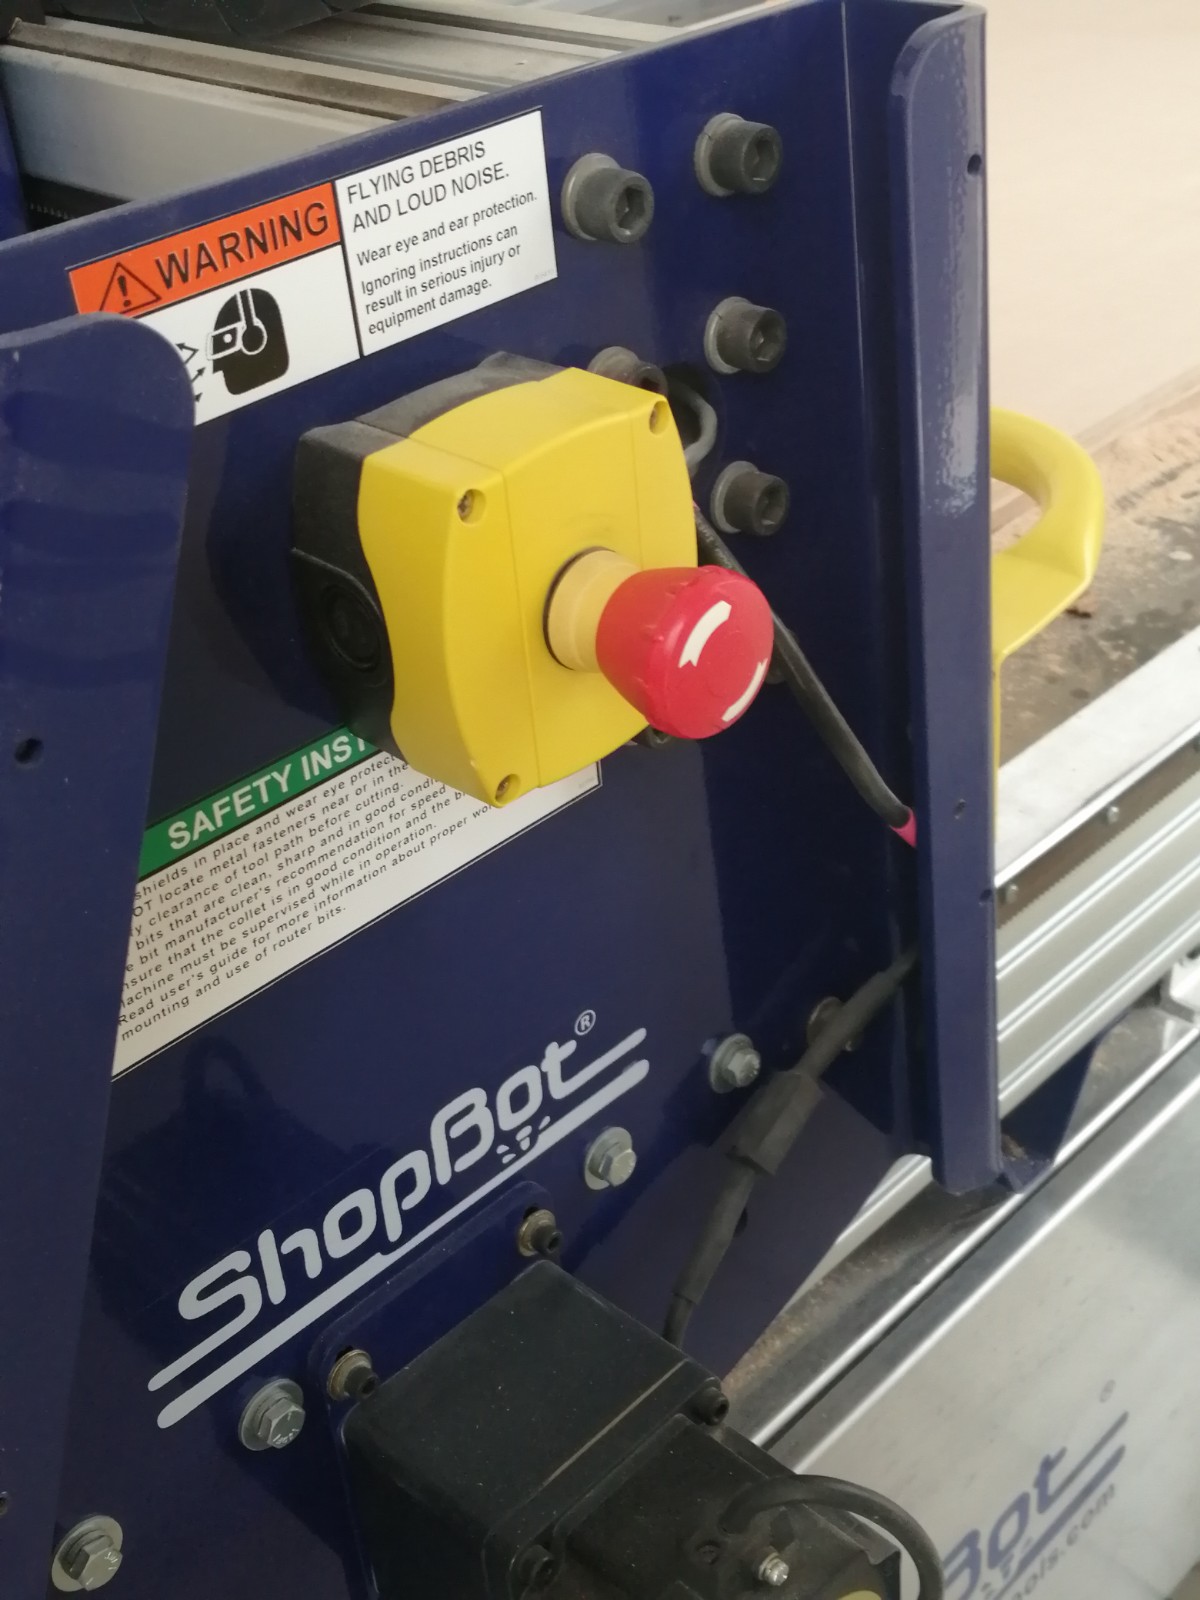
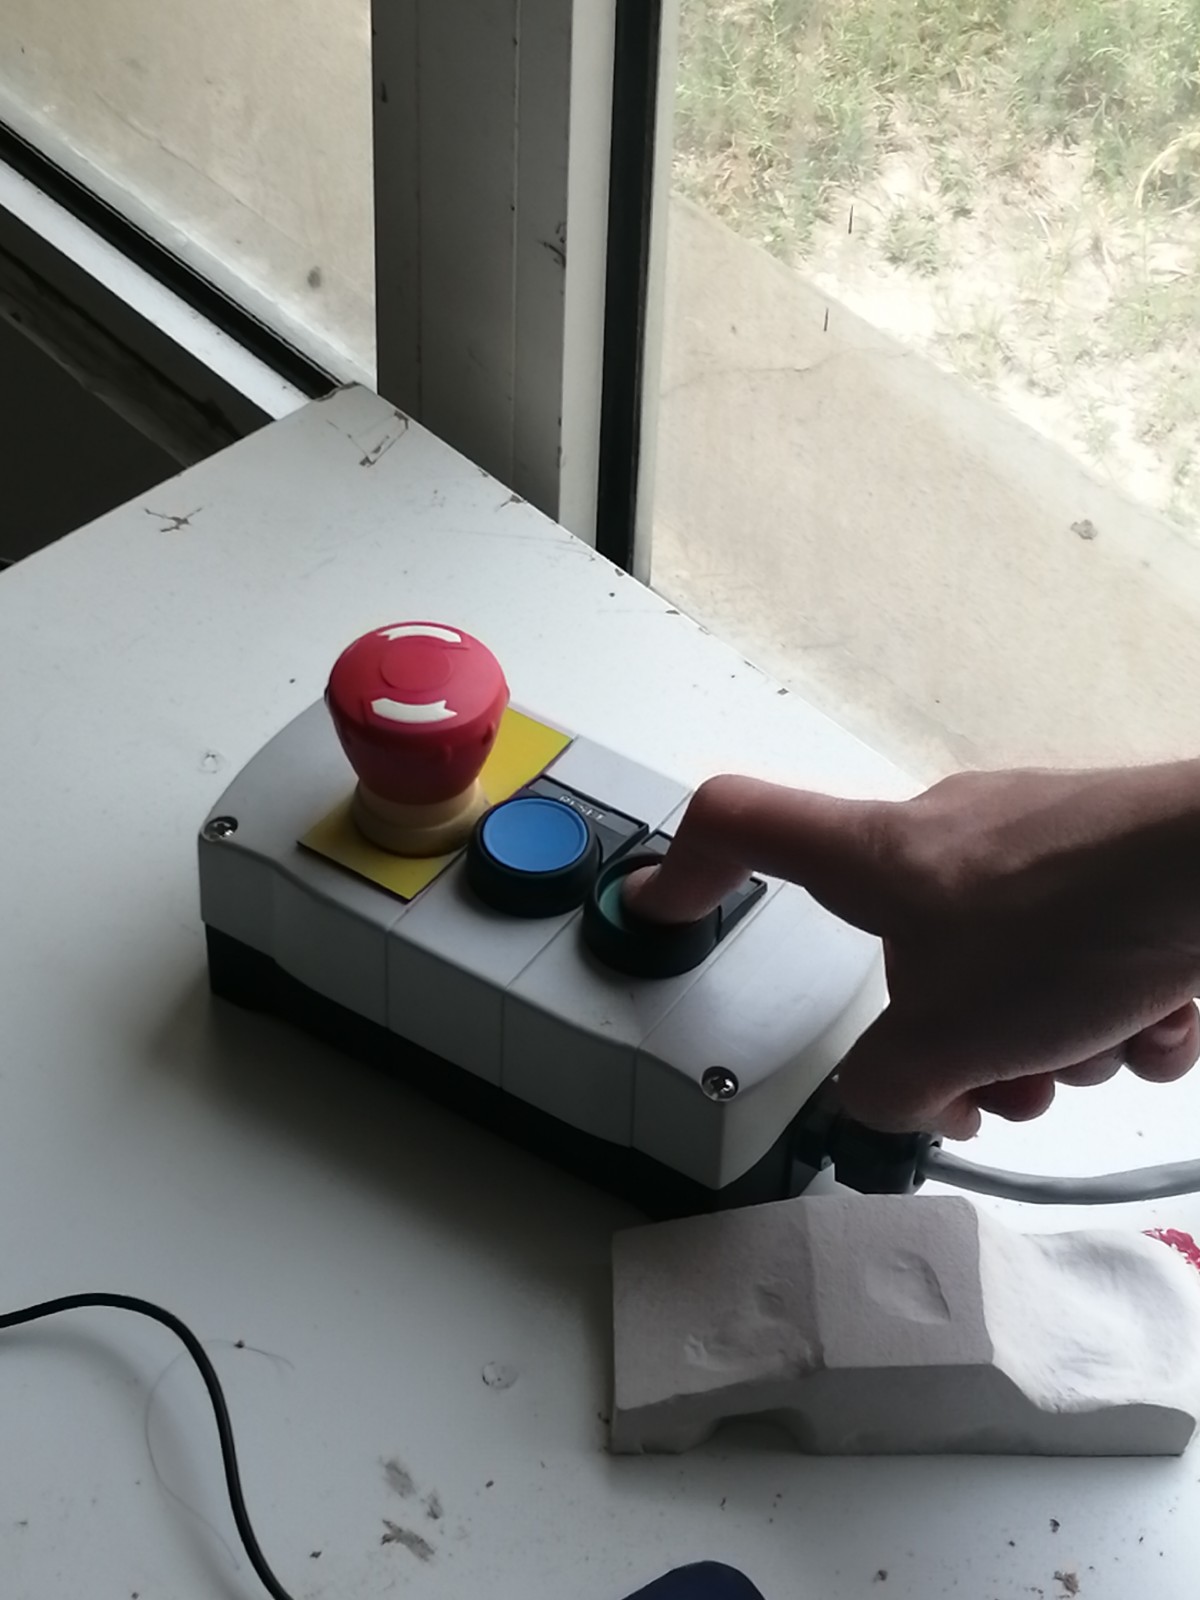
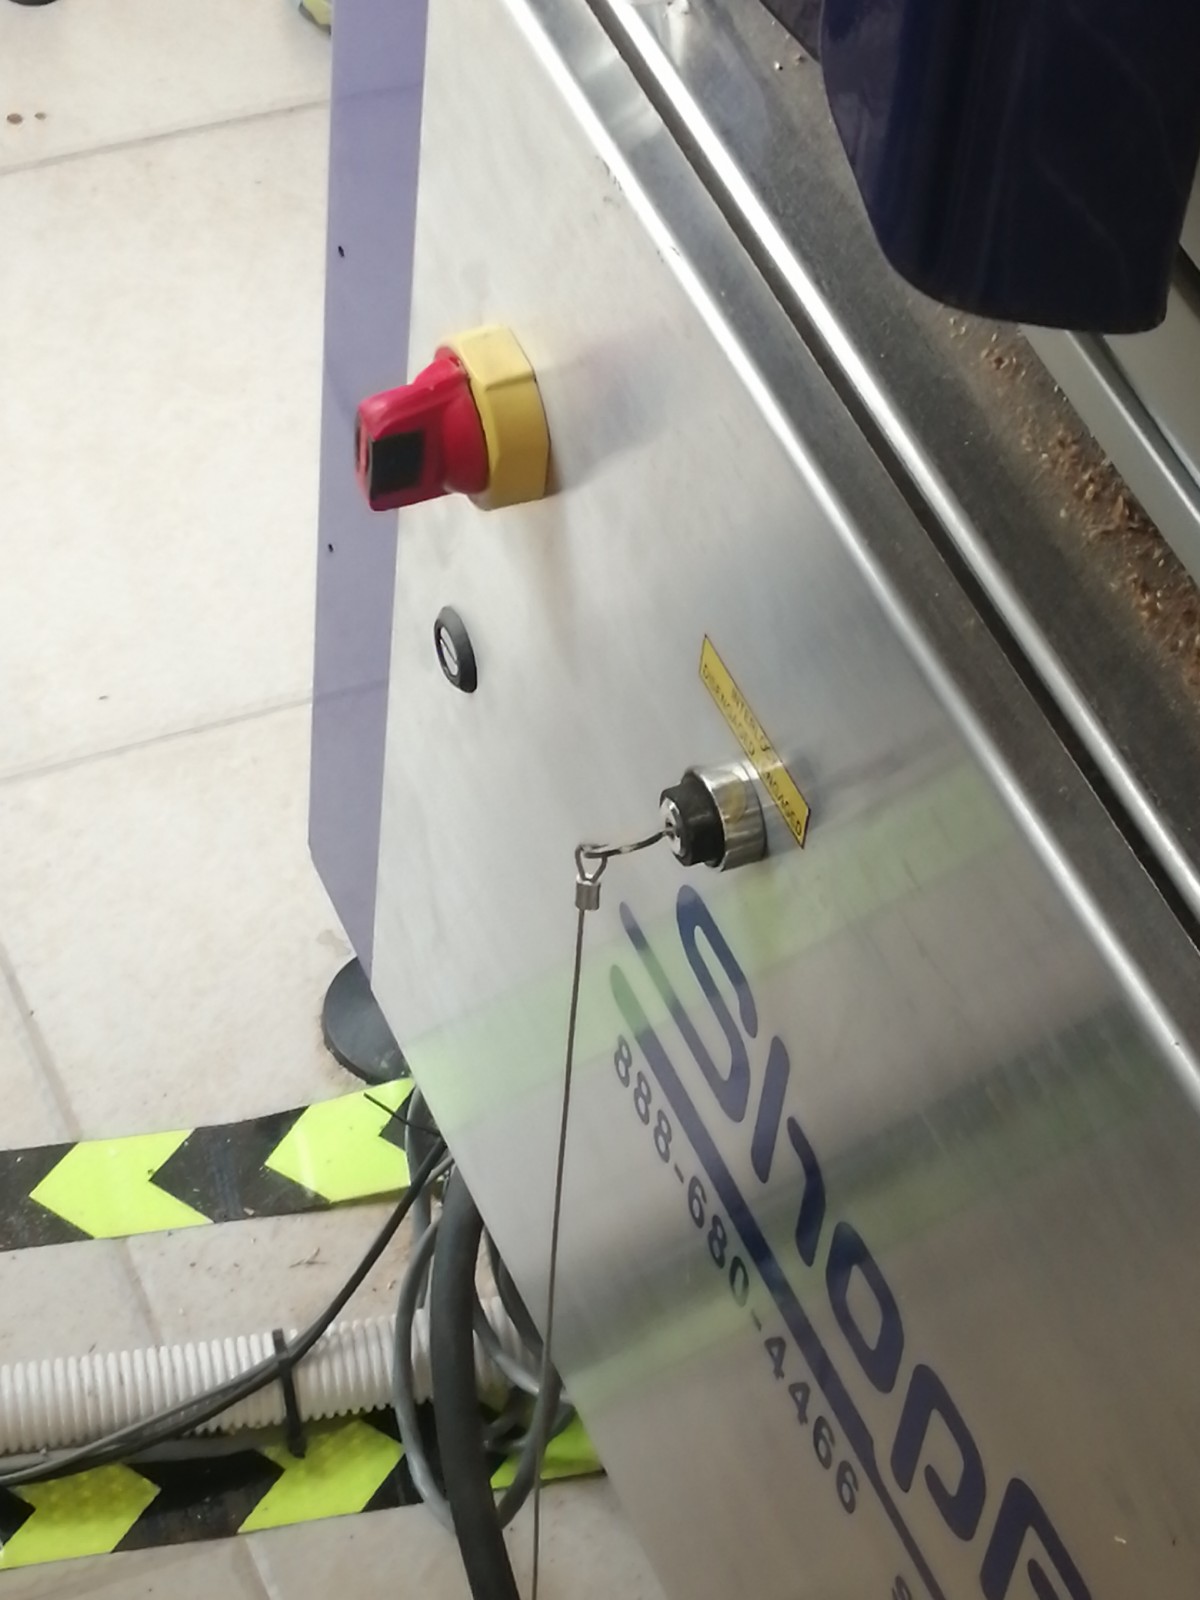
Know I will talk about important things, the safety or what you should know about CNC machine to be safe around it. First you should wear the protective glasses and do not go around the machine or be close to it when it is work. Second, you should know that there are two emergency switch in red colour that help us to stop the machine if any problems faced us or something emergency happened. Also, we can click to any keyboard buttons from laptop that is connected to the machine it will stop.
3-Start Work on The CNC Machine
after that we use start run the machine by open this switch
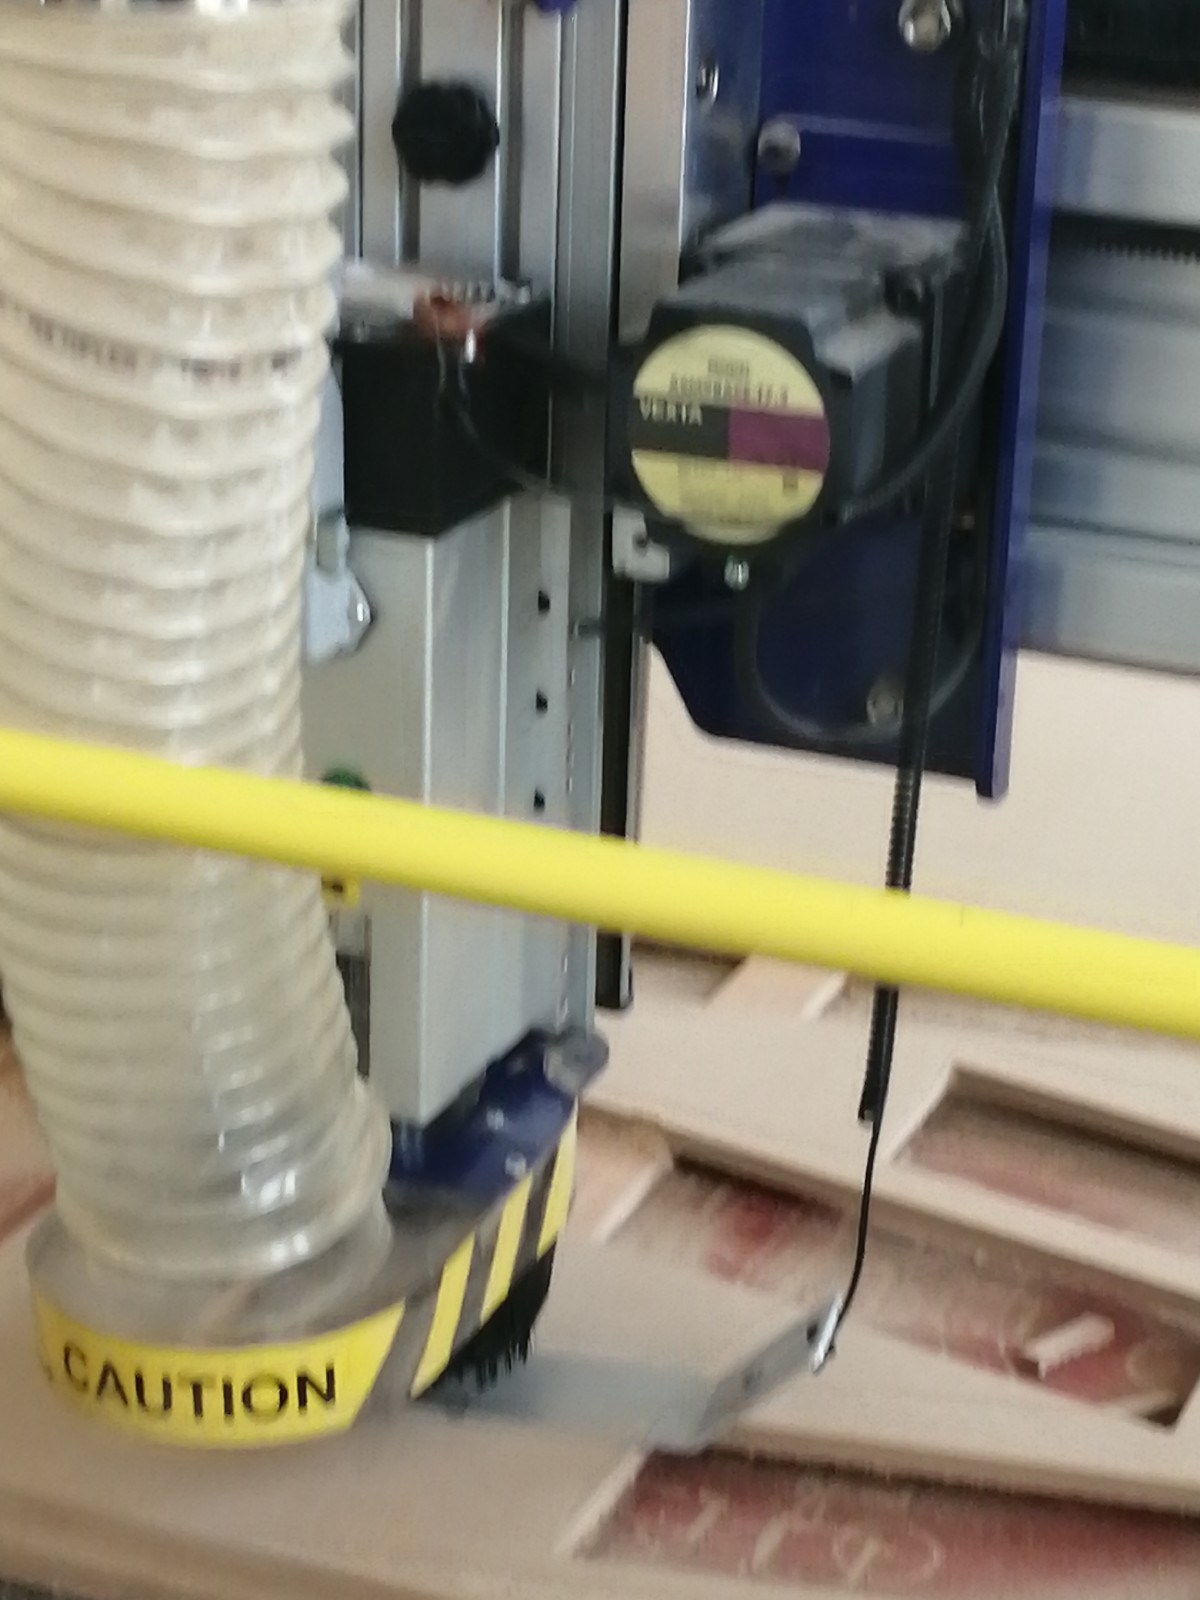
 than we click on this green switch than The machine will work.
And from this picture we can see the motor or the part that pull or suck the chips that produced by cutting or removal part from the wood plate.
than we click on this green switch than The machine will work.
And from this picture we can see the motor or the part that pull or suck the chips that produced by cutting or removal part from the wood plate.
 and when the machine work, on the laptop that connected to it you can see signboard or page you can control the machine and move the drill bit in three axis x, y, and Z and from this page you can change the start number or from where the machine will start.
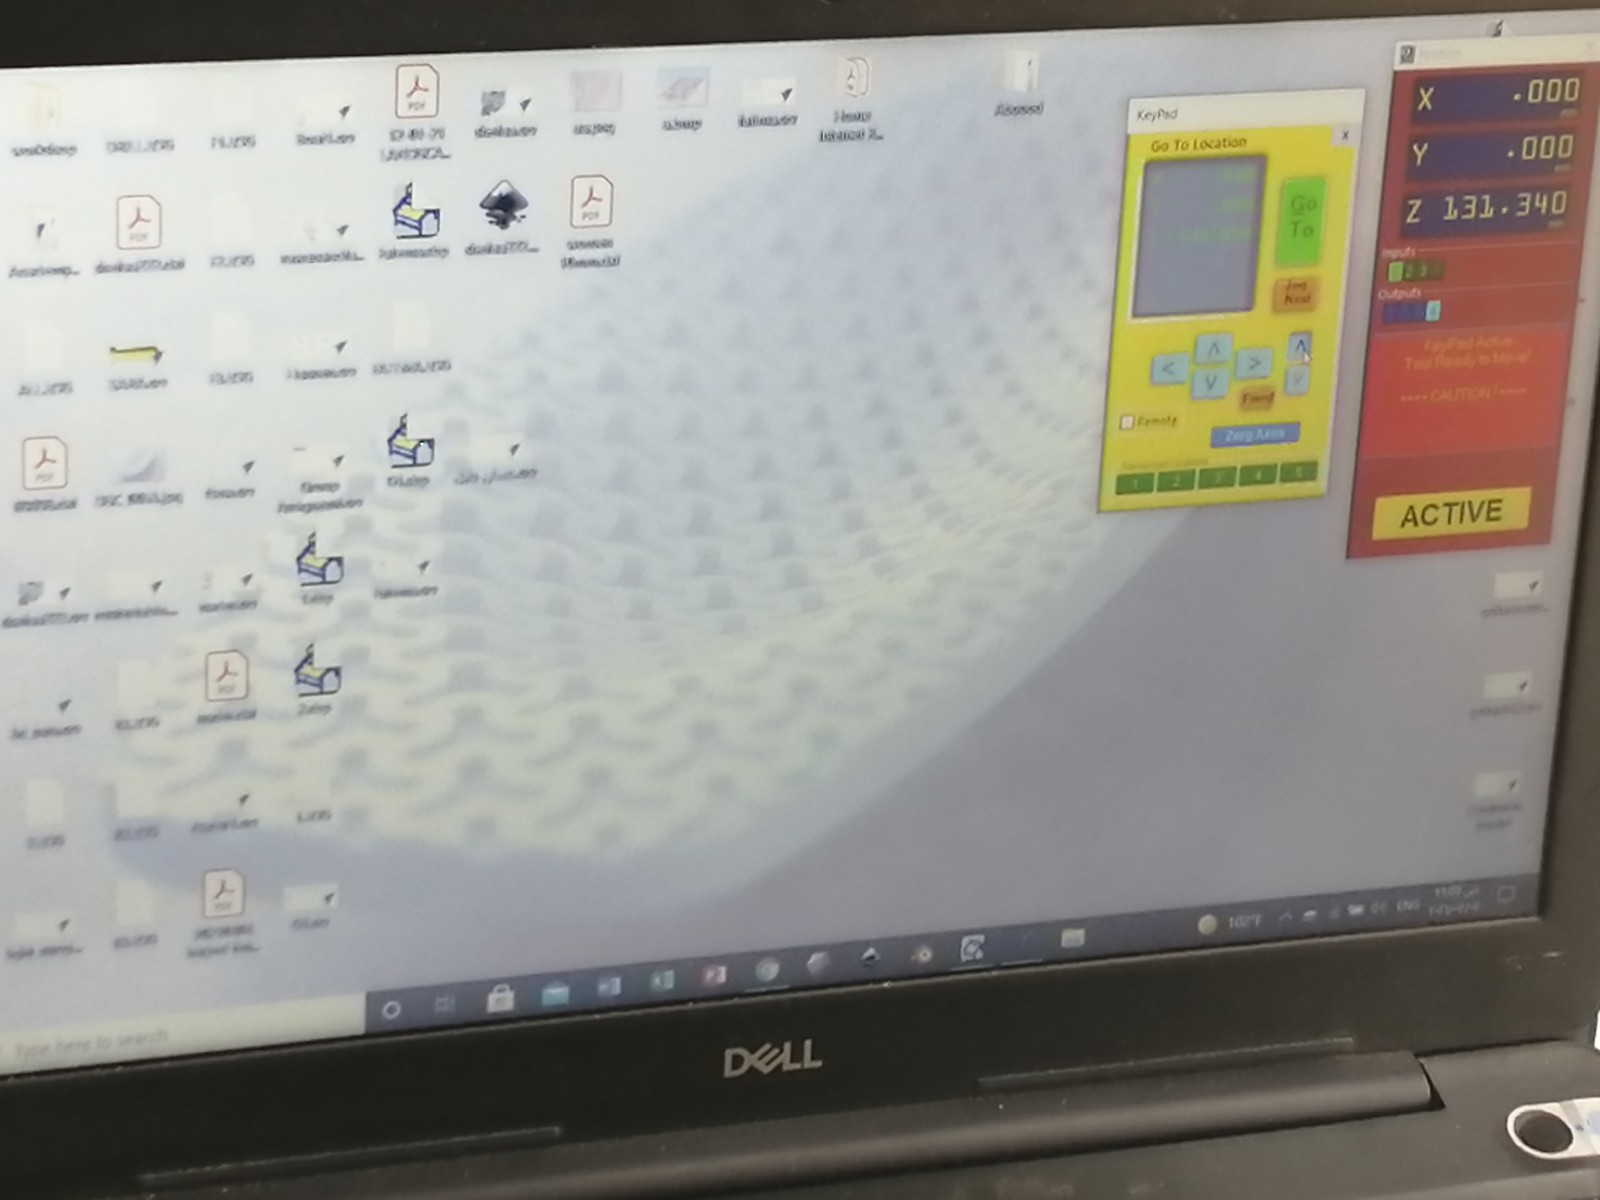 And there is something important you should do before starting cut your design, is the sit of y axis and we do it by using plate from conductor material. We put it under the drill pit than move it by laptop down to touch the plate. After that, the machine automatically sit the height or y axis.
After we sit or put all the needed parameters you can run the machine to cut your design. The machine will start do all the pockets.
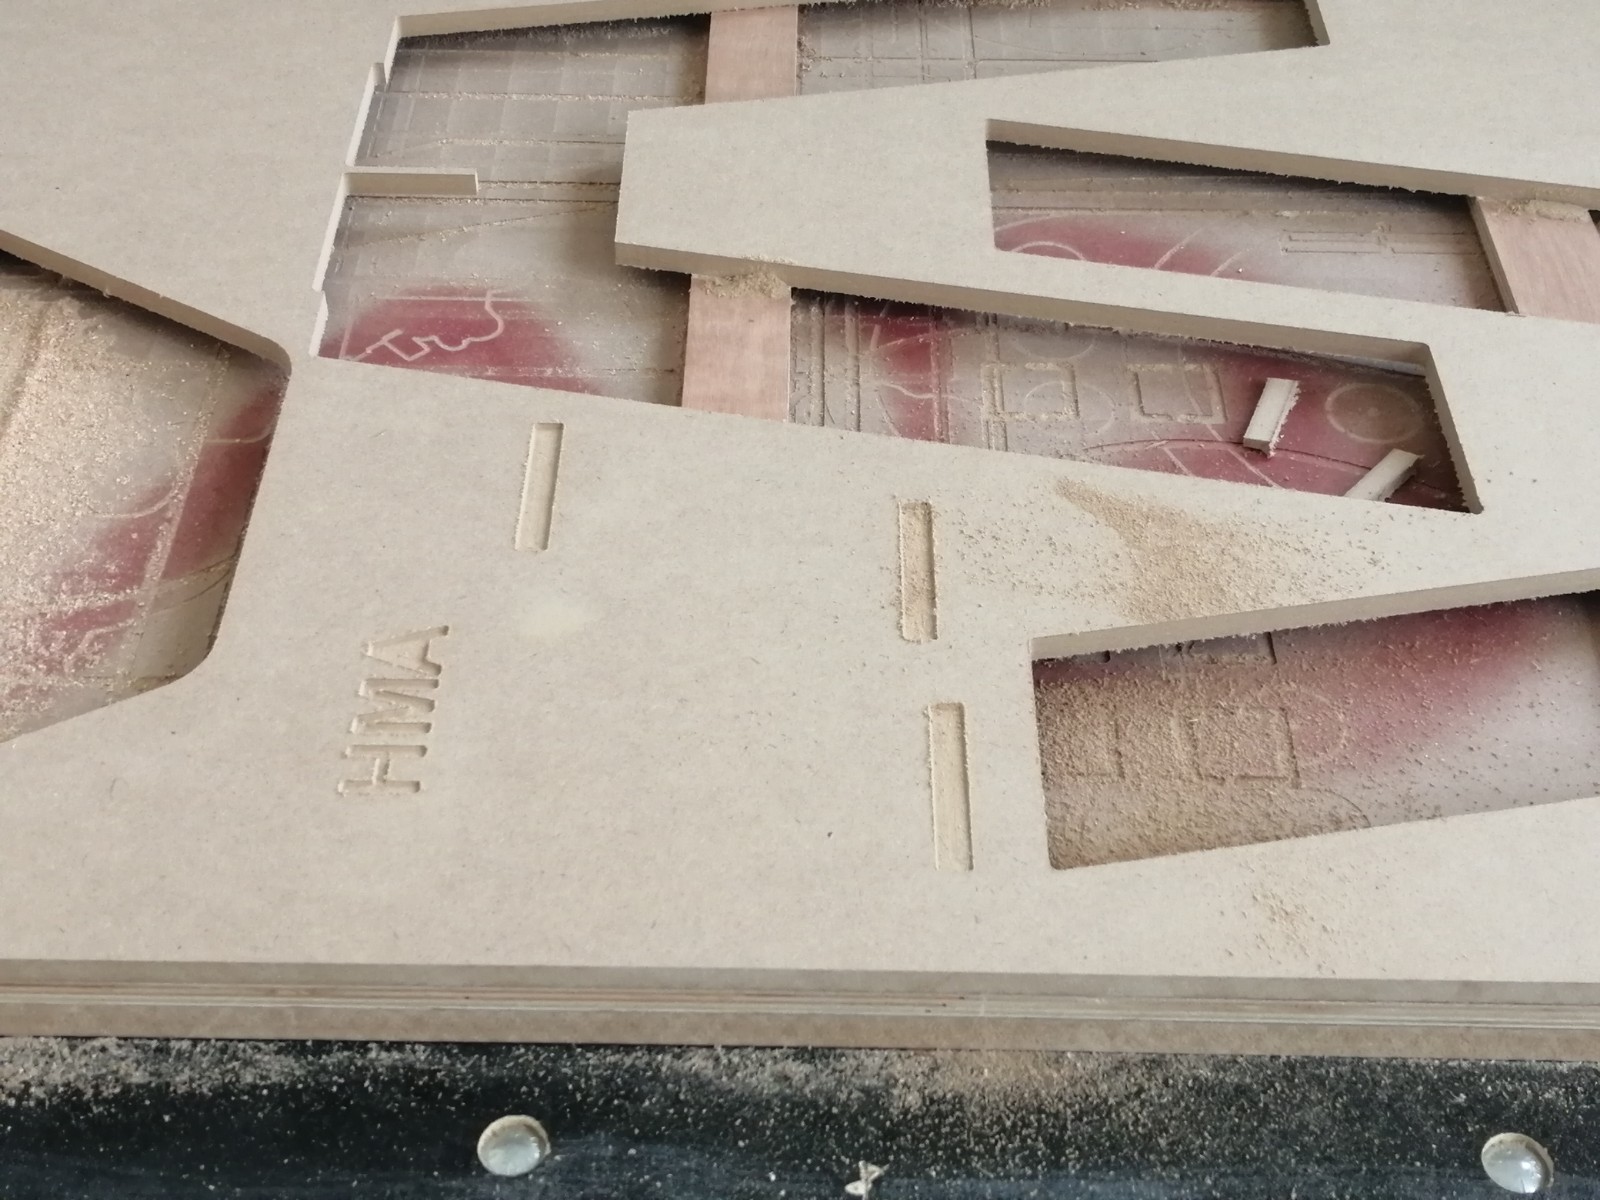 Next, it will start cut the desired design by following the path that you put it using VCave program.
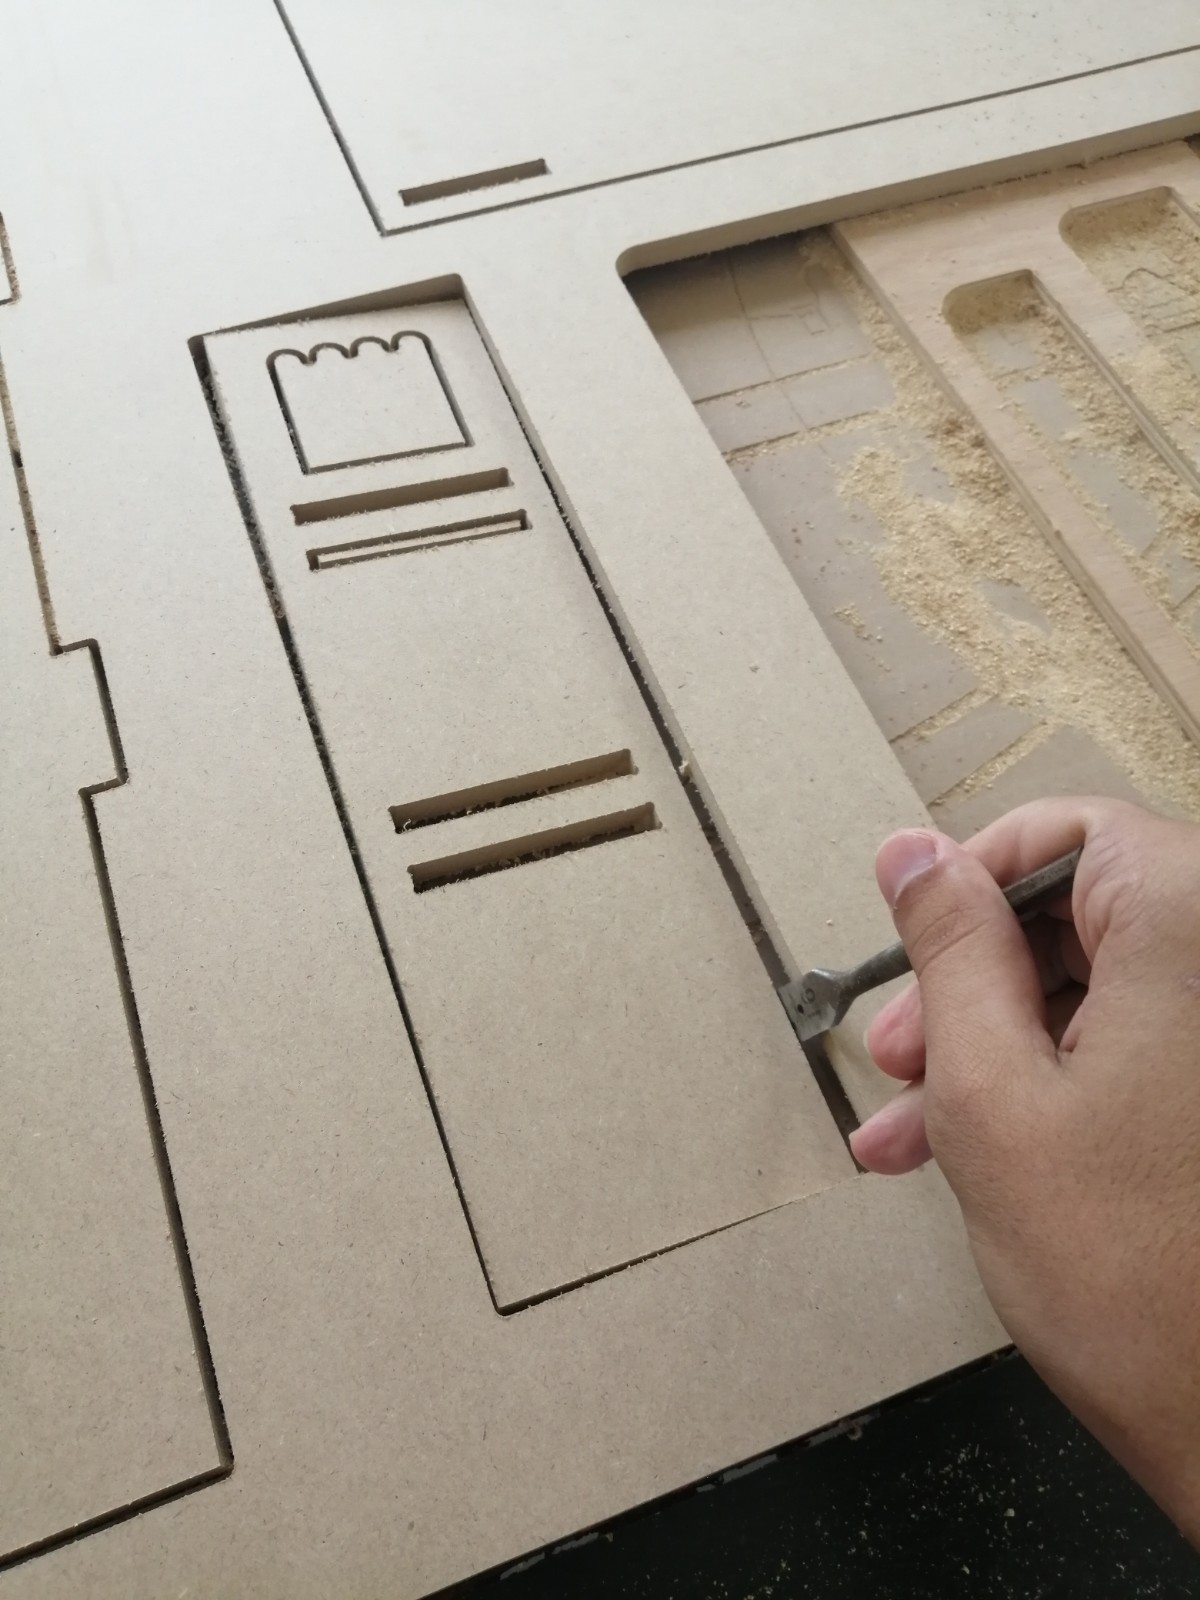
 There are some taps that we put them from VCave program to fixing the part of your design and this taps you can see it after the machine finish the cut or the work. Than, we using some tools to move our parts or to cut these taps.
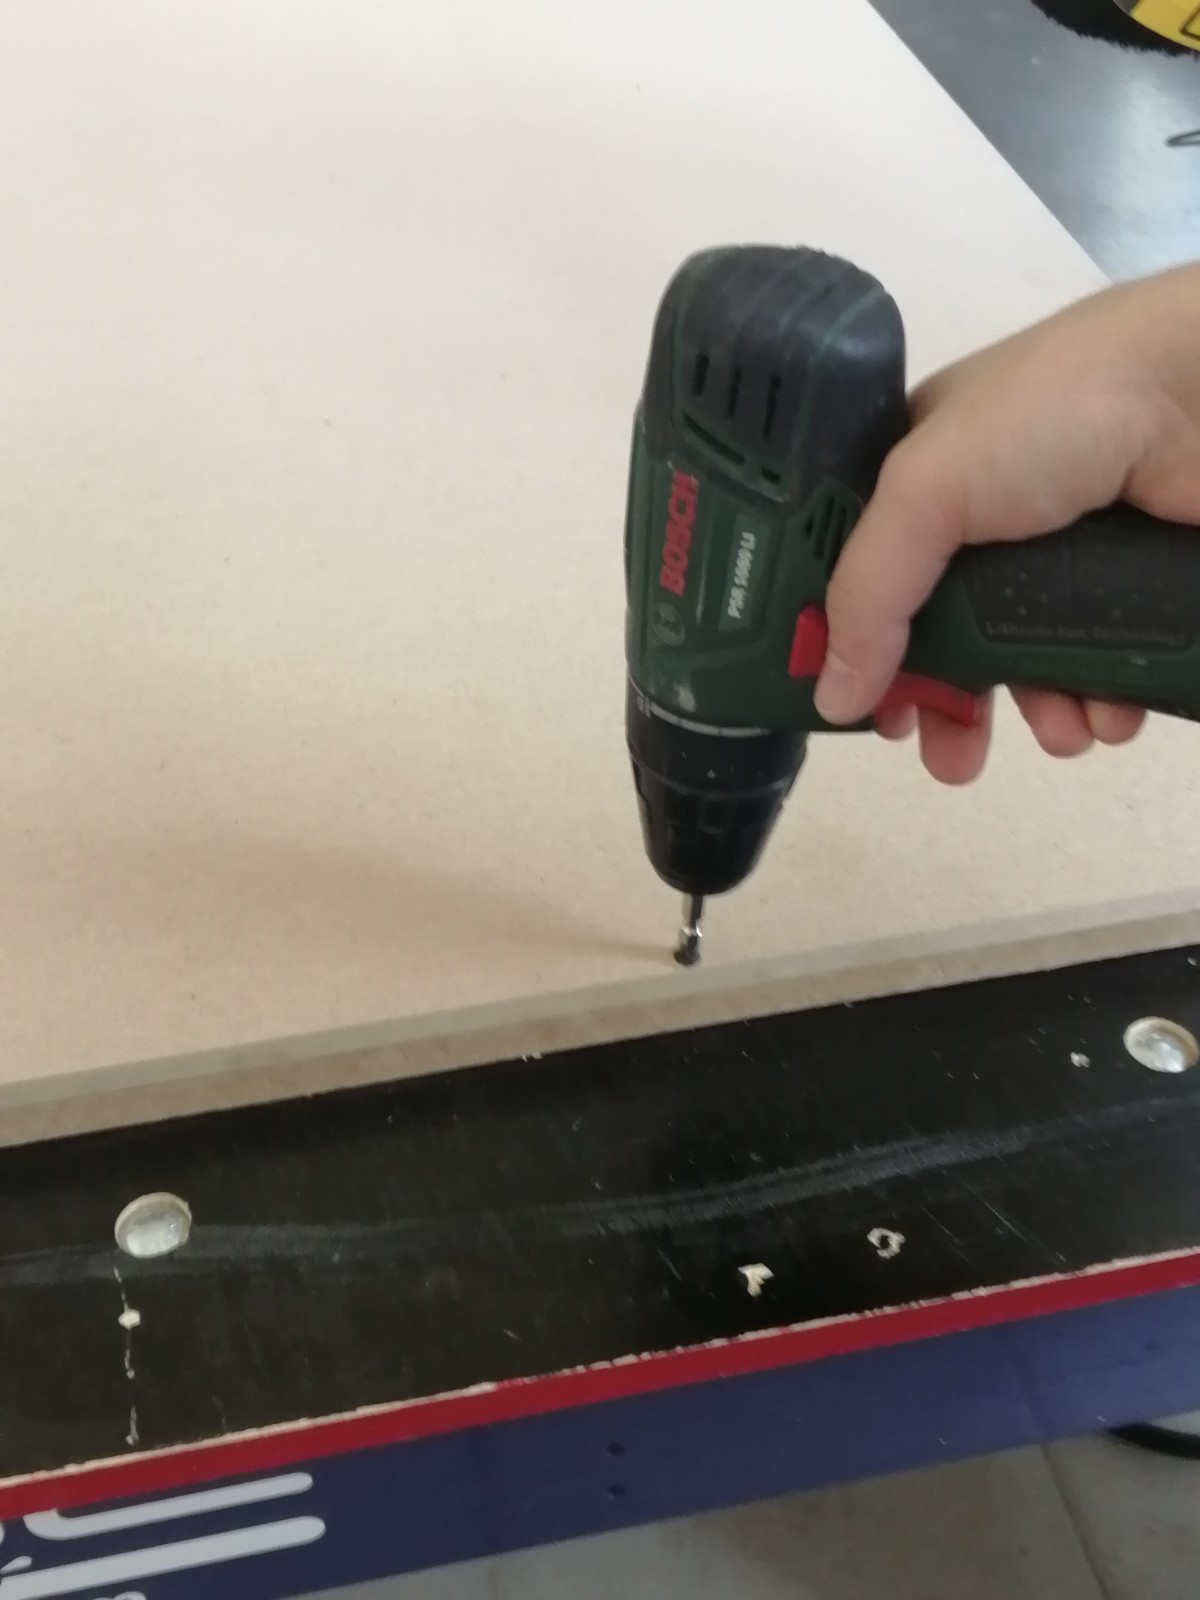
4-Joining The Parts
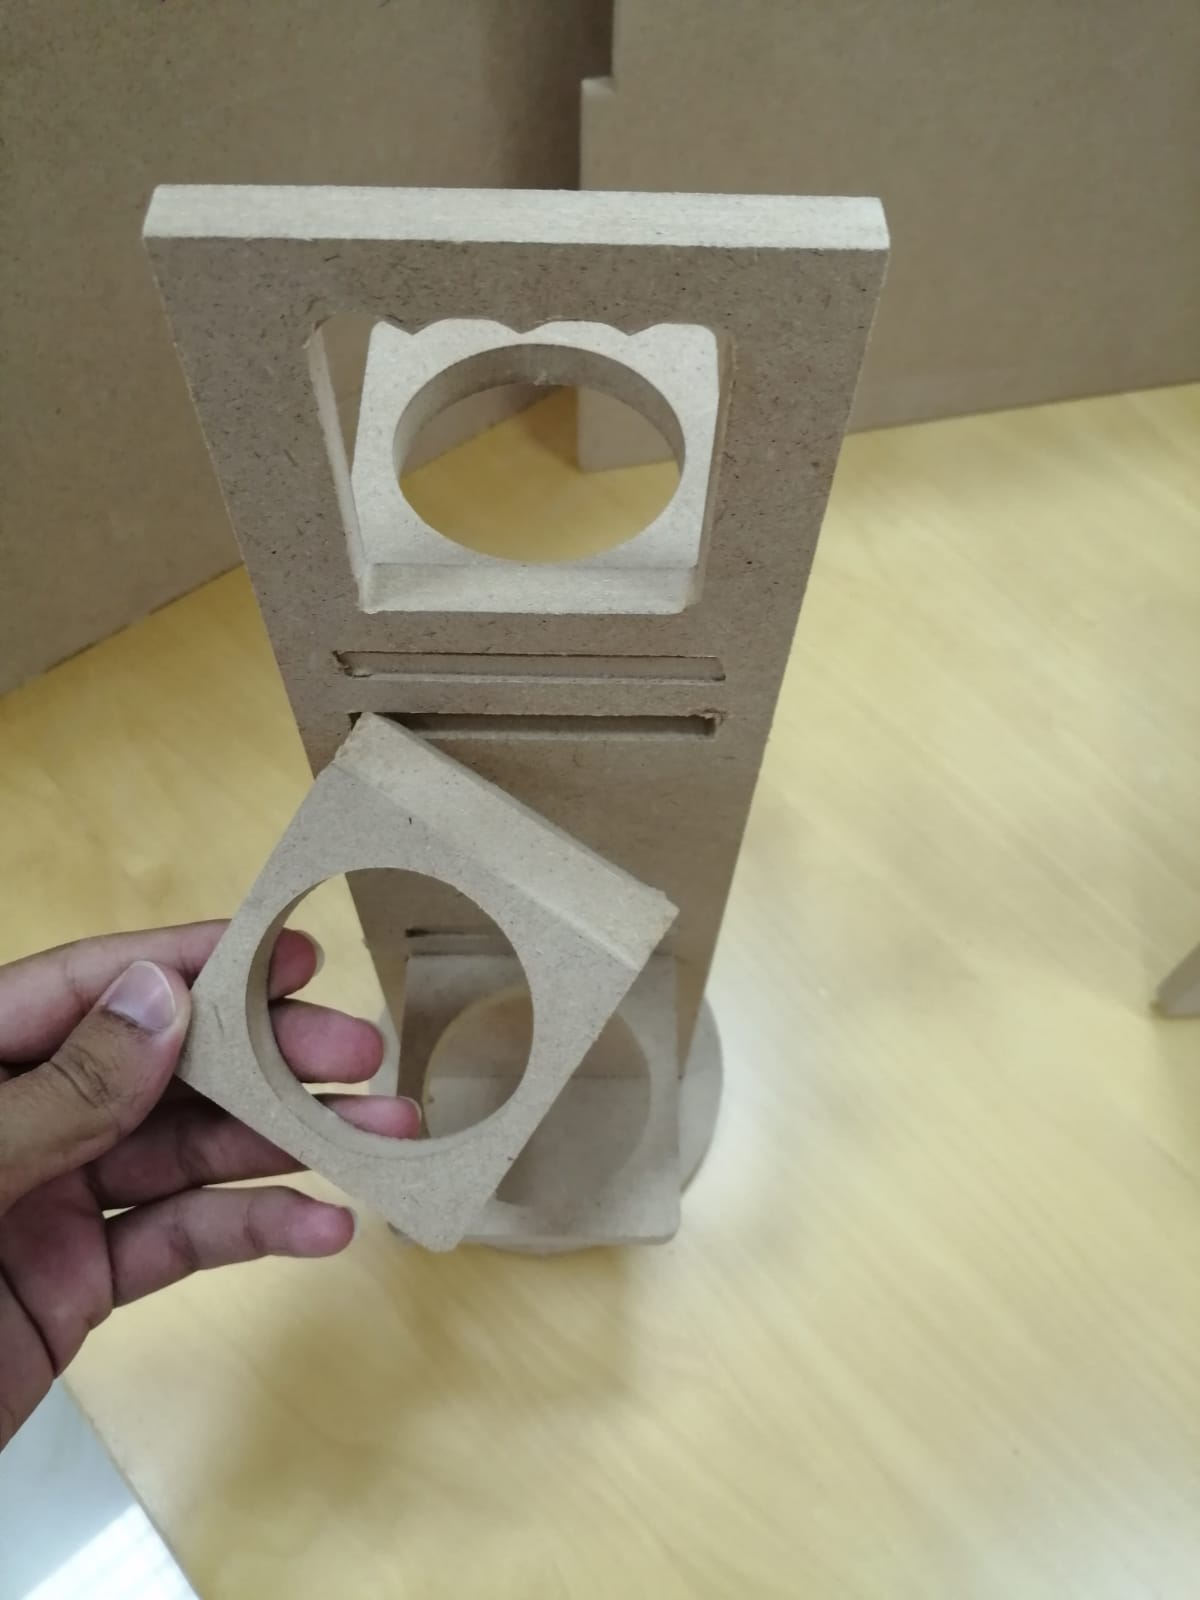
I took the parts and start joining them together and I faced problem in it. I find that the joint is larger than the gap so I cant fix them together and this problem happened when I did the offset to the gaps and smaller them more than the required or the needed. And to fix the problem I use file to reduce the area of the joints.
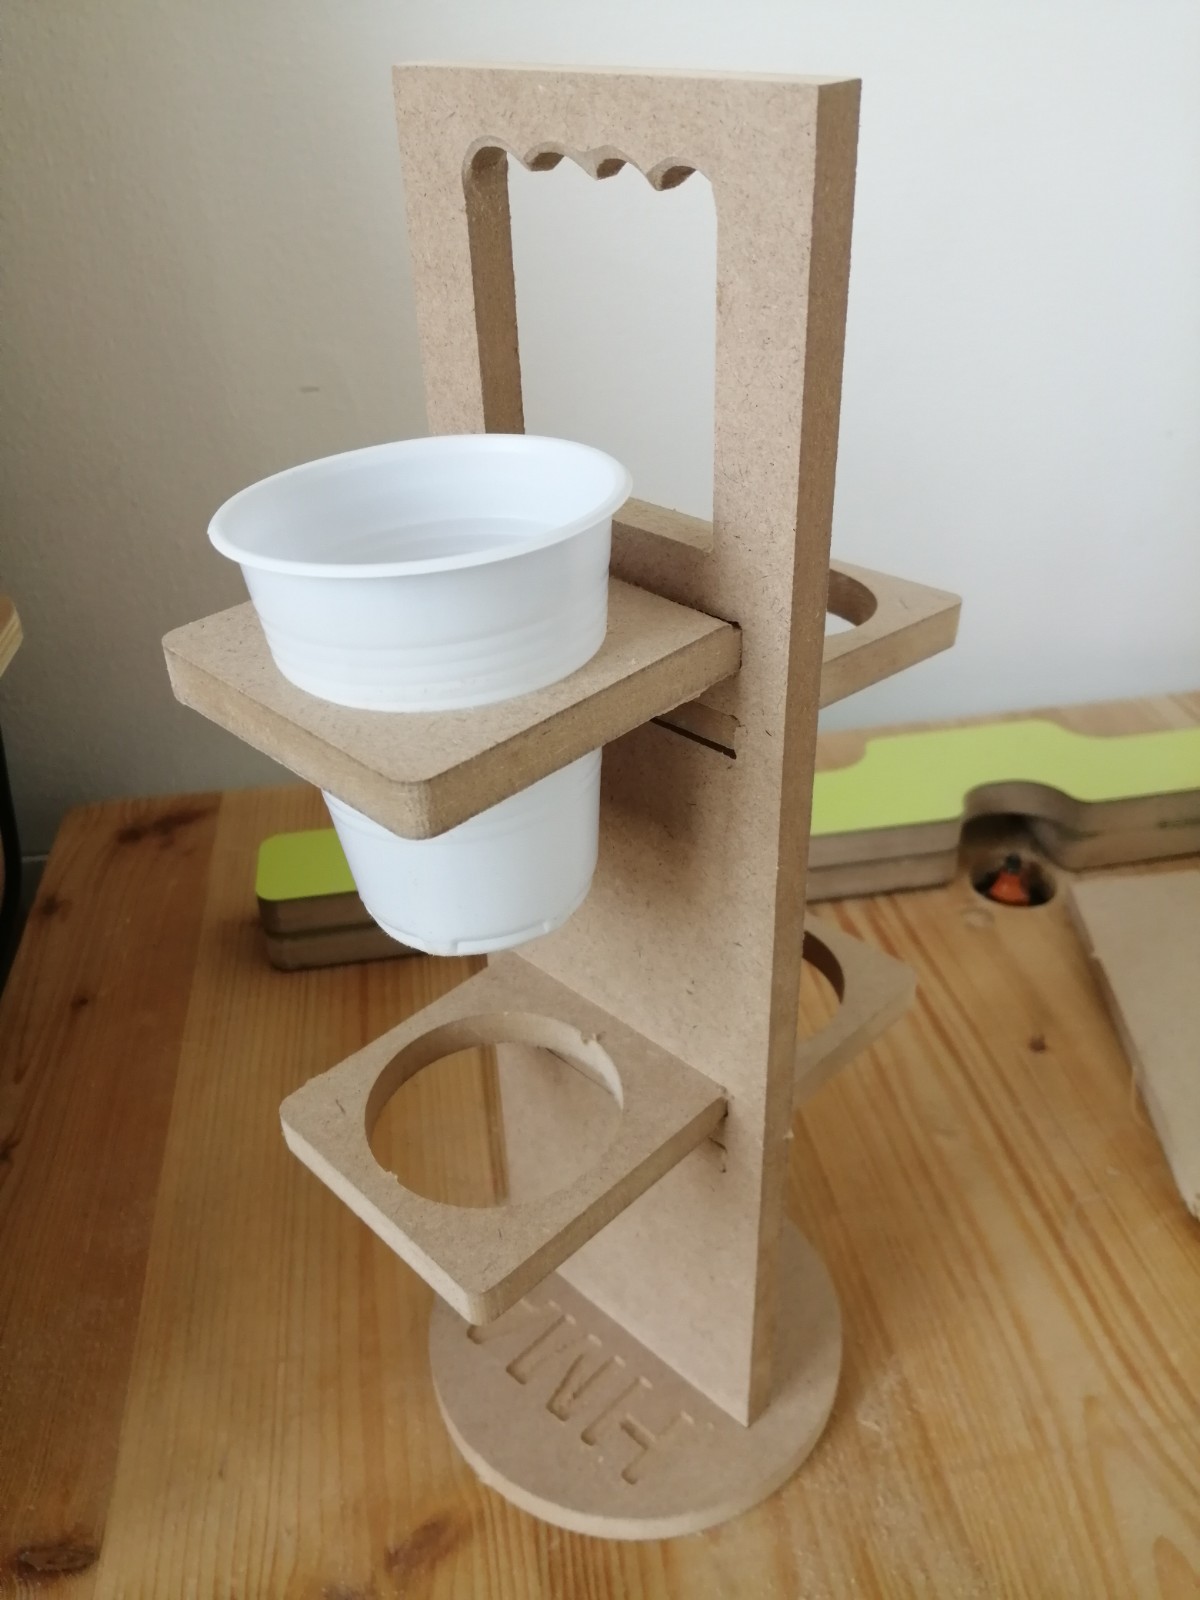
 Finally I got this product:
 And at the end we change the hole wood plate because there is no left space to cut or do another design and fix this plate on sides. And we can mention that there is another plate under the one that we change it. This plate we put it, so that the machine doesn’t cut itself.