6. Embedded programming:
This week I learn how to program an Arduino board to do something using the LED feature.
Microcontroller
For programming we need first to Microcontroller.
And it is works by connected it with USB or power source and voltage than we put or write codes using some programs and it will give us an output.
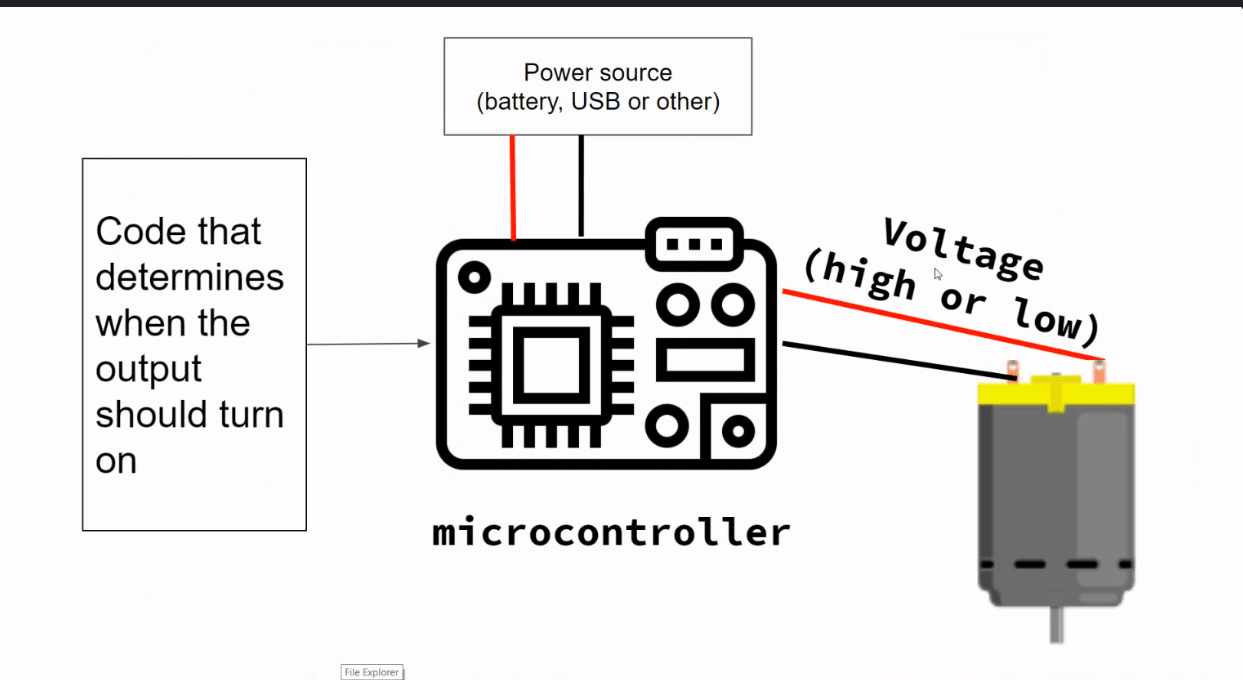
And these Microcontrollers we used on different type of application. We used it on the computers and it makes us can control mouse, keyboard and other part of the computer.
Arduino Program:
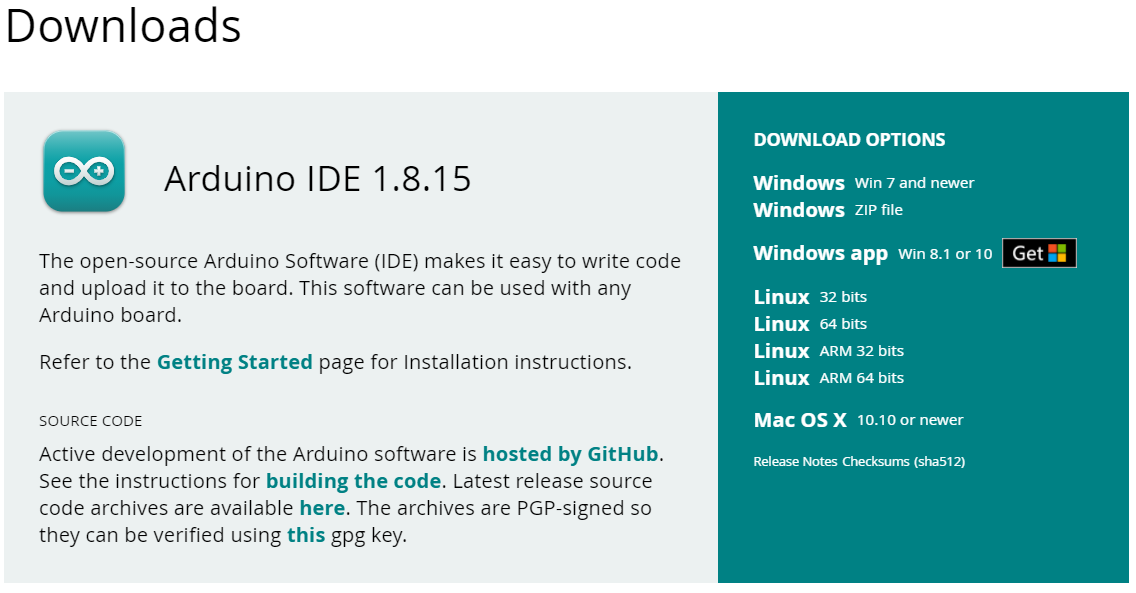
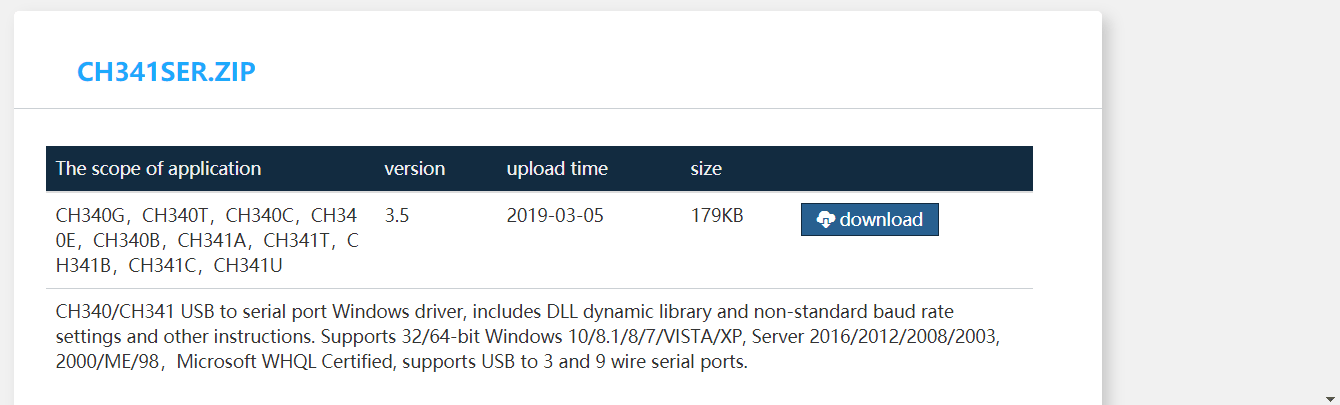
First thing you should do is to download the Arduino and the drivers.
Before we start work on the program we need to setup it to identify the board we are using it.
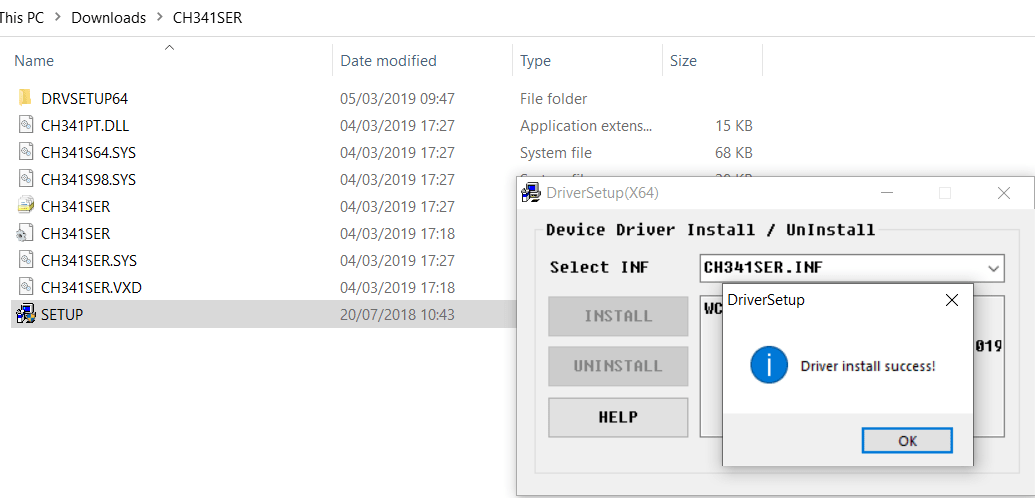
First, we connect the pin with computer and open the Arduino. Than we open the drivers and click to install to setup it.
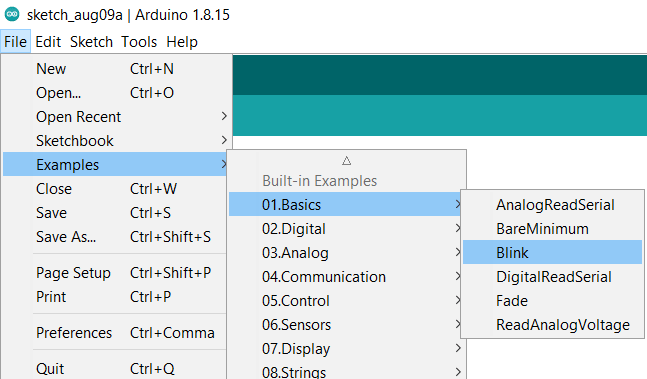
Second, we go to file option than go to examples and click to blink.
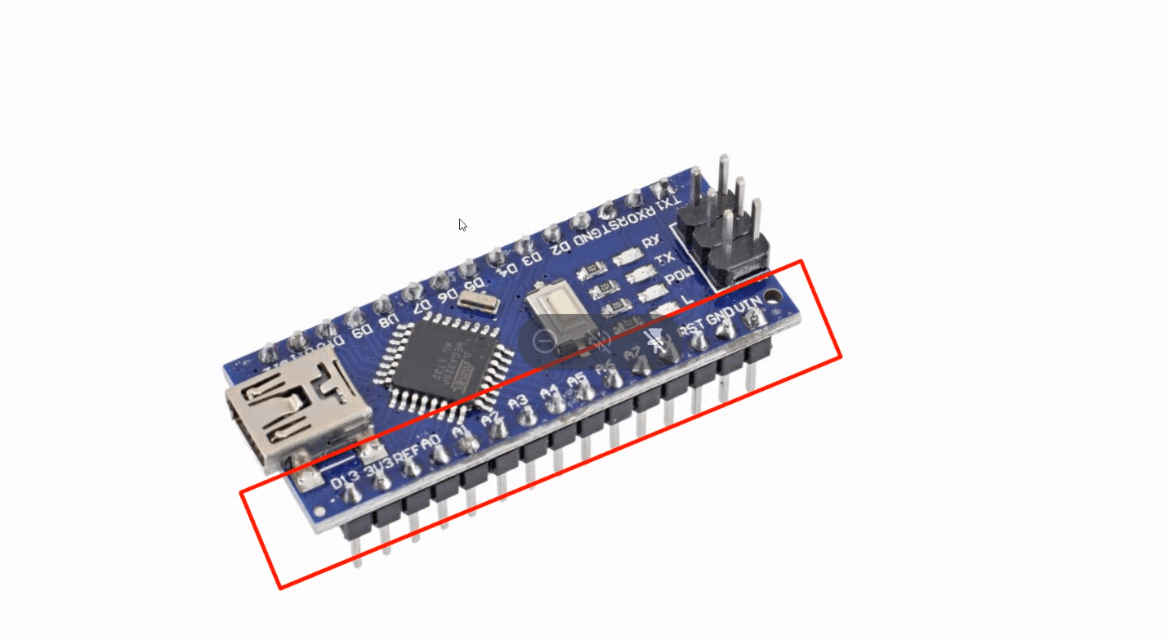
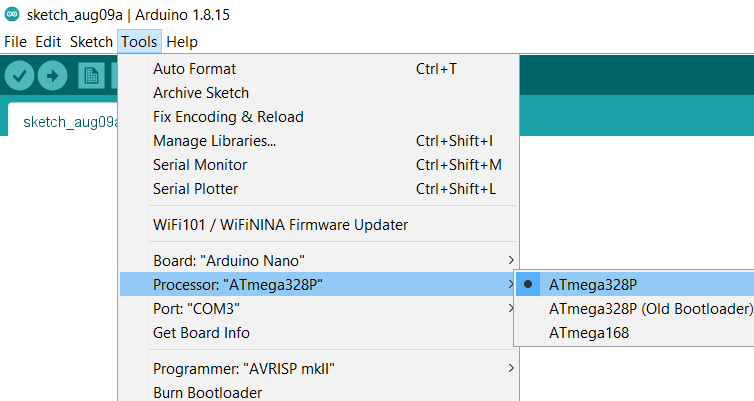
Third, we choose the board type (Nano)
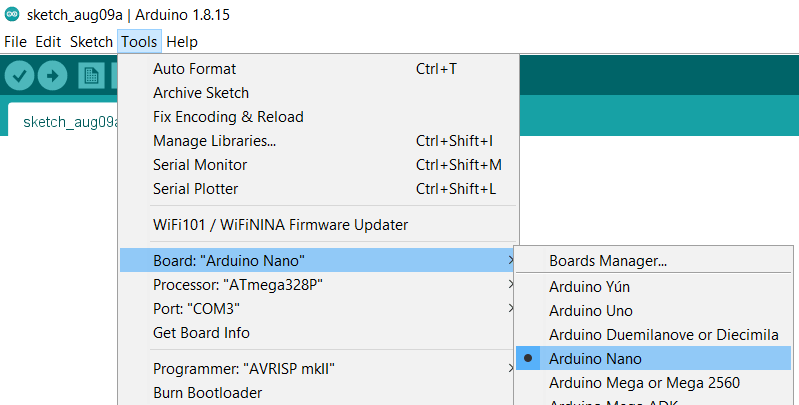
Forth, the Processer (ATmega328P)
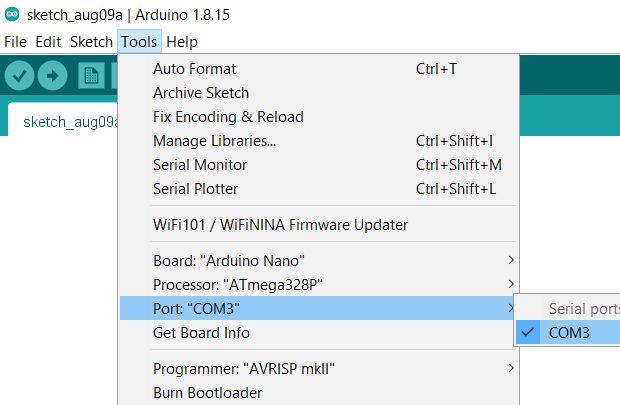
Finally, we go and see the port is working or not if it not there will be something wrongs with your connection.
Here from this picture we can see some codes. void setup to run once and in our case we want LED lighting, so we choose pinmode. Than we choose the OUTPUT which is means it should output the light.
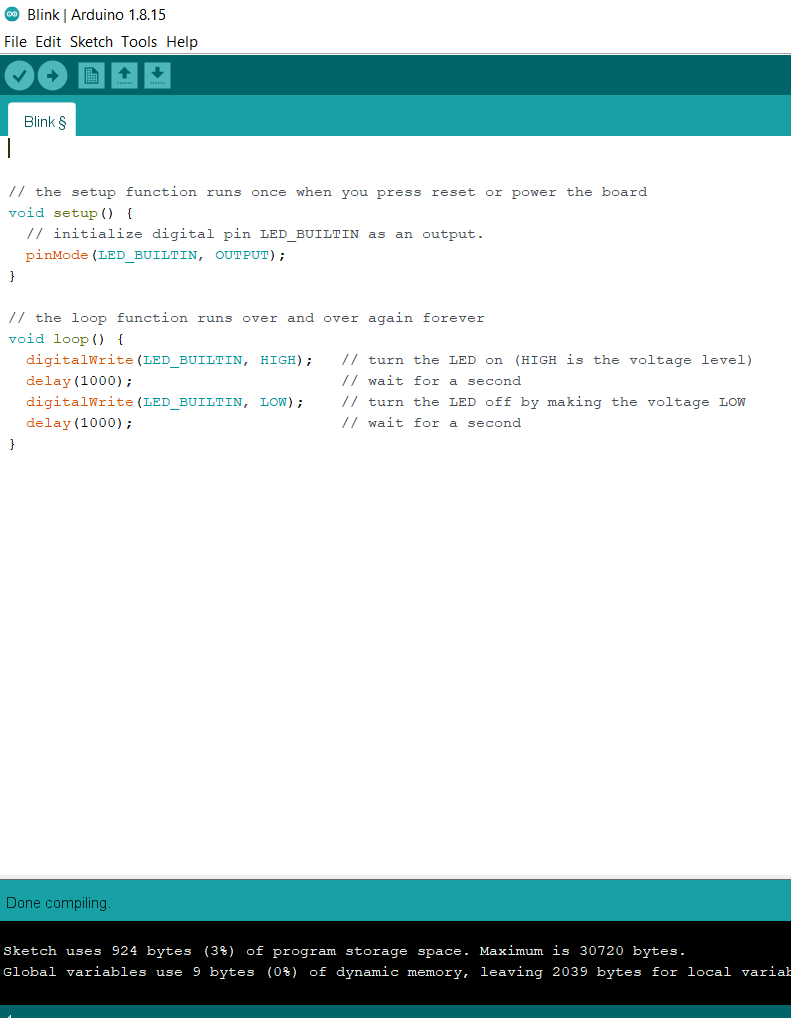
The next code is void loop which is happen continuously. in this code we add command digitalwrite with the LED name and HIGH. The HIGH means the light ON and LOW means OFF mode. Finally, the delay command means the time the light will spent it ON or OFF mode in millisecond. At the end you upload the commands to the board by the arrow for right above than you can save what you have done for future revision.
Visual Studio Code and Using PlatformIO IDE Extension
First, download the Visual Studio Code program.

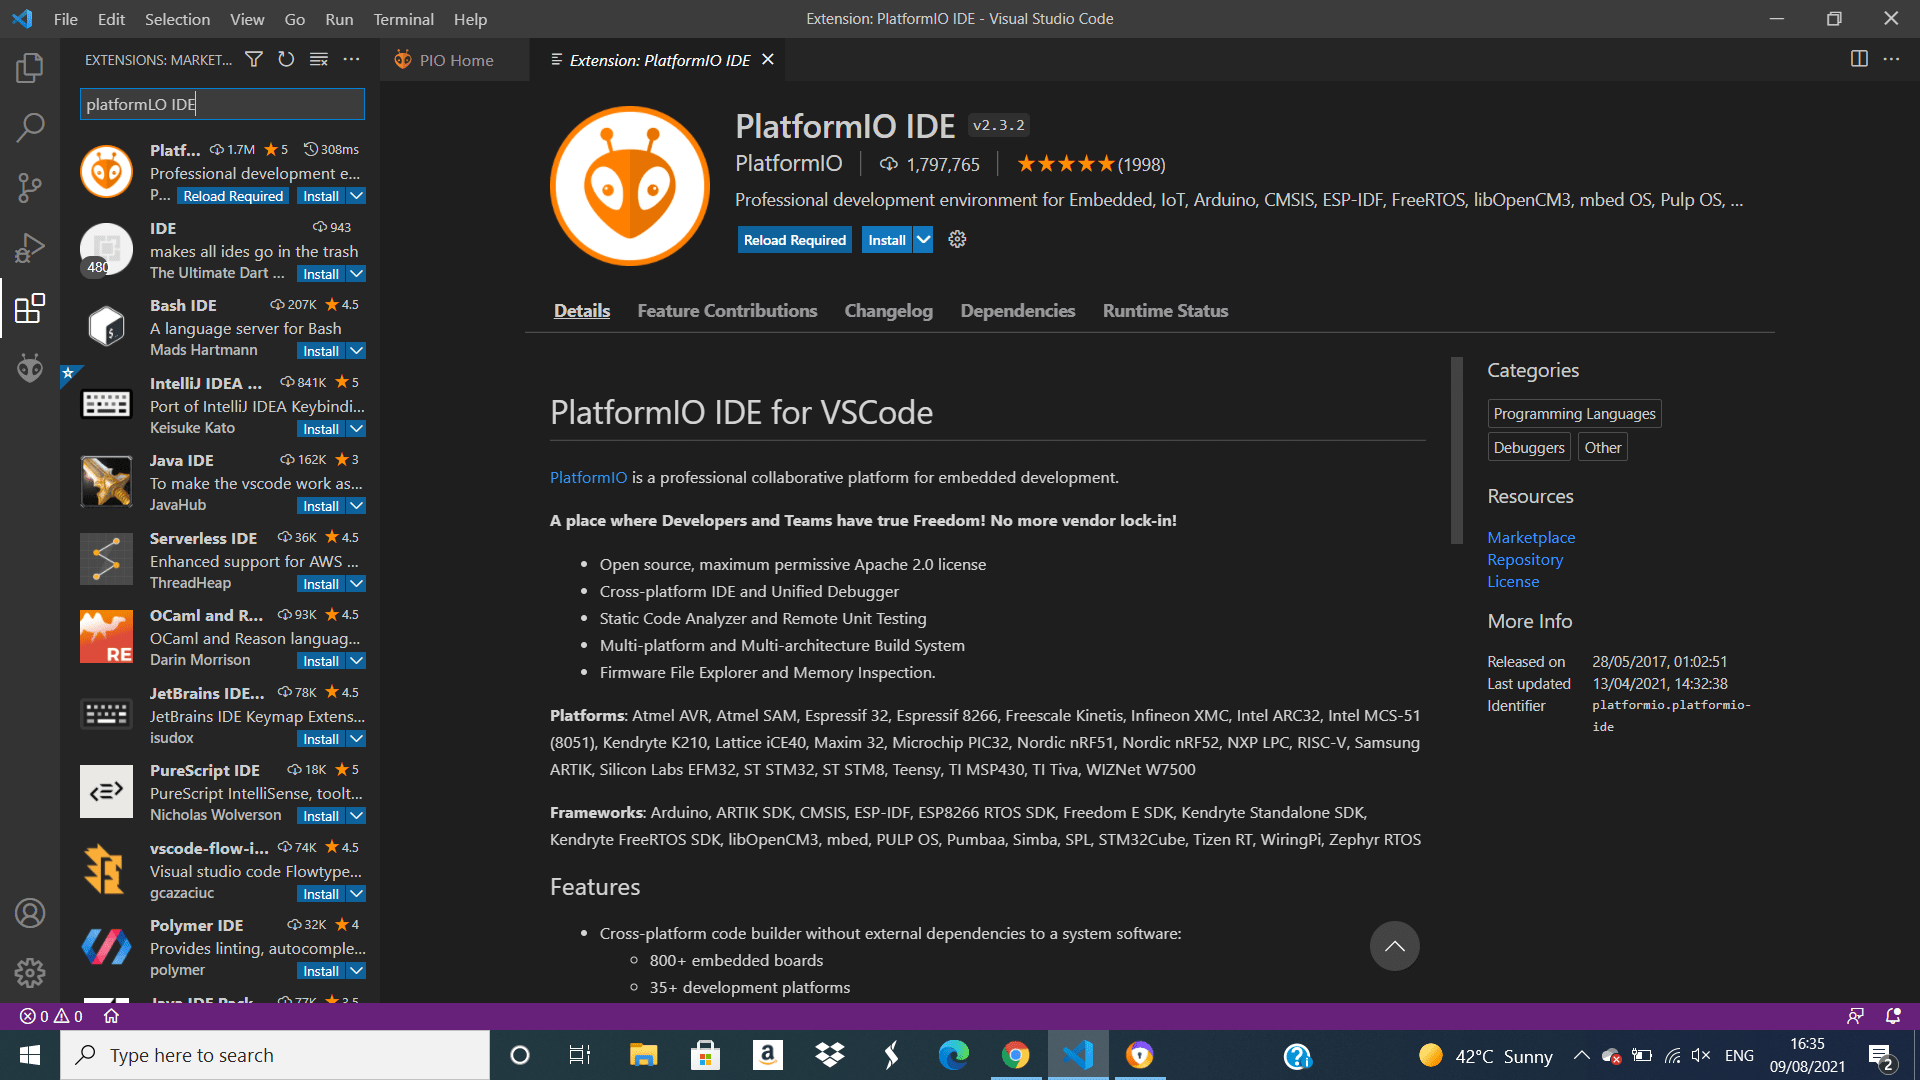
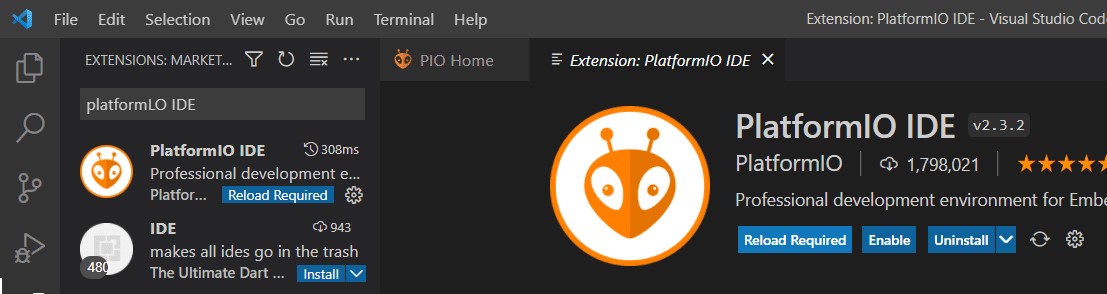
After that, we click to extension part and search about PlatformIO IDE which is a program that can read many board and languages including Arduino.
Then, we install this program and click to reload.
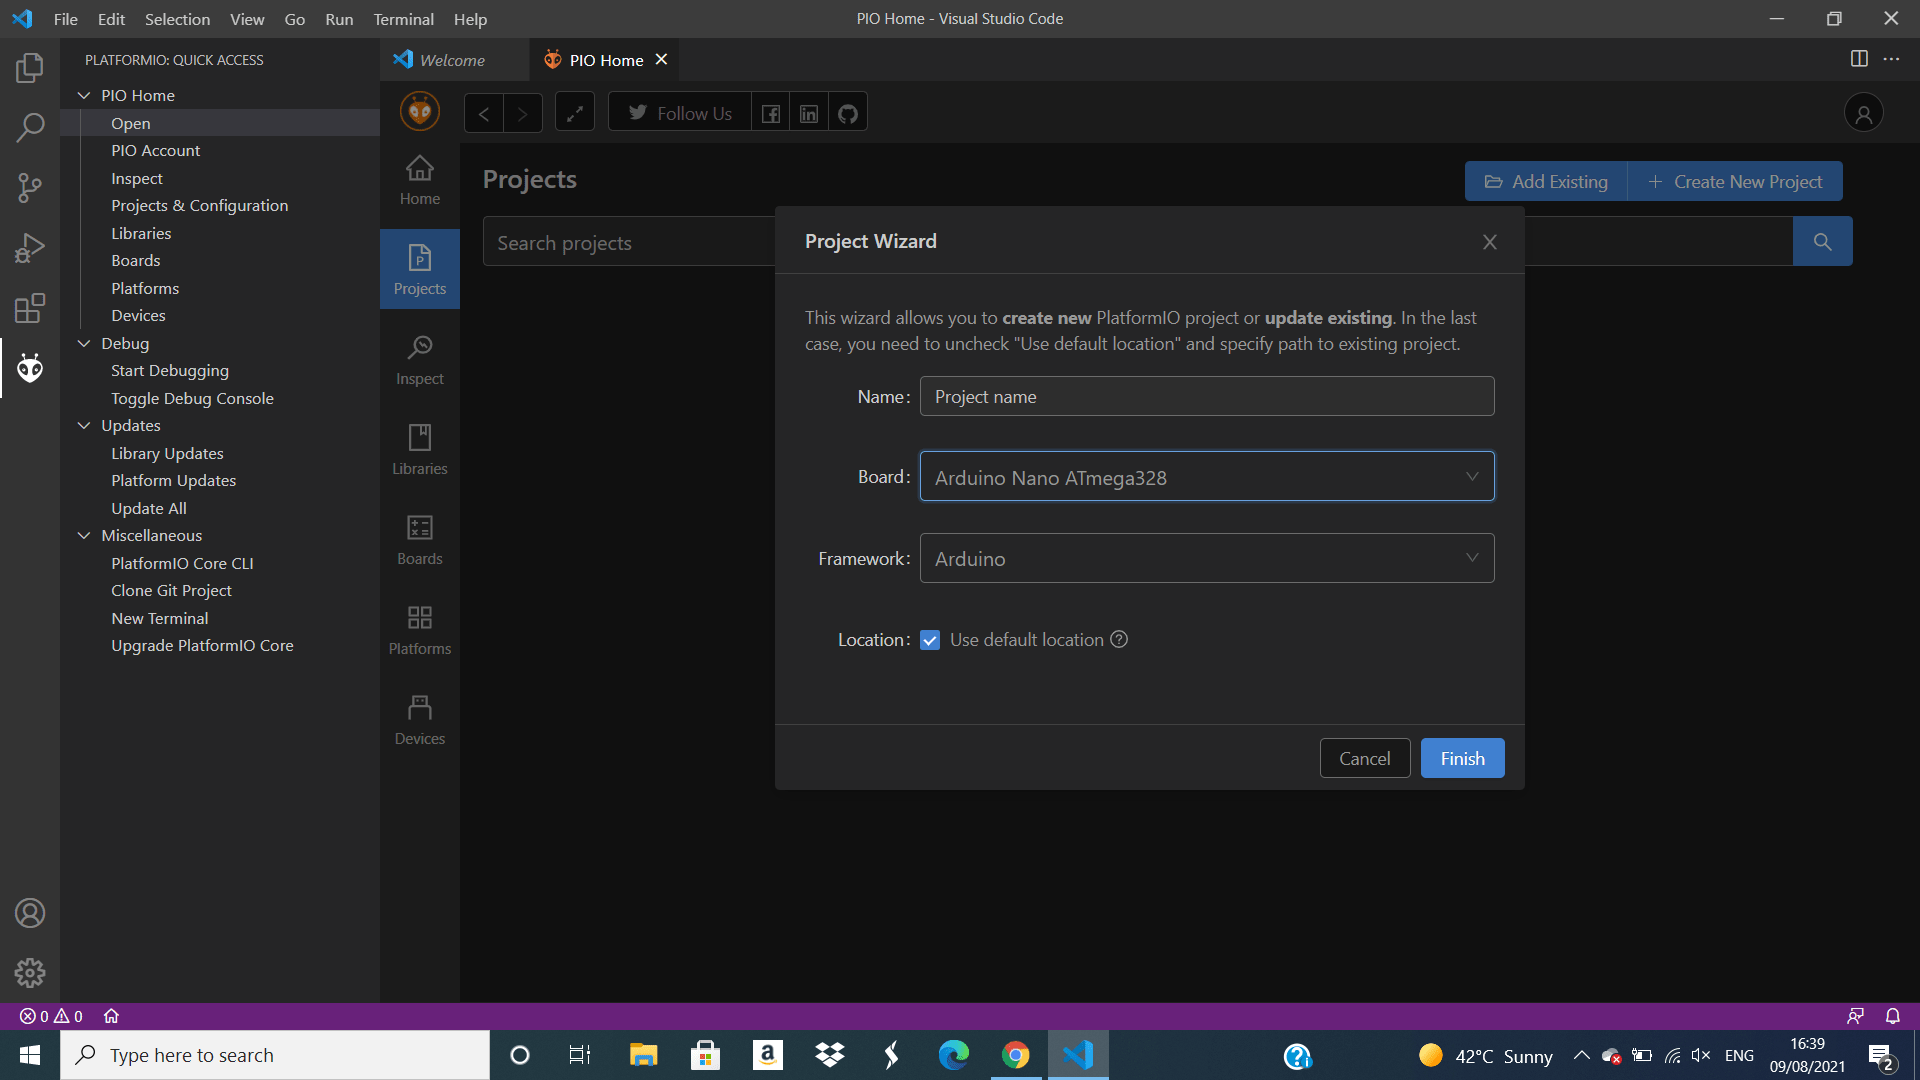
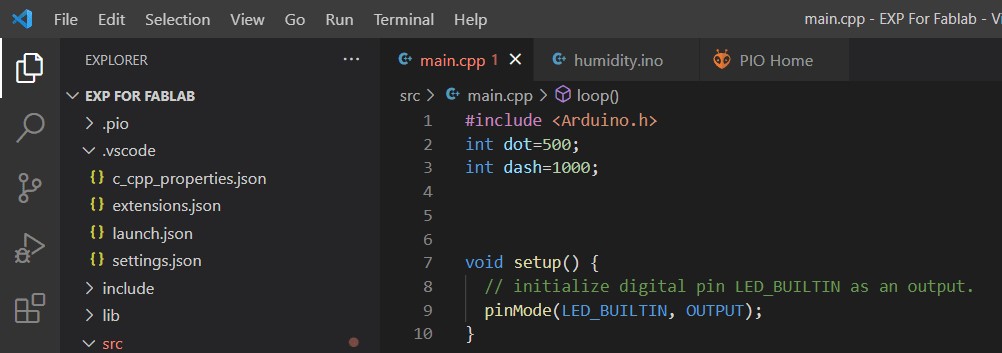
Next, we open new project and choose the board type.
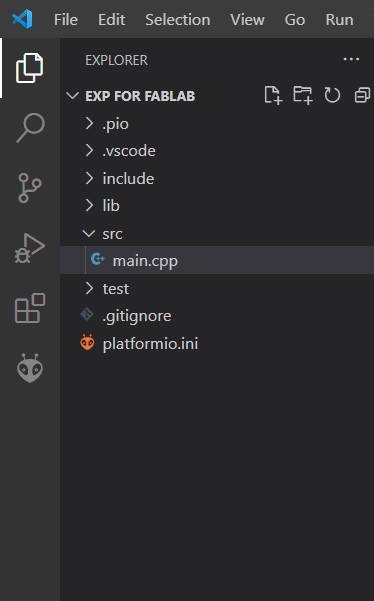
Then, we head to under src to access the command window
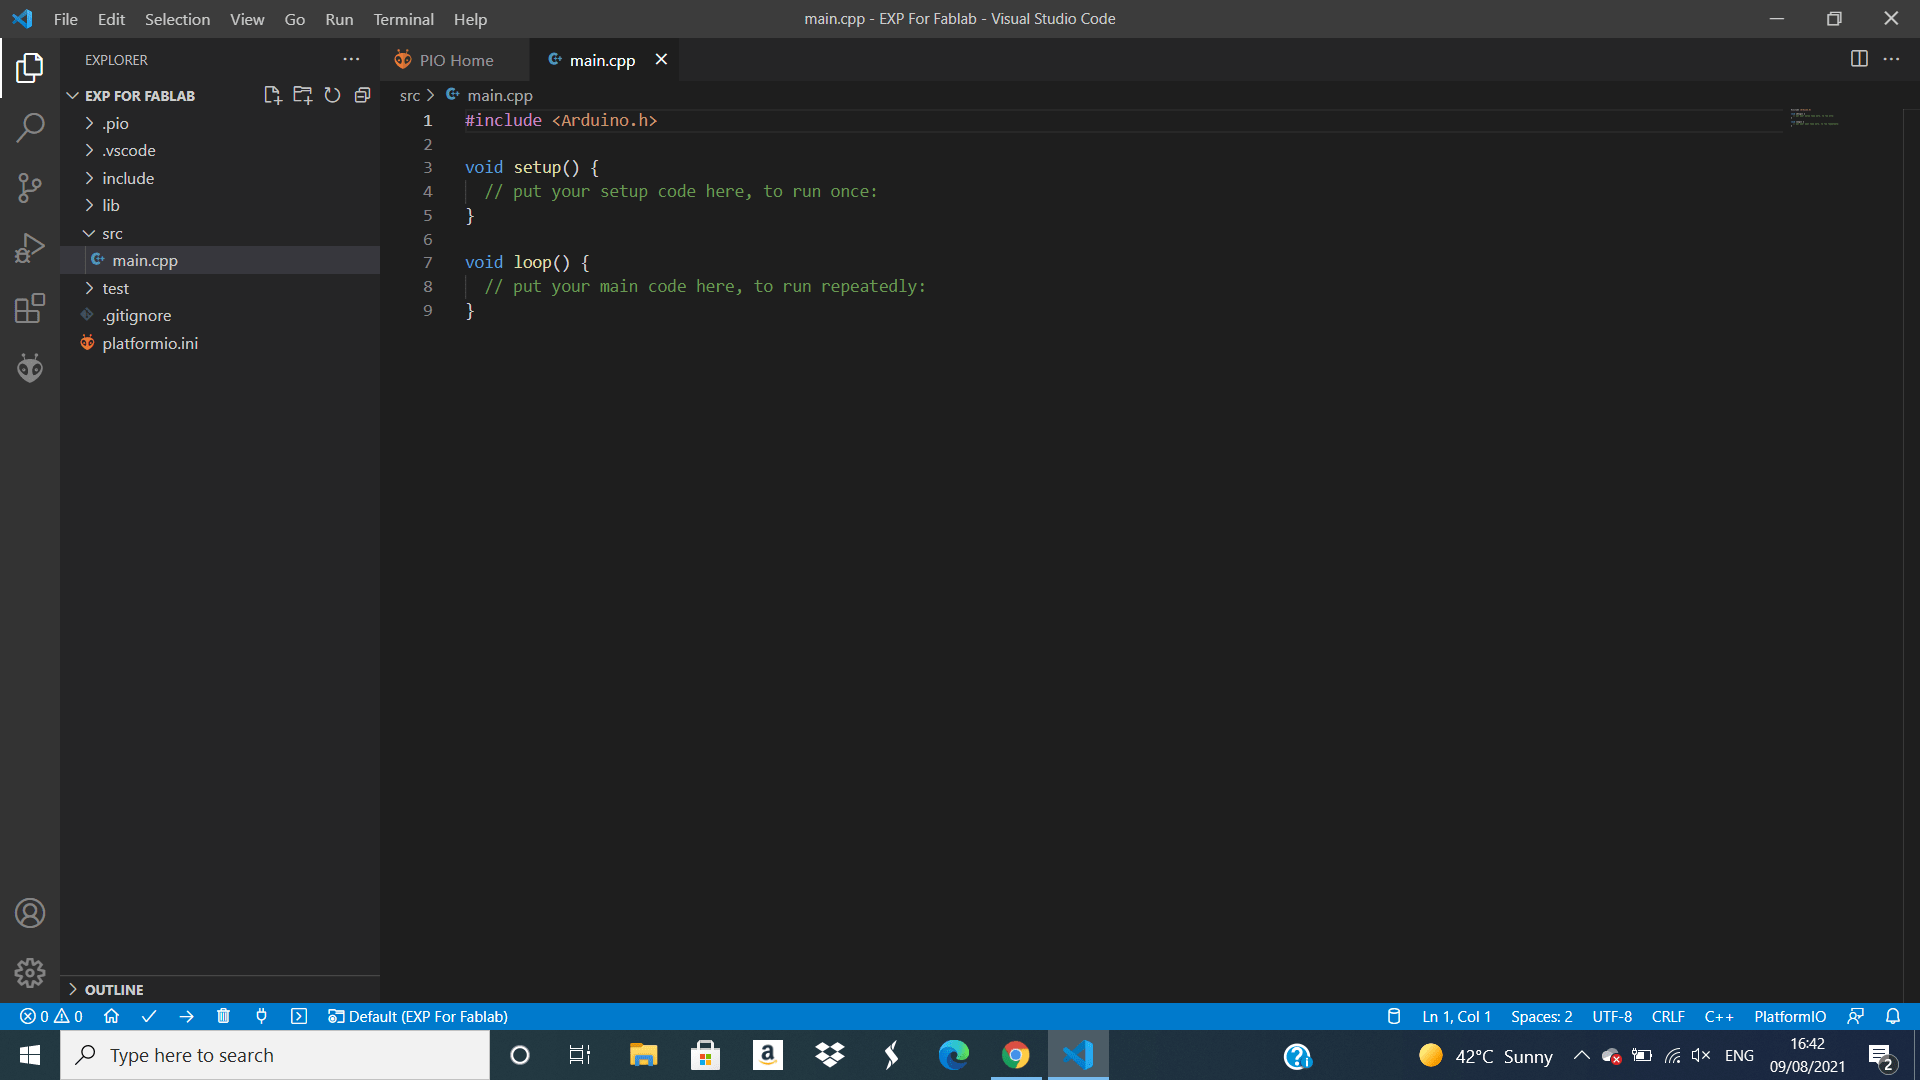
 and we can see from this picture how the command window looks like.
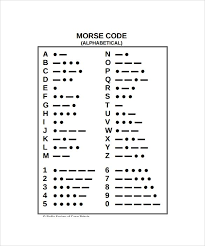
 This is the Morse code sheet, our instructor give us some challenges it is to let the board spell a word in Morse language. I try to do or let it spell ‘’HUMIDITY’‘.
The first part we should do to do the challenges is to identify the dots and the dashes with certain timing that the program can read them.
Then, we write the pinMode command in void setup code with LED_BUILTIN and OUTPUT and this command will run once.
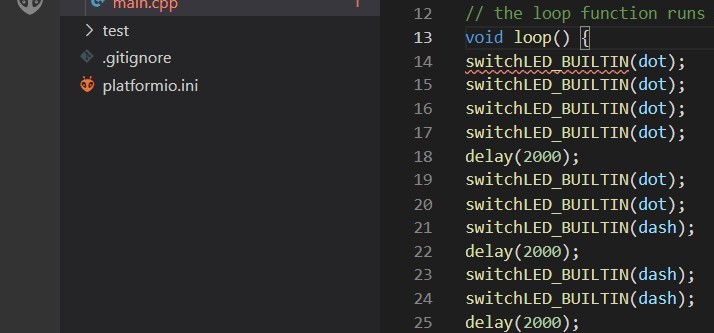
Next, we do the void loop which will happen continuously. And we will put all the command to complete the word HUMIDITY.
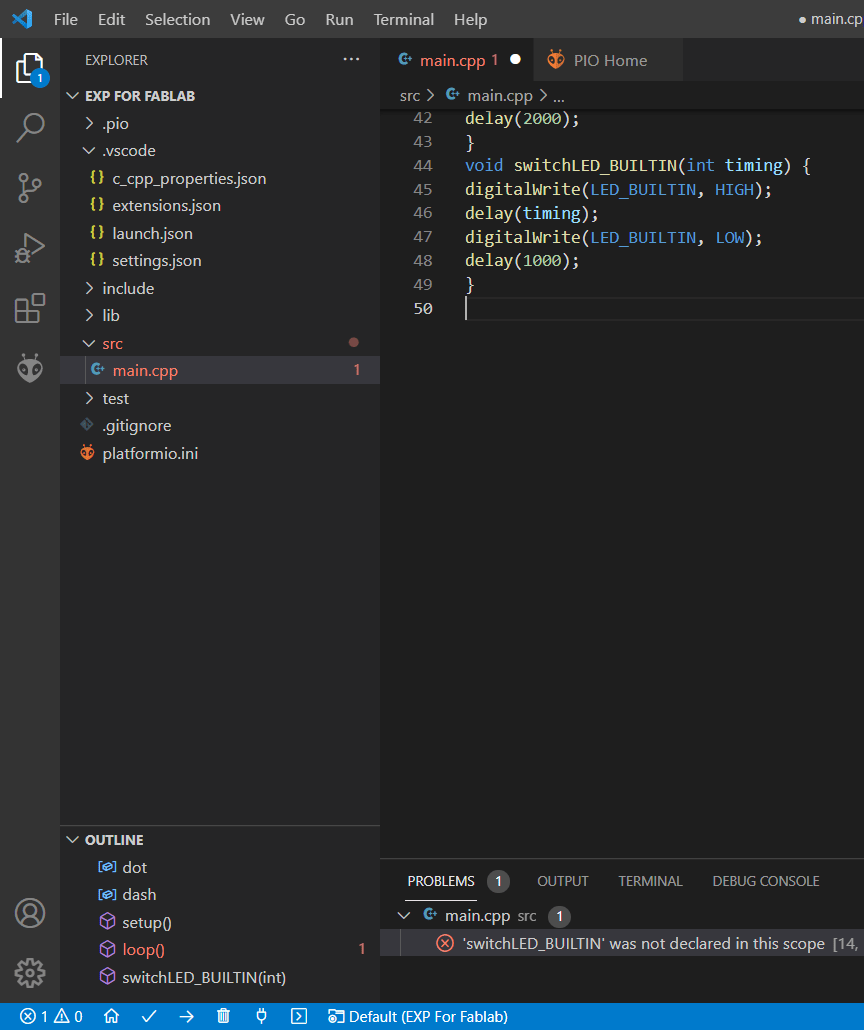
After that, we add switch command to let or tell the LED switch ON or OFF.

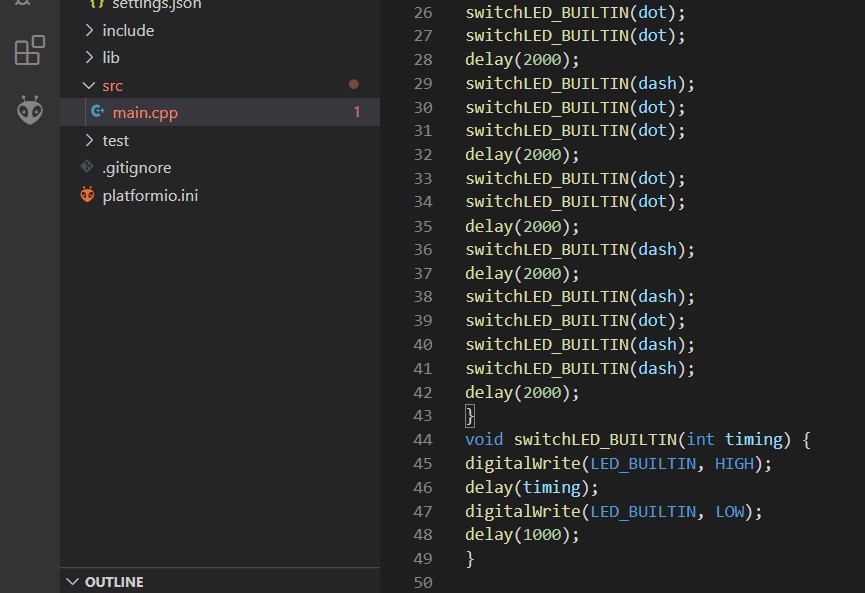
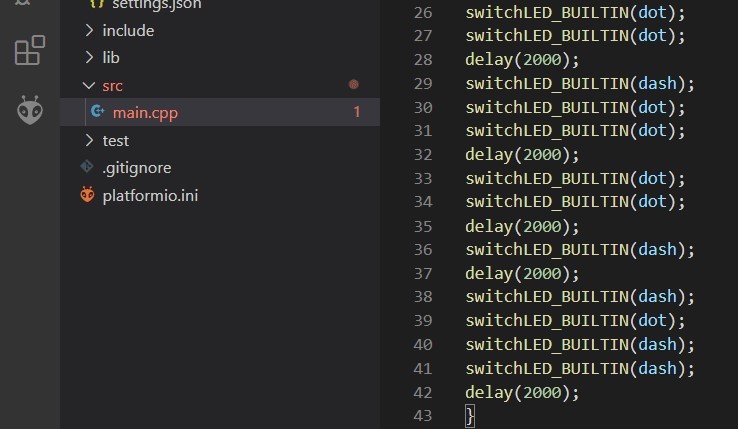
Finally, this is the completed code that tell or make the LED spell ‘’HUMIDITY’‘.
Than you click to this sign to compiled the code and click to arrow for right to upload the code to the board.
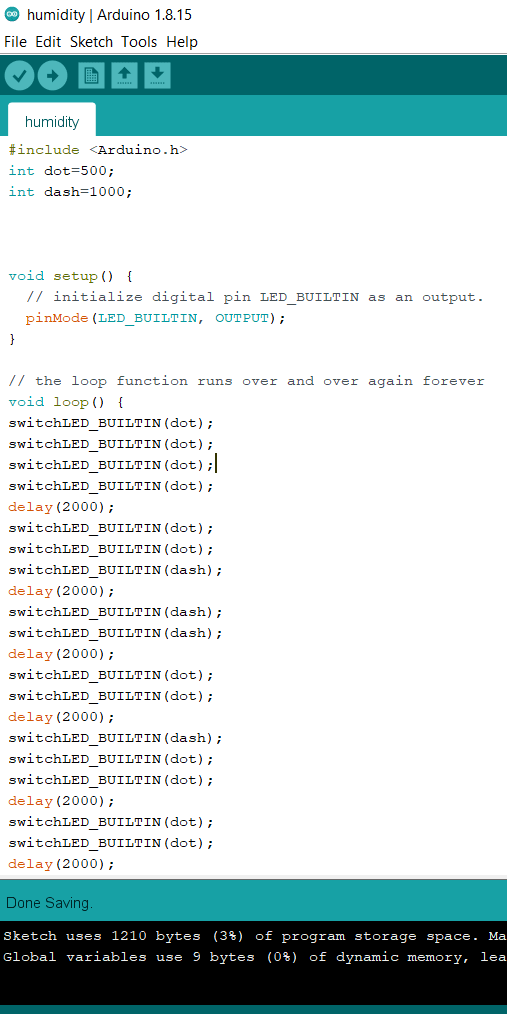 I also copy the code and put it on the Arduino program and it is also works.
Useful links
Simple Code Example
Use the three backticks to separate code.
// the setup function runs once when you press reset or power the board
void setup() {
  // initialize digital pin LED_BUILTIN as an output.
  pinMode(LED_BUILTIN, OUTPUT);
}

// the loop function runs over and over again forever
void loop() {
  digitalWrite(LED_BUILTIN, HIGH);   // turn the LED on (HIGH is the voltage level)
  delay(1000);                       // wait for a second
  digitalWrite(LED_BUILTIN, LOW);    // turn the LED off by making the voltage LOW
  delay(1000);                       // wait for a second
}