4. 3D printing
First Session start at 25/07/20
3D printer: Do some design using 3D fusion
first we start do some small design or part using 3D software. I start by using Fusion 360 I try to do some part for 3D printer like
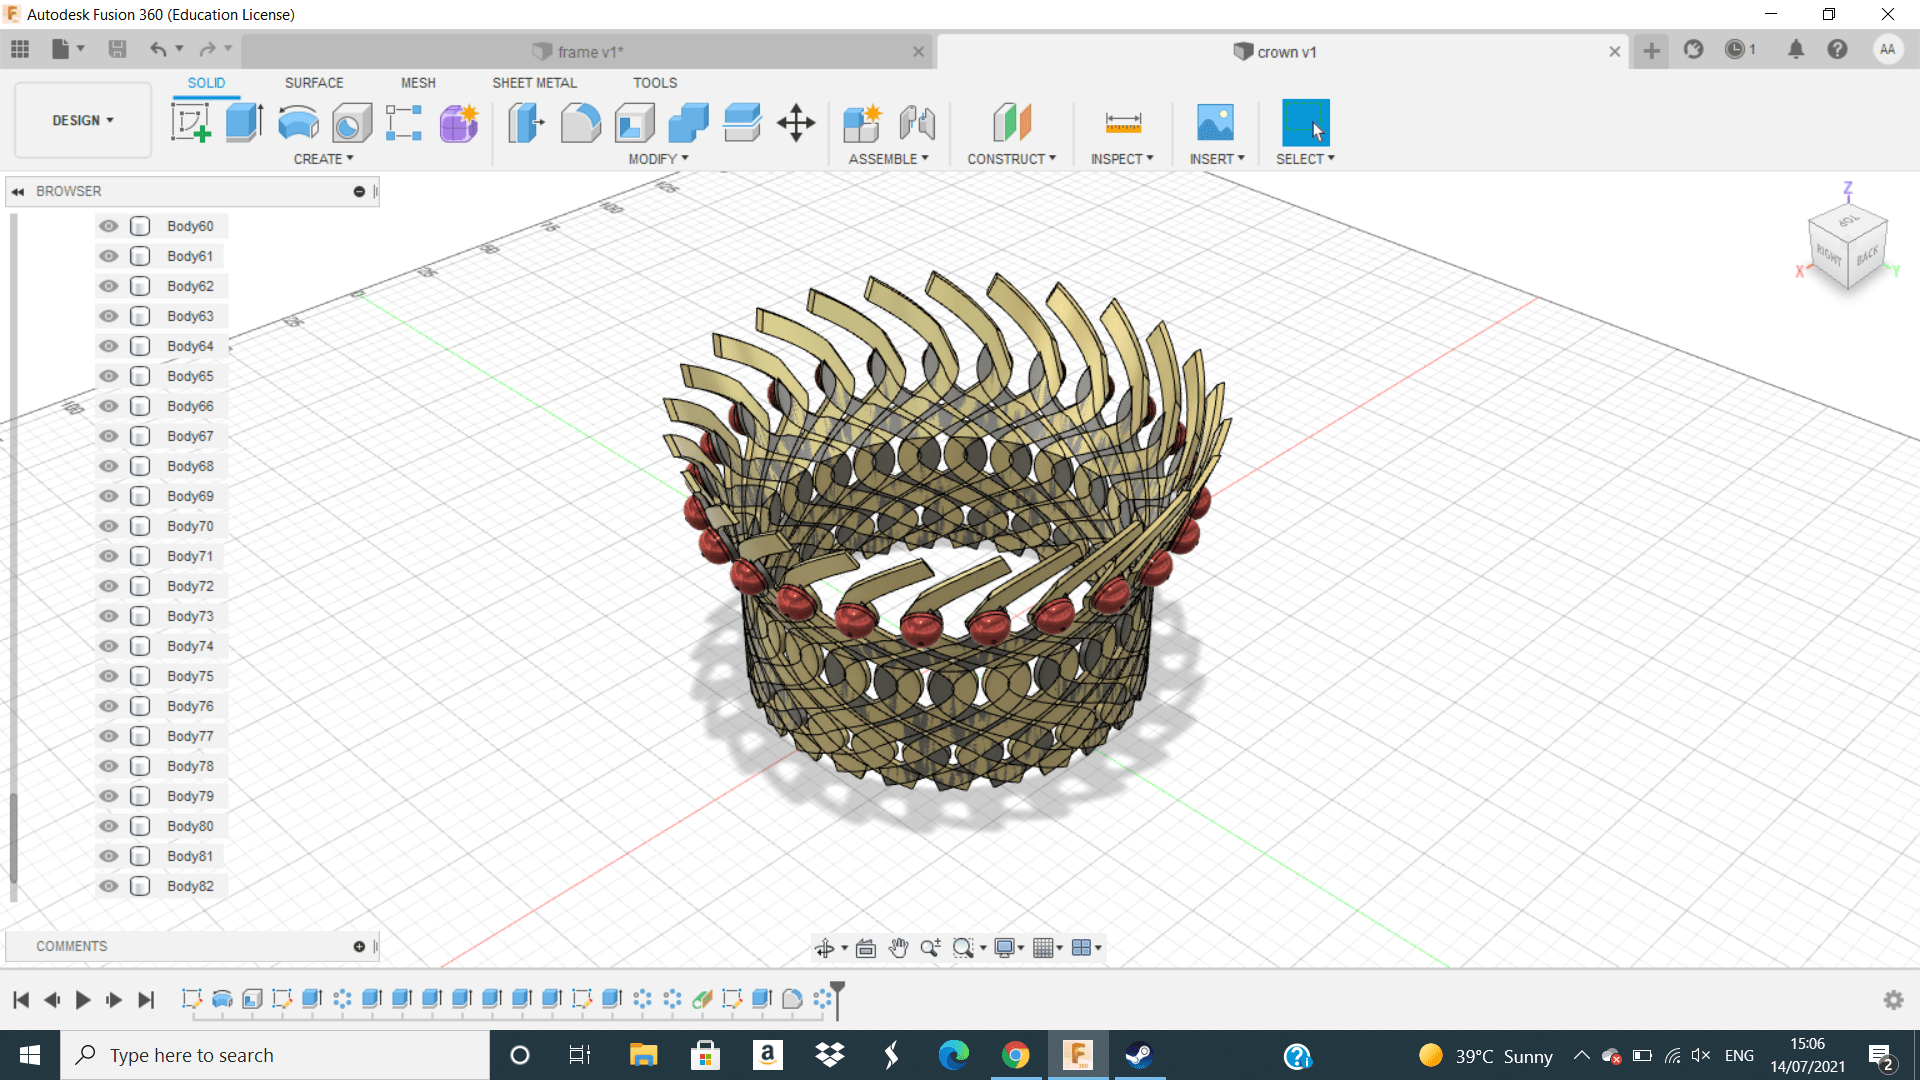
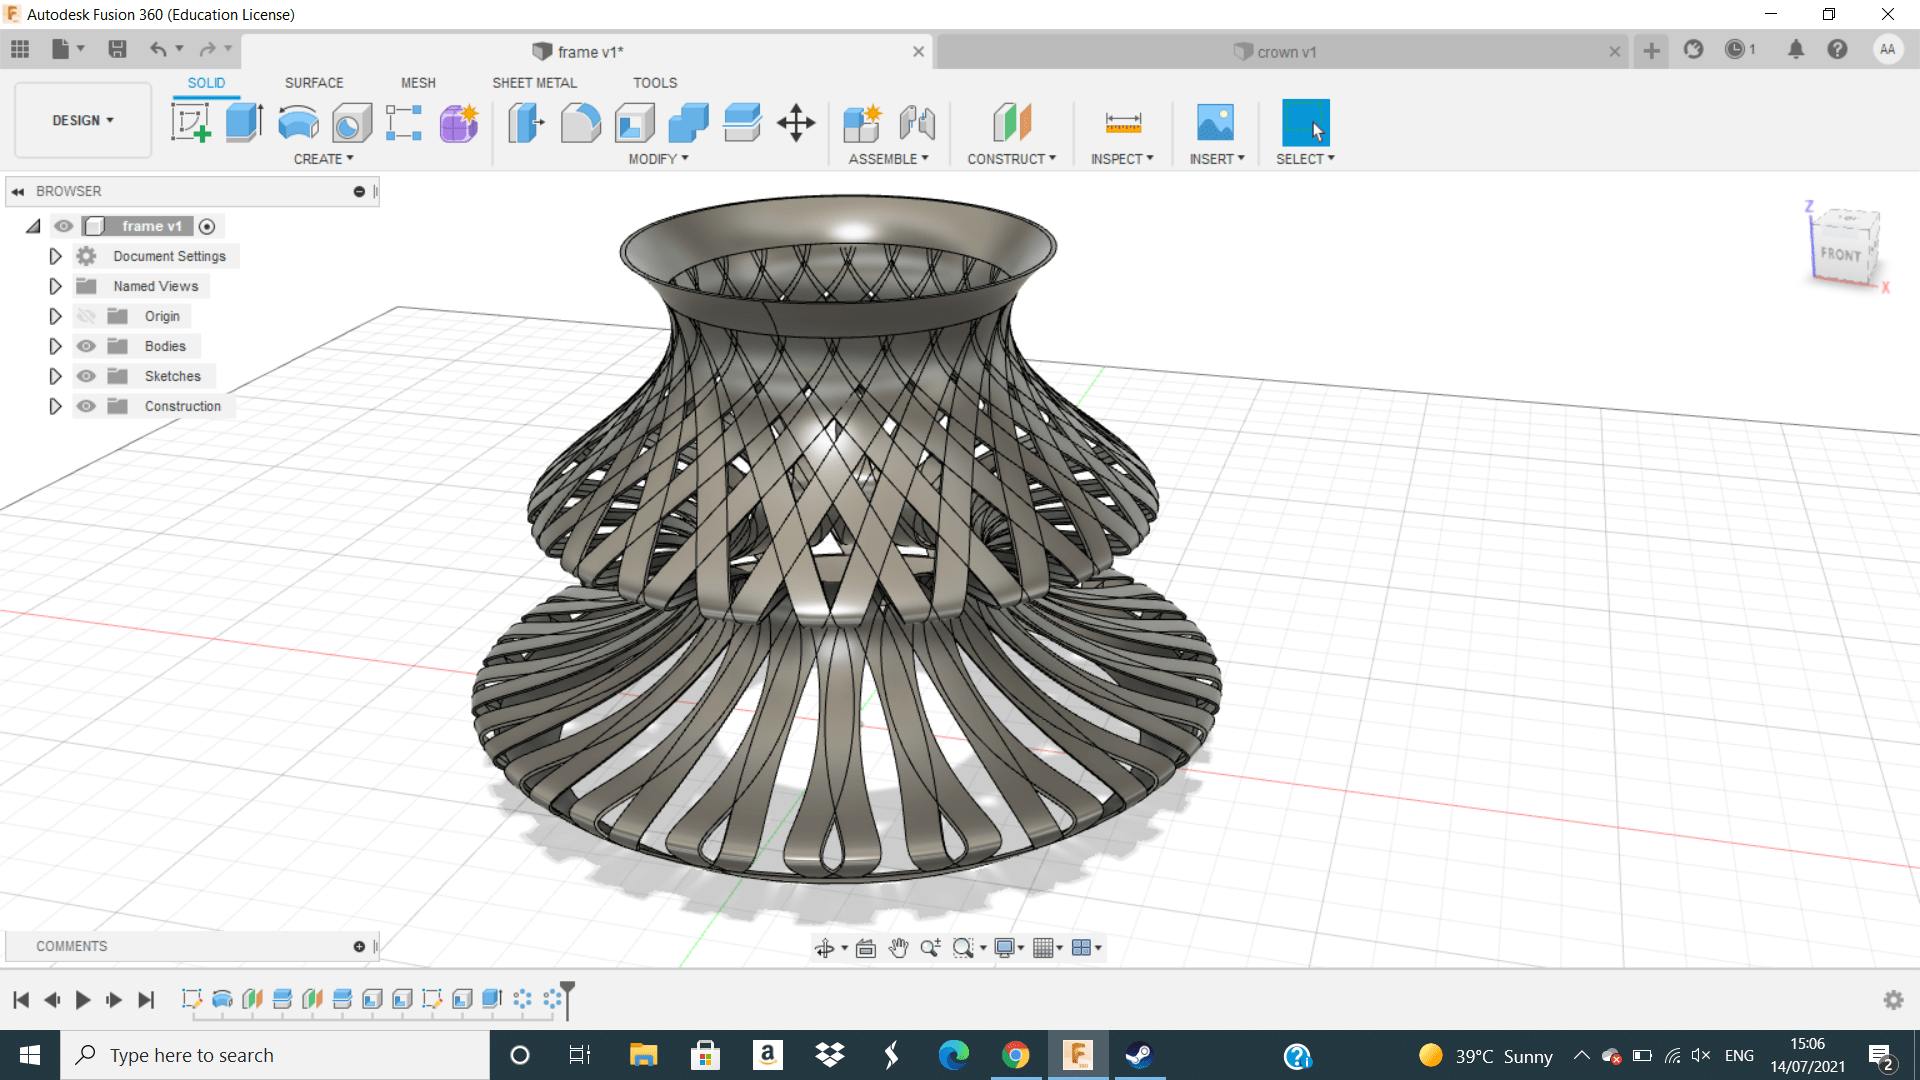 these are parts or designs that we can do it using 3D printing ,but I choose to do another one and these are the steps how I made it using Fusion 360.
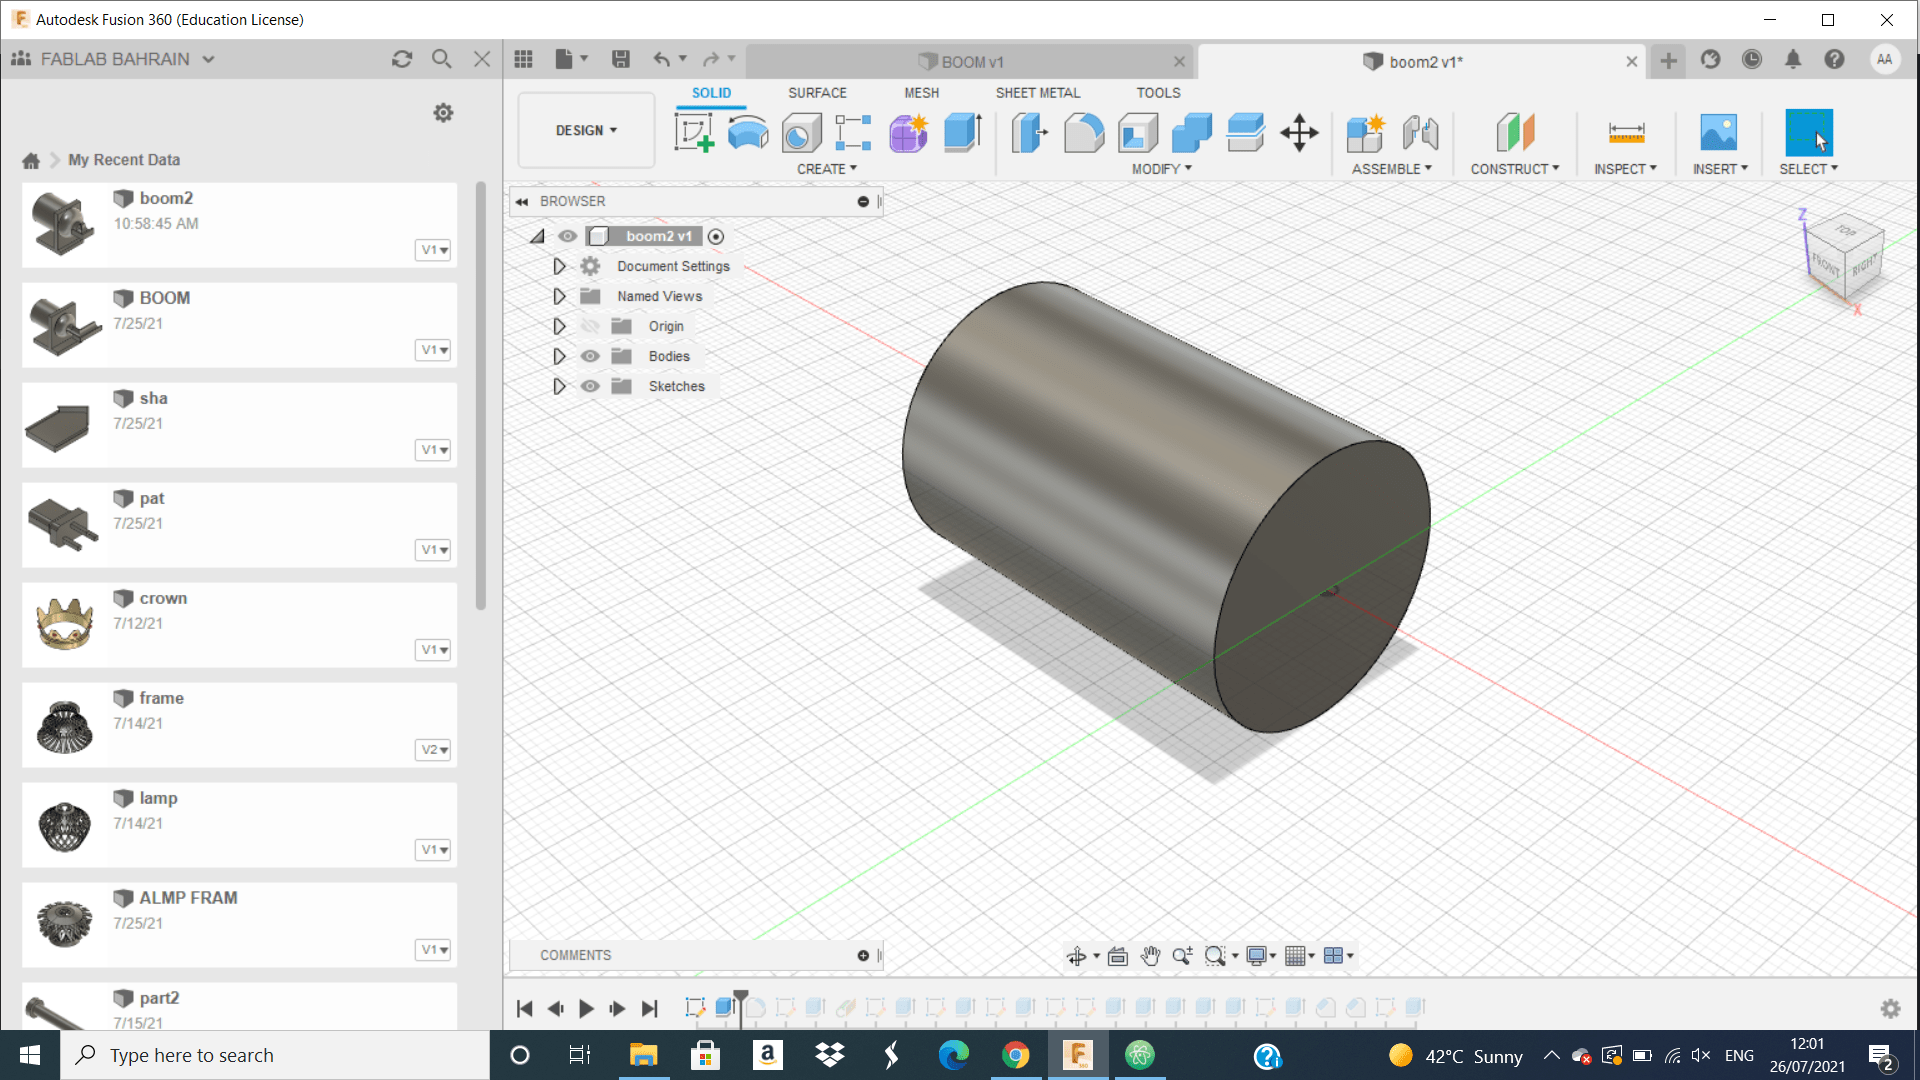 First, I draw a circle and do extrude for it.
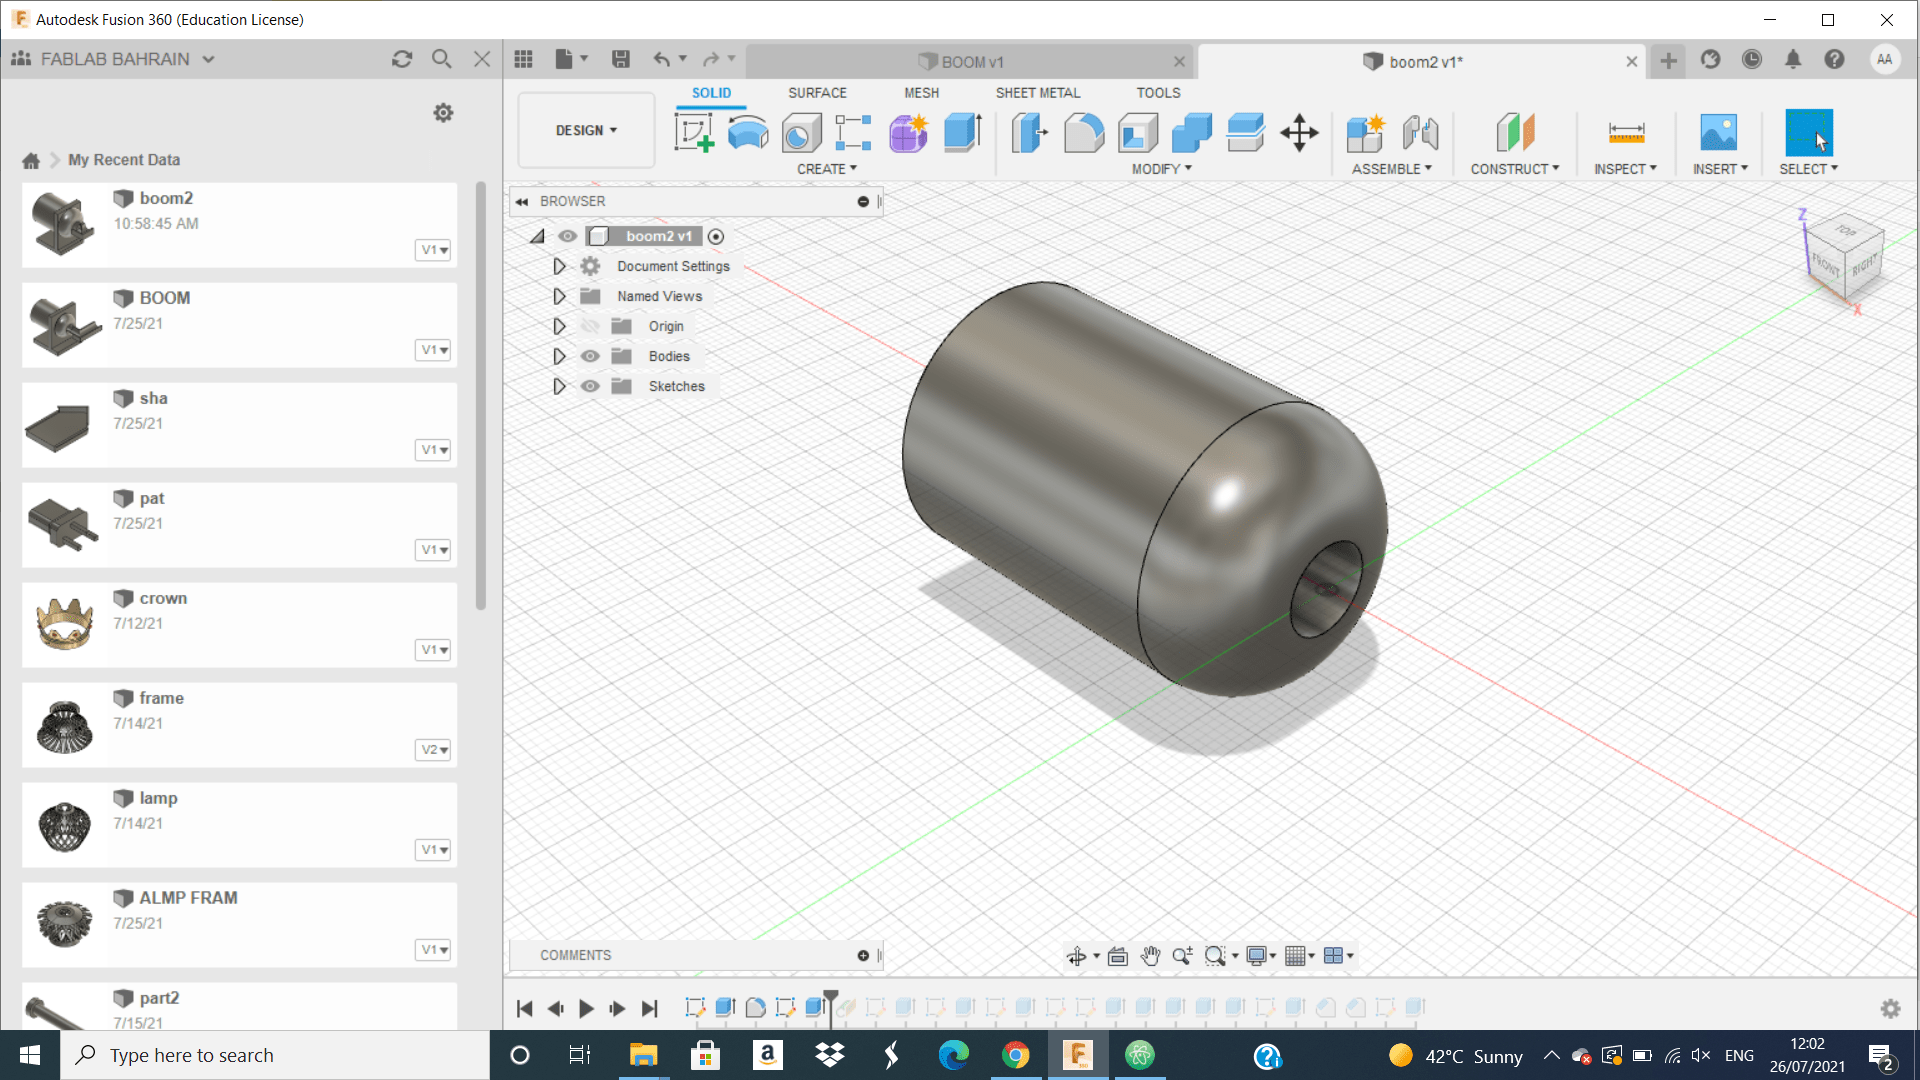 second, I make fillet for a one side of the cylinder and draw a circle on this side and do extrude cut for it to the end of the other side.
 Third, I put a on the side of the cylinder
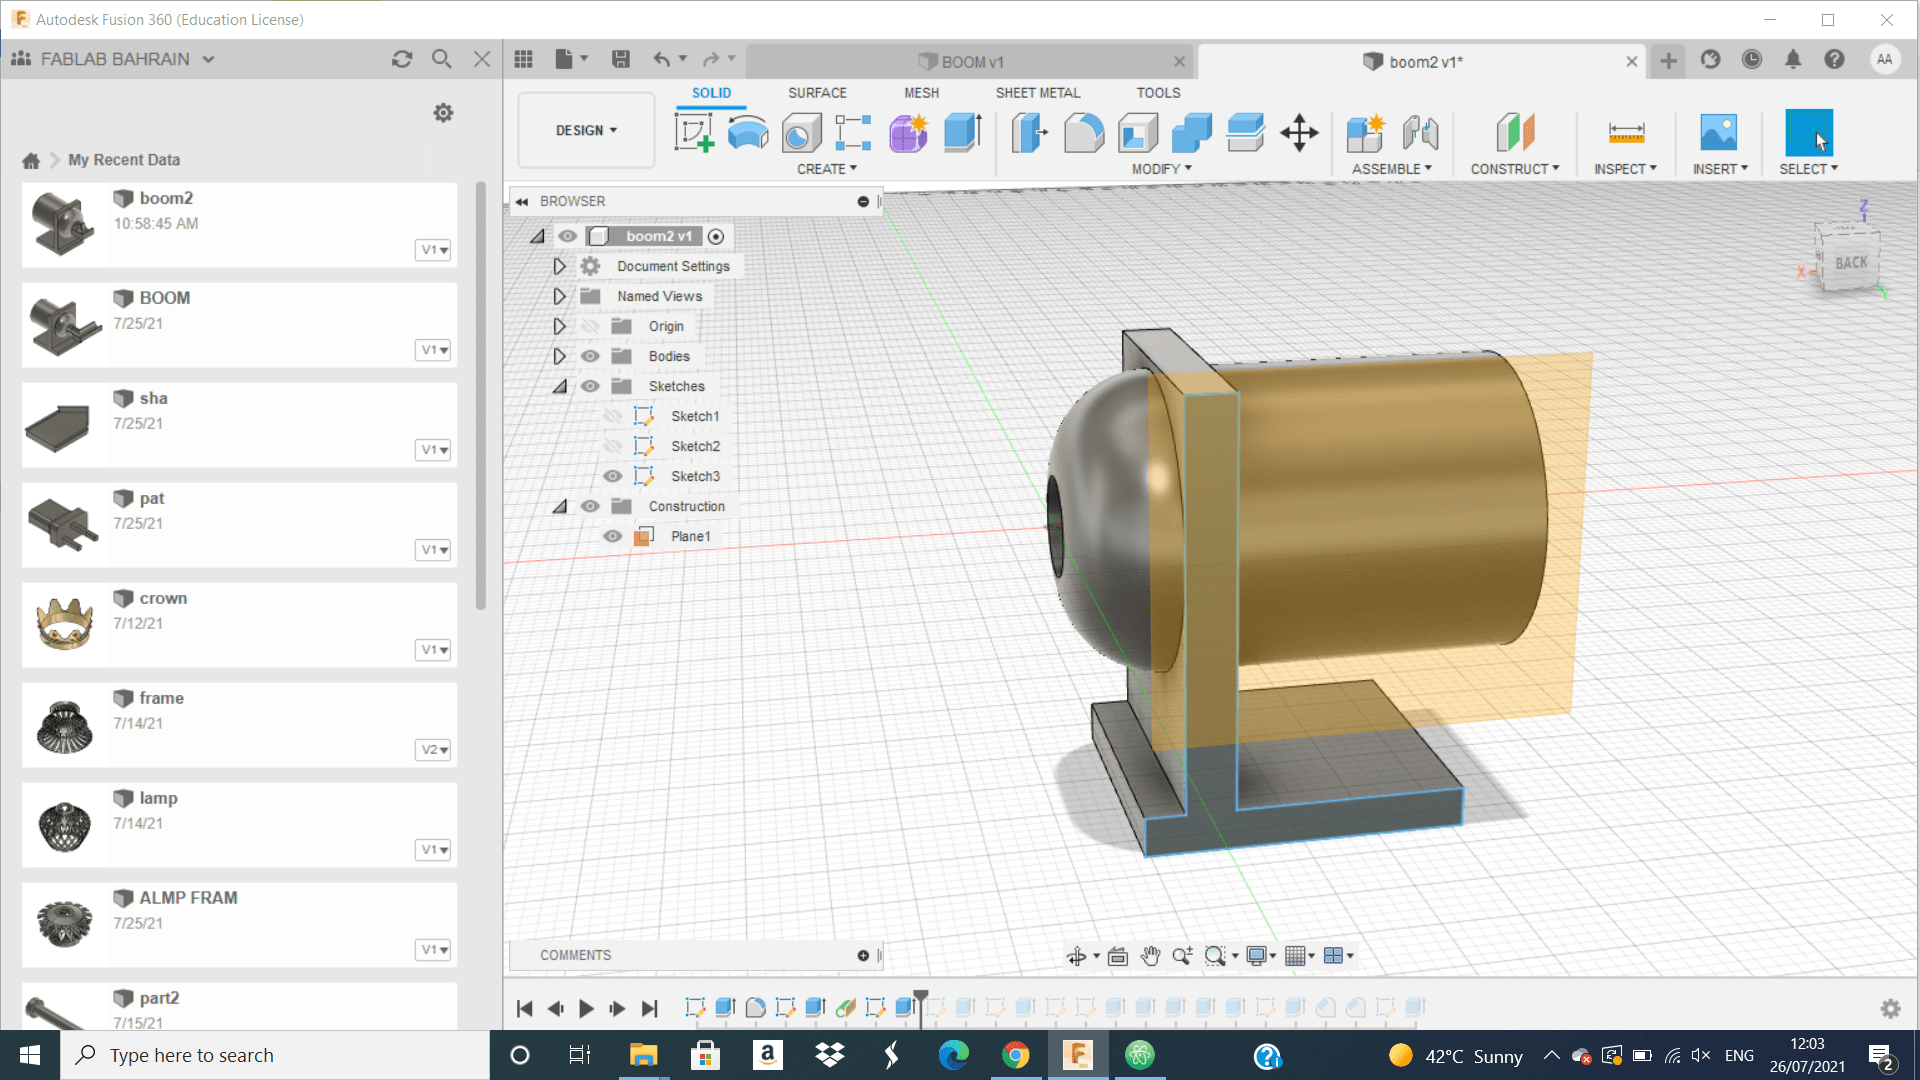
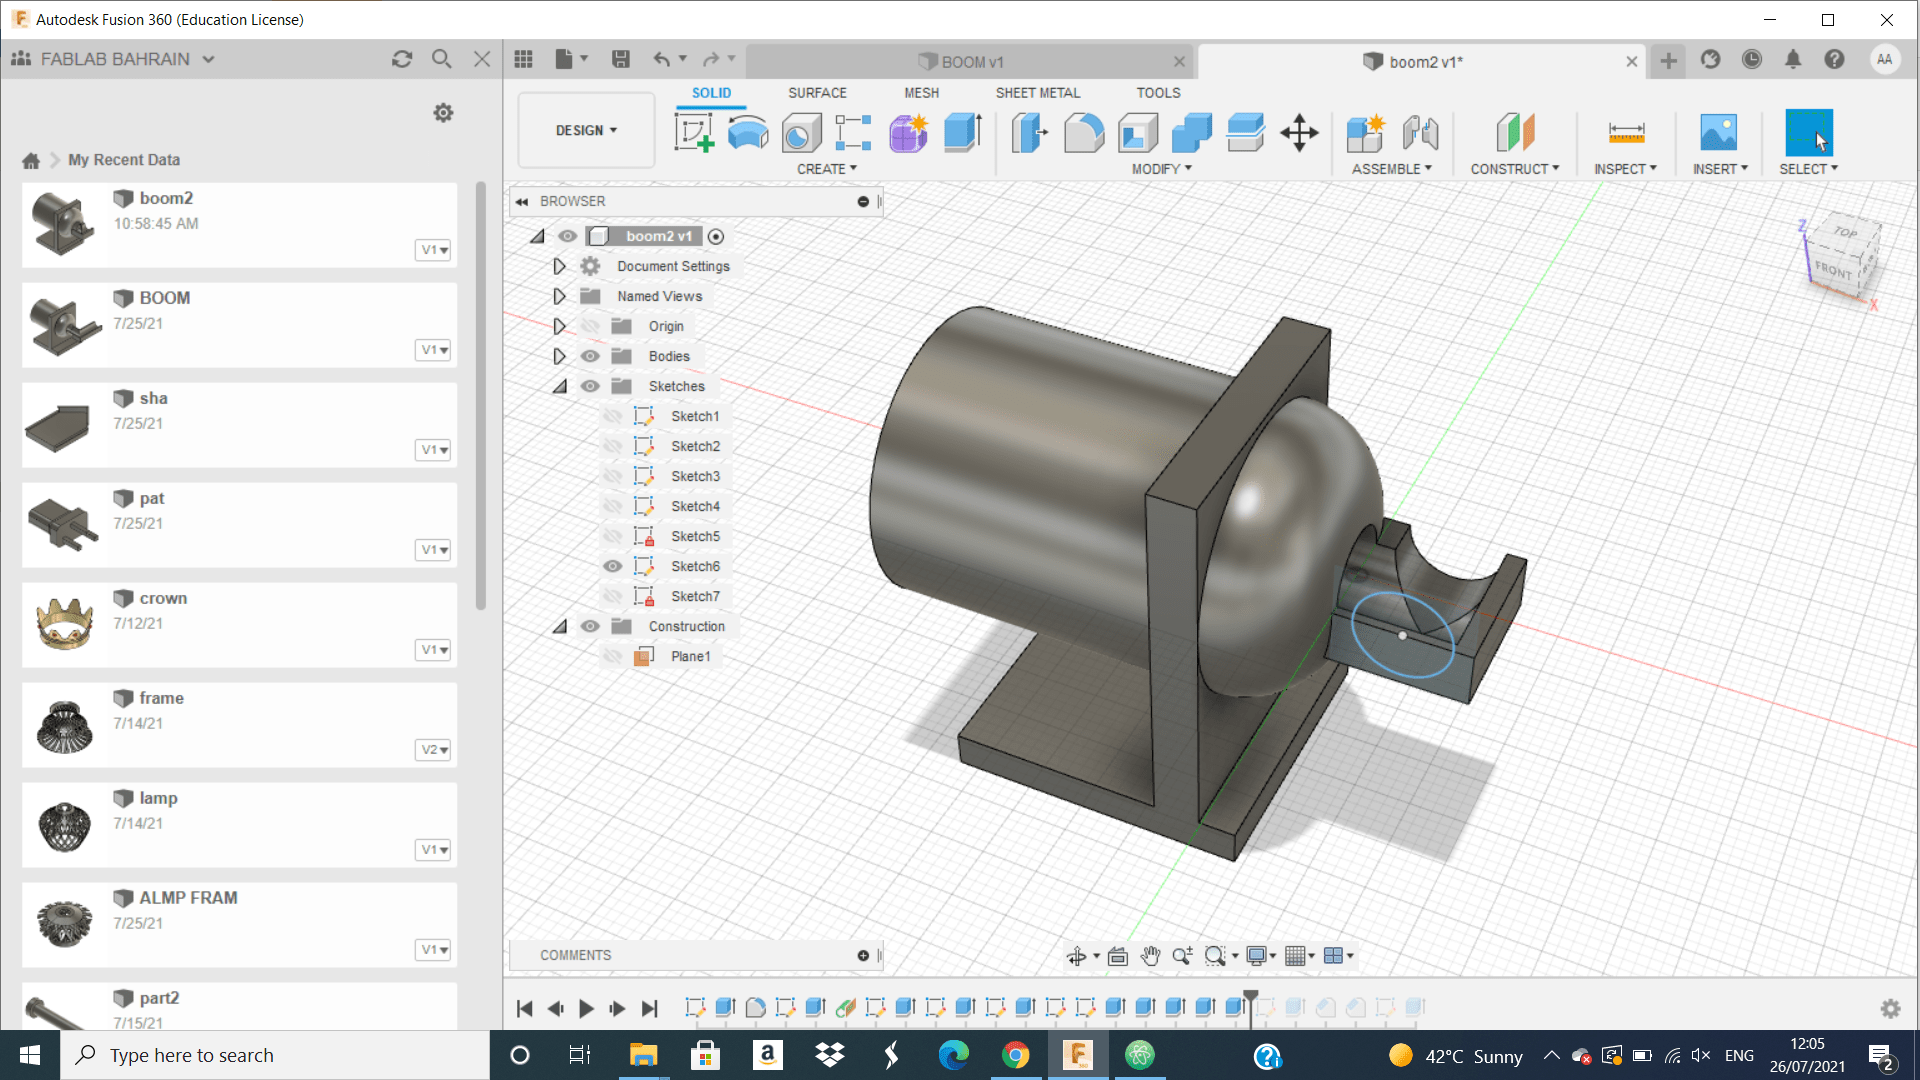
 Forth, I draw this rectangle from the center of the hole and do extrude for it.
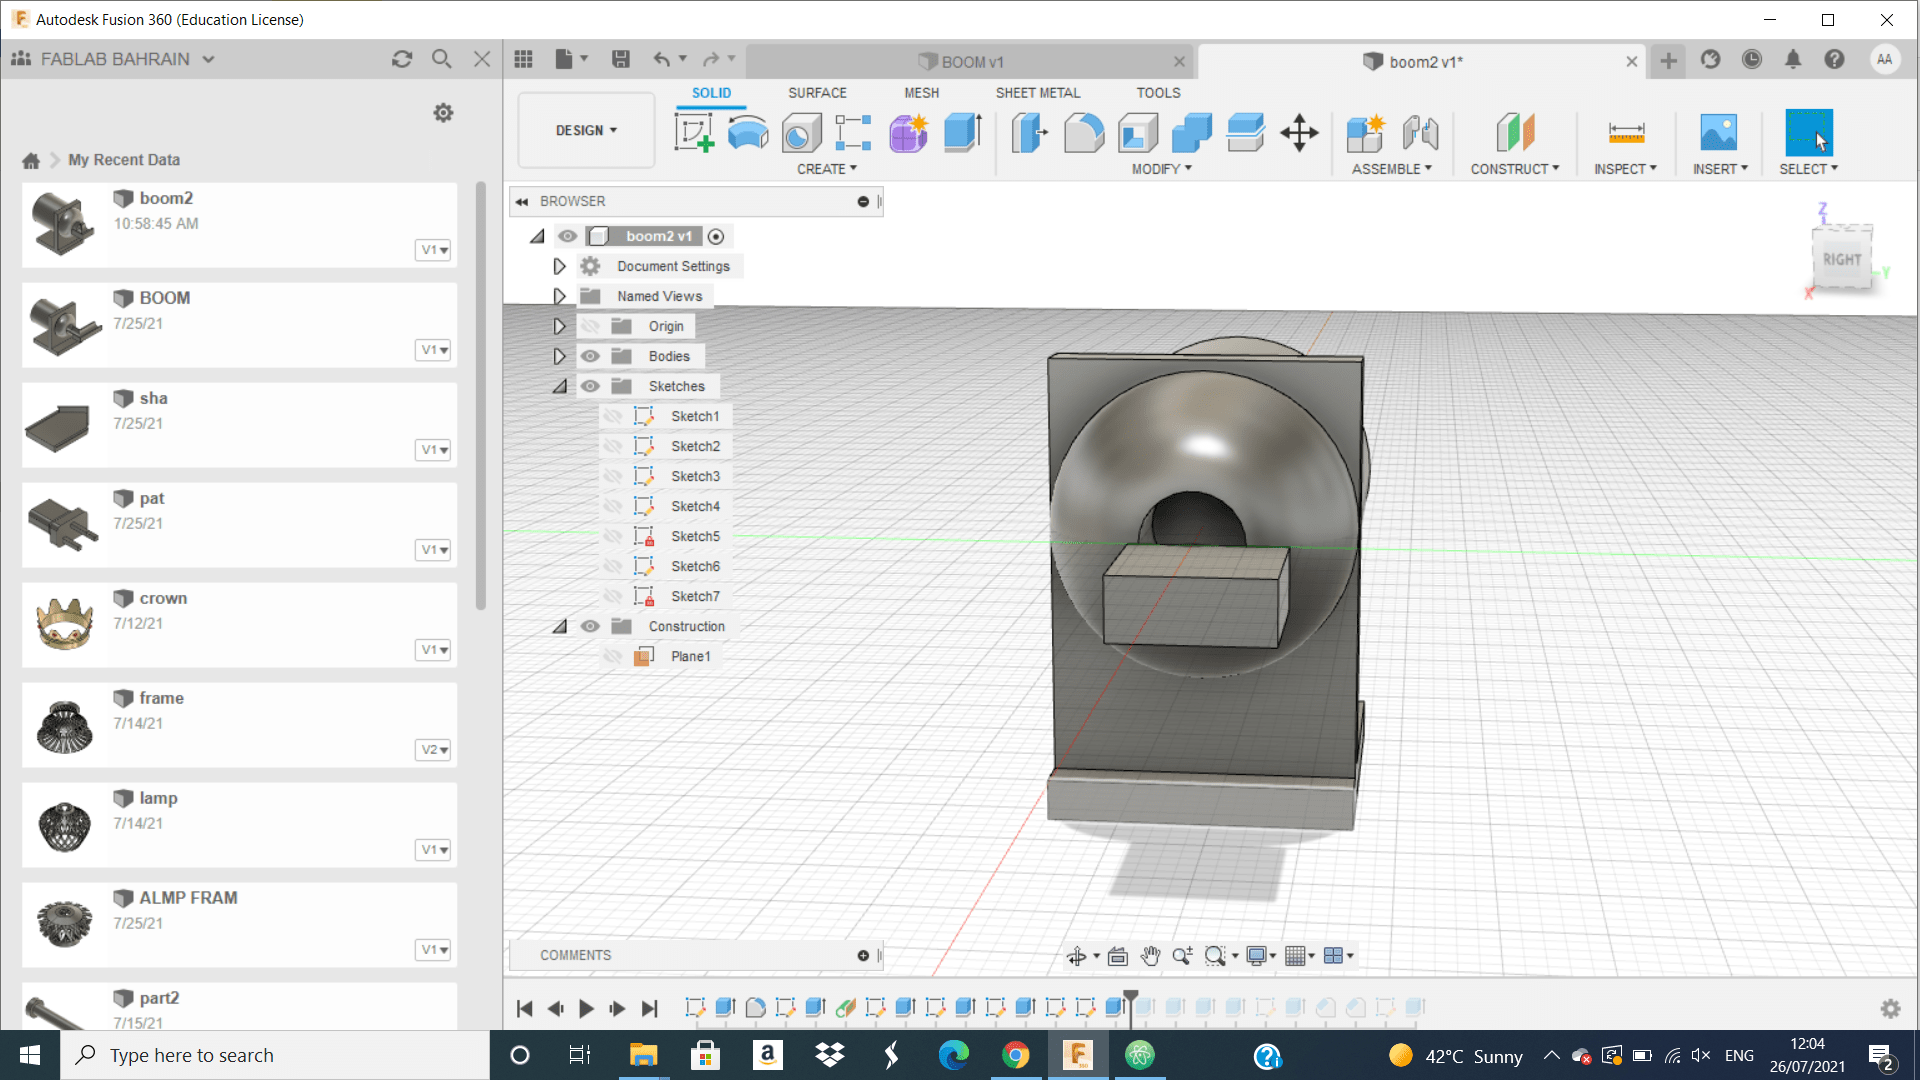
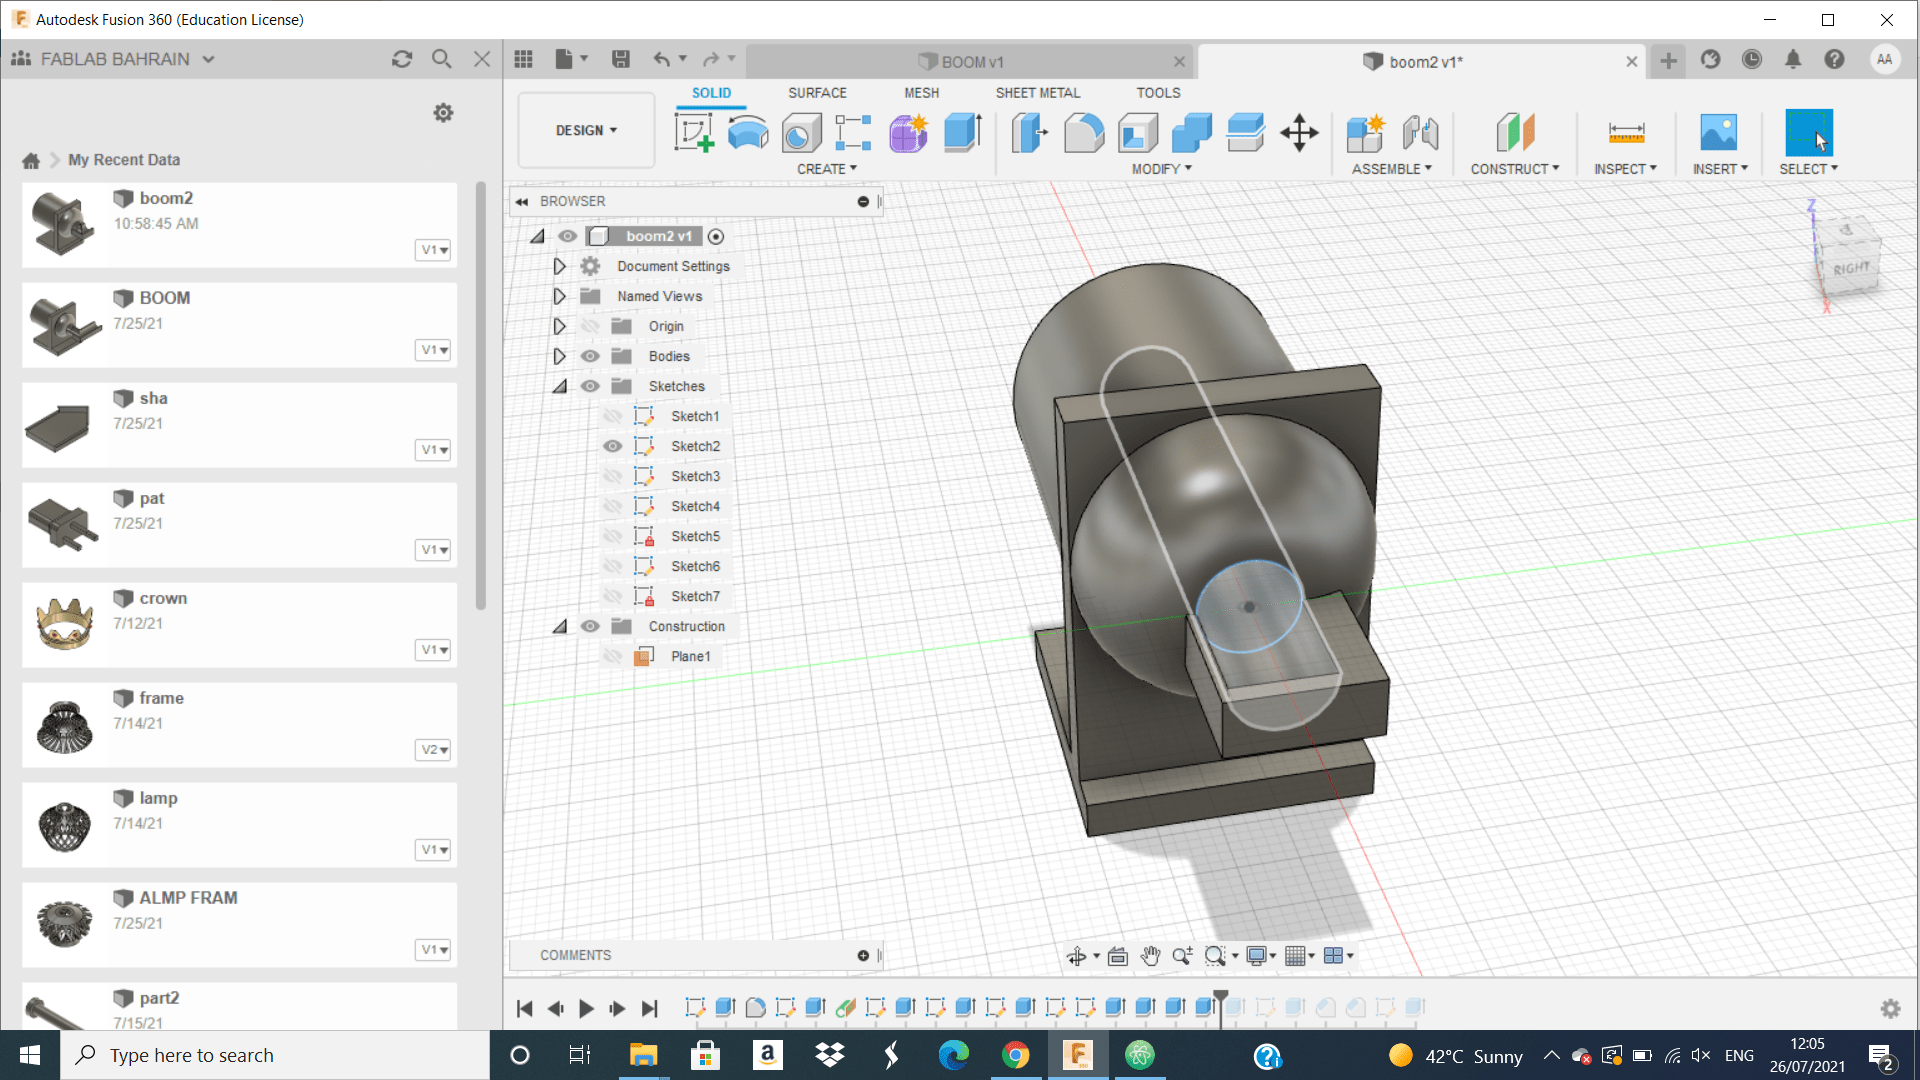 fifth, I do extrude cut for the circle we can see it from the picture, but not until the end of the rectangular prism I left 2mm from the.
 sixthly, I draw hole and do extrude for it to enlarge the hole on the cylinder.
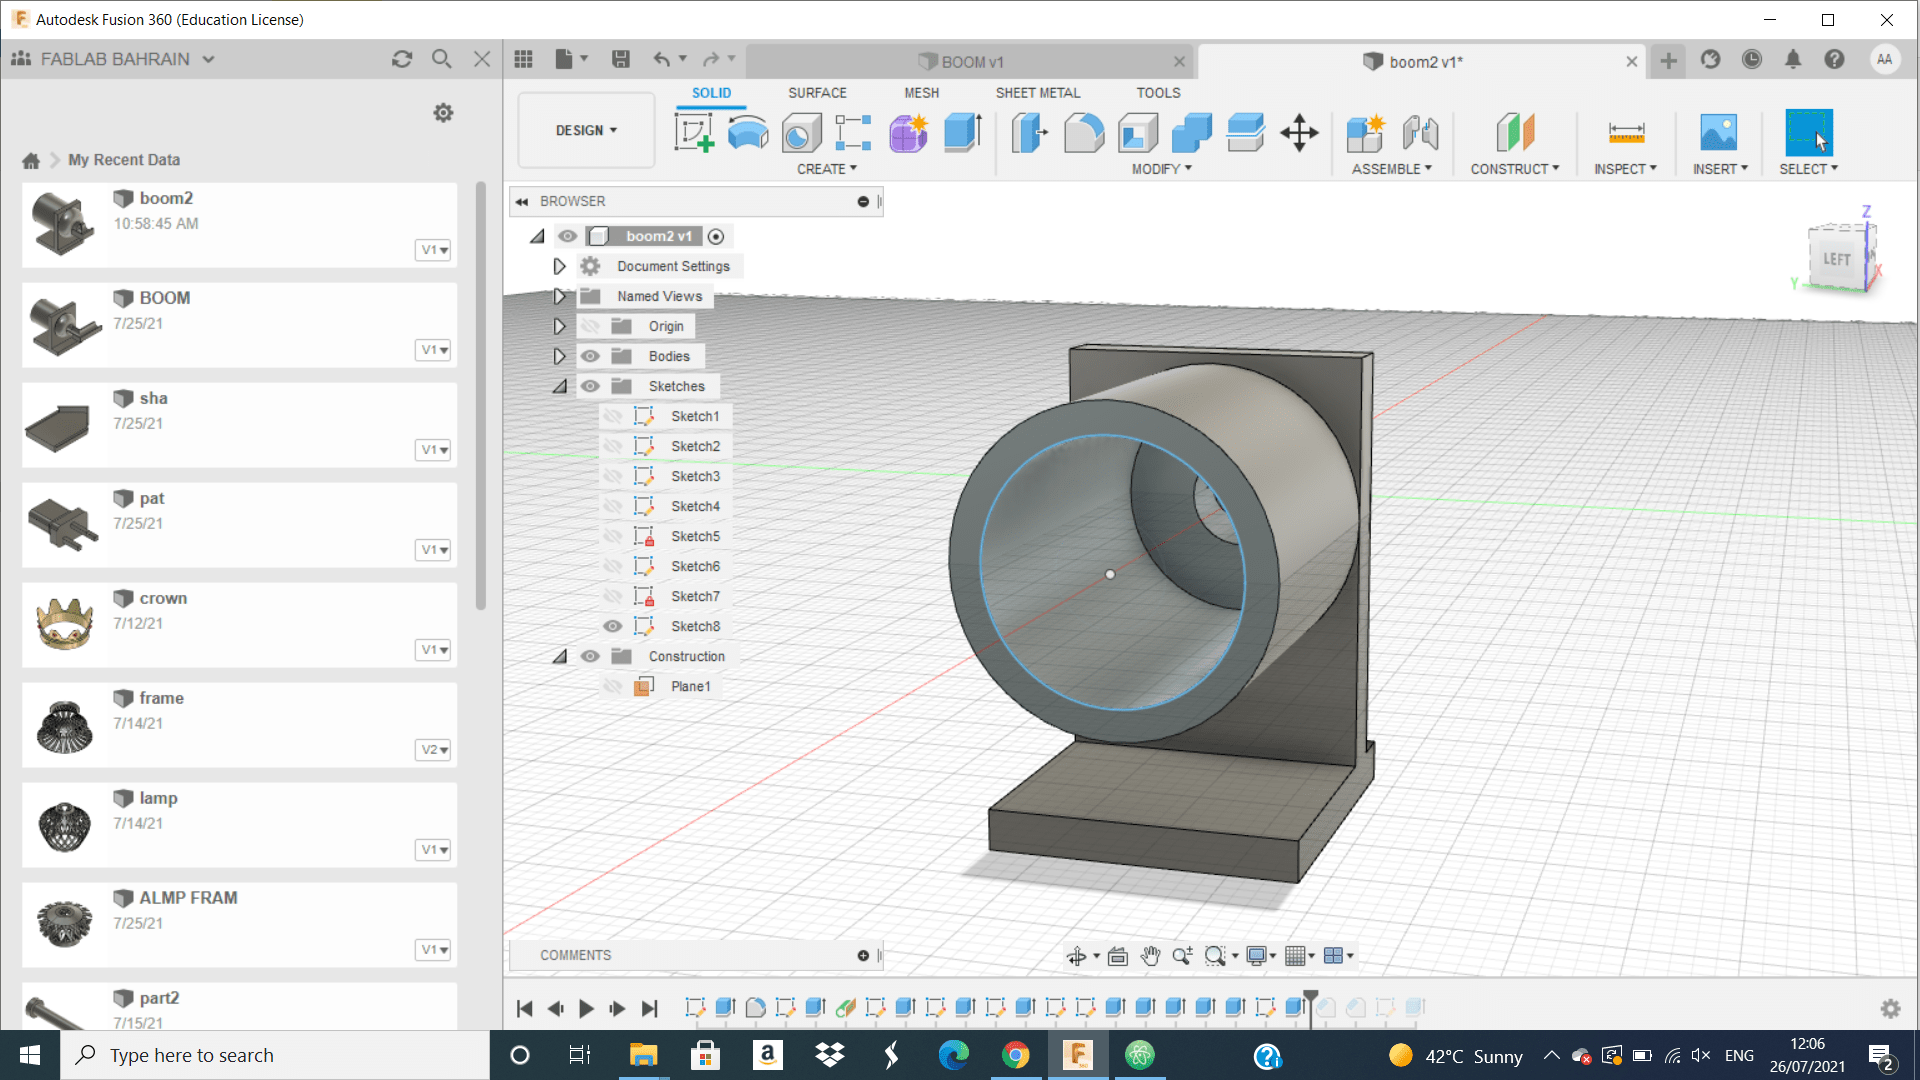
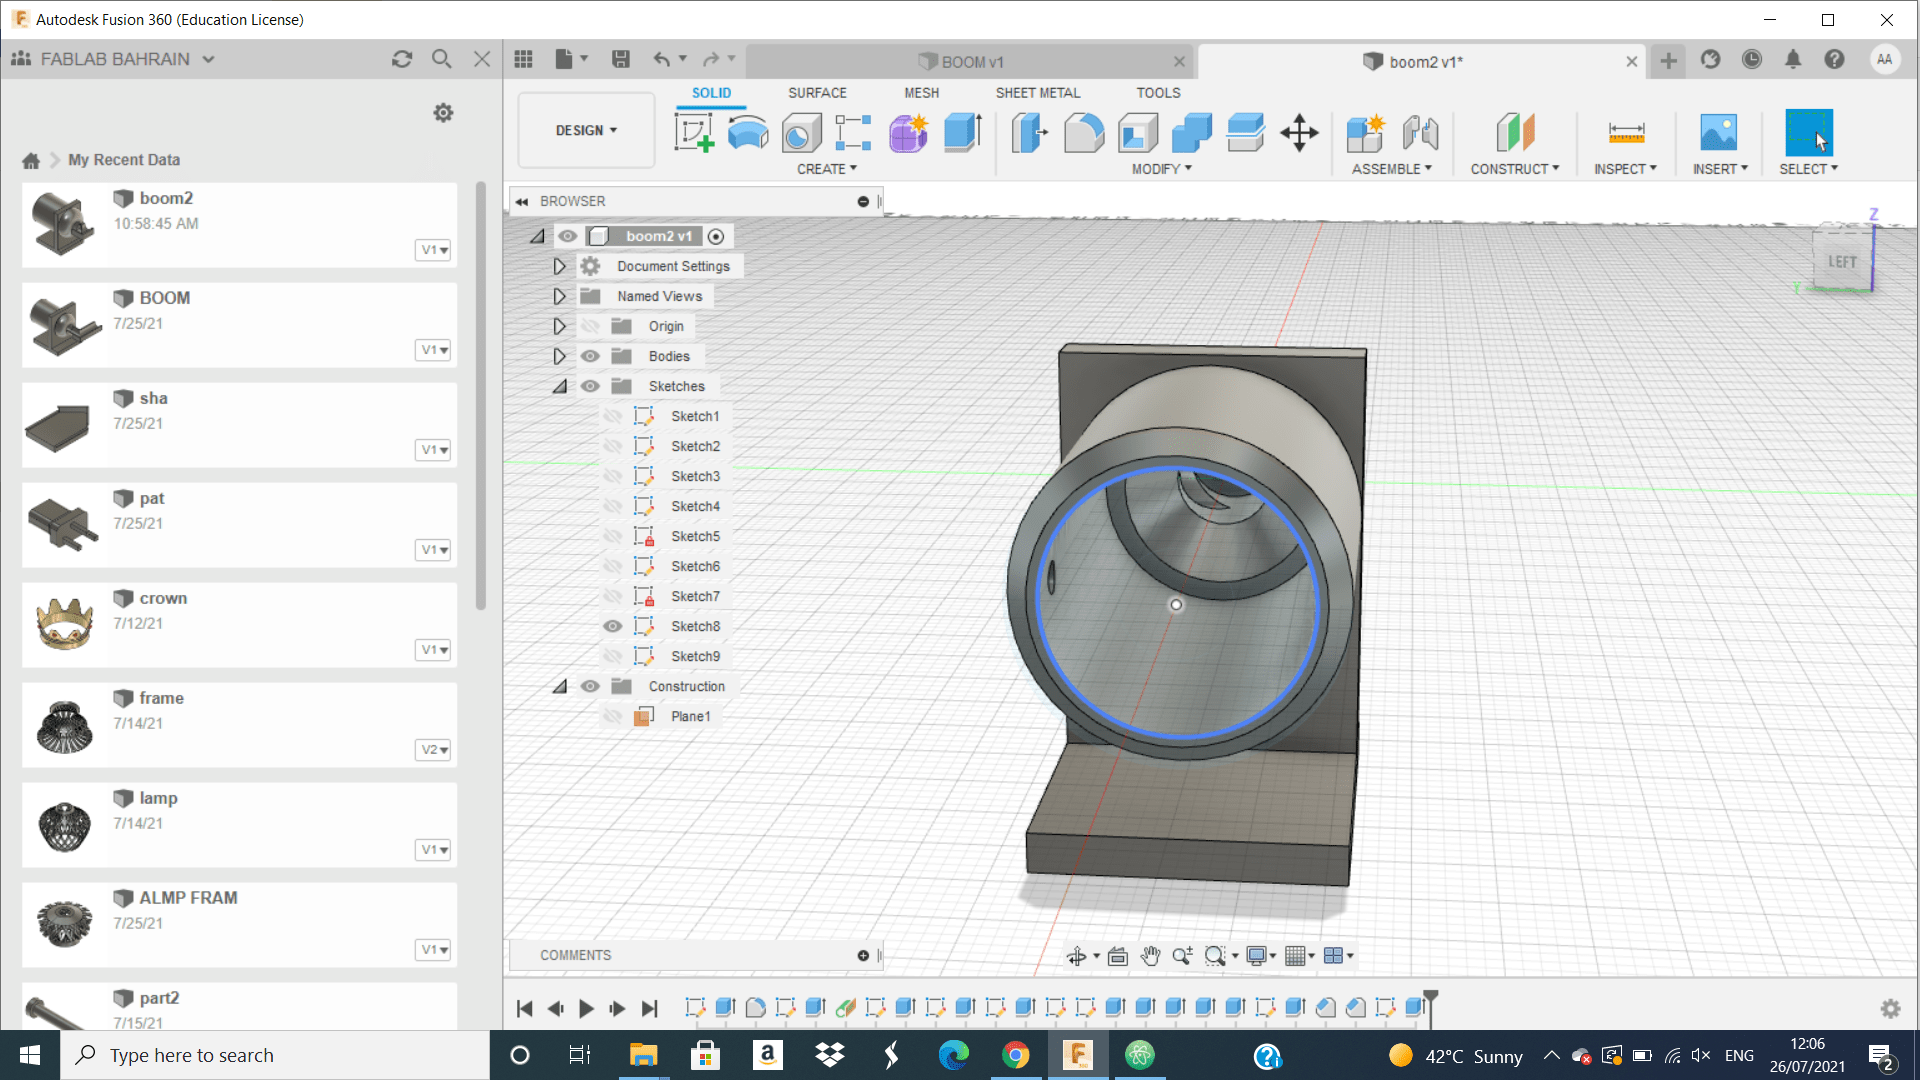
 finally, I made some chamfer and small hole on the cylinder that can let me connect it with any things I want it.
Second Session start at 26/07/2021
filament specification
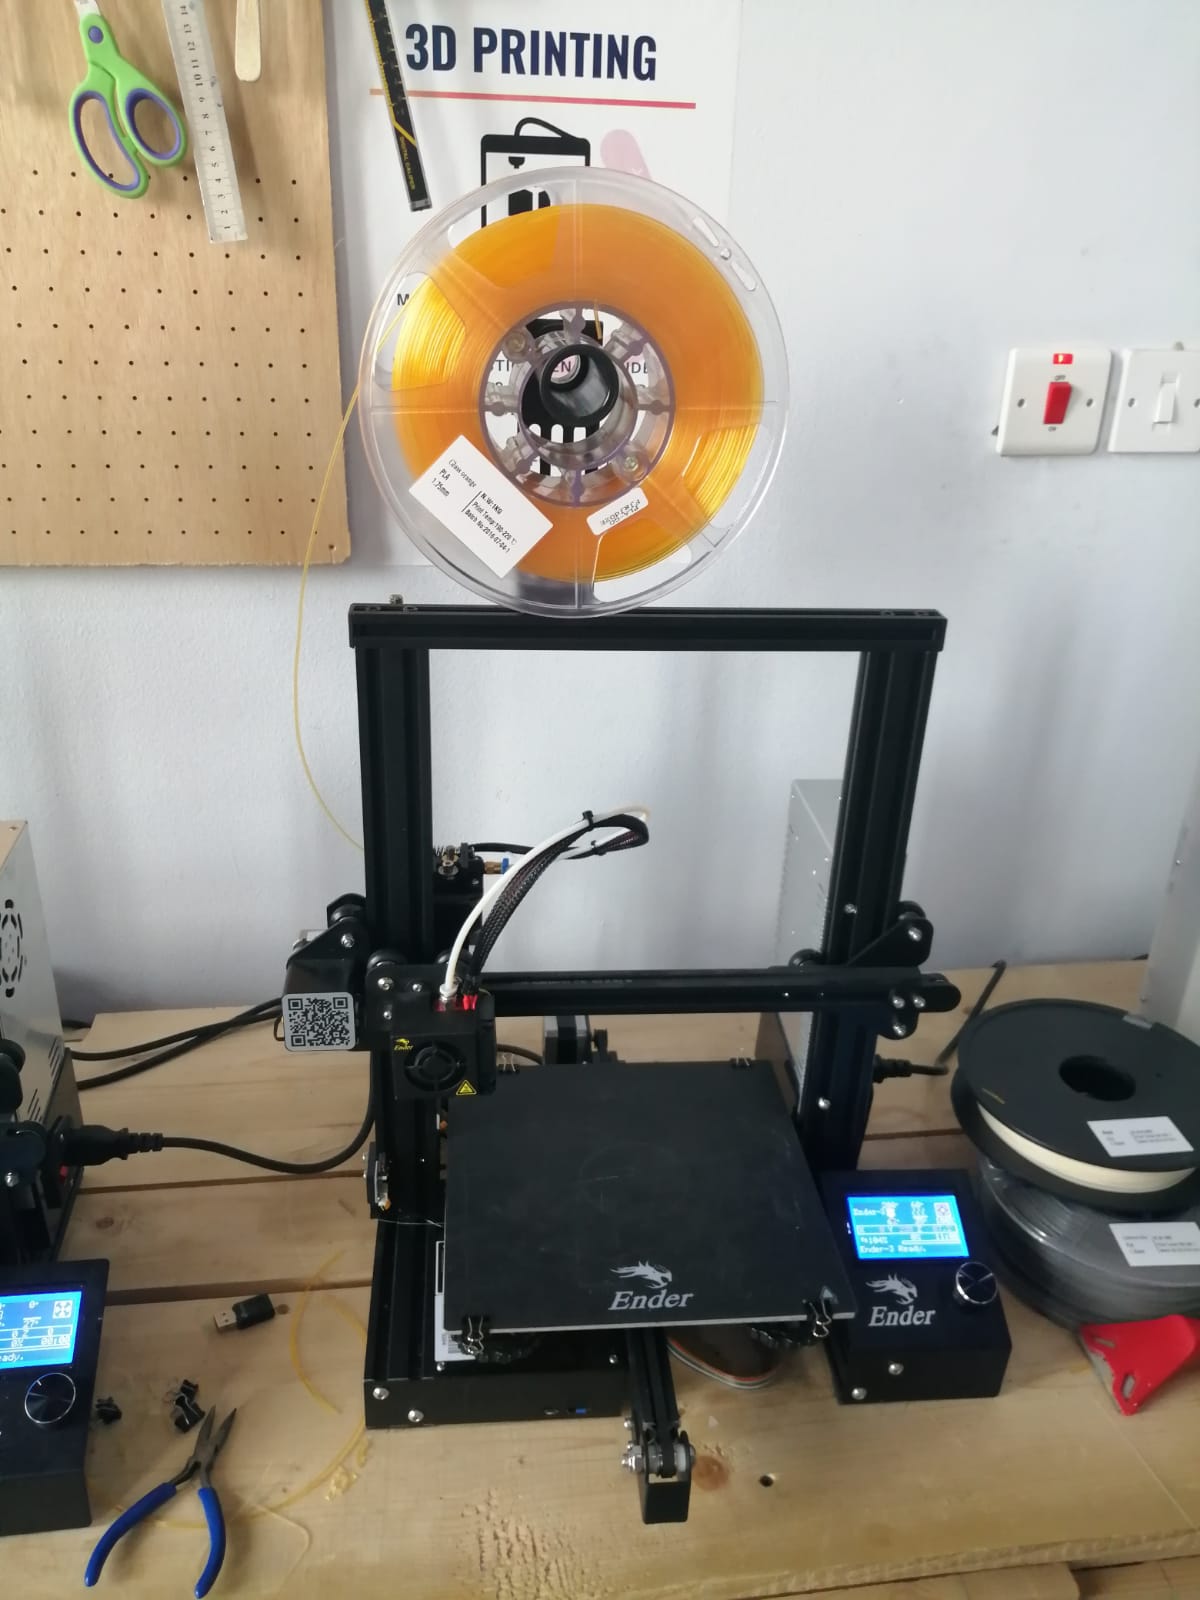 We can see from this picture the 3D printer machine that we will use it to print our design. Also we can see up there is a filament from plastic this type called PLA. This PLA plastic filament has a printing temperature between 115 and 215 C degree, but in our machine we heat the plastic to 215 C degree that is after some tests we find this temperature is the suitable one with ped temperature equal 60 C. We can see this Properties from the interface.
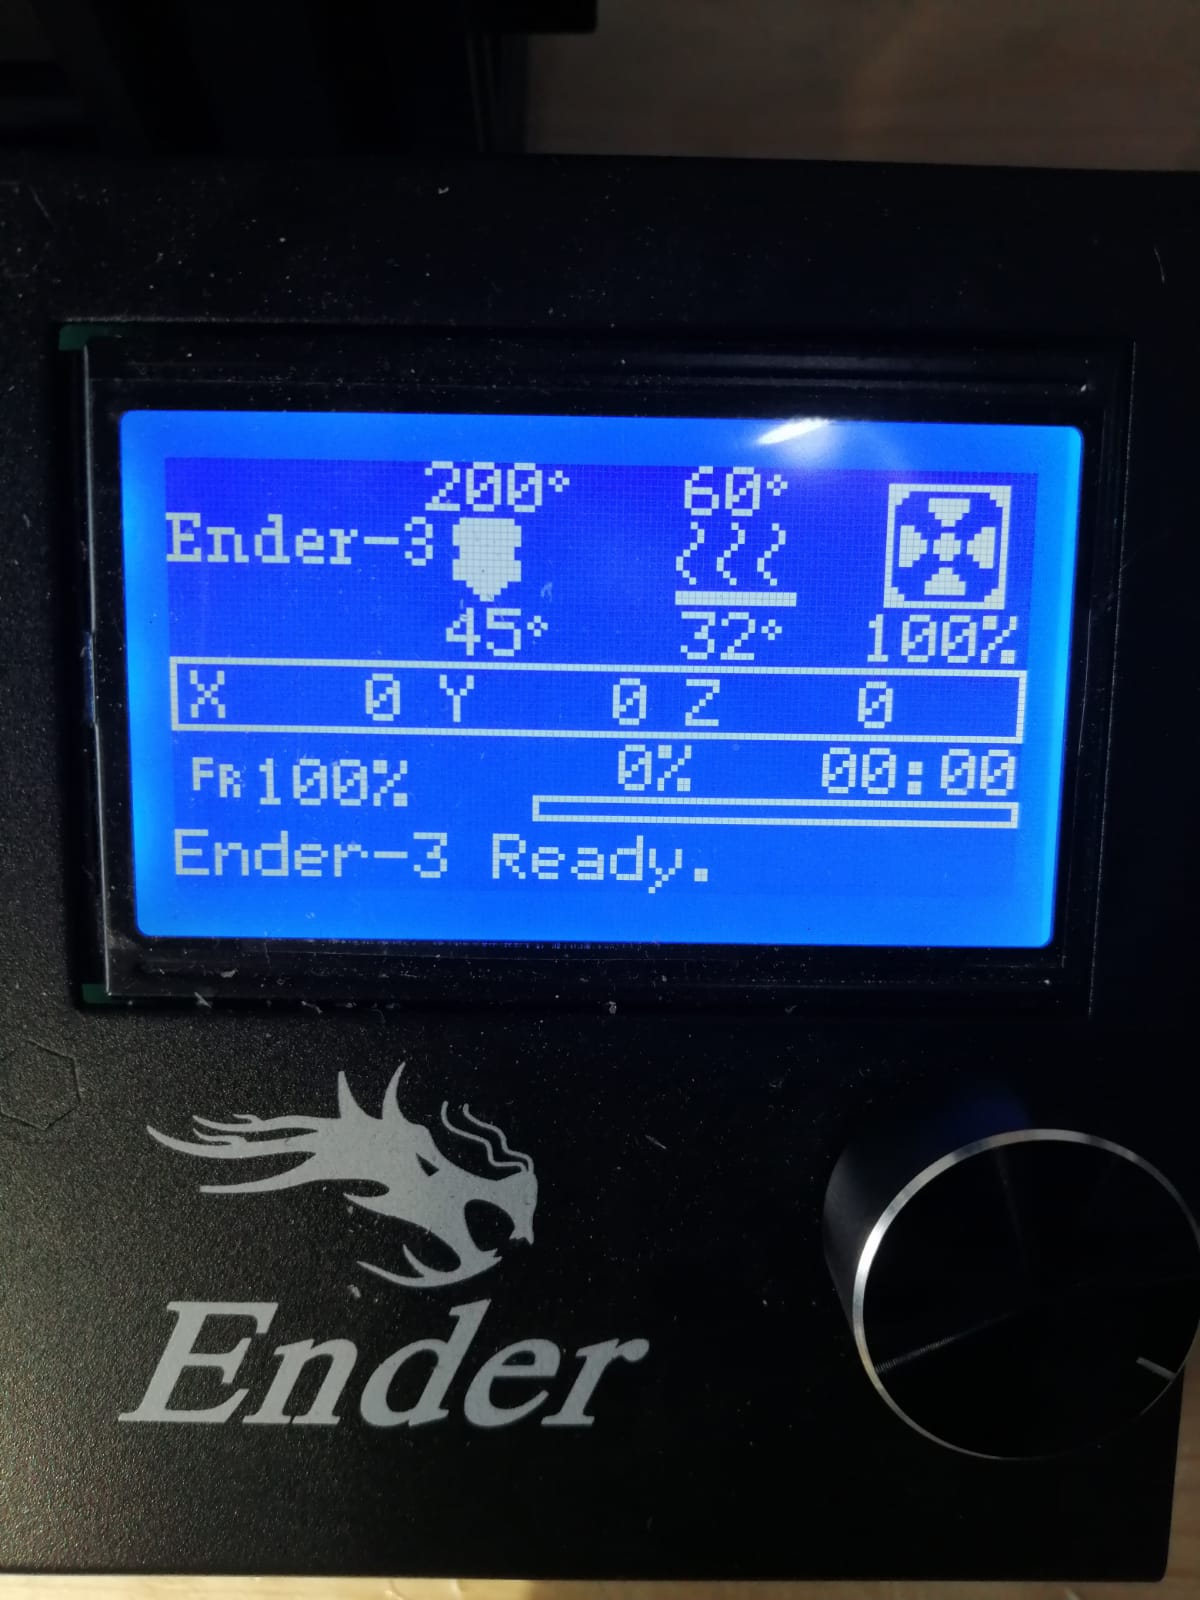
And this filament should always under 50 C degree or the PLA filament will shrinking. There are many type of filament like PETG and this filament has a printing temperature between 230 C and 250 C and we can from it design somethings or objects used for eating or food.
How to Connect The Filament With The Nozzle
To prepare the machine to print we should connect the filament with the nozzle.
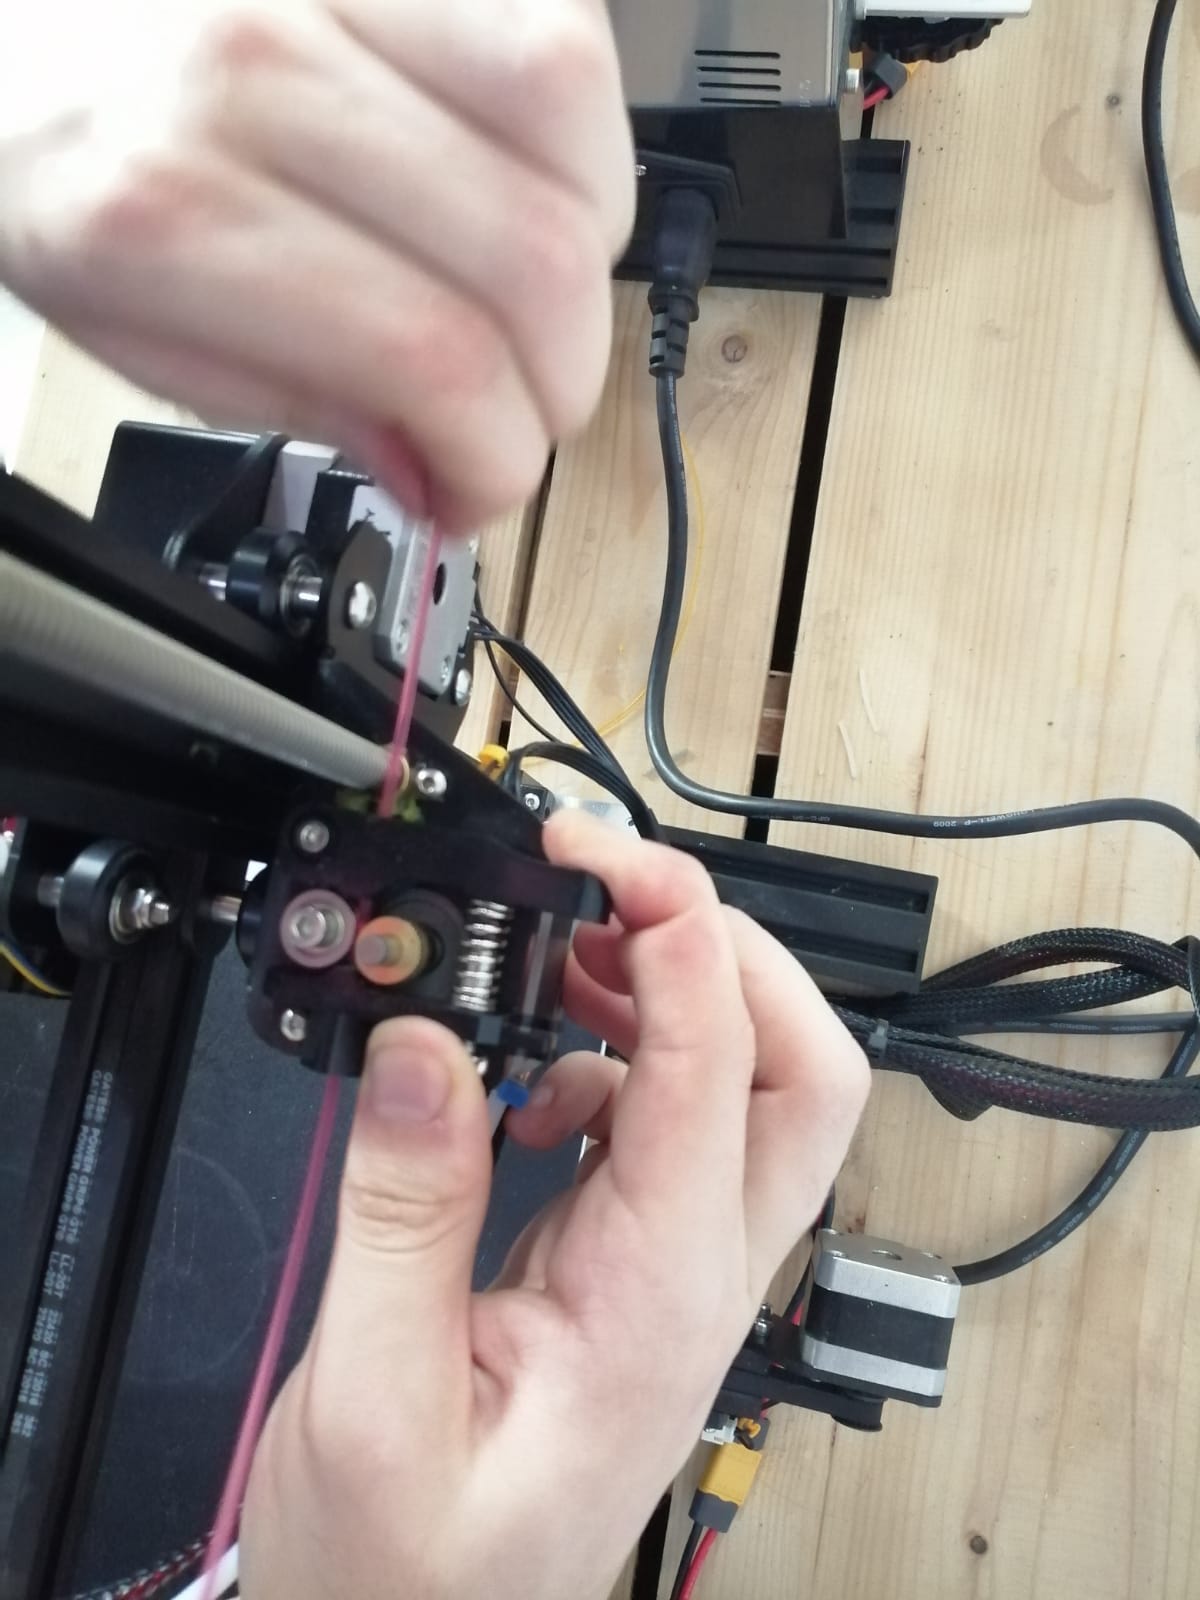 First, we insert the filament from the back of the device we can find this part.
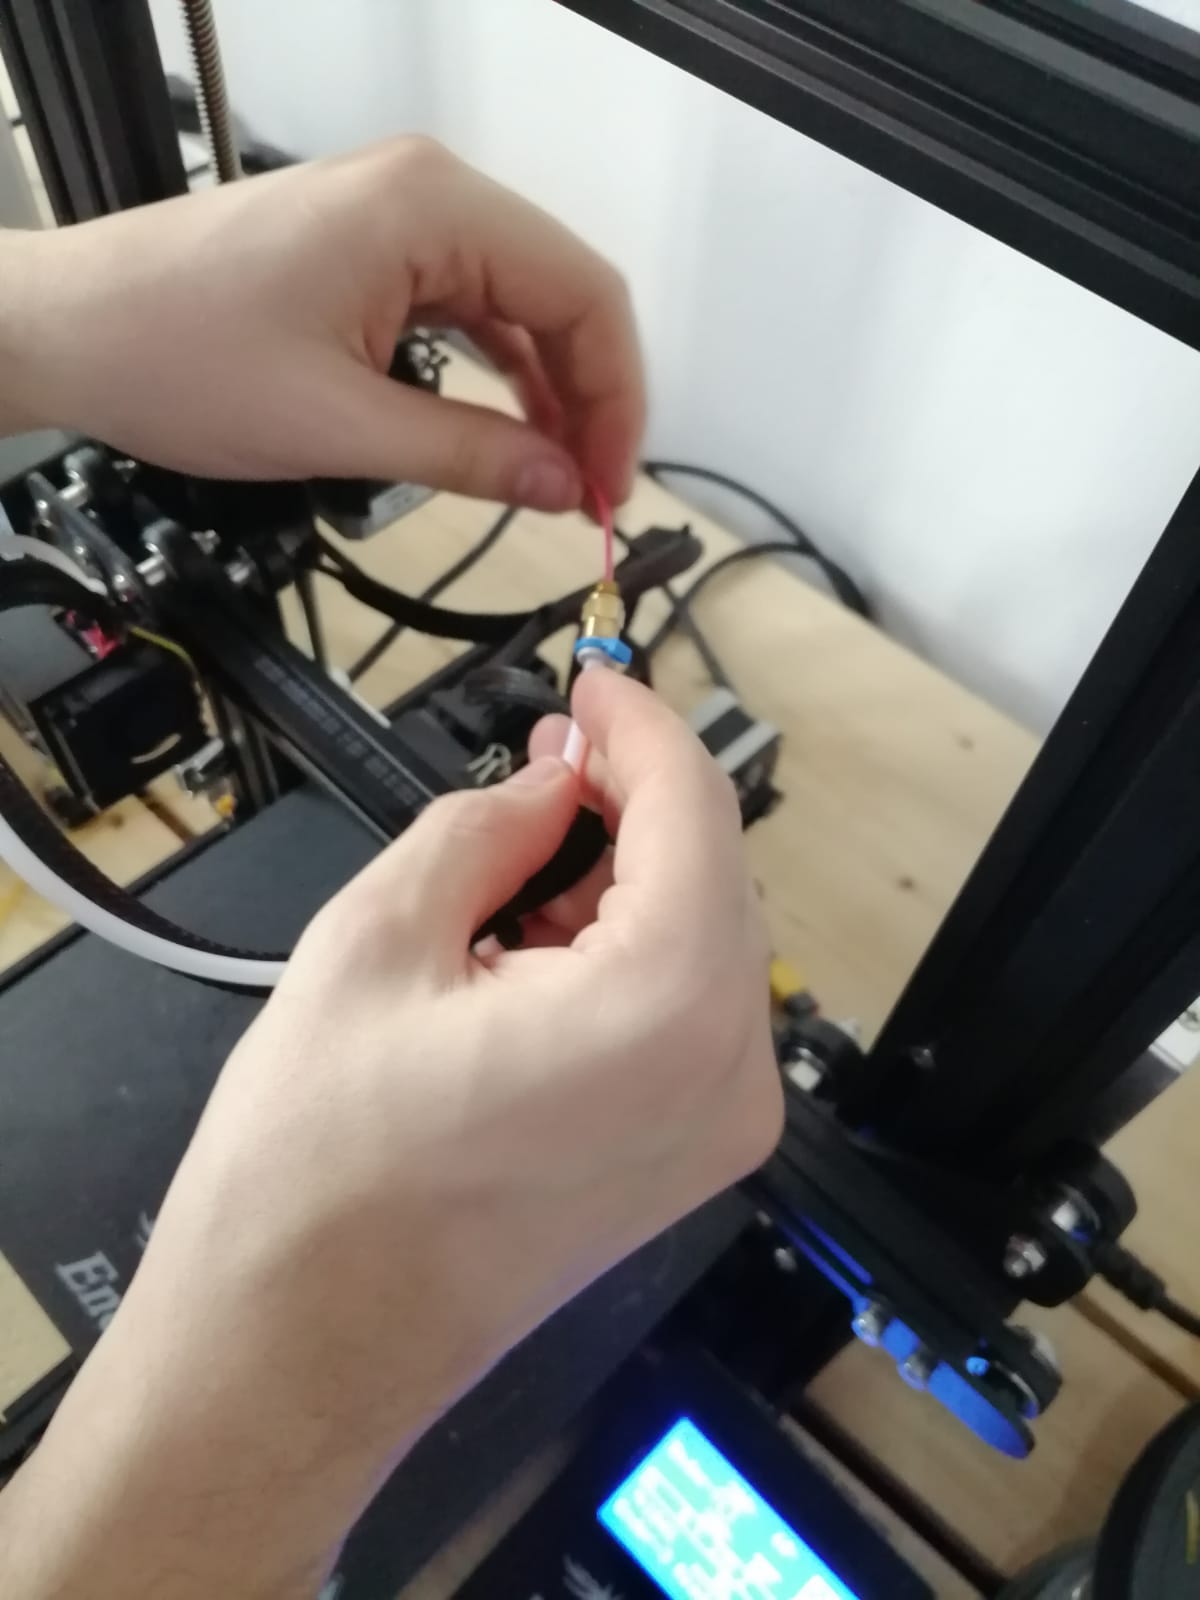 Than, we insert it inside this pipe, this pipe is connected with the nozzle.
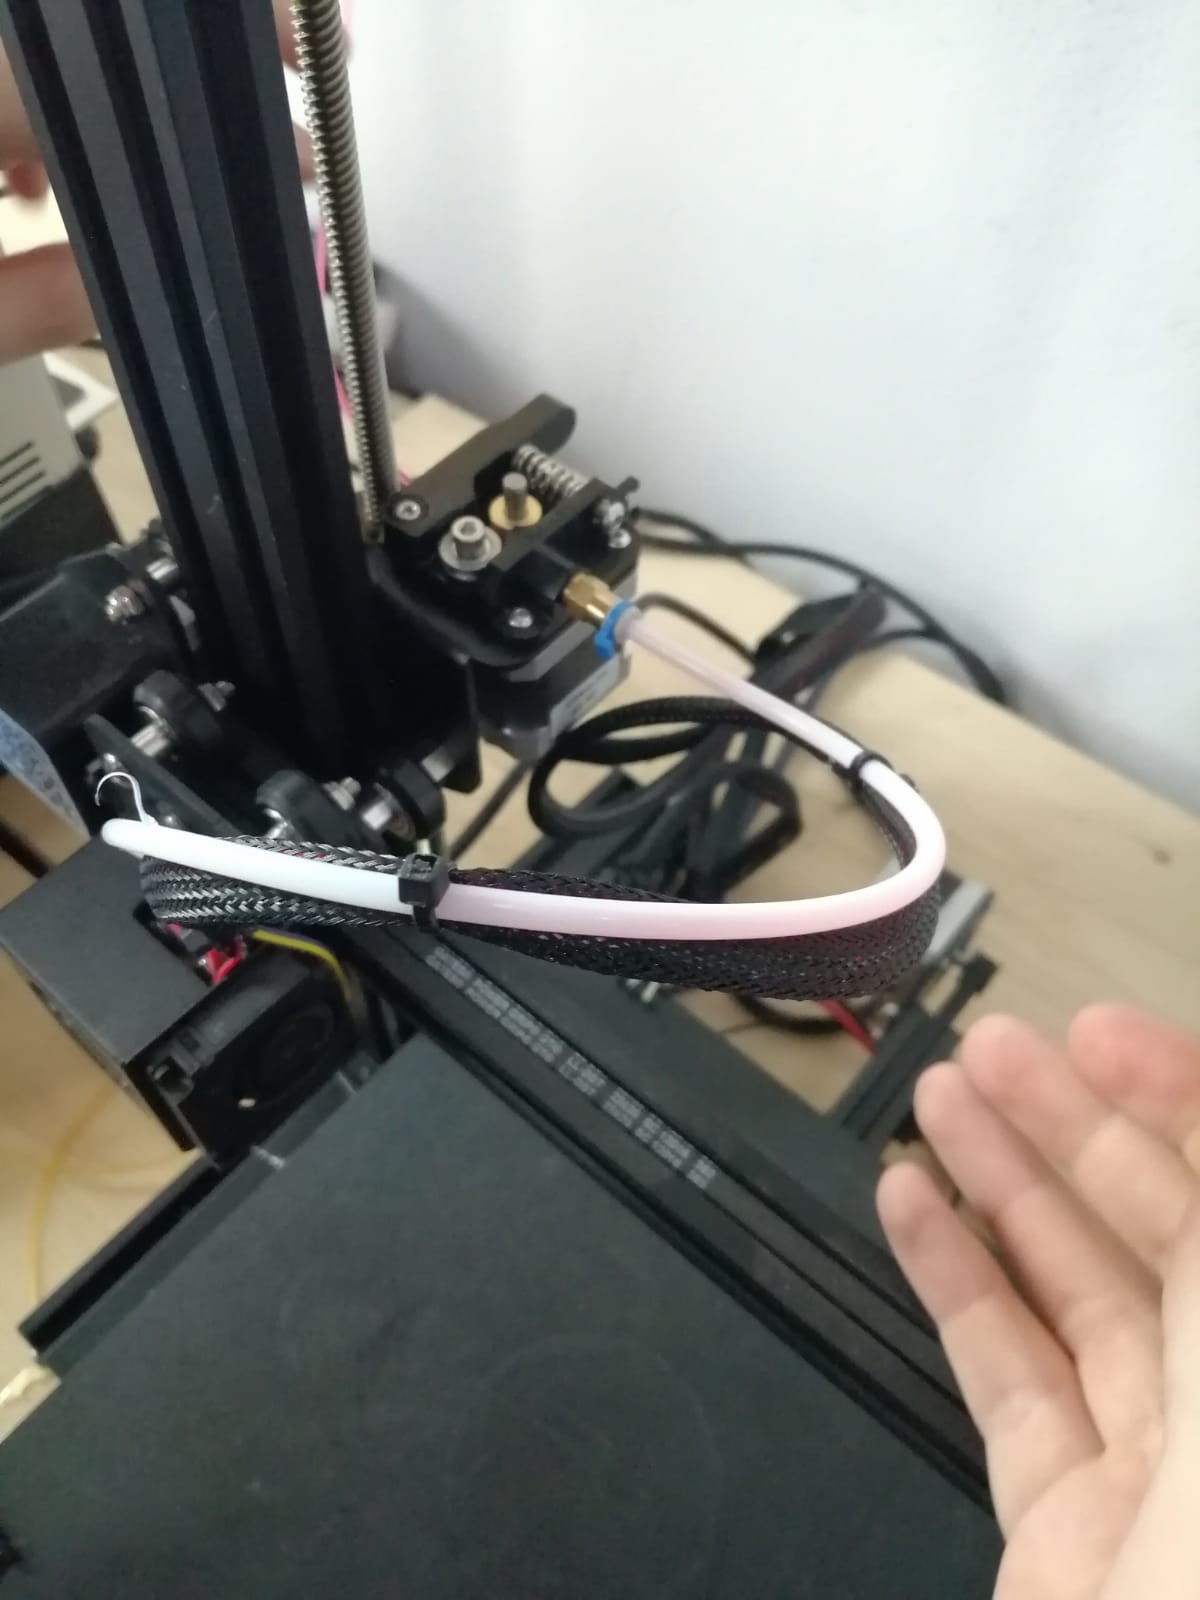 Finally, it will look like this and we can see this pipe connected with the nozzle.

Control the Properties of the Machine from Cura Program
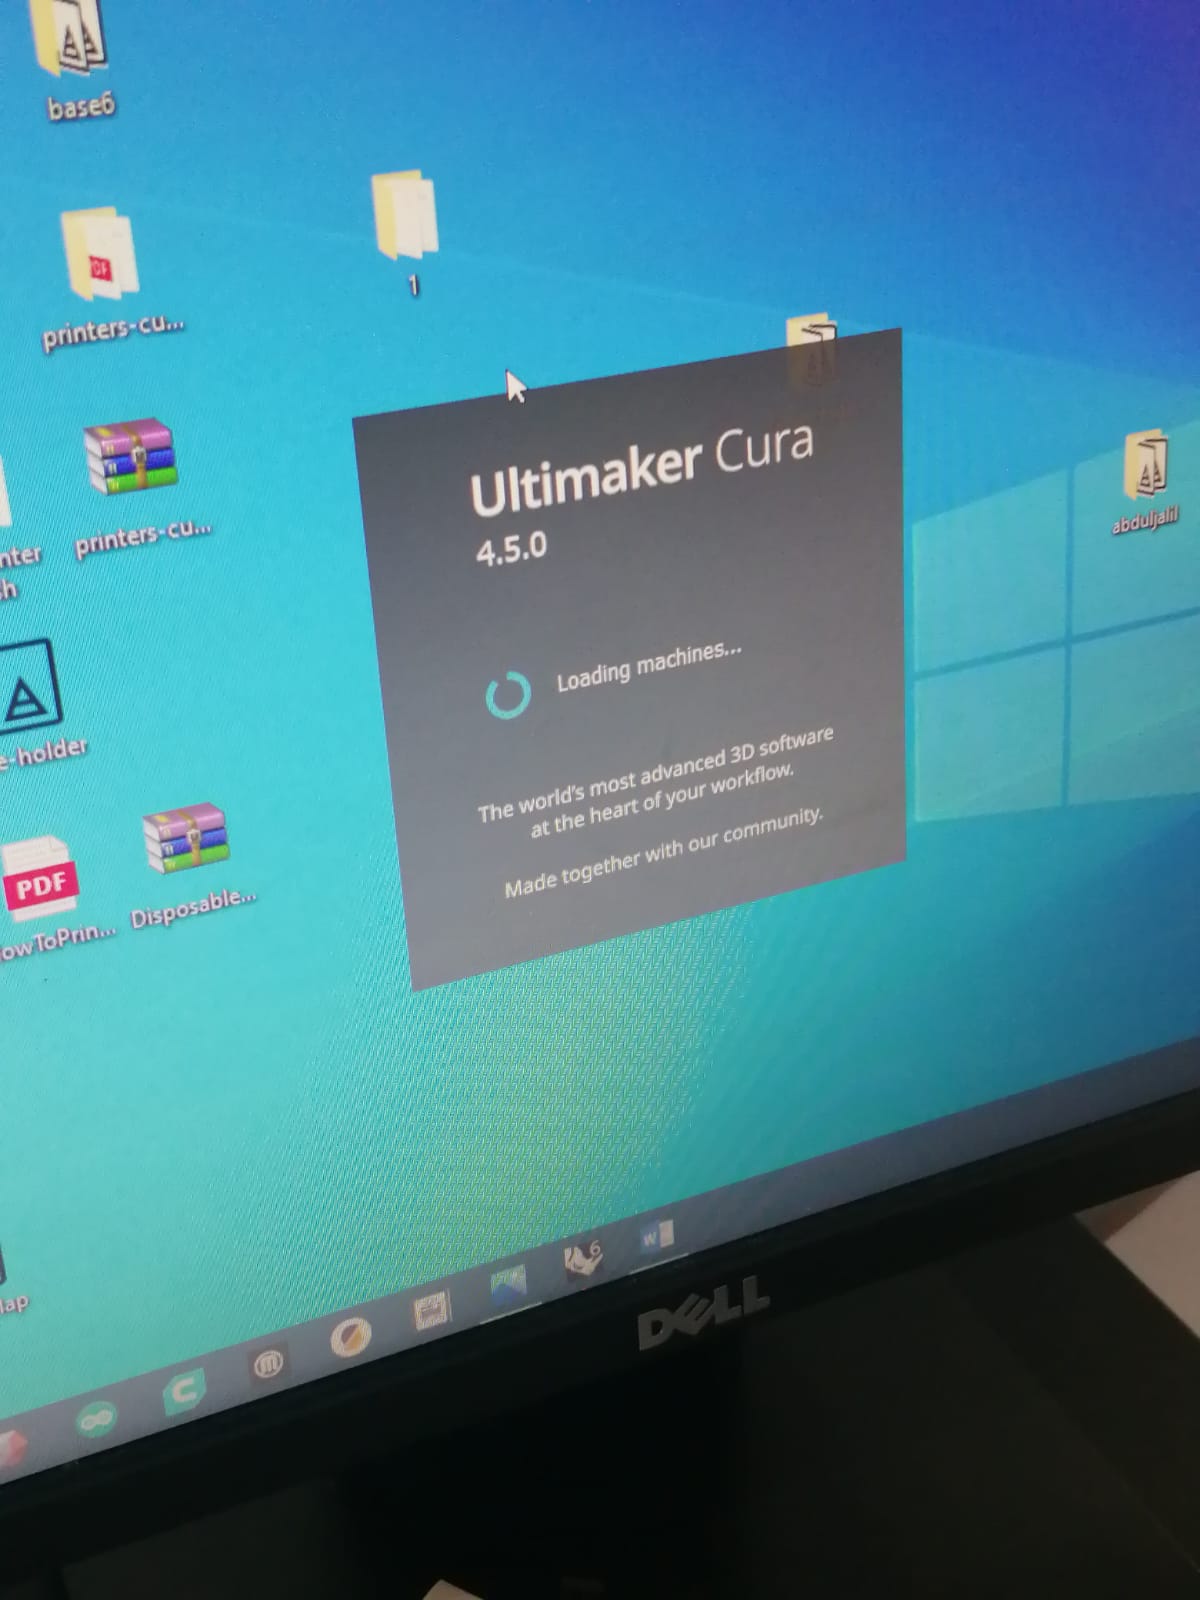
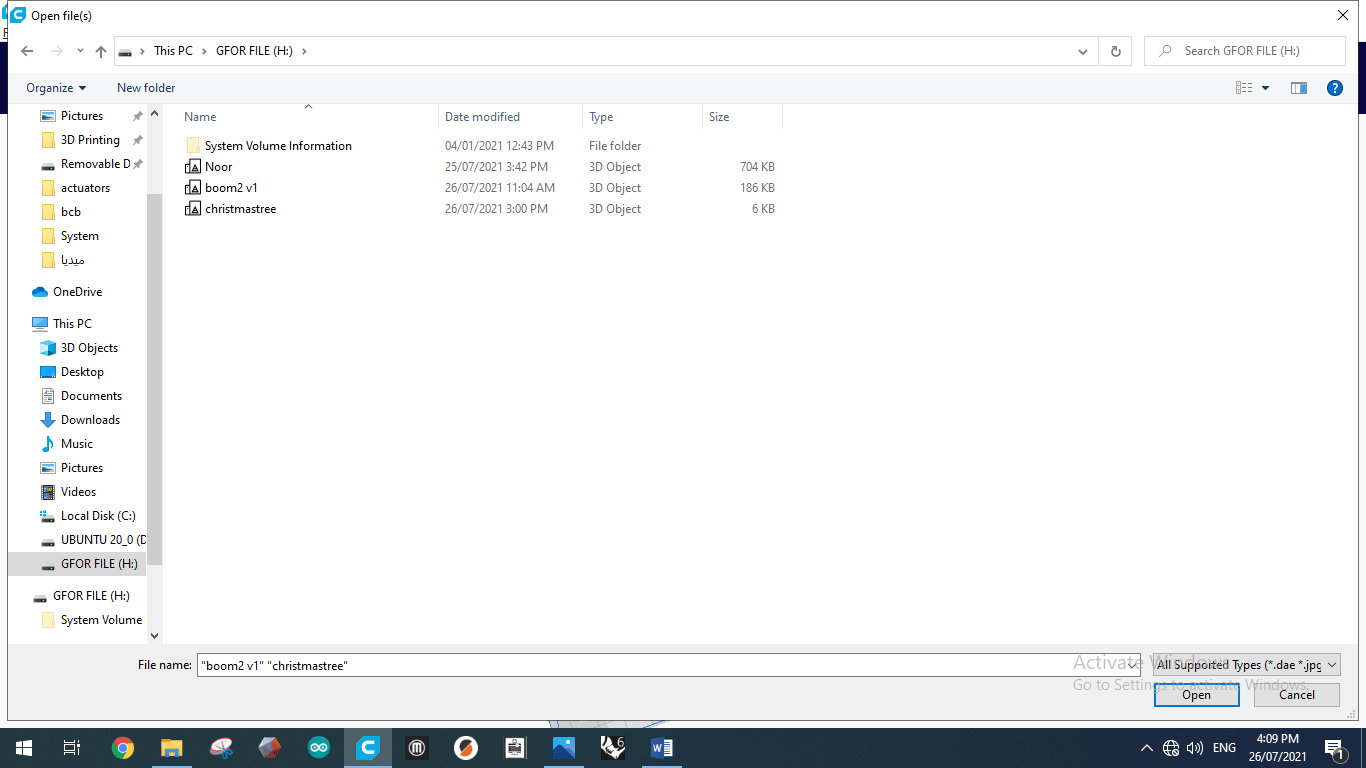 Than we start upload our design or files on the computer that is connected with the machine using Ultimaker Cura app.
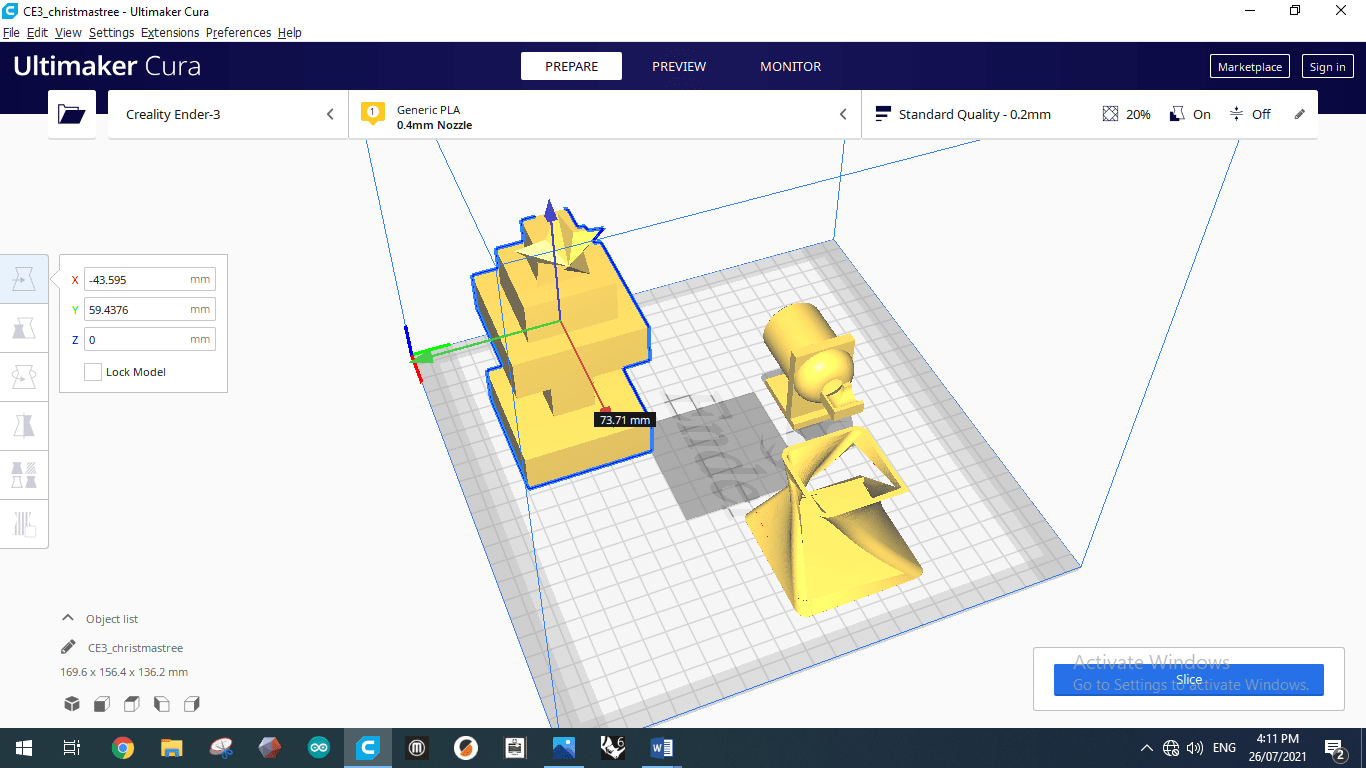 This picture show us how our files or designs that we upload it on the program and we can see from it the choice that we can from it control or move the projects.
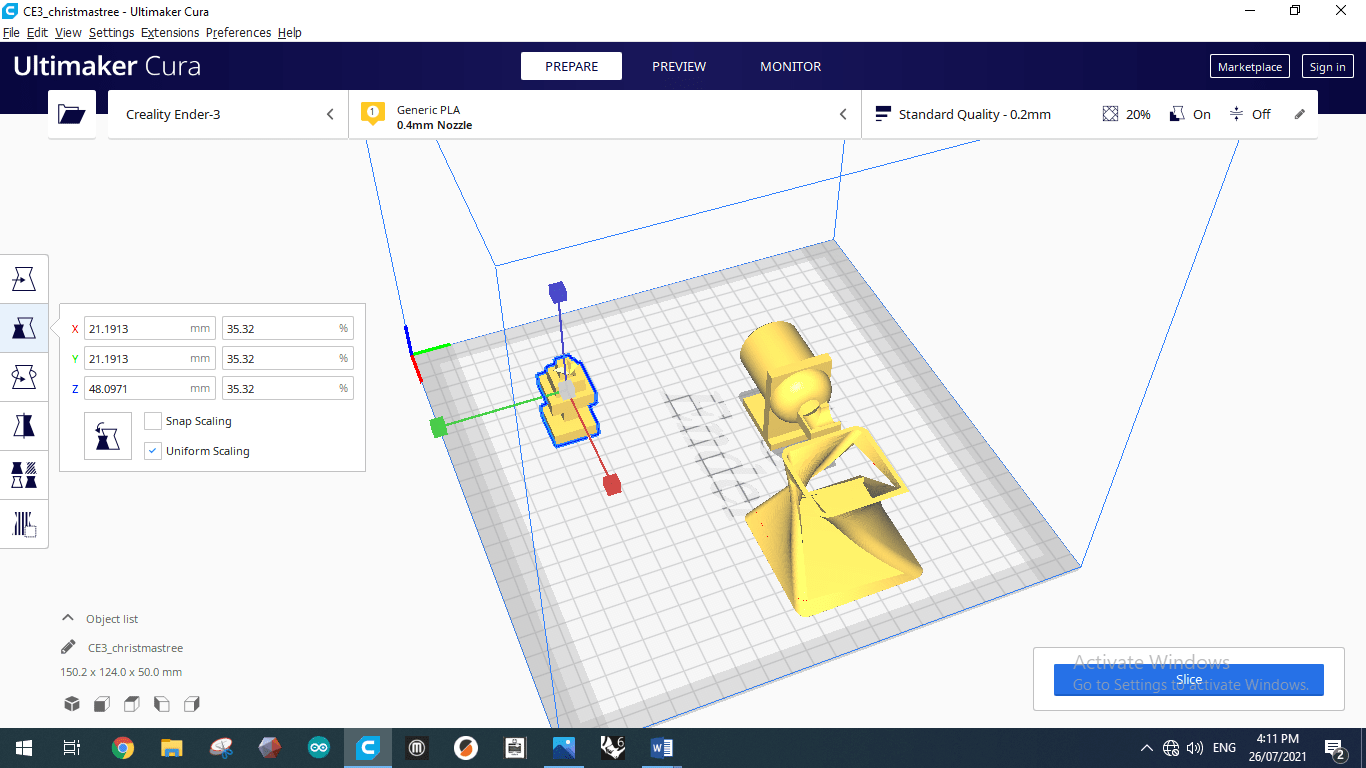 This choice let us enlarge and reduce the size of the shapes.
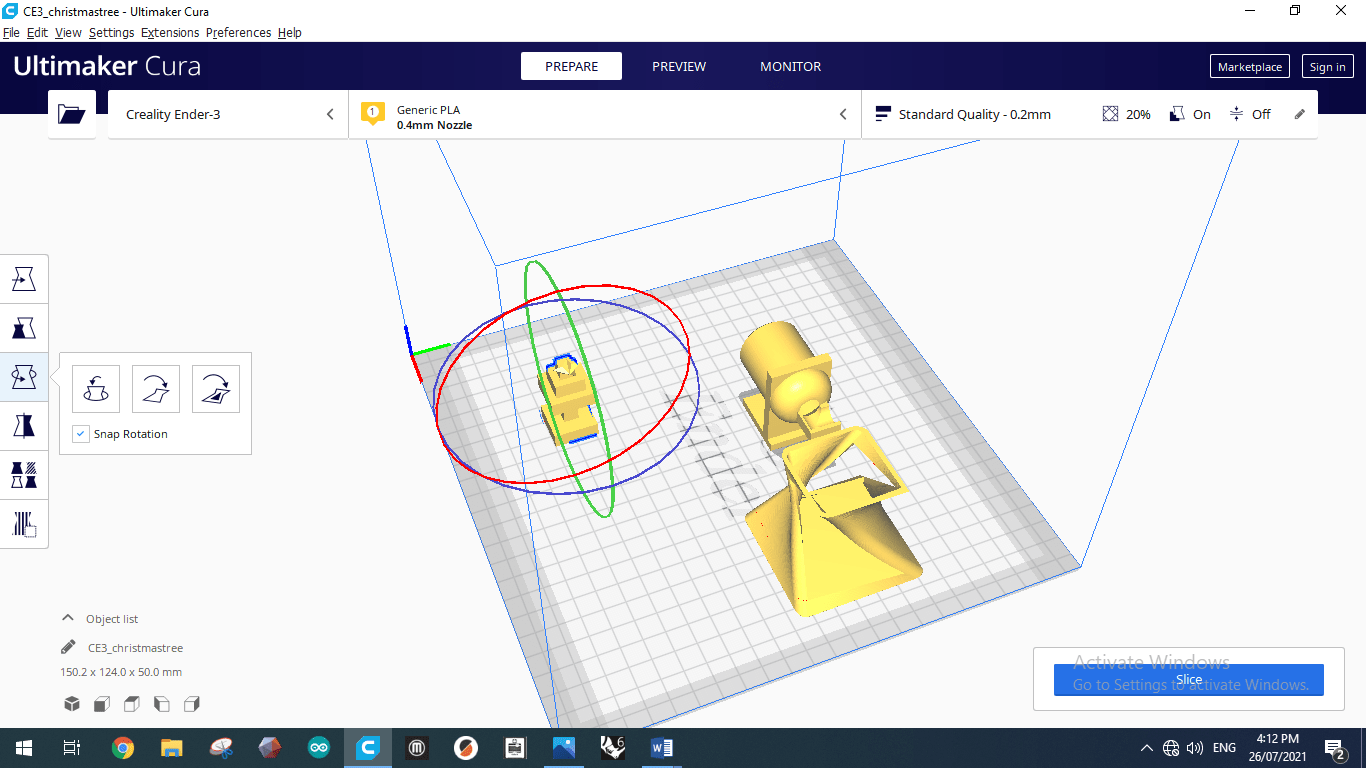 And This choice let us rotate the shapes in three direction
We can see that there is a mirror choice and this is mean we can do a half shape and do mirror for it using this program. Than, I will talk about some Properties that we can change it using the program and what is the effect of changing them .
And This choice let us rotate the shapes in three direction
We can see that there is a mirror choice and this is mean we can do a half shape and do mirror for it using this program. Than, I will talk about some Properties that we can change it using the program and what is the effect of changing them .
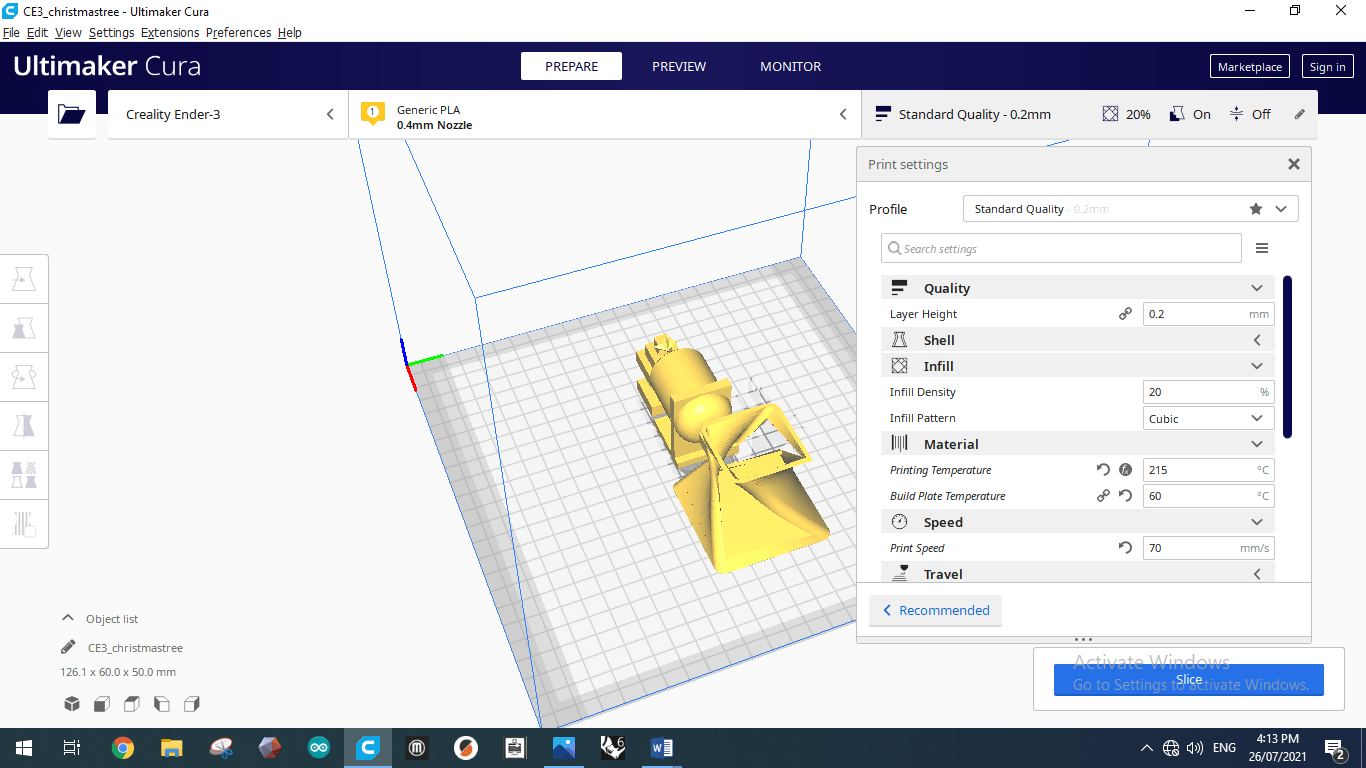
 First, The quality and we can increase it by decreasing the layer height and layer height means the size of the printing every steps of the nozzle or the size of the material that get out from the nozzle for every steps.
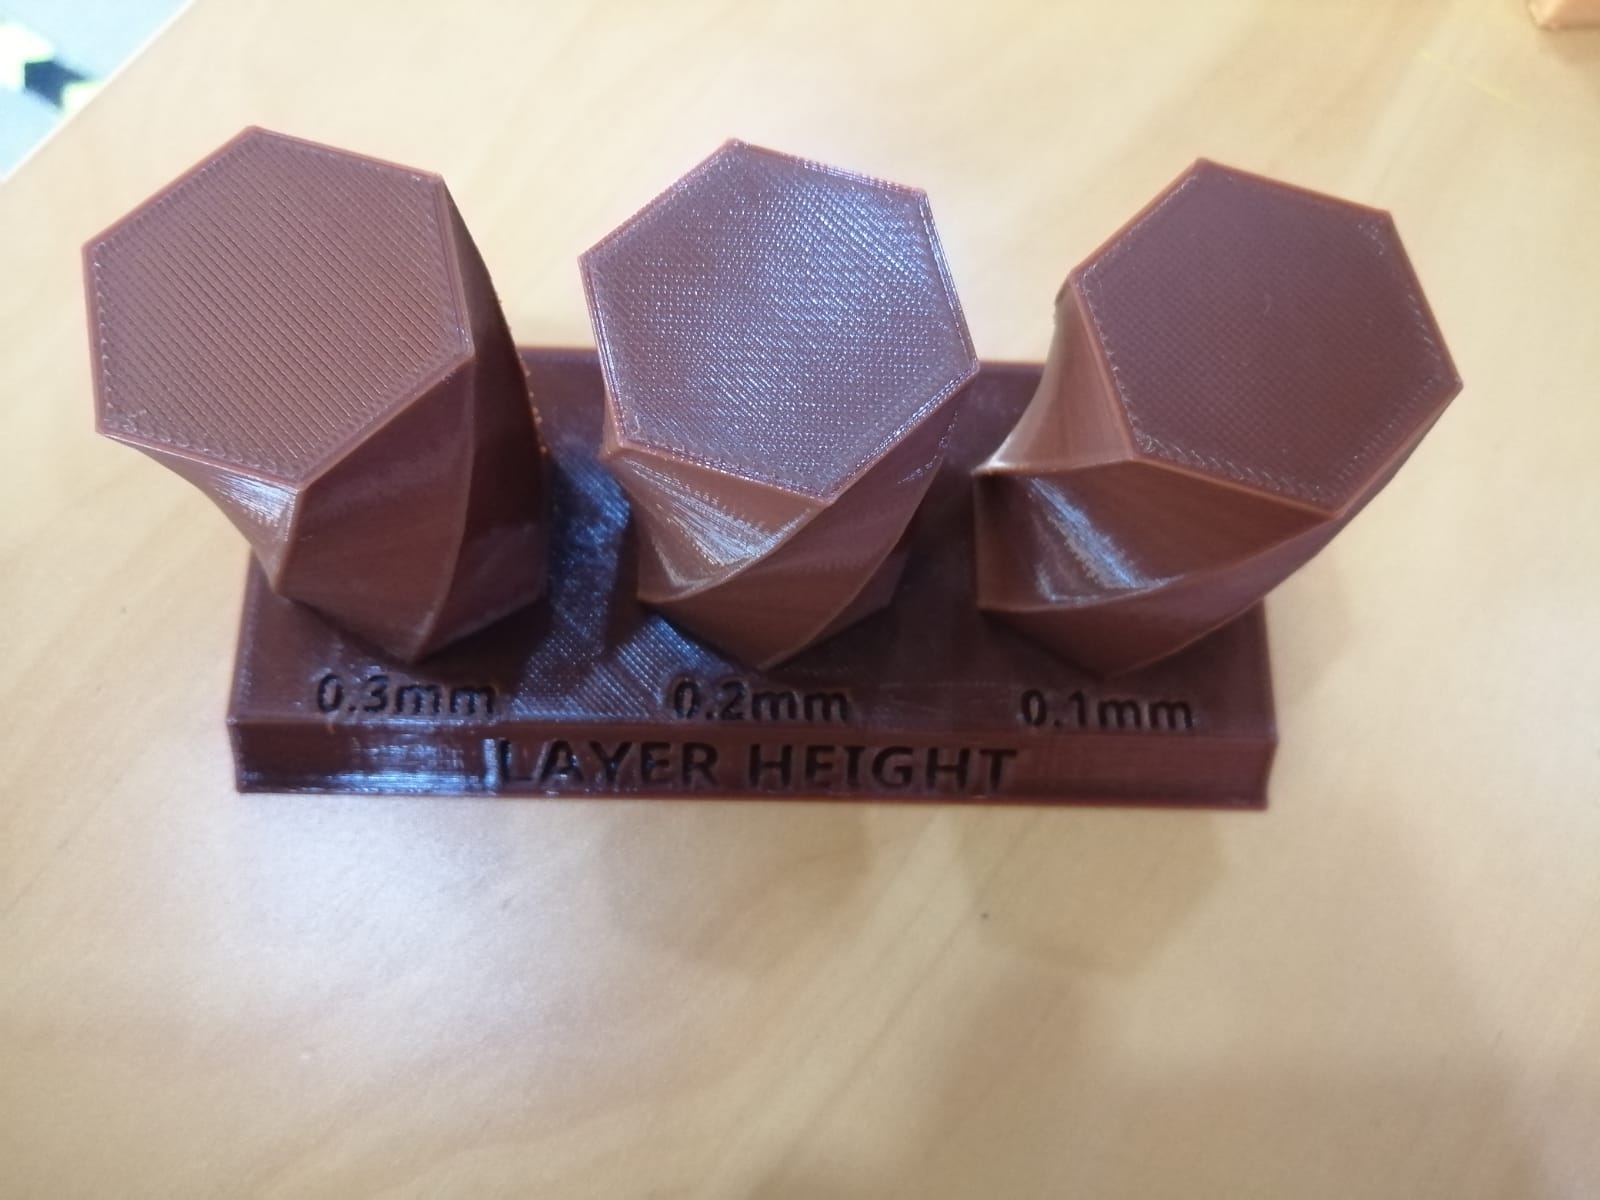 We can see some test from this picture about the size of the layer. And we find that when we decrease the layer the surface will be smoothly.
And make sure that you know that there is a relation between the quality and the time consuming. If we reduce the layer height to increase the quality the time needed to finish the printing will increase and so on.
We can see some test from this picture about the size of the layer. And we find that when we decrease the layer the surface will be smoothly.
And make sure that you know that there is a relation between the quality and the time consuming. If we reduce the layer height to increase the quality the time needed to finish the printing will increase and so on.
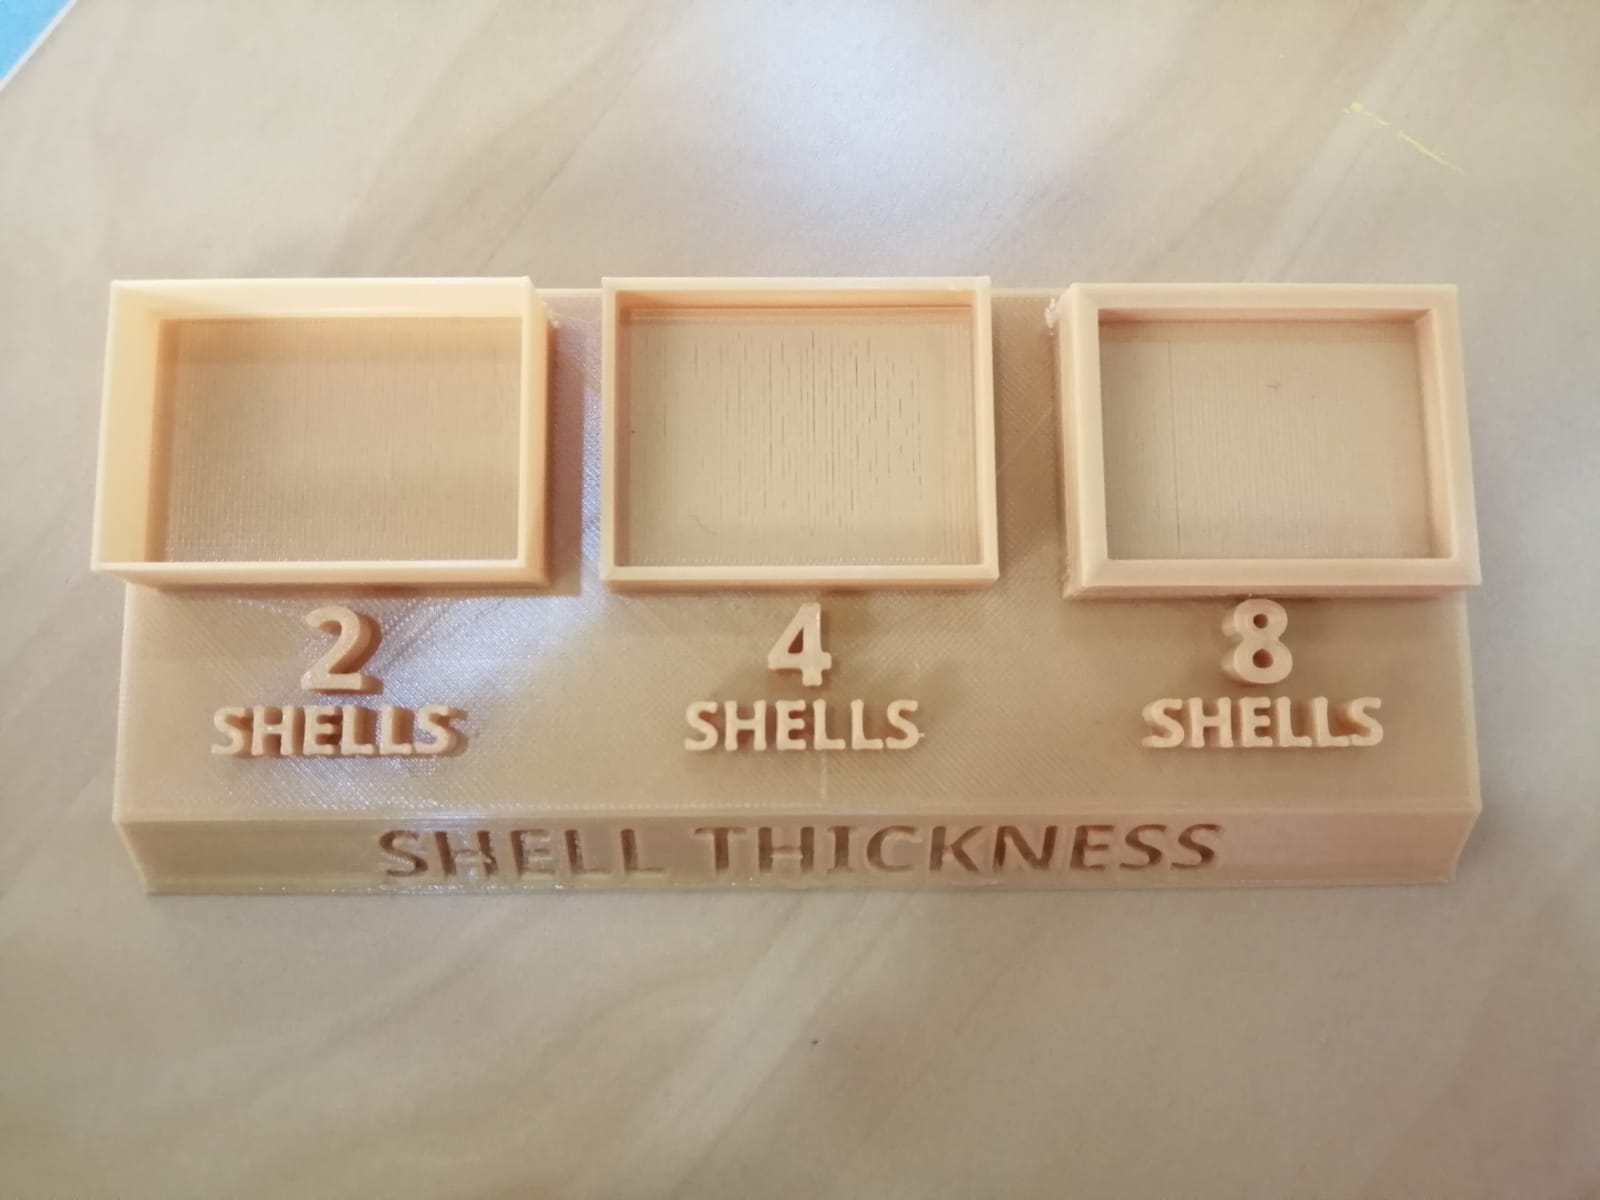 We do three test about shells and we can see shell means the thickness of the material that the machine or the nozzle put it. And there are different type 2, 4 or 8 shells, commonly we use 4 shells. And this is because 2 shells thickness is small so it can easily break. and 4 and 8 shells is god and hard but using 8 shells consuming material so we use 4 shells on our work.
Now let me talk about the infill, we use infill density equal to 20% that is means the machine will not fill the shape with material. Some shapes we don’t need a material inside the shape like the shape for quality tests.
We can see from it there are three columns or cylinders but inside them there are gips not fill with material
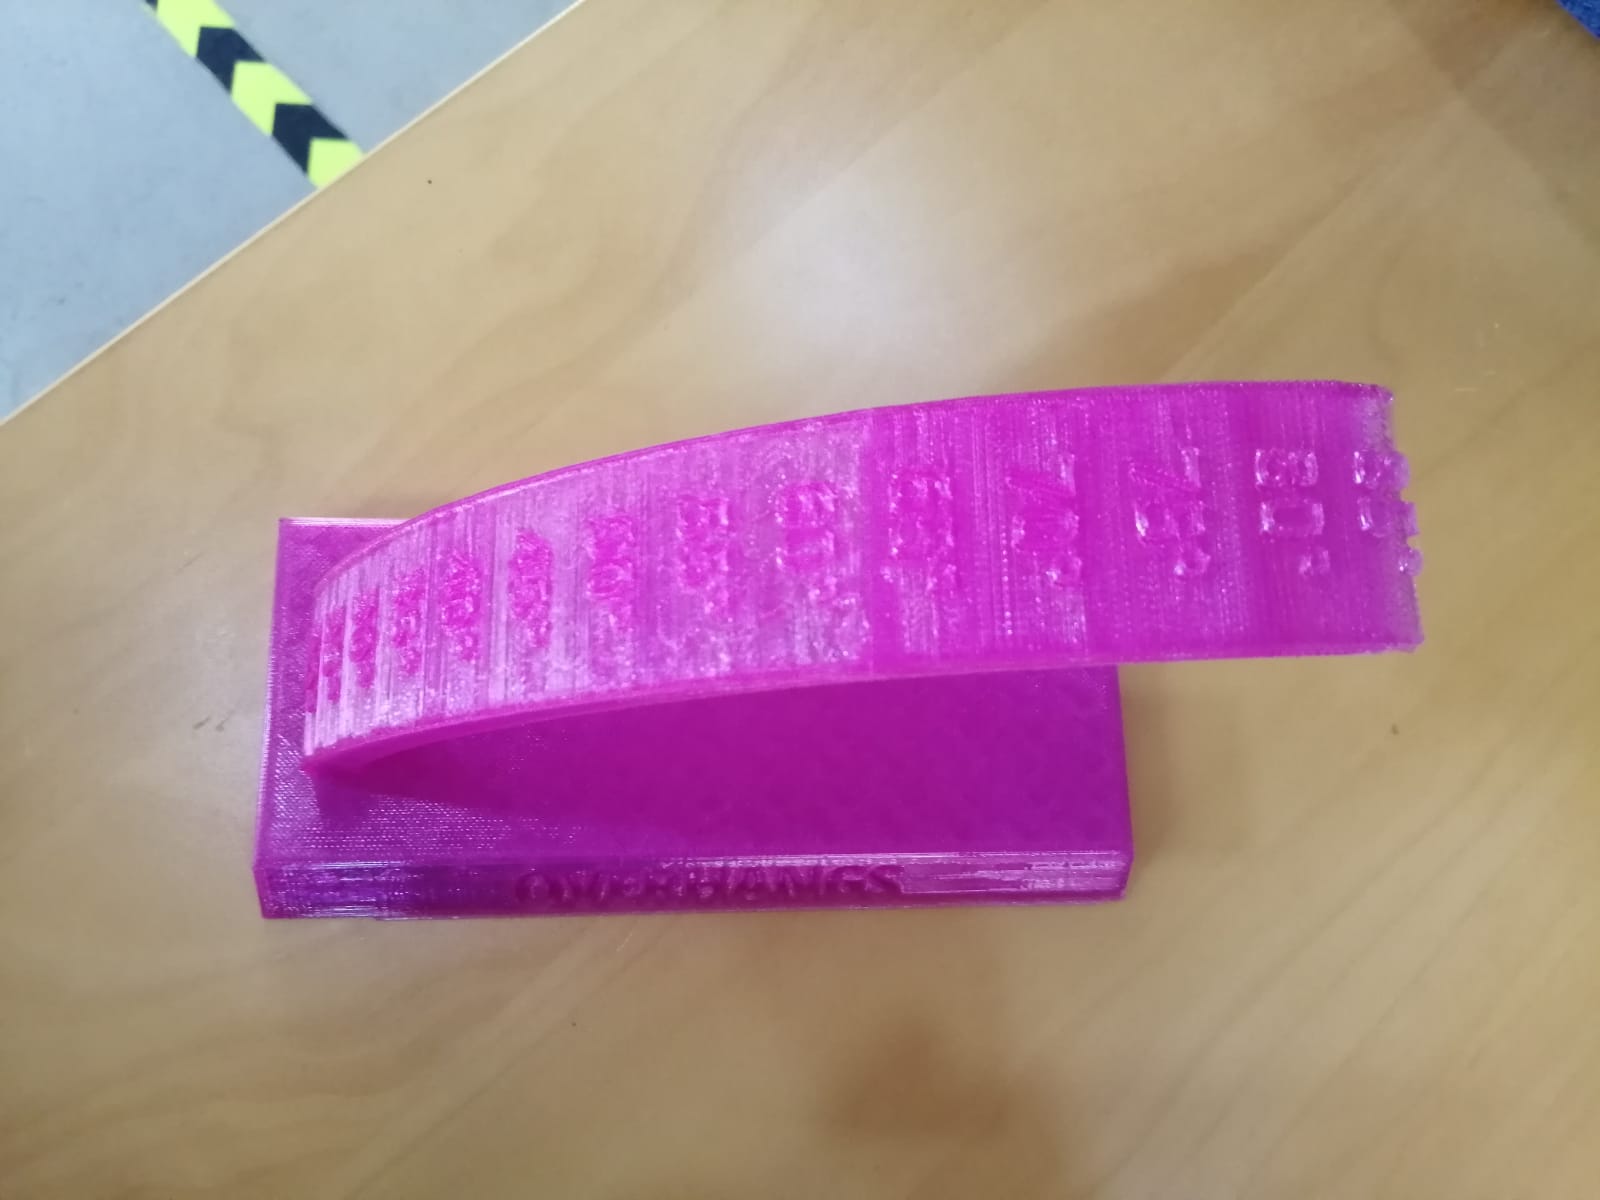 From this picture we can see there is a edge we need it to be strong to support the shape so we can increase the infill density to be higher. And this shape we do it to test how the machine that we used deal with angle, so we can see that the machine can deal with 80 degree otherwise it will not print.
After that, the printing and build plate (ped) temperature we talk about them previously.
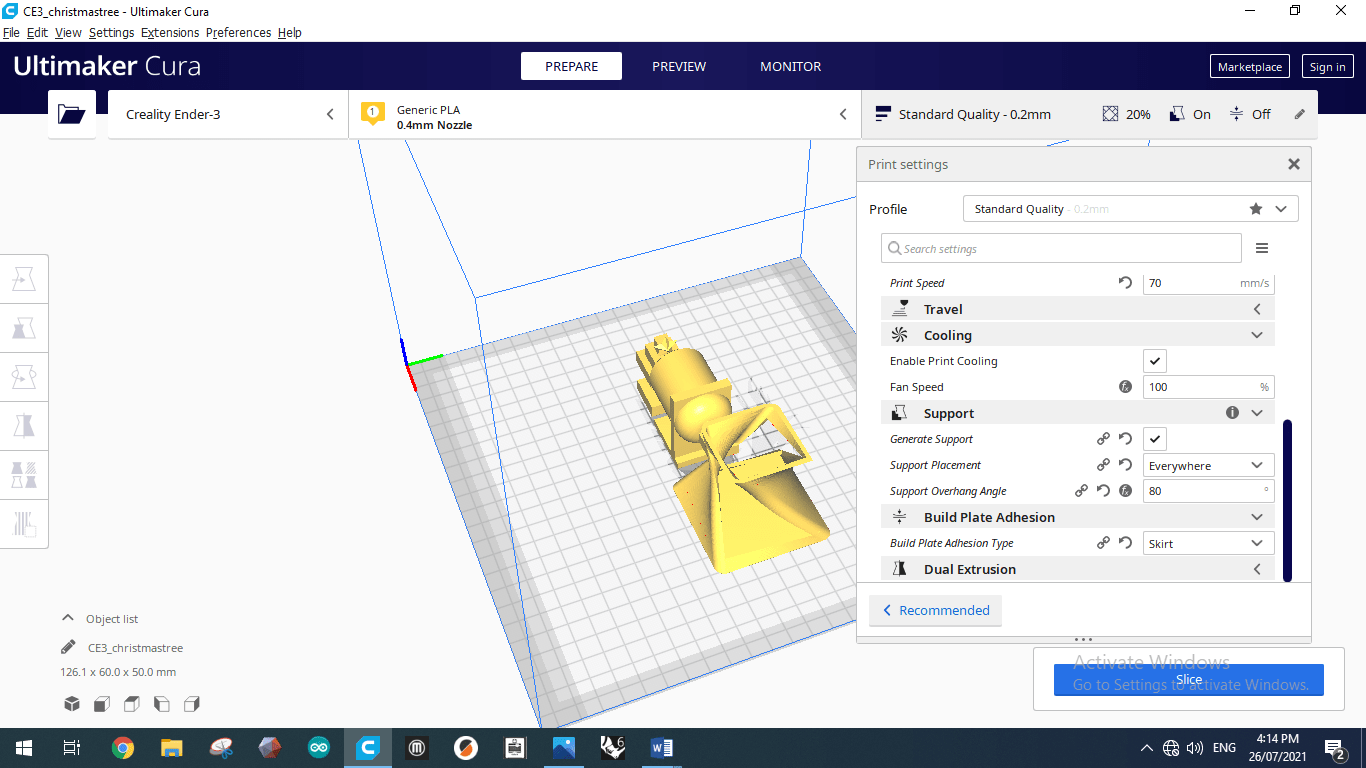
Next, the speed 70 mm/s and when we decrease it the quality will increase but decreasing it will increase the time consuming and so on. Cooling is about fan speed and this number is standers so we keep it.
Than, the support and it is means or talk about the shape that need somethings to support it because the machine can not print on the air the material will fall down. So we need some supports columns or any things to support the shape that the machine want to print it if it is up.
From this picture we can see there is a edge we need it to be strong to support the shape so we can increase the infill density to be higher. And this shape we do it to test how the machine that we used deal with angle, so we can see that the machine can deal with 80 degree otherwise it will not print.
After that, the printing and build plate (ped) temperature we talk about them previously.
Next, the speed 70 mm/s and when we decrease it the quality will increase but decreasing it will increase the time consuming and so on. Cooling is about fan speed and this number is standers so we keep it.
Than, the support and it is means or talk about the shape that need somethings to support it because the machine can not print on the air the material will fall down. So we need some supports columns or any things to support the shape that the machine want to print it if it is up.
Finally, the build plate adhesion type. I will talk about two types skirt and raft.
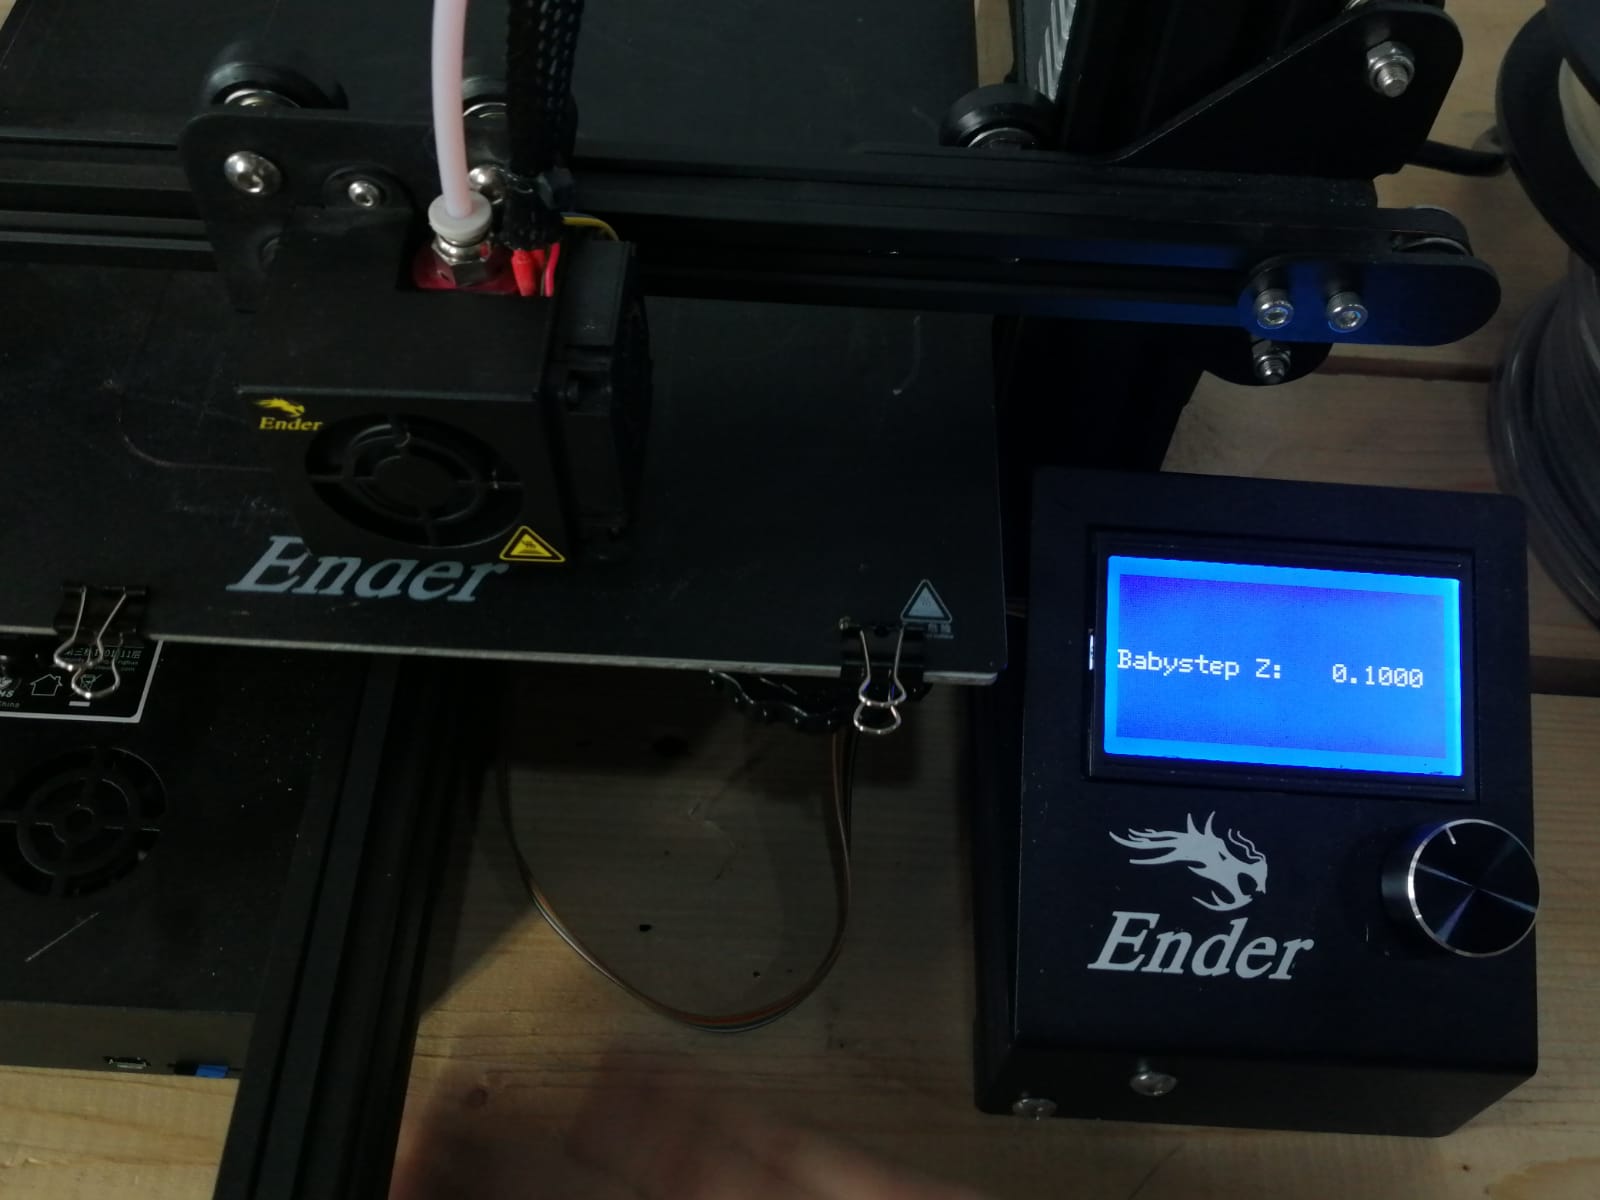 skirt that is means the machine or nozzle works and draw a line around the shapes that we want to print them first to consume or to git ride of the material still inside the nozzle because if we start printing without do this the malted material still inside the nozzle will dripping and ruin the shapes. And if we start skirt we can see from the interface show us or call it babysteps. Raft means when the machine printing it is print with layers until it is complete the shapes.
Second Session start at 27/07/2021
How I Got The Shape From The Machine
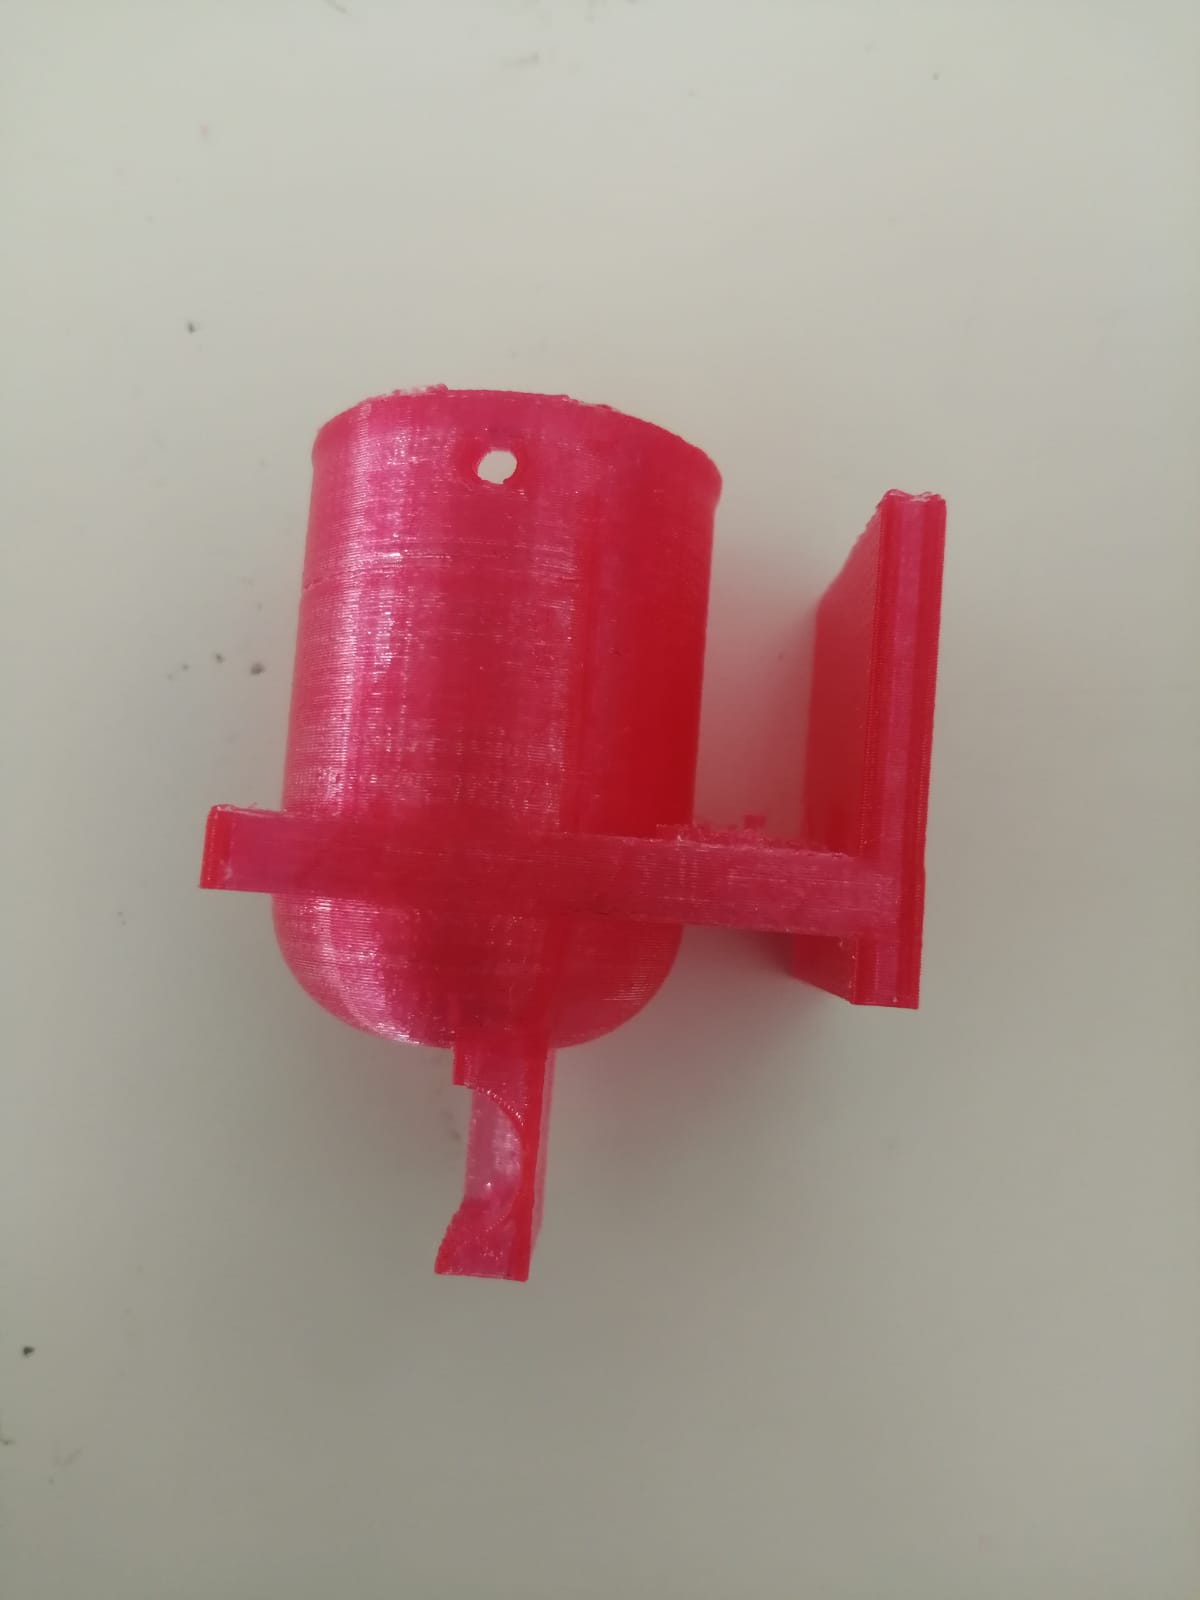
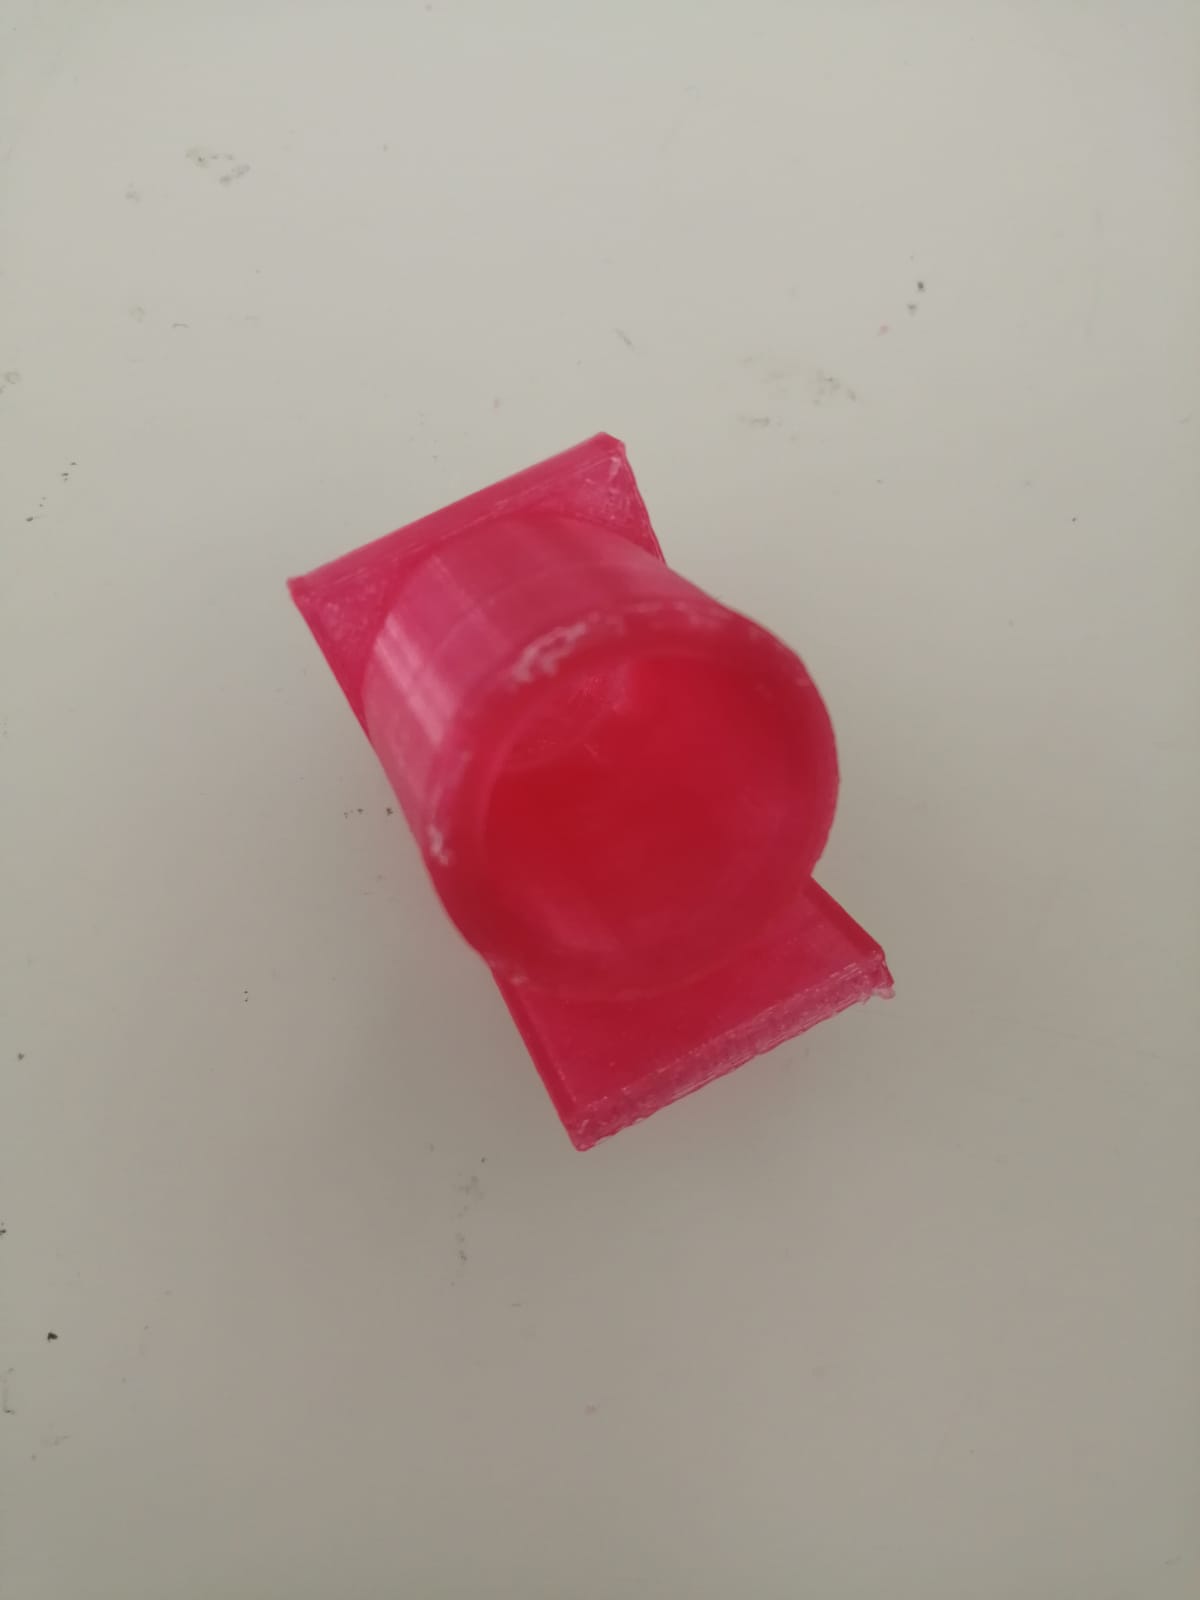
Finally, I got this shape from the machine, But it doesn’t look like my shape that I made it using Fusion 360. And you can go back and see it about I talk about how I made it or design it with details.
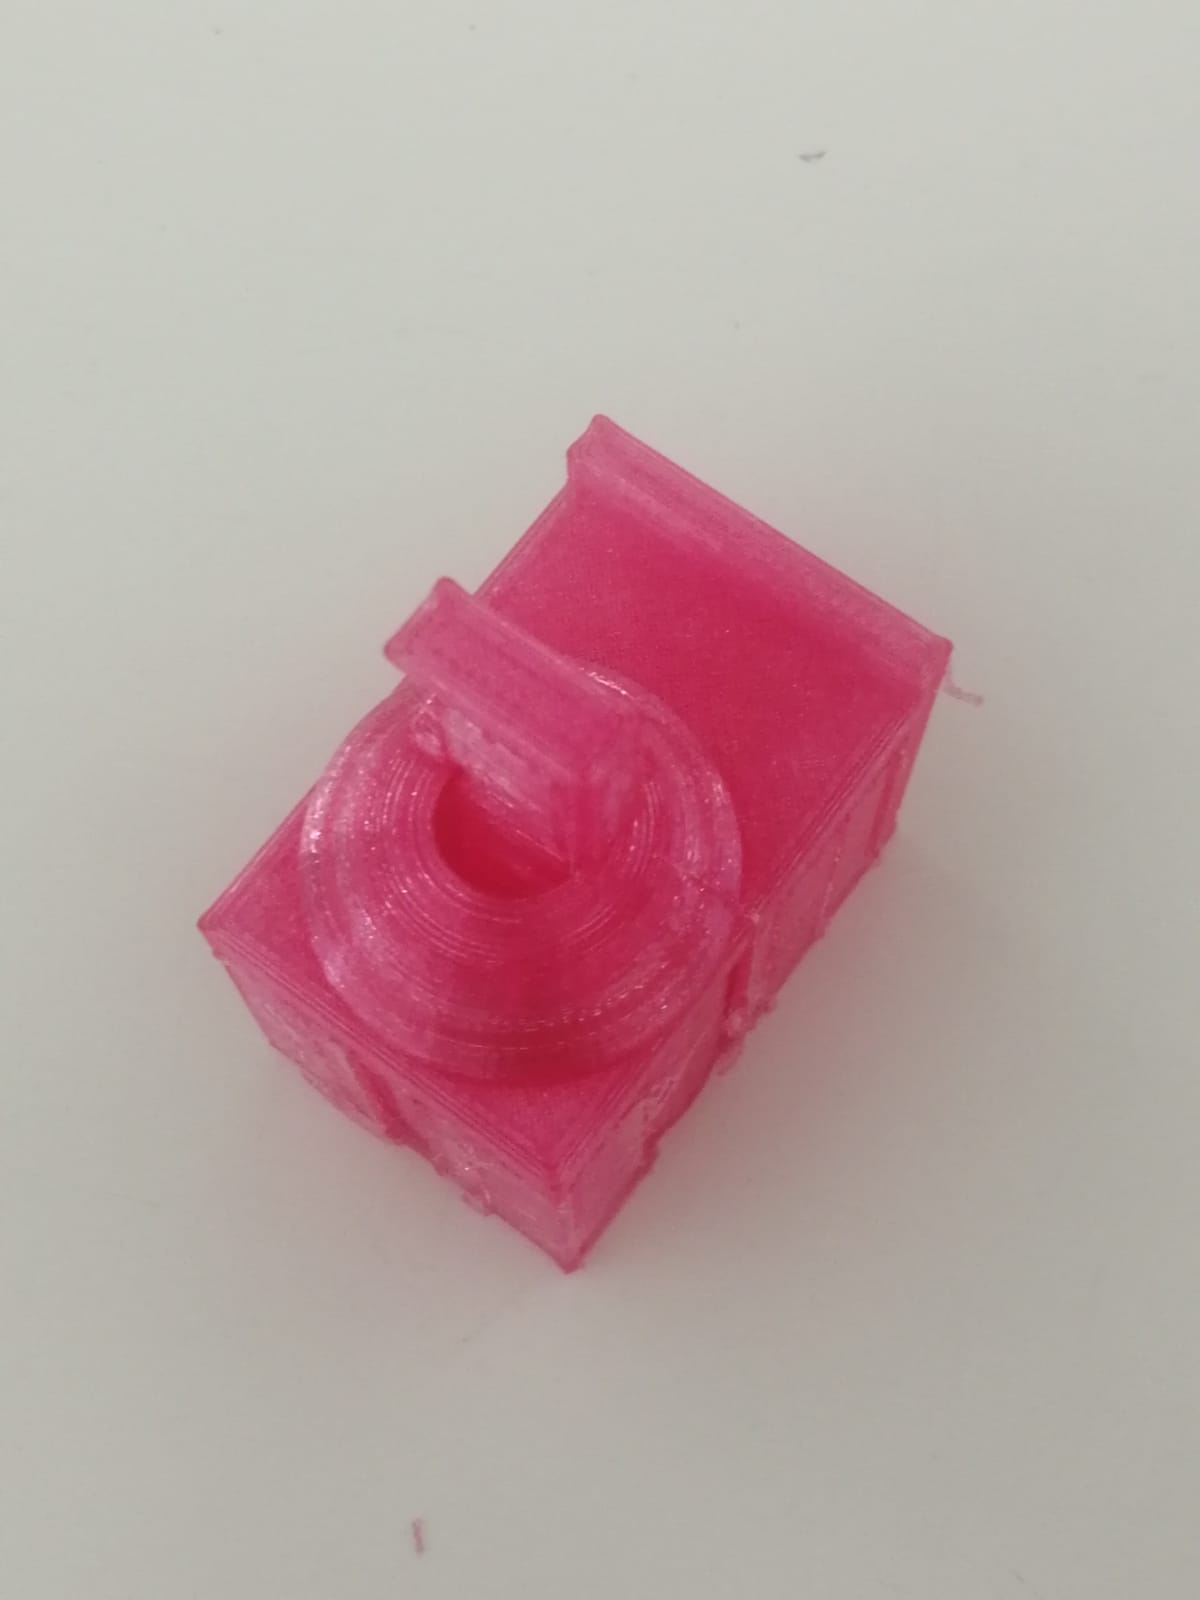
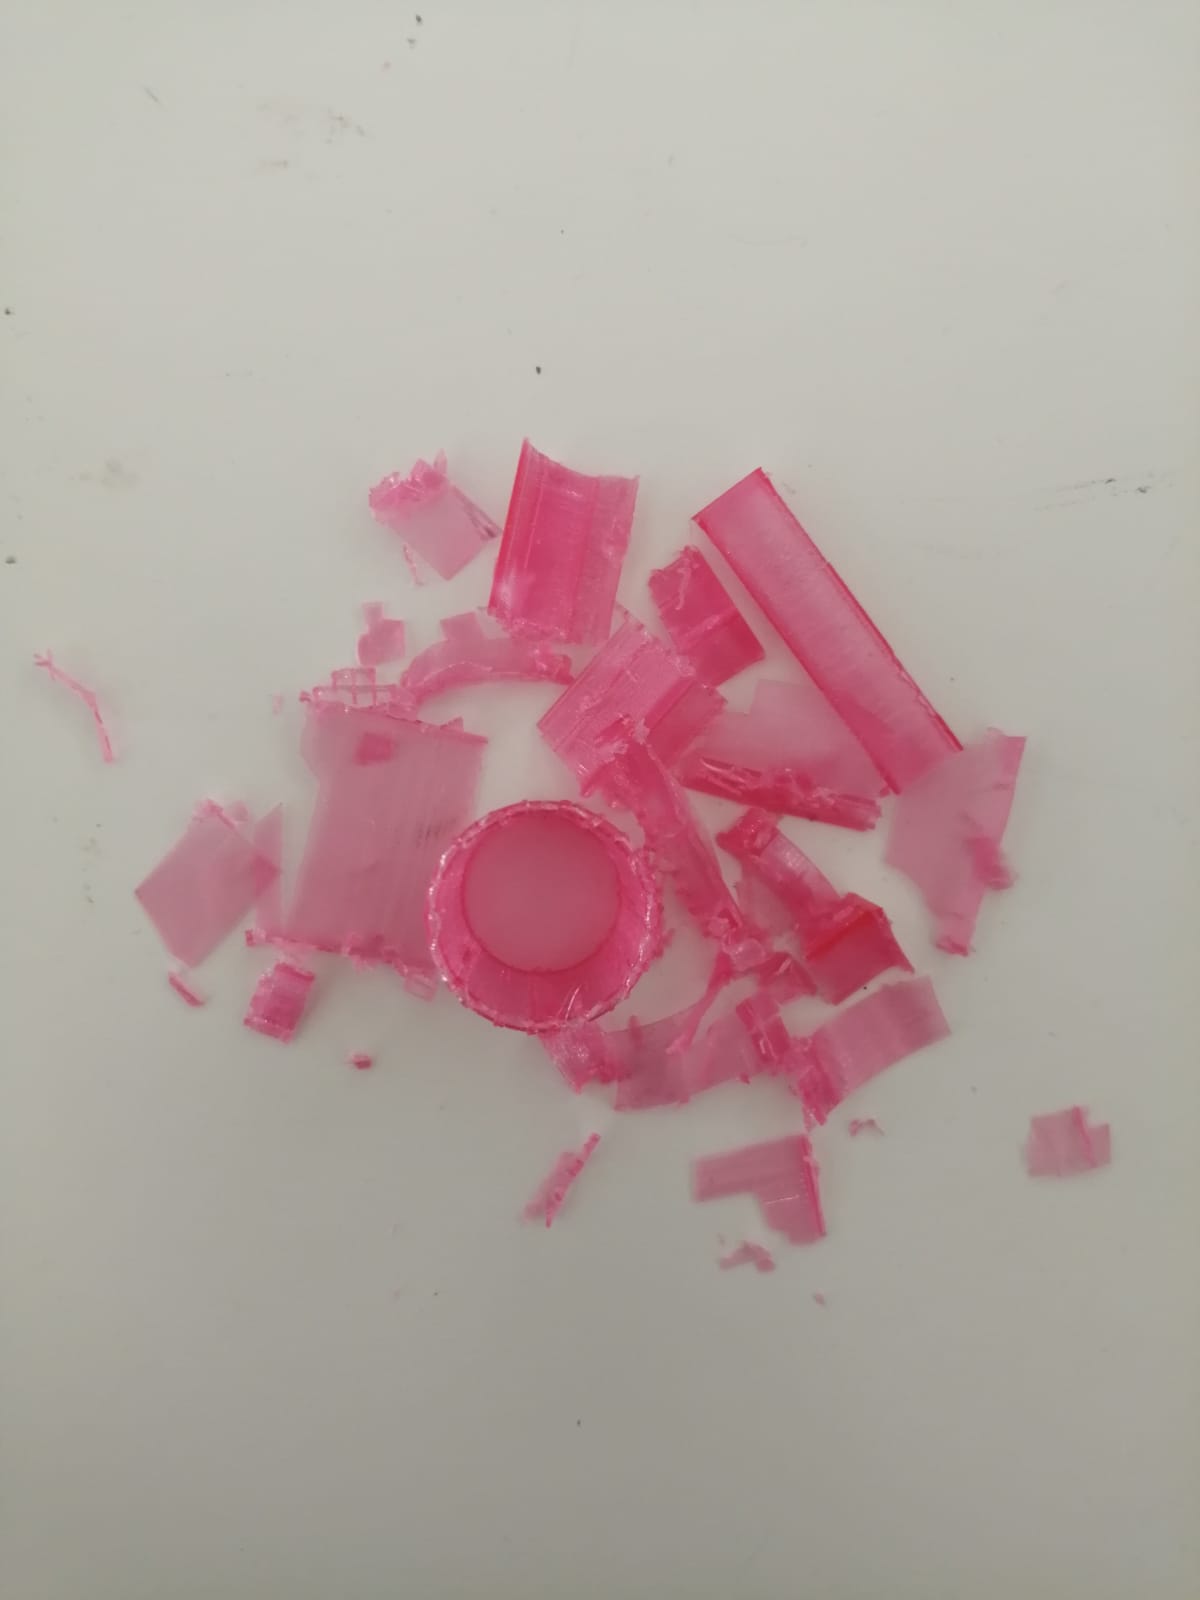
 At the end I conclude that they are the support that the machine put them that it can made or print my design. So I start remove them.
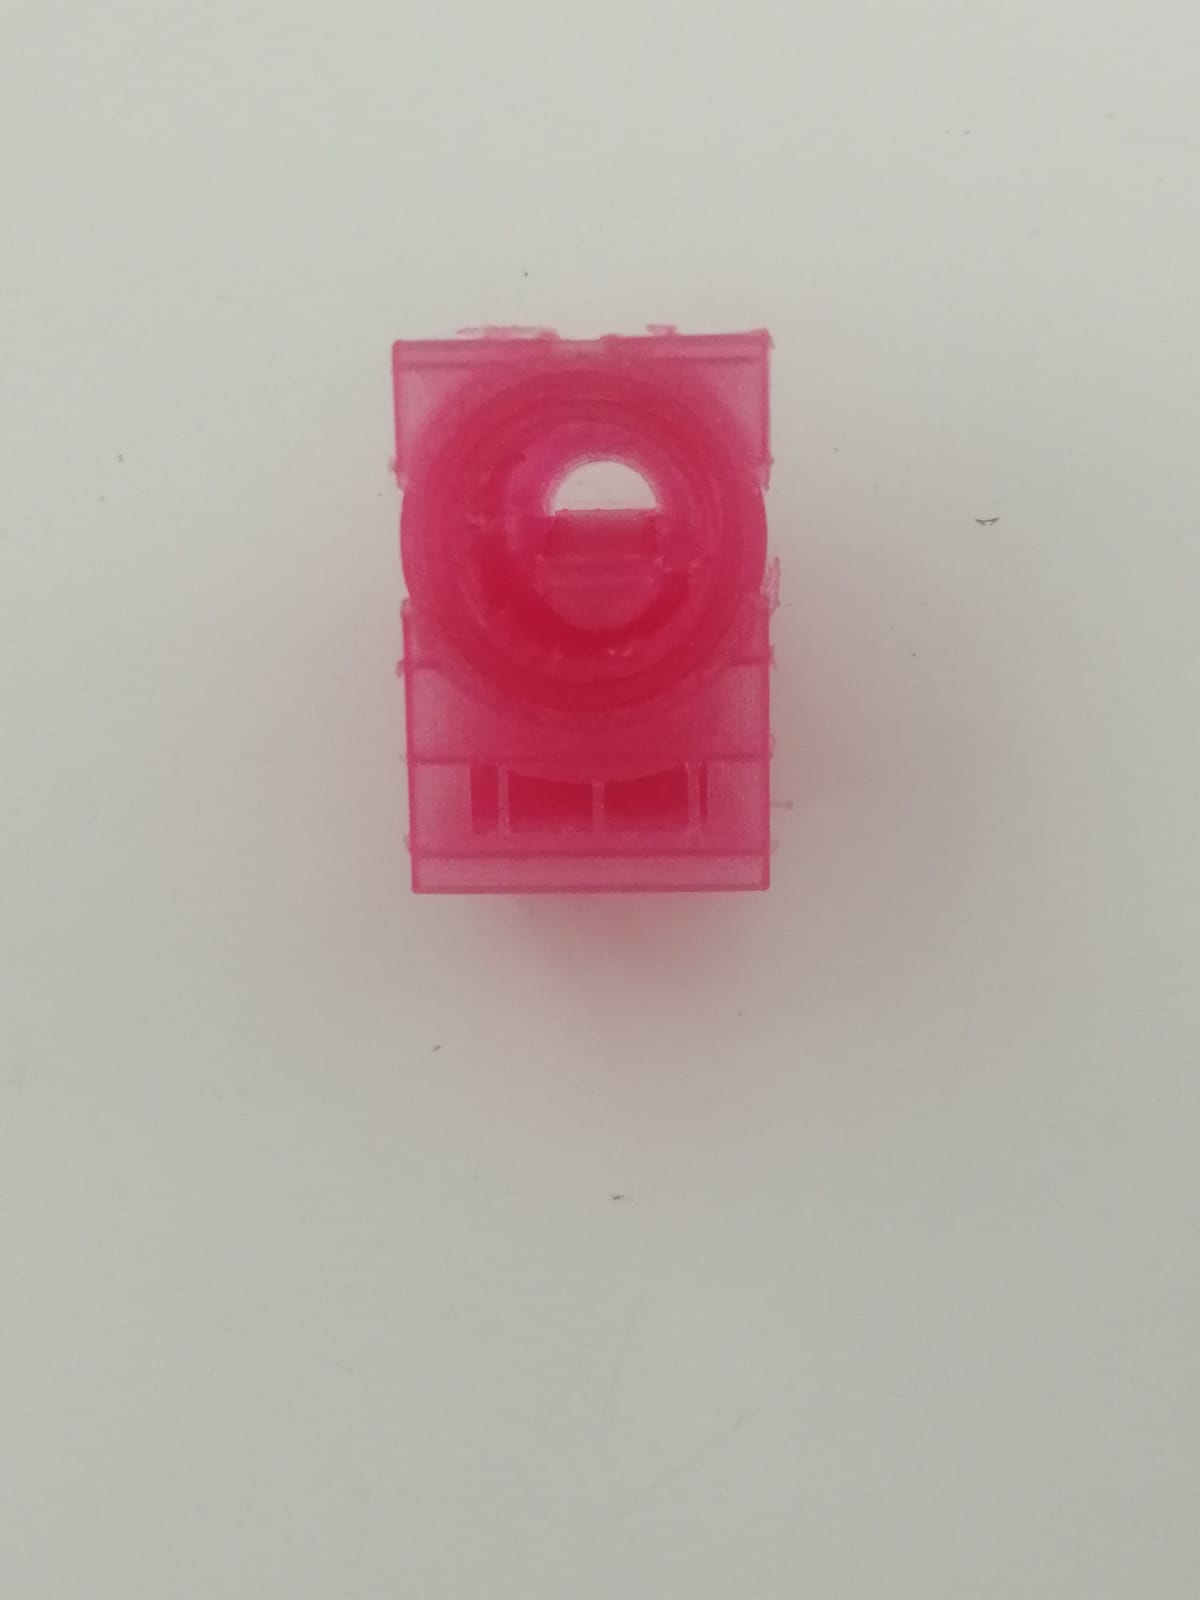
 And finally got my shape and it is look like what have I done In Fusion 360