8. Moulding and Casting
This week at 15/08/2021 I start work on moulding and casting. So I start work on milling machine and try to do casting using several type of material.
Moulding:
1- Do mould using Fusion 360:
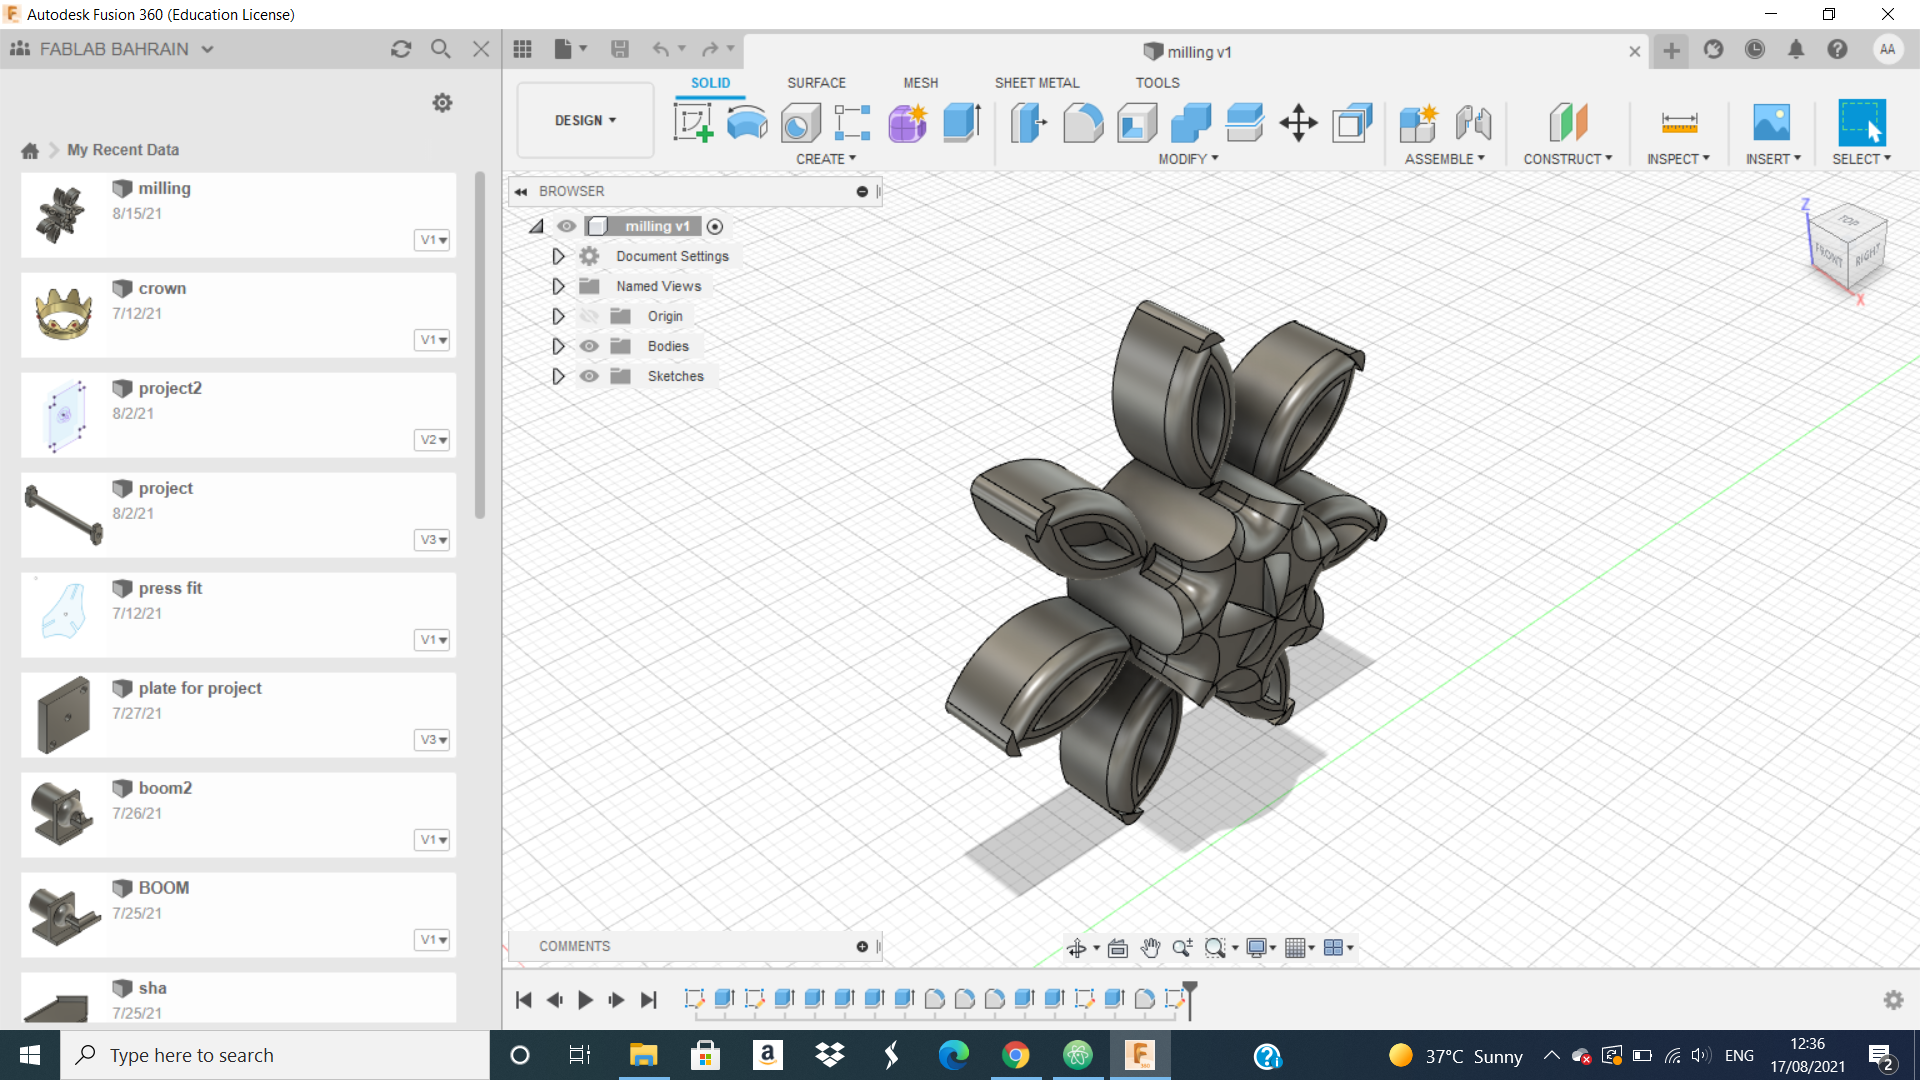
First thing we should do is to make a design for our mould using the 3D software program. I start use Fusion 360 because this is the program that I used to use it in the FAB program and this is how my design looks like.
2- Do My Mould Using The Milling Machine
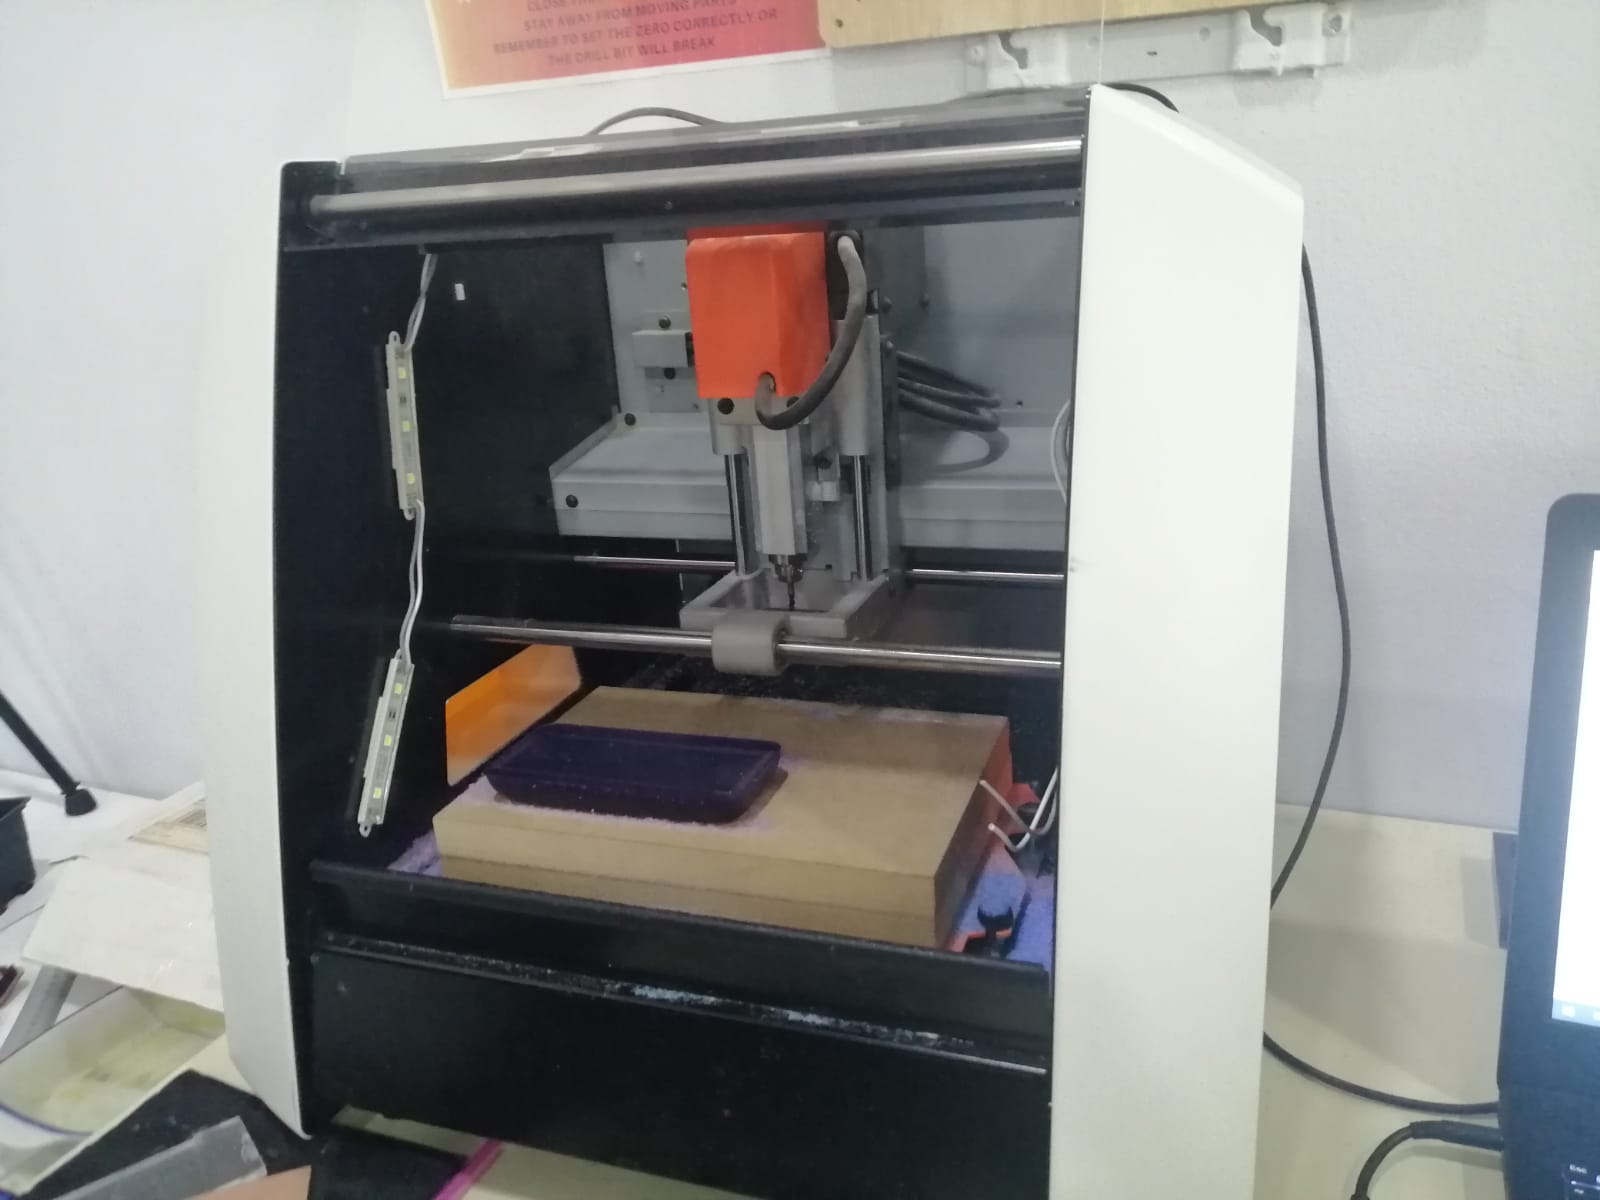
The milling machine:
We should go and export the design from Fusion 360 to STL file
 then I send it to the computer or laptop that connected to the milling machine that they look like this:
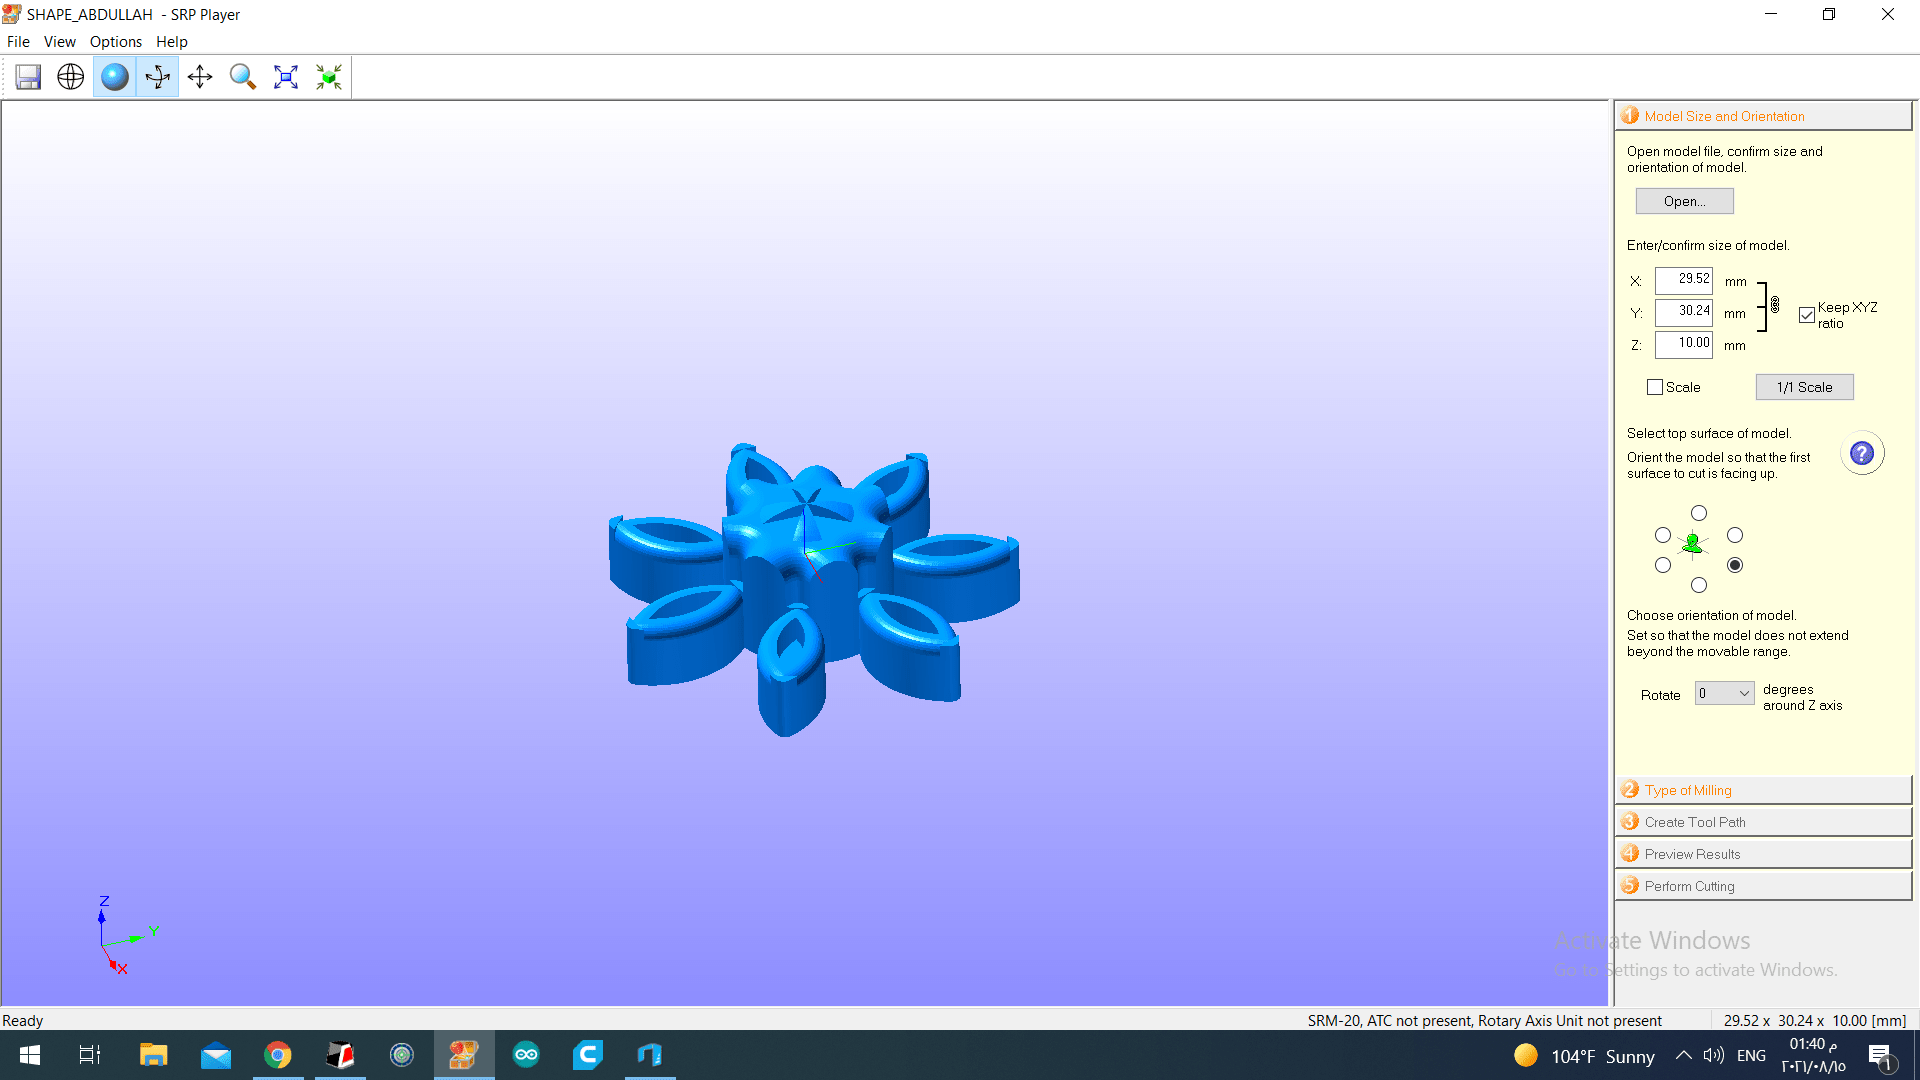
 And we upload the file to SPR Player program that we can control the machine from it. And the design will look like this on the program:
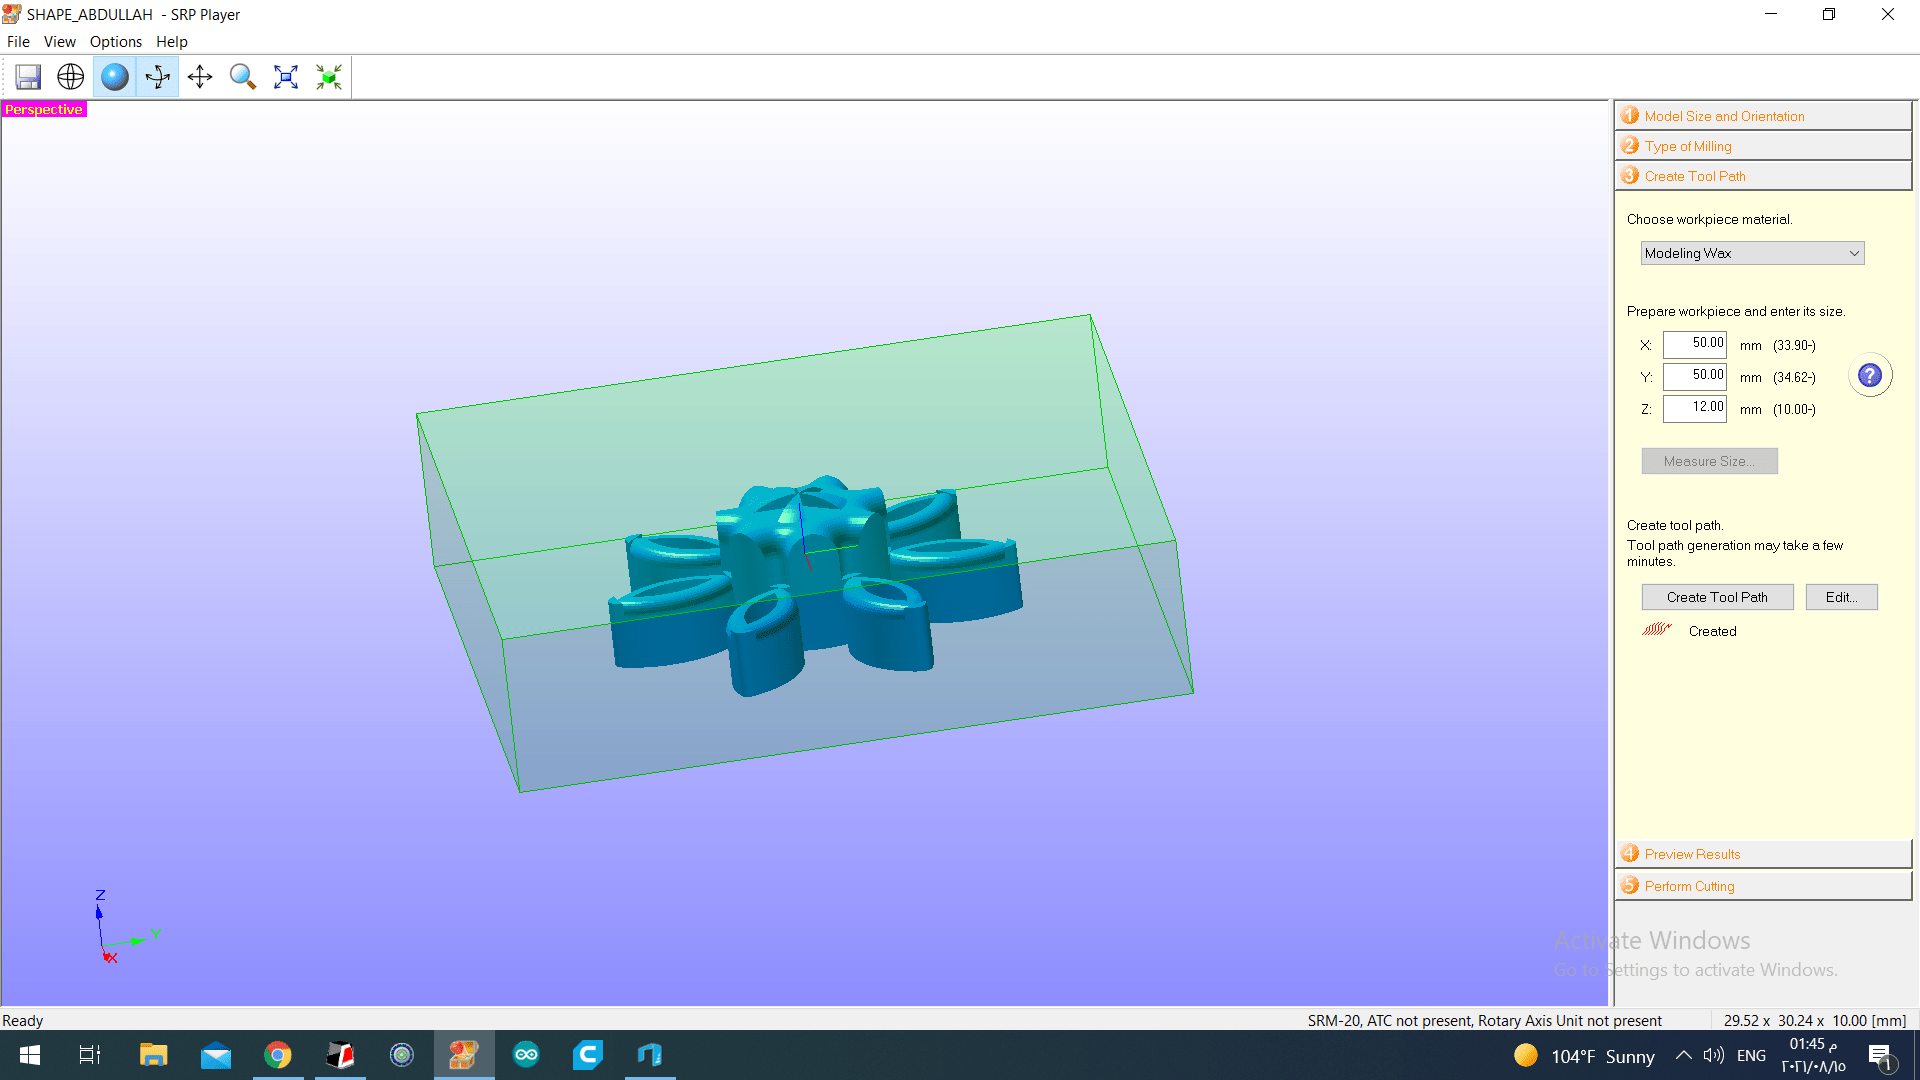
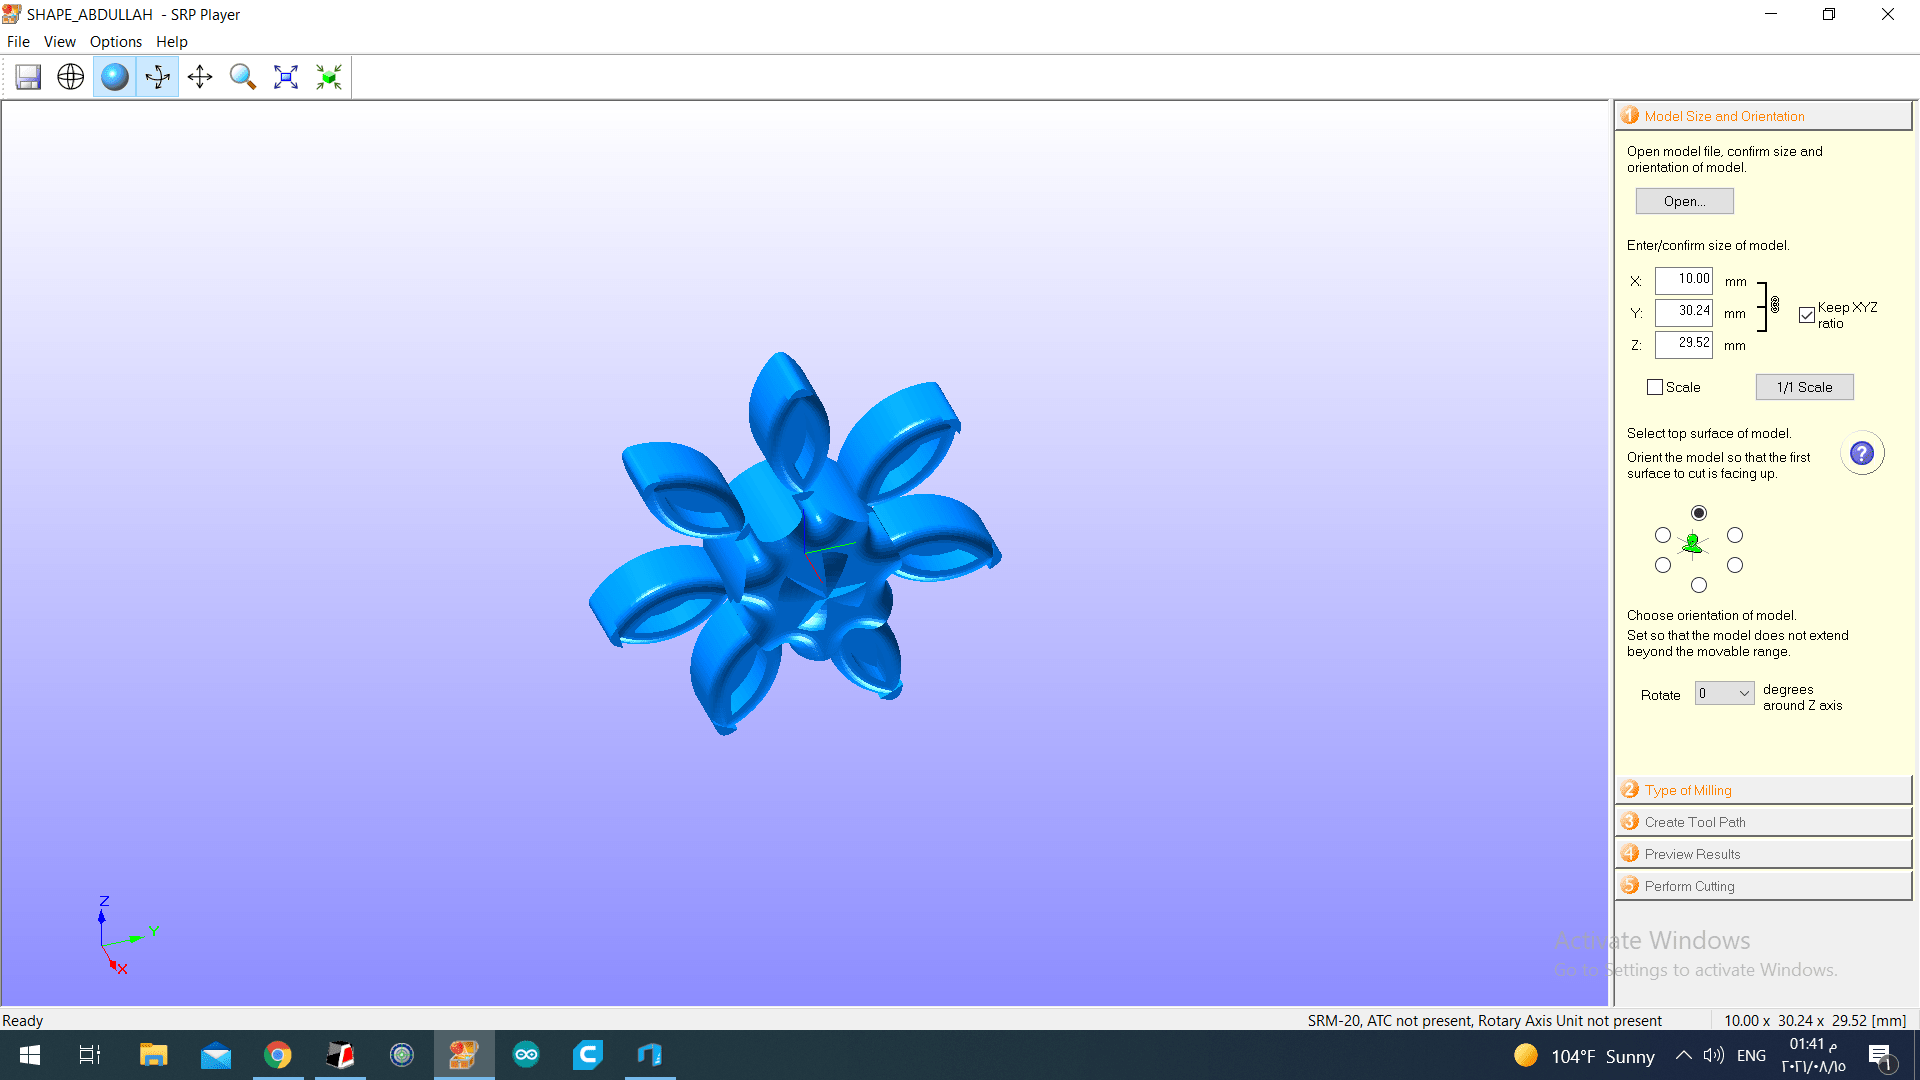 We can see at the right 5 option and every option has many choices that we need to set them to control the machine for cut our design or make our mould. We can see the axises of our design and we should put them in the correct way depending on the dimension of the plate that we will cut it or use it in the milling machine.
 And this plate can accommodate an volume equal 606015 mm approximately, so we should make our design smaller than this size. Then I rotate the design on the appropriate way.
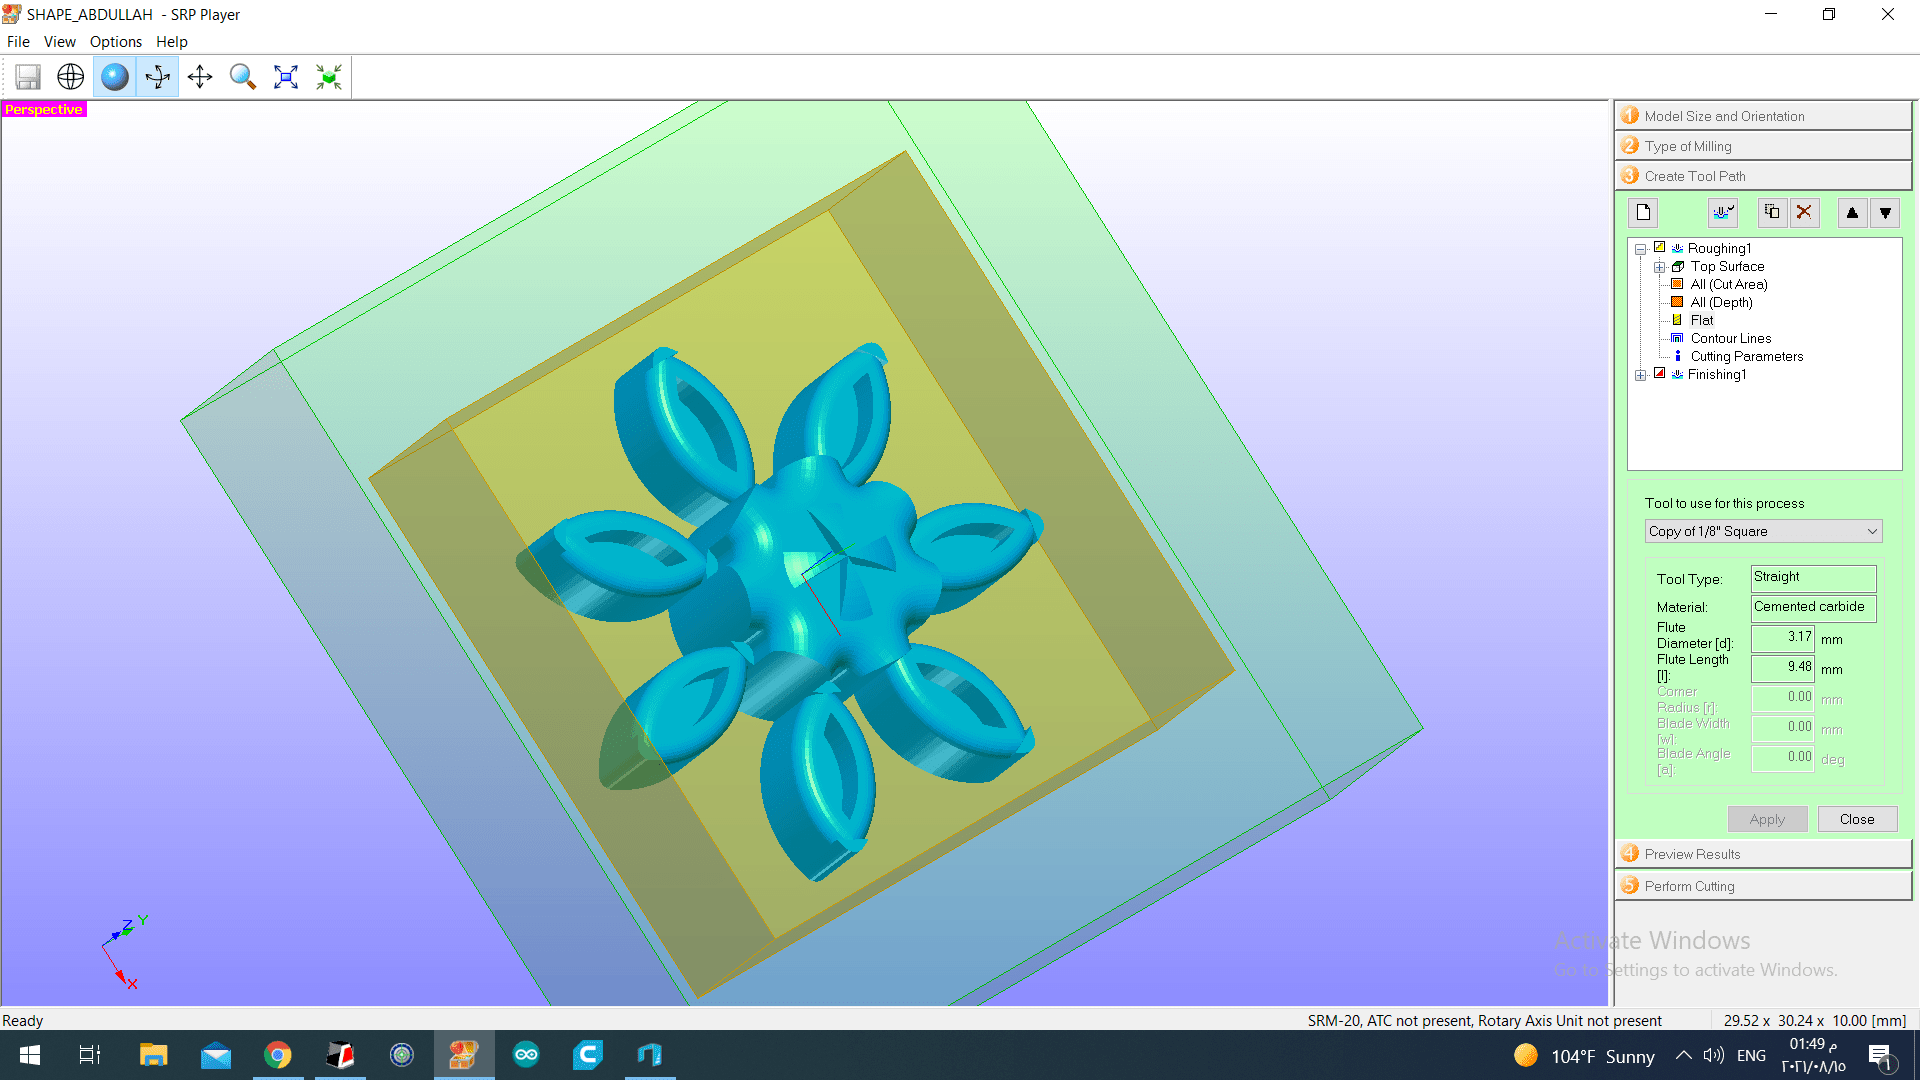
 After that I click on the second option Type of milling and choose the appropriate choices depending on the design that I made it.
 First, I choose better surface finish that I need it on my design and this will give me more smooth surface and increase the quality of it.
Then, because my design has many curved surfaces or shapes so I select model with many curved surfaces choice.
After that, because I need the machine to cut only the top I will not work on the bottom side I select cut top only choice.
The third option Create tool path we choose from it the size of the workpiece or the surraionding area of the design that make a cavity foe the casting.
First, I choose better surface finish that I need it on my design and this will give me more smooth surface and increase the quality of it.
Then, because my design has many curved surfaces or shapes so I select model with many curved surfaces choice.
After that, because I need the machine to cut only the top I will not work on the bottom side I select cut top only choice.
The third option Create tool path we choose from it the size of the workpiece or the surraionding area of the design that make a cavity foe the casting.
 We can click on edit that we can from it change some parameters. One of these parameters is the dimension of the drill pit.
 And this window show us the parameters of the drill pit that we can choose it depending in need of the design. also we have a several size of the drill pit.
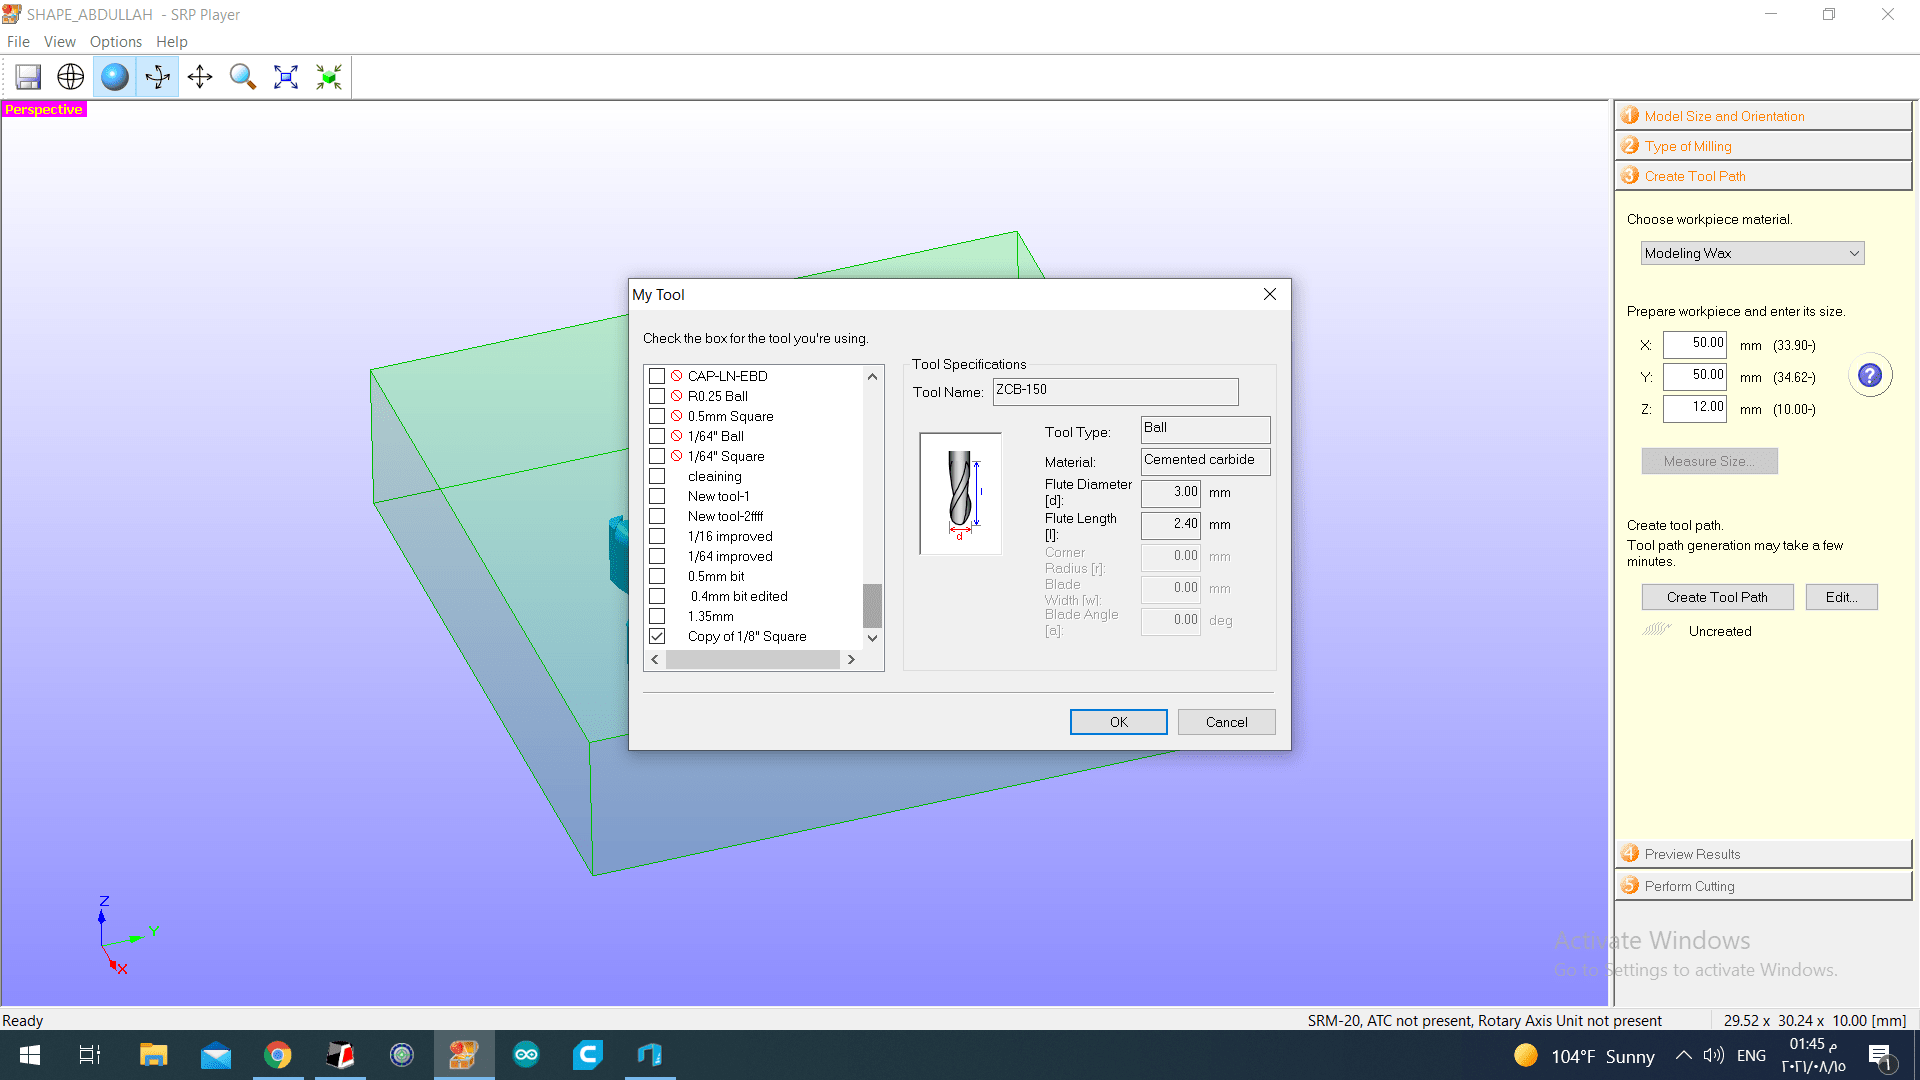 Also we have a several size of the drill pit.
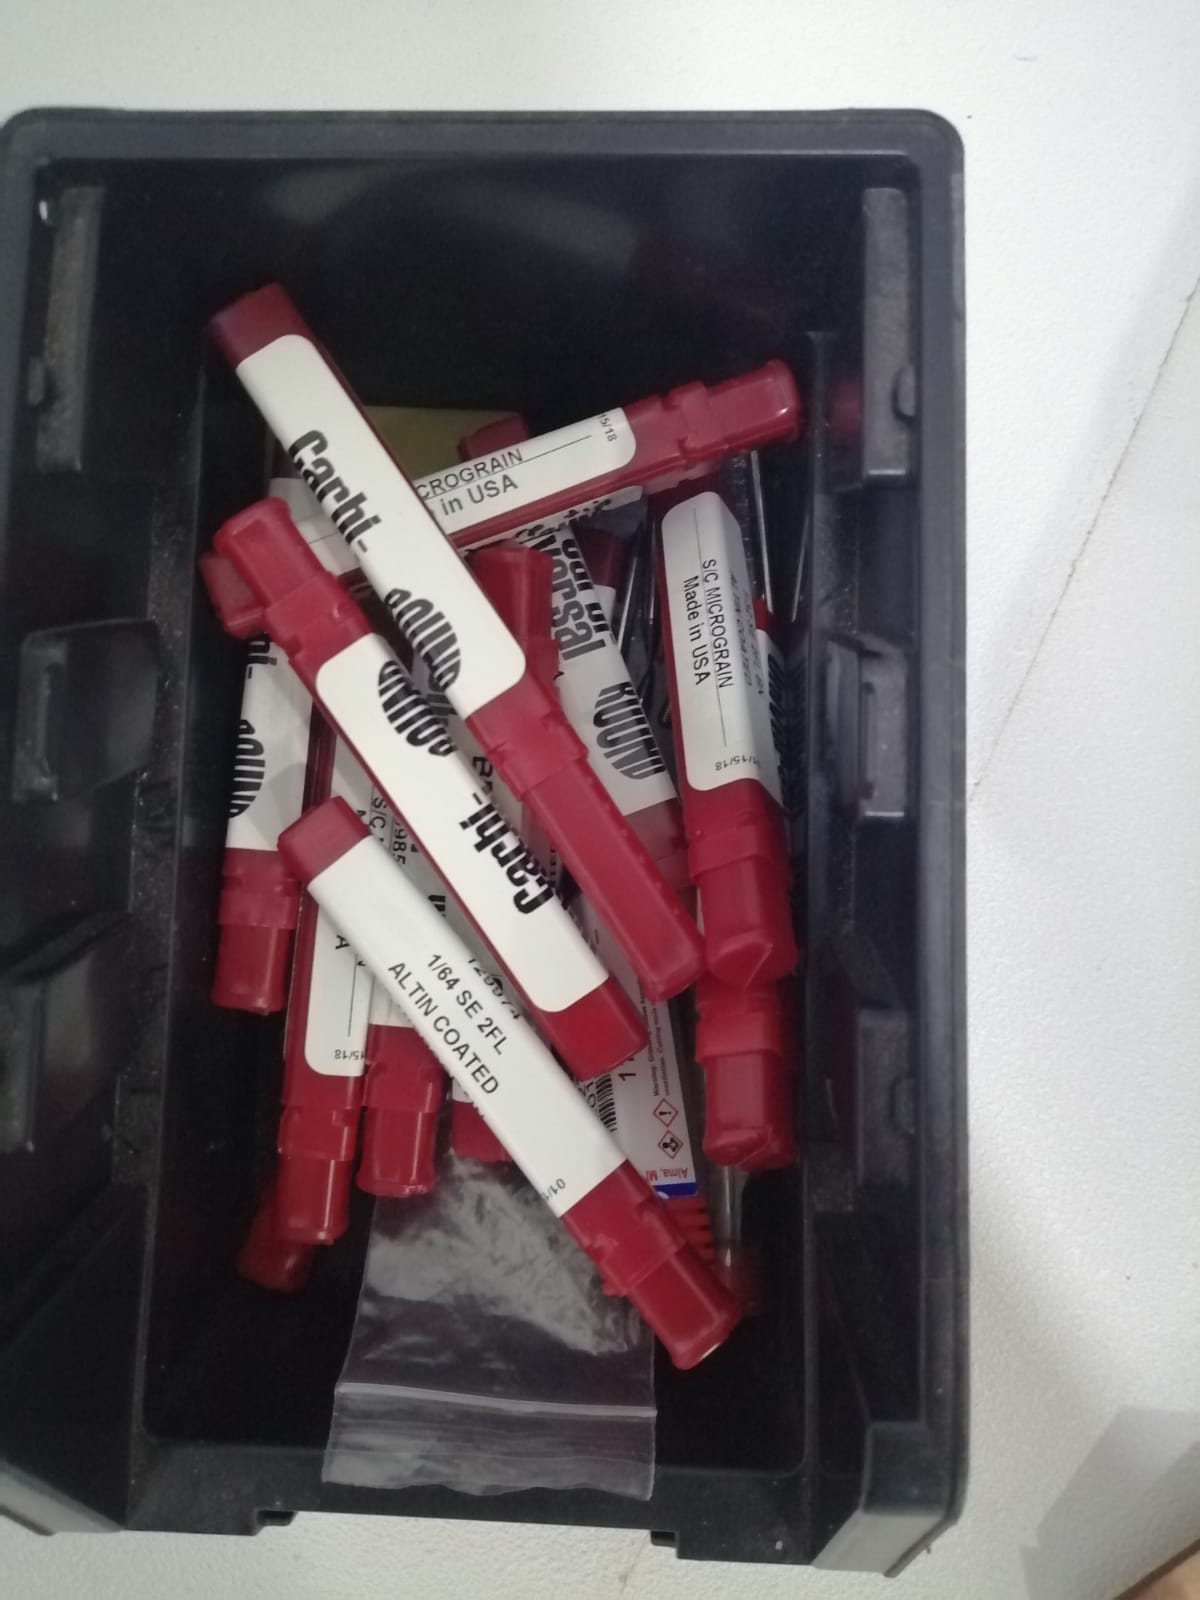
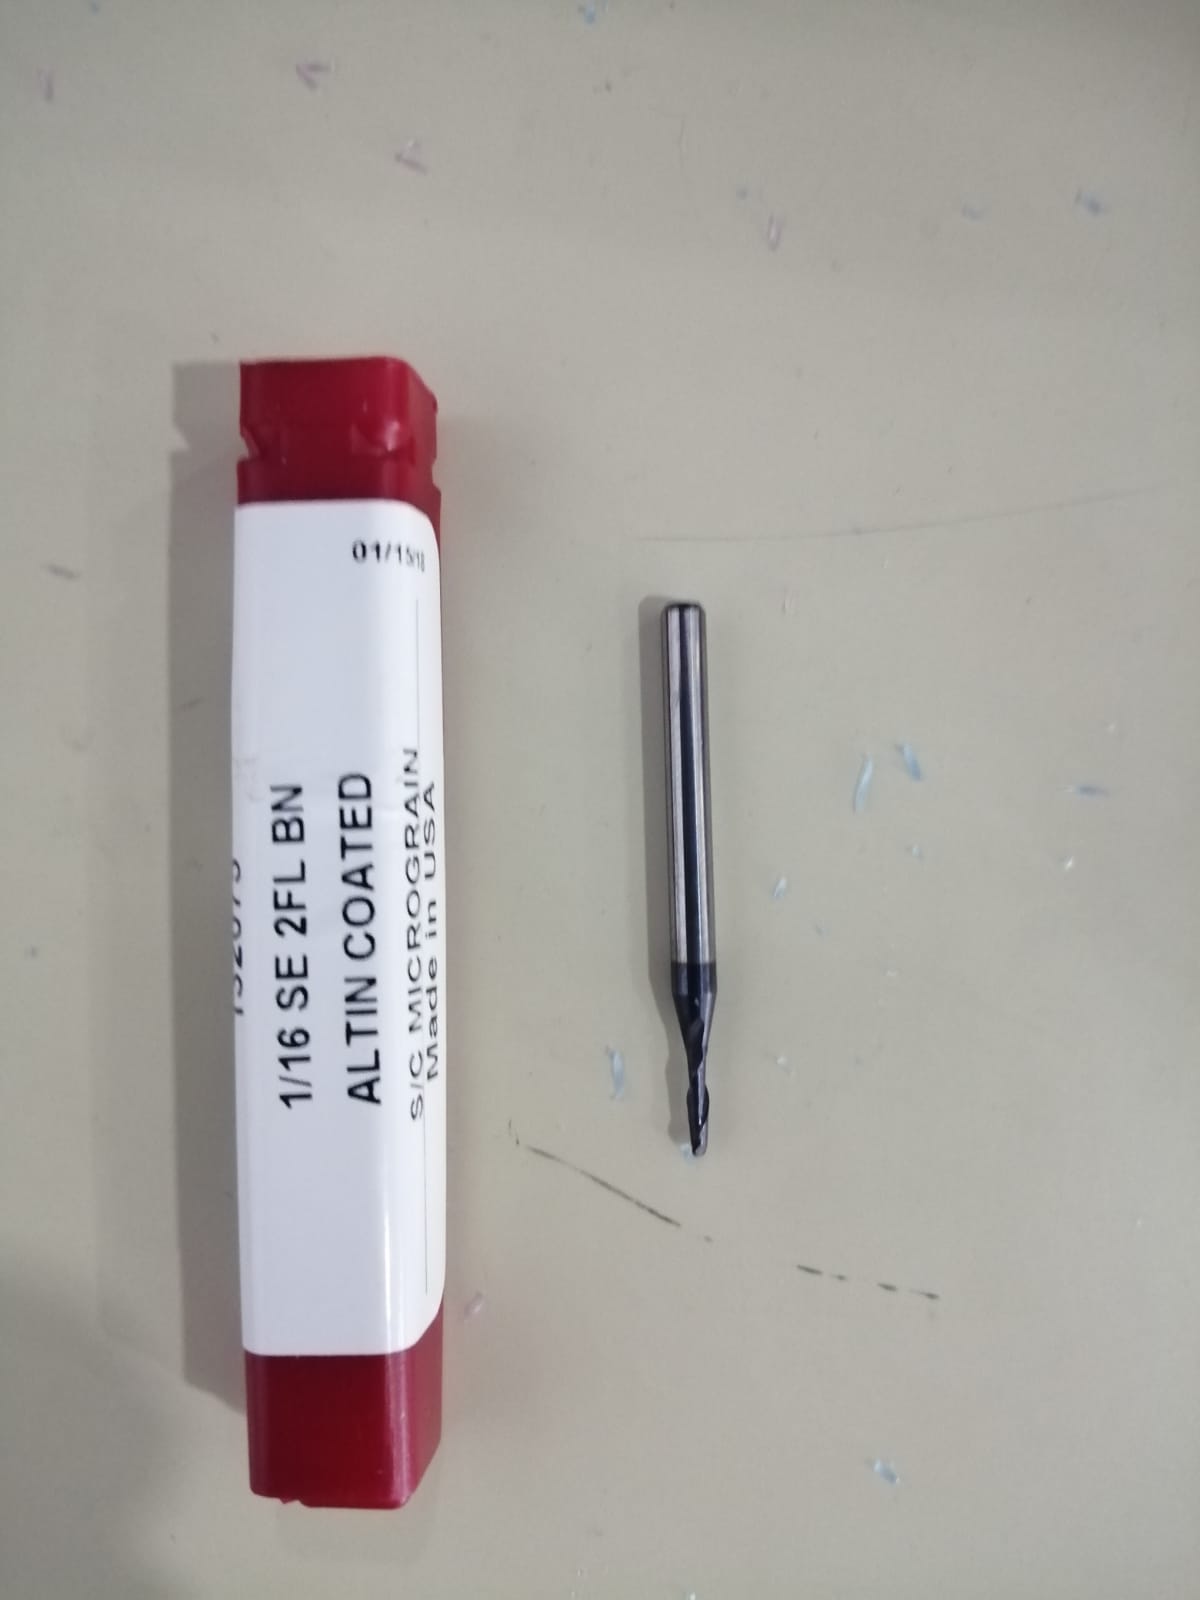
I choose to use two drill bit to complete my design
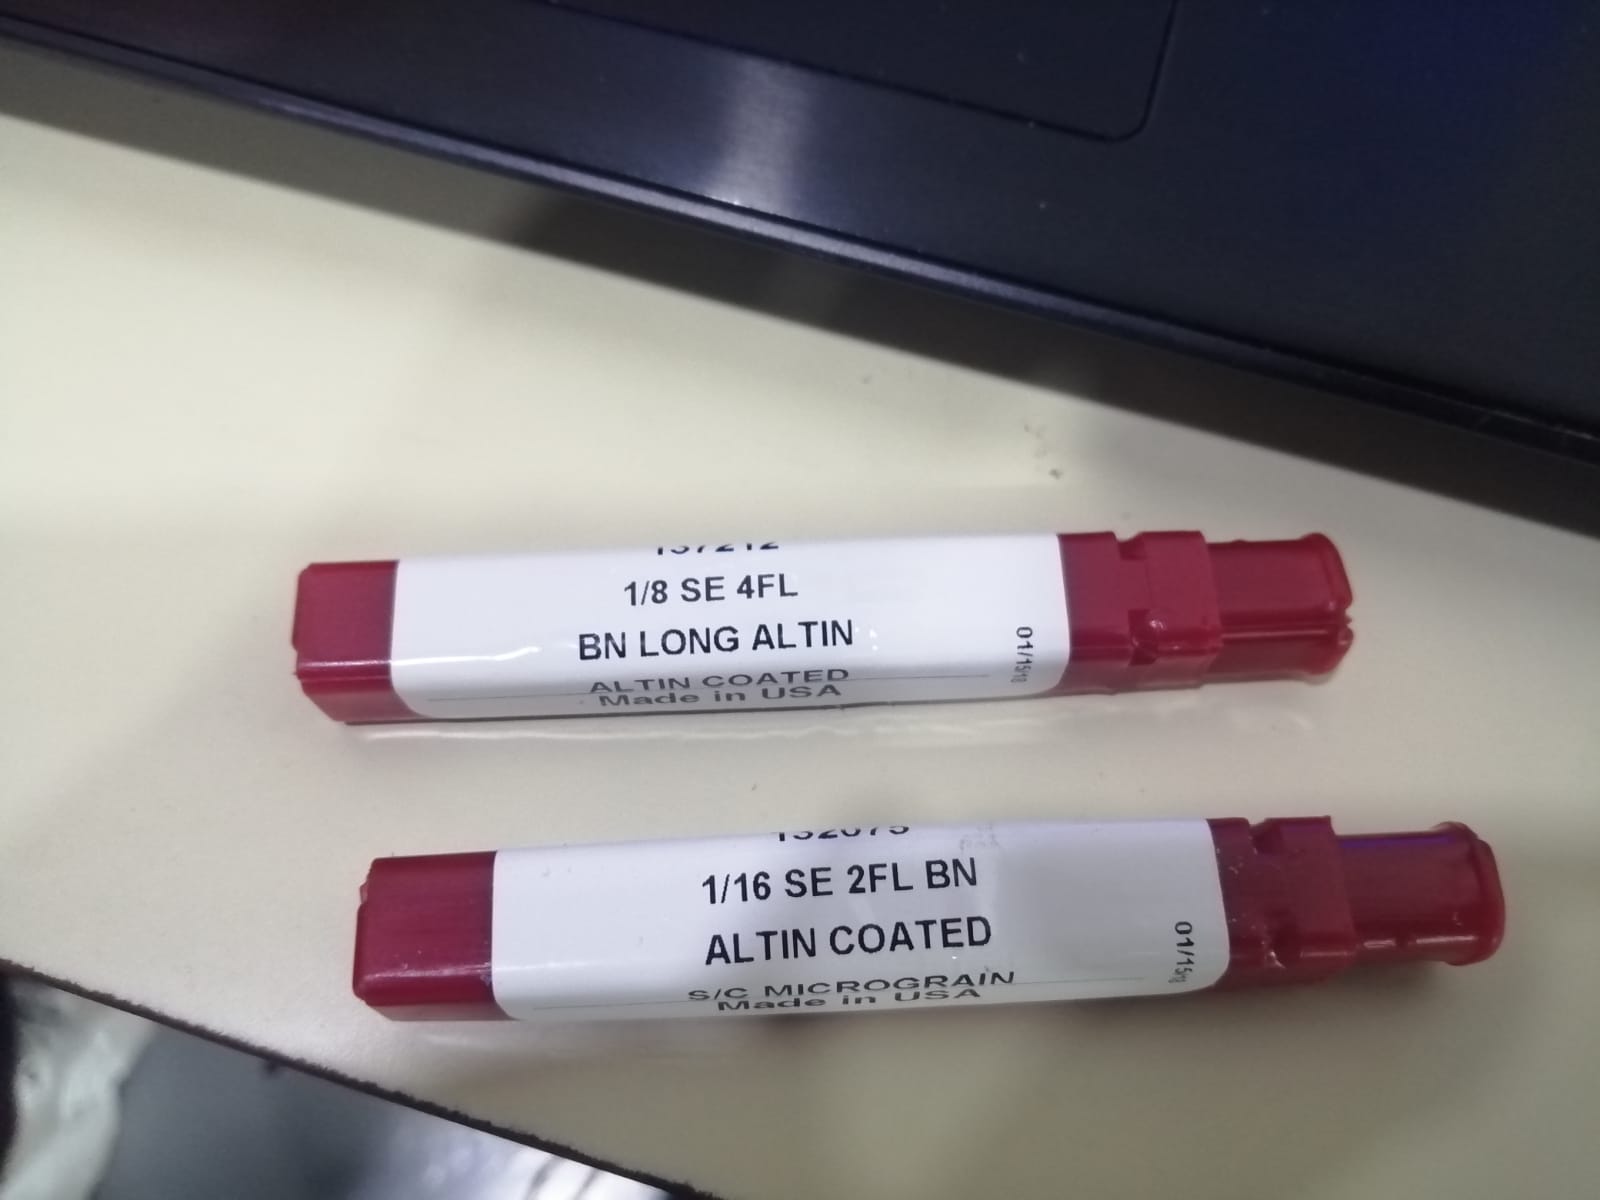 the larger one to do the roughing process and the smaller one for finishing process. And we choose the drill bit to be larger that can decrease the time the machine needed to finish the whole processes. Then, for finishing the design to get a smooth surface we choose a smaller drill bit. I do test to see if this is true or not, so first I put 1/8 in drill pit for the both processes and get this time that the machine need it to make the design.
 But when I change and put 1/8 in drill pit for roughing and 1/16 in for finishing the time decreases to half.
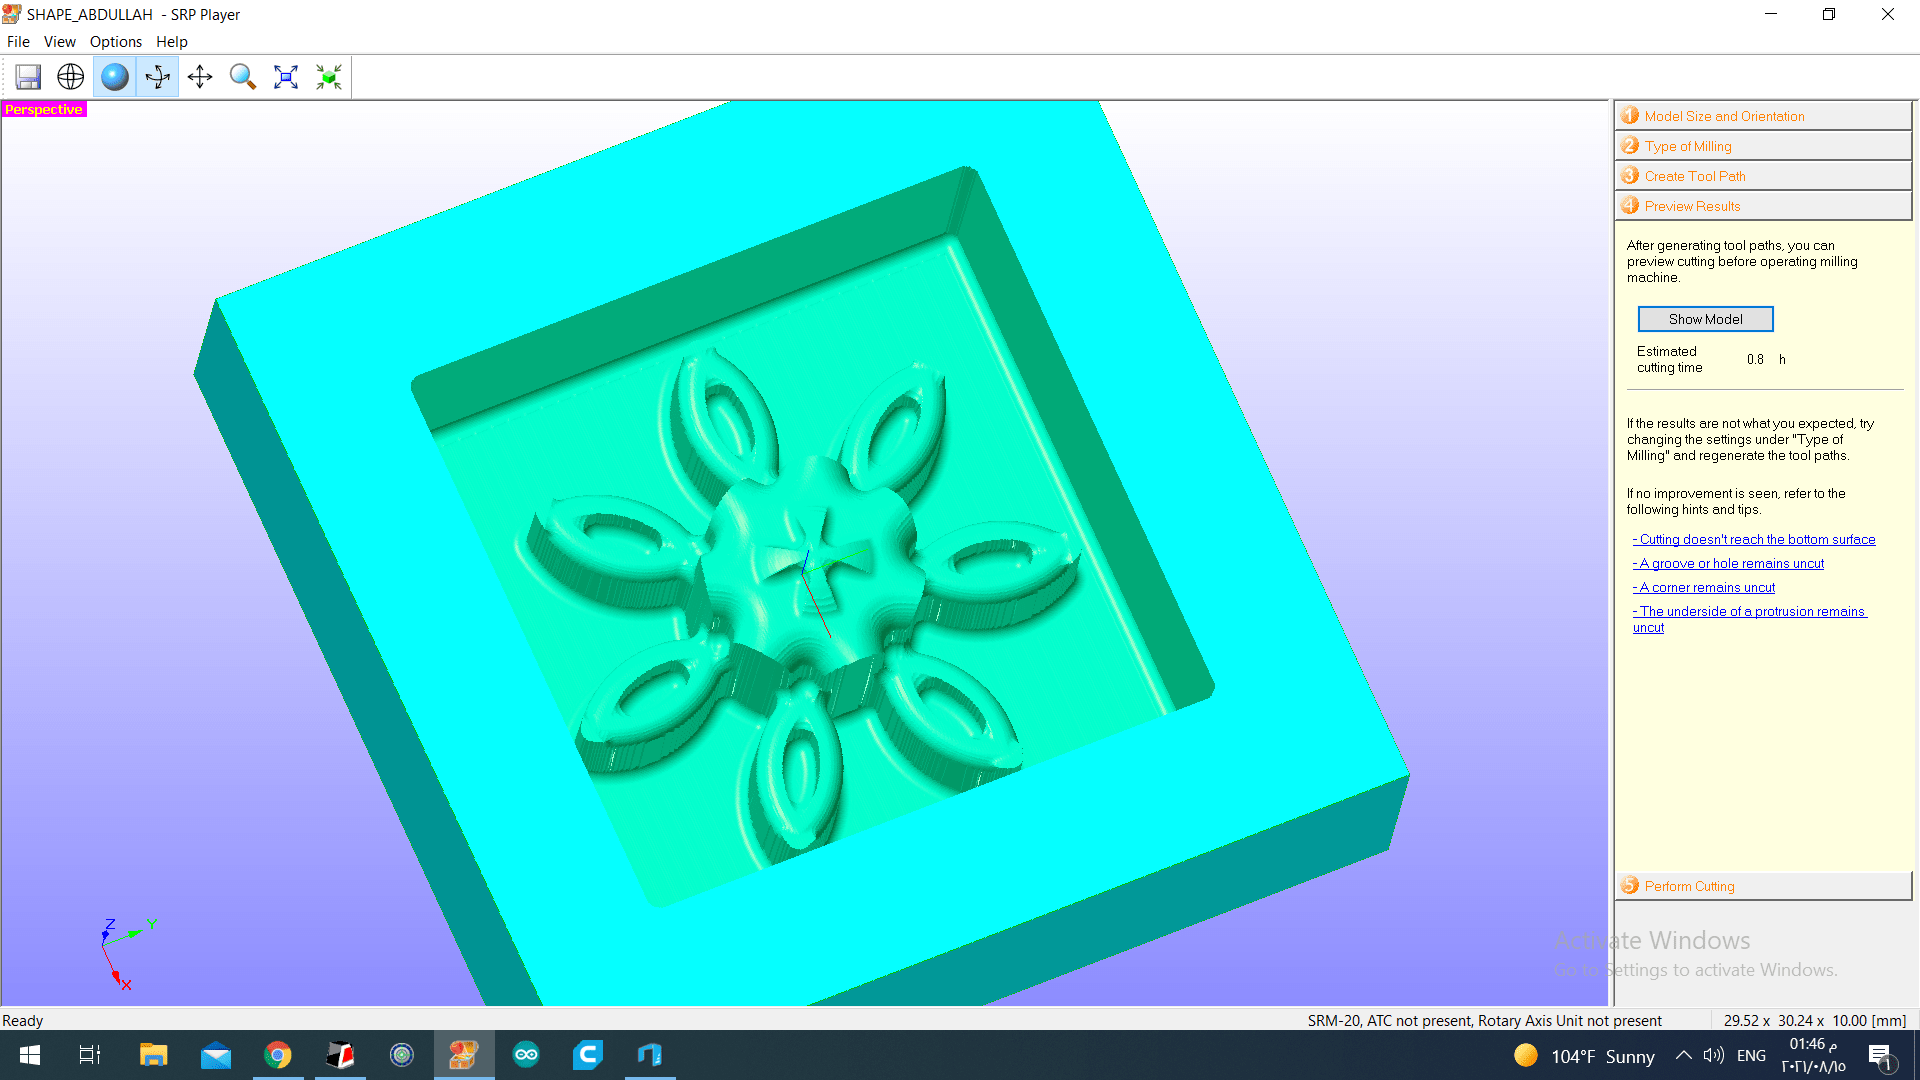
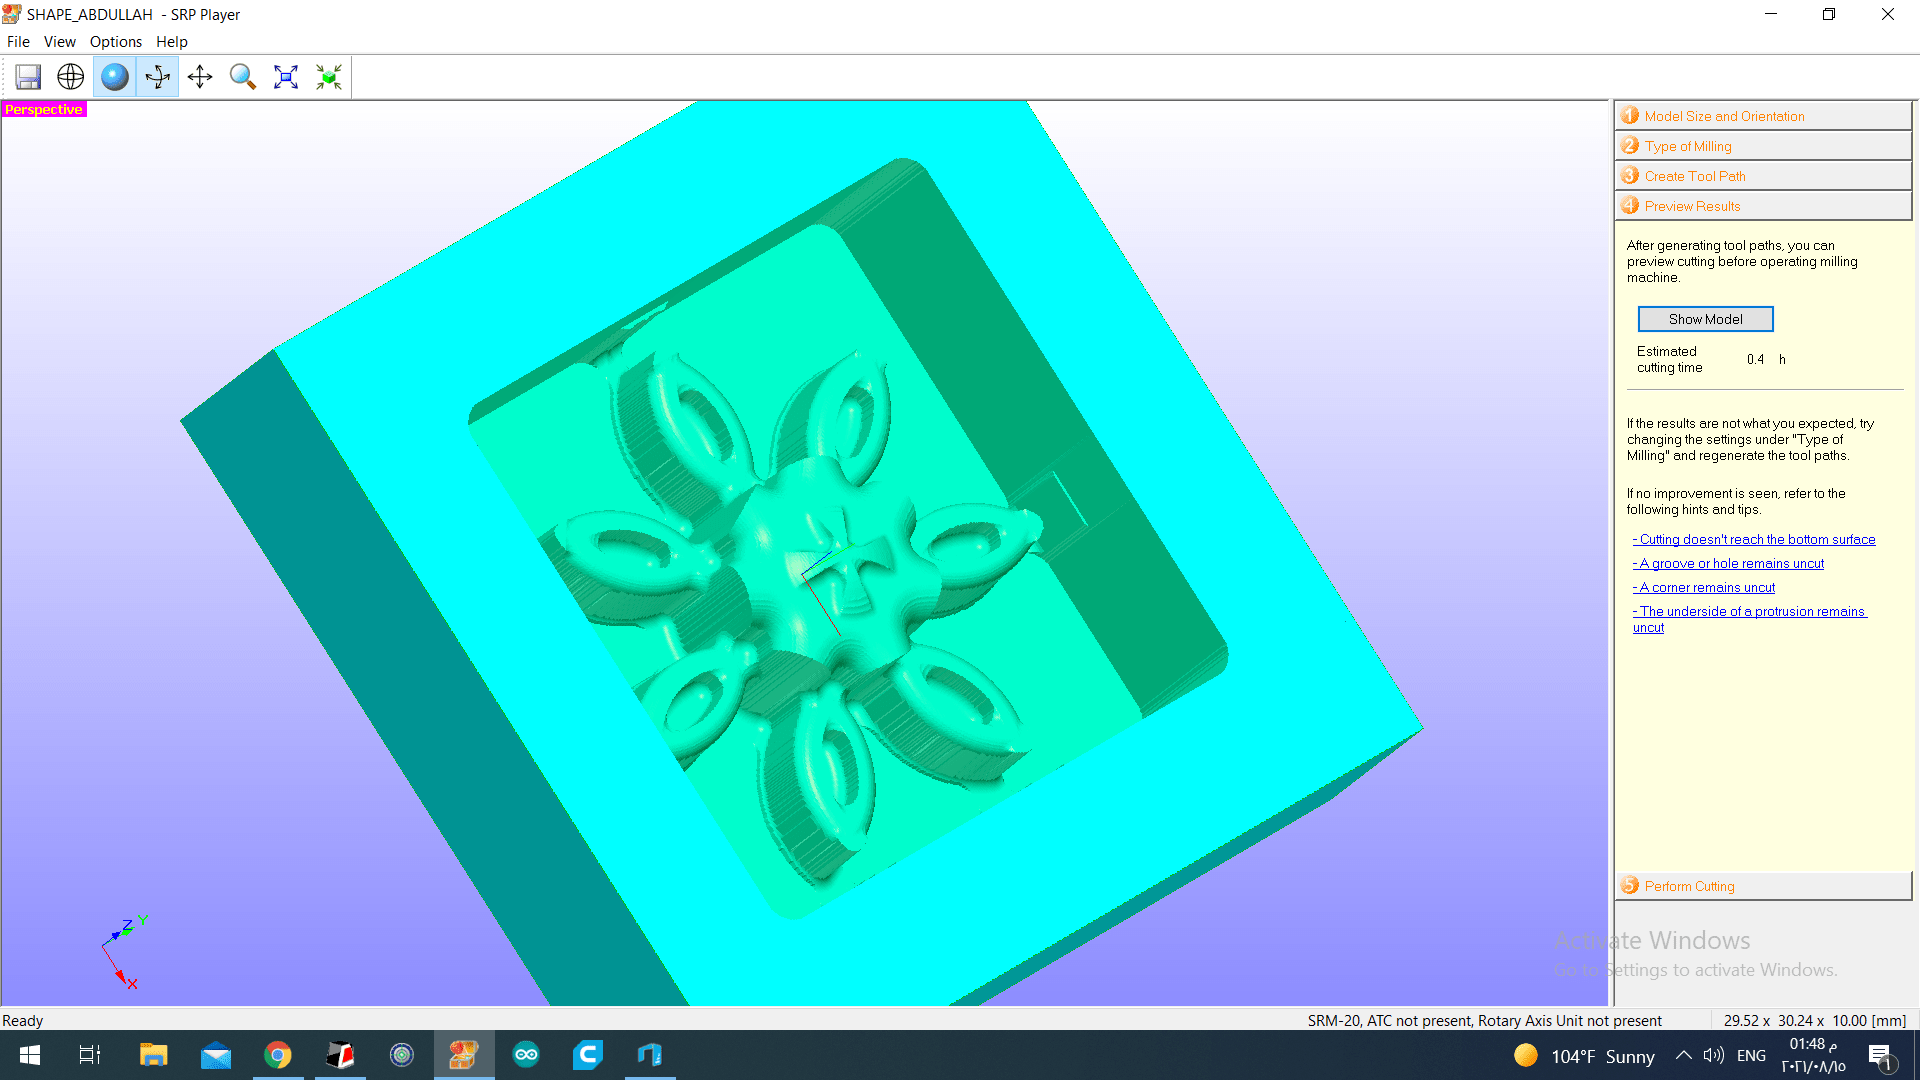 And this we can make it from the forth option Preview Result. The program will show to you how the design will looks like after finishing the cut and the needed time.
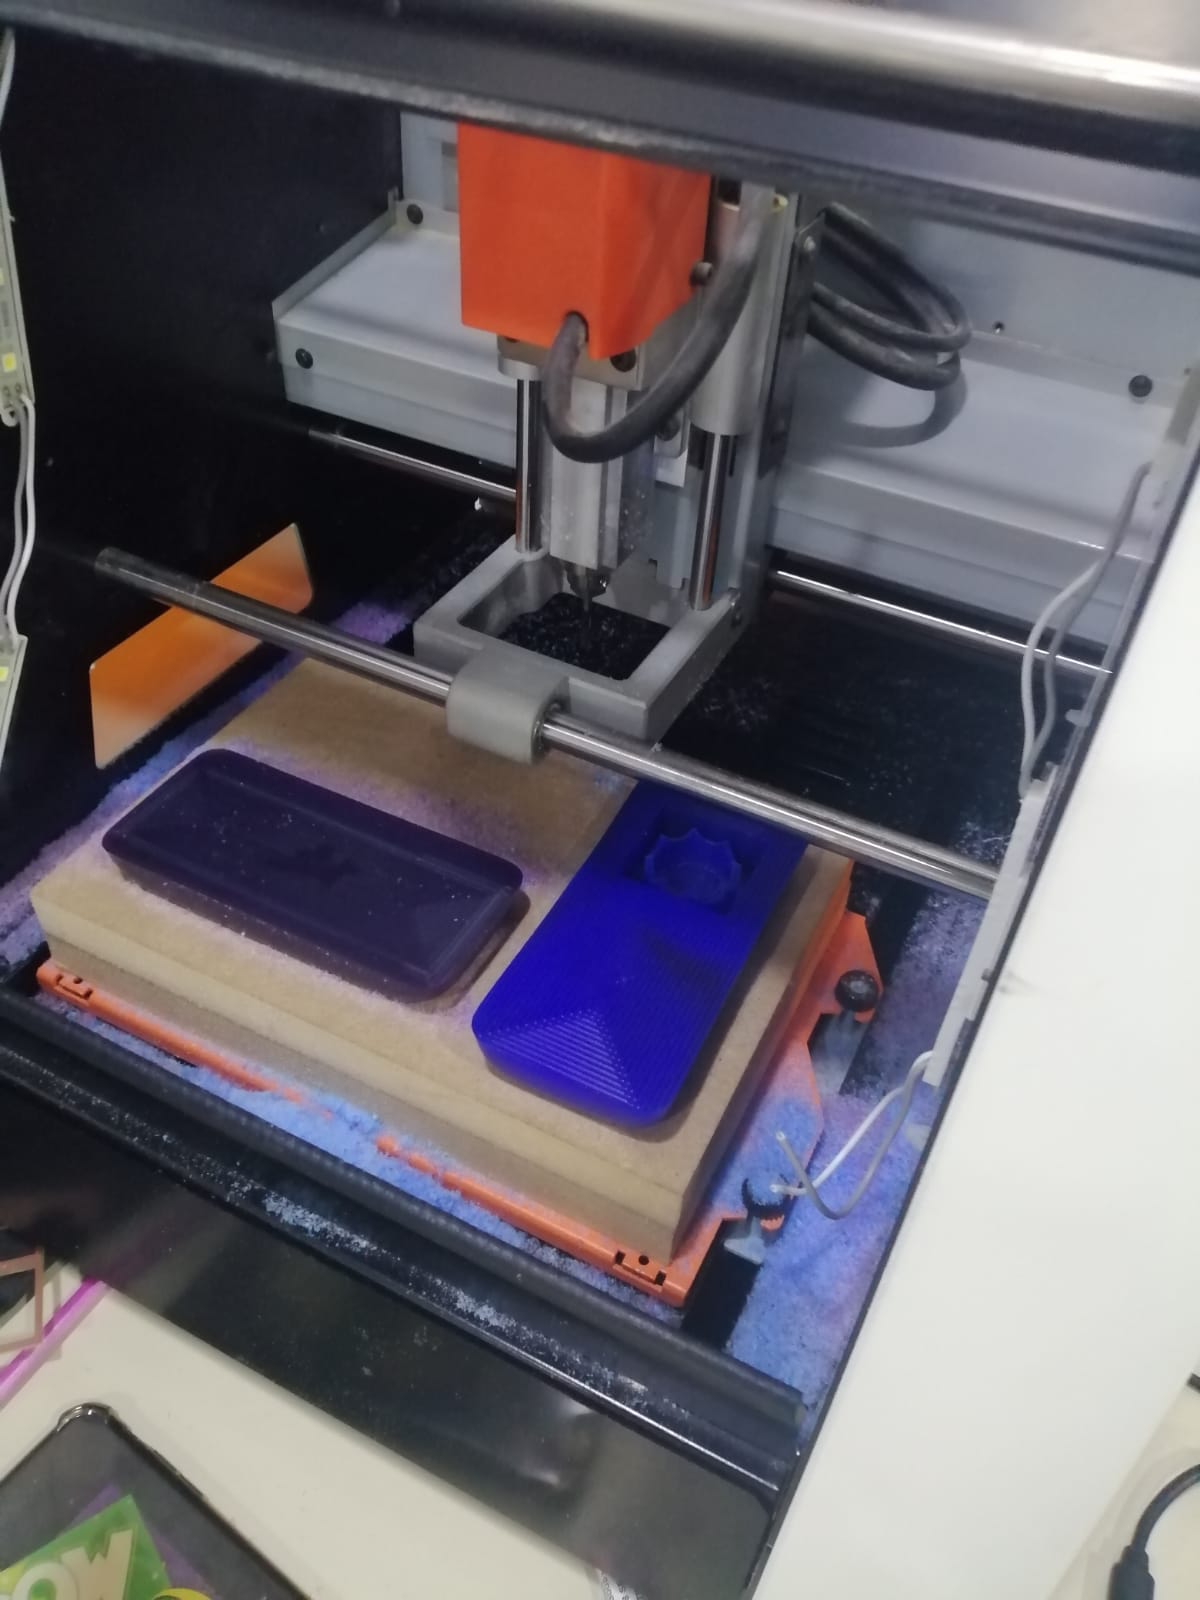
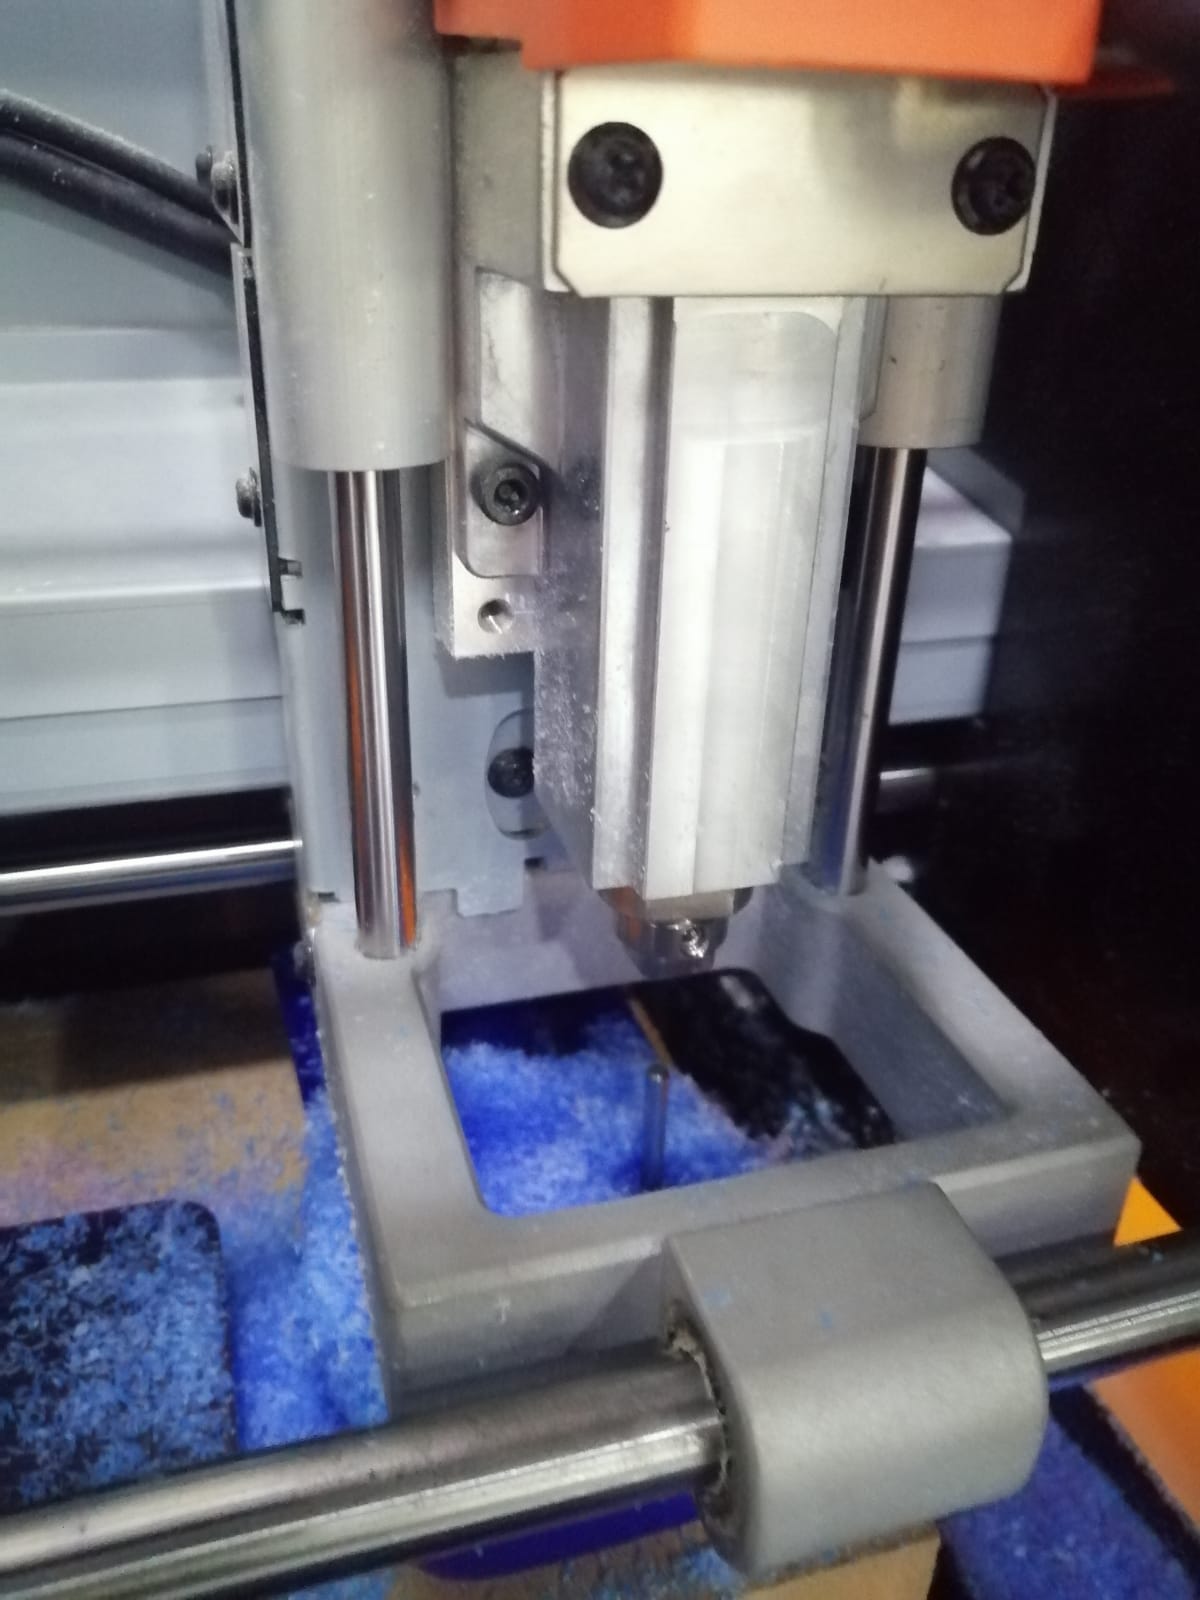
 Next, we need to hold the plate in place because there is in the machine so we use this type of stuck. This will works on the milling machine because the force will be from up.
 After that, we open VPanel program that we make us can move the drill pit of the machine up, down, right, left, front and back.
 From this picture we can see a window about this program that we should used it to move the drill bit to the center point or point on the plate that we want the machine start cut from it. Note that the machine start cut from the center of the design or shape. And we should make the drill pit touch the plate then we click to sutup to make the center point.

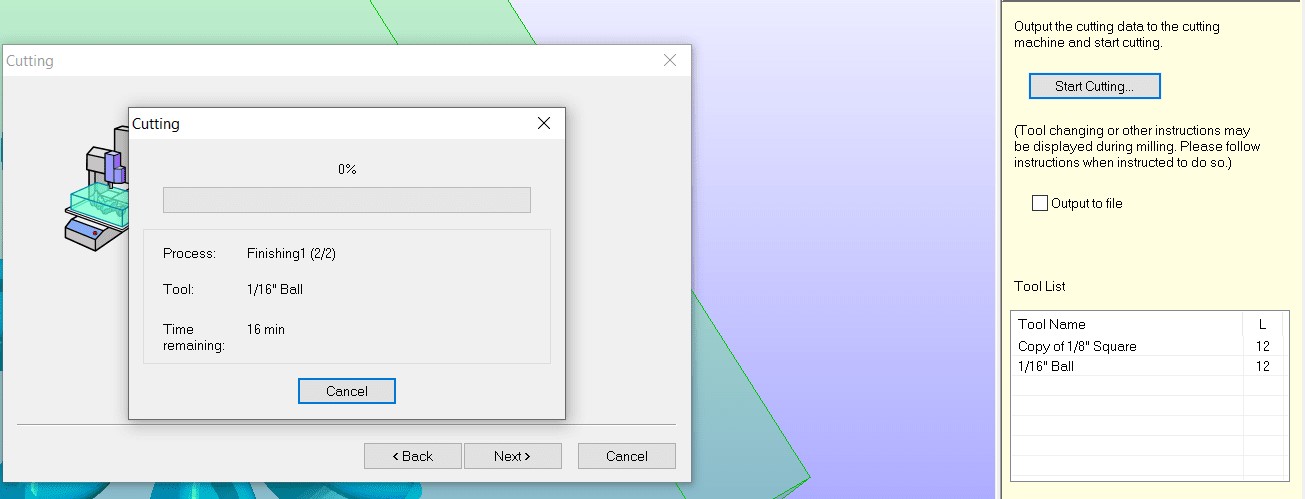
Next, we go to option five and click on start cutting and will show to you a window that has the first process and the time of it. you just need to click on next or start to the machine start cut.
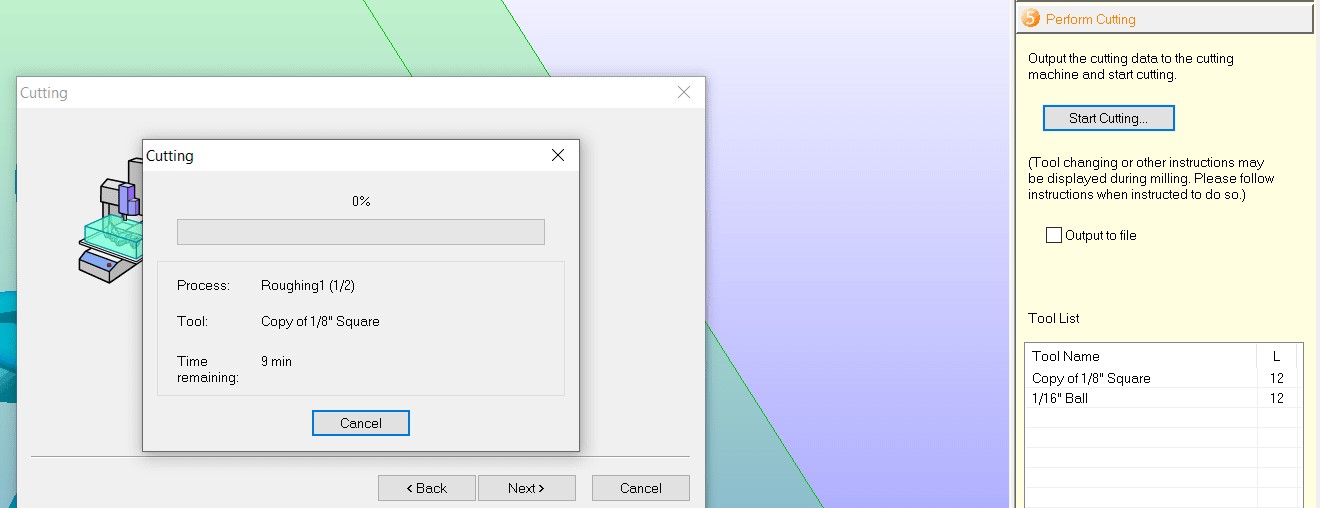 After this process finish the window will tell you to replace the drill pit to start the finishing process.
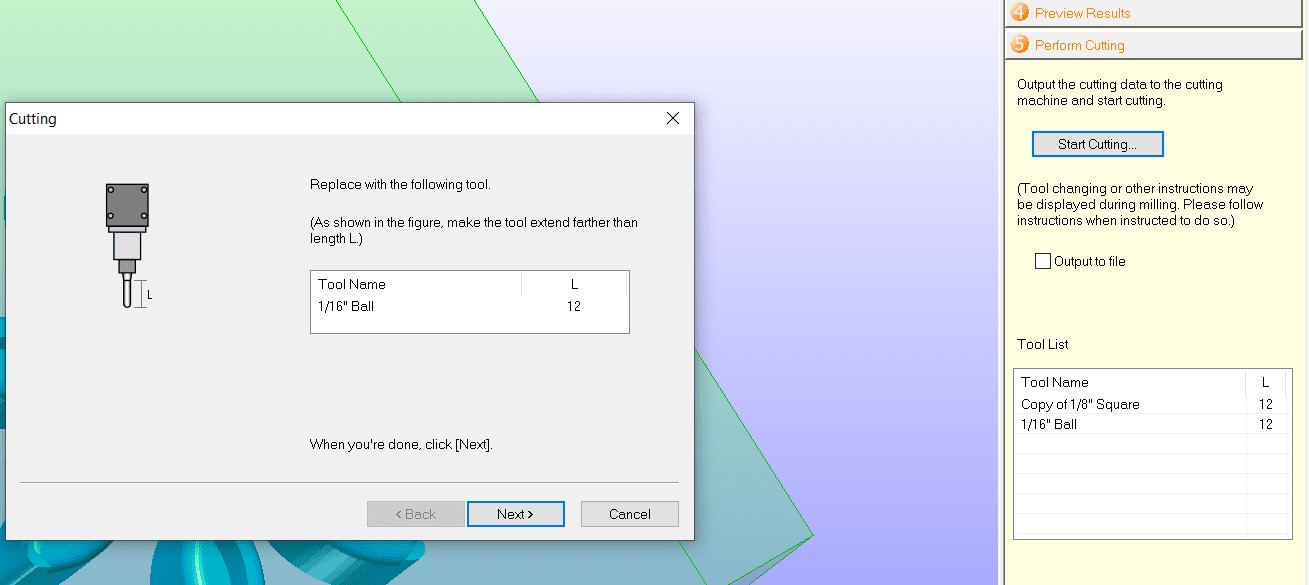 Then I try to replace the drill pit by hand
 with this pit, the required one.
 And when you finish replacing the drill pit click on next the machine will start the process and it will show you the time to finish.
 We can note that the time for roughing is smaller than finishing process so we can conclude that when we decrease the size of the drill pit the time to complete the cut increase and also the quality increase due to smooth surface finish that we will have.
Finally, a window that tell us that the machine completed all the processes appears.
We can note that the time for roughing is smaller than finishing process so we can conclude that when we decrease the size of the drill pit the time to complete the cut increase and also the quality increase due to smooth surface finish that we will have.
Finally, a window that tell us that the machine completed all the processes appears.
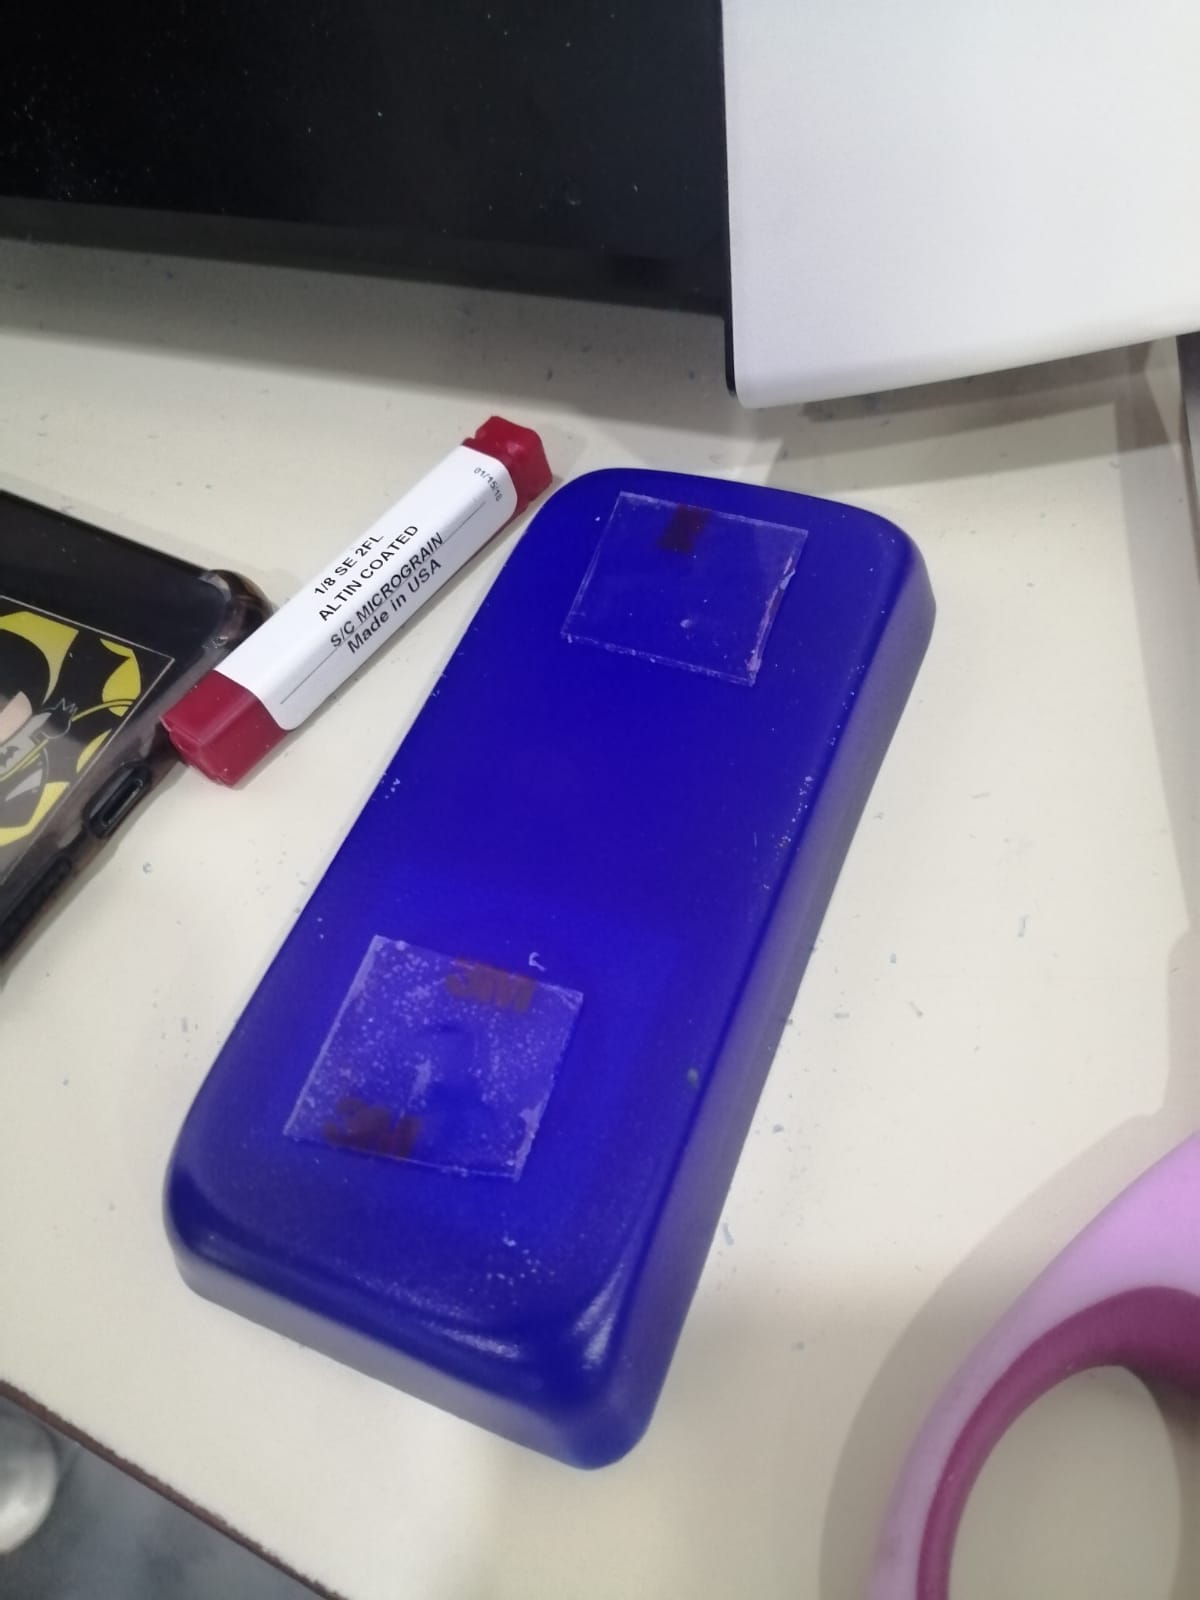
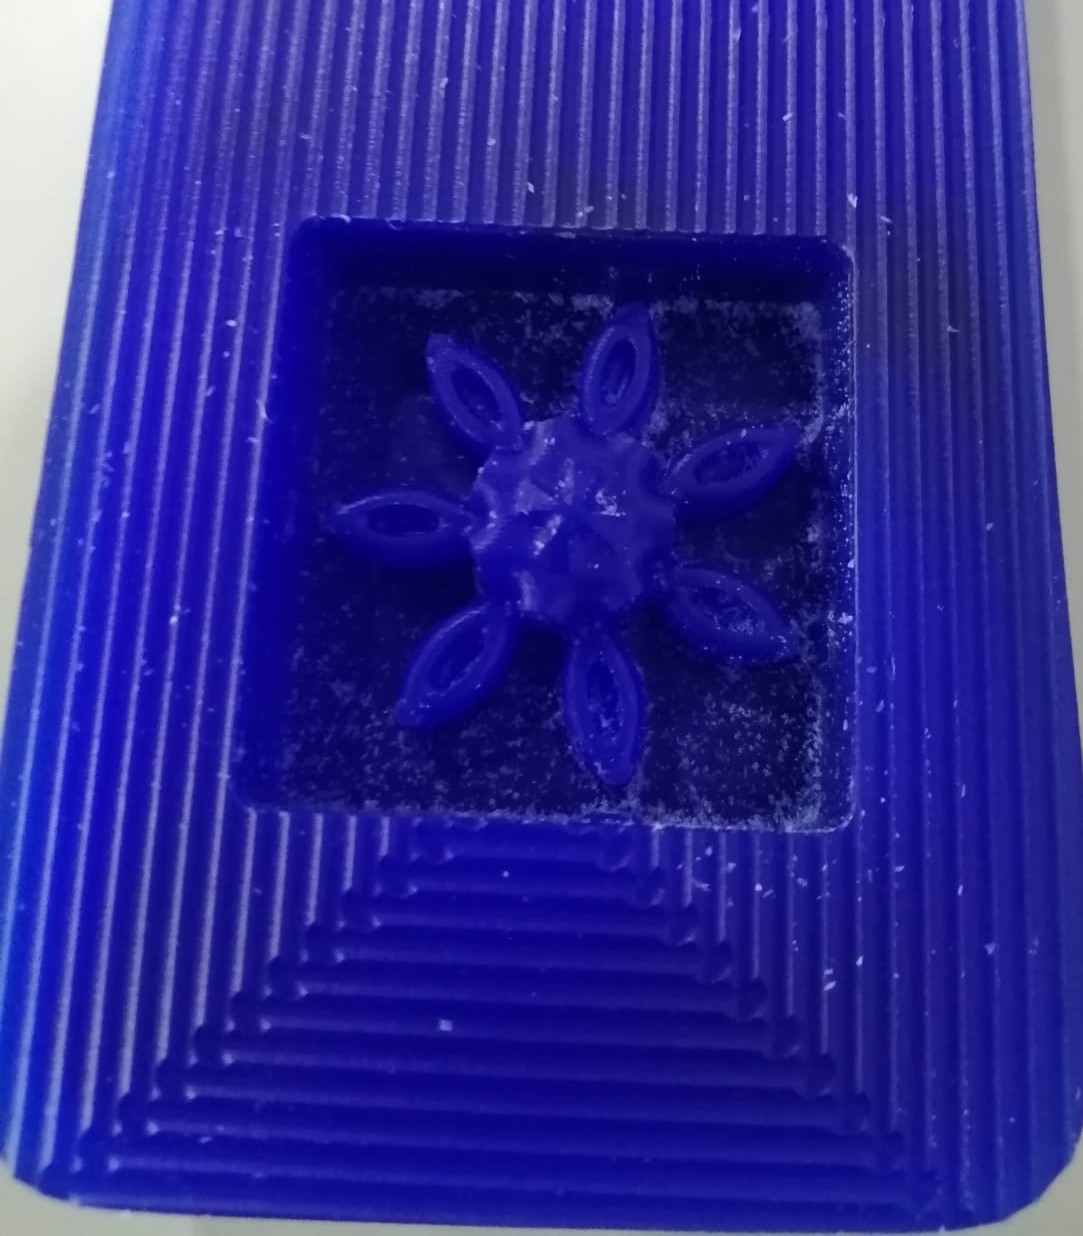
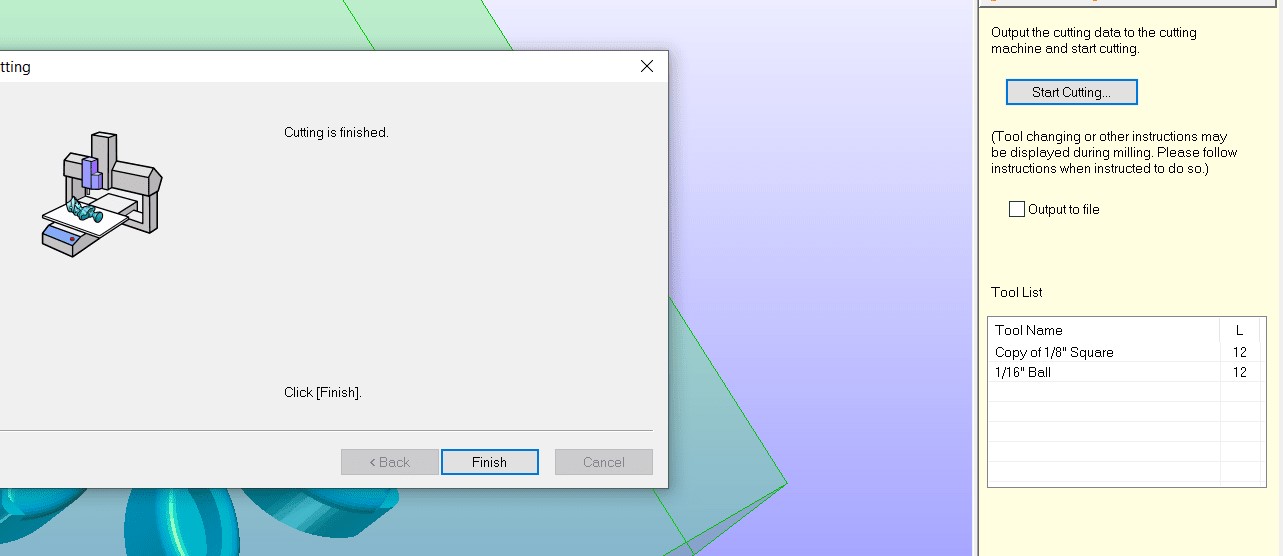 Then, I got my design from the machine.
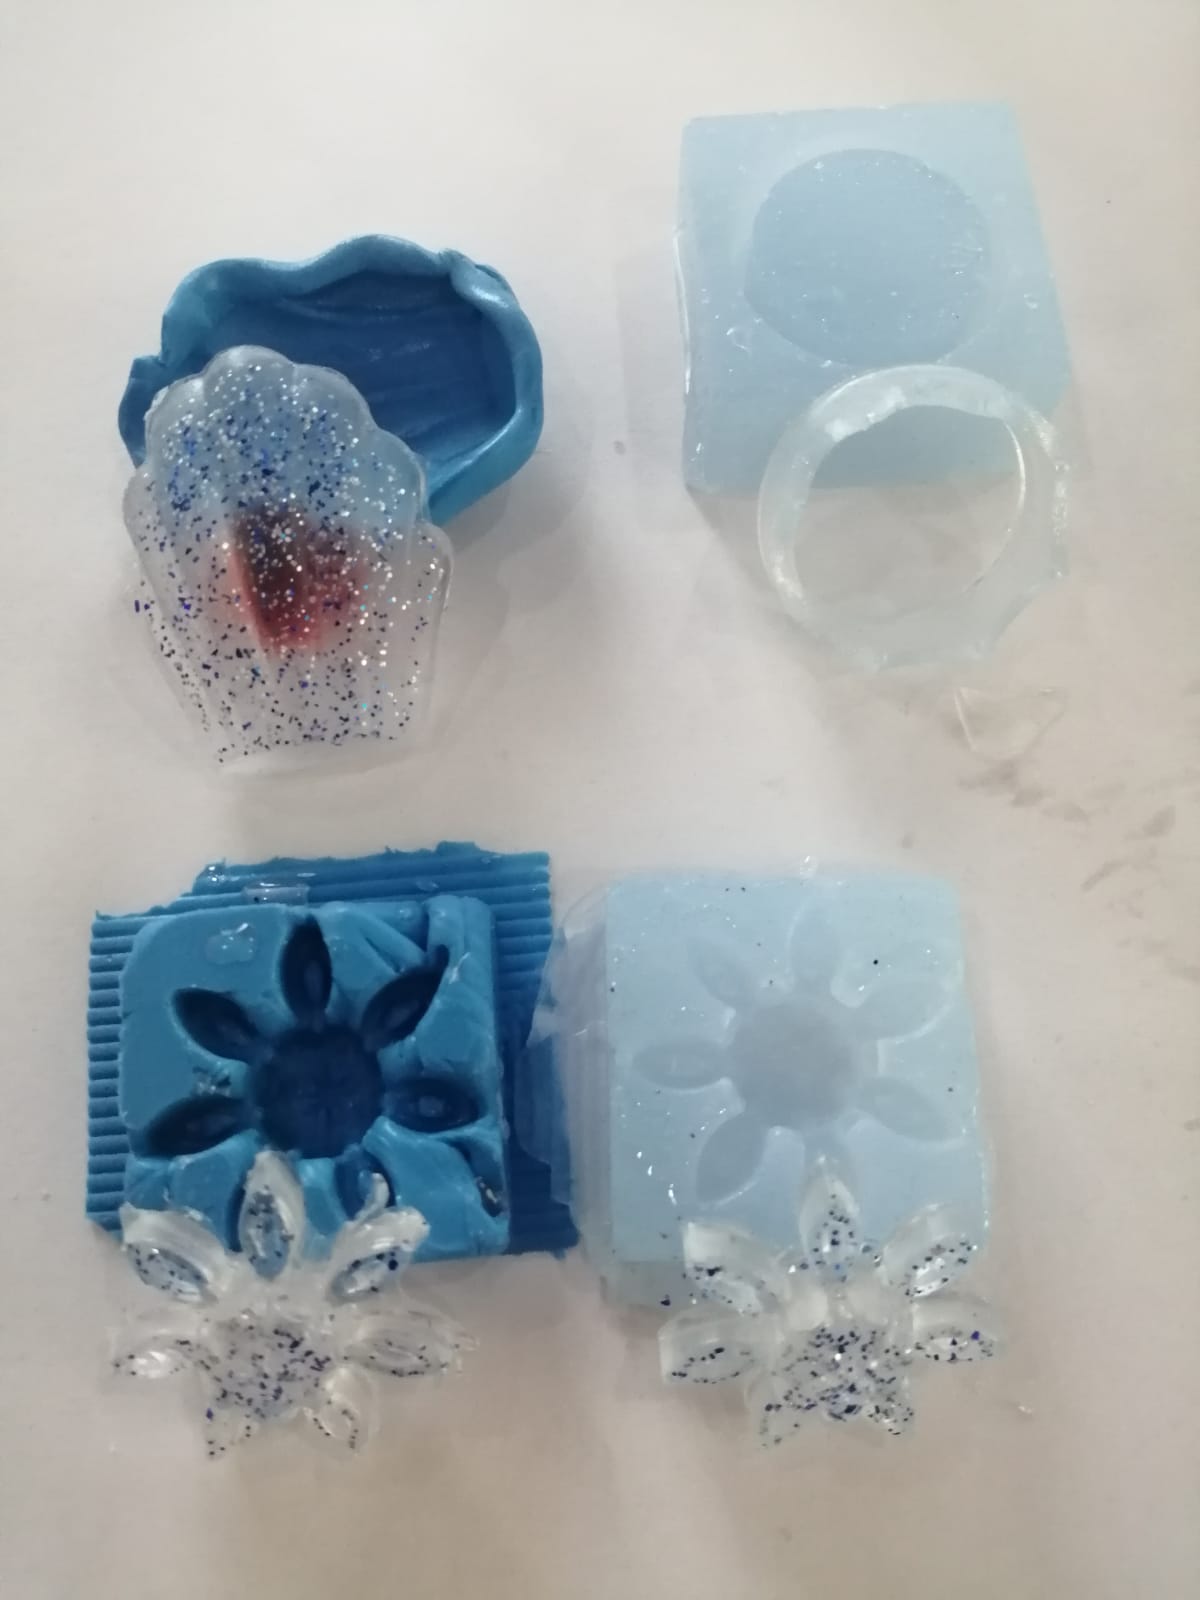
Casting:
1- Use Silicon liquid material for casting
We have 2 liquid silicon material called A and B we should put equal amount of them to make the produced or required material solidify clearly. If we make one of them more the other the produced material will not solidify clearly and some problem will appears to us.
After we put the equal amount of them we start mixing them slowly for awhile then we pour the produced material into the mould that we did it before using the milling machine.
 And we should wear gloves to protect our hands.
Finally, we wait for 4-7 hours until the material solidify.
And we should wear gloves to protect our hands.
Finally, we wait for 4-7 hours until the material solidify.
 We can note that our material is sticky and not strong and this happened because we didn’t put the same or equal amount of both material A and B.
2- Use Silicon Plastique material for casting
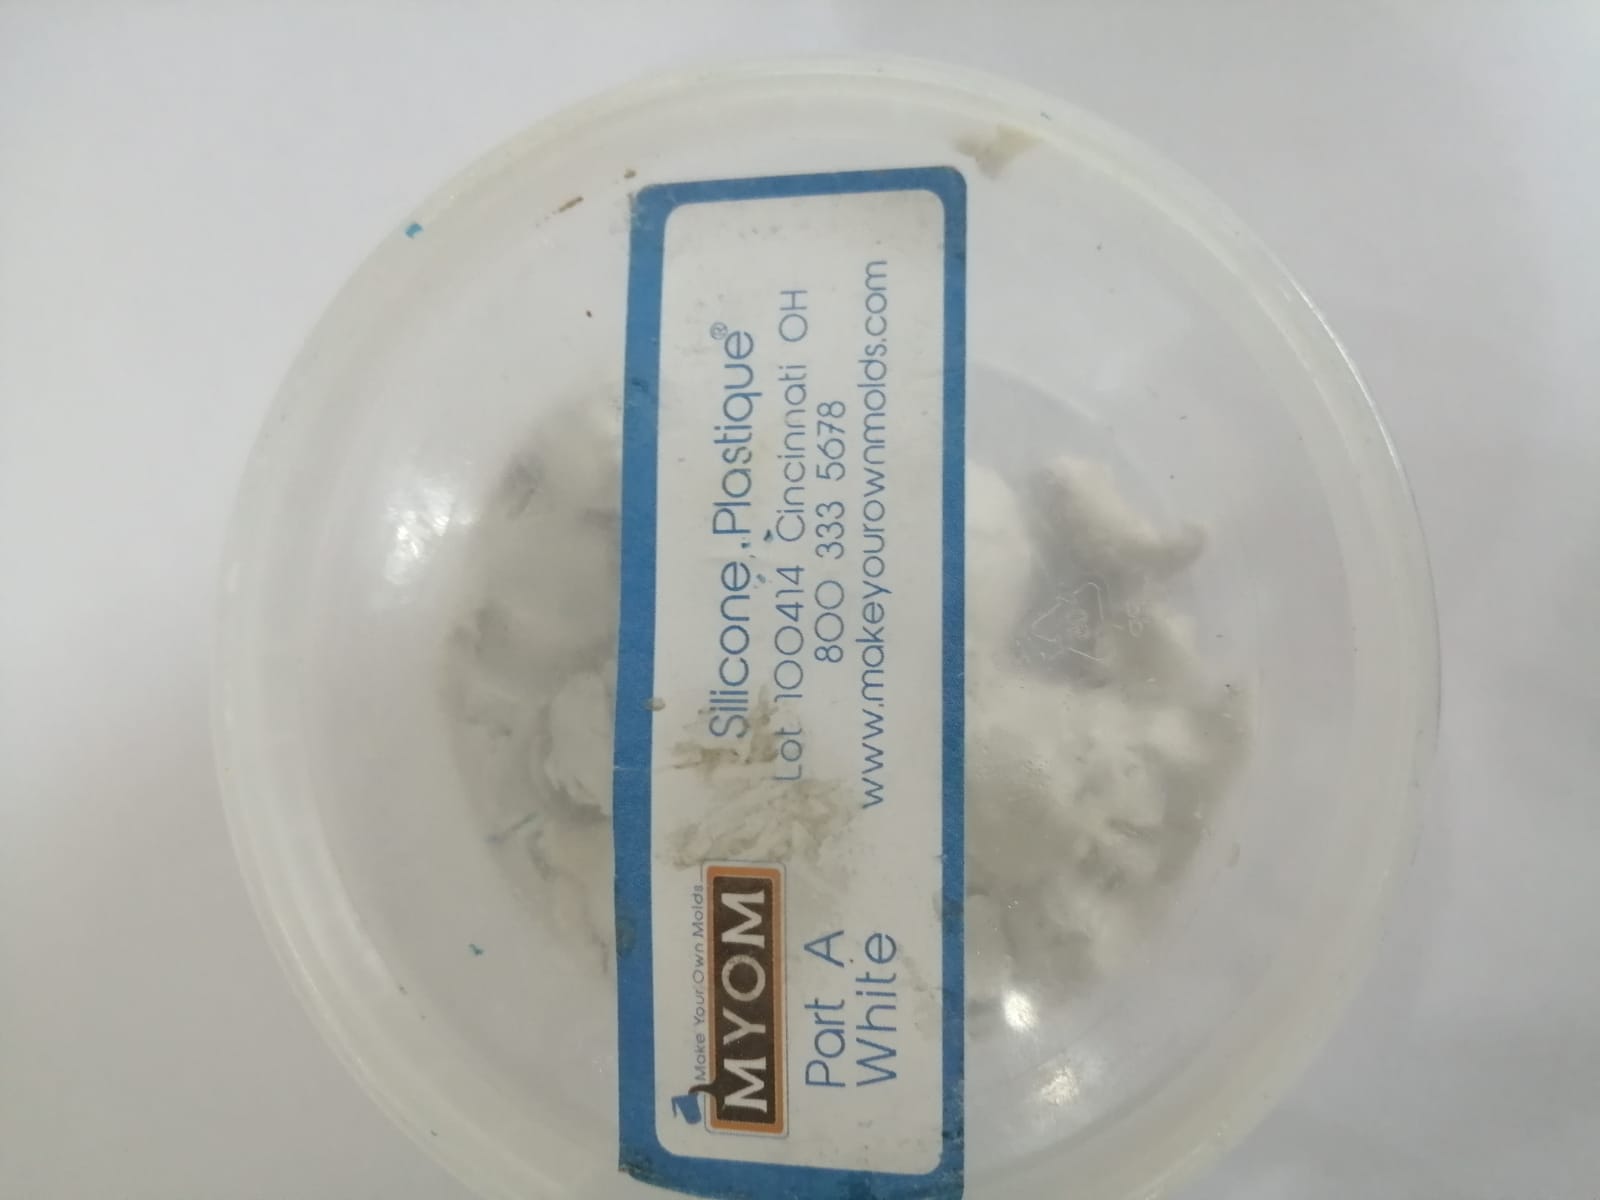
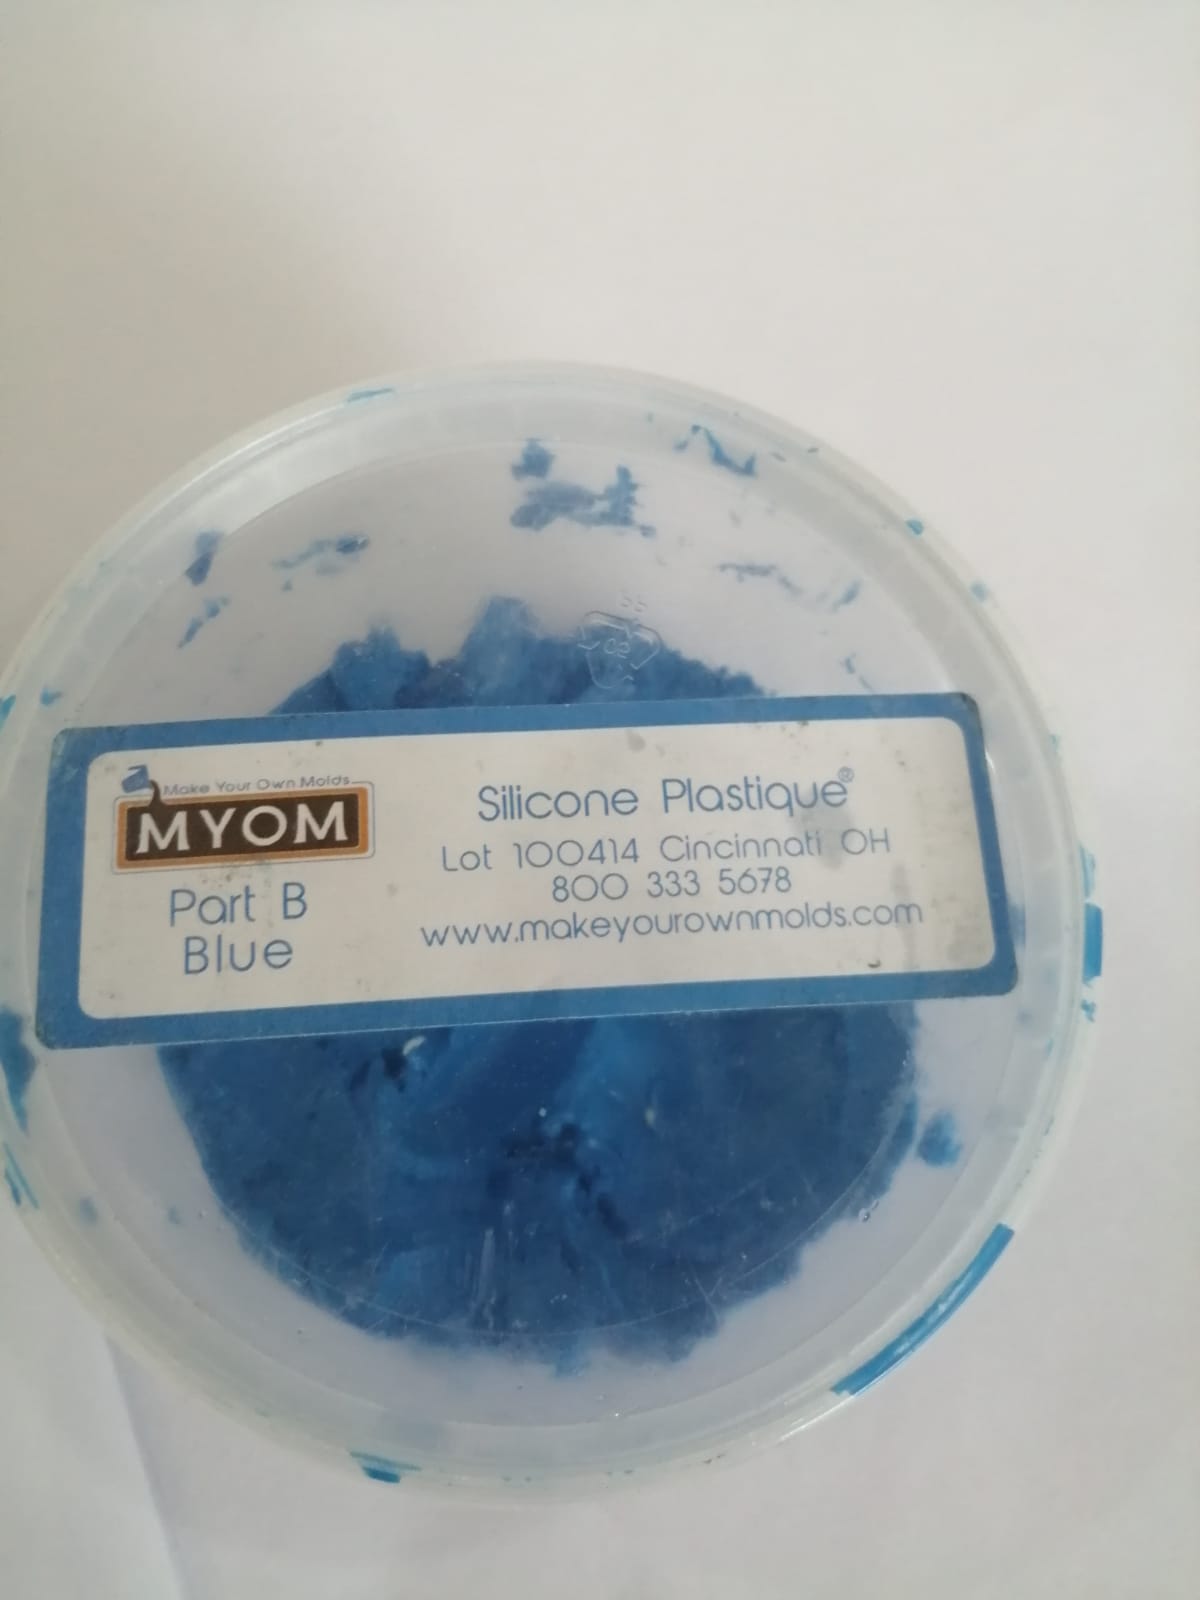
Here we should mix the same amount of these two materials A and B. These two materials are not liquid you can say they are like clay. Note that you should wear gloves to make you self on the safe side.

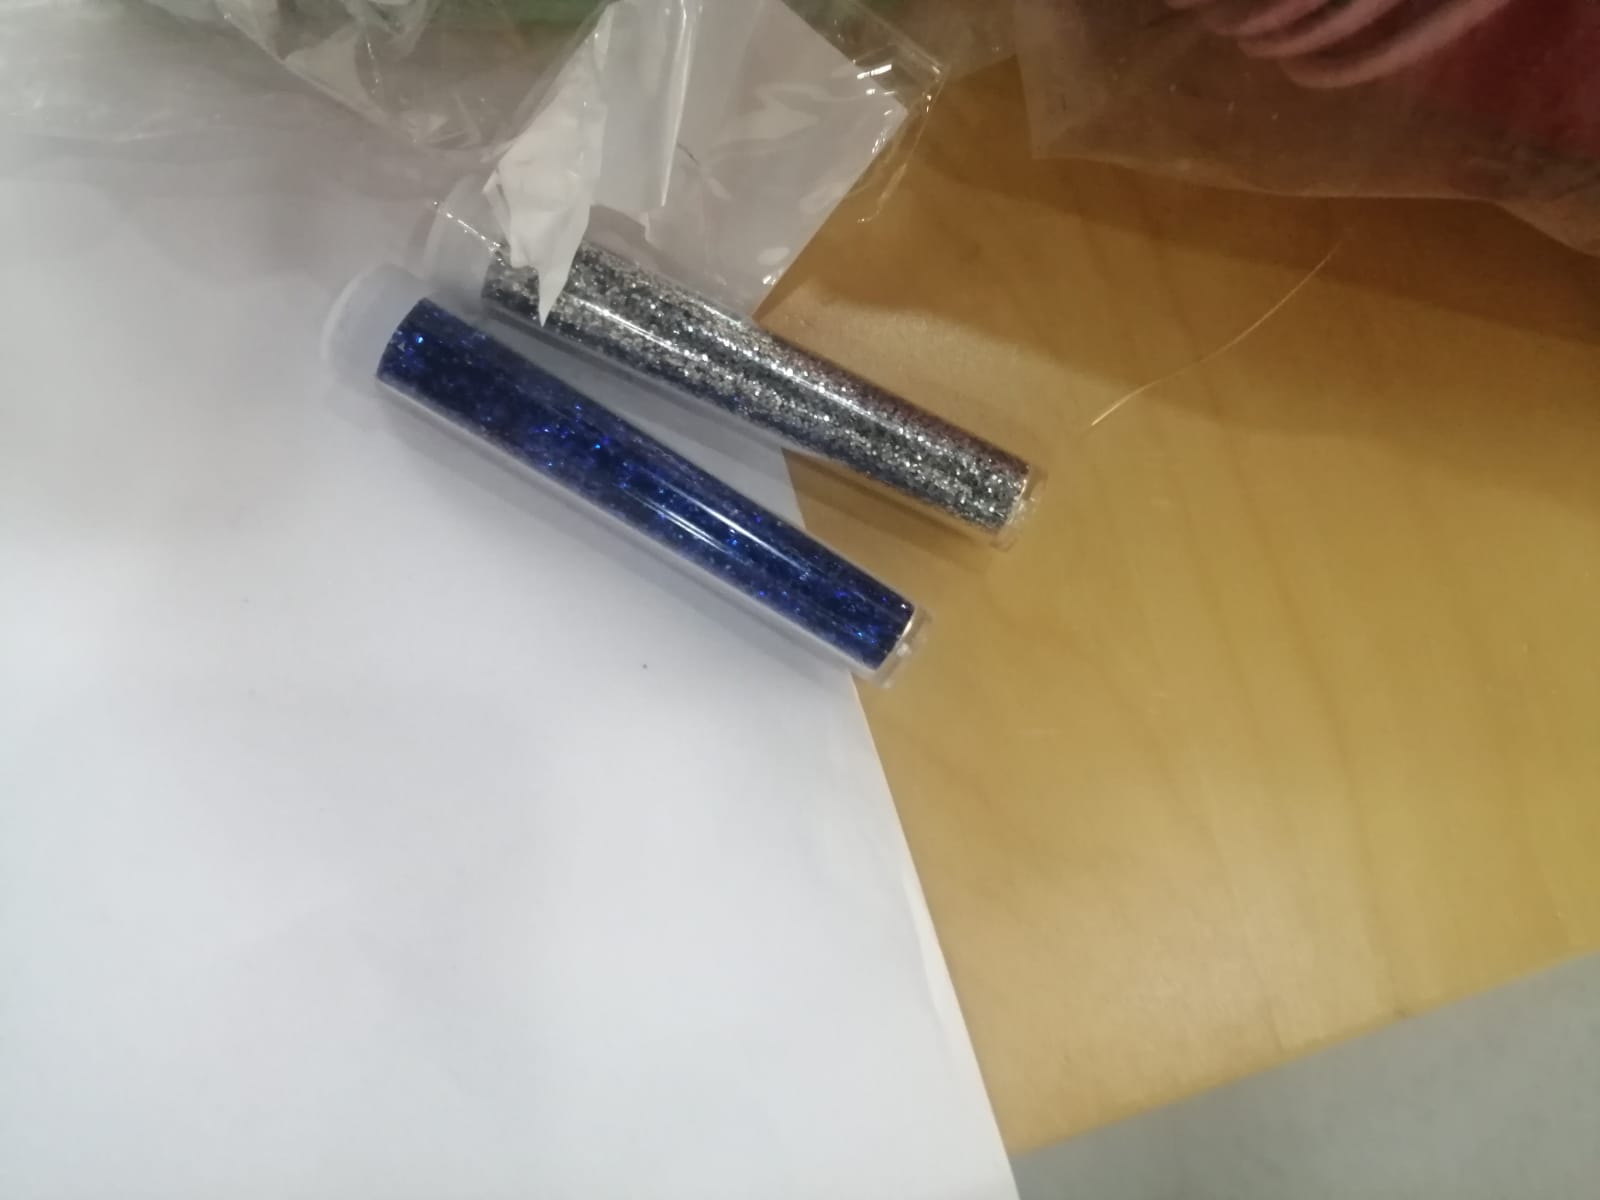
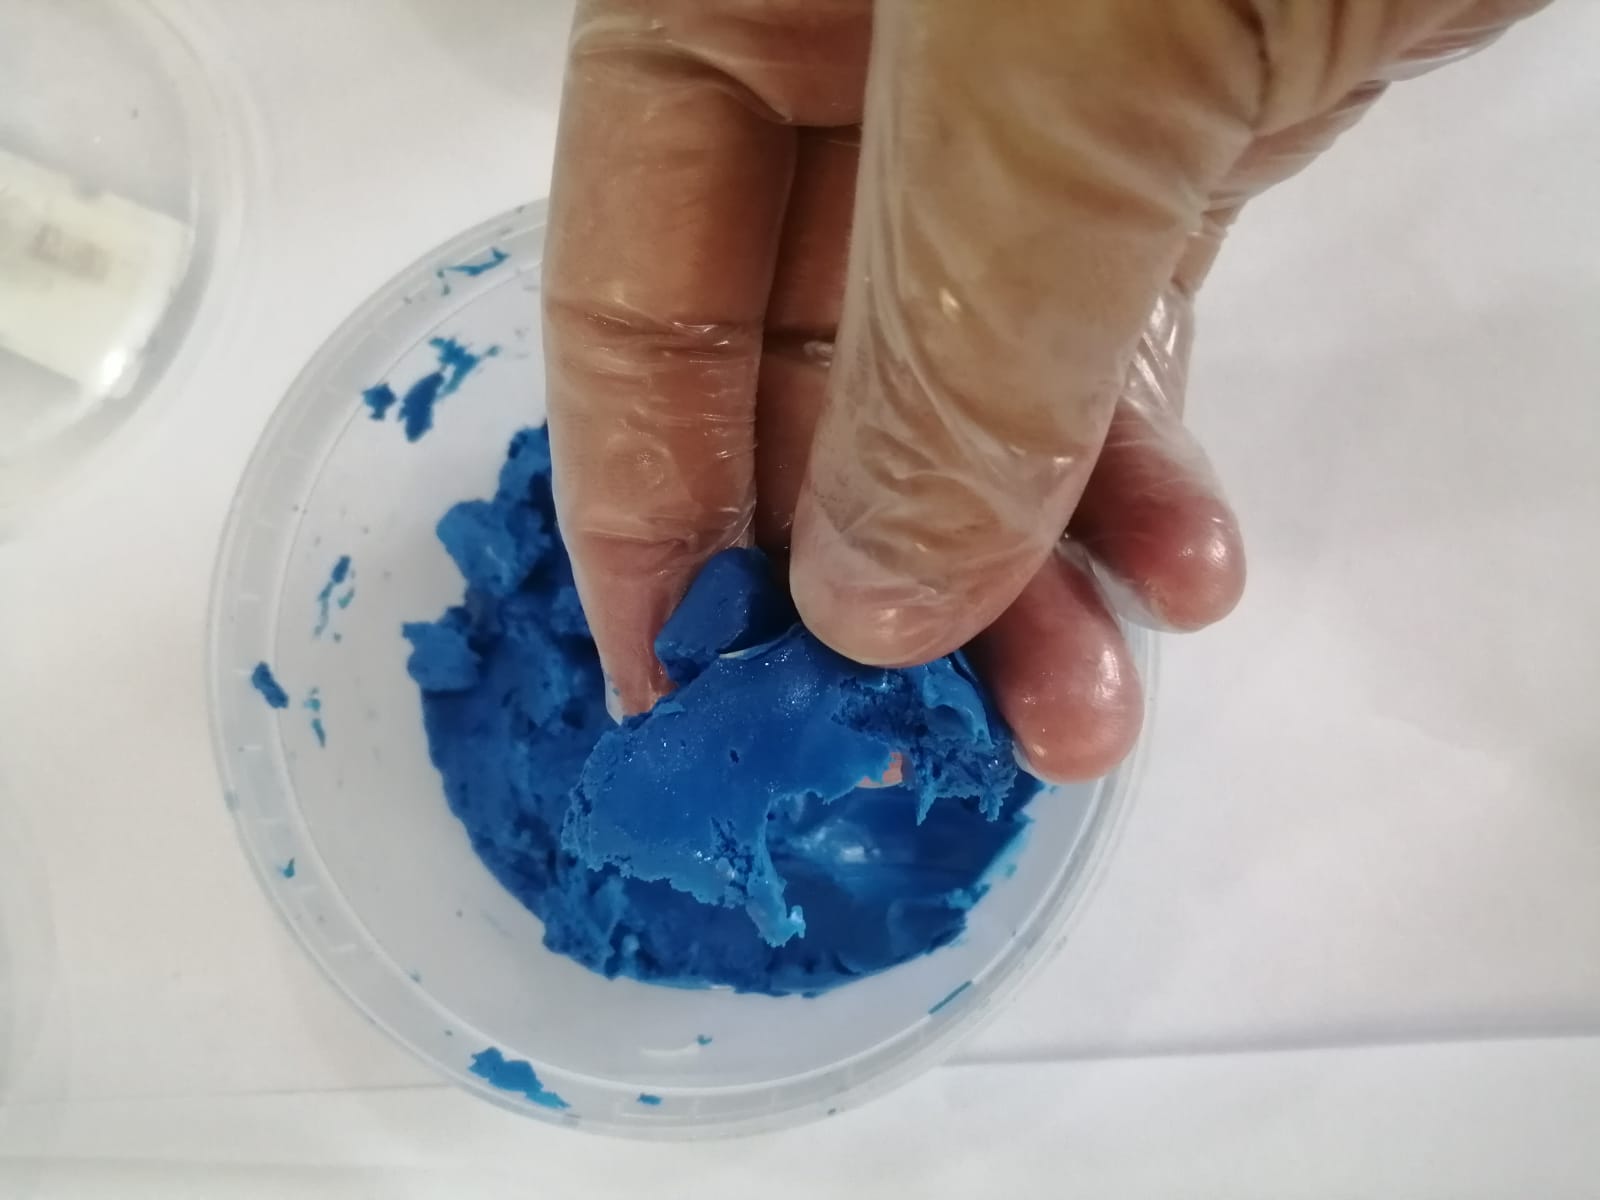 We mix the both of them together by lengthening them and make the both if them like a cylinder. Then, we warp them around each other and start knead them until the mix completely.
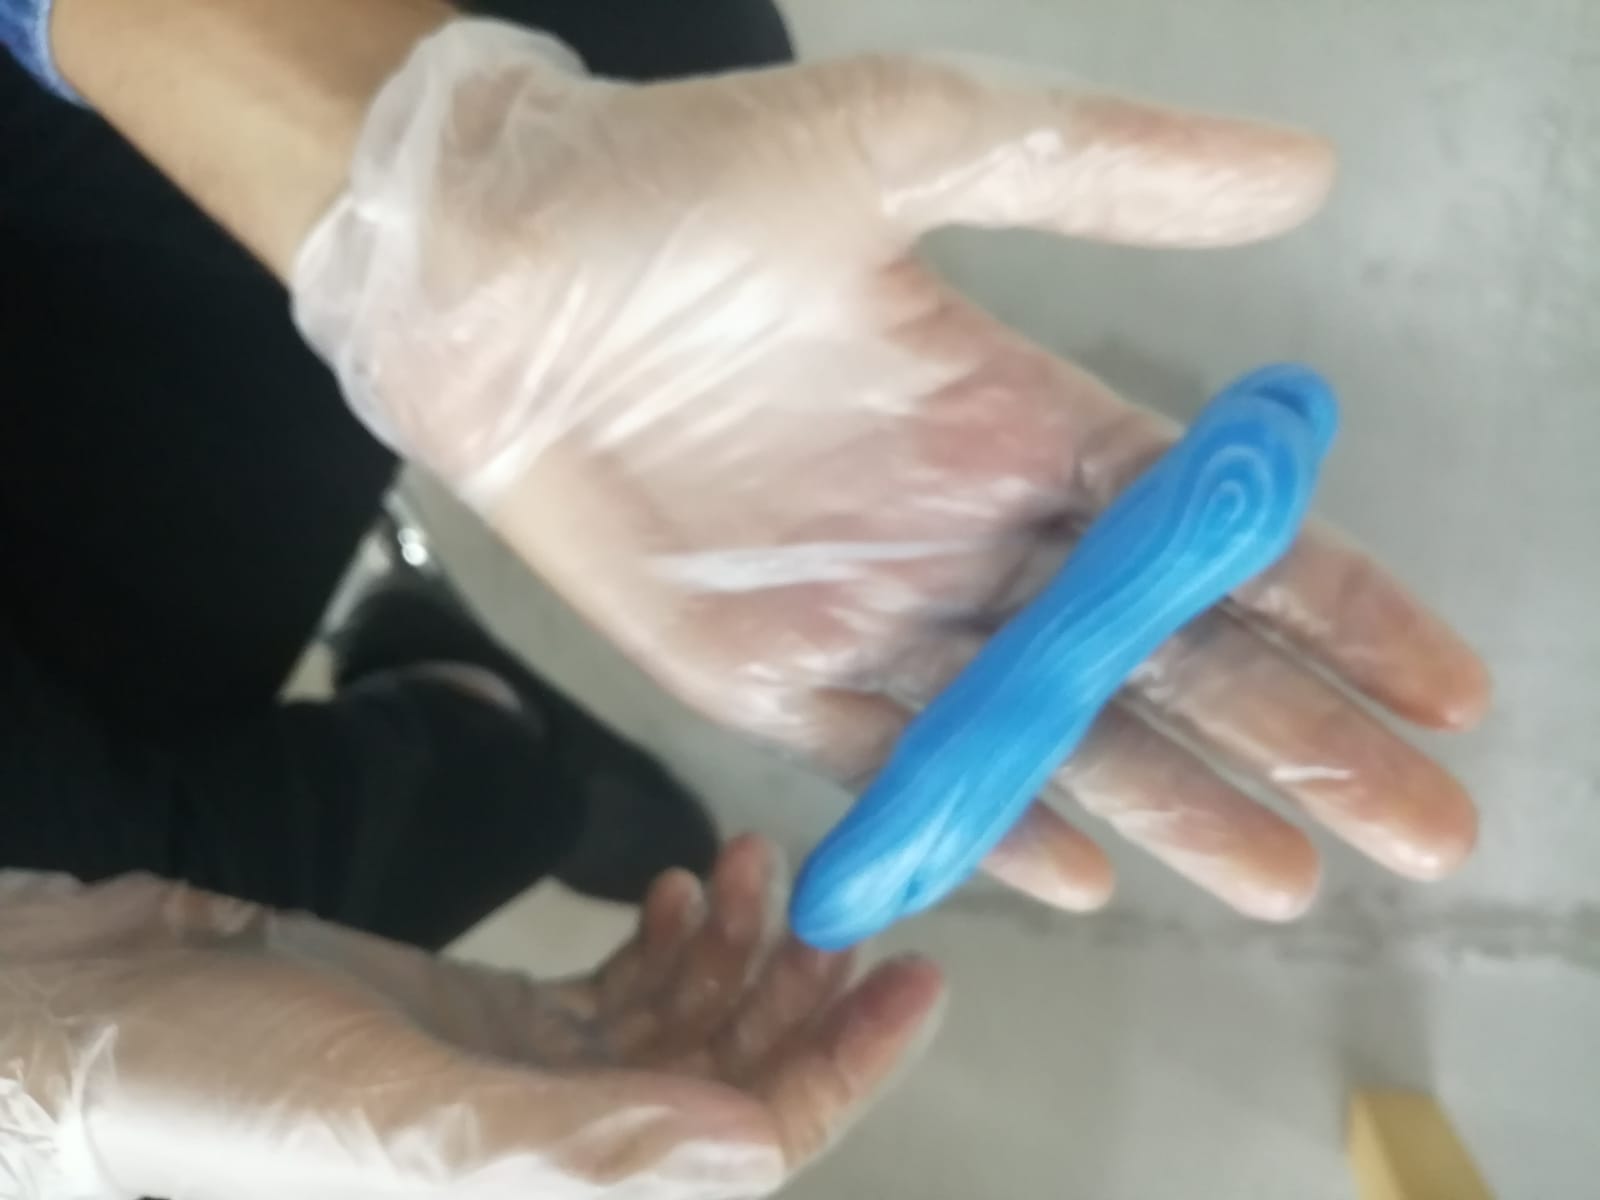 We mix them together until the white colour disappear and be all blue.
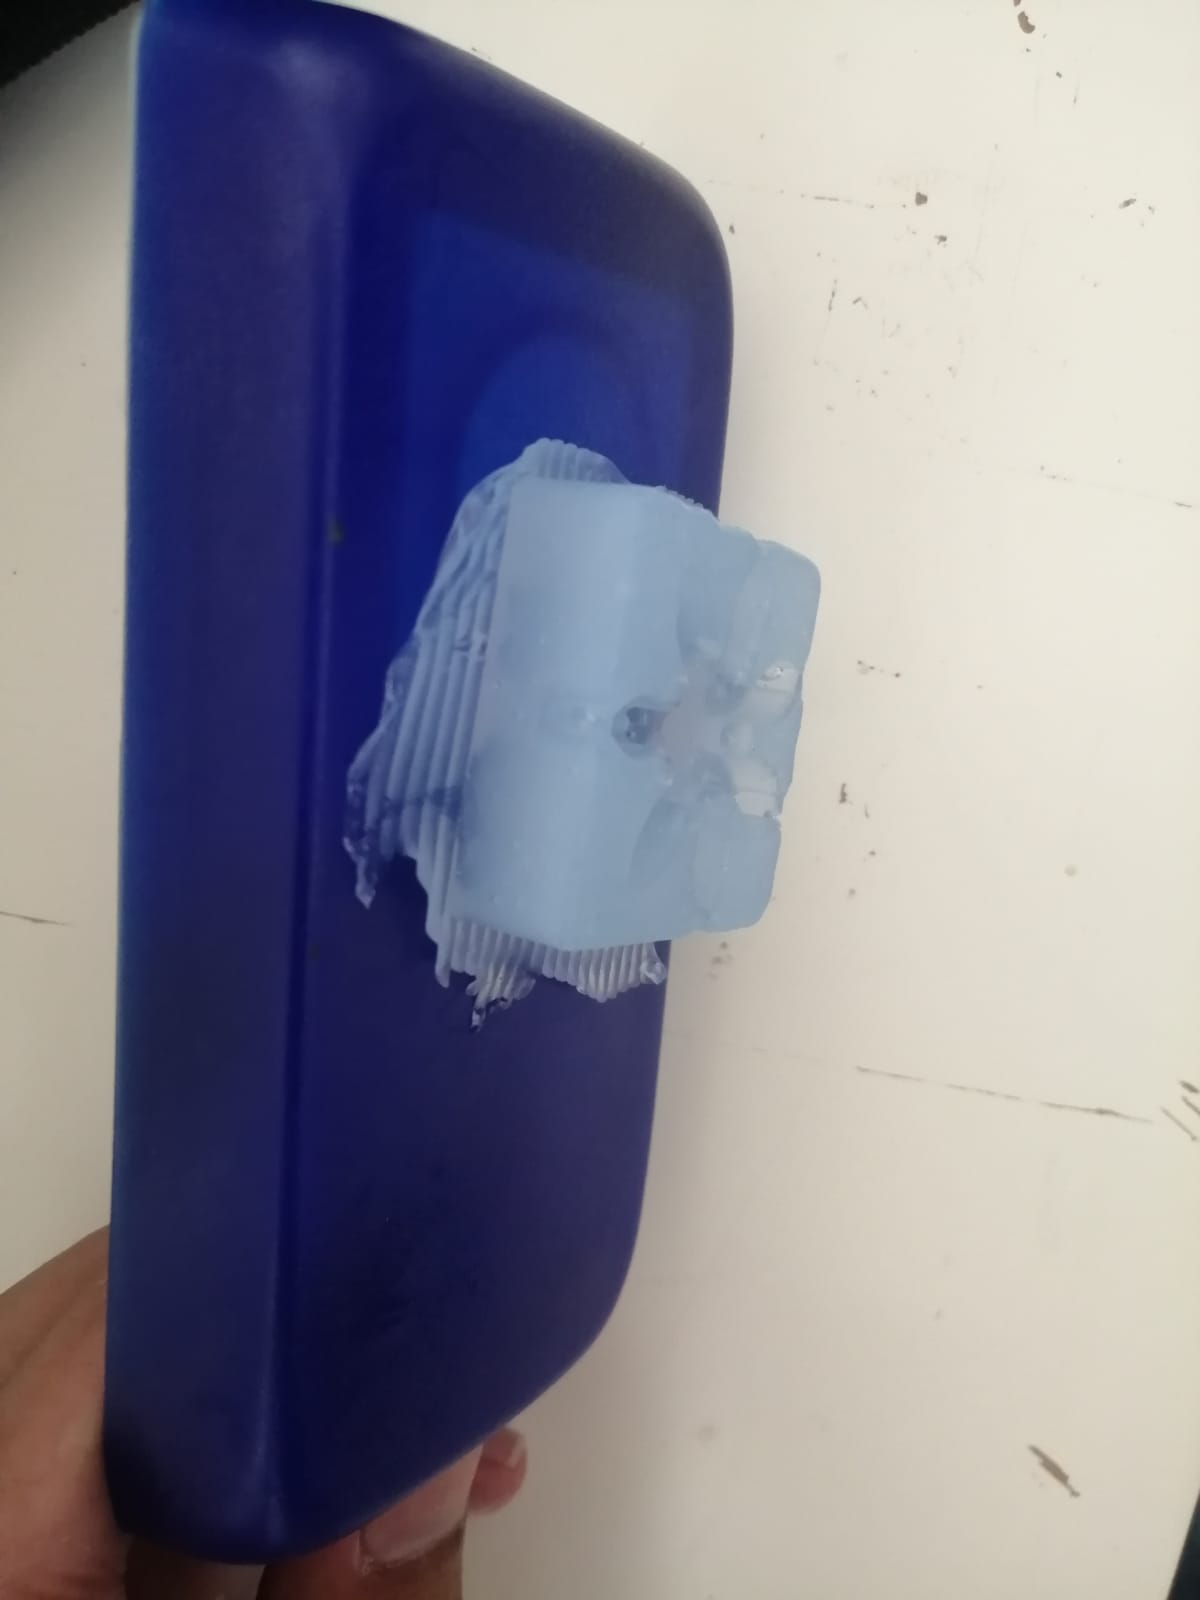
 Then we start put it in the mould until we fill it with the produced material.
finally, we should wait for 3-5 hours to the material solidify then take it from the mould and see it how it will looks like.
Then we start put it in the mould until we fill it with the produced material.
finally, we should wait for 3-5 hours to the material solidify then take it from the mould and see it how it will looks like.

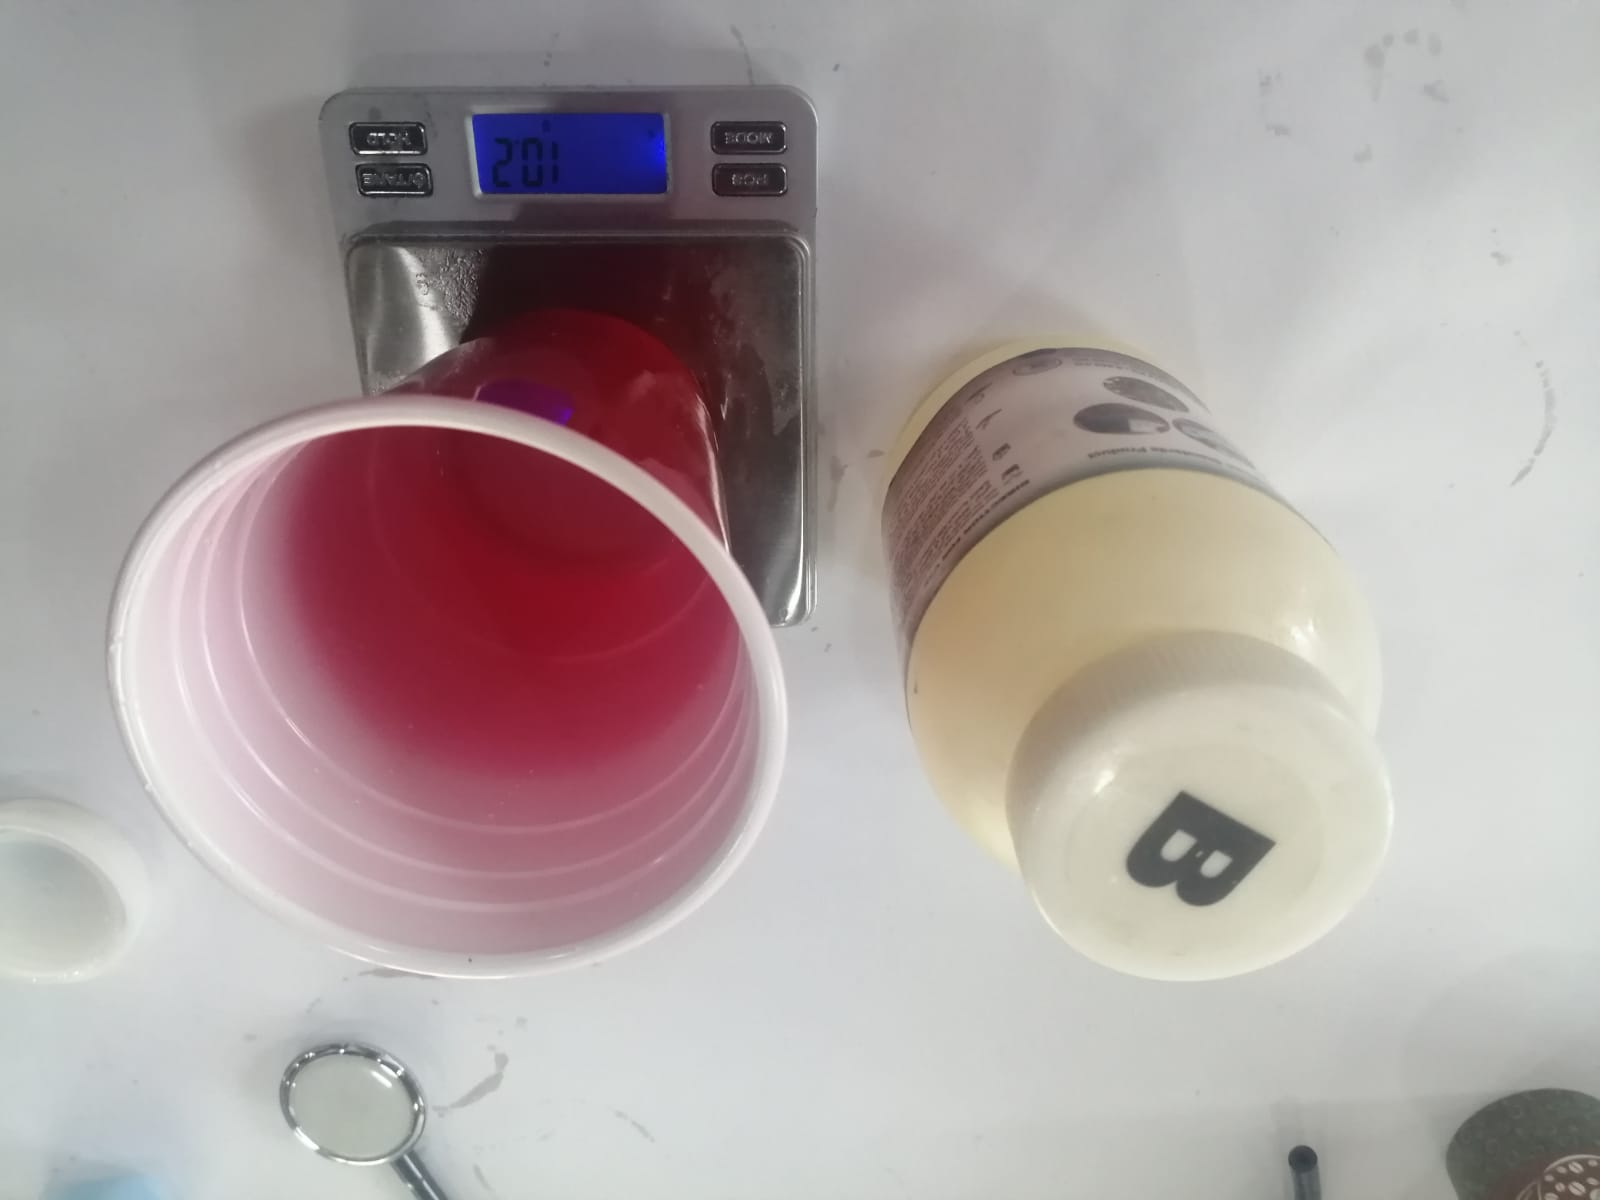
3- Use Epoxy material for casting
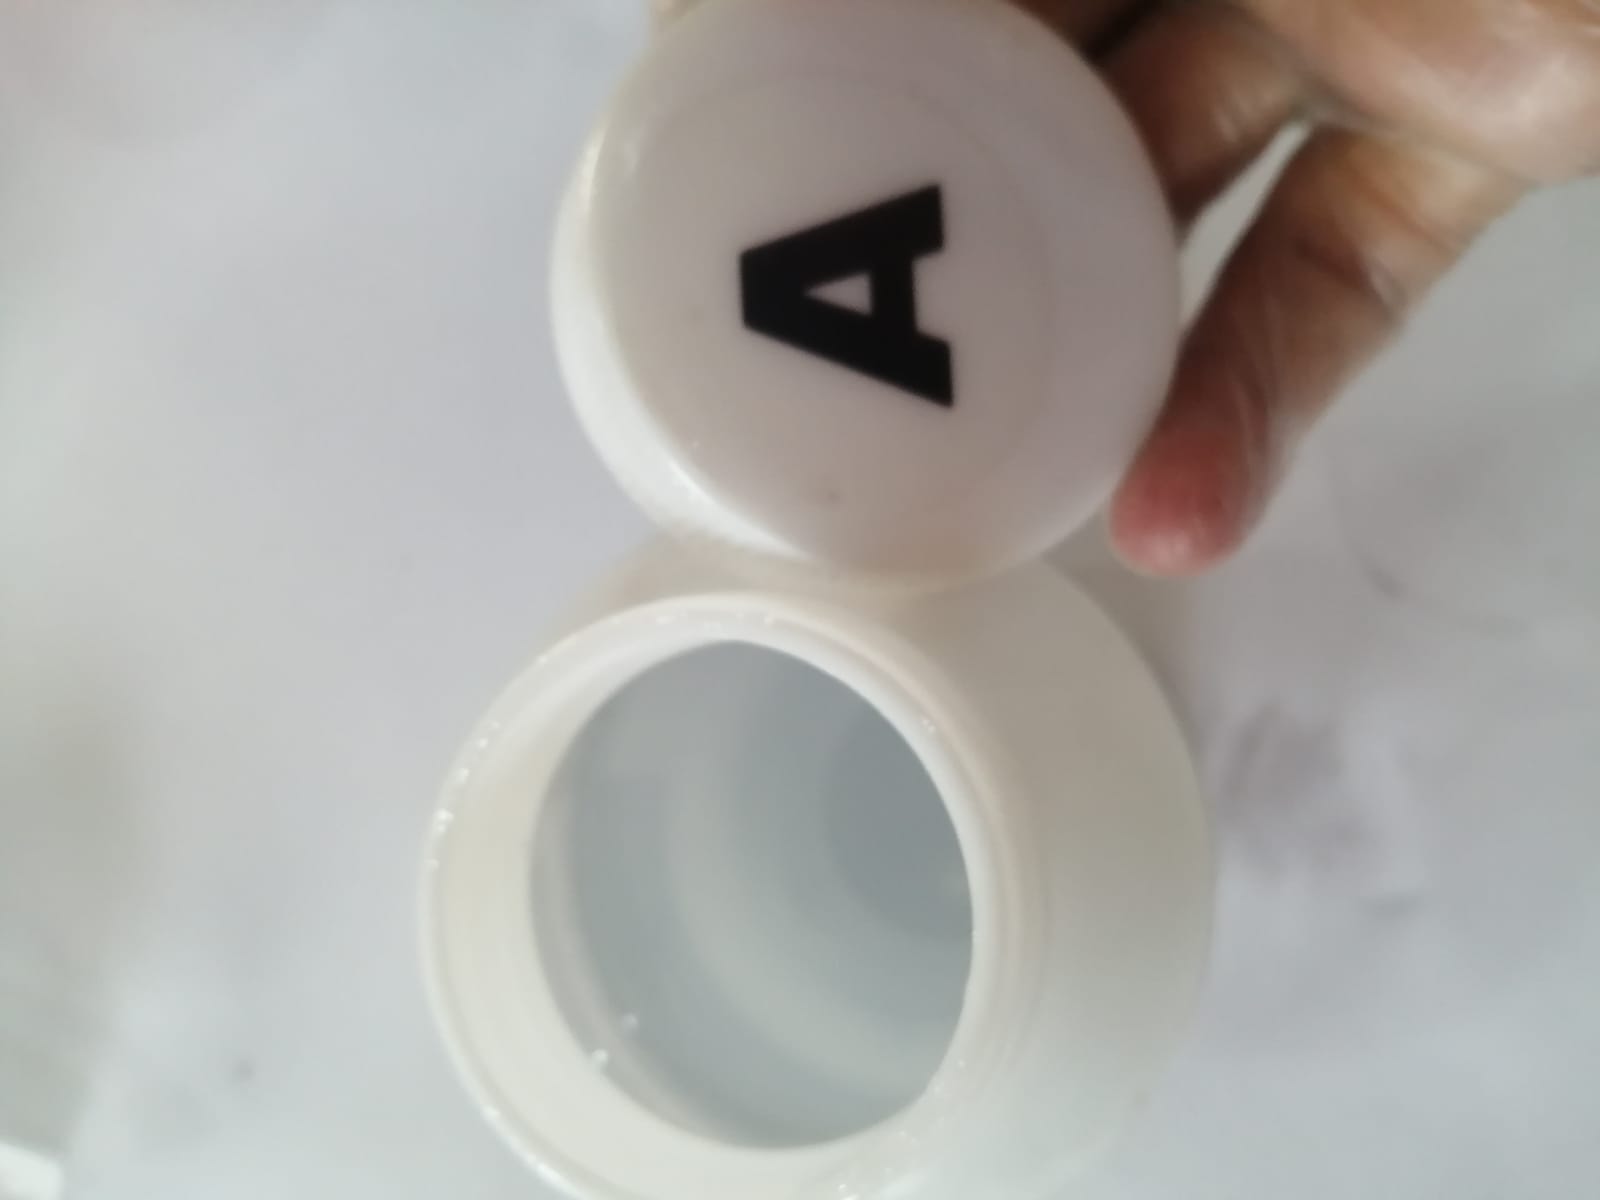
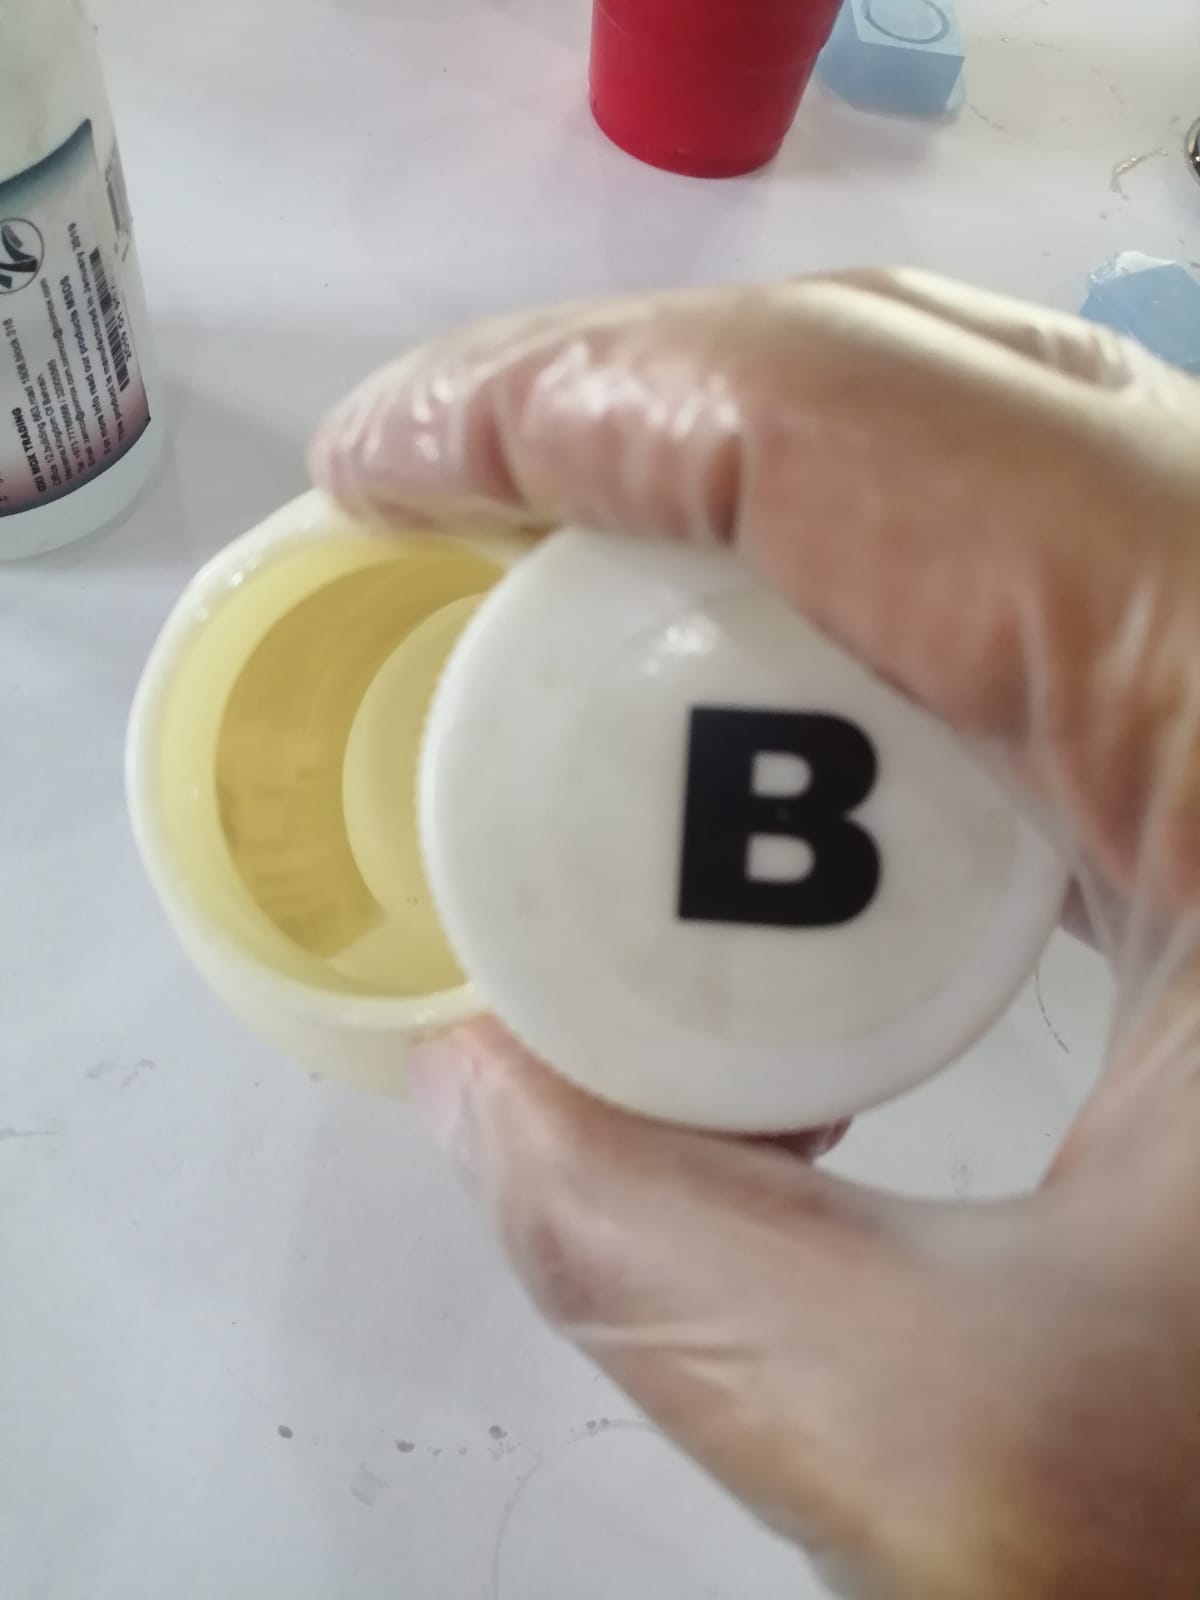
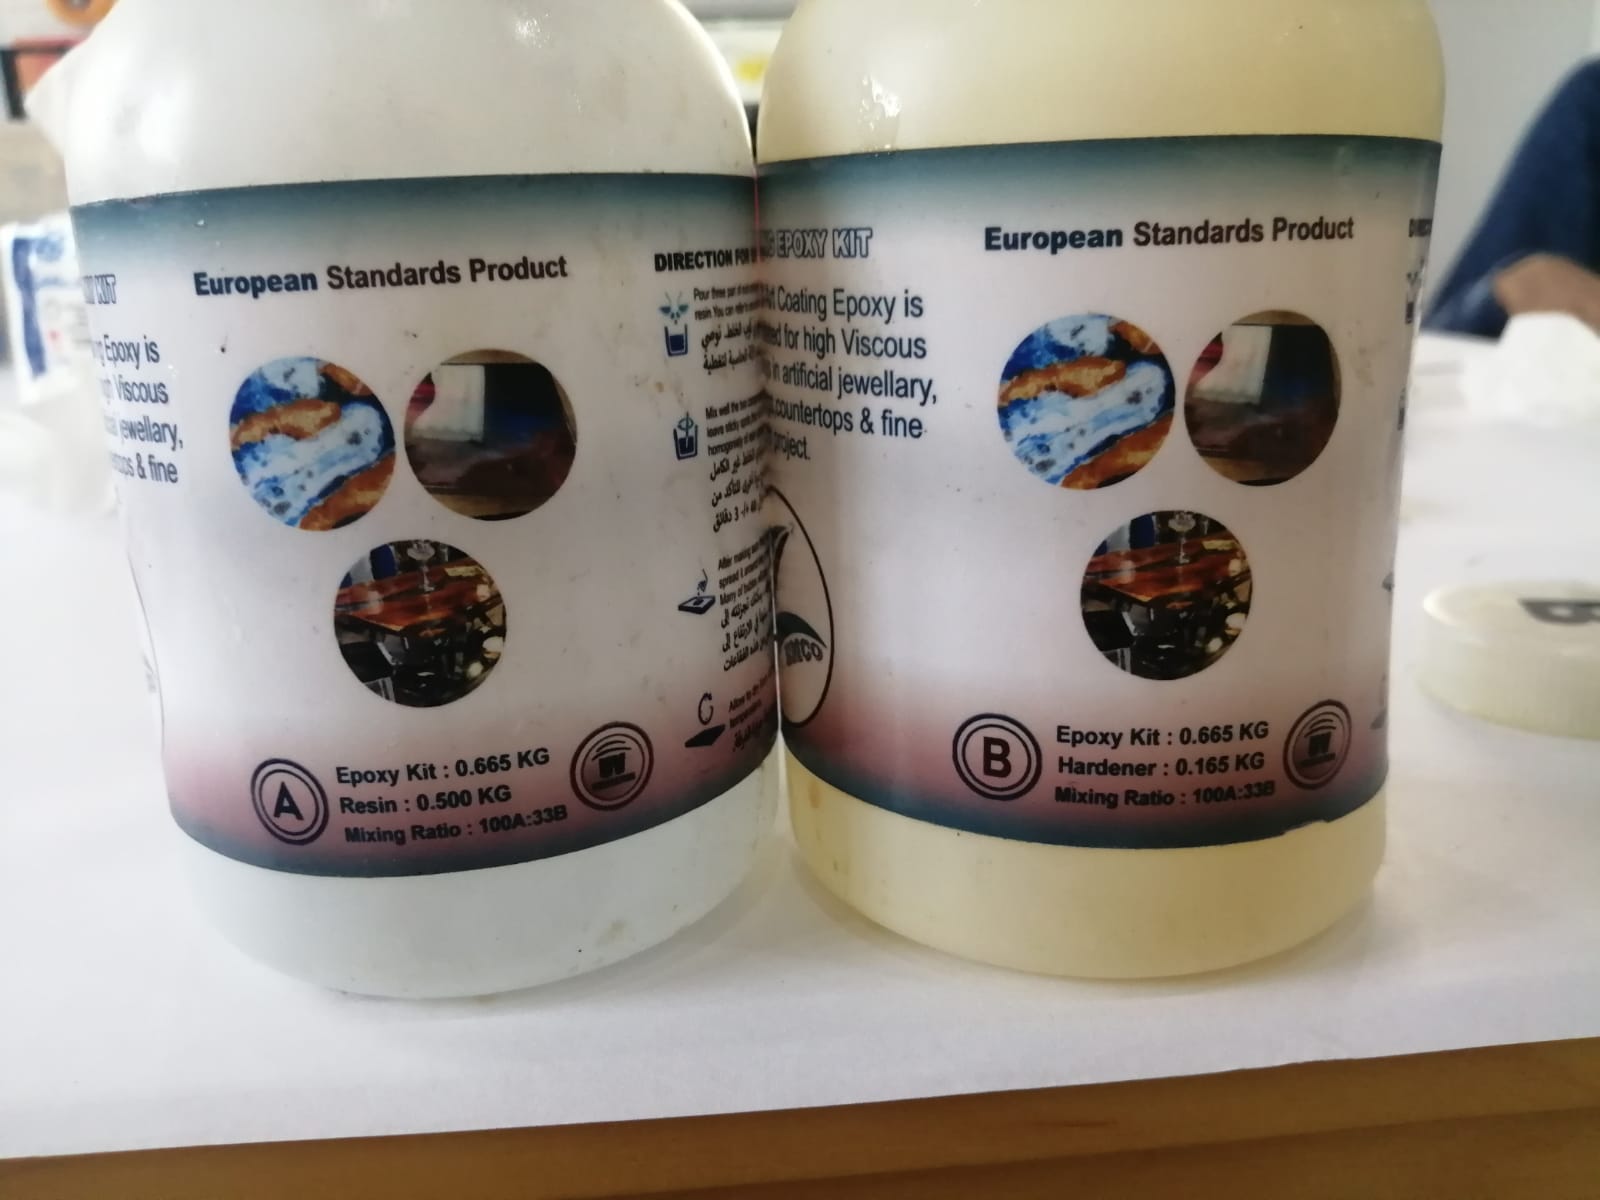 Also there are two material of the Epoxy one is epoxy resin which is has higher viscosity and called type A. And the other one is Epoxy hardener which is like the water and called type B. The ratio of mixing them 100A:33B which is mean 3A:1B is easier.
 This is A
 And this is B
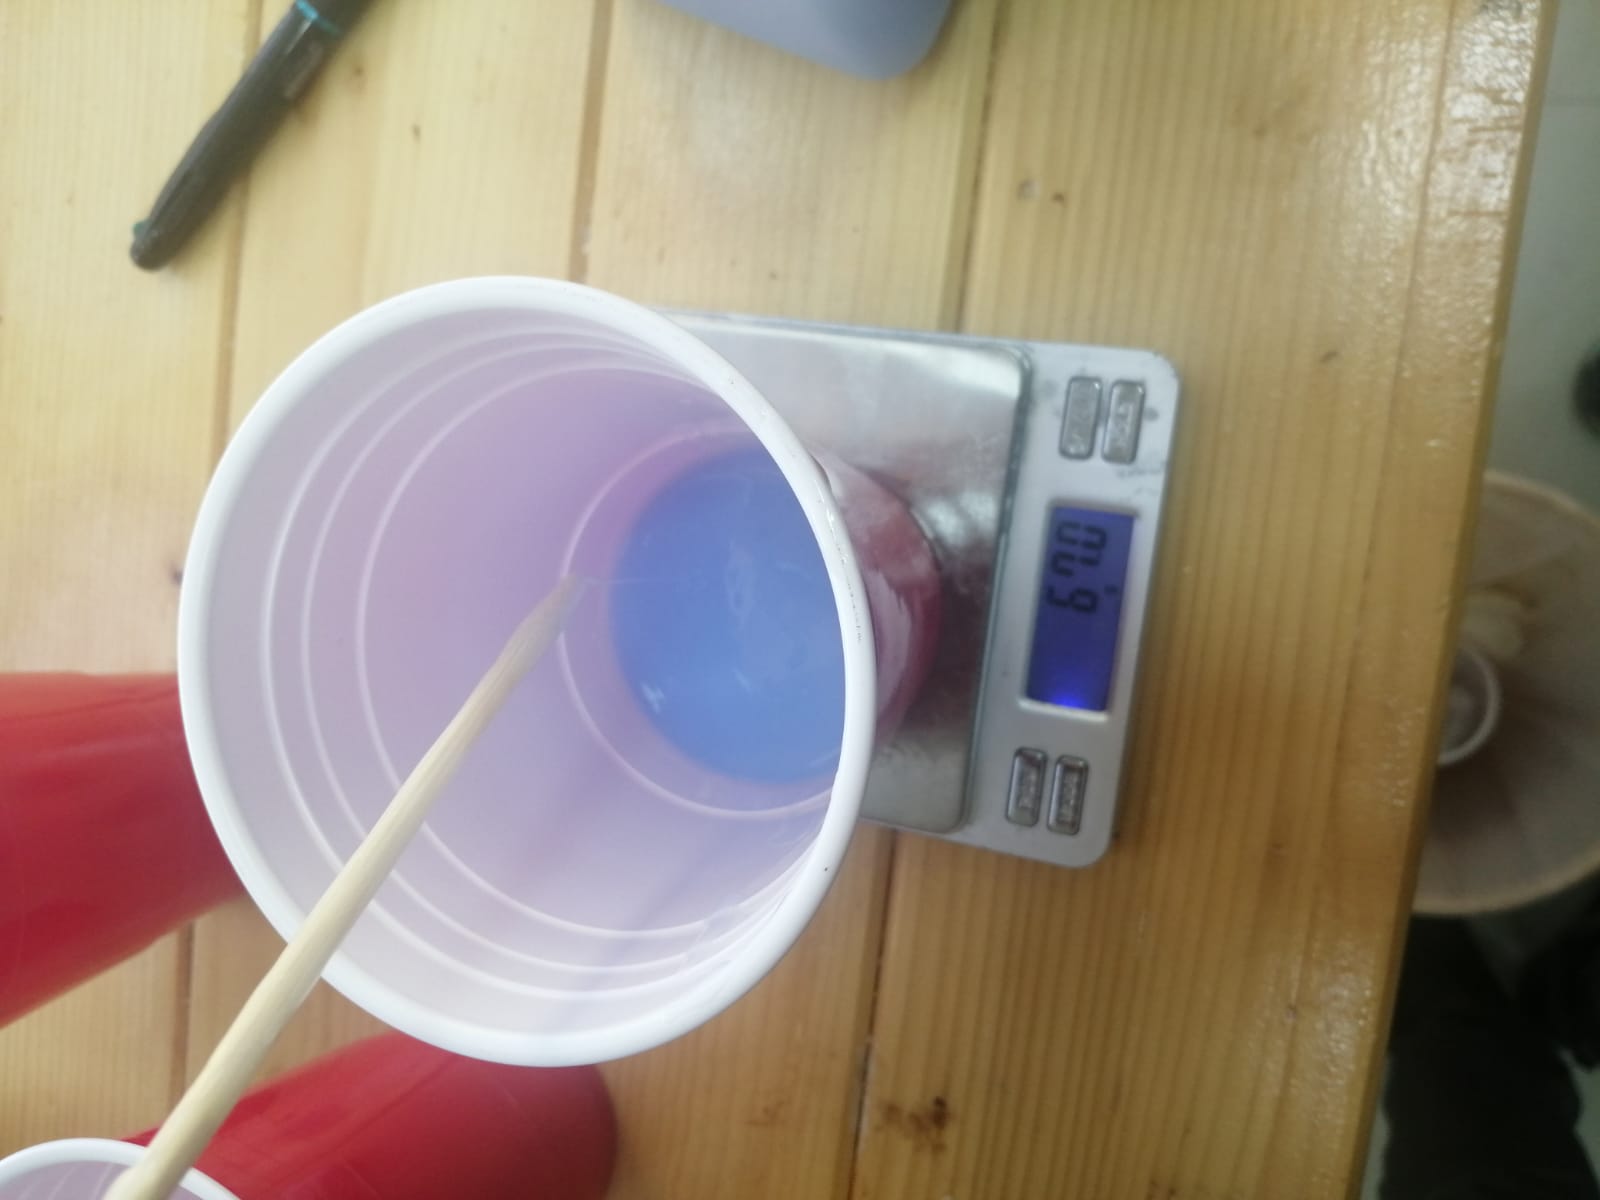
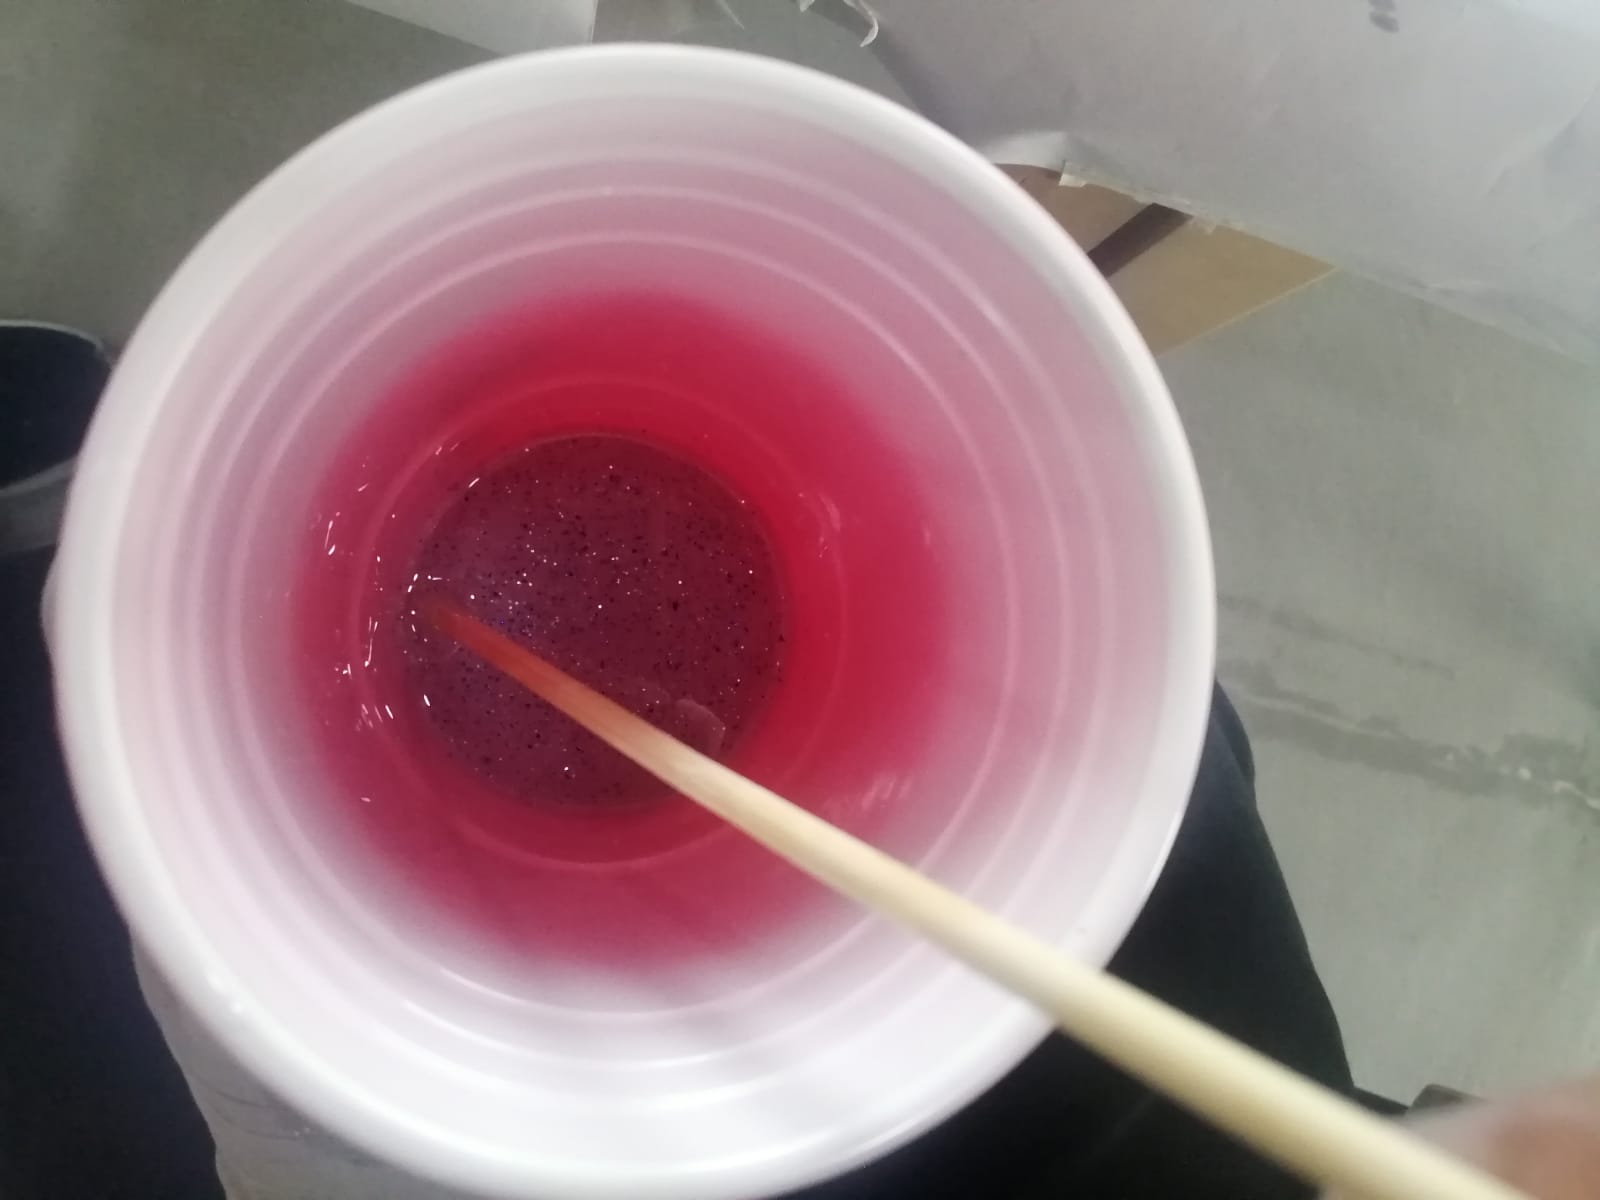
 This is the information about how to use the two material and how to mix them. First put 3 parts of type A and one part pf type B in the cup by pour B first then A. Next, we mix this mixture for 3 minutes. Then we put in this mixture some bright colour to make the mixture be beautiful and to see what will happen in the end.
After that, pour the mixture in the mould. when we reaches this test we already have two type of mould Silicon Plastique mixture and Silicon liquid mixture that we used them before.
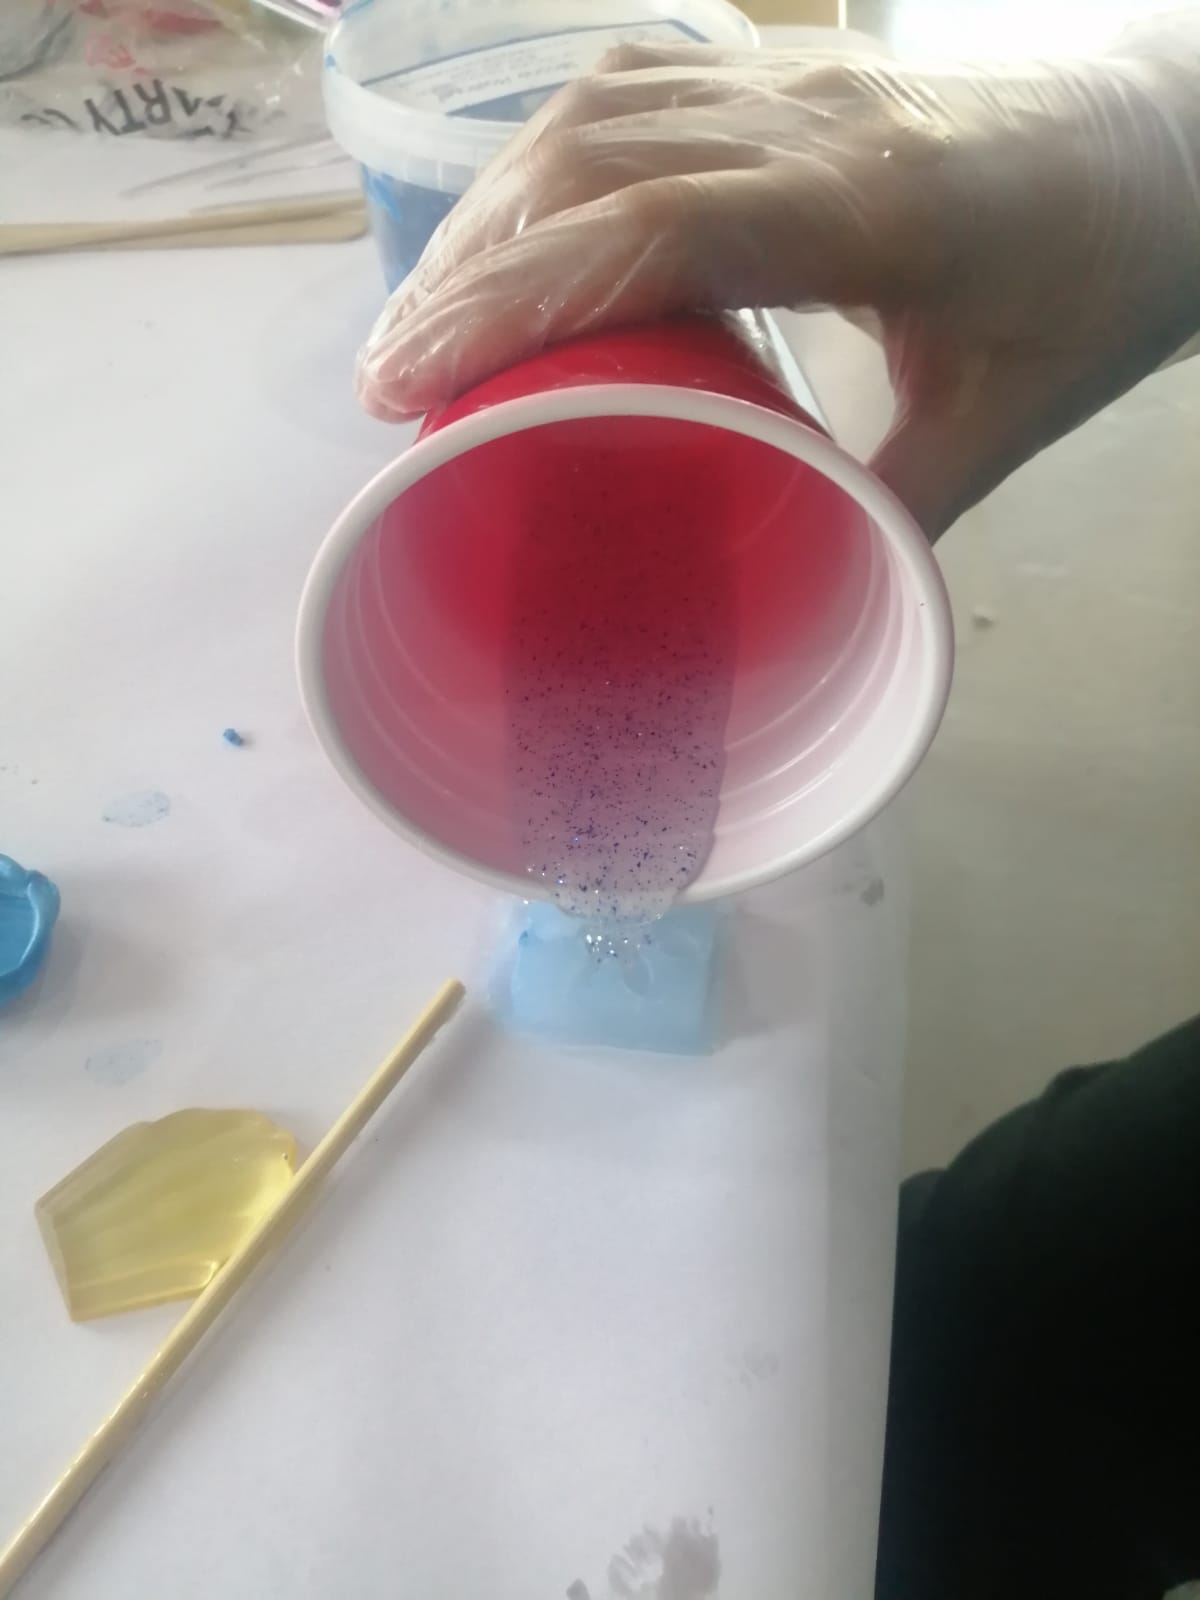
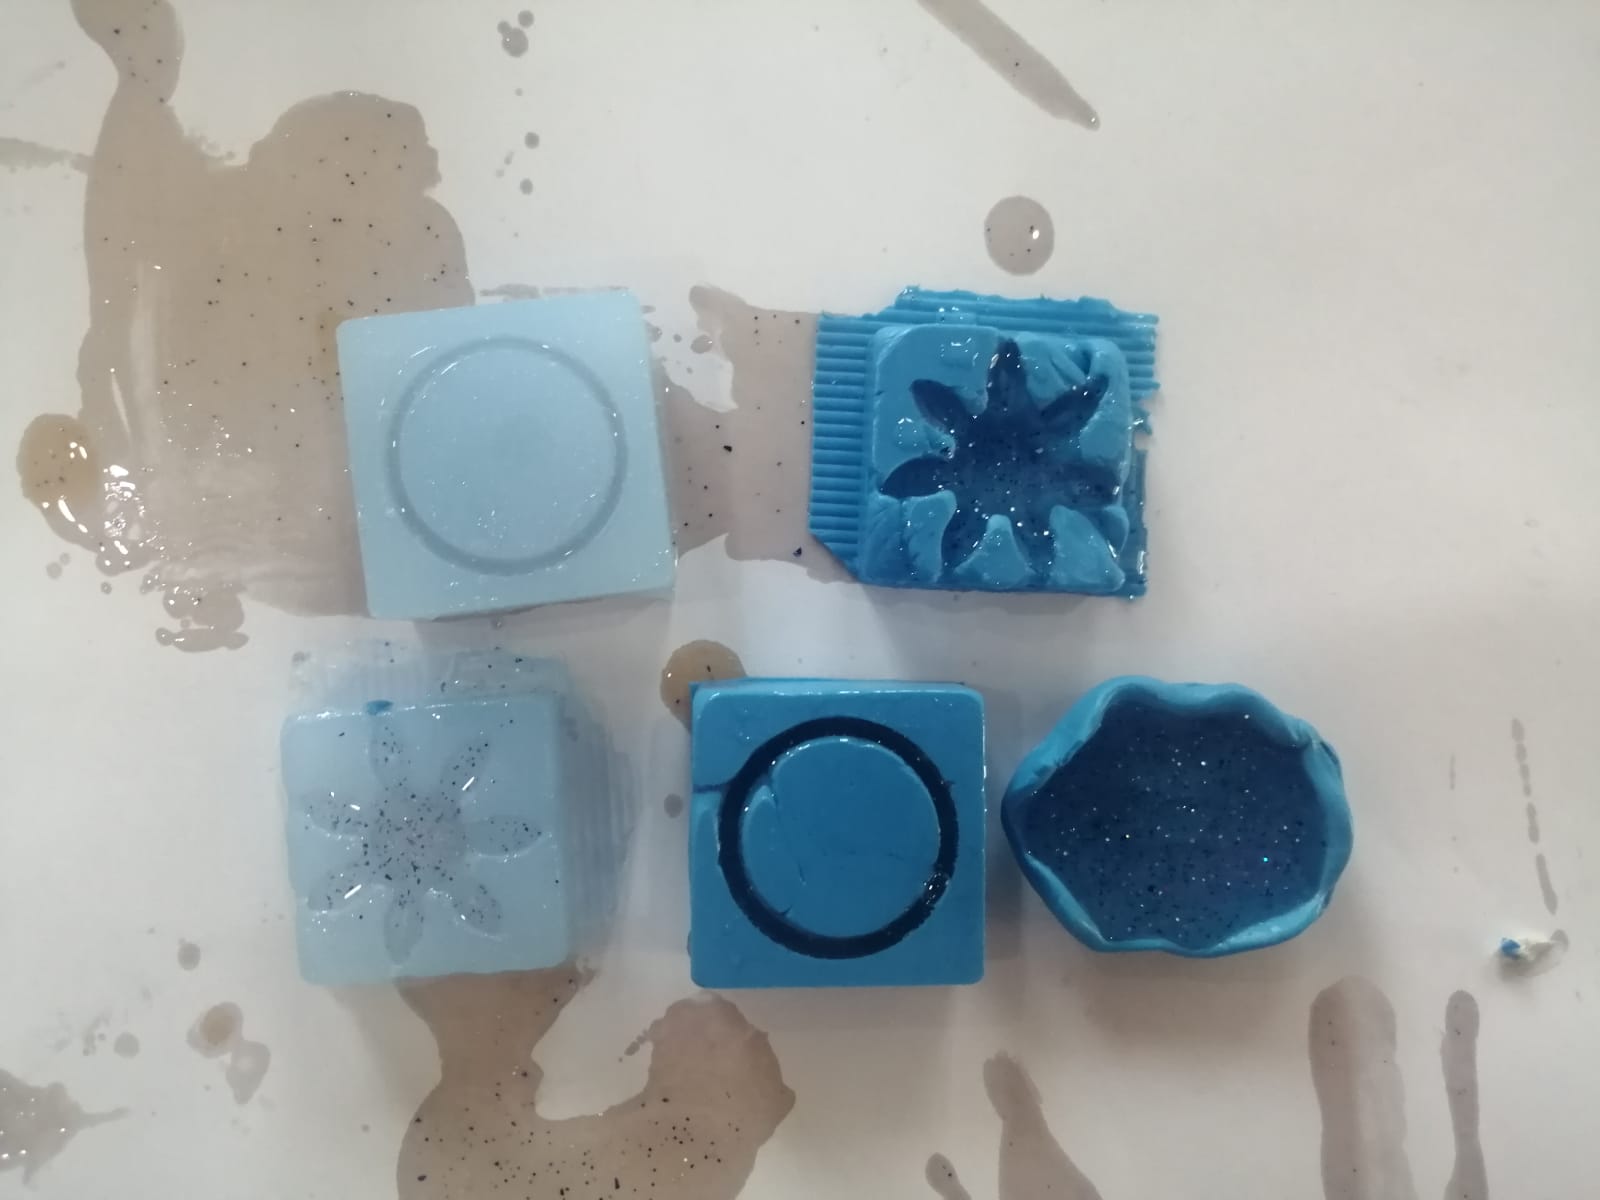
Finally, we wait for 48 hours to the mixture solidify and got 4 shapes from it.