3. Computer controlled cutting
1-CO2 laser Machine
Information about Laser machine
first session in this week for fab lab works at 12/07/2021 our instructor ABDULLAH give us some information about LASER machines. There are 3 type of it CO2, YAG, and FIBER, and in this course we will use and talk about CO2 laser machine. And we can do a smaller project from our design or the big design. That make us see what are the problems that will face us or how we can complete the project easer and how the project look like. In the machine we can control the path of the laser by 2 axis x and y, z is not important one we can ignore it but the laser should be at 8 mm higher than the plate. Laser beam physics is mixture consist of CO2, N2 ,and He and there are some mirrors inside it. This machine can cut thin and soft material ,so it cant cut material like stainless steel. The cutting of the laser depend on three parameters Power of laser and speed and frequency, but it is not important. There are two type of paths cutting and engraving and If you want to do engraving or cutting, there are different settings for different material and also different thickness need different power. also, there are a different type of cutting techniques Kerfings, multilayer, digital fabrication, joints, press fit and we will use press fit today.
Start working on my design
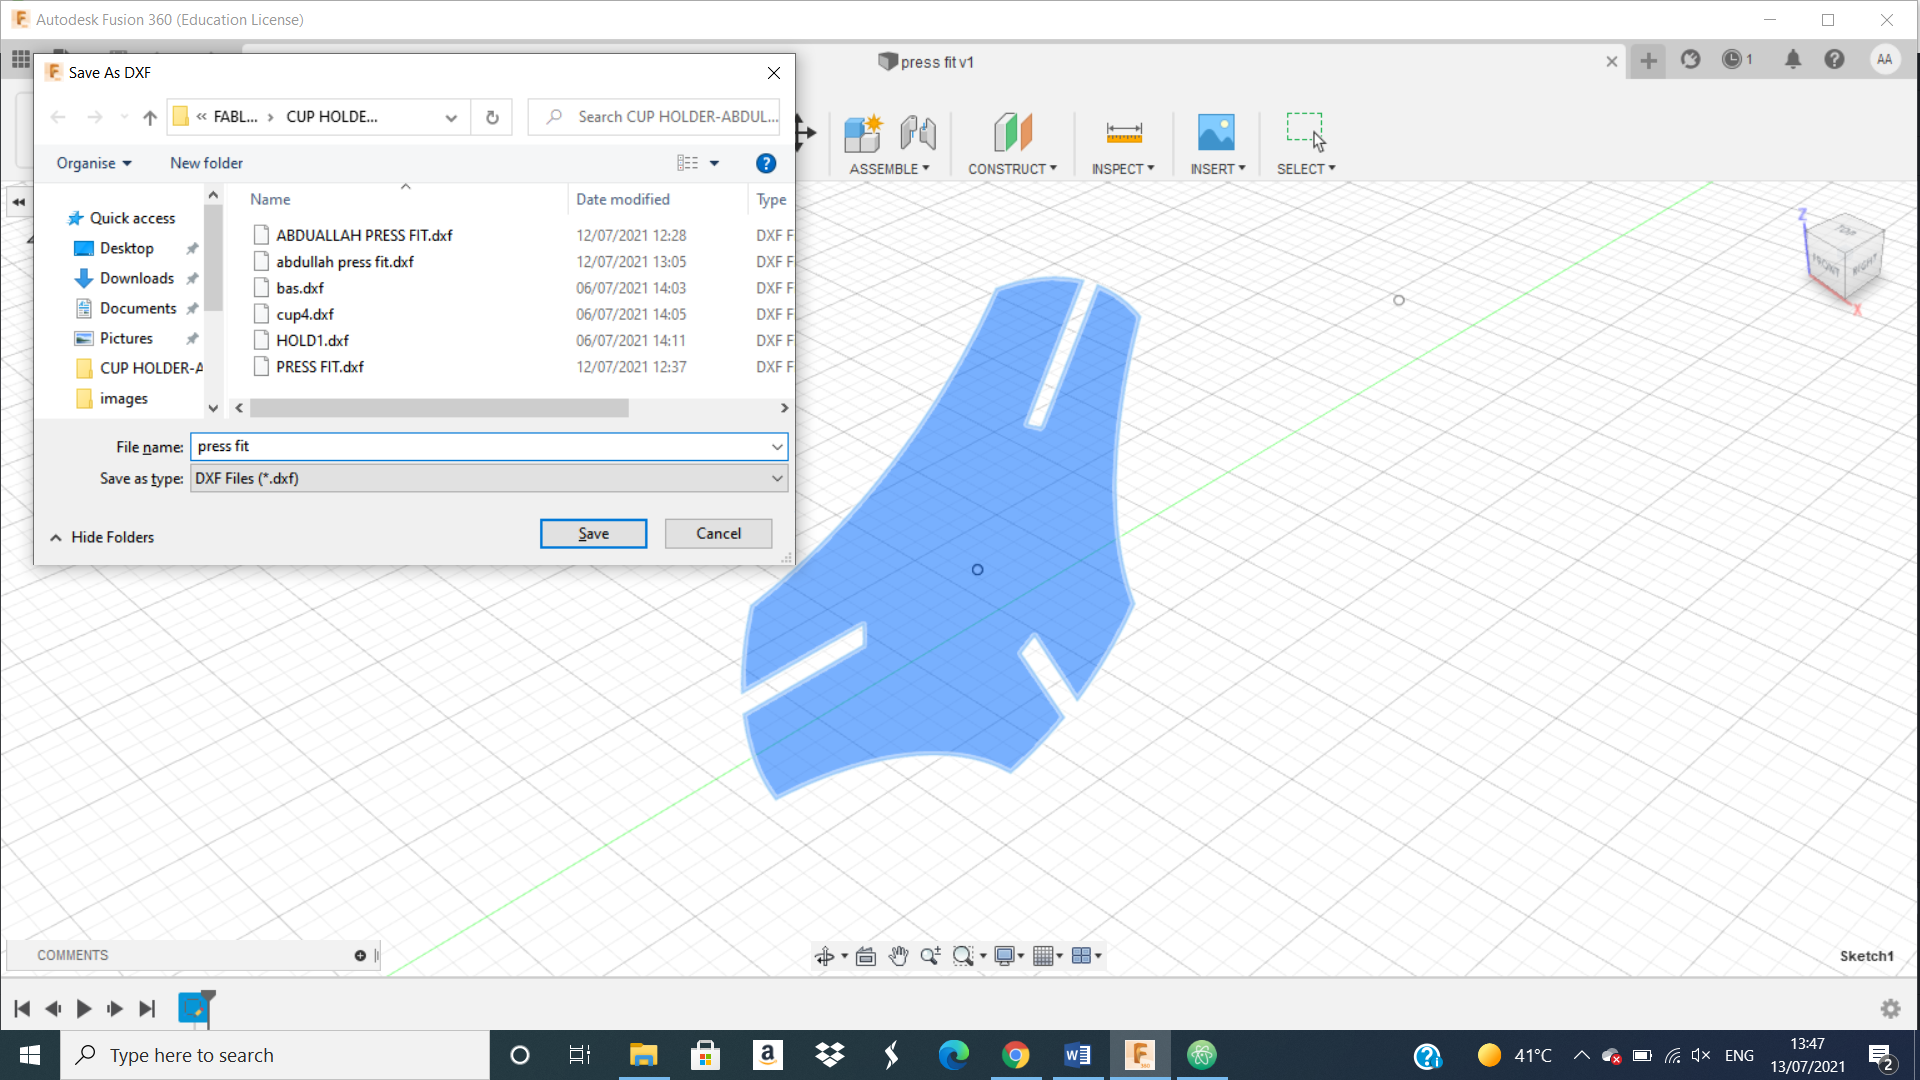
After that, we start searching about a previous design to know how our work will look like. Next, after we learned from the previous works we try to do ours on fusion 360.And we save this skitch as DXF file, because CO2 laser machine or the RDWorks program that we used it on the laptop that connected to the machine can accept this type of file.
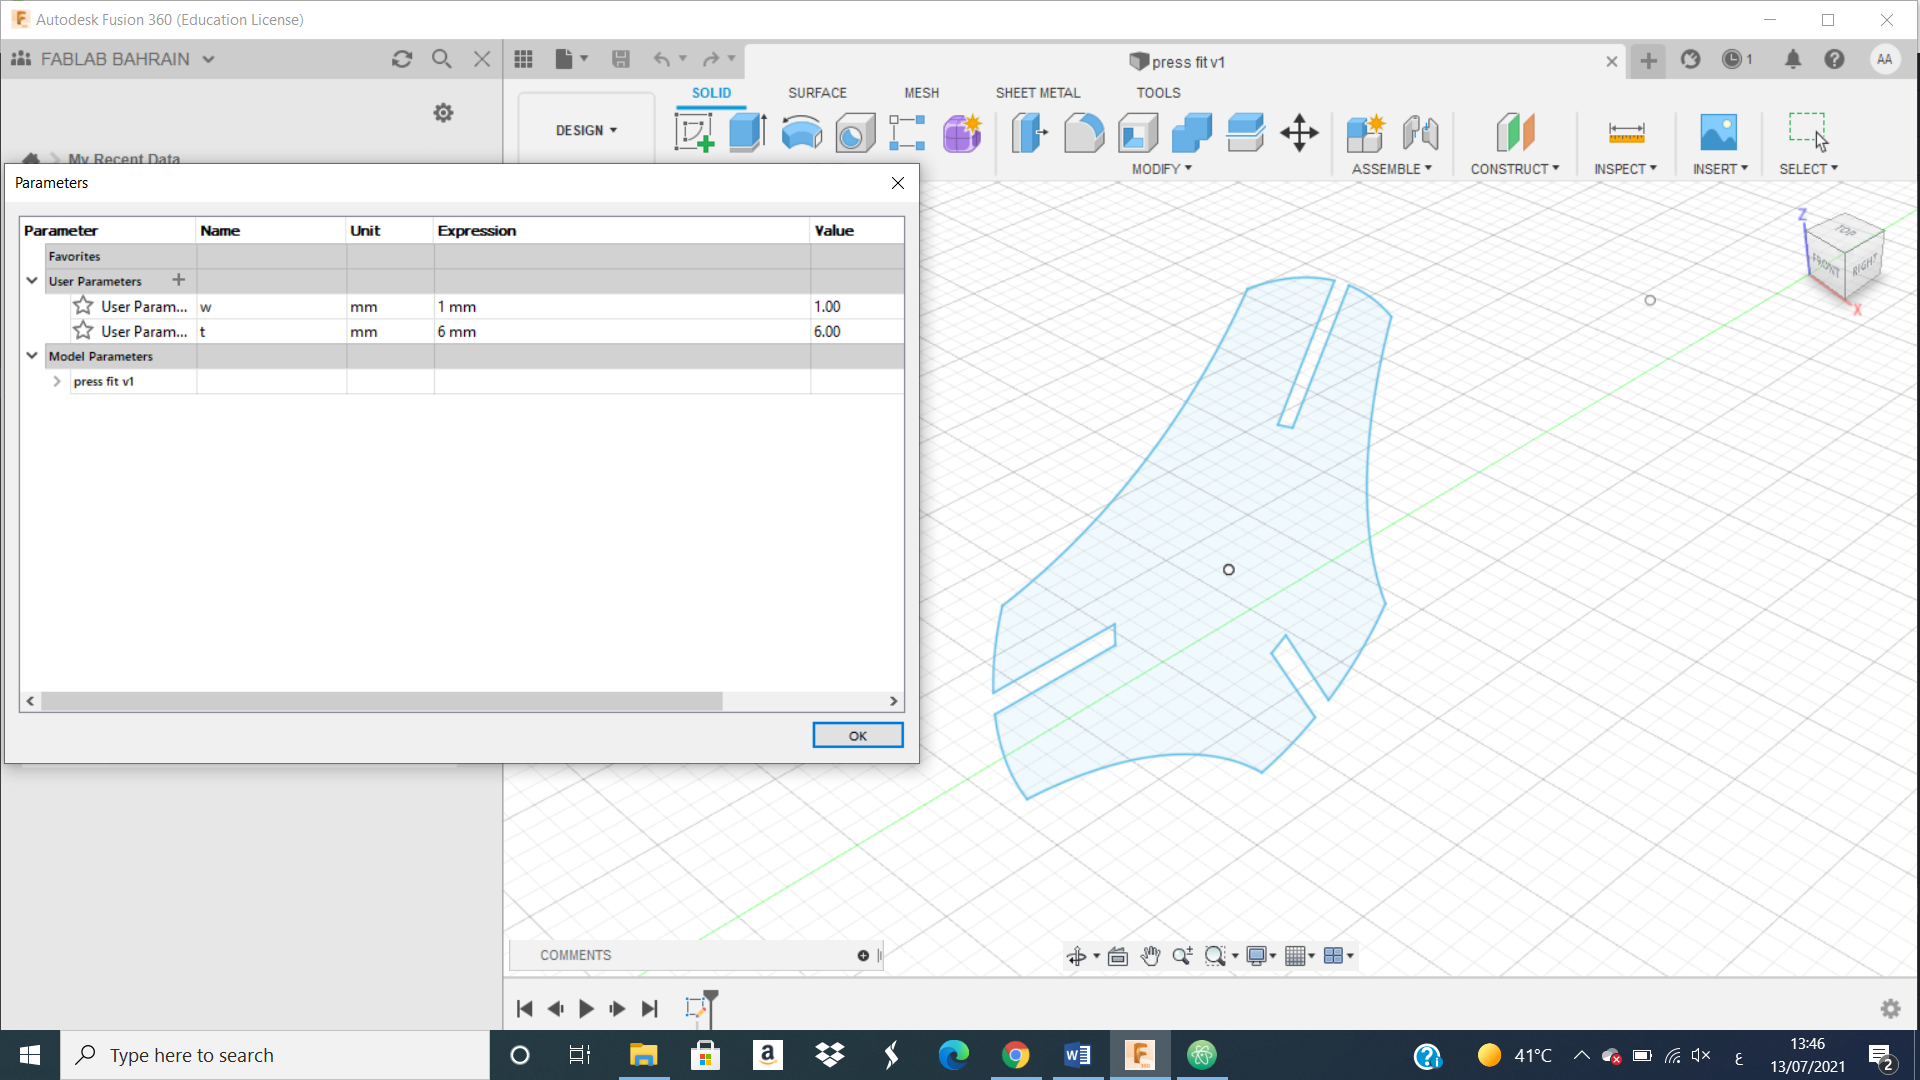
and we choose the dimension of the gab for joints to be 1.15mm and we use the table that make the dimension of our design easer to change
relationship between the important parameters of laser machine
And we save this skitch as DXf file, because CO2 laser machine or the program that we used it on the laptop that connected to the machine can accept this type of file.
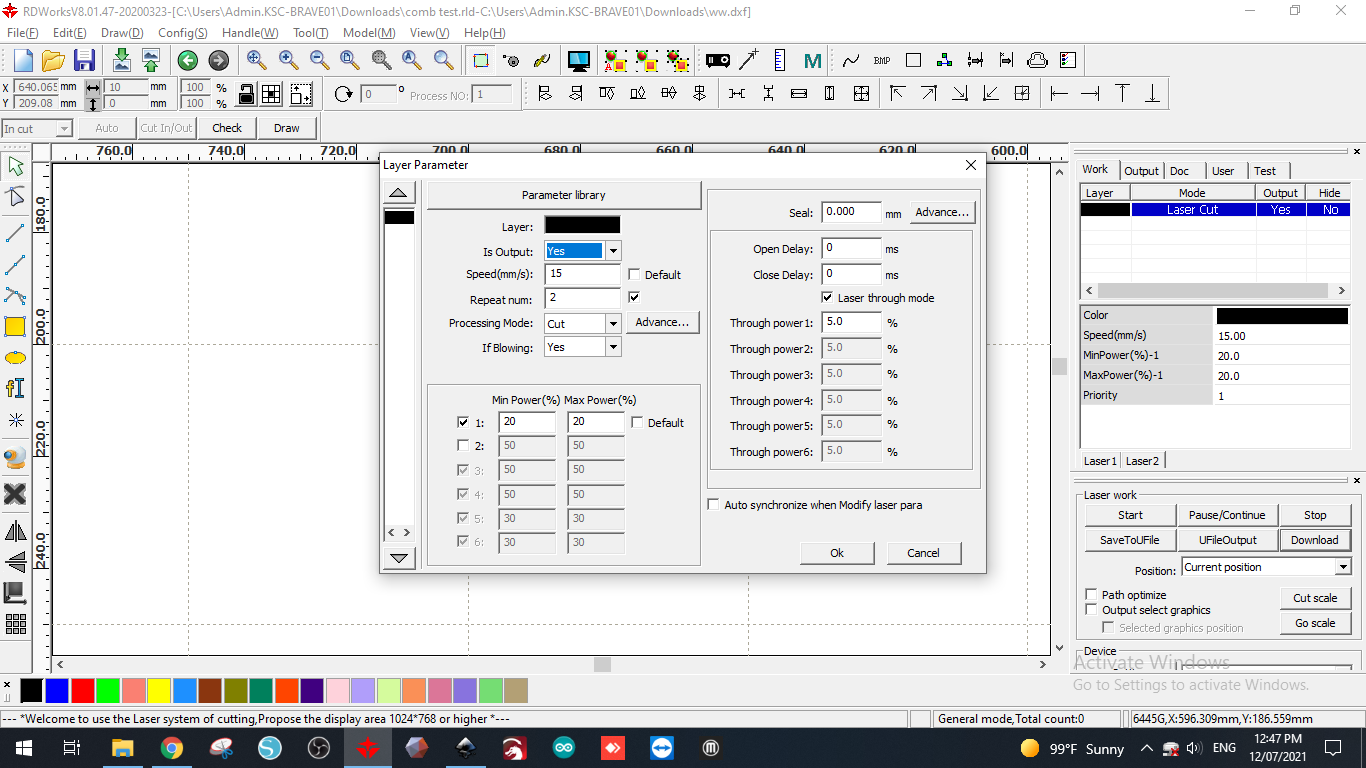
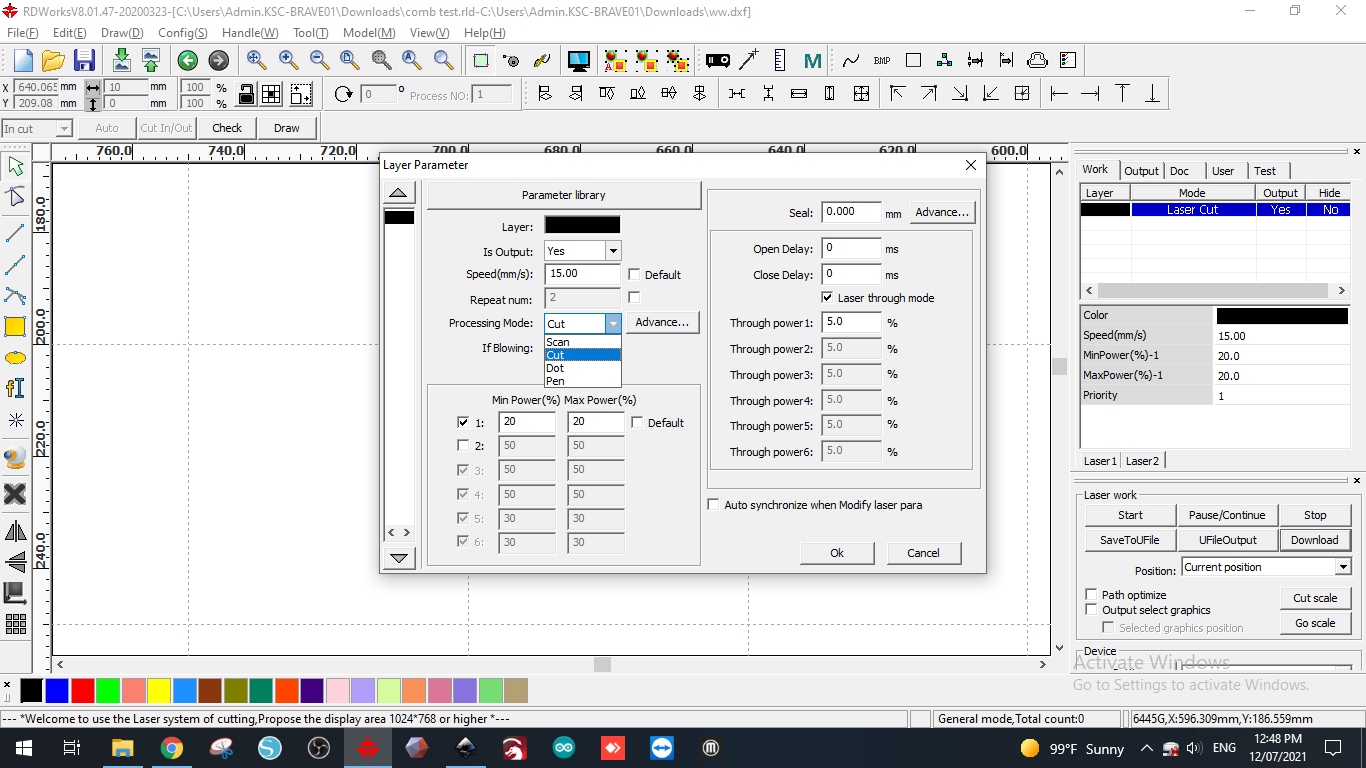
 Than, from the program that we used it to control the machine we put or change the needed parameters like speed, power, and repeat number or how much number that the laser cut the same place.
 Try and do some test with your plate to find the needed value of the parameters to cut your 2D design without wasted it. And choose the appropriate speed and power because there is a relationship between them and if you increase the power and decrease the speed the plate will fire and by decreasing the speed the time needed for the cut will rise, and if you increase speed and decrease power the laser will not cut the plate clear. So we learned that there are relation shape between the two parameters and you should change them to be appropriate to the type of the plate and the thickness. After do some test we find the appropriate parameters to be
 Next, we want to do fitting test to see the appropriate dimension for our design by do this skitch in the laser
How we cut the design using laser machine
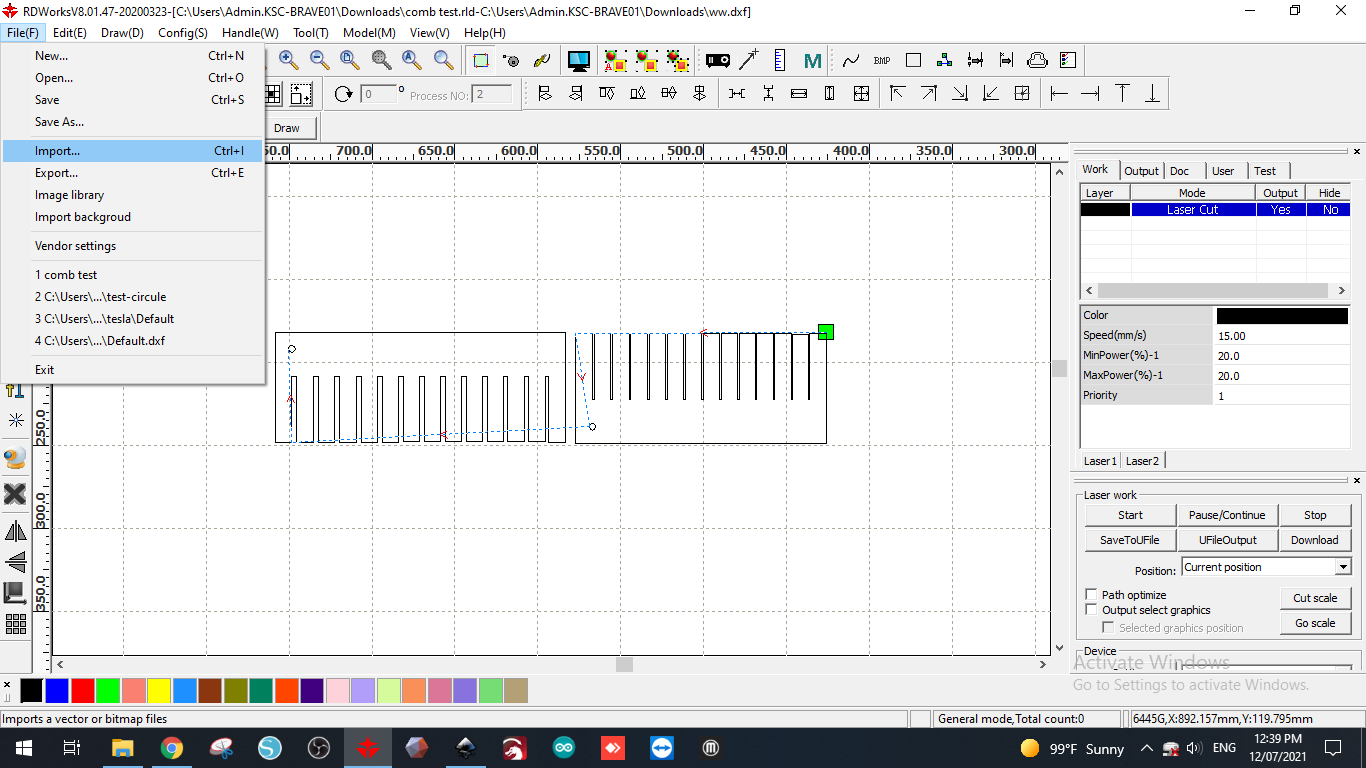
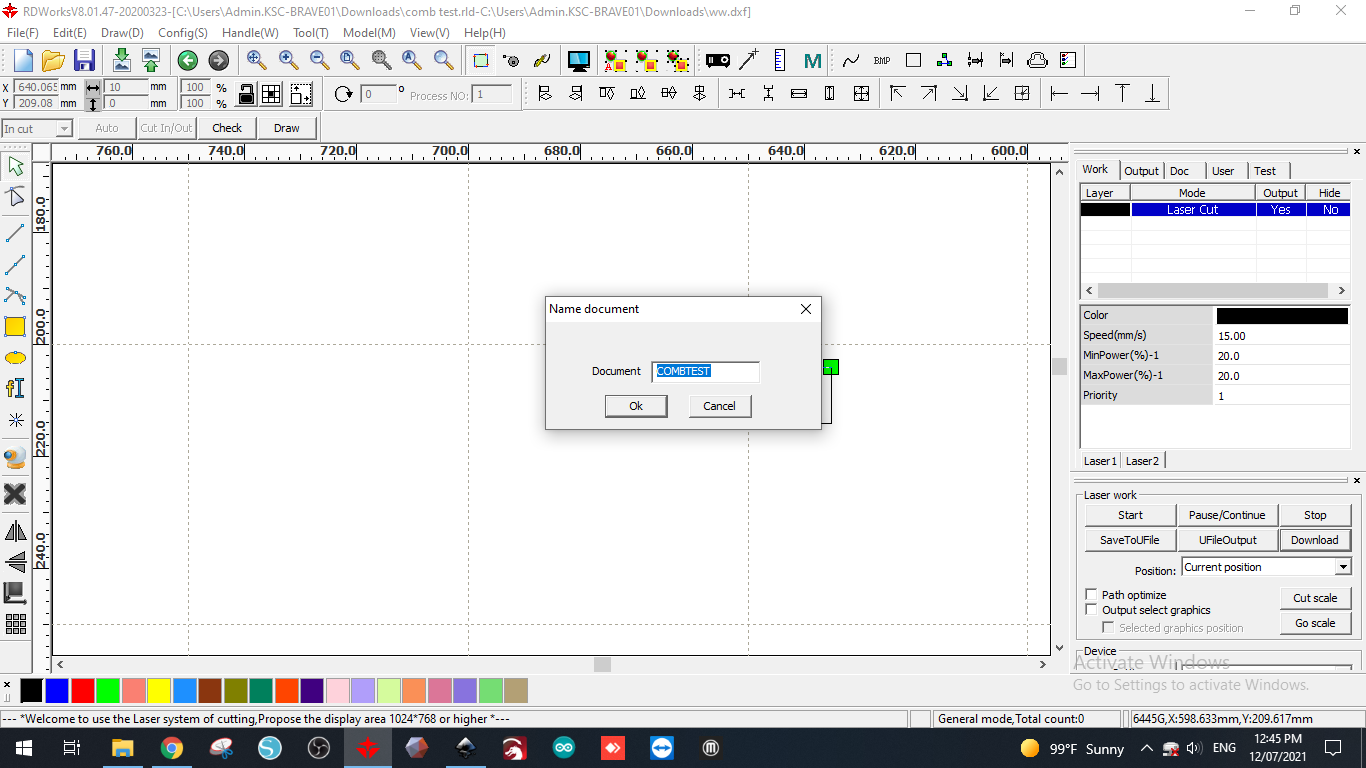
We can see from this picture we appload the above skitch to RDWorks program by click to file than import and save this file.
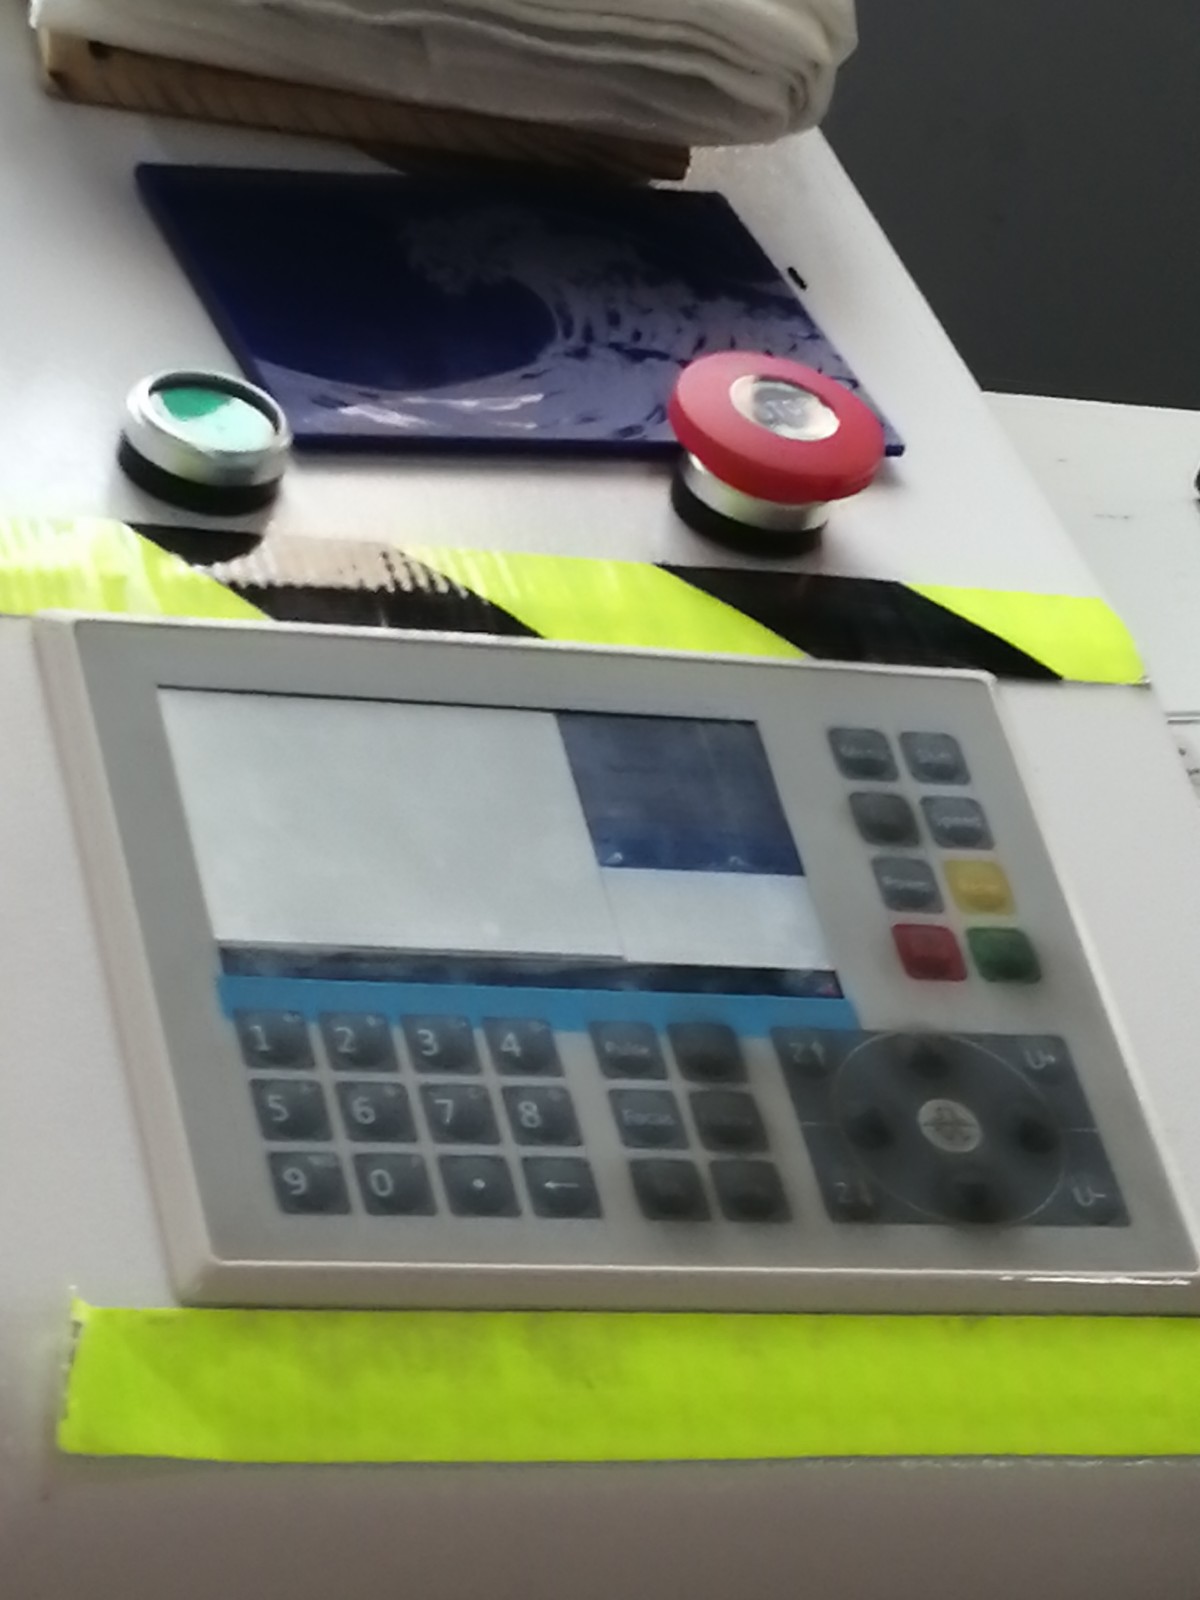
 Next we go to the control board of the machine
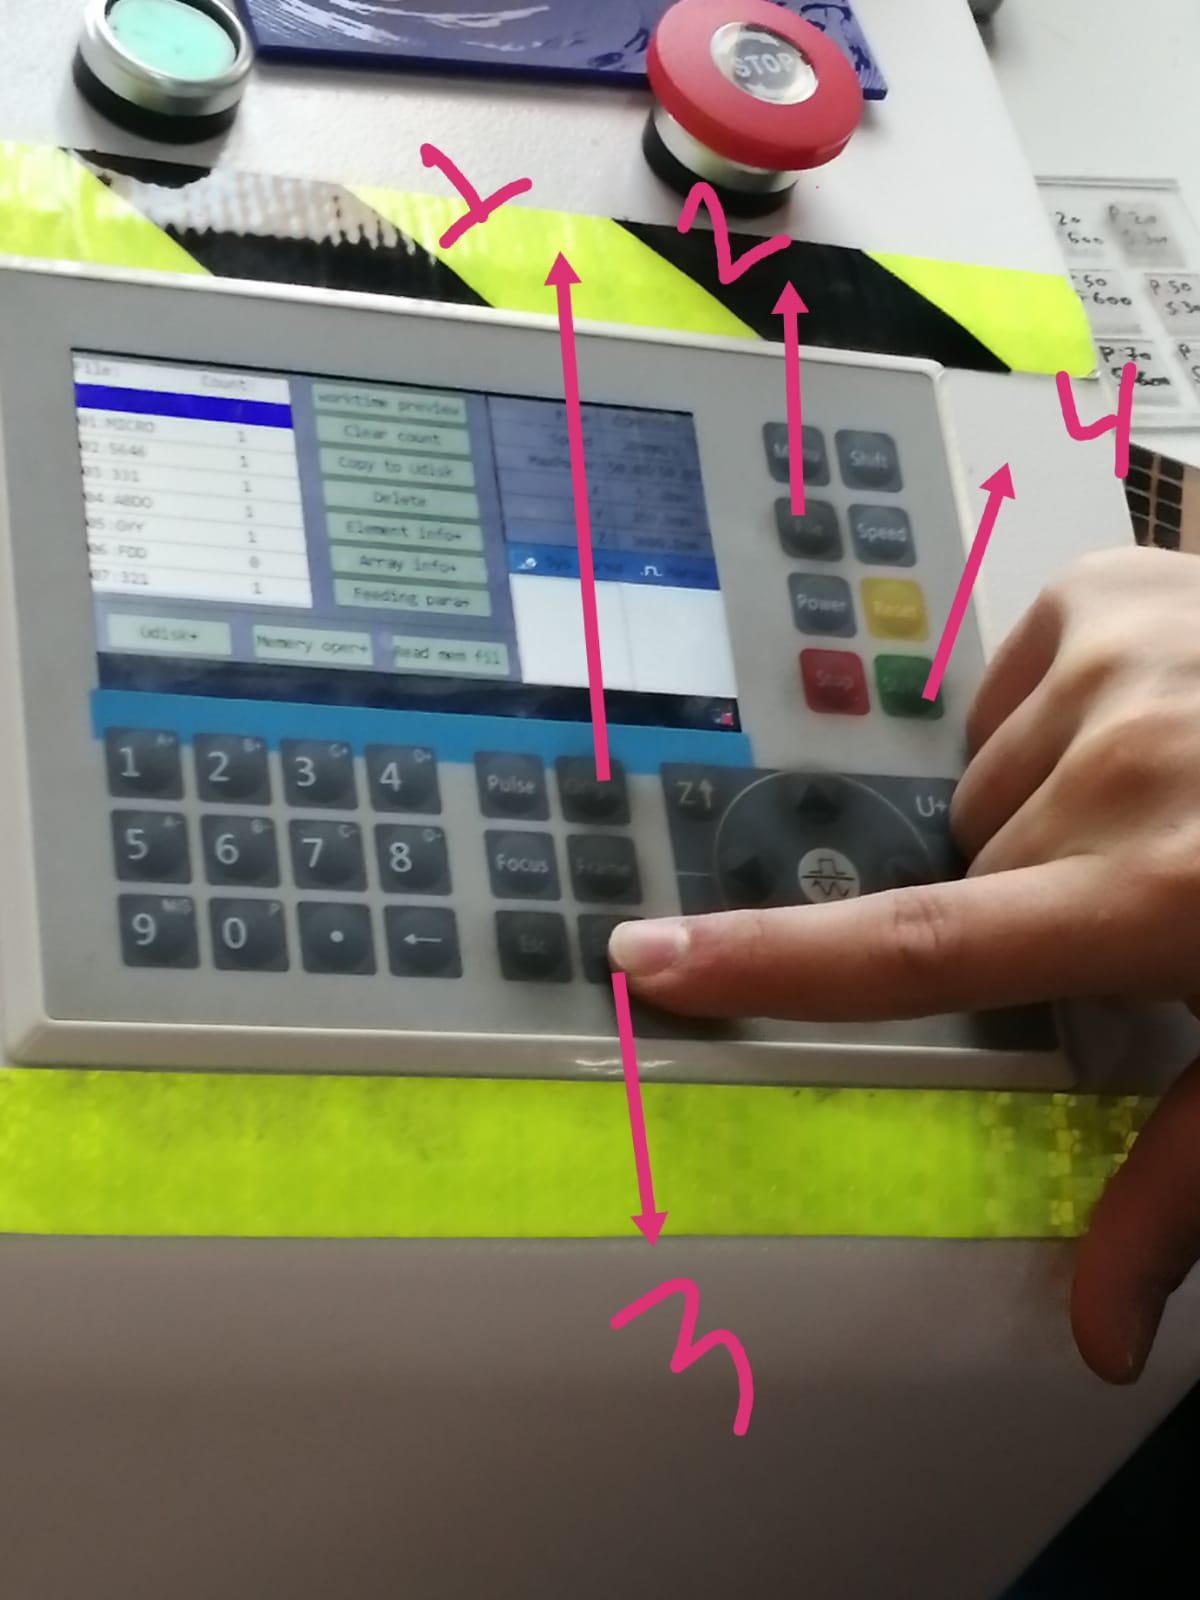
 And we start the machine by click to origin to make the machine back to the starting point. Second, we click to file and choose our DXF file that we import and saved it. Third , we click to frame. finally, we click to start that we can see it in green colure.
 Than the machine will start cut,
fitting test
At the end we got this plate
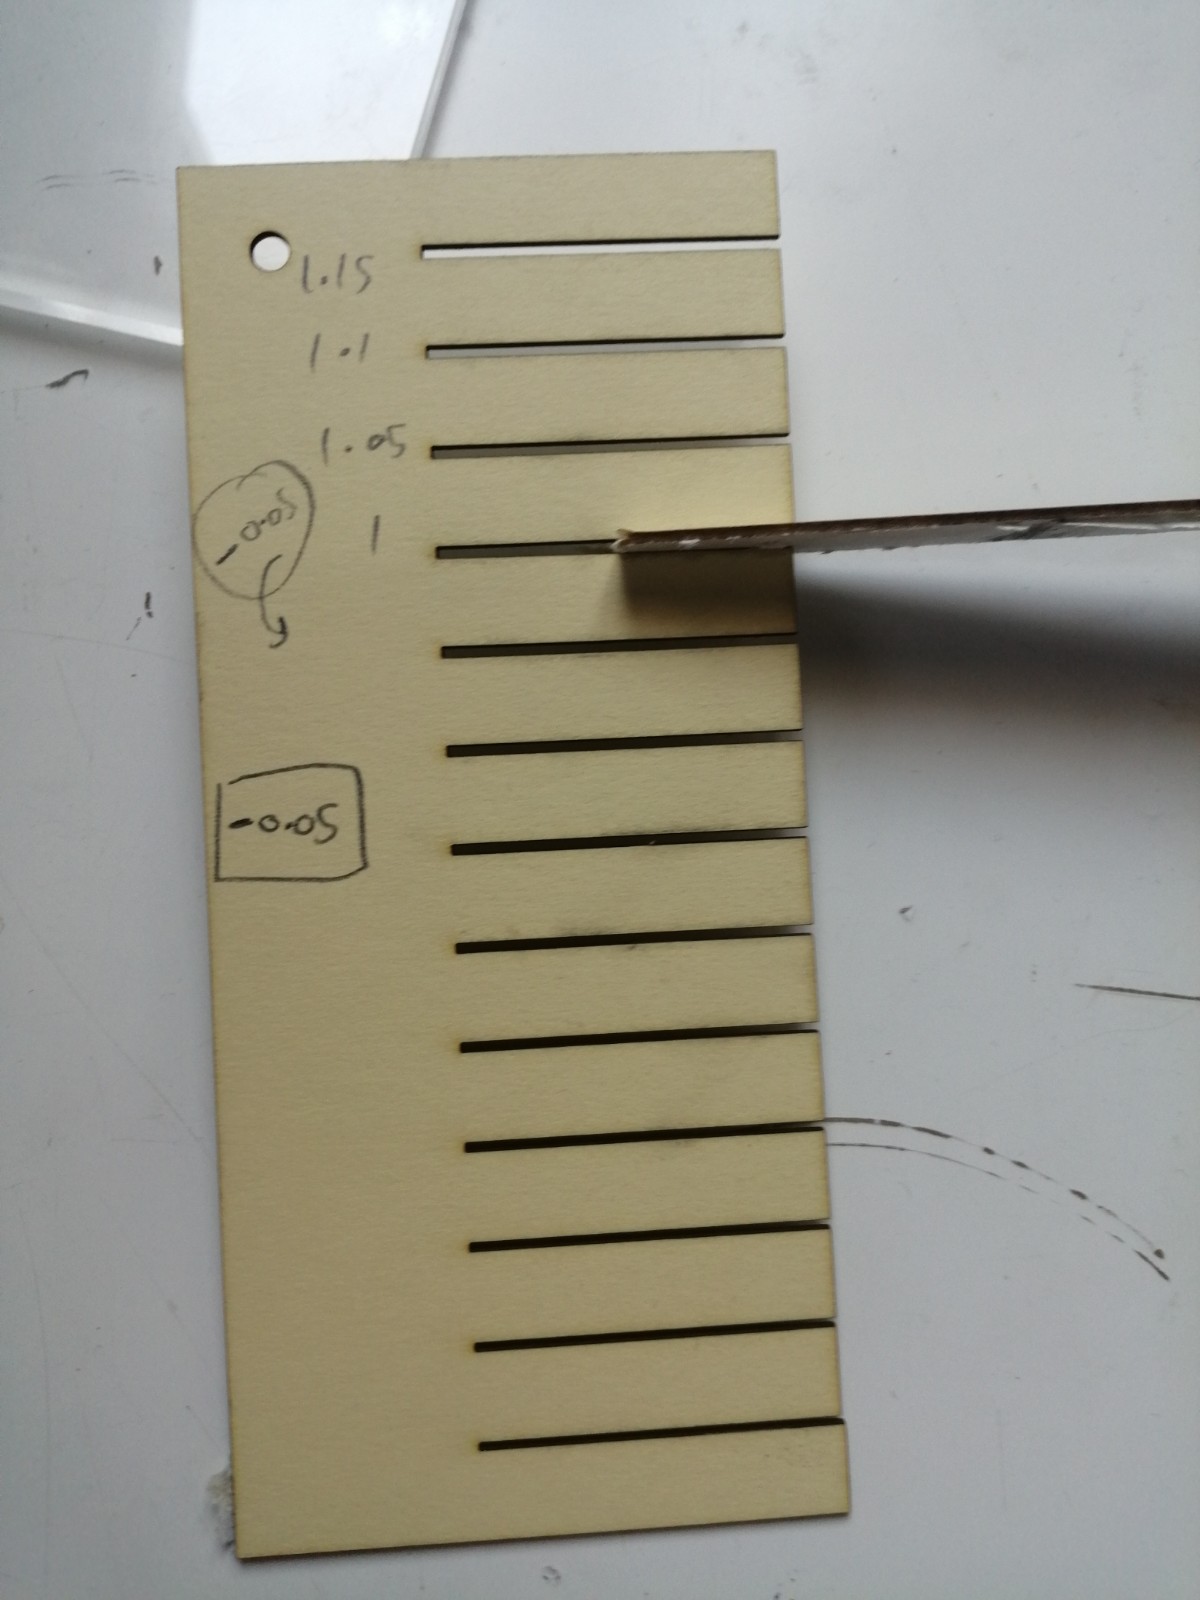 and from it we can find the appropriate dimension of the gab or the joints. And we can see from it the largest gab has 1.15mm and when we go down the gap and we choose it to be 1mm.
Cut or do my design using laser machine
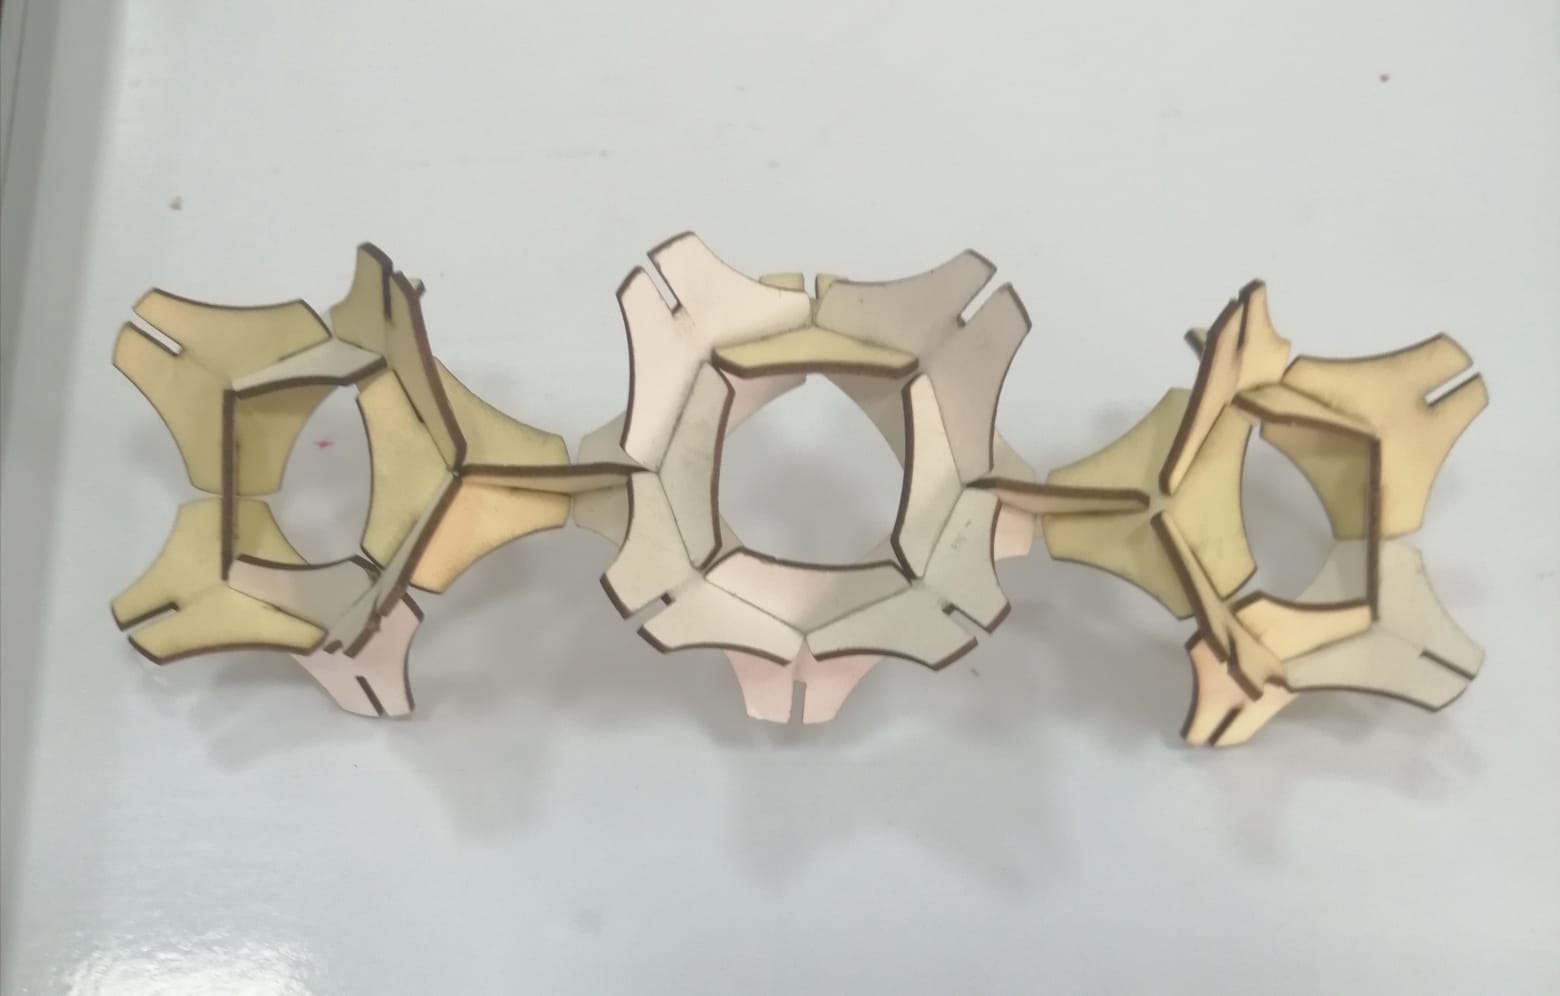
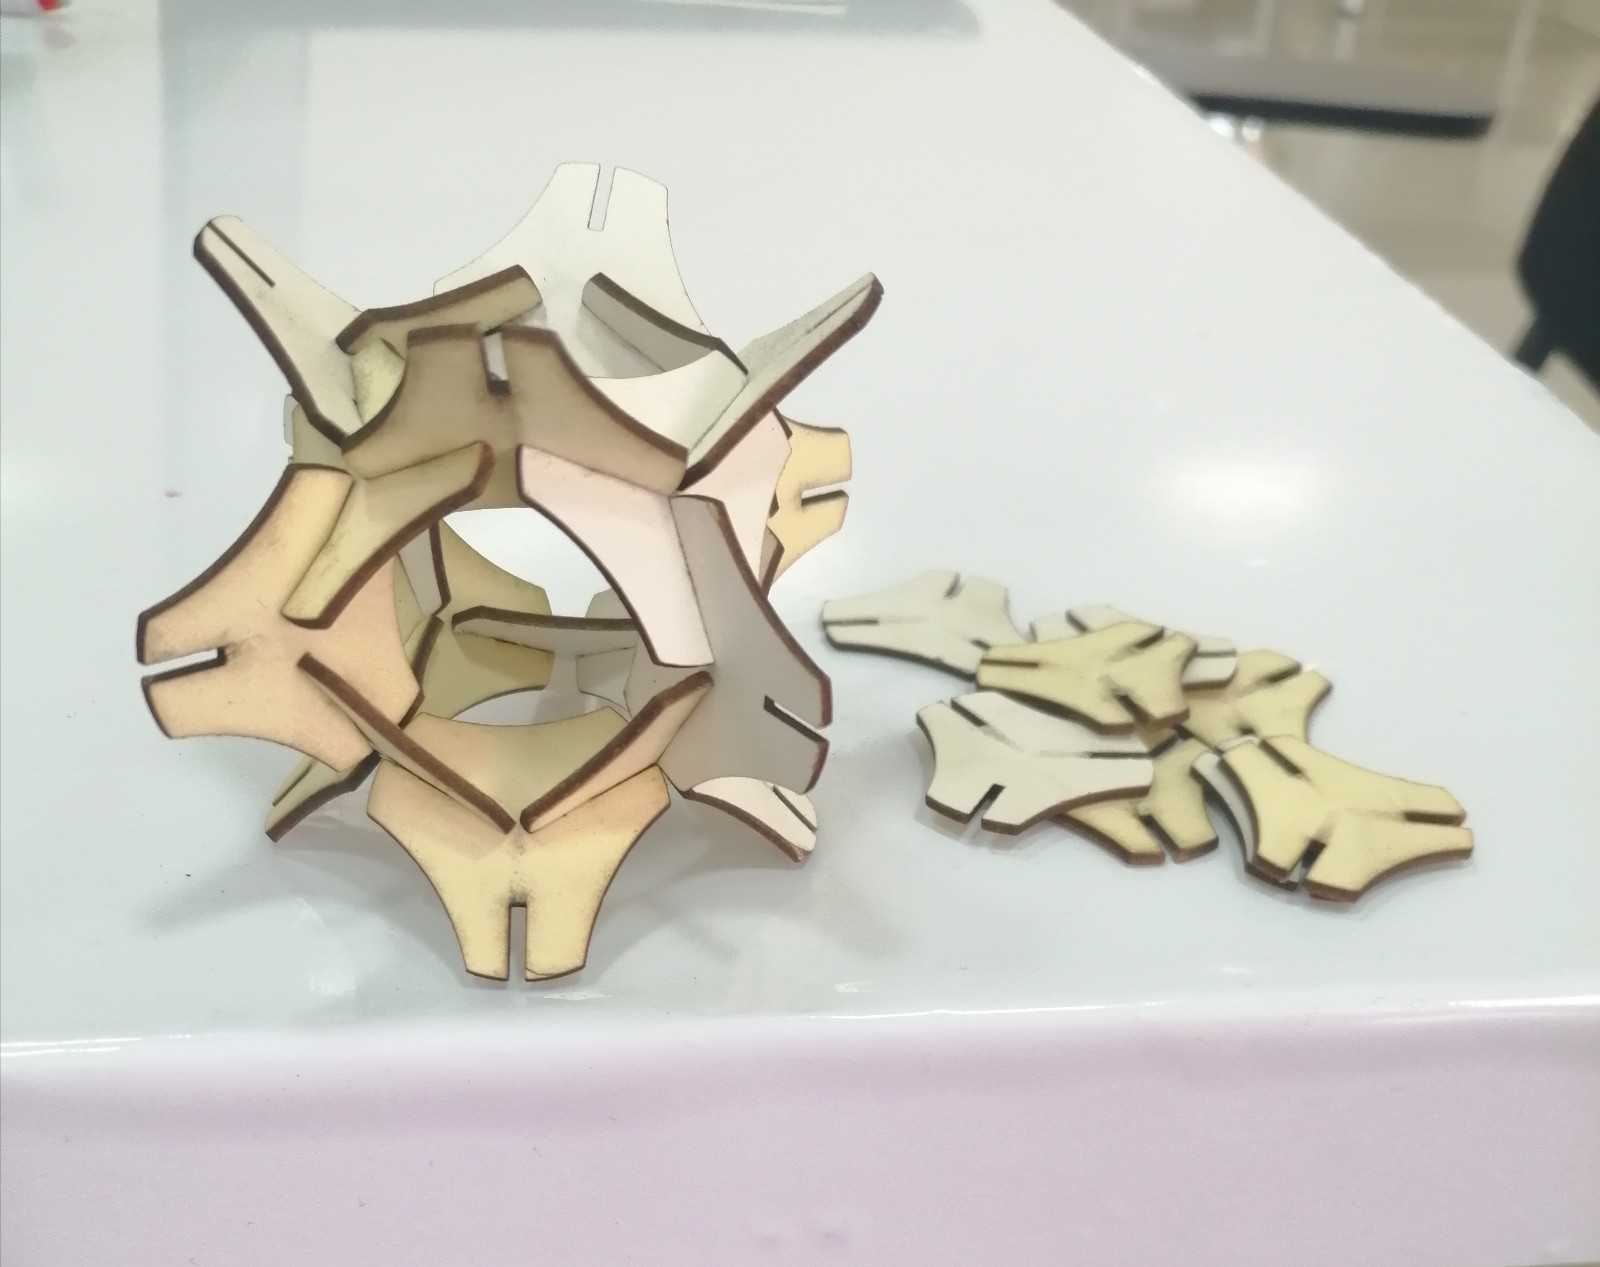
After we choose the appropriate fitting dimension we do the same previous step to your design and run the machine. I cut 24 part from my design and try to do some shapes from it like
safety of the laser machine
If you want to stop the machine we can click to the reed key in the board or the emergency switch also in the red colure above the board.
2-vinyl machine
Information about vinyl machine
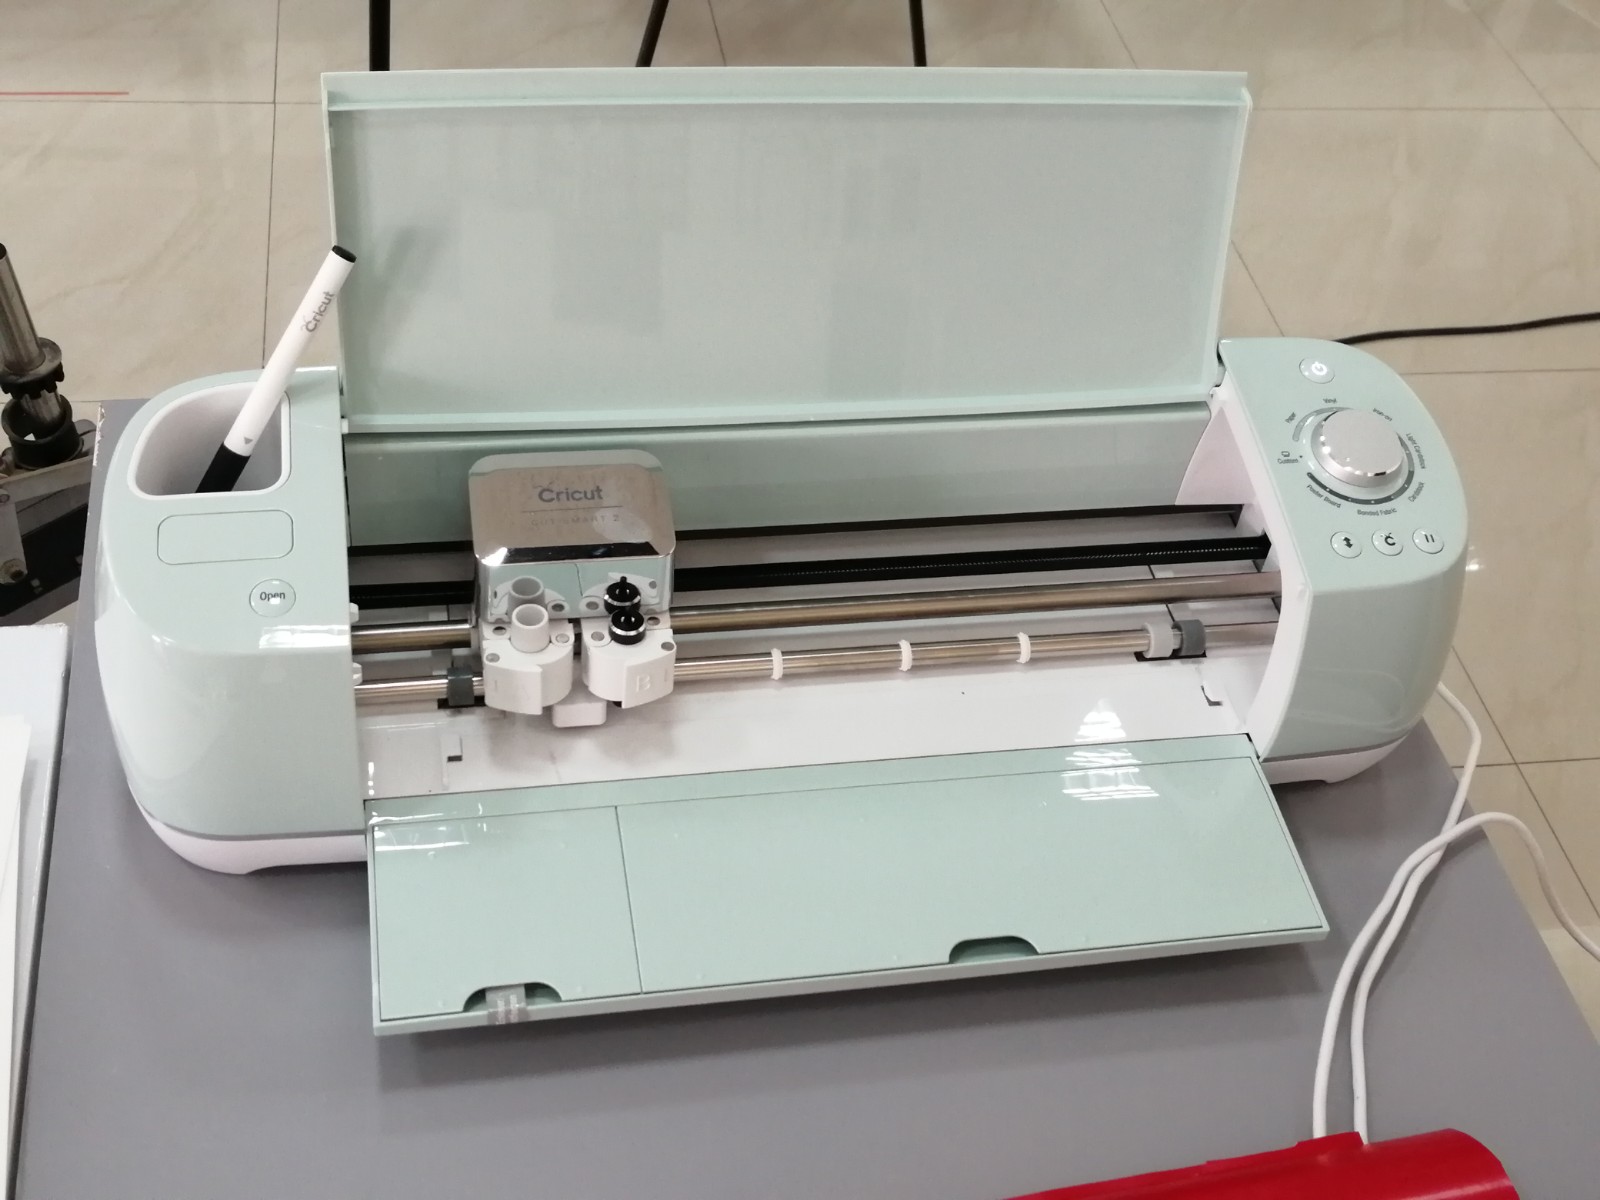
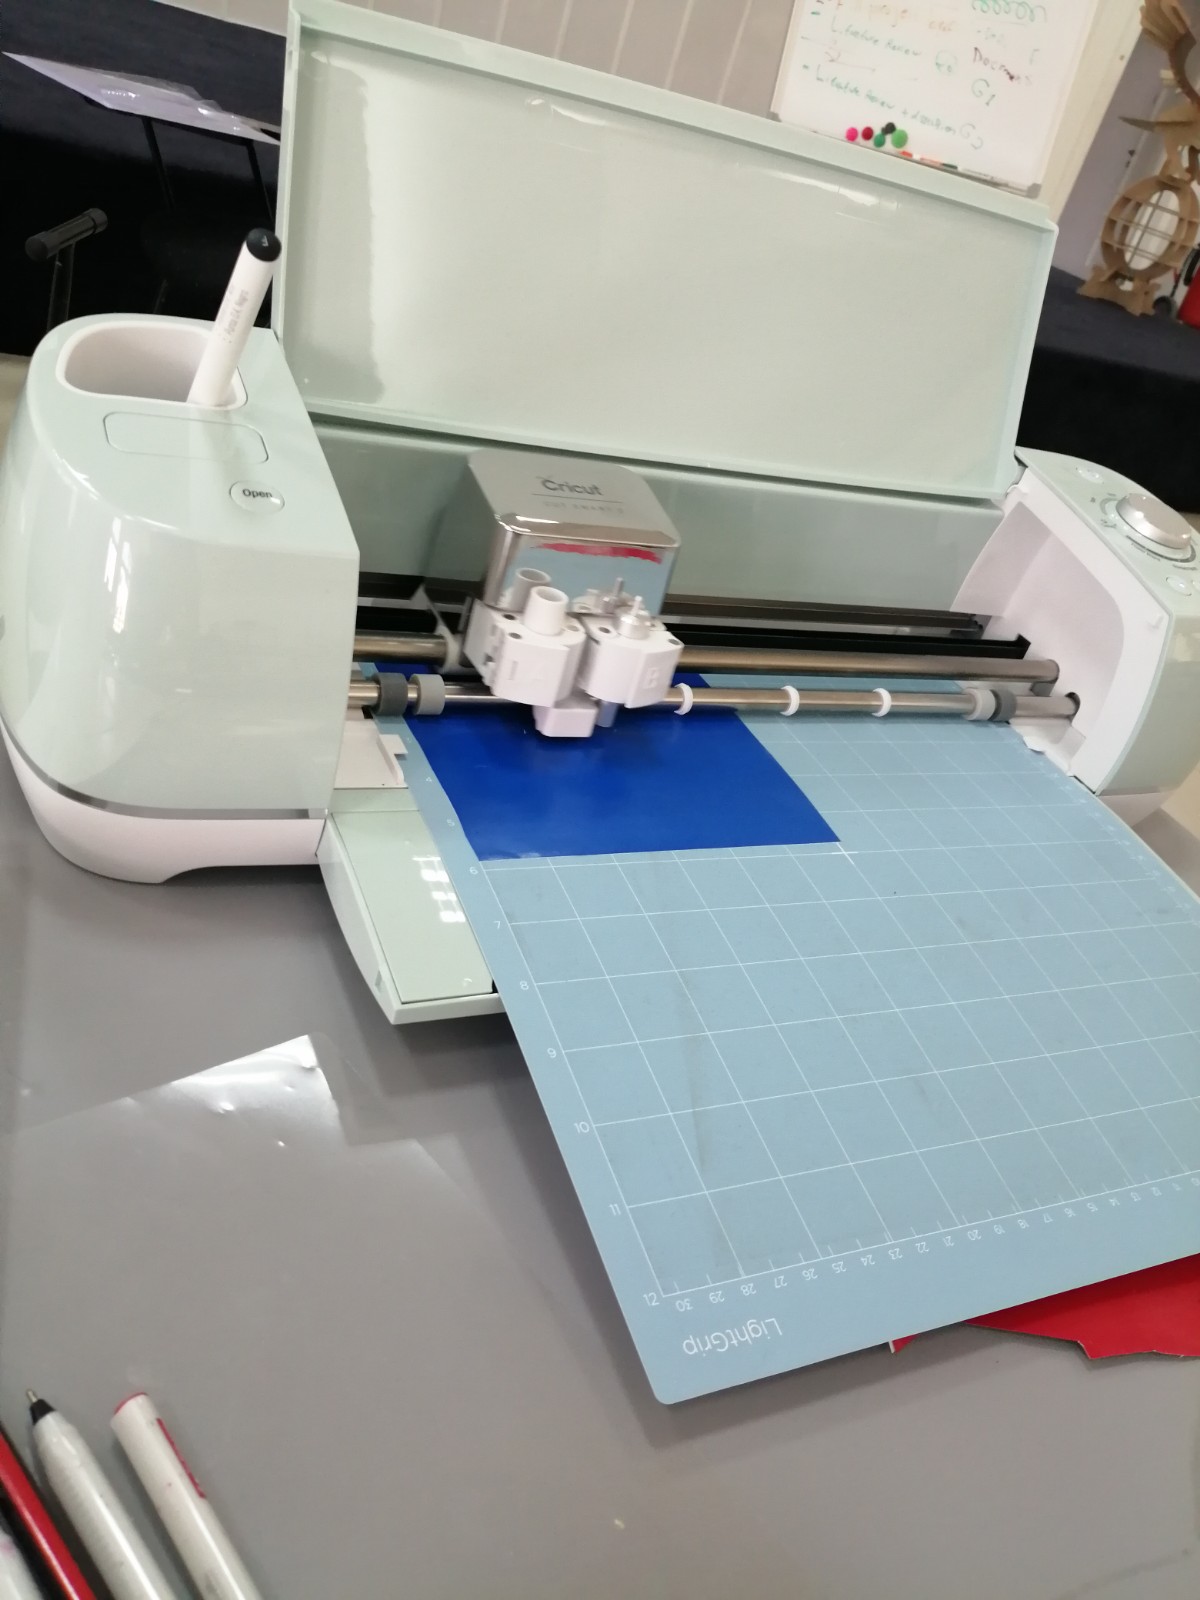
this week at 13/07/2021 we work in vinyl machine . We can use this machine to cut paper to be like our 2D design that we made it using any 2D software. It is an easy machine not like others and it is not dangerous machine like CNC and C02 laser And this is a picture show us how the machine look like
Working on my design
First we start to do our design using 2D software like Inkscape or Cuttle. Anyway I decided to use cuttle because on it you can do a beautiful shapes and it is easer for me.
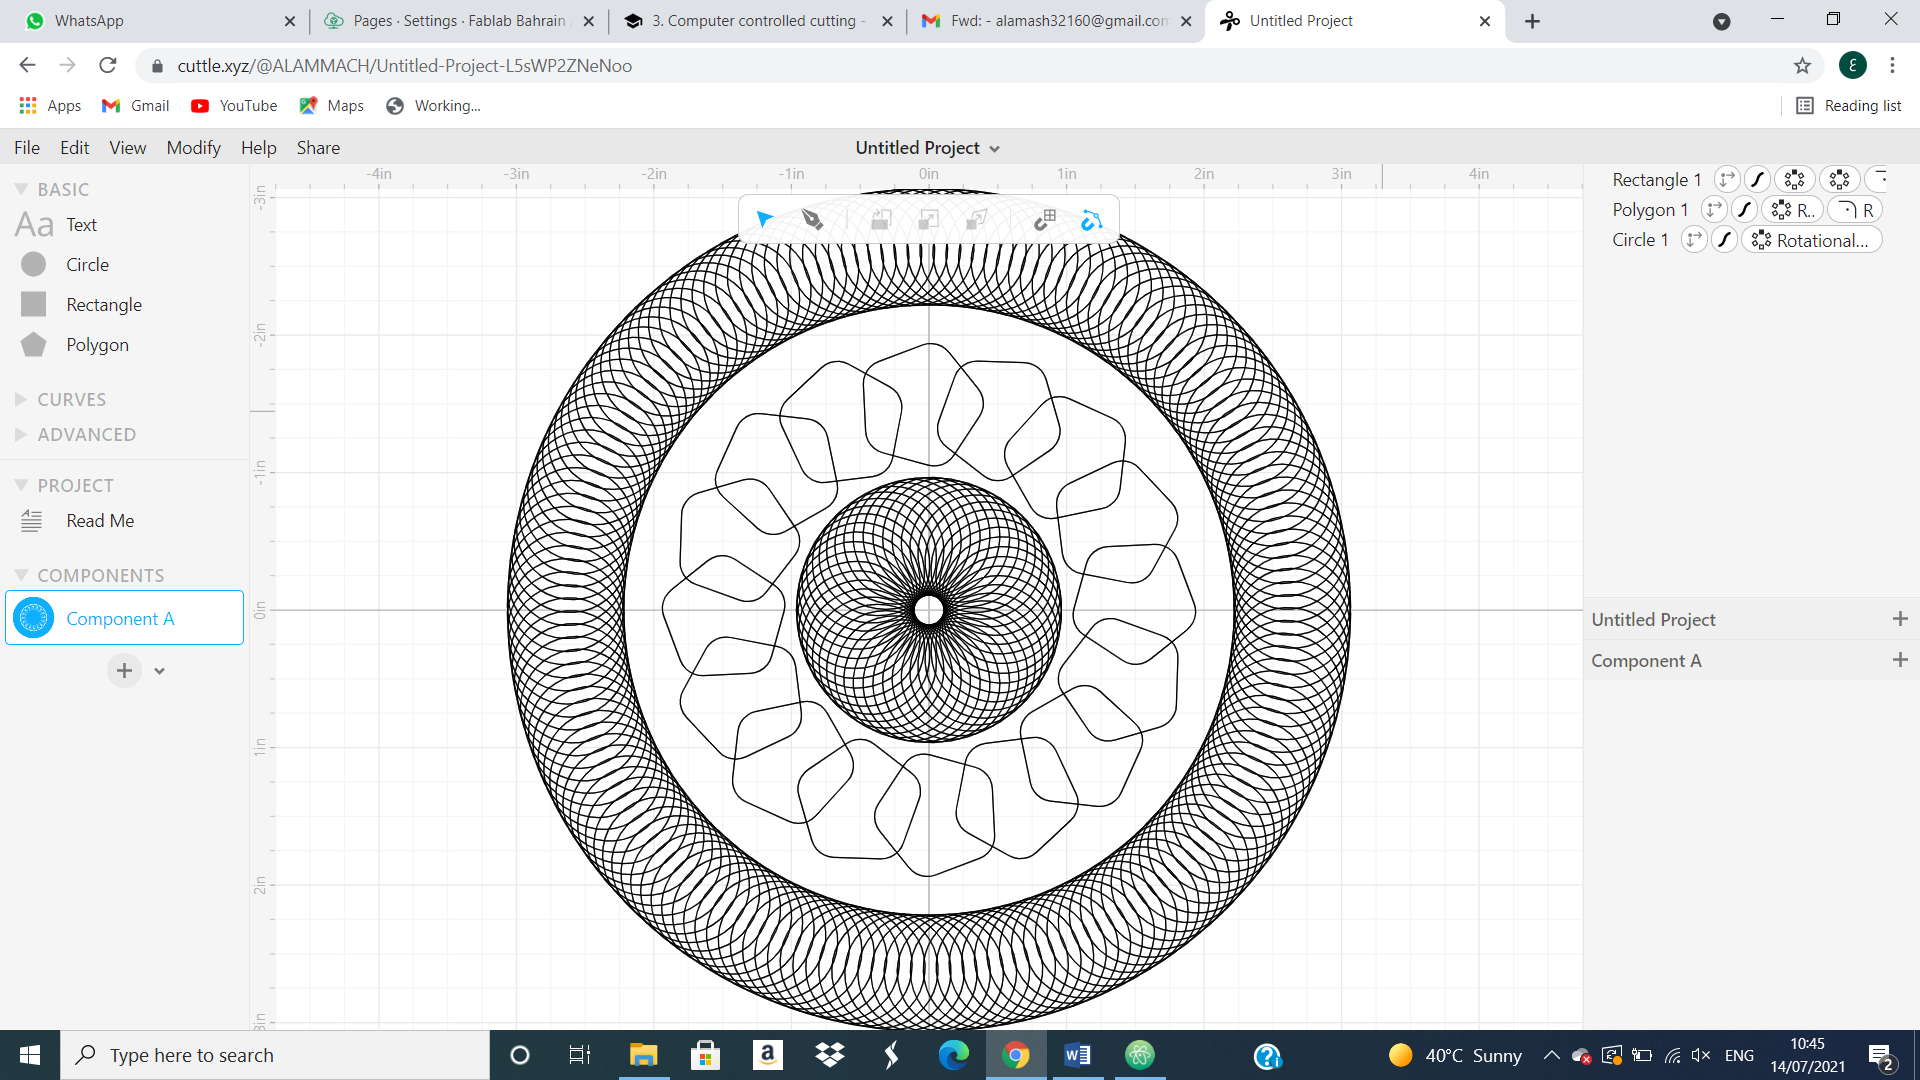 we can see the above shape that have done using Cuttle, but this shape can not make a sticker using vinyl machine. There are some part that the machine cant cut it.
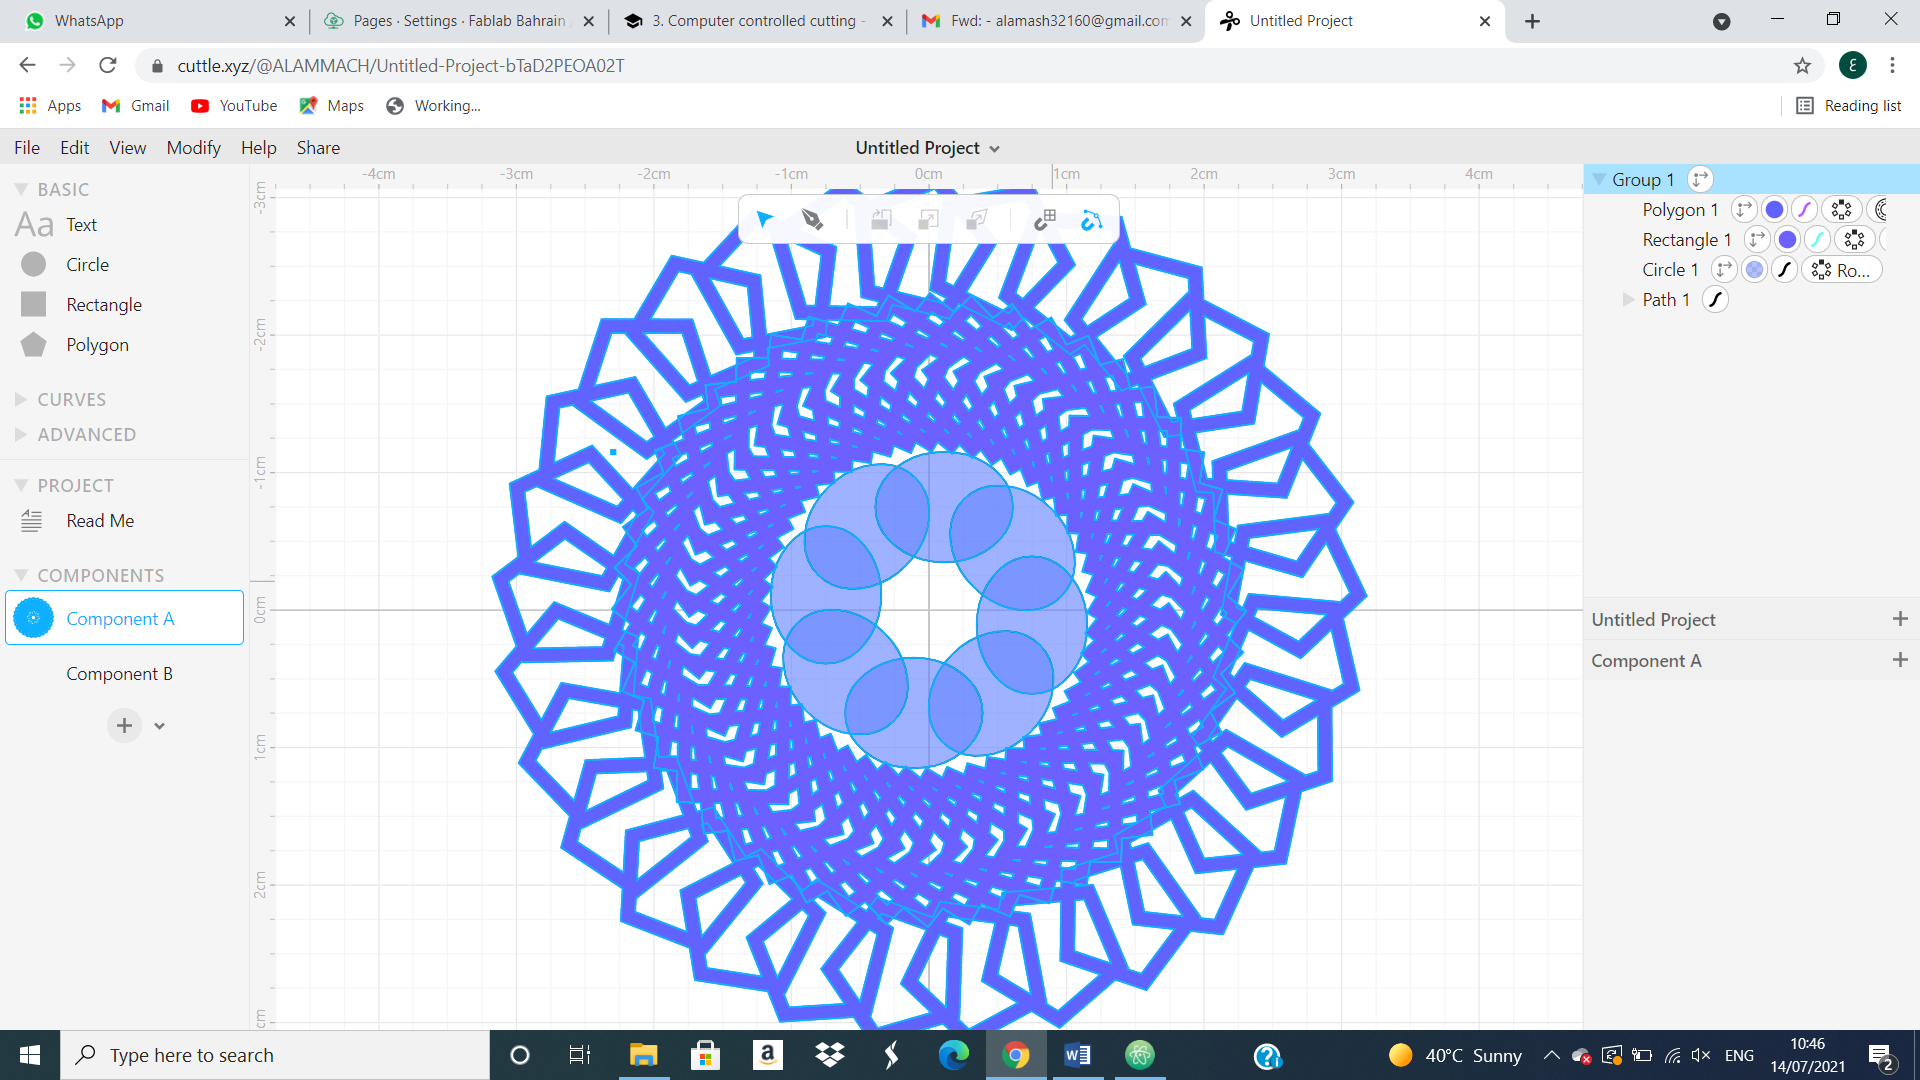
 And from the above two pictures we can see amazing shapes, but it also cant be done using the vinyl machine because there are a different shapes under each other and close to each other so the machine will not cut the same shapes. Than, after I modified the shape I ended up and got this shape
How we cut or do the sticker using the machine
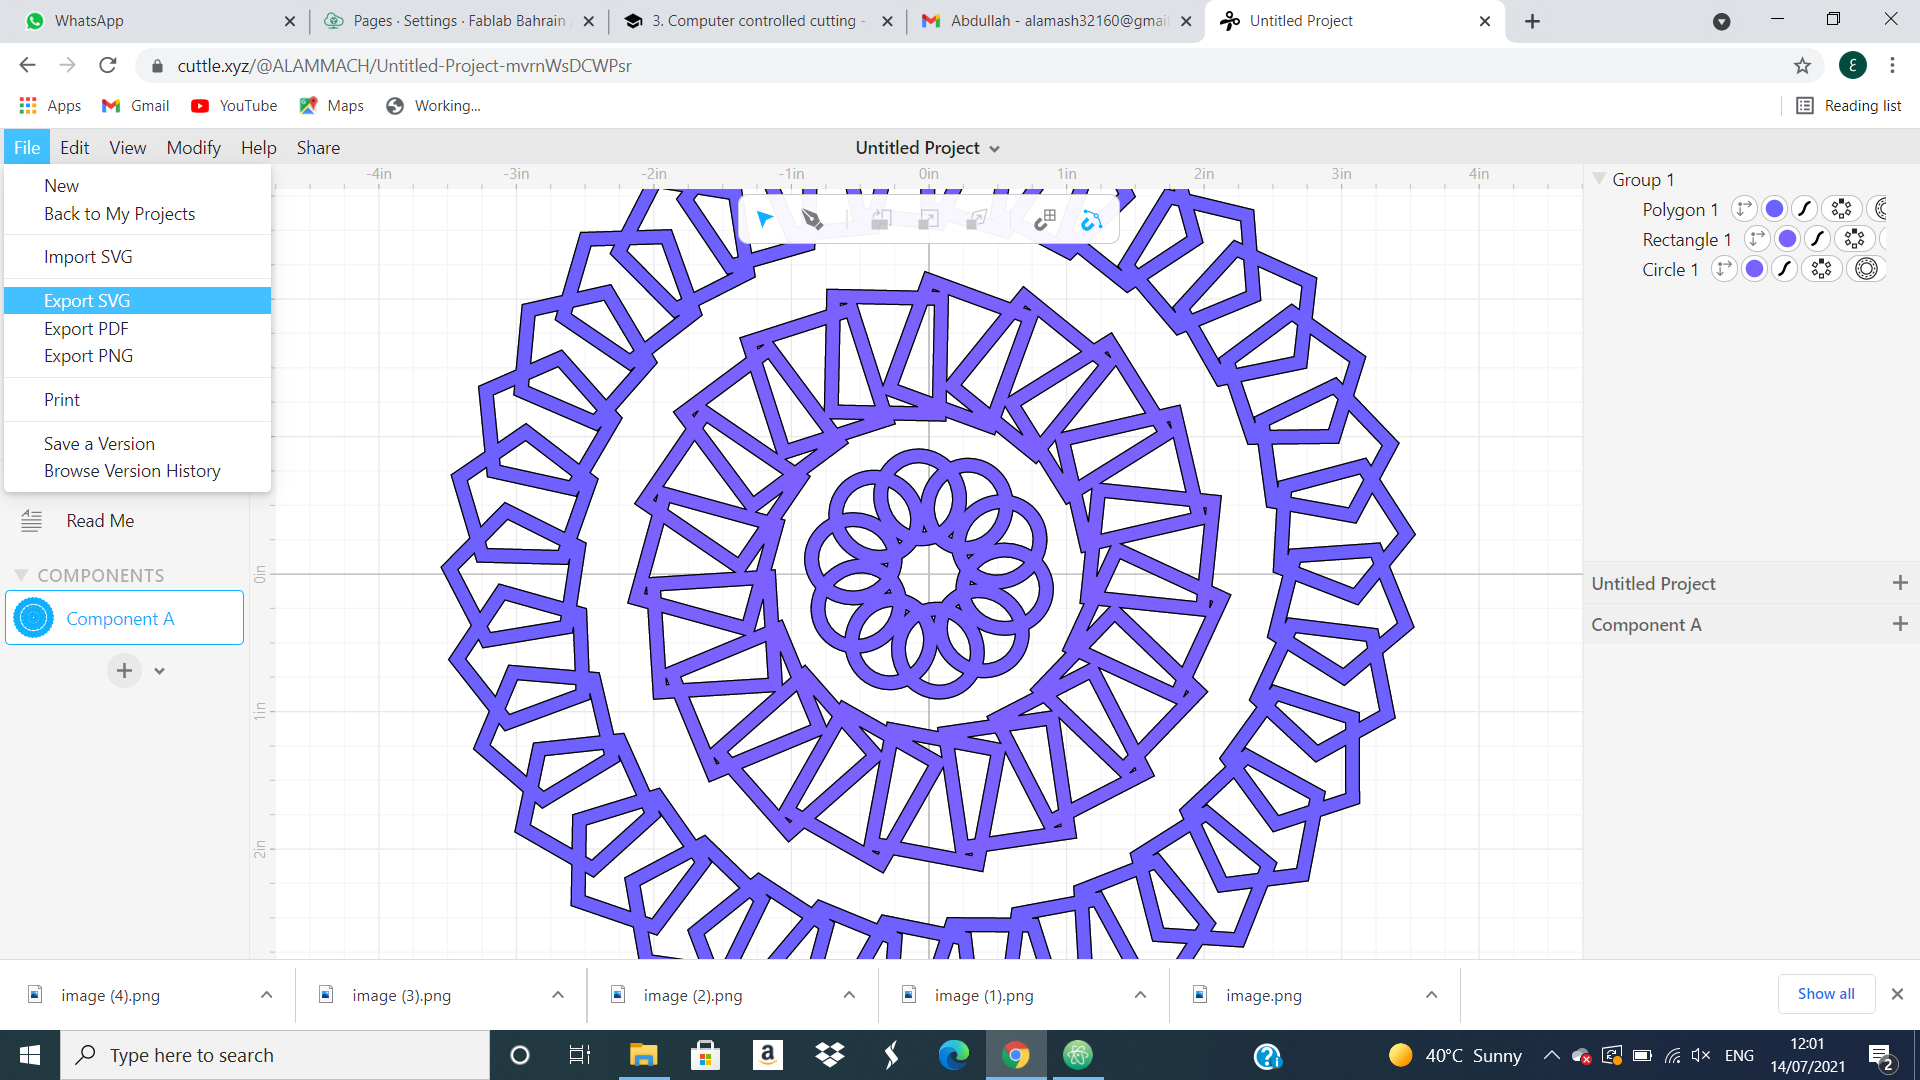
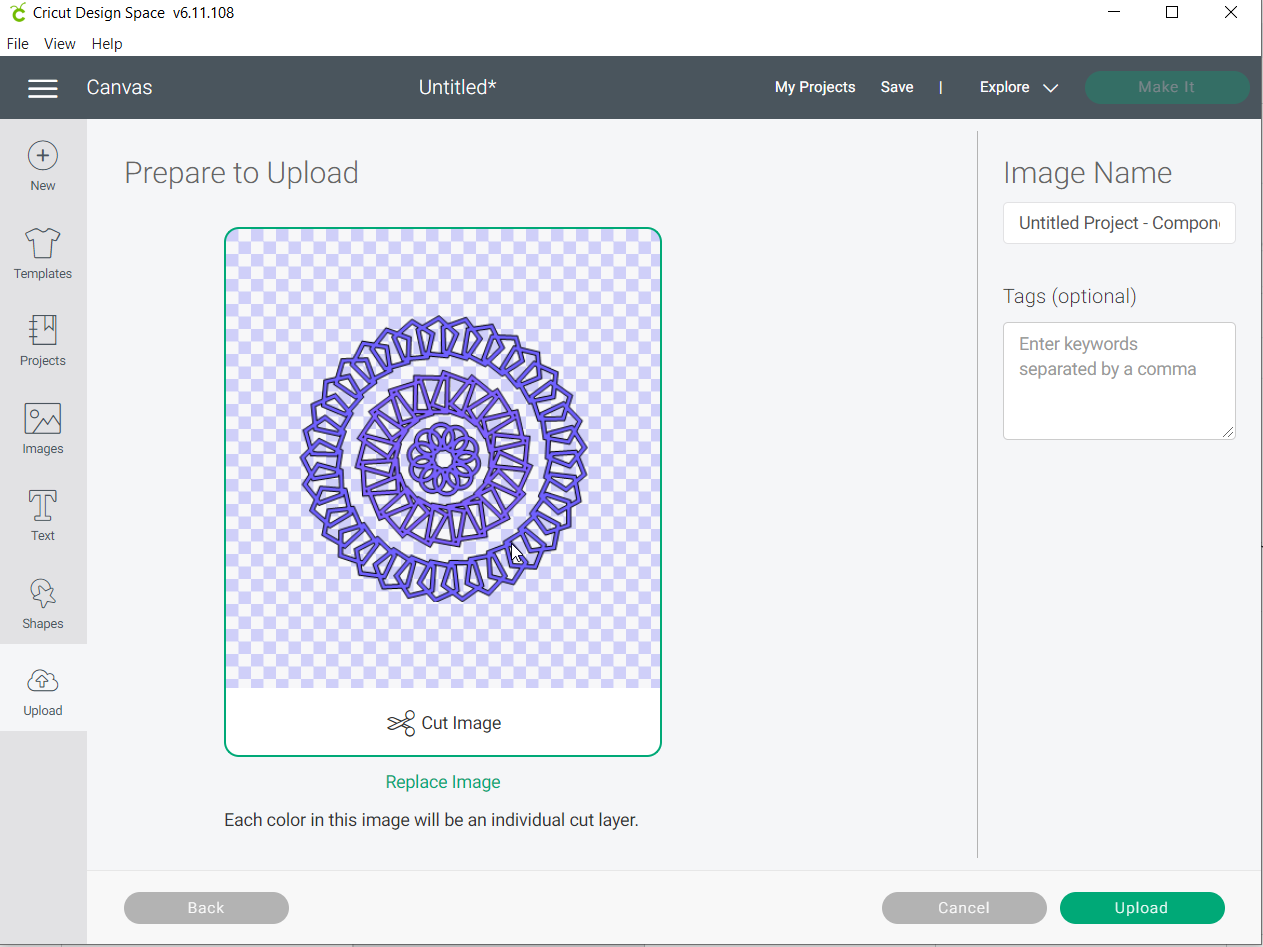
We export the design or the figure as SVG
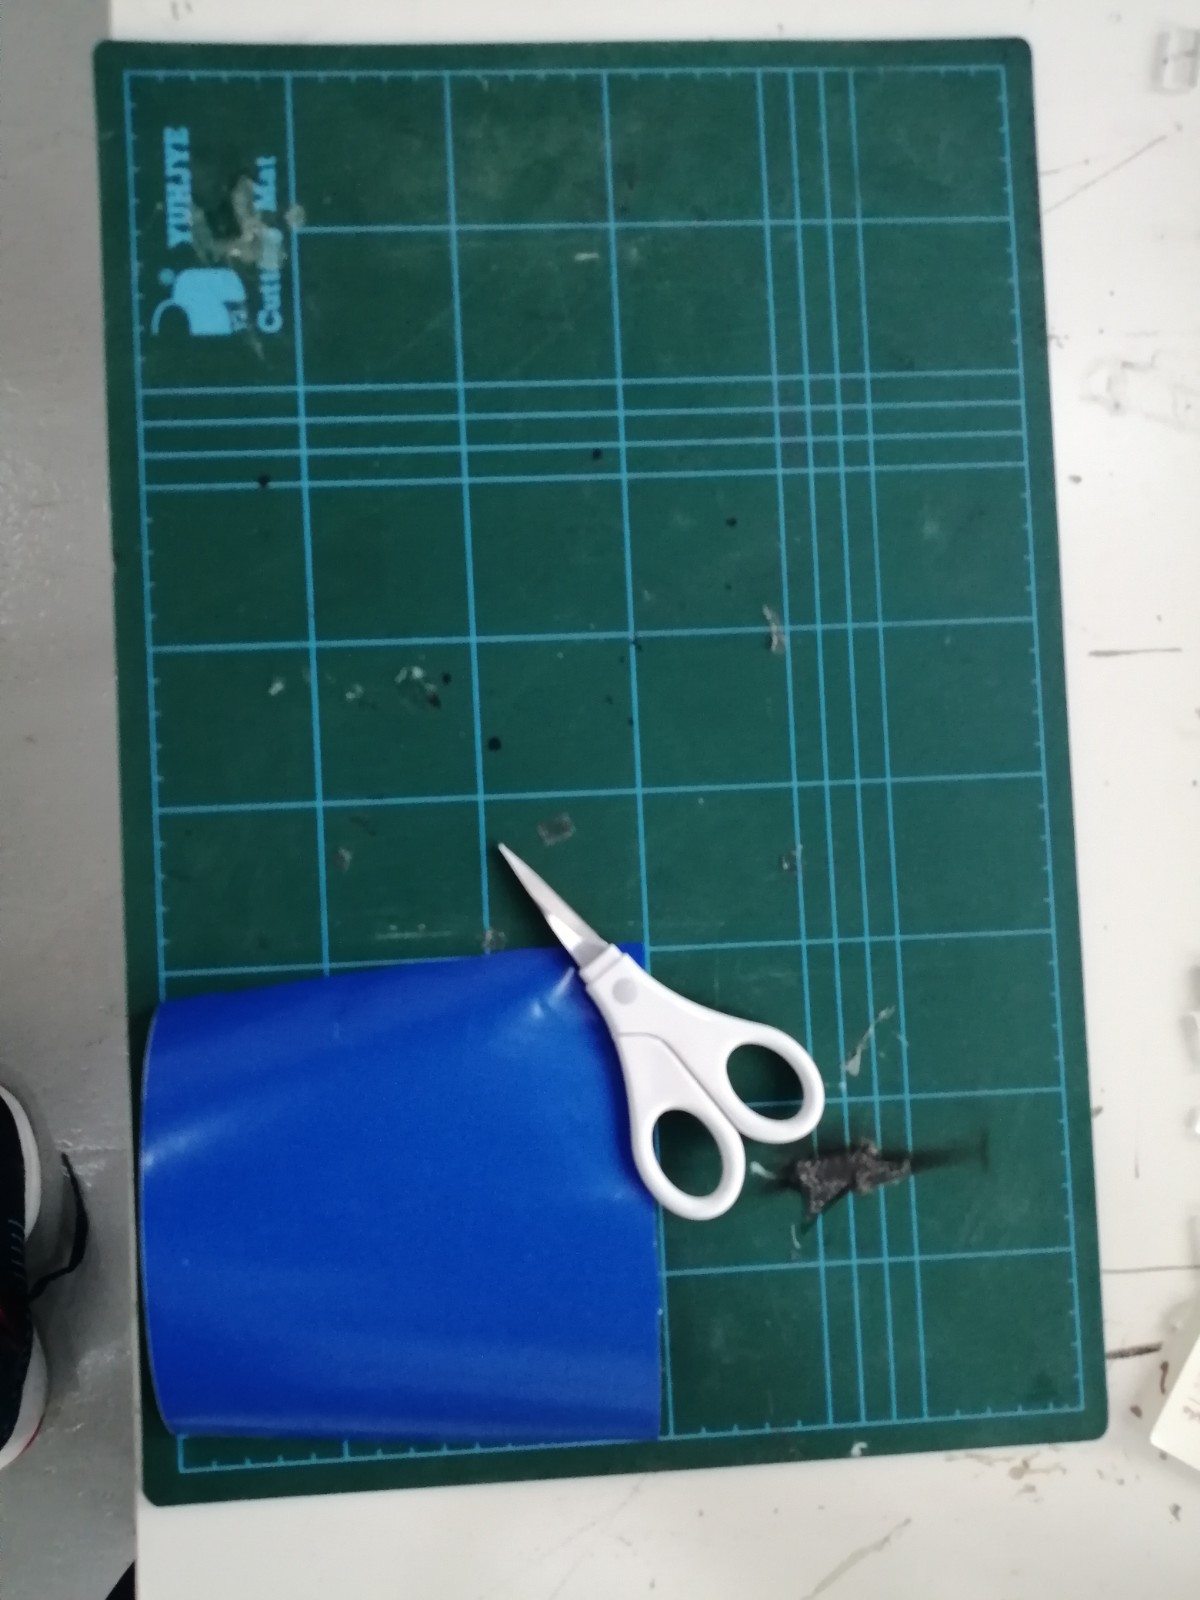
Next. before I start run the machine I cut a blue paper or sticker that I need it to put it in the machine.
 and from this picture we can see a green plate it is a sticky plate that we put the paper above it than we put it inside the machine like this
 After that, I go to upload the SVG file to the laptop that connected to the machine using Cricut design space program
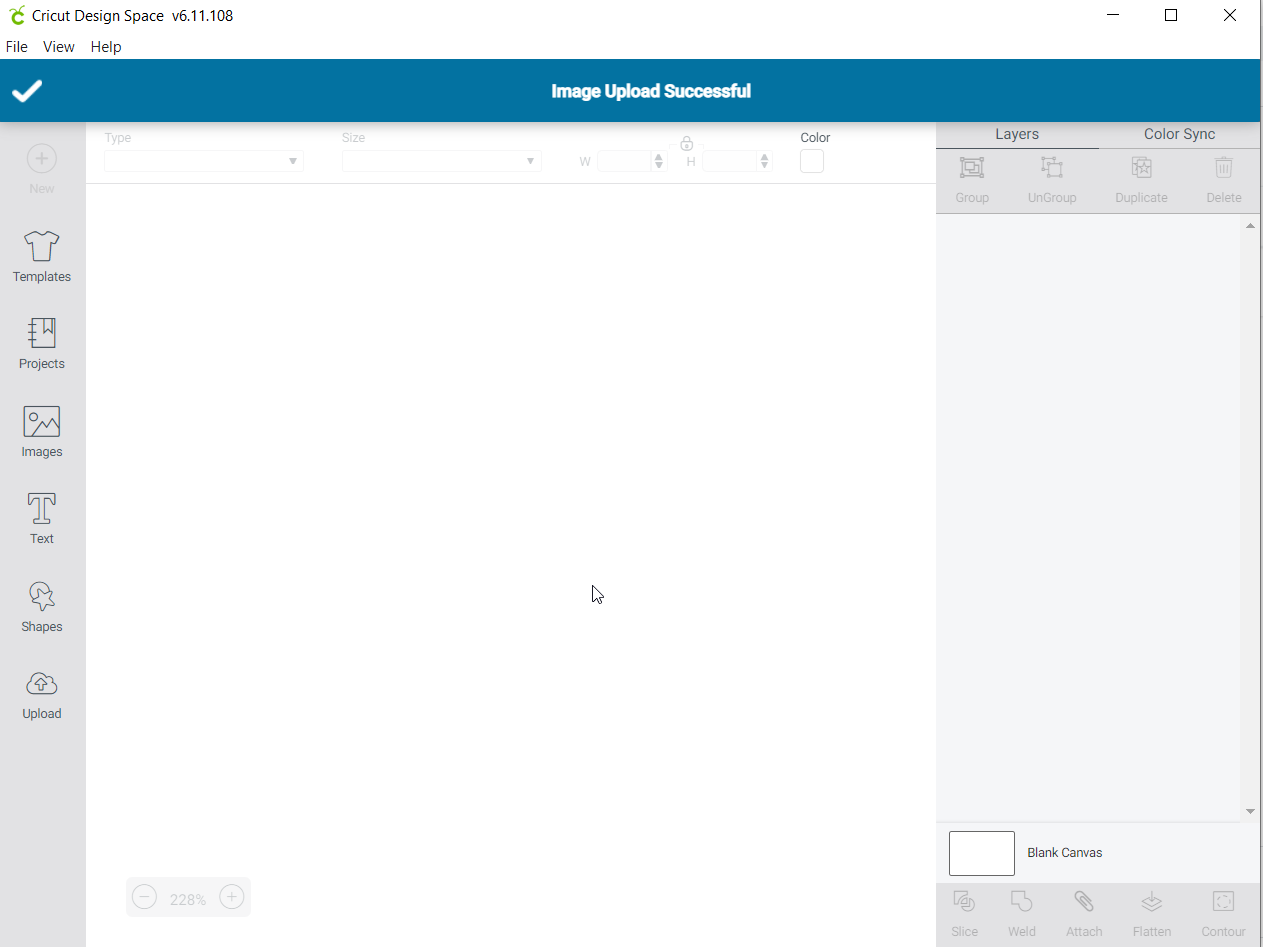
 than you got this massage if you appload it successfully
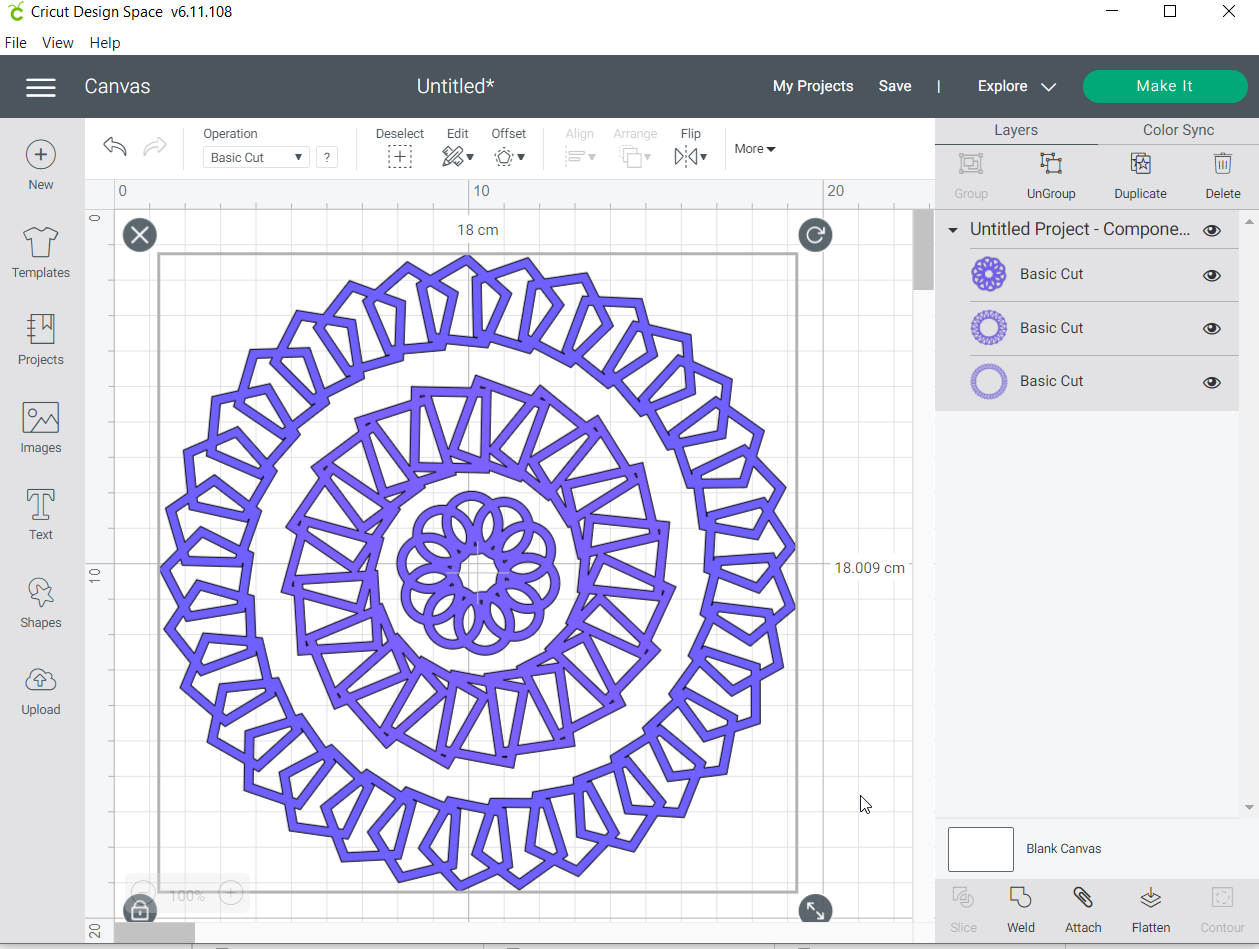
 After that you got a the shape and you can change the size of it to be appropriate to your paper
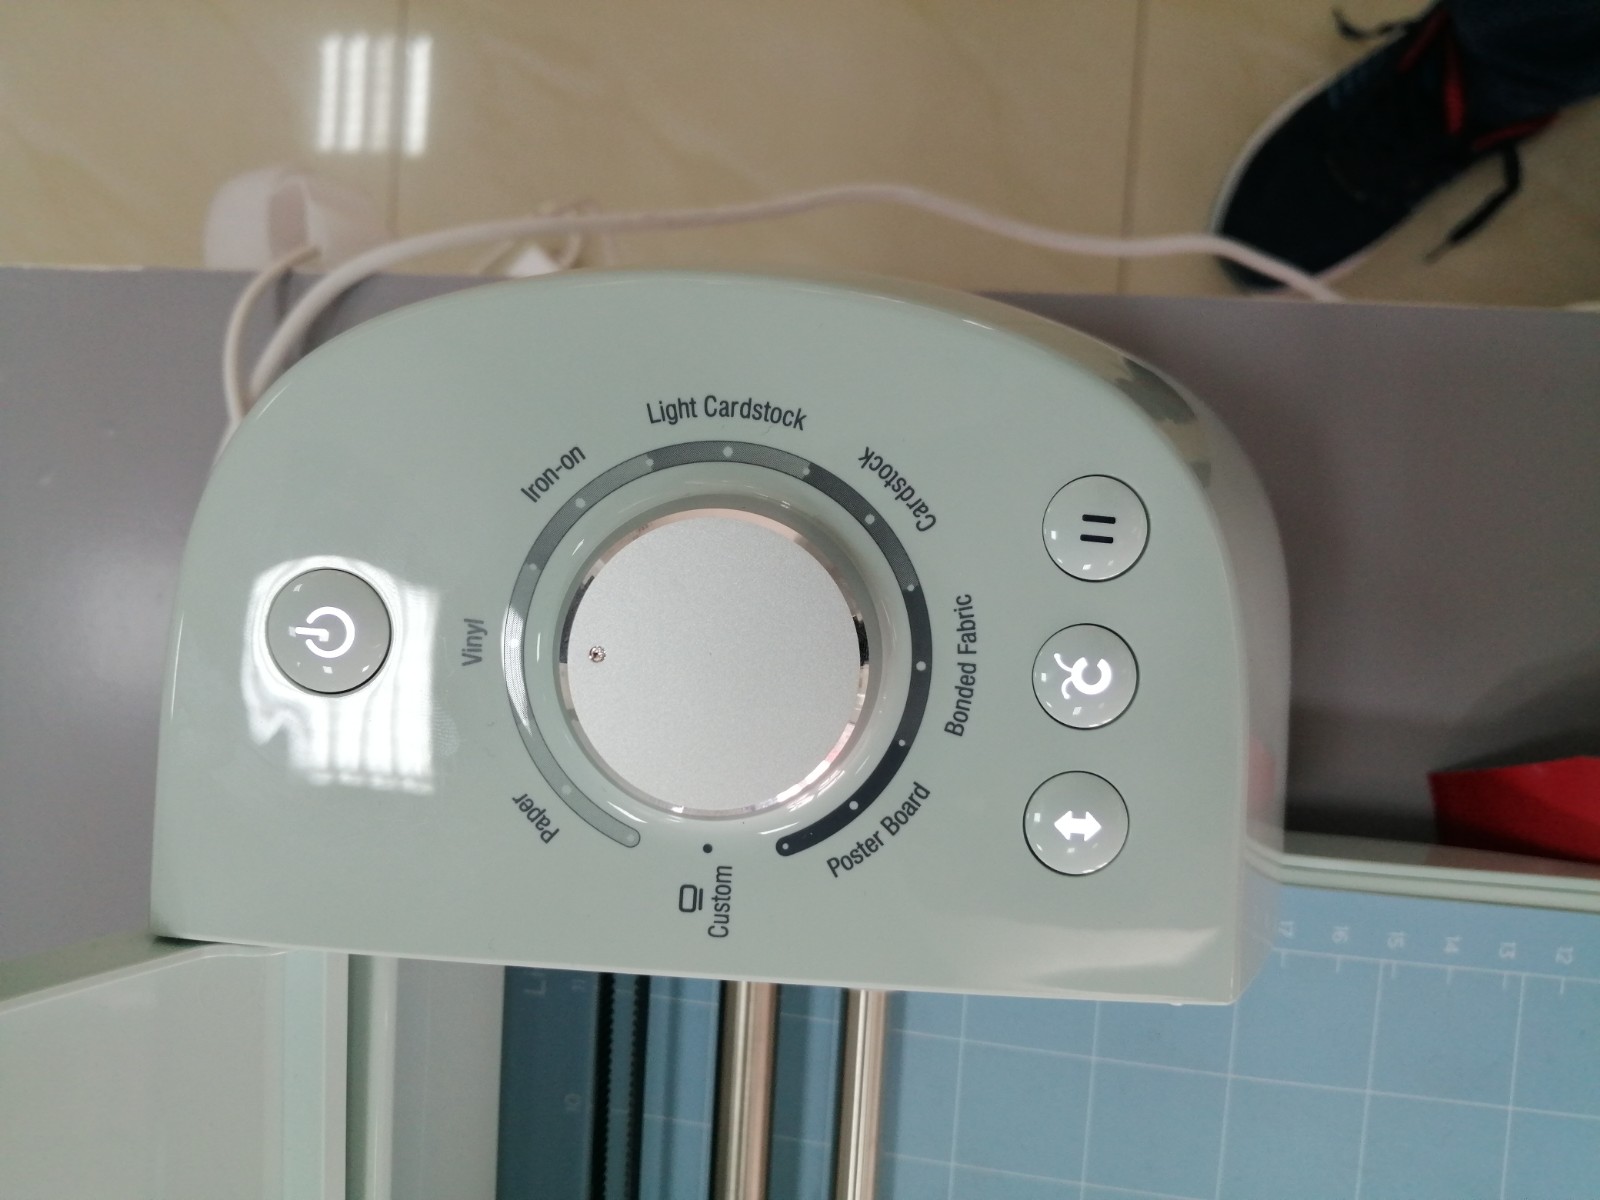
 Next we go to the keys on the machine and click to the left key to adjustify the paper
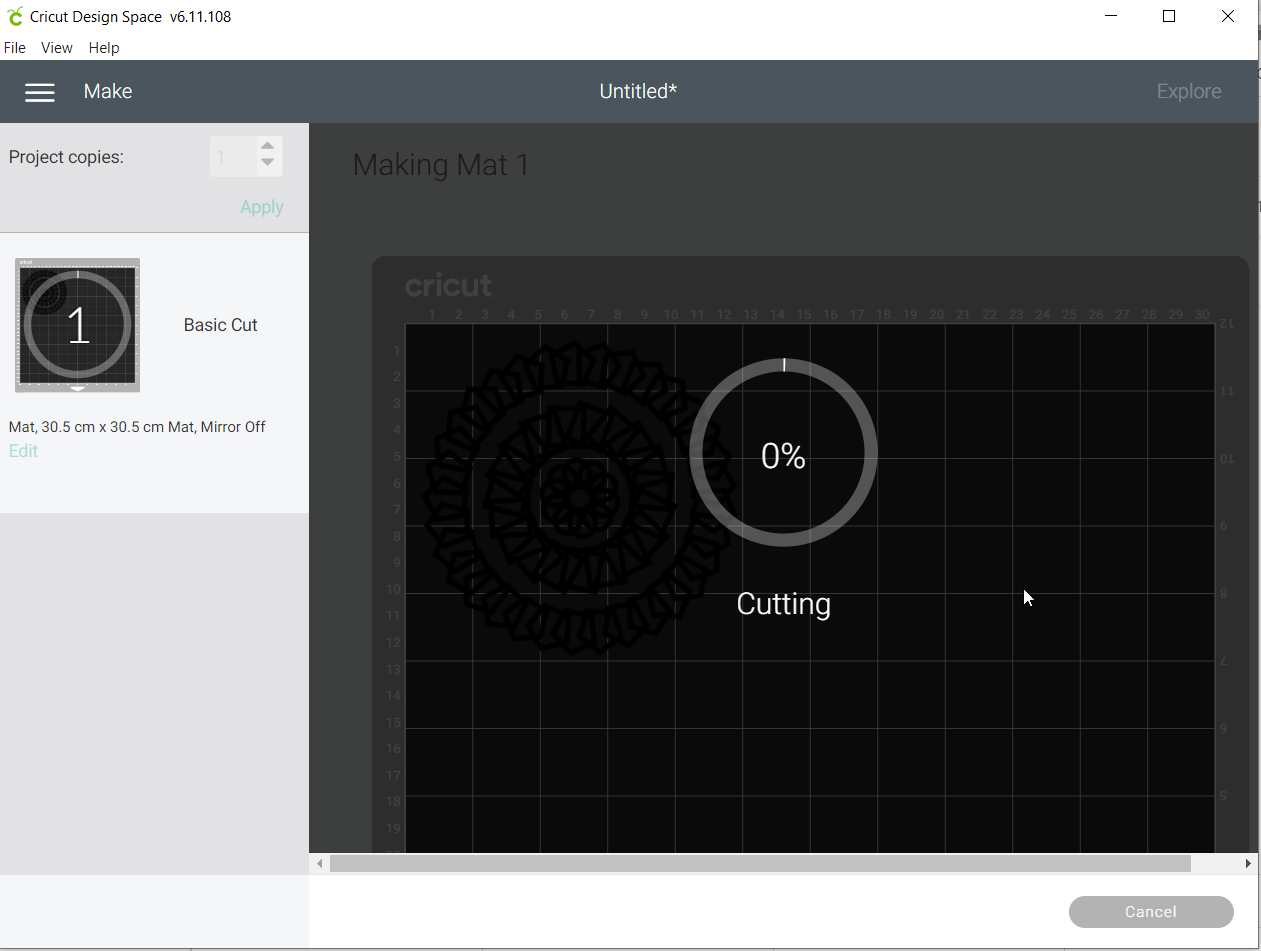
 Than we click to ‘make it’ in the green colour from laptop and got
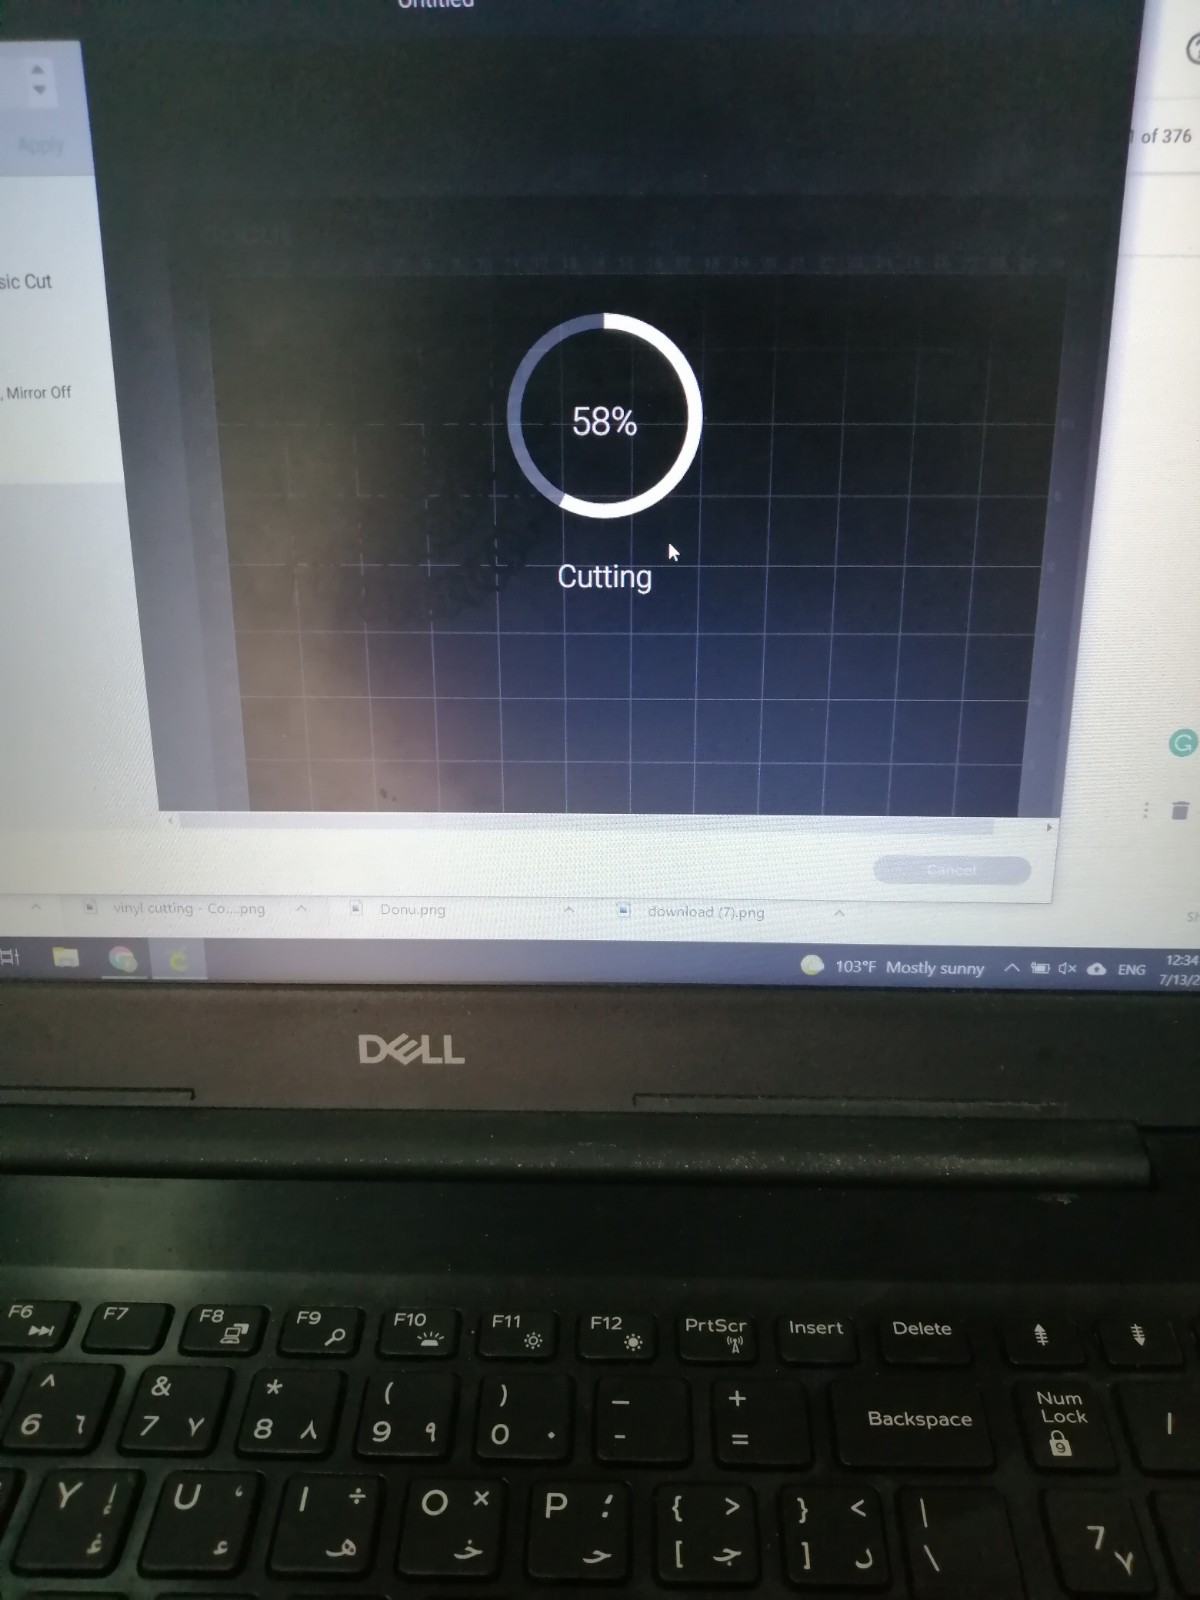
 than we go to the keys and click on the middle key the machine will start cut the paper. And the laptop will show you the percentage that the machine complete the cut
 At the end I got this shape and put it on my laptop
